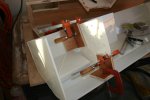
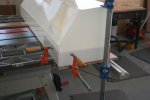
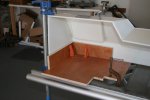
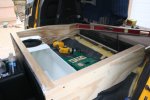
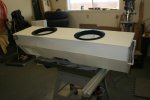
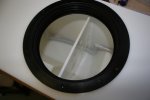
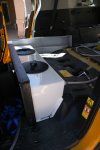
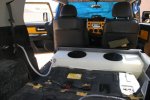
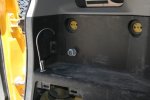
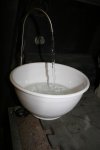
First to answer a very basic question posed above that should have been included in my first post ----- the capacity is 17 gallons.
OK, back to the build --- after rereading what I have already posted, I want to go all the way back to the start. I had been talking about building a tank to some people at work and someone mentioned “hot air welding”. Never heard of it so did a web search and it sounded like something I should be able to do. I did some welding about 40 years ago, so it should be like getting on a bike - right? Not quite. So in my search, found that there is really only one product - The Leister Hot Air Welders. There are many models to chose from, so I called the company at
http://www.hotairtools.com/. It’s obvious that they sale to commercial vendors and was leary of how my home application would be received. No worries, the guy I talked to spent as much time giving me advice and answering question as was necessary. I never felt like he had better things to do, they are very helpful. So I ended up with this:
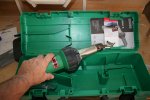
It’s the Leister Triac S model, with adjustable temp settings. Really, it’s just a heat gun with extras.
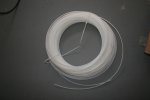
The next 3 pics will surely answer some questions. The first shows a roll of welding “rod”. They have short bars but this is the most economically way to buy it. I also didn’t have a clue how much I needed so I went this route.
The next 2 pics show the tip I got, with help again from the sellers. The second pic shows the welding rod inserted into the tip. Of course you pull the rod back until it’s flush with the end, heat up the two pieces of plastic you want to weld, keep steady pressure on the rod until you fell that it is adhering to the plastic and draw back on the welder. The rod automatically feeds onto the plastic.
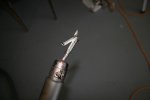

So now I bought a pretty expensive welder, welding rod and plastic and I’m going to build a tank. ??
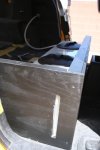
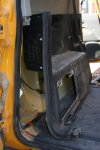
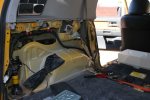
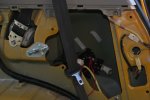
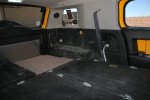
See the first pic on page 1, this is the point where I was staring at the “blank canvas”.. How do I convert that very complex space into a solid tank? For some reason I thought about how hot the water would get. Out on the trail or even on the road the floor gets very hot, so I didn’t want that heat transferring directly to the tank - what to do? I had some ½” Styrofoam from something, so I fab some pieces to fit on the floor and up the rear incline. This also would give it some cushion.
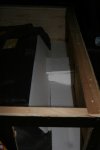
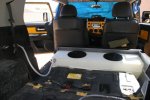
Next what do, I do to not waste tons of plastic in the fitment of the space.? I also had tons of cardboard and so I built a cardboard template. Didn’t take pics of that but you can see it under the tank pieces in this pic.
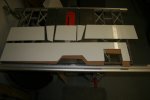
I’ll digress here to describe my first attempt. The tools I had were a table saw, Makita chop saw, drill press (even though it doesn’t come into play until close to the end product) and hand tools. As you can see in the photo above, there are very few 90* cuts. Doing compound cuts on a table saw is insanely time consuming and not fun at all. I did persevere and one tank was completed, sans top. See first page. The welding wasn’t what I would call pretty. Pretty is good because a pretty weld will hold water. After many many attempts to stop the leaks, I thru in the towel and started my 2nd tank.
Before starting I evaluated what I did and didn’t do correct on the 1st tank.
1. I hand held, for a better term, the pieces together for the welding. The wife helped a lot here.
Lesson - plastic warps and does what it wants if given a chance.
Solution - build a wooden template.
2. I used short pieces of welding rod and had many weld joints - don’t do that again. Joints leak. Water will find a way through.
Solution - one continuous weld for each piece.
3. The tools I used were not up to the job. Using the table saw was not the answer. The two tools one HAS to have are the table saw and a compound bevel miter saw. With the wife helping me, she saw just how much time it took to make all the cuts and agreed to me getting a Dewalt 12” compound saw. Home Depot just so happened to have them on sale with the stand. Lesson - Have to proper tools. Having been a carpenter for over 20 years, I knew that but didn’t follow my own experience.
So, with the right tools, more accurate angles and bevels being cut, a better weld was to follow. Hopefully.
My next step before I mutilated anymore plastic was to mutilate some wood. The template shown on the first page was a difficult project in it’s own right.
to be continued.......


