Jeep JK Camper top build
Finally have a few free minutes to show the Wrangler Unlimited Build. We have done a good number of these before, starting with the "idea" of the nice sleep unit on an SUV, even before they were called SUVs. 1973 my Dad built the one onto our Scout II. Not even a pop up, just a BOX with a bed and heater bolted onto our Scout II. So, then came the advent of the pop up top, the ultra light flexible off road structure, and then the adaption to other vehicles like Blazer, Bronco, Trailduster, and later 4Runner, Suburban, Range Rover, Land Rover, Jeepster, and CJ5.
So, an adaption of the family's original off road 4x4 sleeper cabin that is as complimentary to your beloved off roader as possible, while being comfortable to live in too.
Here's how we did it here in 2011
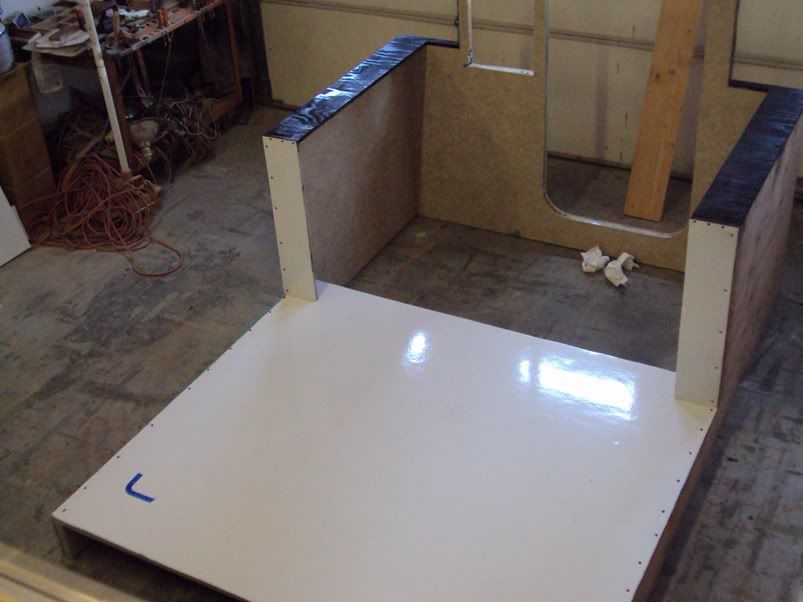
1. Find out what the customer wants inside and out on their custom PULSE. Get the vehicle in the shop, and measure measure measure, and make lots of patterns. Build a nice light weight and strong Welded aluminum cage frame construction, fiberglass sheeted, body shell.
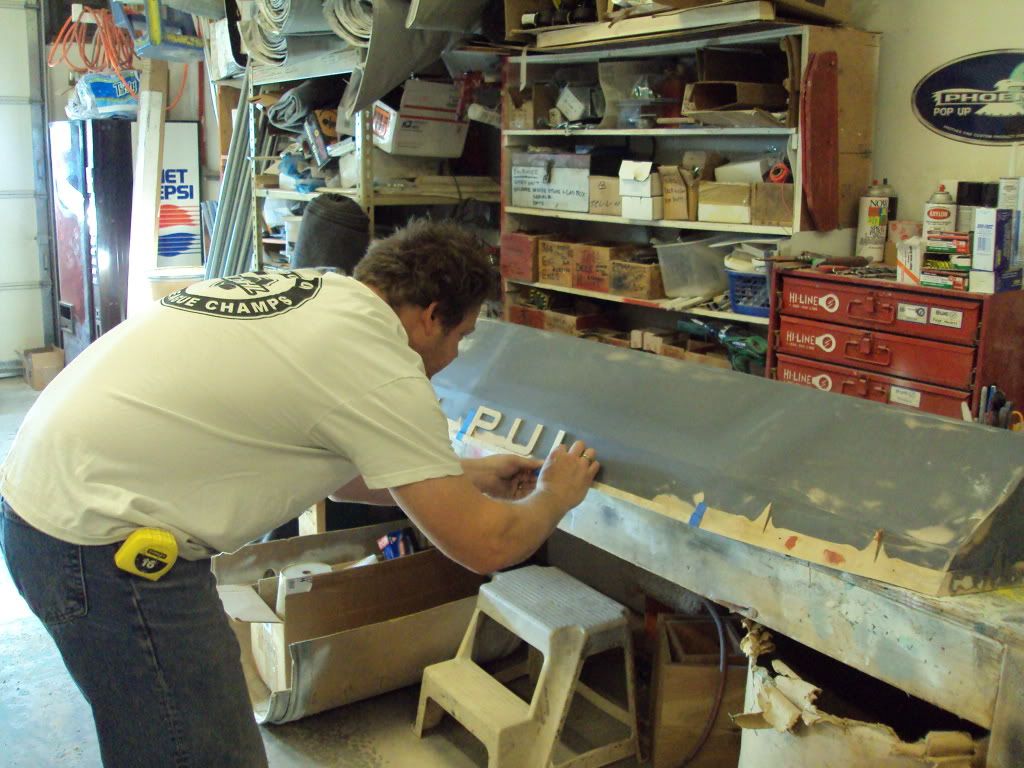
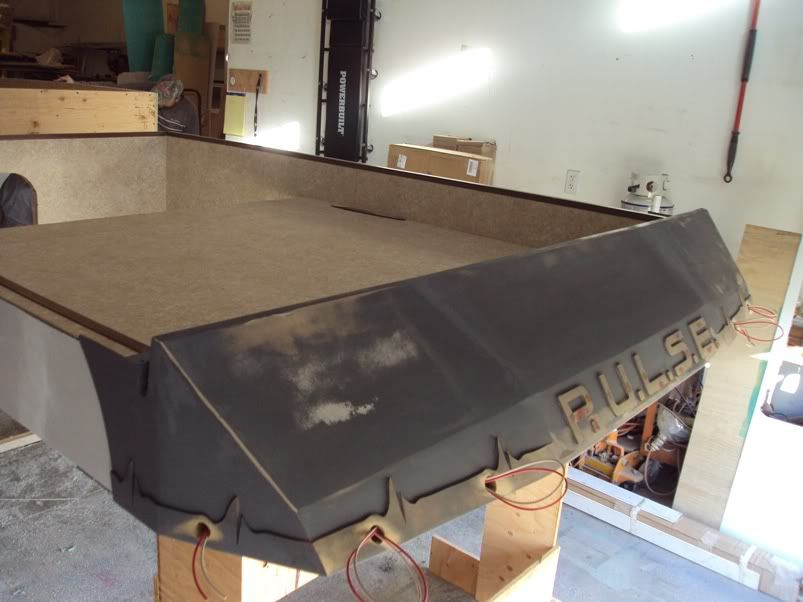
2. Now that the concept is refigned to be as low profile and light weight as possible, while keeping just enough interior comfort, the new PULSE needs a better face. So, here we are creating a brand new aerodynamic "Nemesis Inspired" cab over shape, complete with built in molded name plate, heart waves, and accent lighting.
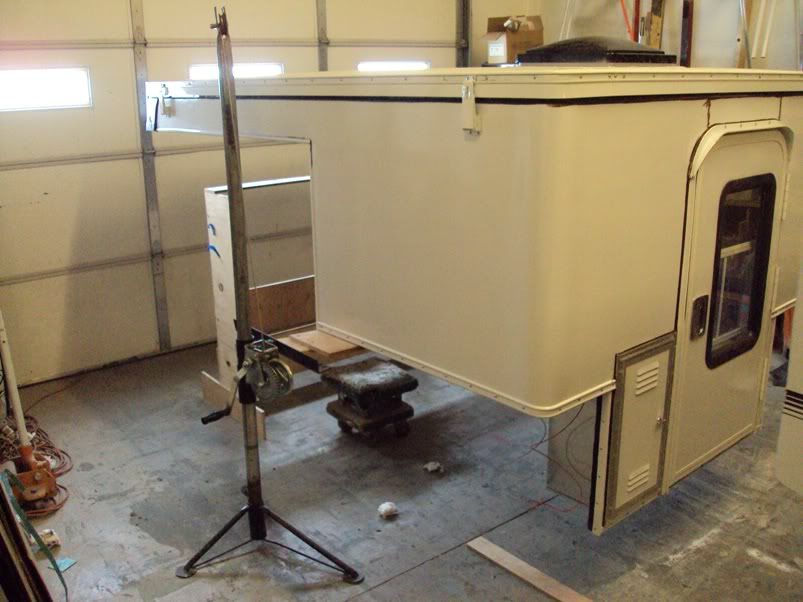
3. Once the cab over has been shaped, fiberglass molded, and installed over the finished welded aluminum framed laminated composite roof, and triple layer insulated flexible liner, the unit is seam sealed and ready for the color match paint. This is provided by "Pappy's Auto" an excellent custom car painter here in the Denver Metro area.
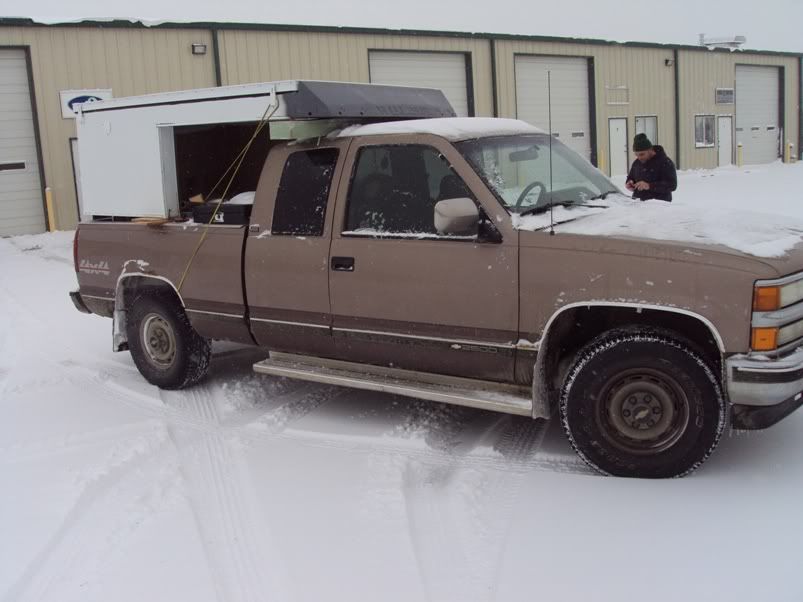
4. Now we load the unit onto the delivery truck and CAREFULLY drive it out to the farmhouse in Earie, where "Pappy's" does their magic.
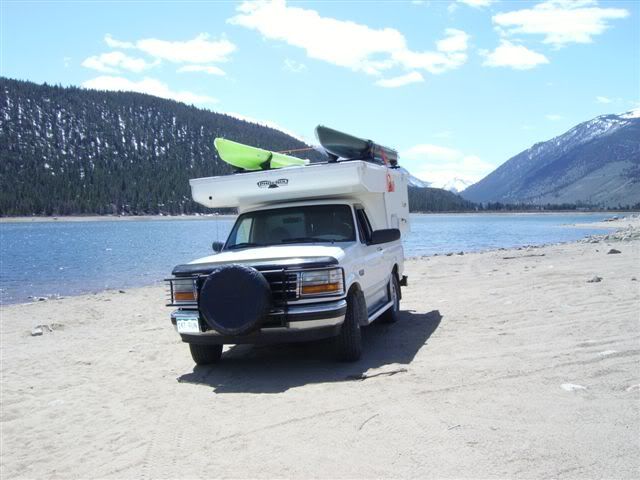
This PULSE looks pretty tiny on this Chevy full size truck.
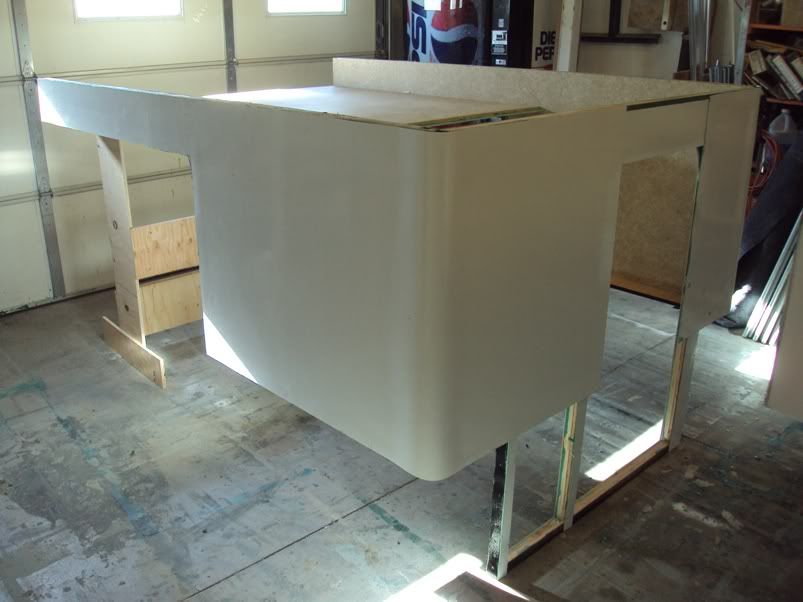
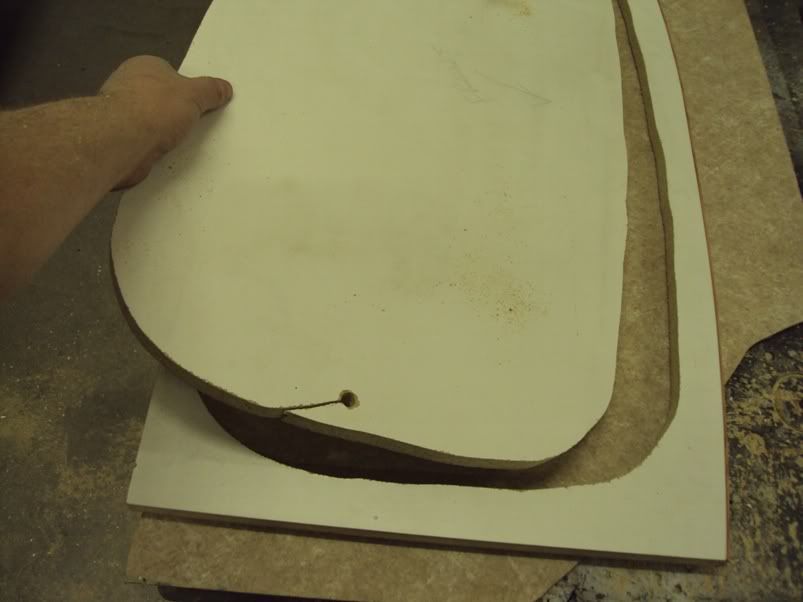
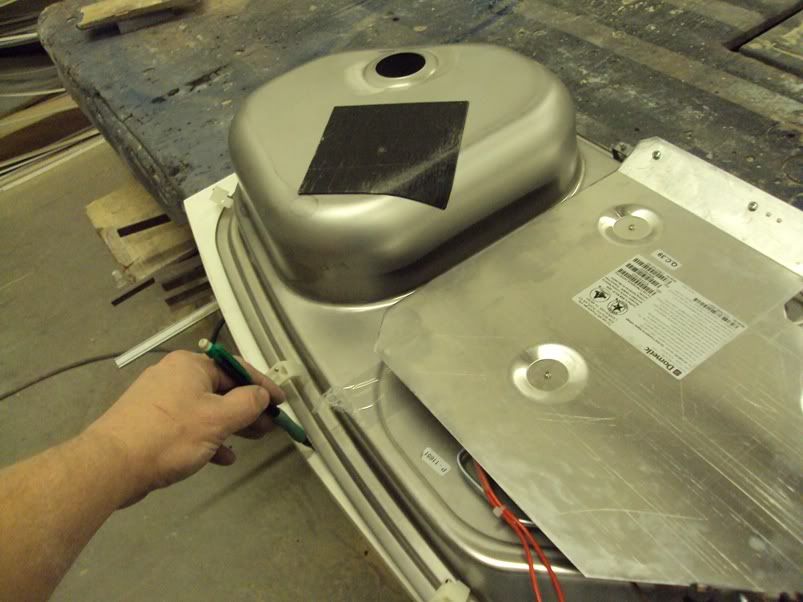
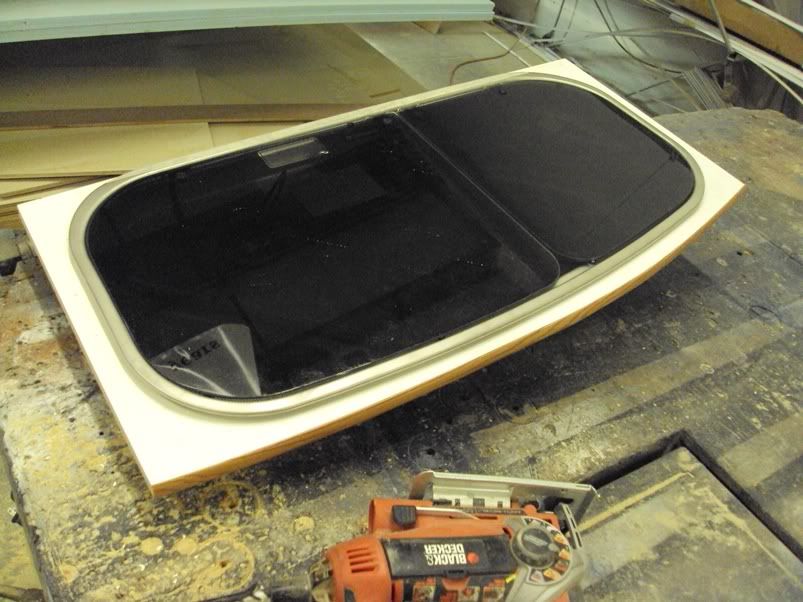
5. While Pappy's does his work, we design and build the interior cabinets and housings for the equipment and features. Here we are fitting a sliver of countertop around the Dometic/Cramer stainless steel sink/3 burner range with glass built in covers. So that this feature does not cut into our entranceway, we have to make this countertop hug the edges of the fixture, then blend into the slanted thin panel face... nothing square about this work, it's almost like art.
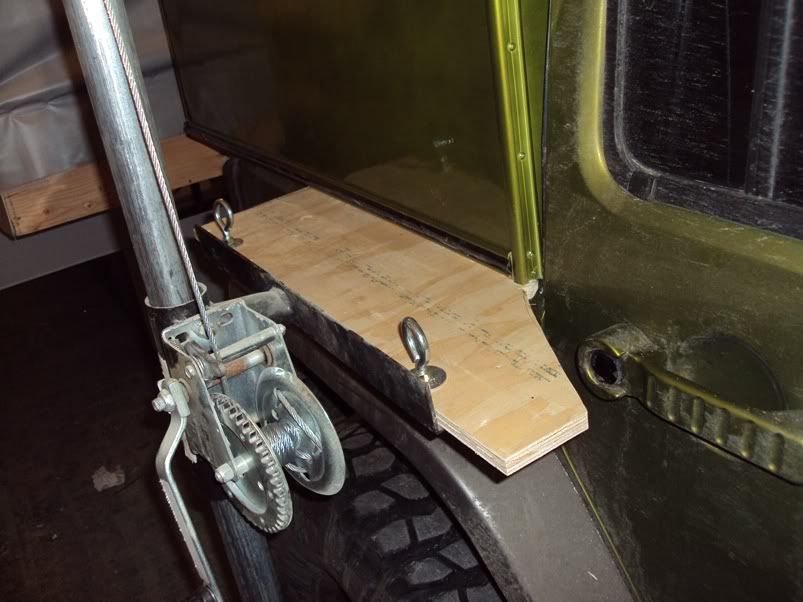
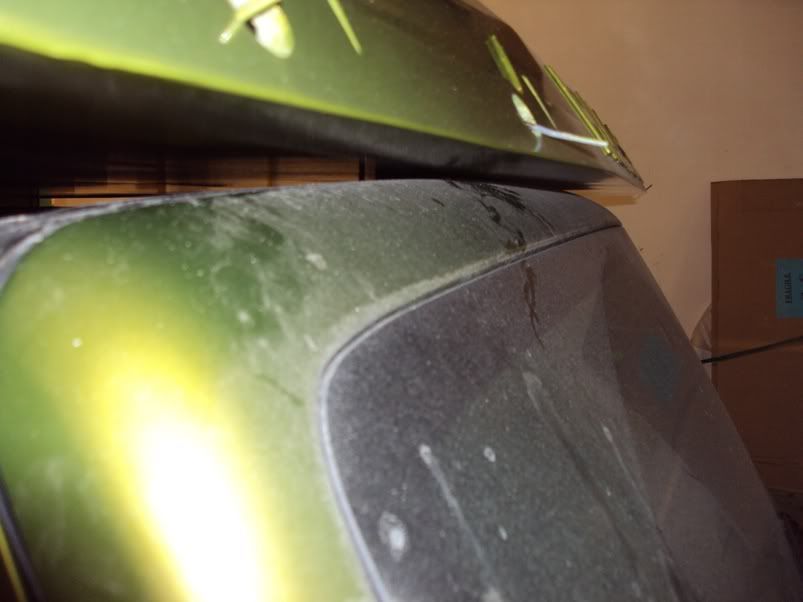
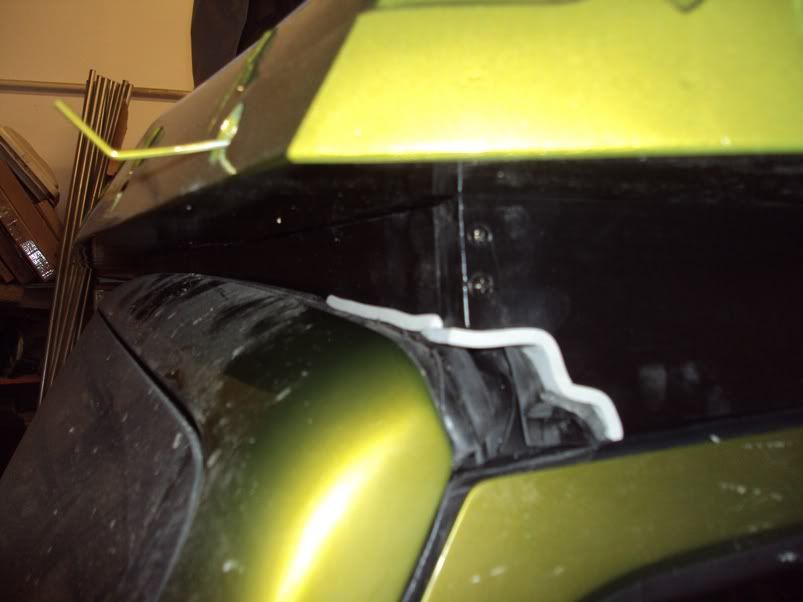
6. When the PULSE XJ returns, we are almost too excited to focus on the tons of work that we have left, the green is a little overwhelming. But, like good little soldiers, we push on. With the unit suspended over the Jeep, with customized cable jacks,
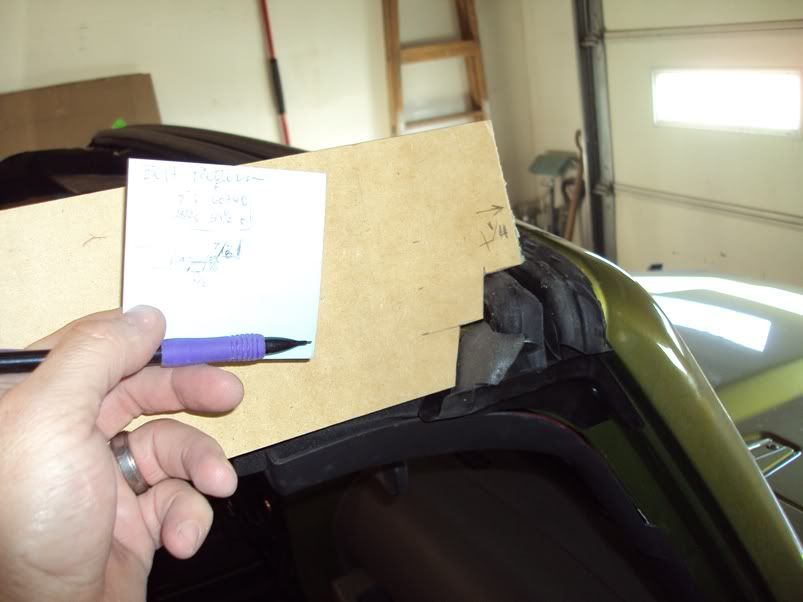
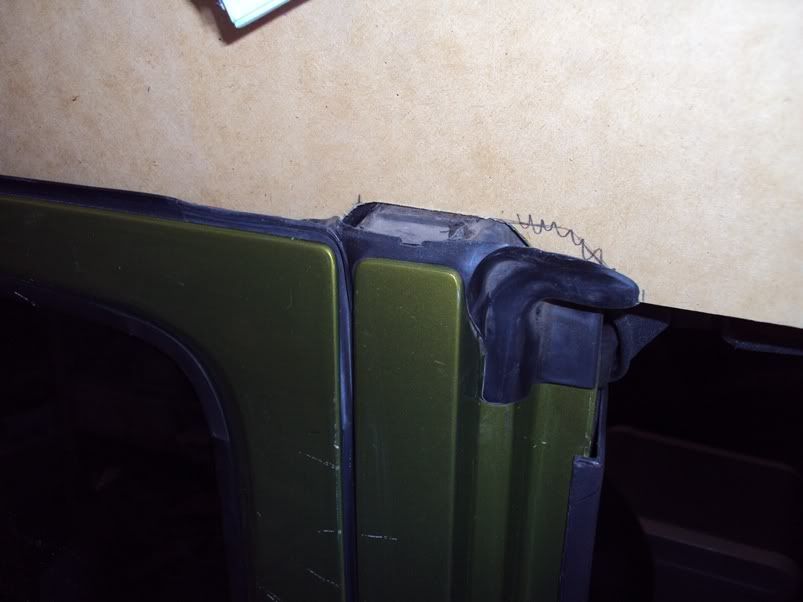
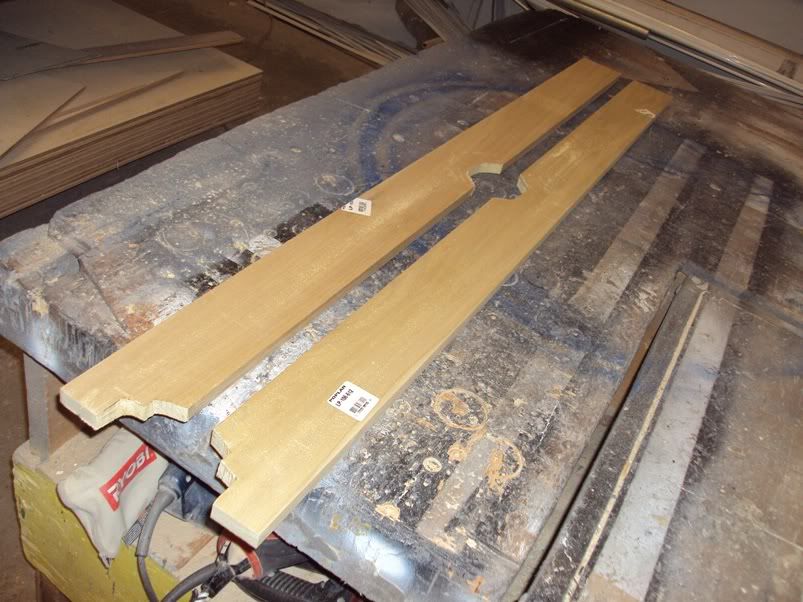
here we trace and trim, sand and carve out the trimming pieces that connect the PULSE to the Jeep. We use good strong and straight Poplar lumber, cut trimmed, sanded, and then painted with so many careful coats, you would swear these body pieces are made of molded plastic.
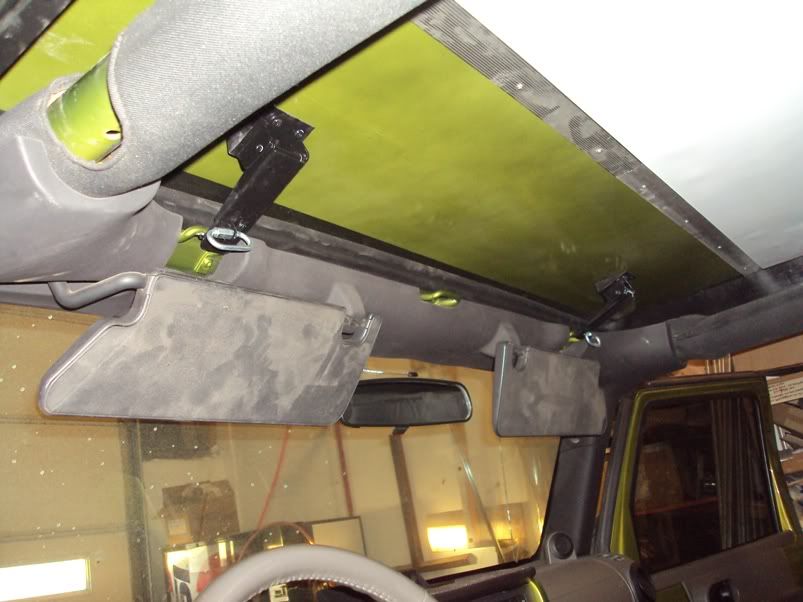
7. On final approach, we find that our measurements turned out pretty good, since the insides of our re-inforcement walls actually brush along the roll cage padding of the XJ. Happy, because I really didn't want to break out the sawzawl again, once the paint was almost dry!
8. Once we set the unit down, we find that the windshield and door pieces are a good fit.
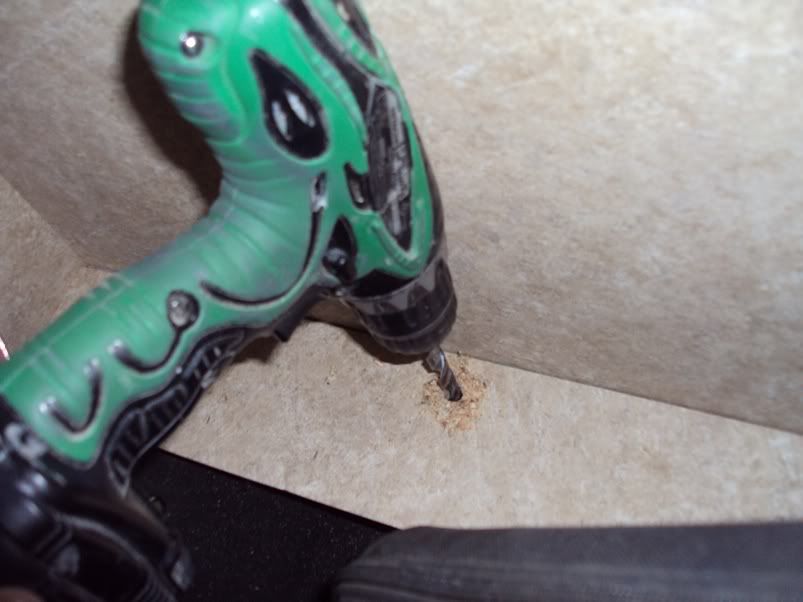
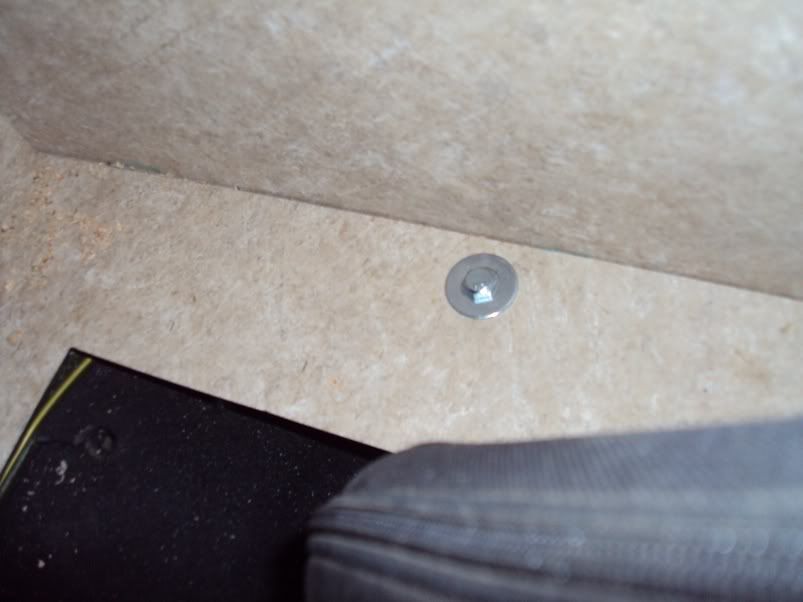
9. Now, we bring out the bolt hole pattern map that we remembered to draw up at the beginning of this whole process? By using this map, we can carefully drill from the top down and drop right through the built in slotted bolt holes provided by the Jeep factory. Then we add the heavy duty bolt/nut/washer sets and tighten them down.
10. Now we design, fabricate, and install the custom heavy duty windshield frame clamps.
11. Finally, we get to install all of the goodies that transform this neat little top into a truly comfortable living space. Photos of the interior coming soon!
Here is the exterior.


