Flippac solar pics
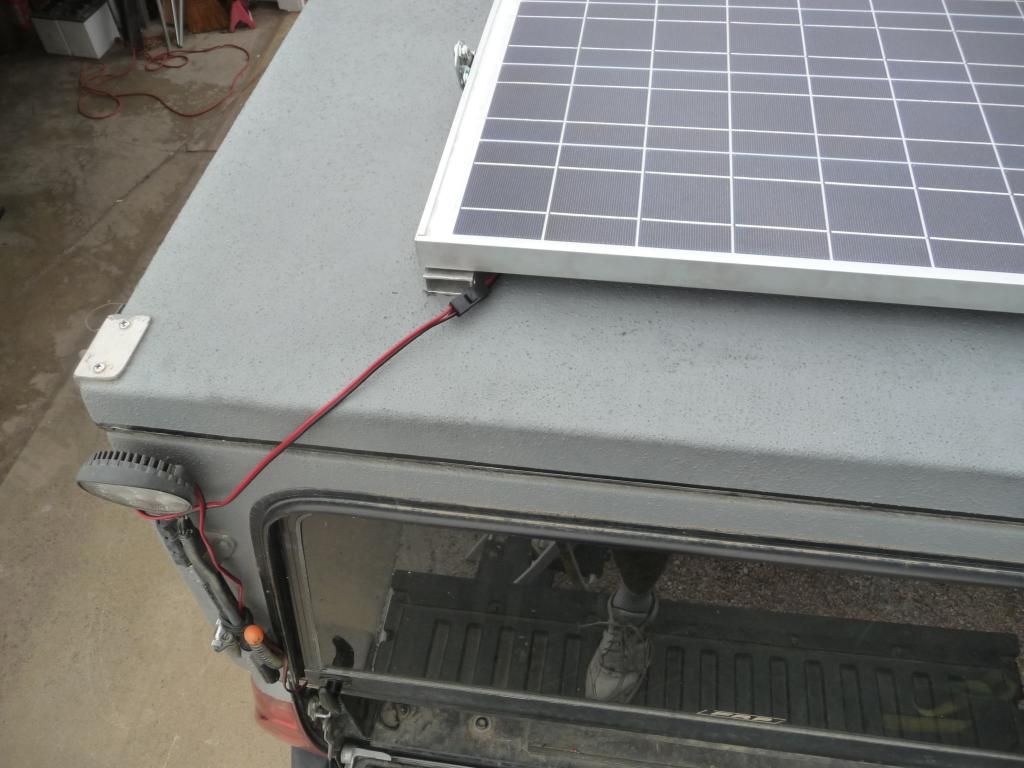
Ok Here are pics of what I did. looking from the front you can see that the panel is sitting on two pieces of 1"x3" rectangle aluminum tube that is bolted through the top. There are 6"X6"aluminum backing plates on the inside under the bed pad and no you dont feel them they are 3/16" and bolt heads are counter sunk flush.
The panel itself sits on 4 posts with slide lock clips to locate it and uses 2 southco locking latches to keep it solid and safe.
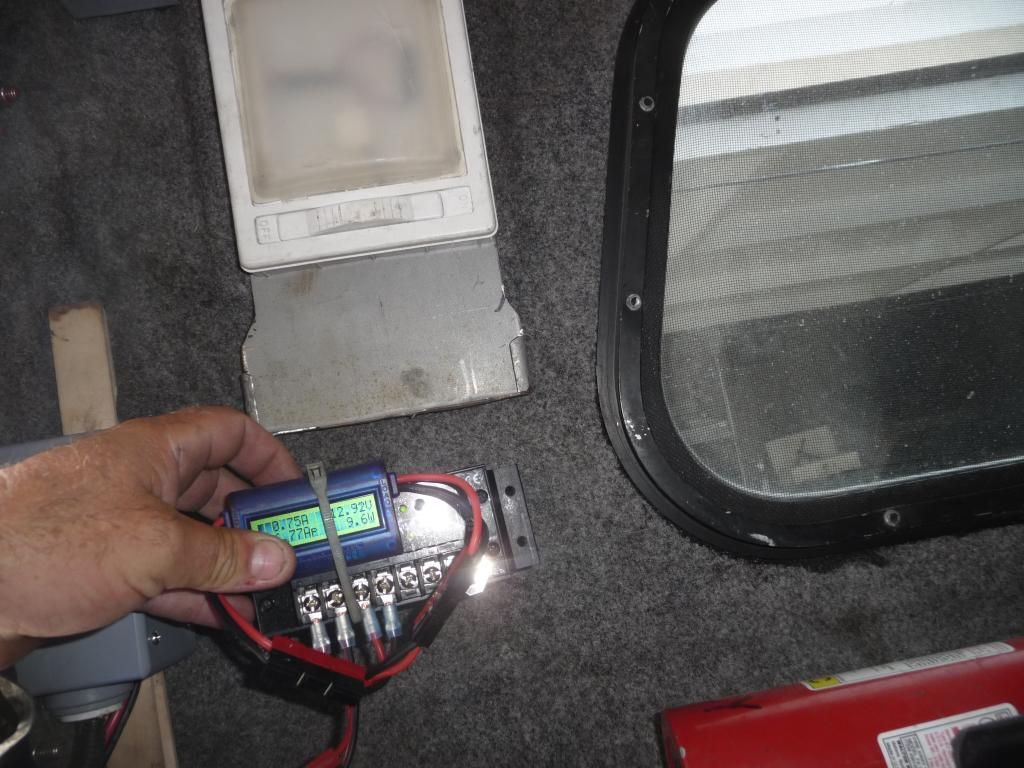
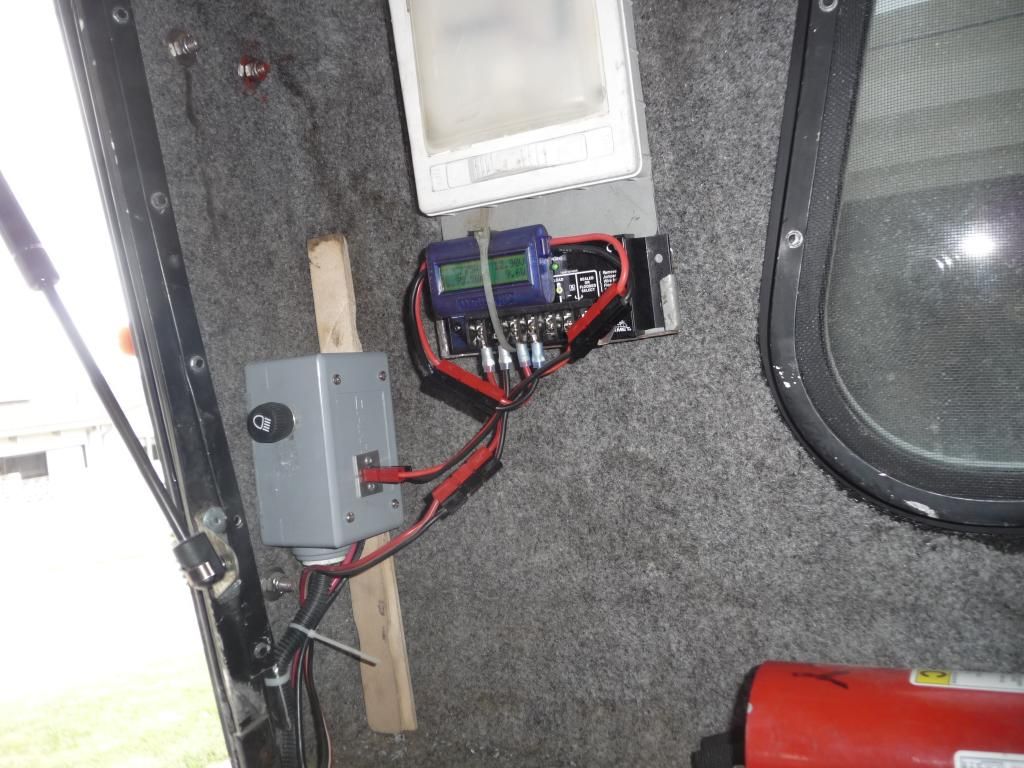
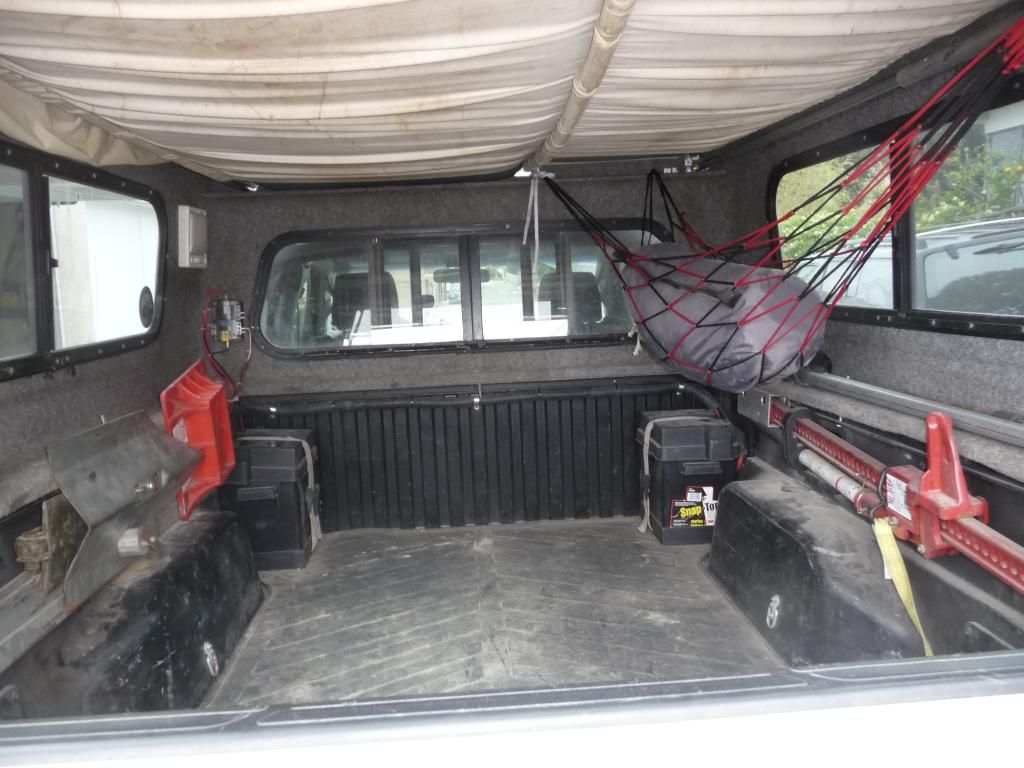
All connections are 45 amp Anderson Powerpole so everything is easy to reconfigure. You can see for now the panel wires run down my rear light pole and feed in under the window and inside to feed the watt meter and regulator which slip into the mount you can see.
From the watt meter it plugs into the grey box and is fed up to the blue seas box, you can see it in the front left side of the shell and then on to two six volt batterys by # 8 wire
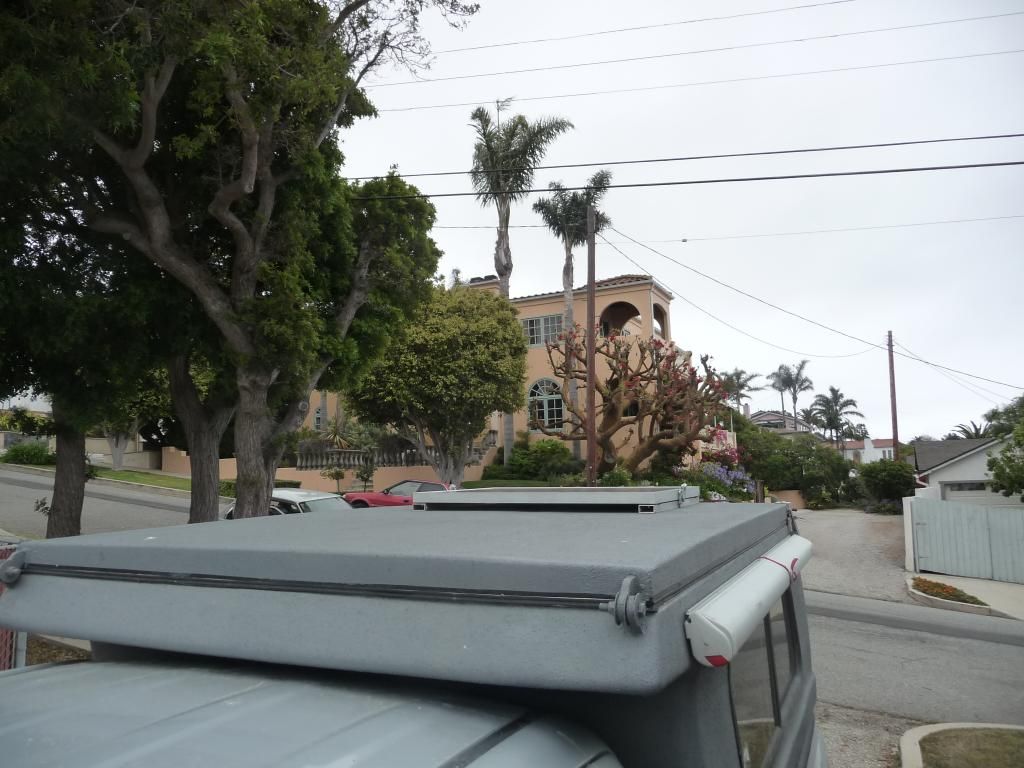
By doing it this way the panel is easy to take off for storage or to use while the top is deployed
I know everyone says dont drill through the top of a flippac and if I paid for a new one I may not have, but this is one of the reasons I looked so hard for a deal on a decent used one. I really don't see a problem after doing it to this one. There is some space and foam between the inner and outer fiberglass pieces of the lid, with the amount of 5200 I shot in between there and the backing plates this looks like it wont cause any problems even long term. Hope this helped.


")
