You are using an out of date browser. It may not display this or other websites correctly.
You should upgrade or use an alternative browser.
You should upgrade or use an alternative browser.
@Adrifters - F550 Surf Camper Build - Adrift Motorhome
- Thread starter S2DM
- Start date
LukeH
Adventurer
Getting some tire rub on the sway bar at the very end of the turn radius. Anyone know what earthroamer/GXV does about this with their contis?
I know the sway bar is tempered steel and shouldnt be welded. It looks like you could cut an inch out of the center and shrink it and the tires would clear and the mounts would still work. Is it possible to trim it, shave the ends down to get a big weld surface, and then finish it with a sleeve, welded on the ends with some rivet welds along its length? Also talking to a custom sway bar manufacturer (addco).
Definitely not.
Any weld on that bar will simply soften it at that point and with the loading it will break.
How much rubbing?
How often will you actually use full lock?
How much more of a schlep would it be if you had to back up one extra time when manoeuvring? Your car has an auro box so you won't even increase wear on the clutch.
Those tyres are adding to the load your steering CV joints are going to suffer; how about simply moving the steering end stops so you don't touch the bar?
OK you lose steering lock but really what will that change?
I can only see mechanical advantage to reducing the extreme angle the CV joints have to go through.
Much cheaper than a custom sway bar.
Cummins_expo
Adventurer
http://www.arb.com.au/products/protection-equipment/side-rails-side-protection/Cummins, do you mean like a "roo rack" across the front extended out to cover the front of the wheel?
Ward
There is a 335/65R22.5 G275 MSA but it's a G rated tire (14 ply) which will ride a little rougher, it is smaller diameter at 39.8" width is still 13.2". BUT it is a little more "available" and you can buy 22.5" singles and adapters from guys like American Force quite a bit more reasonable that Hutchinson or the wheels you got, but you do not get a bead lock which may or may not be a deal breaker. Just some options. I didn't catch the fender manufacturer? They look good, especially after your reinforcing.
Cheers,
Mark.
Cheers,
Mark.
More progress on the rig. Got the safari roof and longboard locker in place. The locker is 3 10'4" long pockets on the roof, 4" tall, with a curve matching the rocker of our boards, designed to protect the boards and allow us to bring some bigger boards without having to store them on the solar panels. Extra insulation was a nice bonus.
The door took a fair amount of structure out, so the outermost portion of the locker/safari roof was built of 6 layers of 12oz carbon uni over marine ply.
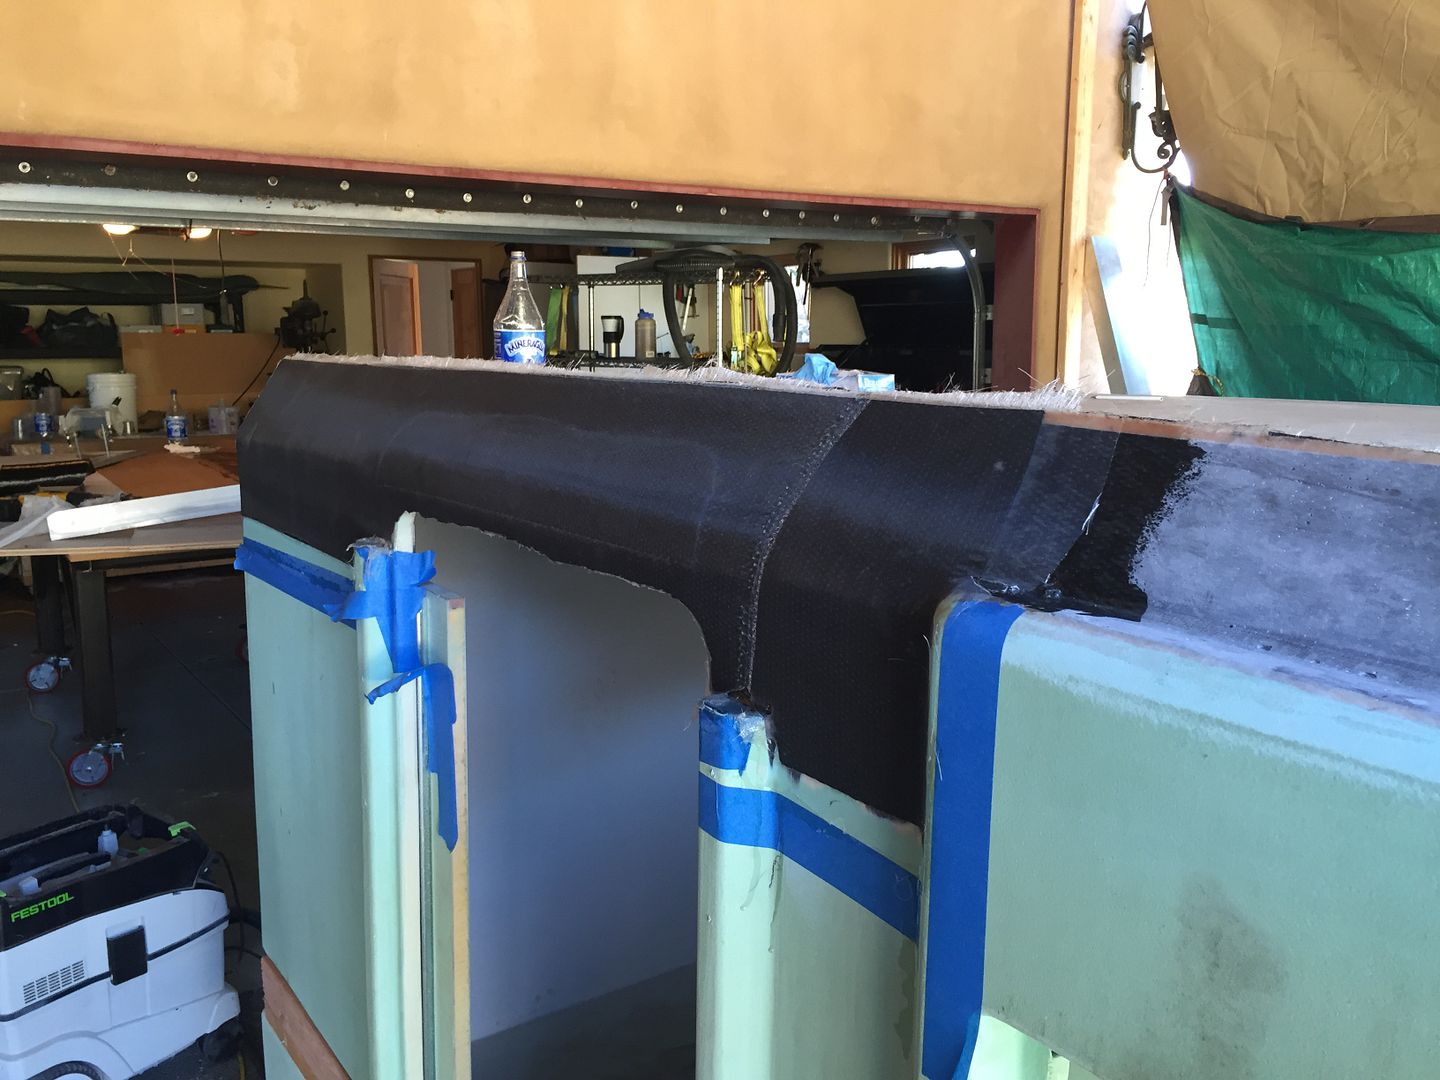


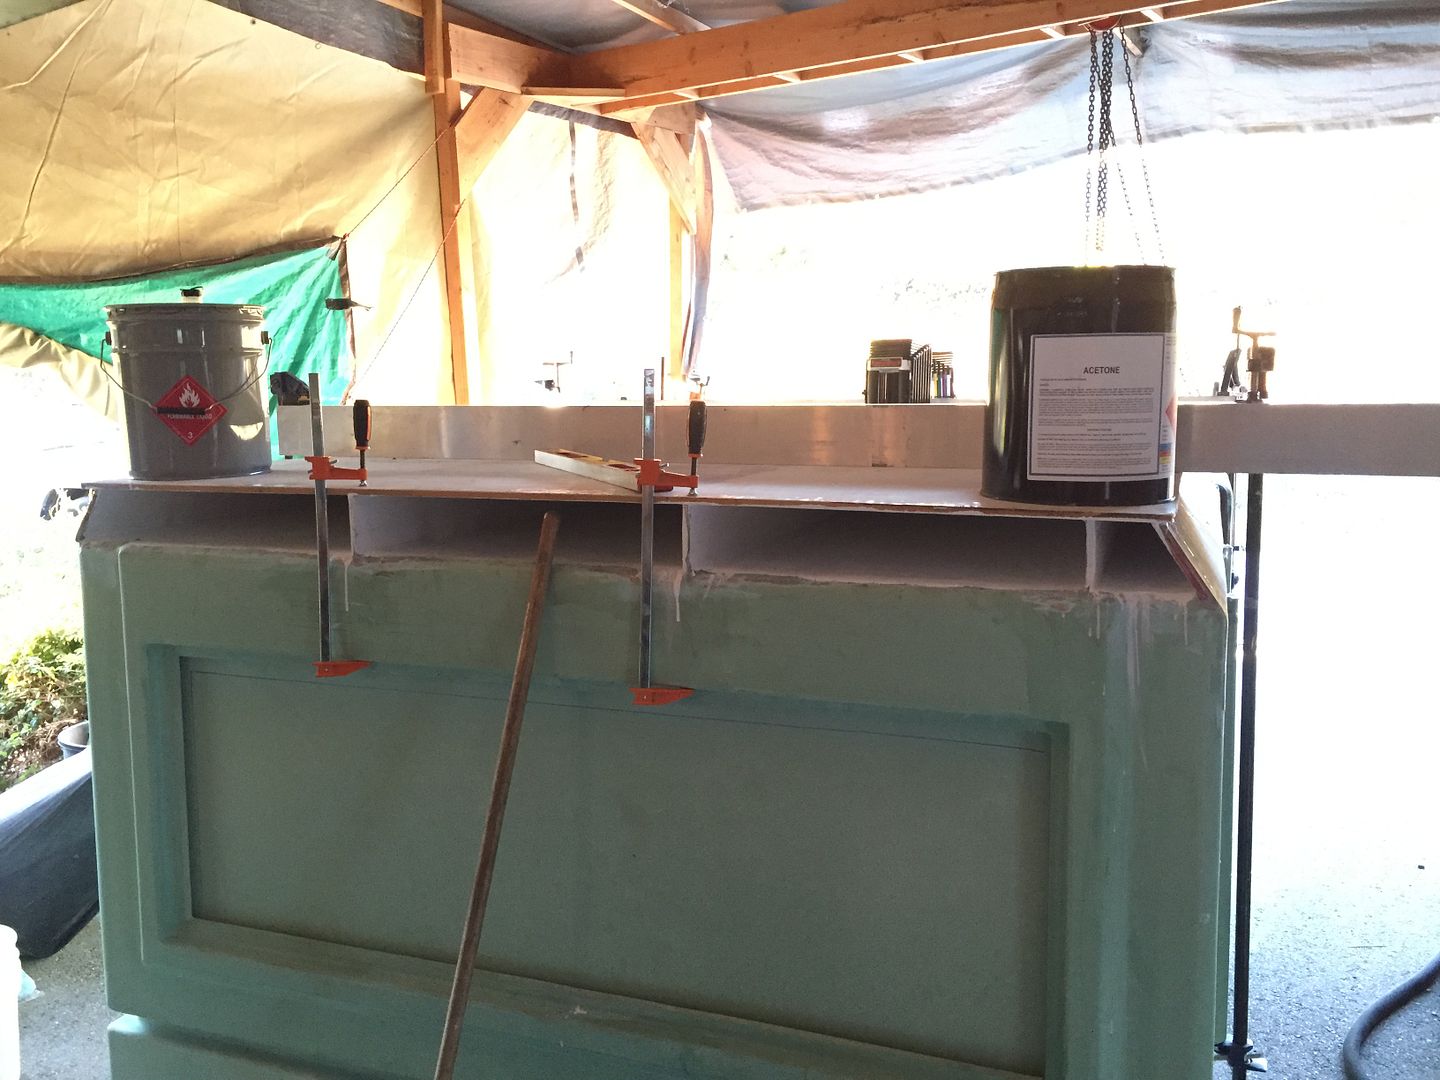
Weights, clamps, long bars were all super necessary.
The door took a fair amount of structure out, so the outermost portion of the locker/safari roof was built of 6 layers of 12oz carbon uni over marine ply.


Weights, clamps, long bars were all super necessary.
I was able to fit an elipse into the front wall. Had hoped to have it be a little more aerodynamic up there, but kept on running into issues trying to get the air to flow smoothly off the windshield and over the roof, the biggest being the amount of space it took up. My front profile is only 18" tall, and has a gentle curve, I'm hoping it won't affect mpg all that much. Surface area wise, it is smaller than my front grill and has a similar curvature.
Built a giant trammel to shape the ellipse and used the profile and width of the camper to define the secant. The pocket wall up front fit much easier if everything was a perfect circle, I.E. consistent arc degree, as opposed to a compound curve. The windshield curvature, which I was originally trying to match, turned out to be a fairly complex curve, so I opted to take the mean of its curvature, built the trammel to trace a circle with the same arc, and used that shape for the three overlapping front walls.
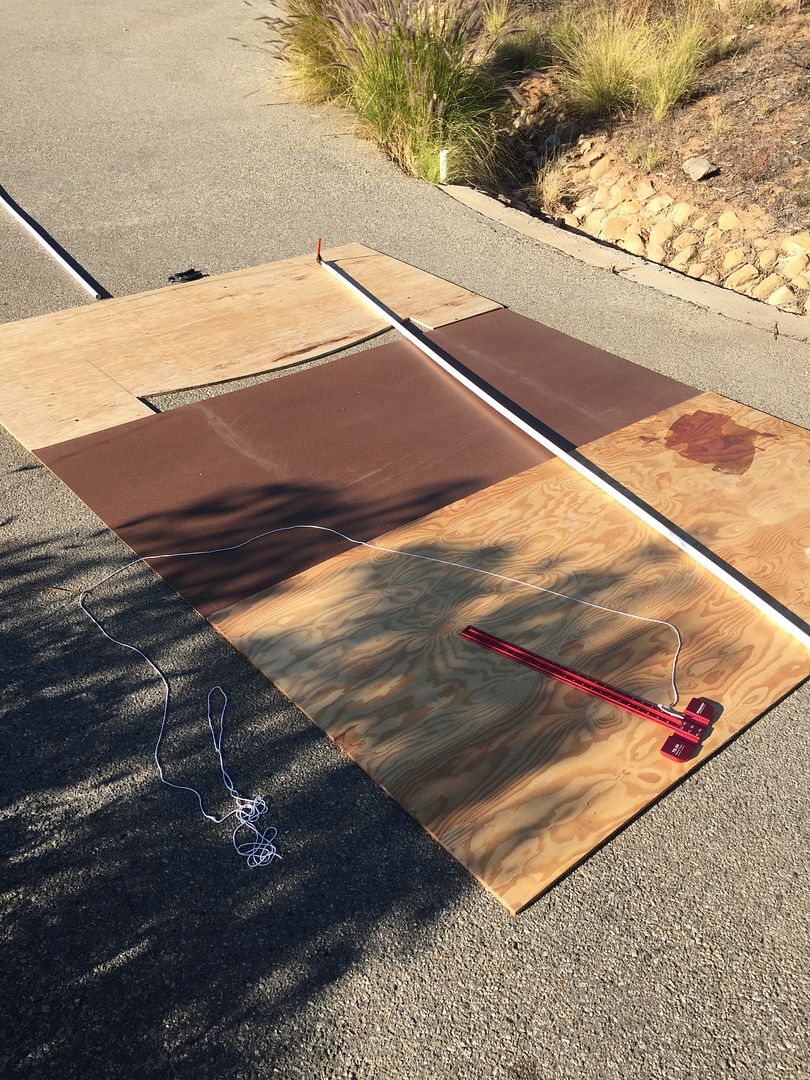
Building the ellipse on a form

Adding a 45 degree relief to the top of the ellipse (this blends into the roof side guards) and is also very heavily glassed for impact resistance.


Last edited:
Love the shop BTW. I am a big Festool and Woodpeckers fan!
Ward
4th temporary shop in 2 years! 2nd driveway tent
") If anyone has an old engine I can hang from a tree, my neighbors would appreciate it We are building a real shop next year, but we've been all over the place in the interim.
If anyone has an old engine I can hang from a tree, my neighbors would appreciate it We are building a real shop next year, but we've been all over the place in the interim.Festool was a real lifesaver on this project. The dustless sanders really, really work, as do the track saws. My 106" track saved the day a few times, and I'm allowed to get in bed at the end of the day because of their fiberglass dust collection prowess
Really nice system that works well together.Like the look, and it seems like a very nice solution to protecting expensive, hard to re-procure, fender flares. I think I'm going to try to bend some up for our rig (I can't imagine its a fender size anyone makes bars for?).

For the mechanically inclined, I'd love an opinion on the following problem.
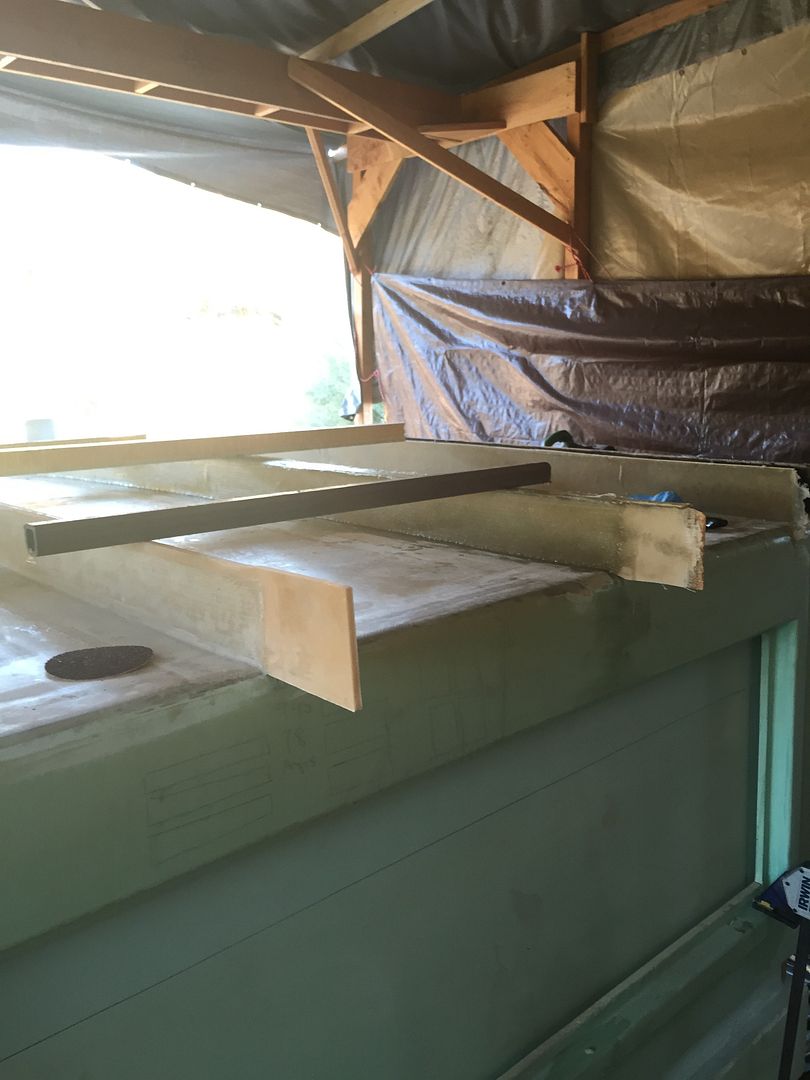
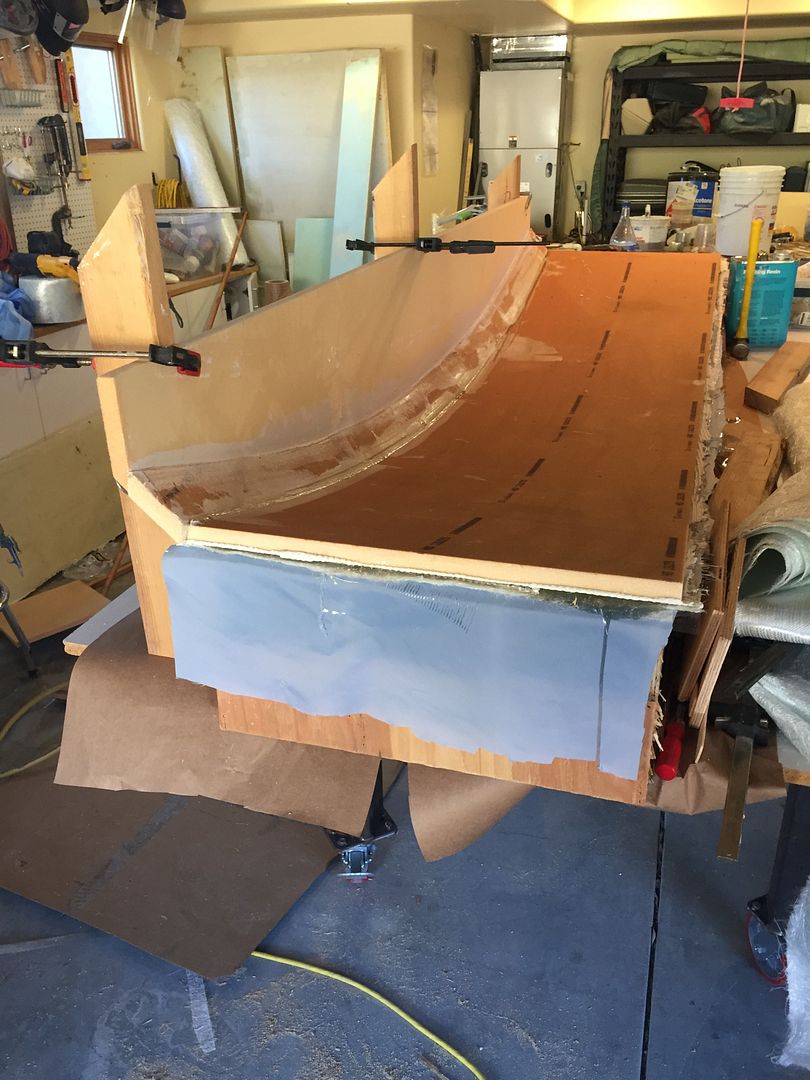
In the following picture, the open area in the cab over section, I designed the camper to have a third wall that nests between the upper and bottom boxes. It effectively makes it a hard sided cab-over camper, without needing to 'deploy' the hard sides. Each wall overlaps, and the middle wall is recessed back into the body of the camper, so it should be possible to seal this section well.
Design goals were to have it be adjustable, so in non inclement, non buggy weather, I could lower the third wall down and deploy a screen to make the camper wide open.

The tolerances are tight for actuated lift mechanisms, so I need something passive, either a hook and latch system that catches it up on the way up, or gas springs etc. I'd originally planned on gas springs, but with their range of motion, they really encroach into the bed platform area, it just doesnt feel like the most elegant solution.
I'd also thought about a ceiling mounted pulley system, where all four cords came to a common winch point, such that during normal operation, the middle wall would start to rise when the top started to extend past the bottom wall. But when I wanted to lower the wall manually, I'd use the pulley. Either way, still thinking this through and would love some opinions.
Big problem is that the stroke is 18" and the wall is 19", so it limits the type of mechanism I could fit in there. Also considered a standard pop top scissor lift type mechanism. Ive also set anchors for four stainless drawer slides (one pictured here) to help guide and limit the upper and downward motion (they lock out when the wall is all the way down).
Last edited: