superbuickguy
Explorer
you have a newborn and you're flat scooting on getting your rig operational - I'm such a slacker comparatively...
Last edited:
you have a newborn and you're flat scooting on getting your rig operational - I'm such a slacker comparatively...
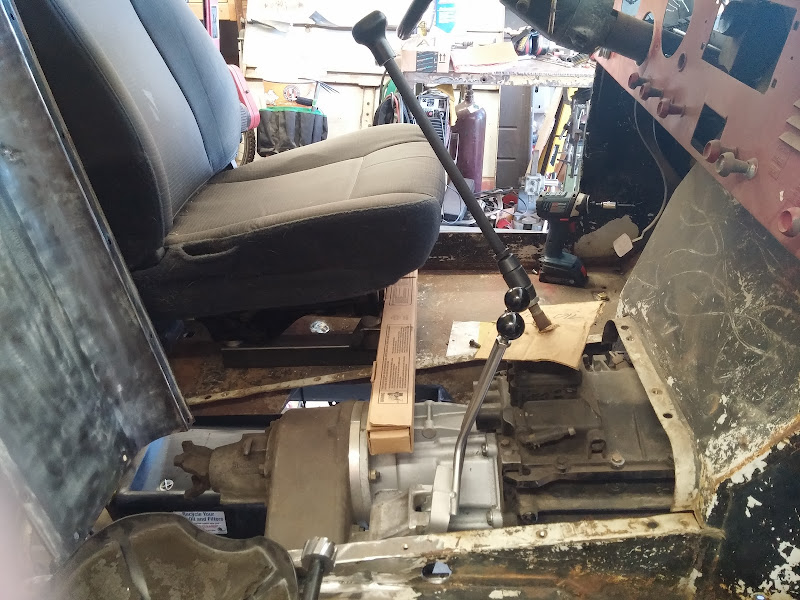
That is a Suburban column, out of the '79 that I took to Baja to pit with LocosMocos during the 2002 B1k.
Awesome build really enjoyed reading it.
Such nice fab work!
thanks, I'm trying to fit in time when I can. Why'd you take down the pic? I'm curious how you did the coils in the rear, got any closer picutres? What coils did you use?
a whole new mountain to climb (learn)... I'm not sure I have a good starting point of weight for my '40... and I really don't want to spend $1,000 on a vehicle scale - though, I'm already $200 towards that with the mis-bought JK springs...
heh, just a little late......A friend of mine built a fulcrum device to lift each corner of the truck using a beam torque wrench, that's what I'll use to get more accurate corner weights. If you have a spring of known rate (easy to calculate based off a few measurements) you can also measure how much compression you get with the vehicle on it and calculate weight back out.
Pirate 4x4 has a good thread for buying and selling or trading used coilover springs.


Holy crap ! Just picked up an XJ TO ADD TO JEEP collection . Can I just drop it off at your place for a month or so?
You have the greatest shop and every tool one could imagine. Nice job