AT IT AGAIN: Paul and Mike Convert a Mid/Tall T1N Sprinter Cargo

Jb1rd

Explorer
Never heard that, but I'm not tuned in to all the forums...

I've been doing residential remodeling and construction since the 70's and I've never seen fiberglass insulation look any weirder than when it goes in...

Carpet pad, yes, fiberglass insulation, no...

The issue with fiberglass "breaking down" is particulate matter floating in the air due to constant shifting due to a vehicle being dynamic and not as much of a worry in in a house because it is static. The moisture barrier should help a bit though.
 

PaulJensen

Custom Builder
#6

Today the goal is to get the upper cabinets fully built and ready to install...

P1040546.JPG

(above) The pattern for the end panels and center dividers is finish nailed to the stacked 1/4" plywood panels...

P1040547.JPG

(above) Following the edge of the pattern with a rub-collar edge guide on a router with a spiral cutter removes the excess...

P1040548.JPG

(above) Three pieces cut out...The depth of each cut was about 1/4"...Simple...

P1040549.JPG

(above) Pattern cutting insures accuracy...

P1040550.JPG

(above) The end panels at the rear doors need a bit more cut off because of the curves of the body back there...

P1040551.JPG

(above) The dividers are tacked in place with a hot glue gun...

P1040552.JPG

(above) And it looks like this...

P1040553.JPG

(above) Next, 3/4" x 1" wood strips are PVA glued and nailed to the dividers / end panels and the case...

P1040554.JPG

(above) Those wood strips in addition to strengthening the case also serve as guides for a bearing guided router bit to make the door cut-outs...

P1040555.JPG

(above) Ready to go in the van...

P1040556.JPG

(above) Installed temporarily...

P1040557.JPG

(above) There was quite a bit of grinding and fitting...Adjusting things here and there to get consistant reveal lines...Hardly peel and stick...

P1040558.JPG

(above) The driver side cabinet is ready to go in...Tomorrow...

BTW: Near the end of the day when I was going in and out of the van for the hundredth time, something went 'pop' in my inner knee...Not sure what happened but it hurts like hell...I was going to surf tomorrow, but that's not an option now...Grrrrrrr...
 

_hein_

Observer
Awesome progress and techniques. +1 on the packing tape release film.
Bummer about the knee. Get a pallet, sheet the top and place it outside the door.
Rubber stall mat on top will have your knees thanking you.

But hey, you have sun. We're in the 34F inversion on the other side of the
Cascades and I need roll around under my van to finish routing cables and
connecting my batteries today.
 
The issue with fiberglass "breaking down" is particulate matter floating in the air due to constant shifting due to a vehicle being dynamic and not as much of a worry in in a house because it is static. The moisture barrier should help a bit though.

This is what I have read, which is why I thought to ask Mr. Jensen about his experience with using the fiberglass insulation. I see a lot of pics of vans insulated with the fiberglass, and read quite a bit about the PM issue. But, no way to tell if the same folks installing are the ones learning about the PM issue - or the PM folks are theorists. Mr. Jensen doesn't seem to have had a problem with PM.

Love the work! I'll hide one question down here: I saw on another thread where you modified the center console to add some storage bins. Was the stock console material that normal van interior plastic? Does the epoxy stick to the plastic without any special preperation? Thanks. B
 

PaulJensen

Custom Builder
I saw on another thread where you modified the center console to add some storage bins. Was the stock console material that normal van interior plastic? Does the epoxy stick to the plastic without any special preperation?

Yes, the stock console was normal van plastic...

It's always a good idea to scuff-sand any plastic to as rough as you can get it...40 grit works great...So far I've had no delamination issues on non-stress interior parts...

On the type of console you are talking about, I now build the boxes with 1/8" plywood, taped together on the outside then just painted with epoxy on the inside ... Lowe's can color match paint to the plastic for a couple of Washingtons...
 

PaulJensen

Custom Builder
#7

Not much has happened since last Thursday when my knee went 'POP'...Turns out it was a sprained ligament...Doctor said "stay off of it"...I did until today...It's much better now...

Mike came up yesterday to take the van to have the 'big cable' electrical work done by Upscale Automotive in Oregon...They did the initial work on the van and I don't do enough of the house batteries , inverters, chargers to feel comfortable doing it on my own...I'll wire everything from the fuse block on back...

Where did we leave off...

P1040569.JPG

(above) The curb side lower cabinet was reworked ...The main change was dumping the old toilet, and replacing it with a more compact unit...That allows for a cushioned bench height that will be the same as the bed on the opposite side...

P1040570.JPG

(above) The cabinet is built to be a drop-in, and secured with a few screws...That way if the owner wants to put it in another van of similar size, no problemo...

P1040571.JPG

(above) All of the available storage spaces are maximized for whatever can fit in them...A riser for the toilet will fit in there somewhere...

Tomorrow I'll be back working on the upper cabinets...Stay tuned...
 

Overland Hadley

on a journey
The issue with fiberglass "breaking down" is particulate matter floating in the air due to constant shifting due to a vehicle being dynamic and not as much of a worry in in a house because it is static. The moisture barrier should help a bit though.

While fiberglass insulation is common in commercial RV/trailer building, I would never use it in my vehicle or camper. But I do seem to be more bothered by it than most people.
 
While fiberglass insulation is common in commercial RV/trailer building, I would never use it in my vehicle or camper. But I do seem to be more bothered by it than most people.

Deadly stuff if not well sealed in cavities. I too would never use it or rockwool in a camper. I've been using the excellent safe, 'green' alternative, Enguard. Too bad the manufacturer stopped producing it for now - but I stocked up and have about 20 bags of the stuff. Night and day better in every way than fiberglass.
 

PaulJensen

Custom Builder
#8

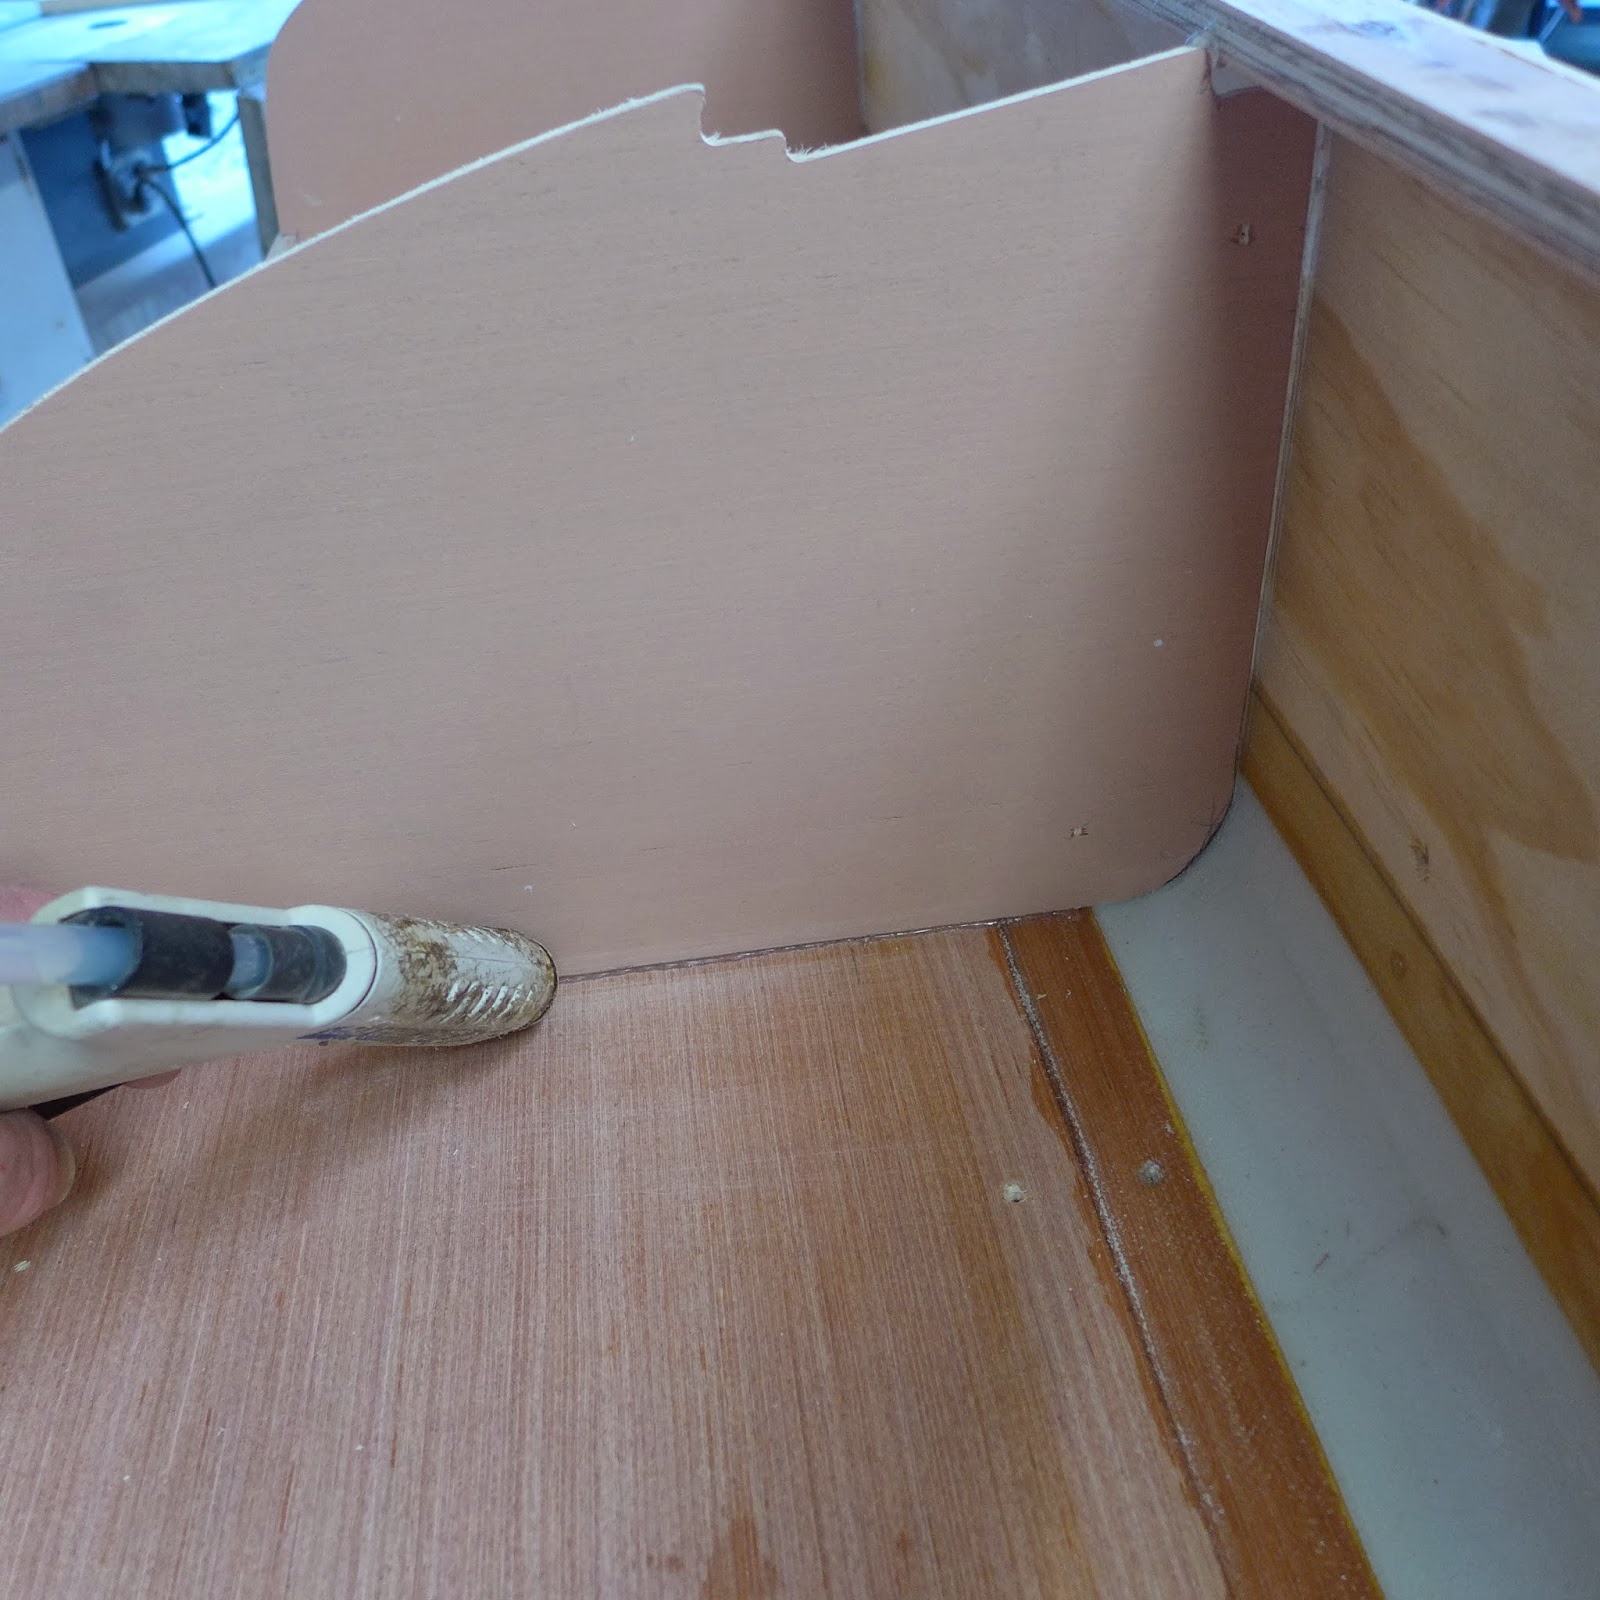
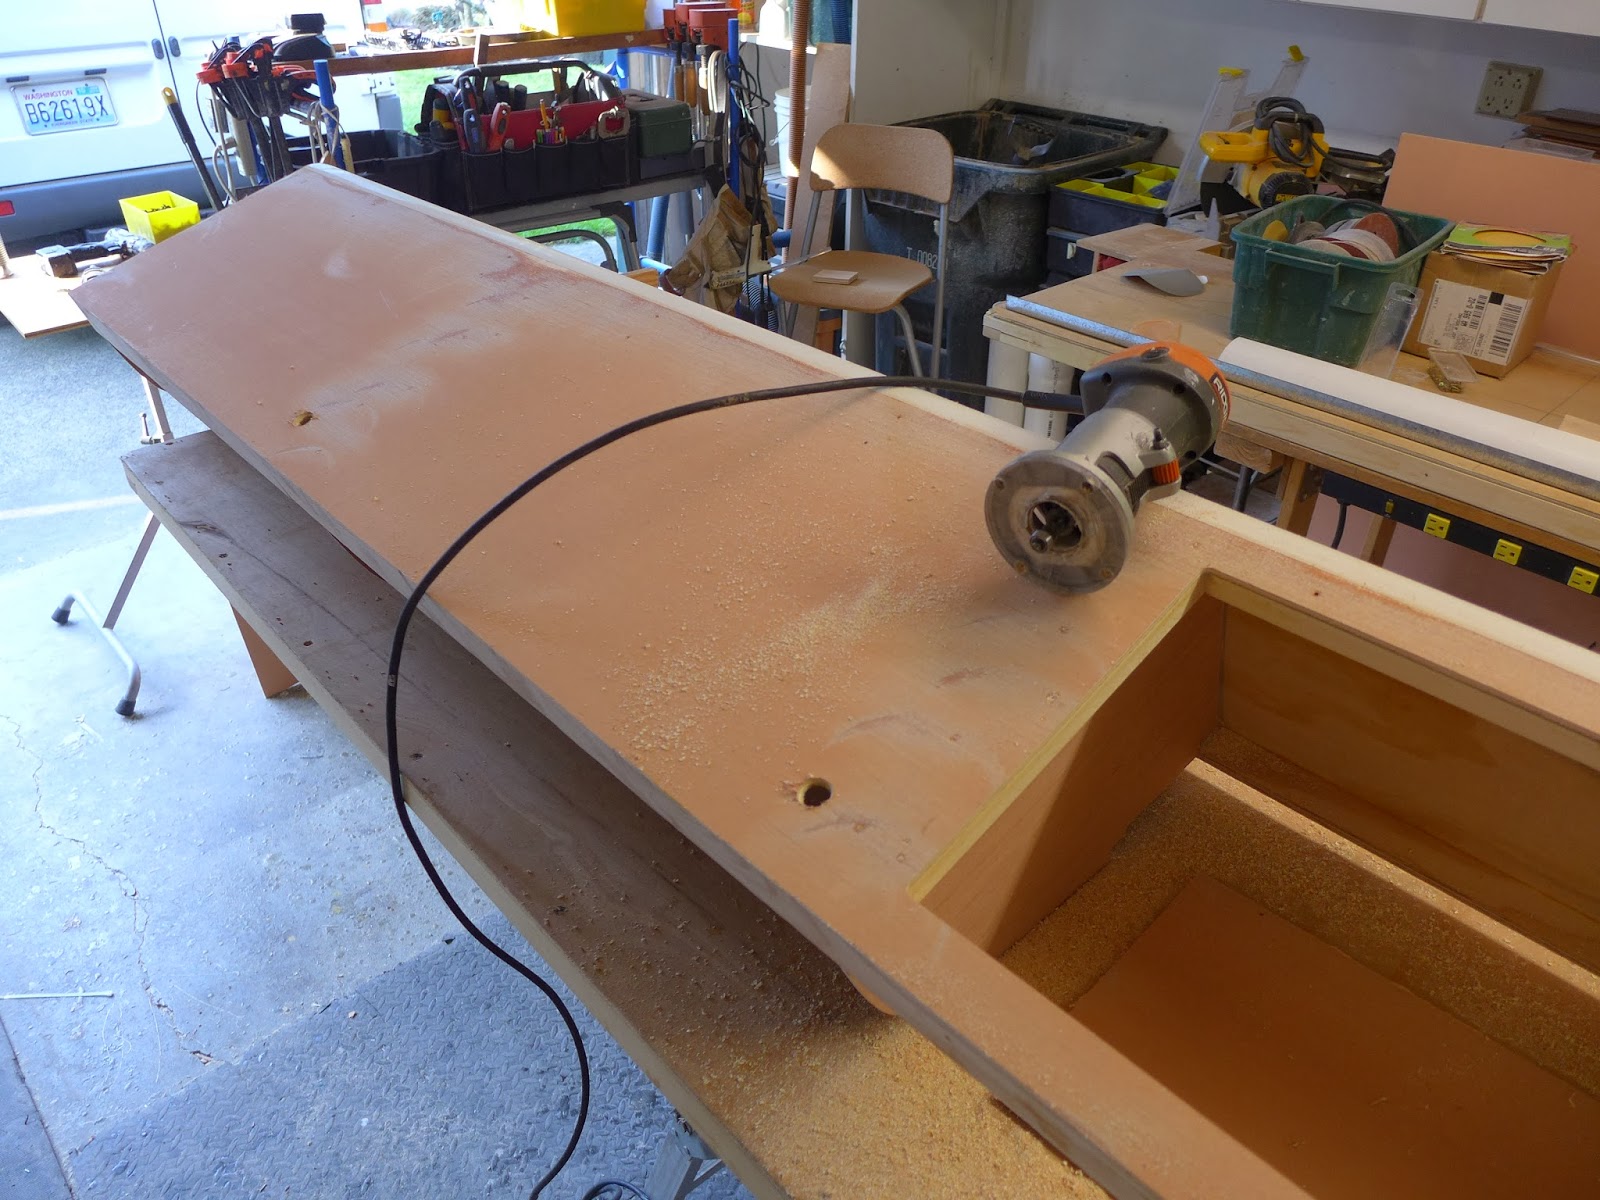
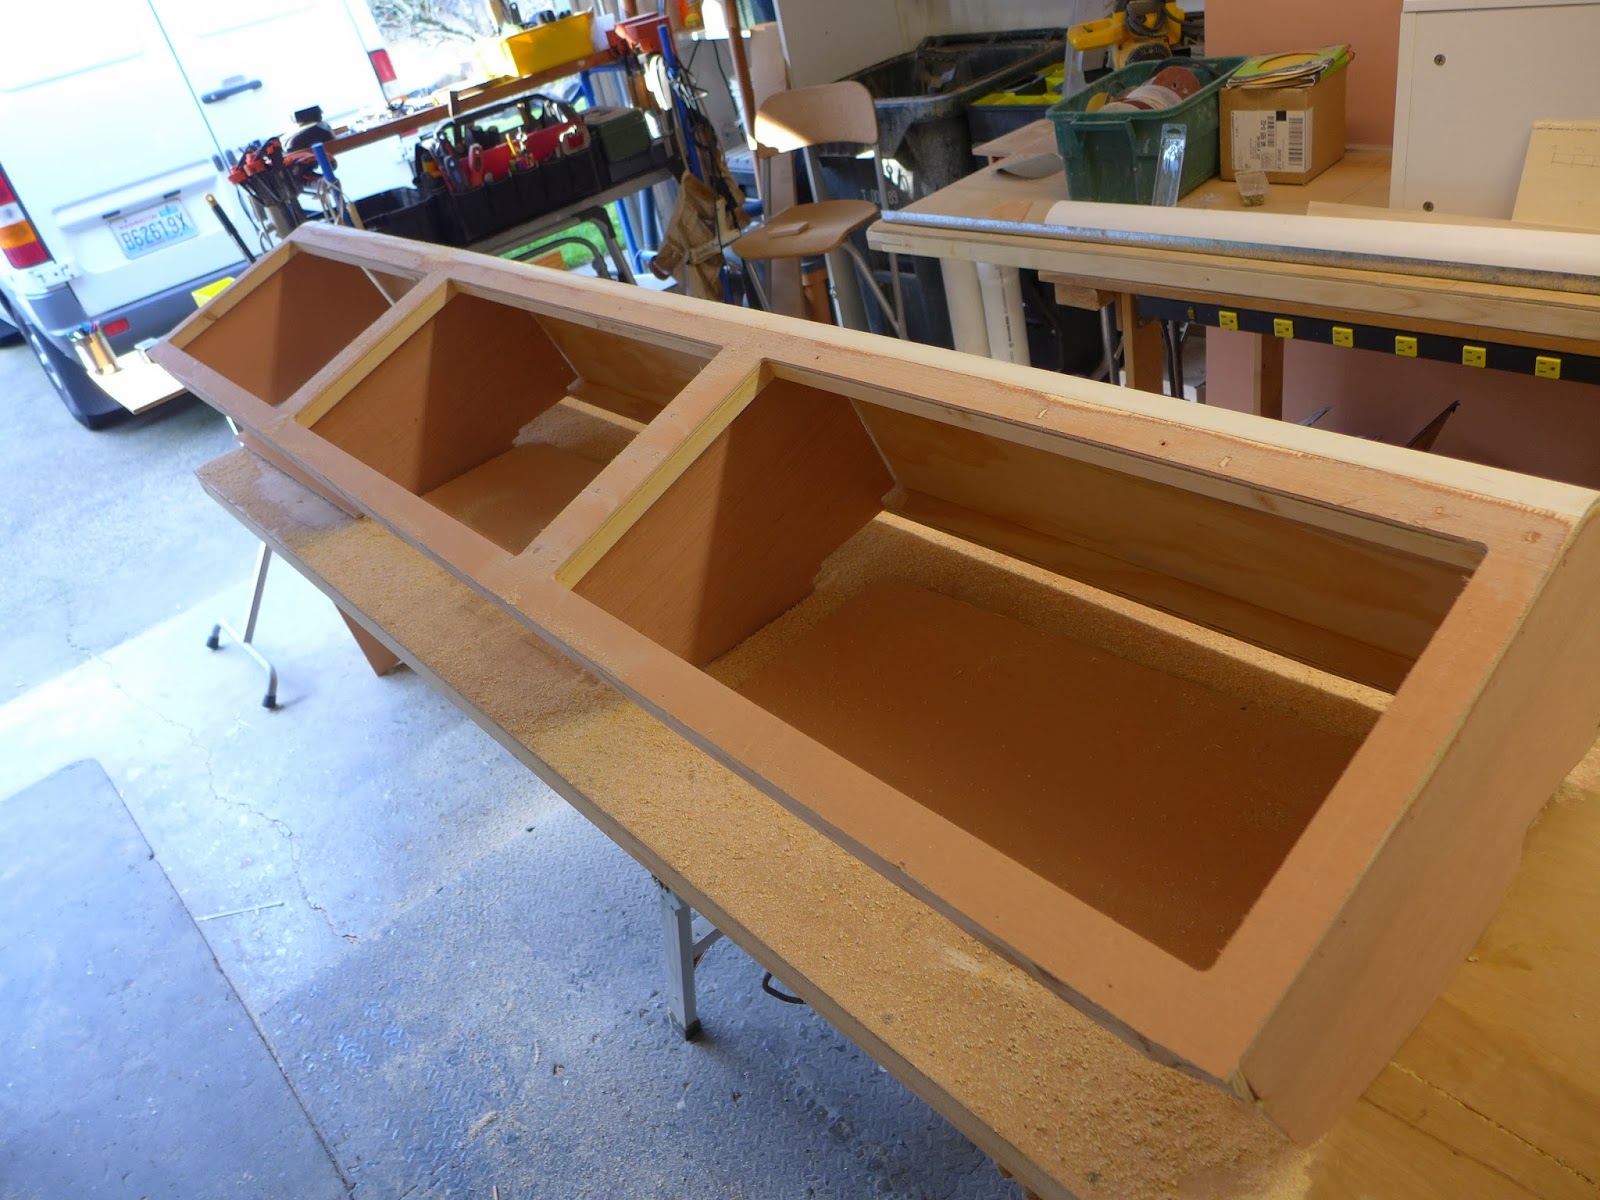
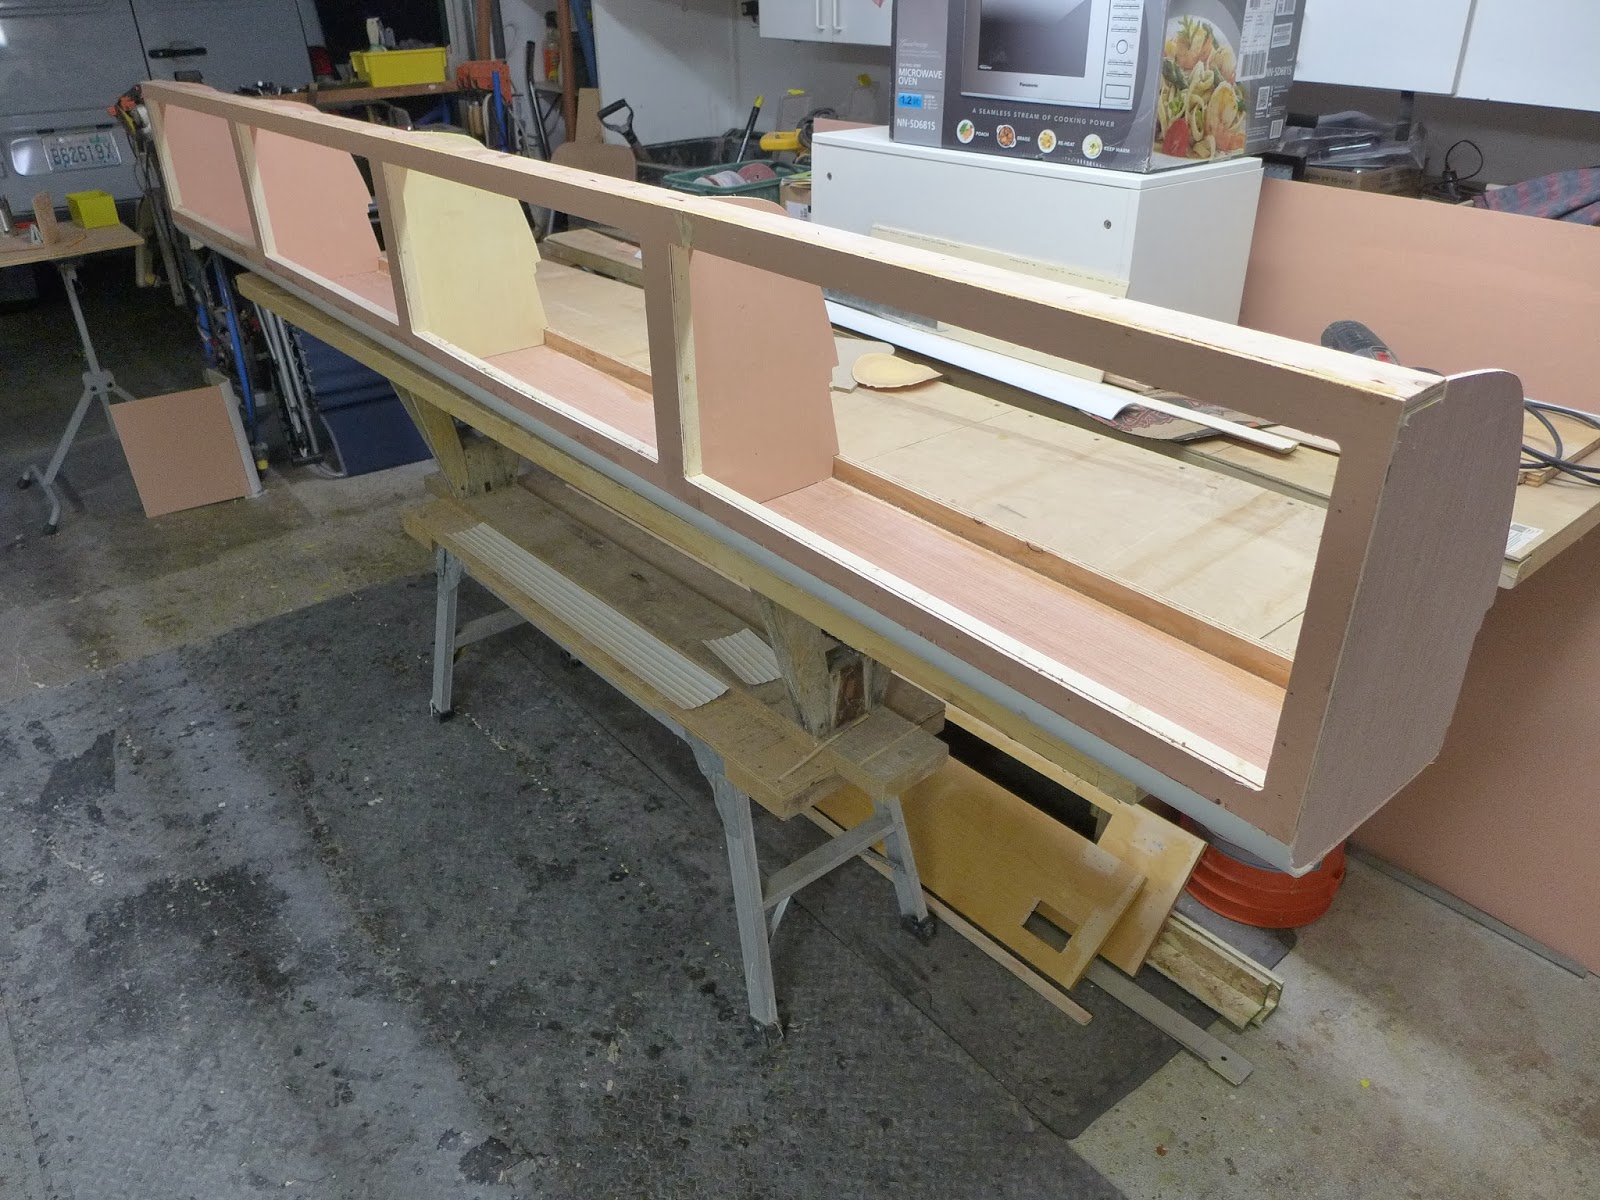
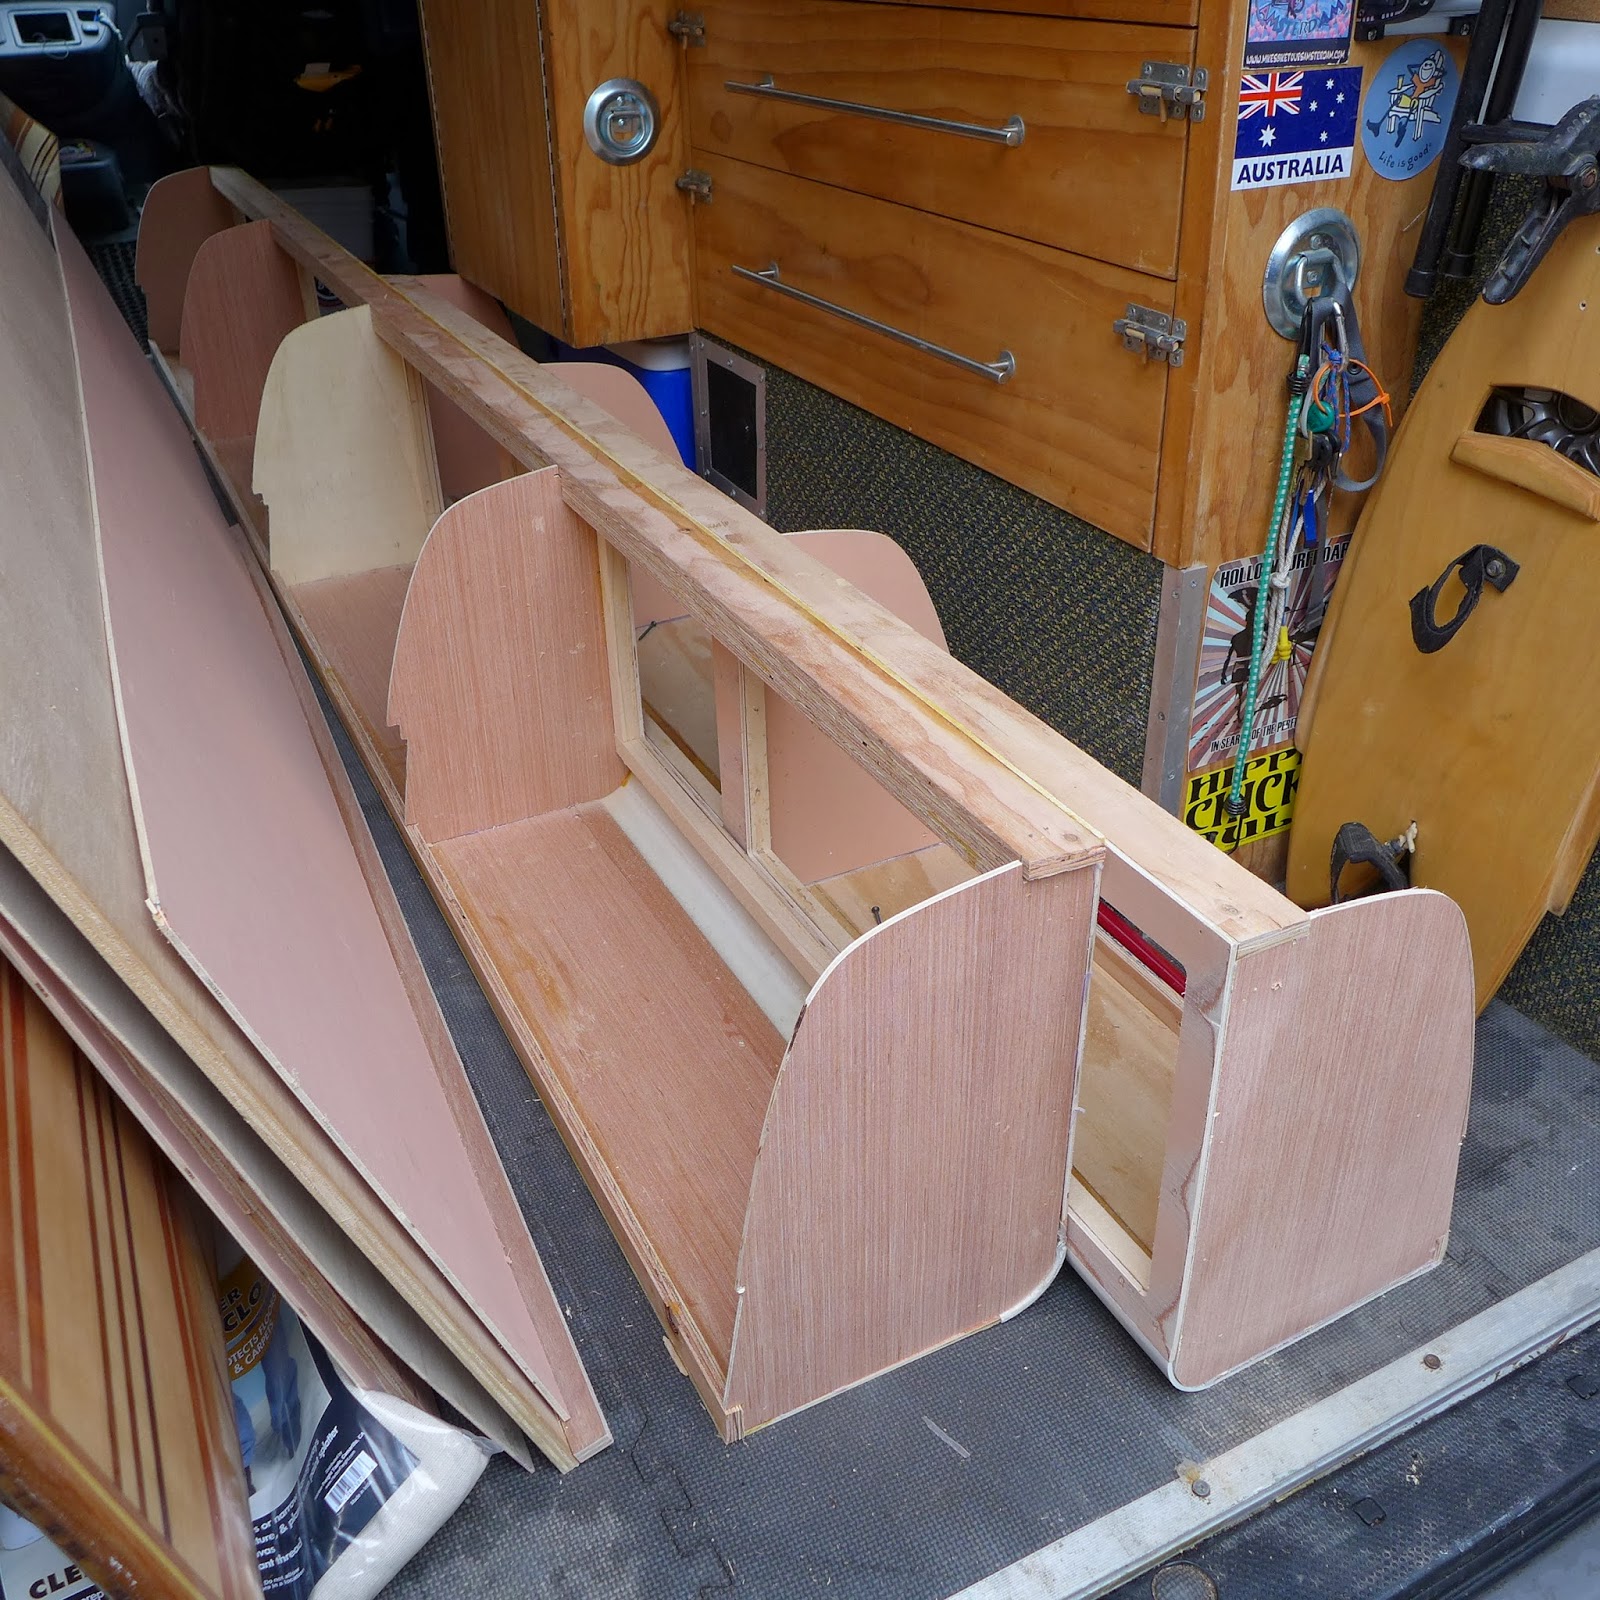
With the lower curb-side case mostly resolved, the progress moves to the upper cabinet doors...

P1040574.JPG

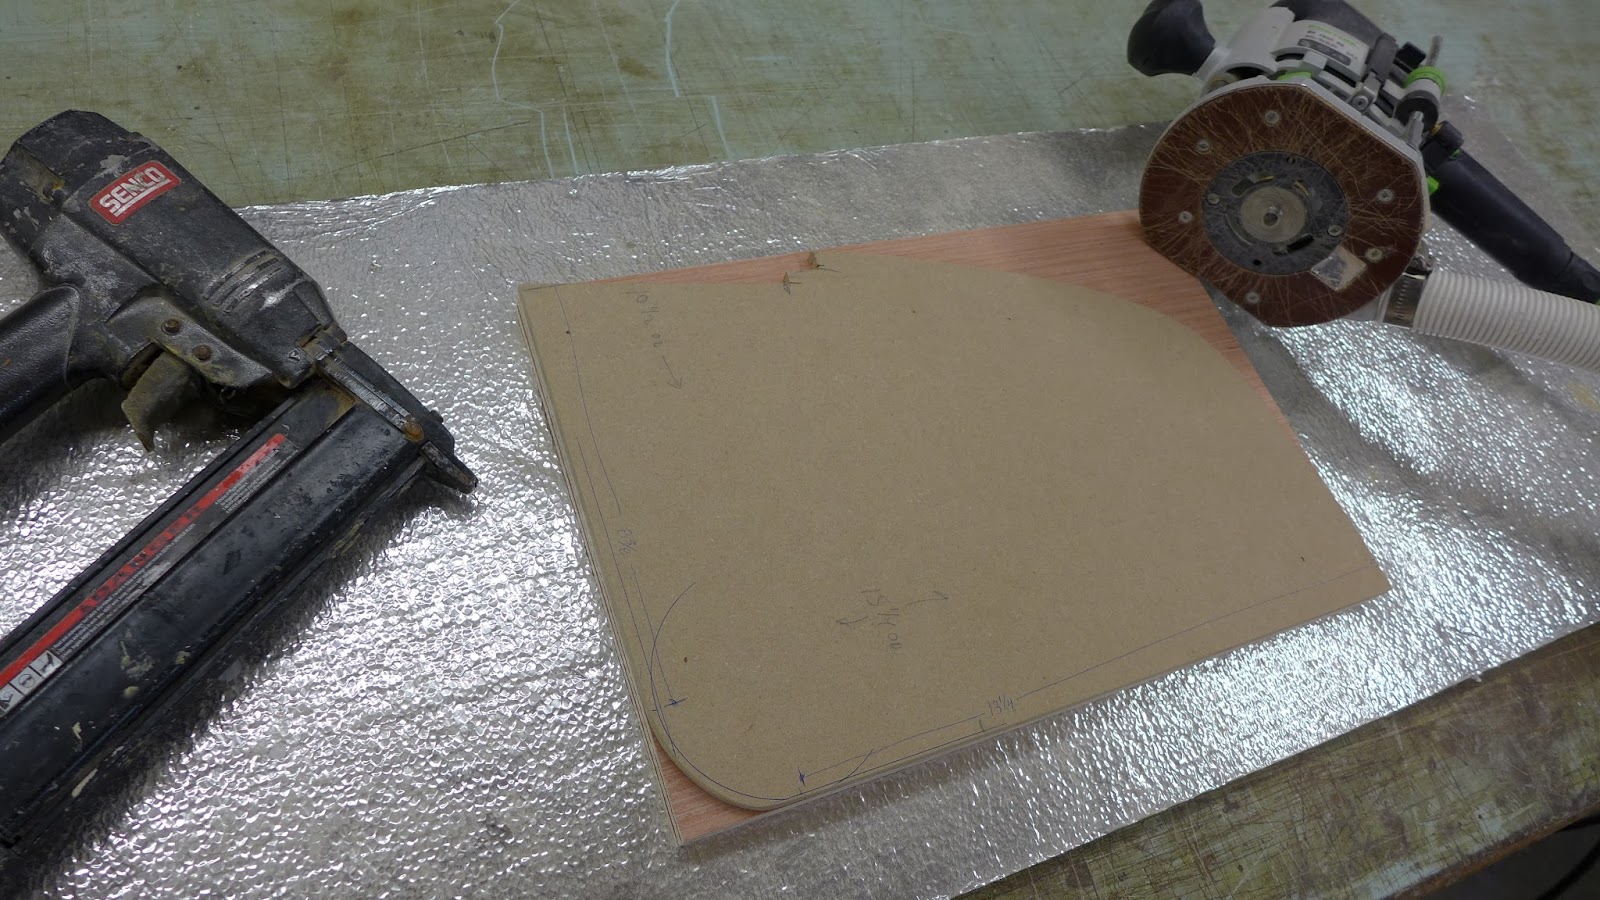
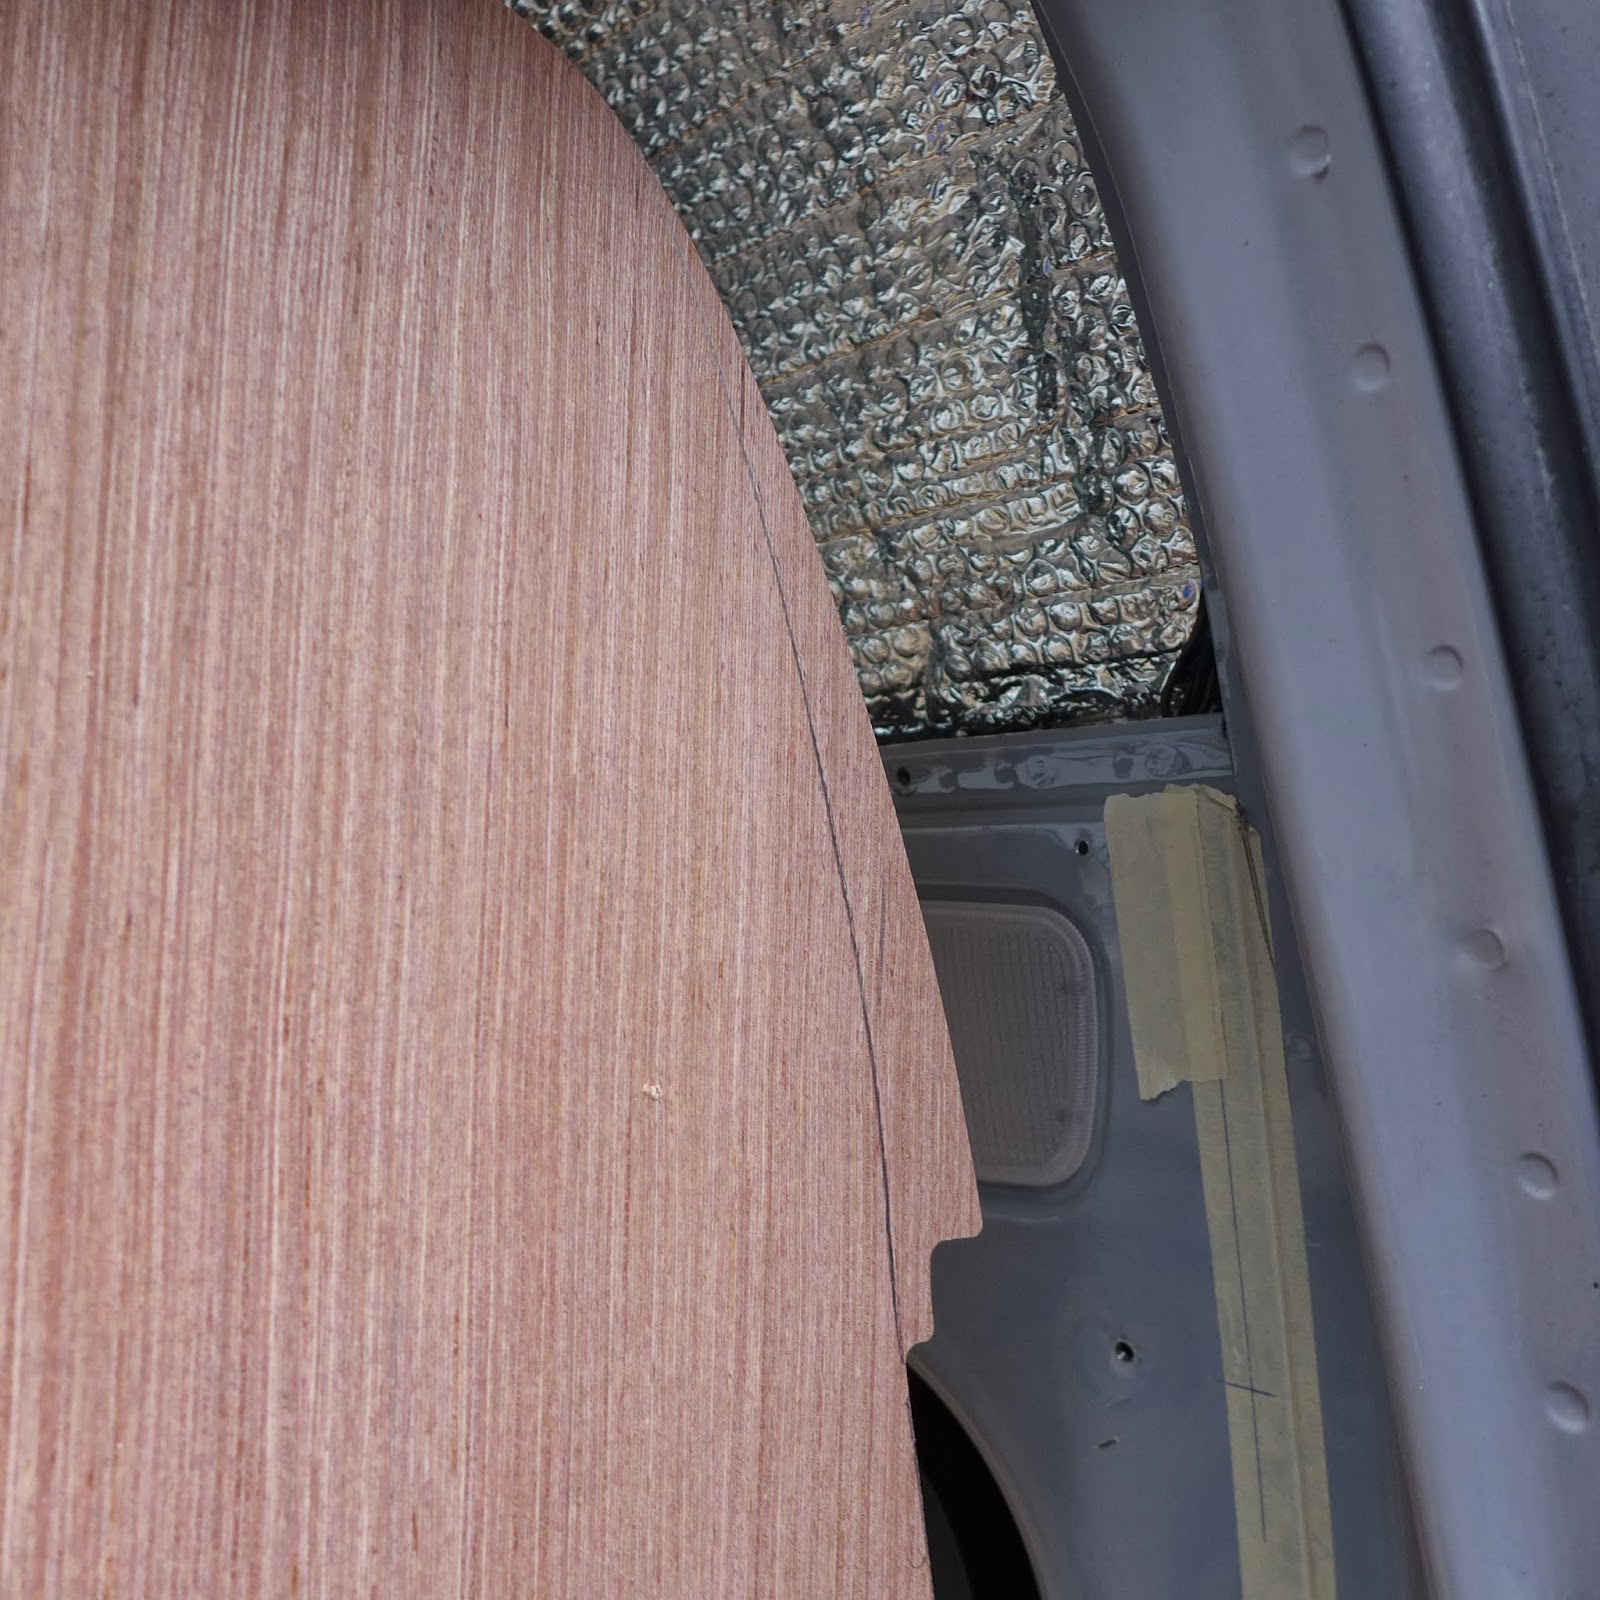
(above) I've thought a lot about the best way to access the cabinets...

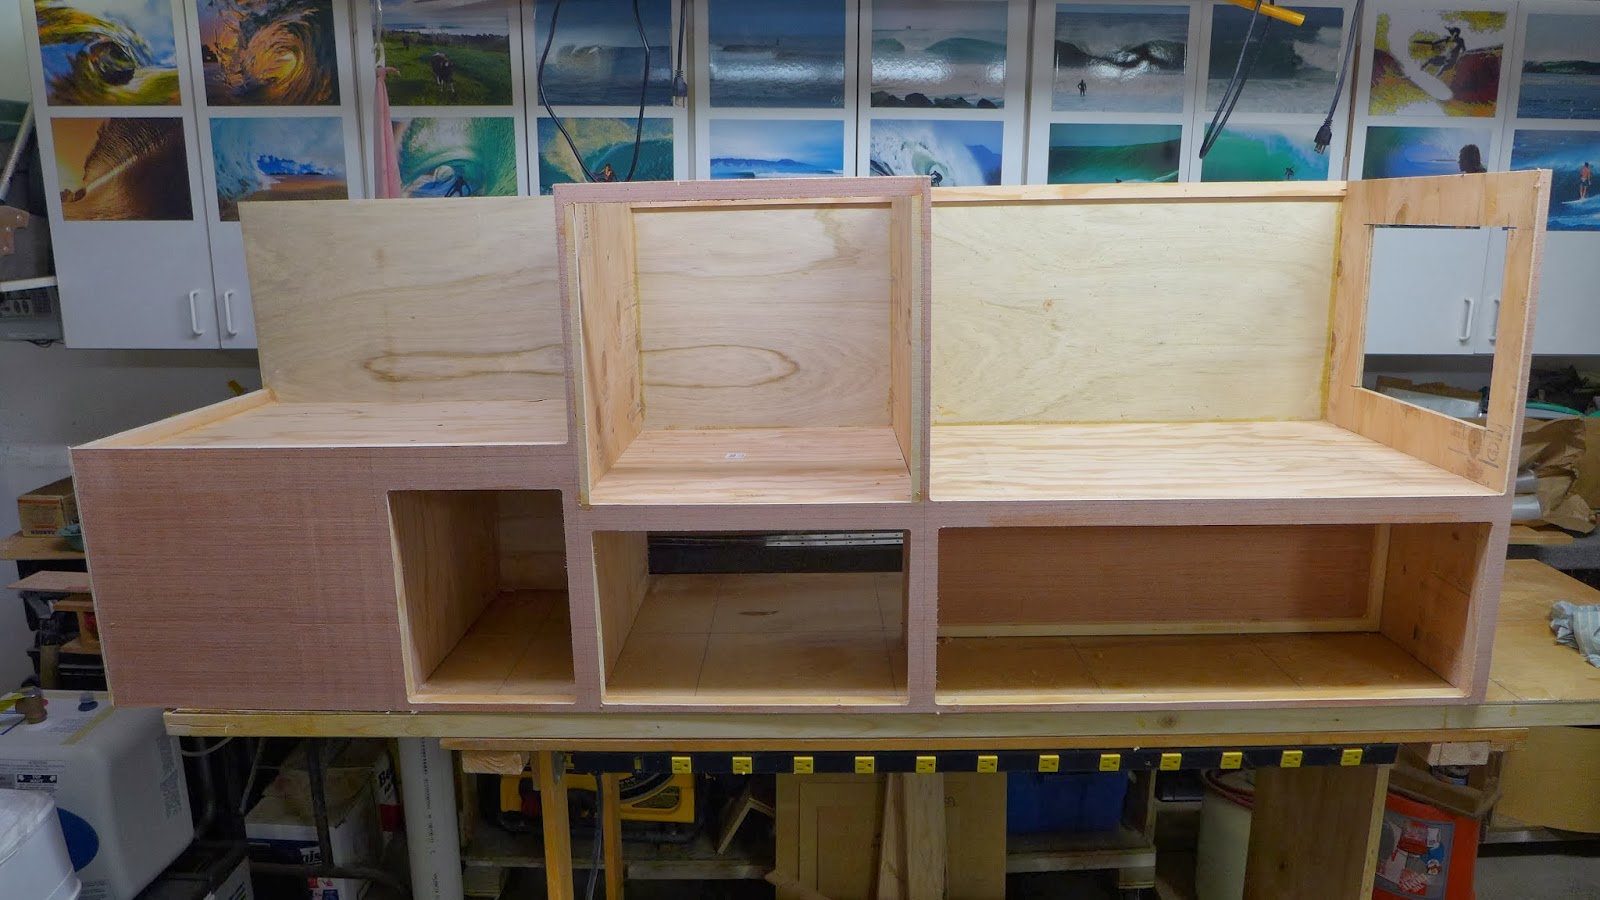
Mike brought me an Ikea cabinet with a very nice Blum lift-up mechanism...Bulky but nice...It turns out that you can buy a cabinet with the hinges in it for $60 each...My wholesale hardware supplier's best price is $75 per pair...******...???...If I do the math, seven doors at $60 equals $420 just for hinges...Ouch...

I came up with simpler hinging alternative, but I got to thinking that a lift up door forces you to either step aside or lean back to get into the cabinets...I think we can do better than that...

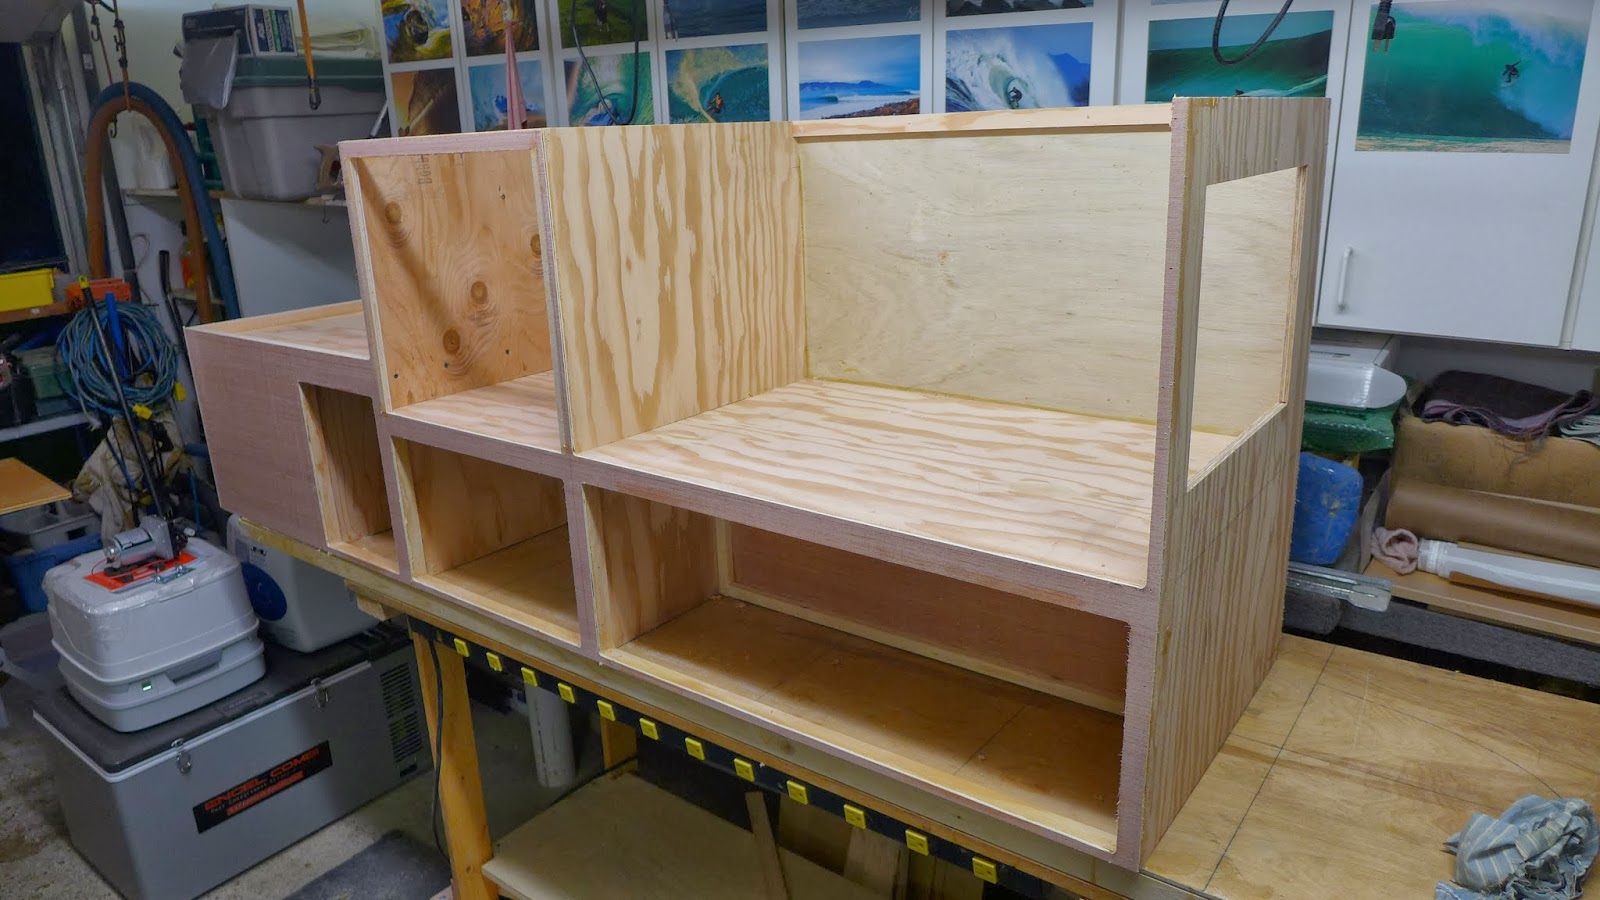
Side swing doors create latching issues and it's not the most creative way to do things...

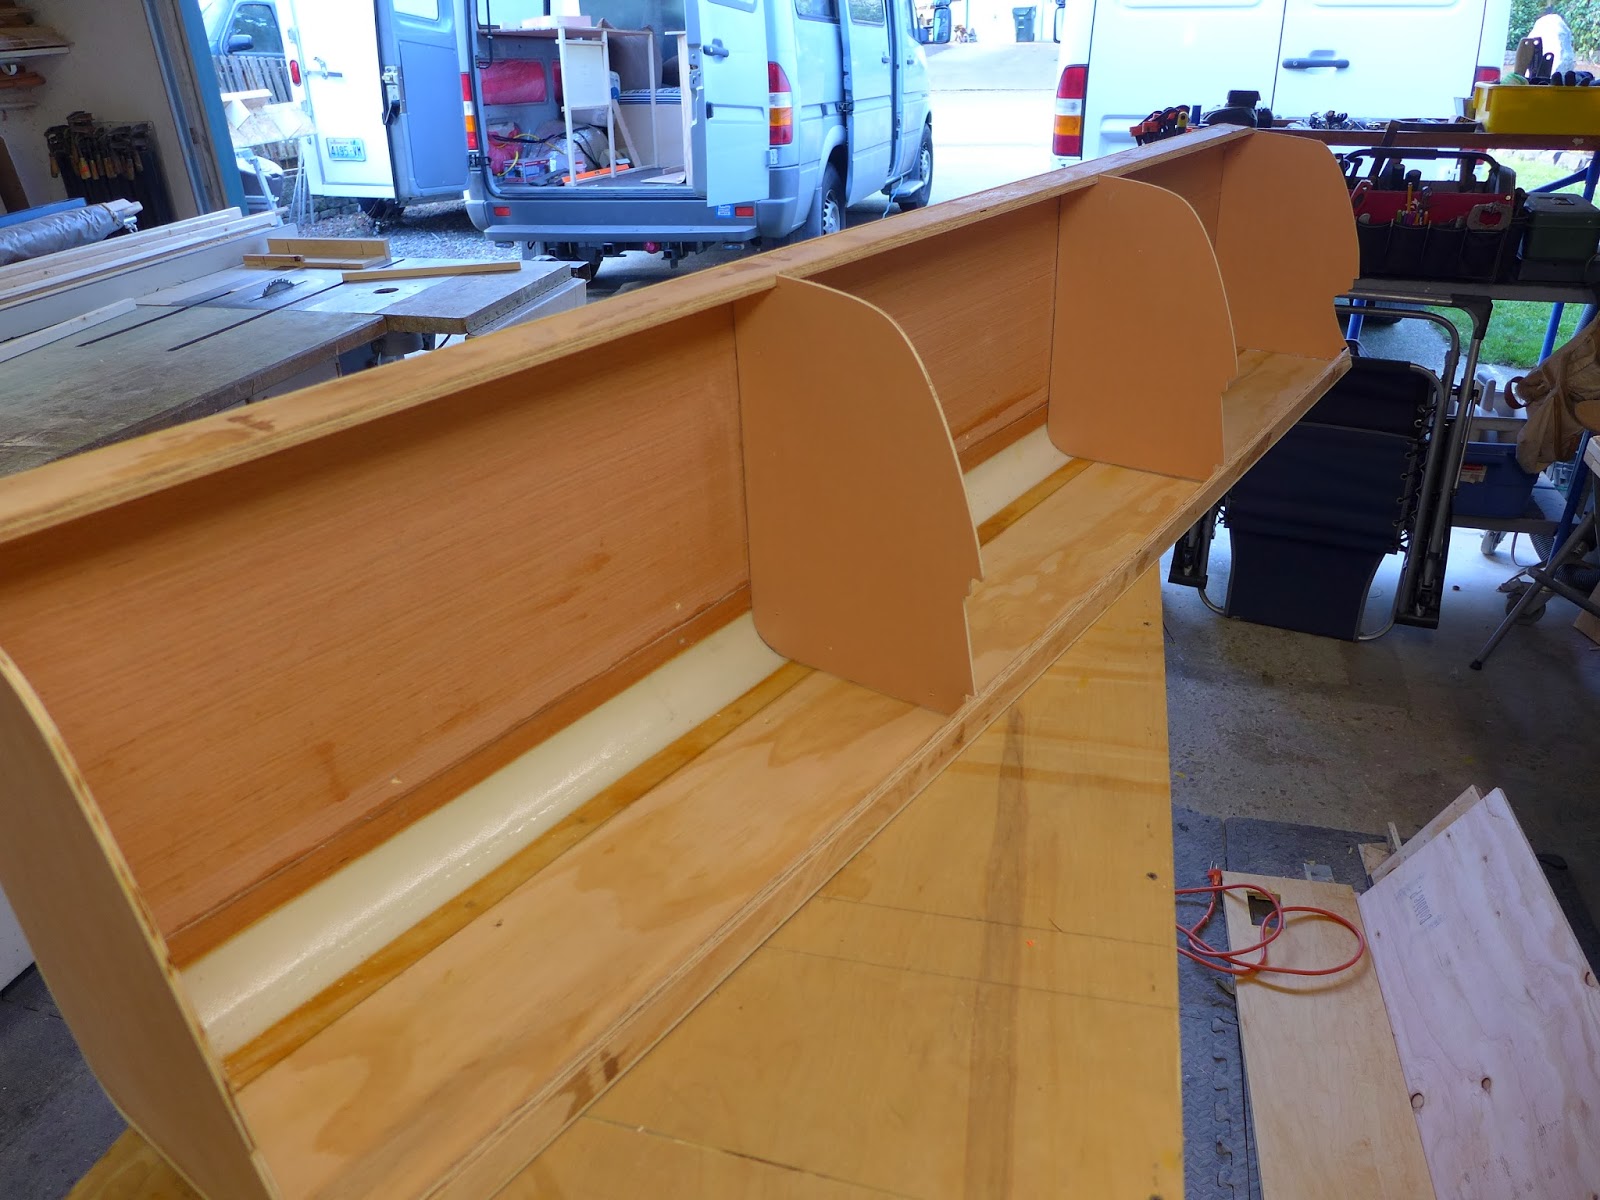
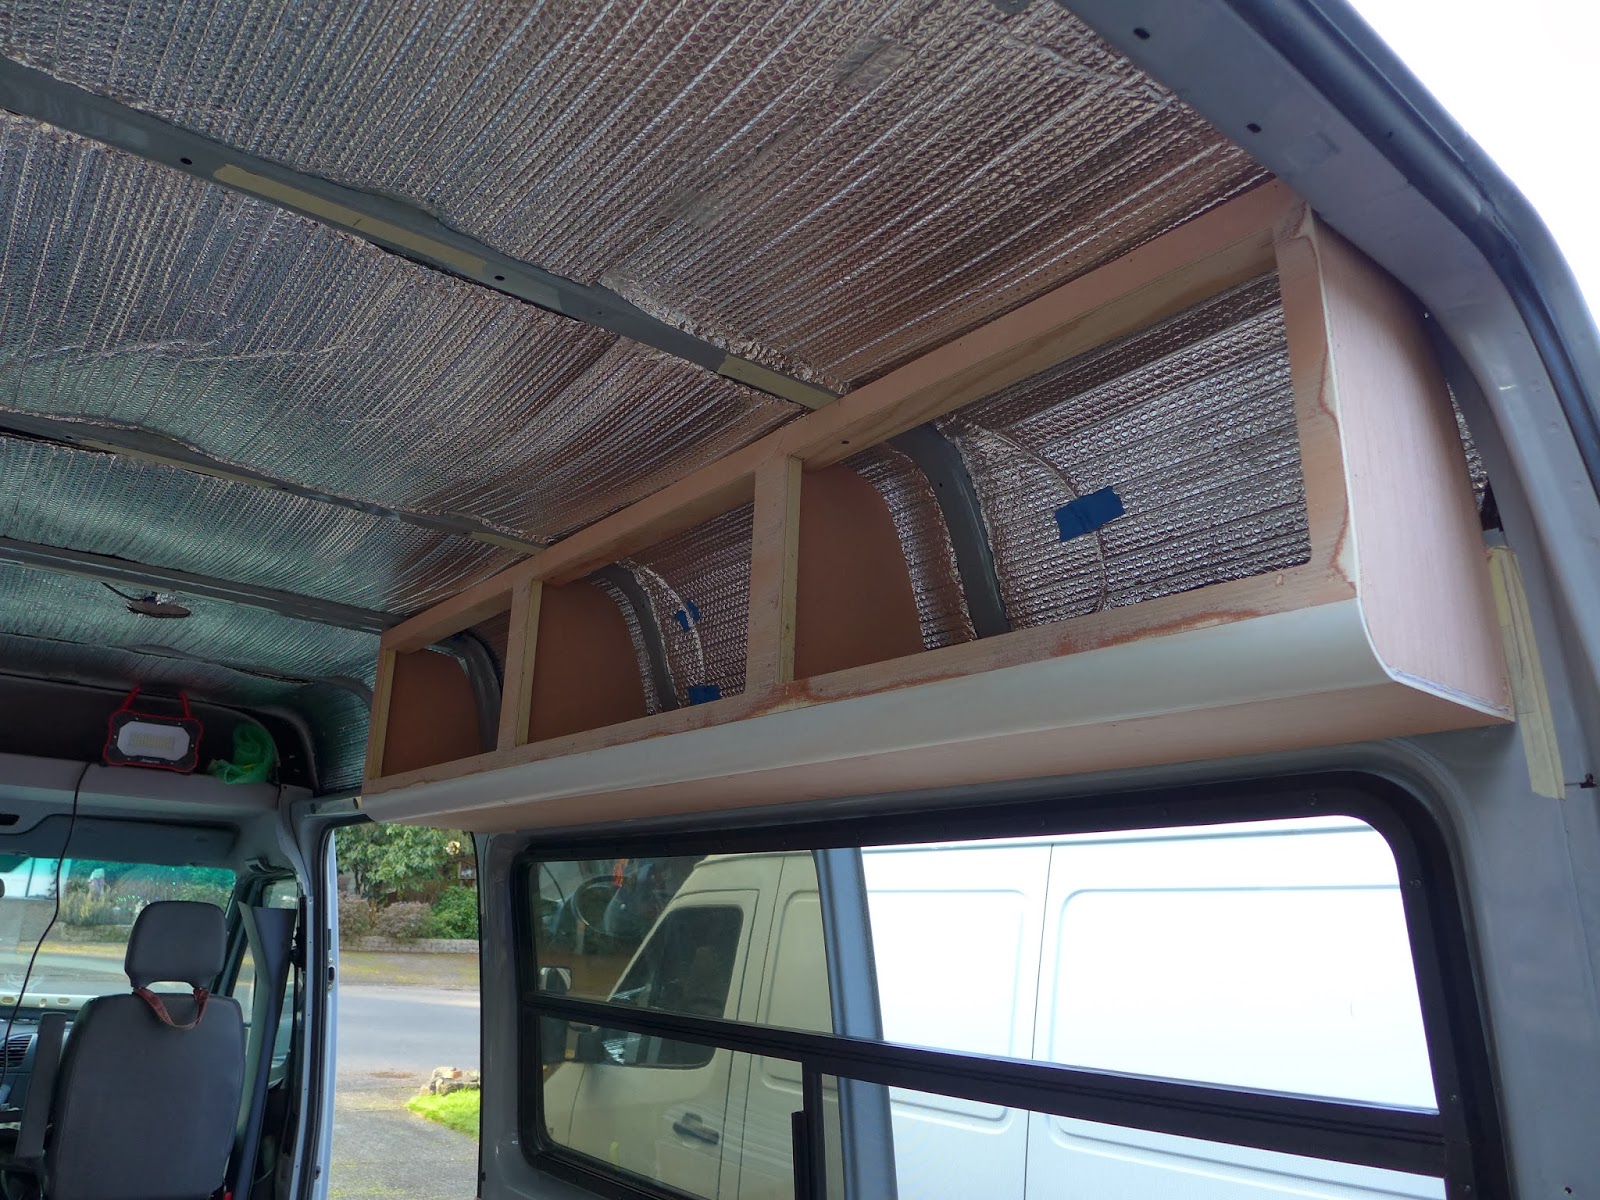
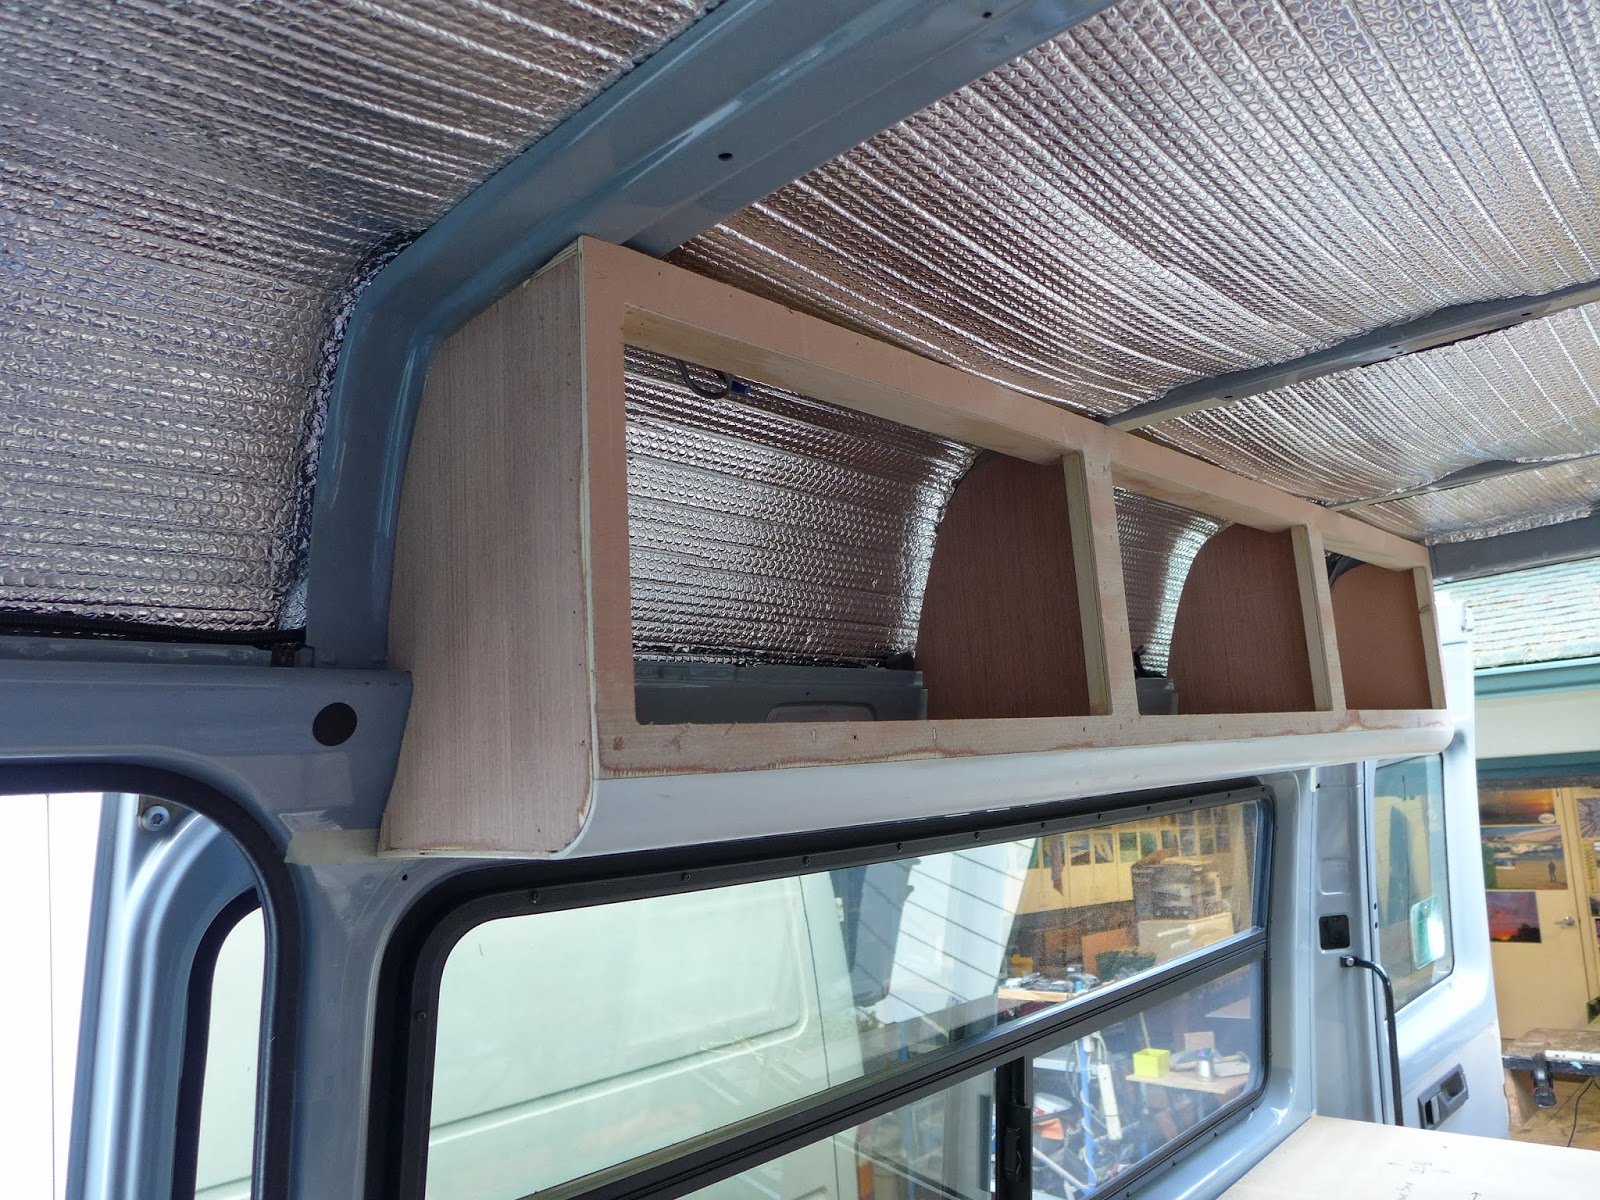
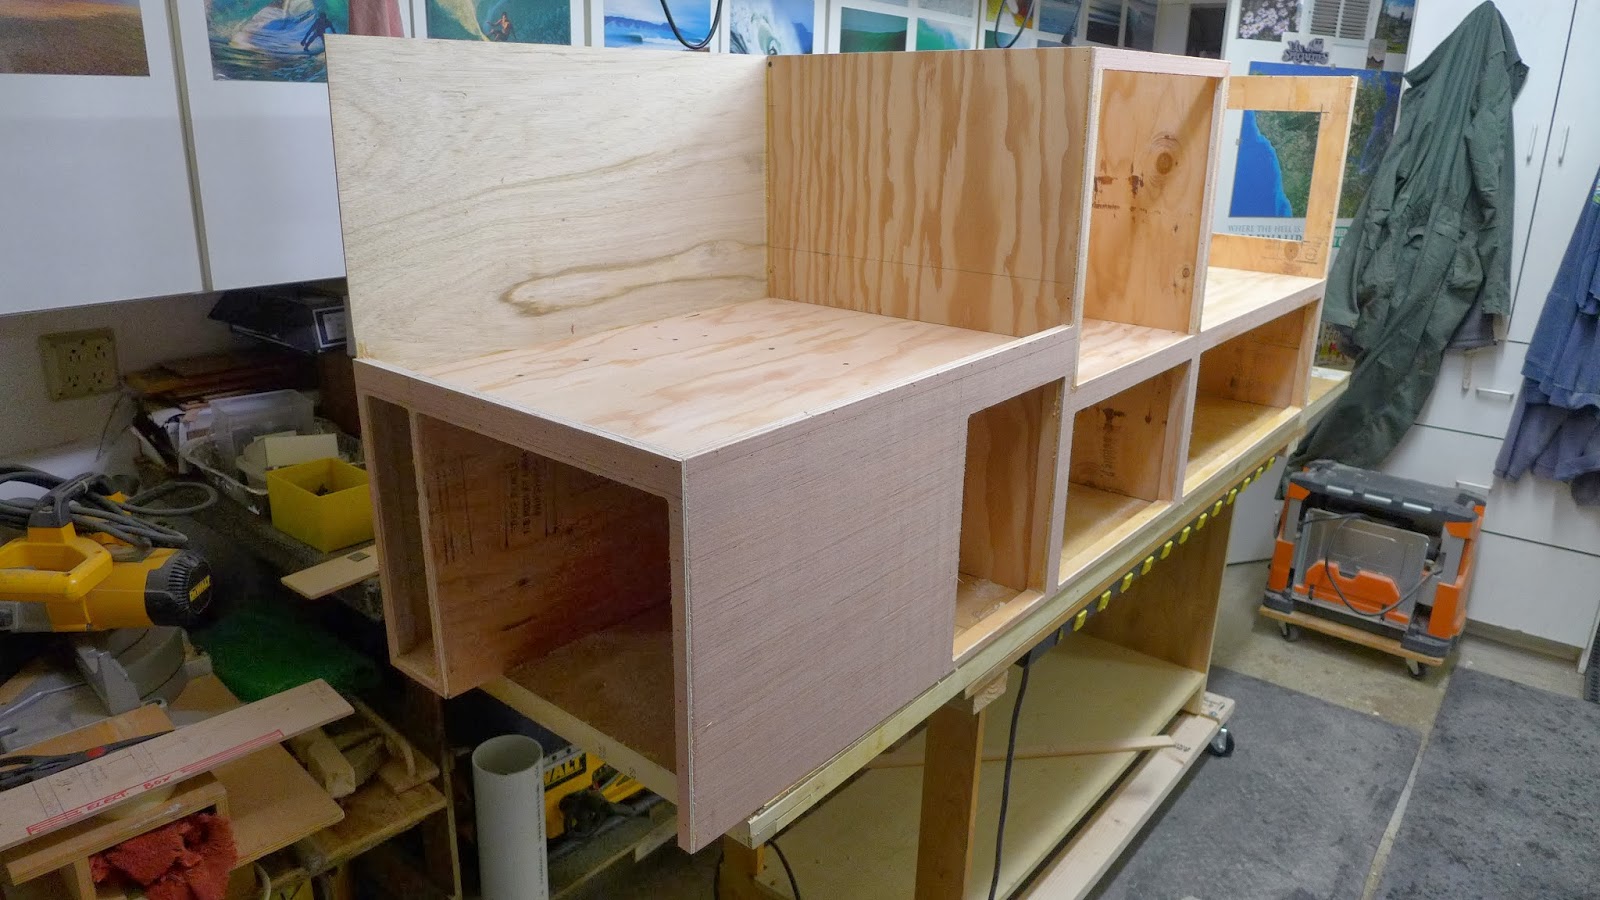
So on this project, I'm going with roll-up tambour doors...A tambour door in this application is an up-and-over opening door, made of narrow horizontal wood slats and "rolls" up and down, by sliding along vertical tracks...

P1040575.JPG


(above) Commercially produced tambour doors aren't cheap...Figure $20 a sq. ft. for solid wood and that is for stock sizes...This project is odd sized, so the materials cost would be in the $500 range...No thanks, I'll make my own...

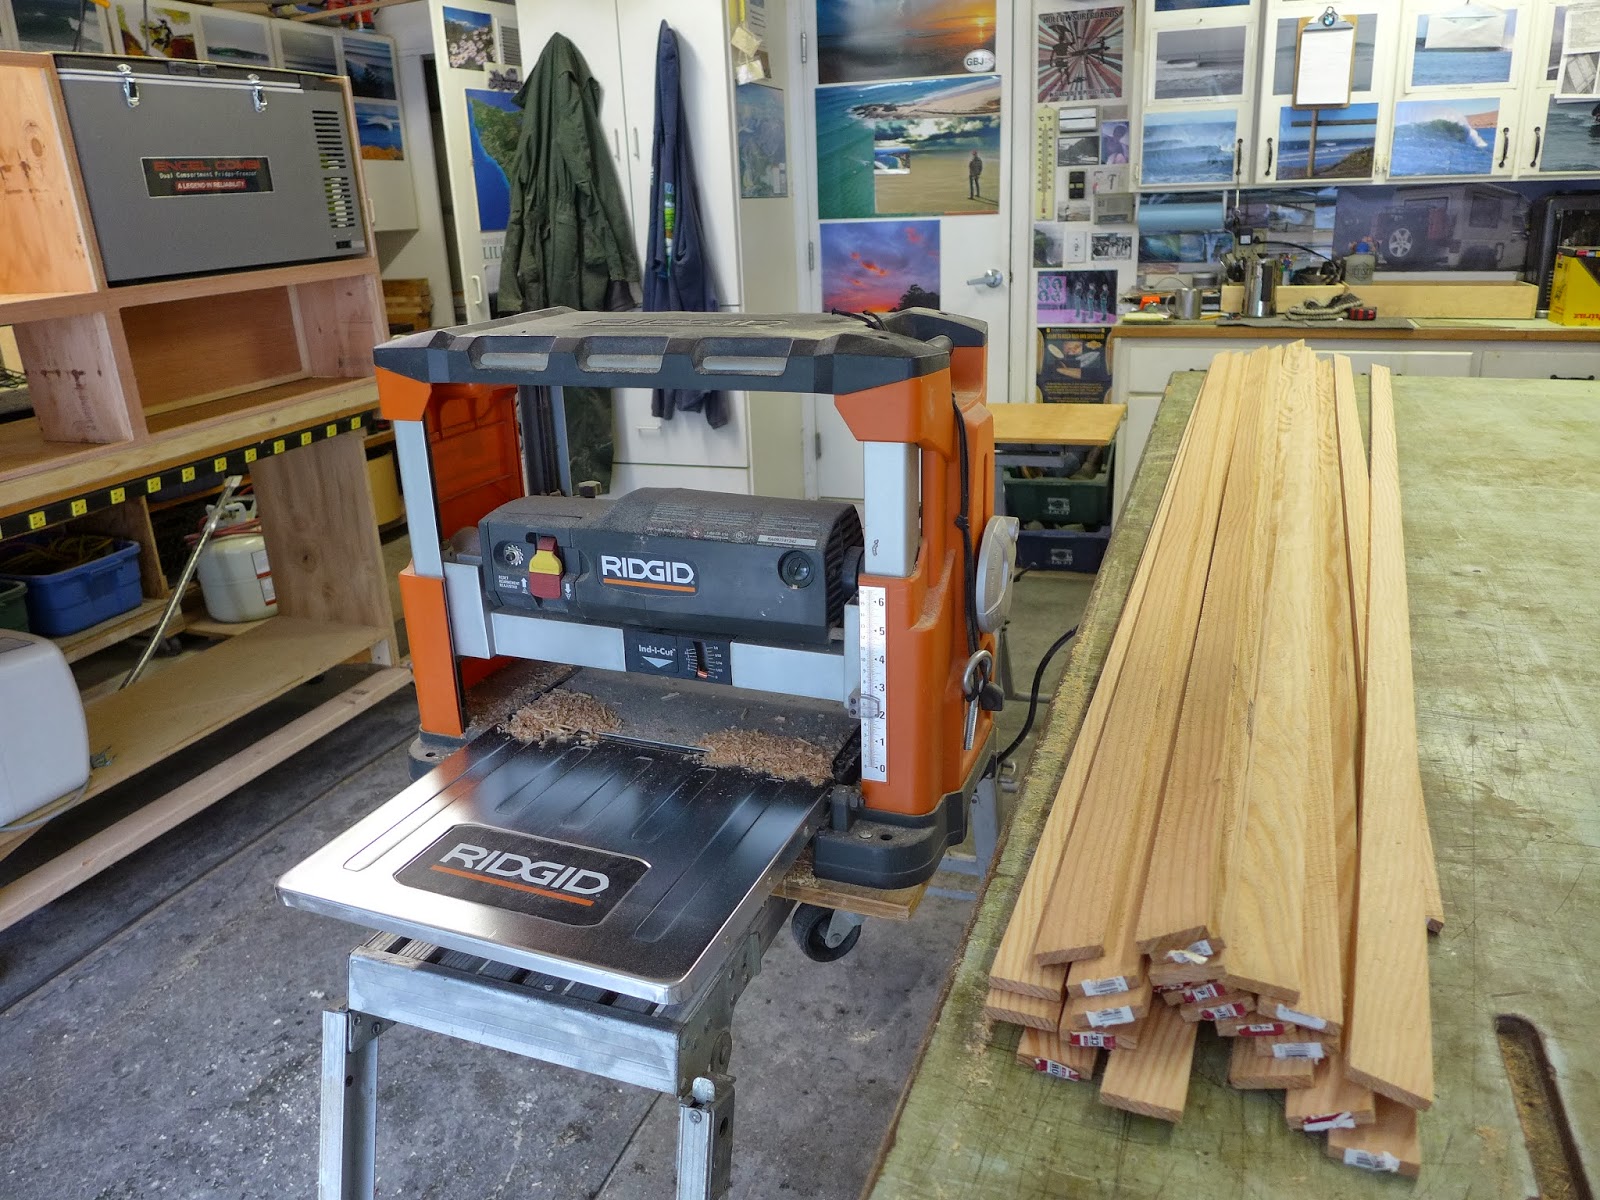
A while back I found over twenty, clear grain, straight and dry, 2x4 fir studs at Lowe's for 2.79 each...That's what I'll use...I'll use three of them...Cost, under $10...

P1040576.JPG

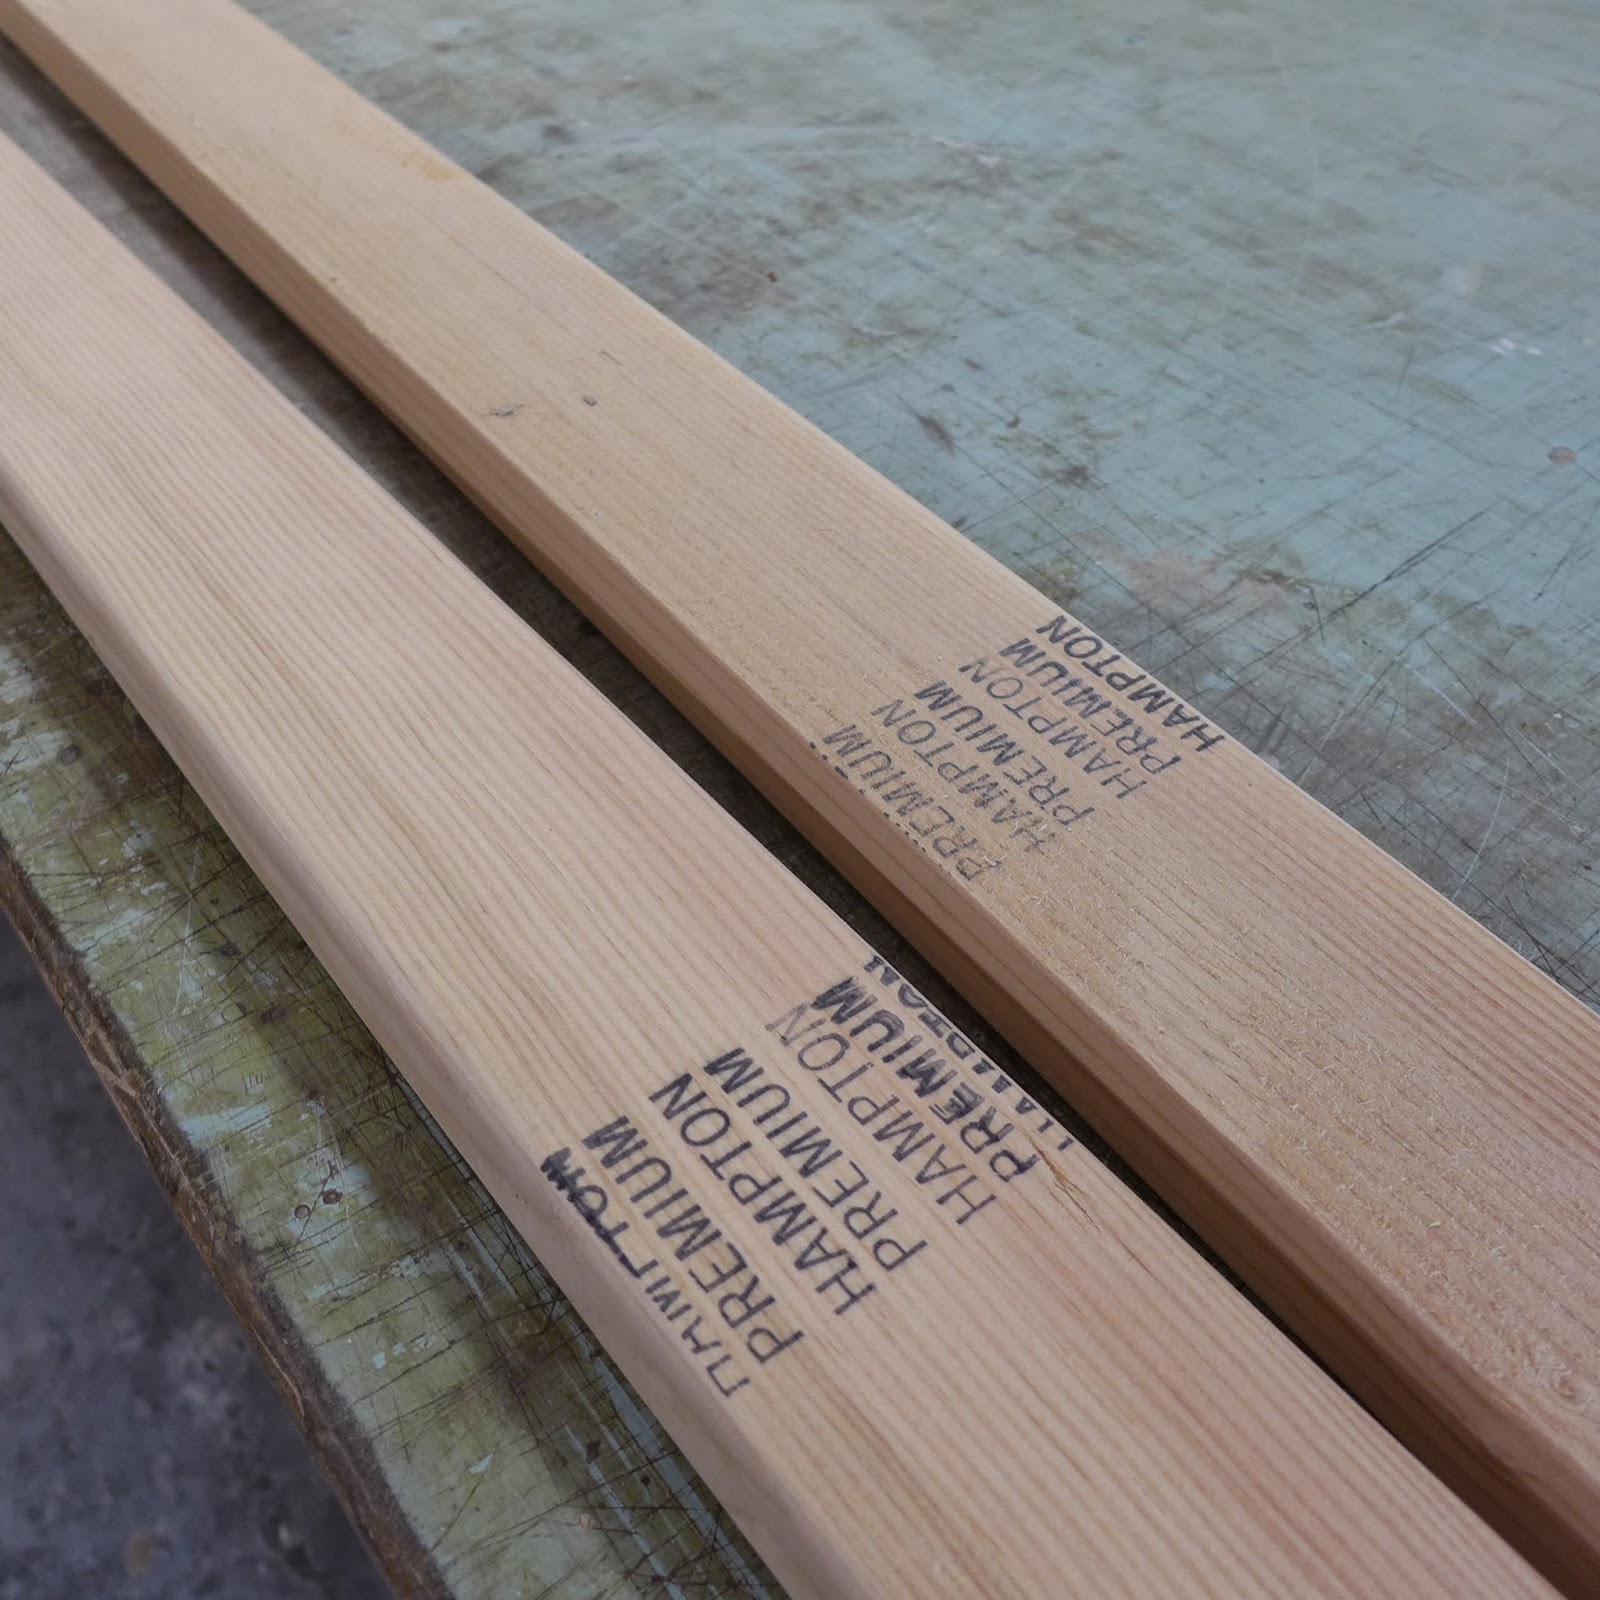
(above) With an aggressive blade on the tablesaw, the 2x4's get ripped to a fat 1/4"...

P1040577.JPG

(above) Next, run them through the planer, once on each side...

P1040579.JPG

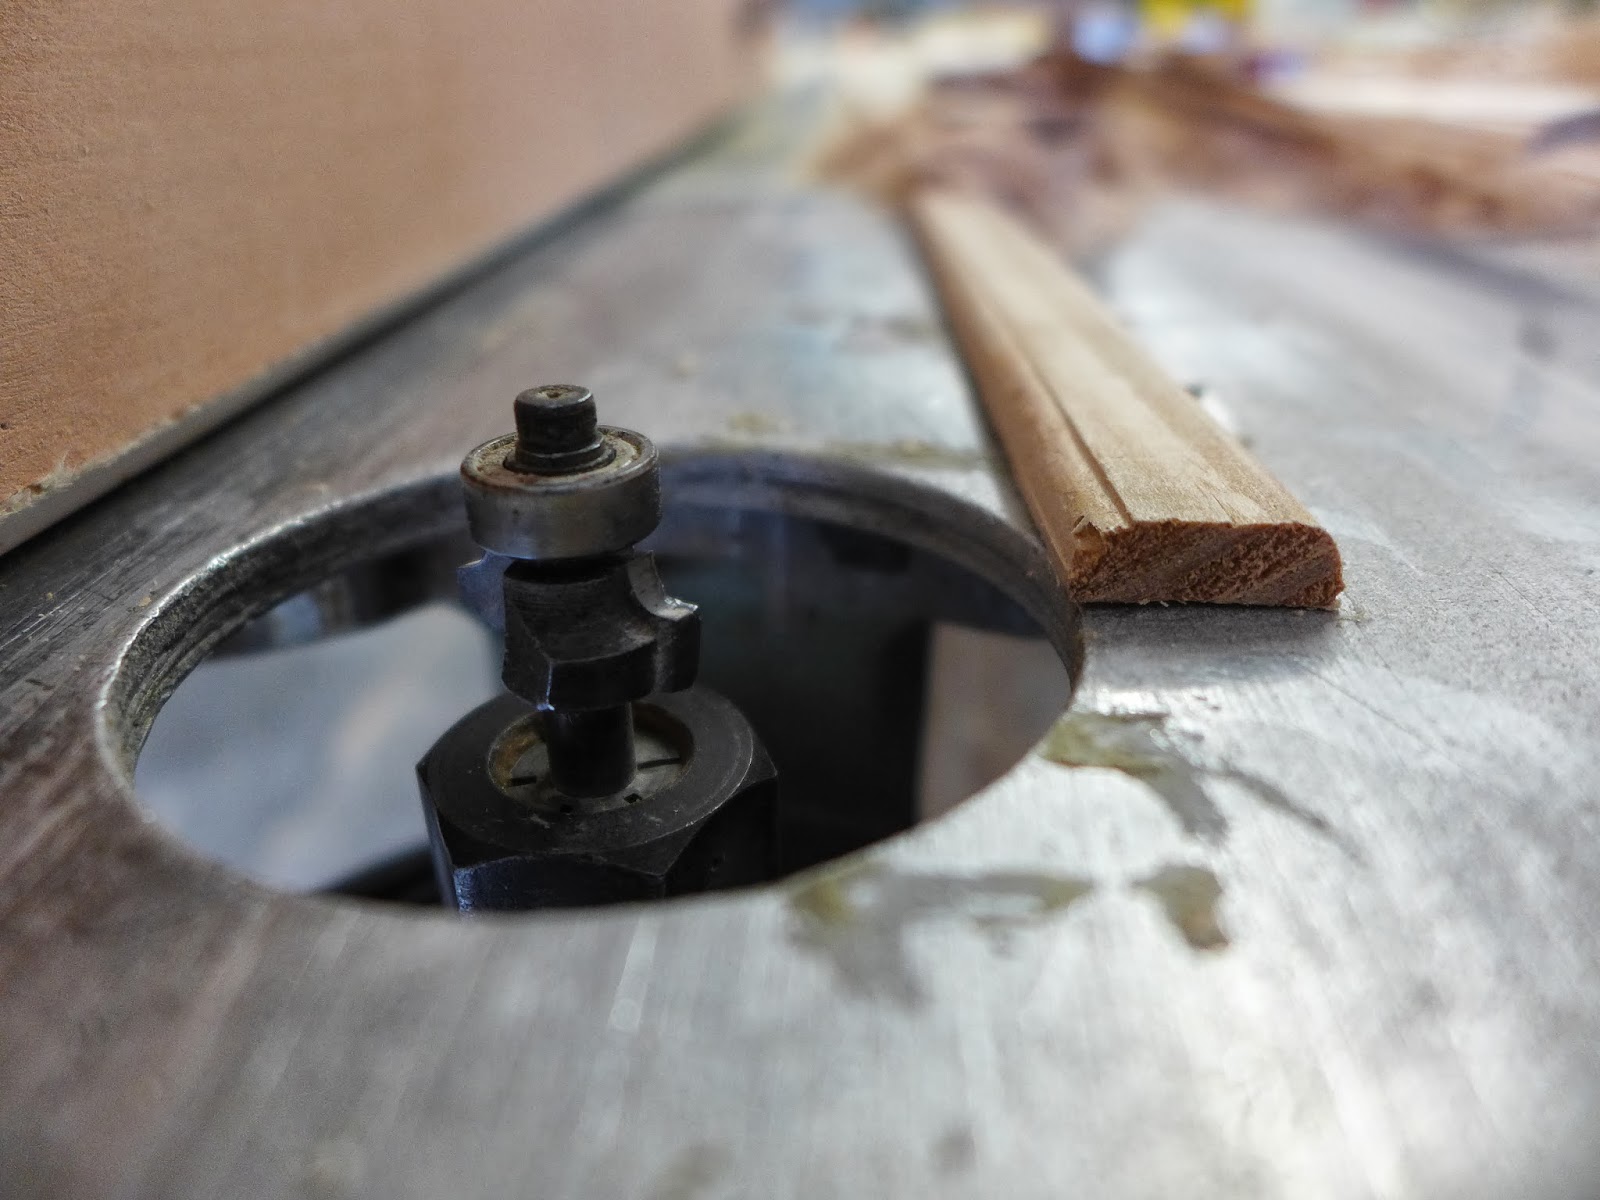
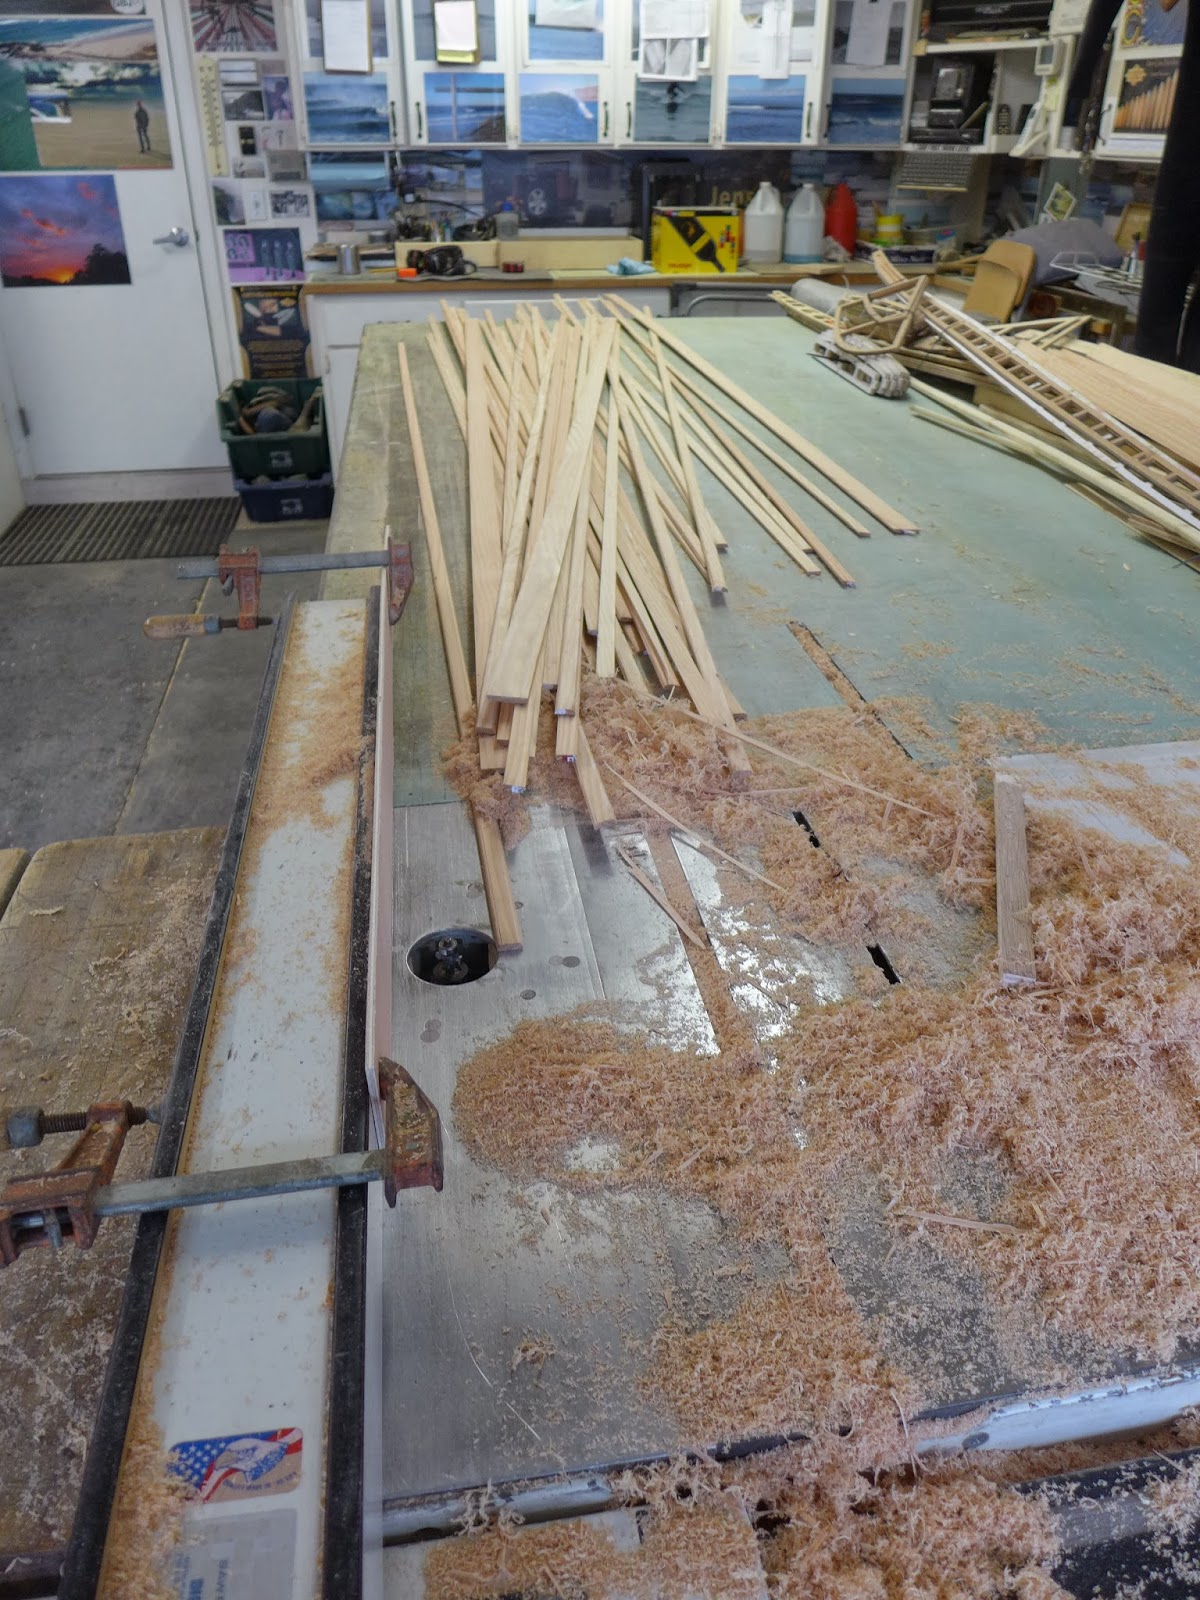
(above) The tablesaw has a router inset in the tabletop...A small round-over bit is used to ease the edges on two sides...

P1040580.JPG

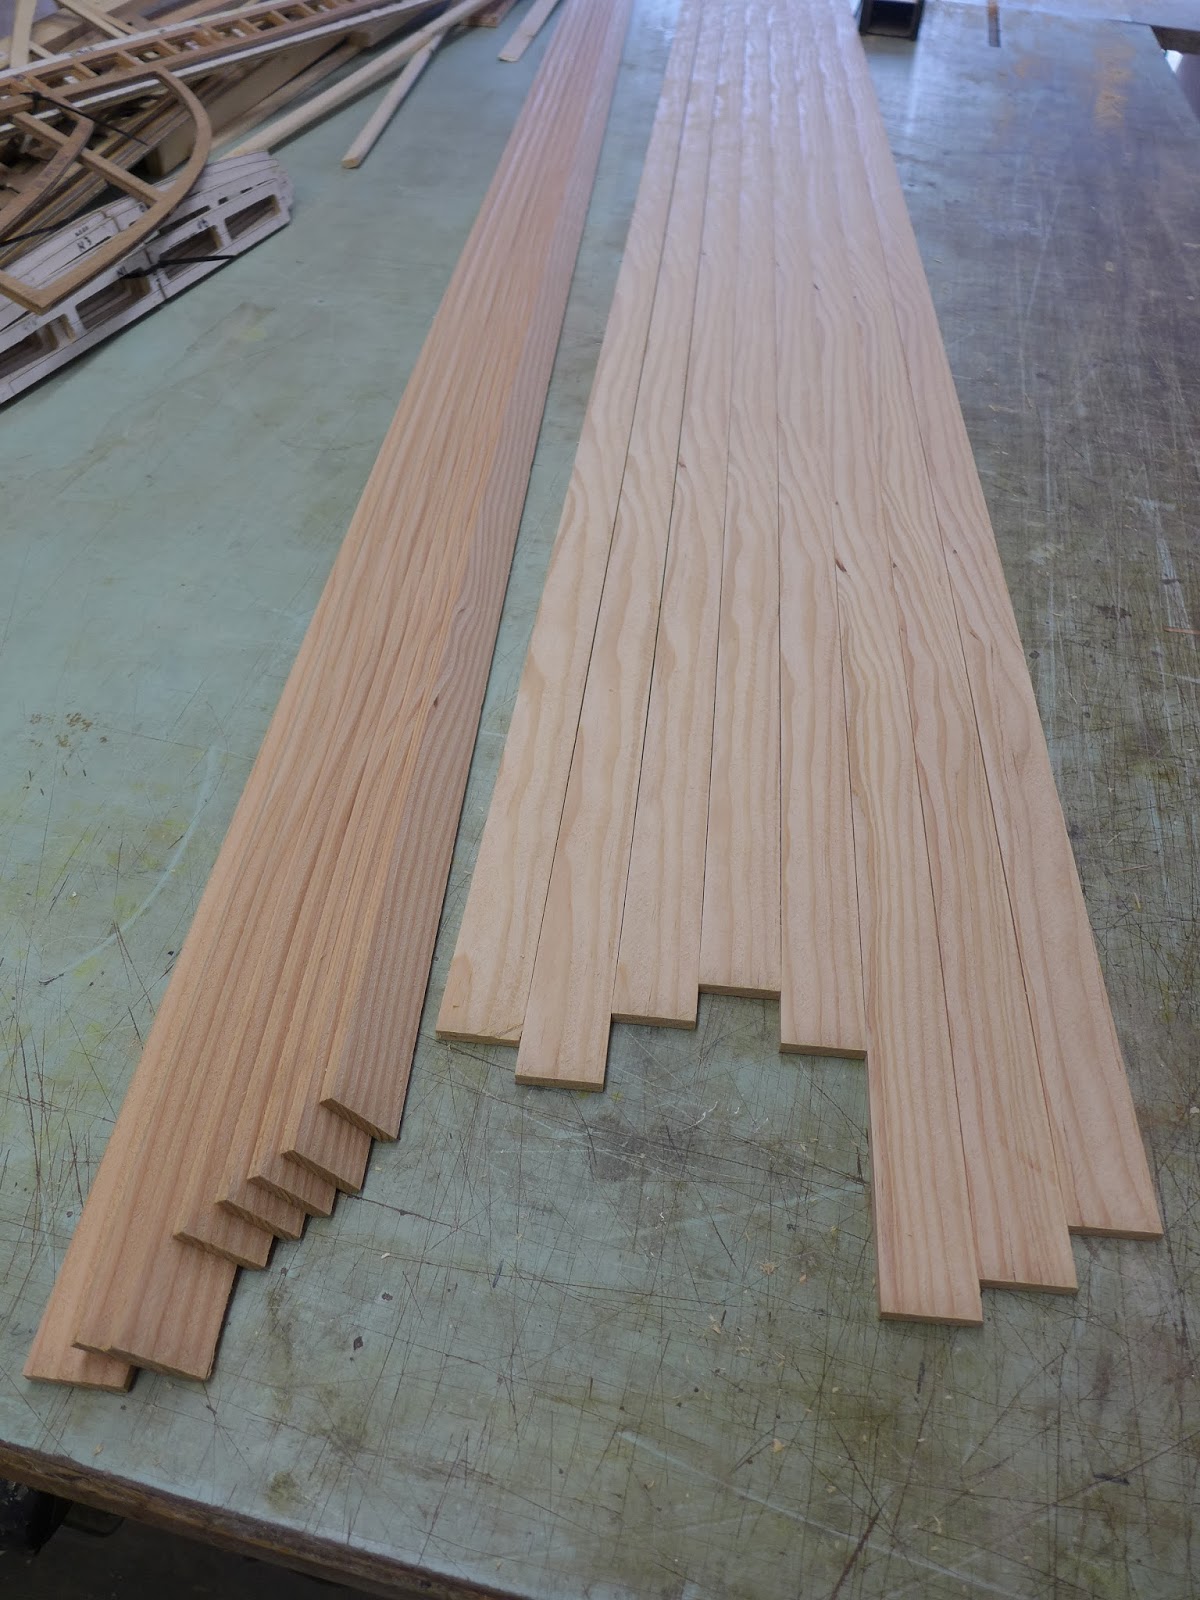
(above) Machine work 90% done...

P1040581.JPG

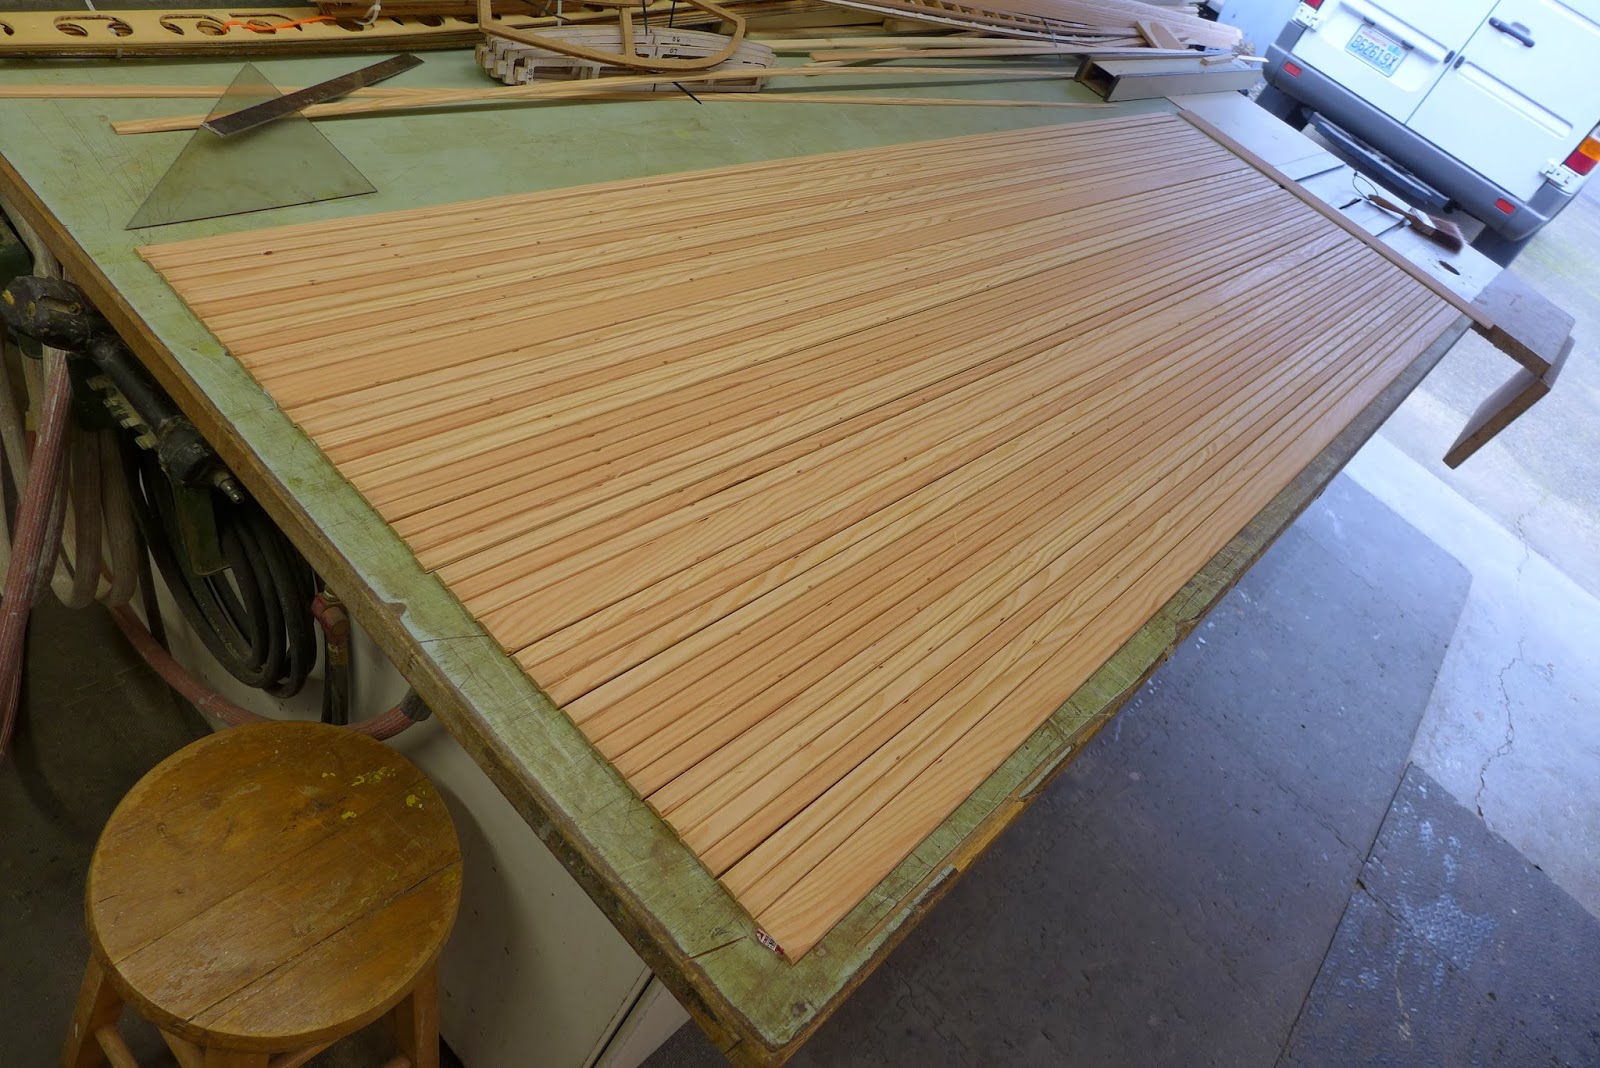
(above) More than enough for both upper cabinets......

P1040582.JPG

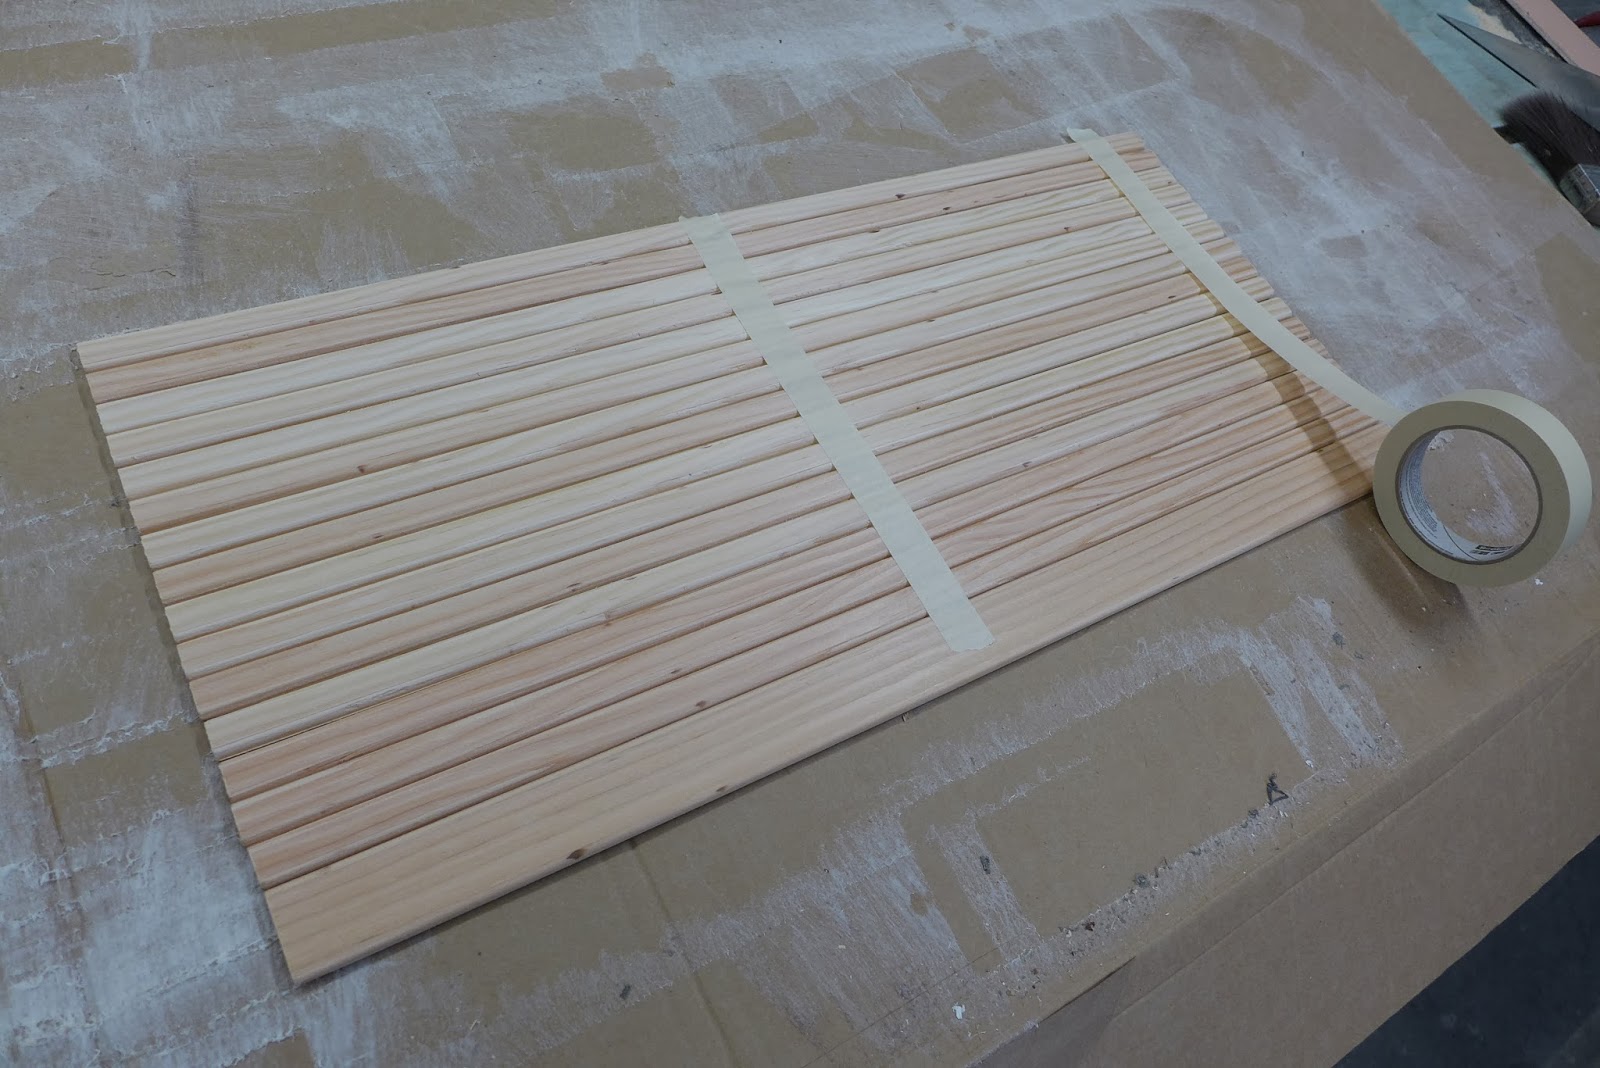
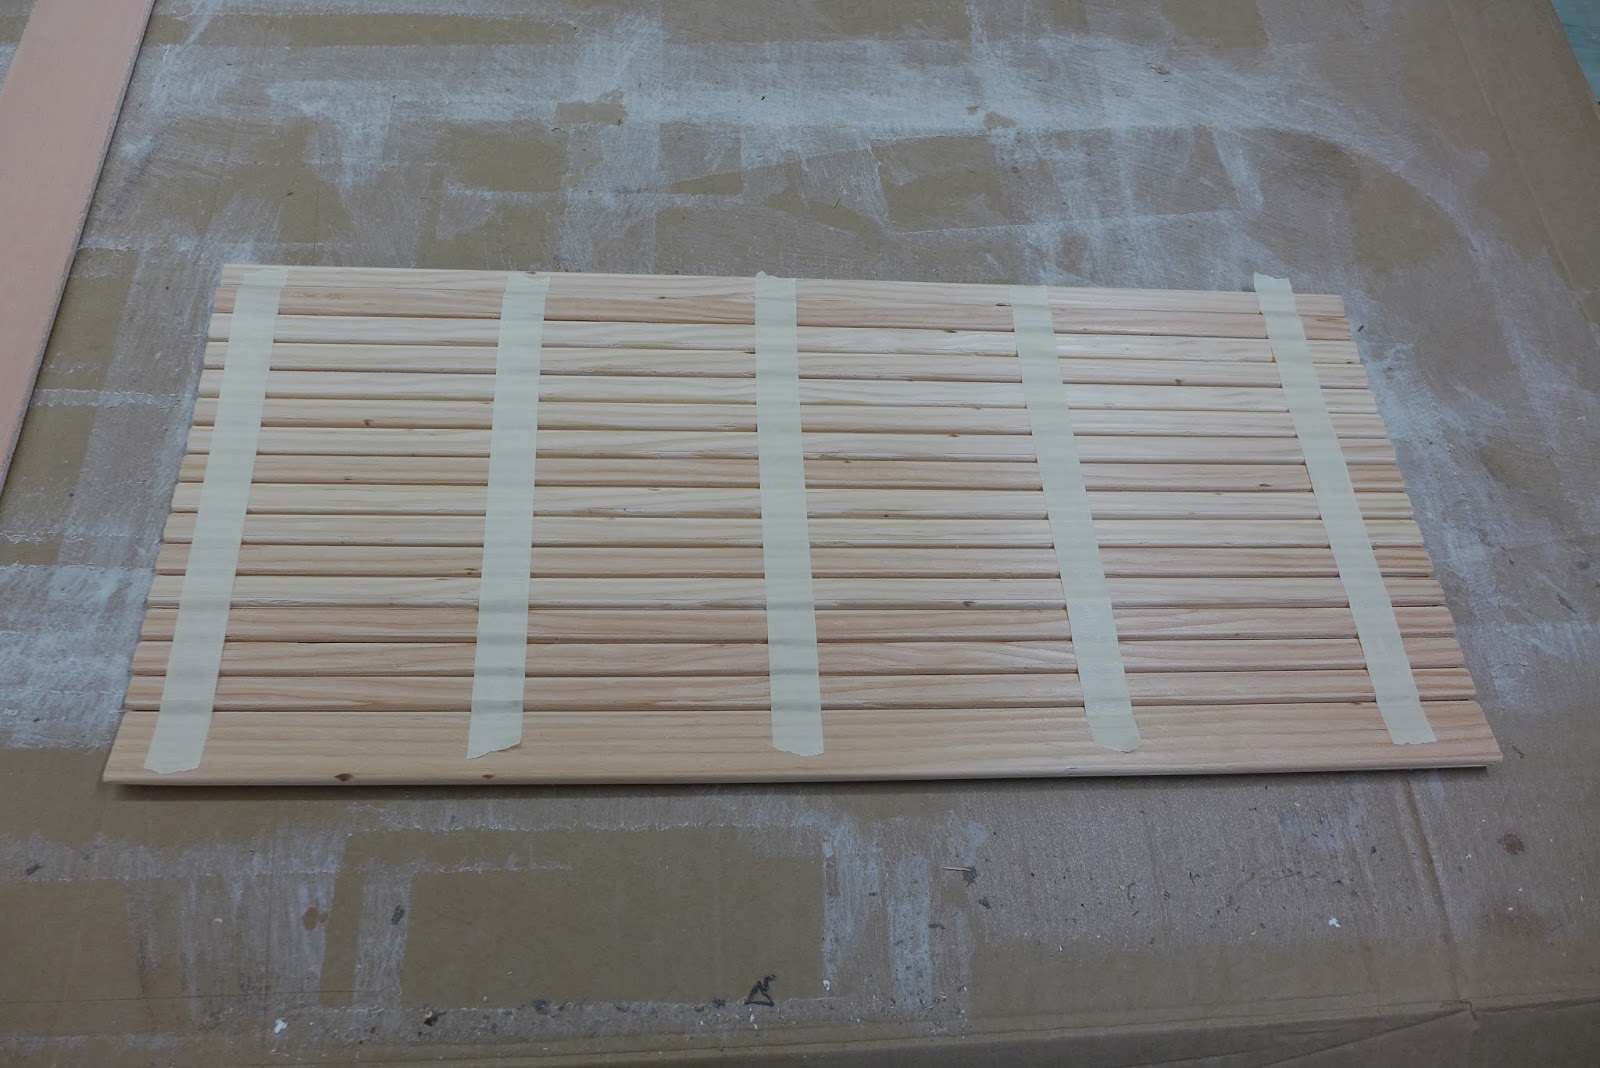
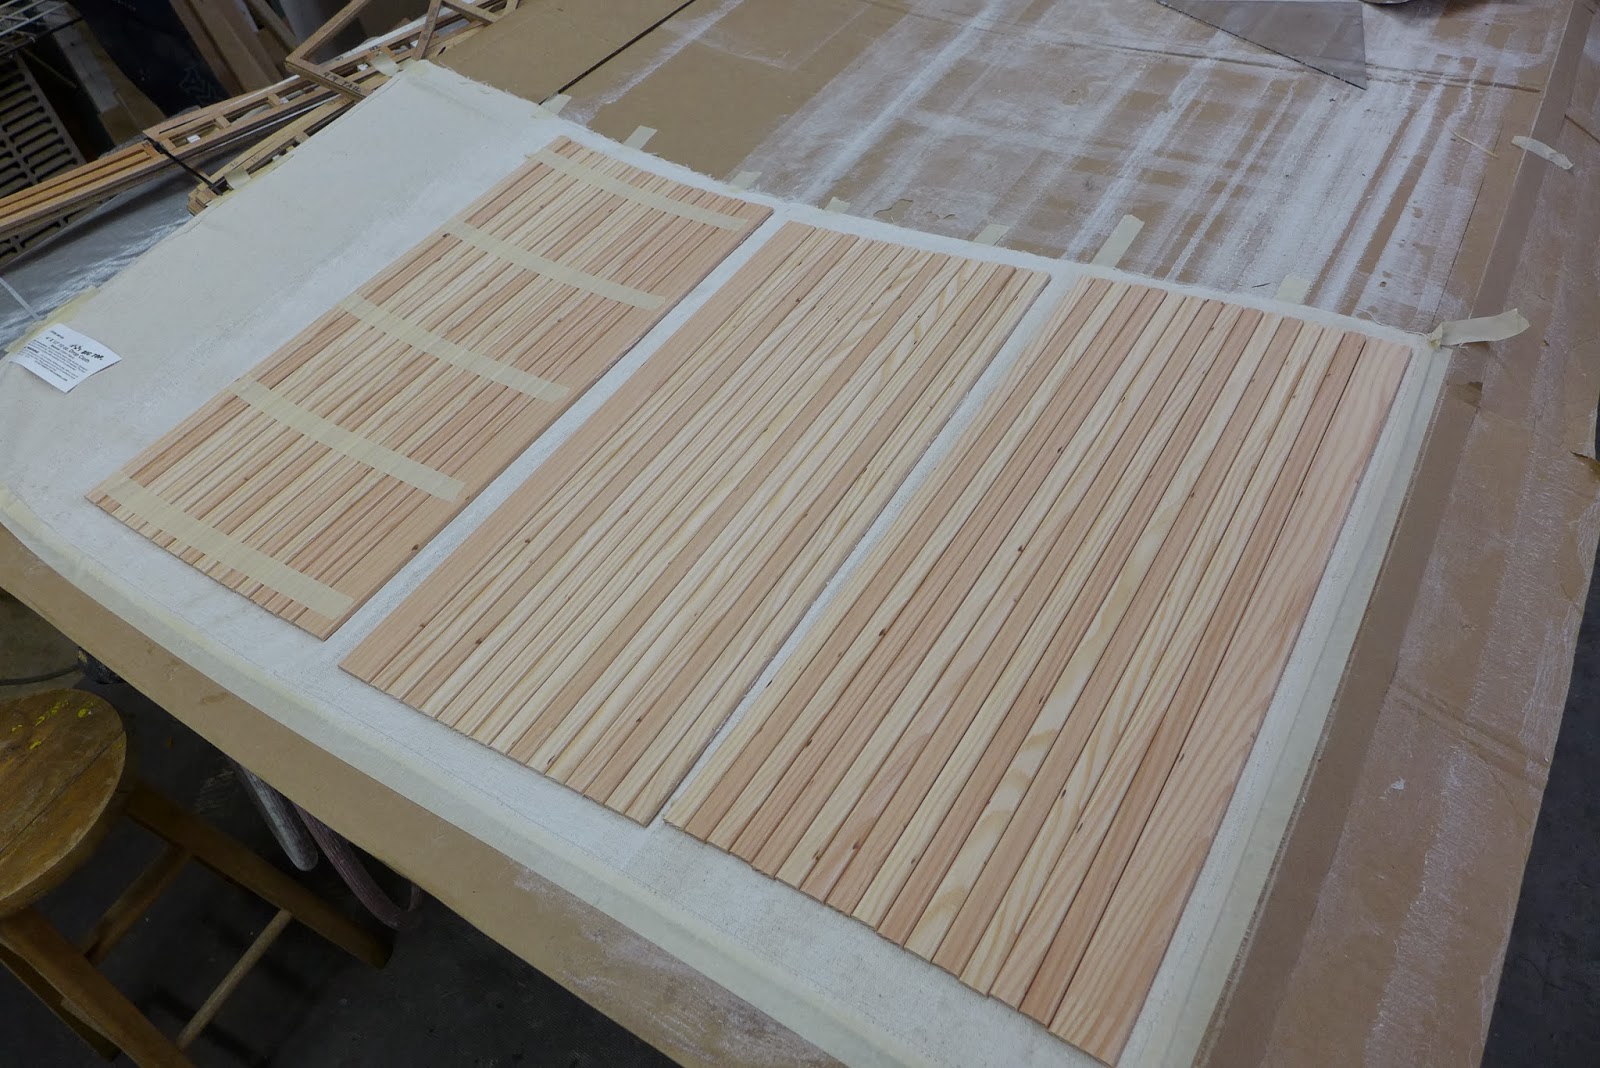
(above) The strips are cut to length plus an inch...The faces are up, then masking taped together...

P1040583.JPG

(above) That's good enough to hold it together...

P1040584.JPG

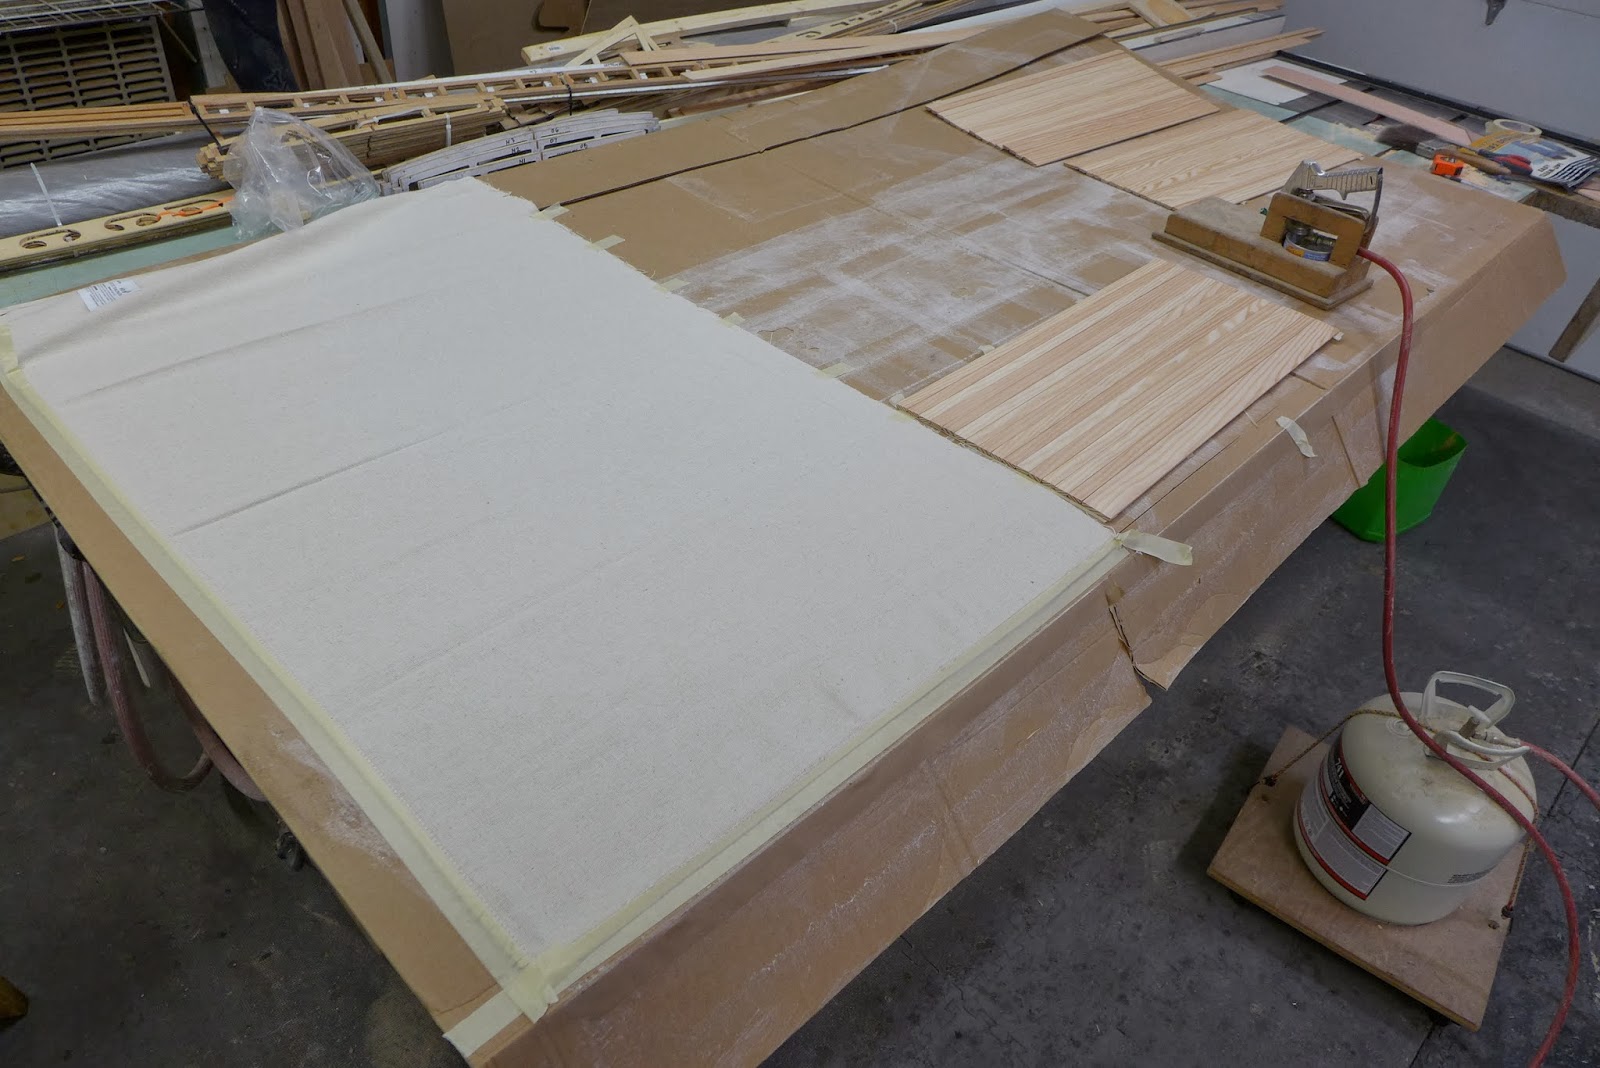
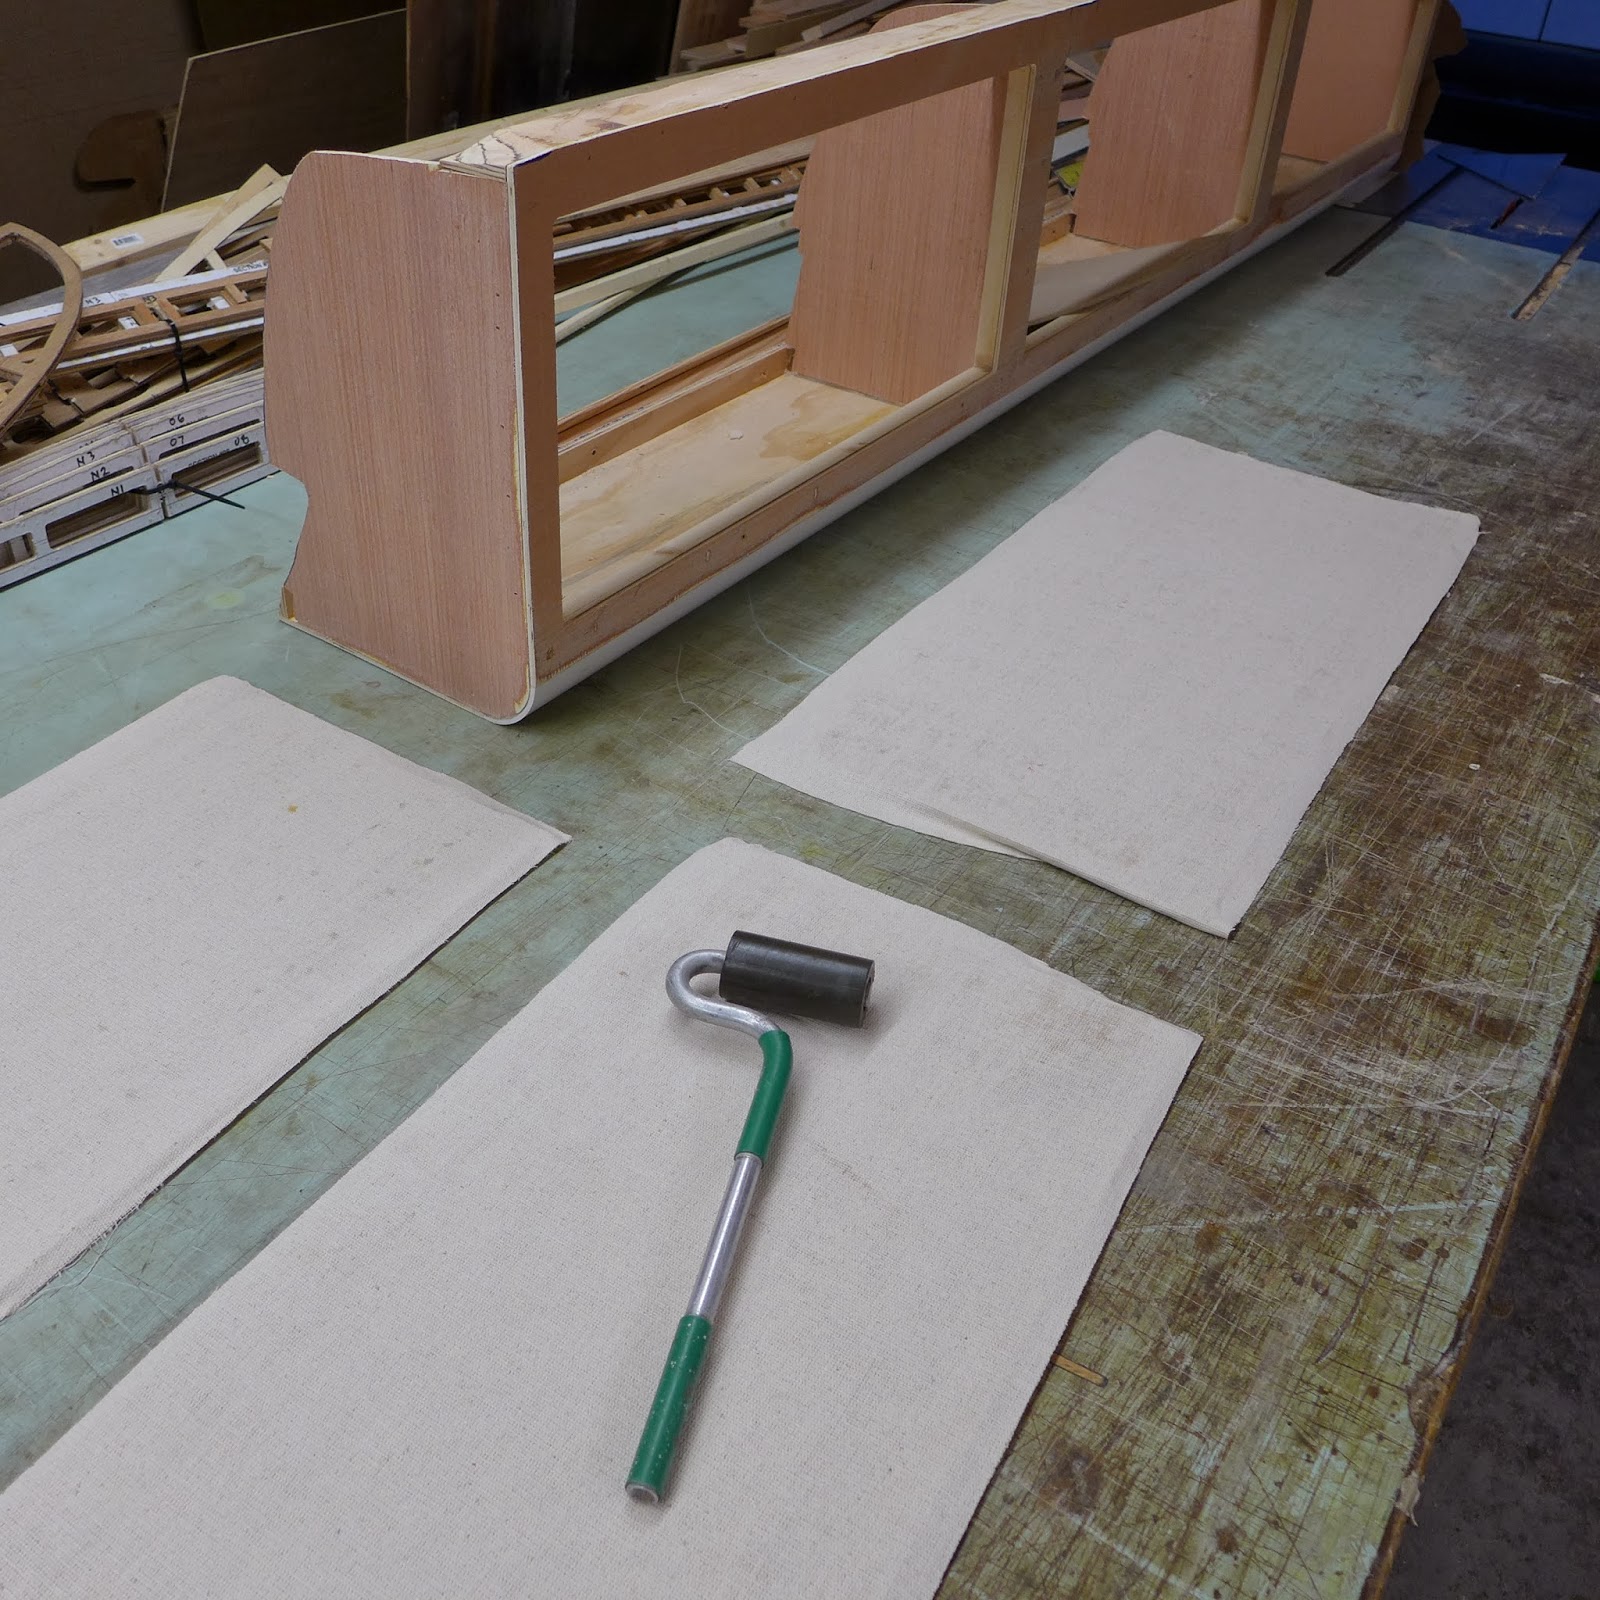
(above) Tambour doors can be held together several ways...For this project I'll keep it simple since the wood is thin and light...A fabric backing is glued onto the wood with contact cement...The fabric here is a heavy cotton canvas painters tarp I got at Harbor Freight for $4...

P1040585.JPG

(above) A heavy layer of aerosol contact cement is sprayed on the canvas and wood...

P1040586.JPG

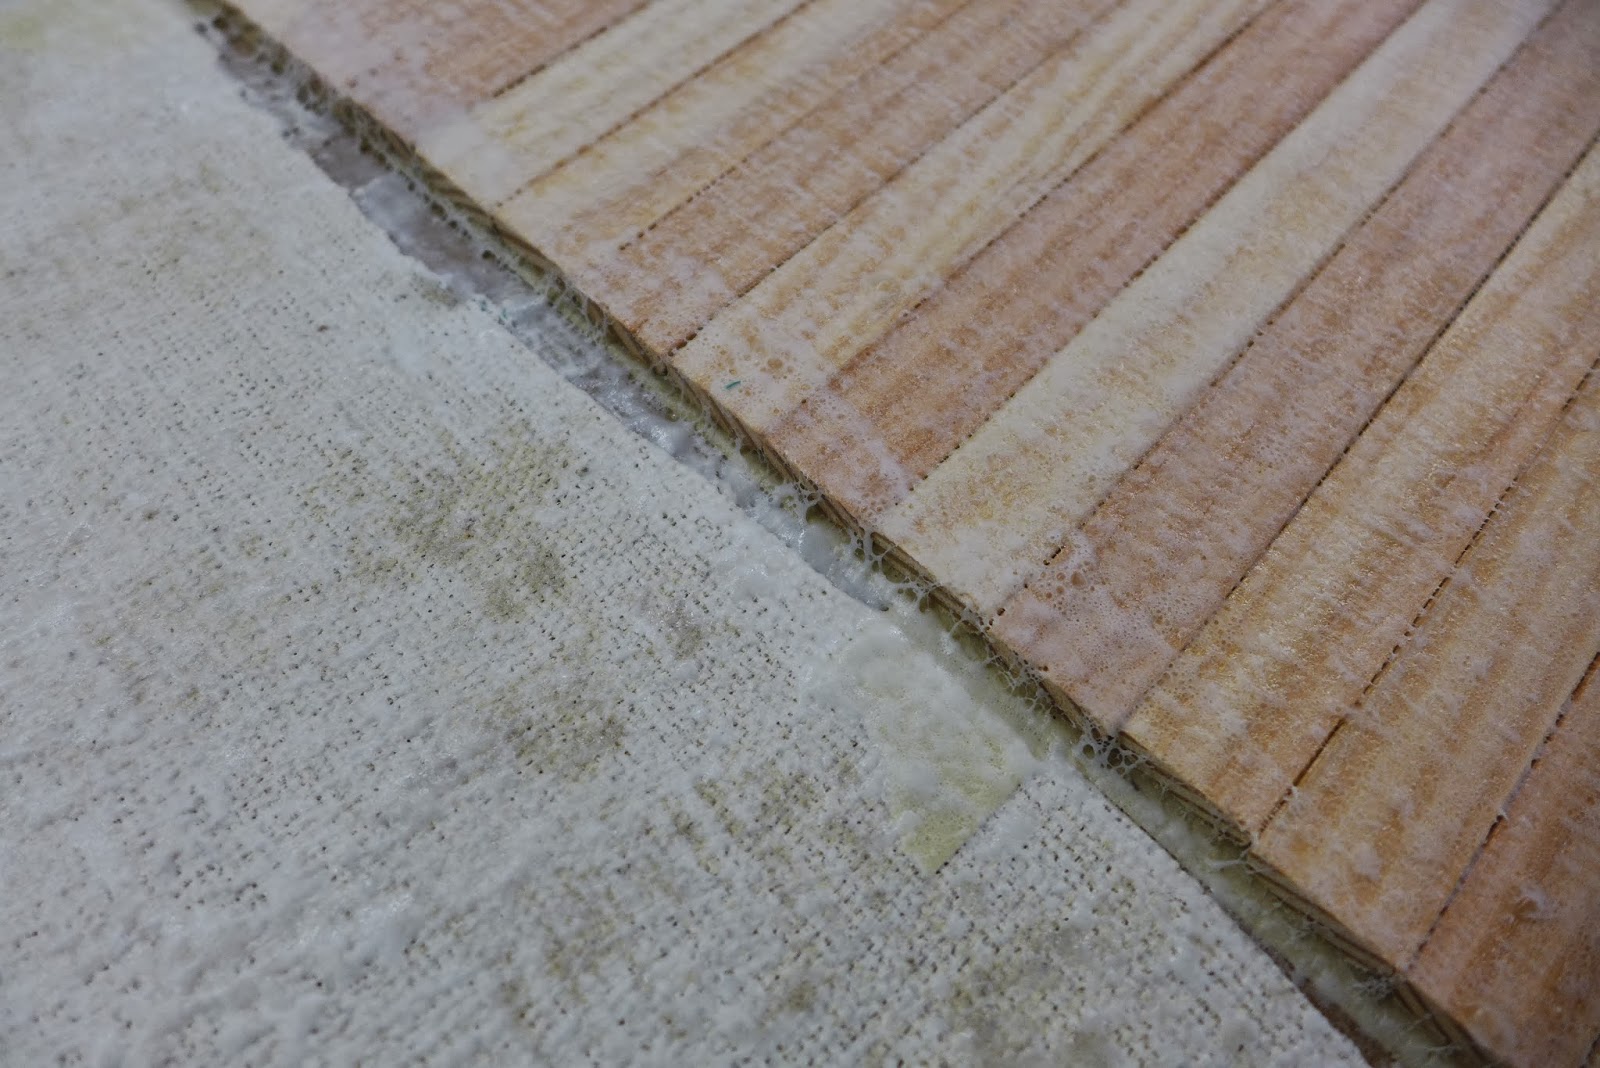
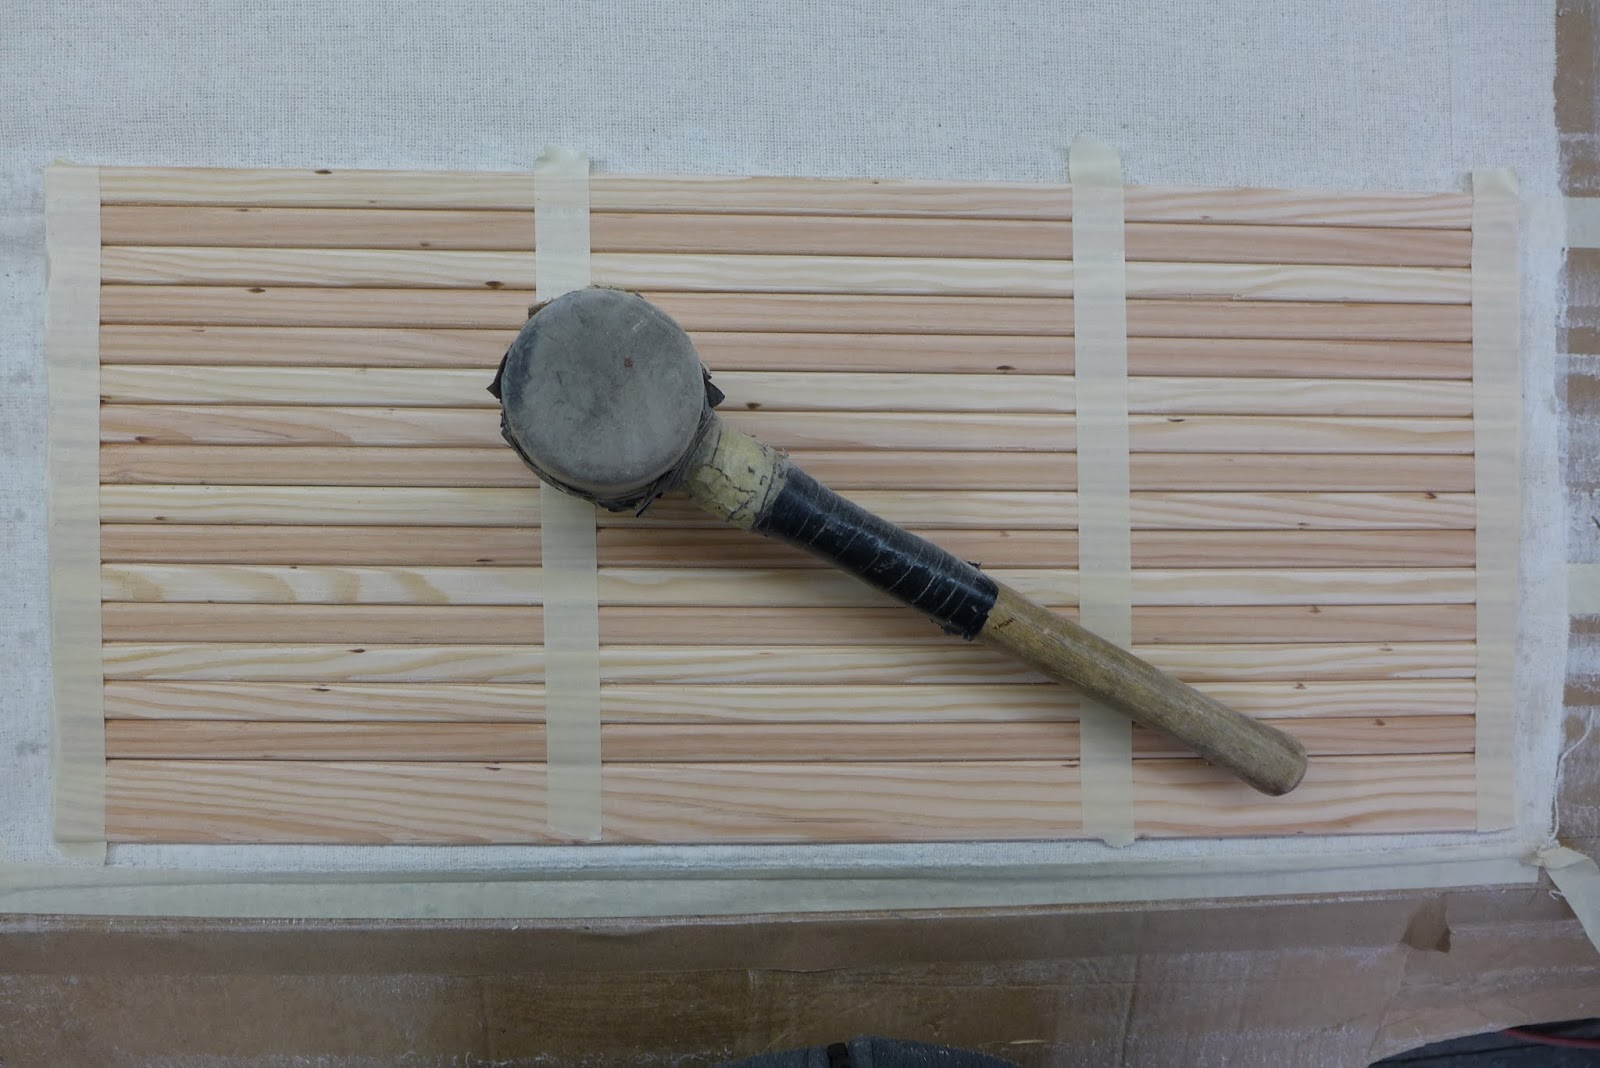
(above) Flip the wood onto the canvas and hammer it down with a rubber mallet...

P1040588.JPG

(above) Repeat the spray, flip and pound...

P1040589.JPG

(above) Finally the panels are flipped over and the fabric is rolled hard with a rubber roller...

I love the fact that if you do it yourself, the cost to make all the tambour doors costs less than a single sq. ft. of commercially made tambour...Sure there is some labor involved, but to me, creating as much as I can myself, defines what custom is...And I live for custom...

That's the curb side doors...First thing tomorrow, the pre-cut driver side panels get taped and glued...Then the guide rails get made and the doors get fitted...
 

ben2go

Adventurer
Paul,do you have a back ground in boat building?It sure seems like it with some of your techniques.Your van should come out fairly light in weight the way your building your interior.I am an impressed follower. :luxhello:
 

Forum statistics

Threads
185,894
Messages
2,879,536
Members
225,497
Latest member
WonaWarrior
Top