Mighty Dodge Ram
Explorer
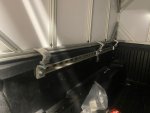
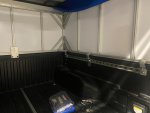
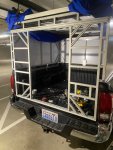
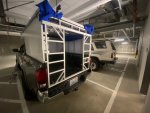
Thanks for the quick reply! Re: the rubber seal, I ask because the “typical” framing on wood or fiberglass toppers, where it rests on the bed rails, seems to be a wider material (in most cases wood) sealed with a “double bulb” gasket. Does this mean your framing in that location is solely the 1” 80/20?
Again...mad skills and design. ?
Again...mad skills and design. ?