"TrailTop" modular trailer topper building components

Walldog01

New member
Wow

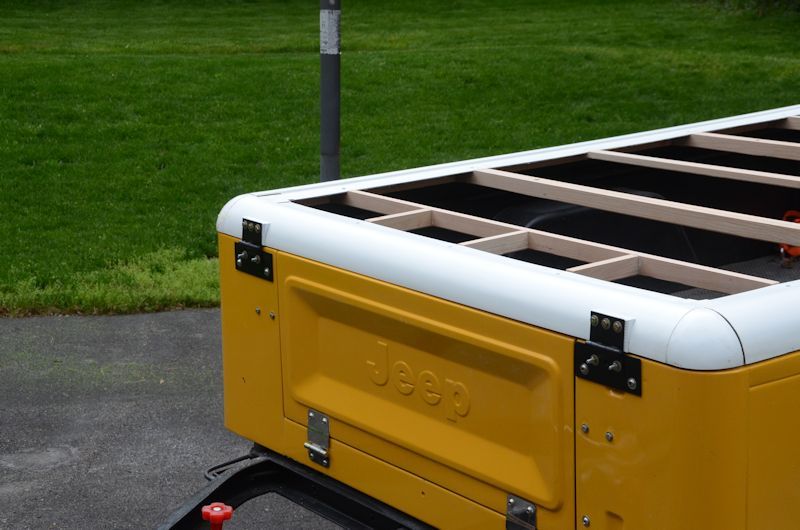
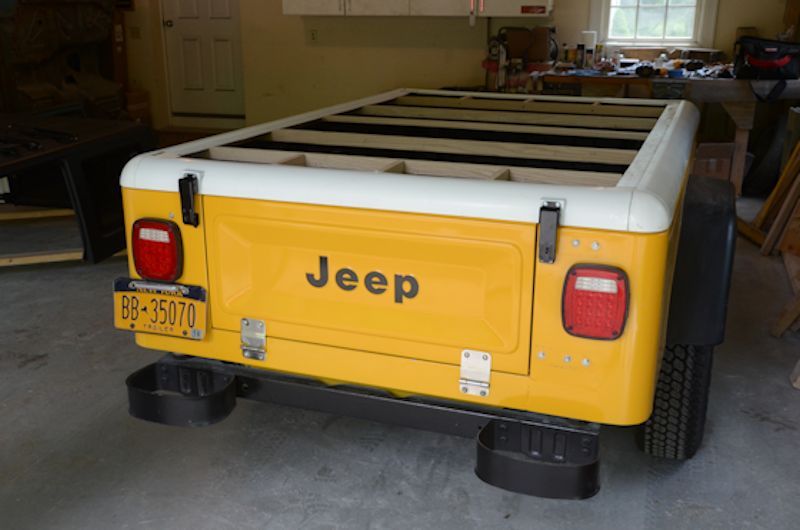
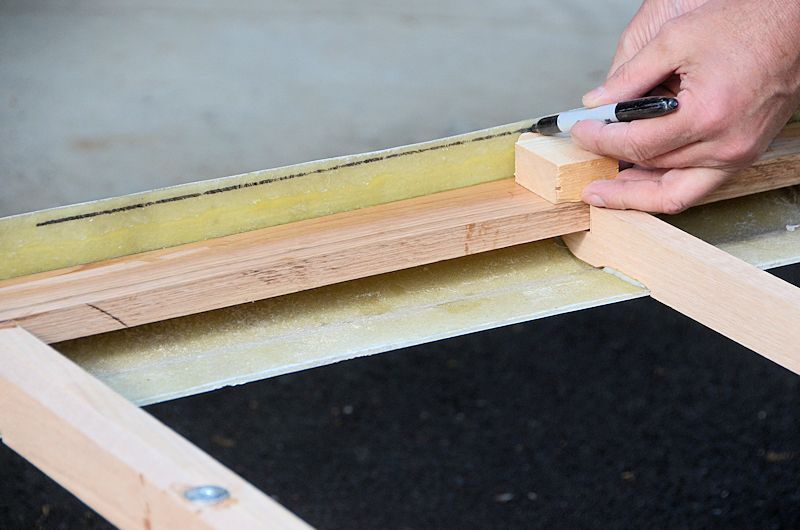
The epoxy has cured, and I'm going to do a final trim on the bottom of the fiberglass shell. I haven't done a final trim on the bottom of the fiberglass parts until now, and the reason is now that everything's epoxied together, I can mark a line a consistent distance away from the sill plate to ensure the bottom of the cover is perfectly parallel with the tub.

HardCoverAssySteps6_zps81e4249a.jpg


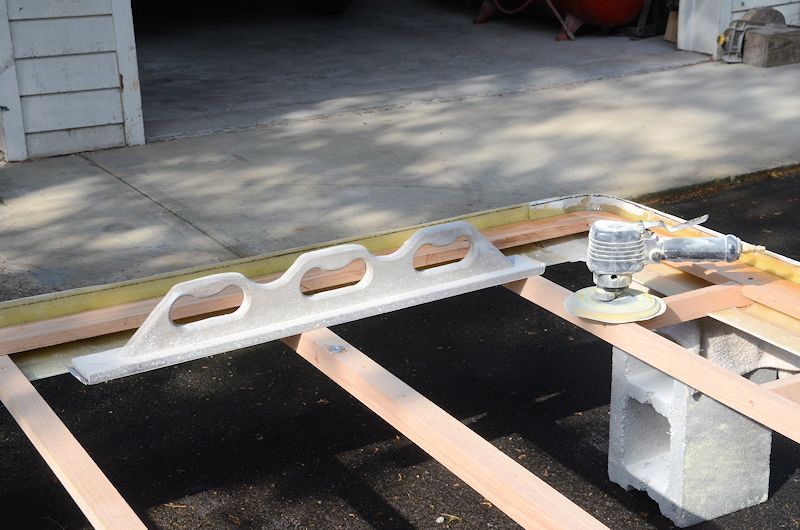
I'll use my D/A sander to rough sand up to the line, and I'll finish the job with my manual long board sander.

HardCoverAssySteps6a_zps0b8905f4.jpg


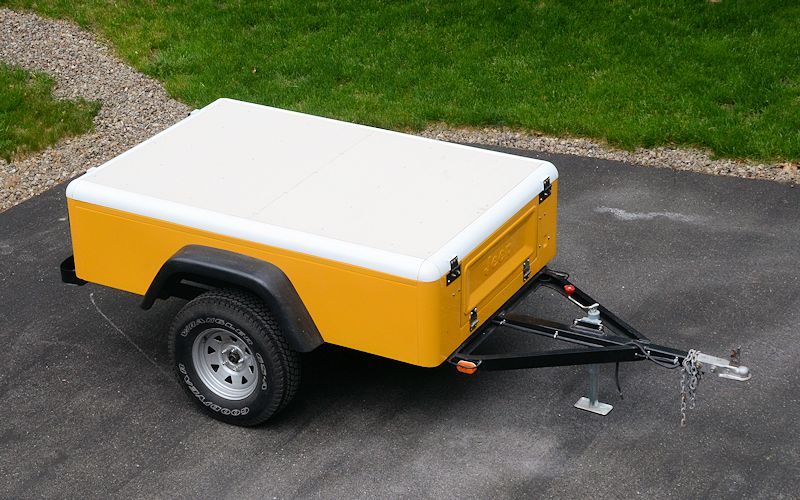
All trimmed, here it is on the tub:

HardCoverAssySteps6b_zpsfe994b56.jpg


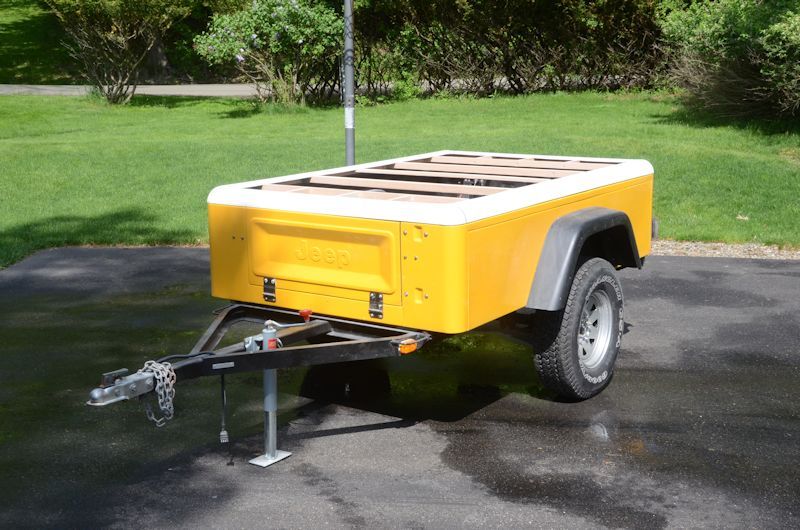
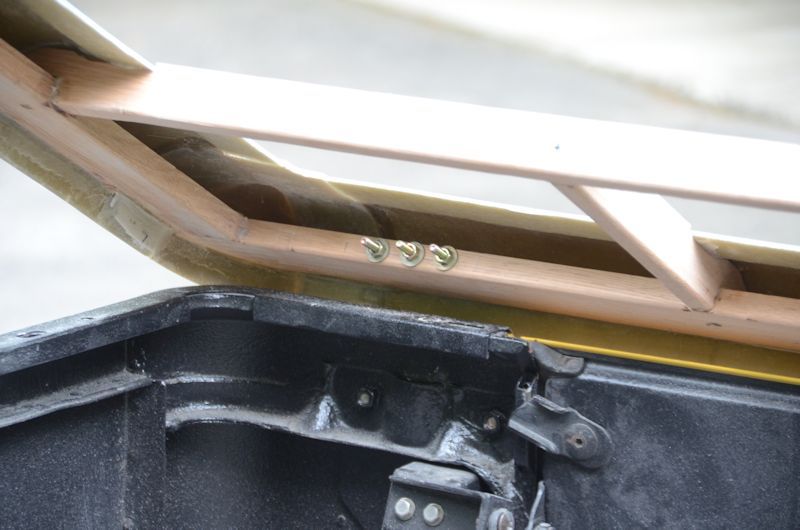
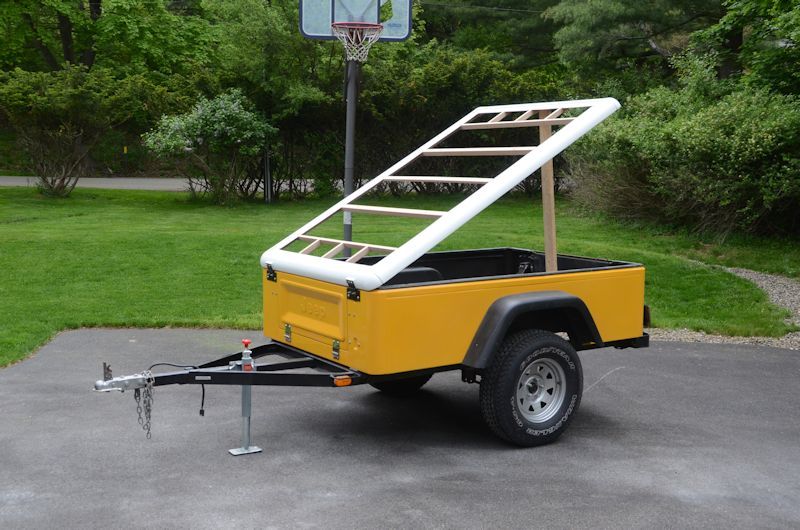
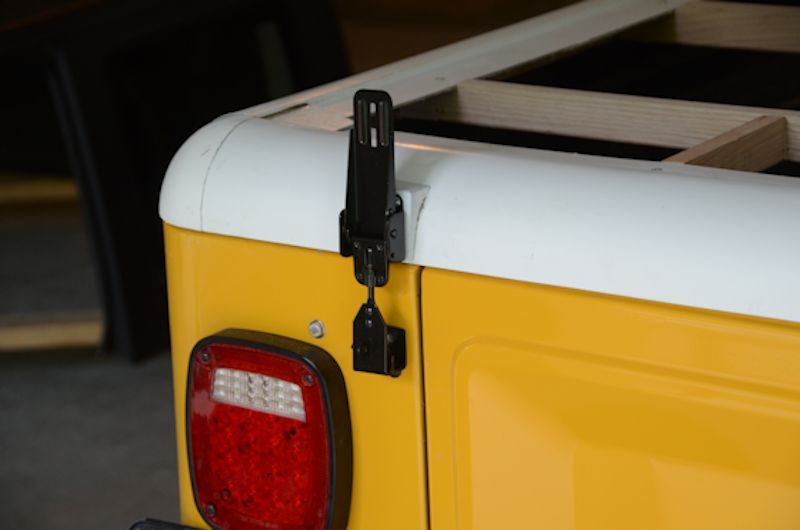
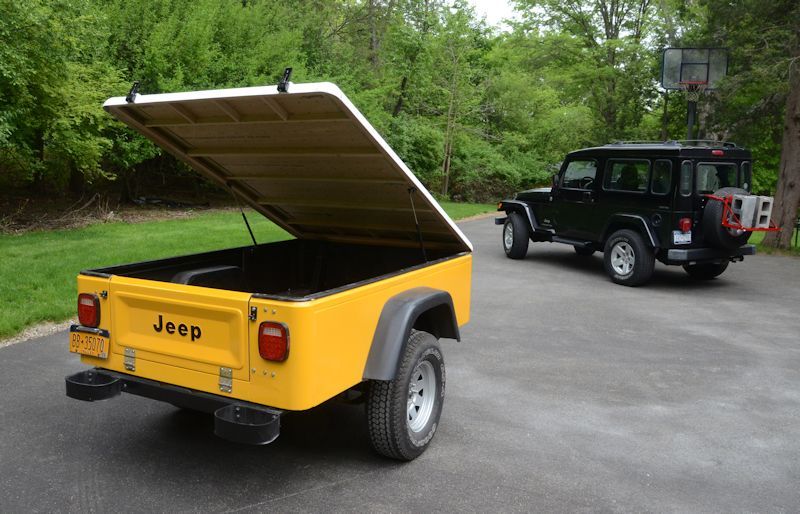
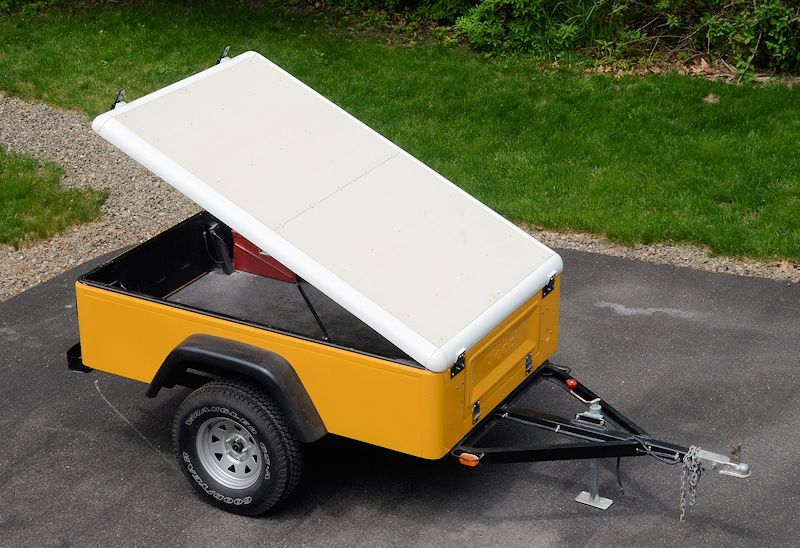
Next up: plywood for the top, and hinges. Not necessarily in that order, it's easier to do the hinges without the plywood on top. Same goes for the struts and latches, I'll probably do all of them before I install the plywood.

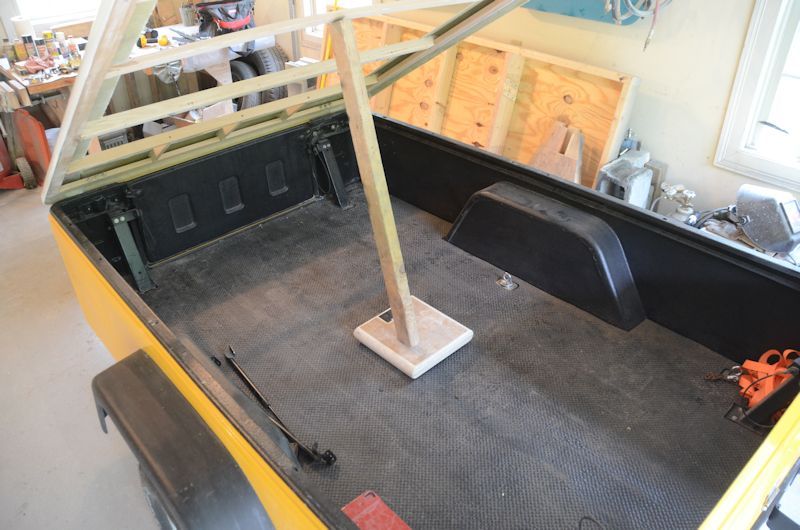
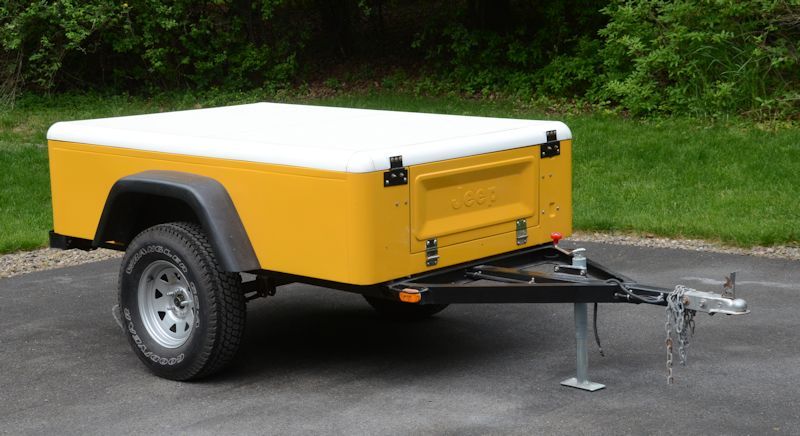
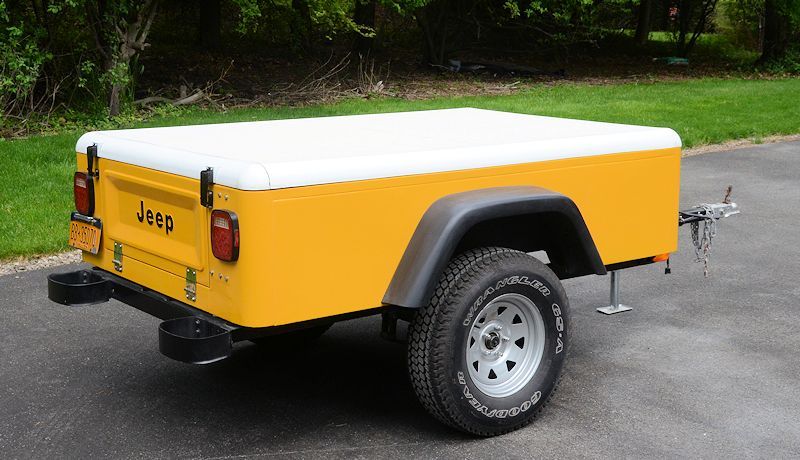
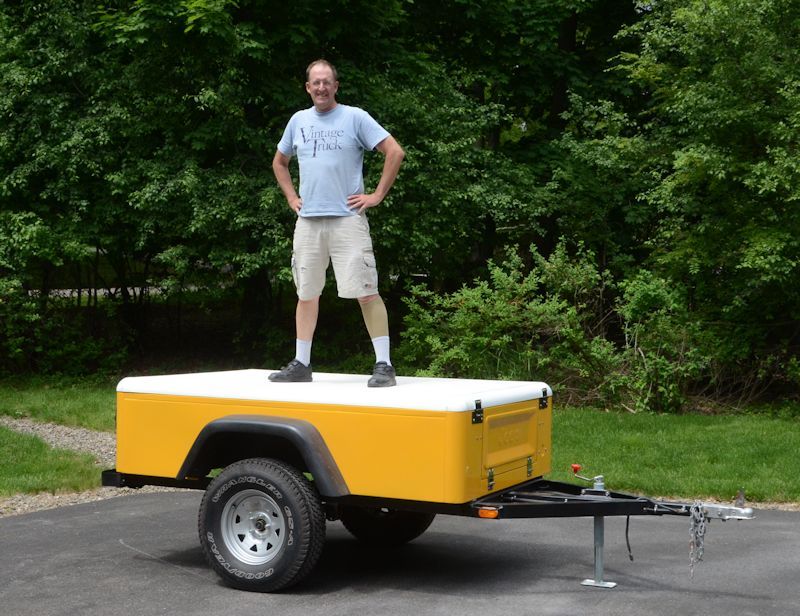
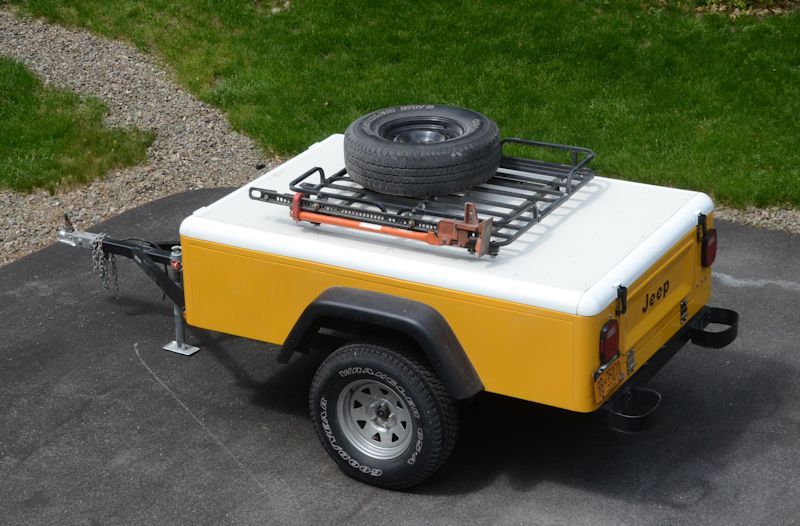
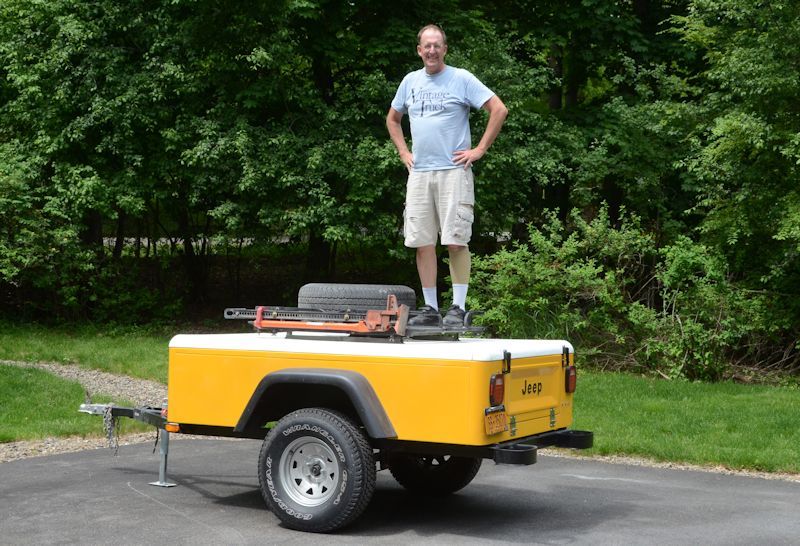
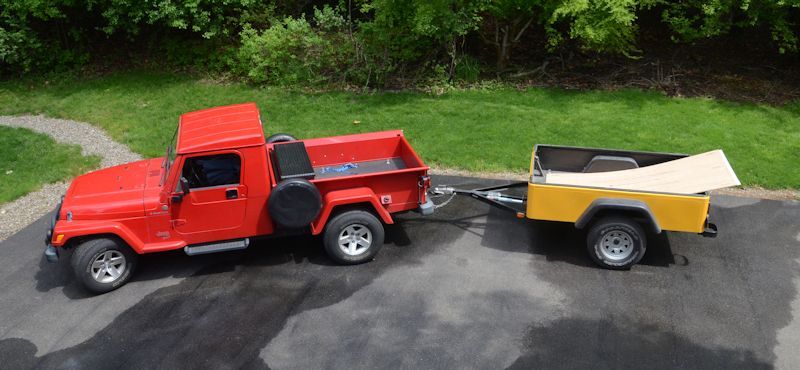
And speaking of plywood, here's the trailer earning it's keep, just back from a plywood run to Lowes...

HardCoverPlywood_zpsa0873140.jpg

Fantastic work, and thanks for all the effort in writing all this up. I don't suppose I could talk you into selling me that green jeep door from the post truck, I'd love to incorporate that into my trailer and can't get those over here.
Cheers
Martin
 

jscherb

Expedition Leader
Fantastic work, and thanks for all the effort in writing all this up. I don't suppose I could talk you into selling me that green jeep door from the post truck, I'd love to incorporate that into my trailer and can't get those over here.
Cheers
Martin

Martin,
It's about 42 pounds, probably 50 by the time it would be packed up for shipping, and about 37x42 inches before packing. Shipping would probably be pretty expensive, but it you want to make me an offer, I'll consider it. I don't have any current plans for the door.
Jeff
 

jscherb

Expedition Leader
Hinges installed:

ClamshellHinges1_zps037a56ce.jpg


The large black plates on the tub that the hinges are bolted to are there to make use of existing holes in the tub - I could have drilled new holes in the tub, but since holes were already there, I just made these plates to bolt to the existing holes, and the hinges bolt to the plates. Probably should paint the plates yellow to match the tub.

ClamshellHinges2_zps1238867e.jpg


To get the flat hinges to bolt up nice to the curved TrailTop edge, I made up some curved spacer blocks that sit under the hinges.

ClamshellHinges3_zps1445303f.jpg


The hinge bolts go all the way through the sill on the inside of the cover (need to get some slightly shorter bolts, was working with what I had on hand, also need shorter bolts for the lower half of the hinges):

ClamshellHinges4_zpsb20deea3.jpg


For now, a 5' 2x4 props the cover open... next I'll do the gas struts so the 2x4 can be retired.

ClamshellHinges5_zpscf0c5389.jpg
 

jscherb

Expedition Leader
Getting ready to do the gas strut installation, I'm using a bathroom scale to check the downforce at the location where I plan to mount the struts.

StrutForceCheck_zpsa84fa2a8.jpg


The scale shows 42 pounds, and I'd estimate another 25 to account for the 1/4" plywood that'll go on later. So two struts of about 35 pounds force each would the bare minimum required to support this cover. It would be good to have struts of at least 10 pounds or more higher than the minimum required for practical use.

The force of struts can also be checked with a bathroom scale by standing above the scale and compressing the strut against the scale, which is handy to do when verifying that junkyard struts are right for an application.
 

jscherb

Expedition Leader
The gas struts are installed.

StrutInstall1_zpsffc2cc27.jpg


One of my junkyard struts is a bit low on pressure, so it's back to the U-Pull on Tuesday for a replacement. Oh well, that's the chance you take with a used part.

Also got the latches installed.

Latches1_zps5610a496.jpg


Latches2_zps67527232.jpg


Next I'll install the plywood.
 
Last edited:

jscherb

Expedition Leader
Got the plywood installed on the TrailTop cover, here are some photos. It's just screwed in place for now, before final finishing it would be installed also with adhesive/sealer.

CoveryAssyDone1_zpsb1a4d566.jpg


CoveryAssyDone2_zps7a1b3915.jpg


CoveryAssyDone3_zps114e1d53.jpg


CoveryAssyDone4_zpsd51097c1.jpg


CoveryAssyDone5_zpsa1a7e383.jpg
 
Last edited:

CLynn85

Explorer
Looking good! Does it pass the "guy standing on top" test? When are you going to fire up the sewing machine and make a canvas for it?
 

jscherb

Expedition Leader
Looking good! Does it pass the "guy standing on top" test?

Yes, it passed the 225-lb. gorilla test just fine.

CoveryAssyGorillaTest_zps60f08bf7.jpg


When are you going to fire up the sewing machine and make a canvas for it?

I'll be posting more about the canvas part of the project in the next few days. I've got to order the fabric and a few other supplies, so hopefully I'll be sewing next week.
 

jonnyquest

Adventurer
Hmmm. How about a pop up truck bed camper shell? Shell could be cab height for travel. Pop up on tail end only for a quick lunch out of the rain. Pop up on both ends when stopped for the night. It would only need to pop up tall enough to sit up comfortably.
 

jscherb

Expedition Leader
Hmmm. How about a pop up truck bed camper shell? Shell could be cab height for travel. Pop up on tail end only for a quick lunch out of the rain. Pop up on both ends when stopped for the night. It would only need to pop up tall enough to sit up comfortably.

Several months ago I drew the concept below for someone who had the same idea but I probably didn't post it here because this is a trailer forum. It's not cab height, but you could easily build a cab height version.

PickupCap5PopTop_zpsab0b8a03.jpg
 

jscherb

Expedition Leader
Doing a little load testing...

The cargo rack/basket installed, with a 32" tire/wheel and a hi-lift style jack:

CoveryAssyGorillaTest2a_zps100d7cd8.jpg


Before anyone asks, no I did not raise the cover with this weight on top - I didn't build this particular cover to open with large weights on it, I built it to be a lightweight pop-up tent cover/roof-top clamshell tent cover, so I've used lighter weight struts and less reinforcement than I would have if I had built it to open with heavy weights. Building one for opening with heavy weights can be done fairly easily, I can describe the necessary changes in construction if anyone's interested.

And of course the gorilla had to get into the act with this load too:

CoveryAssyGorillaTest2b_zps03672a5f.jpg


The total weight on the cover in the photo above is somewhere between 325 and 350 pounds.

Next I'll try out the roof-top tent.
 

Forum statistics

Threads
186,164
Messages
2,882,735
Members
225,984
Latest member
taunger
Top