1999 4Runner SR5-Baby Beast 2

AxleIke

Adventurer
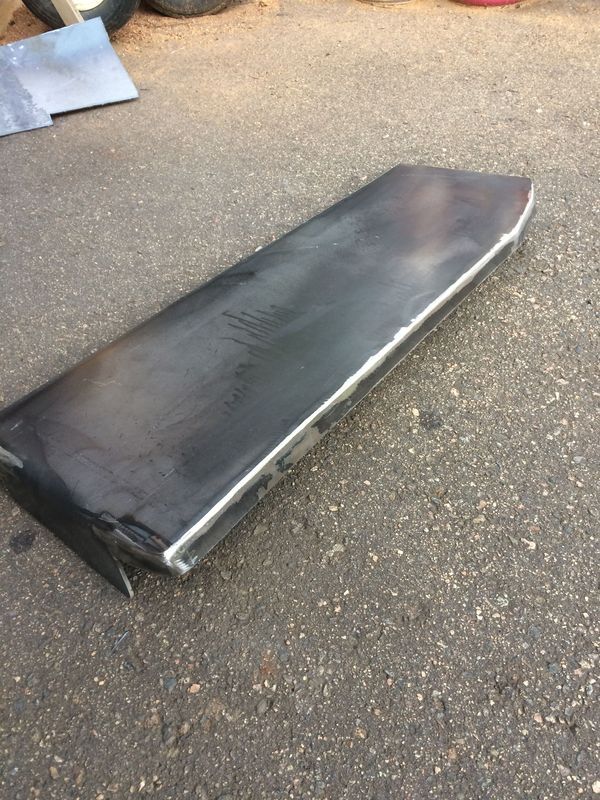
Next up: Gas tank skid. Nothing fancy. Bent it up on the brake and welded it to work with factory mounts. I also replaced my tank with a used one. The factory one got bent up and as other third gen owners know, these tanks are pitiful for range when they are stock. With the bend, I was getting 150-170 miles to a tank, which ain't great. 100 bucks from a buddy parting one out at his shop was way better than trying to fix the original.


Got a few scratches from camping up at Blanca Peak, but held up well


AxleIke

Adventurer
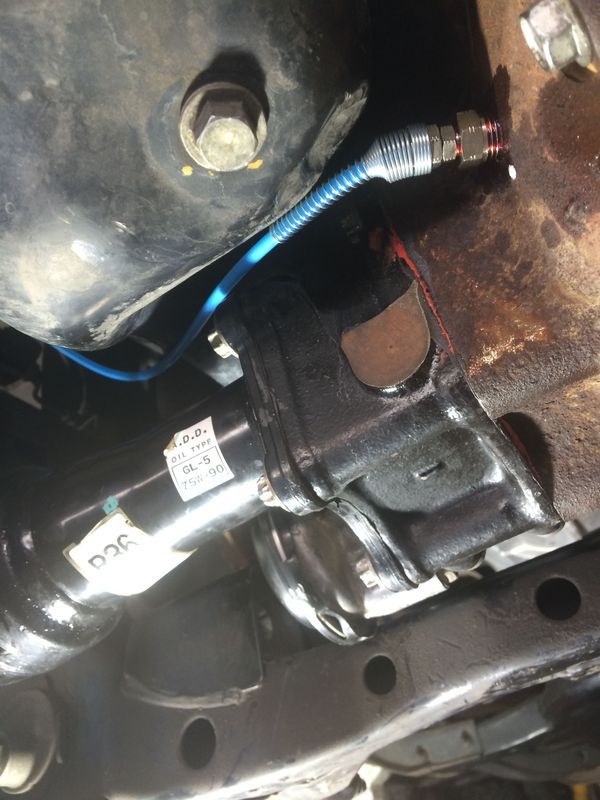
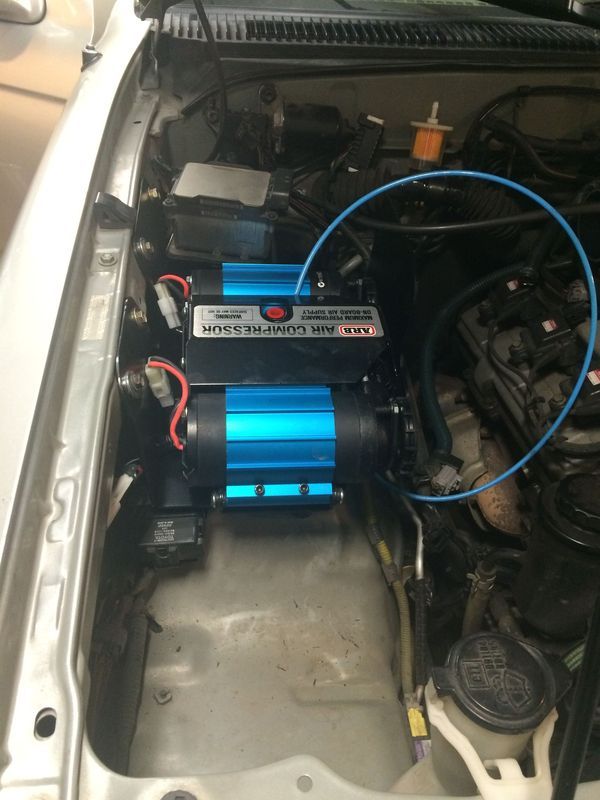
I also installed a front locker and the large ARB compressor. I paid a friend to install the locker as I hate these clamshell diffs. The air line location came out essentially next to the oil pan, and some gentle massaging was needed to get the fittings on, but nothing too bad.


I've wanted the big compressor for a while, as it can do tires quickly, and I'm tired of lugging my CO2 tank around, or, when going out camping and exploring, I often don't air down because I can't fit the CO2 tank. Well, problem solved.

I first had to make room for it. The underhood room is pretty limited on these 4runners, so I had to get creative.

The first thing that was installed was this INJEN intake. More on that in a later post.


I then had to move the Cruise control and ABS relays to make room for the beast. Fortunately, these are on very long wires that are simply ganged together with loom and tape, so separating them is a sticky, but quick and easy job.


Fortunately, the ABS relays simply bolted under the hood flange of the fender in an existing hole and all that was needed was a bending of the bracket (sorry no pics).

I then fabricated a bracket which bolts to the fender side and bottom using existing holes, which holds both the compressor and the cruise unit (no way I'm giving up cruise control!).


Finally, I finished it up with a T so I can run the front locker and air up at the same time. ARB wants you to buy this stupid kit to go with it, but I A) had no room, and B) think its dumb that they don't provide the needed fittings to do one or two lockers and air up. So 5 bucks at the hardware store and its good to go.


This is something I am VERY happy with.
 

AxleIke

Adventurer
The final piece last summer was a 7th injector kit from URD. This has been a source of trouble. It was damaged originally, which was taken care of but not without significant hassle on my part, and several shipping bills to URD, and ultimately to split second, who build these units.


Much of my final frustration is just that its not working properly. Originally the truck wouldn't run, but now it runs fine, though under full throttle it pumps fuel out somewhere (haven't found that, but the current theory is that the supercharger is possibly letting boost push into vacuum which is causing the evap canister and other things to get saturated in fuel). That is likely a plumbing issue, but the main problem I have is that it seems to actually be underpowered at lower RPM. It kicks in at 4.5-5k and you can really feel it pull hard, but I got the kit to effectively let the truck run in high gear on long trips.

I have purchased, but not yet installed, a wideband O2 sensor and a friend has the tuning software, so I am going to try to re-tune it myself. Will post up with results when that gets resolved.

I also popped on a 2.1" pulley, since I live at elevation and with the fuel mods, its the correct size. In fact, the truck actually ran better (more power) without the seventh injector and computer, but with the smaller pulley. I was just worried about leaning things out too much.

 
Last edited:

AxleIke

Adventurer
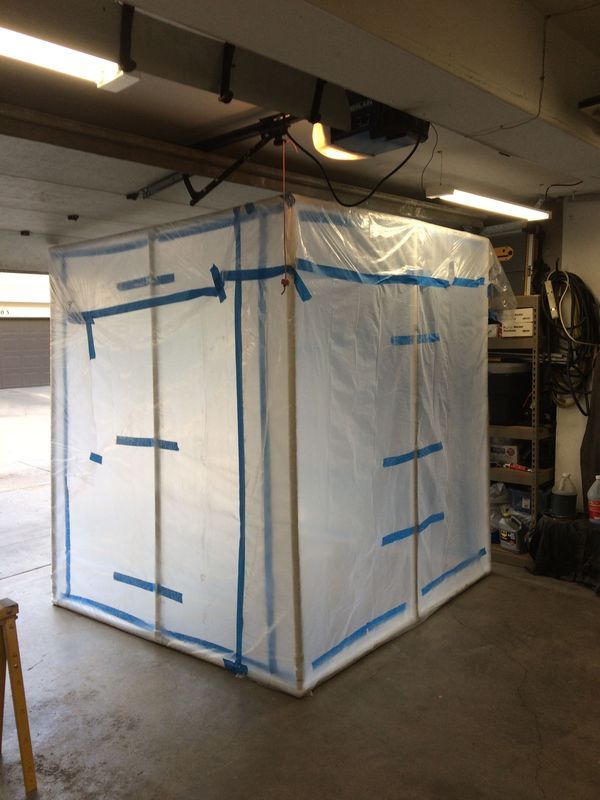
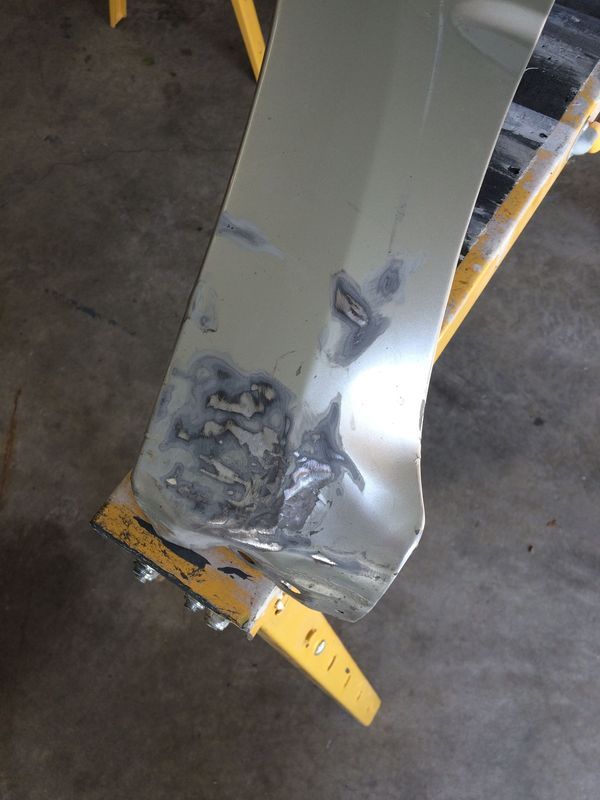
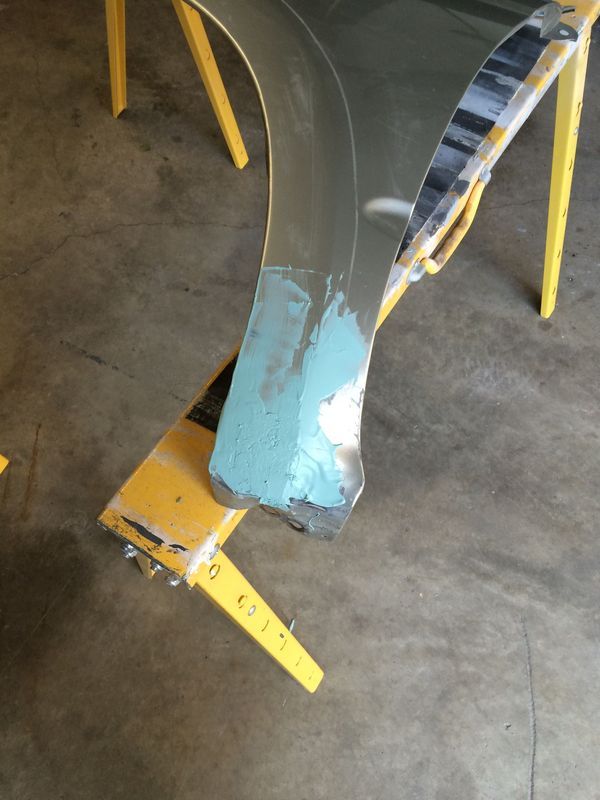
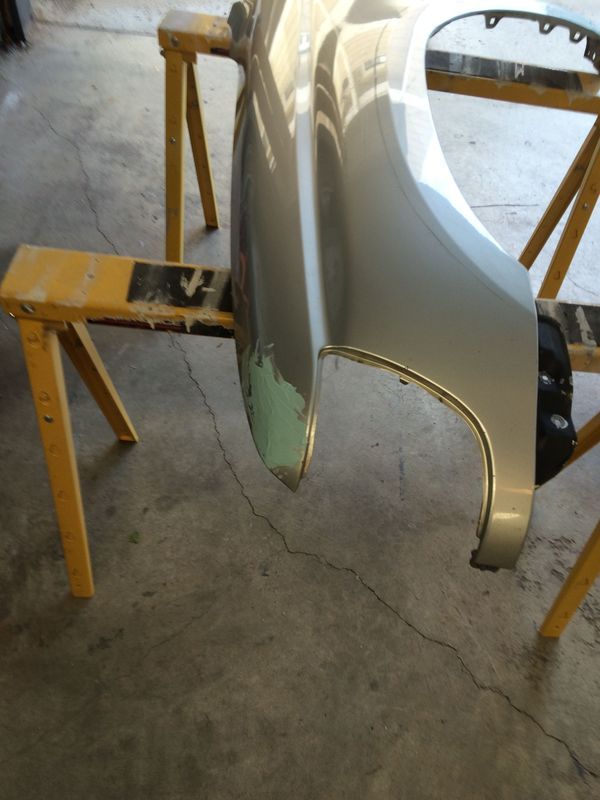
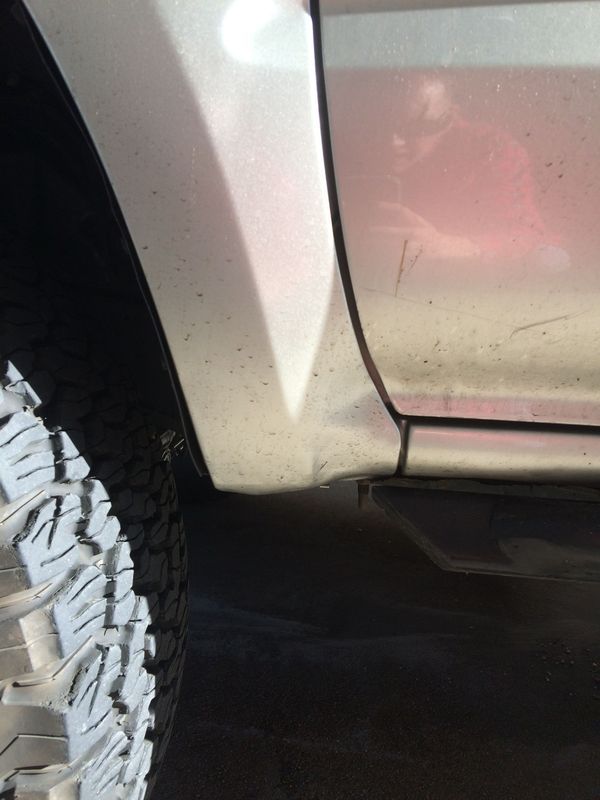
I did a bit of body work, after damaging my driver front fender pulling over for an ATV on a road (log kicked up under the tire and wedged into the fender between my sliders). Further, the truck came with SR5 Fender flares, and the PO had removed but not fixed the damage from, a wind deflector, both of which made rust spots everywhere that I have been wanting to fix. I also have wanted to learn body work for a while, so I built a home made paint booth and set to work.


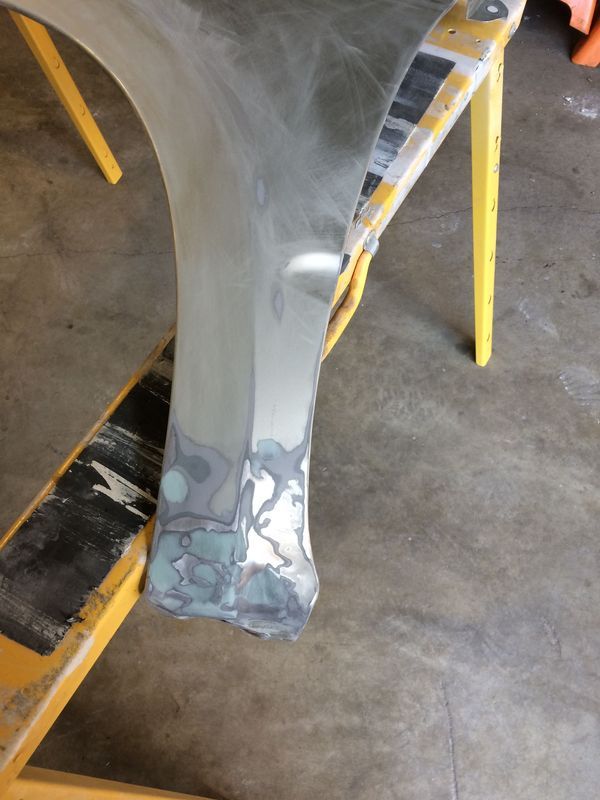
Pounded out the dent and used some glaze to smooth since my hammerin' skilz ain't all that good, lol


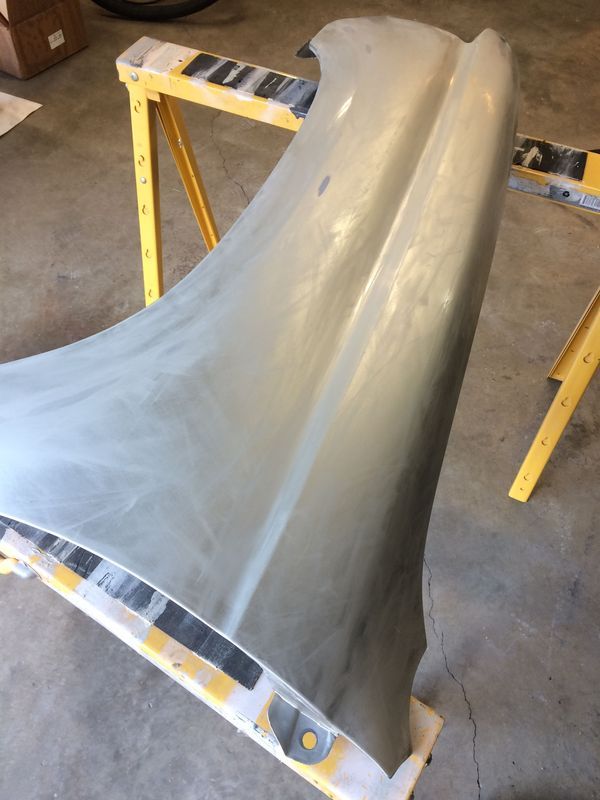
I then sanded it all up to 1500 grit, and then primed it.


I didn't get pictures of the final spray and clear coat until a few days after. Its not perfect, but it looks good enough from a distance. It started raining during the spray and I got some cracking in the paint from it drying at different rates, and the temp cooling off rapidly. But with some dirt, you can hardly notice.


AxleIke

Adventurer
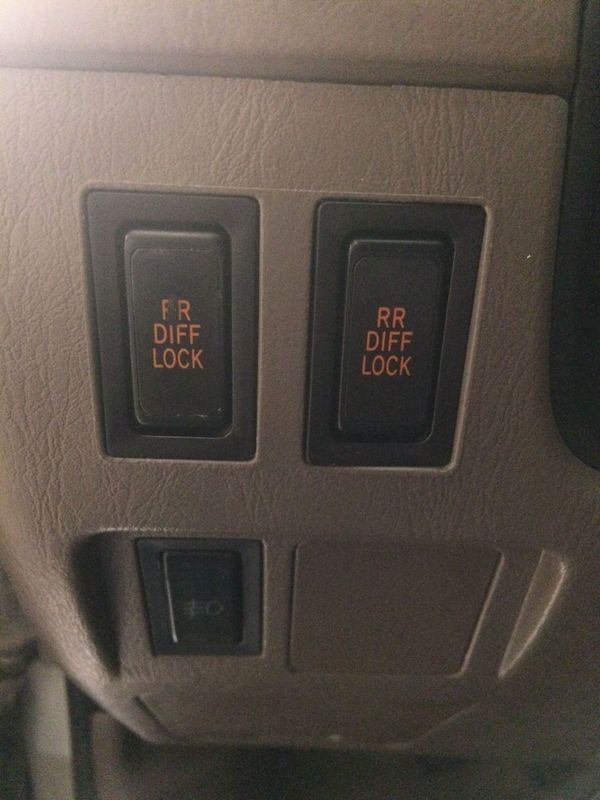
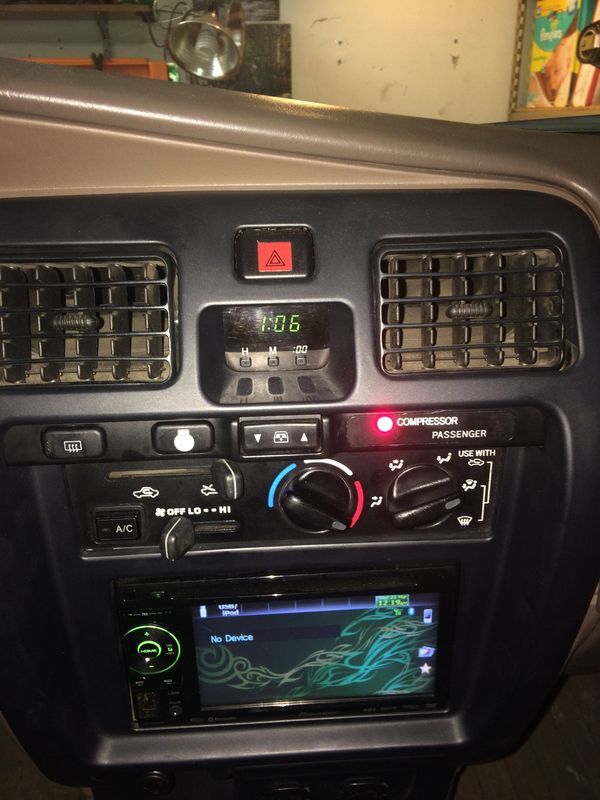
Over the winter, I went on an anal retentive OCD streak and decided that I would make all my locker stuff factory ish looking. This has been done a lot on the web but I figured I'd put it in.

So, I spent several hours with a friend at the toyota dealer working to find the correct pins for the dash switches and the guage cluster.

I have a manual, so I bought a limited automatic center console, which has the ECT Power button and the security light feature. I then modified

Only thing I'm bummed about was getting a Tacoma screen print rather than a 4runner, as the colors are slightly different. Oh well.

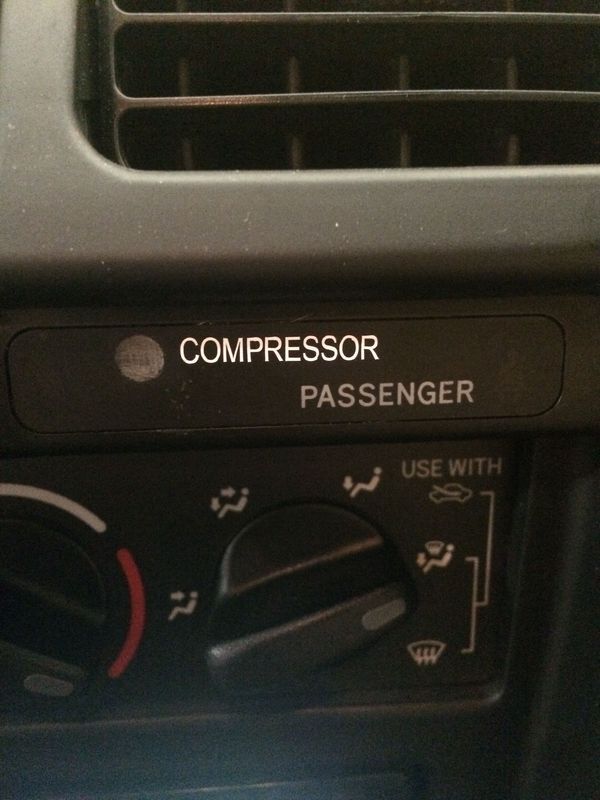
Anyway, I now have RR and FR diff lock switches, as well as a compressor switch, all using factory hardware. I originally tried to have new screen prints done, but it didn't work out, so I got stickers made online (couple bucks each, so not bad). The FR DIFF LOCK light and switch are RR DIFF LOCK that have been carefully painted, LOL.

I'm pretty happy with everything except my paint on the switch itself. I plan to fix it, but haven't had time.


AxleIke

Adventurer
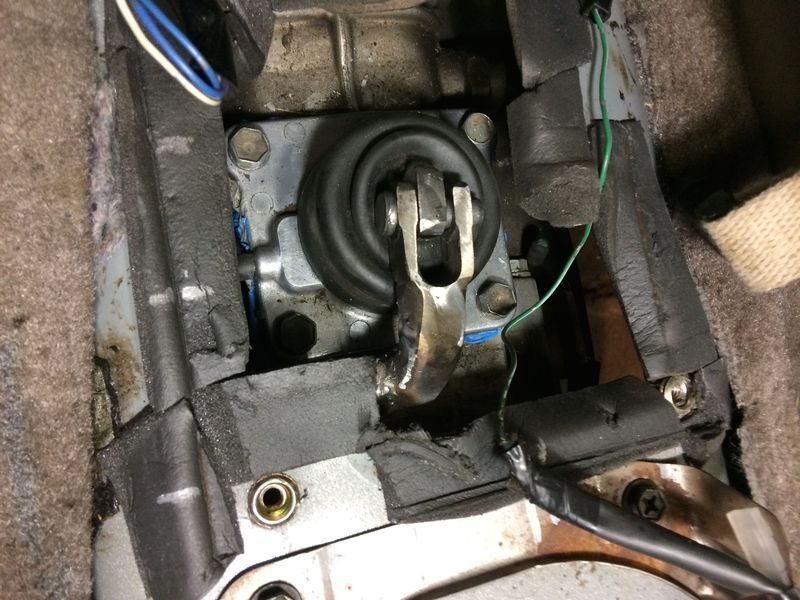
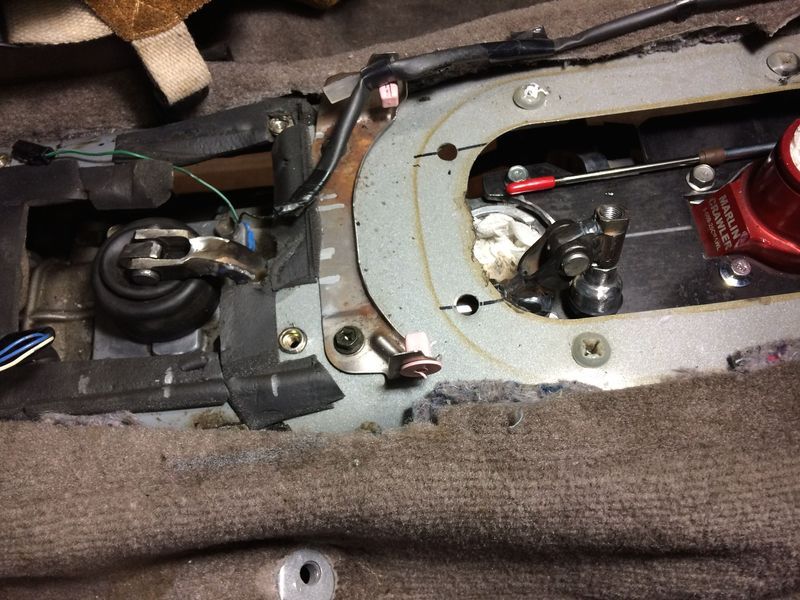
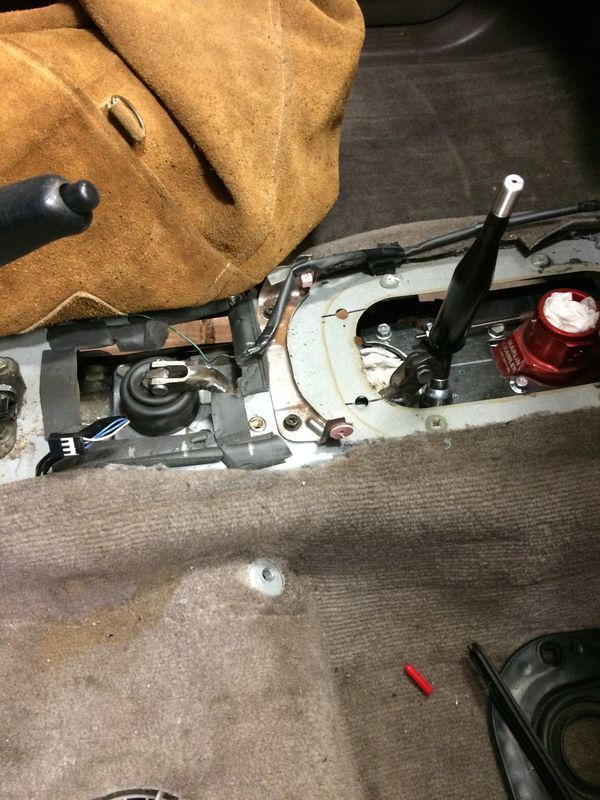
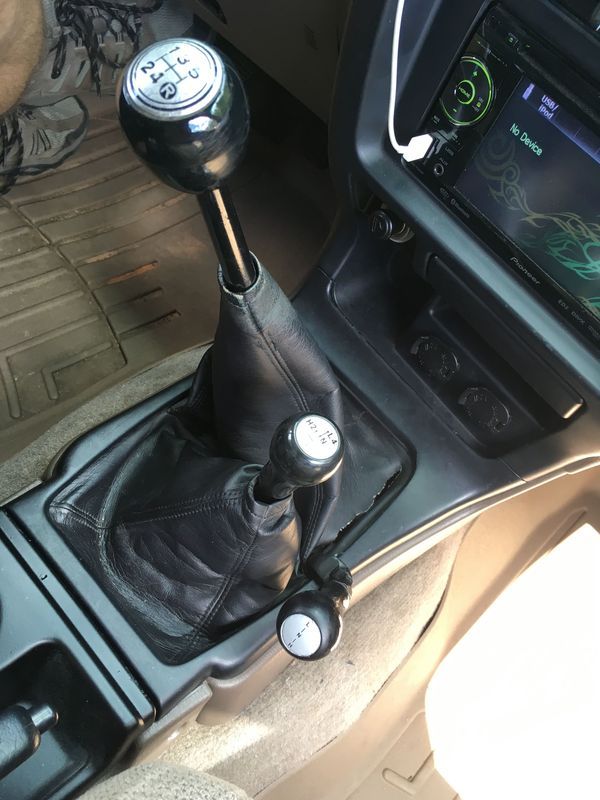
Last for now, as I mentioned before, I hated having the rear case stick hitting me in my leg and also taking up a cupholder. So, I set to work making a linkage which moves the rear case back into the stock location, and then I built a similar linkage for the crawl box so it sits to the right of the gear shifter. Still needs a little work to fit a bit better, but its operational for now. I may fix it a bit more this winter.

First, I fabbed a plate for everything to sit on:


Cut and welded the shifter to accept the link:


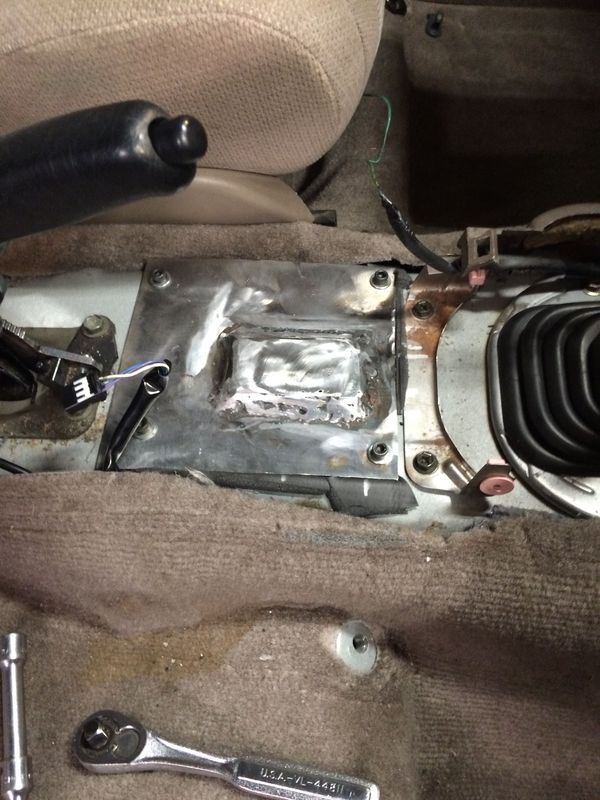
Made a little cover plate where the shifter used to come up:


And all done:


I have a video of it working, but it hasn't uploaded yet, for some reason.
 

owyheerat

Adventurer
Very nicely built 4runner. I like all the mods you have done.

Can you 'school' me on dual cases? Are you happy with your set-up? I am considering this mod on my 99 4runner, and have just started looking at the Marlin Crawler Taco Box set up. Is this similar to what you have?

Also, can you expound on the need for new lower control arms to fix the pinion angle?

If you don't want to 'muddy' your build thread you can PM me.

Thanks

Durwin
 

AxleIke

Adventurer
Great looking build so far. Keep us updated as you continue tuning the coilovers.

Will do! Thanks!

Very nicely built 4runner. I like all the mods you have done.

Can you 'school' me on dual cases? Are you happy with your set-up? I am considering this mod on my 99 4runner, and have just started looking at the Marlin Crawler Taco Box set up. Is this similar to what you have?

Also, can you expound on the need for new lower control arms to fix the pinion angle?

If you don't want to 'muddy' your build thread you can PM me.

Thanks

Durwin

Thanks! As for the dual cases, yes, I have the exact same thing as the Marlin Box (my rear adapter is marlin, but the front is Inchworm, because Marlin was going to be out of stock for 6 months when I went to purchase mine).

I am 99% happy. I am having trouble with the shifter leaking, despite trying several different shifters, bases, etc.. (this was before I did anything with the linkages, it has leaked since I put it in). I finally filled the whole shifter with FIPG before putting it together, and that has mostly stopped the leak. I saw a tad bit more leaking the other day, so I will investigate that still, but for the most part, its pretty good. Offroad, it is awesome. Lockers and dual cases are my all time favorite mods. I have had them on both of my trucks now, and I find them to be the best modifications you can make in terms of increasing the vehicle's capability.

The new arms are to adjust for the shorter drive shaft. The dual case set up pushes your stock transfercase about 8" or so backwards. So you have to have your front driveshaft lengthened, and the rear shortened.

Because the rear shaft has a double cardan joint at the transfercase end, and a single u-joint at the differential, the u joint must be straight.

The double cardan is a CV joint and therefore conserves angular velocity through the joint, even at an angle (hence the CV, or constant velocity, classification).

The single u joint does not. If a shaft has a non-CV joint, such as a ujiont in it, in order to conserve angular momentum, it must either be straight (no angle), or have a second non-CV joint at an equal and opposite angle somewhere else in the shaft. Without either of these two things, a force is exerted on the spinning shaft and this will cause vibrations, which ultimately ruin bearings and things.

By moving the transfercase back, the differential was pointed slightly down, causing the u-jointed end of the shaft to have a few degrees of angle in it. I added the new, shorter lower links, which served to tip the flange of the differential up, putting the ujoint back at zero angle.

Hopefully that makes sense. Cheers!
 

owyheerat

Adventurer
Will do! Thanks!


Thanks! As for the dual cases, yes, I have the exact same thing as the Marlin Box (my rear adapter is marlin, but the front is Inchworm, because Marlin was going to be out of stock for 6 months when I went to purchase mine).

I am 99% happy. I am having trouble with the shifter leaking, despite trying several different shifters, bases, etc.. (this was before I did anything with the linkages, it has leaked since I put it in). I finally filled the whole shifter with FIPG before putting it together, and that has mostly stopped the leak. I saw a tad bit more leaking the other day, so I will investigate that still, but for the most part, its pretty good. Offroad, it is awesome. Lockers and dual cases are my all time favorite mods. I have had them on both of my trucks now, and I find them to be the best modifications you can make in terms of increasing the vehicle's capability.

The new arms are to adjust for the shorter drive shaft. The dual case set up pushes your stock transfercase about 8" or so backwards. So you have to have your front driveshaft lengthened, and the rear shortened.

Because the rear shaft has a double cardan joint at the transfercase end, and a single u-joint at the differential, the u joint must be straight.

The double cardan is a CV joint and therefore conserves angular velocity through the joint, even at an angle (hence the CV, or constant velocity, classification).

The single u joint does not. If a shaft has a non-CV joint, such as a ujiont in it, in order to conserve angular momentum, it must either be straight (no angle), or have a second non-CV joint at an equal and opposite angle somewhere else in the shaft. Without either of these two things, a force is exerted on the spinning shaft and this will cause vibrations, which ultimately ruin bearings and things.

By moving the transfercase back, the differential was pointed slightly down, causing the u-jointed end of the shaft to have a few degrees of angle in it. I added the new, shorter lower links, which served to tip the flange of the differential up, putting the ujoint back at zero angle.

Hopefully that makes sense. Cheers!

Thanks. Yes that all makes sense. Who did you get your lower control arms from? Would you recommend them?

Also, do you mind sharing how much it cost to have your drive lines modified? Did you have them balanced?

Durwin
 

AxleIke

Adventurer
I got the control arms from Toytech.

They are okay. I had to remove the bushings and weld in factory ones because they squeaked so bad, so I'm not sure if I'd recommend them.

If I remember correctly, the front was 200 to retube longer, and the rear was 150 as it only needed to be cut down. The rear needed a new slip yolk though, so it was a bit more expensive, and why I can't remember exactly what the price was. It was in the ball park.

Balancing is crucial and was done as part of the lengthen/shorten. Any good driveline shop should do that as part of the procedure.
 

Forum statistics

Threads
188,447
Messages
2,905,081
Members
230,428
Latest member
jacob_lashell
Top