G100
Adventurer
2005 2500 Low Top 118” wheel base Sprinter Van.
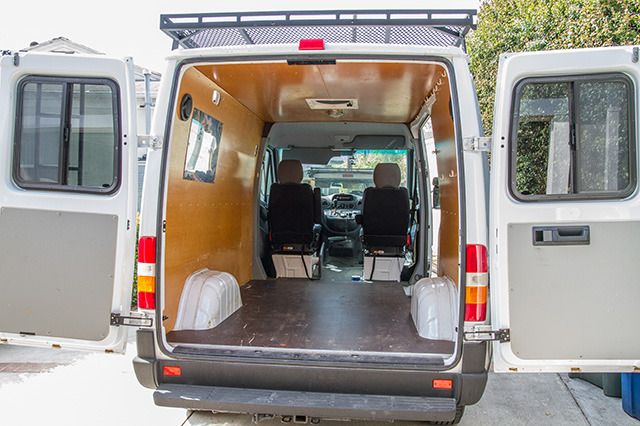
So here is what this project started out like, this is the smallest sprinter van you can get.

Looking a bit like a really nice ice cream truck.
I thought I would start a build thread, mostly because I am running into some issues and have some questions that I am hoping some of you sprinter fanatics have some answers to. First off here is the quick back story on this.
I am not the owner, the owner is a guy who became a friend of mine when he bought my first rig when I decided to sell it and start over from scratch and build a Version 2: Baja Explorer rig for myself. He loved the truck but decided to sell it and go the van route. He was really happy with rack setup on the truck and it worked great for him because her is an outrigger canoe racer so he needed a rack on the van to transport his canoes asap, so he hit me up to see if I was willing to build him a rack for the van. He wanted basically the same low profile type of rack that I built for my new truck but with some additions and modifications, you can see the build thread on my truck and rack here. He wanted to be able to carry two canoes and a couple SUP boards, at the same time. He also needed to come up with a way to get the canoes up there by himself without any help and very safely, because they cost $4000 . . . each and are very delicate. So there also needed to be a really safe way to them tie down. And of course he wanted the same awning system that I came up with for the other trucks. So here is what I came up with for the van rack.
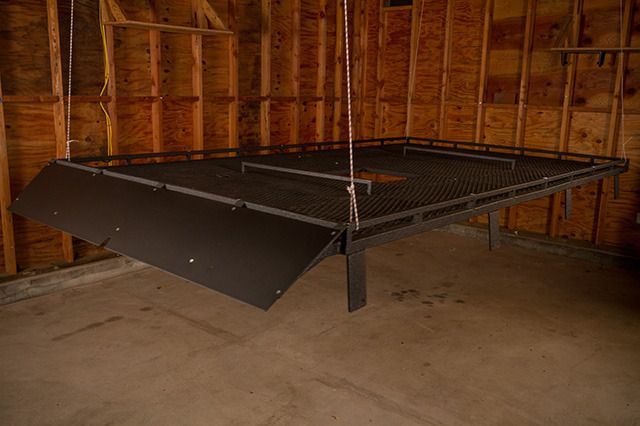
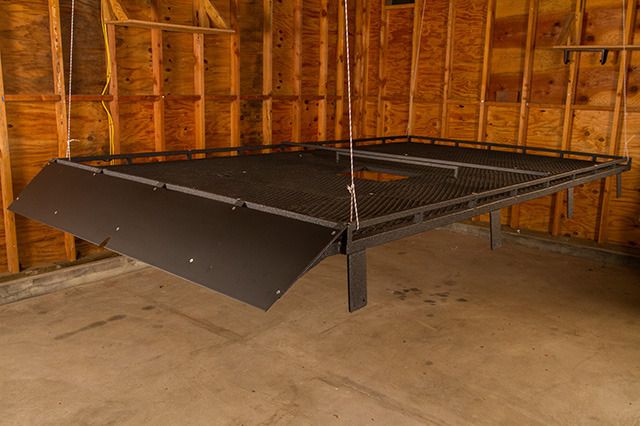
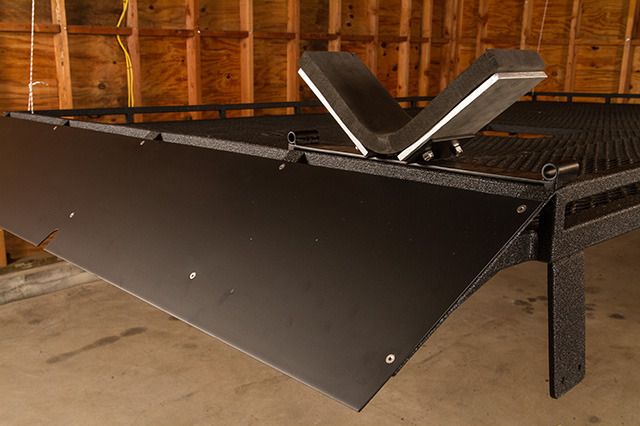
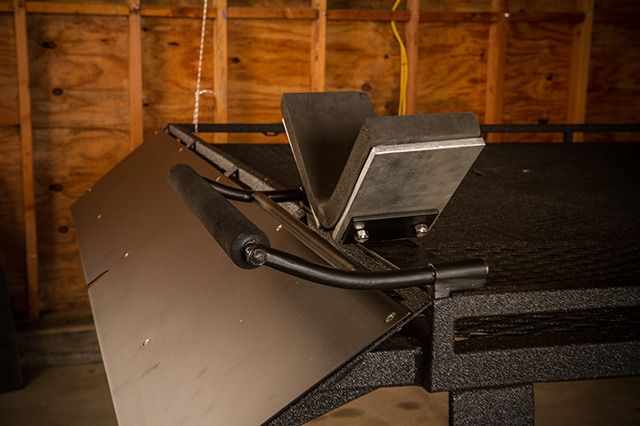
You can see it has a expanded metal floor so it is really easy and safe to get up there and move around to tie things down. All the load bars are interchange-able with front, middle and rear locations. The small center load bars sit at the same height as the side rails and can be put in place with the full width load bars to give support. The canoe cradles are also inter-changeable in all for corners of the rack and they just drop into place. They have a piece of 1” high density foam as padding. The roller bar is also removeable and inter-changeable with all four cradles so he can load and unload from both the front or the rear, it also can fit in slots at the rear center of the rack to assist in putting up SUP boards. The big square hole in the middle is obviously for the vent. The wind faring doesn’t go all the way to top rail so that you can feed webbing through the rail to be able to use to tie stuff down. The whole rack was line-Xed and I talked him in to getting the rocker panels done at the same time, which I think looks awesome and the rims got a quick coat of black paint. We also added and line-Xed the ladder and rear step which I did not fabricate. The wind faring, loadbars and cradels were powder coated.
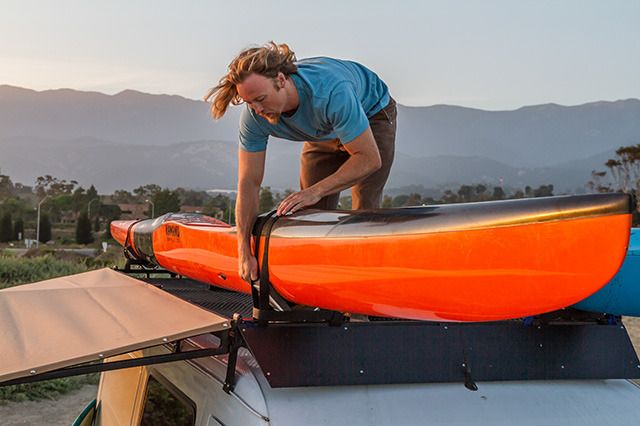
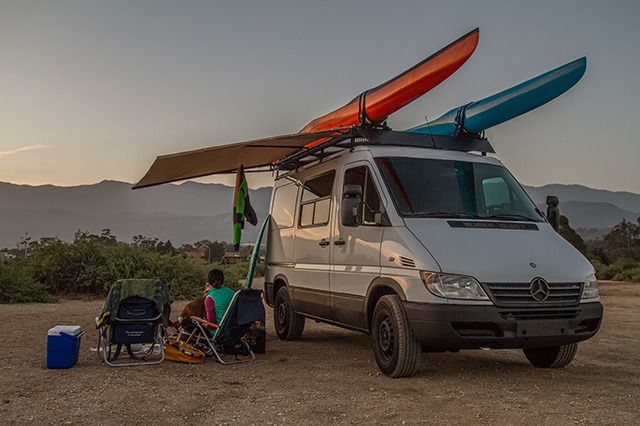
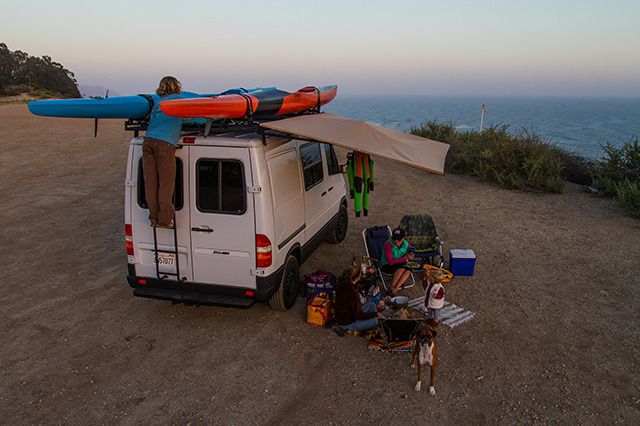
The awning setup on this van turned out awesome, the downward slope of the canopy is really nice to have especially in a heavy rain. We went camping together in central California and it poured on us really hard for a quite awhile, not a problem the water shed perfectly and we were happy campers.
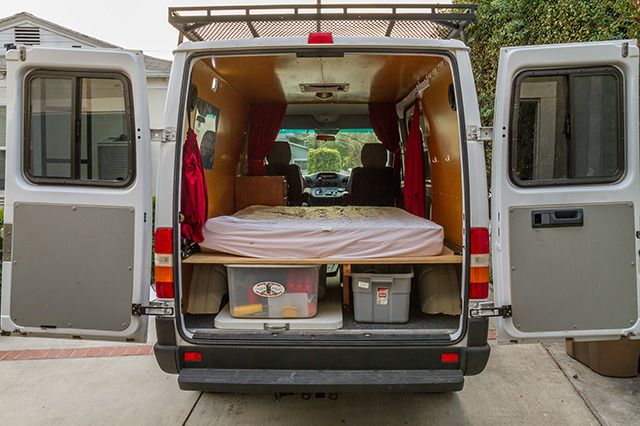
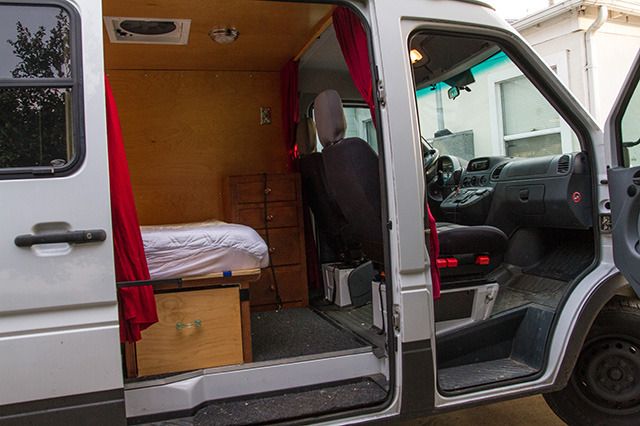
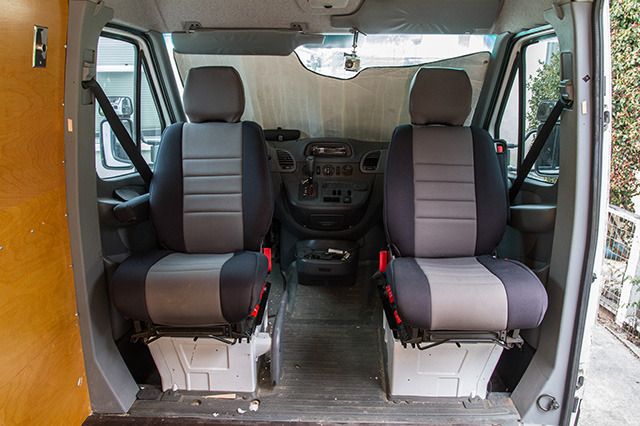
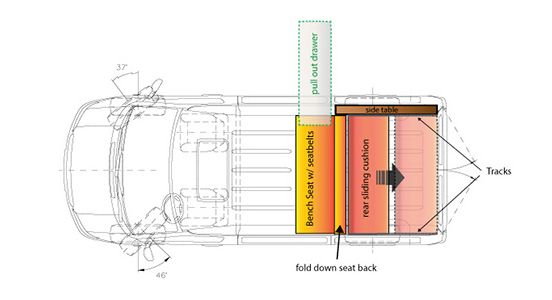
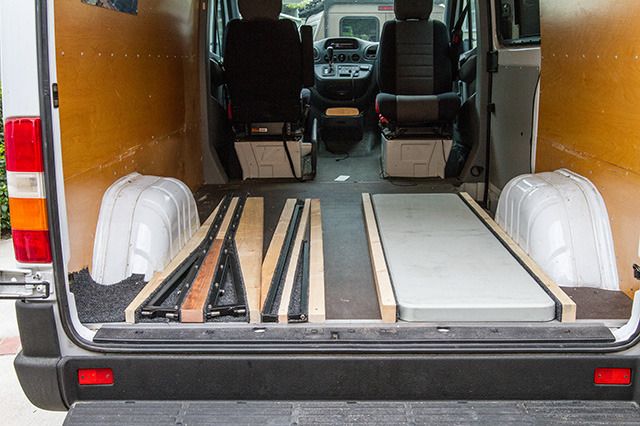
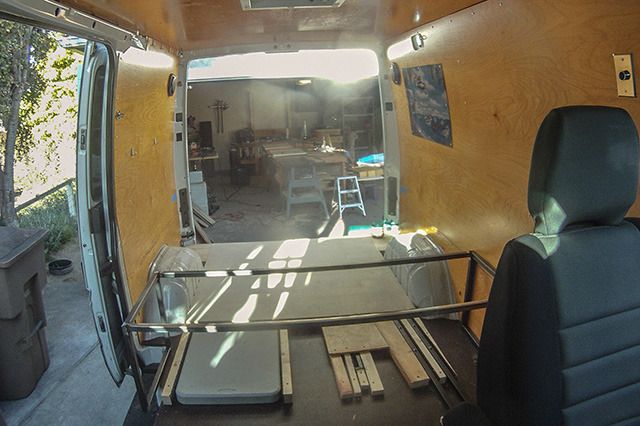
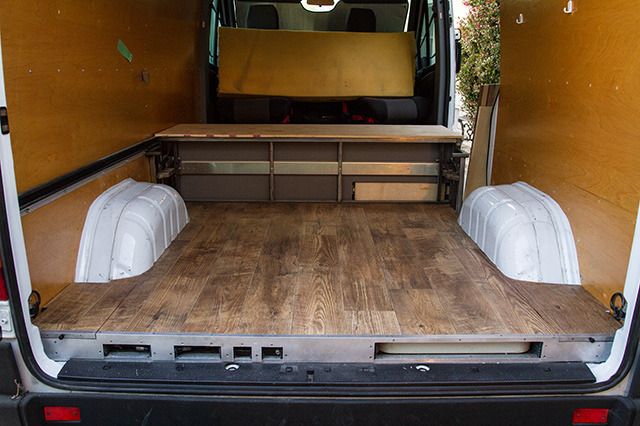
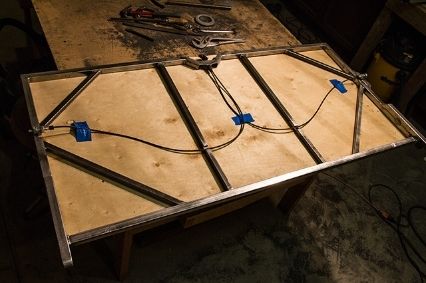
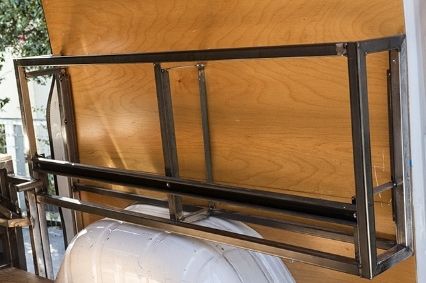
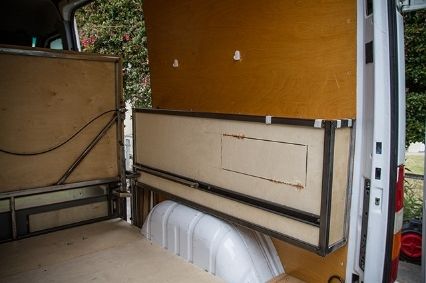
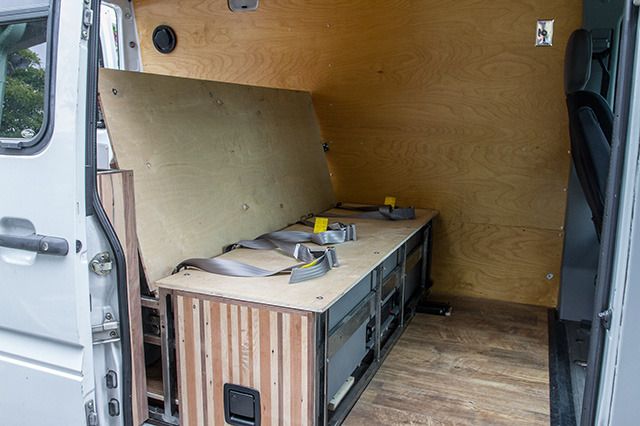
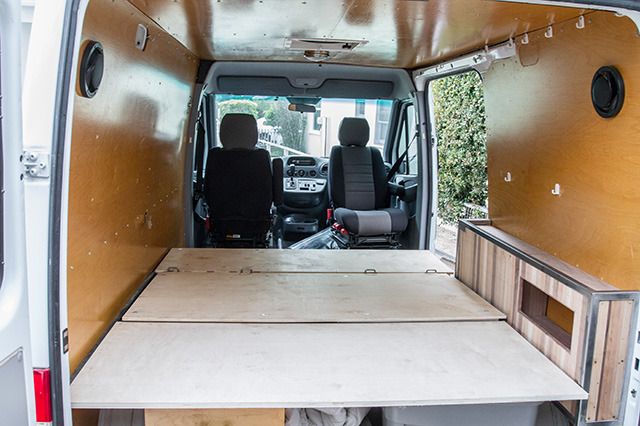
So that’s the rack, well a few months after I finished the rack, he tells me “I need to change the setup on the inside. I’m gonna need a rear seat . . . cause I am having a kid.” Whoa, big game changer!
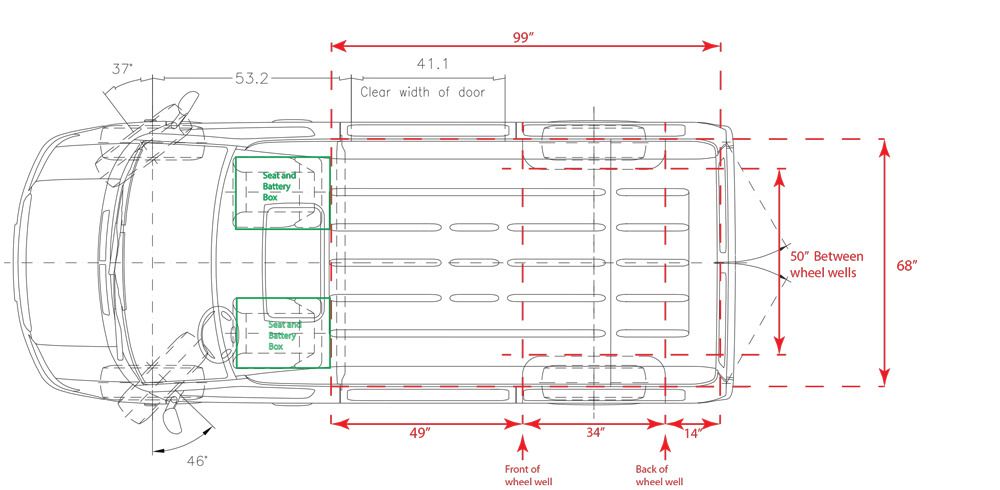
Well that’s what leads us into the build thread of the interior that I am currently working on. I look forward to would really appreciate hearing your guys’ expertise and opinions.
So here is what this project started out like, this is the smallest sprinter van you can get.

Looking a bit like a really nice ice cream truck.
I thought I would start a build thread, mostly because I am running into some issues and have some questions that I am hoping some of you sprinter fanatics have some answers to. First off here is the quick back story on this.
I am not the owner, the owner is a guy who became a friend of mine when he bought my first rig when I decided to sell it and start over from scratch and build a Version 2: Baja Explorer rig for myself. He loved the truck but decided to sell it and go the van route. He was really happy with rack setup on the truck and it worked great for him because her is an outrigger canoe racer so he needed a rack on the van to transport his canoes asap, so he hit me up to see if I was willing to build him a rack for the van. He wanted basically the same low profile type of rack that I built for my new truck but with some additions and modifications, you can see the build thread on my truck and rack here. He wanted to be able to carry two canoes and a couple SUP boards, at the same time. He also needed to come up with a way to get the canoes up there by himself without any help and very safely, because they cost $4000 . . . each and are very delicate. So there also needed to be a really safe way to them tie down. And of course he wanted the same awning system that I came up with for the other trucks. So here is what I came up with for the van rack.


You can see it has a expanded metal floor so it is really easy and safe to get up there and move around to tie things down. All the load bars are interchange-able with front, middle and rear locations. The small center load bars sit at the same height as the side rails and can be put in place with the full width load bars to give support. The canoe cradles are also inter-changeable in all for corners of the rack and they just drop into place. They have a piece of 1” high density foam as padding. The roller bar is also removeable and inter-changeable with all four cradles so he can load and unload from both the front or the rear, it also can fit in slots at the rear center of the rack to assist in putting up SUP boards. The big square hole in the middle is obviously for the vent. The wind faring doesn’t go all the way to top rail so that you can feed webbing through the rail to be able to use to tie stuff down. The whole rack was line-Xed and I talked him in to getting the rocker panels done at the same time, which I think looks awesome and the rims got a quick coat of black paint. We also added and line-Xed the ladder and rear step which I did not fabricate. The wind faring, loadbars and cradels were powder coated.


The awning setup on this van turned out awesome, the downward slope of the canopy is really nice to have especially in a heavy rain. We went camping together in central California and it poured on us really hard for a quite awhile, not a problem the water shed perfectly and we were happy campers.
So that’s the rack, well a few months after I finished the rack, he tells me “I need to change the setup on the inside. I’m gonna need a rear seat . . . cause I am having a kid.” Whoa, big game changer!
Well that’s what leads us into the build thread of the interior that I am currently working on. I look forward to would really appreciate hearing your guys’ expertise and opinions.

