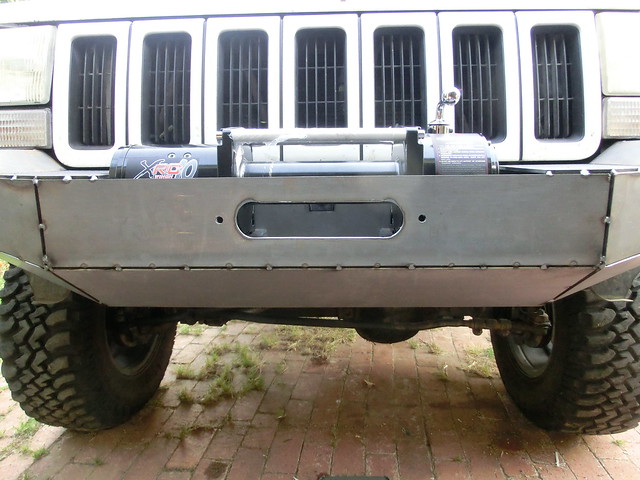
98 Jeep ZJ "SHTFV"

Recce01

Adventurer
Bumper design completed

I finally had all the patterns for the bumpers done. There would be some finishing pieces I would need to add, but I could just whip those up out of strap material when the time comes. The last thing I needed a pattern for were the rock sliders. I decided to do them similar to my last ZJ, and make them set up against the factory rocker panel for a very clean look. I just used the sheet metal break to build an aluminum pattern for the shop to follow... I think I forgot to take a picture of it though :(
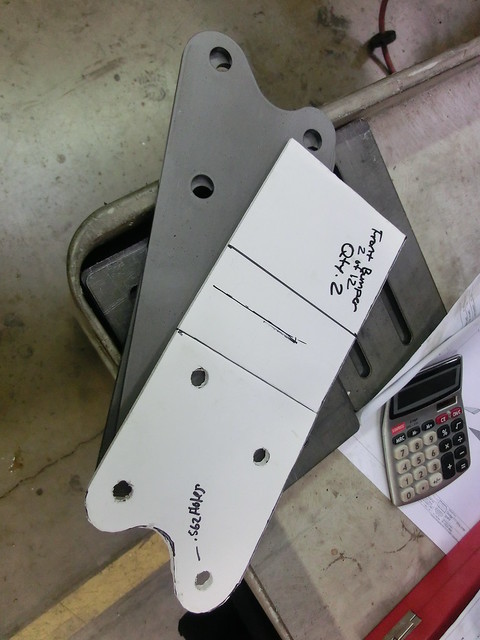
Before I headed to IPE to have all the parts cut, I had to disassemble both of the bumpers and mark the number of pieces, their quantities to be cut, and their position so I am sure to get them all done and back. Here are a few funny shots for you, here is my front bumper...

6971759312_e8658c654c_z.jpg


and here is my rear bumper ...

7117805501_c3e0c28af2_z.jpg


Next time I post, I will take you to the place where the parts get cut and ready for welding. Thanks for looking!
 

K2ZJ

Explorer
Very nice! I did something similar this week. I used cardboard and blue tape to make a rear bumper. I am waiting for the shop to call me and tell me my parts are ready. I am adding a tire carrier to the back also, I don't want a 33 on the roof. I have crappy cell pics I have been taking along the way, our designs are very similar. Keep up the good work!
 

Recce01

Adventurer
Very nice! I did something similar this week. I used cardboard and blue tape to make a rear bumper. I am waiting for the shop to call me and tell me my parts are ready. I am adding a tire carrier to the back also, I don't want a 33 on the roof. I have crappy cell pics I have been taking along the way, our designs are very similar. Keep up the good work!

Right on! I am stoked someone else is doing it this way. It is a lot of work to make them clean and nice going the route of all individual pieces. I would have loved to do press broken parts, way easier!! Do you have a thread? Thanks man :)
 

K2ZJ

Explorer
No, I may put one together after this. I have been trying to take pics along the way. I usually start taking pics, get to involved and forget in the middle and only have good after pics if I even bother since I don't have in progress ones. I already have plans to sell this one and make aluminum front and rears. A good friend of mine just bought a cnc table that can handle up to 1/4" al. I have a front bumper in cad already and I can get the measurements from this one easy.

Side note: I have had my ZJ for 12 years and I remember when I got mine I saw a picture of your old one. This was back when like eight people wheeled their Grands and yours was HUGE! I wheeled for my first time with Clayton (of Claytons Hard Parts) when he still had a full body ZJ on 34"s.
 

Recce01

Adventurer
No, I may put one together after this. I have been trying to take pics along the way. I usually start taking pics, get to involved and forget in the middle and only have good after pics if I even bother since I don't have in progress ones. I already have plans to sell this one and make aluminum front and rears. A good friend of mine just bought a cnc table that can handle up to 1/4" al. I have a front bumper in cad already and I can get the measurements from this one easy.

Side note: I have had my ZJ for 12 years and I remember when I got mine I saw a picture of your old one. This was back when like eight people wheeled their Grands and yours was HUGE! I wheeled for my first time with Clayton (of Claytons Hard Parts) when he still had a full body ZJ on 34"s.

You should start a thread. I would be very interested in checking out the aluminum versions you are working on. I considered aluminum, but I am not the best aluminum welder :) that and it takes forever to weld them with my TIG, but the mig is a lot faster, especially with my limited time frame to get them done :). I am interested in seeing how you do the tire carrier. That was a bit of a riddle for me! I had very tight tolerances to keep the bumper tight to the body.

It's cool to hear you are an old school ZJ owner. I remember the first time I went wheeling in it at Los coyotes Indian reservation. I kept getting directed to the local soccer field... Damn haters lol. They shut up after I climbed El Hill, and all the cj5 and FJ drivers were debating over what gearing and lockers I had installed (there were none). It was cool to see more and more of them off road over time. Glad you appreciated it back then, as I really felt like the black sheep :) please keep me posted on your progress!

Thanks for looking
 

Recce01

Adventurer
progress progress progress

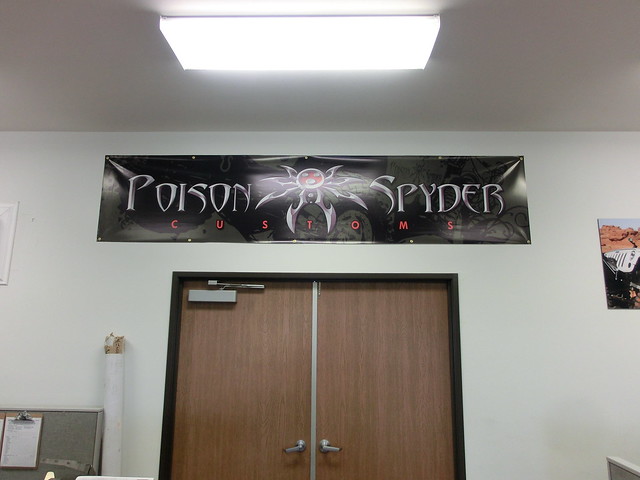
The next step in my process put me on the road. I was out visiting some of our marketing partners for work, and decided to ask for some advice. I popped into Poison Spyder and enquired about their spare tire carrier system. We just did one at work on the bosses truck, and my dad just did one on his JK, and I was really impressed with how solid it was.

7137647851_6080d3c6a7_z.jpg


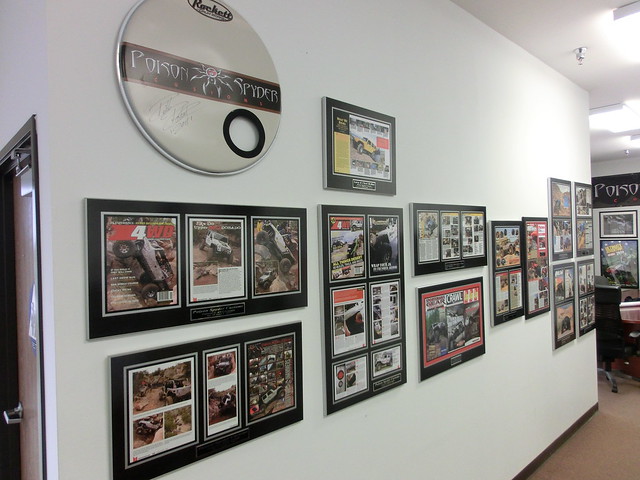
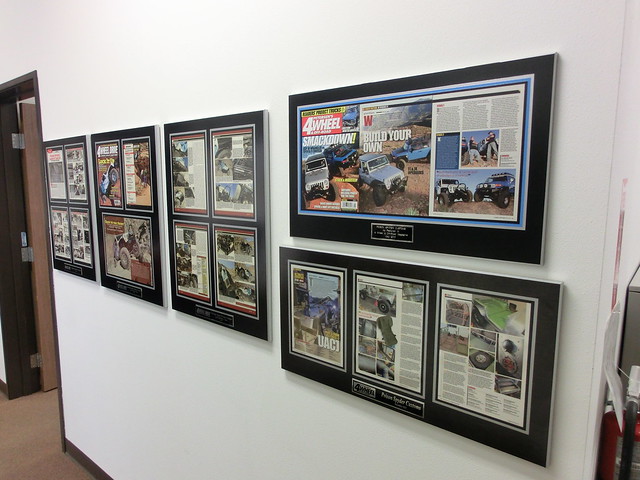
I figured these guys would be able to point me in the right direction of the parts I should be using. When you walk into their facility, you just know you are in the right place, they have done tons of projects for all the big magazines, and make some really high quality gear!

6991571890_665d73247a_z.jpg


7137654899_c46db879ff_z.jpg


6991580814_ae28358a3d_z.jpg


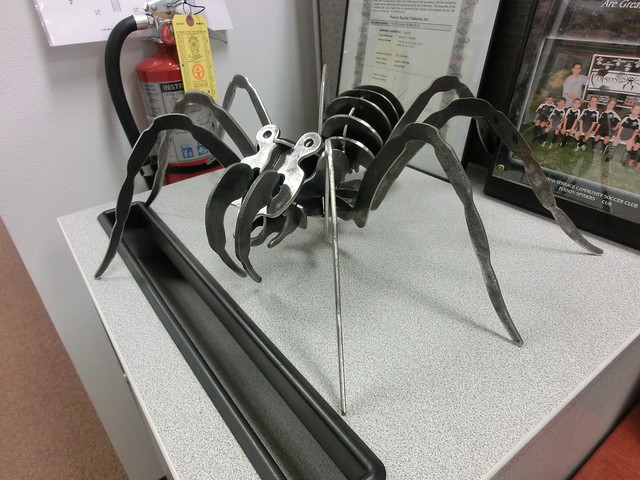
I was half tempted to ask if I could buy one of these, but with how the wife feels about spiders, I knew I would be sleeping on the couch if I brought one home :)

6991575670_7d5df6c246_z.jpg


The guys over there were more than kind to me, and supplied me with a complete spare tire mounting kit. I am not even sure if they sell these seperate, as I have not seen them on their site, but the guys said I had to have these parts to do it right. Very cool! Thank you Poison Spyder!!

7257436778_d170d782bb_z.jpg


7257433550_5d0154928e_z.jpg


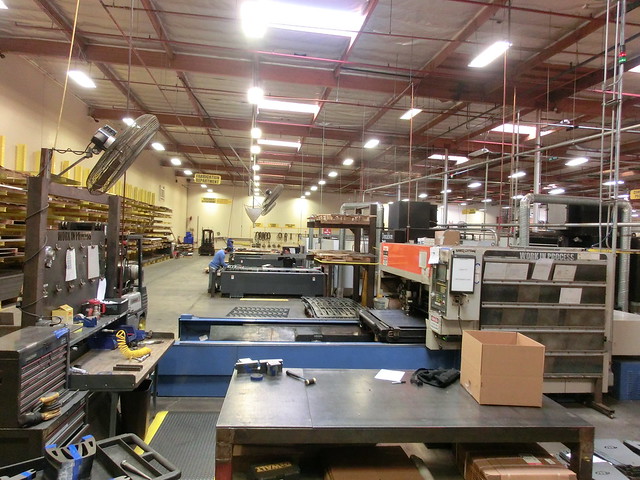
My next stop was at IPE in Norco, Ca (Industrial Process Equipment) or known as Cody Waggoner Laser Cutting. Late last year I built an R/C Scale Crawler for Cody and his Dad to match their full size Rock Crawler, and purposefully didn't charge him to do the job. I knew at some point I would be in need of some laser cutting, and that time was now! I dropped off my rediculous stack of paper patterns to Cody, and he and the guys get to work making metal replacements for me!

7137664461_bd565f33b2_z.jpg


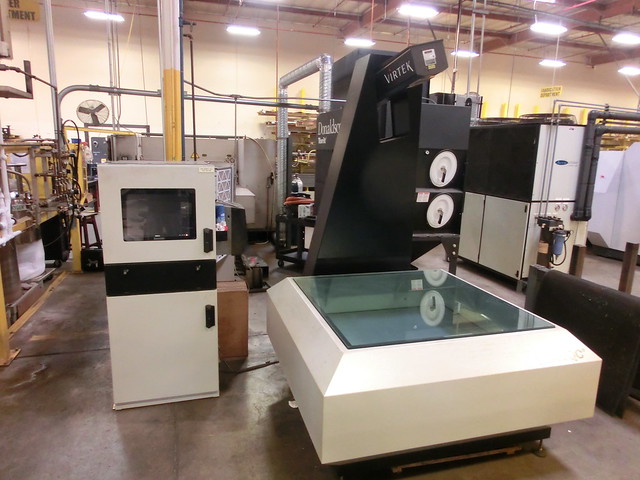
Their first step involved placing my patterns on this really cool machine. It scans in the basic shape of the material to be cut in the full scale dimensions, they just need to clean up the edges and do a little tweaking to the shapes, and they have files ready to cut!

6991515906_ce6d1b96c9_z.jpg


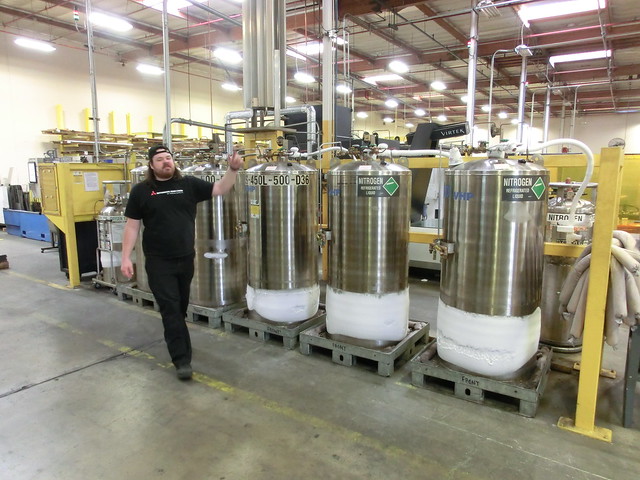
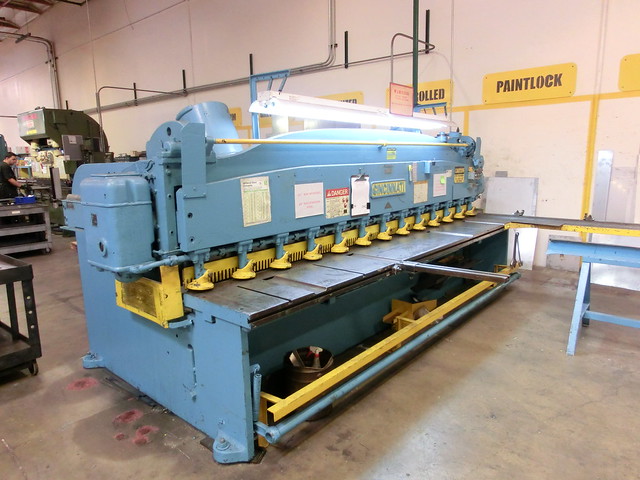
This place is by far the cleanest job shop I have ever walked into. They have some really cool equipment, and a ton of stuff I have no idea what it does :)

This is James, he is the computer mastermind. He can draw in 3d way faster than I can build lol

7137594385_f2a5b173ed_z.jpg


I wish I had some of these machines at home in my garage!

6991525506_35e41c42cc_z.jpg


7137609263_5034cbb335_z.jpg


6991584666_9bd647b2da_z.jpg


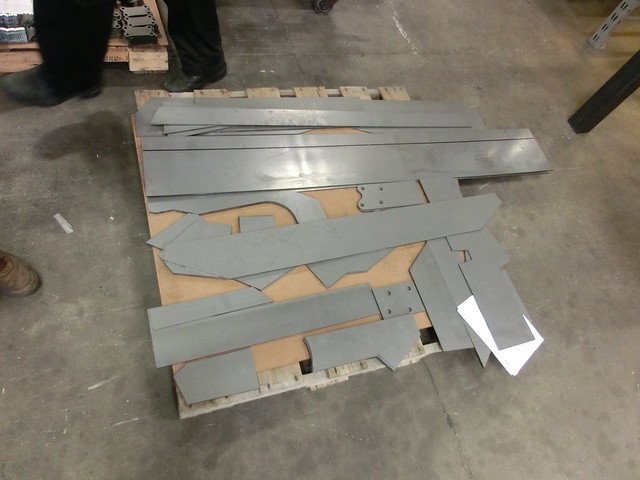
Ah yes, there is the pallet with my bumpers on them, though.... some assembly required :)

6991581990_fda4a38ce7_z.jpg


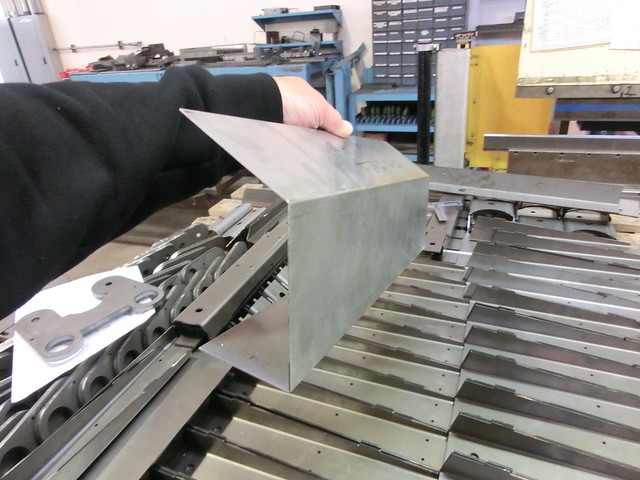
The only thing left for these guy to do to finish my order was to bend up the sliders. Ah, there is that slider pattern photo I couldnt find earlier

7137591615_37bc14f9c8_z.jpg


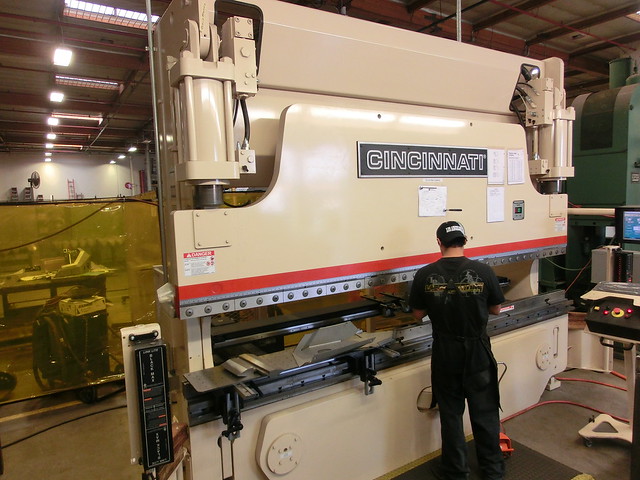
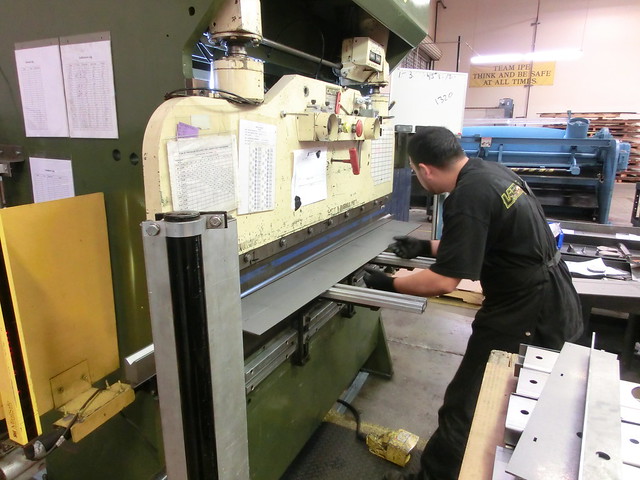
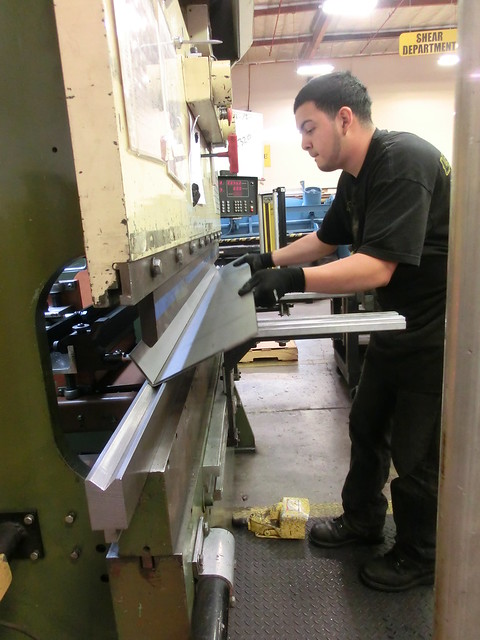
They have to place the material in a press break and give it the business to bend this stuff!

6991519048_8f8ef6ff55_z.jpg


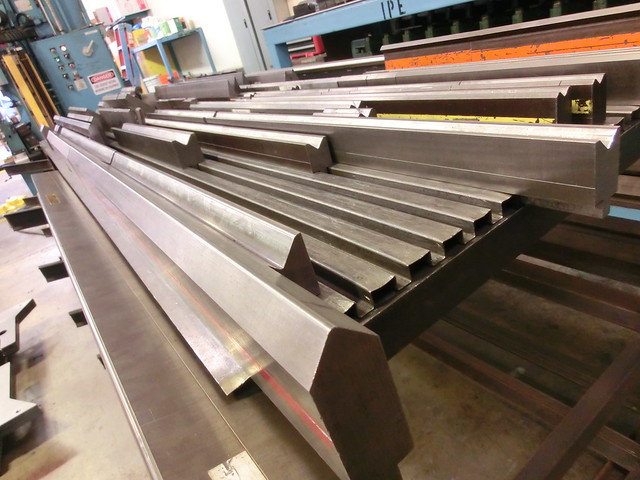
These bending machines are amazing, the tooling they have is extensive for every radius and dimension you could imaging

6991517286_e6d2776a50_z.jpg


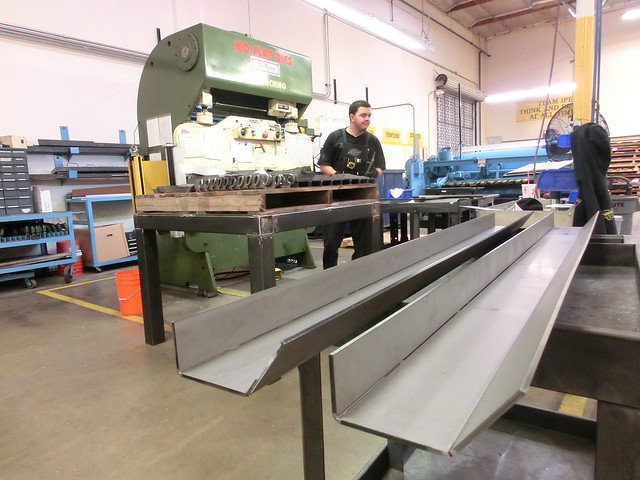
The machine struggled a little with these long parts, but in the end, it produced a job well done!

6991542744_578556724d_z.jpg


7137630201_689fe7c71a_z.jpg


I went ahead and had him put some bends in my front bumper brackets while he was at it, I figured about the same bend as the sliders should suffice

6991520828_ddfd95ca80_z.jpg


With all parts in hand, it was time to head to the hardware store for some bolts and nuts, then back home to start assembling my jigsaw puzzle!
 

Mekcanix

Camper
This amazing sir. I can not wait till my better half is done with her 2002 WJ so i can do this Wow nice work and attention to detail
 

GCRad1

Adventurer
Flower Box

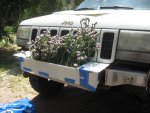
When Mr. Recce01 went inside, I added a floral arrangement to his bumper mockup:
7106400505_273afd54a2_z.jpg
7106399239_bca189b7a3_z.jpg

When he came back out side, he tossed them out and said lets see if this fits:
6960331078_277ca3c1ef_z.jpg

Hey Recce01 - Is this thing built yet!?!?!?!
 

Recce01

Adventurer
This amazing sir. I can not wait till my better half is done with her 2002 WJ so i can do this Wow nice work and attention to detail

HAHA! We are always waiting on the better half huh? Thanks man!

When Mr. Recce01 went inside, I added a floral arrangement to his bumper mockup:
View attachment 102439
View attachment 102440

When he came back out side, he tossed them out and said lets see if this fits:
View attachment 102441

Hey Recce01 - Is this thing built yet!?!?!?!

OMG, I knew you put flowers in there , but going to your truck to "get the camera" for the winch shot, nice touch man! I owe you one. I cant believe you put flowers in my Bad ***** bumper mock up.... and took pictures...and posted that here!!! I get you yet GCRad1
 

Recce01

Adventurer
Time to get crackin! Front Bumper

Well, the day was upon me, when I finally had all the components to lay down some tack welds and see the bumpers come to life. I just had to wait until I was off work to get after it!

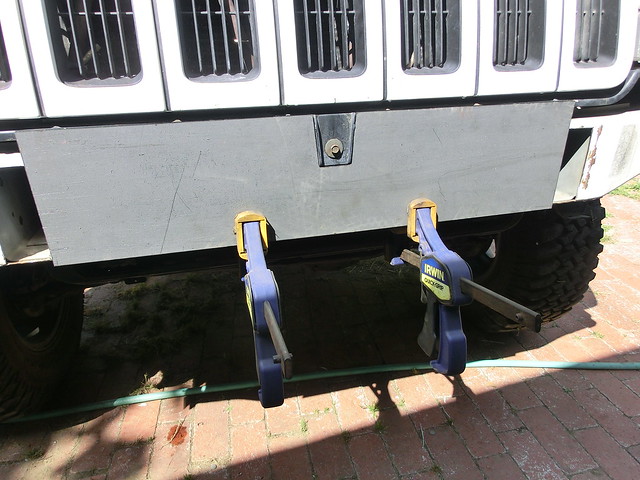
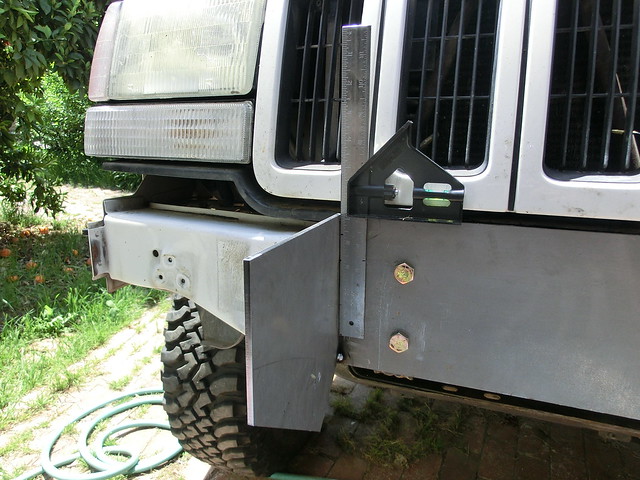
Ok, first things first, I had to put the main plate across the front face of the chassis

7169042462_ded6c26933_z.jpg


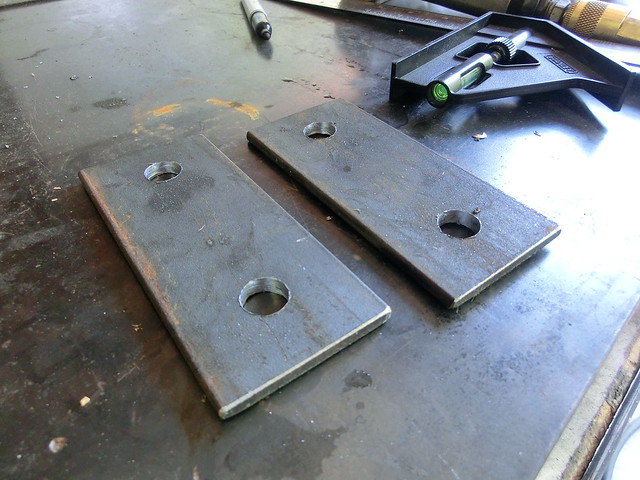
Then I had to fashion some backing plates

7169059170_7bb36d692f_z.jpg


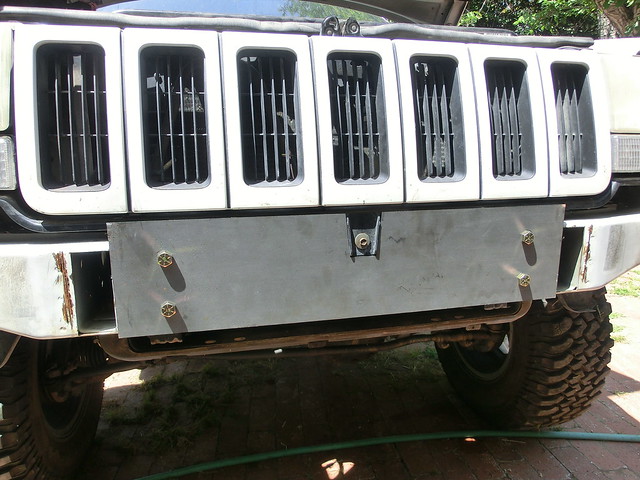
Generally speaking, where ever you mount plate to unibody, you have to do a doubler plate behind it, to sandwich the stock material in place, this makes it significantly stronger! I do not have any scientific data for this, just experience that it worked last time, and quite well :)

7169068208_3085f393a7_z.jpg


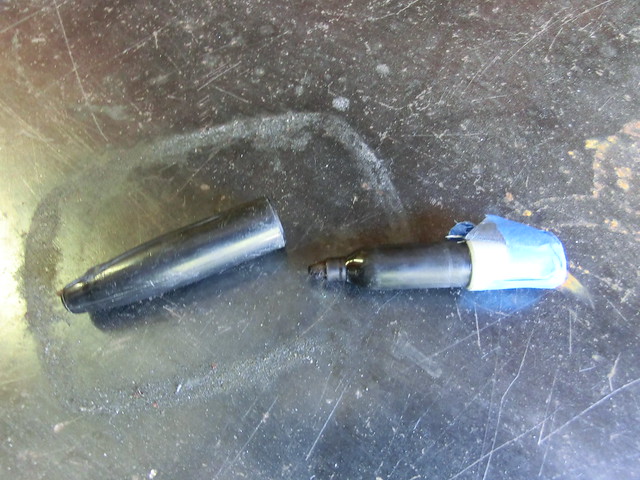
Marking these holes from the backside to drill them required the old "half a sharpie" trick, as the radiator is right there

7169061490_daf8ec2e0c_z.jpg


lol, a little painters tape keeps the ink off of m fingers

7169063826_753142f514_z.jpg


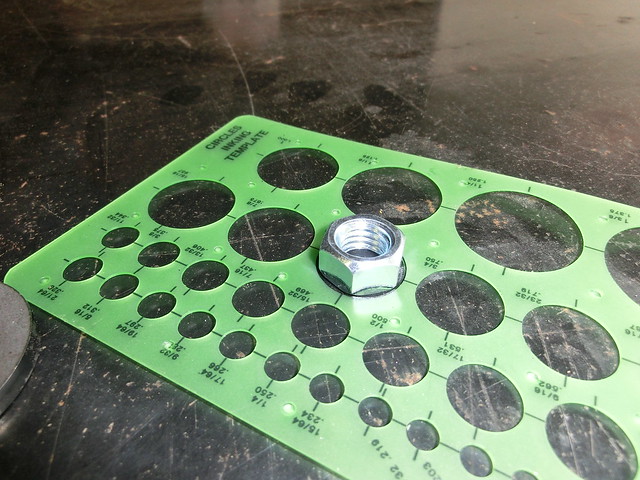
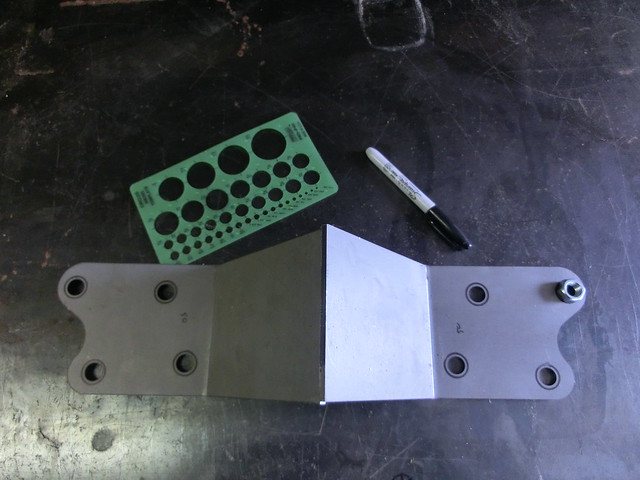
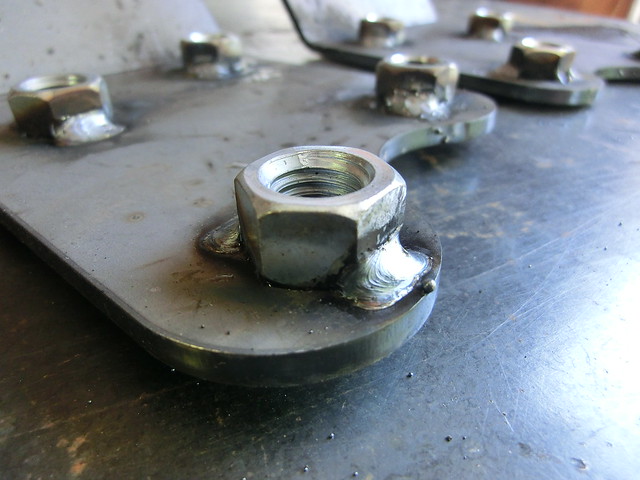
The next step is to prepare the main brackets, these will bolt down inside the chassis. I have to weld nuts on the backside as I will not have access to them once they are in. I use a circle template to expand the visible diameter of the hole to center the nuts properly. Nothing worse than welding a nut in place that a bolt cant smoothly enter

First I select the diameter

7169051256_4d322f27d2_z.jpg


Then I mark all the holes

7169055328_fd09ba1f7d_z.jpg


Then I weld all the nuts in place, this is still very much eyeball engineering, but it worked well

7169072340_94370939a1_z.jpg


7169070112_65102aedc0_z.jpg


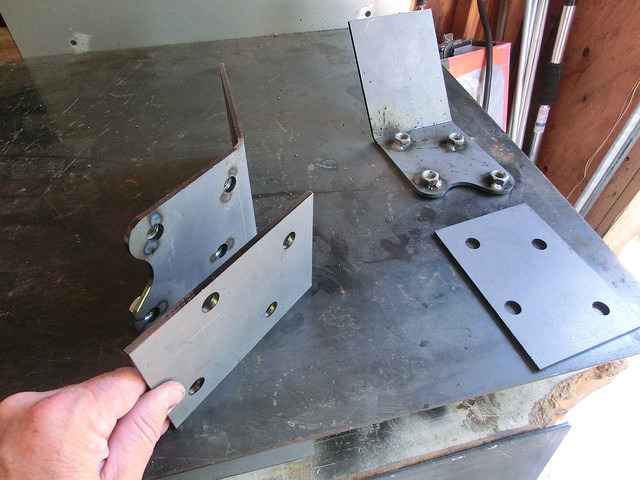
Here are the plates that will be on the outside of the chassis, completing my sandwich

7169074796_dc065d3bfa_z.jpg


Next I have to install them in the chassis and mark where the next bend is, here is the shot from the outside looking at the doubler plates

7169066116_27ce507aab_z.jpg


And from the front, before the bend

7169077014_84f7f569dc_z.jpg


7169079310_49fcbeedeb_z.jpg


Next I have to place some small cuts in the material to help me bend them back straight. This area will eventually get welded to return the integrity

7169088082_e676ce1bd3_z.jpg


With both of them cut, I can align them to where they are exactly perpendicular to the main cross plate, and weld them up!

7169090188_b9f81ebfa1_z.jpg


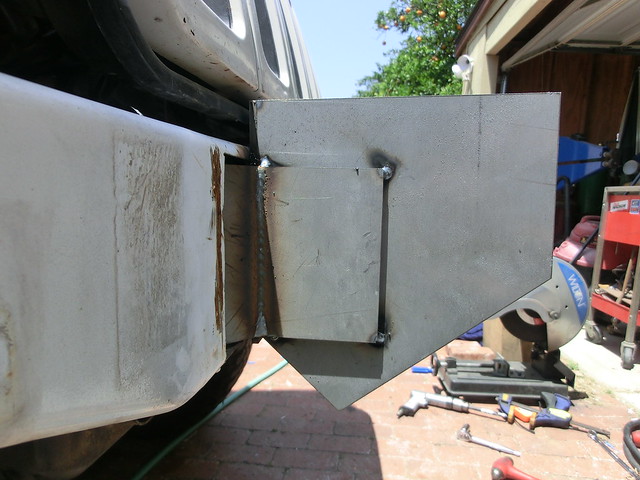
I finally get to put the main profile plates in place, these are critical, in that if I screw these up, everything will be crooked from here on out. This is one of those measure twice weld once moments :)

7169095022_ca4ac0e66e_z.jpg


The OG chassis plate now welds to the outside of the bracket to become a doubler plate

7169100188_aab9919f75_z.jpg


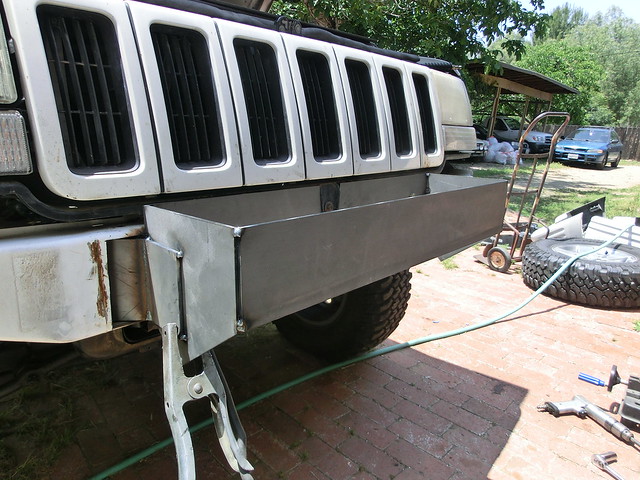
This is the final critical plate and is the front face of the bumper. It makes everything exactly square, kind of hard to hold and tack by myself, but I managed :p

7169110506_22b7b63638_z.jpg


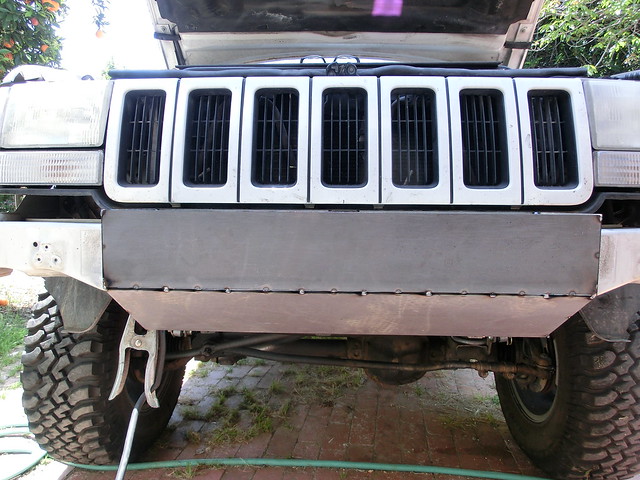
And one final plate to tack weld in, the lower front face, this is where there is no turning back, all angles will be completely set from this point forward, I hope I did it right!!

7169107904_3af19d7394_z.jpg


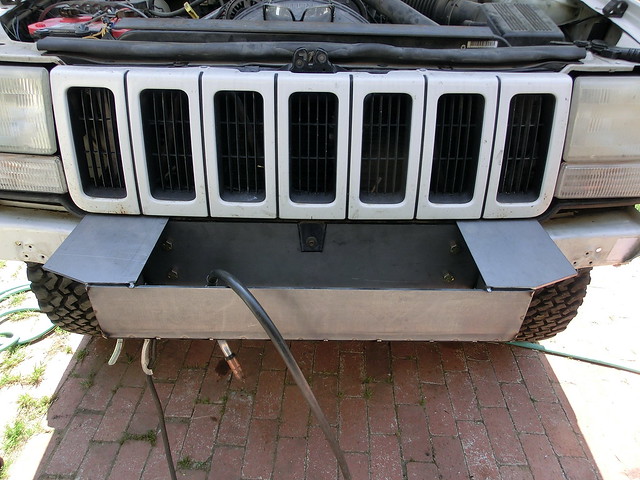
To be honest, I was unsure what plates to put in next, so I decided to single tack the top plates in, so I could adjust the angles

7169118640_44ba70722a_z.jpg
 

Recce01

Adventurer
Front Bumper Cont.

I tack welded this plate in, then had to midify it, so I pulled it back off and sent it in to the apex for trimming

7169123208_c1b7a6398e_z.jpg


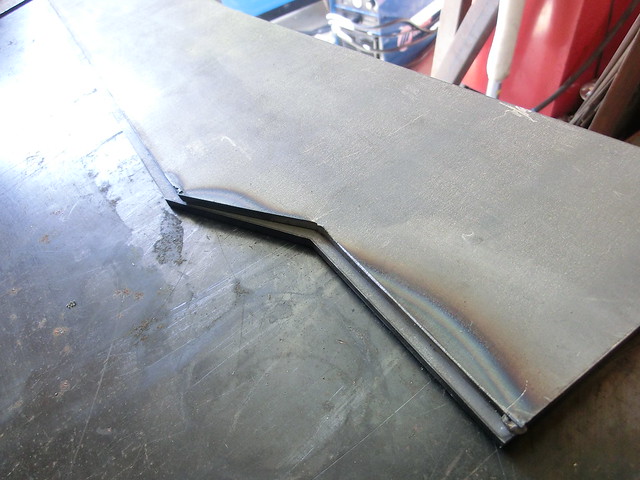
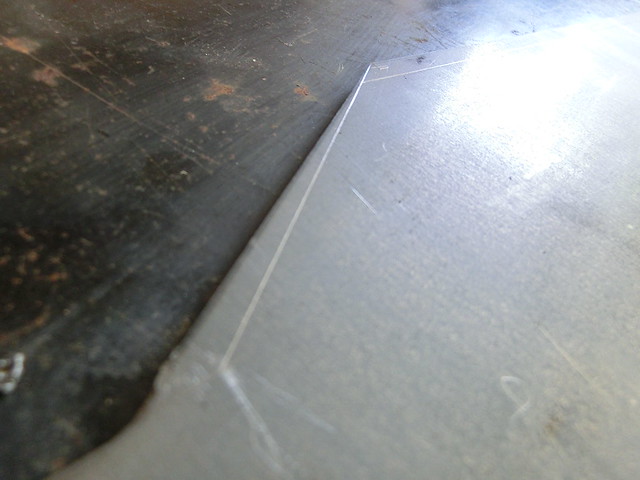
I decided to do the other side in the exact manner, so I scribed the line where the material was to be removed than got after it again

7169125014_b5d4eb96c7_z.jpg


There we go, much better. Without the trim, it would have been a different angle than the headlamp line, no bueno :(

7169131424_00f263b057_z.jpg


7169136344_413ef75747_z.jpg


Then it was as simple as filling in the blanks, sure....

7169138896_01b47ef98d_z.jpg


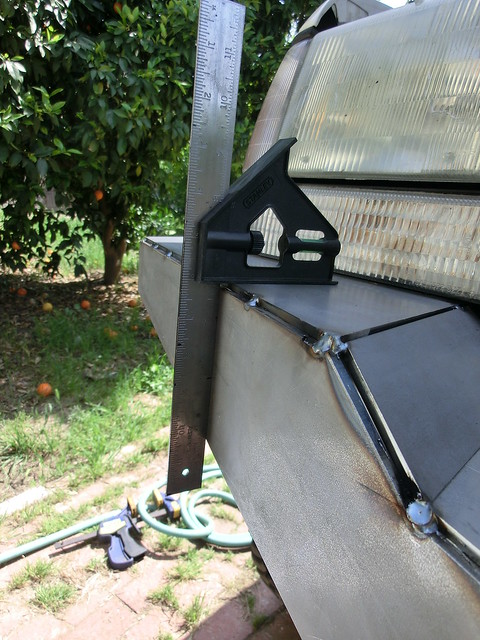
I did take the time to make sure everything was square

7169152794_a7a2dda1f5_z.jpg


Now I had half-ish a bumper, just need to rinse and repeat

7169157474_40129f4bb3_z.jpg


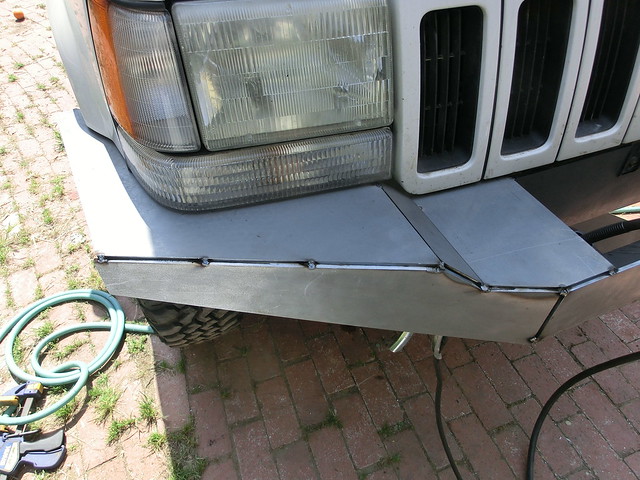
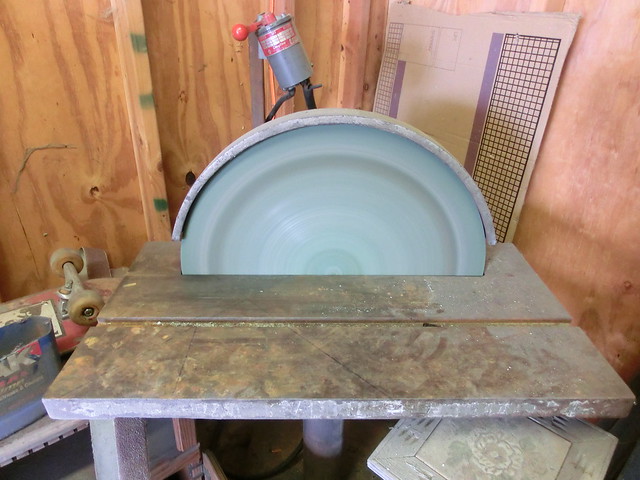
The other side went together very smoothly, only needed to visit the Apex a few times, the Apex grinder is my friend. This 20" disc sander can remove some serious material extremely quickly!

7169159712_2559c5ee89_z.jpg


The other side...

7169179170_20294768ab_z.jpg


And the end caps

7169176630_fe56a653f6_z.jpg


Now to install the lower outside angle plates, these went in first shot, I was so stoked!!!

7169197288_b345337cae_z.jpg


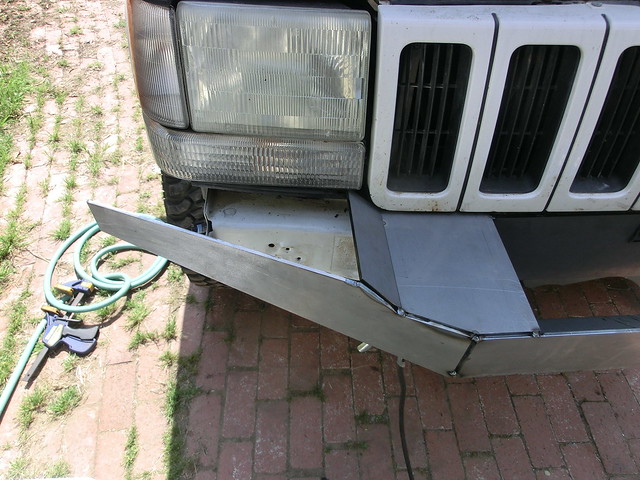
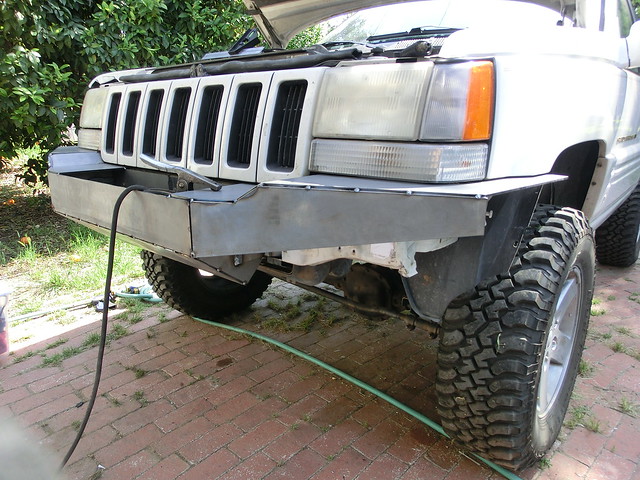
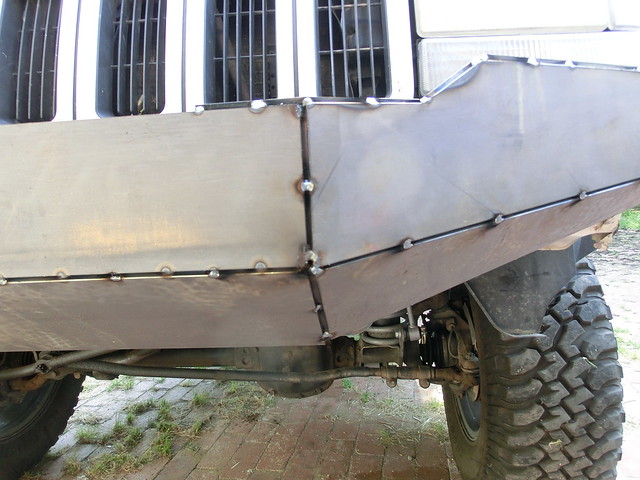
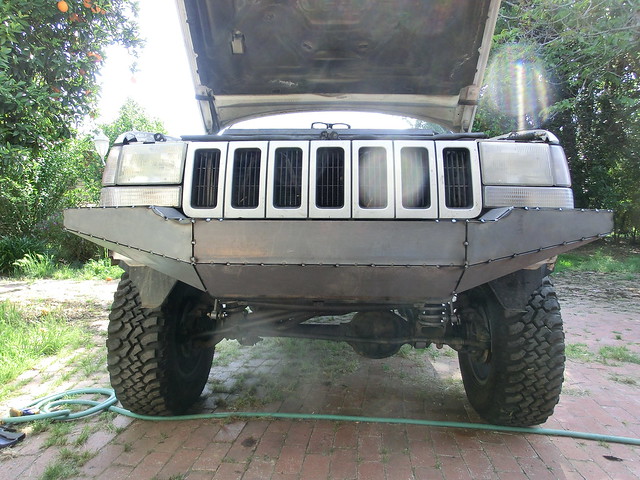
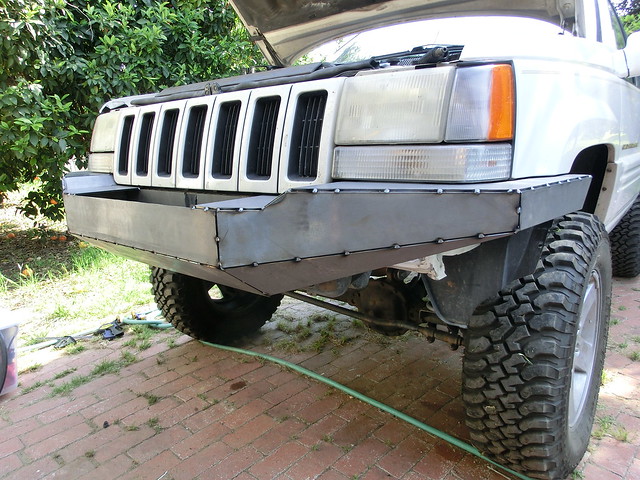
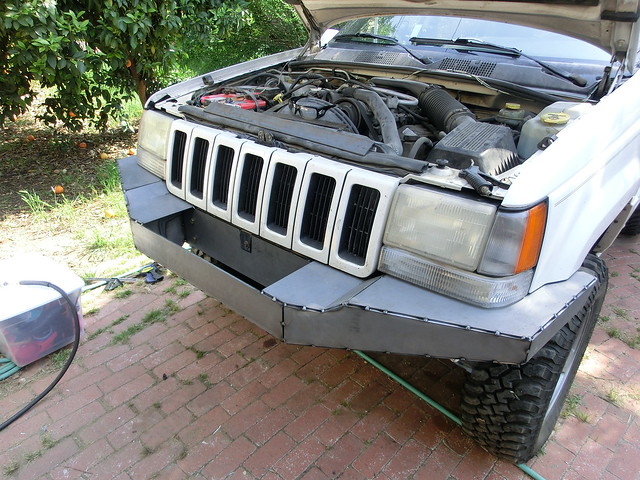
Now I have what is starting to look like a bumper!!

7169190292_d66c54cc2f_z.jpg


7169187602_e26b866647_z.jpg


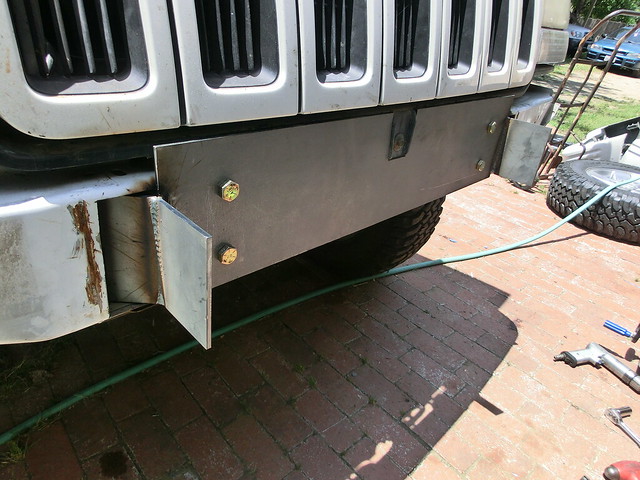
There is an awful lot more work to be done to the bumper during and after the welding process, but this is a decent start, and pretty much exactly what I was looking for.

7169193040_7aac853a2e_z.jpg


Stay tuned for welding and finishing of the front bumper.

Thanks for looking!
I hope everyone had a wonderful holiday weekend!!!
 

Recce01

Adventurer
Time for a Winch!

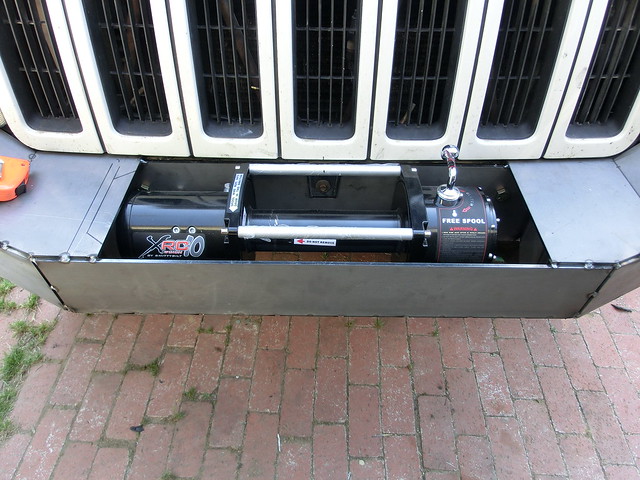
Truth be told, I am a little worried about the Smittybilt Winch I got for this rig. I bought it because I found a rediculous deal on it, and the TJM one I wanted wasn't available yet. I am glad to see that most of the winches share the same footprint, so worst case, I can always swap it out later if need be. First thing was to confirm the placement in the bumper

7169211090_1a32855450_z.jpg


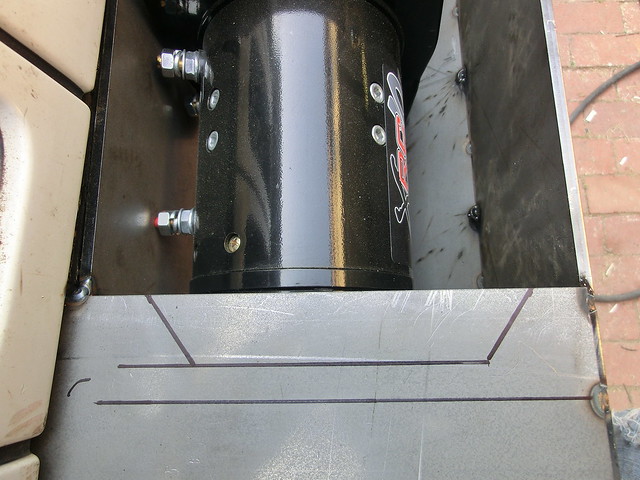
The next step was to cut the top bumper plate as to center the winch in the opening.

7169213436_369d598370_z.jpg


Now this is where I began to scratch my head. I read all the directions in the winch, I called everyone I knew, and no one could tell me which direction the winch would spool in. I could have just hooked it up, but I didn't have the time to burn messing with wiring at the moment. My concern was the height of the winch. I wanted room to install the front most bolts from the bottom without having to cut access holes in the blade itself. I also wanted to make sure the fairlead would sit in a fashion that passed rope free of excess angle. I ended up guessing, as this was on a Sunday and had no option of reaching out to Smittybilt. I did ponder the idea of calling China, as it was Monday there, but there is that dilemna of not knowing chinese. I decided to assume that the line pulled from the bottom of the spool, and cut parts accordingly.

I started with two vertical plates

7169215620_7bfda2b672_z.jpg


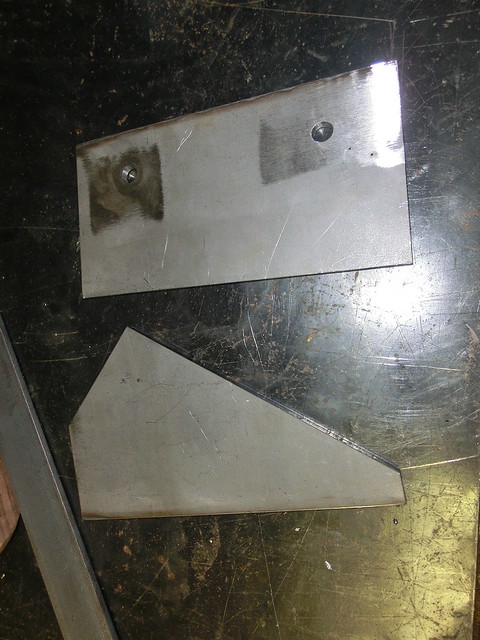
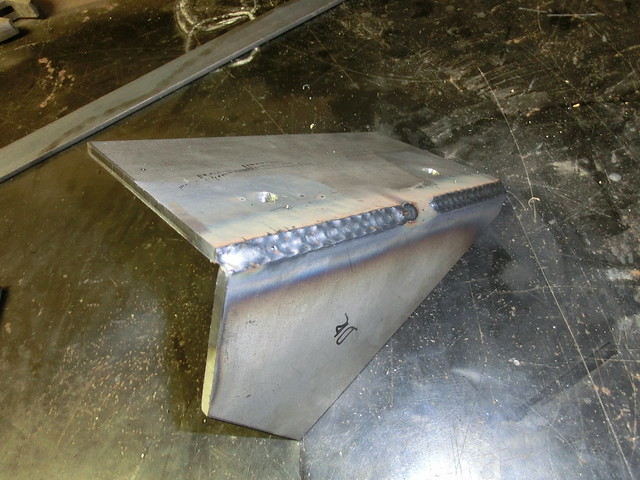
Then I decided on a height for the winch and trimmed the vertical plates at said height, and created some lateral plates that the winch would both through

7169220242_0d883ce0d9_z.jpg


The next step was to weld them up!

7169227626_4323d85ca7_z.jpg


7169229746_eb4dfbcd44_z.jpg


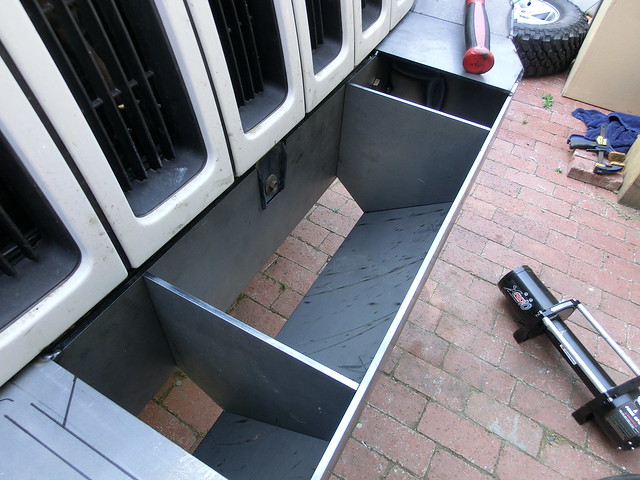
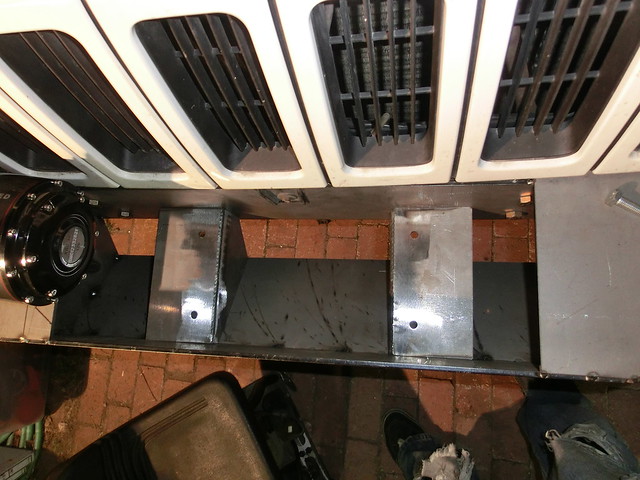
Once I had both brackets welded up, I test fit them inside the bumper

7169235230_3b3b11ee40_z.jpg


7169231506_8bd3ba6652_z.jpg


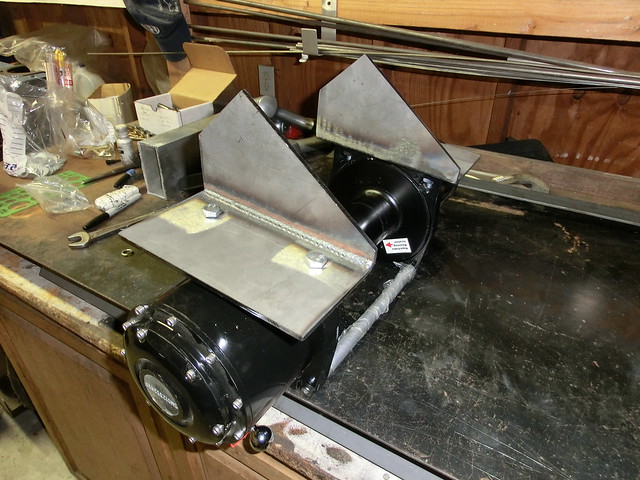
I then mounted the winch to them to so I could make darn sure there wouldnt be any issues getting the bolts in and out

7169237516_56281e785b_z.jpg


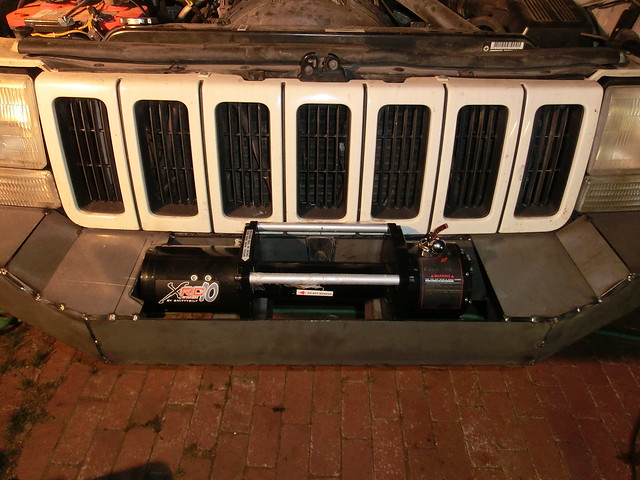
Then It was just about dropping the winch in place, making sure it is centered and tack welding the brackets

7169247028_951ece3f15_z.jpg


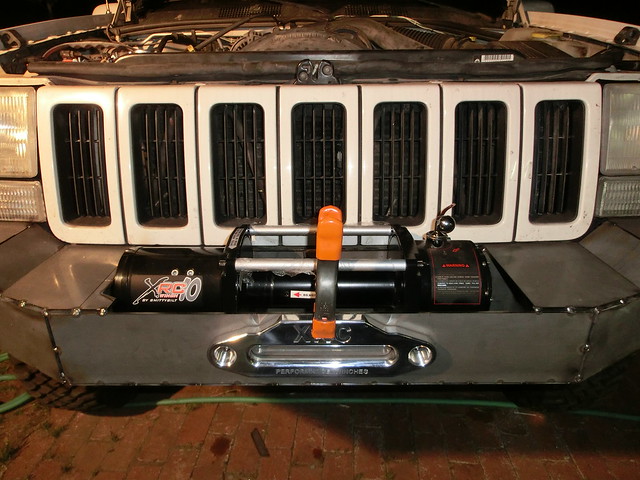
At eye level you can see it shouldn't block the grill too much

7169251340_de1dcdee3f_z.jpg


Next I had to mount the fairlead and cut the hole, the mock up....

7169258882_a9b79afa21_z.jpg


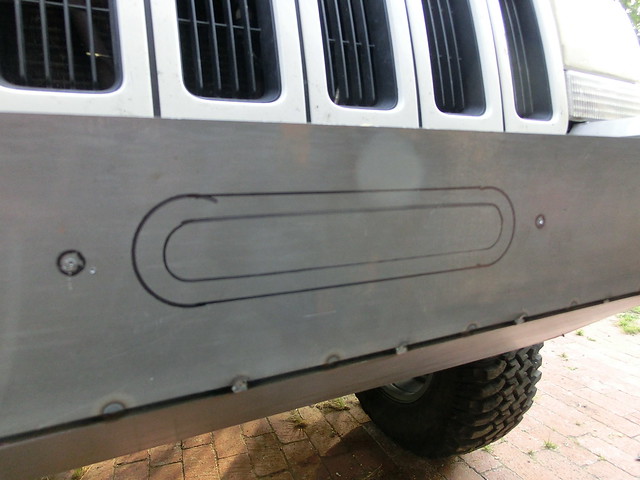
Here is the actual hole size, and the clearance size, dont want to cut the synthetic line

7169271584_9578262d7c_z.jpg


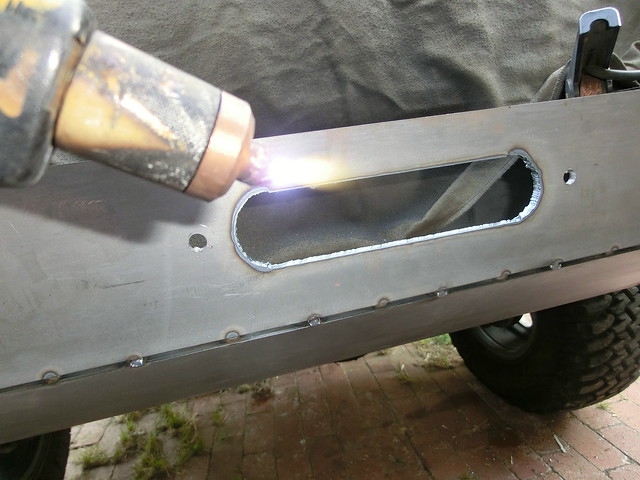
and I get to use one of my favorite tools, the plazma cutter!

7169261042_75e0ef9c83_z.jpg


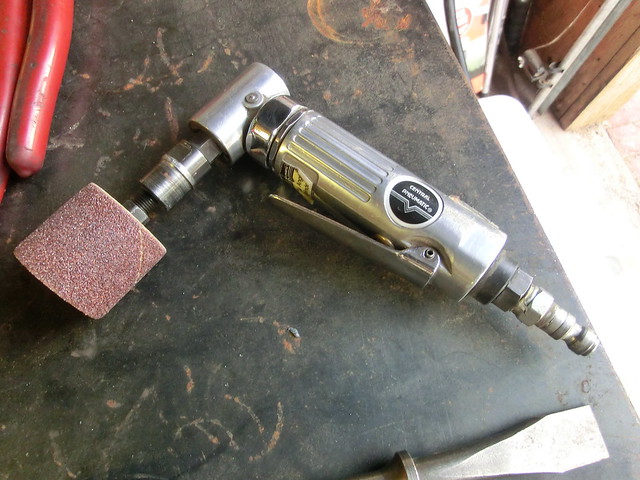
Then use one of my not so favorite tools, the barrel sander

7169263312_af050c001f_z.jpg


It actually came out pretty clean, just took forever!!

7169273668_d5595c6bf8_z.jpg


Next time, time to weld finally! Thanks for looking!!
 

Forum statistics

Threads
188,337
Messages
2,905,687
Members
229,959
Latest member
bdpkauai
Top