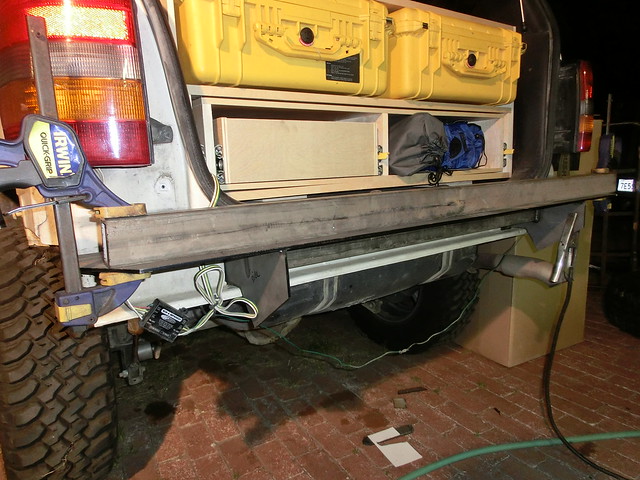
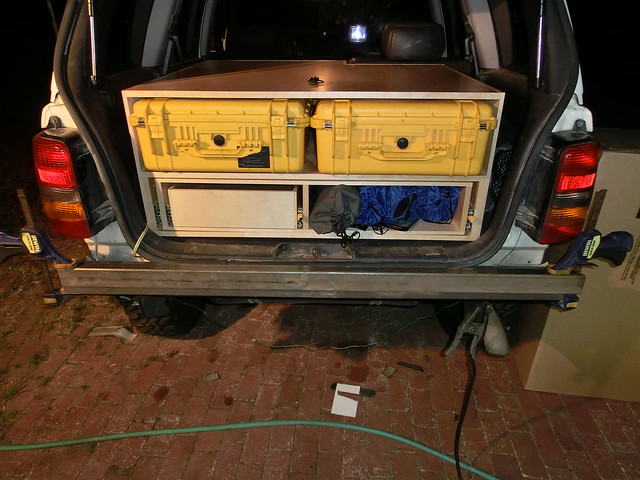
Welding and more Fab on Front bumper
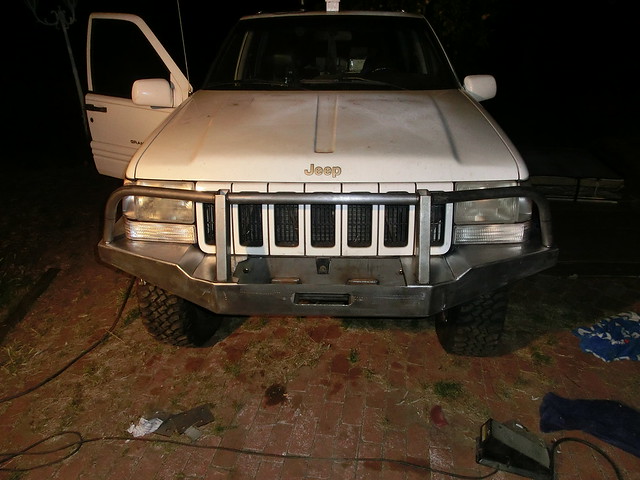
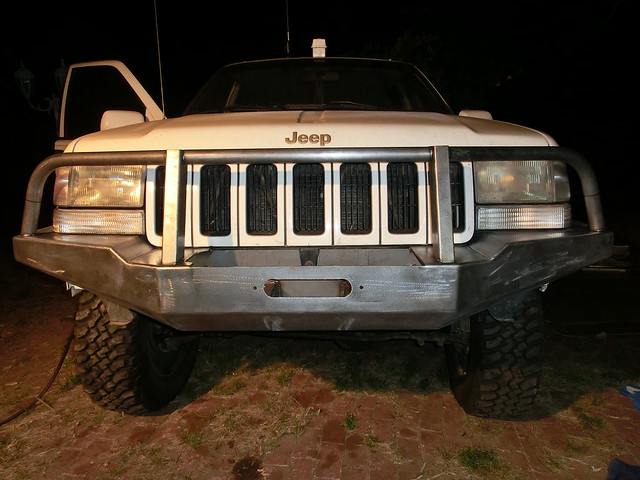
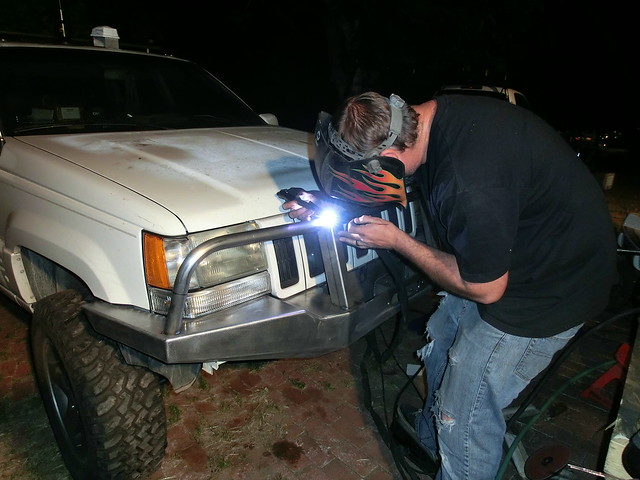
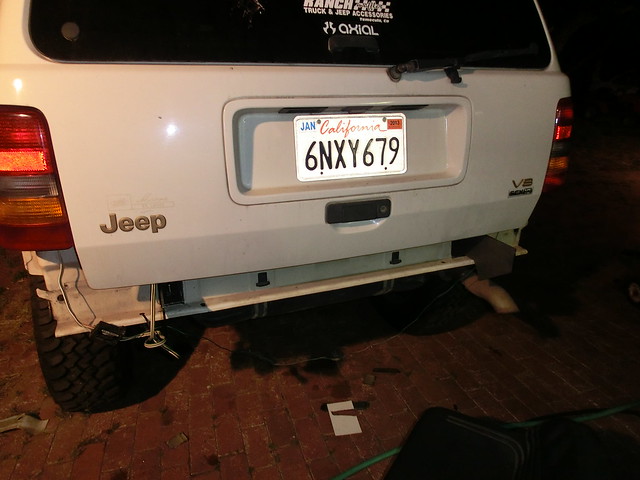
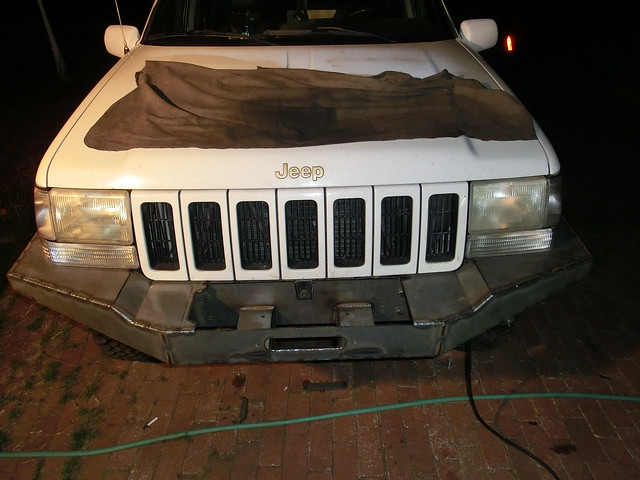
Due to the fact that I do not have a "fixture" for the bumper, I had a decision to make. You see, a fixture would help to keep it squared up and straight during the welding process. Those of you that have welded before probably know that welding and excessive heat will warp and tweak the object being constructed. I elected to put a cover on the front of the Jeep and do most of the welding in place. This would do a few things for me, first, it would allow me to keep track of the warping, and strategically add weld to areas to counter the warping. It would also allow the bumper to come up to temperature then cool while bolted in place which should help it to retain its accurate mountings. The only issue with this is the fact that I can only stitch areas opposite to each other, thus adding a lot of moving around to evenly disperse heat, and add significant time to the welding process.
Off to work!
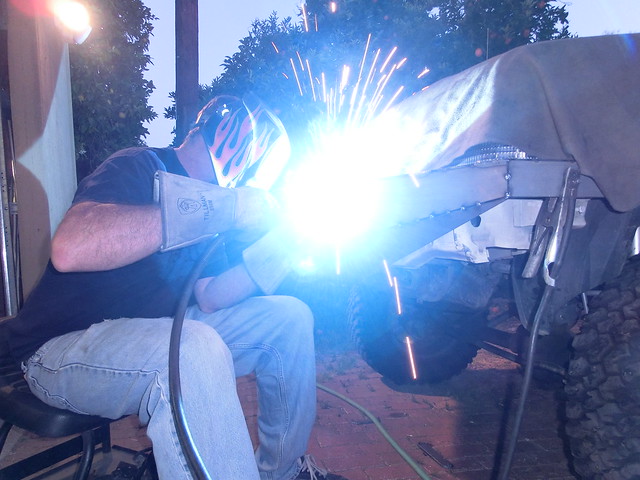
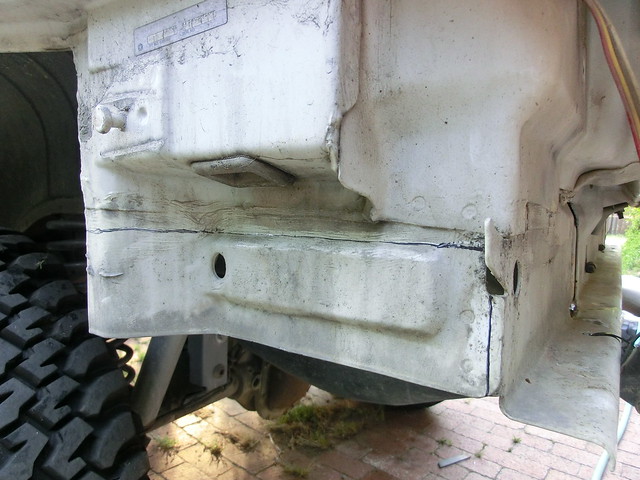
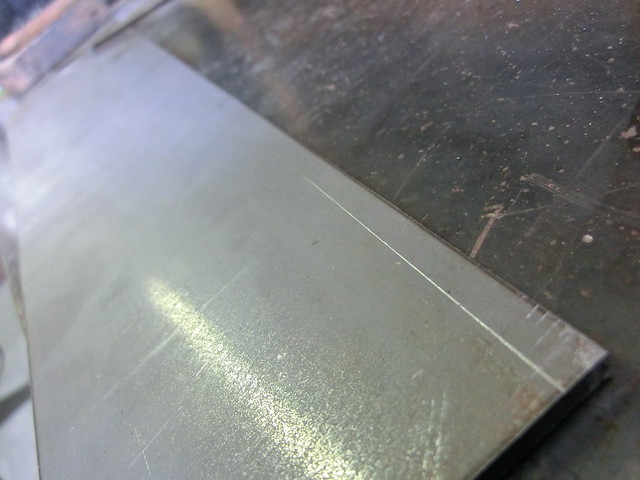
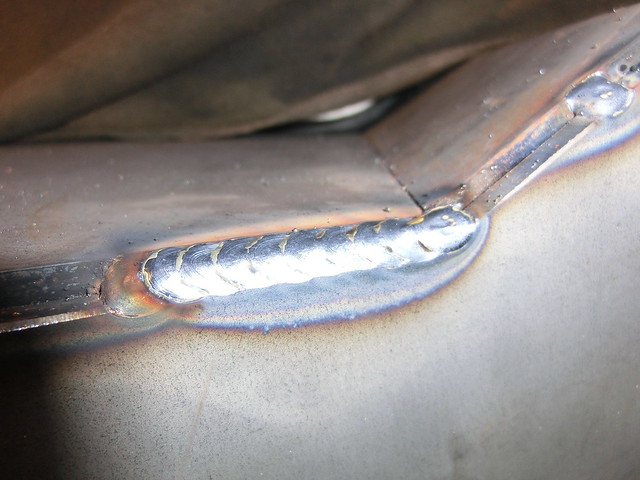
This took forever, but the strategy worked out quite well, I ended up with very slight warping, and to my advantage Here is a shot of one of the stitches
At last, the majority of the blade was welded up and ready to be removed
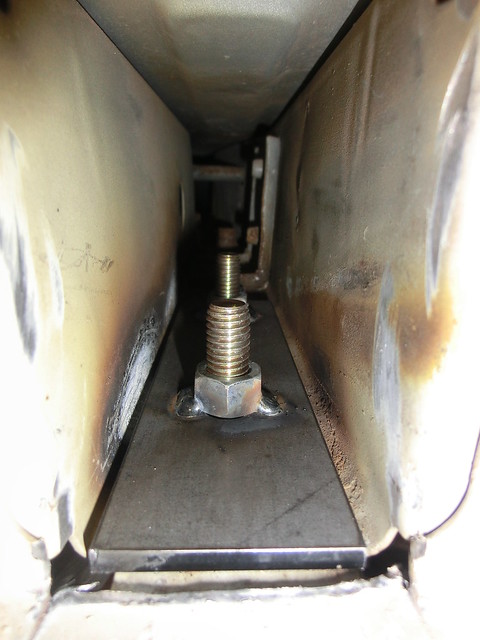
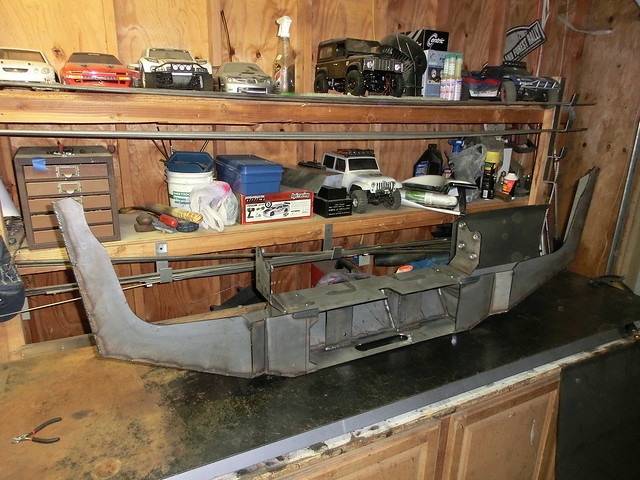
The next step was to take it into the garage and do some more welding and a little fab. I had to also weld the backside to strengthen up the joined material, as I would be grinding the front face to make it look like it was never welded. I did only stitch it on the backside, as I did not want excessive warping, and I have experience that leads me to believe it will be enough. Here it is on the bench, and ready to go!
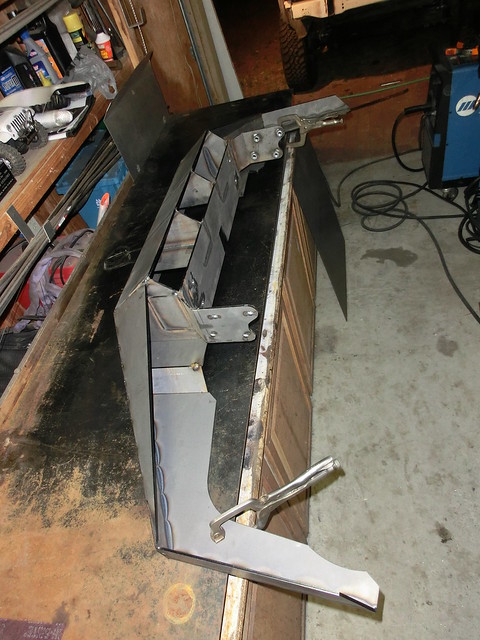
When I roll it onto its top face, I actually clamp it to the table in effort to keep it level and square
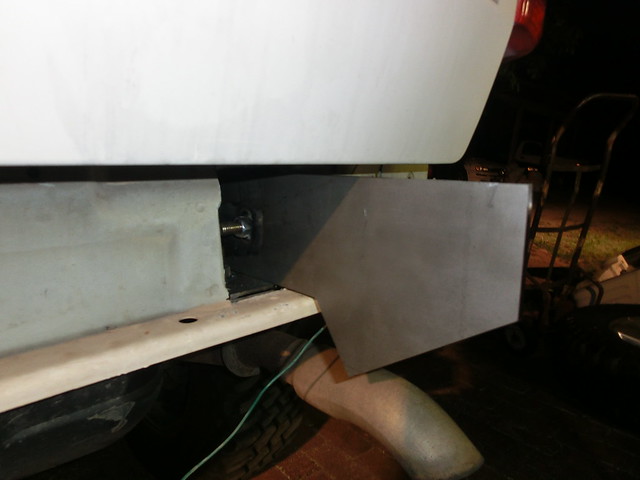
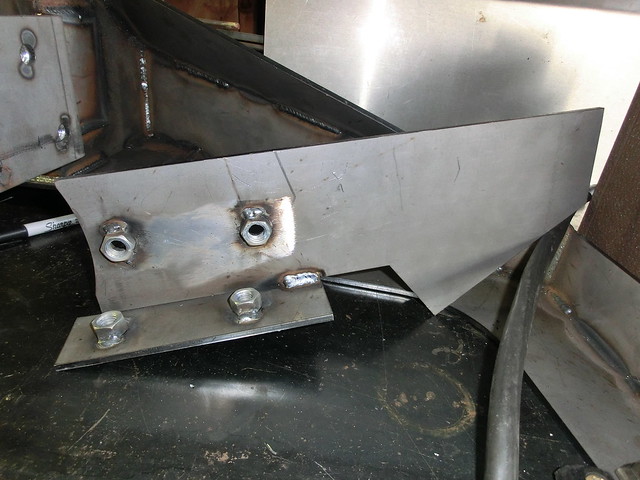
I am pretty sure it was late when I did the next process, as I can't seem to find many pictures of it, but I made a plate to cap the bottom outside of the front bumper as well as the back nearest the tire
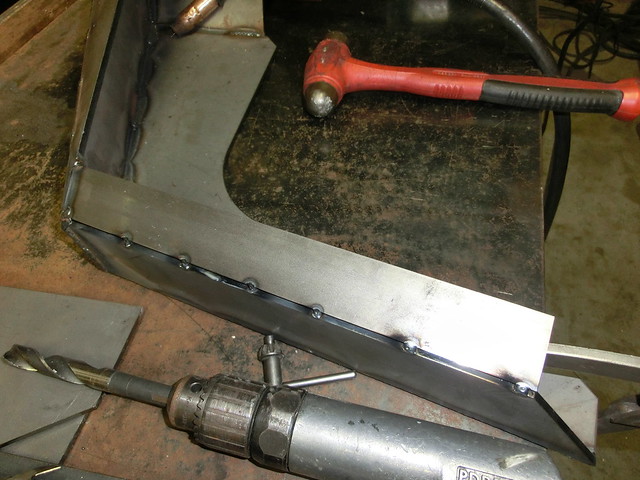
The next stage of this operation is by far my least favorite. I rolled over to visit Greg Jevne, the OG owner of Safari Gard, and requested to borrow his 7" grinder. It is the only way to remove some material in a timely fashion. But after a few hours of running this grinder, I am beat! Here is what it looks like in rough form
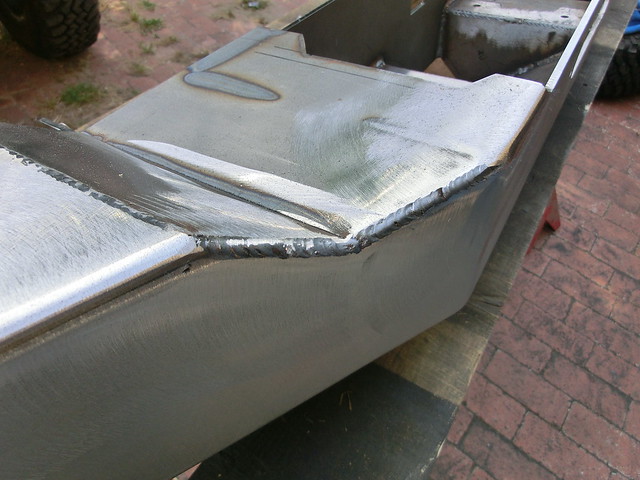
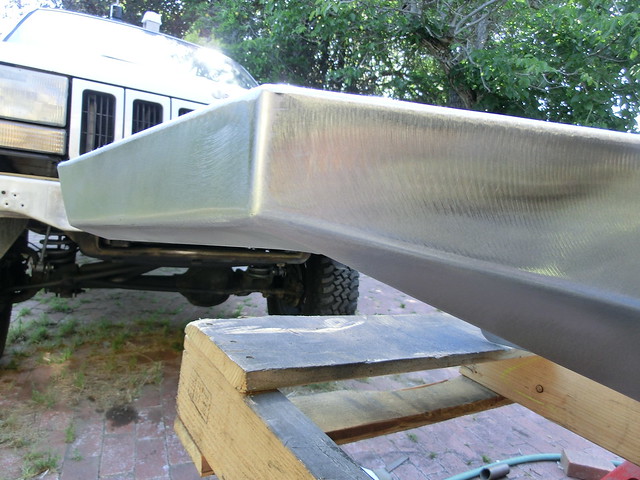
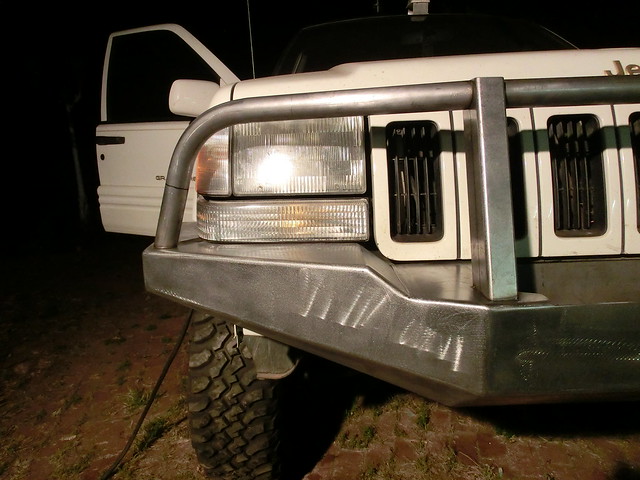
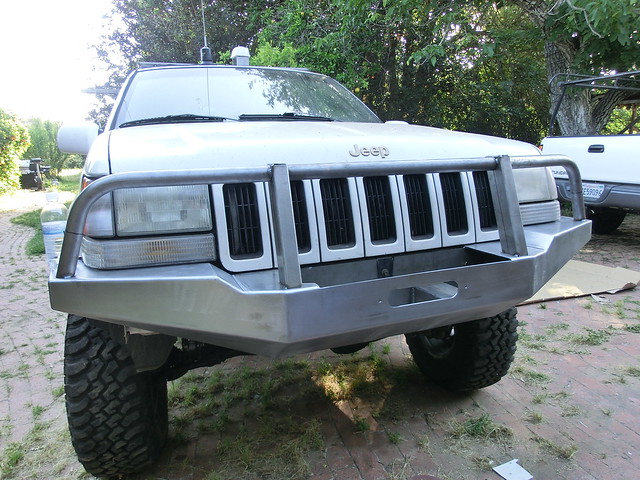
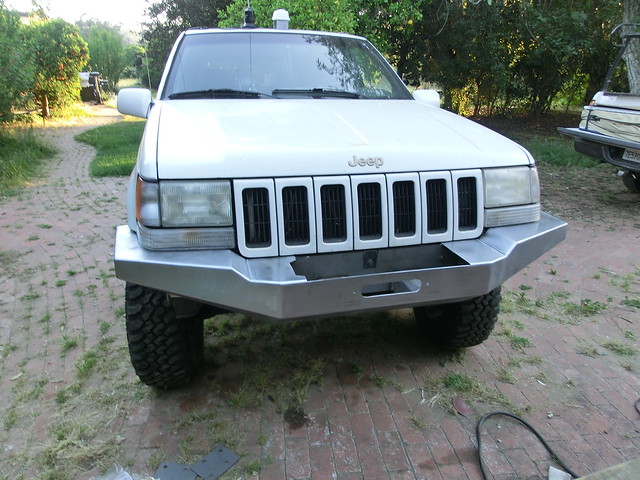
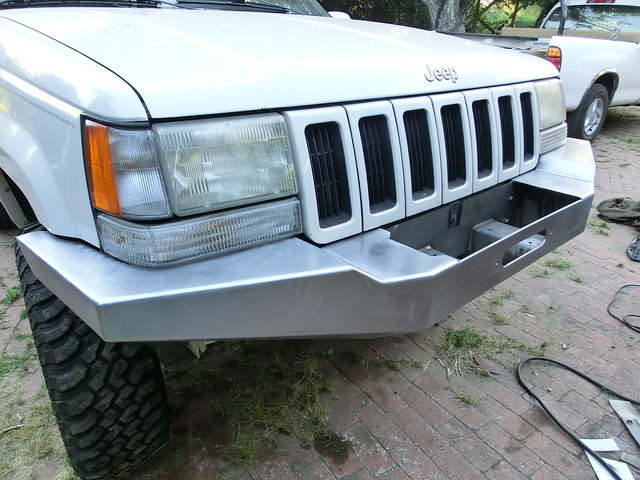
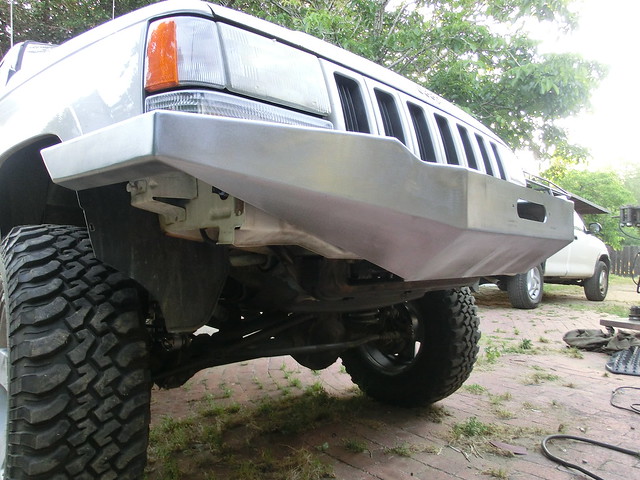
I have to literally do every single seam to make the bumper seamless. This involves moving the grinder at a very rapid pace back and forth at every angle from 0 degrees to 90 degrees. This makes a nice radius, at least thats the plan! Then I use a flap wheel on a 4.5" makita grinder to knock the rough sanding marks off. Finally I use a DA sander to smooth out the radius and clean up any slightly high spots. The result looks pretty damn cool!
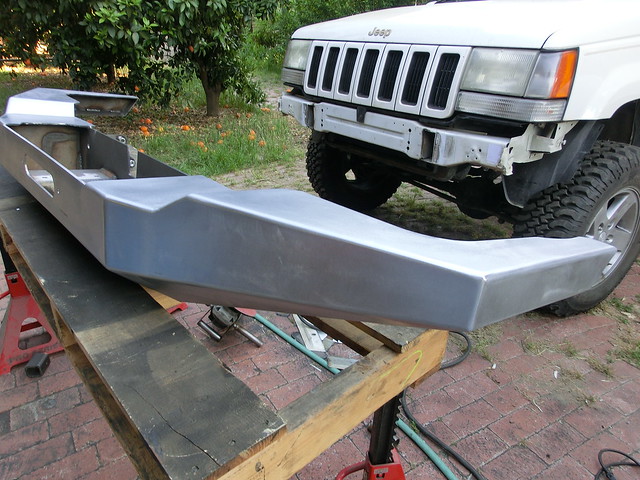
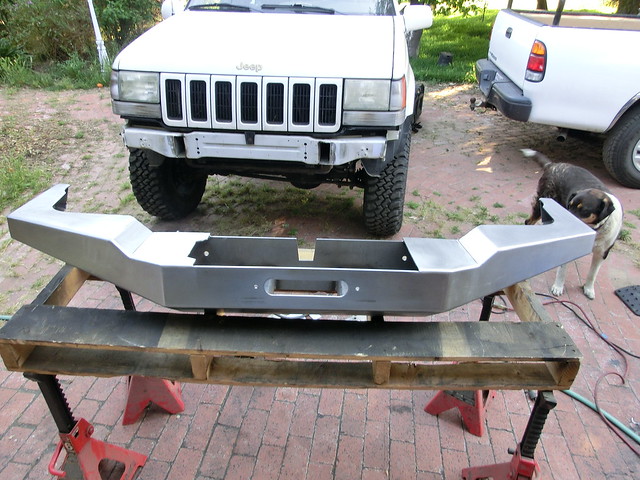
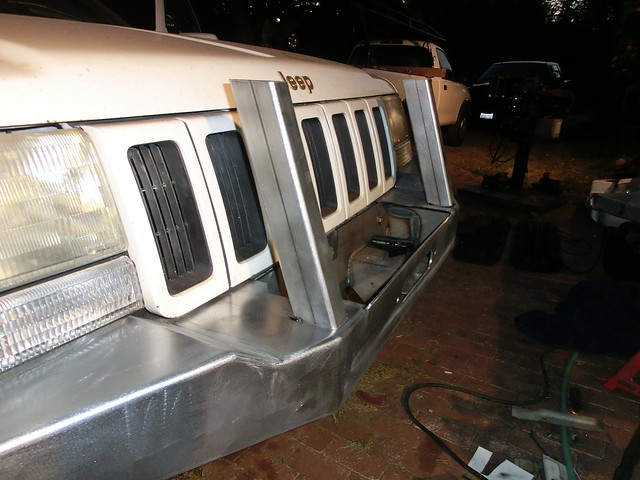
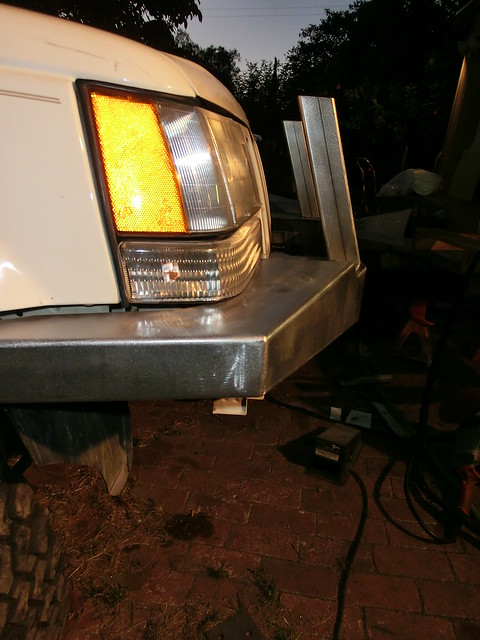
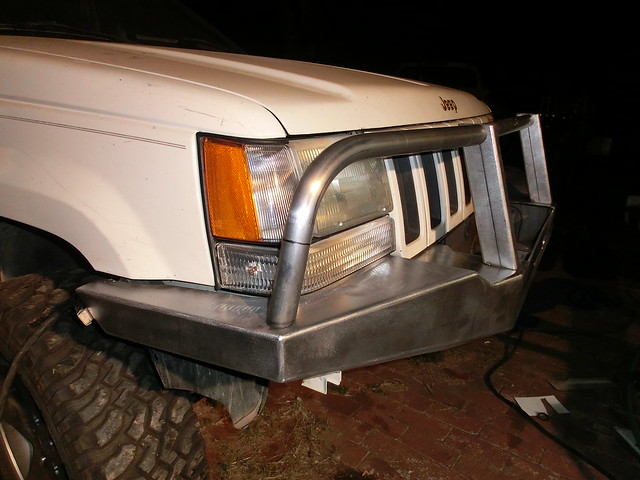
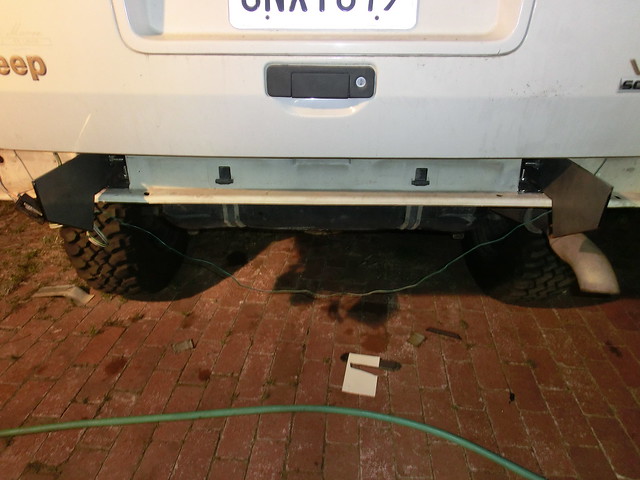
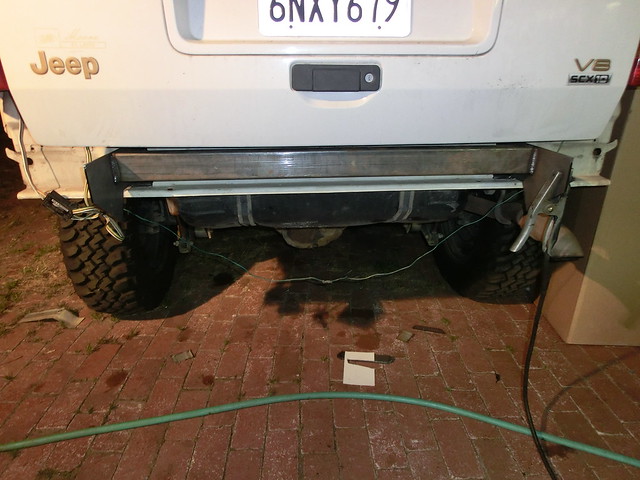
My next step was to mount the bumper back on the rig, and see how it fit
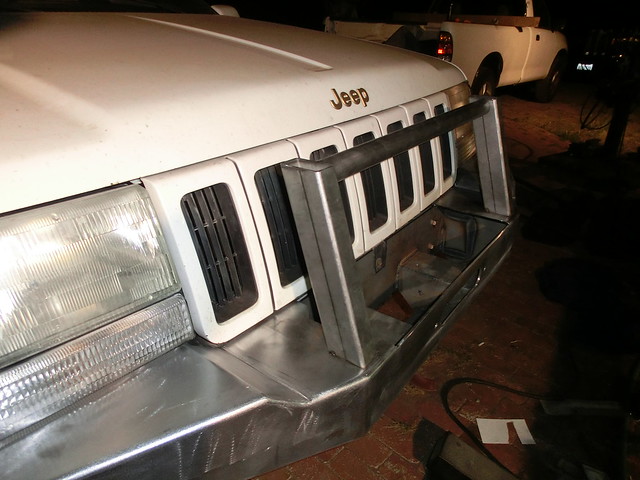
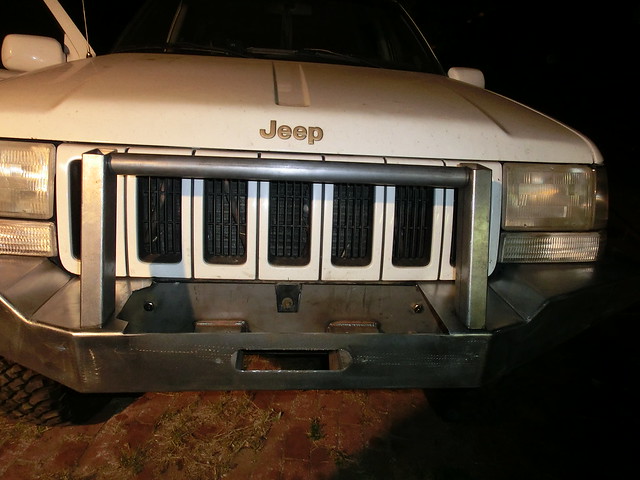
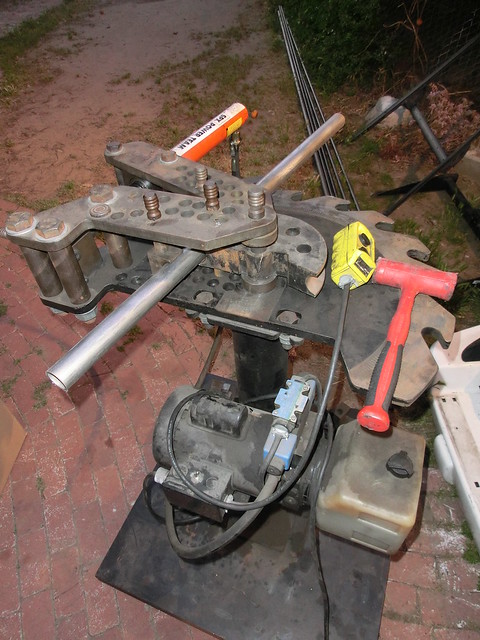
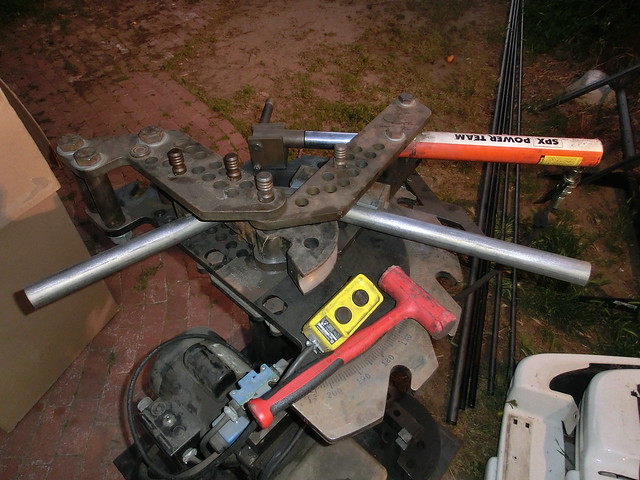
Next step, time to add a grill guard. Stay Tuned! Thanks for checking it out!
Due to the fact that I do not have a "fixture" for the bumper, I had a decision to make. You see, a fixture would help to keep it squared up and straight during the welding process. Those of you that have welded before probably know that welding and excessive heat will warp and tweak the object being constructed. I elected to put a cover on the front of the Jeep and do most of the welding in place. This would do a few things for me, first, it would allow me to keep track of the warping, and strategically add weld to areas to counter the warping. It would also allow the bumper to come up to temperature then cool while bolted in place which should help it to retain its accurate mountings. The only issue with this is the fact that I can only stitch areas opposite to each other, thus adding a lot of moving around to evenly disperse heat, and add significant time to the welding process.
Off to work!

This took forever, but the strategy worked out quite well, I ended up with very slight warping, and to my advantage

At last, the majority of the blade was welded up and ready to be removed

The next step was to take it into the garage and do some more welding and a little fab. I had to also weld the backside to strengthen up the joined material, as I would be grinding the front face to make it look like it was never welded. I did only stitch it on the backside, as I did not want excessive warping, and I have experience that leads me to believe it will be enough. Here it is on the bench, and ready to go!

When I roll it onto its top face, I actually clamp it to the table in effort to keep it level and square

I am pretty sure it was late when I did the next process, as I can't seem to find many pictures of it, but I made a plate to cap the bottom outside of the front bumper as well as the back nearest the tire

The next stage of this operation is by far my least favorite. I rolled over to visit Greg Jevne, the OG owner of Safari Gard, and requested to borrow his 7" grinder. It is the only way to remove some material in a timely fashion. But after a few hours of running this grinder, I am beat! Here is what it looks like in rough form


I have to literally do every single seam to make the bumper seamless. This involves moving the grinder at a very rapid pace back and forth at every angle from 0 degrees to 90 degrees. This makes a nice radius, at least thats the plan! Then I use a flap wheel on a 4.5" makita grinder to knock the rough sanding marks off. Finally I use a DA sander to smooth out the radius and clean up any slightly high spots. The result looks pretty damn cool!


My next step was to mount the bumper back on the rig, and see how it fit


Next step, time to add a grill guard. Stay Tuned! Thanks for checking it out!

