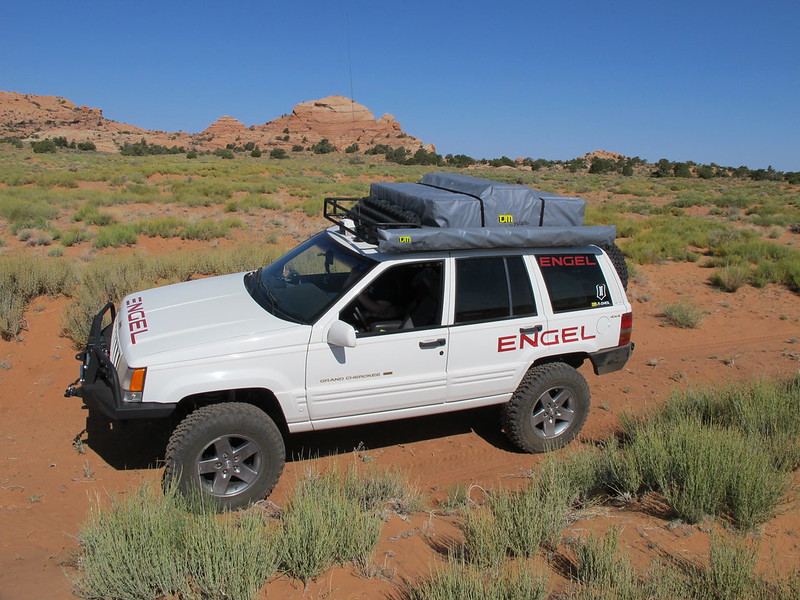
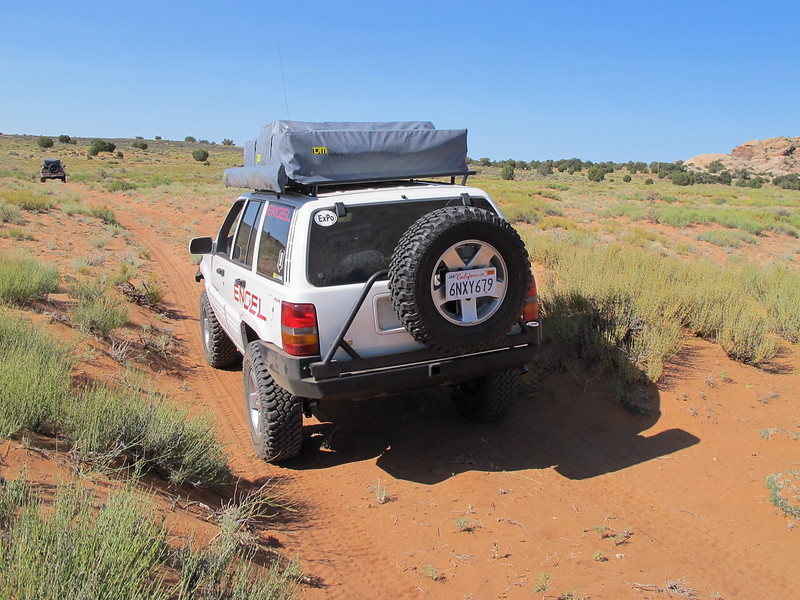
98 Jeep ZJ "SHTFV"

jeepdreamer

Expedition Leader
I really love watching this thread. Your work is amazing and the "how I done it" is well documented! Best of luck hitting your deadline and I can't wait to see the roof rack etc!
 

K2ZJ

Explorer
I mounted mine up last night and I can't shut the hatch! The sides pulled in, and I also see me cracking some taillights.
 

AMDemon

Observer
you wouldnt want to mail me those templates would you? :drool:

and very nice build. love the attention to detail. you did it right.
 

Ted_Z

Adventurer
Hi Ted! I appreciate the insight, and can forsee potential drama if I make harsh contact with the earth. I tried to leave just under 1/2" clearance between the bumper and tail lights. I can already forsee issues with the gate, and will likely make a fairly significant change on the dimensions if I make any more. Do you have a build thread? I would love to see what you did with your ZJ! Thanks Ted!
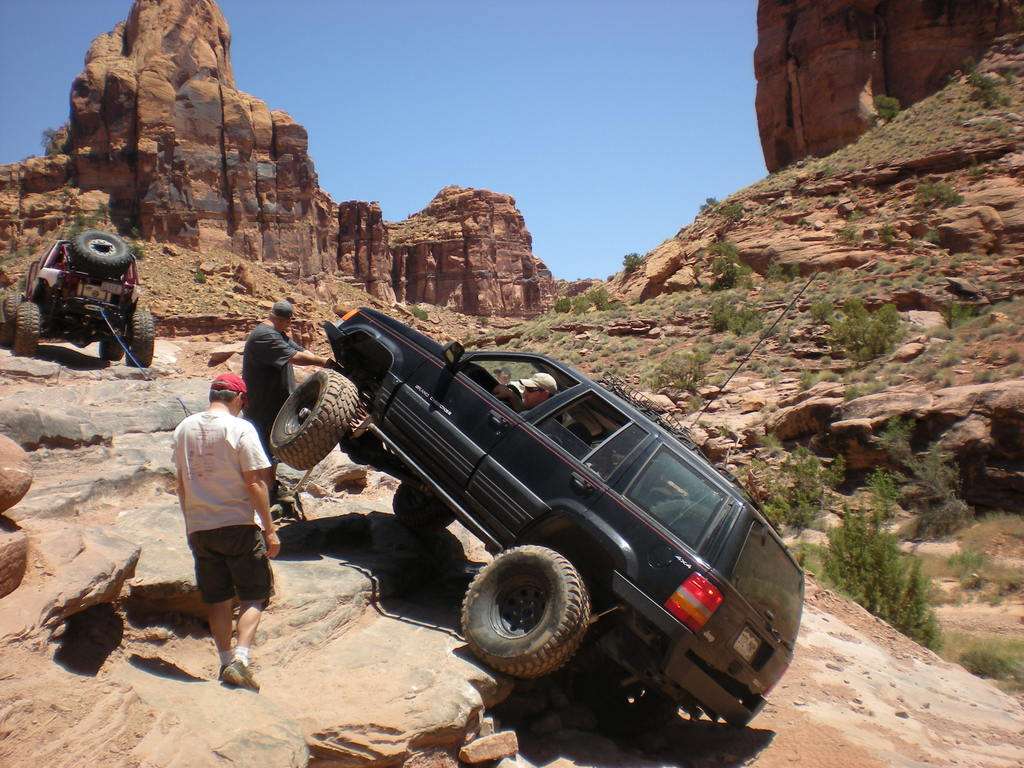
I don't have a build thread, but here is an action shot that you can see the rear bumper rather well. BTW, this was a serious Oh-$#it moment.

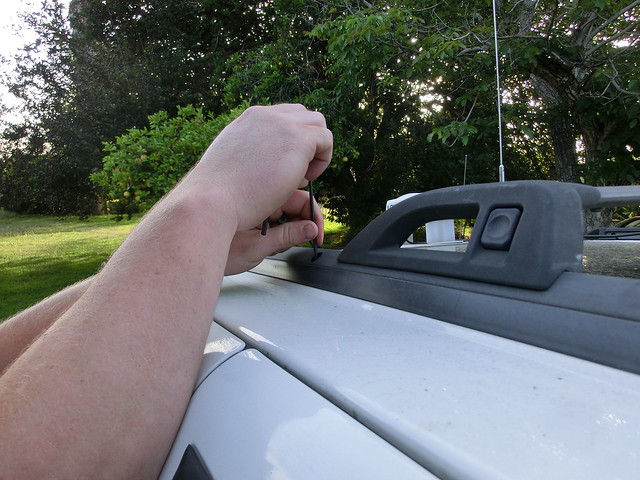
dscn2037h.jpg
 

Recce01

Adventurer
I really love watching this thread. Your work is amazing and the "how I done it" is well documented! Best of luck hitting your deadline and I can't wait to see the roof rack etc!

Thank you very much! We did hit the deadline, albiet a close one! I am just lagging on getting the intel down in the forum for ya!

I mounted mine up last night and I can't shut the hatch! The sides pulled in, and I also see me cracking some taillights.

I actually had to open my hatch to install mine, then close it. I am not sure that it pulled so much as me making the decision that the little clearance was enough.

you wouldnt want to mail me those templates would you? :drool:

and very nice build. love the attention to detail. you did it right.

hahaha... Thank you! I have been in touch with some friends that do laser cutting and press breaking, so maybe I'll make it avail for those who want it!

I don't have a build thread, but here is an action shot that you can see the rear bumper rather well. BTW, this was a serious Oh-$#it moment.

dscn2037h.jpg

Holy crap batman! That looks like a pucker moment if I have ever seen one! I won't be running those kinda trails anymore. Time to slow down and explore, I want to conquer distance and volume instead of obsticles these days :) That is a nice rear bumper though, way more clearance than mine! I hope you had fun out there, sure looks like you did!
 

Recce01

Adventurer
roof rack

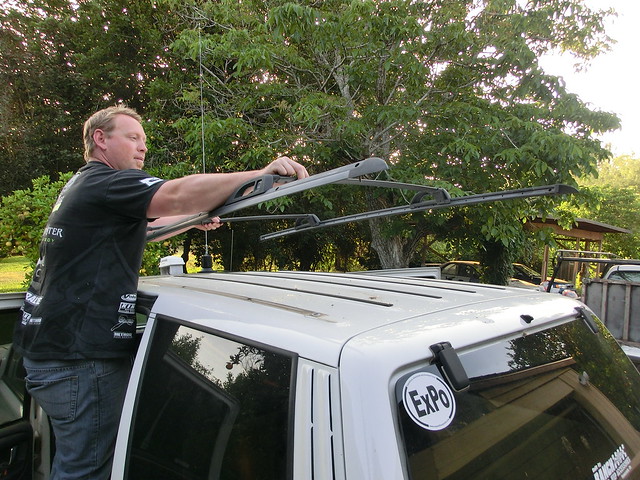
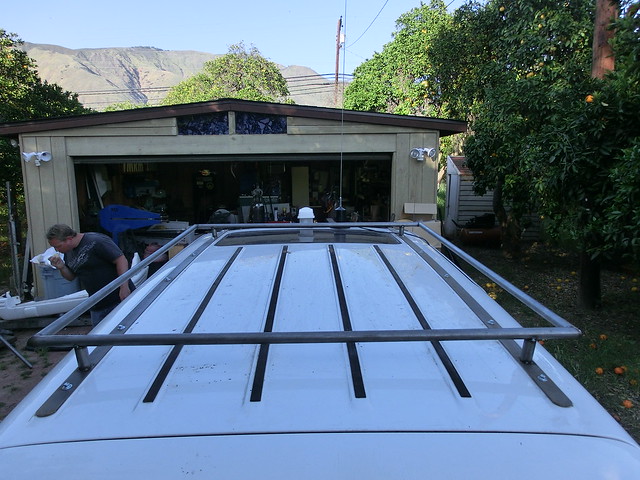
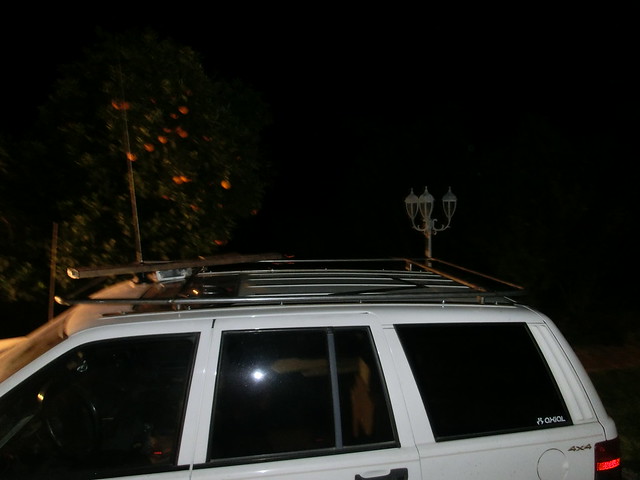
The next stage of the build was done in a few all night missions. My buddy "Gerf" came over to help me get cracking on the roof rack. It was getting dark, tons of moisture in the air, and we had material to cut, bend and weld. Once again the DubStep music was brought up to rediculous volume, and we went for it. Gerf started by removing the factory roof rack.

7257188474_4cf7974984_z.jpg


Thankfully the torx head bolts were in the mood to cooperate!

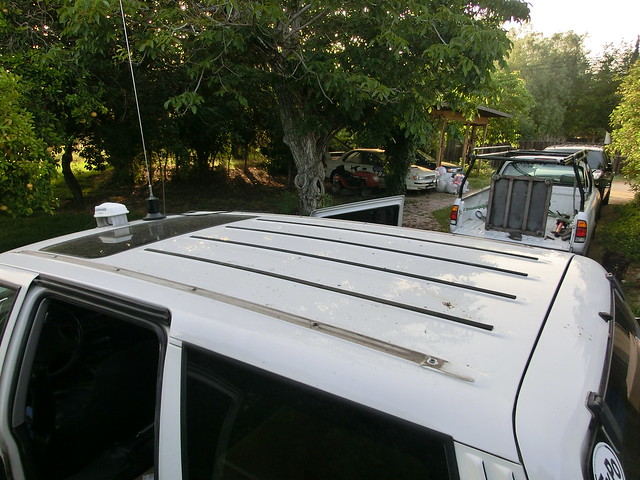
7257181650_845bee2d0d_z.jpg


Something we hadn't anticipated seeing was a section of the threaded inserts that stuck out past the roof line. This made our job a bigger challenge. Finally we removed the entire rack and had a blank canvas

7257203118_b7502475b4_z.jpg


7257206768_92d1fa7844_z.jpg


It was decided that we would run some cold roll strip steel where the factory rails mounted. The idea was to make the holes large enough to fit over the exposed bungs, yet tight to them so the rack could not move. Brian did an incredible job measuring, marking and drilling all 12 holes. The rails fit snug and followed the roof line perfectly!

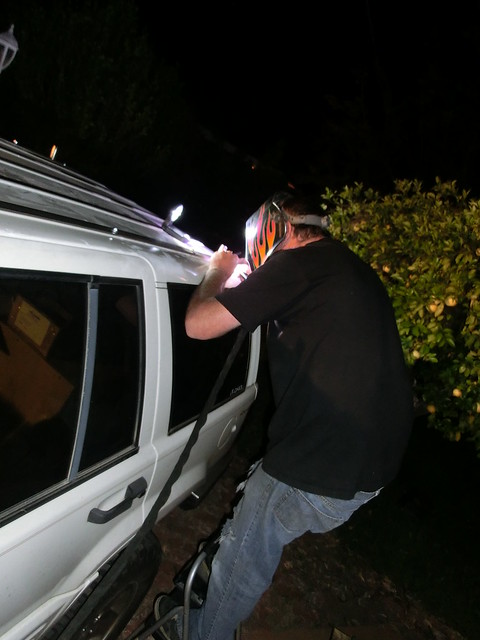
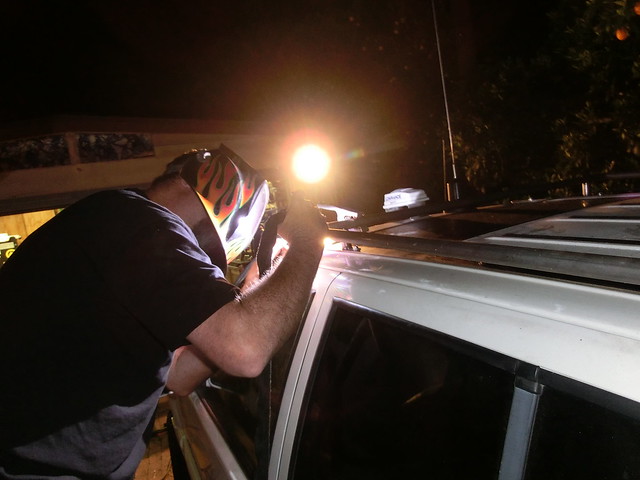
The next time we used the camera was when we were tack welding the first 1" uprights to the strip steel. You can see the moisture and that means some more shock therapy for me!

7257725442_3c4a2fa5f0_z.jpg


This is where things became a serious riddle. You see, nothing at my house is level, anywhere. So we had to make the uprights the correct height or the roof rack would lean either toward the front or the back of the vehicle, and with a side opening roof top tent, it would mean someone would be rolling into someone else assuming we parked fairly level. That and it just wouldn't look right. The problem was that the ZJ roof line is one huge rainbow. If it goes flat, I can't find where. So between the uneven ground, and the round roof line I had to do the best I can to guess the height of the tubes.

7257749468_fbb1c28519_z.jpg


The bottom line is I told Gerf to take 1/4" off the front uprights and we were running with it. We ended up with the four main tubes to build off of. This was also meant to support the perimeter of the RTT

7257777002_c2e0280dbe_z.jpg


I added a few more tubes to the front and the back to add a little more storage space to the roof.

7257799378_516e593e66_z.jpg


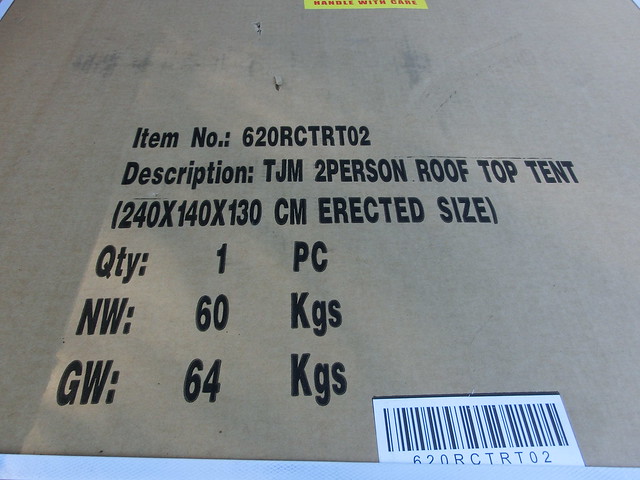
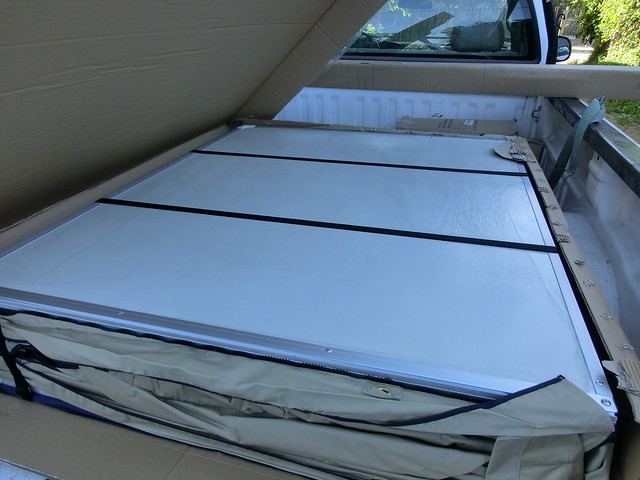
The next day after work we finally got to open the TJM RTT and make sure our measurements were correct

7257639624_a90e85dea0_z.jpg


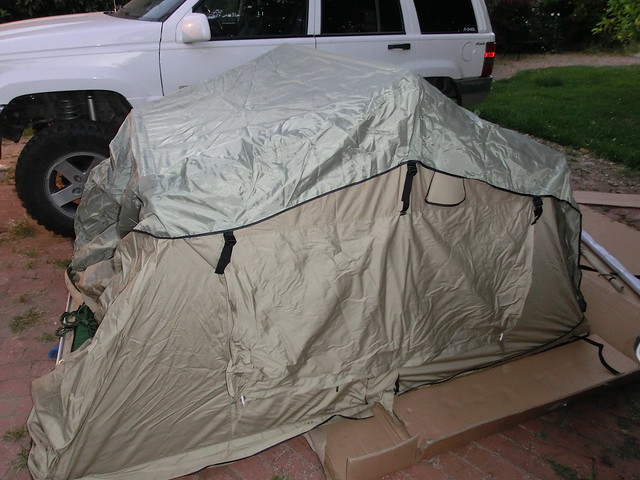
OMG, this thing was huge! The height wasn't going to change if I went with the smaller model, so I figured what the heck, might as well have some room! The TJM Yulara tent was really nice!

7257650876_6b3d654f76_z.jpg


I couldn't resiste opening it up in the driveway just to see how big it was and how we were going to mount it

7257670942_259a4a5ec1_z.jpg


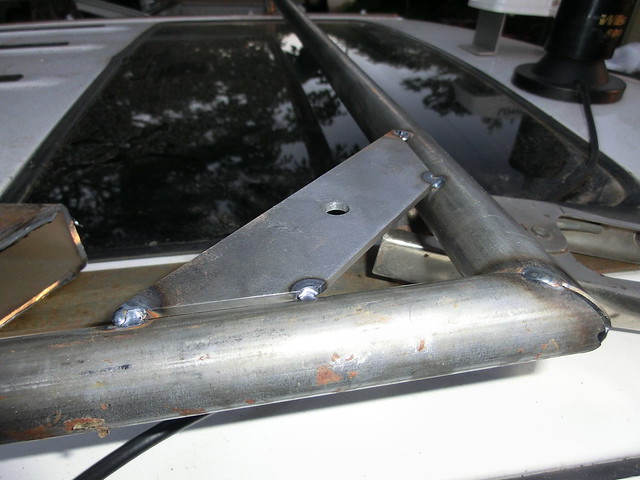
It comes with everything to mount it, and actually has a really cool extruded aluminum slider system included with the kit. I wanted it to mount as low to the vehicle as possible so I put the extrusions asided and decided to mount it directly on top of the perimeter tubes. This required us to make some flat plates that acted as corner gussets for all four corners of the perimeter tubes

7257783312_e43f7126cc_z.jpg


With all four mounts in place we could finally put the tent on the roof and mark the holes and drill them in the tent

7257795026_1a113c88a0_z.jpg


7257786756_99c9ca7d72_z.jpg


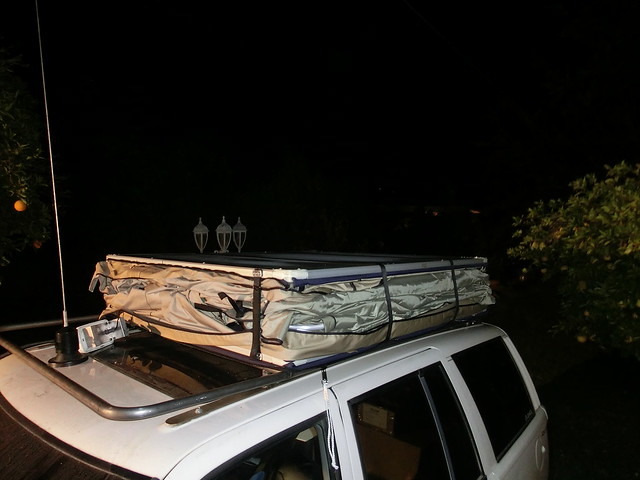
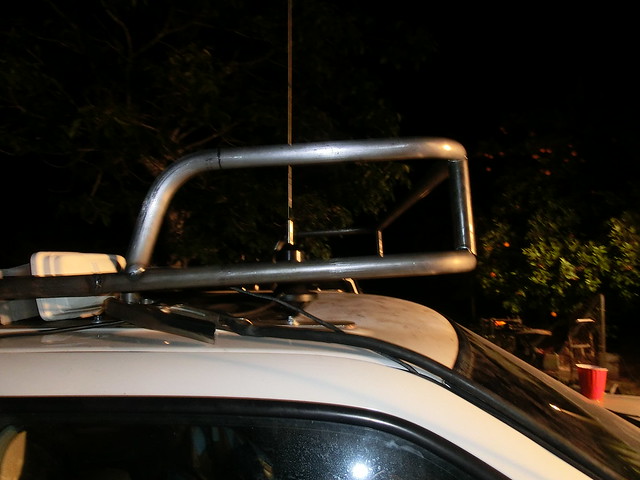
I was actually really pleased to see that the tent did not overhang the sides of the Jeep. We removed the tent, pulled the matress out, drilled the holes and then set it aside while I added some tubes to the roof rack. I decided to generate sort of a basket in front of the tent. This would offer a little bit of space as well as give me a place to mount an LED light bar eventually

7257803936_032b17942b_z.jpg


It came out ok, looks a little weird without the tent in place, but I am cool with it

7257801808_a13bea3c82_z.jpg


7257817834_8c47729001_z.jpg
 
Last edited:

Recce01

Adventurer
some finish work

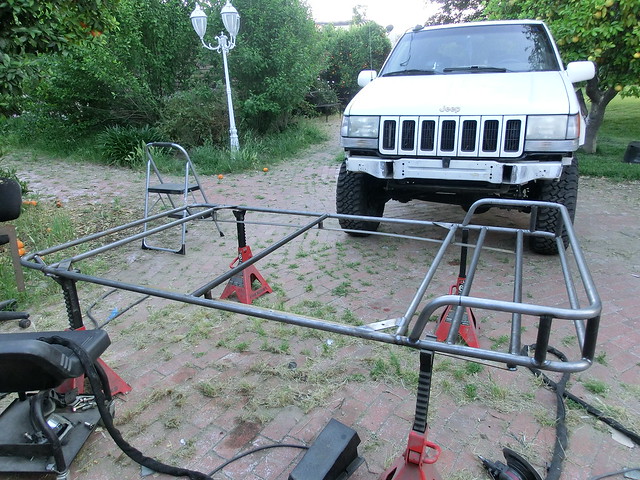
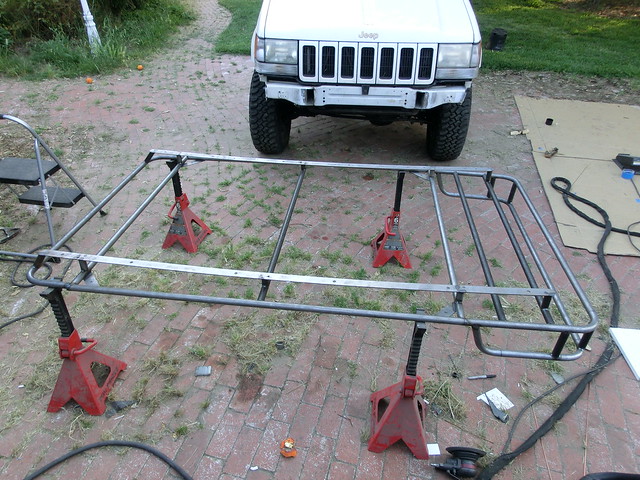
Finally we were on the home stretch of this portion of the build. I had desires to get a lot more done, but we were just flat out of time. The roof rack came off and went on to some stands in the driveway to get finish welded. I think if I ever did one of these again it would have to be mig welded. The TIG welding procedure just takes forever!

7257883018_76ec153fba_z.jpg


7257893610_94f1c7377f_z.jpg


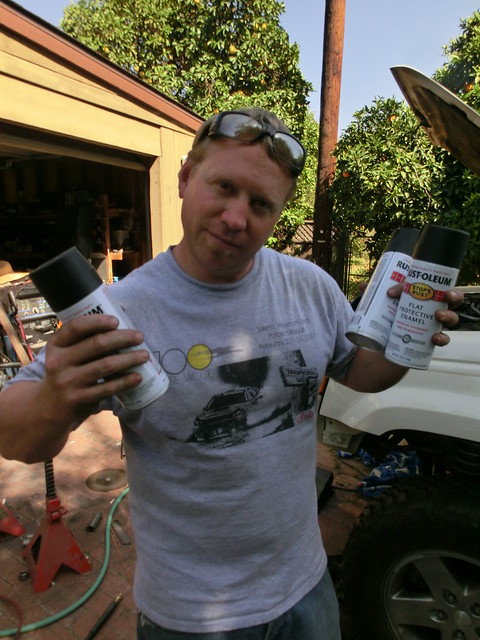
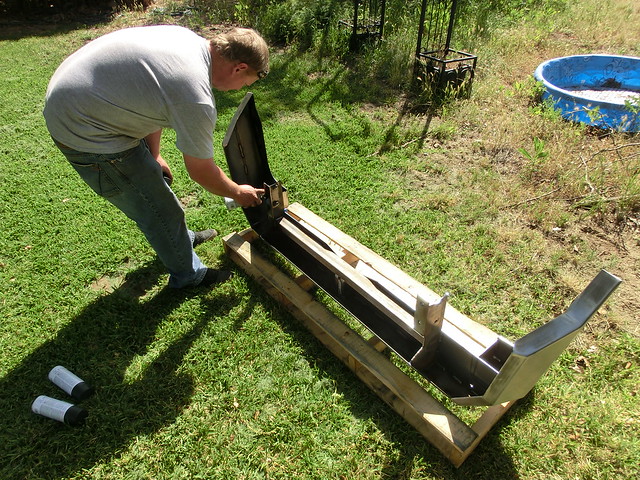
This is where Gerf got creative and started to add some flat black to all the parts. I was busy putting finishing touches on the bumpers that I had forgot to do before

7257870458_380472ffde_z.jpg


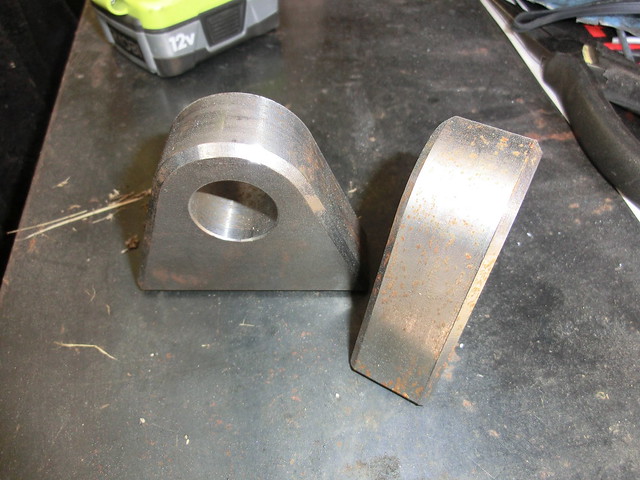
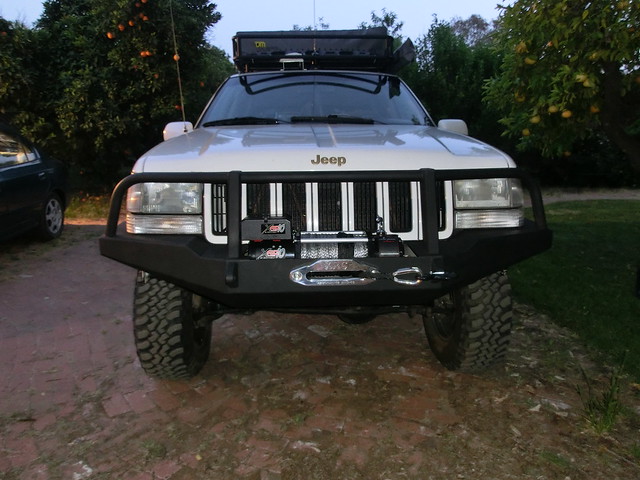
I forgot to put the tow points on the front bumper, and had to get the welder out once again

7257828896_b7479de4e8_z.jpg


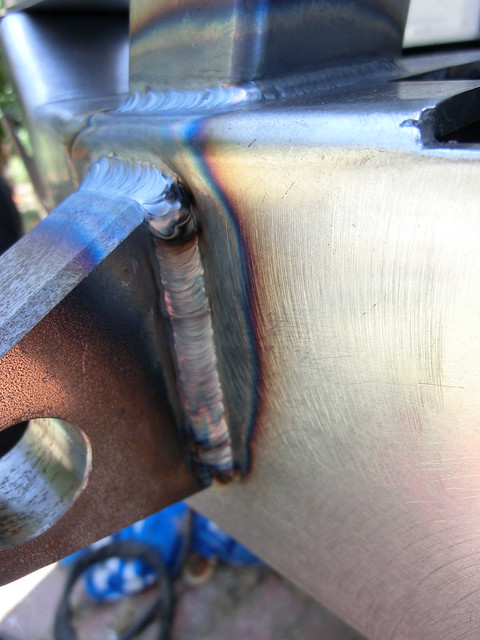
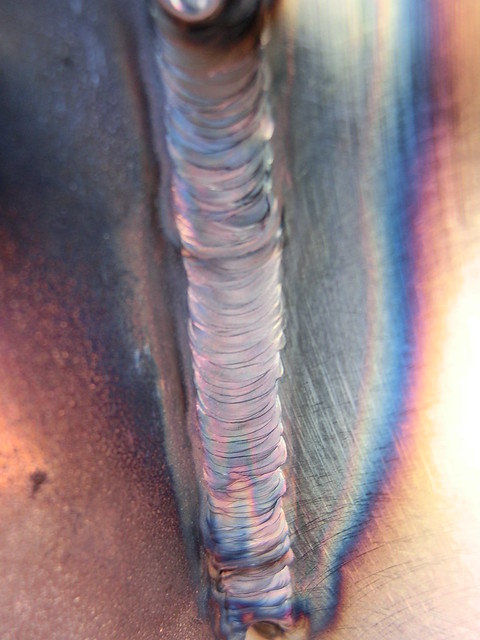
I decided to tig weld them on and give it the old 3 pass weave tecnique

7257821086_ce2fb010e4_z.jpg


Looks kinda crazy, and makes pretty colors :)

7257835230_36ebb7a3bc_z.jpg


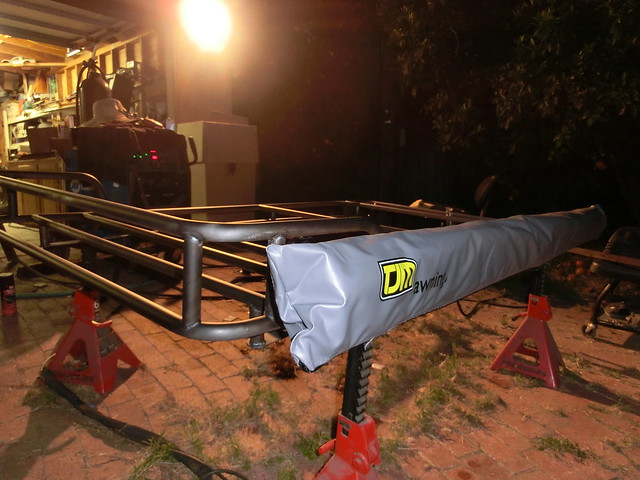
While Gerf was painting the front bumper in the yard (thank god the wife wasn't home from work yet), I was busy preparing the awning to be mounted

7257877554_de6bb0b751_z.jpg


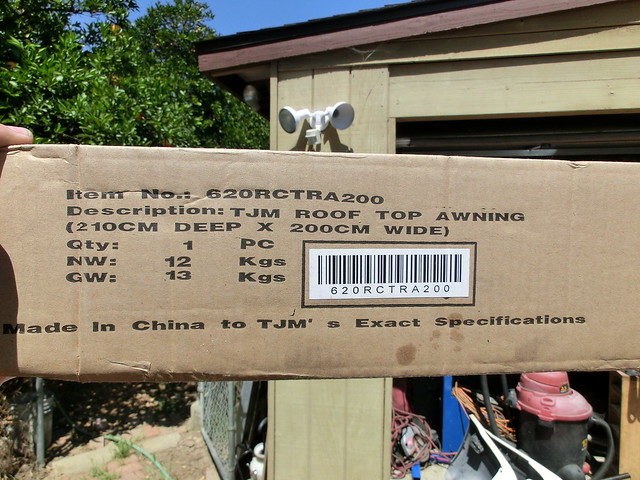
The TJM awning is by far the coolest little addition to this rig. It was extremely simple to mount, and sets up in 2 minutes...tops

7257810788_4f9999d38b_z.jpg


I wish I would have thought of this. What a cool idea. The awning lives in a bag until you are ready to use it. Just unzip it, unroll it, put the legs out and down then tie it down. Very cool!

7257824058_75e4251378_z.jpg


I decided to mount it in 2 places on the roof rack on the drivers side. I used the TJM mounting kit, but welded it to my rack instead of bolting it on. I did decide to gusset the mounts a bit, because I cut a lot of meat out of them to keep it tight to the rack

7257038344_fe5f444e8b_z.jpg


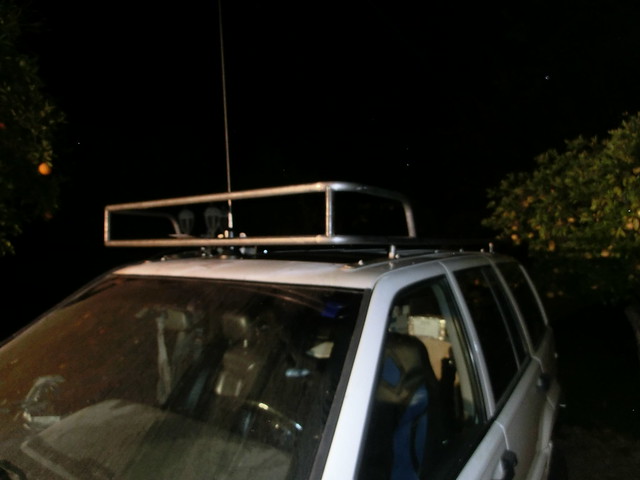
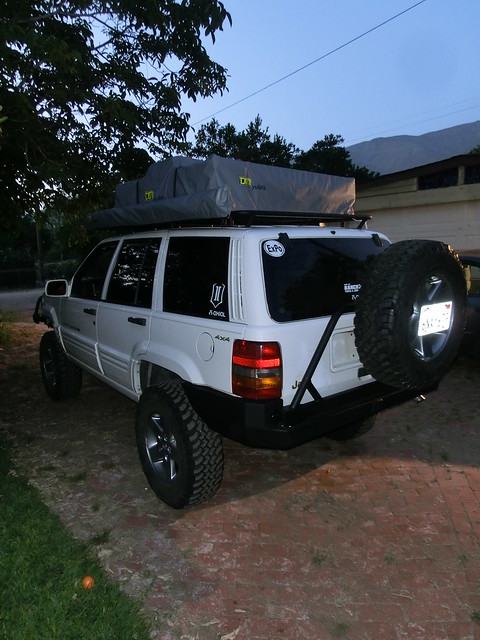
With the paint work finished, we threw all the parts back on the truck. This is of course where I stopped taking photos and was more concerned about getting on the road :(

Here are a few teasers for you while I work on loading some of the latest done photos I have taken

7257107898_956e239de7_z.jpg


7257121388_6f7f6fb92b_z.jpg


7257083660_ac8364f3e3_z.jpg
 

jeepdreamer

Expedition Leader
*Question*
Earlier when you were building the swing out you said you used Poison Spider's parts.... I like the way that stuff works but couldn't find it available on their site? Do you have a part number to order this stuff?
 

Attachments

  • 7257414108_3f78faae26_z.jpg
    7257414108_3f78faae26_z.jpg
    197.4 KB · Views: 27

jeep-N-montero

Expedition Leader
Hey Recce, if you are interested in building another rear bumper PM me with pricing, might be time for a rear tire carrier.
 

Recce01

Adventurer
*Question*
Earlier when you were building the swing out you said you used Poison Spider's parts.... I like the way that stuff works but couldn't find it available on their site? Do you have a part number to order this stuff?

I am not sure that they sell the stuff seperately. You would need to give them a call and ask if you can buy it. I have some doing some other business with them so they supplied the parts for my project. Great guys over there! Maybe reference my thread and see what kind ofr response you get.

Hey Recce, if you are interested in building another rear bumper PM me with pricing, might be time for a rear tire carrier.
I'll pop you a PM shortly. Thank you!
 

jeepdreamer

Expedition Leader
Thanks Reece... I sent them a message begging them to help. :) haha! I'd think they would be interested in jumping on marketing something like this since so many people are trying to save some money by going the DIY route? Seems pretty easy to assemble the parts and build the bracket that holds the latch. Then they could have a DIY kit to sell, less in house fabrication needs, and maybe a larger profit margin on something way easier to ship? guess I'll see when I hear back from them. :)
 

Recce01

Adventurer
Thanks Reece... I sent them a message begging them to help. :) haha! I'd think they would be interested in jumping on marketing something like this since so many people are trying to save some money by going the DIY route? Seems pretty easy to assemble the parts and build the bracket that holds the latch. Then they could have a DIY kit to sell, less in house fabrication needs, and maybe a larger profit margin on something way easier to ship? guess I'll see when I hear back from them. :)
Well I agree, I think it would be a good idea for them to sell them seperately. I wish you the best of luck man! Keep us posted :)
 

Recce01

Adventurer
A few pics from in the field

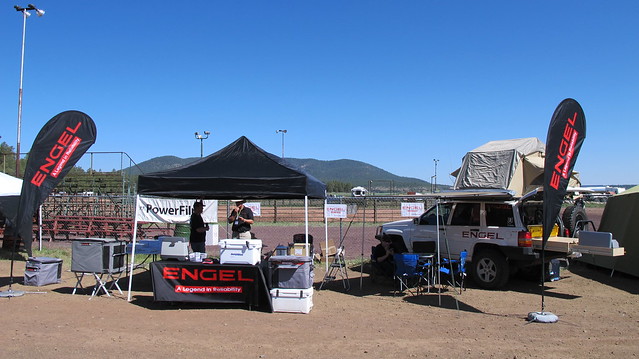
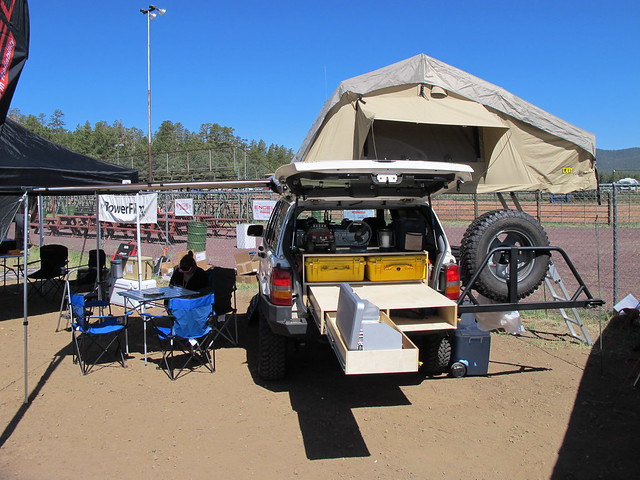
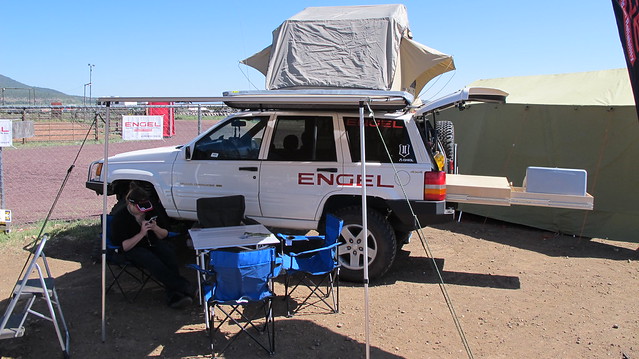
We attended the Overland Expo in Flagstaff, Arizona. That same friend "Gerf" has recently become a line representitive for Engel Fridge Freezers. I offered up my ZJ for them to use in their booth at the EXPO. I was working there anyways, and would not have a purpose for it while I was doing my job. Here are a few pictures of the ZJ at the show...

7167967945_163c520bc4_z.jpg


7353179084_bdbfe3752f_z.jpg


7353200546_038160b3e2_z.jpg


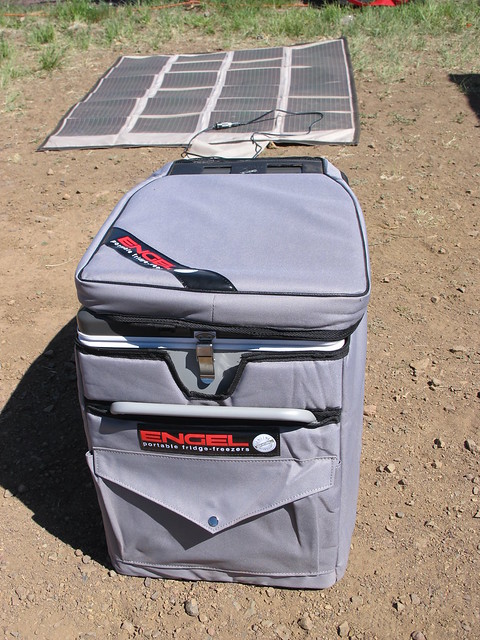
While I was at the show, I also picked up this little gem!

7167982623_f306a8199e_z.jpg


This model can be found here... http://www.engel-usa.com/index.php?...n=com_virtuemart&Itemid=59&vmcchk=1&Itemid=59

Look for more info on this once I get a chance to mount it permanently!

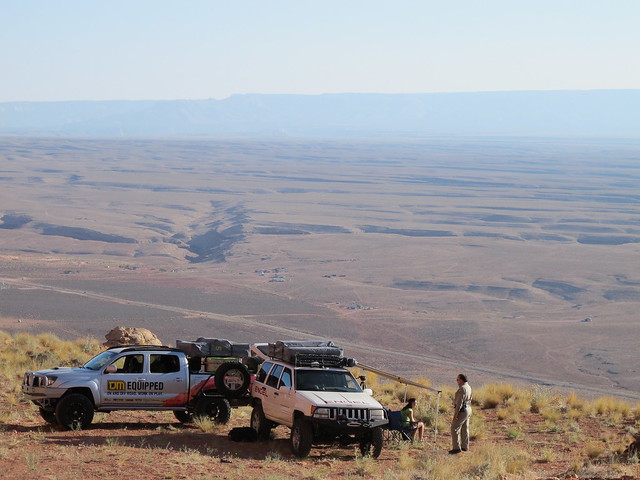
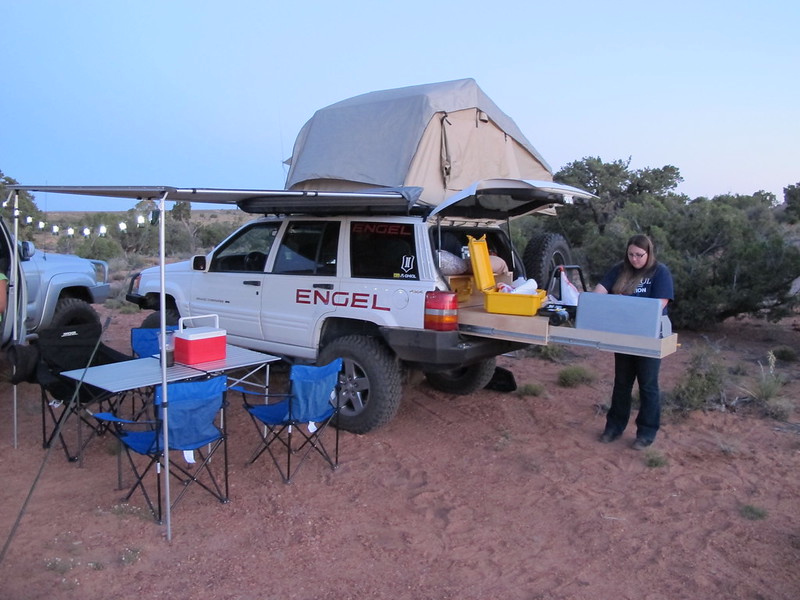
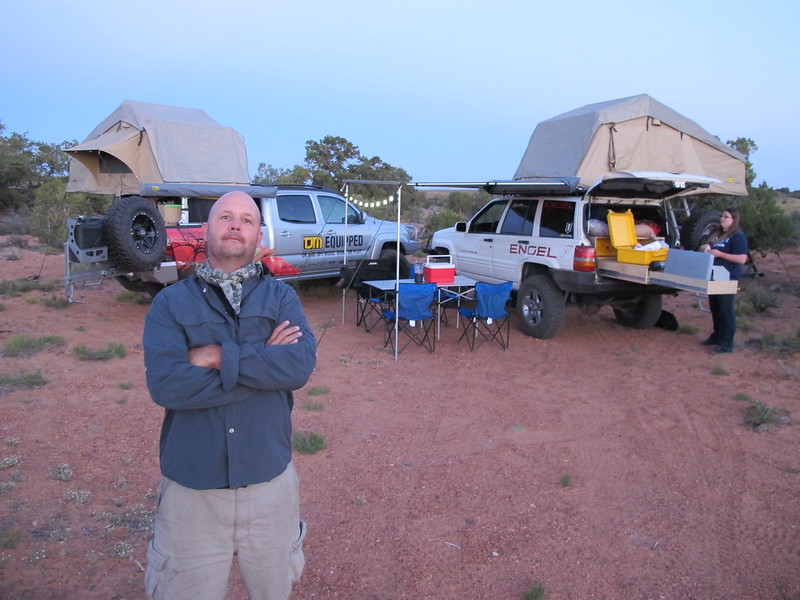
After the show, my co-worker, his daughter, my wife and myself headed up to northern Arizona (almost to Utah) to see the annular eclipse in the path of annularity. This(according to my astronomy major wife) is where the moon would be exactly in the center of the sun. We found a nice open cliff next to the road just south of Page. We were all set to enjoy the eclipse, when the law showed up and expressed dislike for our position. We were meant to be down the road in a turn out with 4 million other sheeple :( I did get a shot of our rigs. My co-worker was driving the TJM Tacoma, and the law is reading the riot act to my wife.

7168246007_f505d94fb1_z.jpg


It was an epic view though .... 36.666336,-111.632783

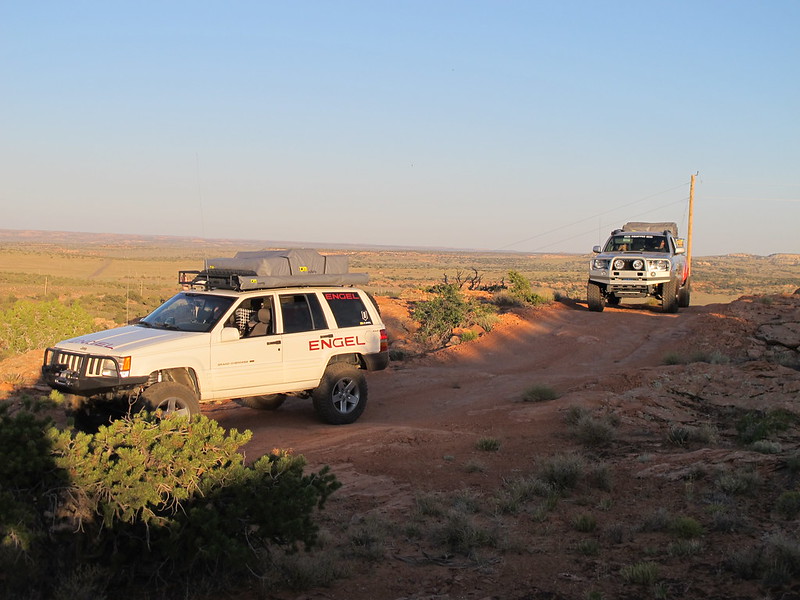
We didn't build a somewhat capable Overland vehicle to pull in a lot full of Prius' and mini-vans to hang out with thousands of people trying to catch the eclipse, so we packed up quickly and headed out into the bush.

7168288965_b1300a717a_c.jpg


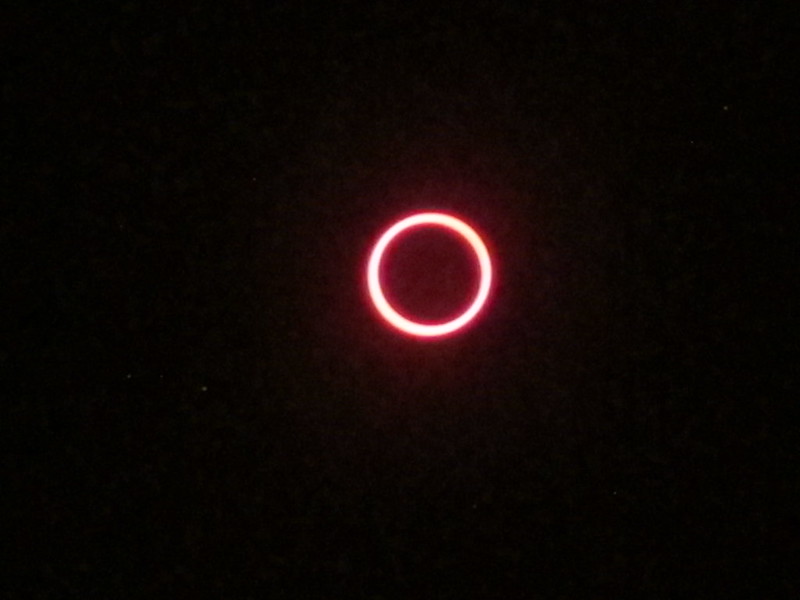
In the end, we found our spot, and began to thank the law for making us get creative and discover epic beauty!! The eclipse was incredible to see..

7168270935_427634dc38_c.jpg


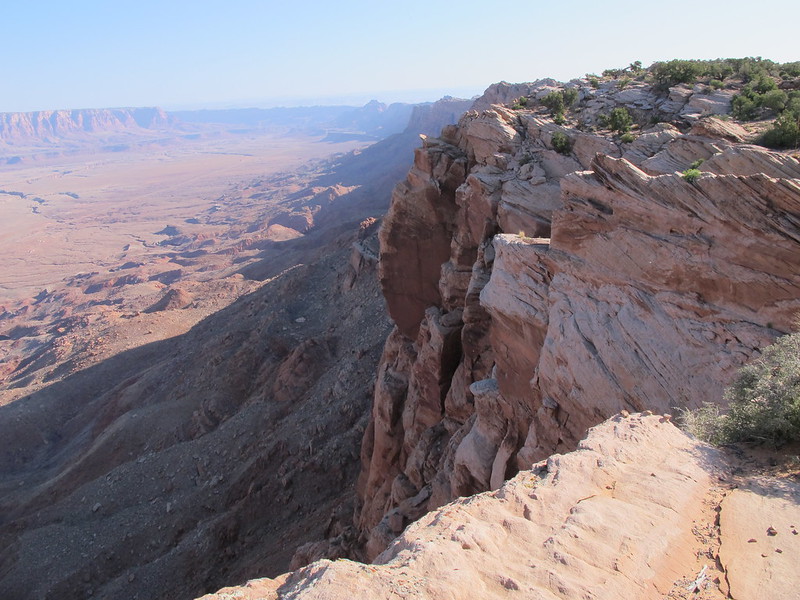
We posted up right where we viewed the eclipse and spent the night, our views from the campsite were breathtaking!

7168311651_f94c25d3e1_c.jpg


Finally time for dinner!

7168299025_1f533b525b_c.jpg


Yo Rodney, strike a pose! heheheh

7353505914_bdef0d347d_c.jpg
 

Recce01

Adventurer
oh ya, some basic photos

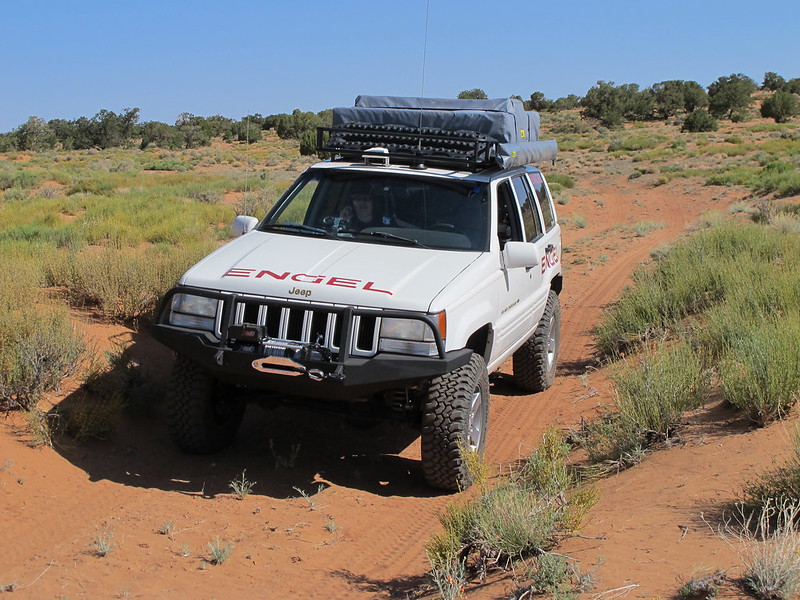
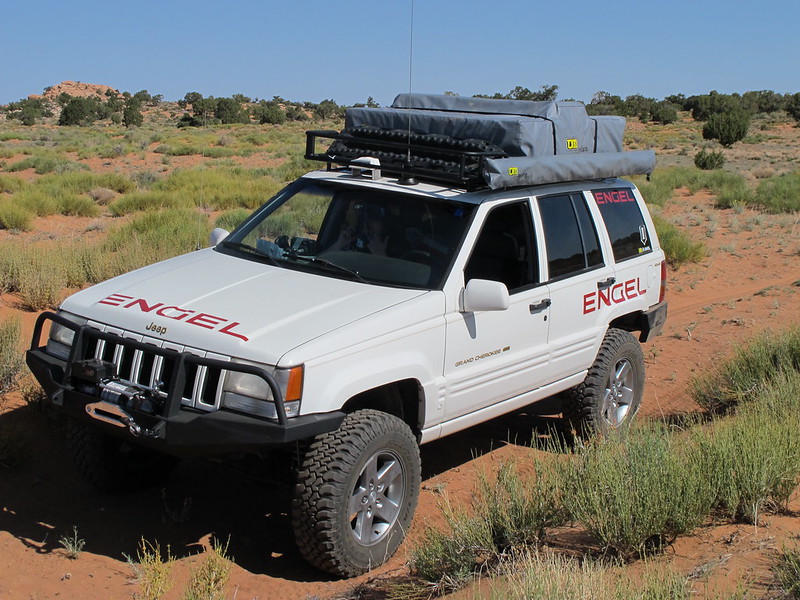
I did take a few photos when we stopped for a moment of the ZJ itself, here ya go!

7168339287_5b0e278ed2_c.jpg


7168342483_b656a1a9b9_c.jpg


7168344211_939edb1b87_c.jpg


7353556496_3094735ab6_c.jpg


7353555616_0e35f7b917_b.jpg


Thank you everyone for checking out my thread and participating. I am really looking forward to continuing work on the ZJ. This has been some of the most fun I have had in a long time, both building and enjoying the Jeep!
 

Forum statistics

Threads
188,337
Messages
2,905,713
Members
229,959
Latest member
bdpkauai
Top