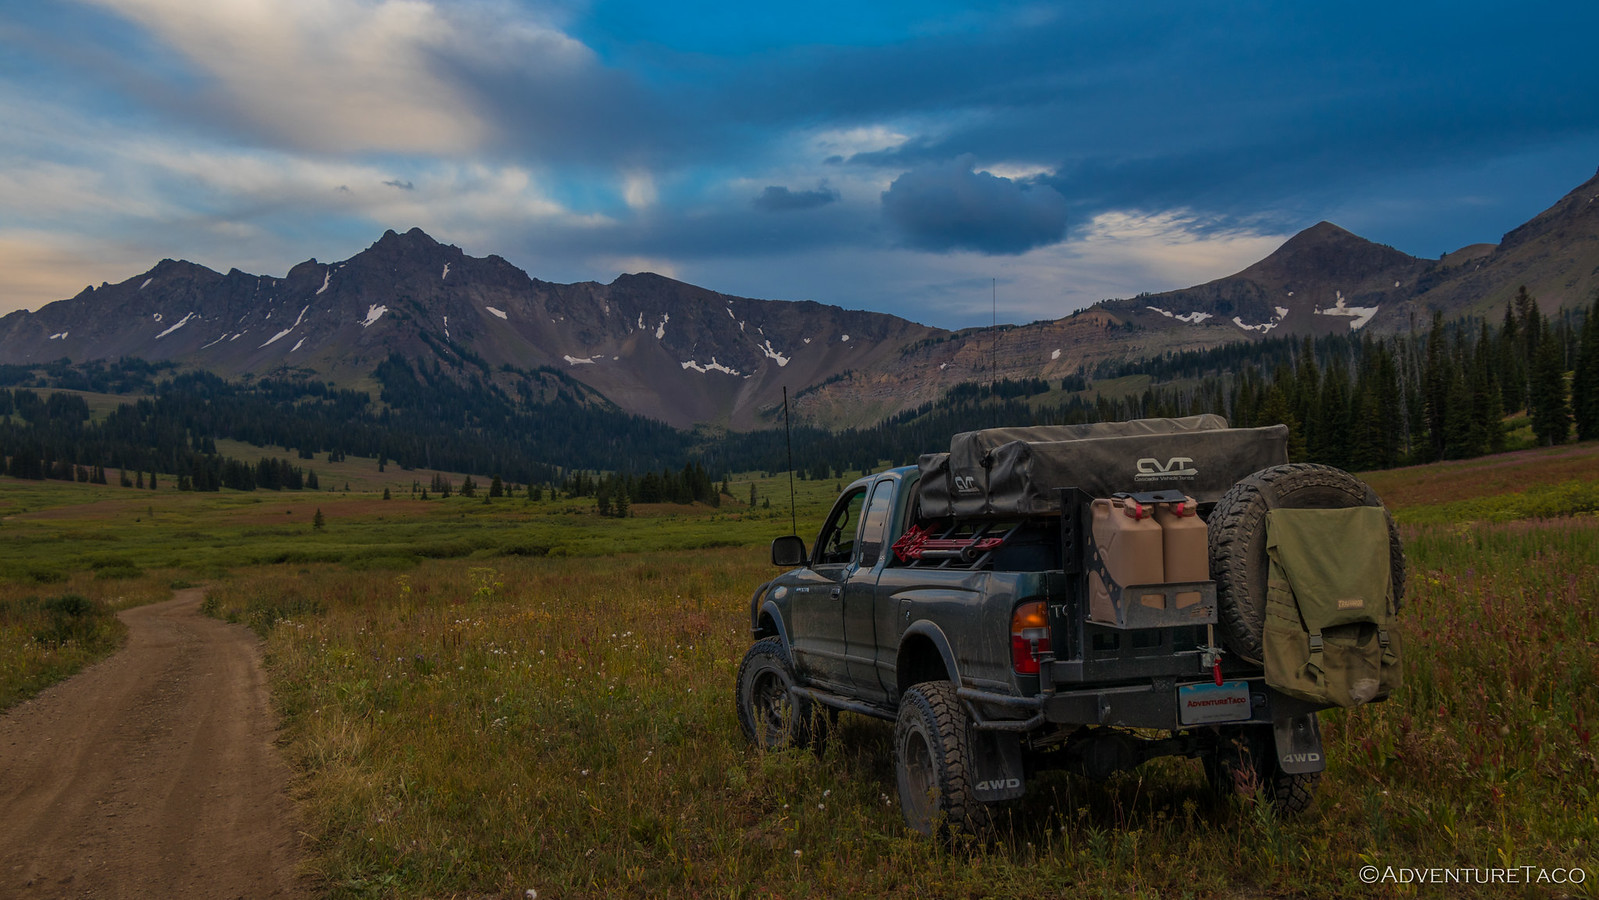
AdventureTaco - turbodb's build and adventures

turbodb

Well-known member
We'd done it!

It'd taken us about 6 days from
start to finish and we'd had a
blast. Given the relatively easy
roads, it was a great first trip
for Joe, Daisy and their
daughter, and it felt great to
get another BDR under
our belt.


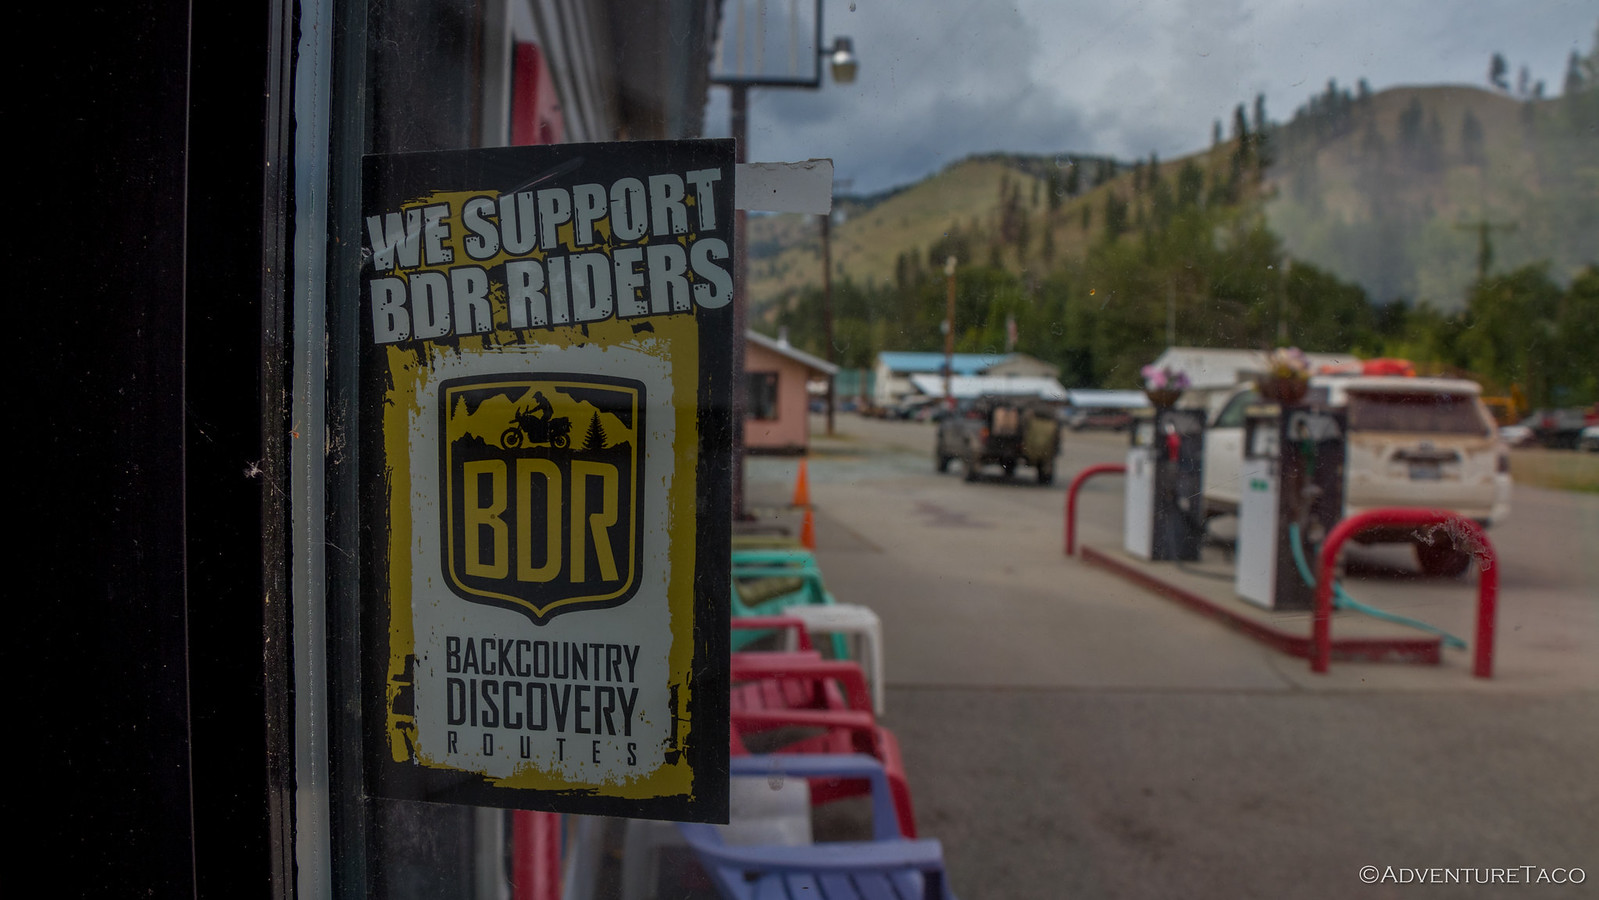
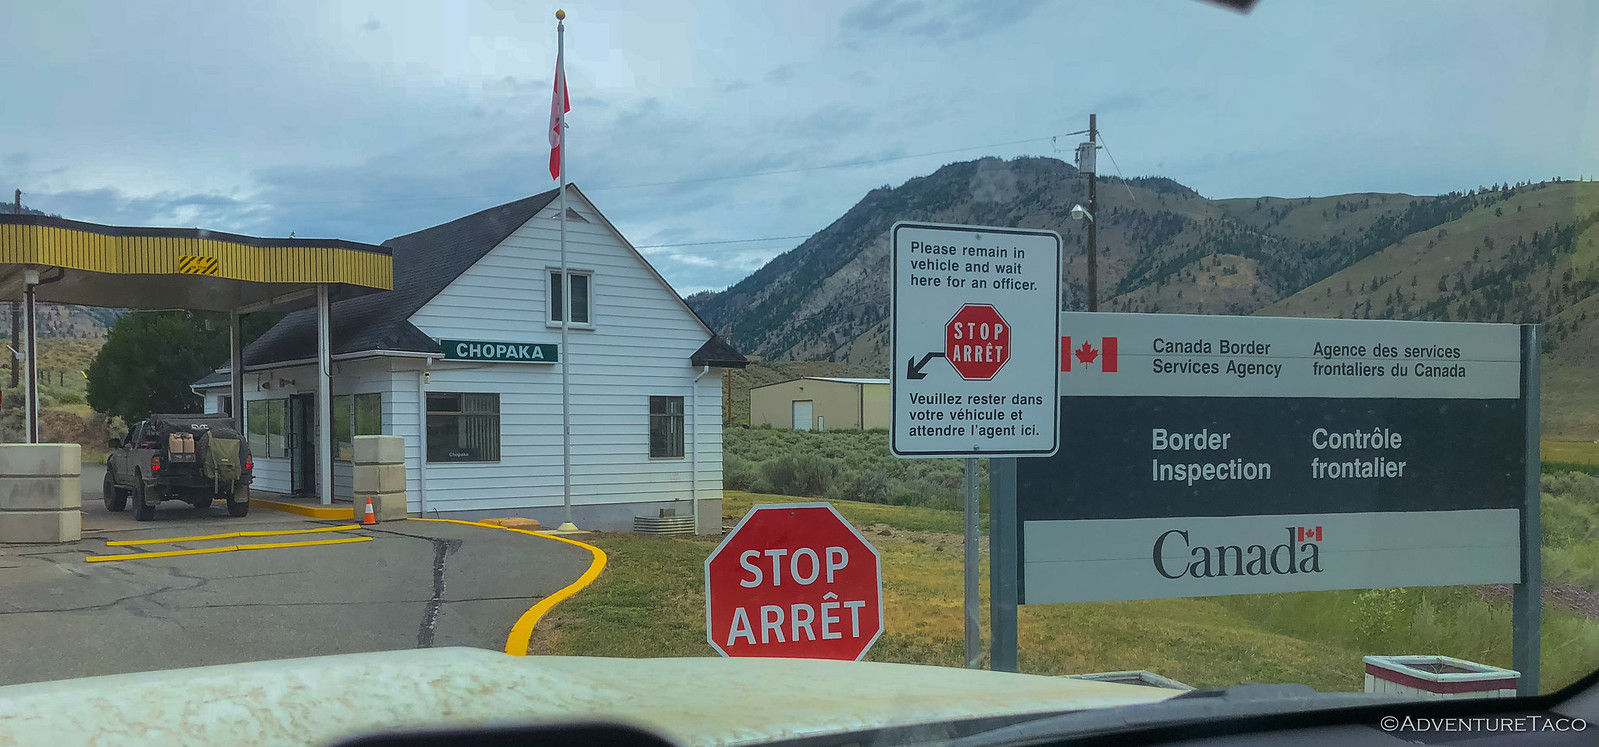
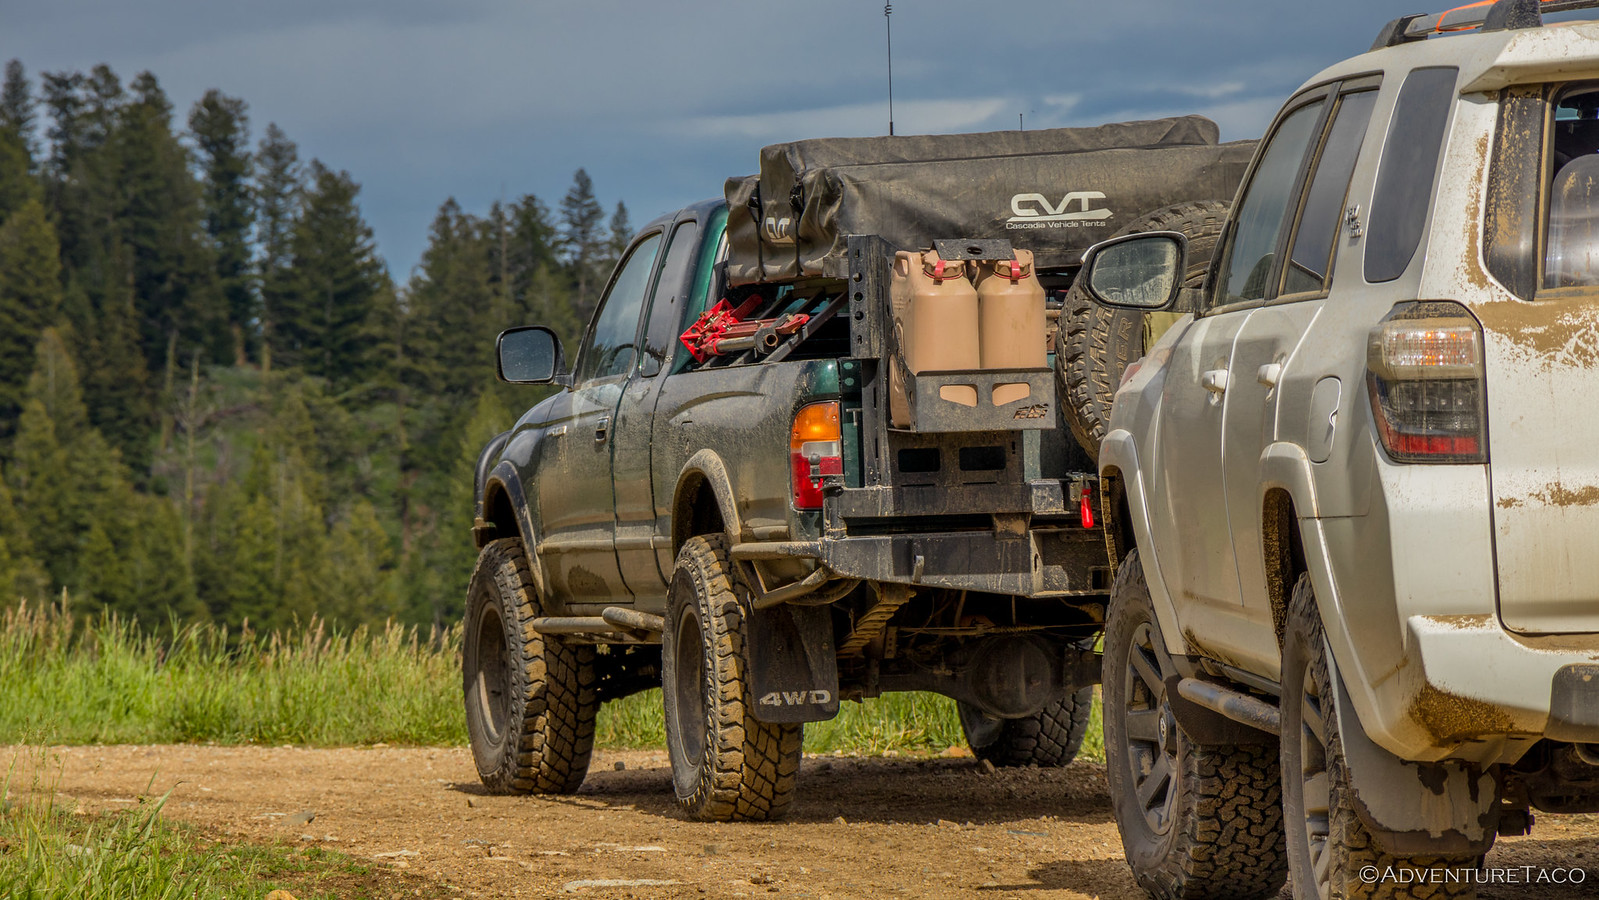
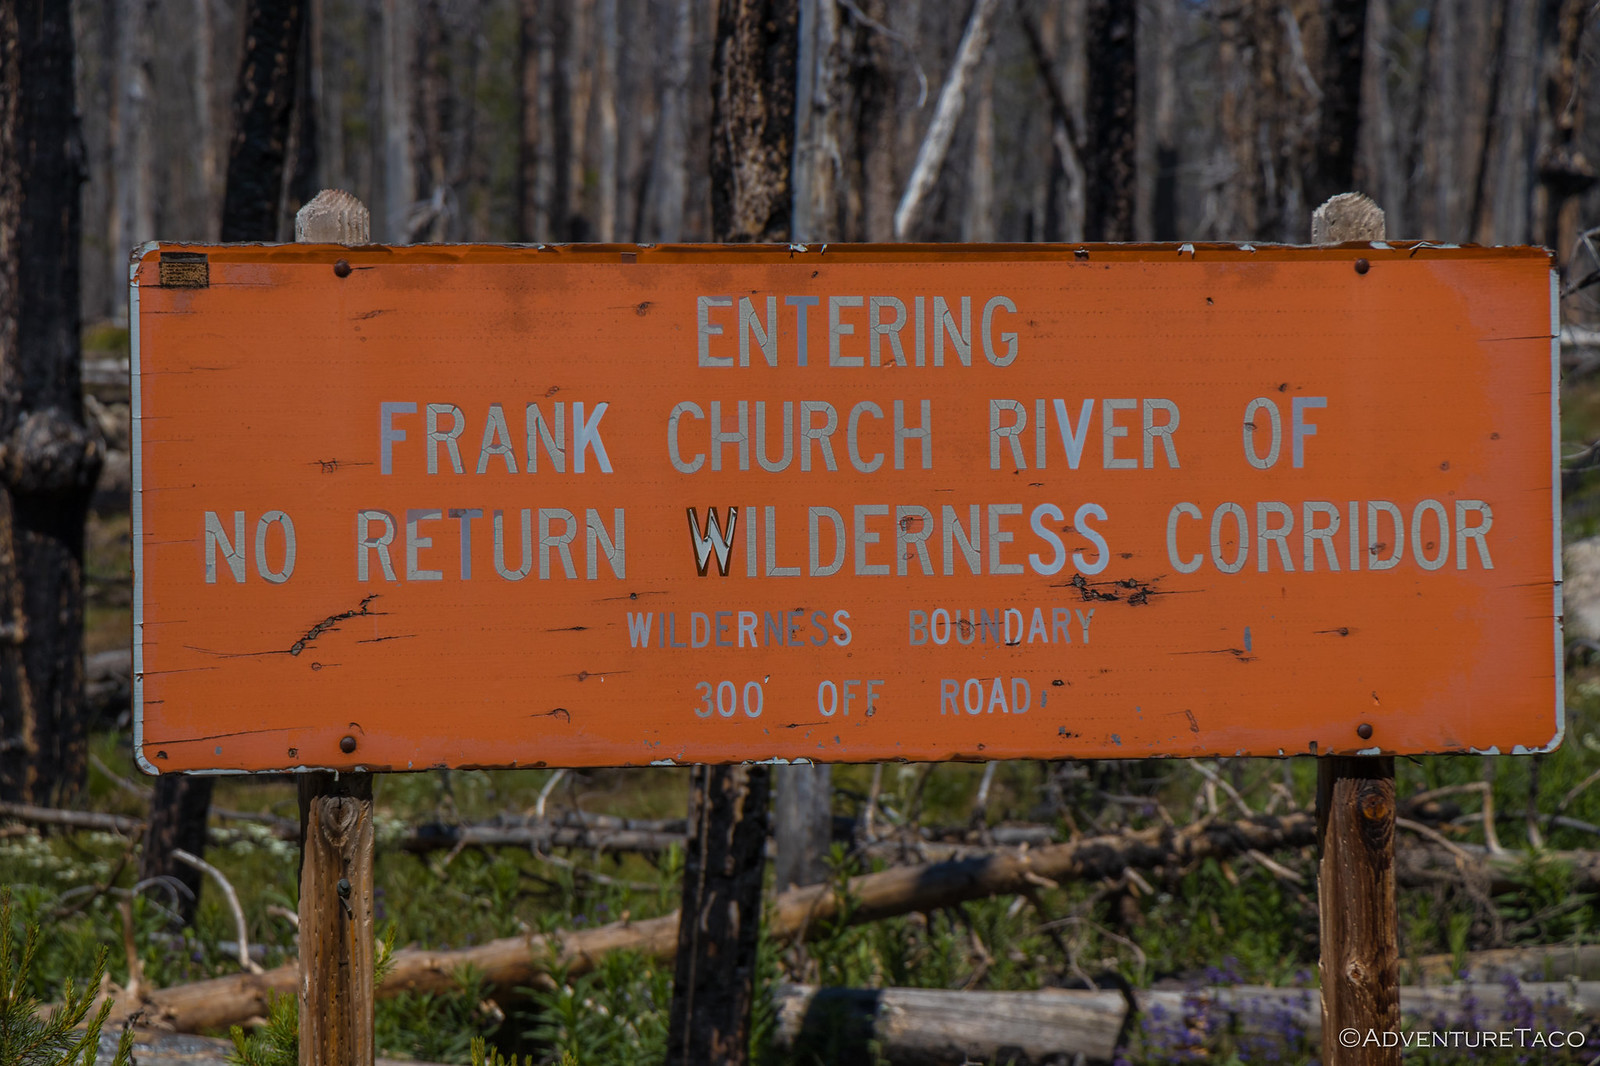
WABDR Day 5 & 6: Finally 4WD; and a Run for the Border


42803494194_84e386e6a6_h.jpg

43520526721_a9f49e61a3_h.jpg


43473005972_0830e30822_h.jpg


42803495674_af131f05d1_h.jpg
 
Great posts and very nice photos. We did the WABDR (OR-CA) last year. Took us a bit of back and forth but we did finally find that China wall, N48.46973, W119.75336 by my gps marker.

That washout spot you mentioned in the same post definitely gave me the hebee jebees being the first person in the group to drive through it and not knowing if the road would stay in place.

This year we did the OBDR (CA-WA) as well. Fun trip!
 

turbodb

Well-known member
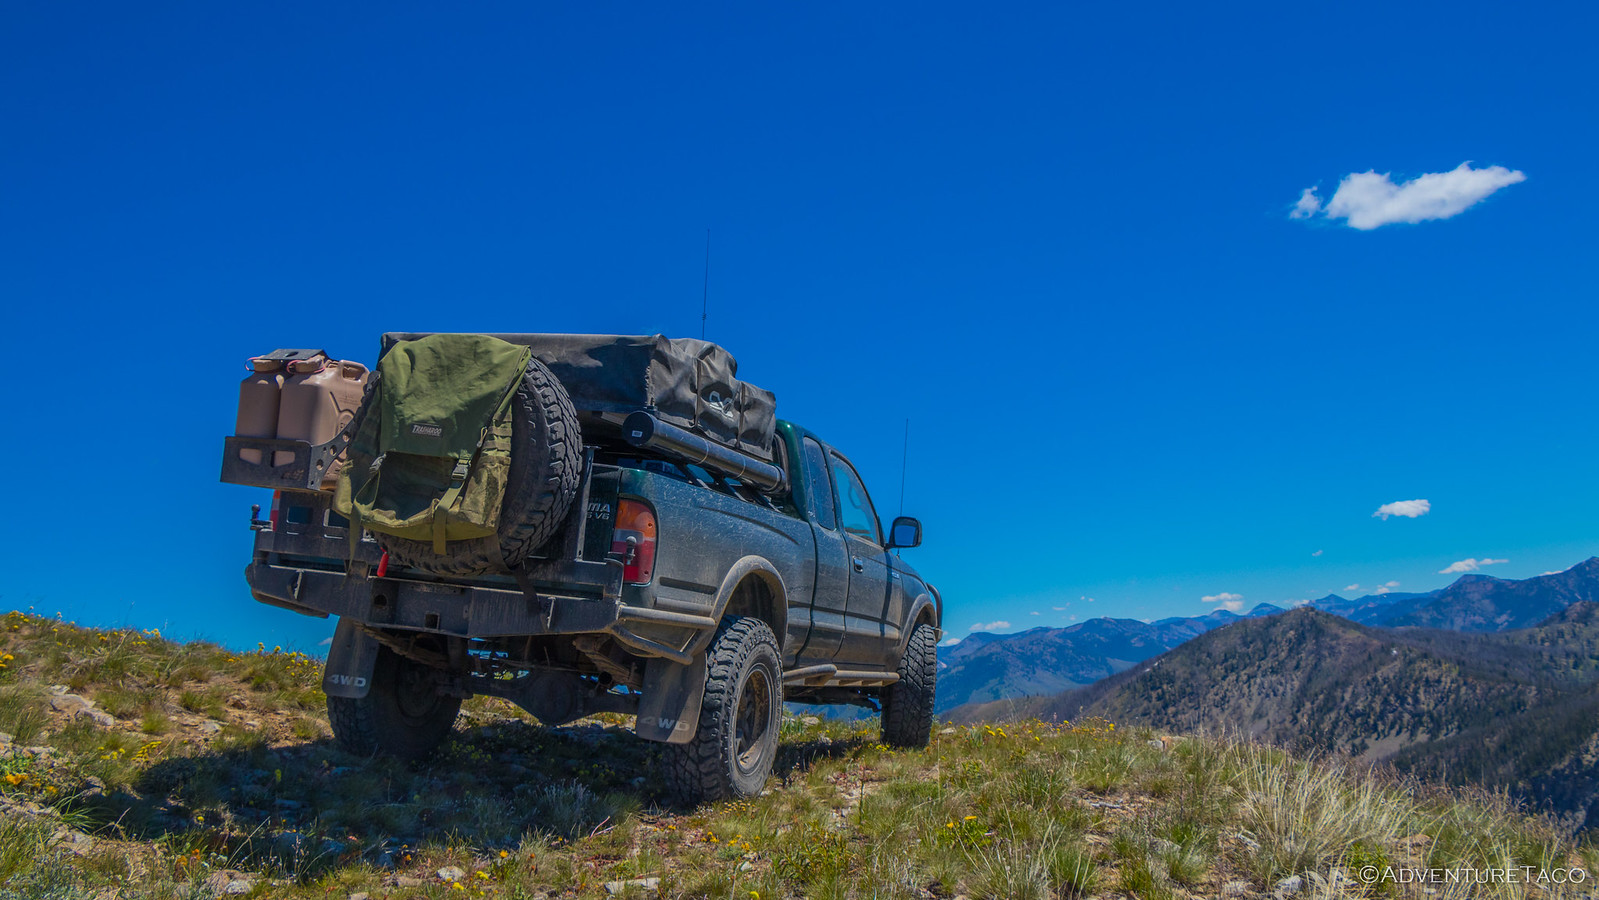
July 3-4, 2018.

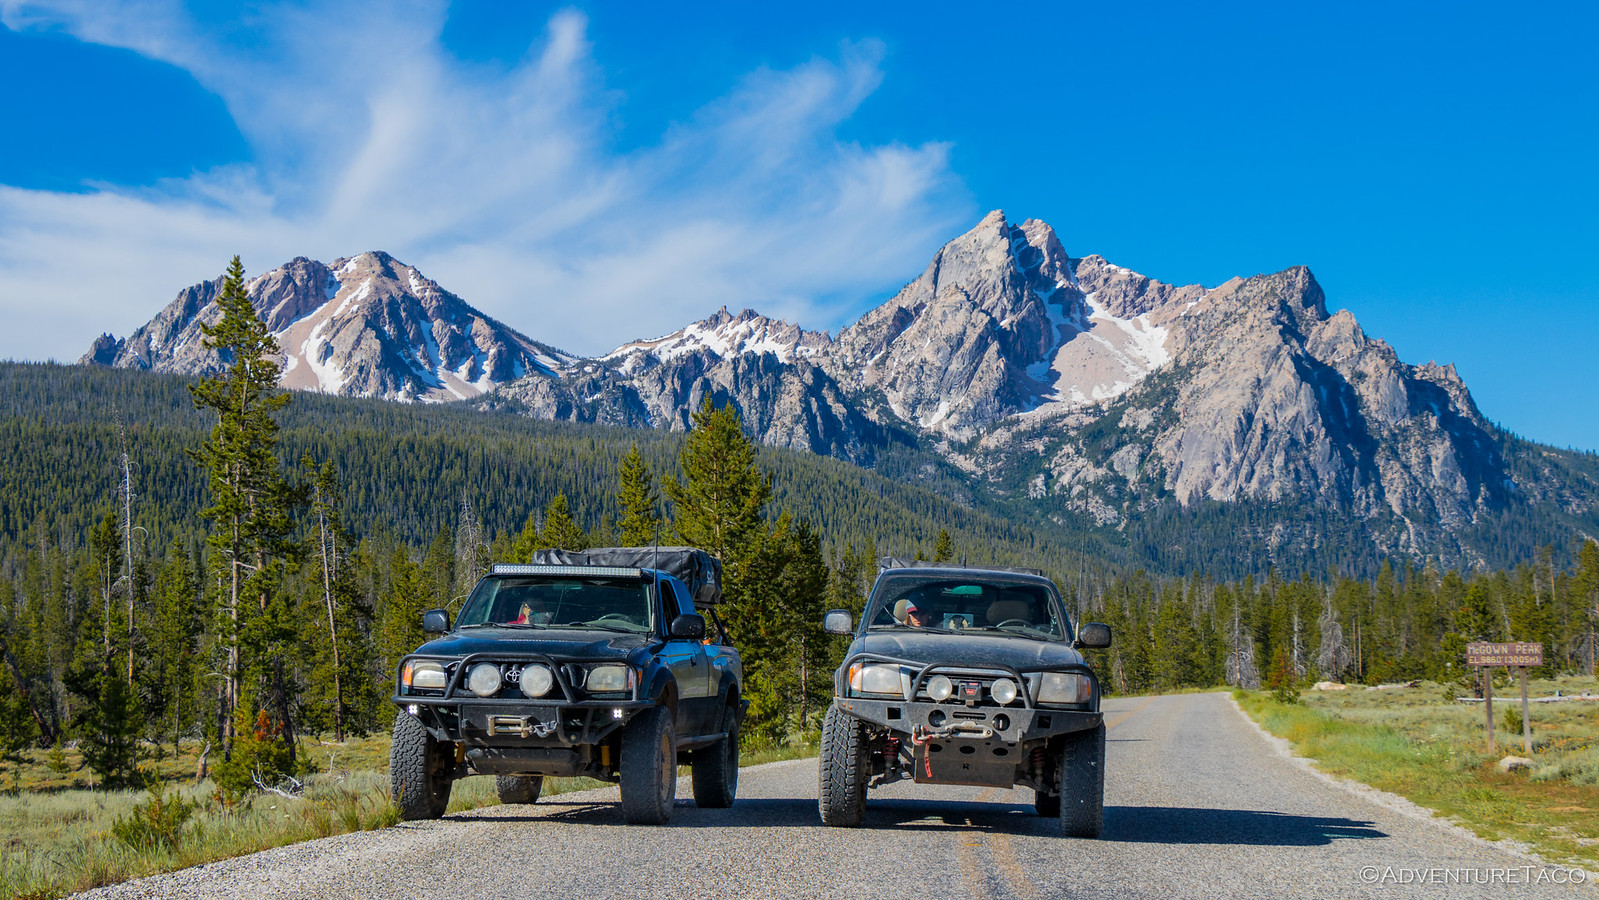
Soon, with the morning light spilling through the trees, and whispy white clouds in the sky, we were ready to go. As we headed for the highway, Ben slowed to a stop and suggested I pull up next to him... That got no argument from me and for a few minutes we owned the road.


turbodb

Well-known member
...this wasn't just any trip - this was a trip to Pop's favorite, secret camp spot - a place that he and his buddies have been going for more than 25 years, and which has remained largely unchanged in that time. This year, it'd be only him and one of his friends (the "old fogies"), and me; sworn to secrecy for all time...

Read the whole story - Somewhere in the Sierra's (Part 1)

43613610302_b0f11edb7b_h.jpg
 

turbodb

Well-known member
...Nights were warm and just a little breezy - a perfect combination in my book. And the stars. Of course, like anywhere remote more of them were visible - luckily for us, moonlessly for the majority of the night. Definitely no expert, I tried to capture the beauty one night while I slept...


turbodb

Well-known member
There was plenty of relaxing around our camp in the Sierras - and it was great... Even so, even this trip had a couple of excursions worth mentioning - one a fun 4WD road with spectacular views; the other an annual hike with a fun twist at the end.

See where we went and the trails we encountered in - Sierras Part 3: We Adventure Out!

41852286820_9d9e0e079a_h.jpg
 

turbodb

Well-known member
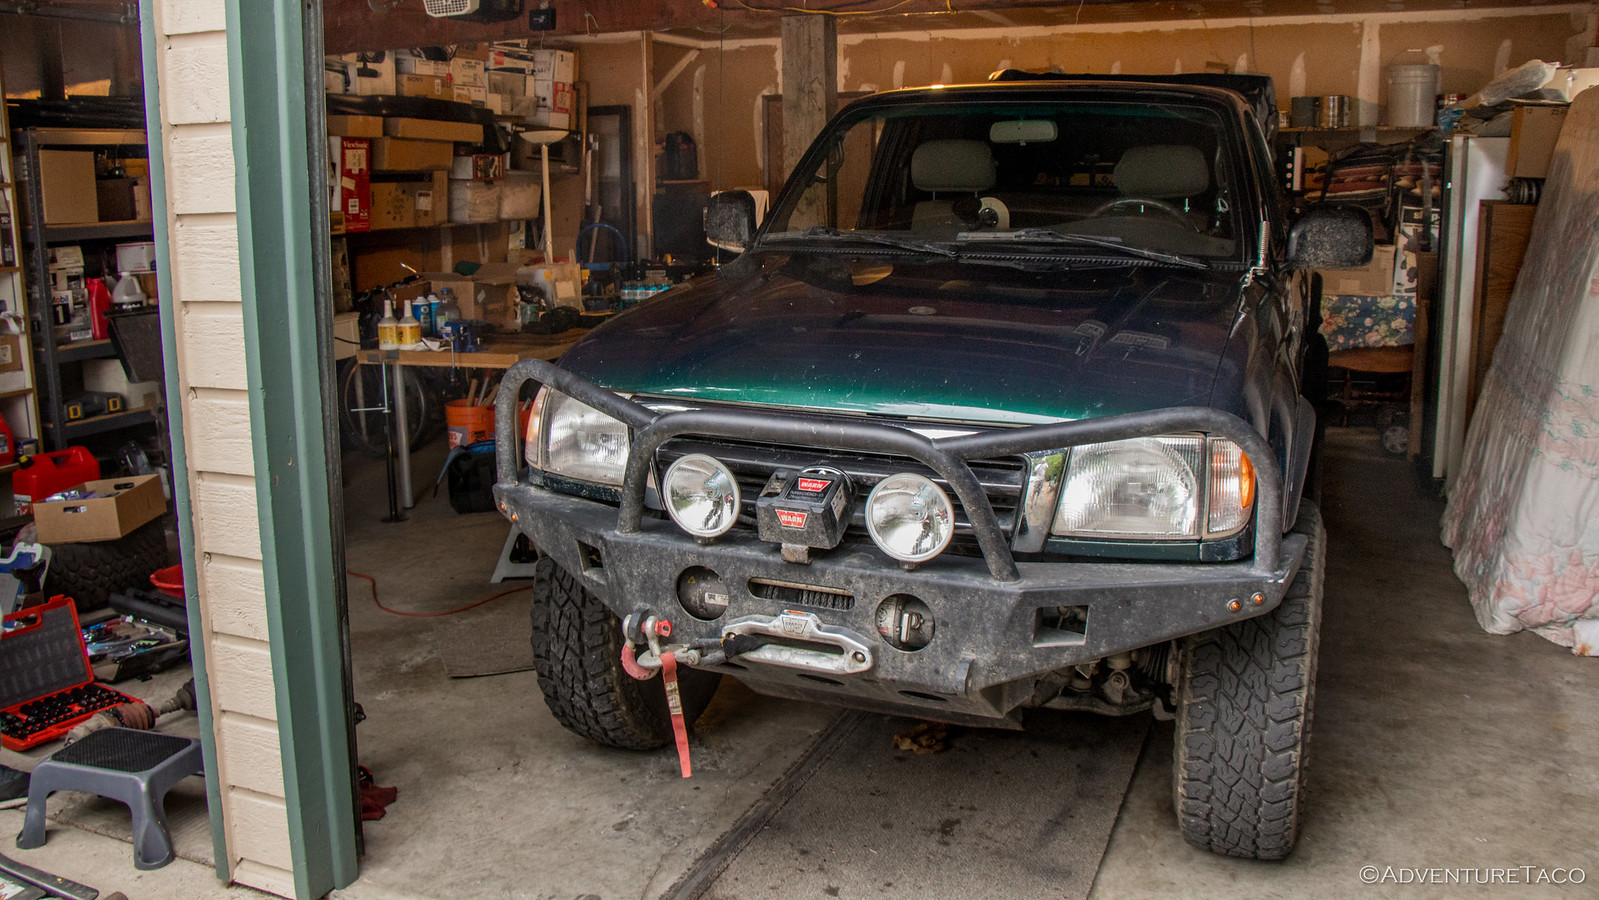
Shop Day: Installing new Lower Ball Joints (LBJ's)
August 11, 2018.

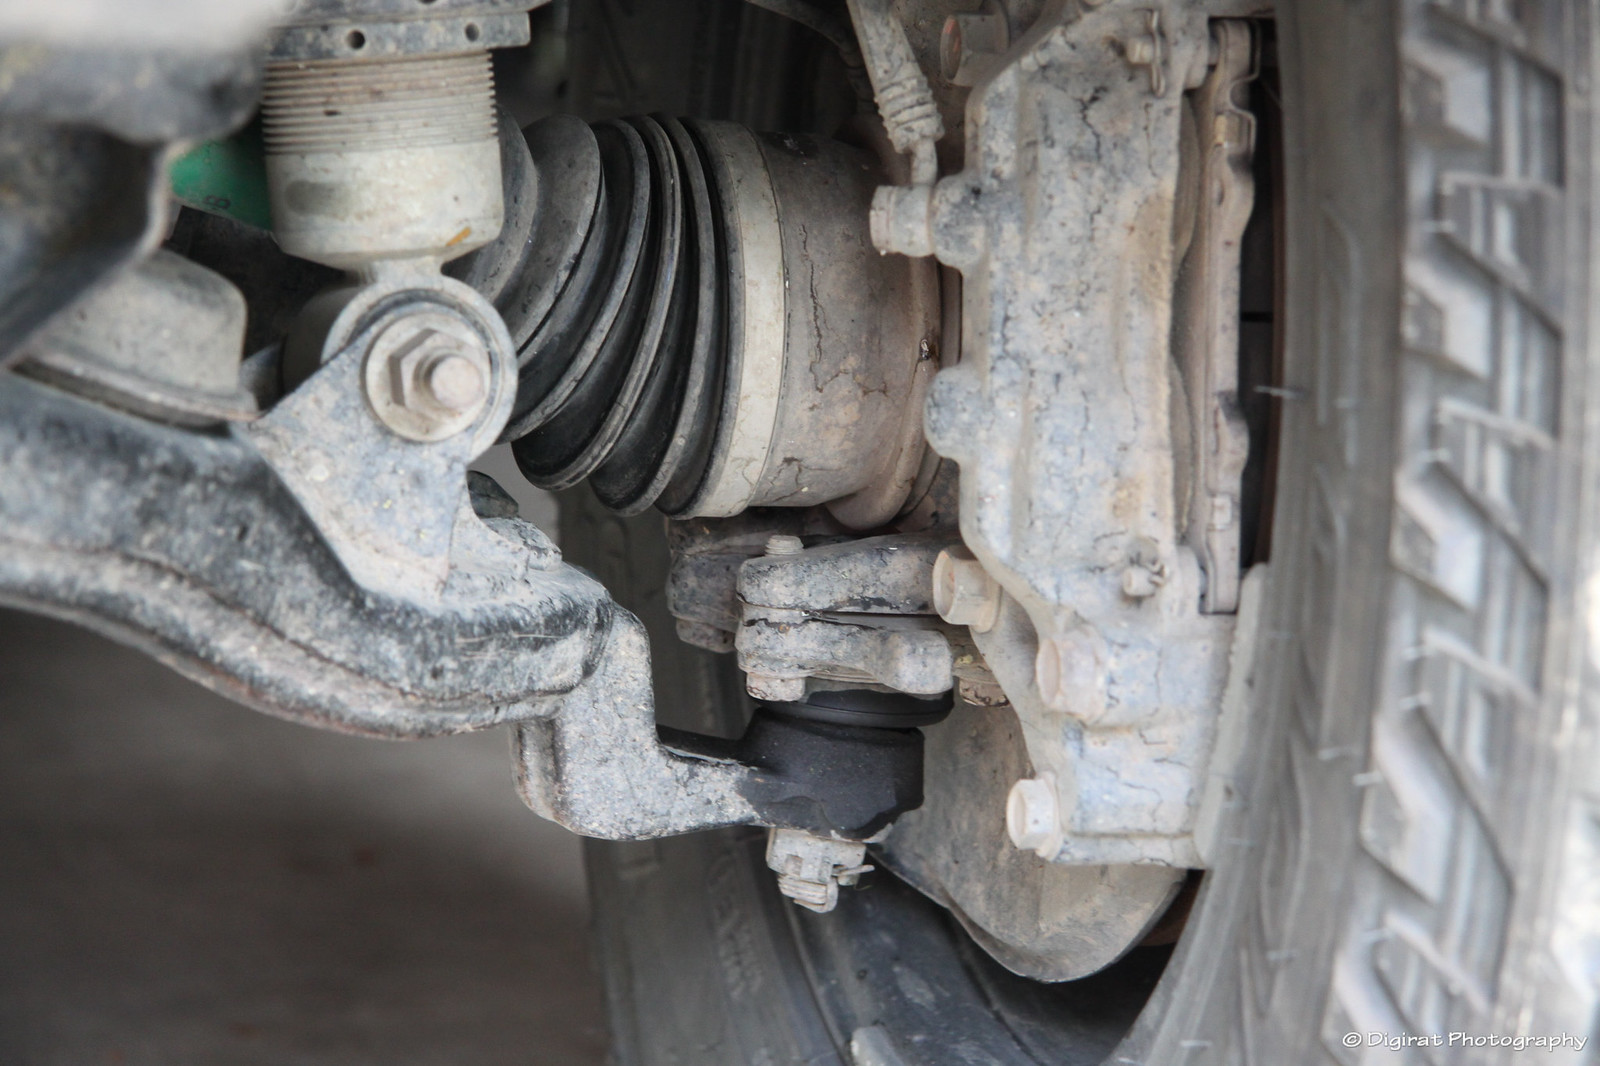
If there's one thing I've learned when it comes to first gen Toyota Tacoma's, it's that the weak point of the design (well, excluding rusty frames) is the lower ball joint (LBJ) on the front suspension. The design of the joint makes it susceptible to failure, and that failure is often catastrophic if you're traveling at any kind of speed.

And sometimes, even if you're not.


So, over the last year as I've been pushing the truck harder, I've been keeping an eye on my LBJ's - they're the originals after all, nearly 20 years old, and with 95,000 miles on them. I even went so far as to purchase some OEM replacements (P/N's - L: 43340-39585; R: 43330-39815 - and it's important to go OEM with these ball joints, the after market ones aren't up to snuff) about six months ago, which I've been toting around with me as trail spares in case mine gave out while on an adventure.

Then, a week or so ago, I noticed that the lower control arm (LCA) - just where the ball joint connects - had a wee bit of "wetness" to it, as though a bit of grease had leaked down out of the LBJ. Knowing that there are surely lots of big trips on the horizon, I figured it was safer to change them out now, even if there wasn't any play in them.


And, with a shop day coming up at Mike's @Digiratus, there was no better time to do it.

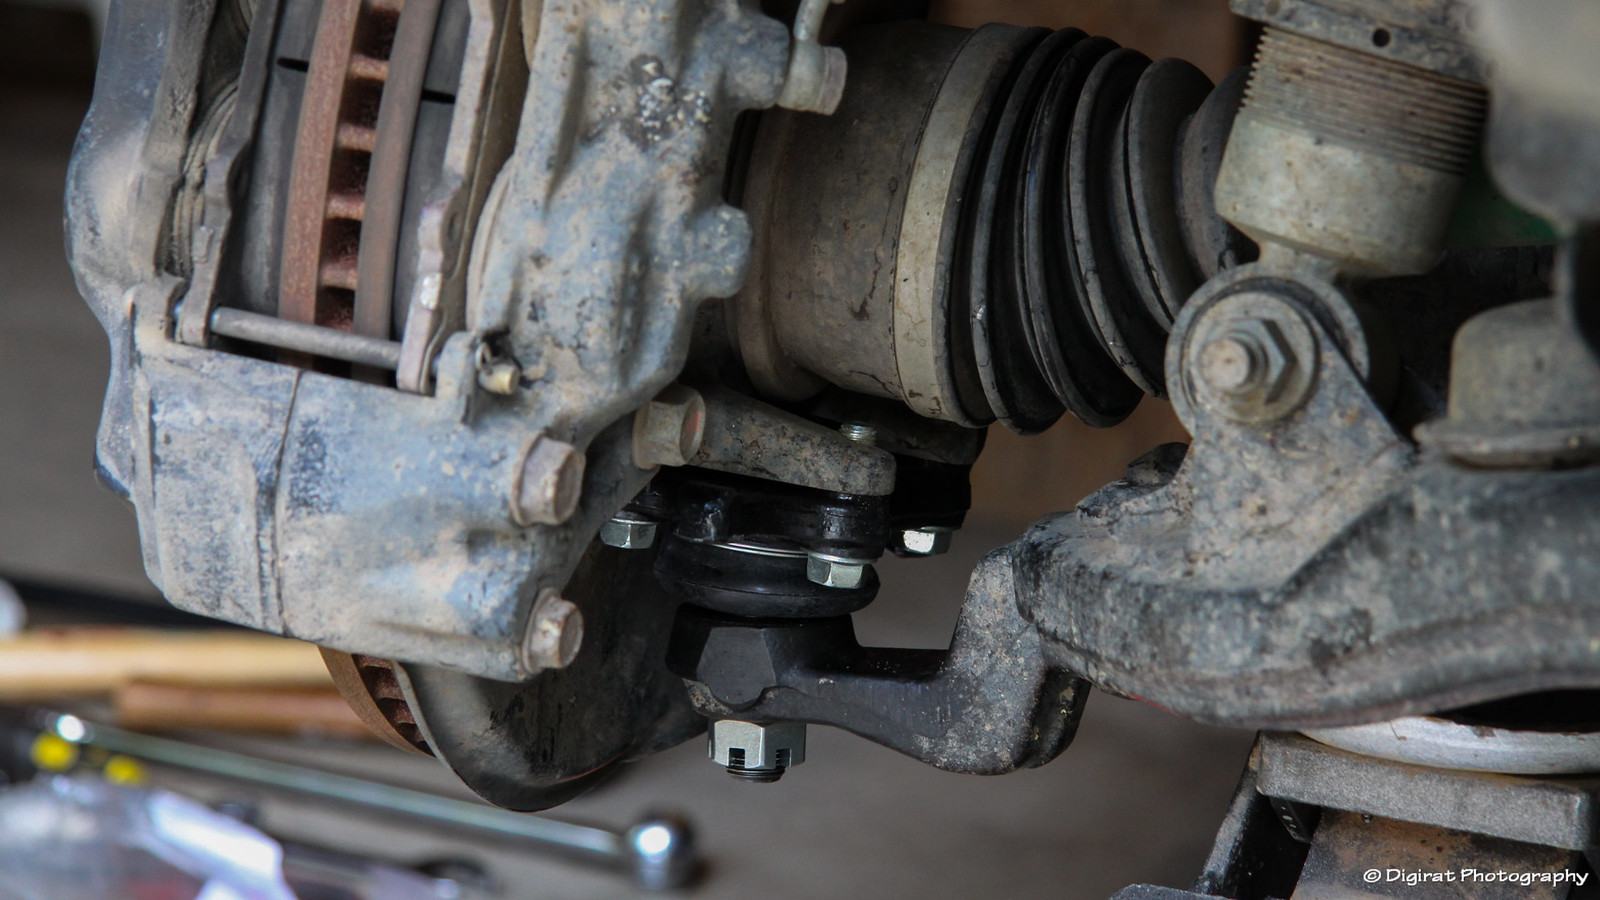
Step one of course was obtaining the parts and tools. The parts were easy, since I had them on hand already. From a tools perspective, I ended up using several sockets, and a ball joint separator:
  • Misc sockets (set)
    • 22mm socket to remove the castle nut on the outer tie rod
    • 24mm socket to remove the castle nut on the LBJ
    • 14mm socket to remove the four bolts holding the LBJ to the spindle
  • OTC 6295 Front End Service Set
  • pliers for the various cotter pins
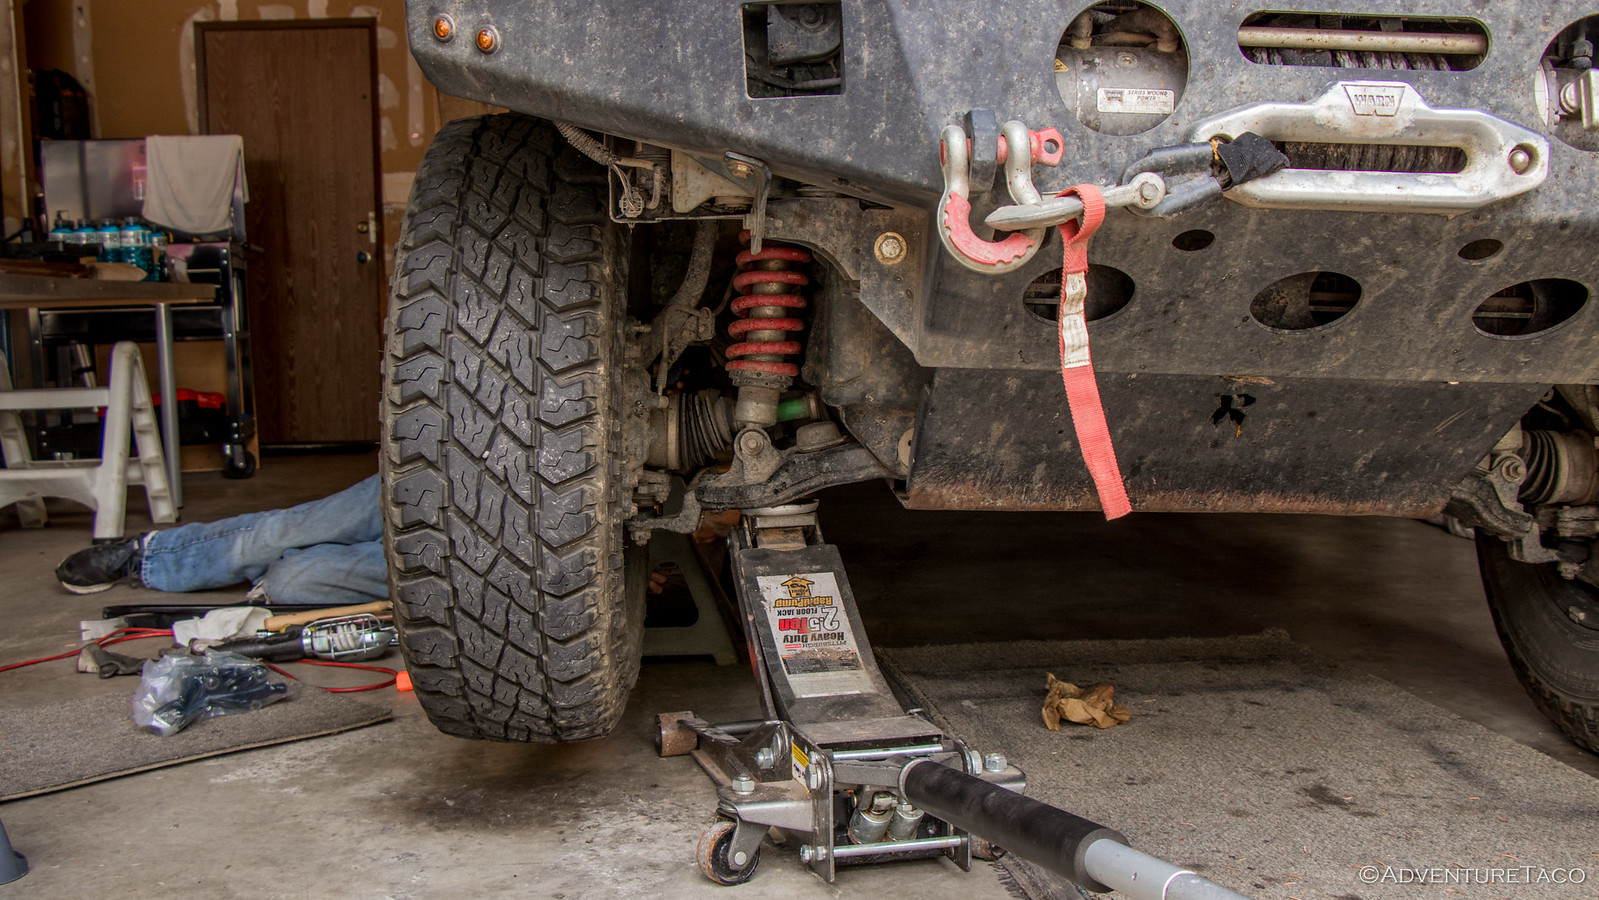
The next step of course was to pull into the shop (vs. outside) and jack up the truck; this being the first rainy day we've had here in the Pacific Northwest in quite a while!


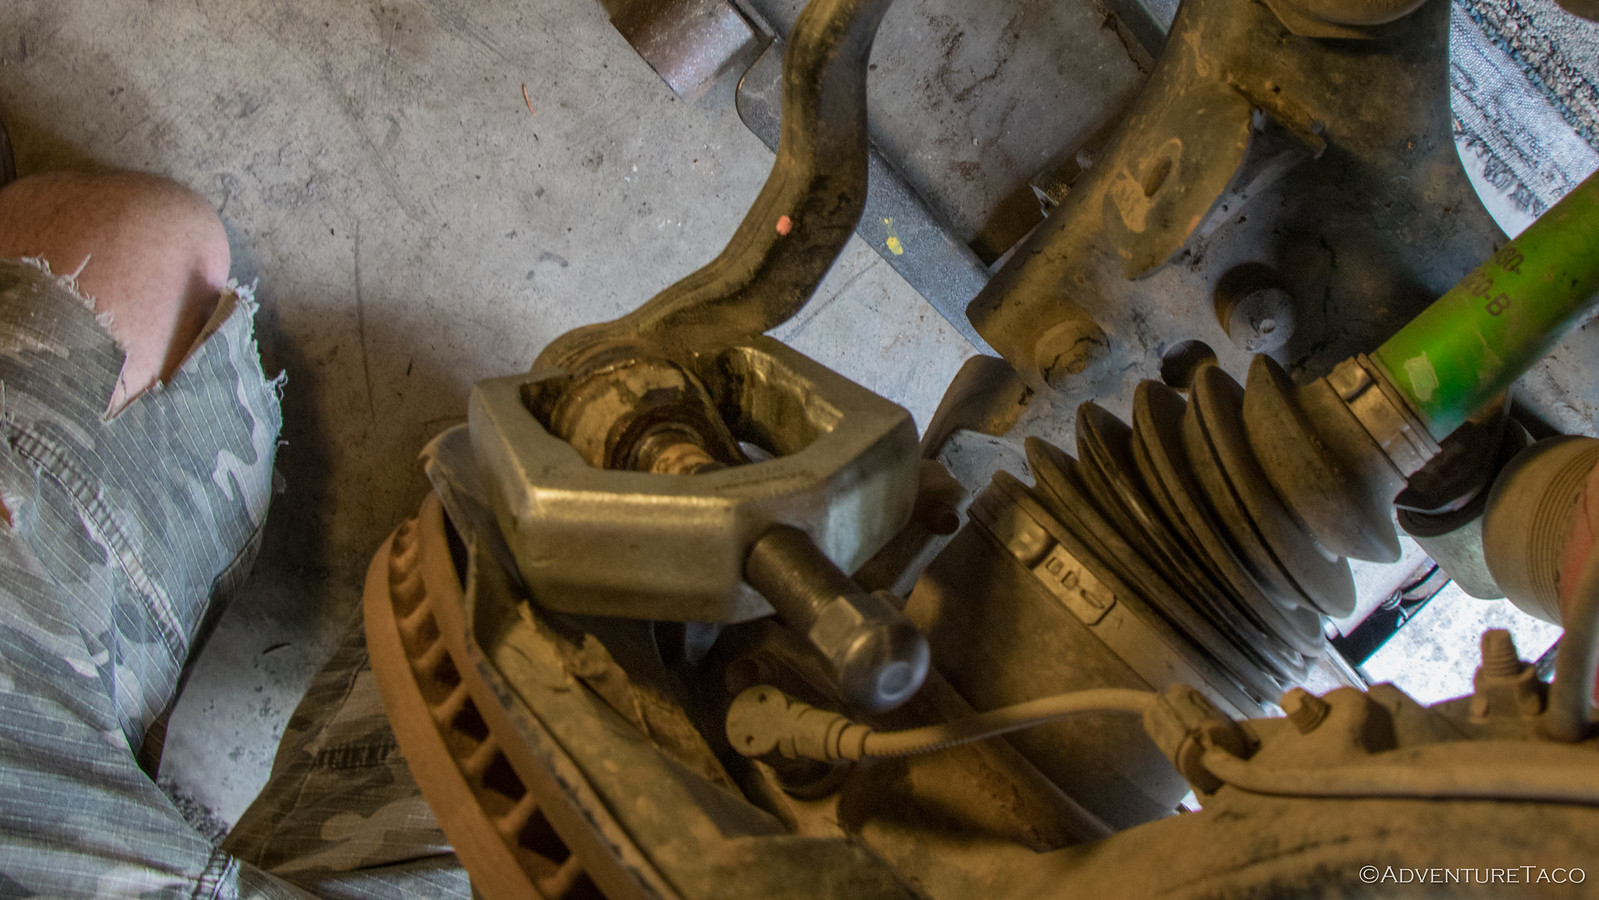
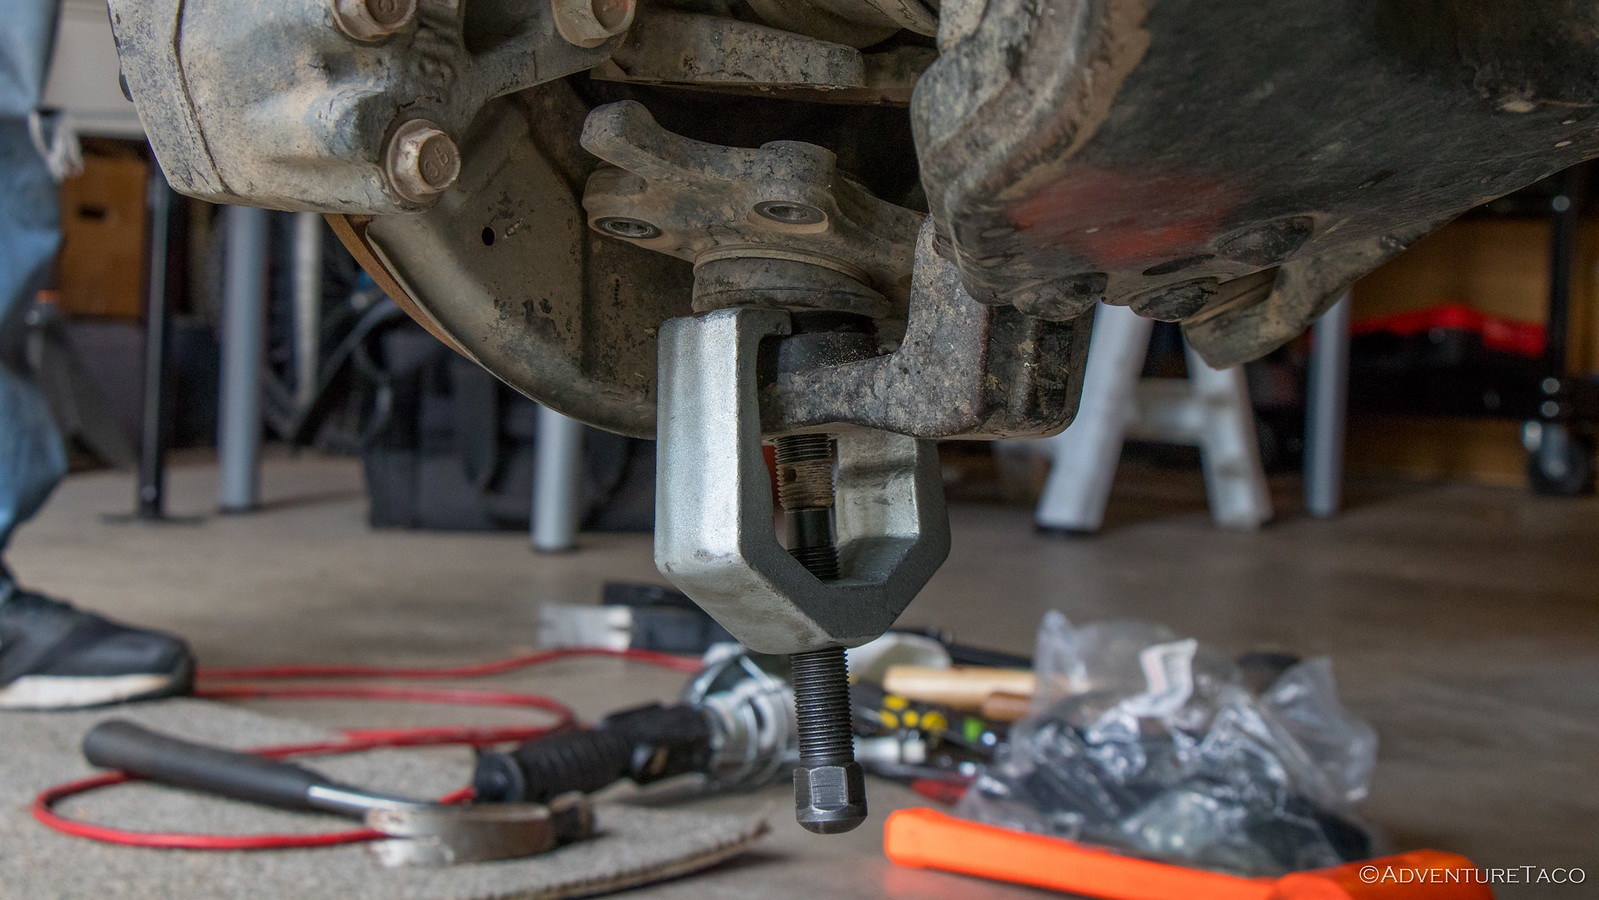
Then, with the wheels removed, I set about removing the outer tie rod ends. The 22mm castle nuts came off easily using the new Milwaukee mid-torque impact wrench (which by the way also worked great on Mike's axle nuts) and then I set about pulling apart the joint using a pitman arm puller. When it released, it let out quite the bang; I was glad to be wearing my ear plugs for sure!


Then, it was onto the 24mm castle nut and pressing out of the LBJ from the LCA. Knowing more what to expect this time, I wasn't in need of a change of underwear when this one released.


Last but not least, I used the impact wrench once again to zip out the four, 14mm bolts holding the LBJ to the LCA. I'd used some blue Loctite (242) to hold these in, which I'm sure I could have broken free by hand...but that's definitely less fun.

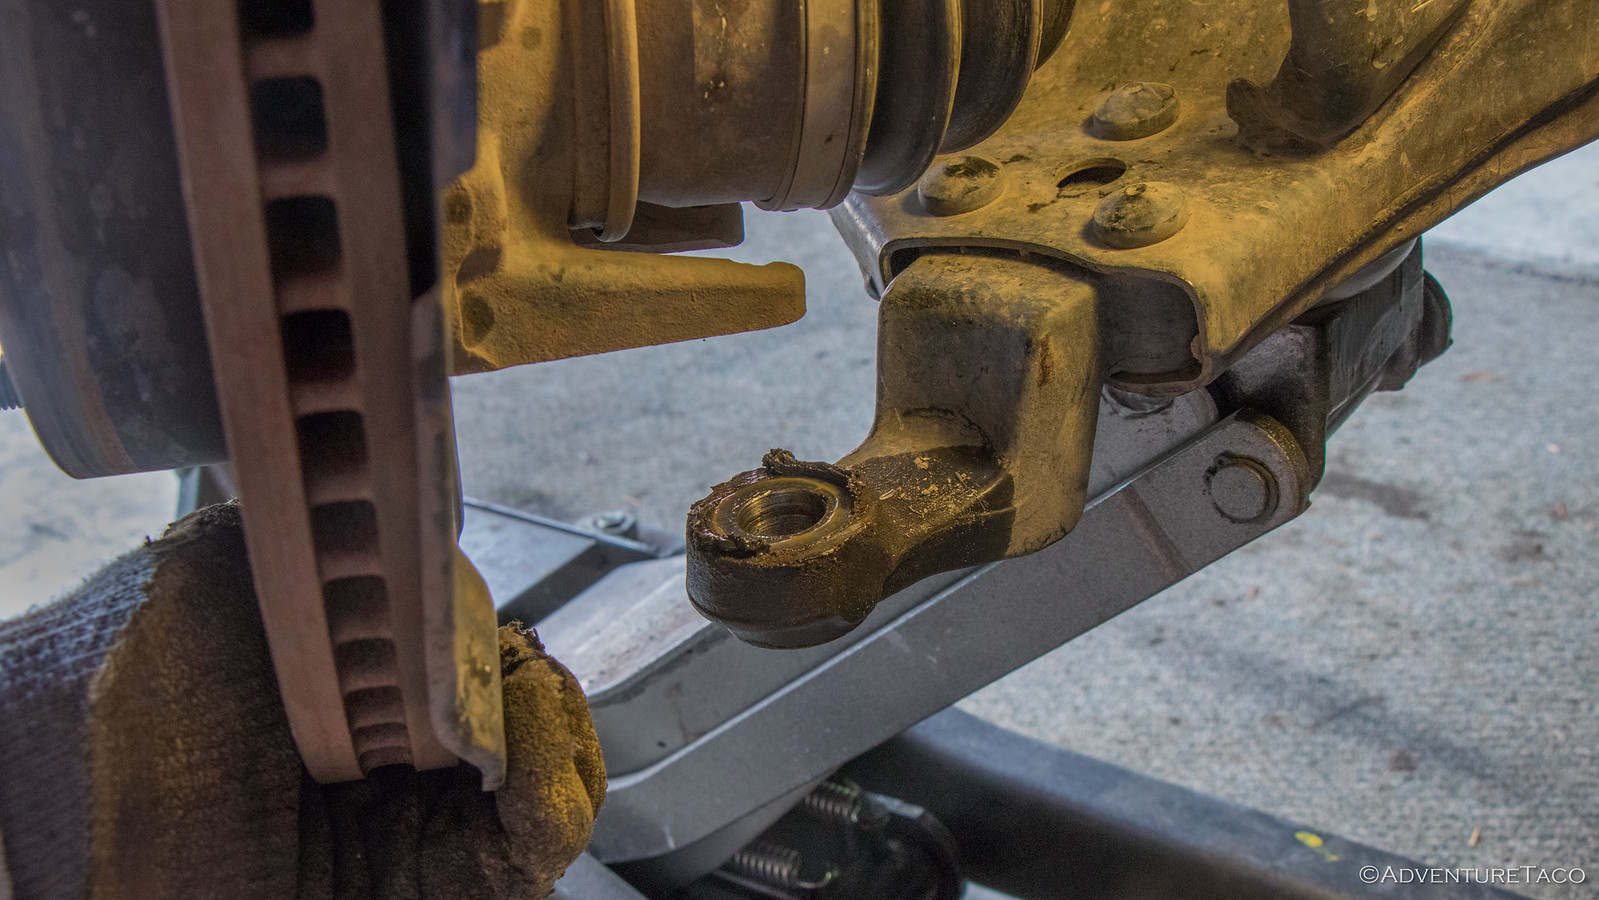
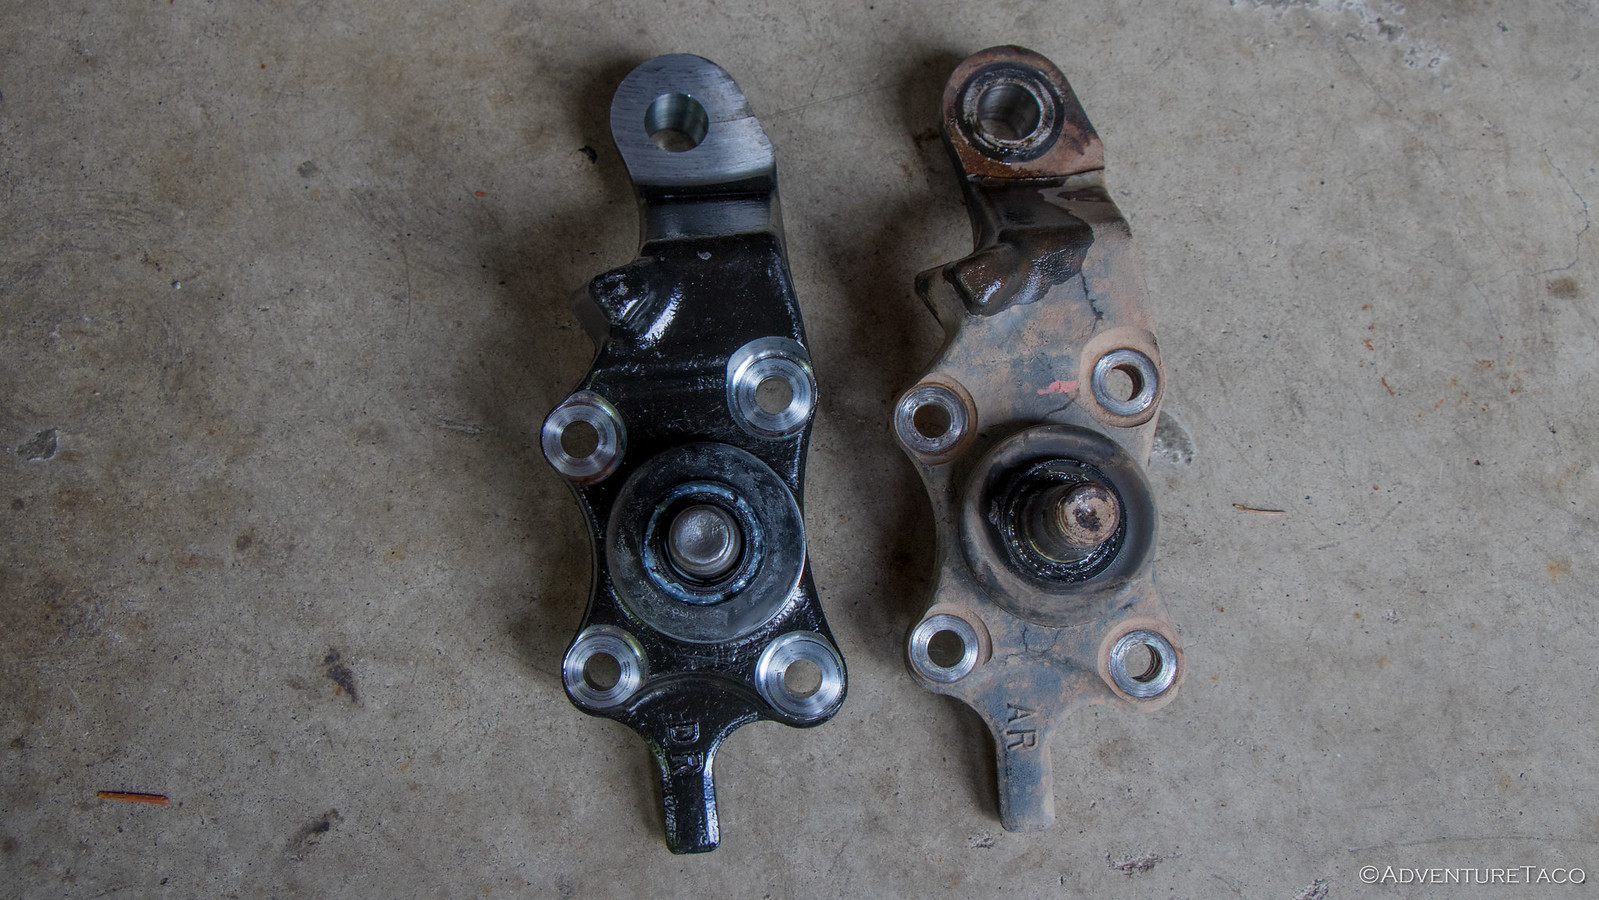
With the old LBJ removed, it was easy to see where the grease had been leaking out - probably "sort of normal," since there's no tight seal around the bottom of the joint so grease can seep out; but definitely better safe than sorry.


And then, I could compare the new and old!


Installation of the new LBJ was straight-forward and essentially the reverse of removal. In fact, it all went so quickly (to my delight, this being my first time with LBJ's and a bit intimidated) that I forgot to take any photos. However, the steps were:
  1. Position the new LBJ between the spindle and LCA, careful to use the side-appropriate part.
  2. Install the new 24mm castle nut that secures the LBJ to the LCA and hand tighten. Don't torque it yet.
  3. Install the old 22mm castle nut that secures the outer tie rod end to the LBJ and hand tighten.
  4. Install four new 14mm bolts through the LBJ and into the spindle. Tighten them reasonably tight to ensure everything is aligned correctly; then back out one at a time to apply some blue Loctite and torque to 59 ft-lbs.
  5. Torque the 24mm castle nut that secures the LBJ to the LCA to 103 ft-lbs (plus any additional necessary to allow installation of the cotter pin).
  6. Torque the 24mm castle nut that secures the tie rod end to the LBJ to 67 ft-lbs (plus any additional necessary to allow installation of the cotter pin).
And then it's done!


turbodb

Well-known member
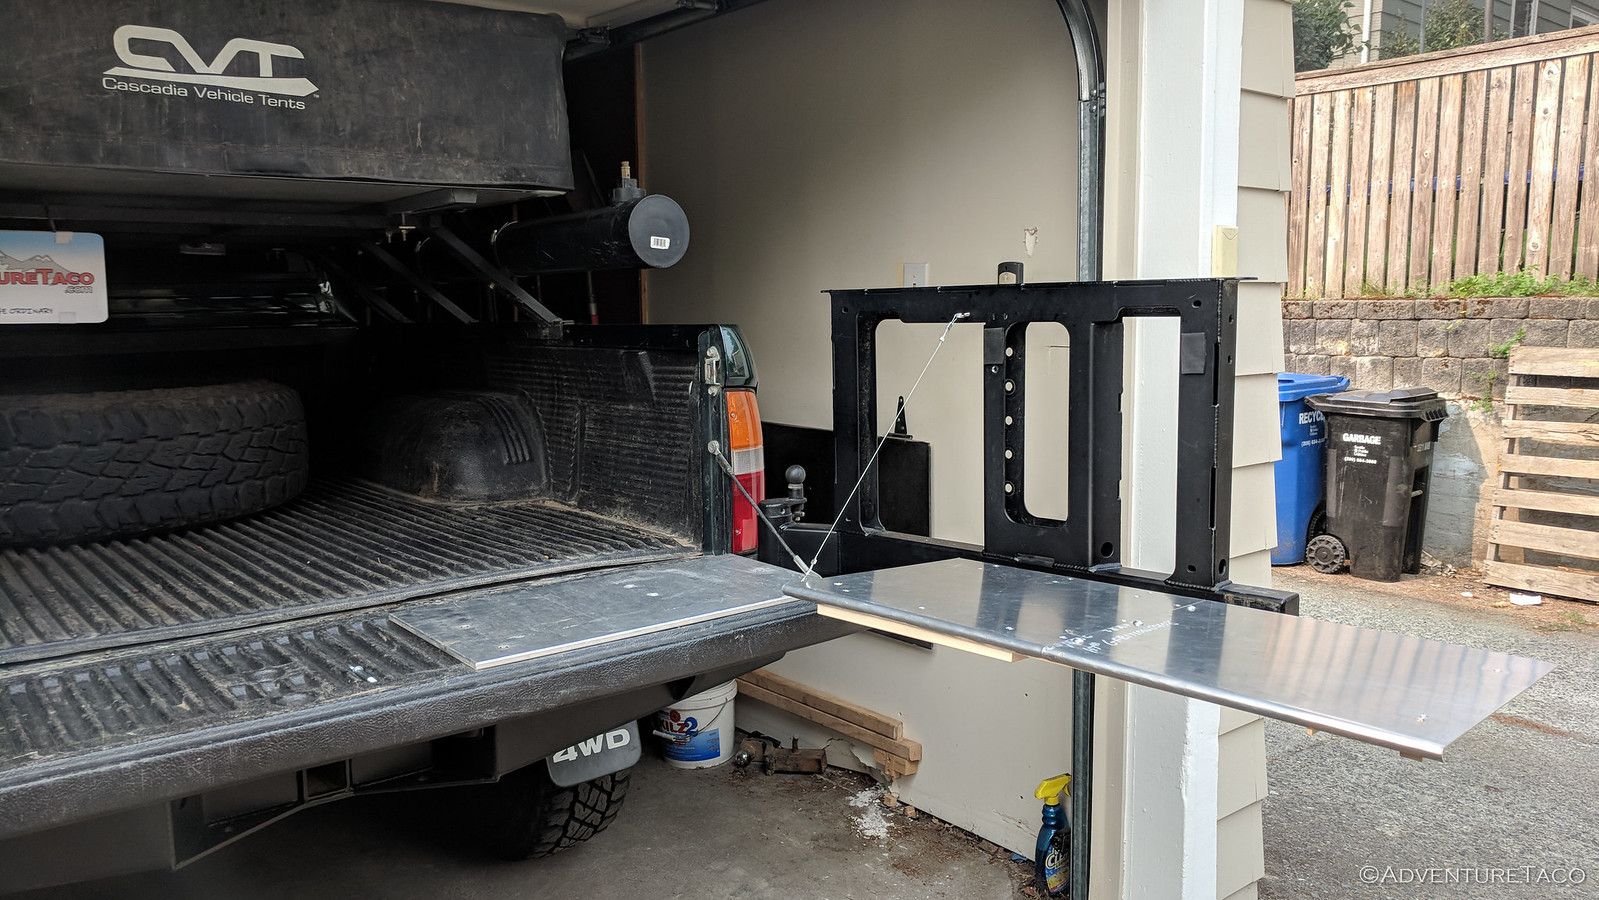
Fabricating a (Prototype) Table for the Rear Bumper Swingout
August 14, 2018.

It's been about six months since I drove over to eastern Idaho to pickup and install the CBI Outback 1.0 rear bumper with dual swing-outs on my way down to The Maze in Utah. In that time, the bumper has performed well - I'm generally really happy with it, save a couple niggly things that I should probably write up as a "what do I think six months later," sort of post.

But, one thing that I've been missing - and knew I was missing when I purchased the bumper - was a fold-down table on the swing-out. This was a purposeful omission on my part - @CBI OFFROAD FAB wanted $350 for tables, and I knew I could do better.

So, it was finally time to get started.

My criteria were several-fold.
  1. The table needed to be big enough to fit my Coleman propane stove.
  2. It needed to fit on the passenger side swing-out.
  3. It needed to be "removable" - since I'm sure I'll want to tweak it going forward.
  4. It needed to weigh as little as possible.
I started by taking some measurements of the passenger side swing-out when the tailgate was open. This showed me that I had 15-inches of width to work with - so the table wouldn't overlap the tailgate or interfere with the dual-swing-out latching.
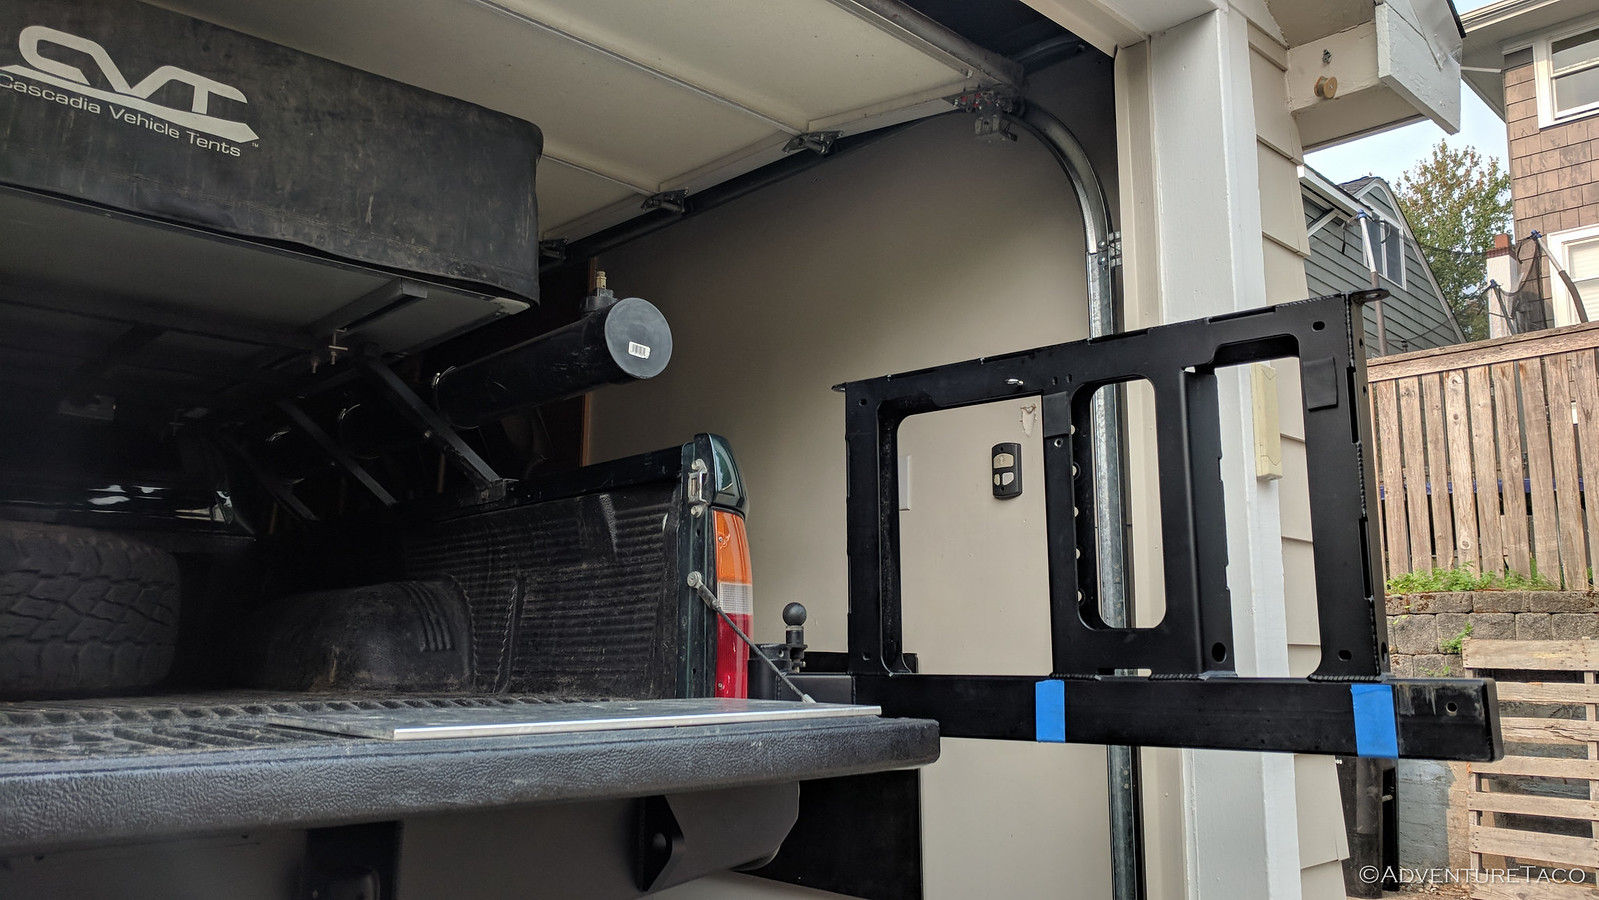

Clearly, not enough to fit the Coleman stove, which is 21-inches wide and about 14-inches deep. Hmm, my design would need to take that into account. Perhaps a fold-out table on my swing-out bumper? ?

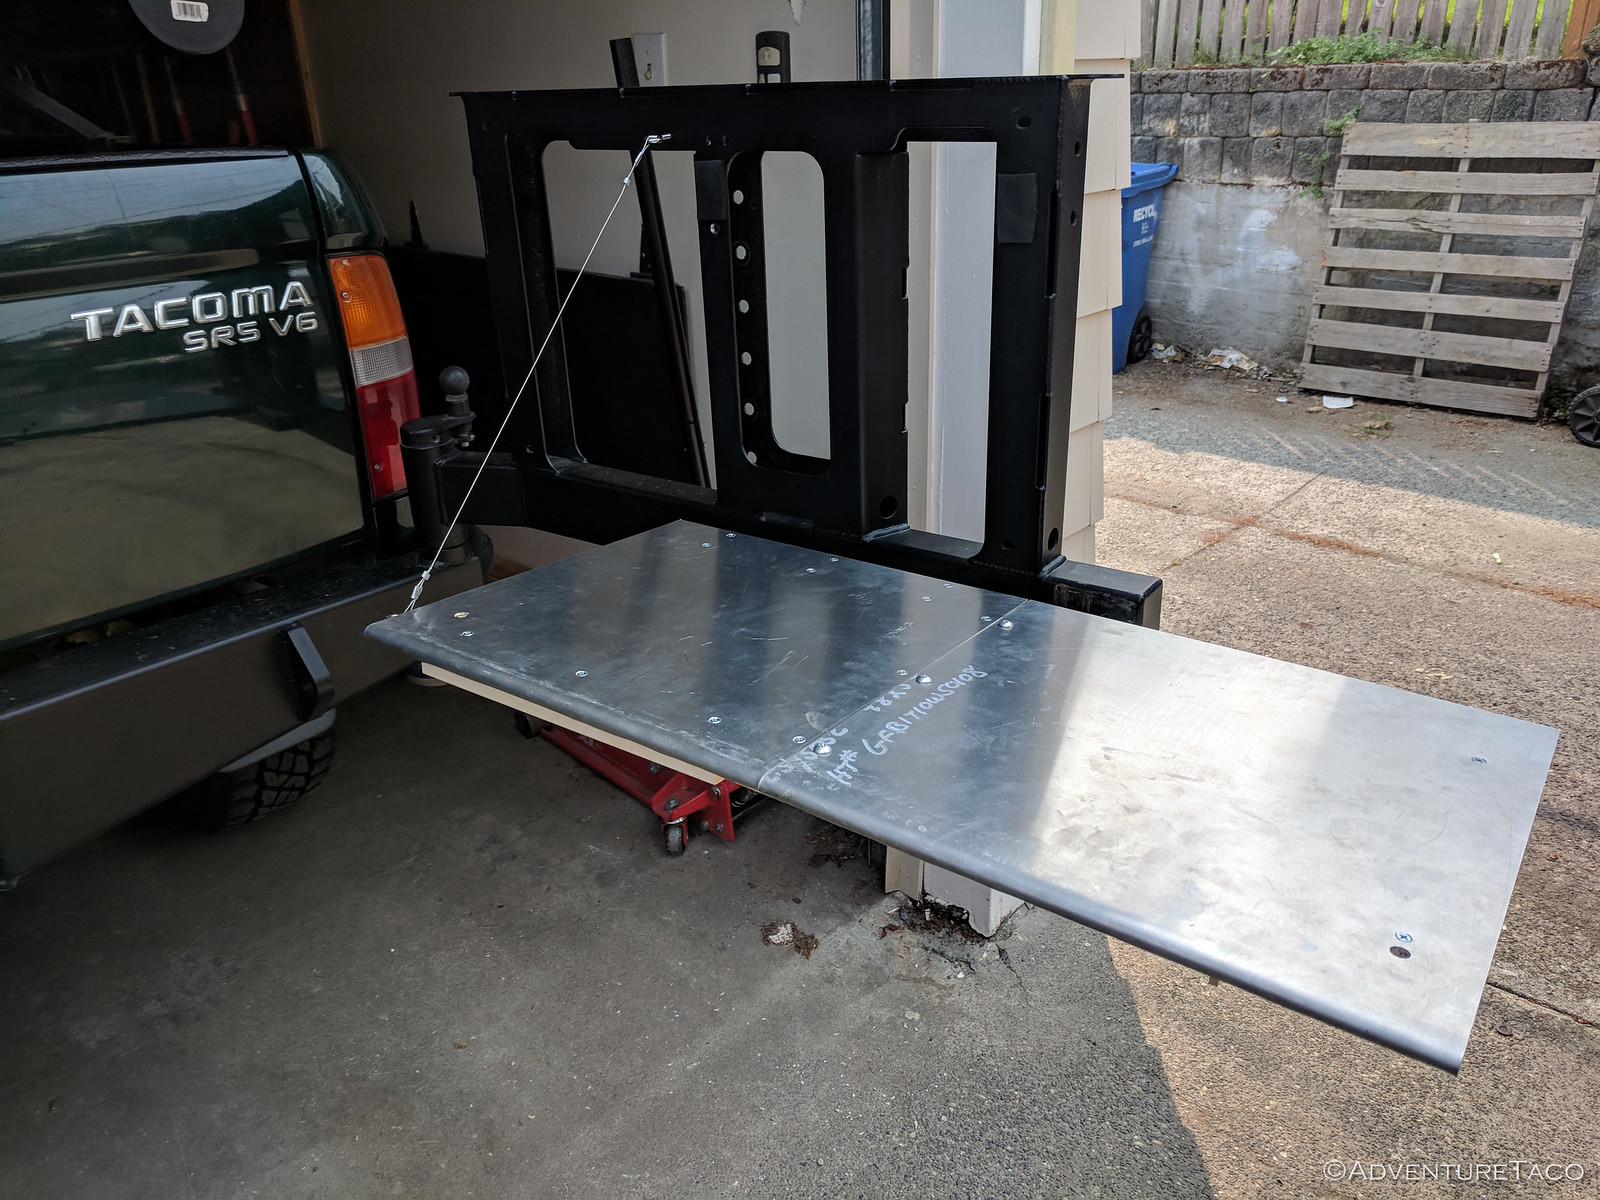
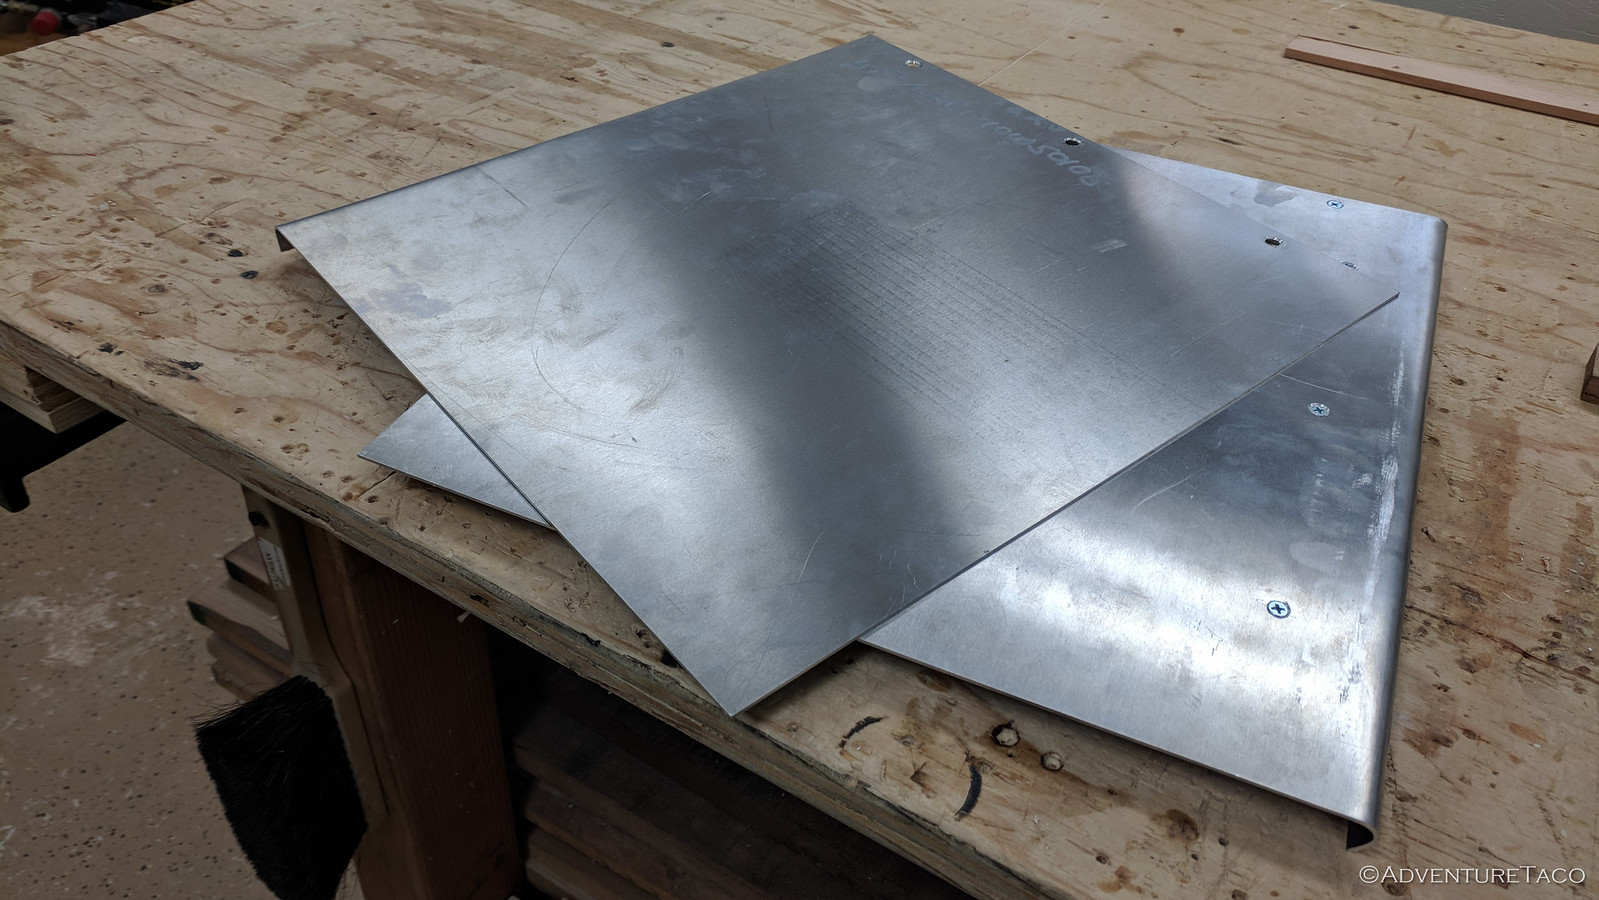
So, it was off to the steel yard where I picked up two 15x15-inch pieces of 16ga aluminum - that would become the top(s) for the table, giving me a work surface of approximately 30x15-inches - plenty big enough for the stove.

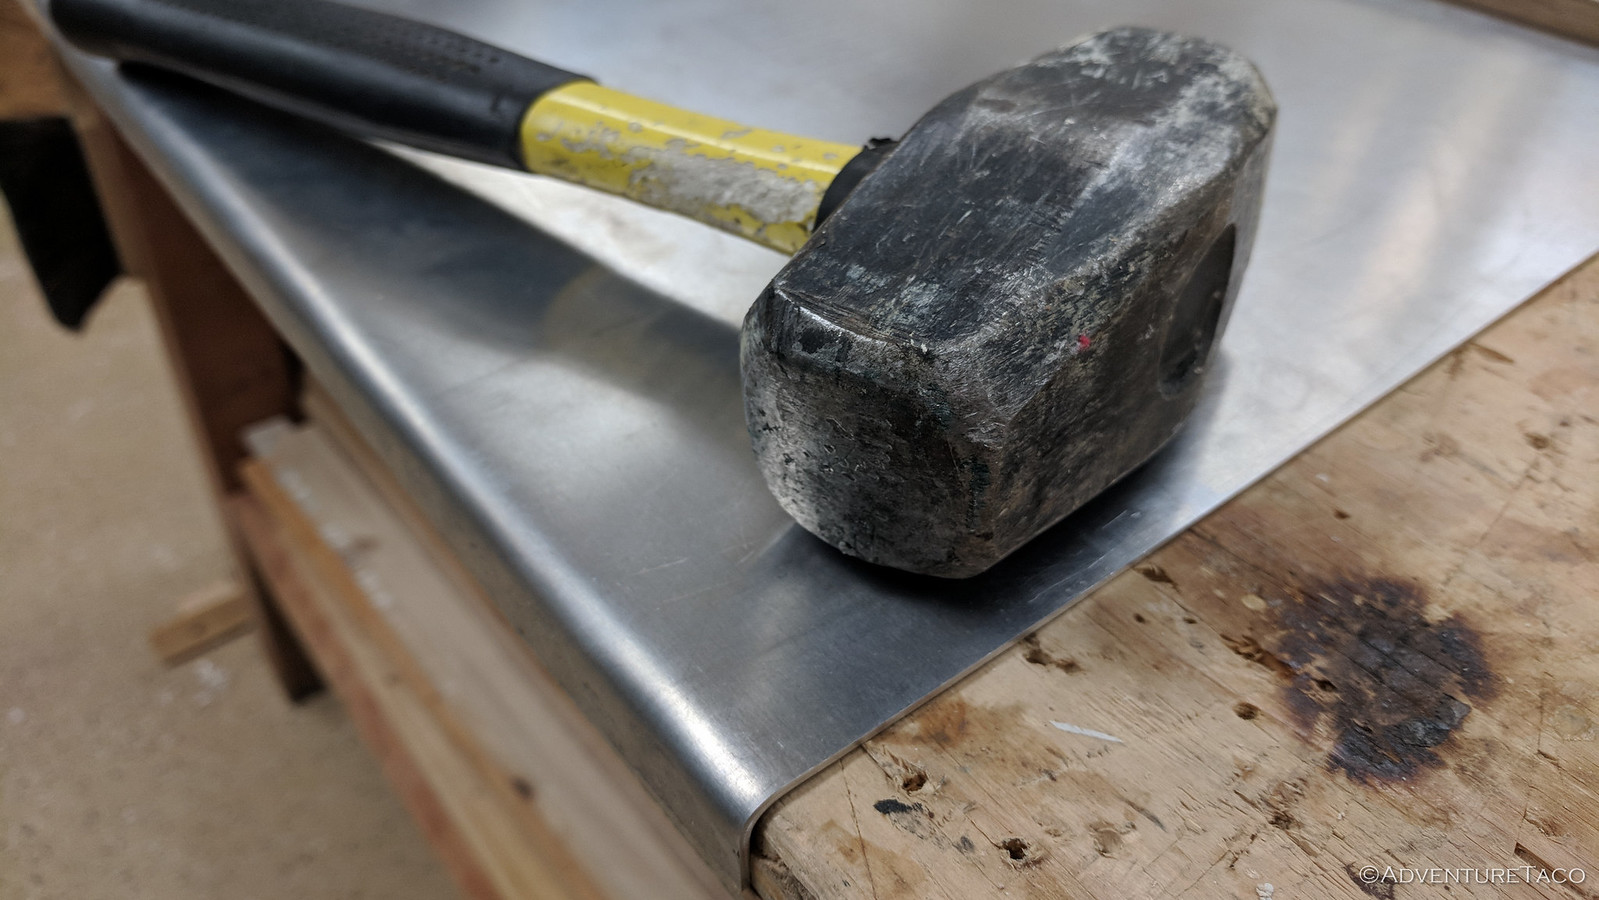
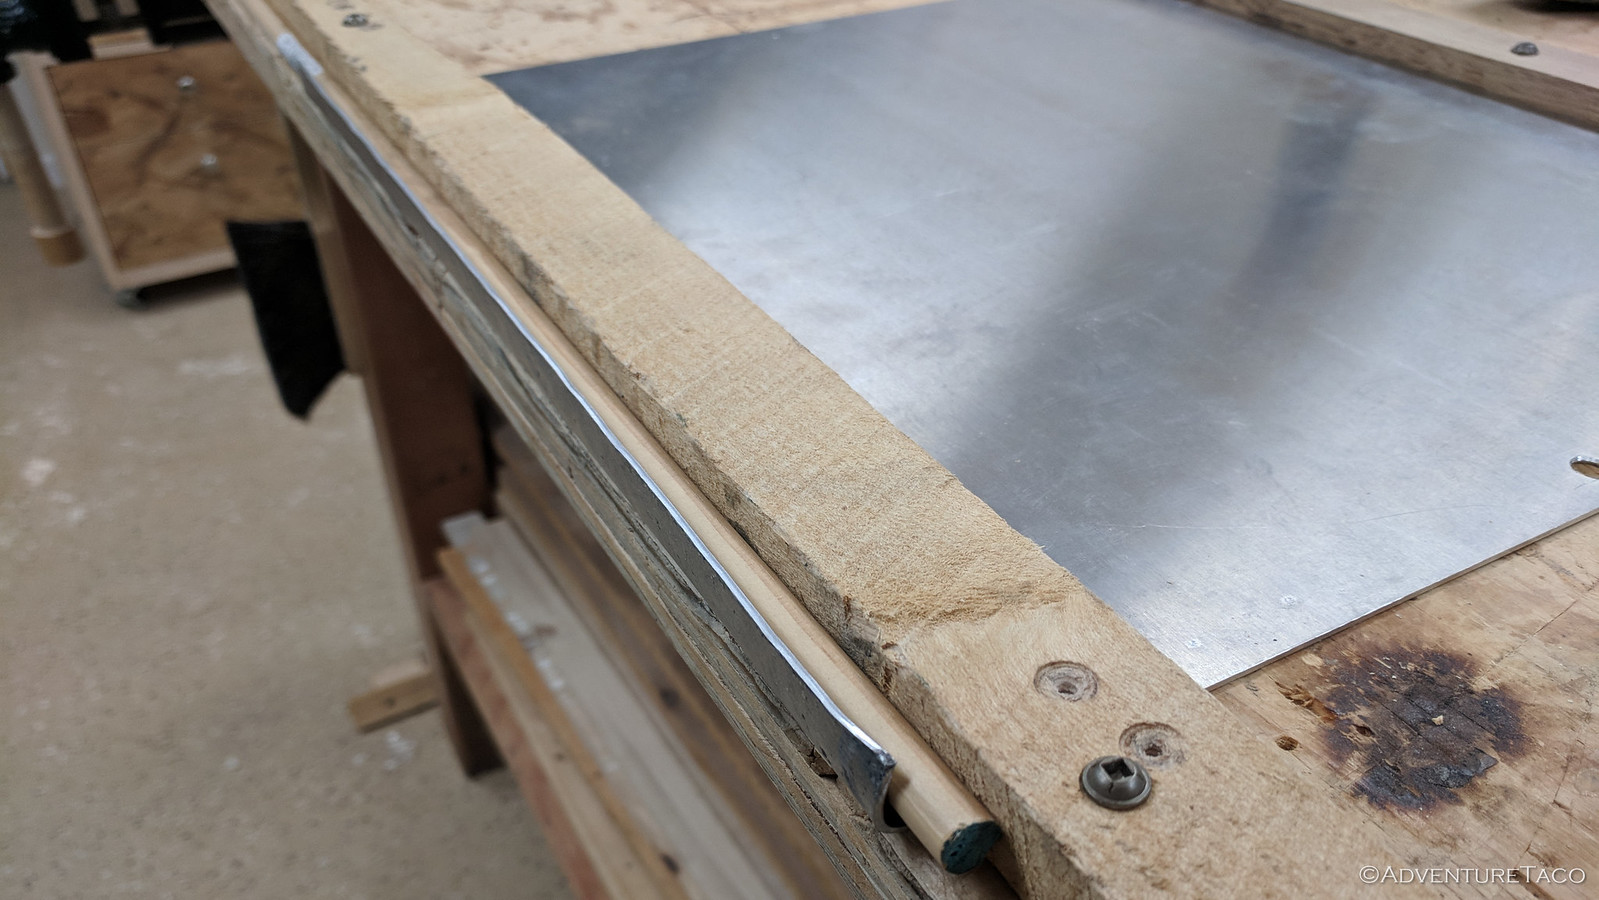
Then, I spent a bit of time with a hammer, the rounded corner of my workbench, and then a dowel to round over what would become the front edge of the table, making it a bit stiffer and also a bit nicer "to the touch" vs. a sharp aluminum edge.


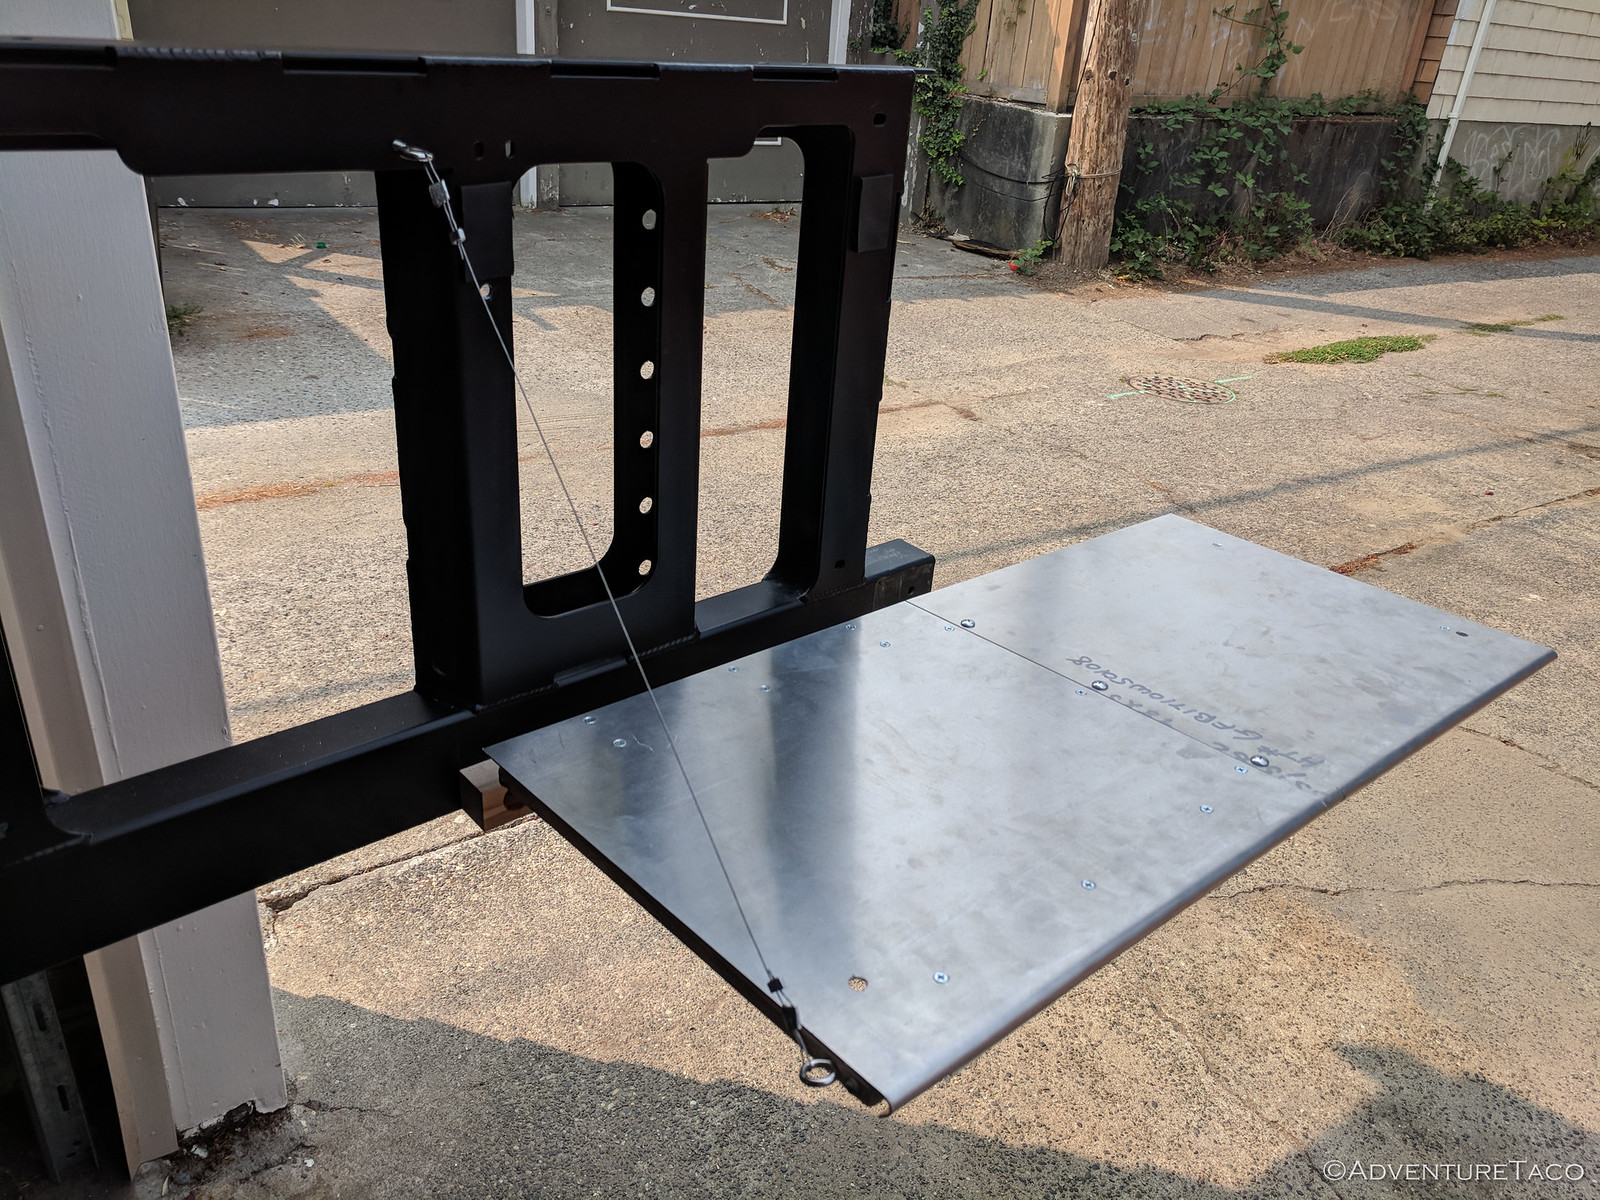
Of course, with two pieces to the top, the next trick was to get them to sit side-by-side when deployed, but to sit "overlapped" when put away, since I only had 15" of space on the swing-out. This I accomplished with a pair of hinges that would allow the table to fold over on itself when not in use.
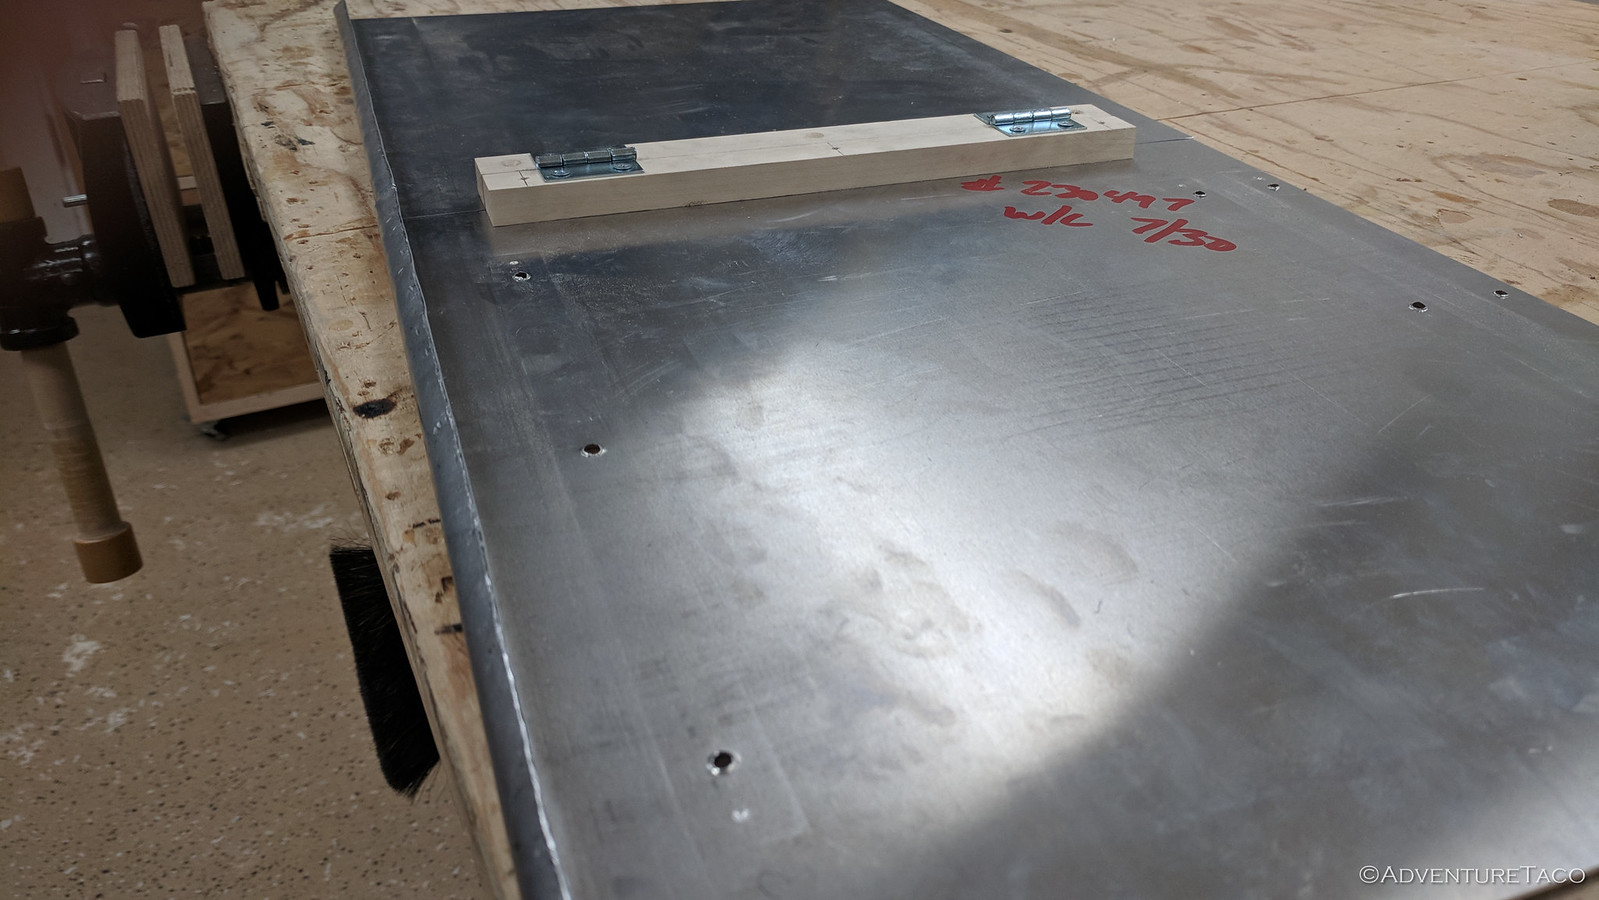

That seemed to work well enough - better than I thought actually, since the wood mounts I used for the hinges also stiffened the top and allowed space for the rounded front edges when the table was closed. (lucky me!) But of course with a folding table, I now needed some way to keep it from folding when it was deployed - enter the sliding supports!

These sliding supports run in tunnels on the bottom of the fixed side of the table, and they can be pushed under the swinging side of the table after it's been swung out; keeping it in-plane with the fixed side of the table.
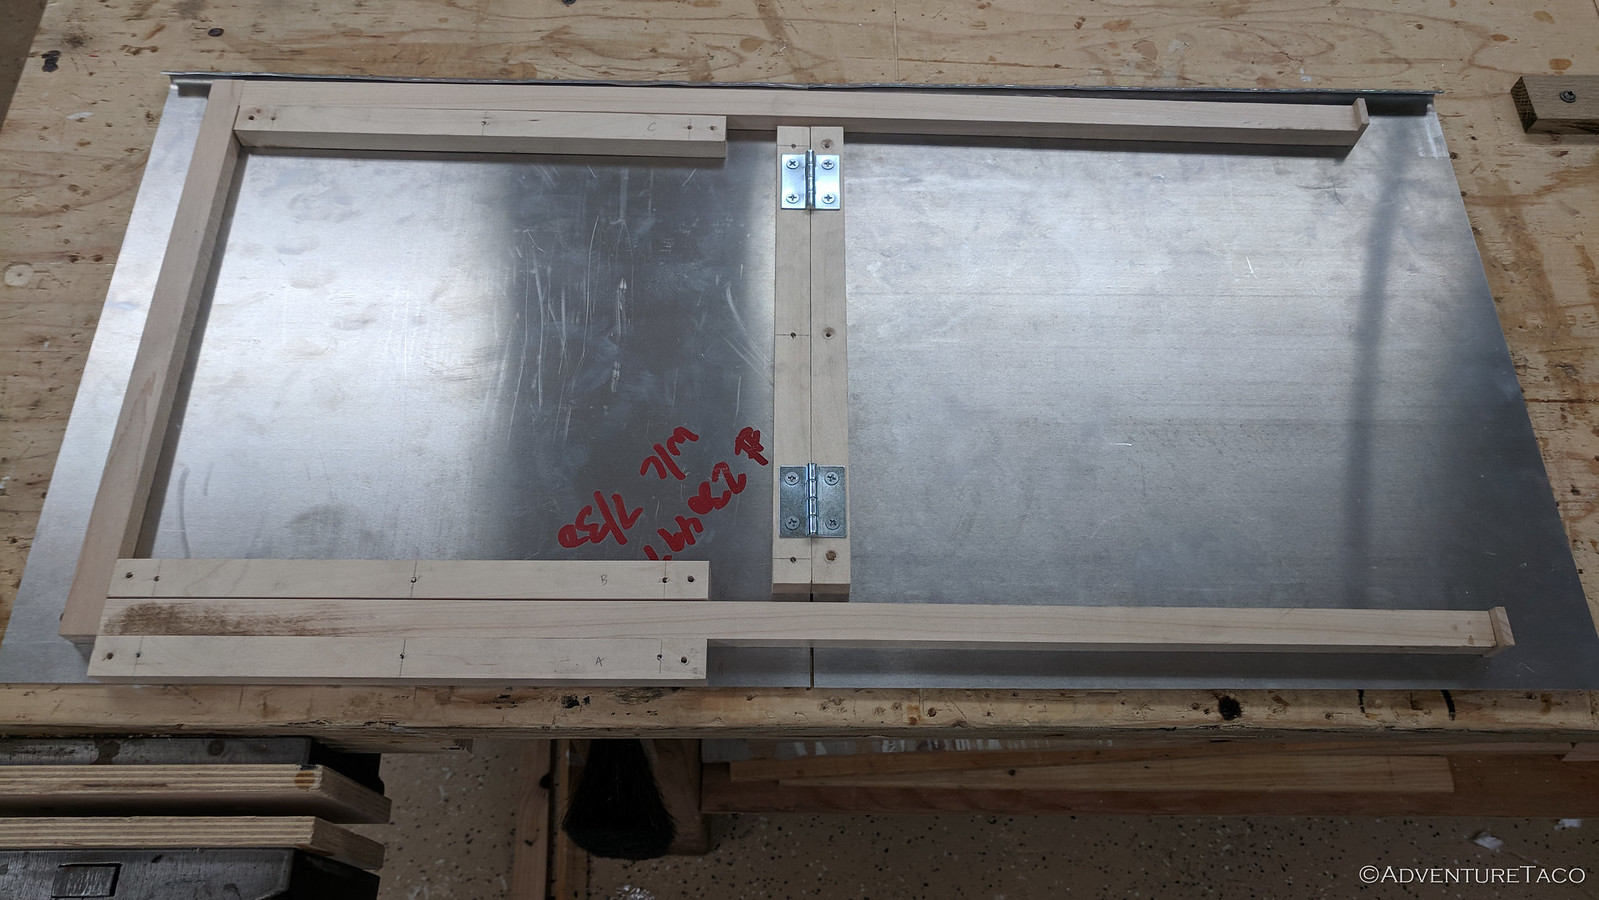
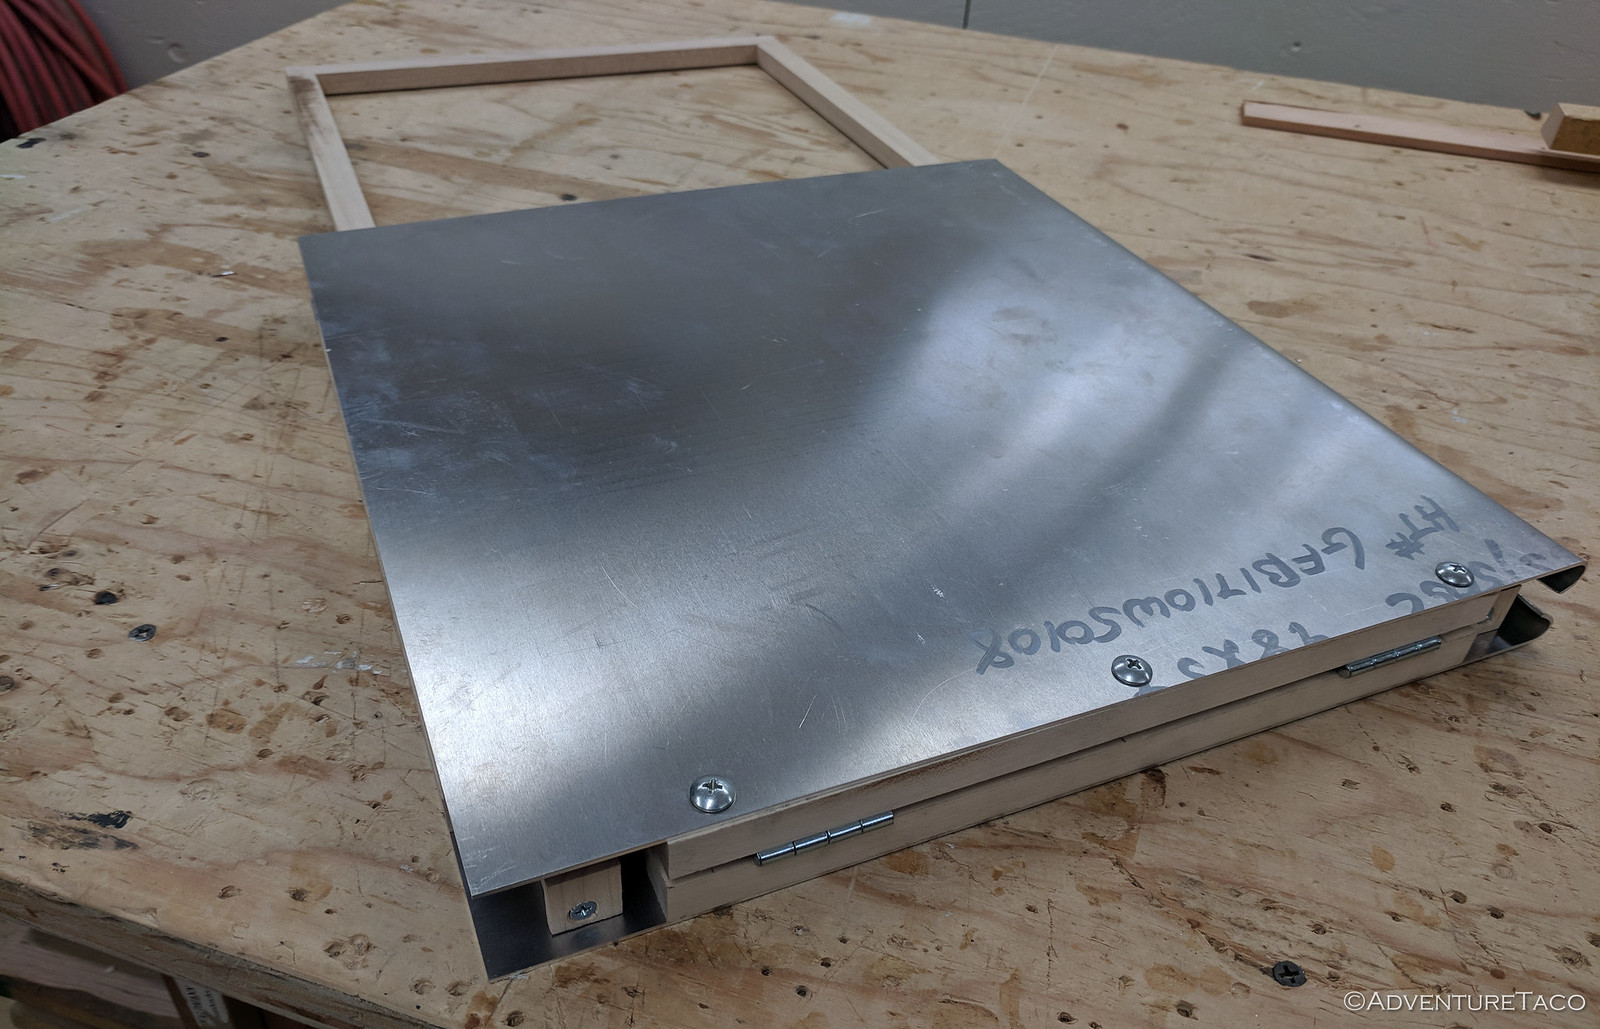


Whew! Now all that was left was to mount the table to the swing-out and make sure it fit!

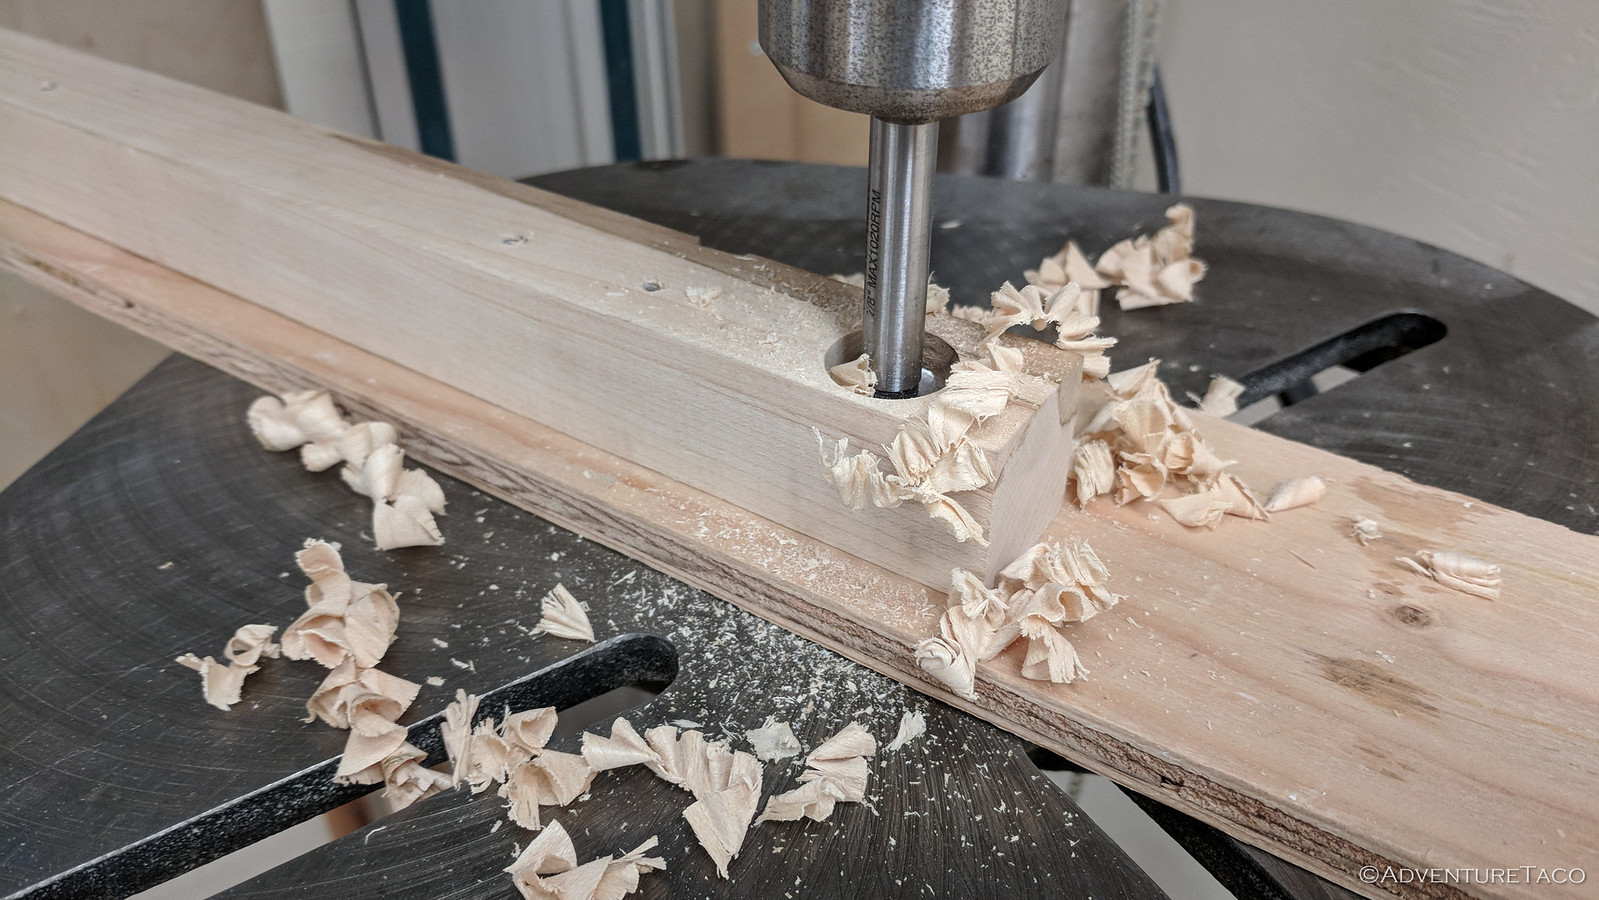
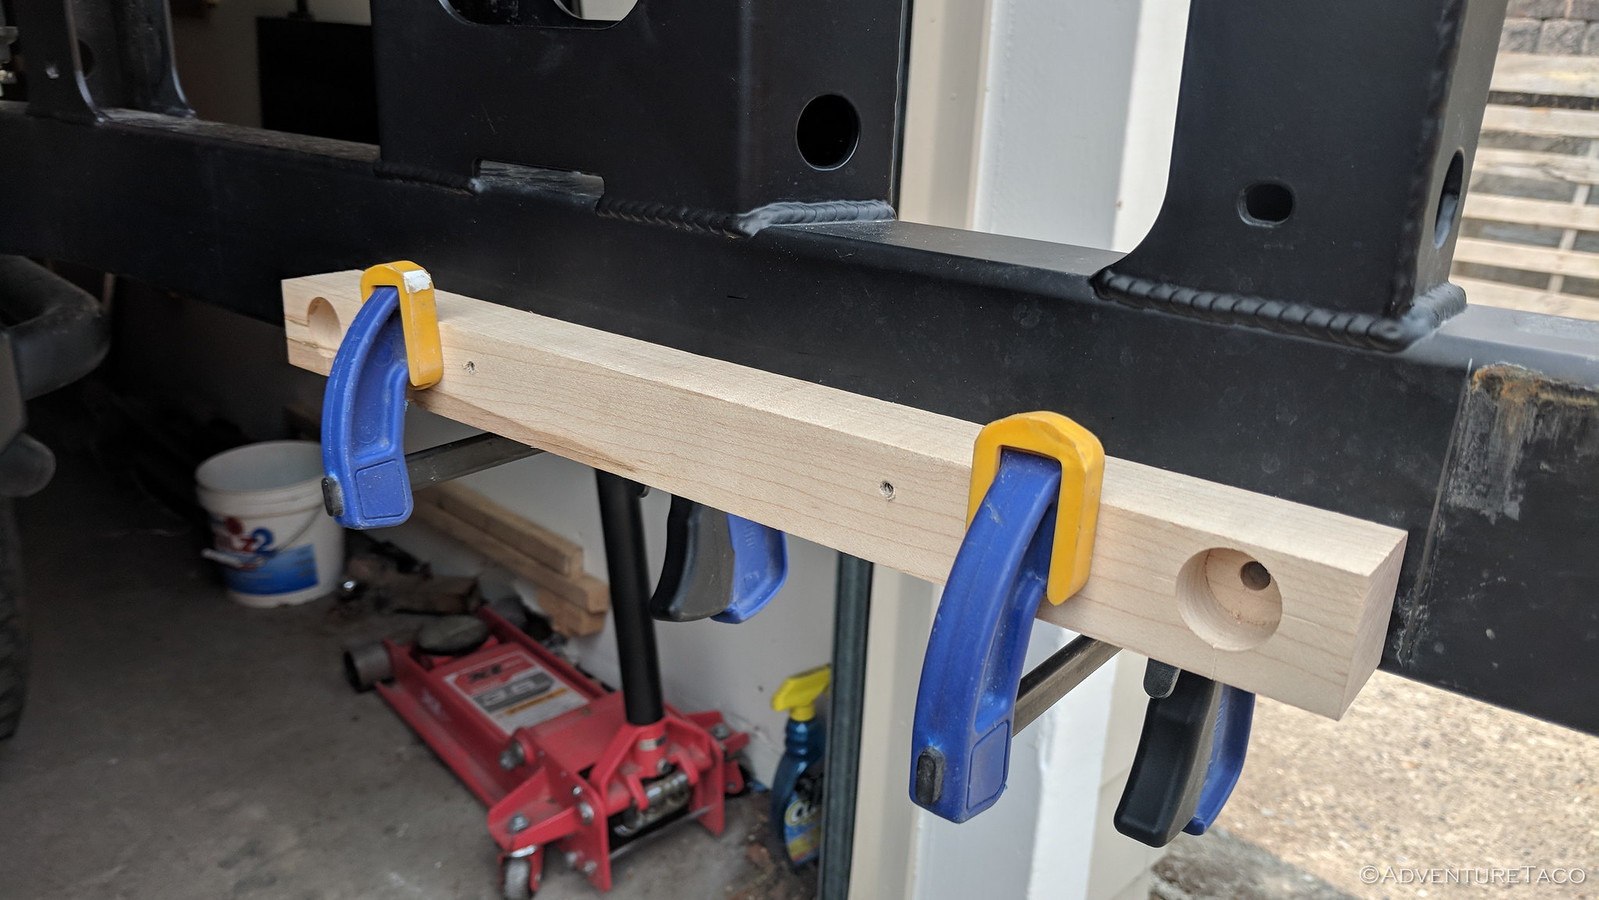
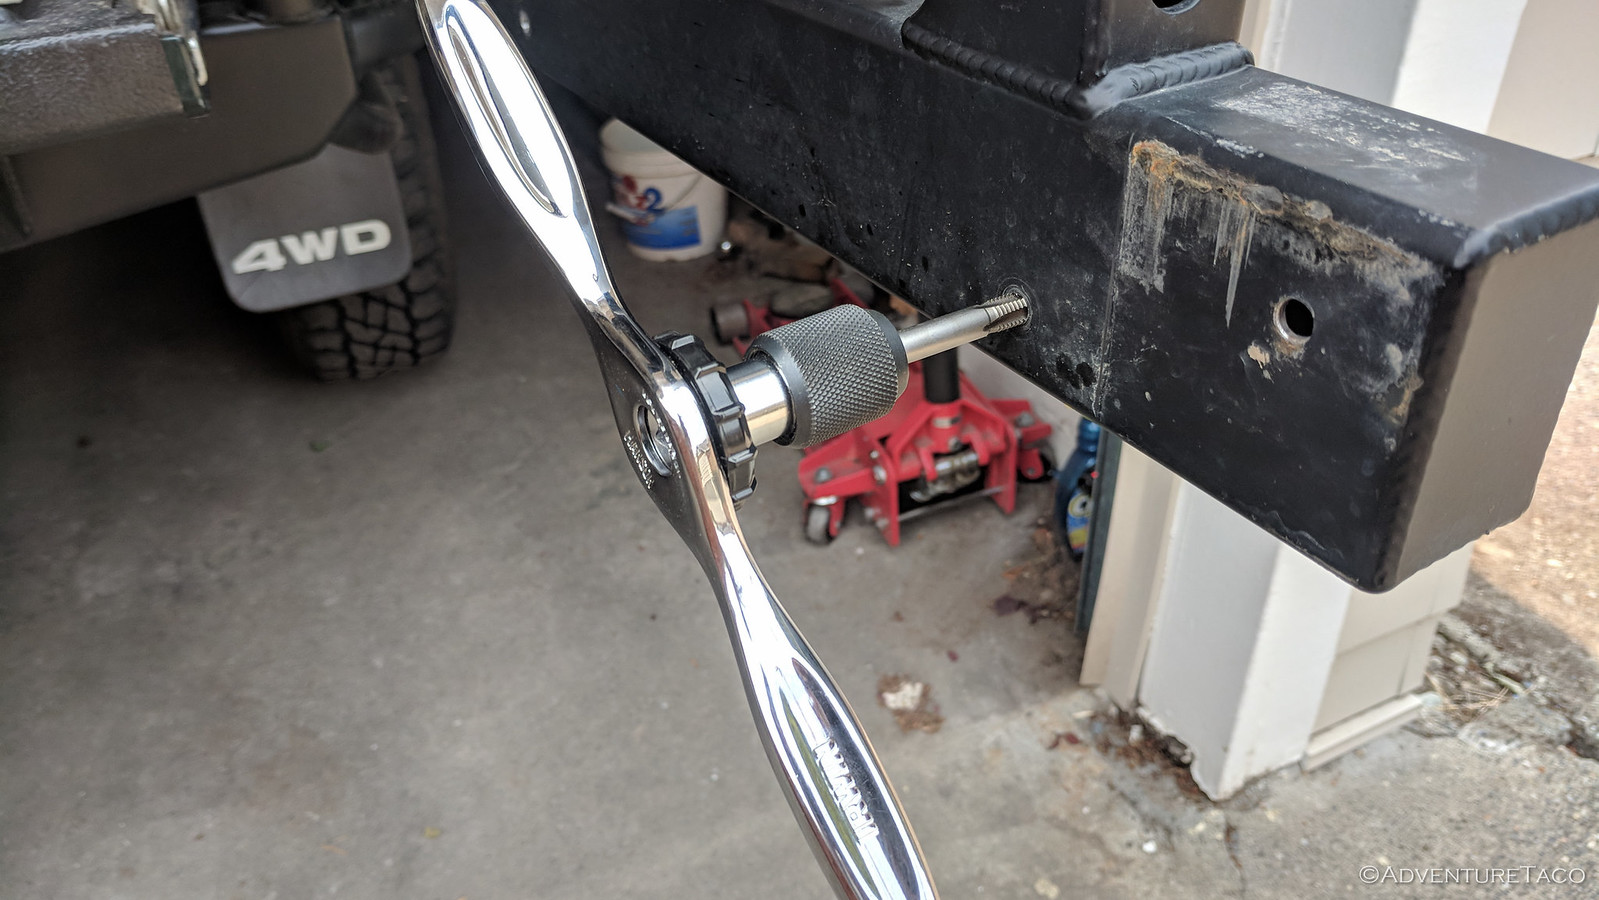
Following the trend so far of mixing materials, I played around with the hinges I'd picked up and decided that the best way to secure the table was going to be to mount a piece of wood to the swing-out, and then hinge off of that (and to the wood securing the runners on the table). So, I set about drilling holes for a couple of bolts in the wood and in the swing-out, and then tapping the swing-out to accept the bolts. In a future revision, I may use the Astro 1442 Rivnut tool instead of directly threading the swing-out; but this worked splendidly for now.


So now the table was attached, swung down appropriately and seemed to generally fit. But, I needed a way to keep it level when deployed. This of course is generally accomplished using some cable between the outer corner of the table and the bumper swing-out - and I accomplished it the same way. A couple of eye-bolts threaded into the appropriate places were all I needed.
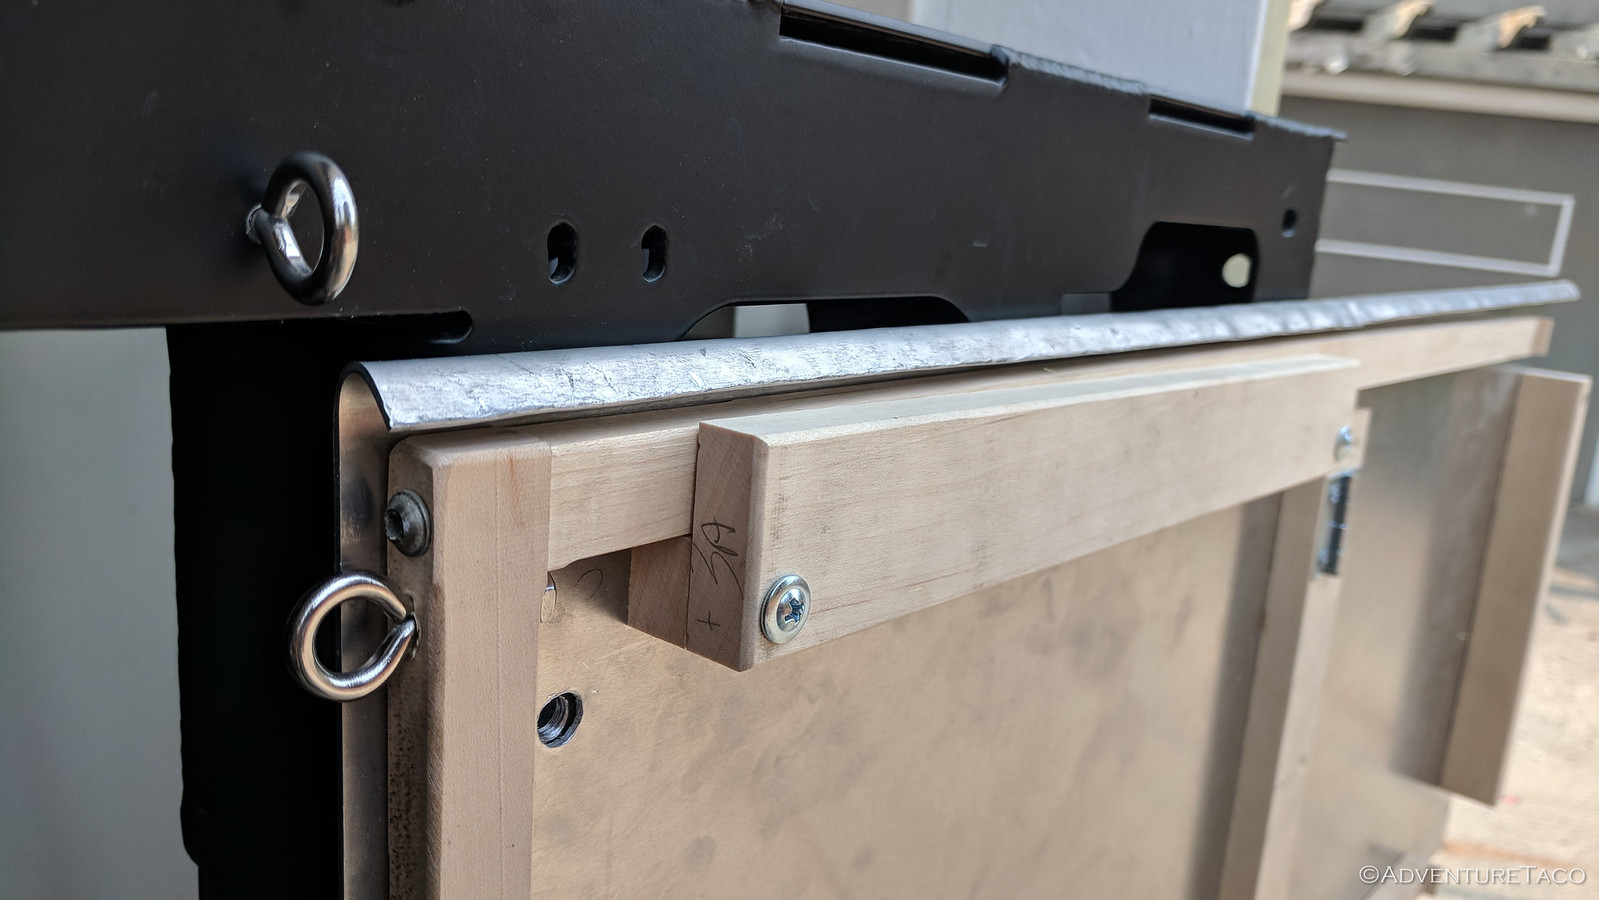

That left just one more step - a hole for a thumbscrew to hold it all to the back of the swing-out when not in use; an easy enough install the same way I'd drilled and threaded the other holes in the swing-out. Then, the table could be folded up and put away - so clean!
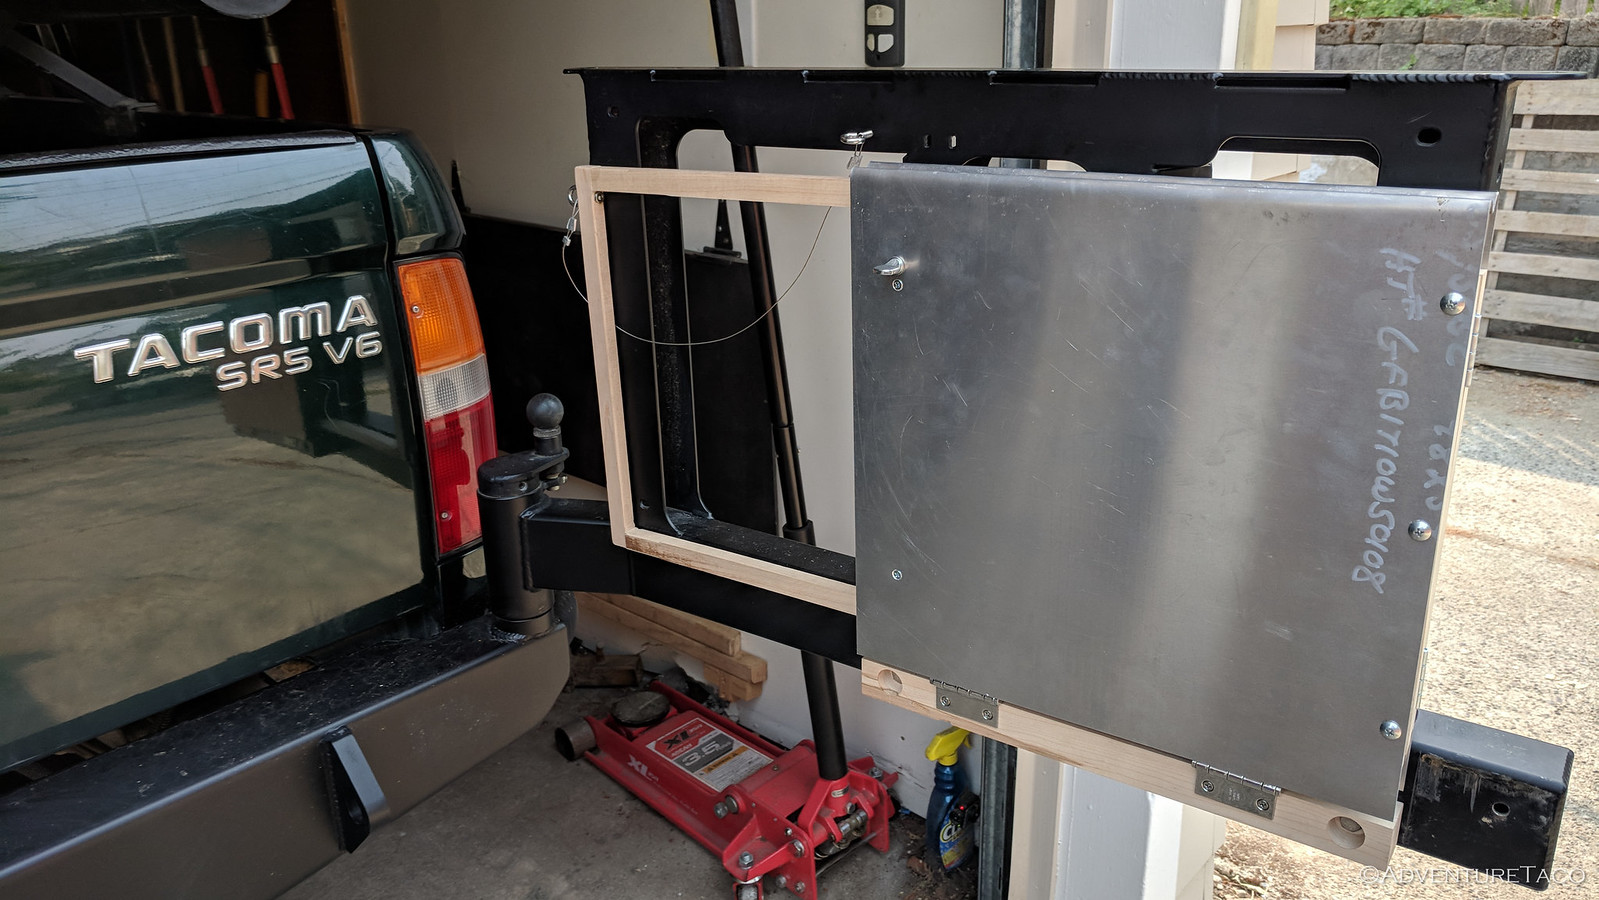
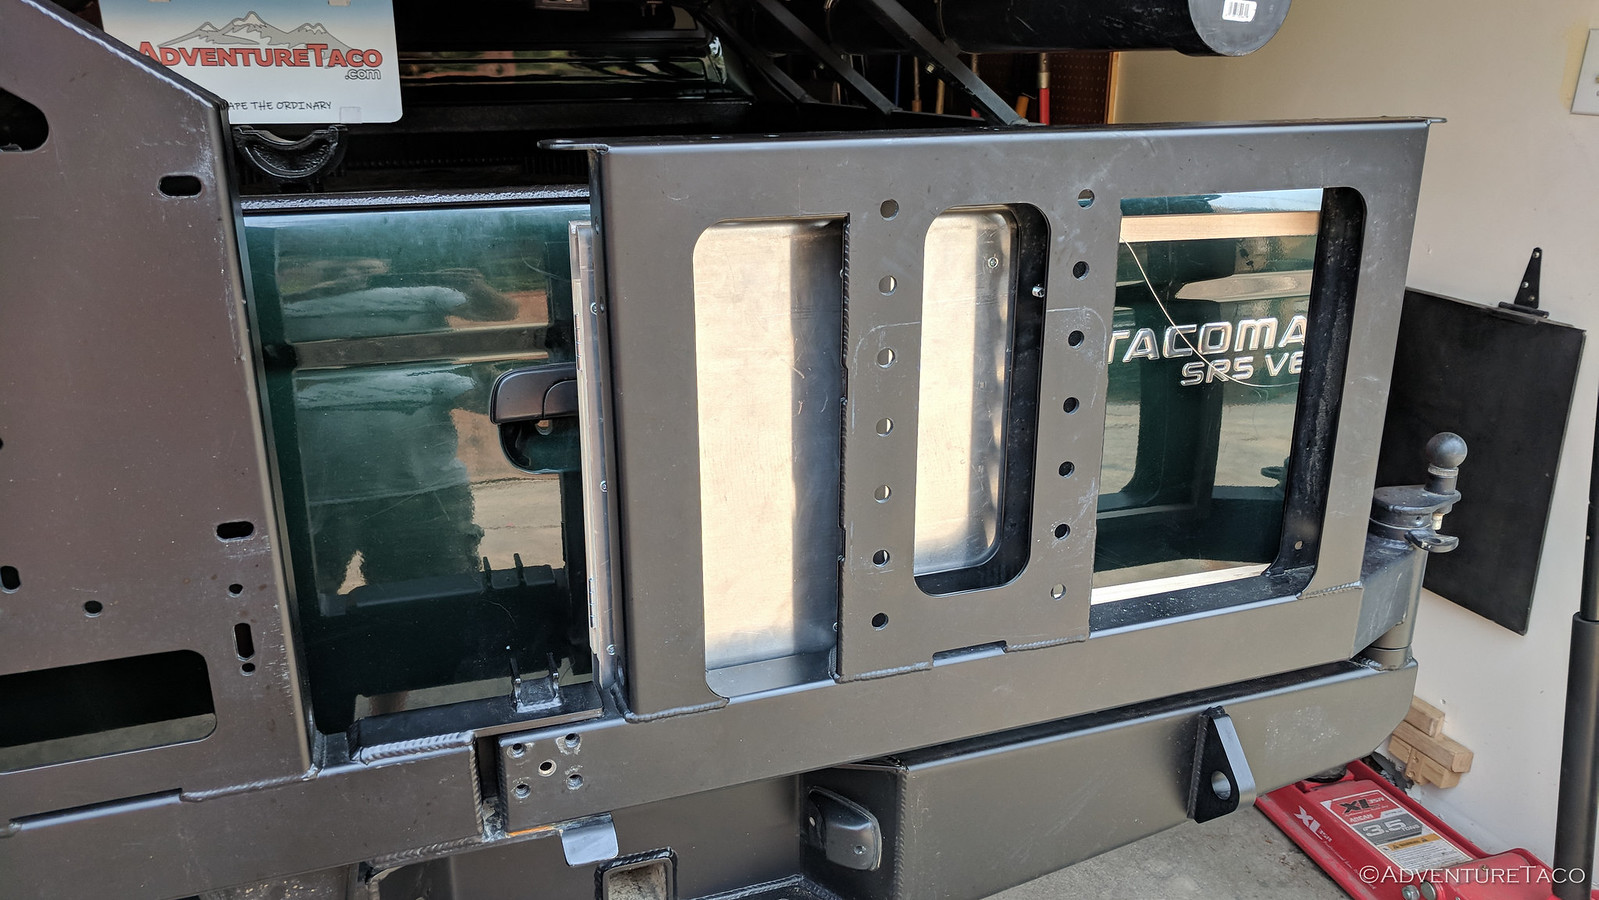


And with that, I was done! It seemed to work quite well, and will easily support the weight of the stove; though, probably not a ton more - it's definitely not something to sit on! In future revisions, my primary goal is going to be better support of the fold-out section of the table - as it is now, that side is a bit...diving boardy.


For $20 in aluminum and a bunch of scrap wood and hinges I had laying around, I'm currently mostly happy with the result. The next test, obviously, is to put it to use on a trip!
 

turbodb

Well-known member
How does that saying go? "Fool me once, shame on you. Fool me twice, ..."

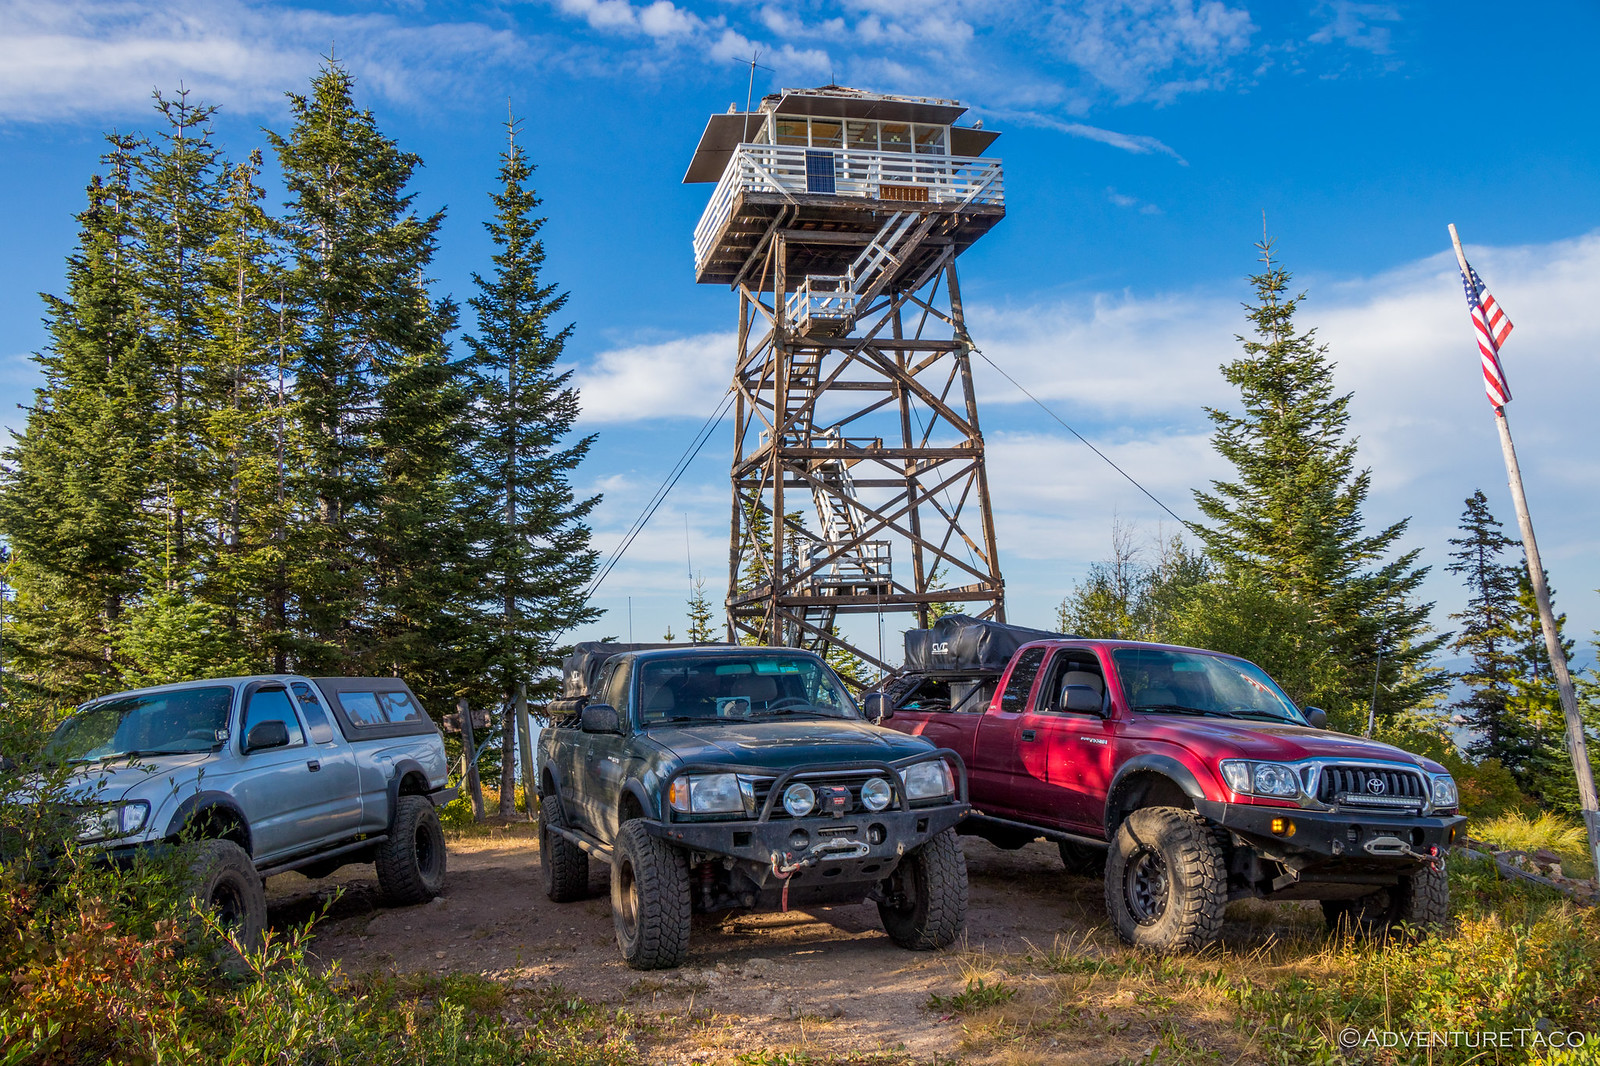
The De-Tour was a crazy trip to Montana and Wyoming where the weather pummeled us and we eventually headed south to Utah. So, are we crazy to try it again this year? Guess we'll just have to find out...

keep reading The Re-Tour Part 1

44745903191_44f135d461_h.jpg


30875868288_0291d4d4ac_h.jpg


turbodb

Well-known member
What was the third day for Dan, Mike and I was actually the day we'd meet Zane and Monte for the official start of the trip. We were up early with a lot of miles to cover - and some great stops along the way - before we'd arrive in Cooke City at our designated meeting time of 5pm.

The question on all of our minds - when would Monte show up?


Forum statistics

Threads
188,417
Messages
2,907,074
Members
230,176
Latest member
Arcadia1415
Top