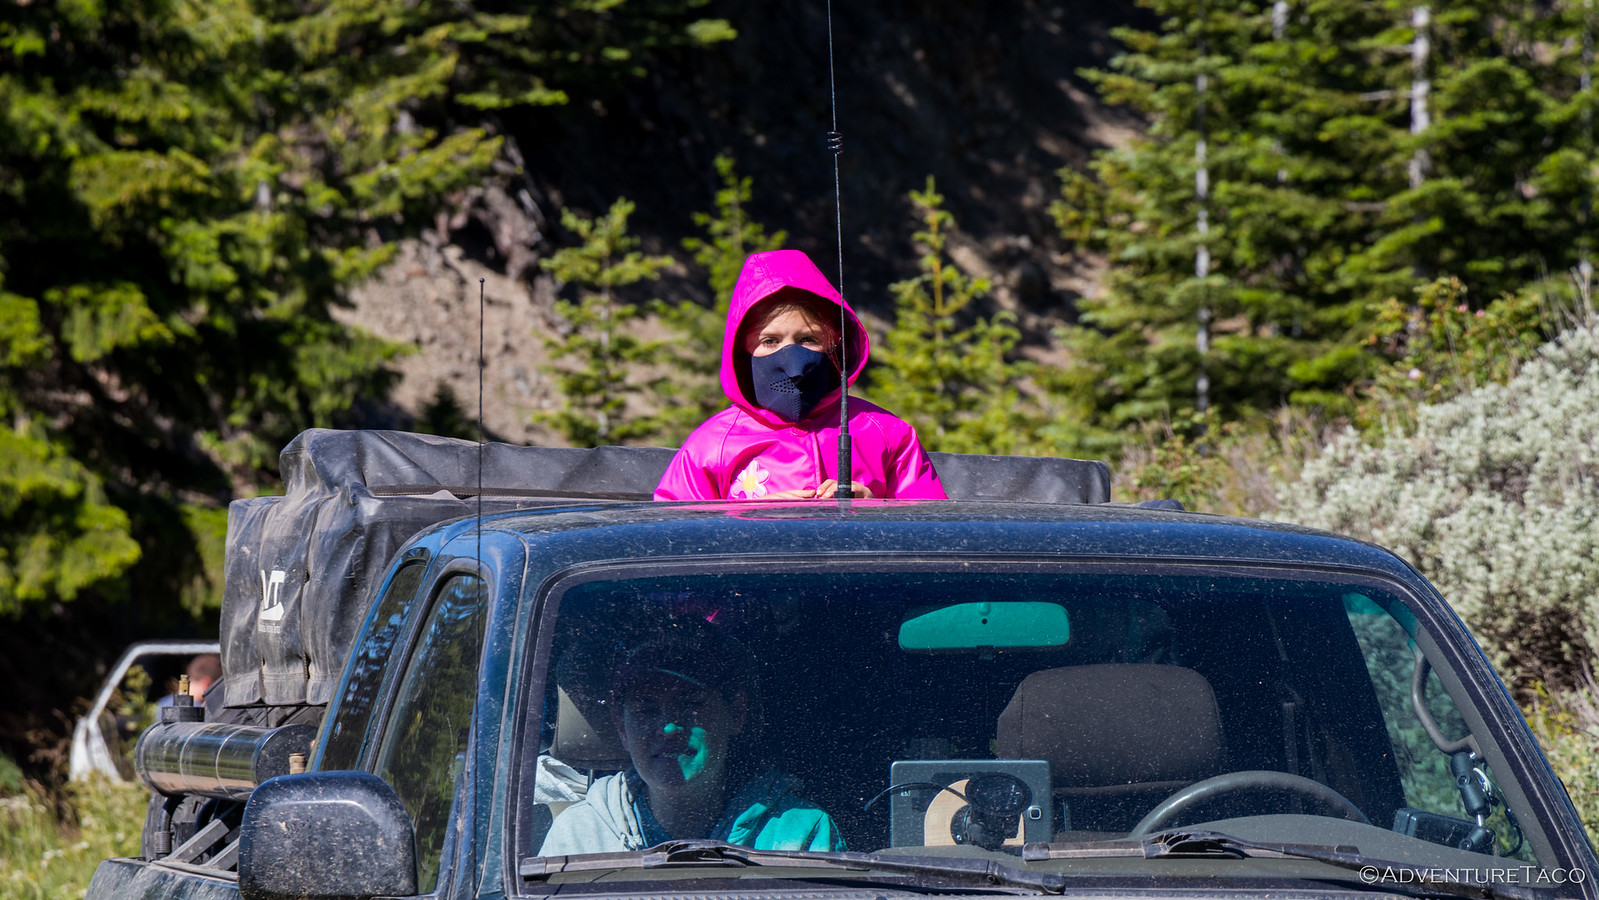
Shop Day (of Reckoning)
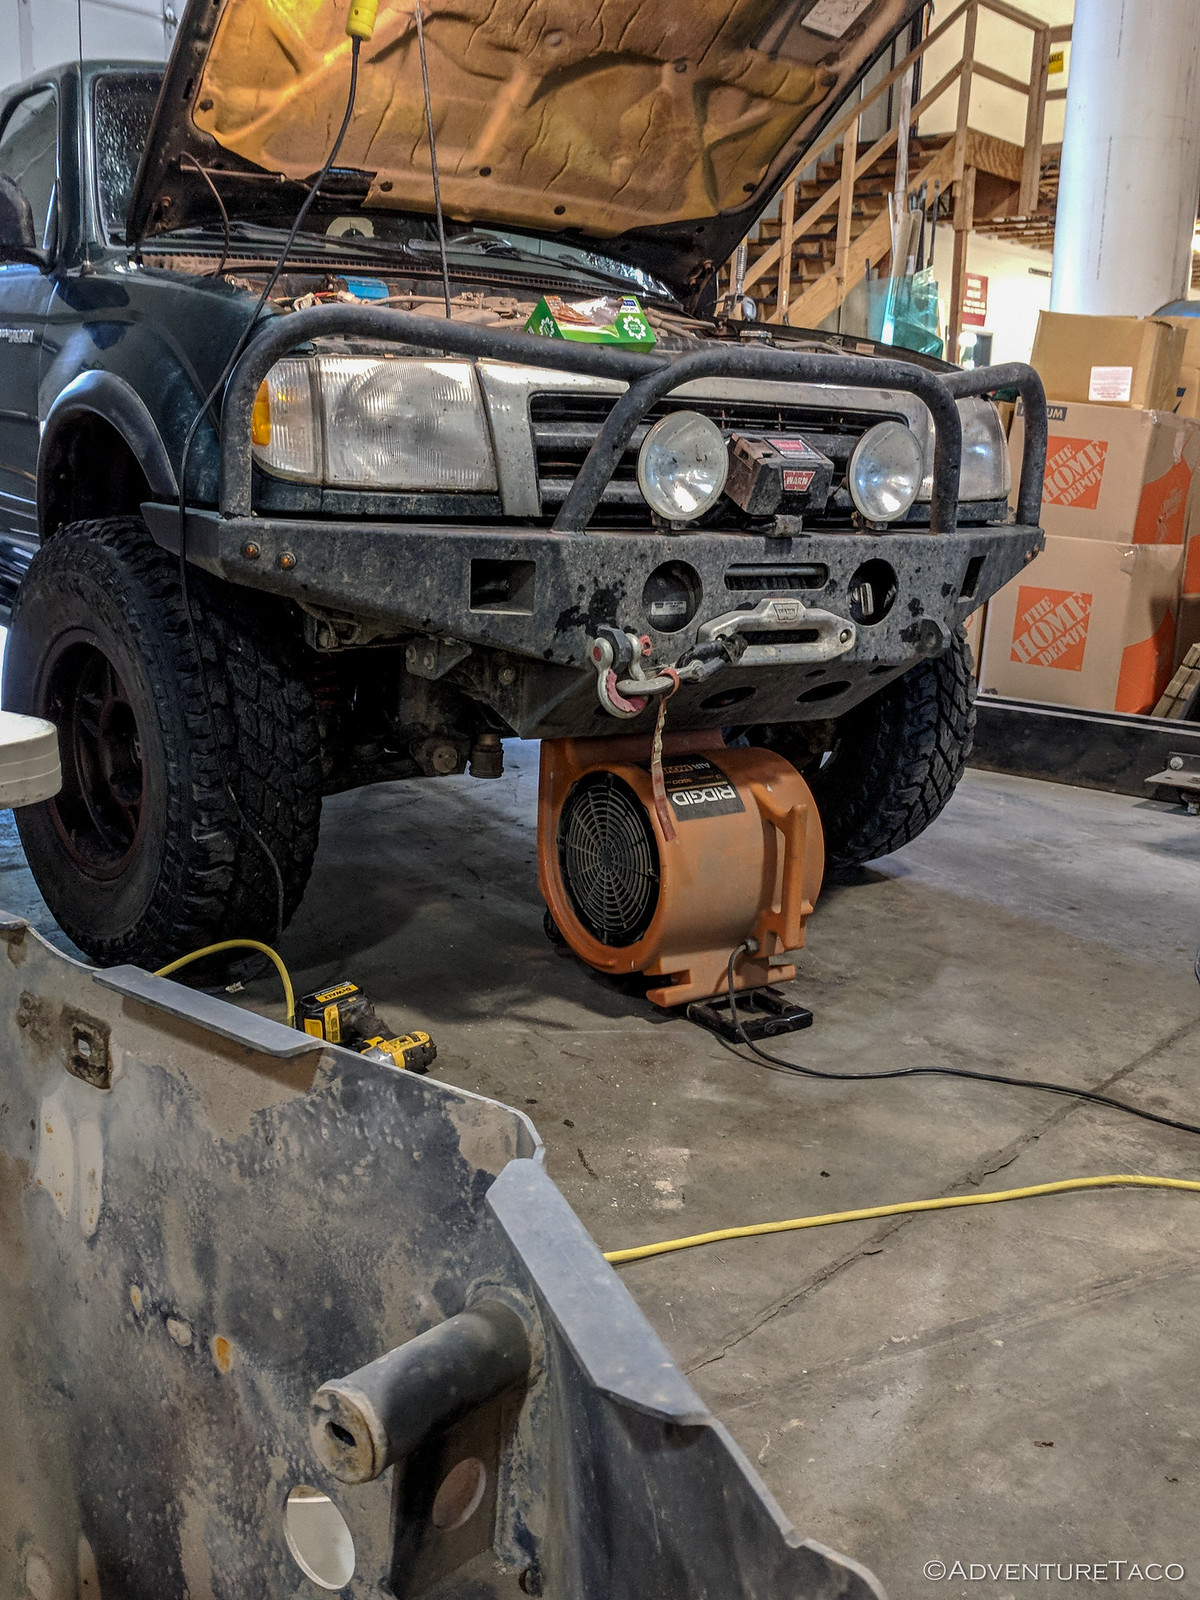
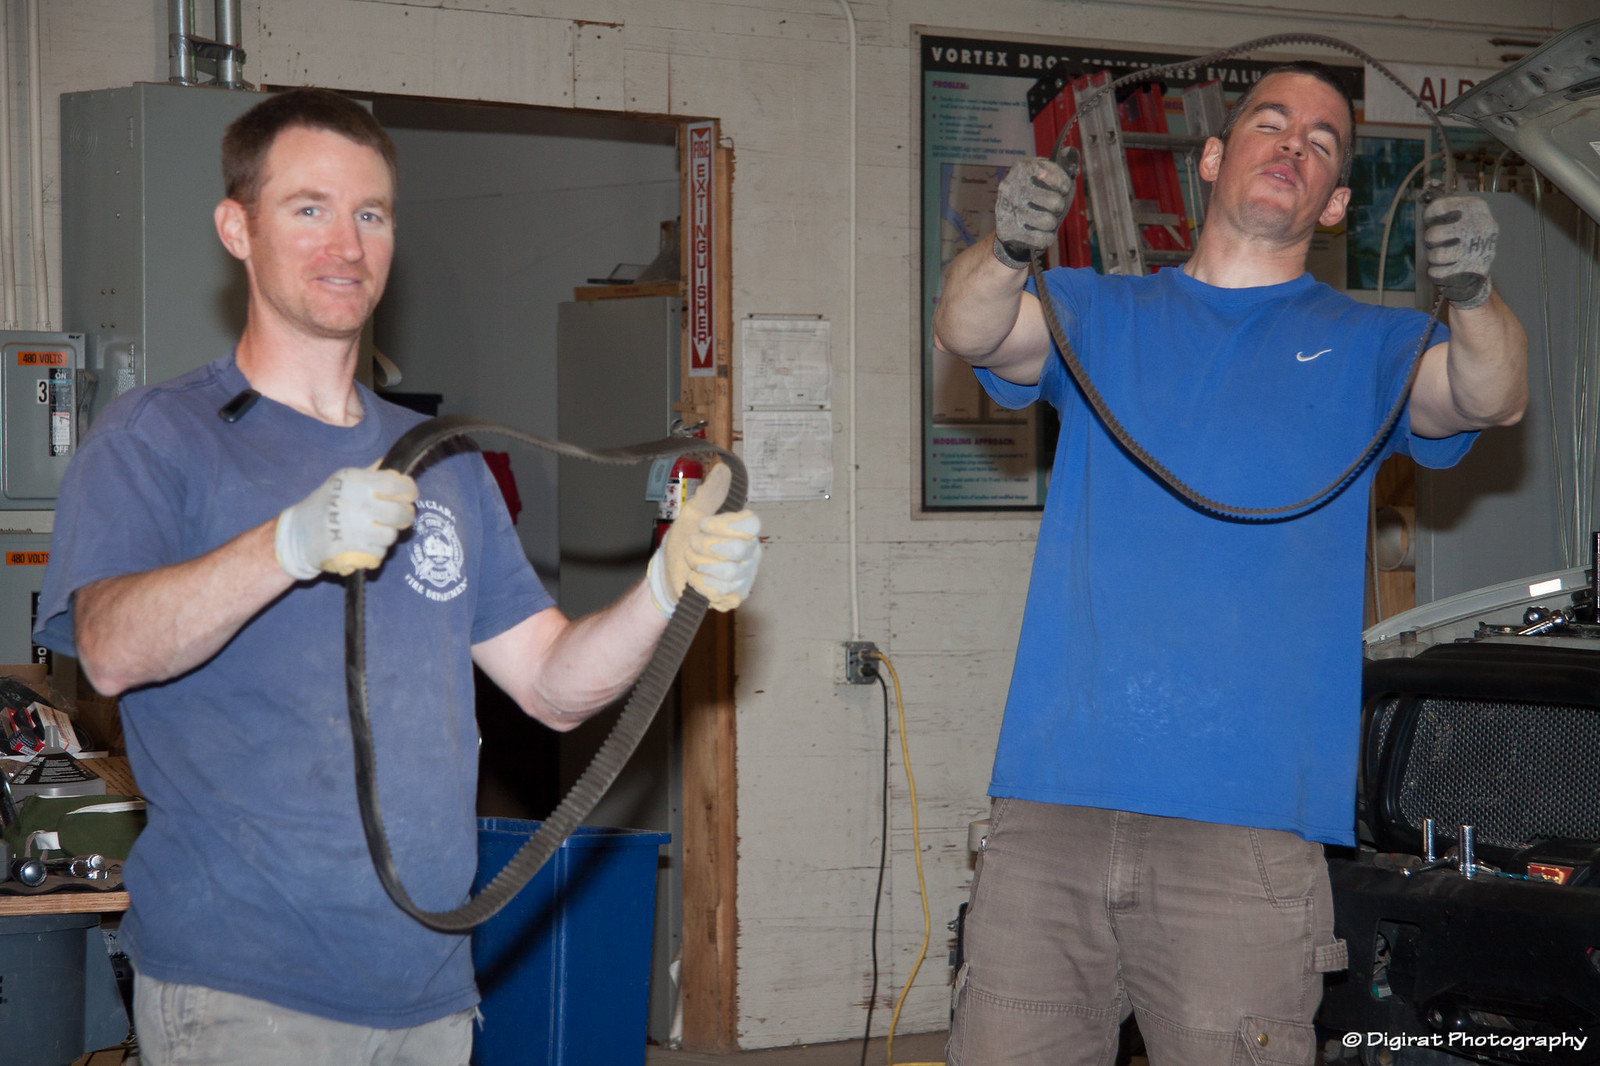
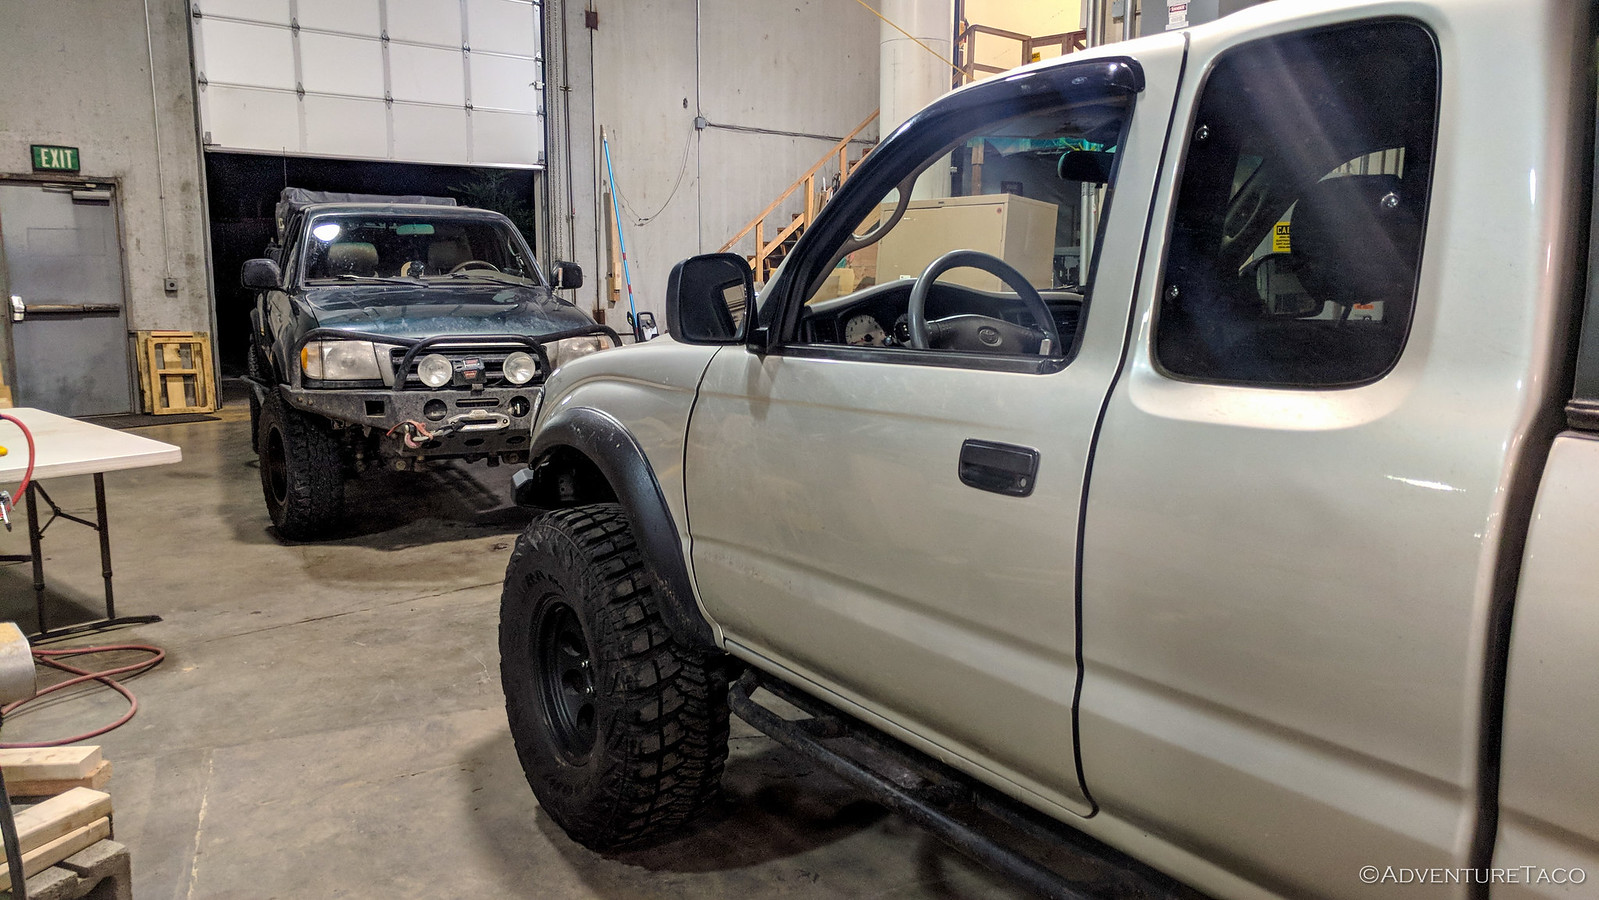
Everything acquired, the day finally arrived, and we showed up at Dan's shop a little after 9:30am to get started. After warm hello's and a bit of unpacking, we remarked to each other that Timmy's video covering the job was just over two hours long. Given that we'd each watched it, and we wouldn't be doing all the explaining Timmy did, we joked that we'd be done in about half that time.
We got a good laugh out of that - there was no way we'd be done in even four hours - and then set to work removing skid plates, cooling off our engines, and disconnecting the battery so we could get to work!
A good sign, each of us had over-planned in our own ways. Dan had a table, sharpies, and tape setup for each of us to catalog and lay out all of the parts we removed, and I'd brought a detailed list of 157 steps that we'd be performing (based on Timmy's video).
While I'll use that list as the outline for much of this post, I'll also make available in a separate post without all the additional commentary from our experience. Feel free to grab it if you plan to do a similar job.
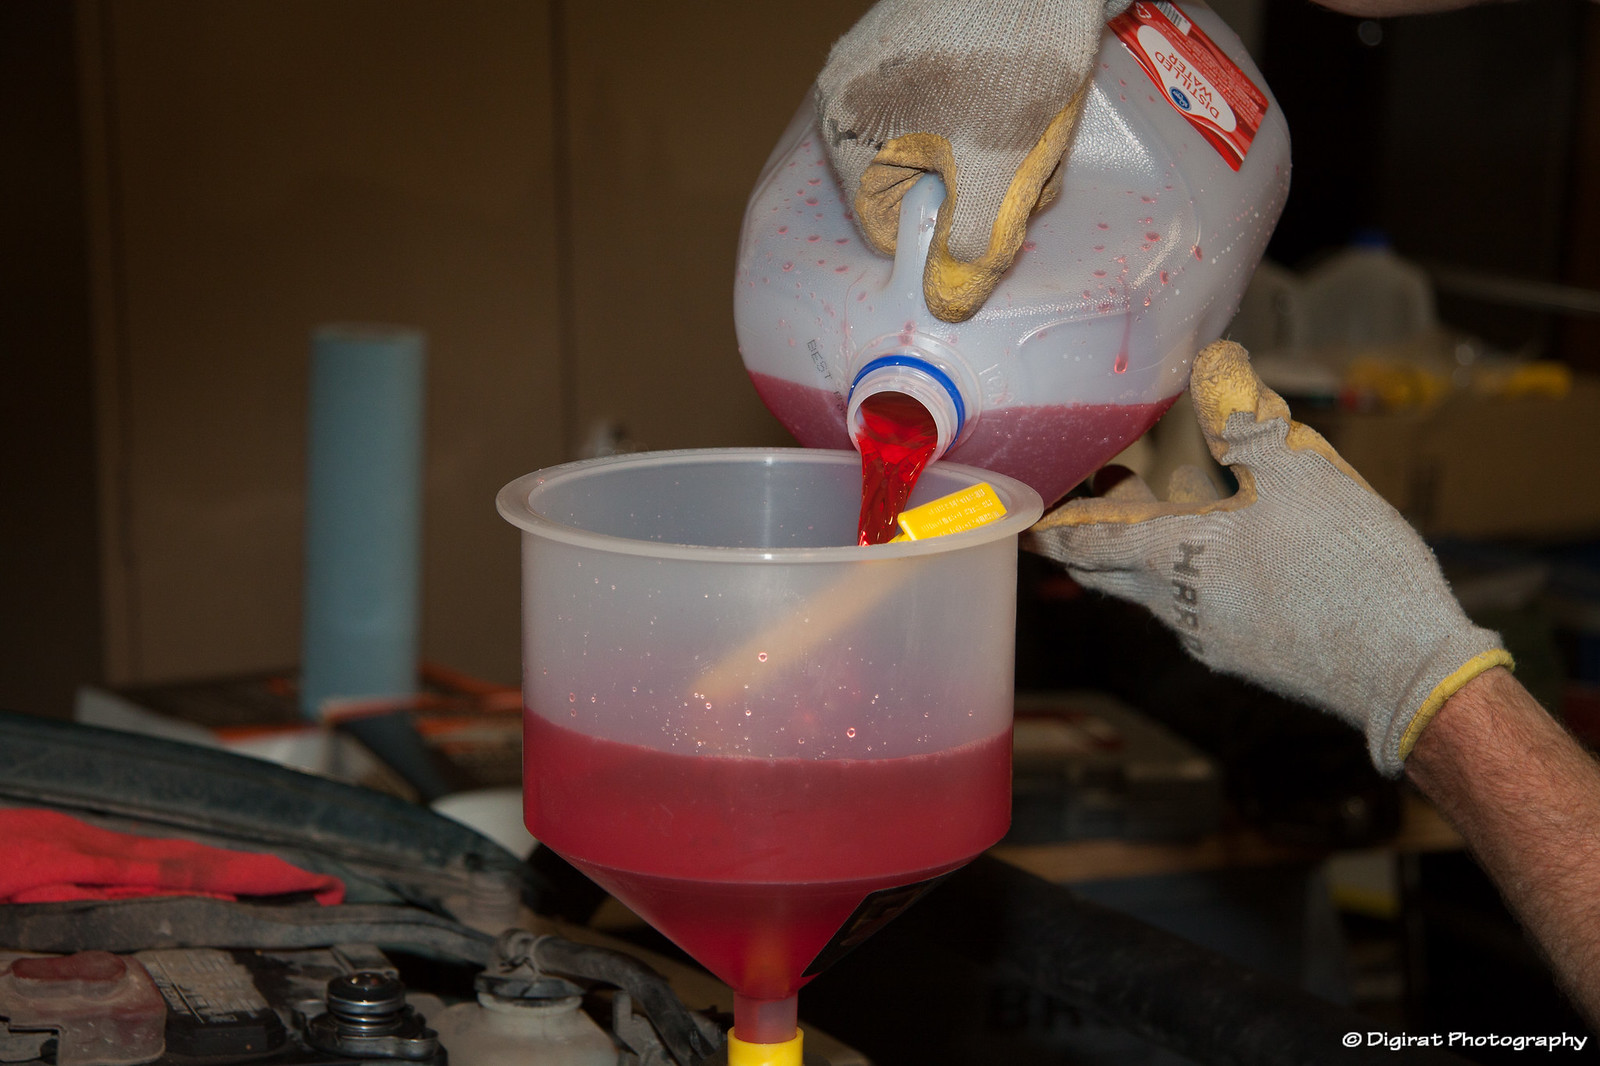
The first order of business was draining the coolant out of our radiators, which we each did into a 5 gallon bucket.
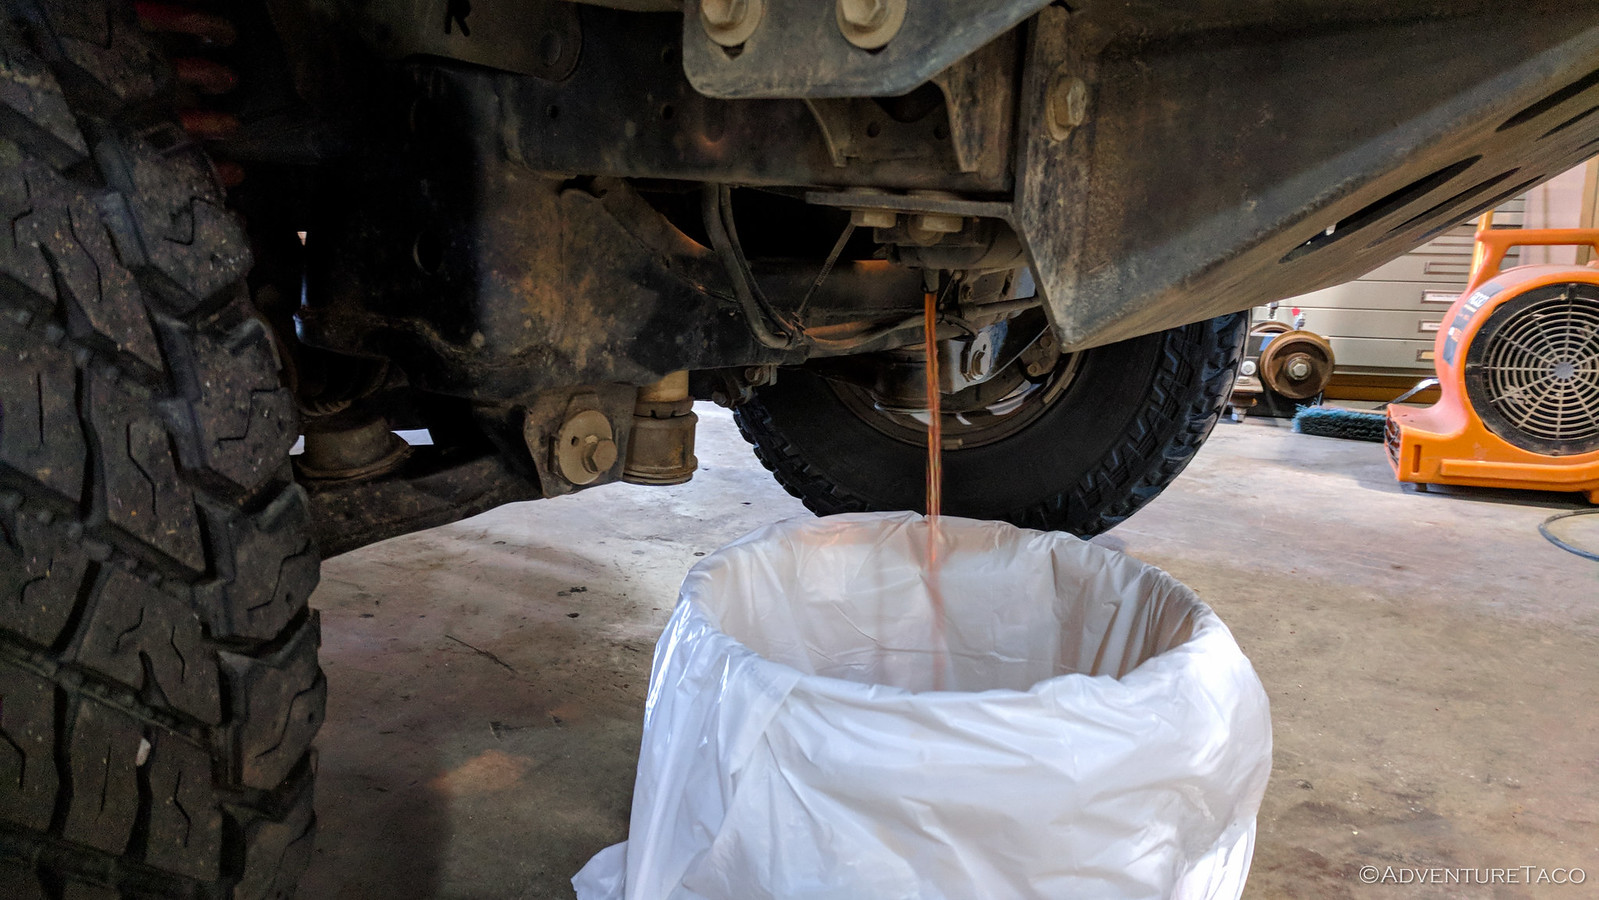
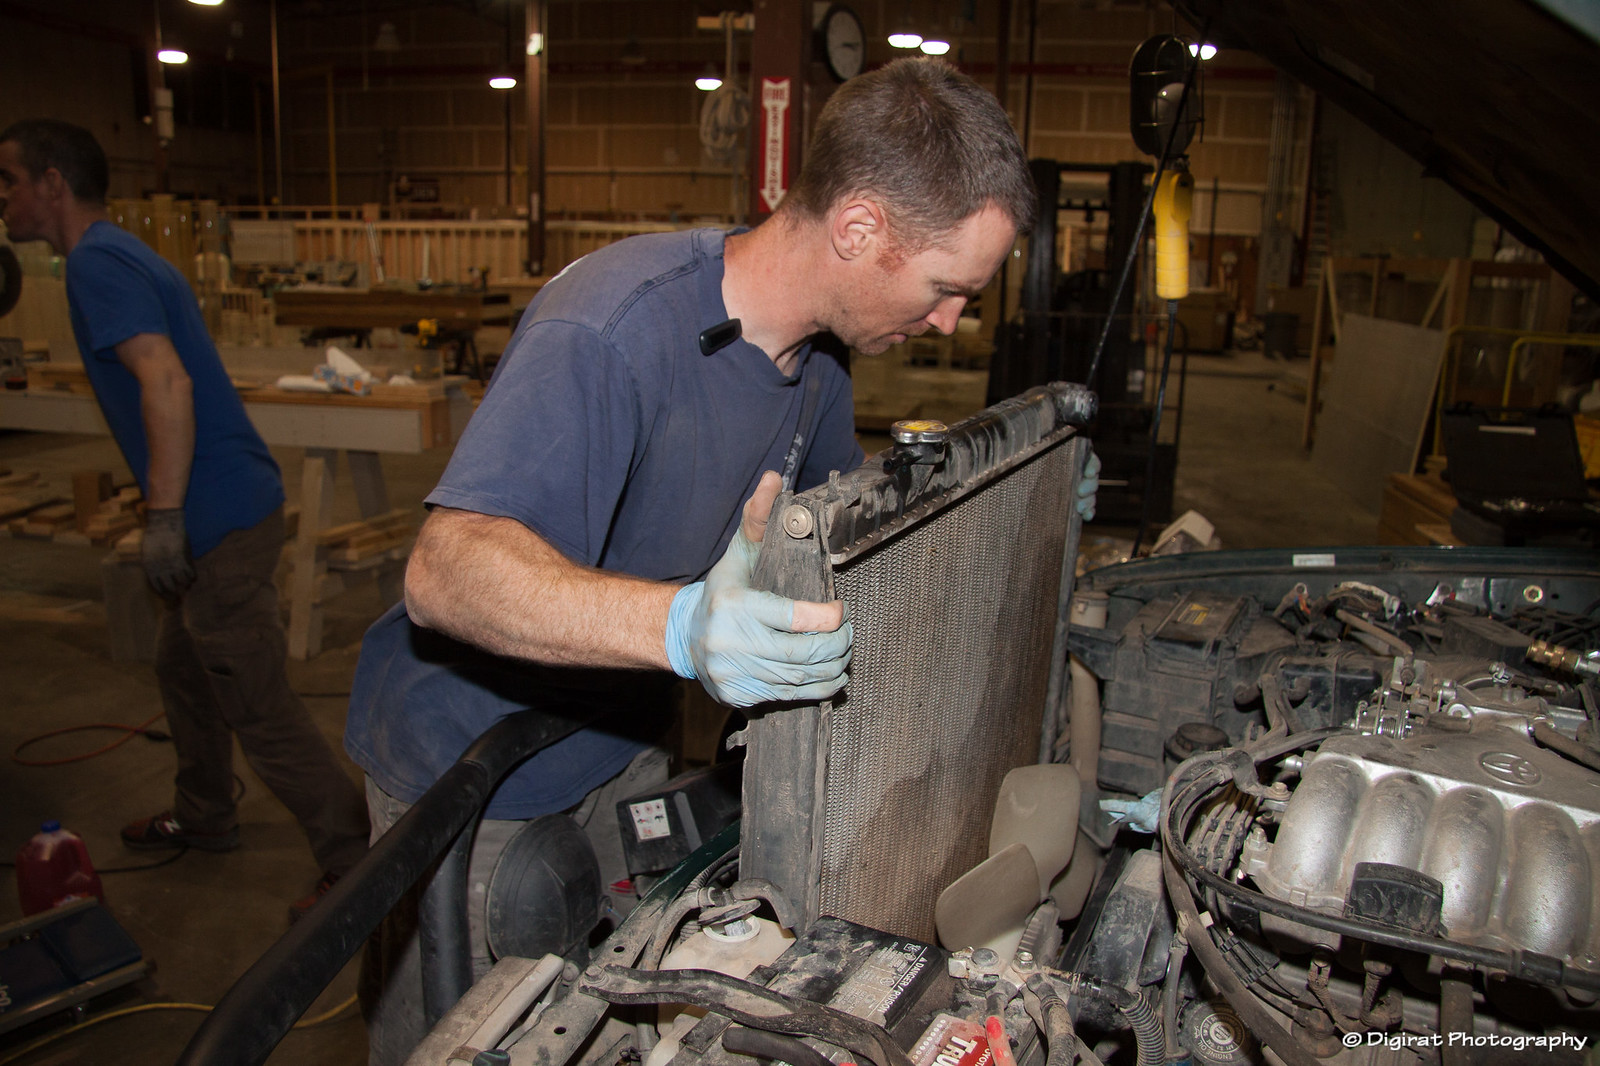
As the radiator was draining, I started removing my grill, so I could pull the radiator entirely. Dan was going to try to avoid this since he's got an automatic, and thus has both ATF running through the radiator as well as an auxiliary transmission radiator zip-tied to his radiator. In the end however, it turned out he needed space in the engine bay and so his had to come out as well.
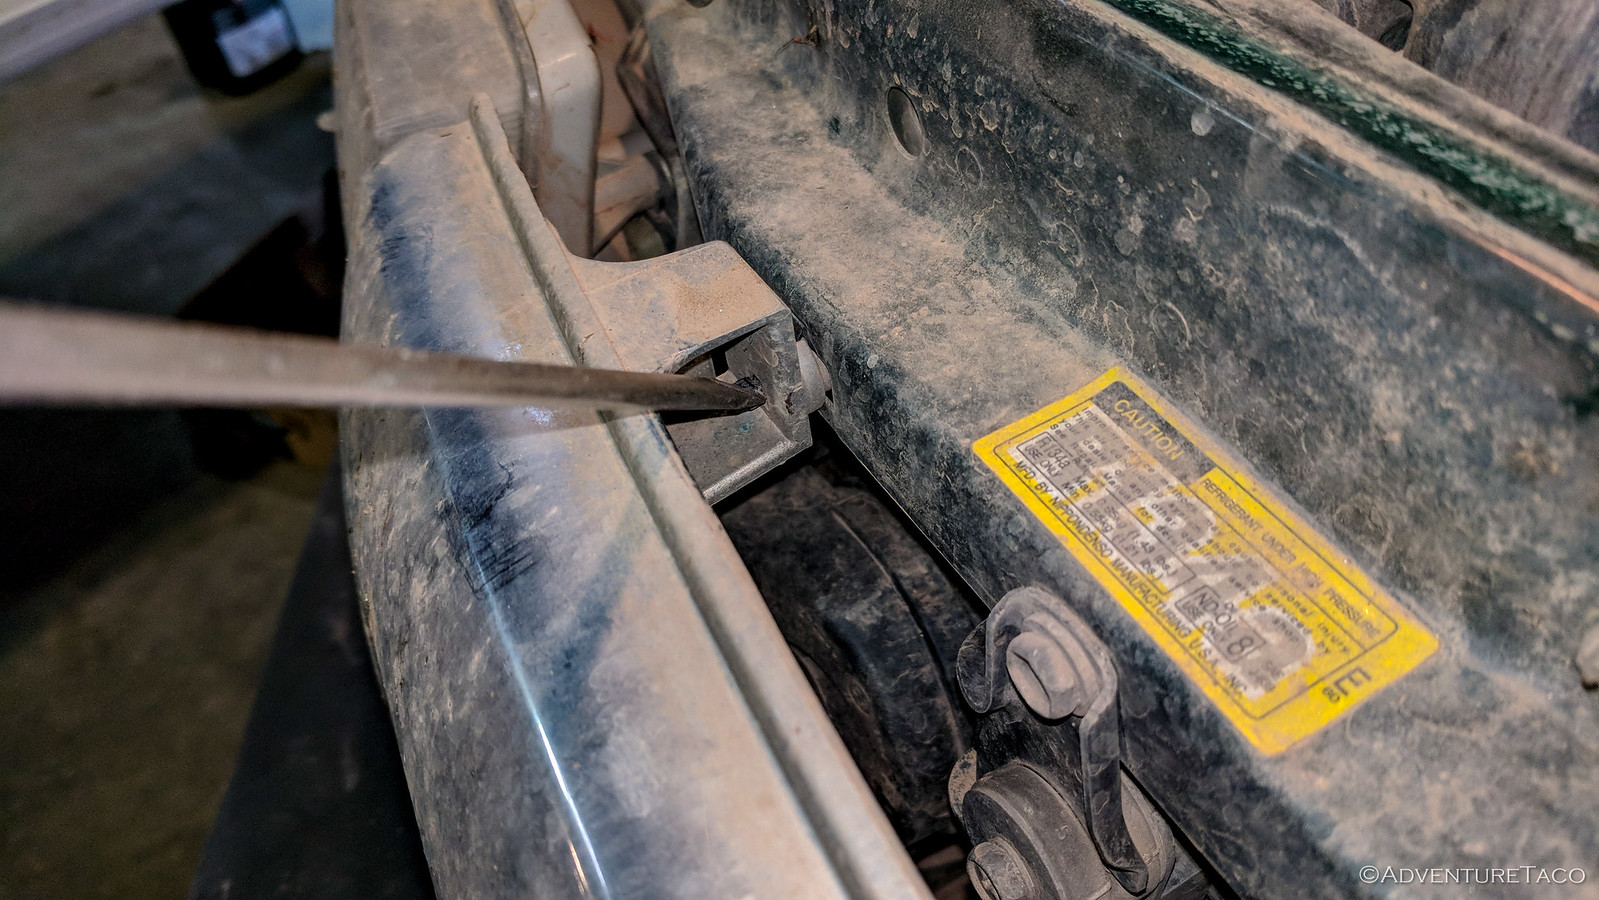
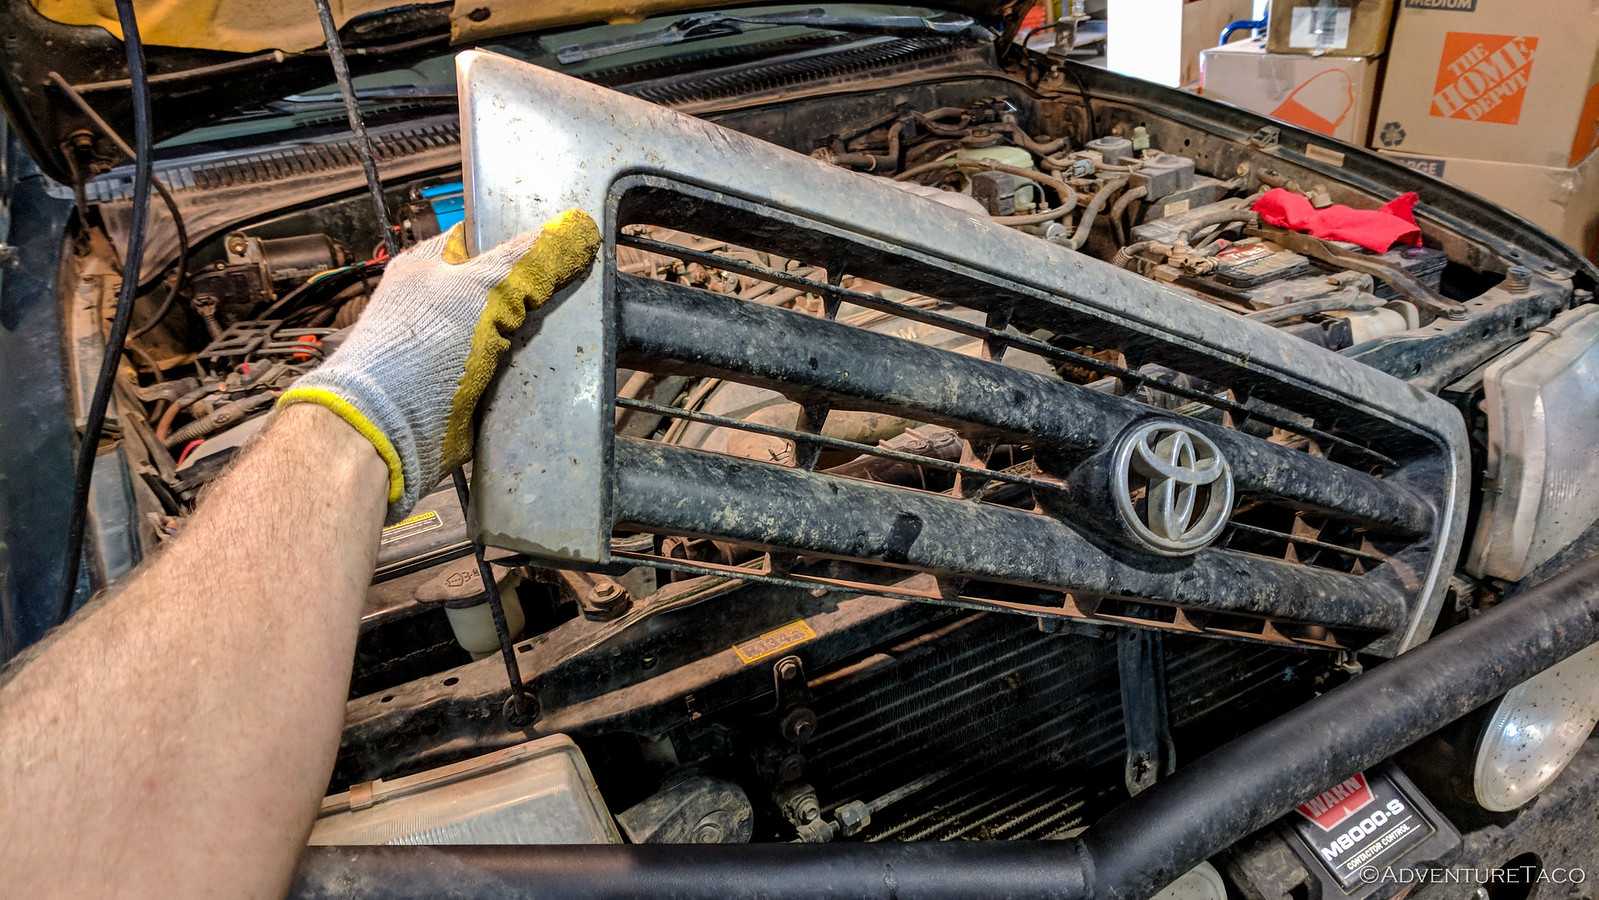
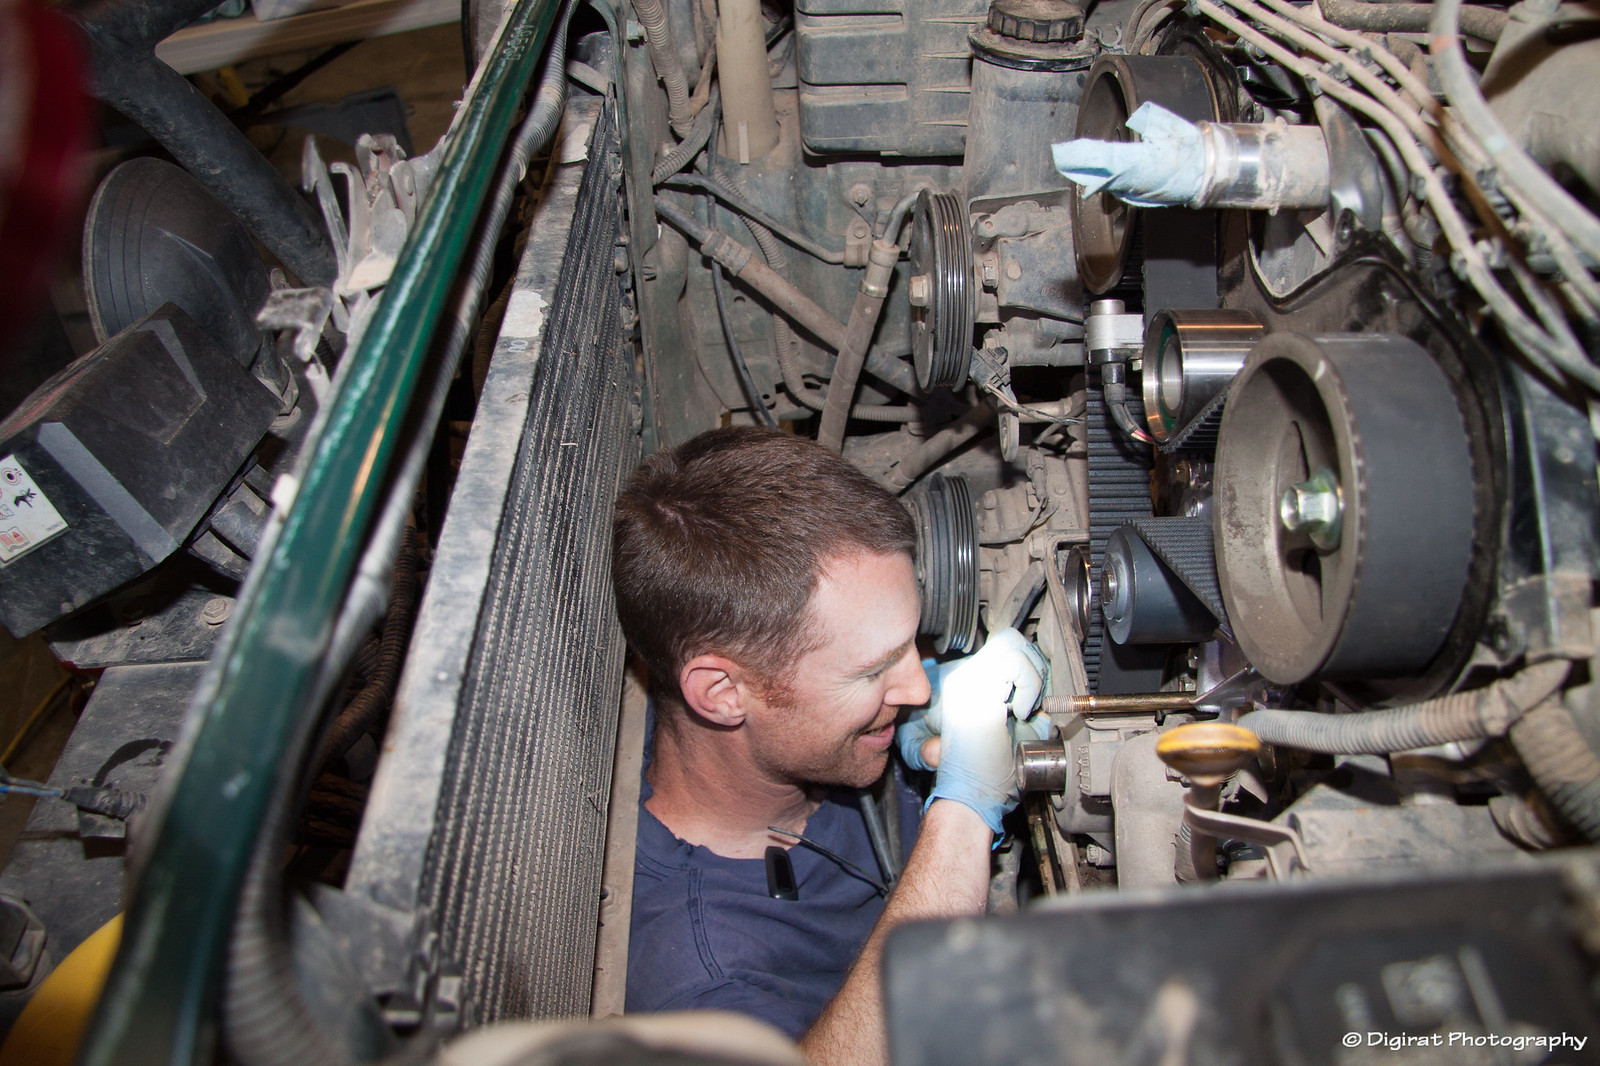
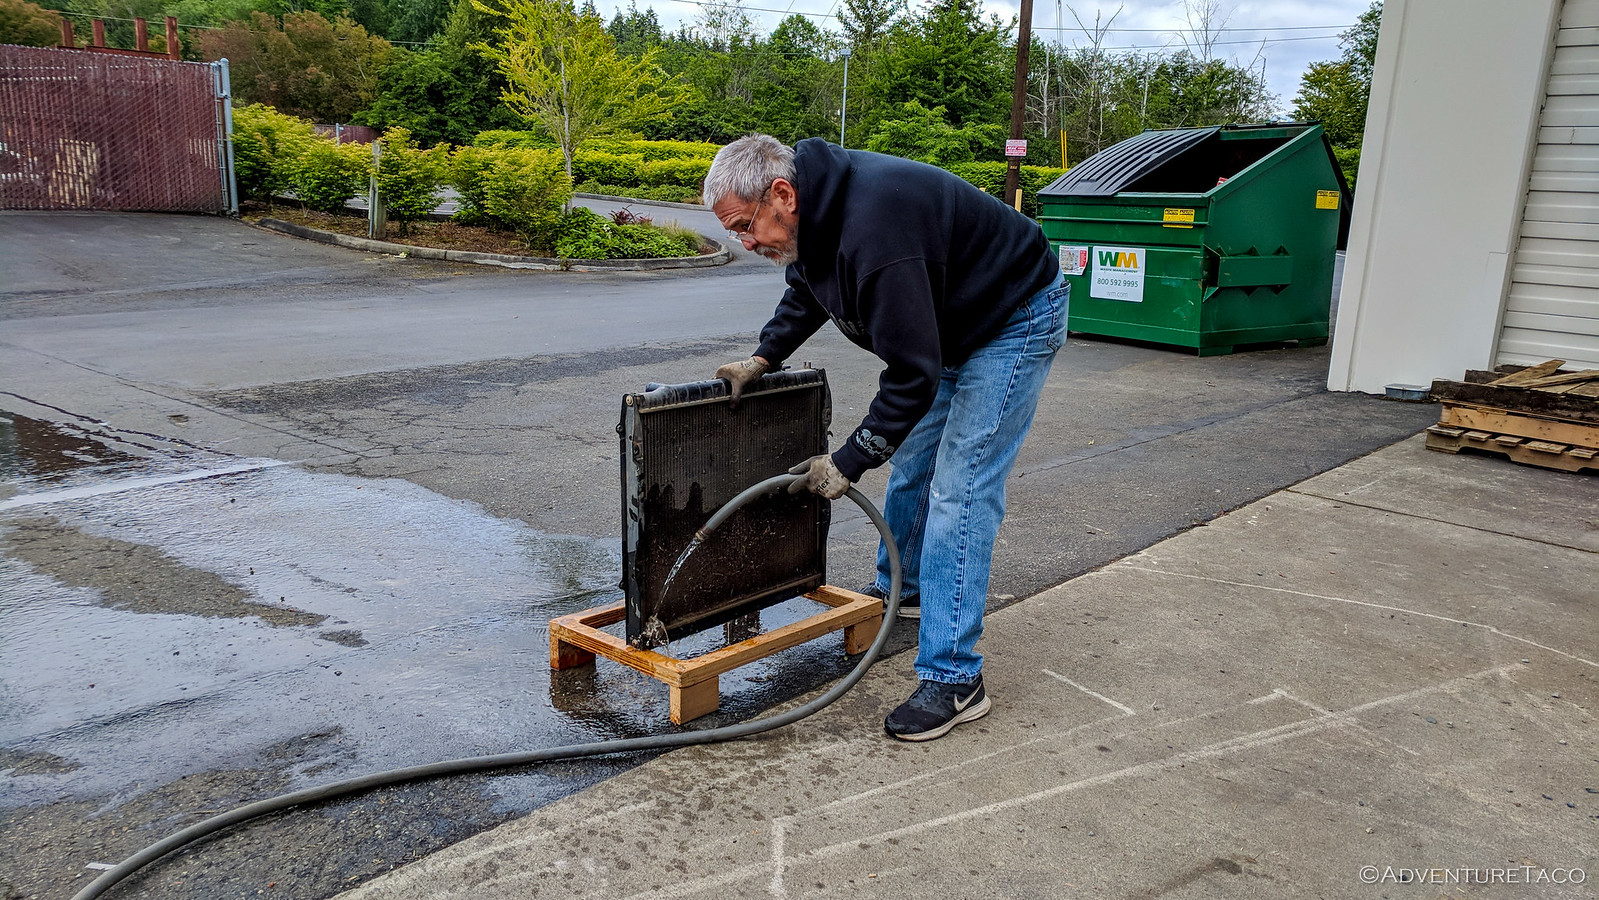
From there, it was a matter of disconnecting the various hoses to the radiator, the radiator shrouds, and the bolts holding it in place so we could lift them out. Once we did, Mike (
@Digiratus) - who was on hand to help out and take photos - was nice enough to hand-wash both of our radiators for us!
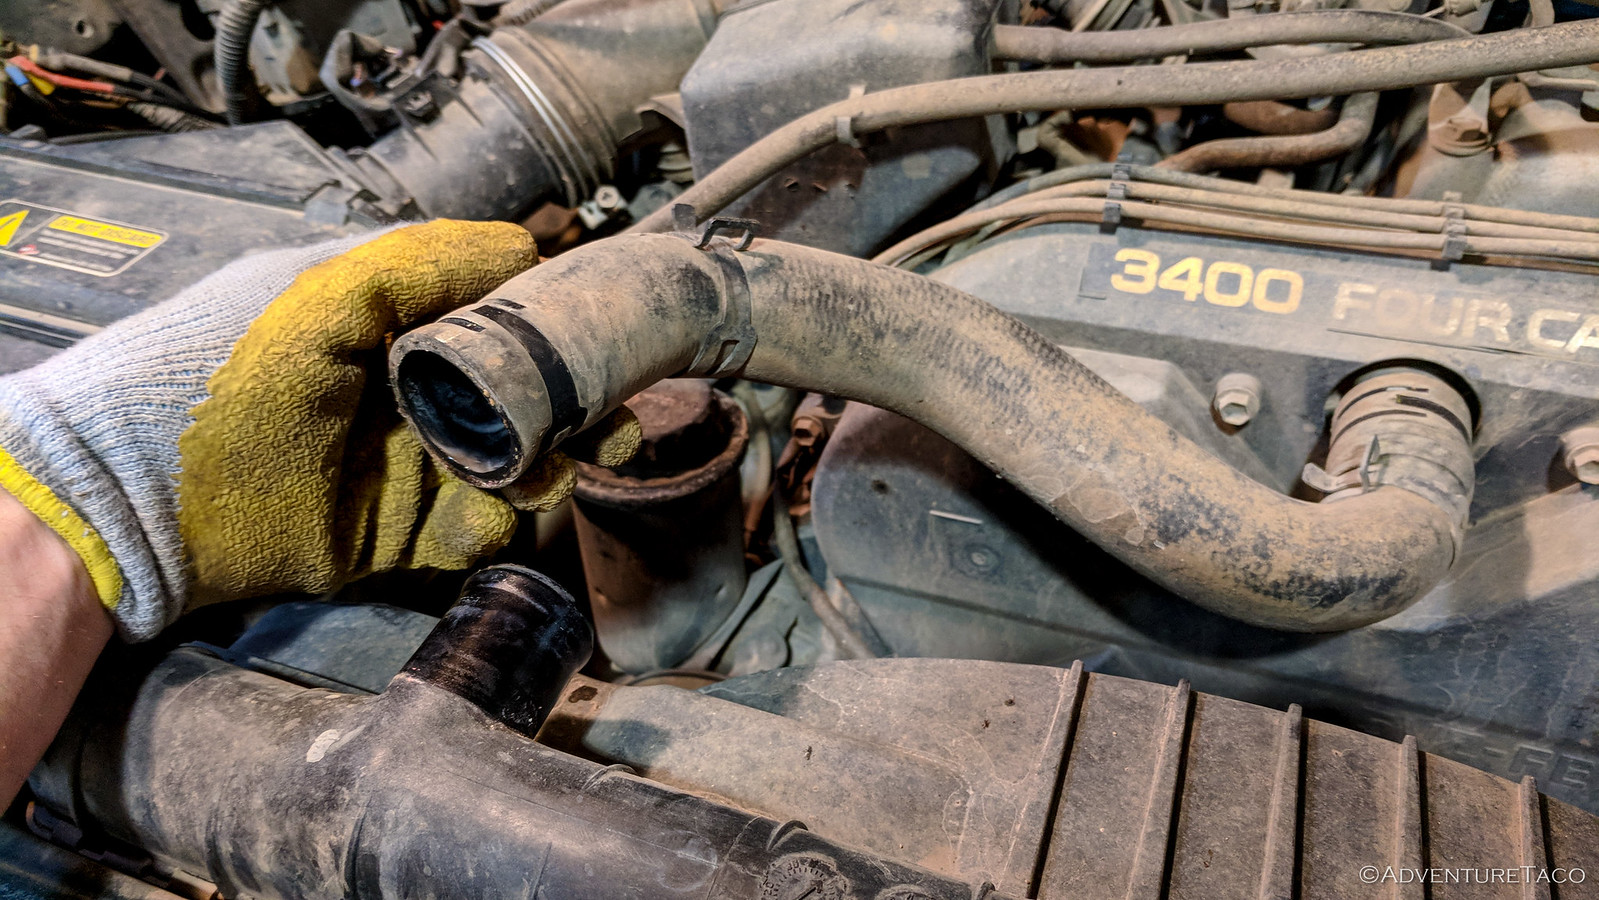
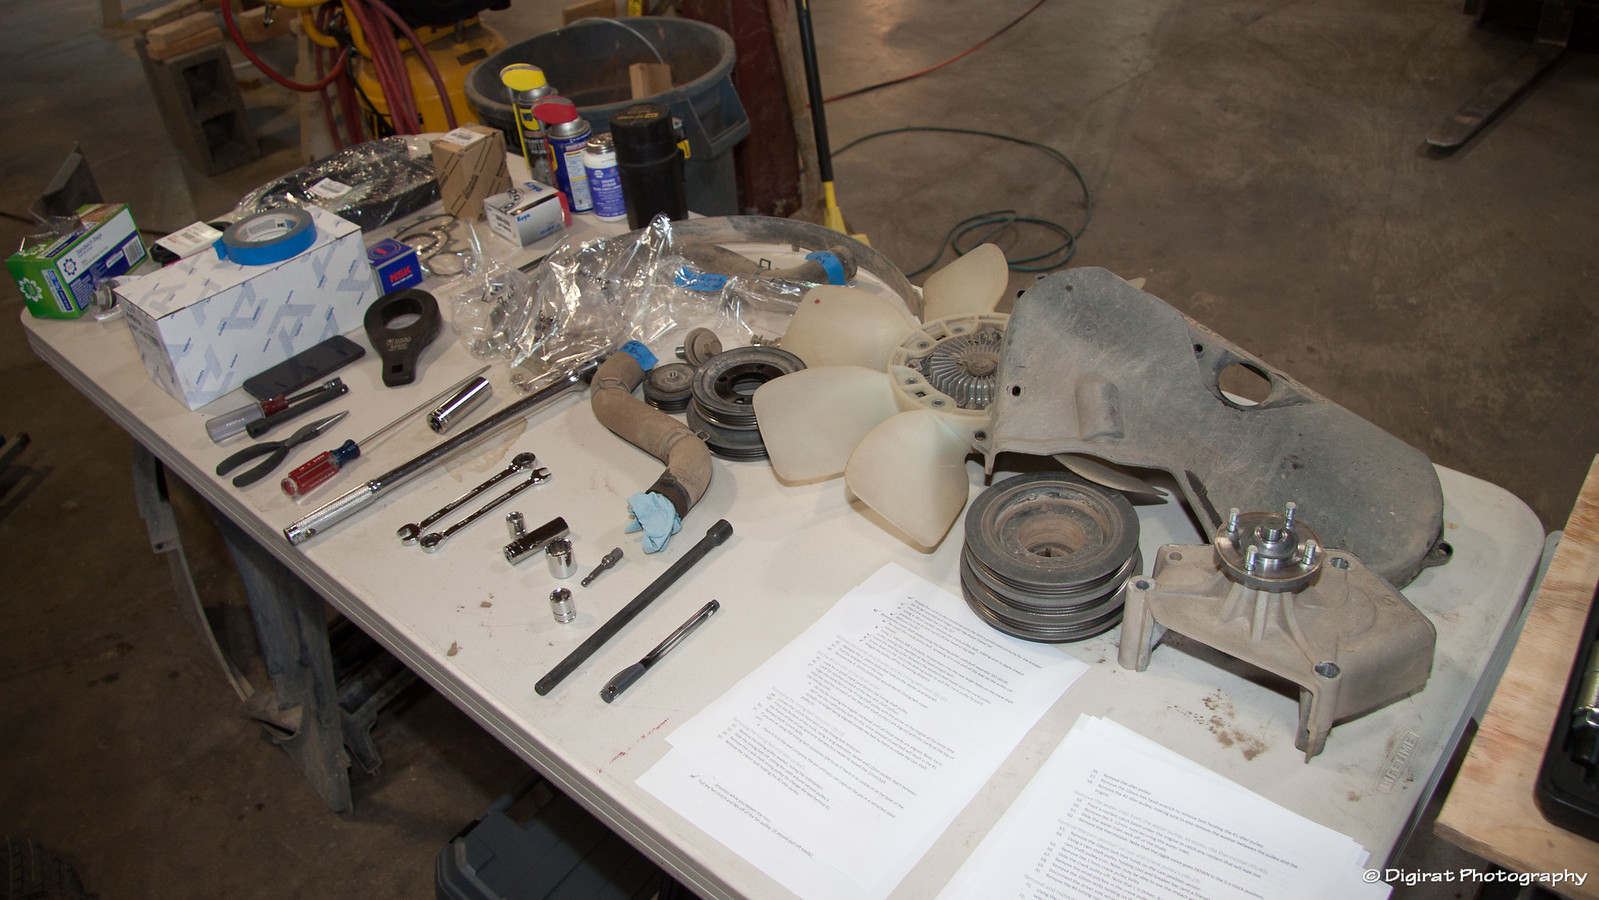
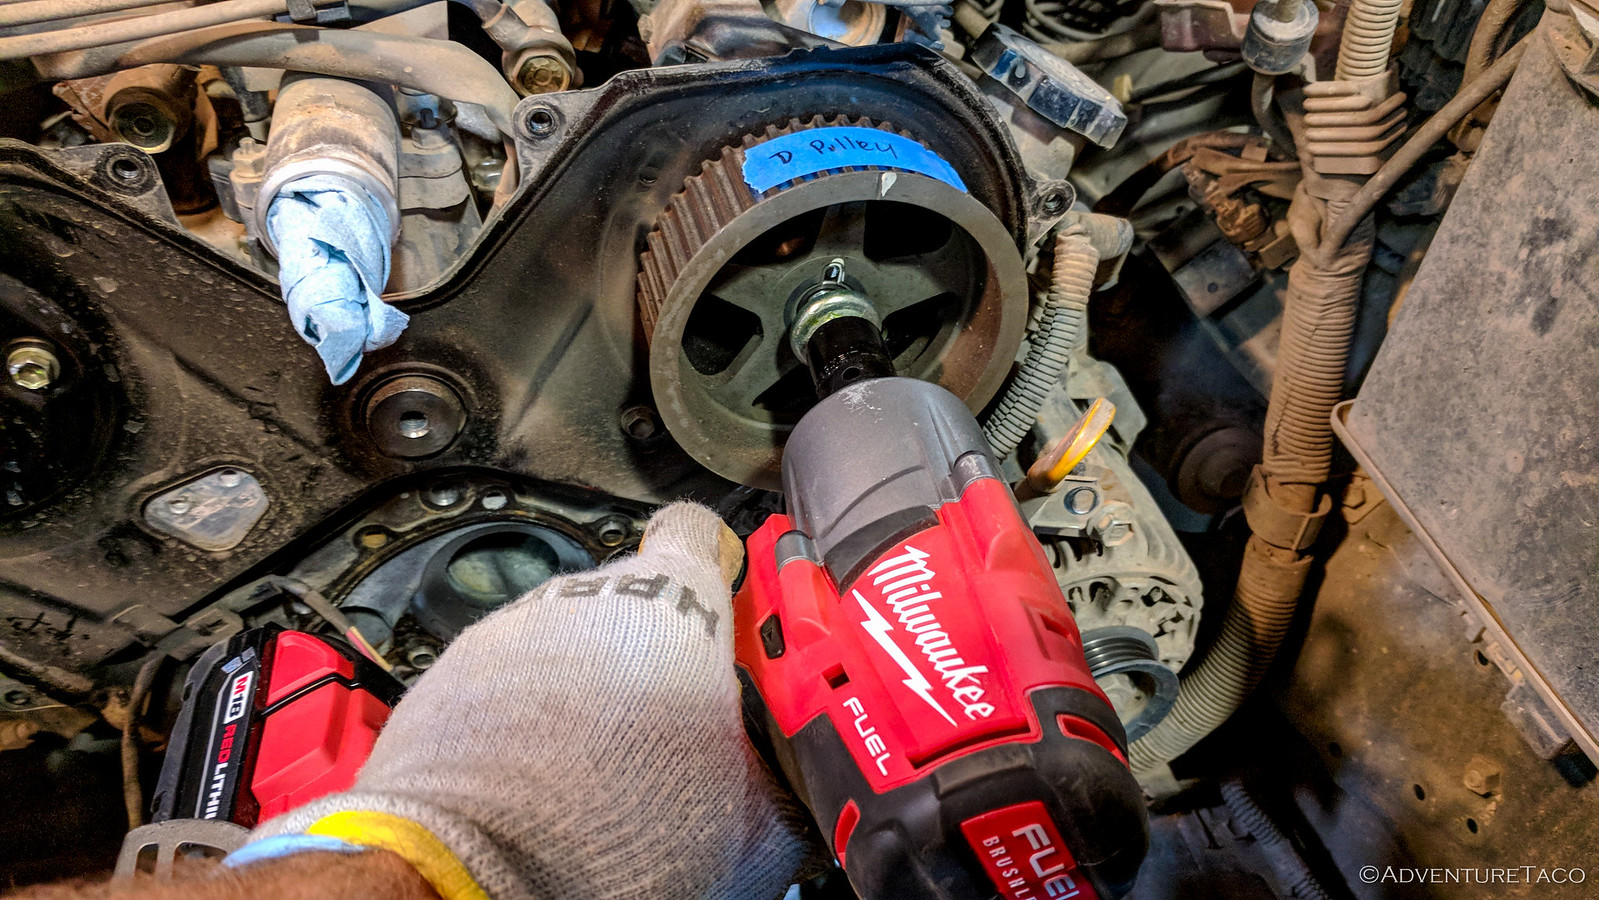
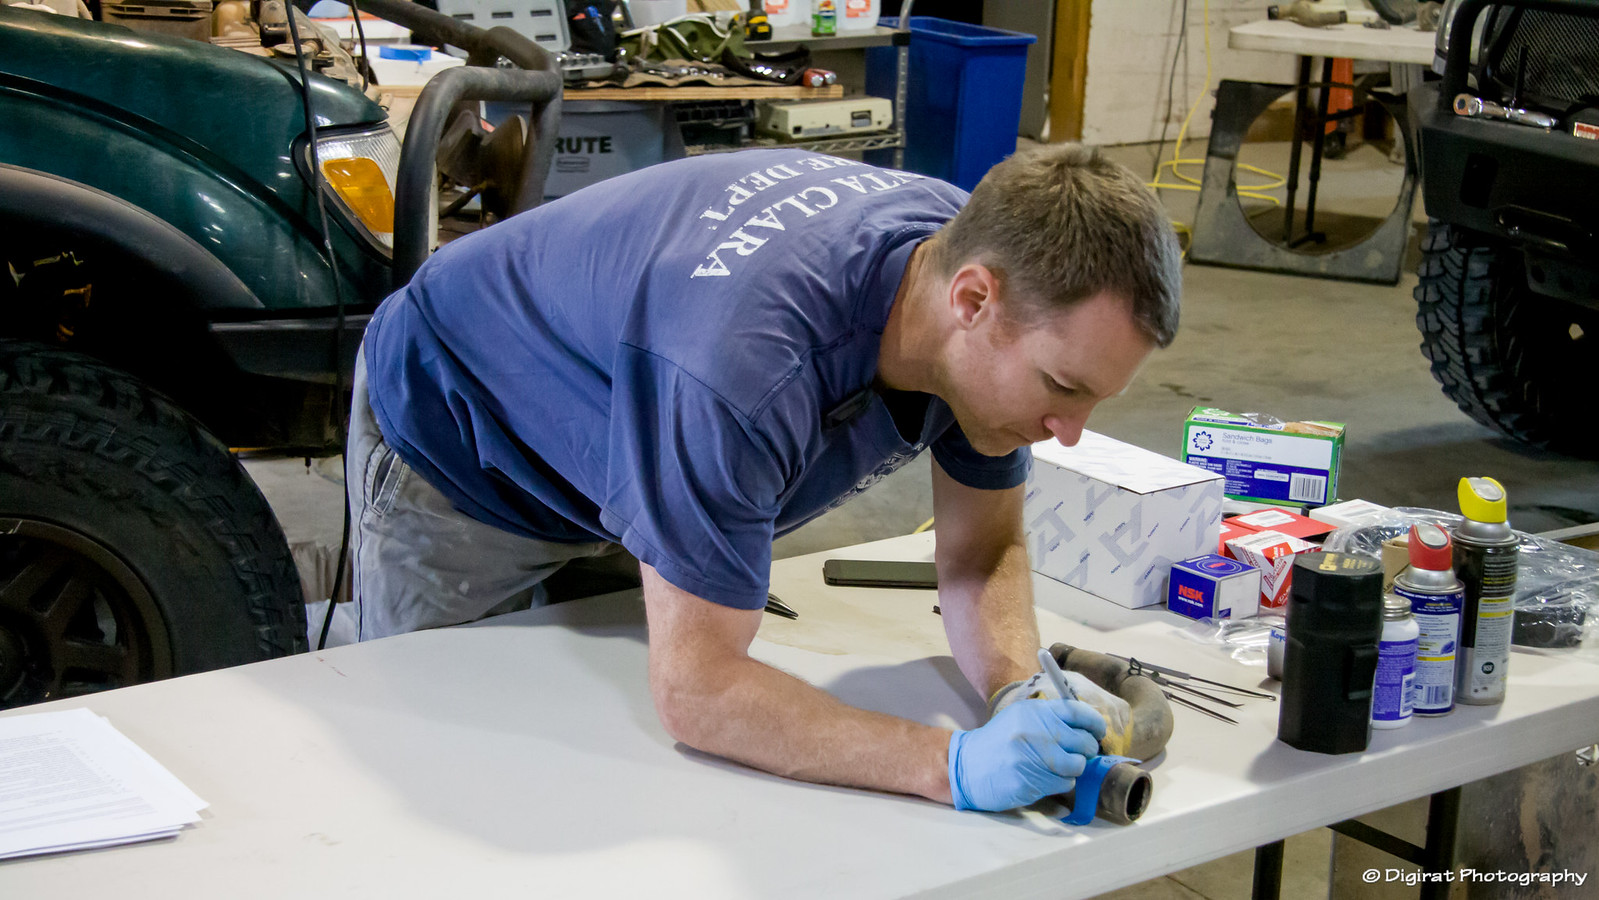
Oh, and as we were removing everything, we were careful to lay out the bits, labeling them for re-installation. A good thing too, given the fact that we'd be tired by the end of the day!
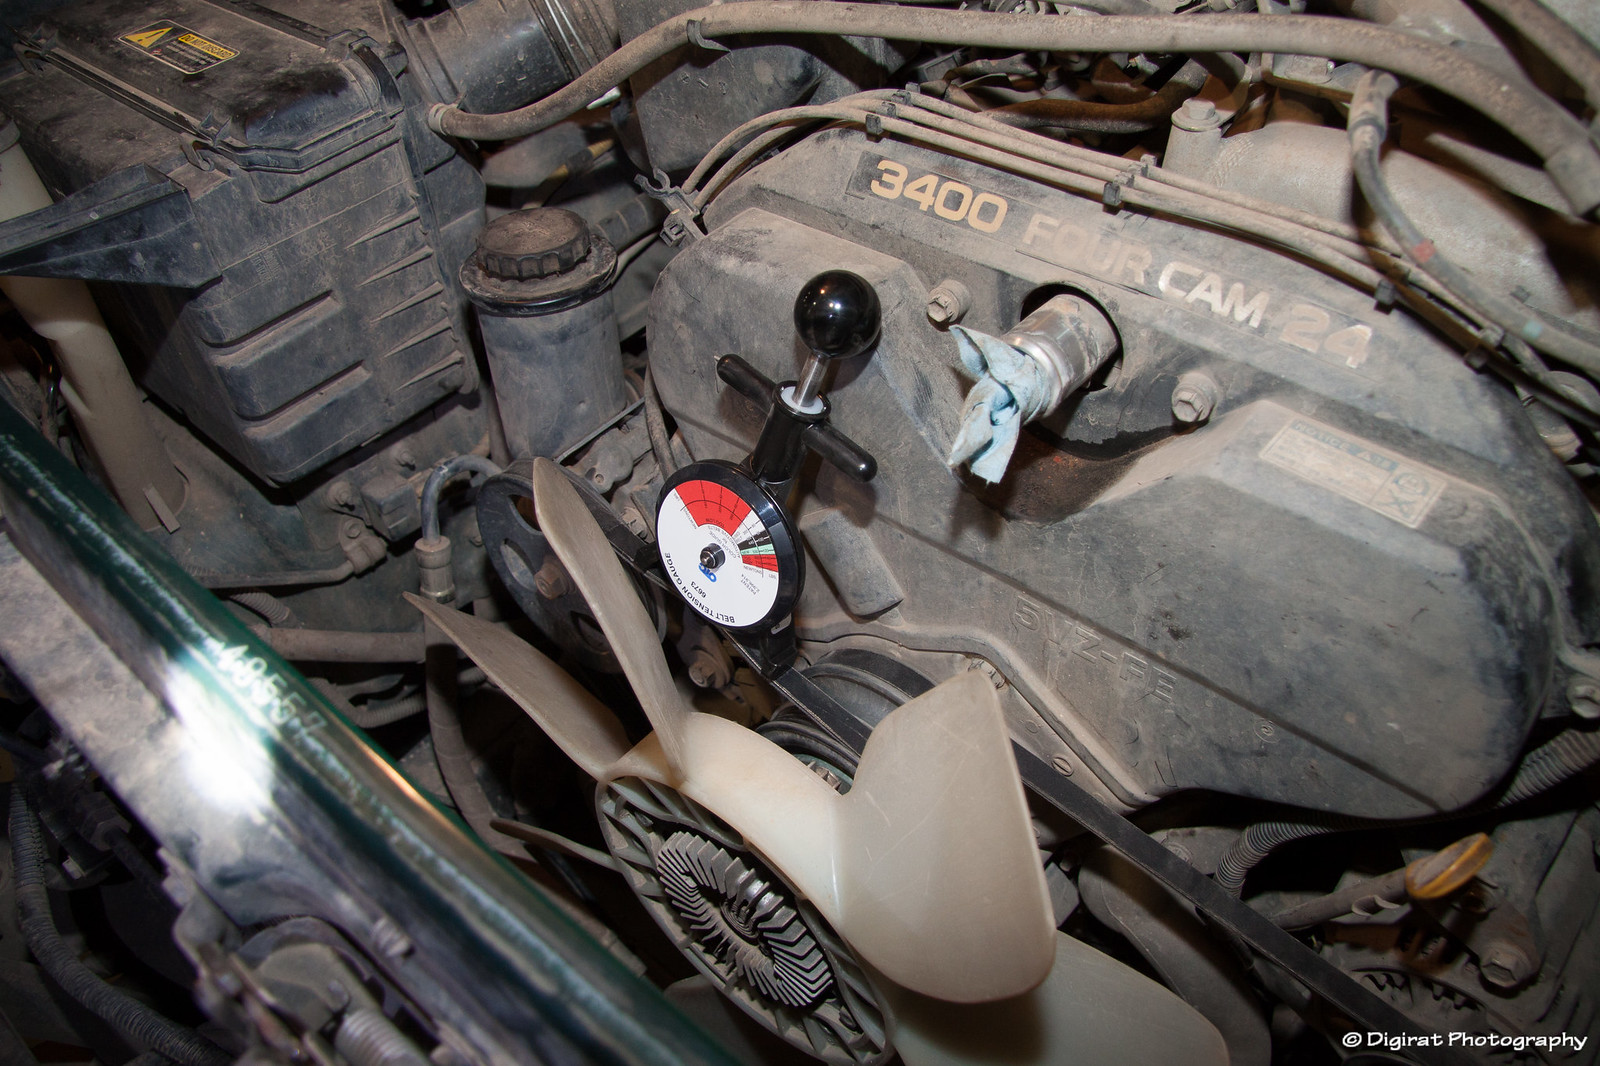
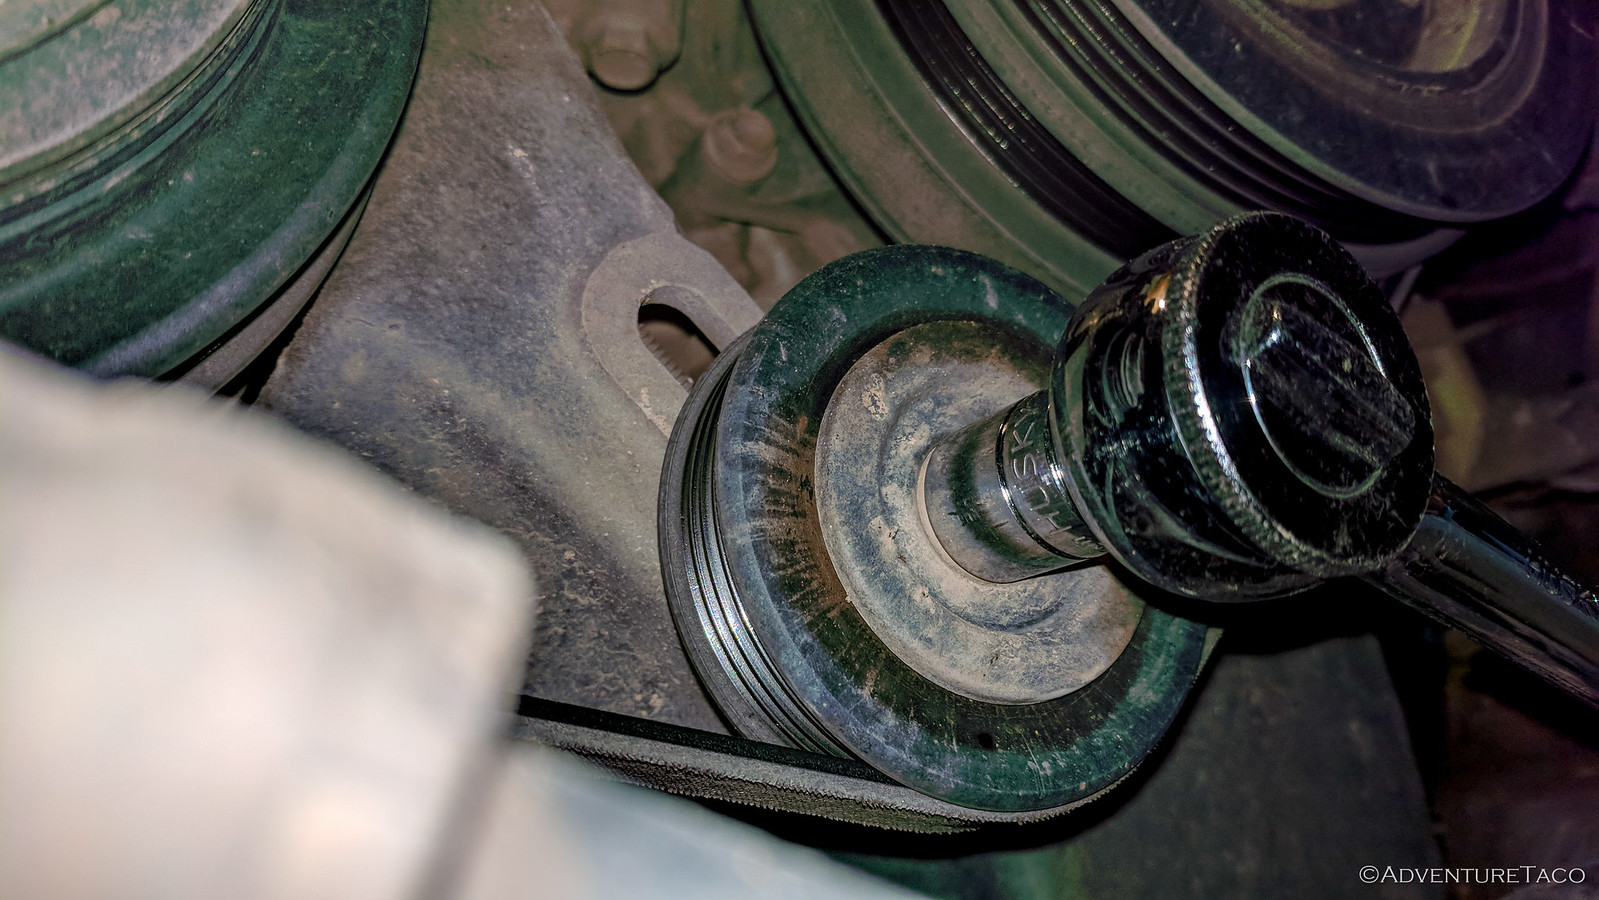
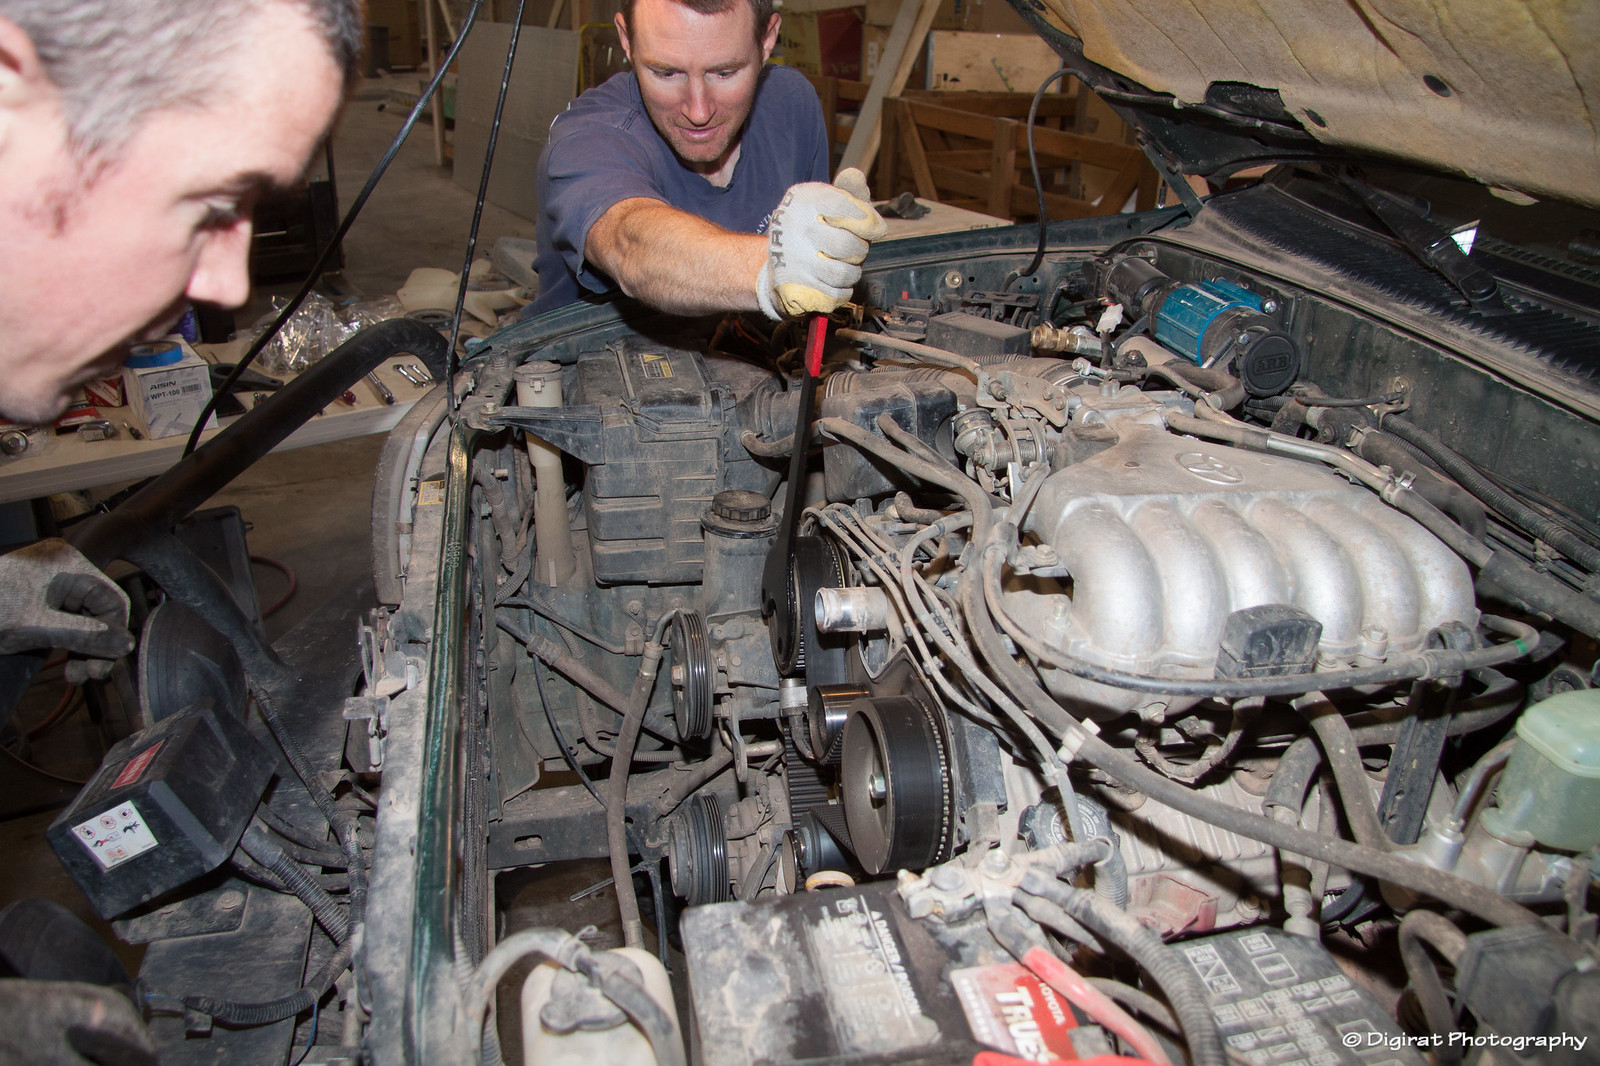
Next, it was on to removal of the fan, fan clutch, drive belts (AC, power steering, and alternator) that were between us an our timing belt covers. Everything here went relatively smoothly - a simple matter of loosening lock nuts and tensioners so that the belts and pulley's could be removed.
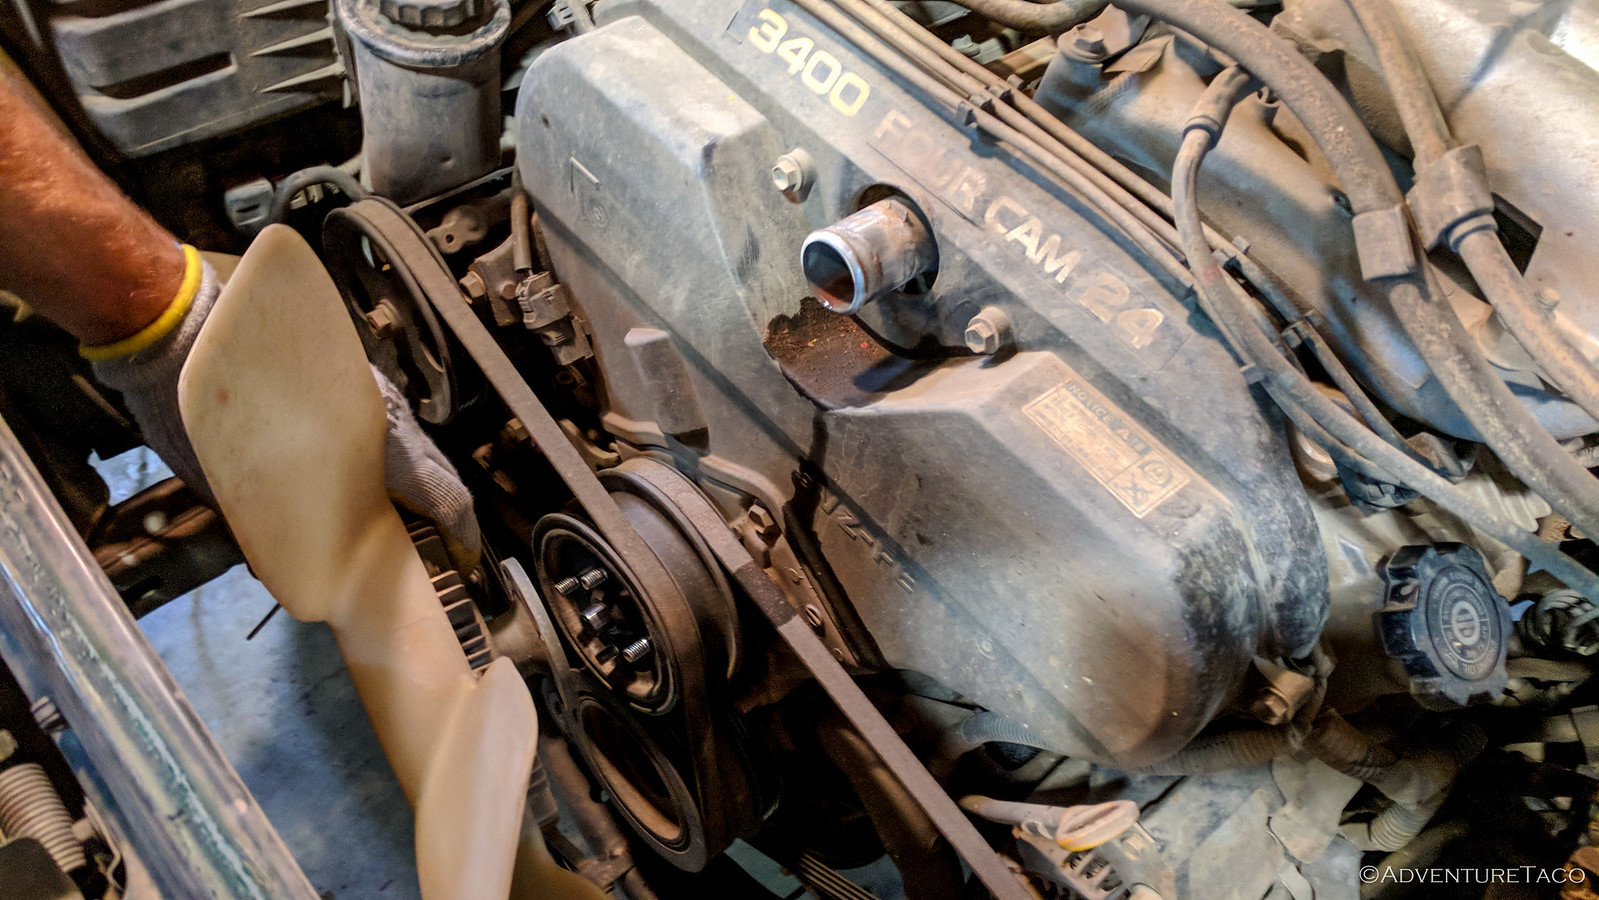
Flush with our early success, we were on to our timing belt covers. Well, one of them anyway - there are three. Referred to as #1, #2, and #3 timing covers by the Factory Service Manual, we could never keep them straight, so from here on out we've decided to call them by the following names, and would like the rest of the world to do the same. ?
- upper timing cover
- lower timing cover
- rear timing cover
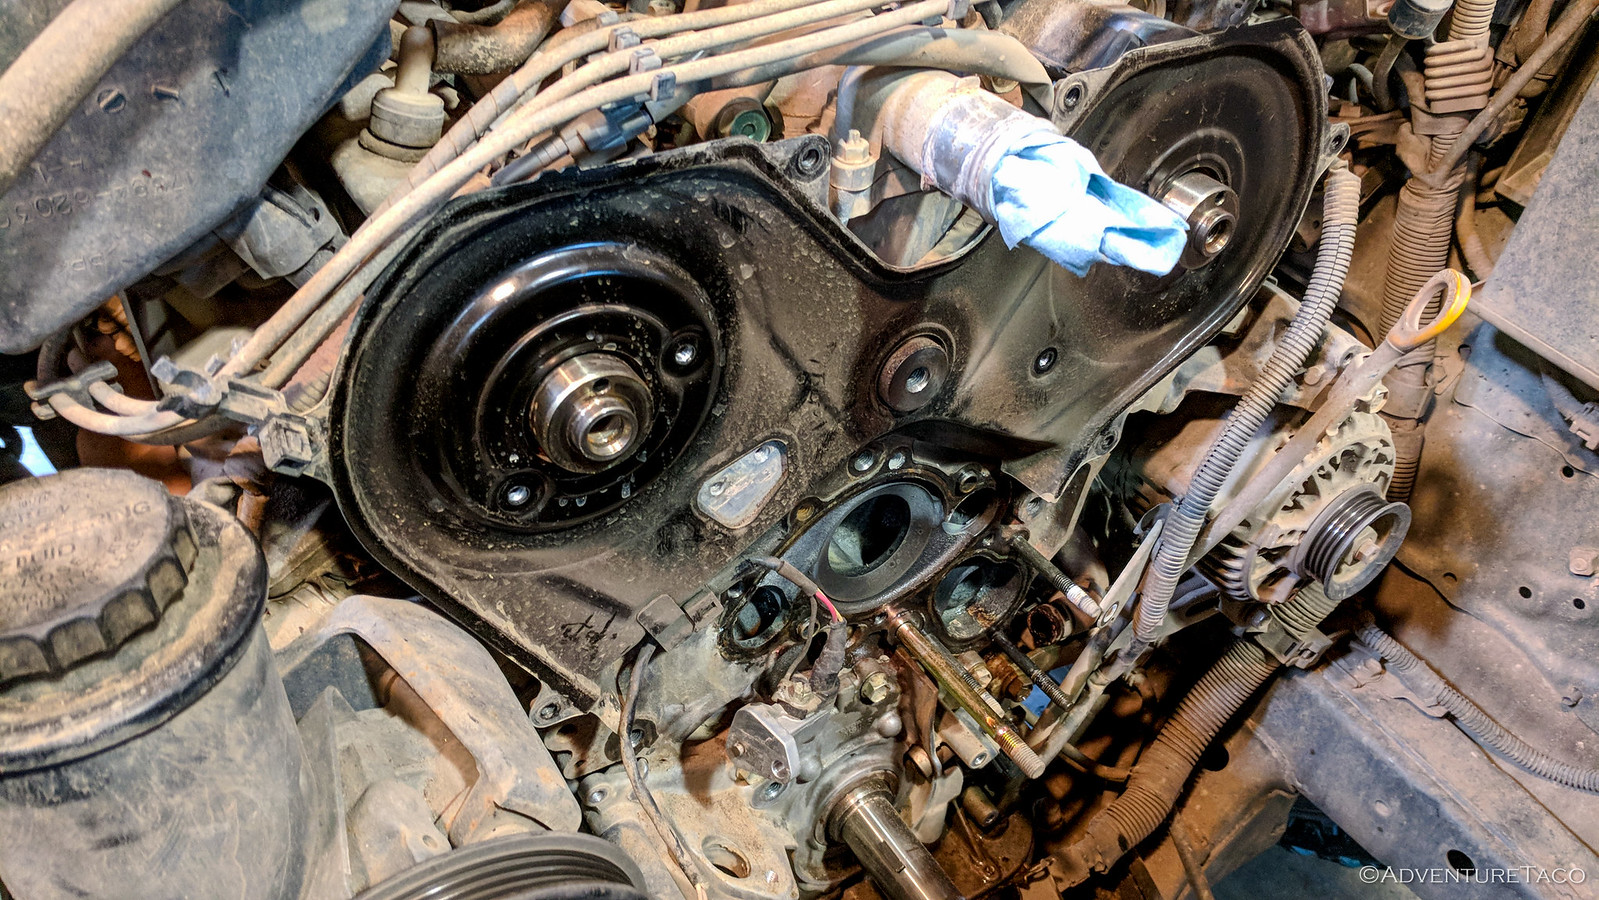
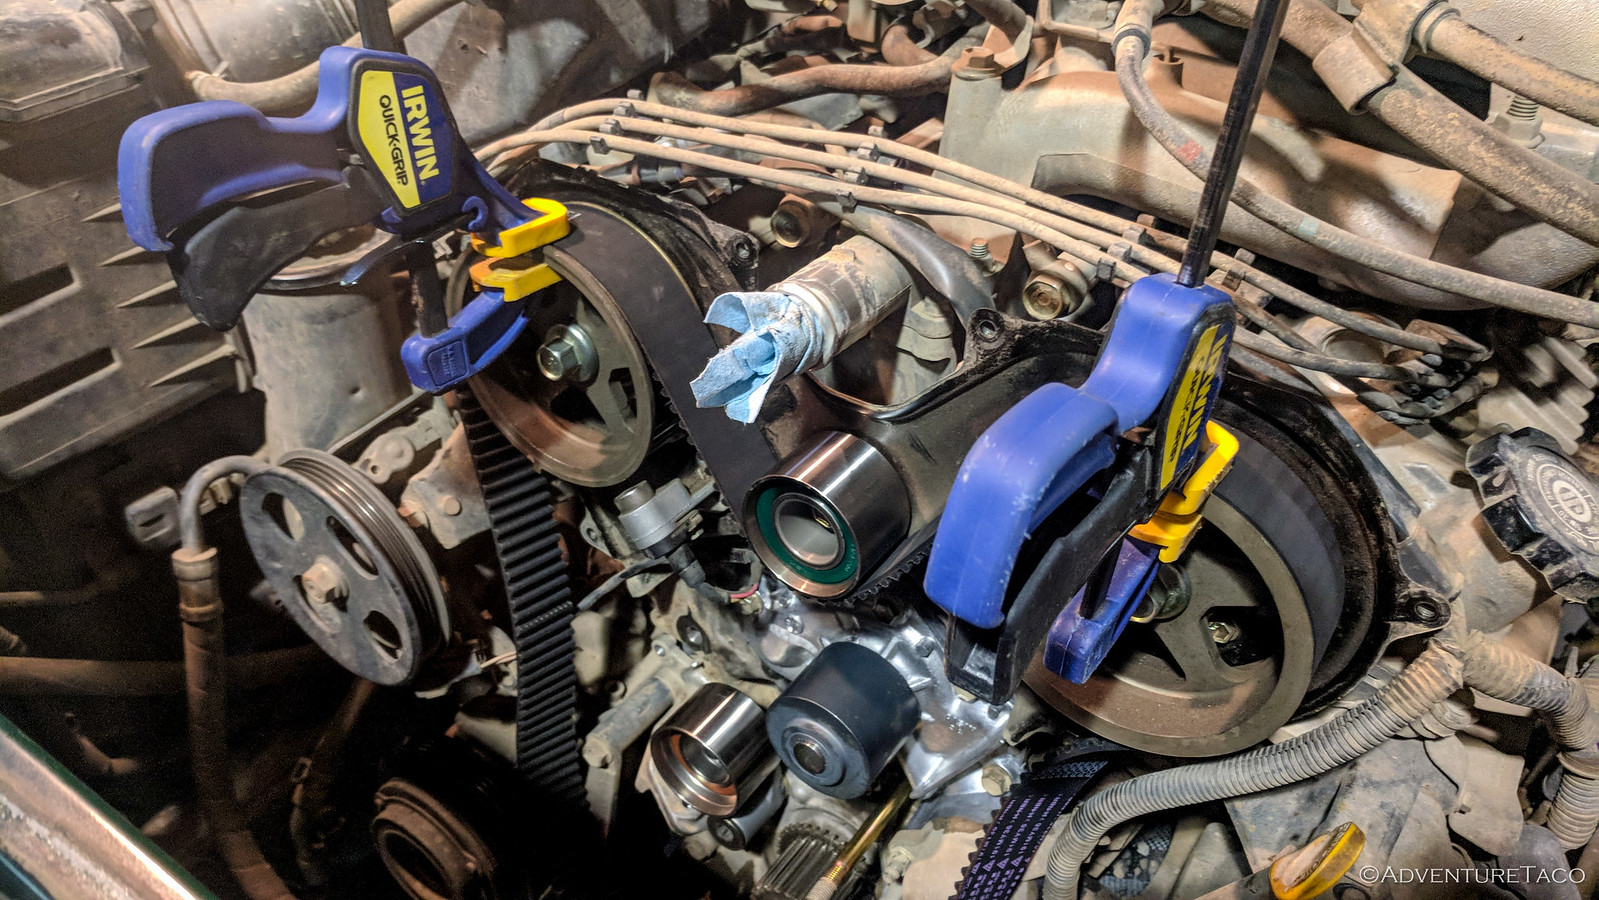
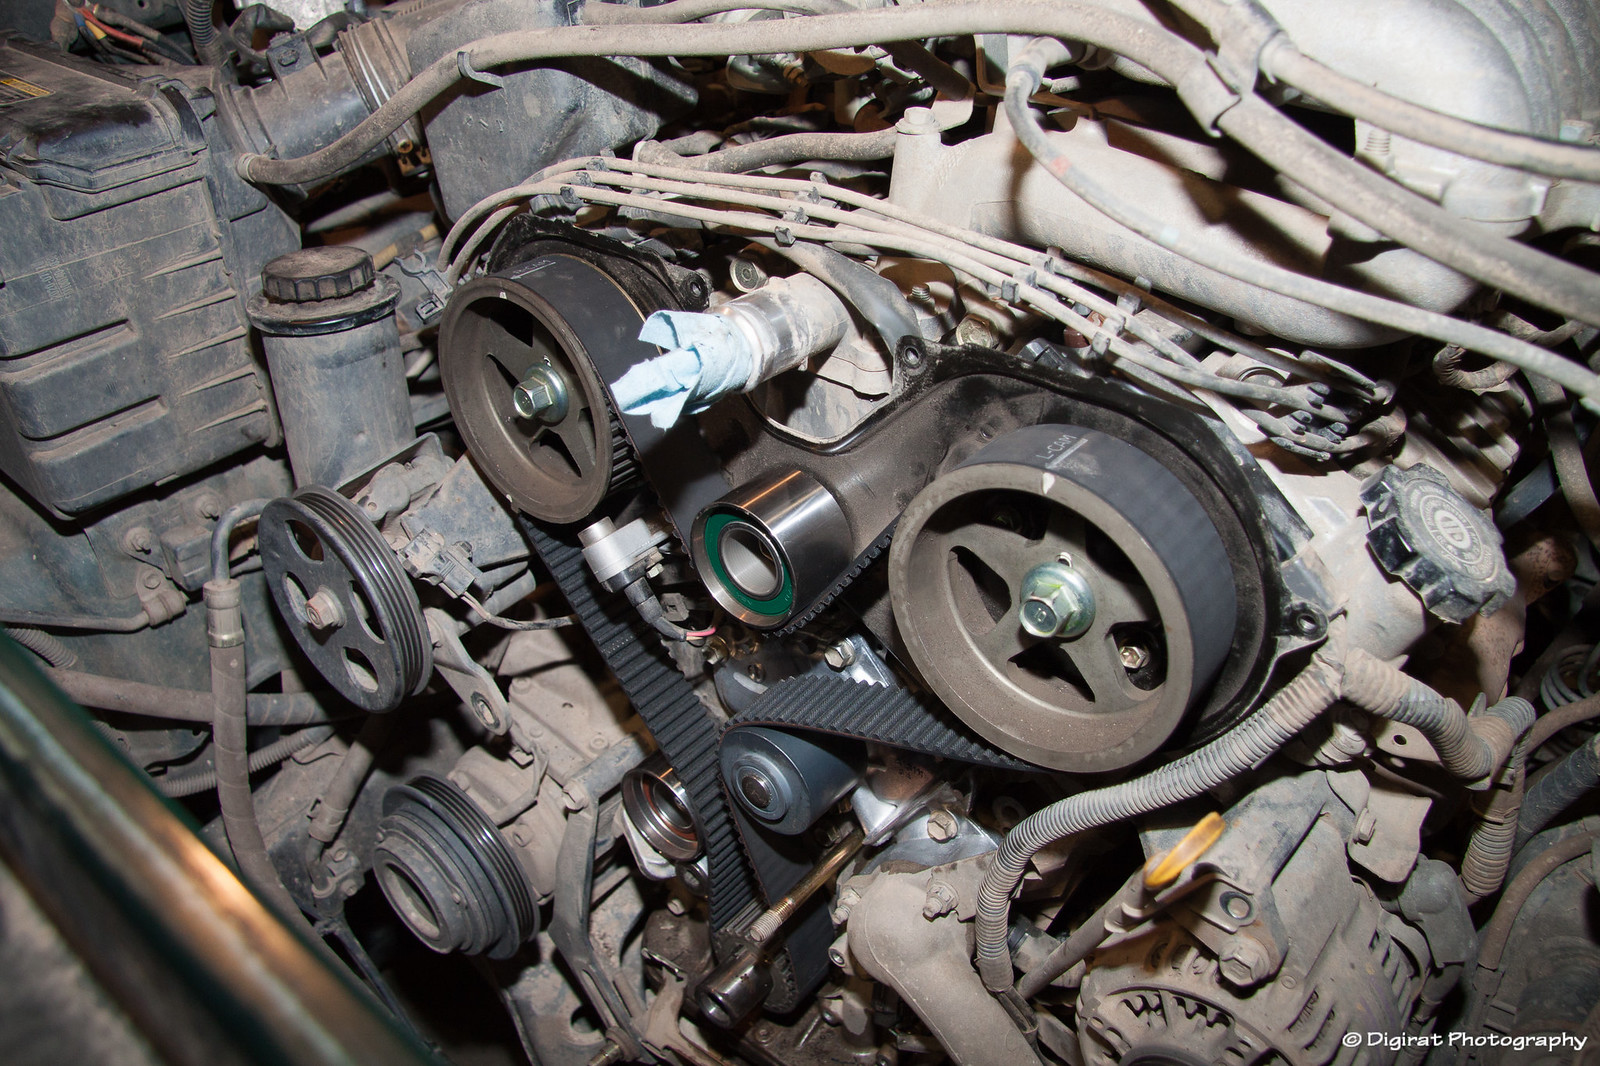
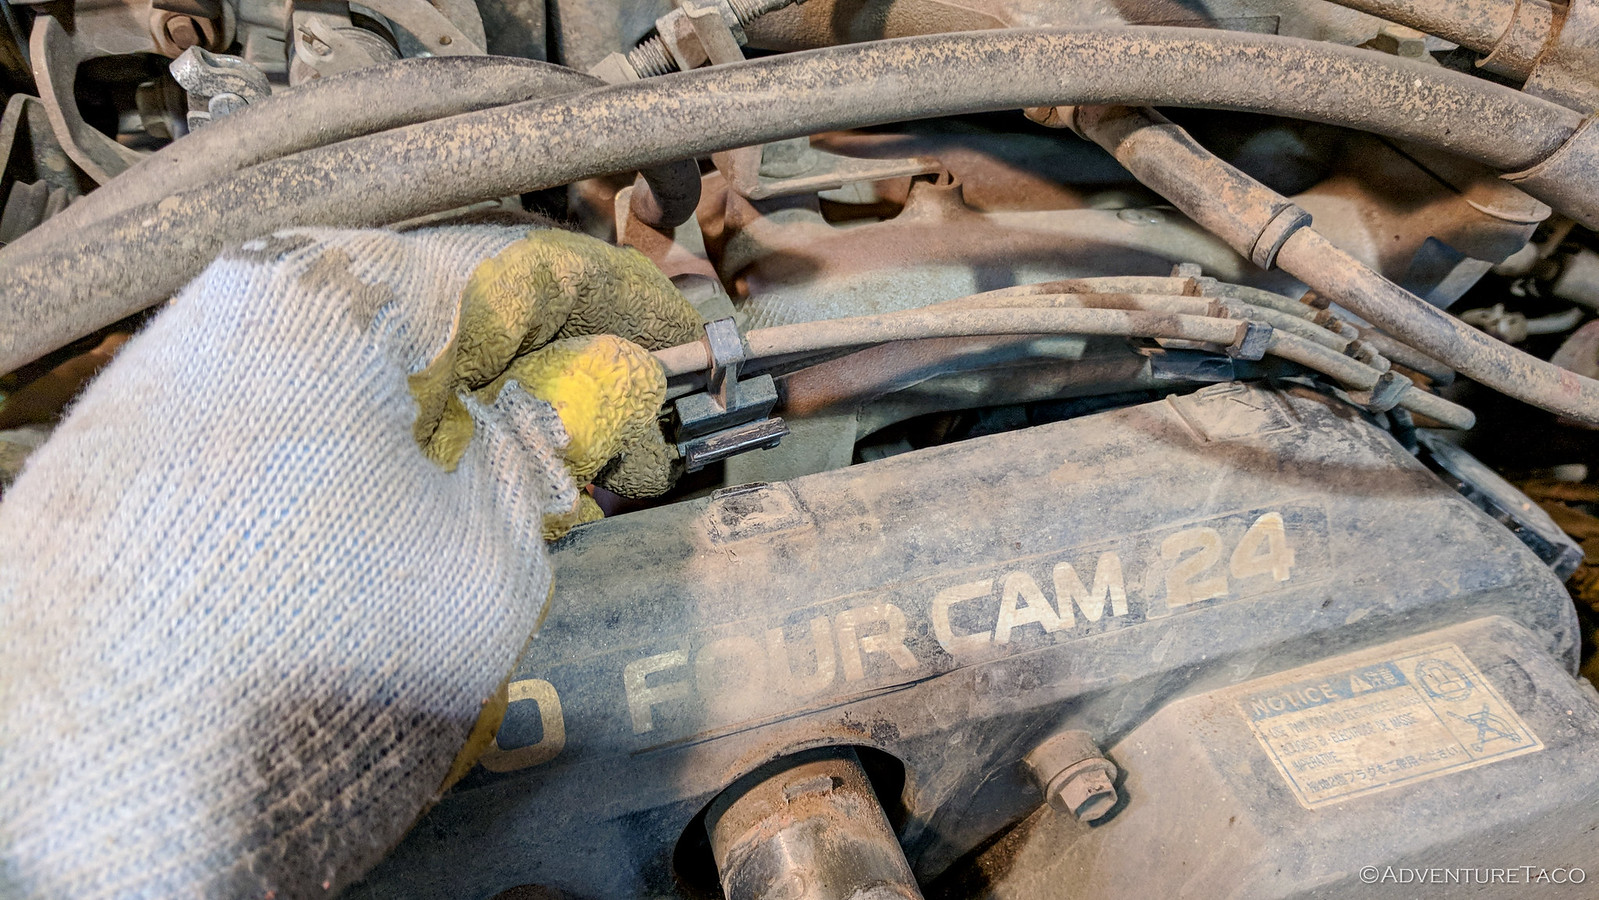
None are overly complex to remove, but be careful with anything clipped to them. The upper timing cover anchors the spark plug wires and a connector for the cam position sensor, which need to be carefully pried off before loosening the six bolts holding it to the engine.
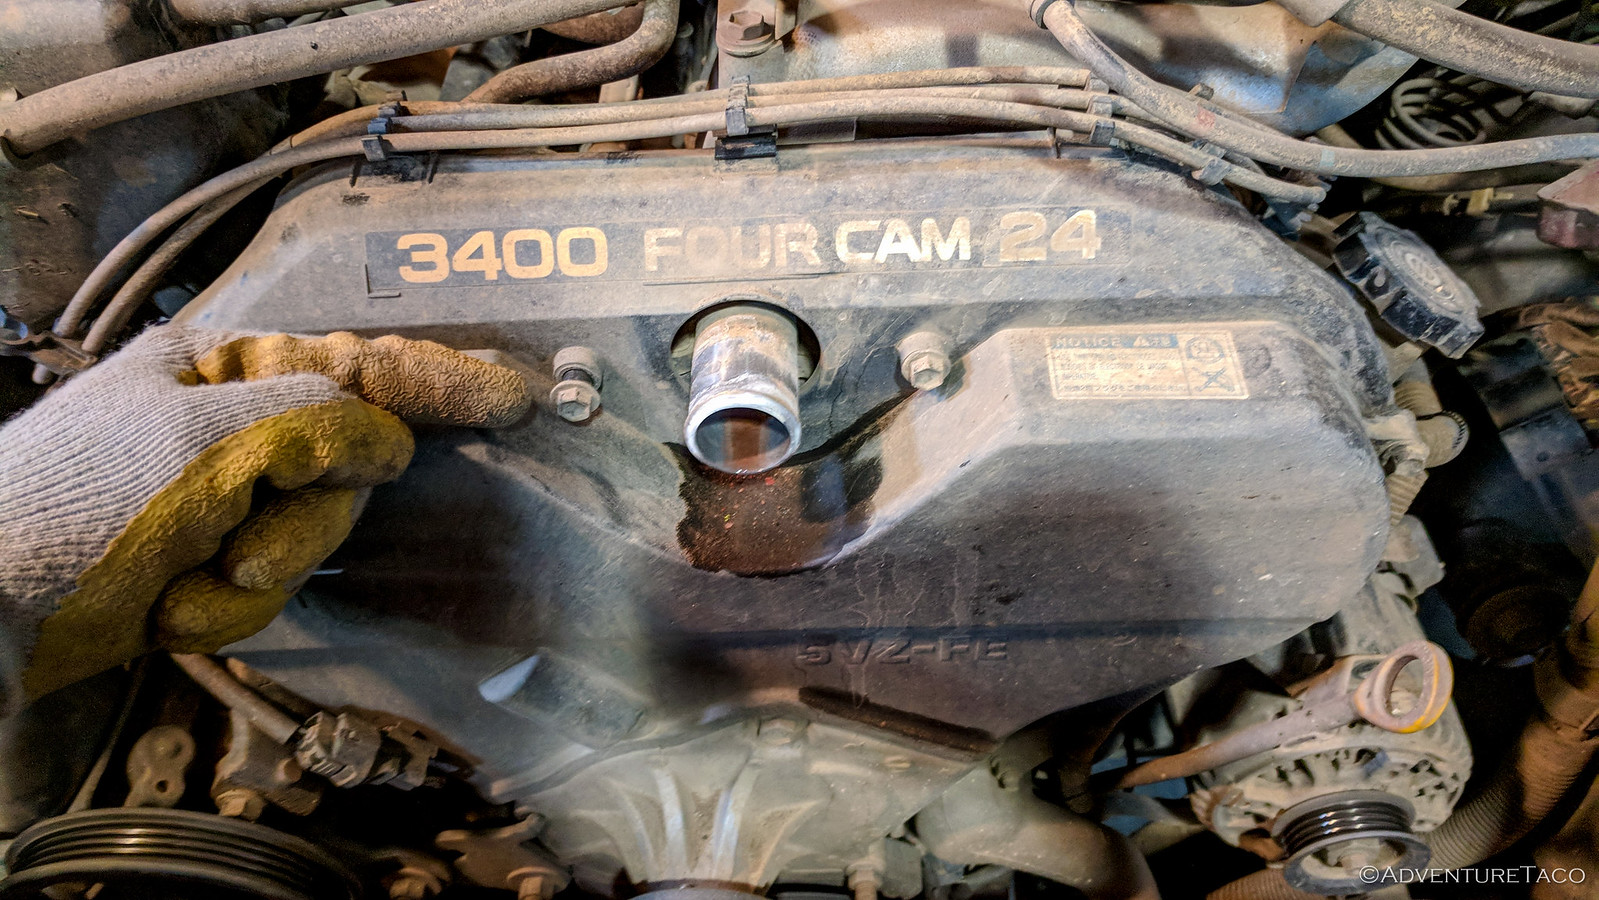
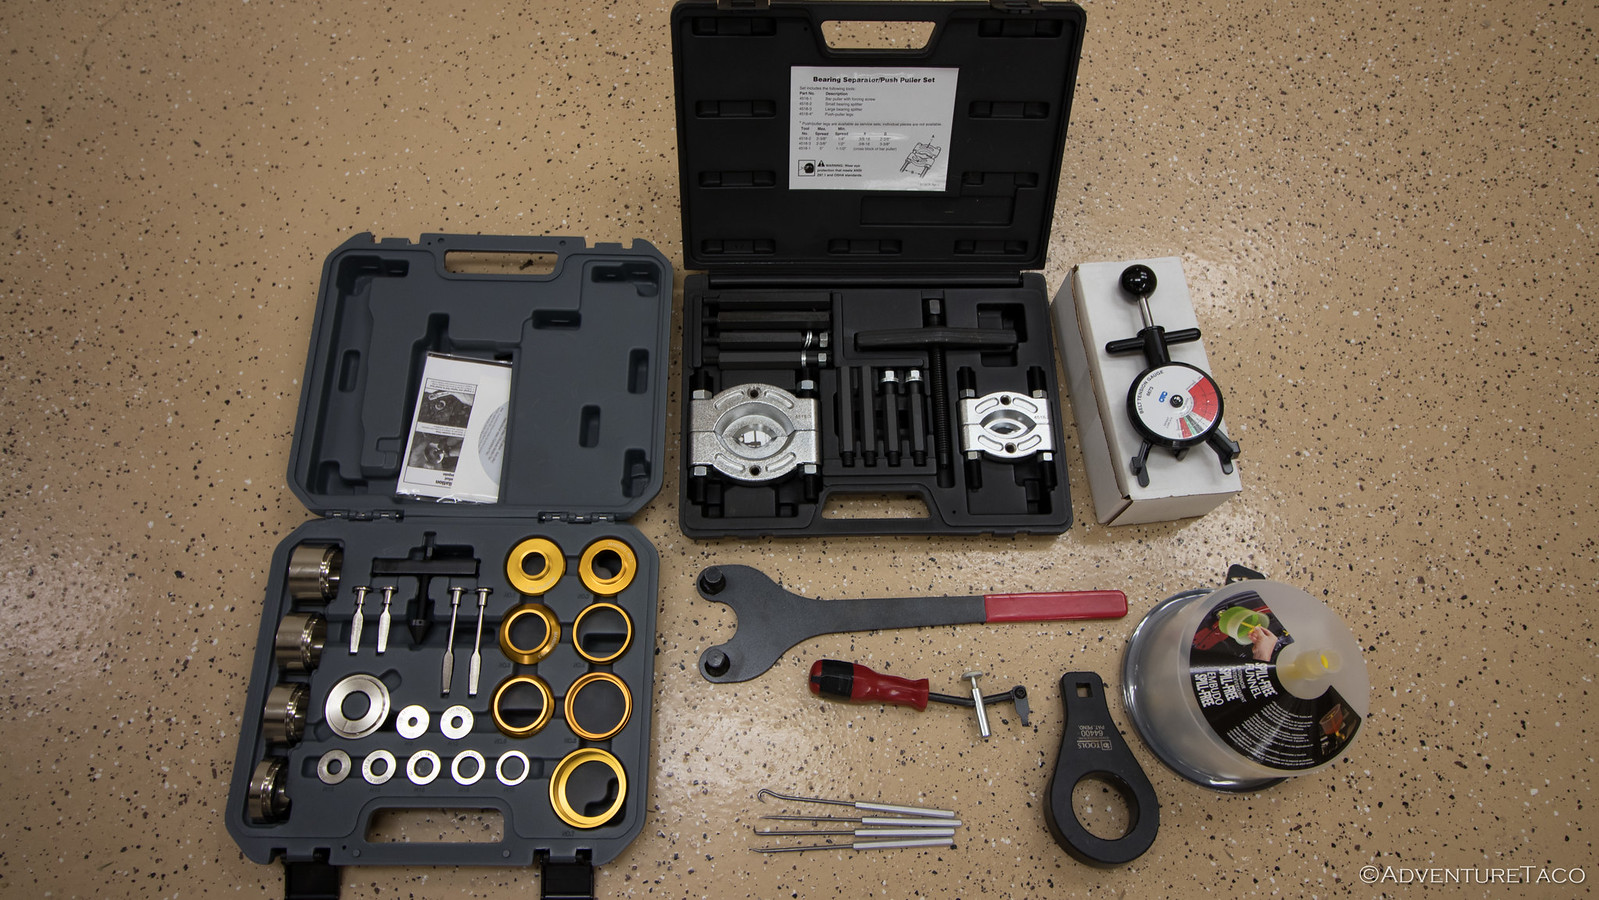
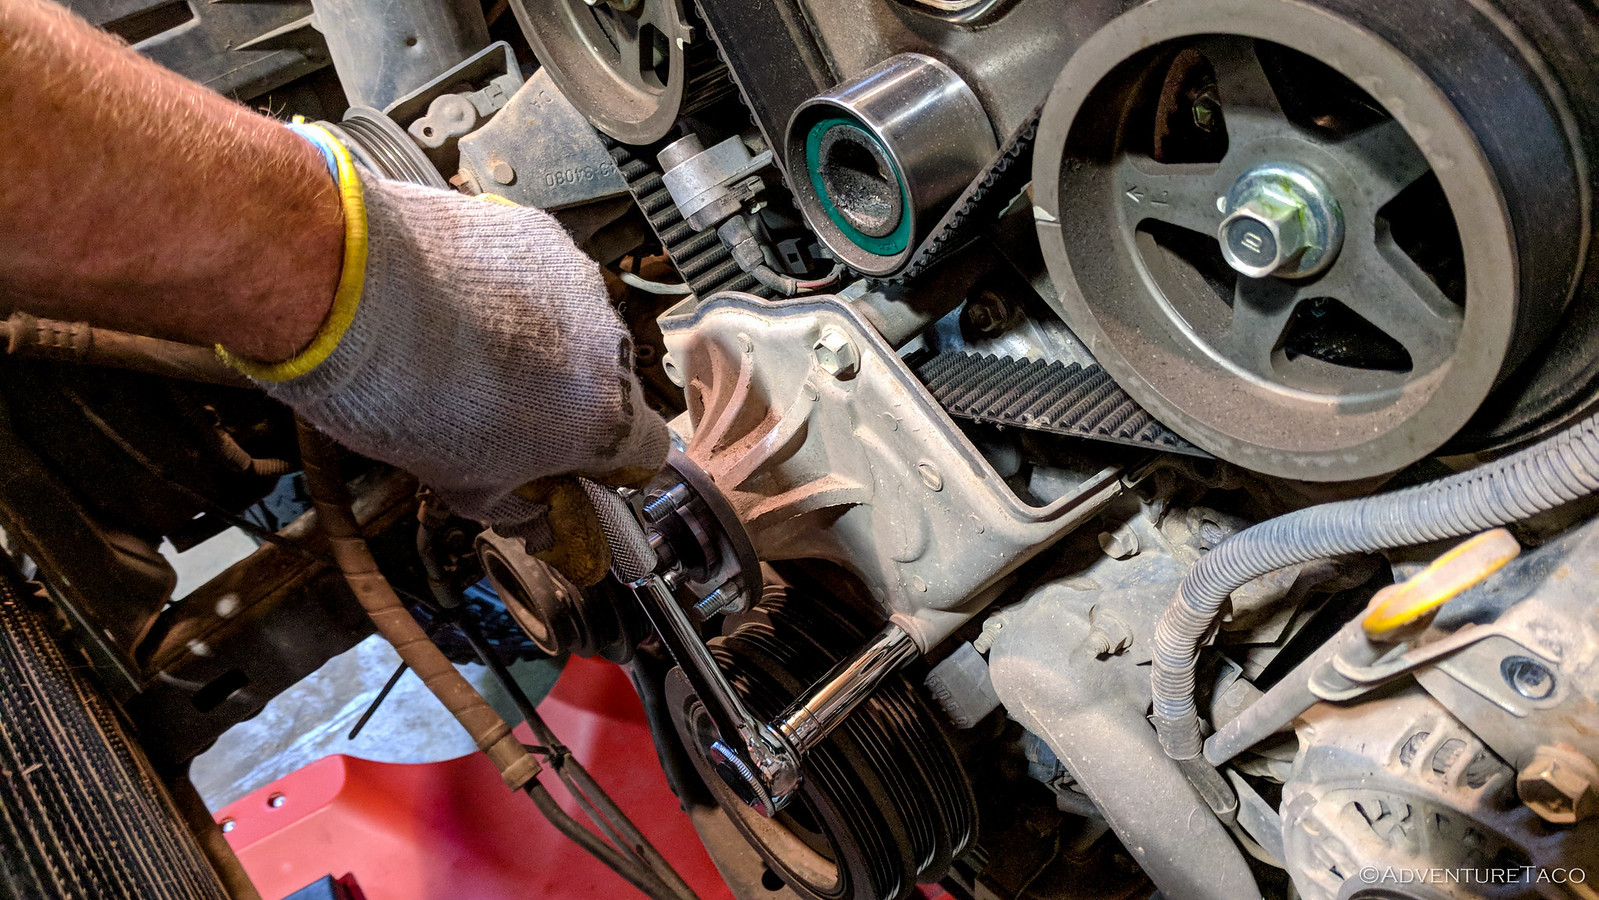
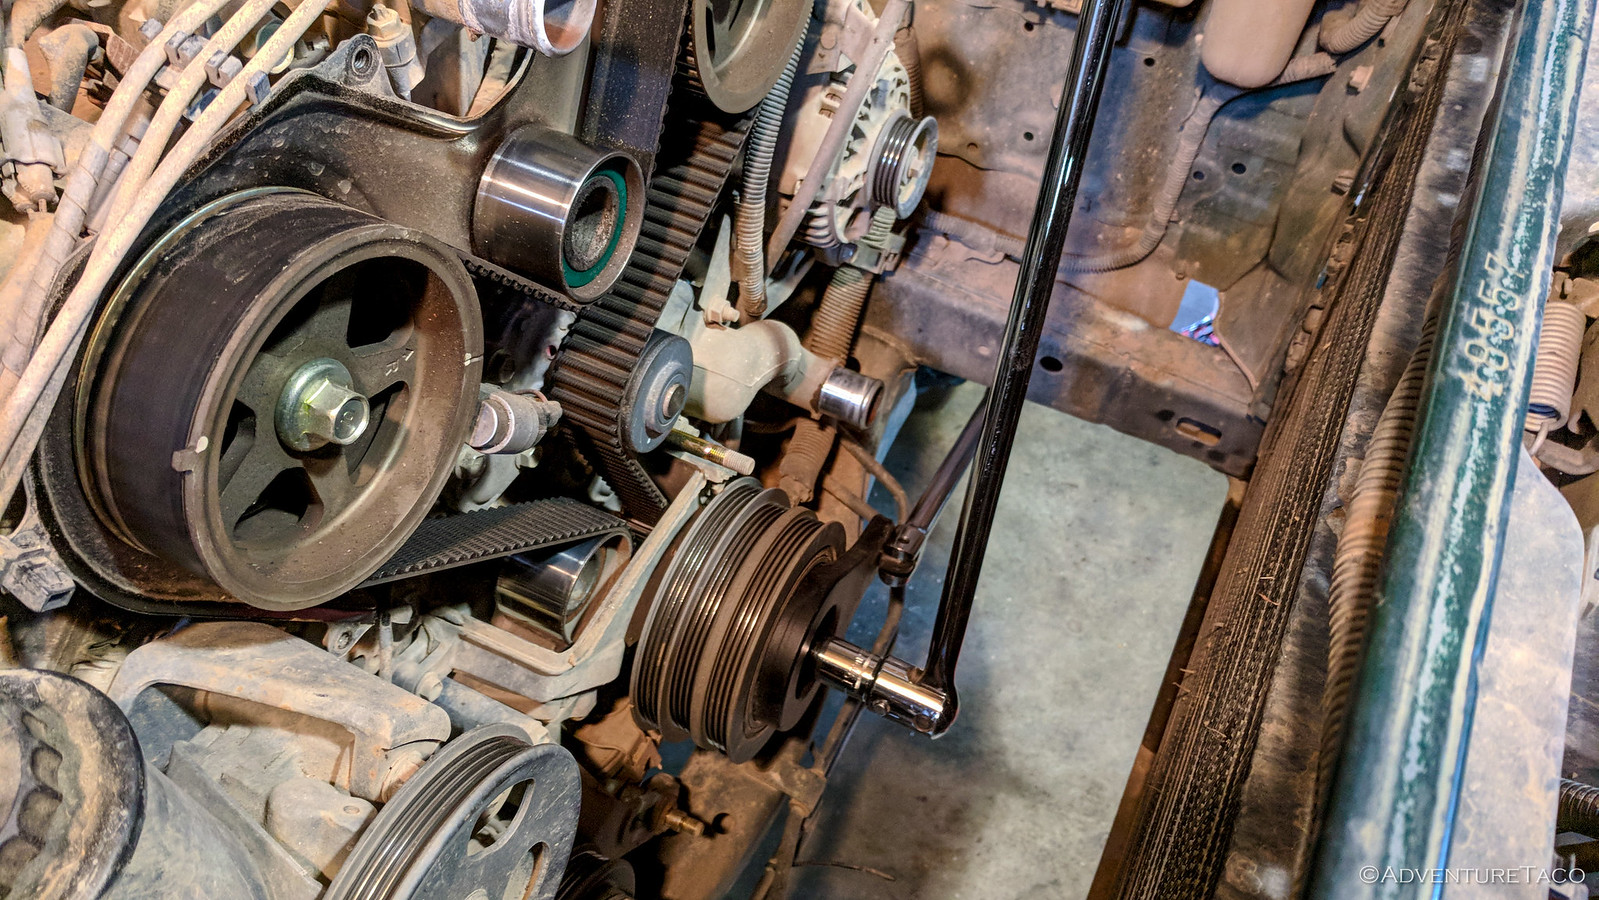
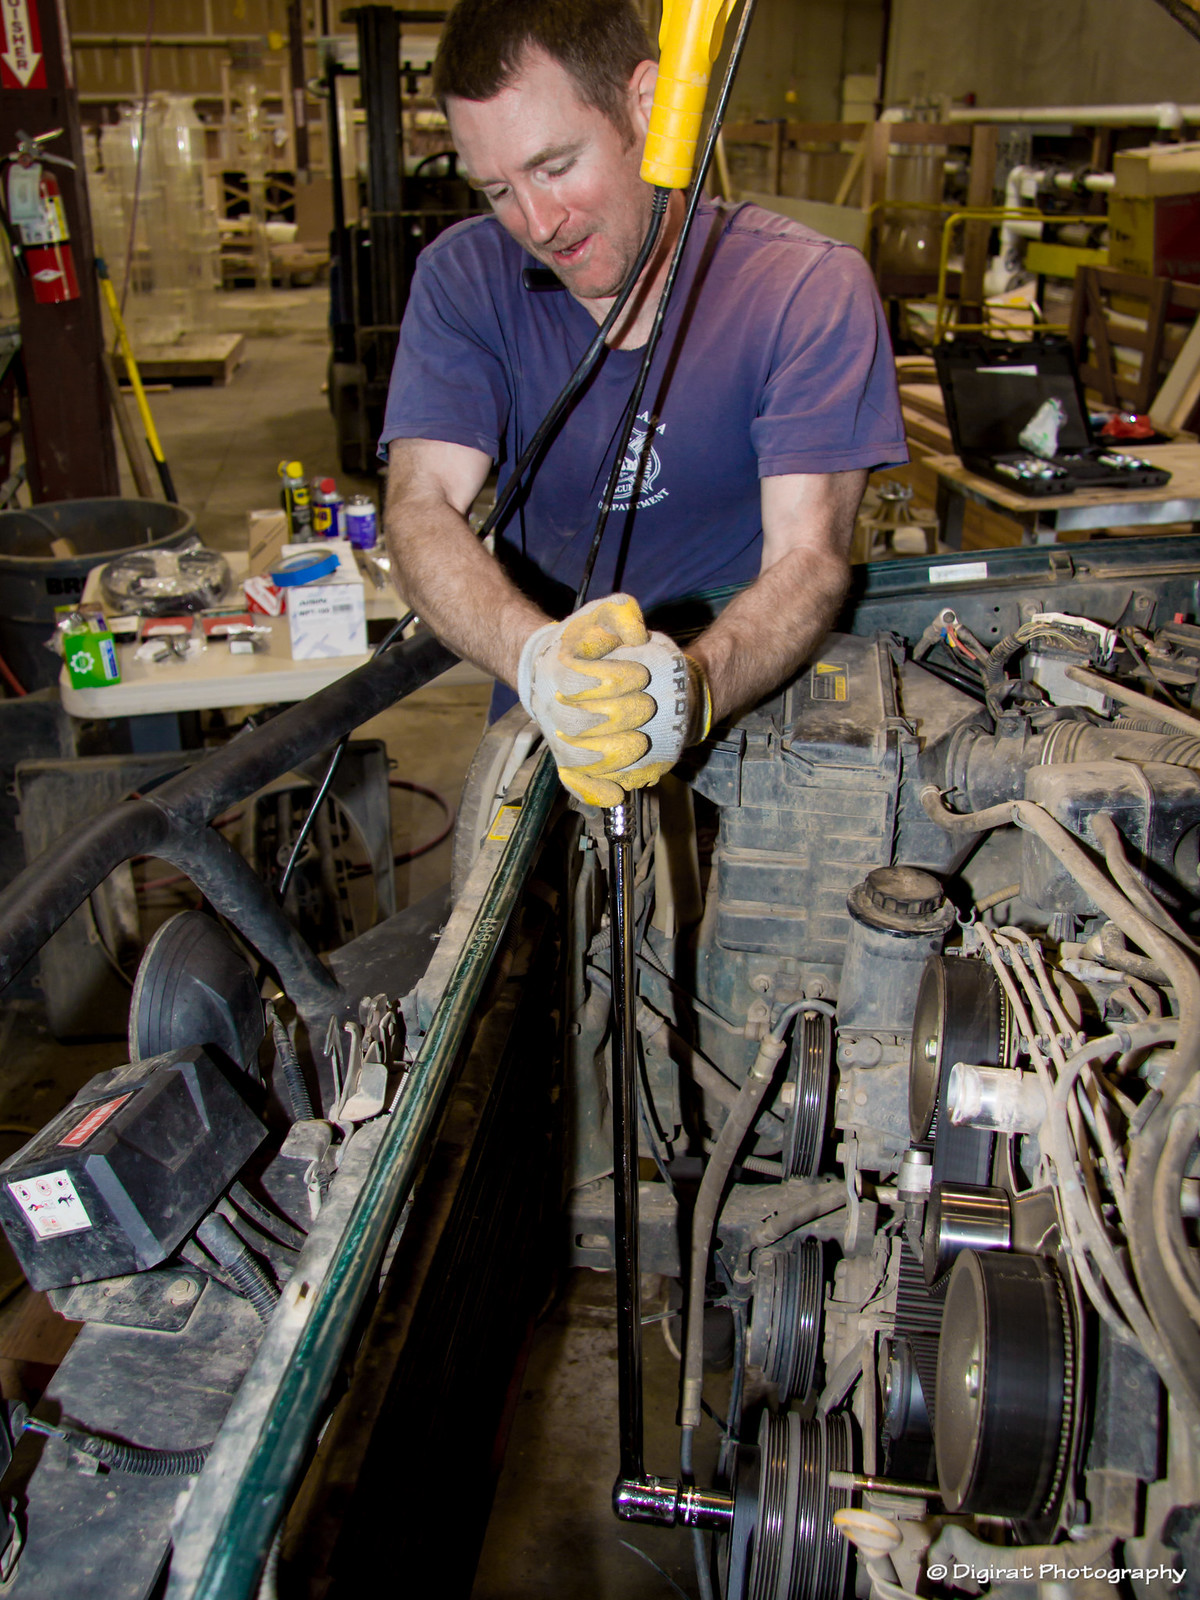
Working our way inward, the fan bracket was next in our sights and was quickly delt with, exposing the crank pulley and bolt, which required our first use of a special tool - the
Schley Products SP 64400 Harmonic Damper Pulley Holding Tool. This tool worked like a charm, holding the crank pulley stationary while using a breaker bar to loosen the crank pulley bolt.
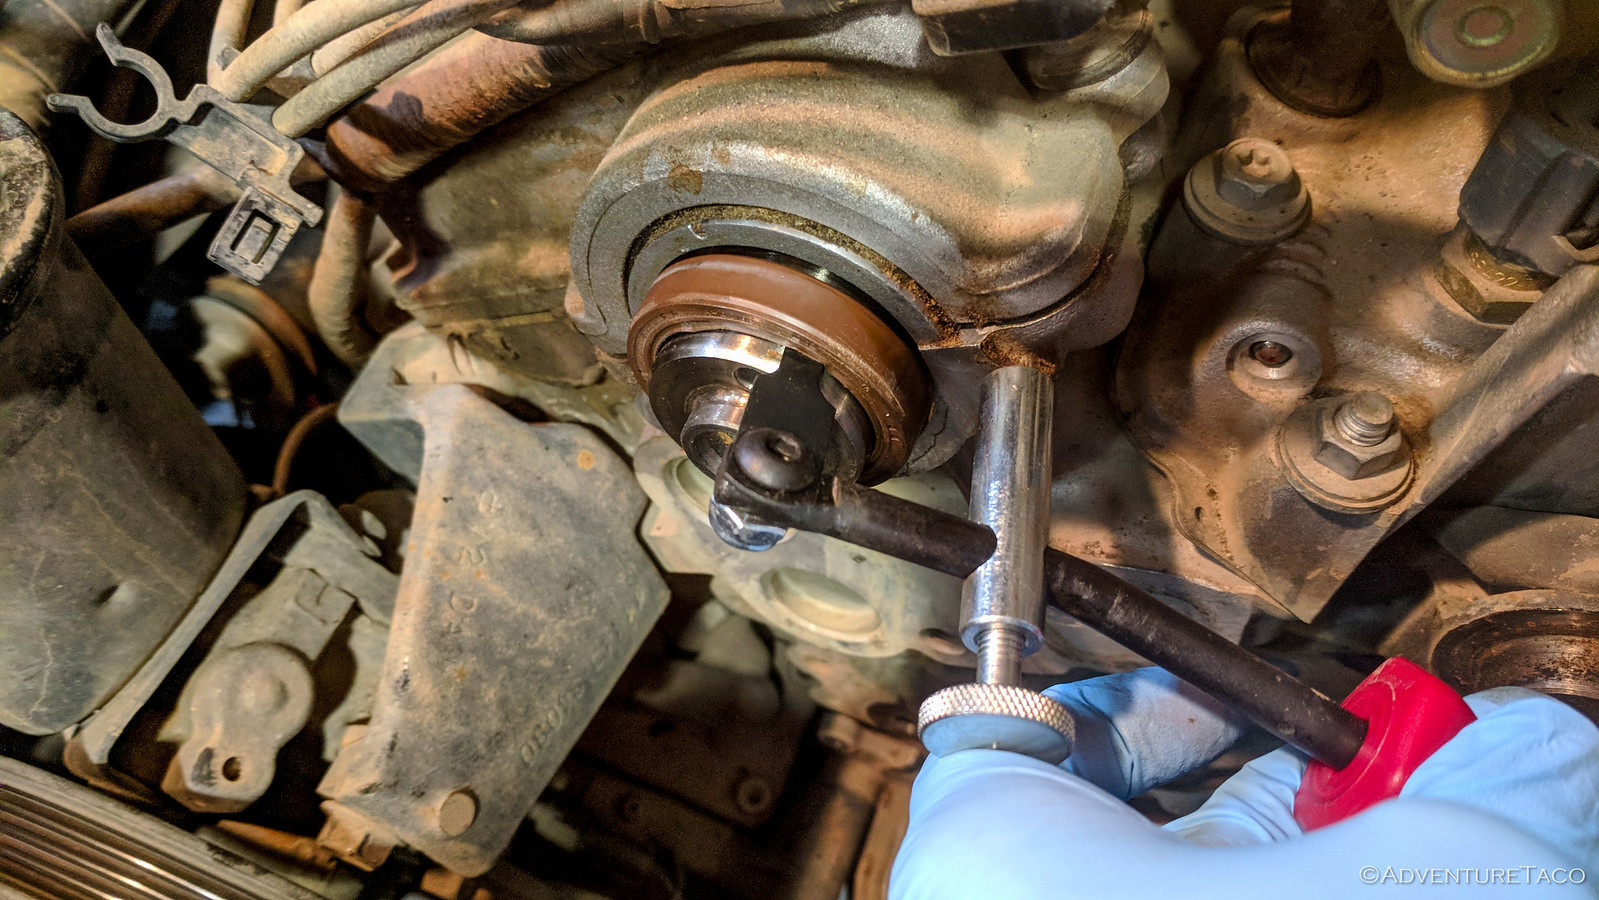
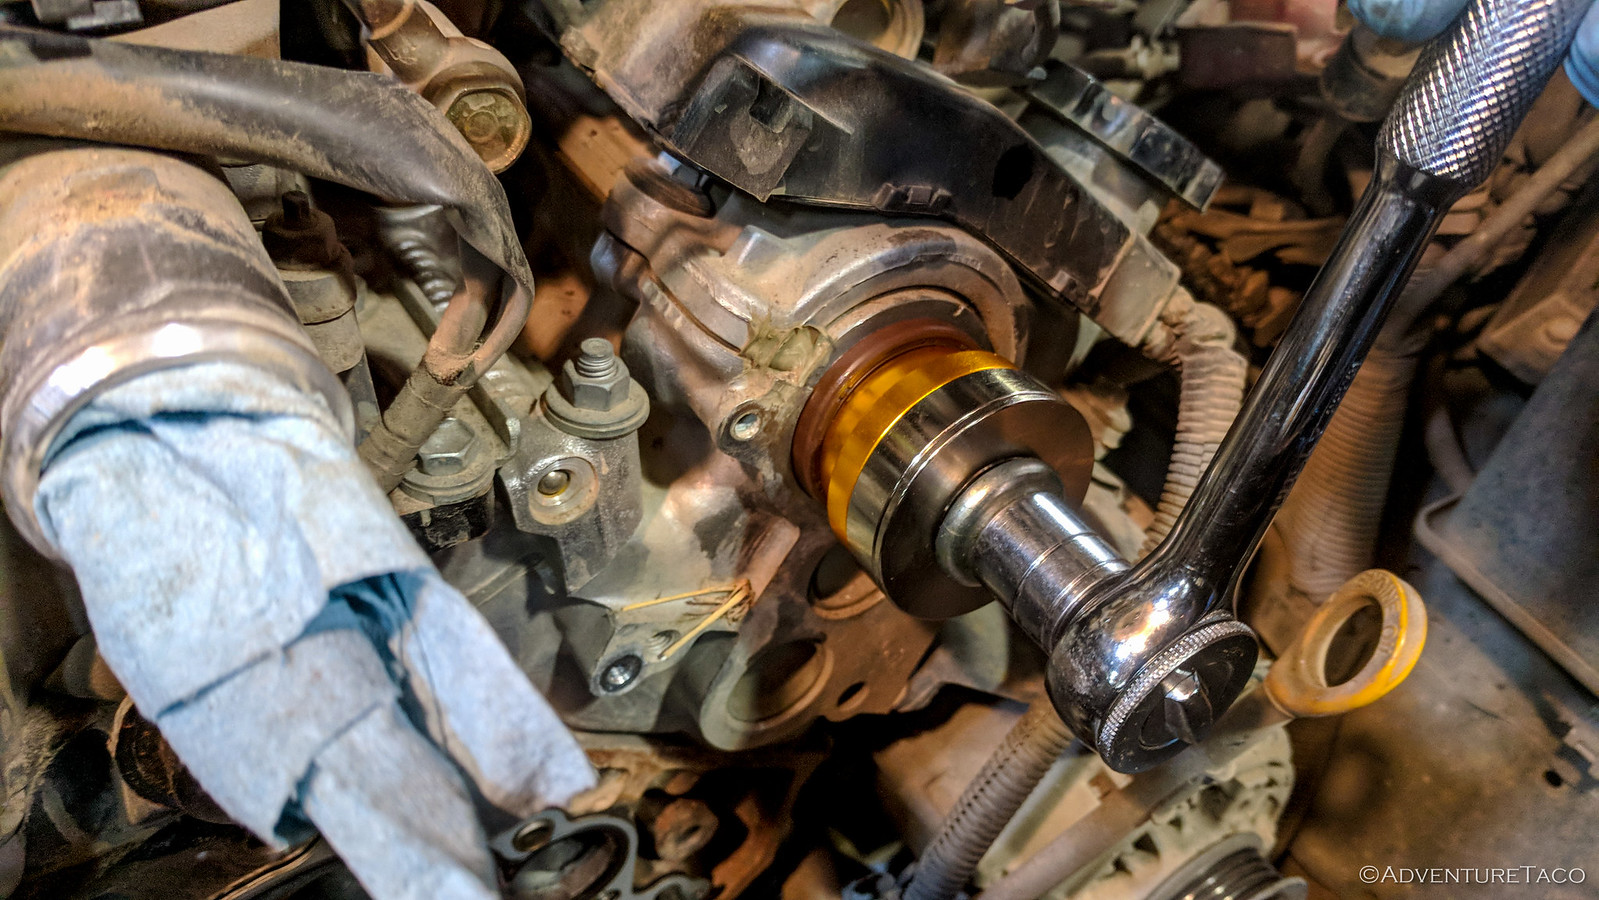
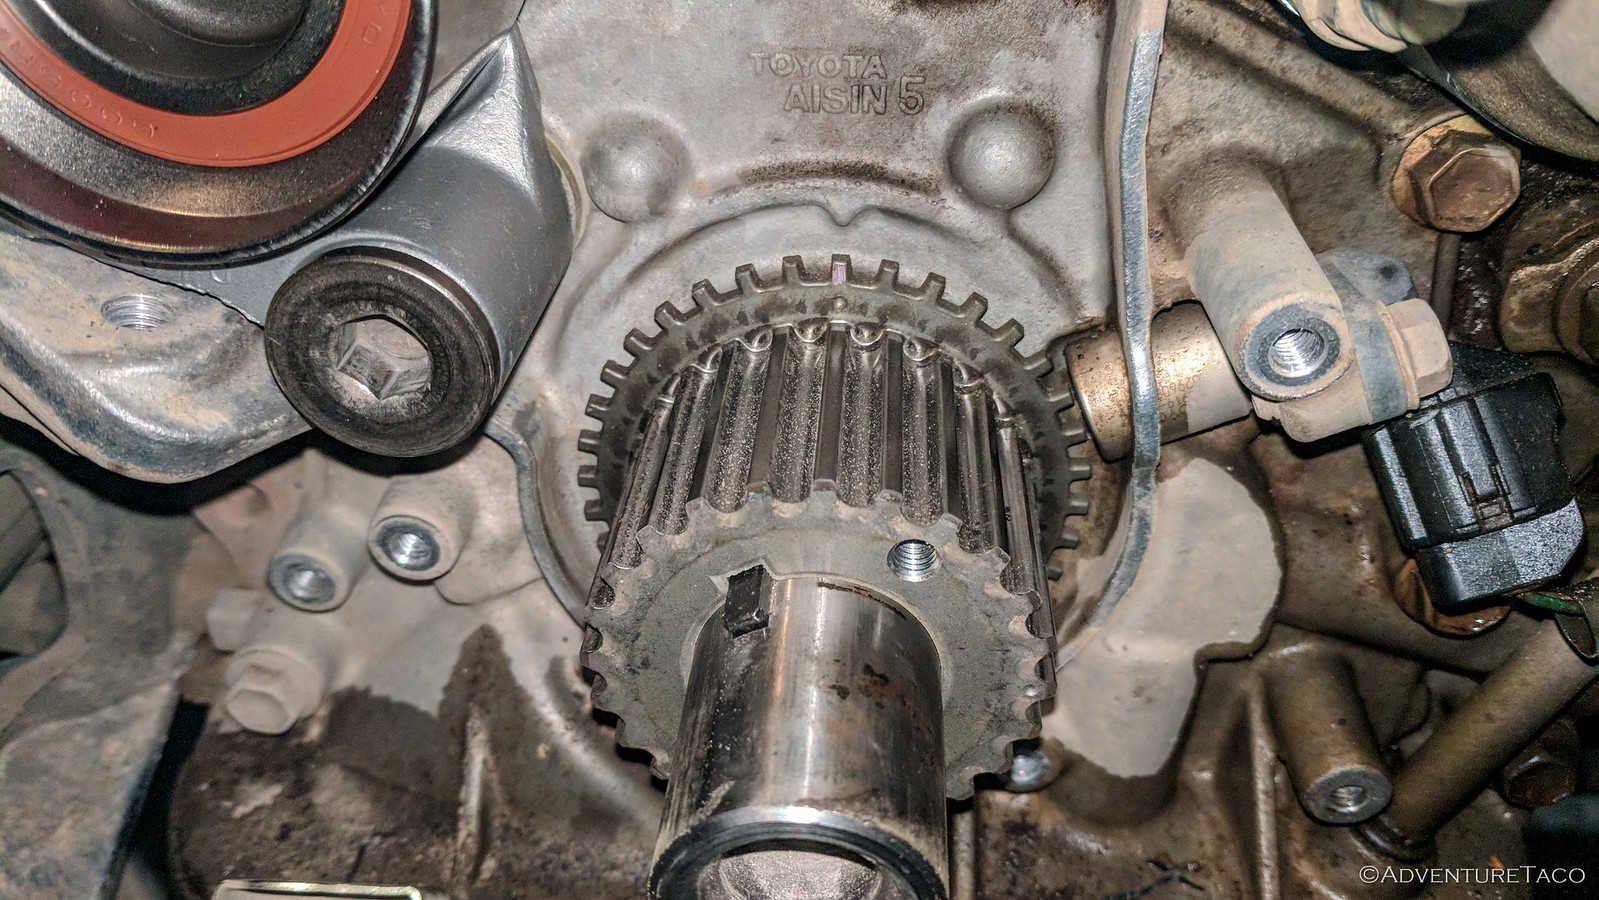
Next, we had to remove the crank shaft pulley, requiring our second special tool - the
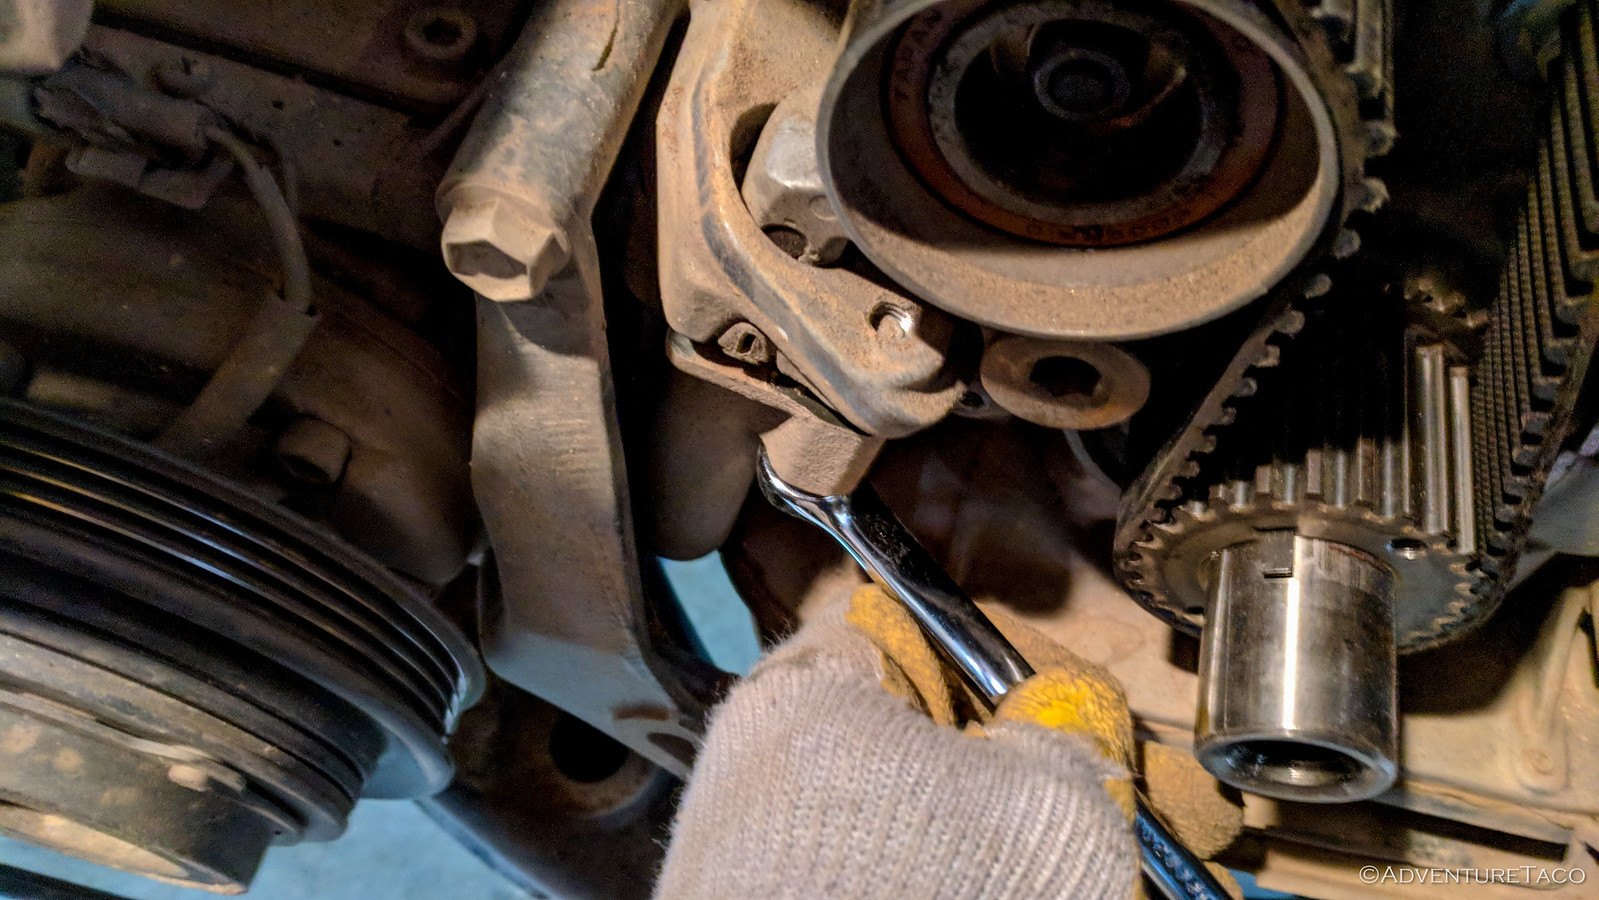
OTC 4518 Stinger 5-ton Bar-Type Puller/Bearing Separator Set - and two M8 bolts to slide the pulley off of the crank shaft. It was amazing how we could pull and pull on the pulley and it wouldn't budge, but the special tool caused it to slide right off! From there, a few more bolts and the lower timing cover was off as well.
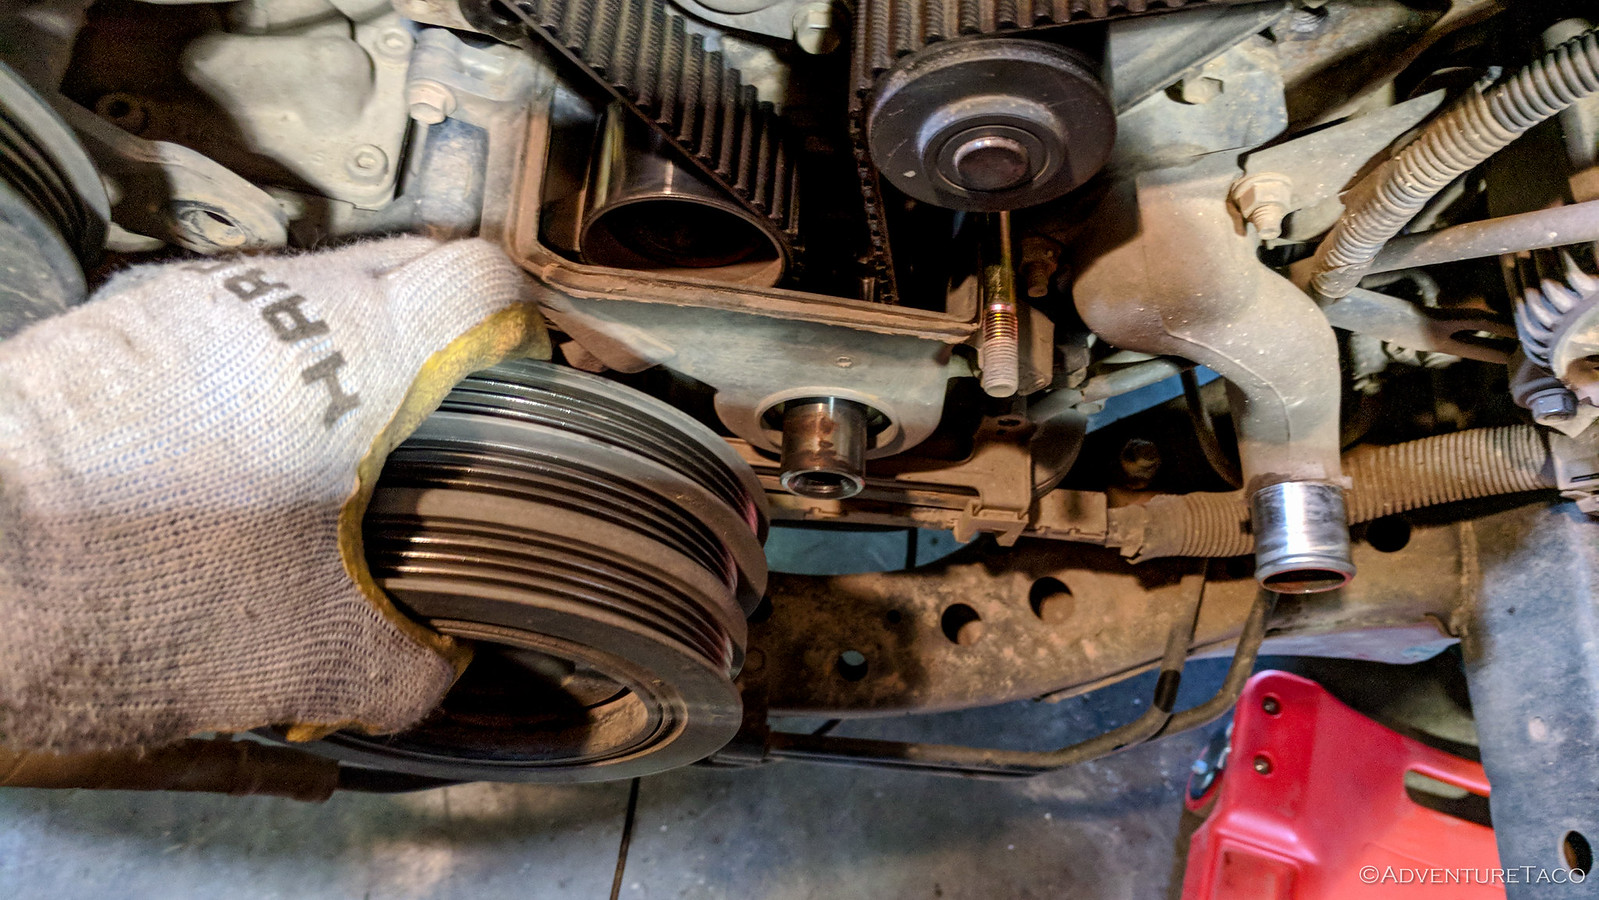
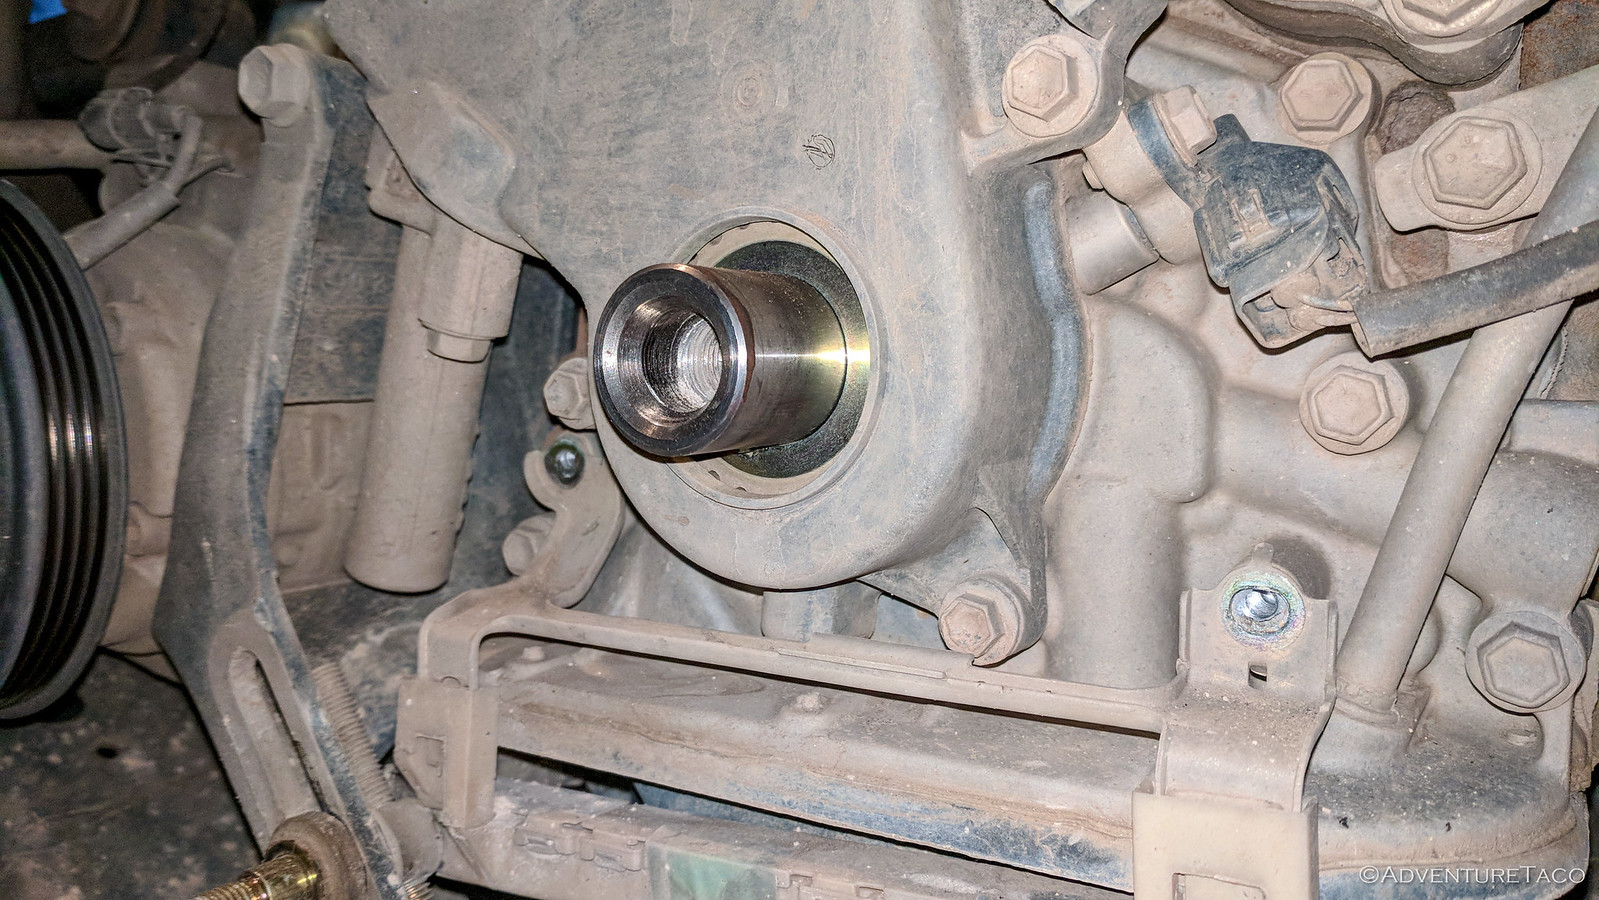
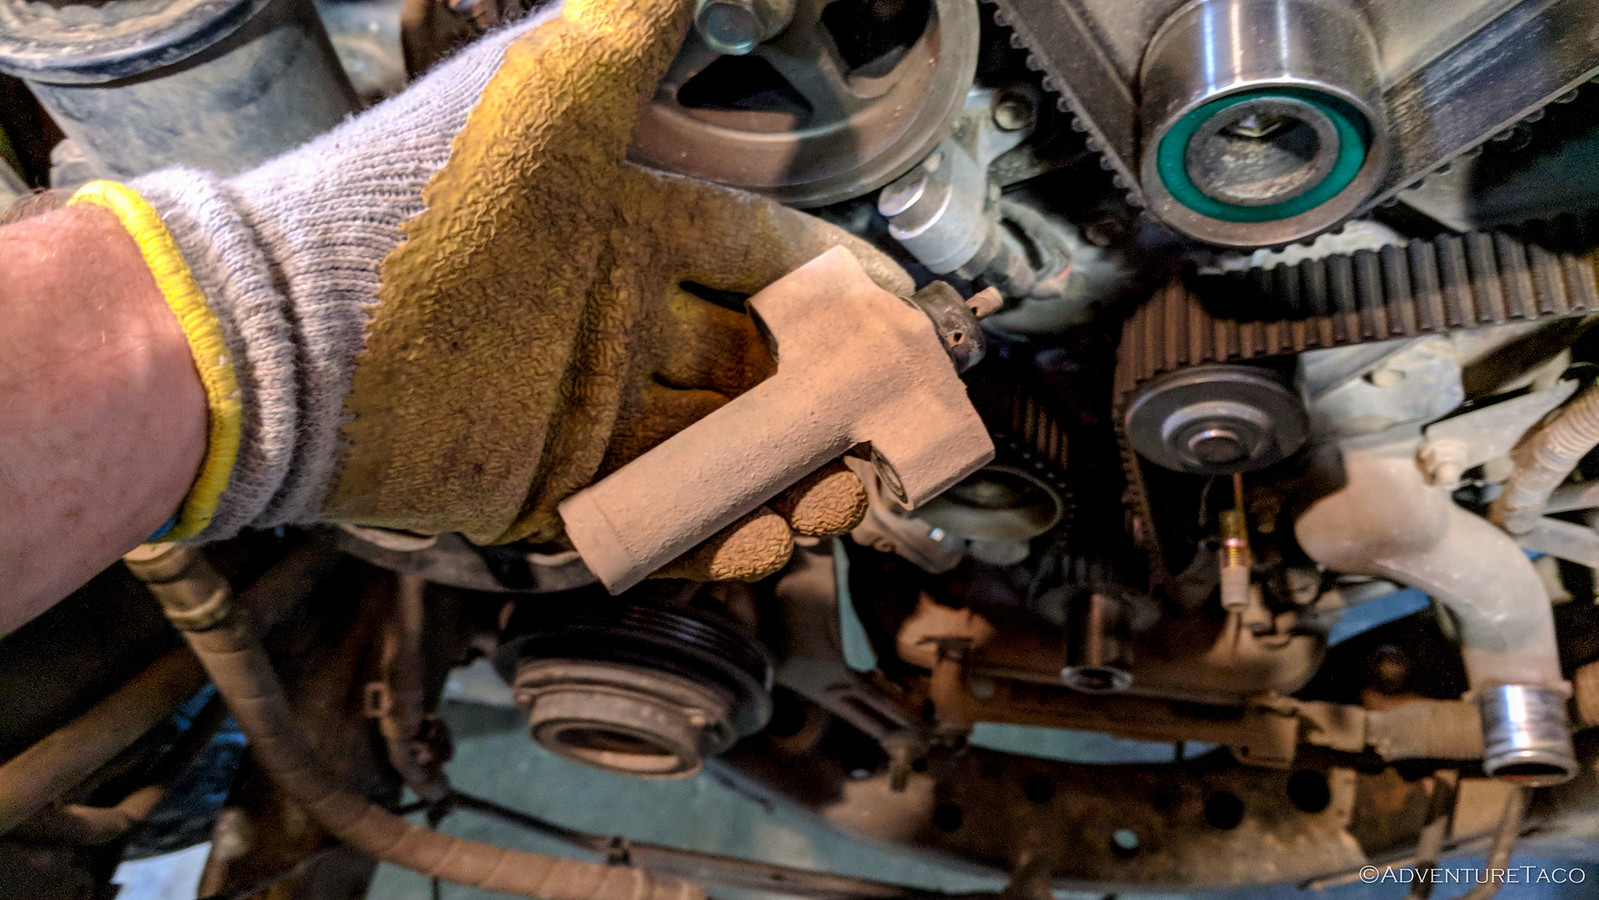
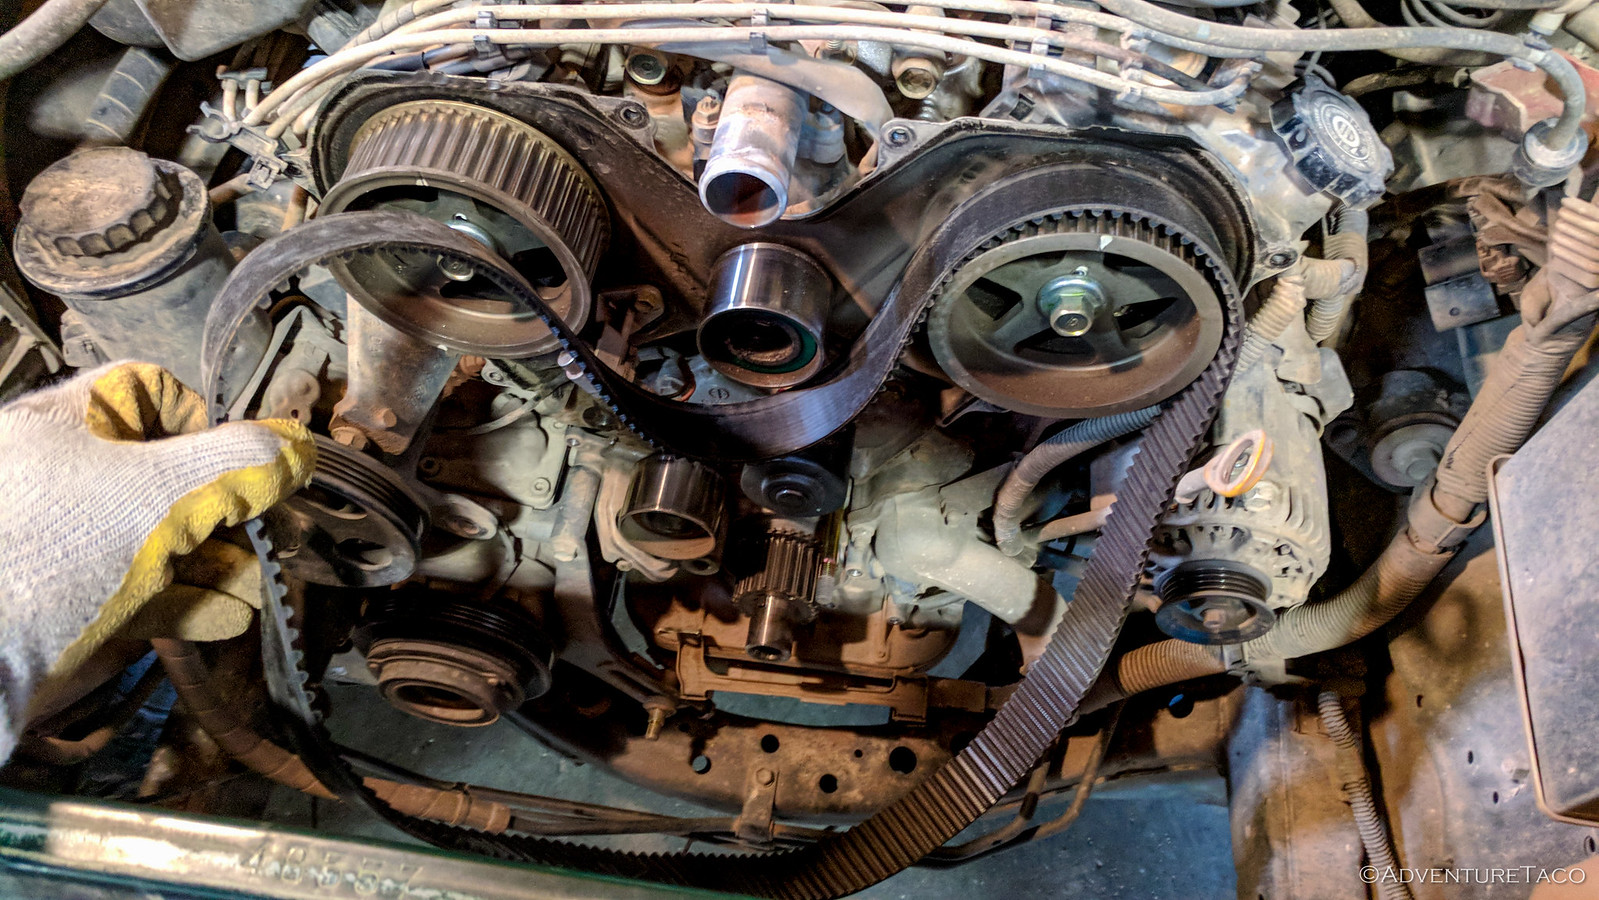
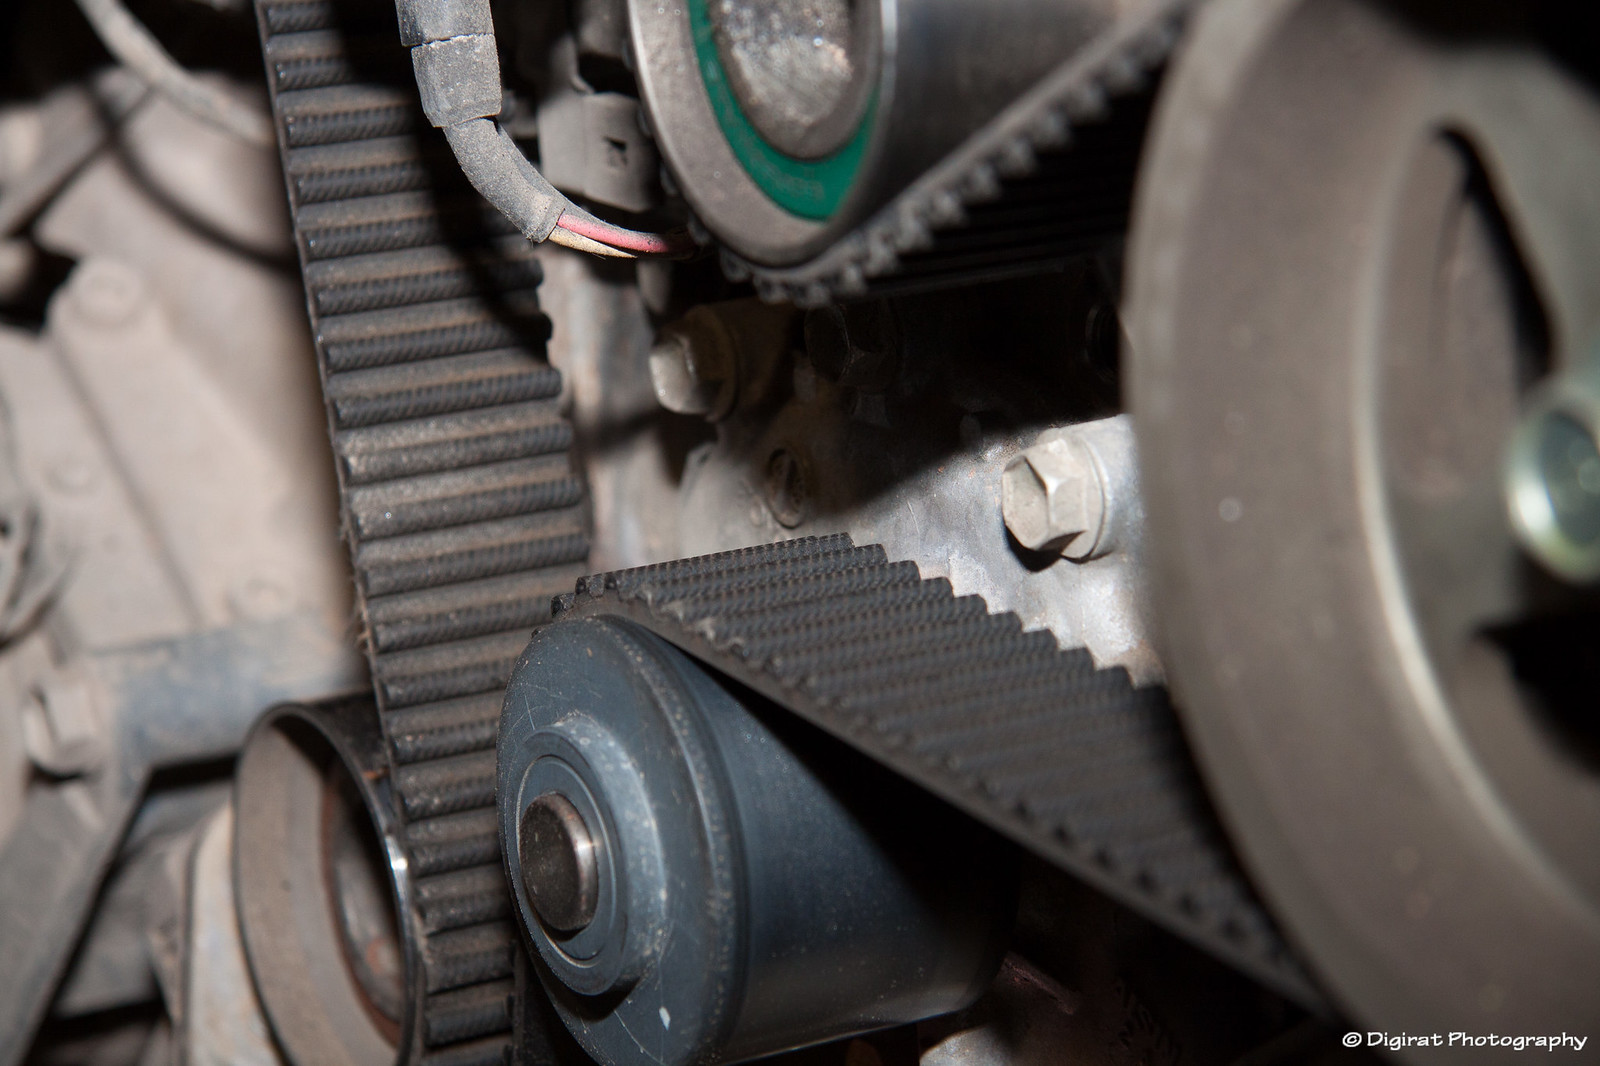
Finally, we had access to the timing belt, and a very important step in the process - getting the crank shaft pulley aligned top-dead-center, at the same time each cam shaft pulley was also aligned top-dead-center. We each helped each other with this step, since screwing it up could mean disaster further down the road.
We were also starting to amass quite the set of parts on each of our tables. Very glad we were labeling everything as we went!
