AdventureTaco - turbodb's build and adventures

turbodb

Well-known member
The Maze, Canyonlands (Mar 2018)
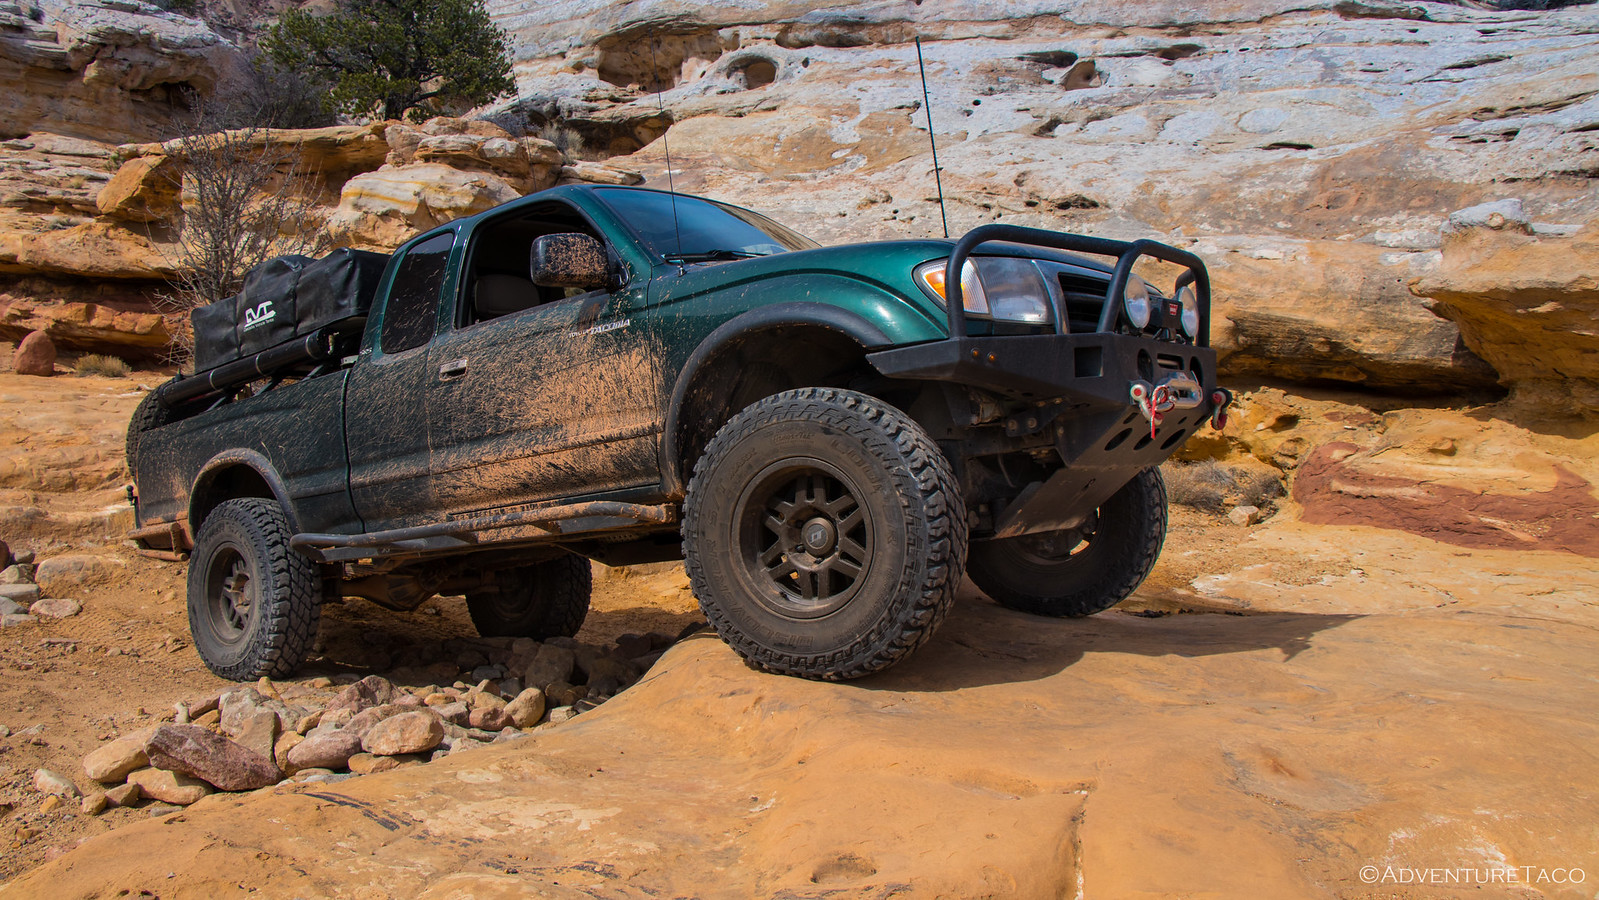
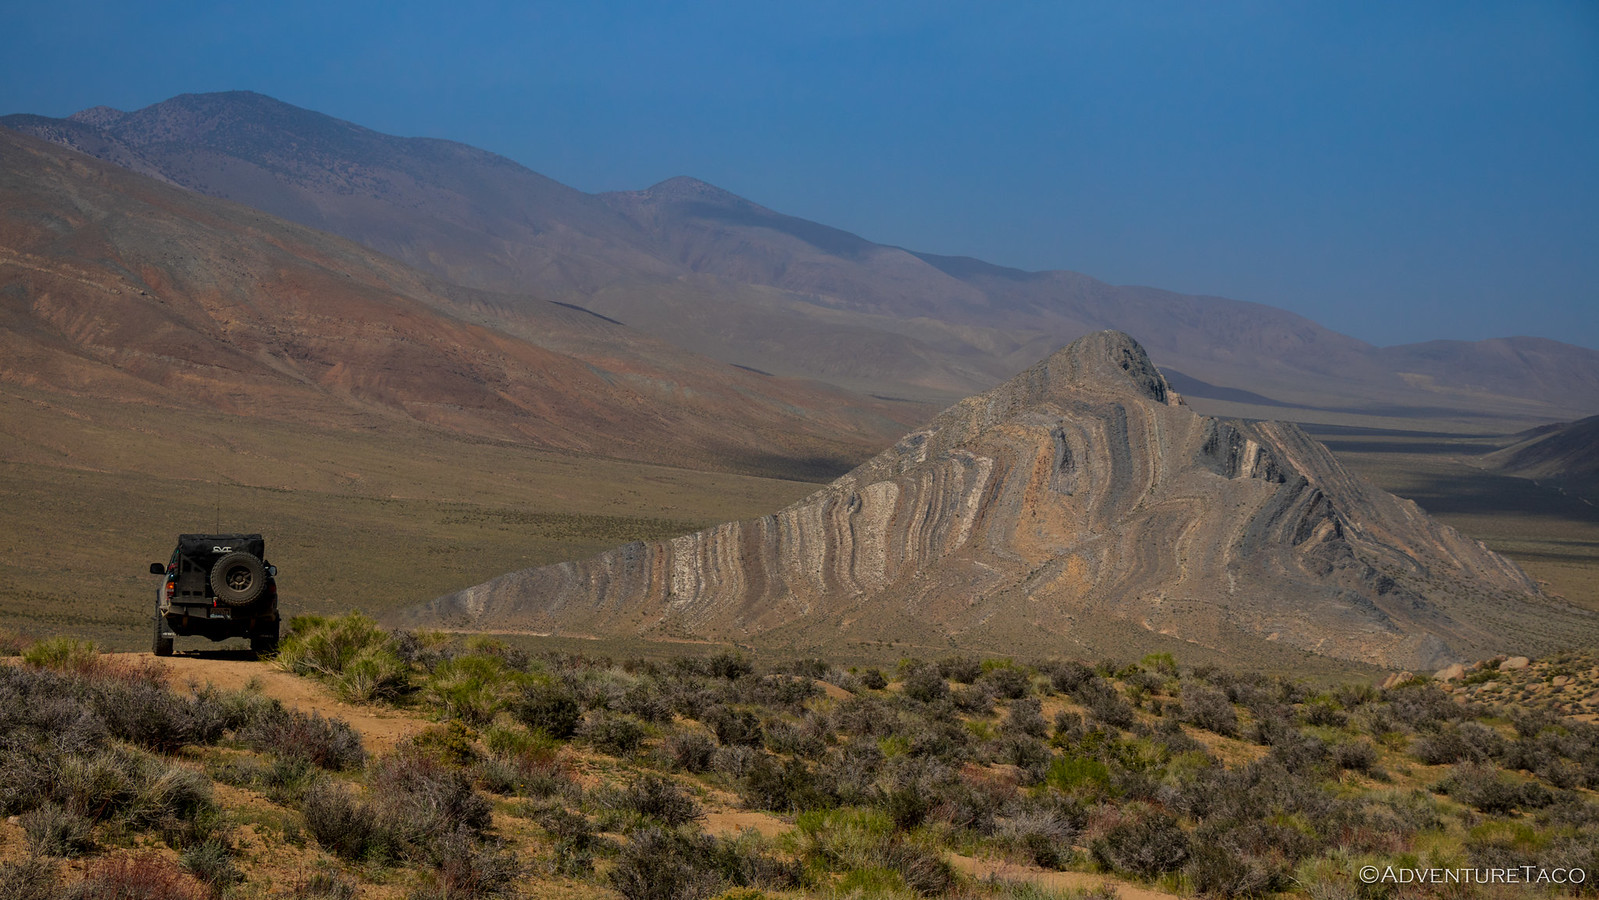
...Even as we started into the canyon, the sights were amazing. It was @mrs.turbodb's first time in Utah (off-road), and she's a geology nut, so she was soaking it all in.

Read the full story and see all the pics: The Maze, Canyonlands, Day 1

39162938020_2a9008d6a2_h.jpg


39162945010_efb0c0860f_h.jpg


Read the full story and see all the pics: The Maze, Canyonlands, Day 1
 

turbodb

Well-known member
March 17, 2018.

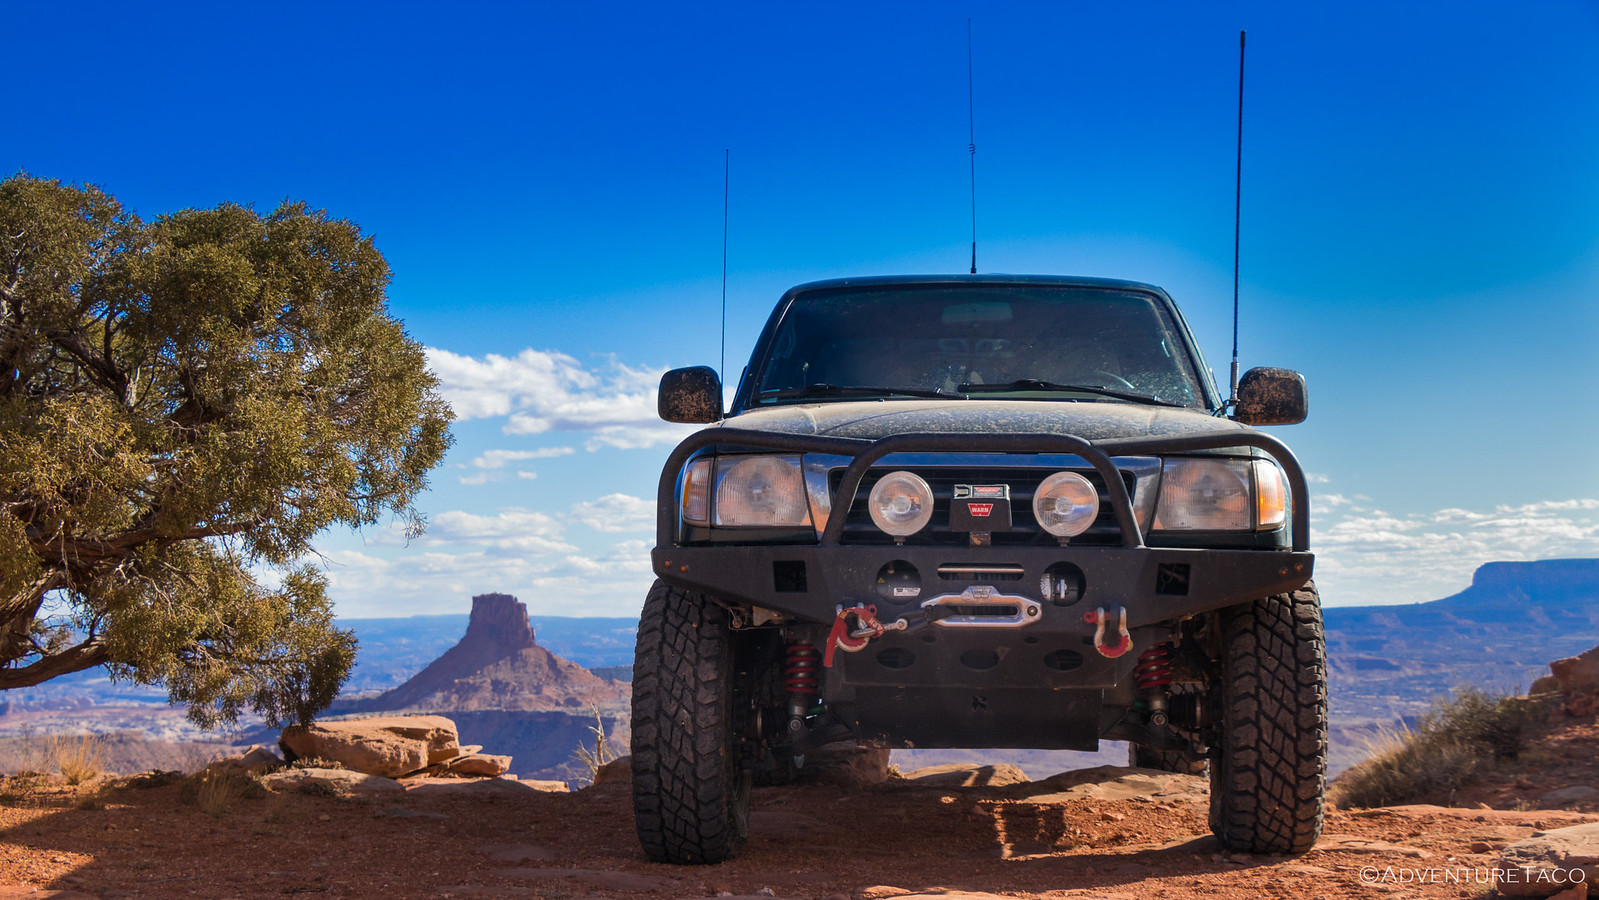
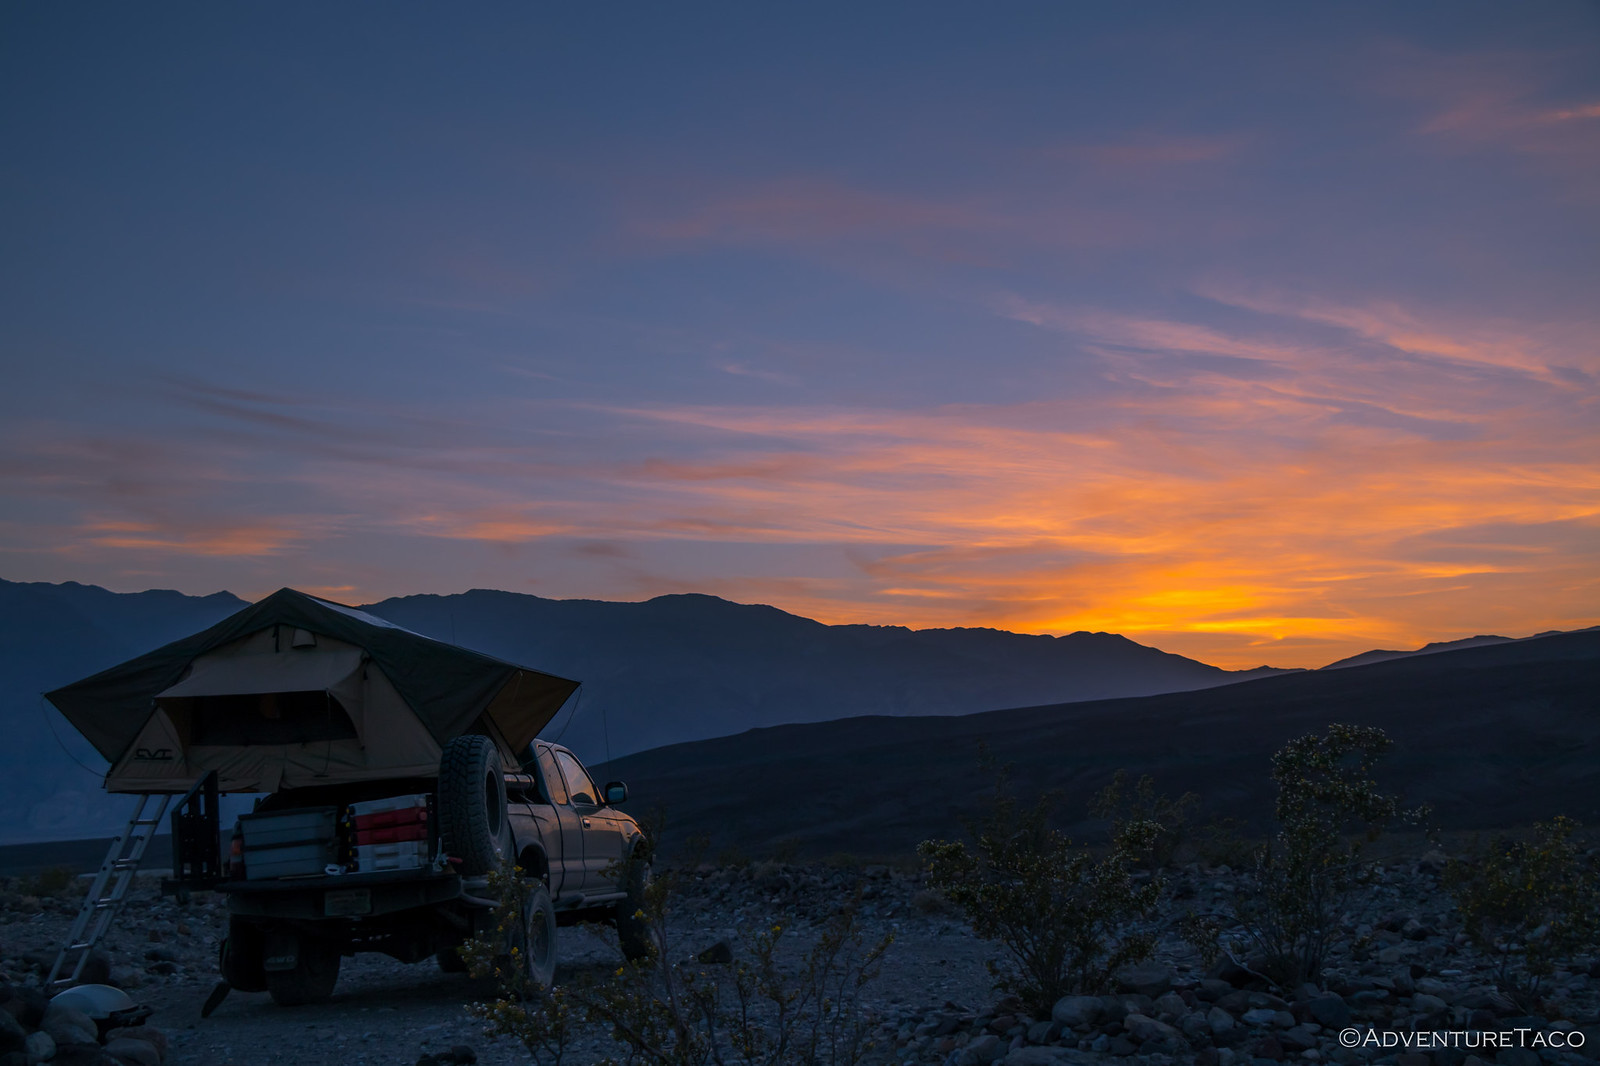
Our night at the Doll House was the calmest of the trip. We all slept soundly and though we each awoke a different times, we all experienced a beautiful morning. Having nearly missed the orange horizon the morning before, I refrained from hitting the snooze button on my alarm, and I crawled out of the tent about half an hour before sunrise.

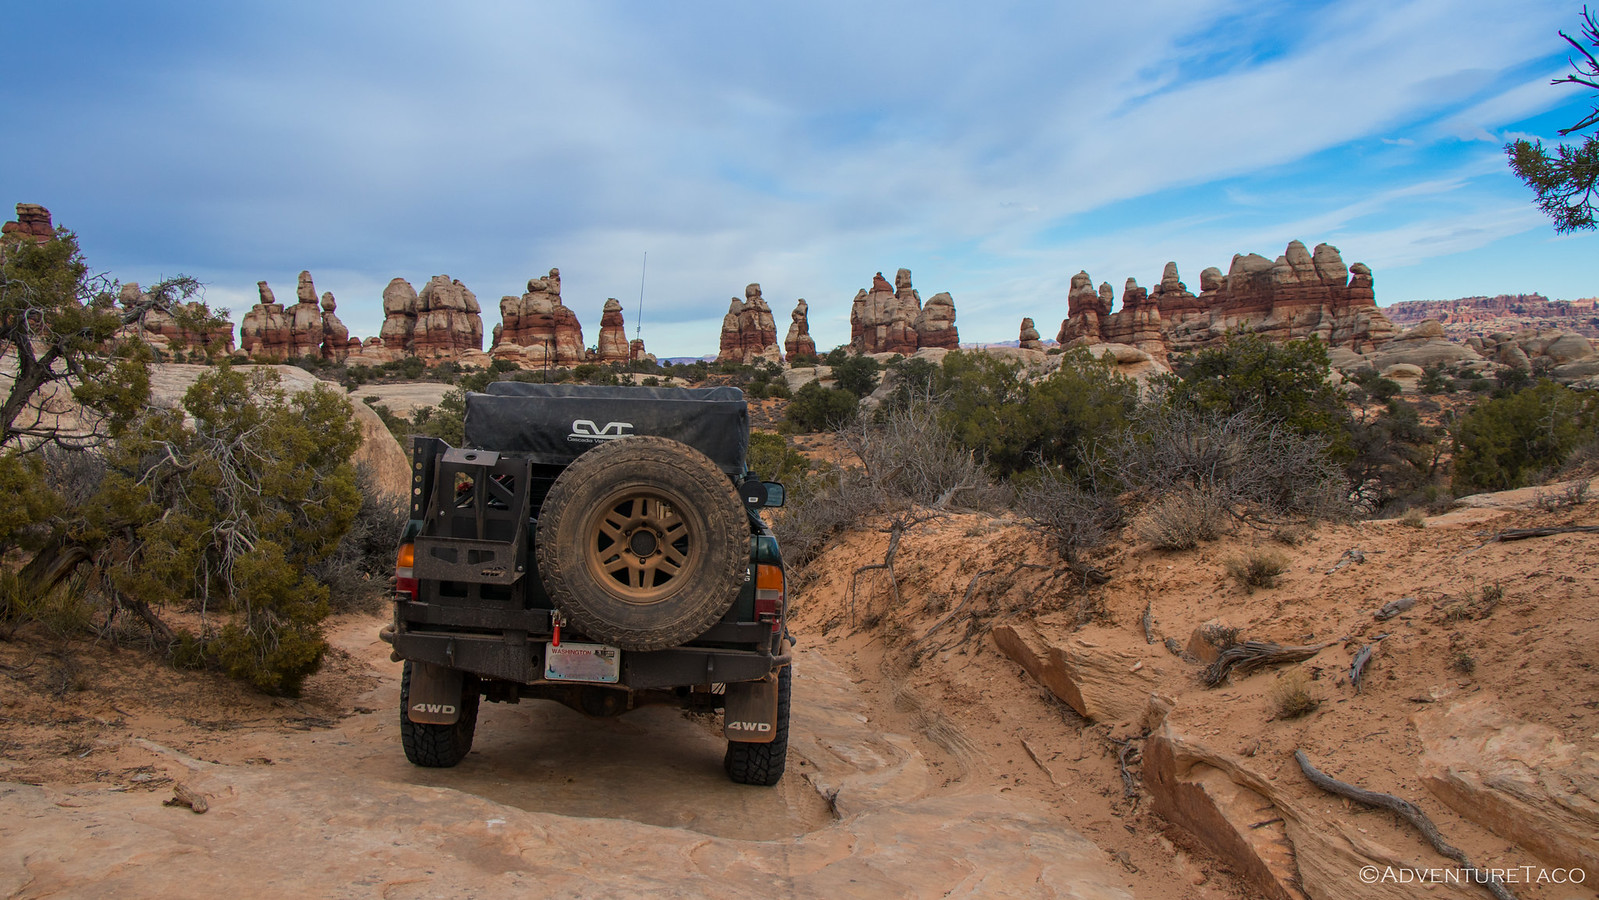
Check out the full story and tons of photos as we make our way to Panorama Point: The Maze, Day 2: "I Really Like Your Rear End"

26109735337_d37d69fd24_h.jpg


40980604251_66188017fd_h.jpg
 

turbodb

Well-known member
March 18, 2018.

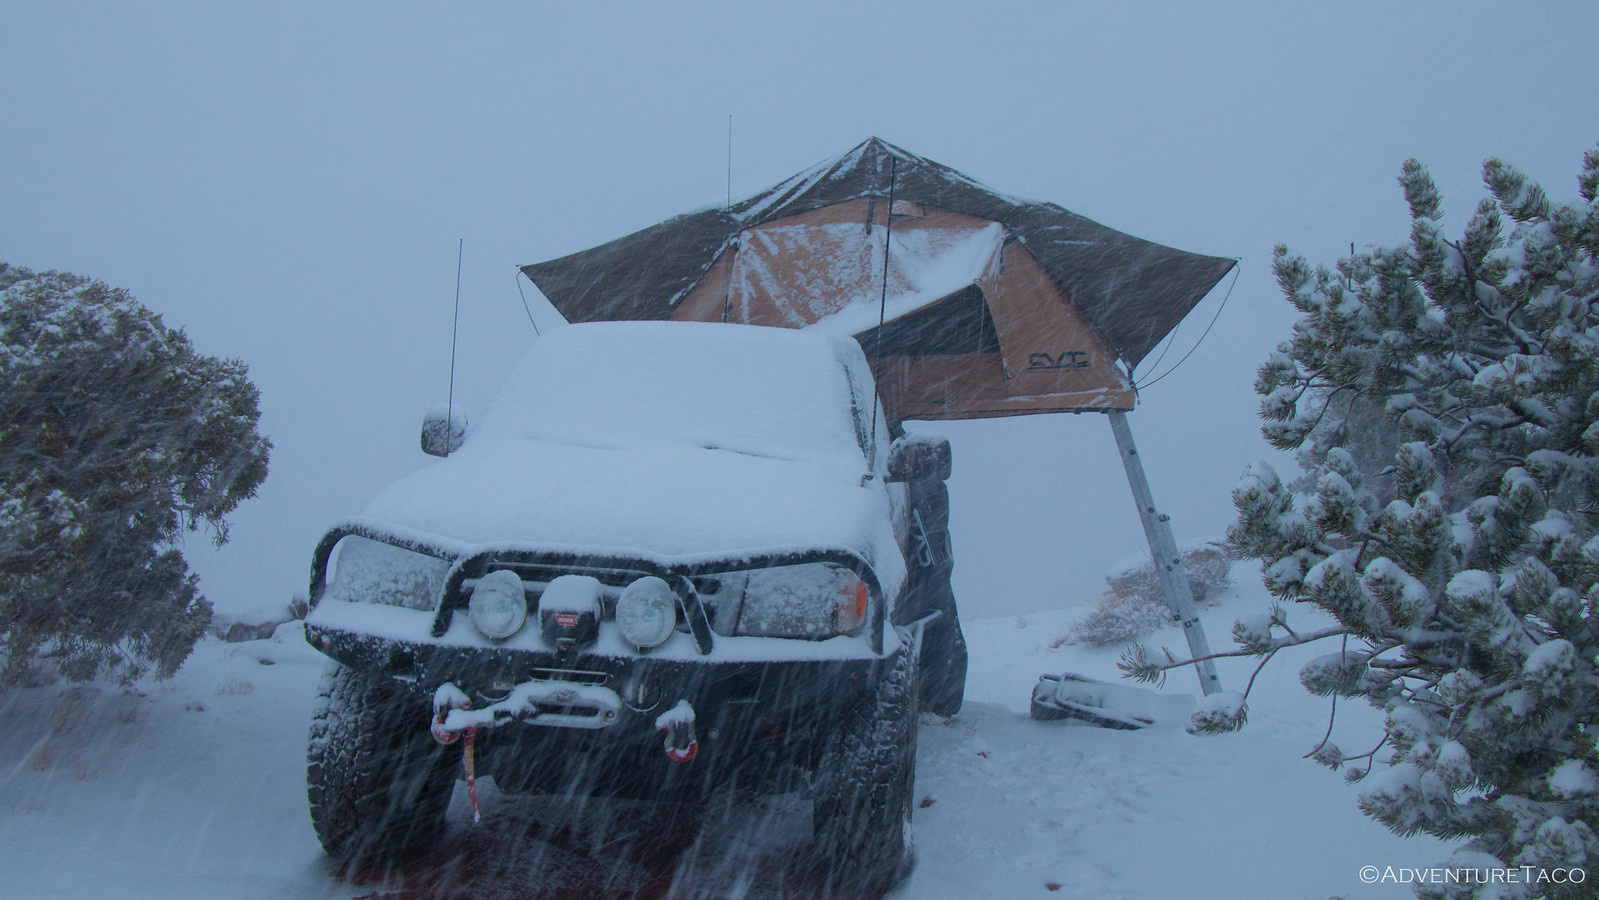
To say it was one of the more blustery nights we've spent in the tent would be an understatement. Perched on the edge of the canyon wall, the rain fly was getting whipped around, and the tent was acting like a sail in the bed of the truck - shaking the entire truck to and fro.

@mrs.turbodb asked if there was any chance we might roll backwards.

"Not really," I said. (and then I proceeded to put my clothes back on and get out to chock the tires - you know, "just in case."

We slept soundly until 4:00am or so - the wind picking up and dropping off through the night, but not a worry since the truck wasn't going anywhere. But, in those early morning hours, we started to feel moisture in the air - blown in through the screens covering tent doors and windows, which we always leave open for ventilation.

No problem - we just zipped everything up and went right back to sleep - unaware that a Winter Weather Advisory was being issued just as we were nodding off.

Check out the whole story and tons of photos - in The Maze, Day 3: Are We Stuck in The Maze?

26149331807_5844dc181b_h.jpg
 

turbodb

Well-known member
My U-joint was Toast!
March 28, 2018.

Our trip to The Maze was awesome. However, you may recall that near the end, we hit a whoops a little fast, which led to me peering under the truck a few times on the way home to try and determine what the god-awful shake was that we were feeling in the accelerator, seats, and - after 15 hours on the road - our bones.
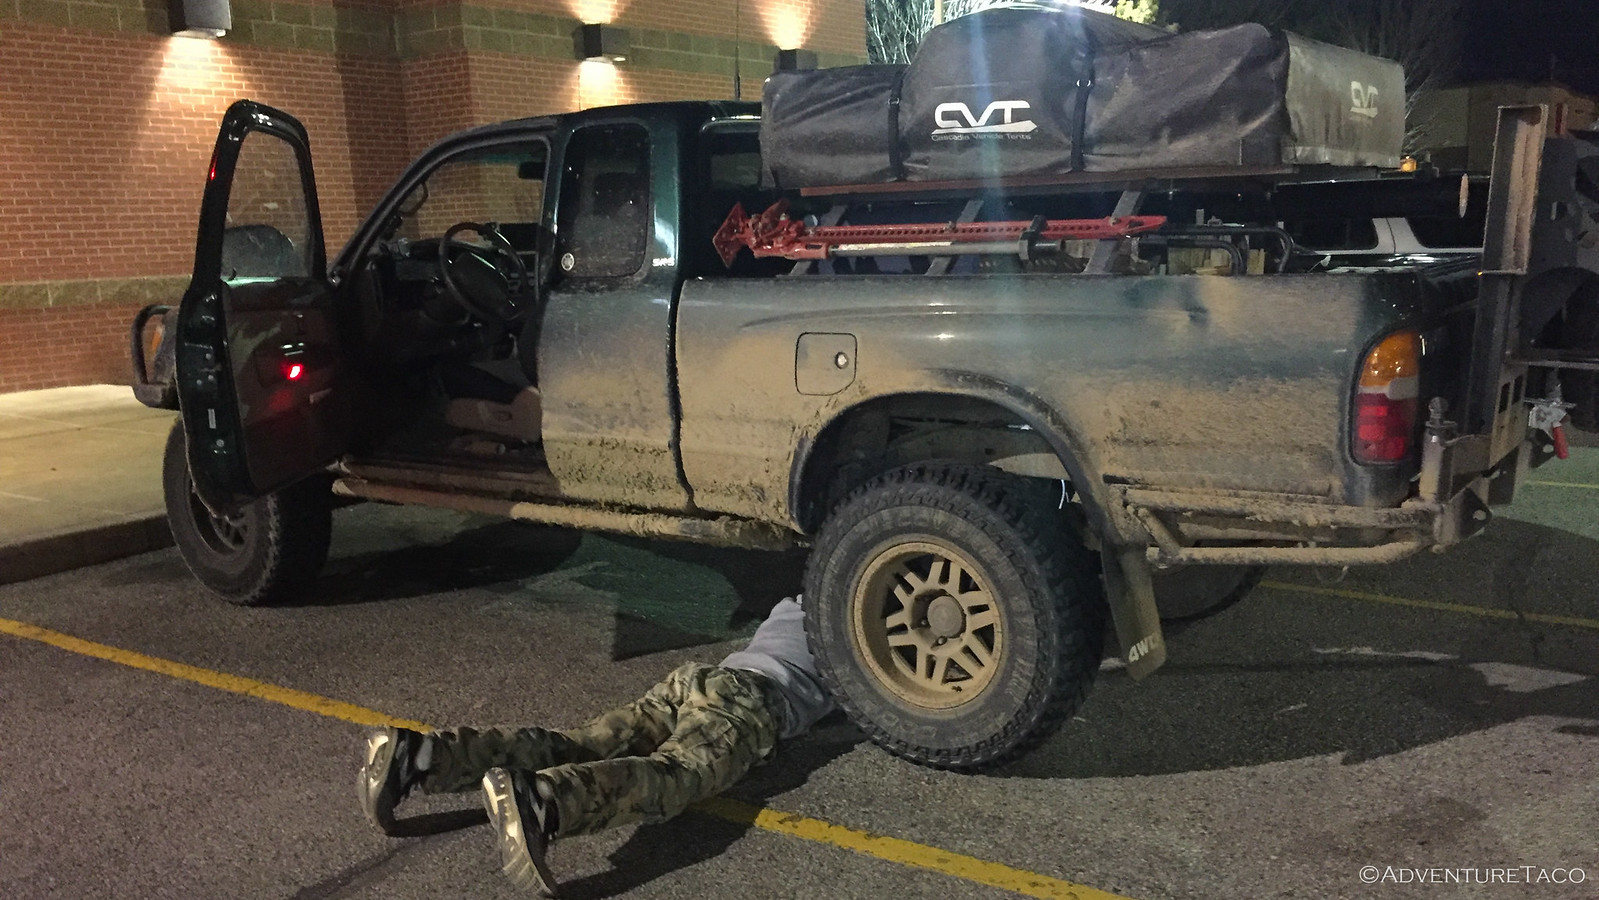

I wasn't able to figure it out on the drive home, but the next day I spent some more time under the truck and noticed two things:
  1. The rear diff pinion seal had started leaking (slightly) somewhere between Boise and the Seattle area.
  2. My rear u-joint, which to this point has always been tight, was anything but. It had a good 1/16th-inch of play.
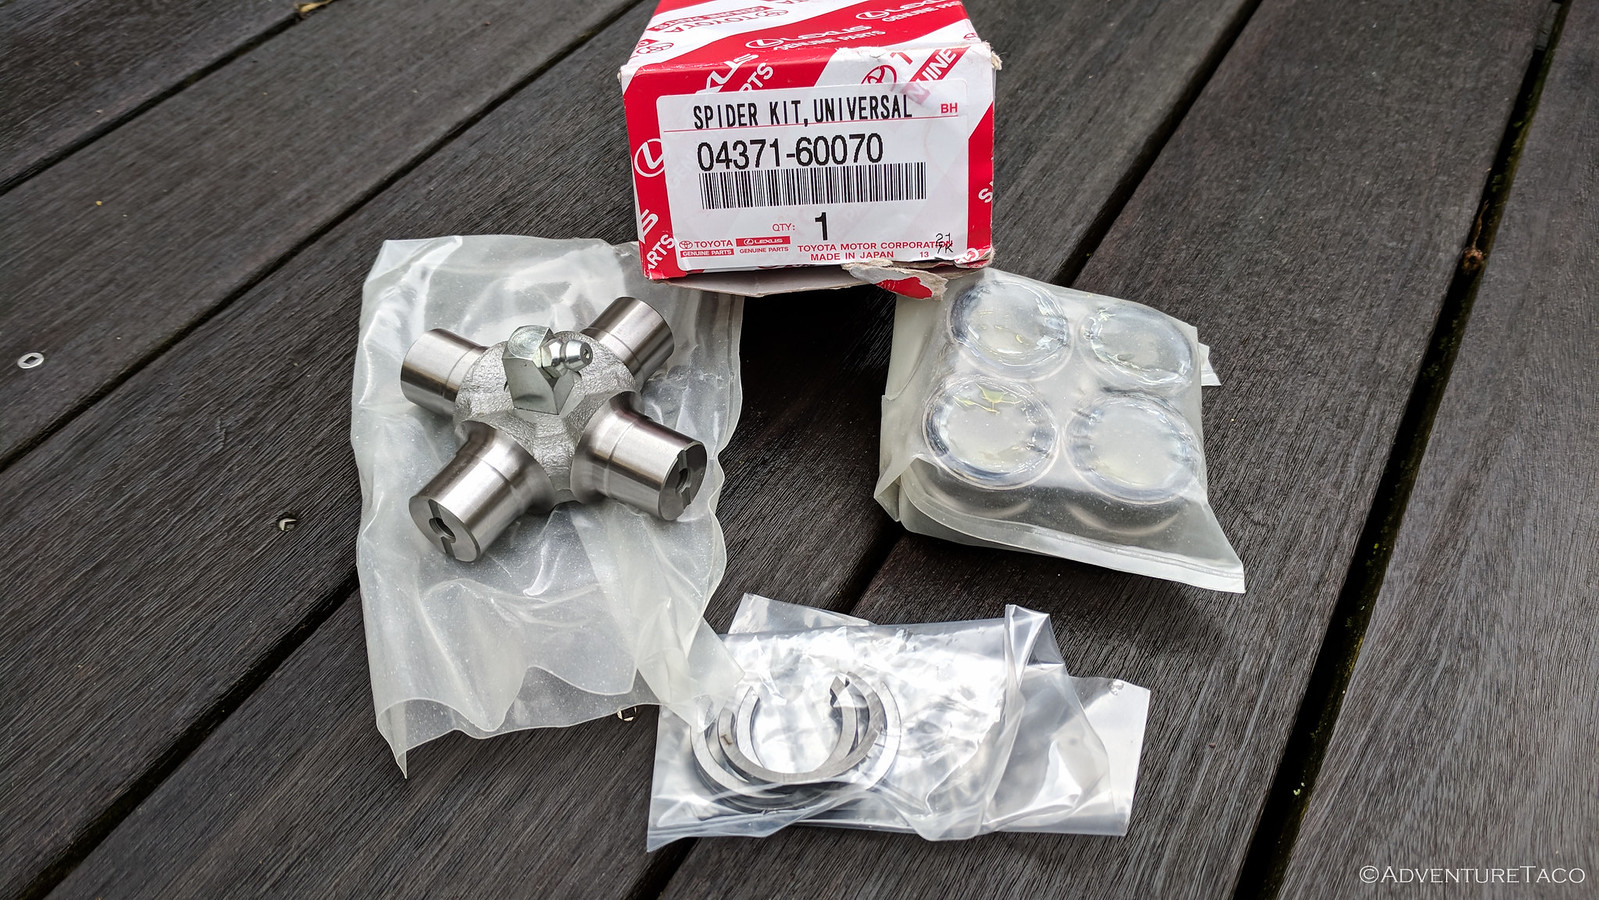
I was also worried that maybe I'd thrown off the alignment, that I'd knocked off some balancing weights on the wheels, or that I'd somehow damaged my engine or transmission mounts. While I still plan to get a balance and alignment, I was happy to find that my mounts all looked good - so I ordered up a new u-joint (part #: 04371-60070) - and gave a call to JT's Parts and Accessories to inquire about the rear pinion seal (since I'd recently had my gears swapped there).

They were awesome as usual and said that I should just show up and they'd take a look at the rear diff.

So I headed out - keeping the speeds low to minimize the shake - over a couple passes and arrived just after lunch.
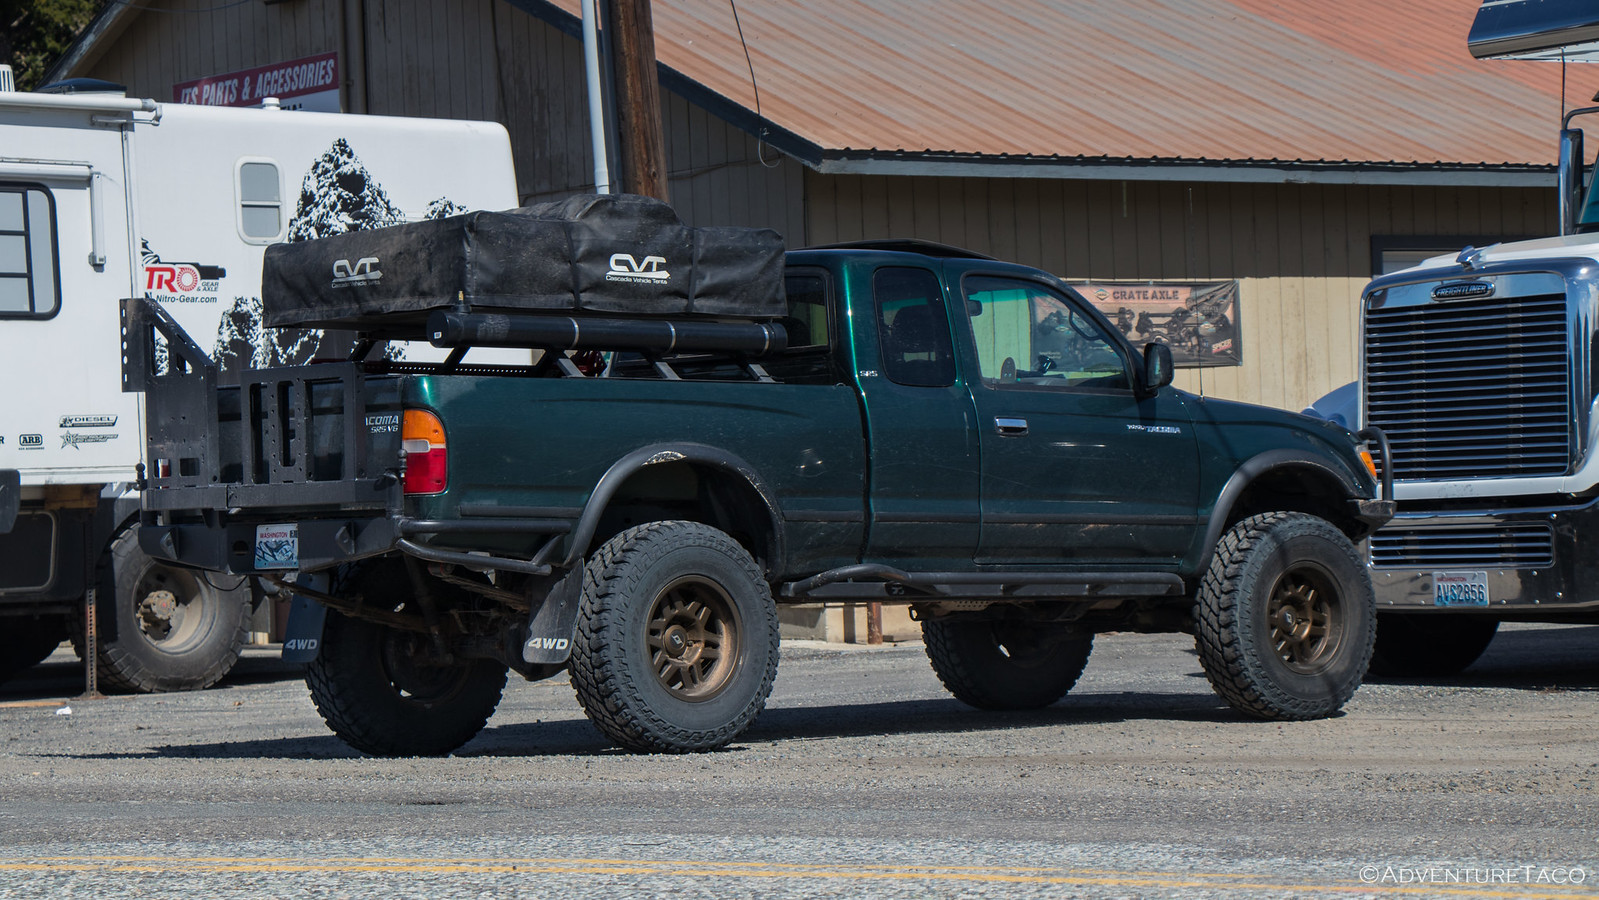

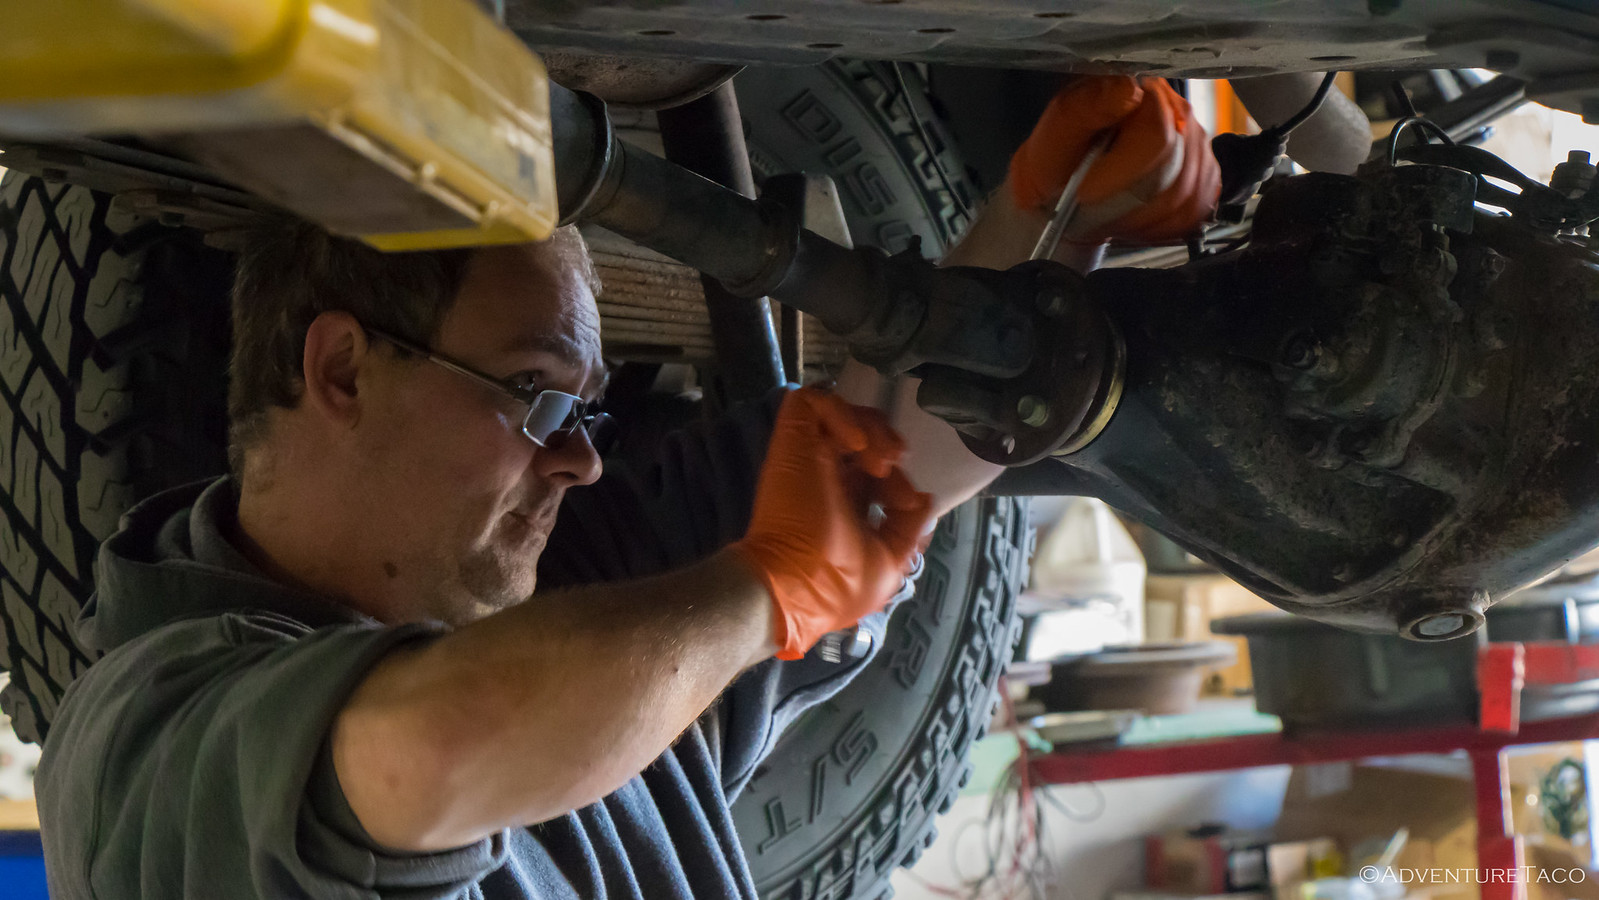
Chris was just wrapping up another job and popped out to say "hi" and grab the truck. As he put it in gear, we both heard a "clunk," and he asked, "Is that your rear u-joint?" My reply of, "I hope so!" solicited a laugh as we got to work getting the truck up on the lift. (Side note: everyone should have a lift.)
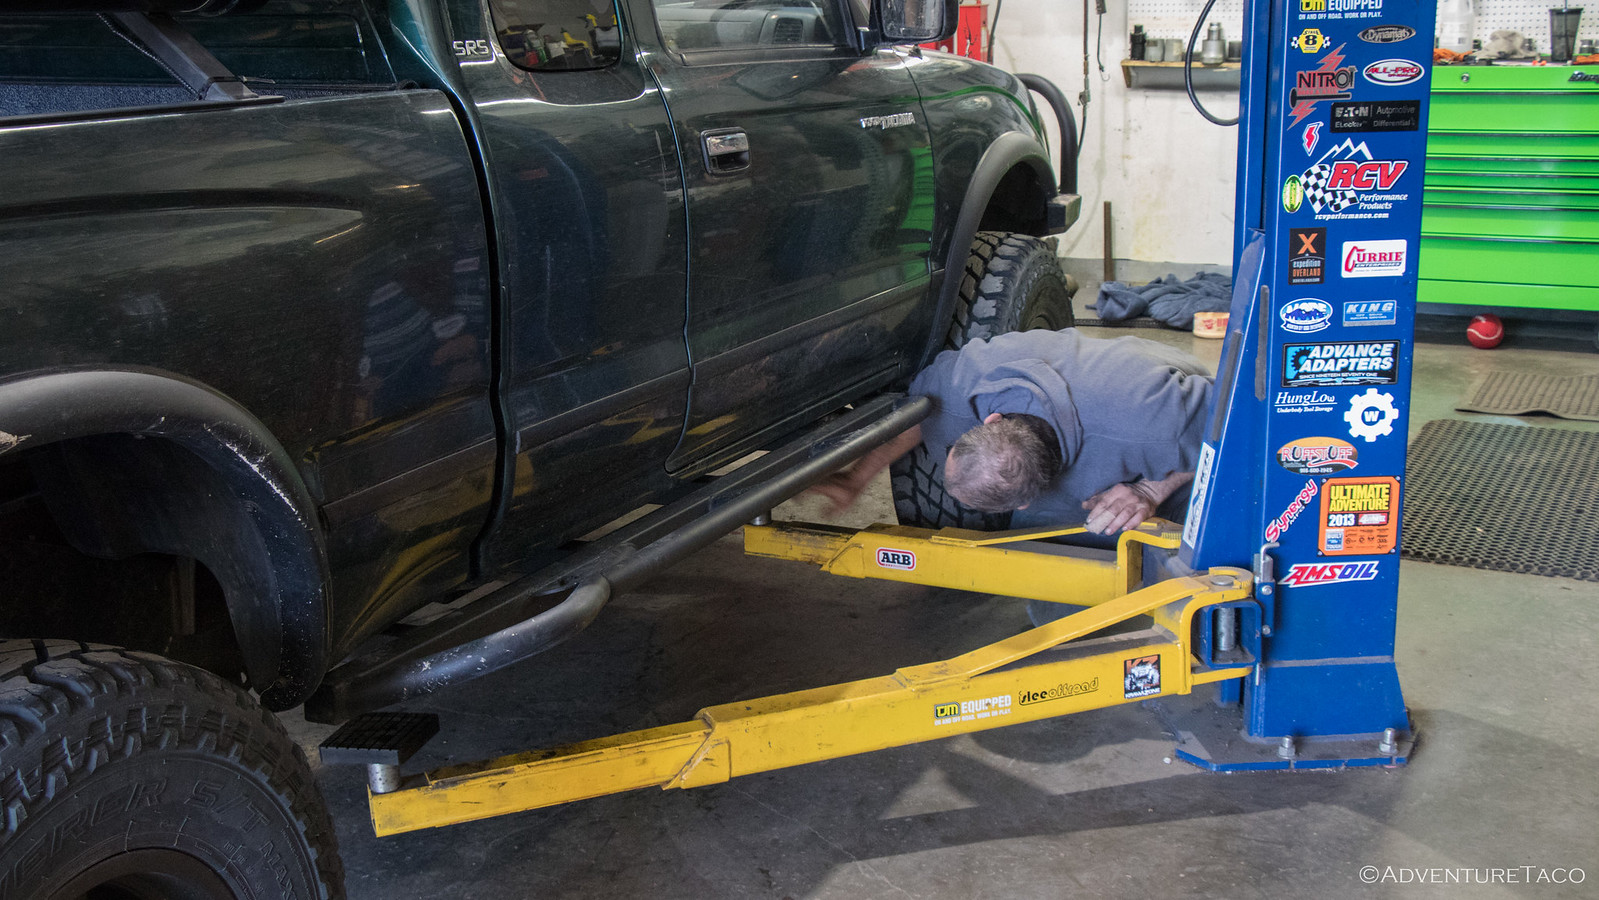


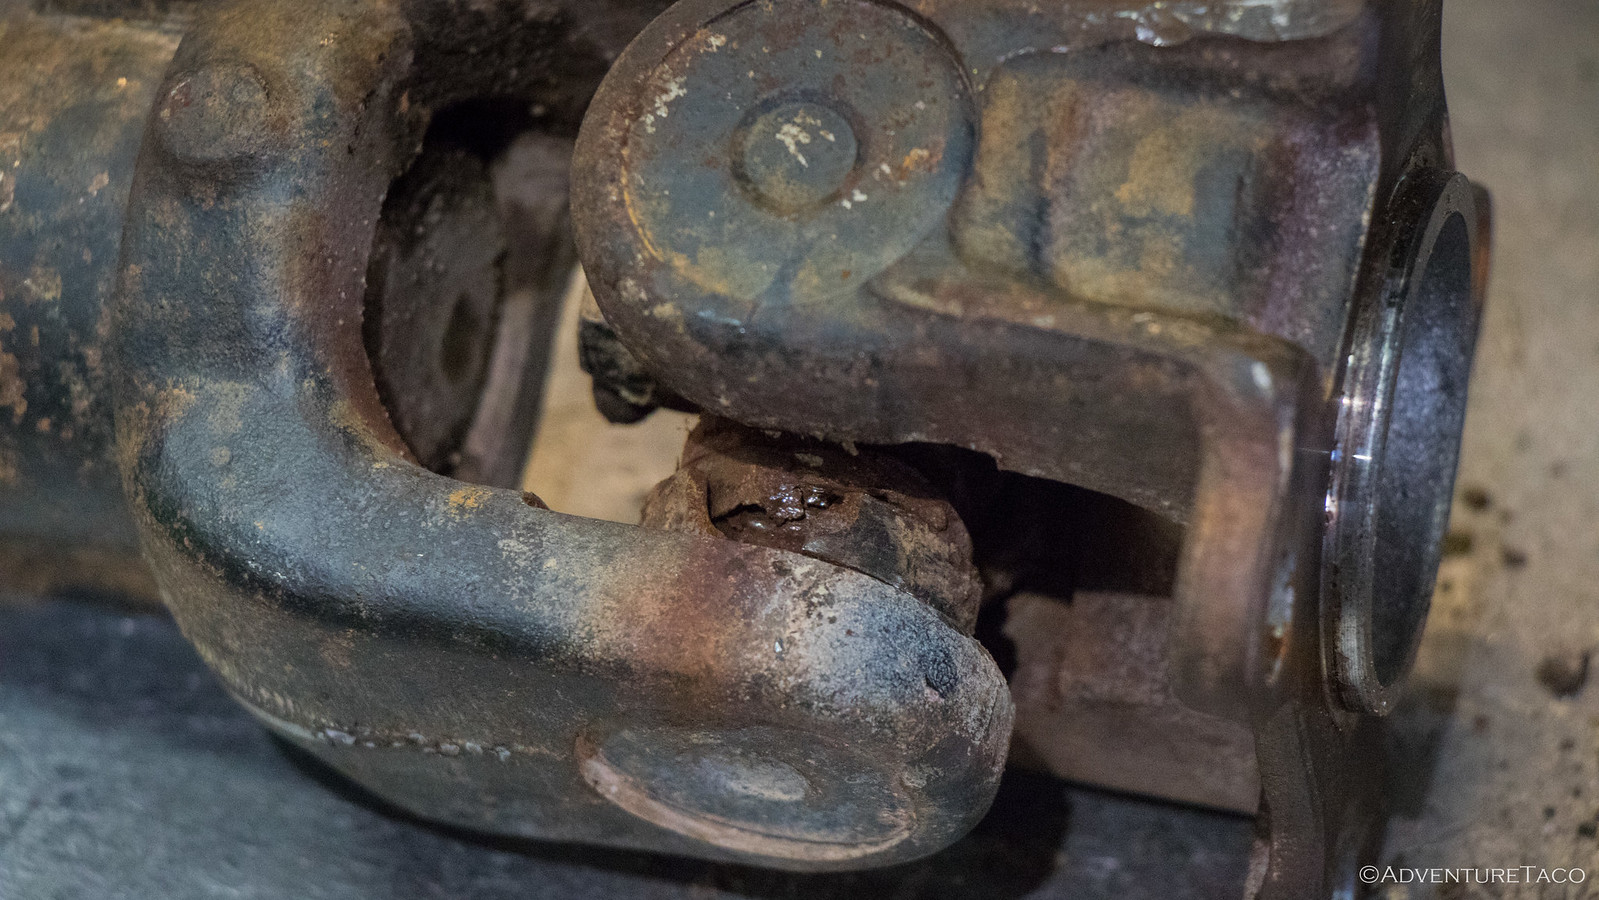
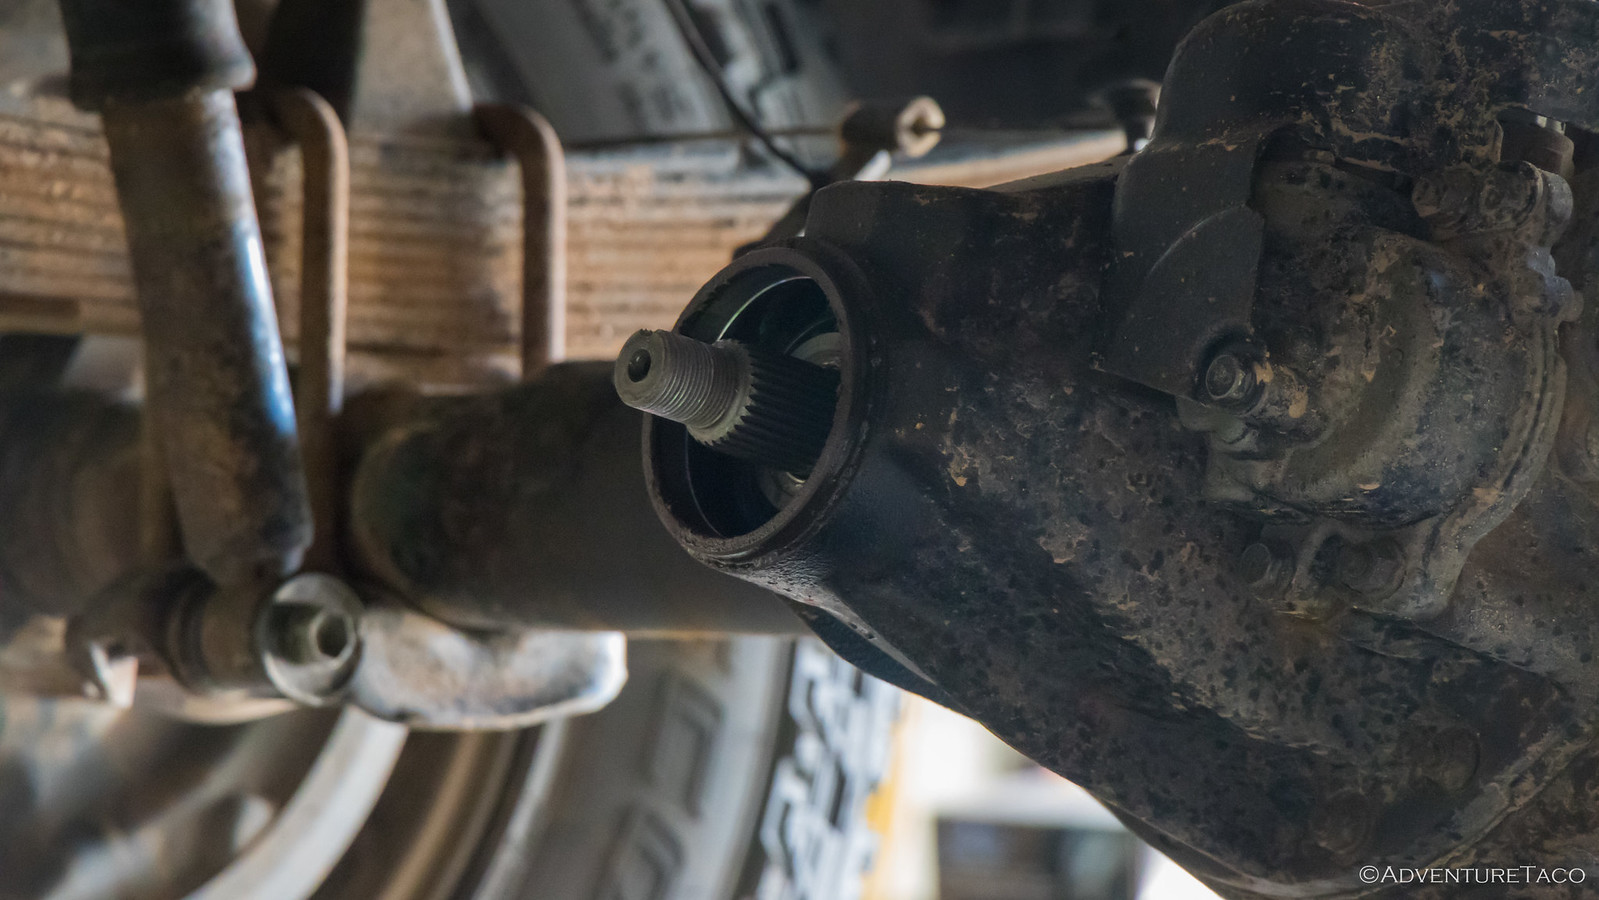
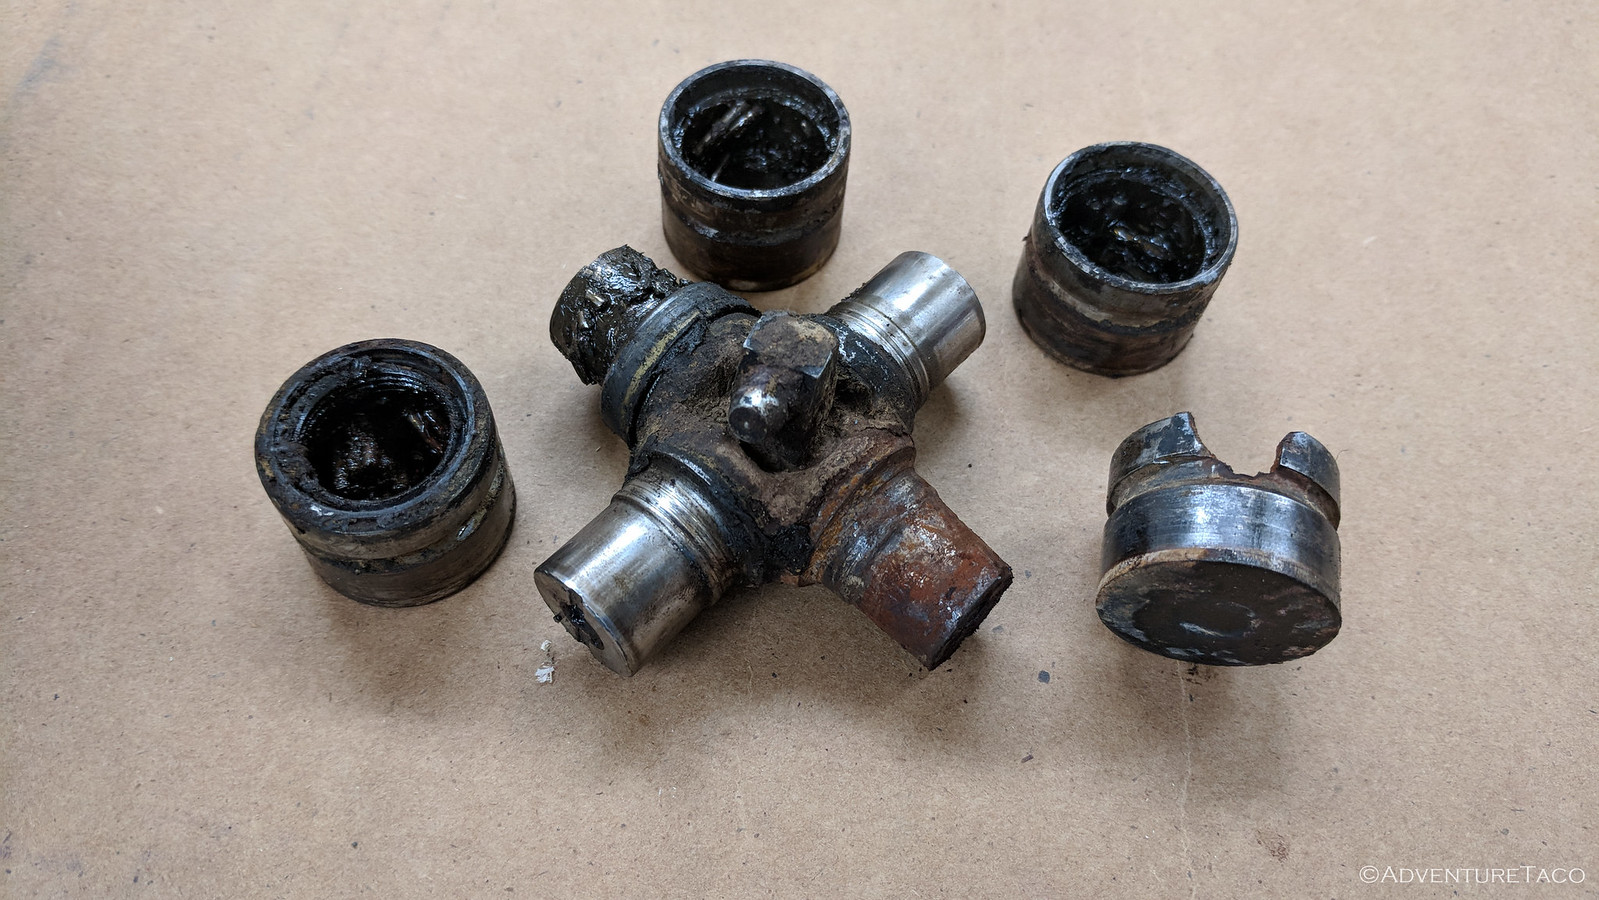
Now, I knew that the drive shaft would need to be disconnected from the rear diff in order to check the pinion seal, but I wasn't sure if I'd then be fixing the u-joint (having never done it myself, I'd even read up on the procedure, watched a few videos, and brought the tools I thought I'd need, including a vice and all the right sized sockets) or if Chris (and Jared) would be. Regardless, it was immediately clear that someone would be, because the one on the truck had a sleeve that was pretty chewed up. Rotating it at all by hand was difficult, and there was a hunk of metal - that I can only assume is important - missing.

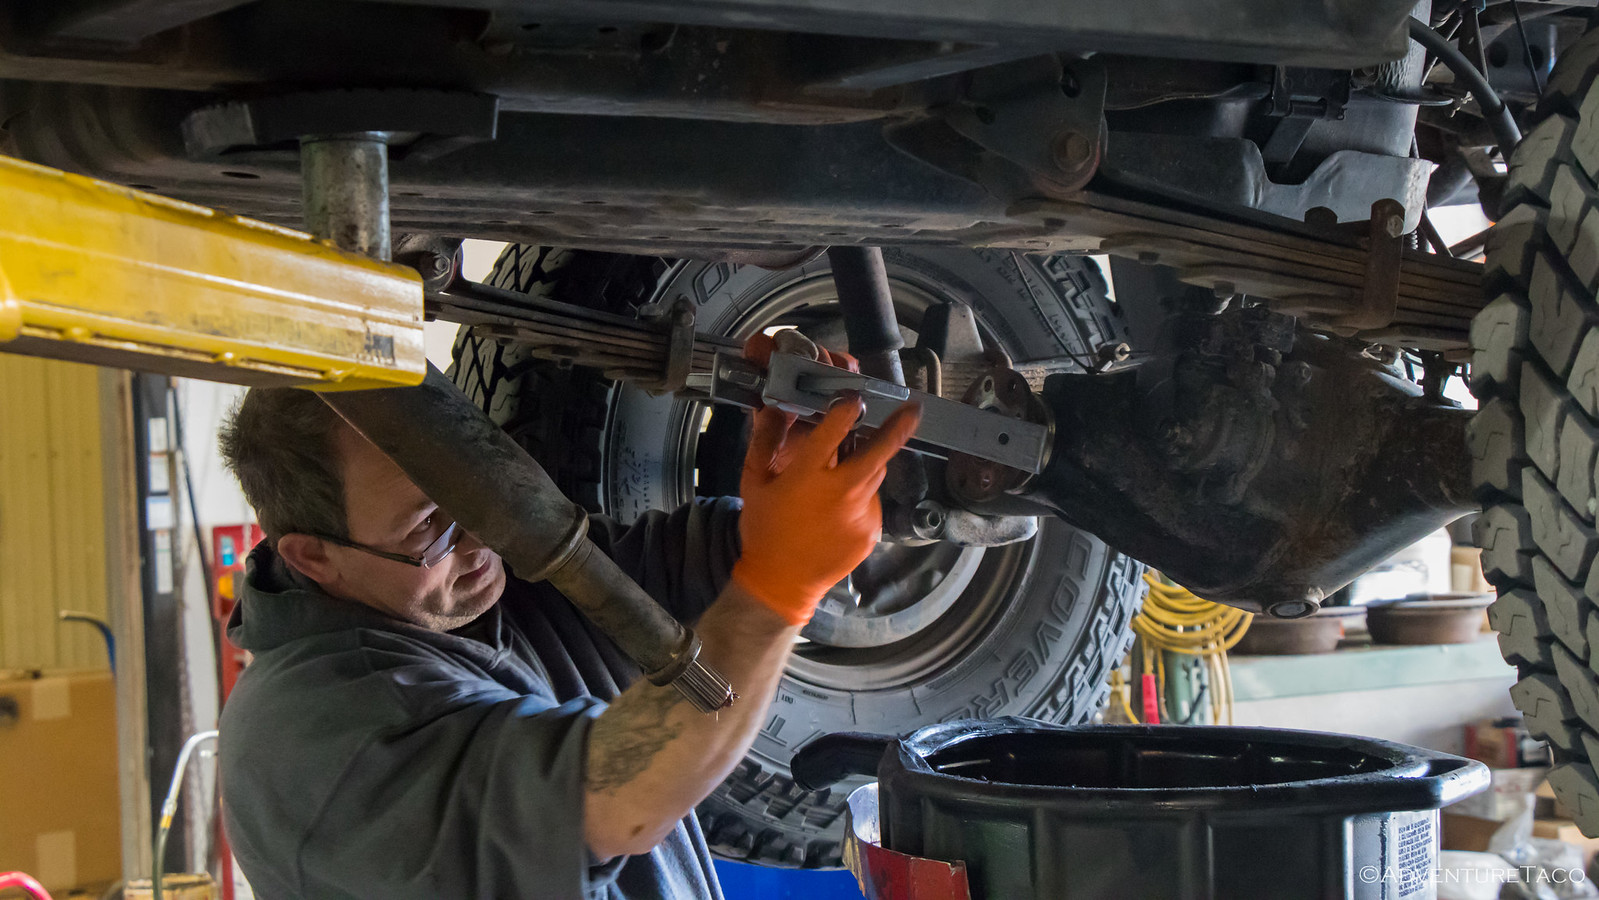
So, we marked the drive shaft so we could re-position it correctly when we were done, and Chris actually started working on the u-joint first.


I was about this time that Jared walked in, and the two of them split tasks like a well-oiled machine. Jared continued work on the u-joint and Chris switched to changing out the pinion seal. And then, they worked so fast that I had a hard time getting pictures.

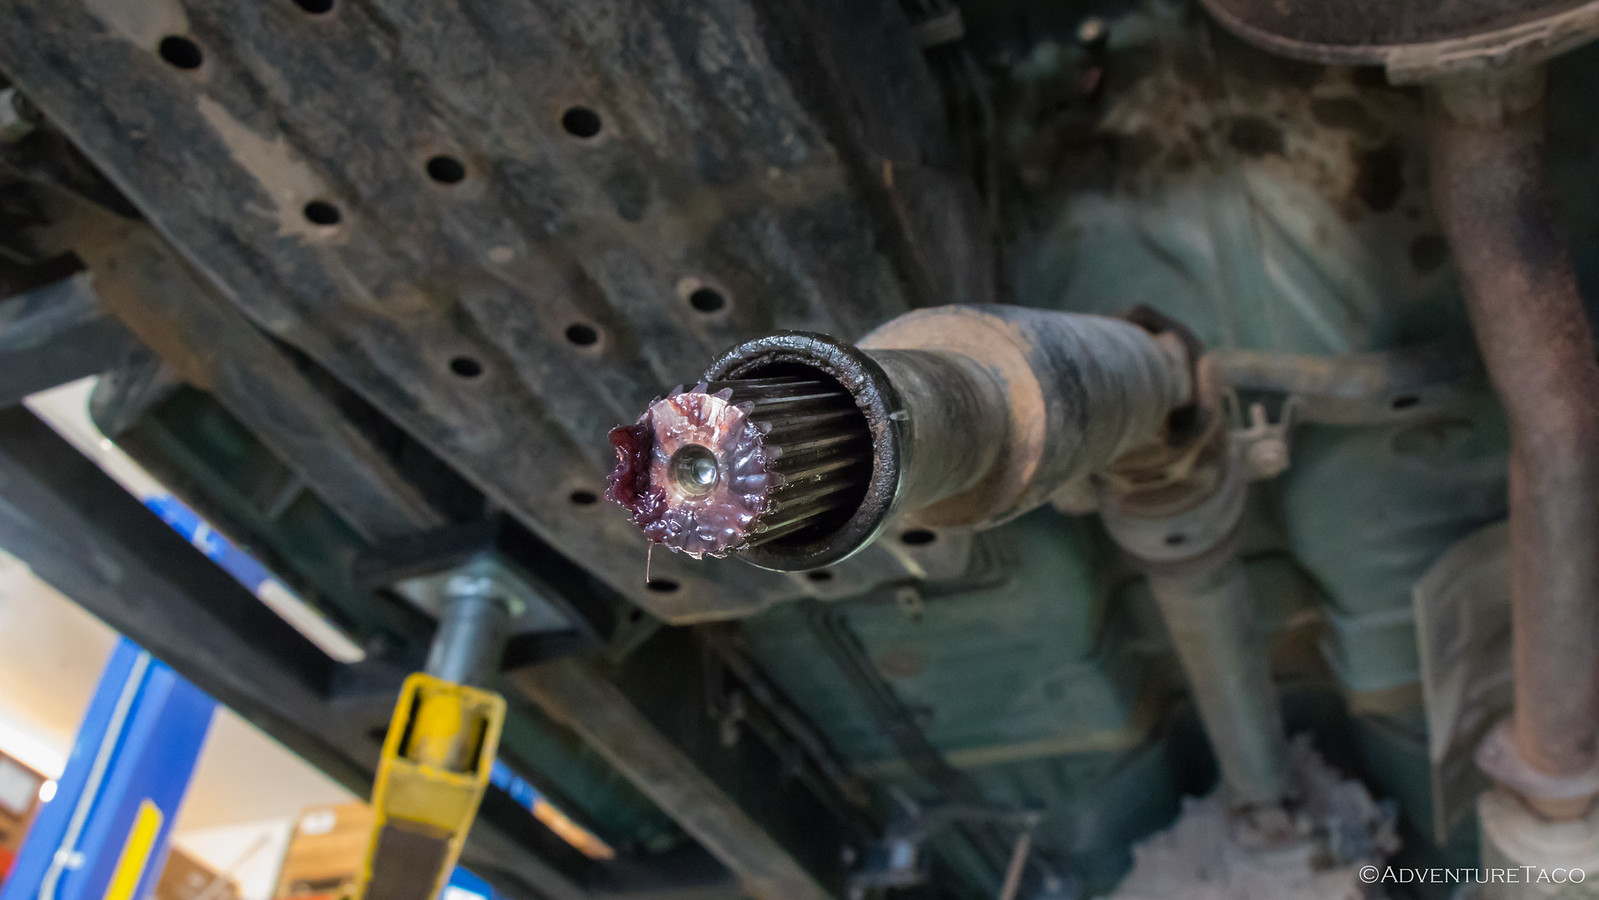
Chris pulled the flange and pinion seal on the rear diff, checked the rest of the diff - especially the pinion and bearing - to make sure it was still sound, and had the new pinion seal in place in about 10 minutes, and was quickly tightening everything back up.


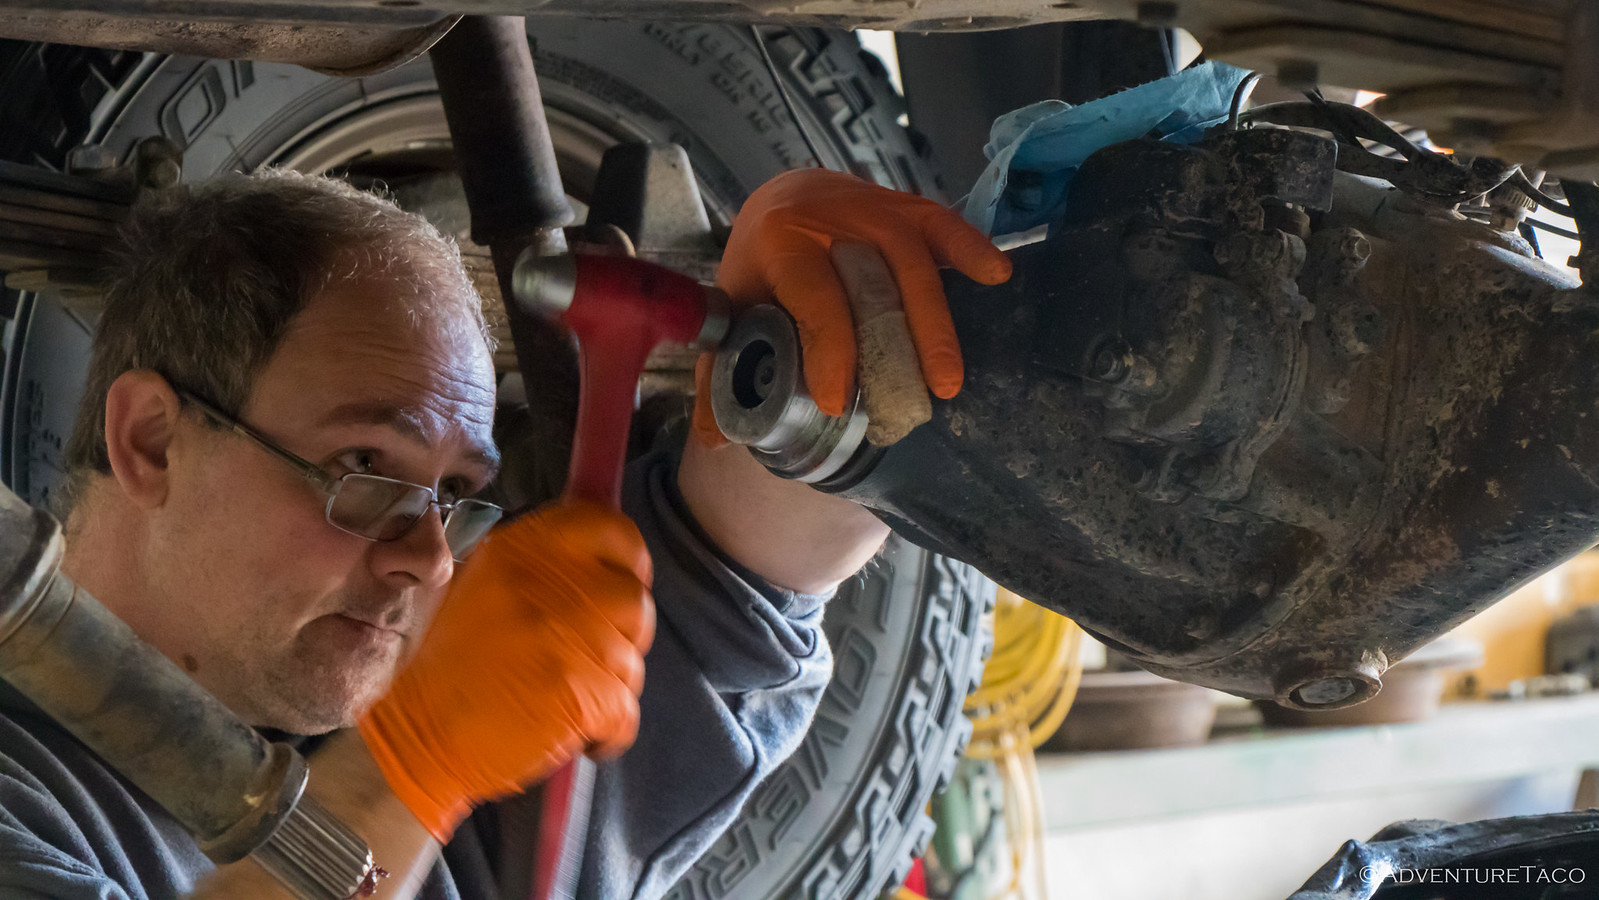
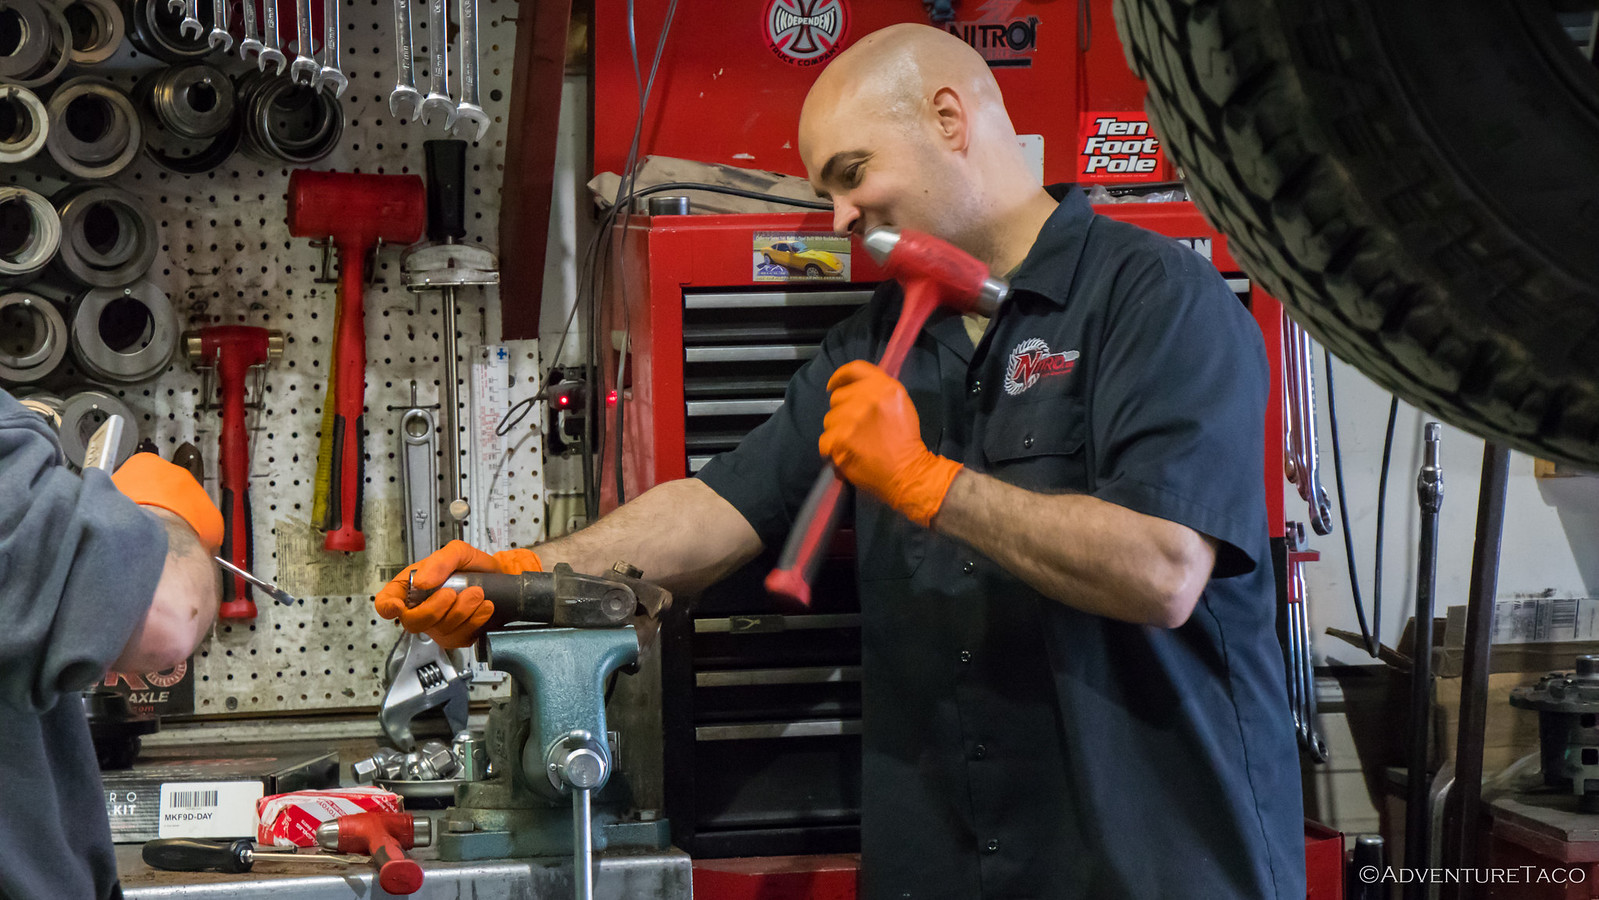
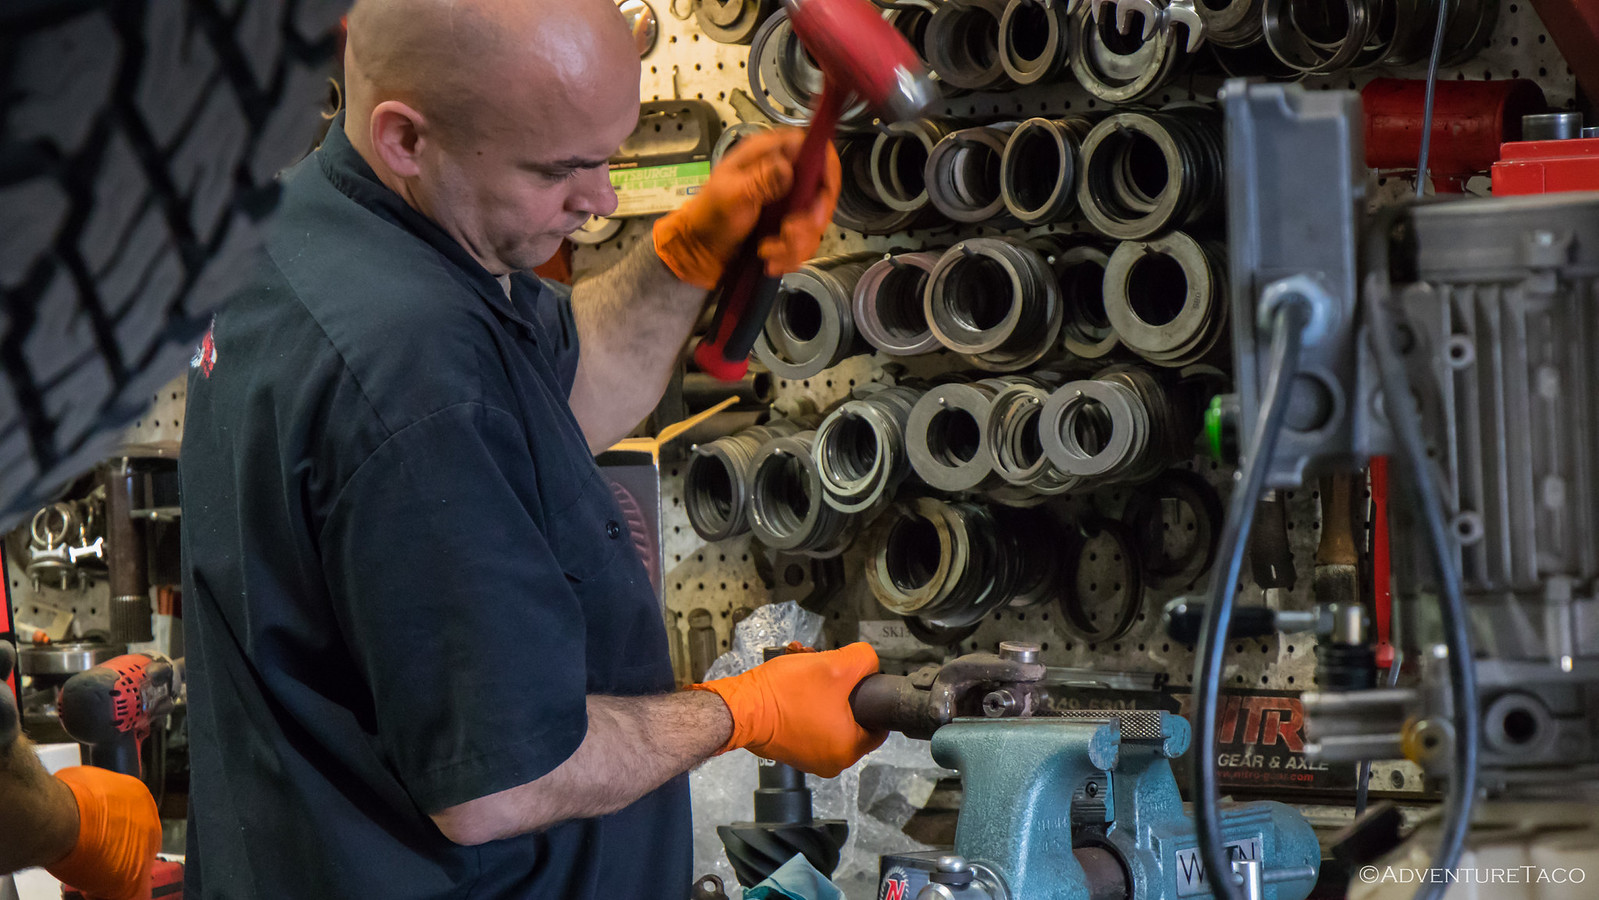
Jared bashed on the u-joint for a while to separate the various components, and then took a look at the OEM Toyota replacement and declared both that: "Wow, this is pretty, must be a Toyota." and "Needs more grease."


From there, he quickly reassembled with the help of a dead-blow mallet and vice - laughing as I took pictures that, "The internet is going to say I'm doing this wrong!" Of course, he's done enough of them that everything went together quickly, uneventfully, and in under 5 minutes.

Probably a bit faster than if I'd been doing it for my first time.


It was then time for a bit of grease - the only part of the job that took two guys. (You know, because that's the hard part.) And then, Chris re-aligned the drive shaft and bolted it and the u-joint into place.


The truck was lowered to the shop floor, and we were done. Total time - maybe 20-30 minutes. Awesome.

And the drive home was smooth as butter.


- - -​


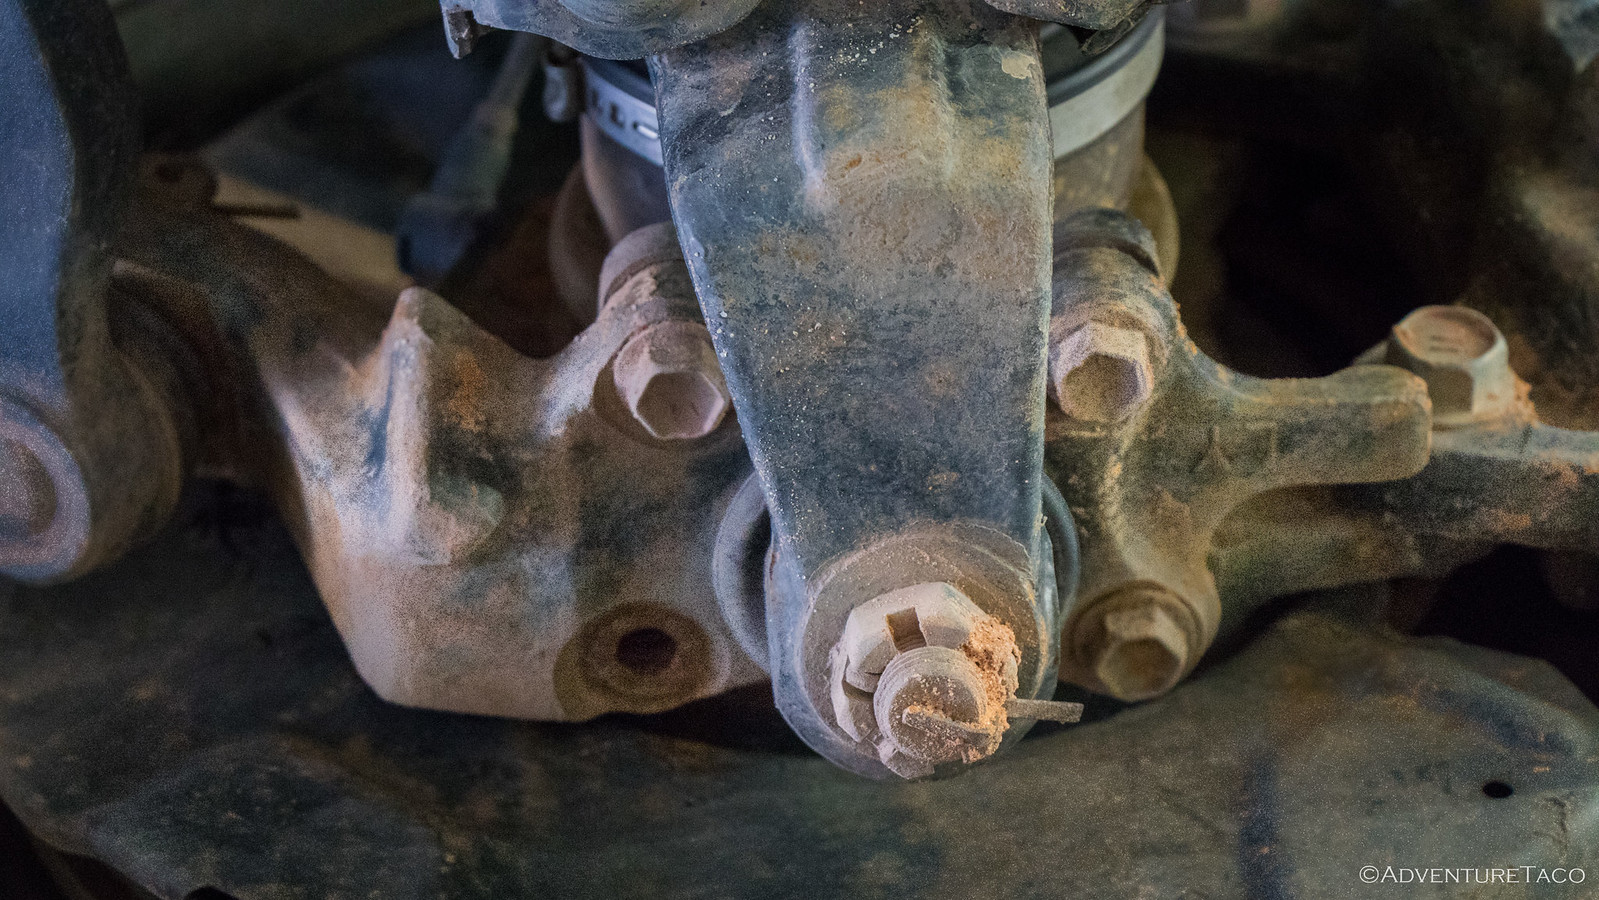
Extra side note: while the truck was up on the lift, I took a couple minutes to give everything a once-over while not negotiating the space on a creeper. I discovered this missing bolt in my driver-side lower ball joint, which is another casualty of The Maze (since I have a habit of checking them prior to a trip, given all the issues folks seem to have). My guess is that it was loosened at some point and then the 1,300-mile drive-line shake may have caused it to shake loose ('cause it sure caused other rattles I've never heard before in the truck).

At any rate, I had some extra lower ball joint bolts (OEM: 90080-10066) and blue loctite on hand, and remedied the situation immediately.


owyheerat

Adventurer
My U-joint was Toast!
March 28, 2018.

Our trip to The Maze was awesome. However, you may recall that near the end, we hit a whoops a little fast, which led to me peering under the truck a few times on the way home to try and determine what the god-awful shake was that we were feeling in the accelerator, seats, and - after 15 hours on the road - our bones.


I wasn't able to figure it out on the drive home, but the next day I spent some more time under the truck and noticed two things:
  1. The rear diff pinion seal had started leaking (slightly) somewhere between Boise and the Seattle area.
  2. My rear u-joint, which to this point has always been tight, was anything but. It had a good 1/16th-inch of play.
I was also worried that maybe I'd thrown off the alignment, that I'd knocked off some balancing weights on the wheels, or that I'd somehow damaged my engine or transmission mounts. While I still plan to get a balance and alignment, I was happy to find that my mounts all looked good - so I ordered up a new u-joint (part #: 04371-60070) - and gave a call to JT's Parts and Accessories to inquire about the rear pinion seal (since I'd recently had my gears swapped there).

They were awesome as usual and said that I should just show up and they'd take a look at the rear diff.

So I headed out - keeping the speeds low to minimize the shake - over a couple passes and arrived just after lunch.


Chris was just wrapping up another job and popped out to say "hi" and grab the truck. As he put it in gear, we both heard a "clunk," and he asked, "Is that your rear u-joint?" My reply of, "I hope so!" solicited a laugh as we got to work getting the truck up on the lift. (Side note: everyone should have a lift.)
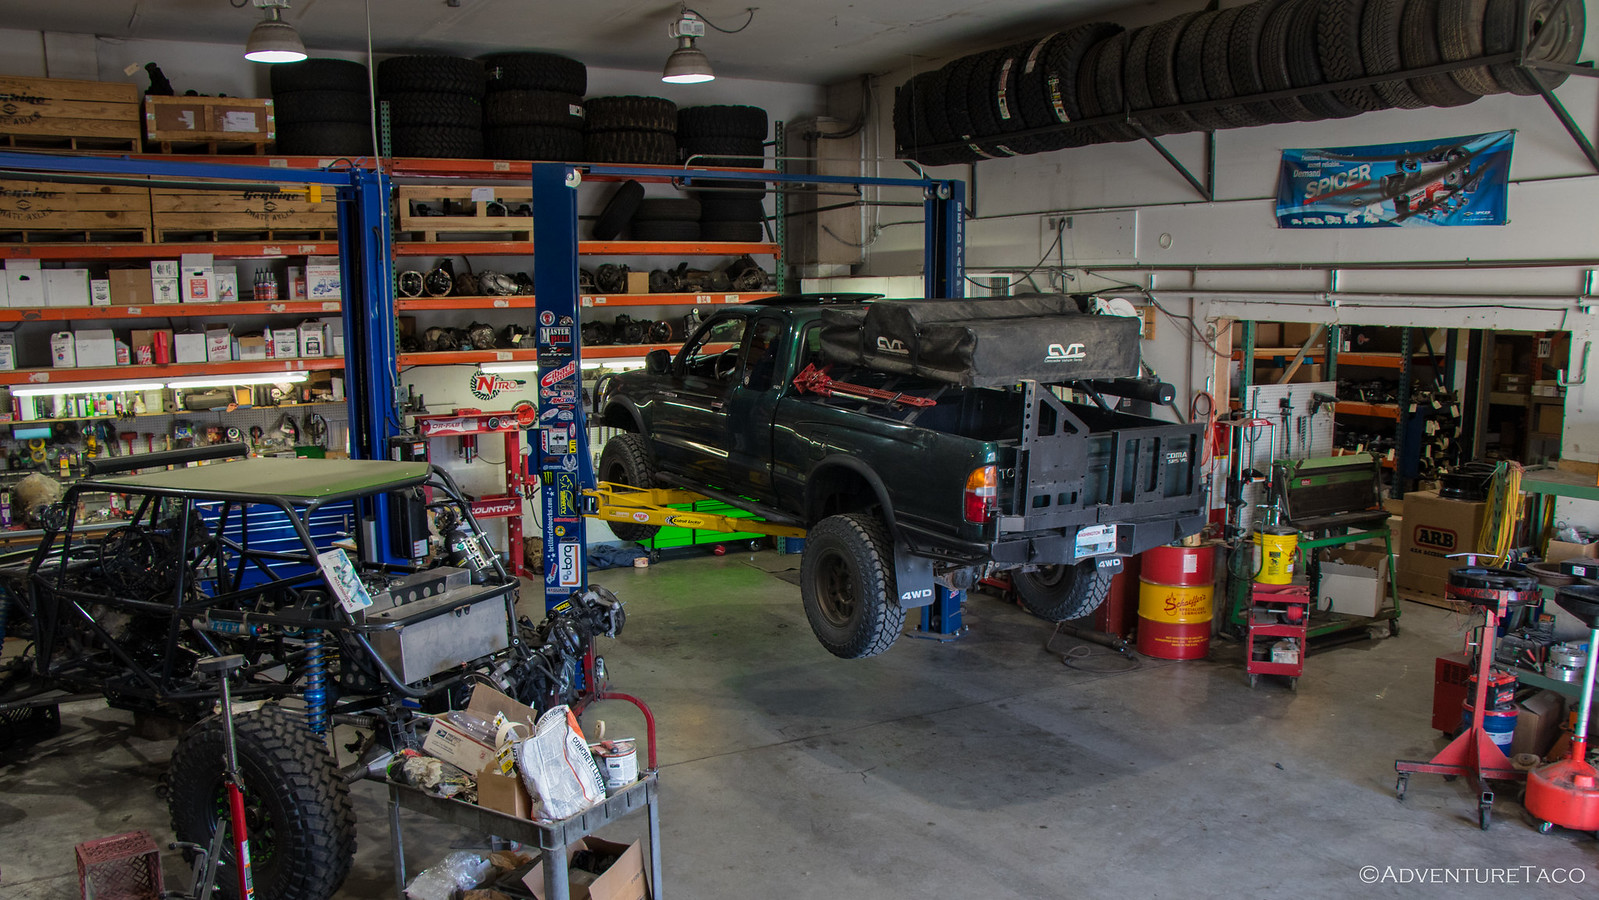


Now, I knew that the drive shaft would need to be disconnected from the rear diff in order to check the pinion seal, but I wasn't sure if I'd then be fixing the u-joint (having never done it myself, I'd even read up on the procedure, watched a few videos, and brought the tools I thought I'd need, including a vice and all the right sized sockets) or if Chris (and Jared) would be. Regardless, it was immediately clear that someone would be, because the one on the truck had a sleeve that was pretty chewed up. Rotating it at all by hand was difficult, and there was a hunk of metal - that I can only assume is important - missing.

So, we marked the drive shaft so we could re-position it correctly when we were done, and Chris actually started working on the u-joint first.


I was about this time that Jared walked in, and the two of them split tasks like a well-oiled machine. Jared continued work on the u-joint and Chris switched to changing out the pinion seal. And then, they worked so fast that I had a hard time getting pictures.

Chris pulled the flange and pinion seal on the rear diff, checked the rest of the diff - especially the pinion and bearing - to make sure it was still sound, and had the new pinion seal in place in about 10 minutes, and was quickly tightening everything back up.


Jared bashed on the u-joint for a while to separate the various components, and then took a look at the OEM Toyota replacement and declared both that: "Wow, this is pretty, must be a Toyota." and "Needs more grease."


From there, he quickly reassembled with the help of a dead-blow mallet and vice - laughing as I took pictures that, "The internet is going to say I'm doing this wrong!" Of course, he's done enough of them that everything went together quickly, uneventfully, and in under 5 minutes.

Probably a bit faster than if I'd been doing it for my first time.
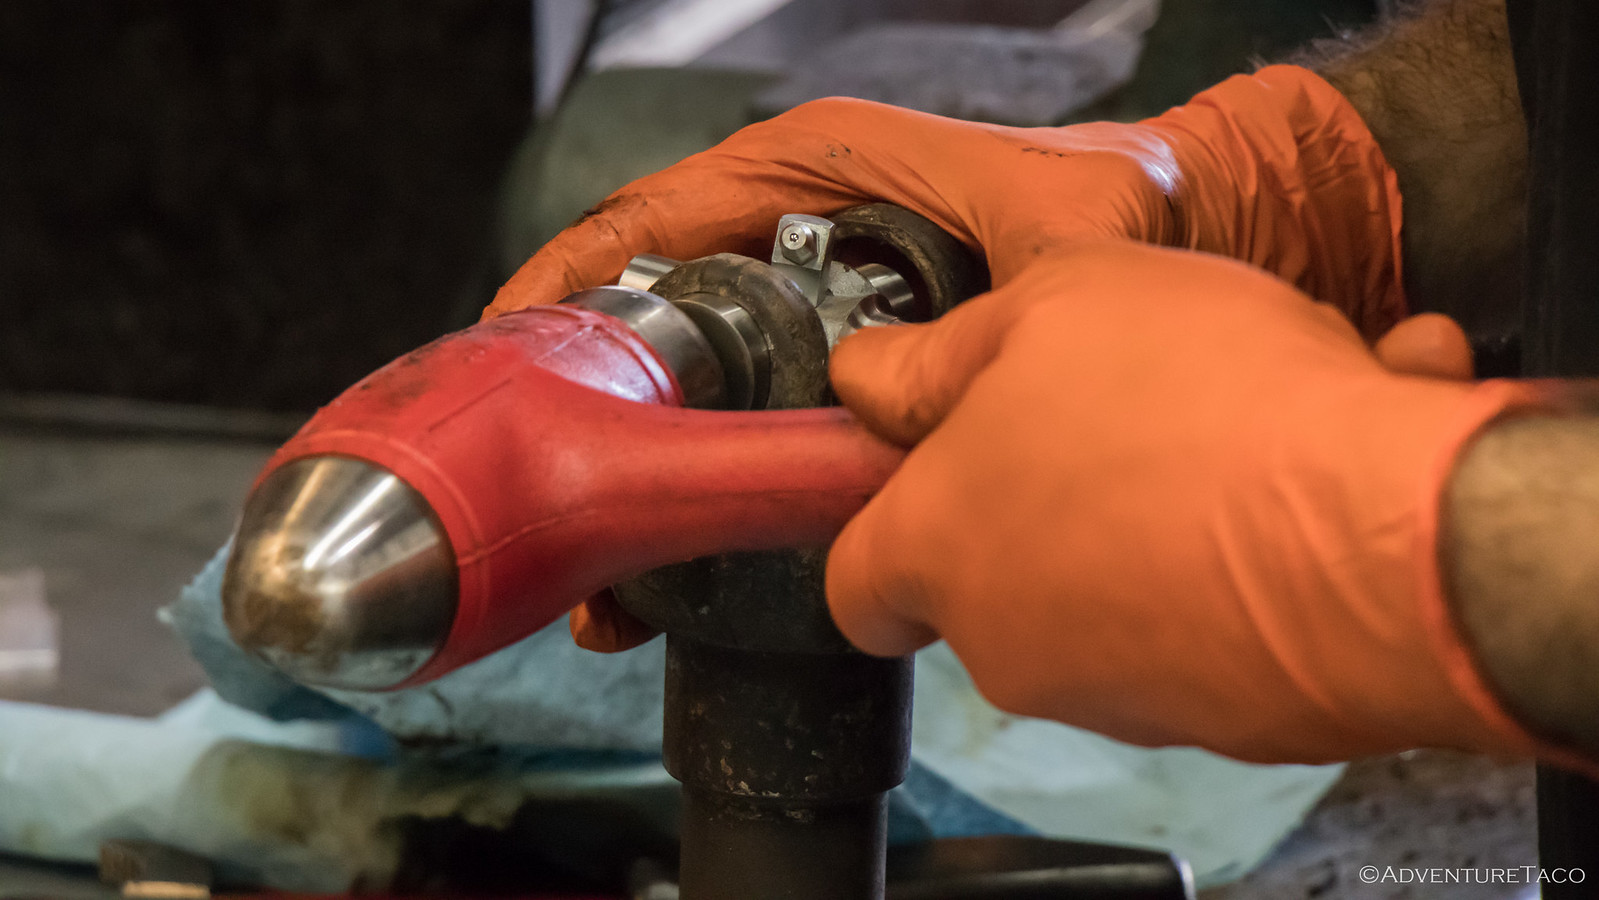

It was then time for a bit of grease - the only part of the job that took two guys. (You know, because that's the hard part.) And then, Chris re-aligned the drive shaft and bolted it and the u-joint into place.
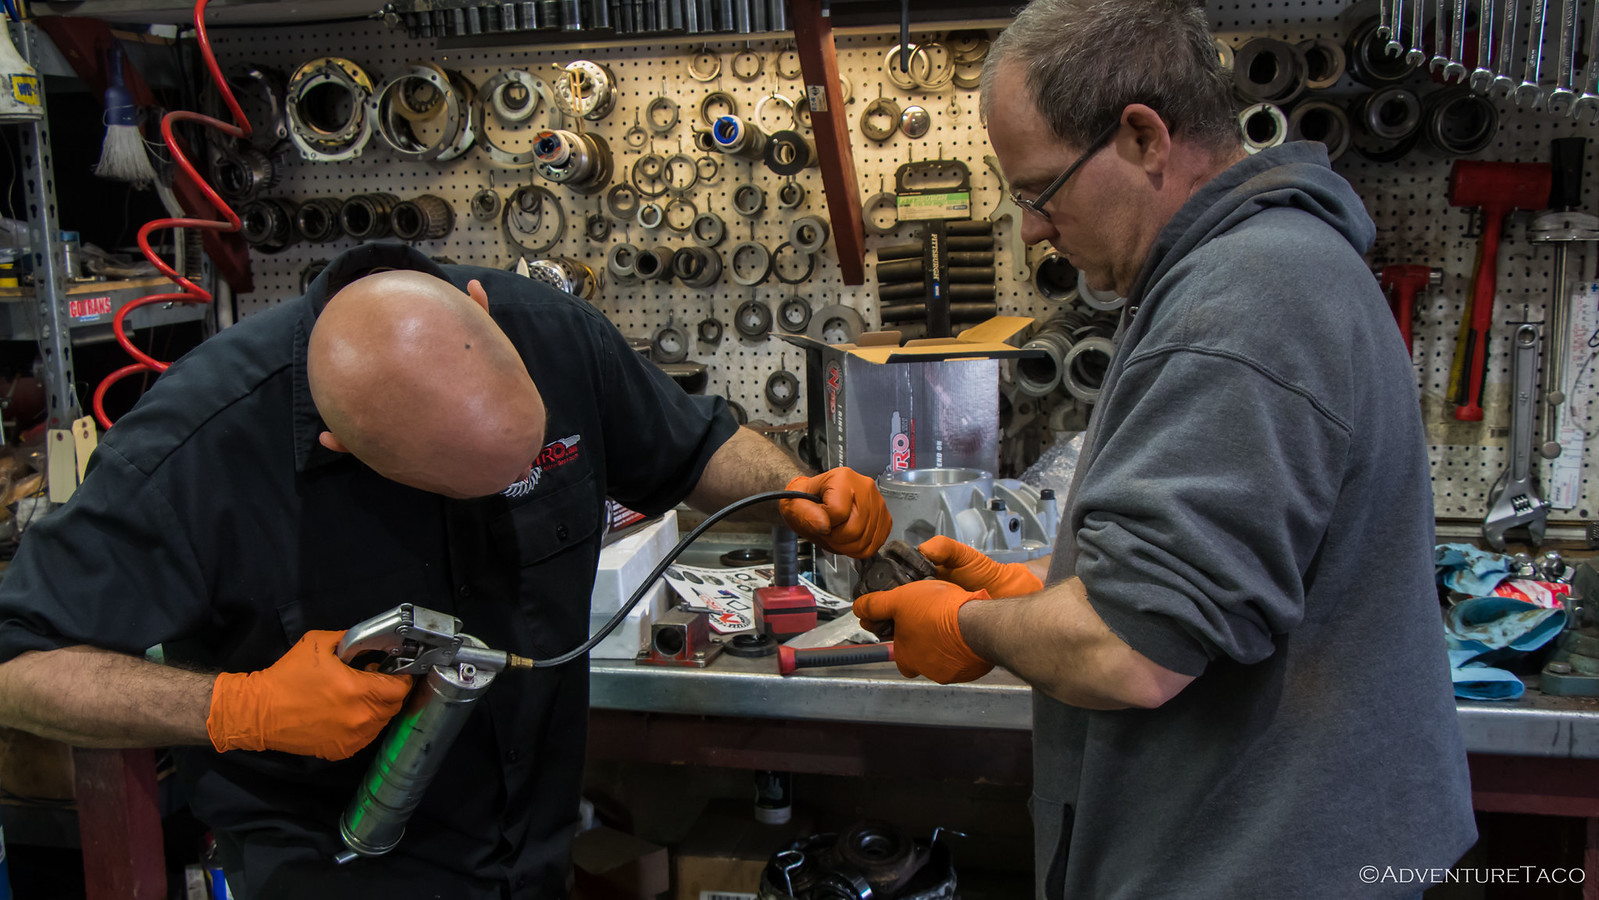

The truck was lowered to the shop floor, and we were done. Total time - maybe 20-30 minutes. Awesome.

And the drive home was smooth as butter.


- - -​


Extra side note: while the truck was up on the lift, I took a couple minutes to give everything a once-over while not negotiating the space on a creeper. I discovered this missing bolt in my driver-side lower ball joint, which is another casualty of The Maze (since I have a habit of checking them prior to a trip, given all the issues folks seem to have). My guess is that it was loosened at some point and then the 1,300-mile drive-line shake may have caused it to shake loose ('cause it sure caused other rattles I've never heard before in the truck).

At any rate, I had some extra lower ball joint bolts (OEM: 90080-10066) and blue loctite on hand, and remedied the situation immediately.

Turbo,
I have read all of your trip reports and as always, great job. I really like your writing style, sense of humor and pictures. I almost always read them while at work, during lunch. They are a great mental break from the 'daily grind'. Thanks to you, I am now considering a trip to Death Valley next year ?.

Thanks for taking the time to share your adventures.

Good to hear you got your truck all fixed up and ready for the next adventure. Glad to hear it was just a you joint and a pinion seal.

Durwin
 

turbodb

Well-known member
Turbo,
I have read all of your trip reports and as always, great job. I really like your writing style, sense of humor and pictures. I almost always read them while at work, during lunch. They are a great mental break from the 'daily grind'. Thanks to you, I am now considering a trip to Death Valley next year ?.

Thanks for taking the time to share your adventures.

Good to hear you got your truck all fixed up and ready for the next adventure. Glad to hear it was just a you joint and a pinion seal.

Durwin
Nice, you'll love DV, I'm sure. Just make sure to hit it in the winter/early spring so it's no so dang hot! :)
 

turbodb

Well-known member
Open Sesame - Adding a Garage Door Opener to the Headliner
April 2, 2018.

A while back, I somehow stumbled on @jberry813's post where he installed a garage door opener in his headliner (Homelink in a 1st gen) near the map lights. Having the same issues - a garage door remote that floats around in the center console; @mrs.turbodb's car that has it built into the sun visors) - I decided that this was something I needed to do right away.

That was a little over a year ago. Rightly, other mods took priority - and I'm glad they did. See, I never should have done this mod, but most other first gen Tacoma owners should!

I got started by ordering a Homelink® remote on eBay. There are tons of them for a a bit over $20 with shipping, so you can choose the color you like - just make sure to get one that supports "rolling codes." It arrived reasonably quickly and I made a plan:
  1. Program and test the remote to make sure it worked, before cutting up my headliner.
  2. Prep the remote for installation (basically, separate the fascia and wire it for power).
  3. Remove the map lights and sun visor clips to free up the headliner.
  4. Cut an access hole in the headliner for the remote buttons.
  5. Insert the Homelink remote, connect the power (to the map lights), and press on the fascia,
  6. Reinstall the map lights and sun visors.
Couple hours tops, I was sure.

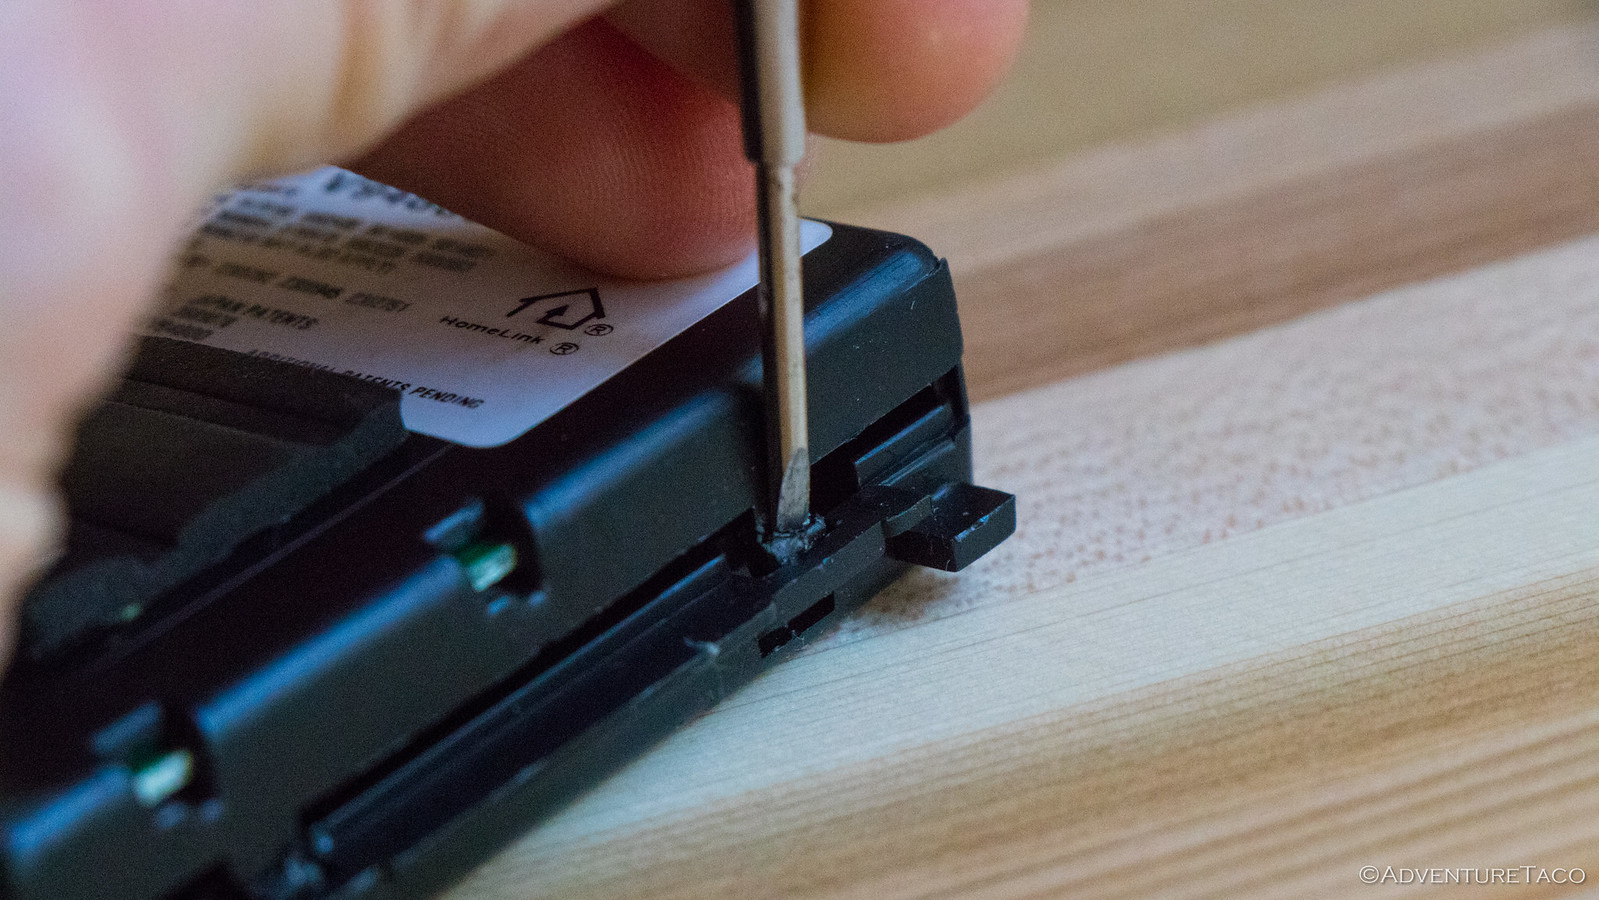
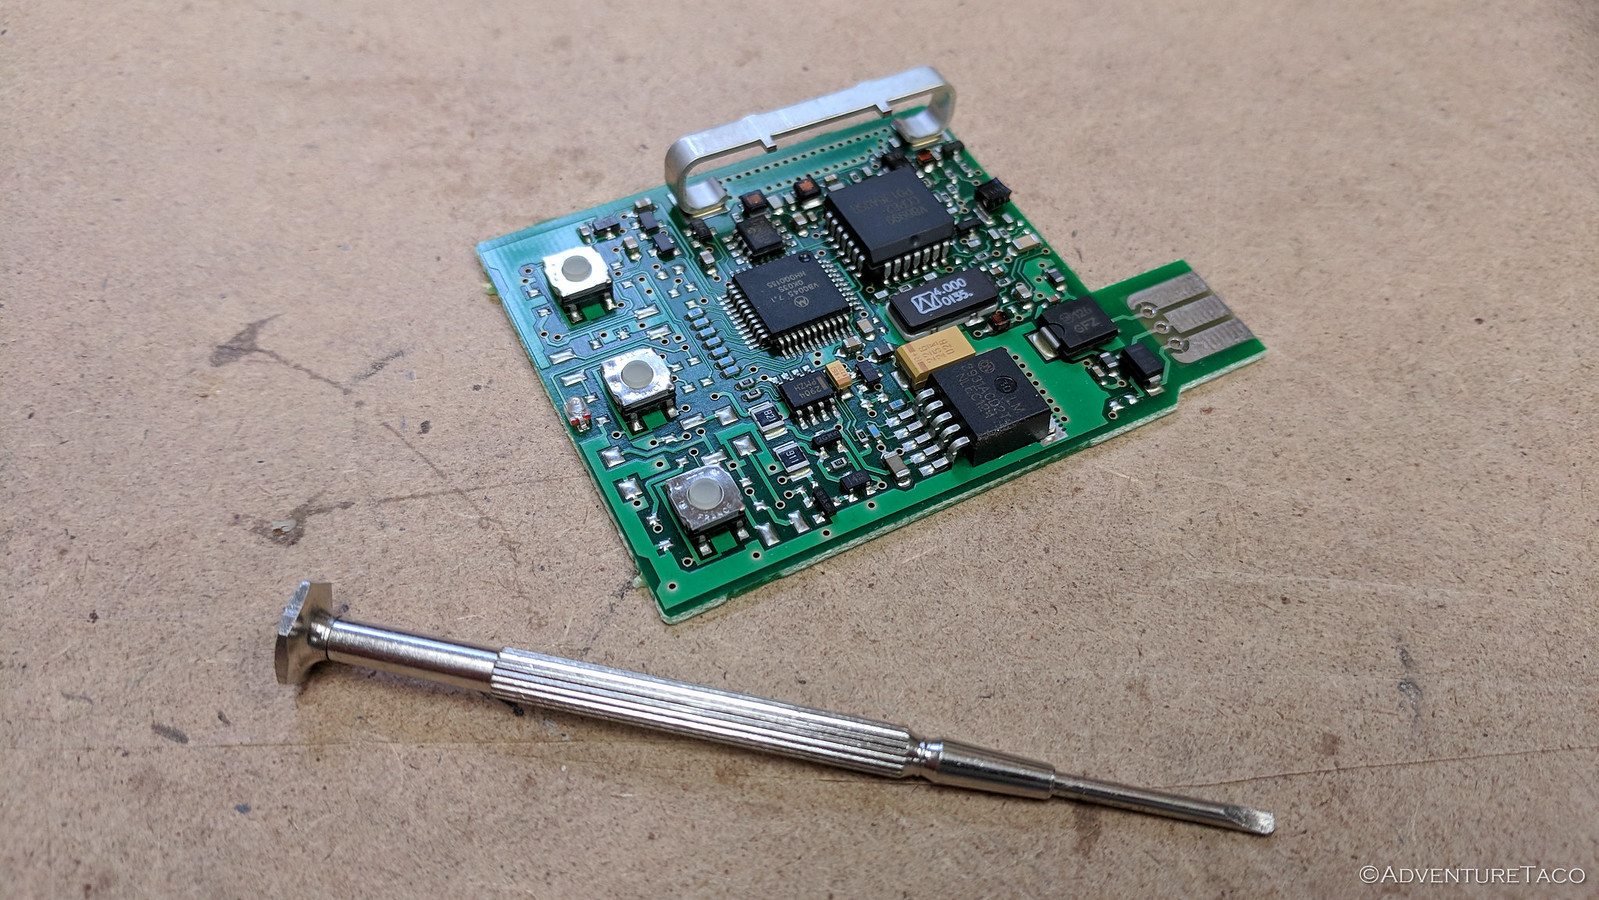
The first couple steps went as planned - programming the Homelink remote was relatively easy (instructions), as was opening up the remote and separating the fascia with some jewelers screwdrivers.


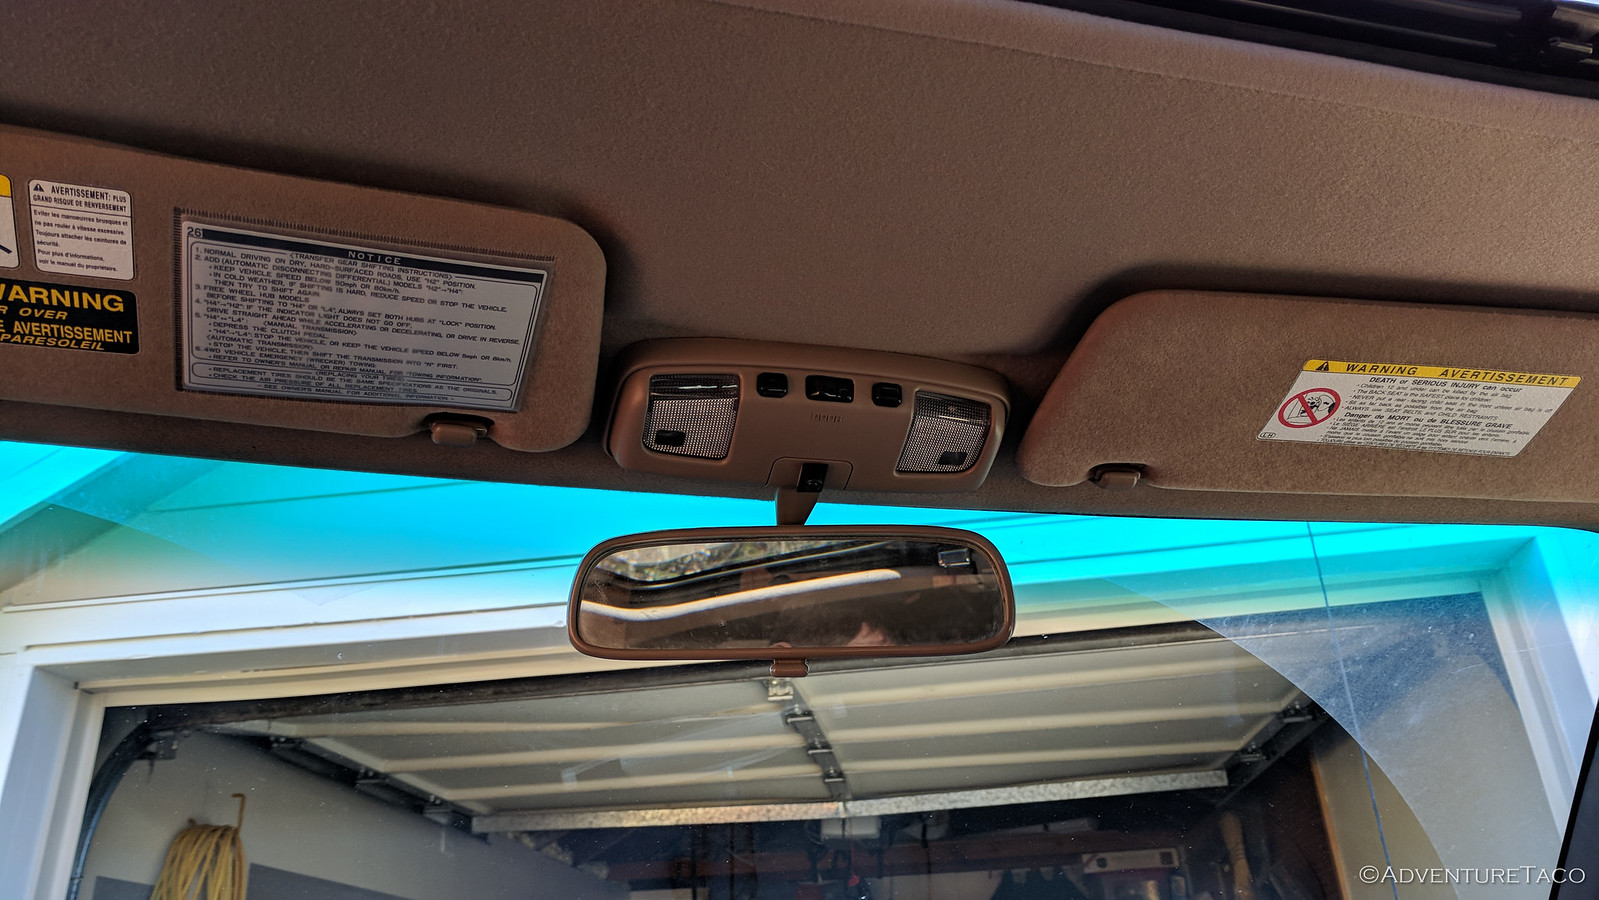
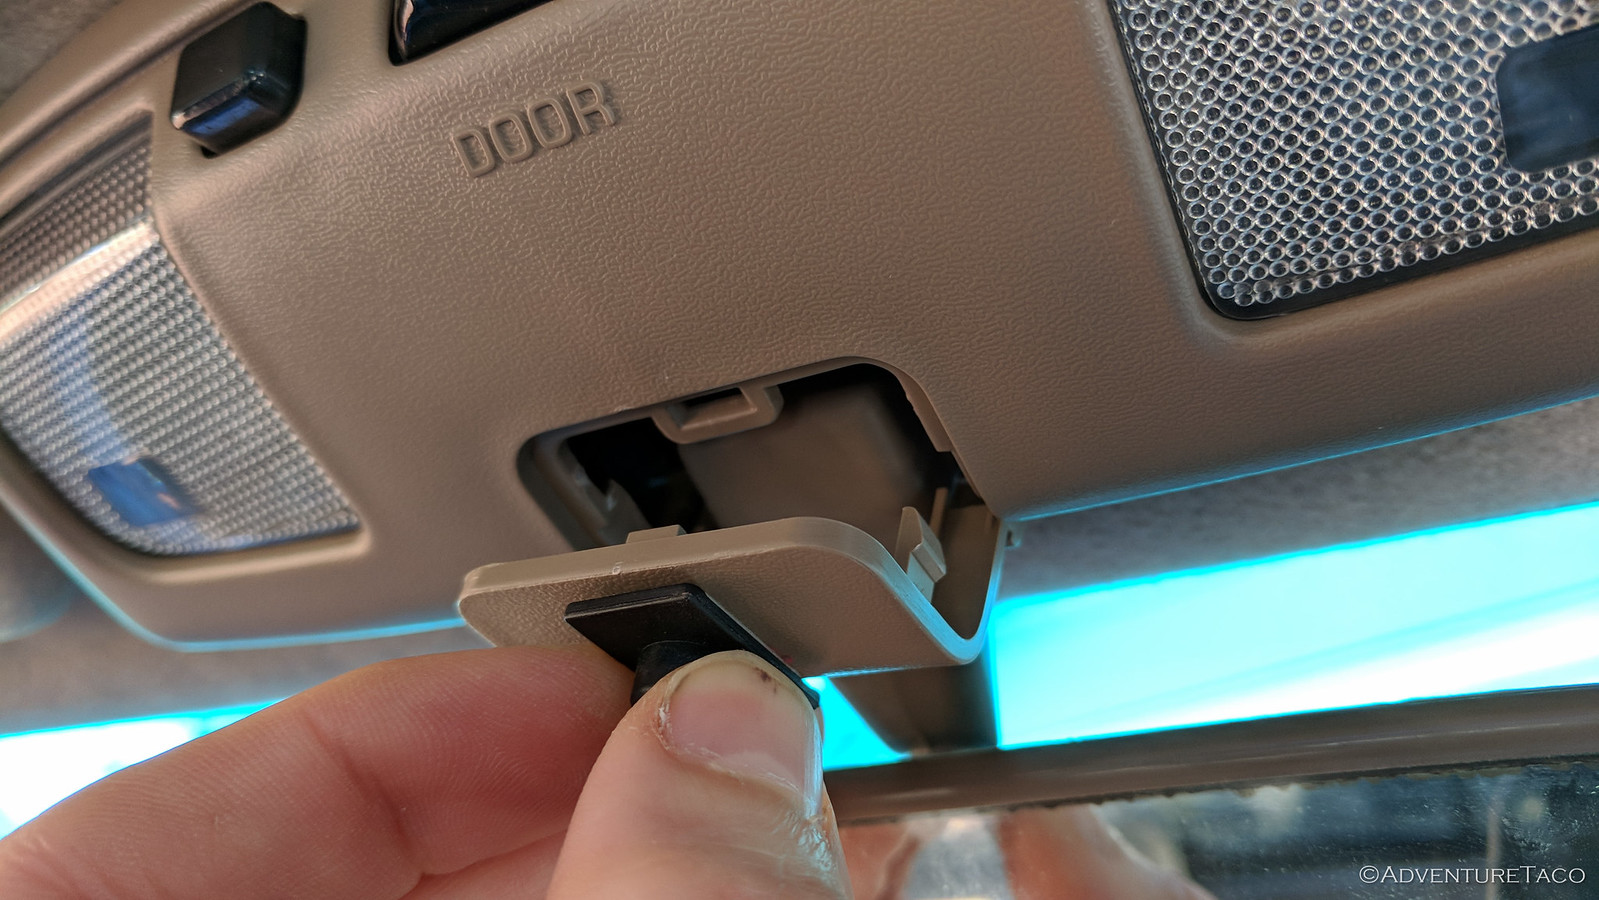
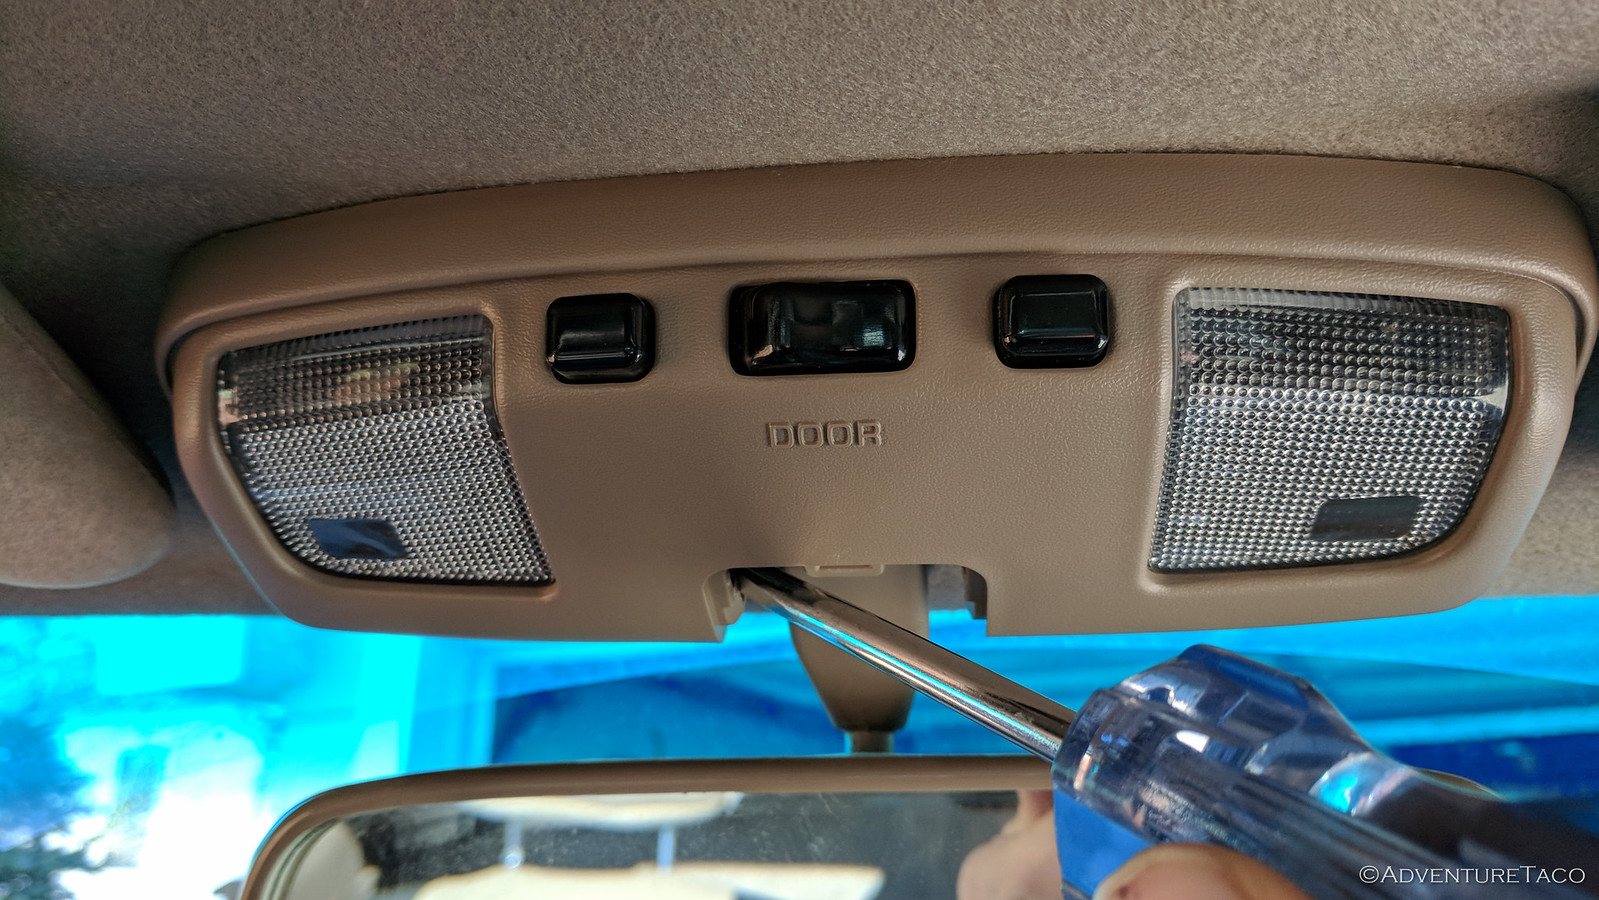
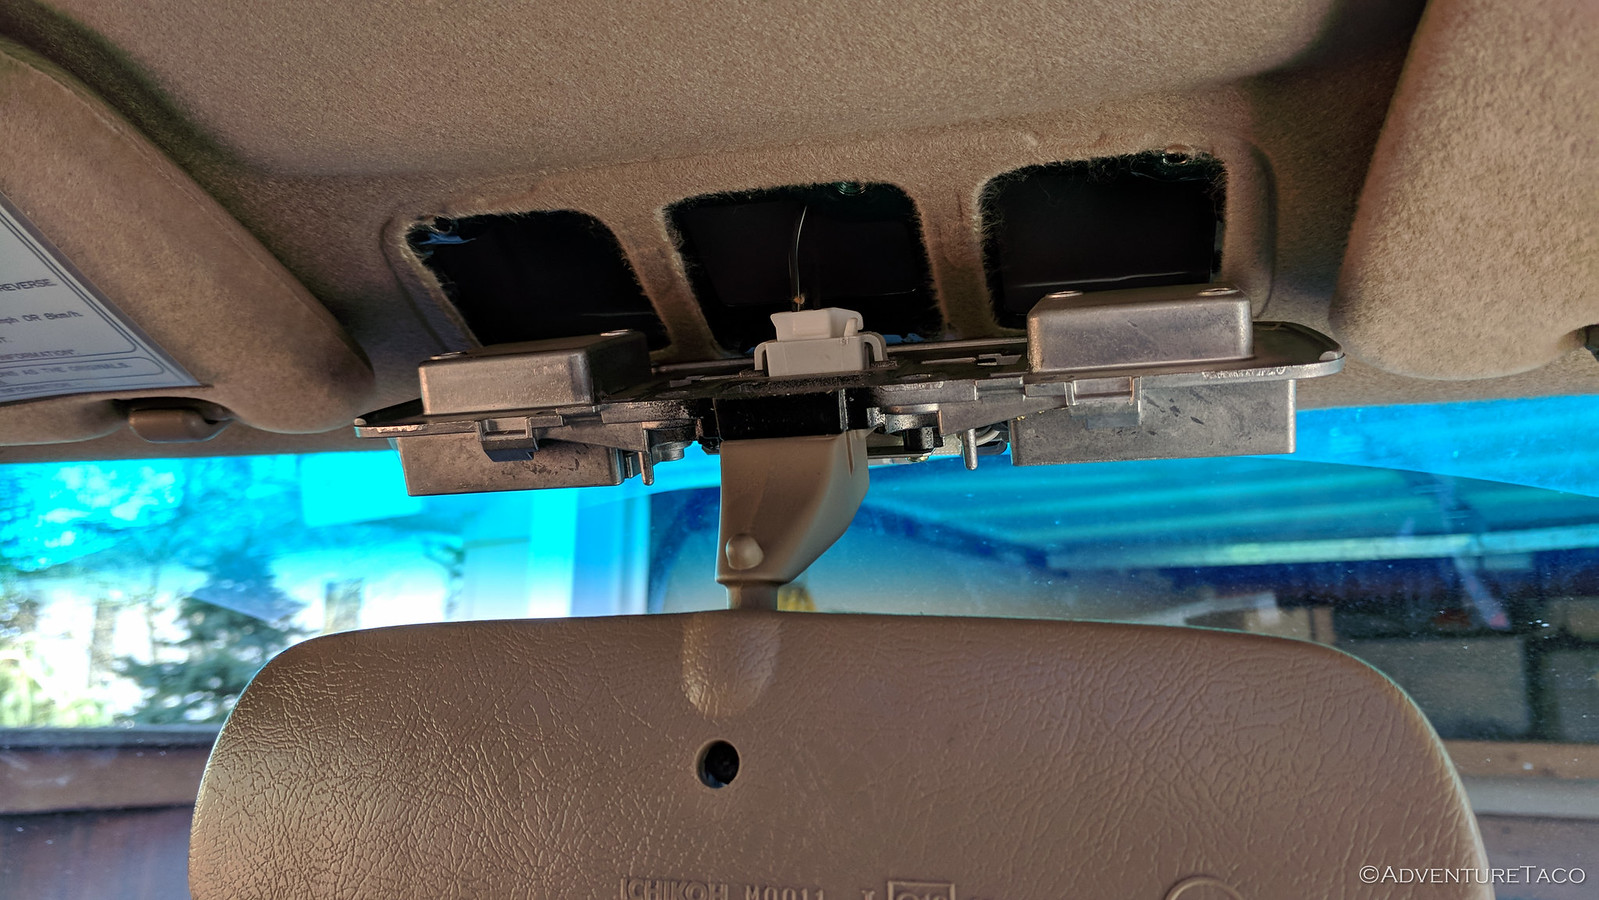
Then it was time to remove the map lights and get access to space between the headliner and roof. I always dread this type of work because I seem to break clips every time, but I lucked out and everything went smoothly. To do it, first remove the center clip (around the rear view mirror) from the map light trim - there are two clips on the side that can be pried out using a screwdriver inserted from the front of the vehicle.
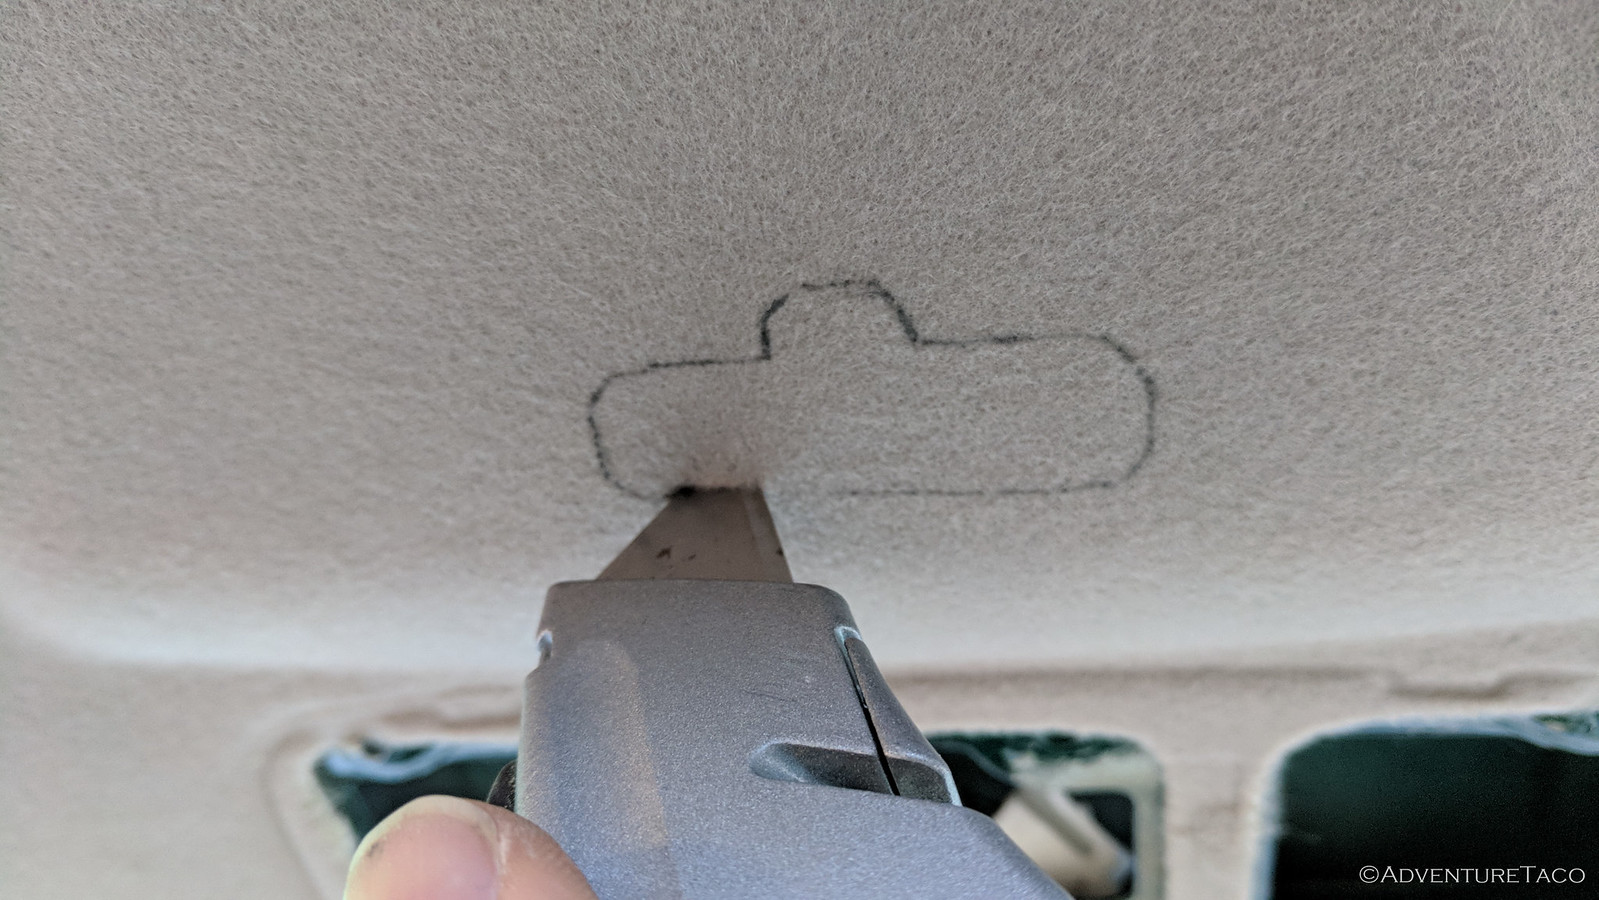


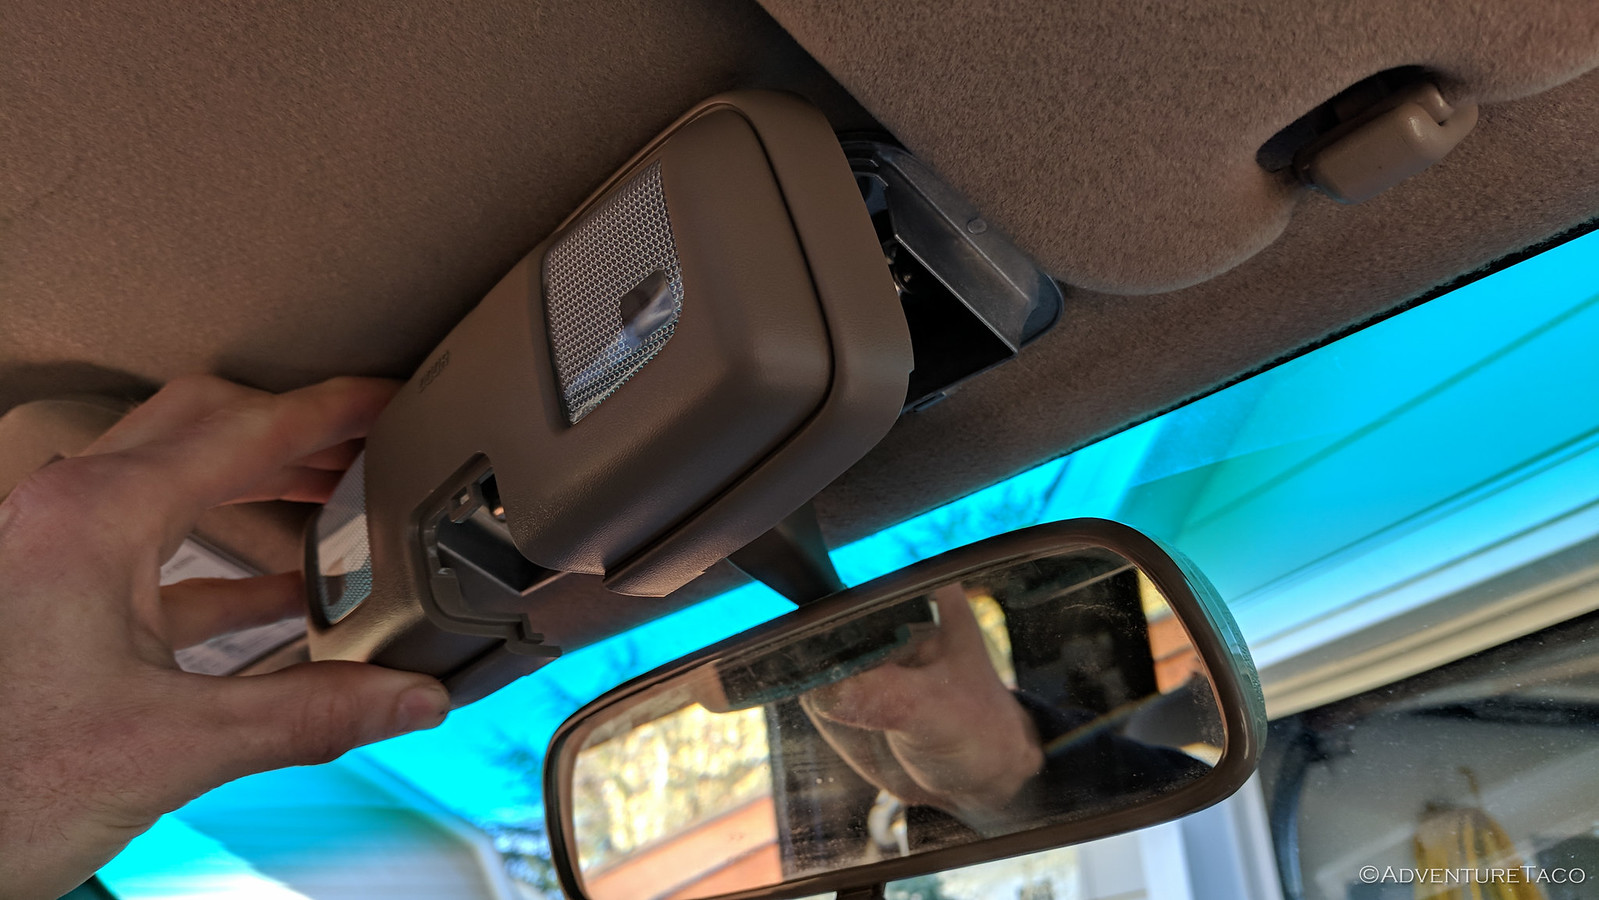
Next, use the same screwdriver to pry the front-facing edge map light trim forward just enough to release the two tabs that secure it. The are small, so you don't need to pry much. When you release them, you can rotate/hinge the map light trim down and back to remove it (there are two tabs on the back that it will hinge on).


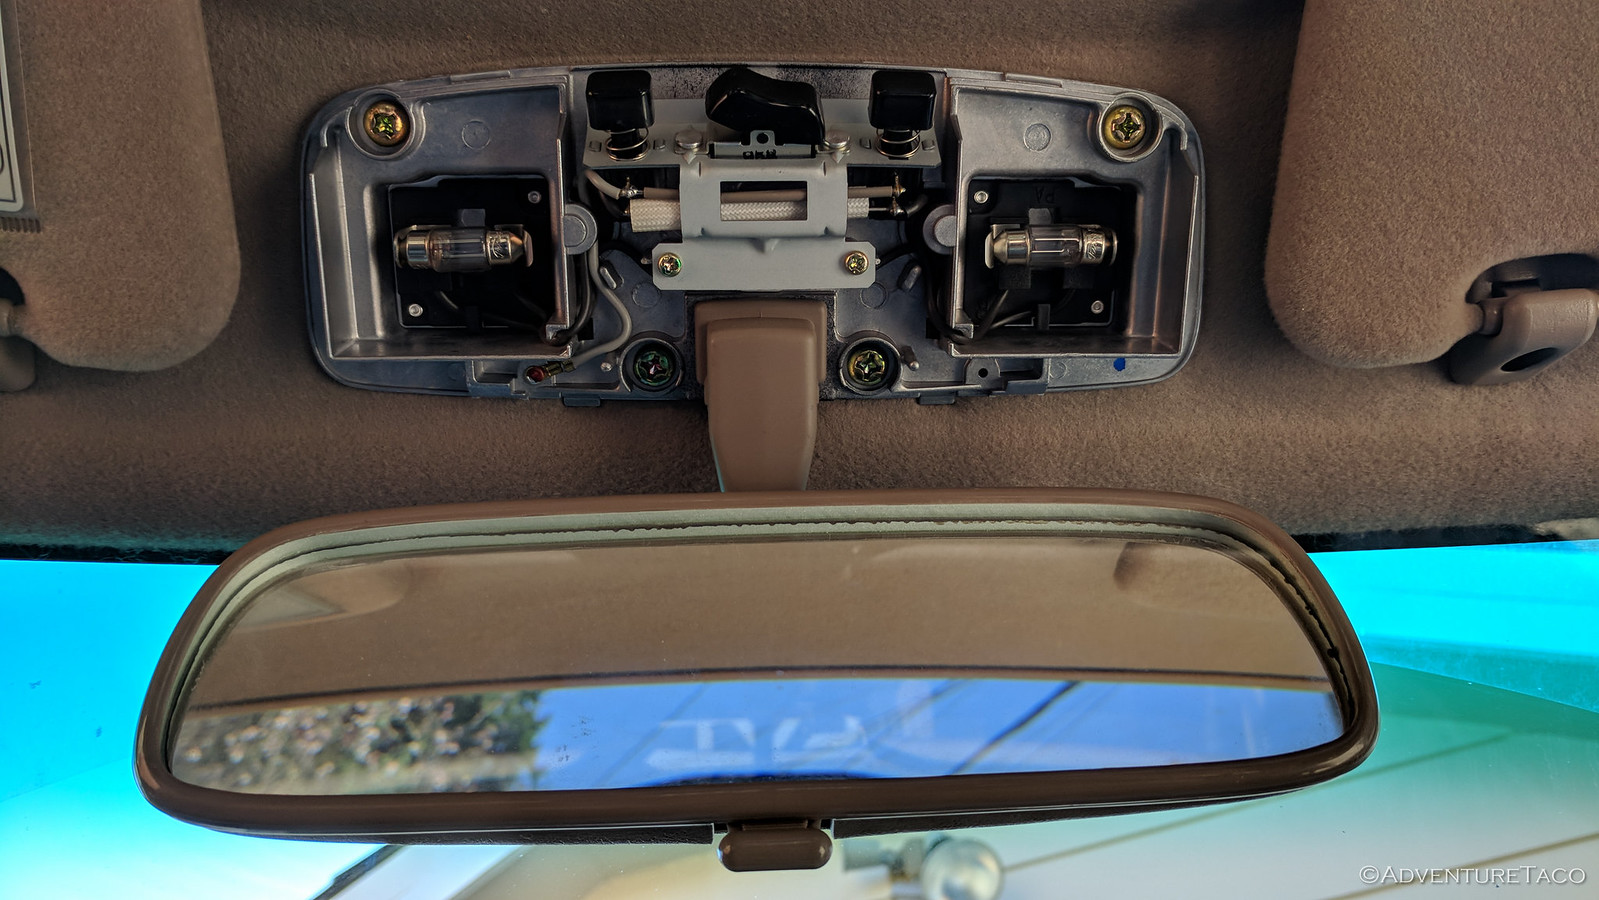
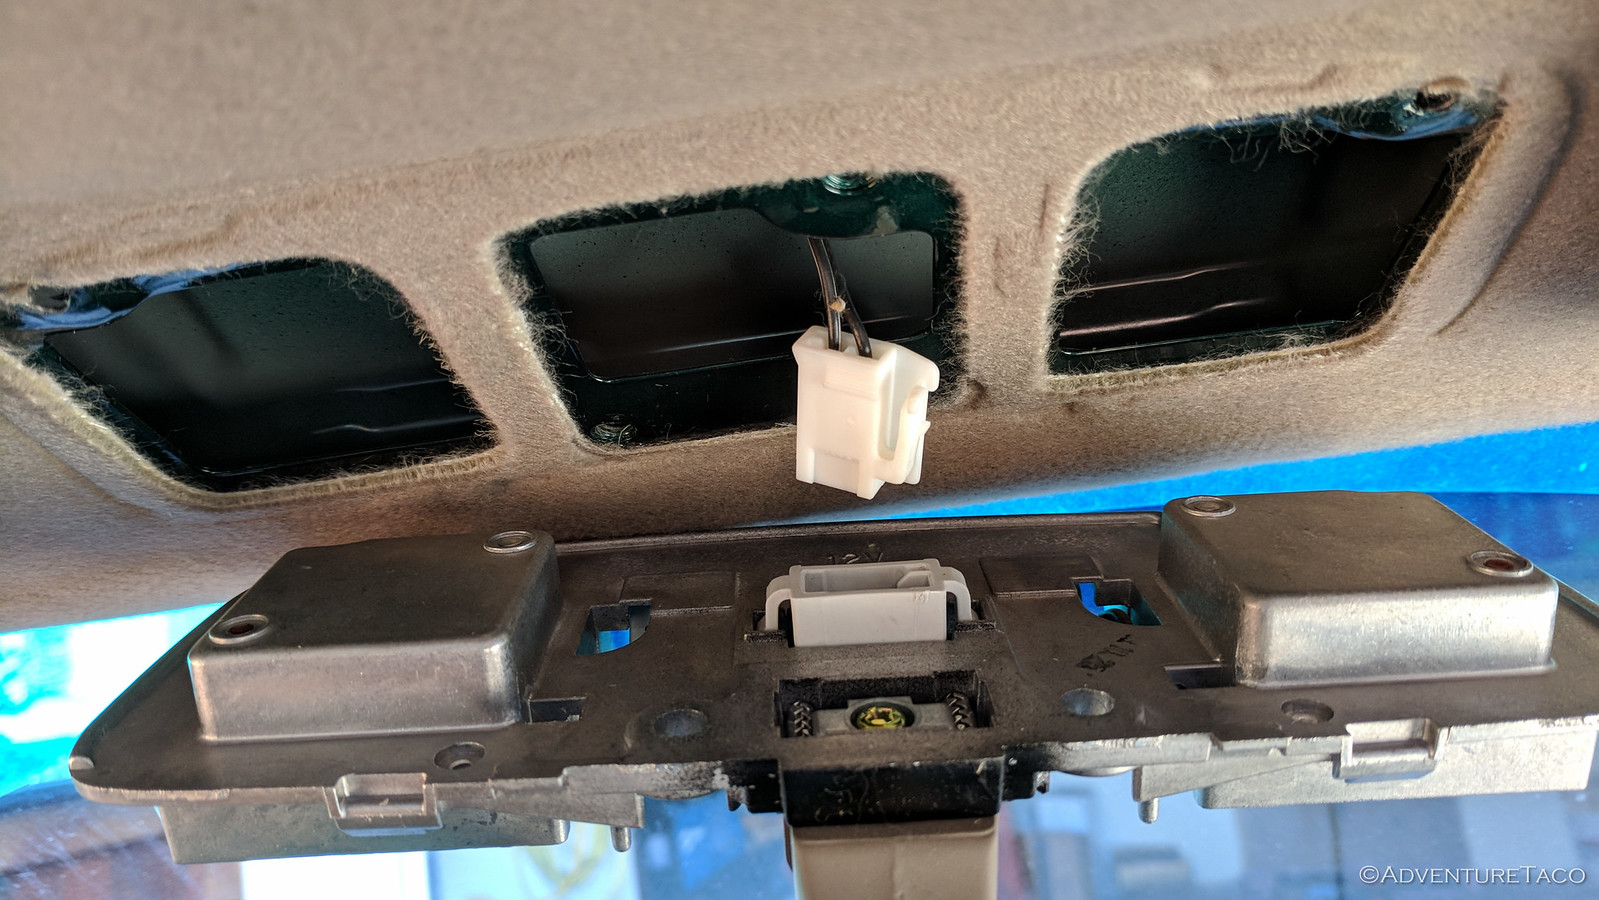
At this point, you'll see the four screws that hold the map light module to the roof. They are JIS heads, but if you're careful, you can use a Philips #2 driver to remove them. Note that the machine threads are forward, and the course threads are rearward for re-assembly.
With the screws removed, pull out the map light module and rotate it 180º so you can unplug the power connector.


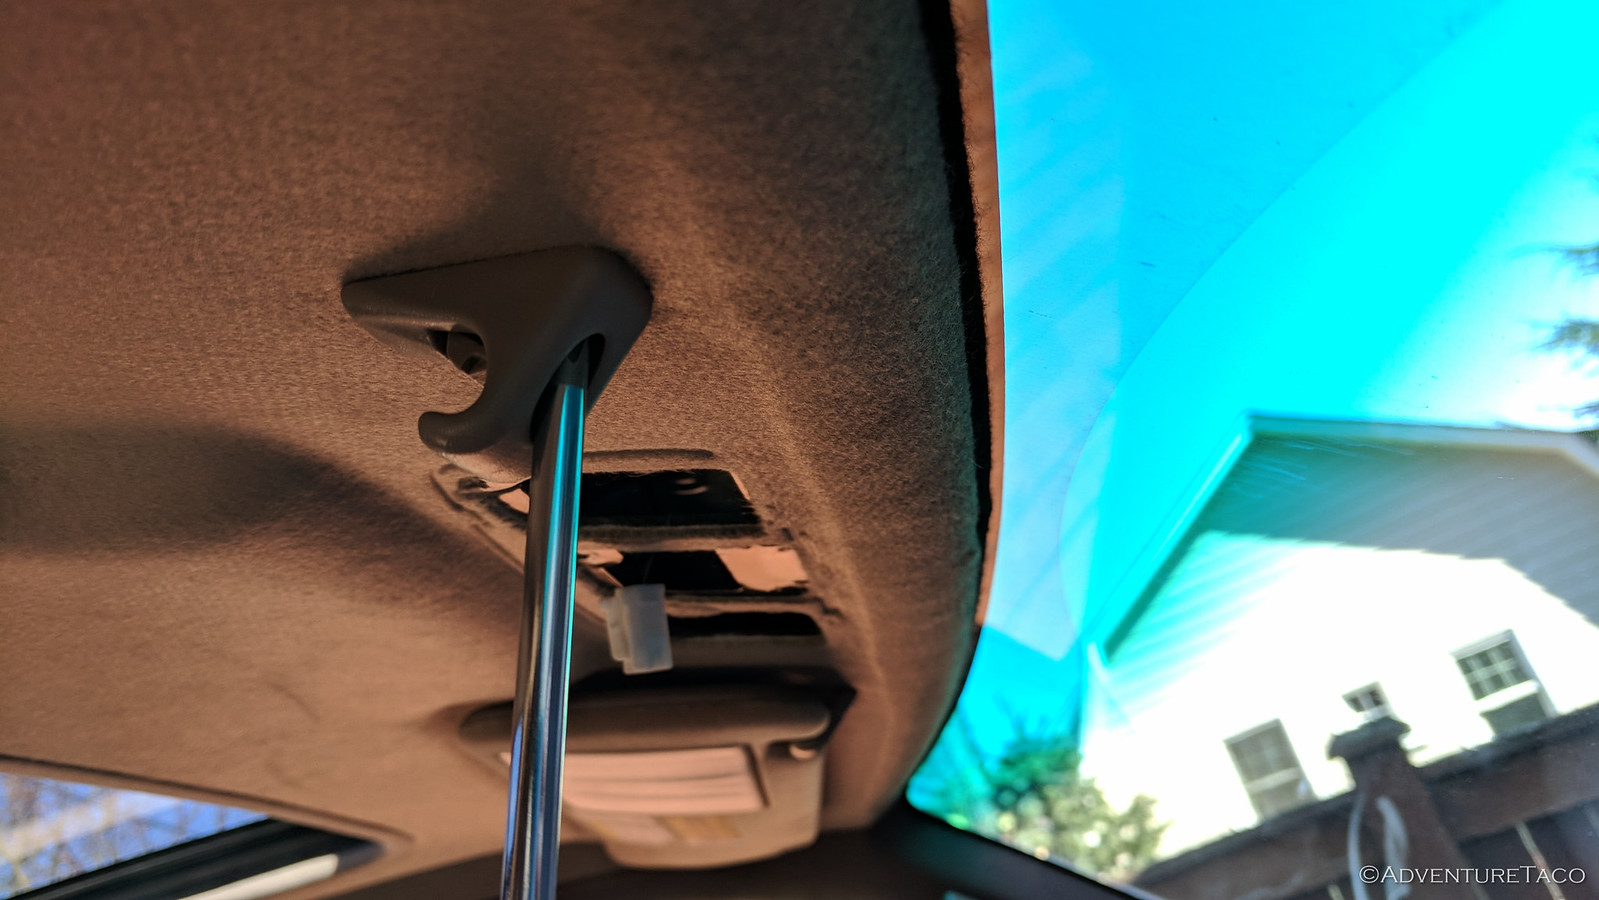
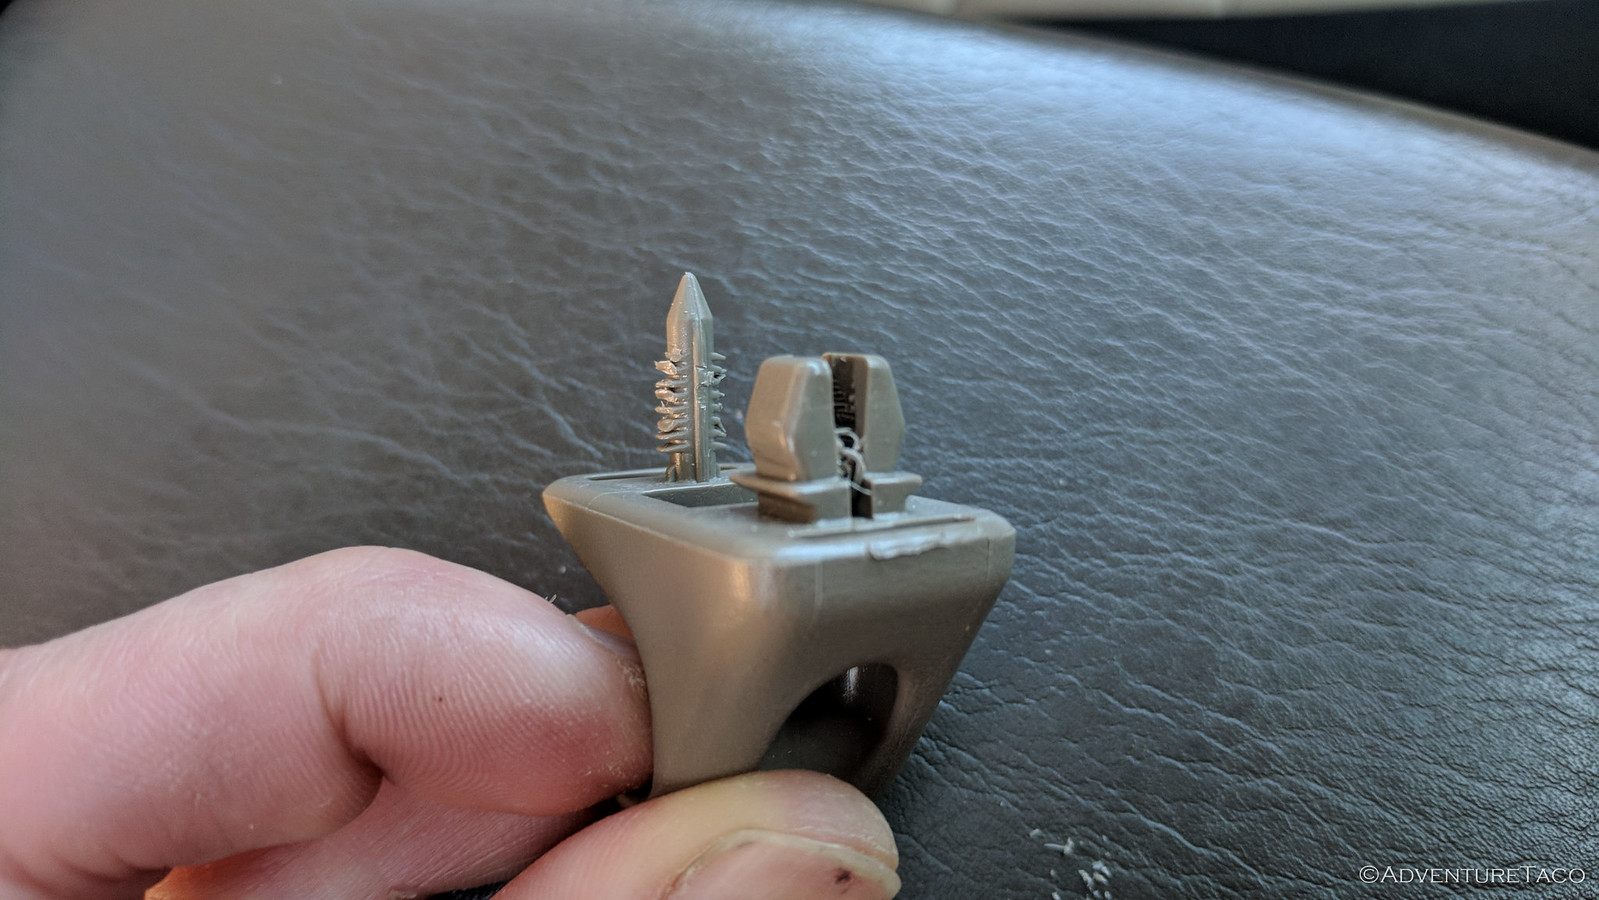
The last bits to remove are the sun visor clips. Remove the single Philips #2 screw from each, and then pull (really, wiggle) them out. Mine were super-tight, but eventually came out.


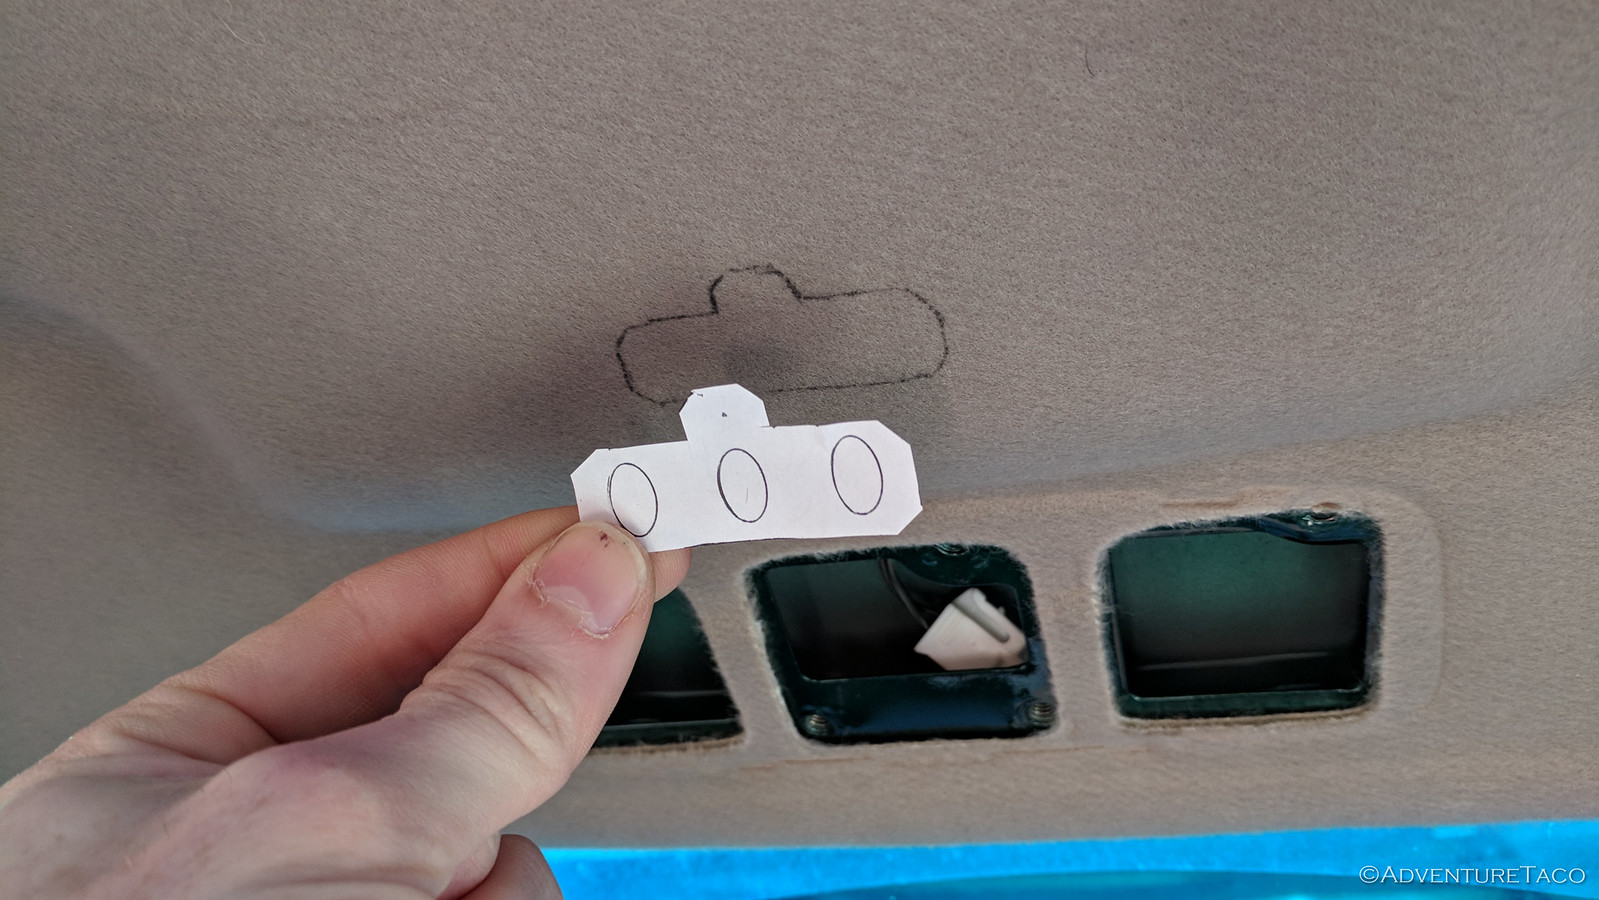
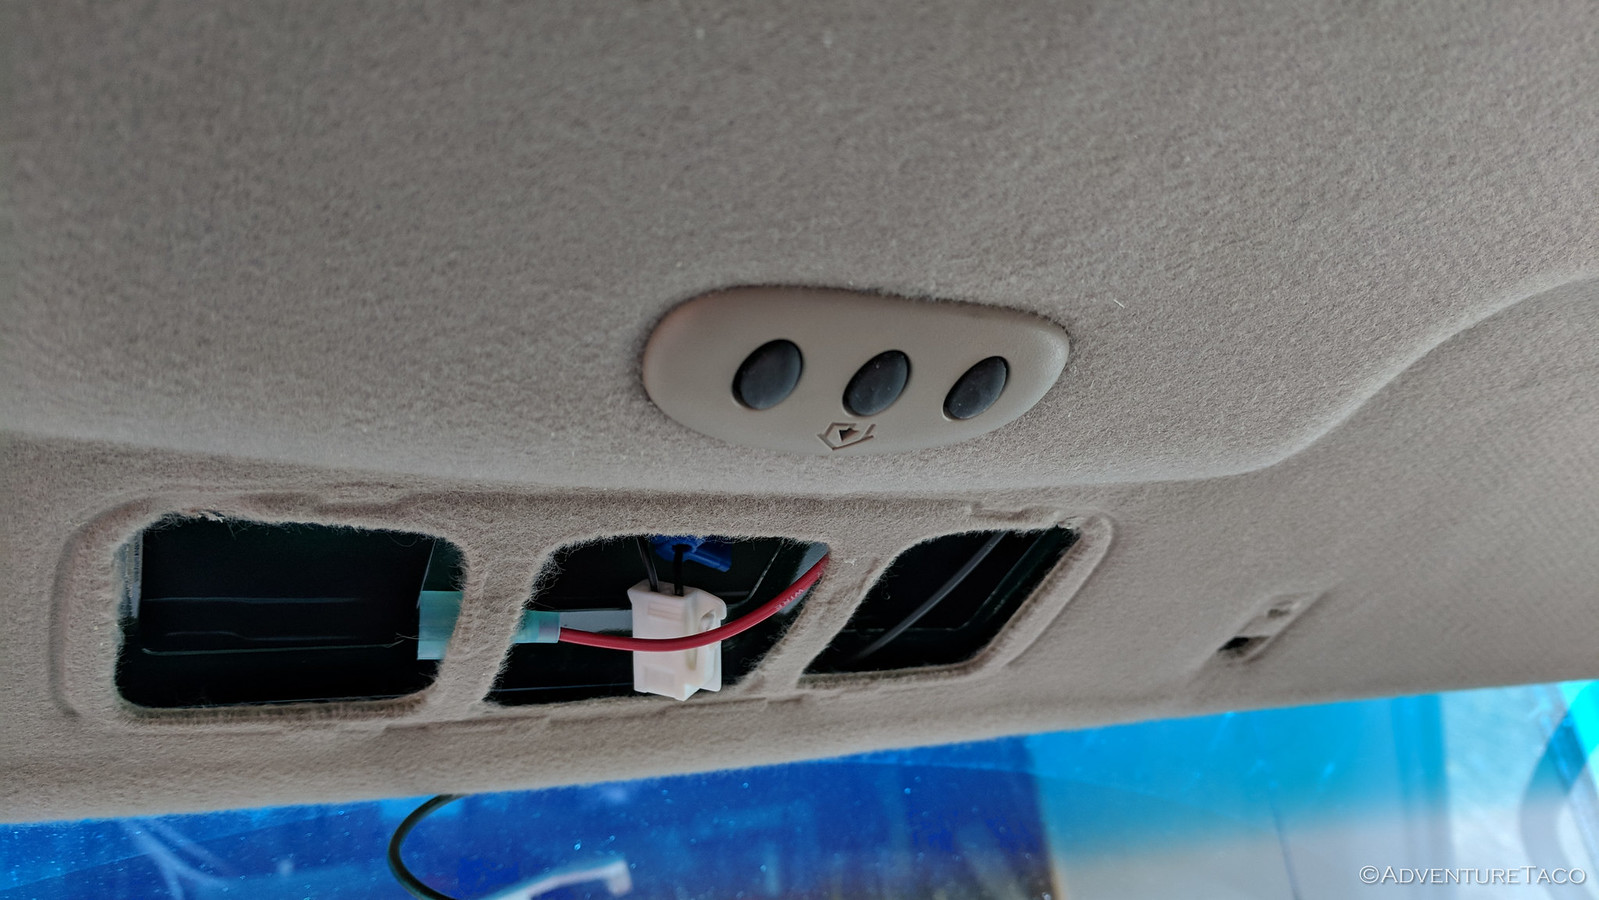
Next, it's time to cut a hole in the headliner for the buttons on the Homelink remote. I created a paper template that I could position and then trace onto the headliner, and I proceeded to trace and cut a hole. You'll note that I traced it backwards - don't make the same mistake. Luckily, my trim piece covered the mistake, but the "bump" should be forward-facing, not rearward.


And here's why I shouldn't have done this mod...

At this point, I slid the Homelink opener into the headliner and realized I had a problem. See, I have a unicorn Tacoma - one with a sun roof. And that means that I have extra reinforcement/supports in my roof, to support the opening. So, when I slide in the remote, it didn't fit. In fact, if I'd paid more attention in the beginning, I'd have realized that there wasn't any way to make it fit between the map lights and sunroof, due to the supports (which aren't there for non-sun roof models, which makes this a great mod).

********.


turbodb

Well-known member
********. ********. I mean, I had a hole in my headliner at this point. How can I recover? (without buying a new, $700 headliner)

I set everything aside, remembering something that Eric @RelentlessFab said when I was there - "Slower is faster." - and I figured that slowing down and thinking things through for a day or two was probably a good idea at this point.

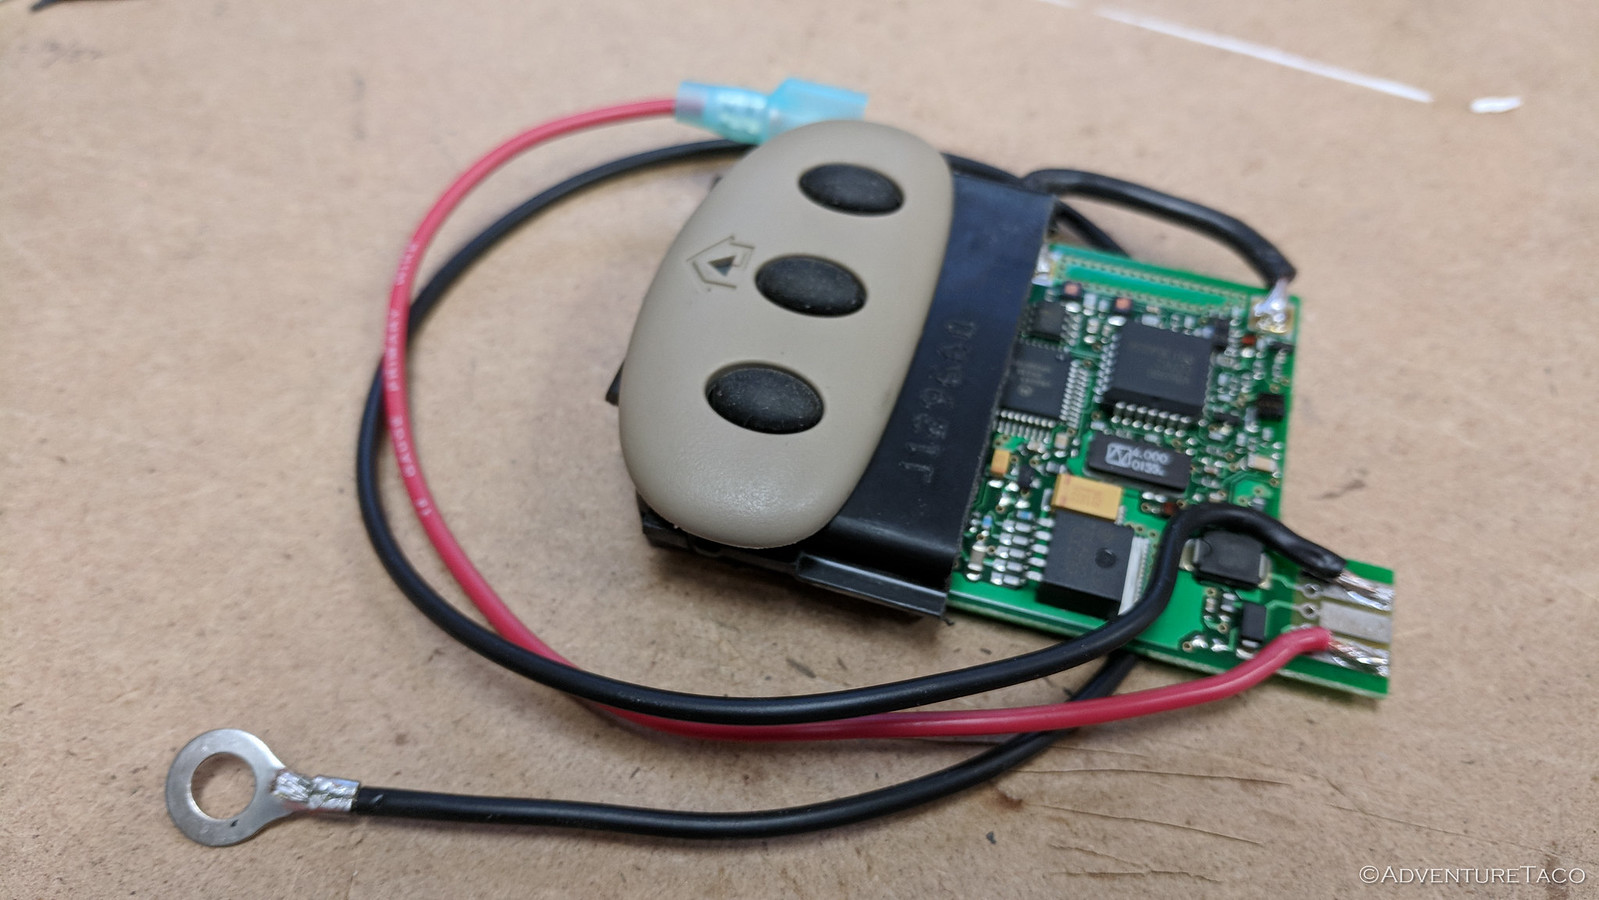
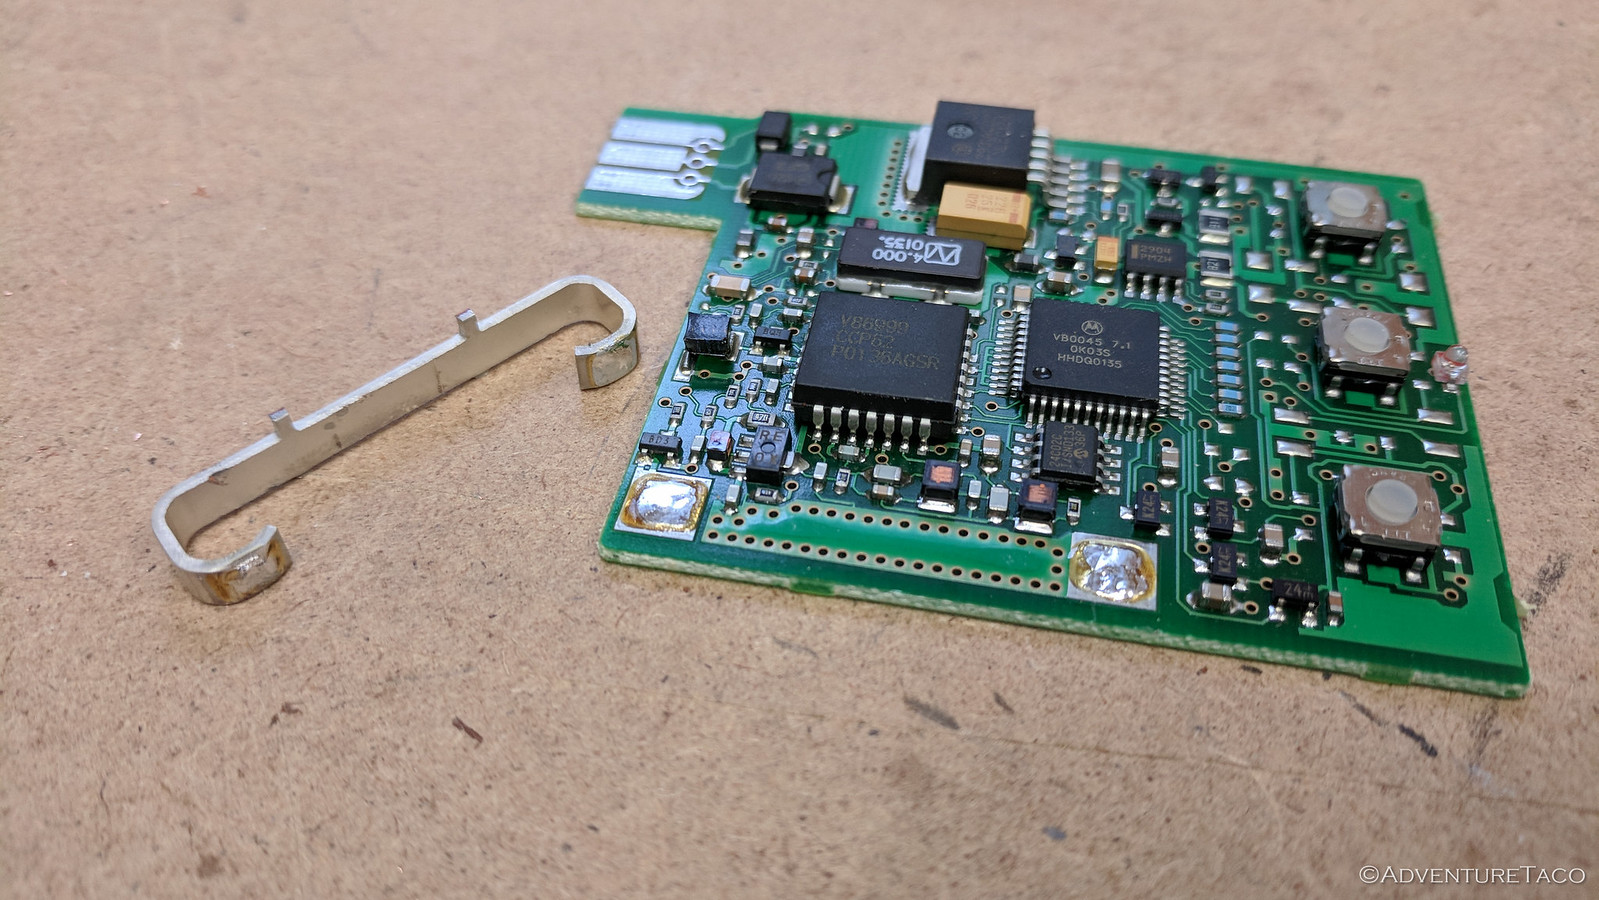
Ultimately, I spent some time looking at the internals of the Homelink remote, puzzling through options. I realized that the antenna was the thing that made the unit as "thick" as it is - so I knew I needed to address that. And, I knew I'd have to do something about the enclosure itself - again, since that thickness needed to go.


I came up with three possibilities.
  1. Remove the board from the enclosure and "squish" the antenna so it would be flatter on the board.
  2. Unsolder the antenna, and then solder in a wire "in-plane" with the board, so that the board could be thinner.
  3. "Remote" the buttons so that I could mount them in the planned space in the headliner, running wires to the transmitting brains, which I could stash somewhere else (in the headliner).
The first two options might allow me to slide the board between the headliner and roof support - pushing the liner down nearly imperceptibly if I was successful.

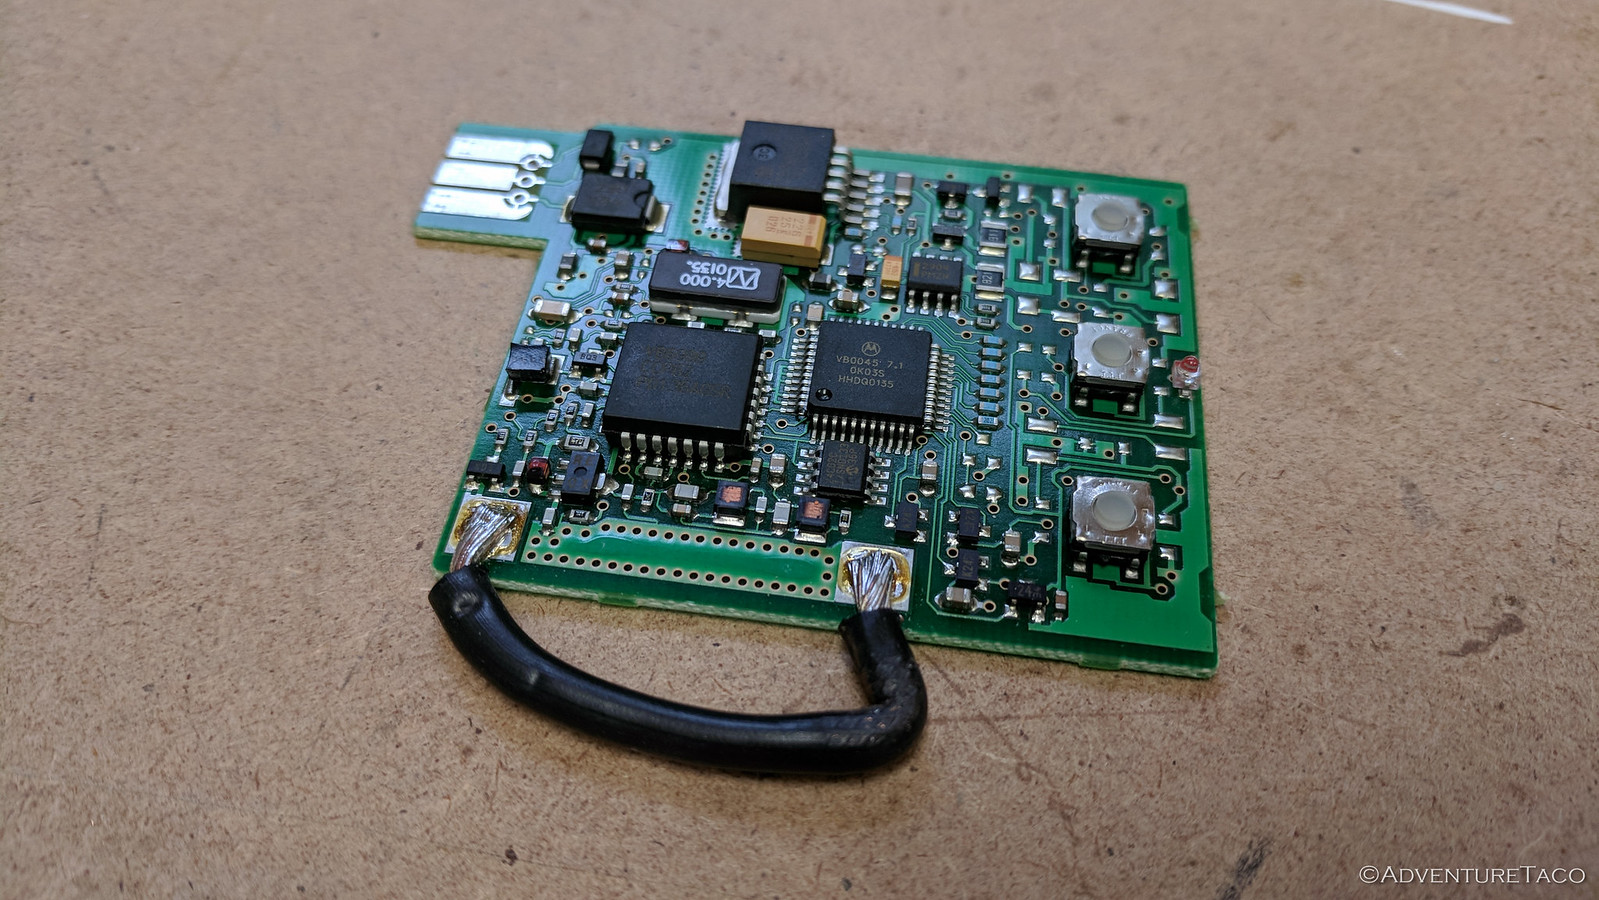
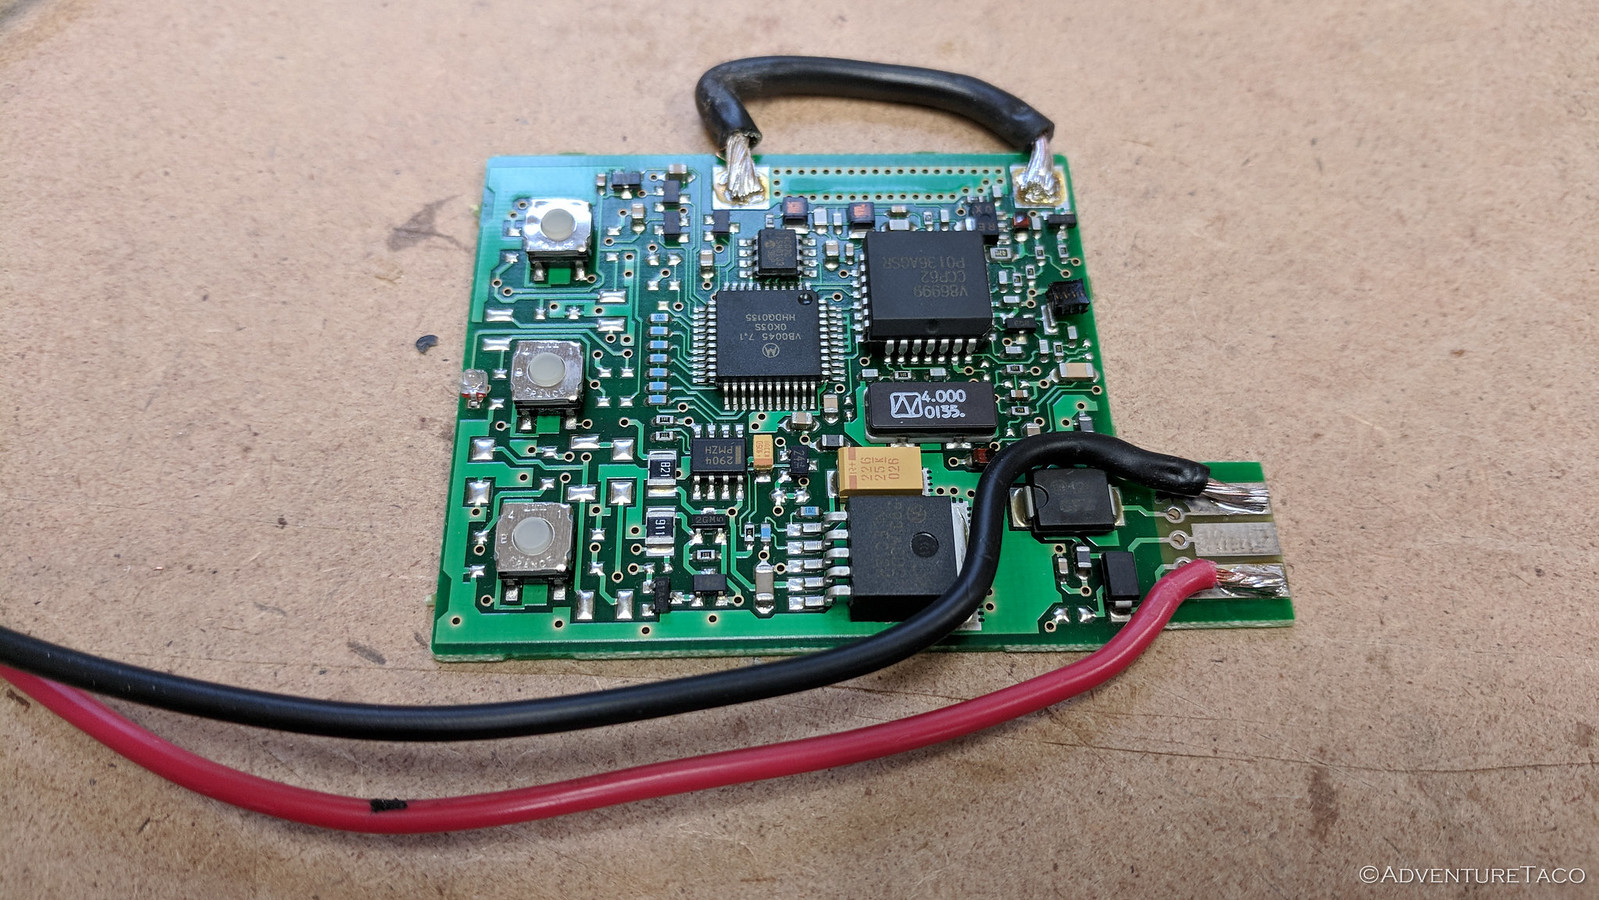
I decided to go with option 2, since it seemed the safest (easiest to recover from). I cut a piece of 12 gauge wire the same length as the stock antenna and got to work unsoldering the antenna and soldering on the wire, which went smoothly. At the same time, I also soldered on the +12v and ground wires, since the factory connector was another "thick" element I needed to remove.


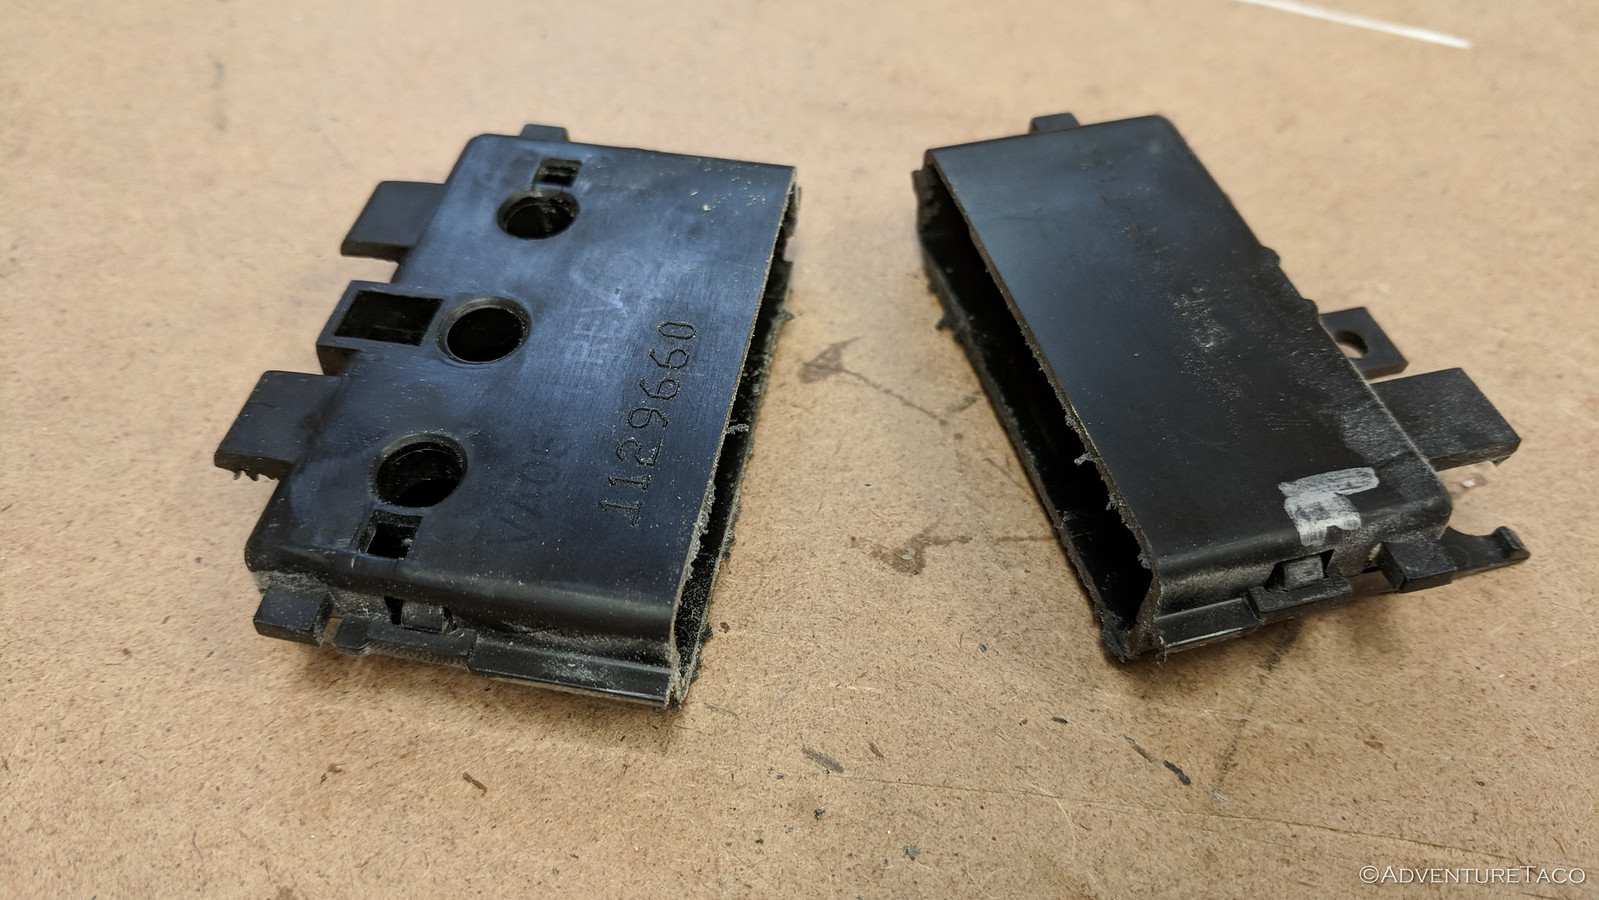
At this point, I tested everything to make sure the opener was still functioning - it was, whew! - and then I got to work on the enclosure. I still needed the front half, since that's what housed the buttons, and anchored the trim, so I cut it down using the chop saw to get a clean cut, and cleaned up the edges with a bit of sandpaper. And then, I test fit everything.


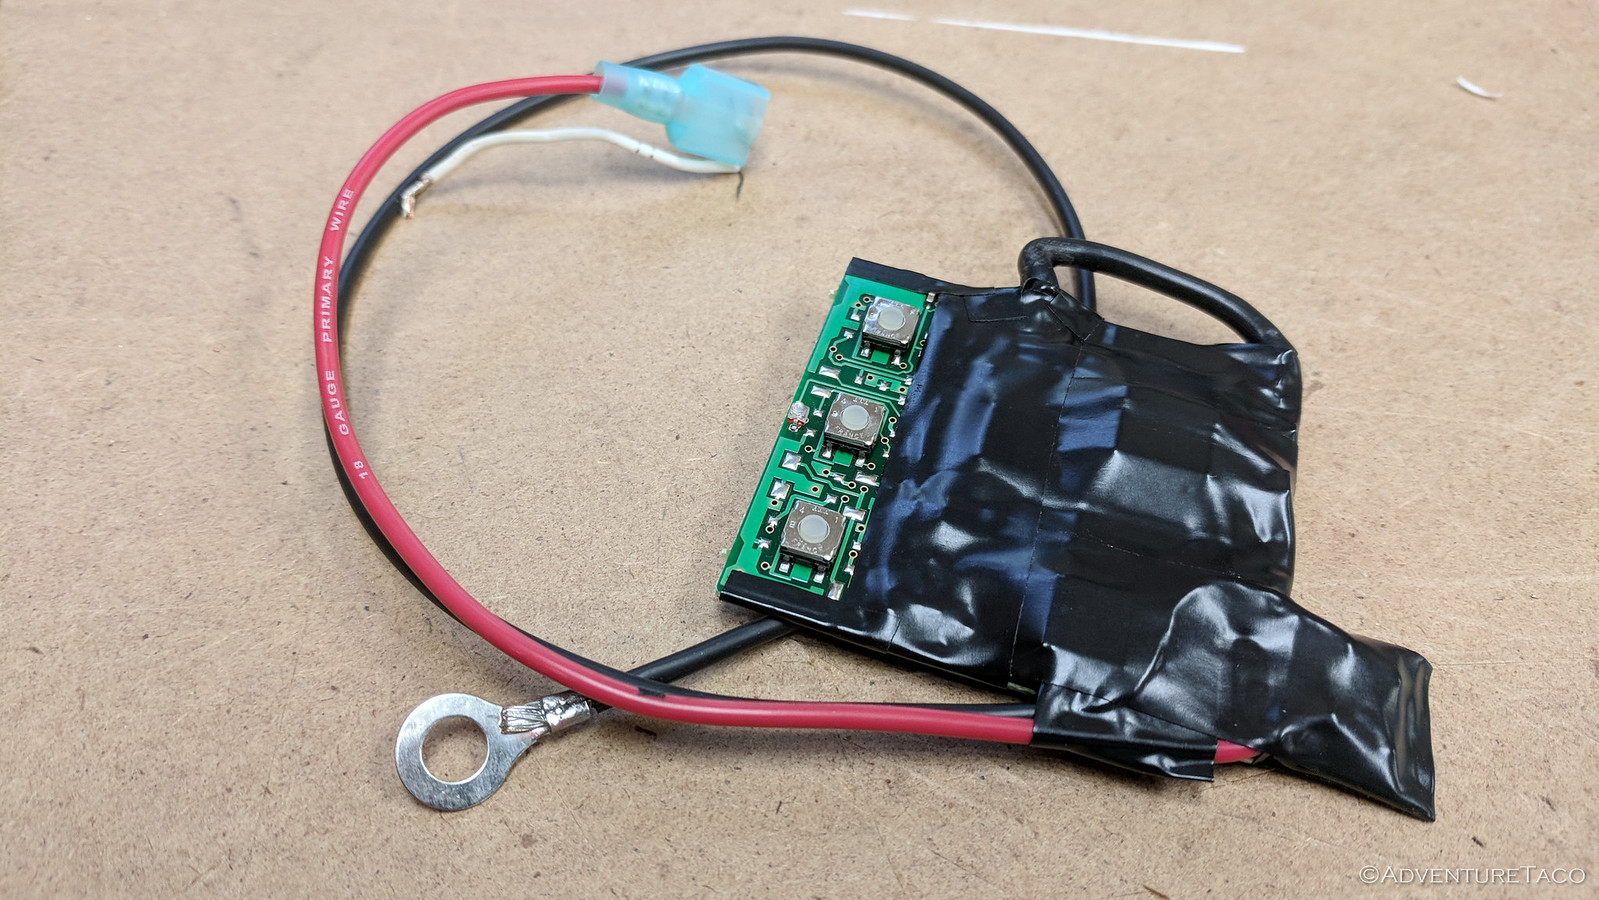
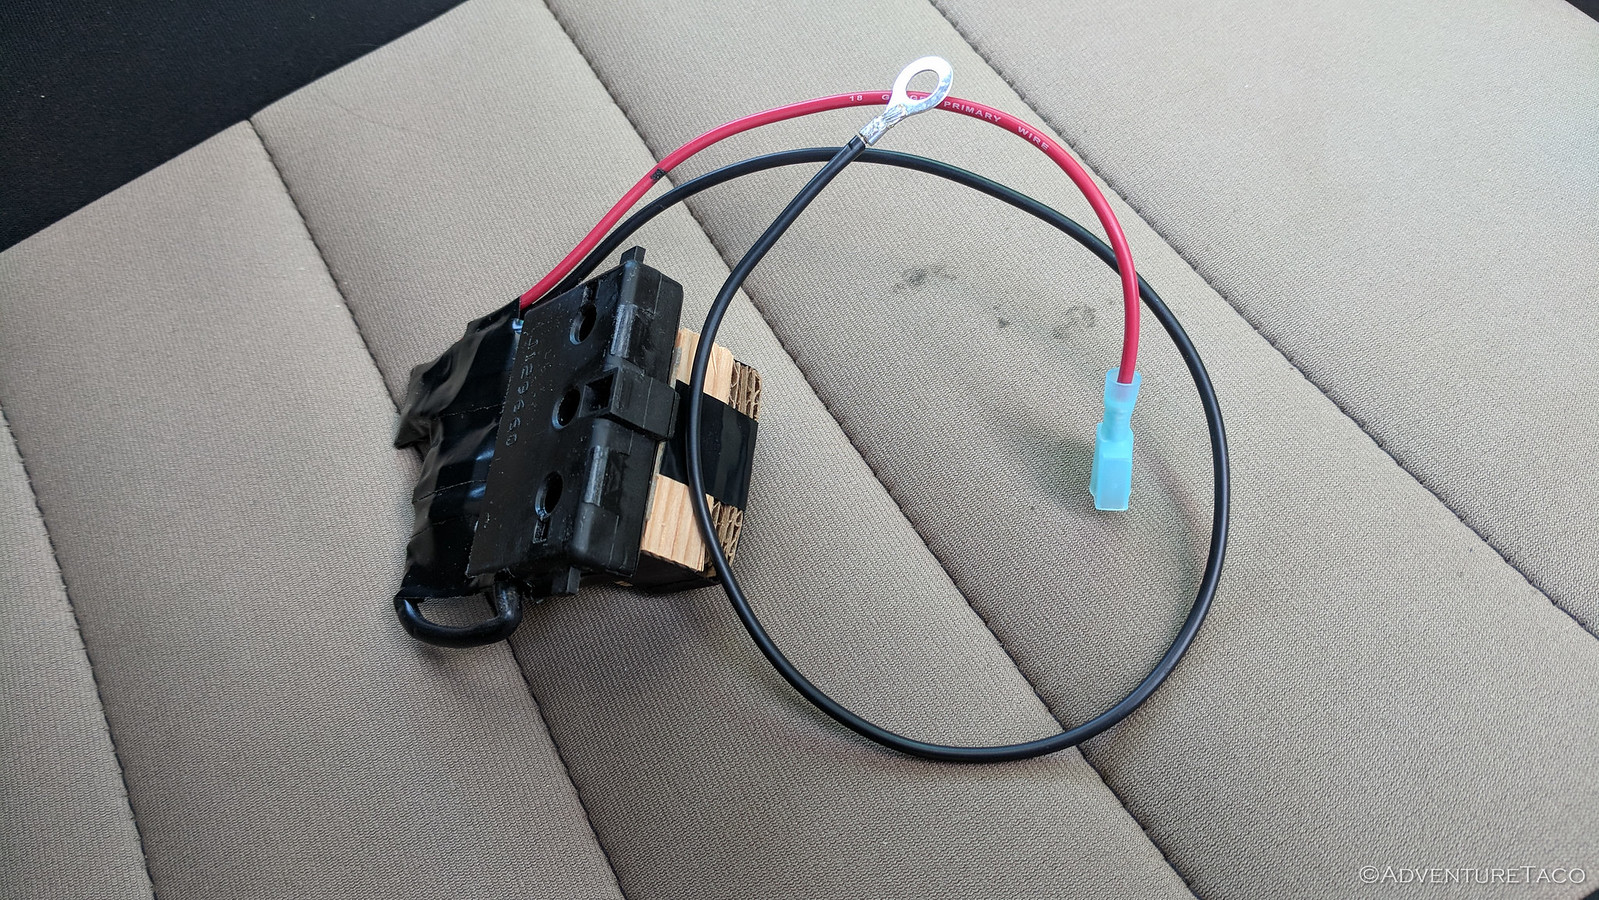
Satisfied that this was a reasonable solution, I applied a layer of electrical tape to most of the board - this tape would act as a thin enclosure for the components that would now be unprotected above the headliner (so they won't short out on the roof). I also measured the space between the headliner and roof so I could add a "spacer block" to the top of the opener to support it when a button is pressed.


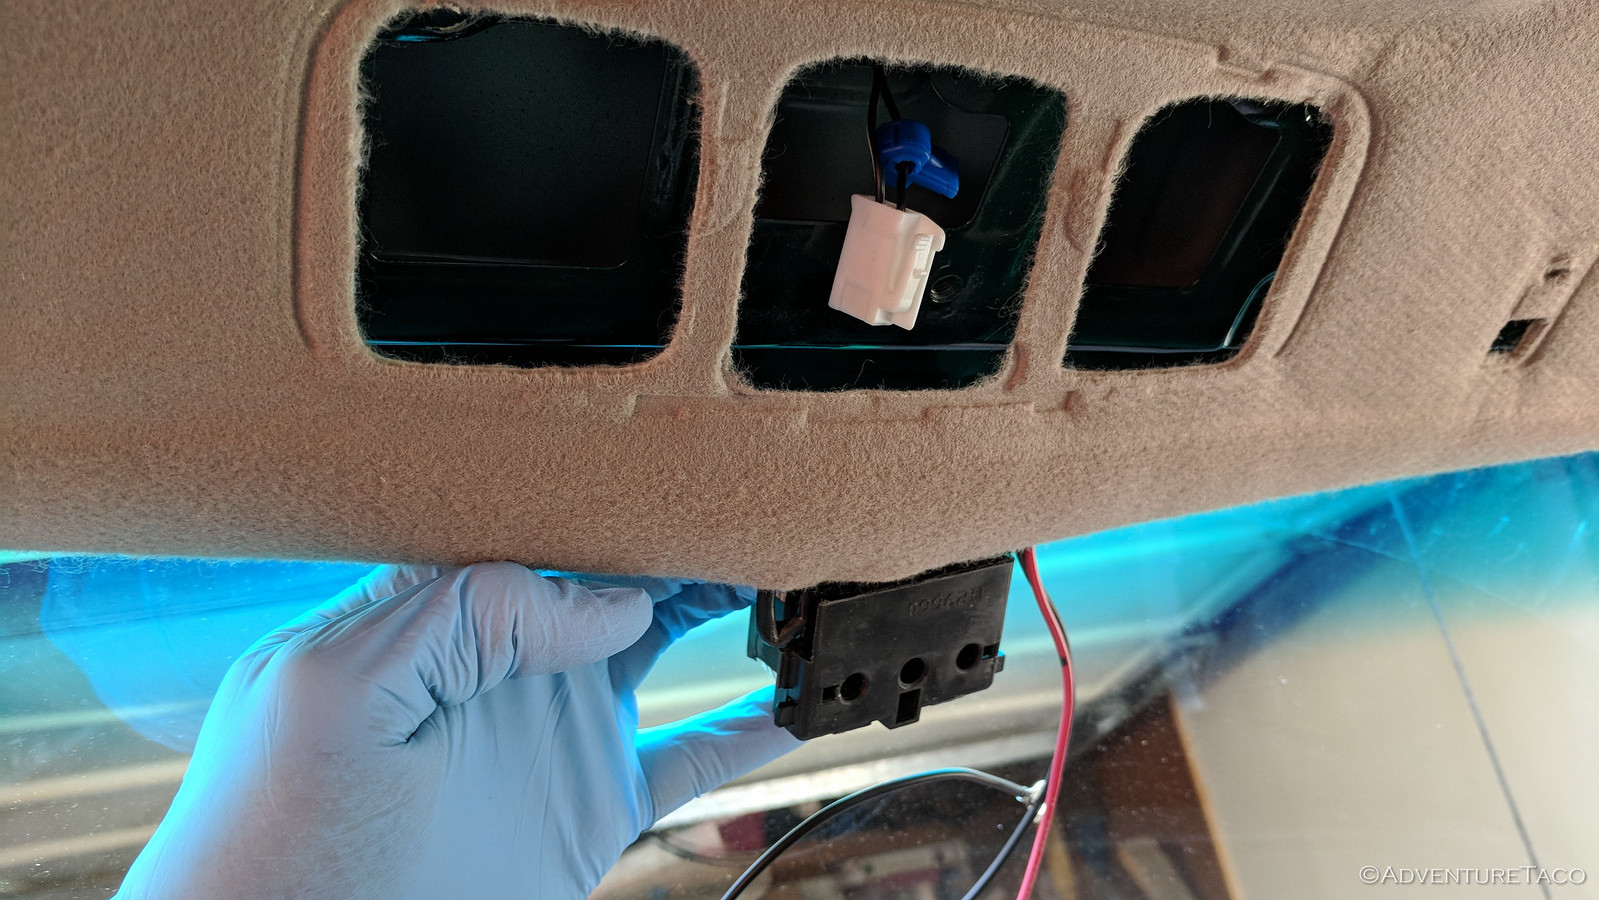
Carefully (and wearing nitrile gloves since the headliner is made of fiberglass that easily embeds itself in the nooks between your fingers - ask me how I know), I pushed down the headliner and slide the Homelink opener into place, connecting the wires (my red wire tapped into the black +12v wire for the map lights; my black wire grounded by a map light screw) and installing the fascia. It was starting to look good!


All that was left was to reinstall the map lights and sun visor clips, which was simple enough, given everything I'd just been through. And now, I can open the garage door with the press of a button. A button that looks factory.


Graveltravels

New member
I keep waiting on your new adventures to read at work!! And one popped up on the email today, so I know it’s gonna be a good day tomorrow!! I’ll get my passport sorted and join you guys one of these trips, or finally talk you guys into coming north of the border and show you some glaciers and strong beer!


Sent from my iPhone using Tapatalk
 

Tex68w

Beach Bum
How are those ST Maxx tires holding up? How many miles do you have and how are they wearing? Any balance/handling issues, how loud are they? Performance in difference terrains? Will you replace them with the same when they wear out, why/why not?
 

Forum statistics

Threads
188,007
Messages
2,901,048
Members
229,355
Latest member
BDM66

Members online

Top