AdventureTaco - turbodb's build and adventures

turbodb

Well-known member
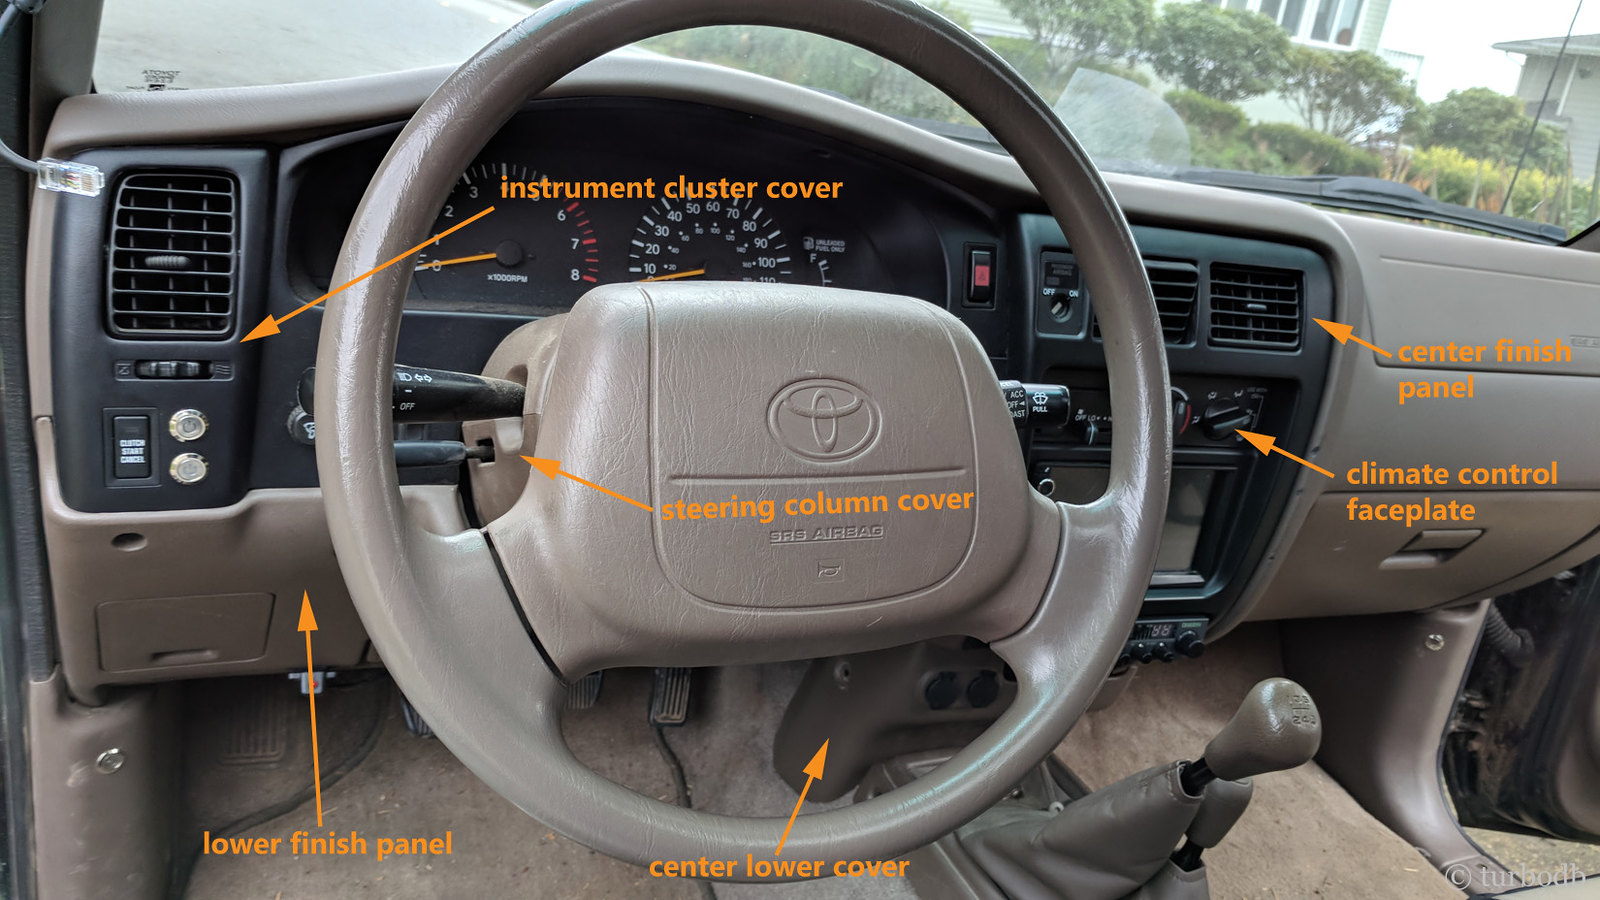
Removing the Dash Trim
December 30, 2017.

I've removed my dash trim (at least, the driver side) more times than I'd care to admit, and figured it was time to write up the procedure - because I remember how daunting it was the first time.

With photos, it's available here: Removing the Dash Trim

40054918502_c977b01226_h.jpg
 

turbodb

Well-known member
New Wheels and Tires, Again! (Stealth6 and ST Maxx)
January 12, 2018.

The day has arrived, finally. For three months, I've had a set of SCS Stealth6 wheels stacked, in the boxes they arrived in, in the living room.

@mrs.turbodb has not been happy.

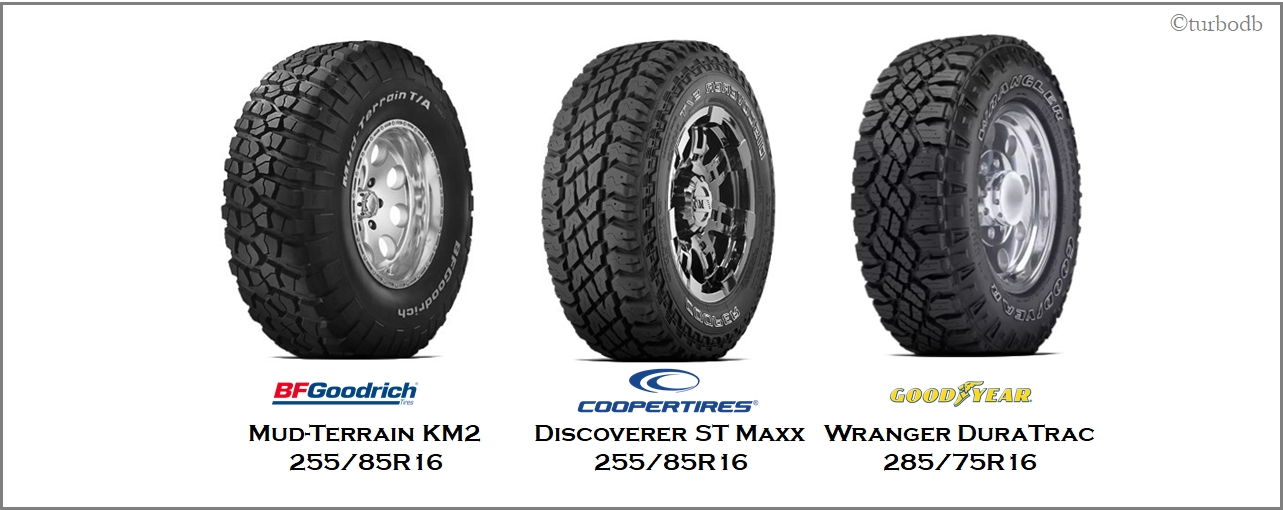
In that time, I've been trying to decide what tires I want to run on those wheels. I knew I wanted 33's, and I knew that I wanted as little rubbing as possible, but that left me with three options:

40054951412_770a292c5d_o.jpg

  • BFG KM2's or KM3's @ 255/85R16 - these have the right profile (tall and skinny) for less rubbing, and a nice aggressive tread pattern, but I didn't love that they were a pure mud terrain (I prefer an AT/MT hybrid) since I do a lot of freeway driving. The one time I hit some snow, they also lacked traction compared to the Goodyear Wrangler Duratrac's that I previously had installed.
  • Cooper Discoverer ST Maxx's @ 255/85R16 - these too have the right profile, and they are an AT/MT hybrid, which I like. The downside is that they don't look quite as "grr" as the KM2's.
  • Goodyear Wrangler Duratrac's @ 285/75R16 - I knew I'd love the "grr" and AT/MT traction profile of these tires, since I was coming from a 31" version of the same tire. However, these tires are a full inch wider than the other two, and I knew that'd lead to a lot of rubbing - which I really wanted to avoid.
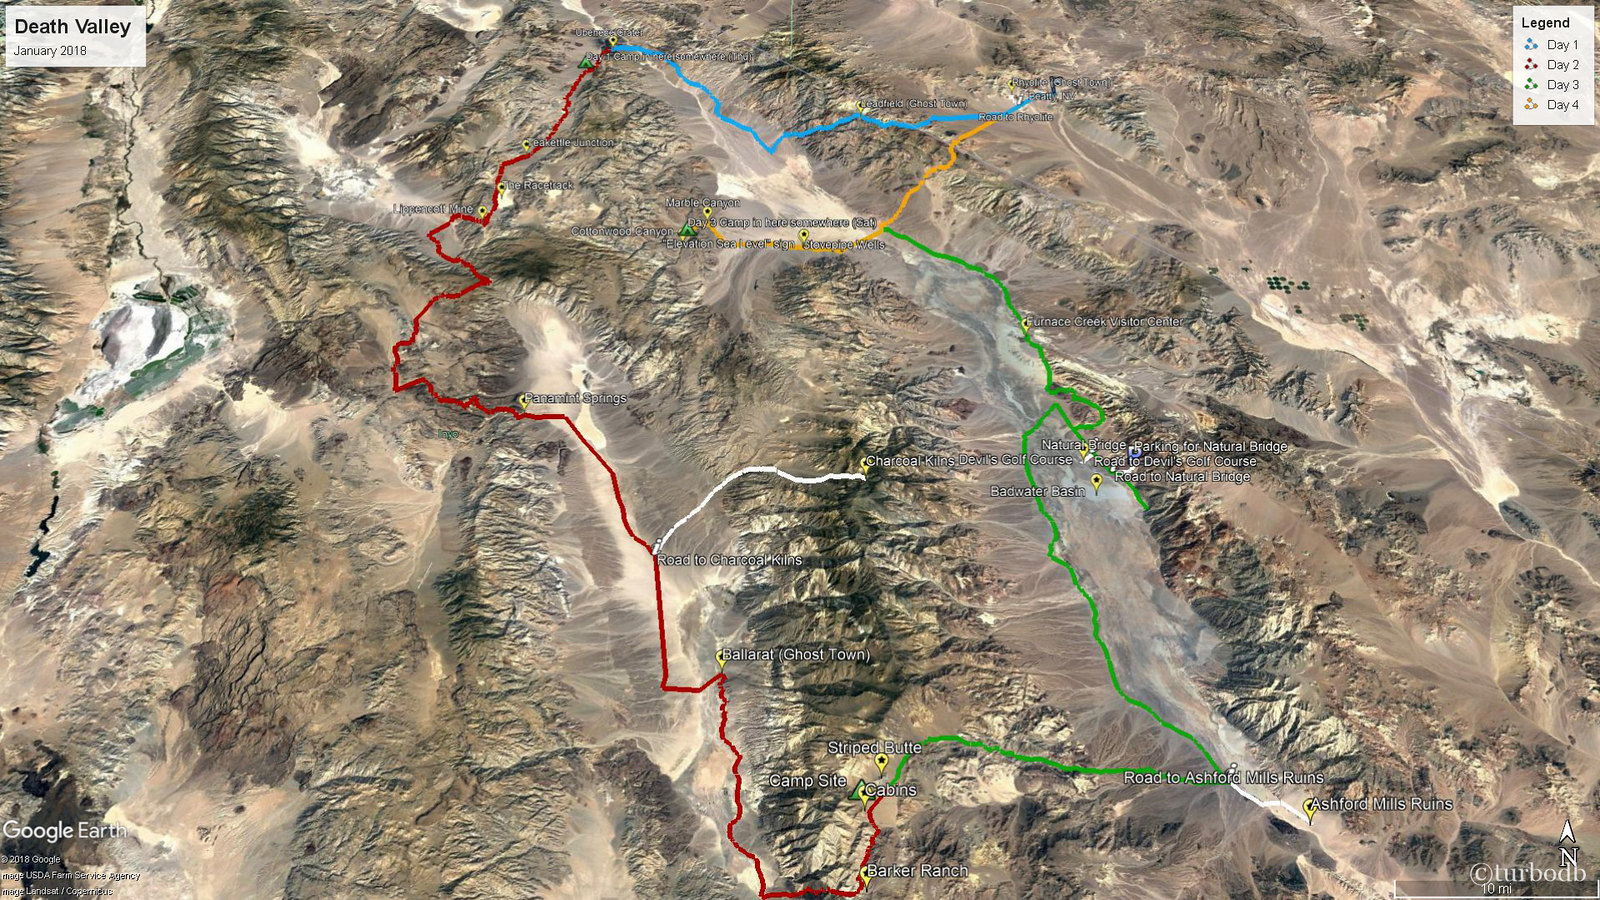
For the last several months, I've been running a set of KM2's, and I'd decided that while I wasn't a huge fan of the KM2's on a daily driver, I'd wait for the KM3's to see if they'd have better snow performance before making the final decision. But then, my hand was forced when we decided that we'd make a January run to Death Valley.

For that trip I'd need a spare - something I'd been running without on the KM2's - which immediately eliminated "waiting" for KM3's. I also convinced myself that the "grr" look of a tire isn't as important as the overall fit and performance, which ruled out the Duratracs.

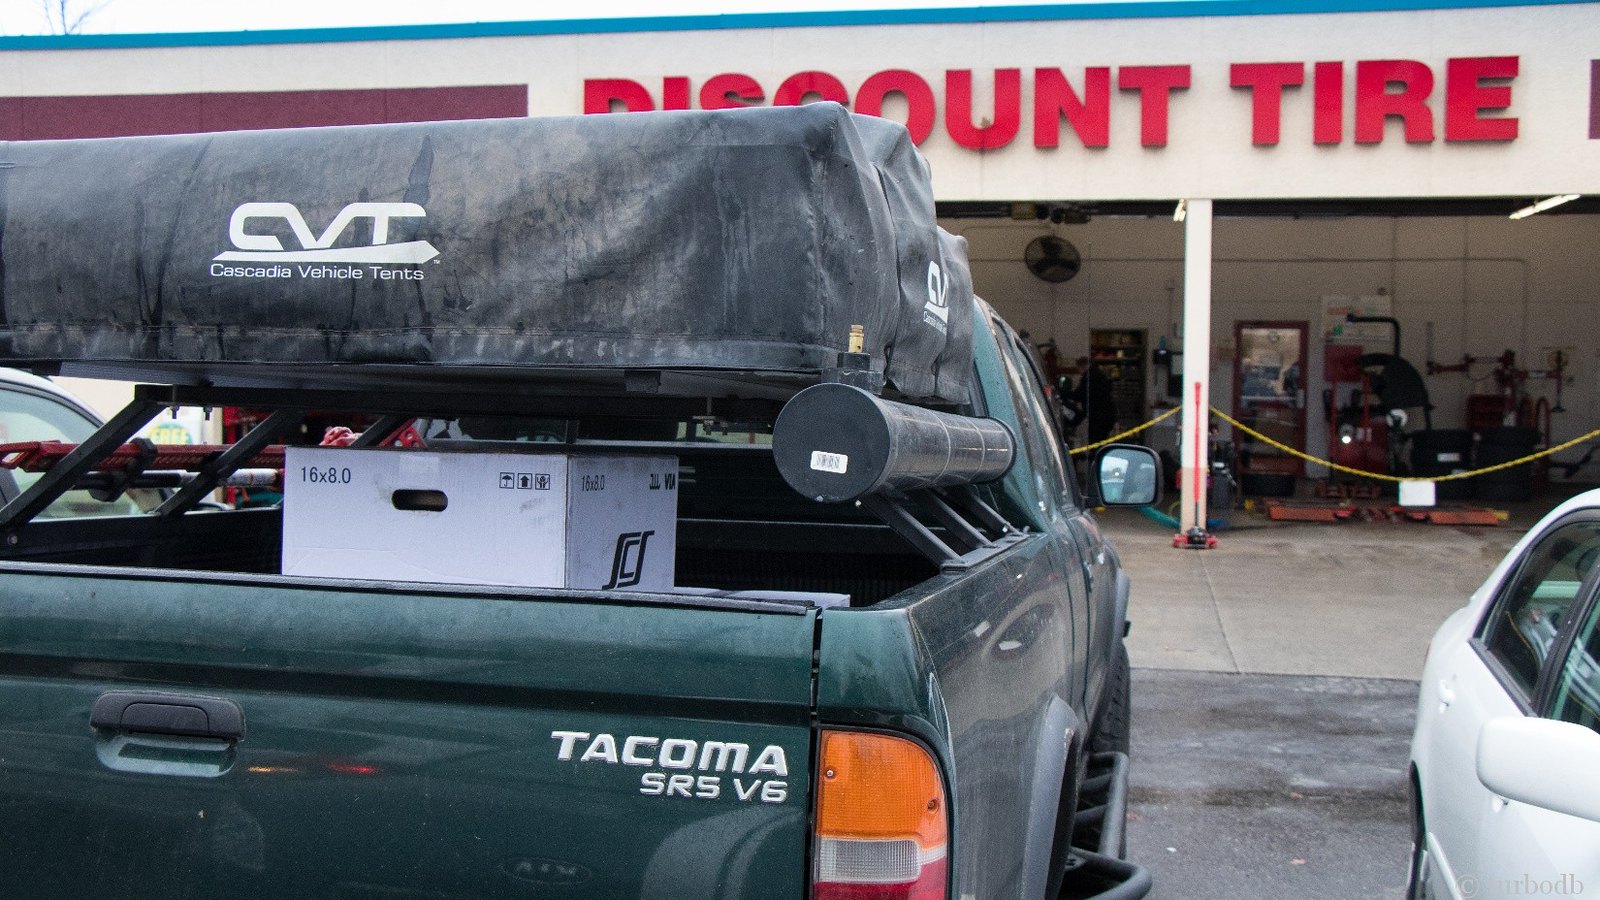
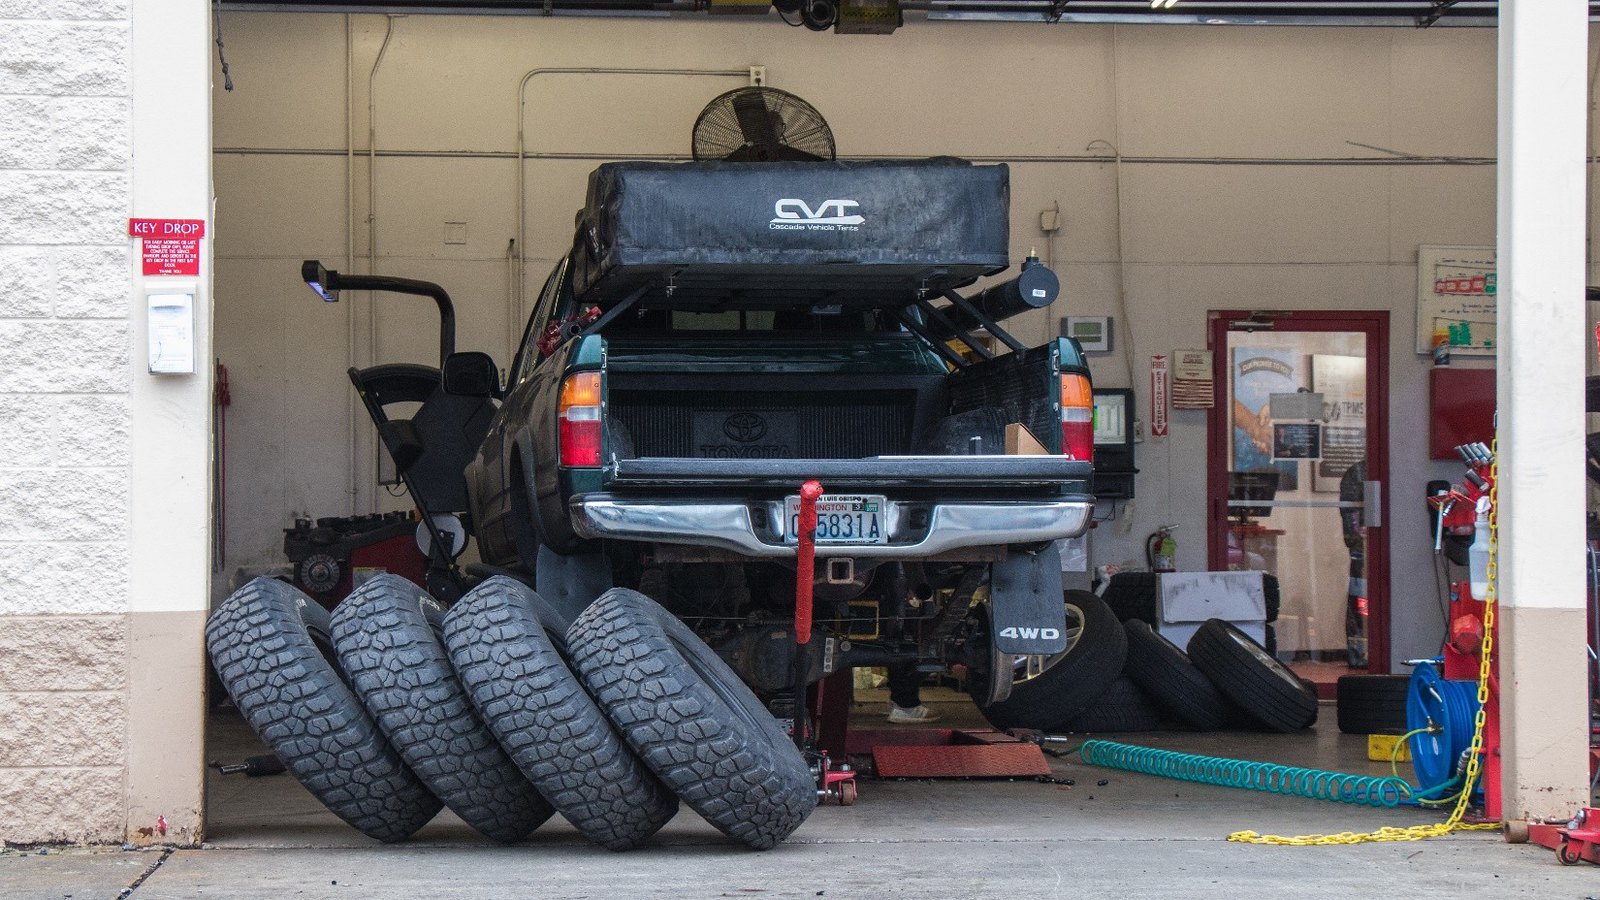
So I ordered up a set of ST Maxx's and scheduled an installation appointment.

40054951482_485c20d36f_h.jpg


40054951562_ad0b891e39_h.jpg


40054951752_c0b131764e_h.jpg


40054951952_1896f006dd_h.jpg

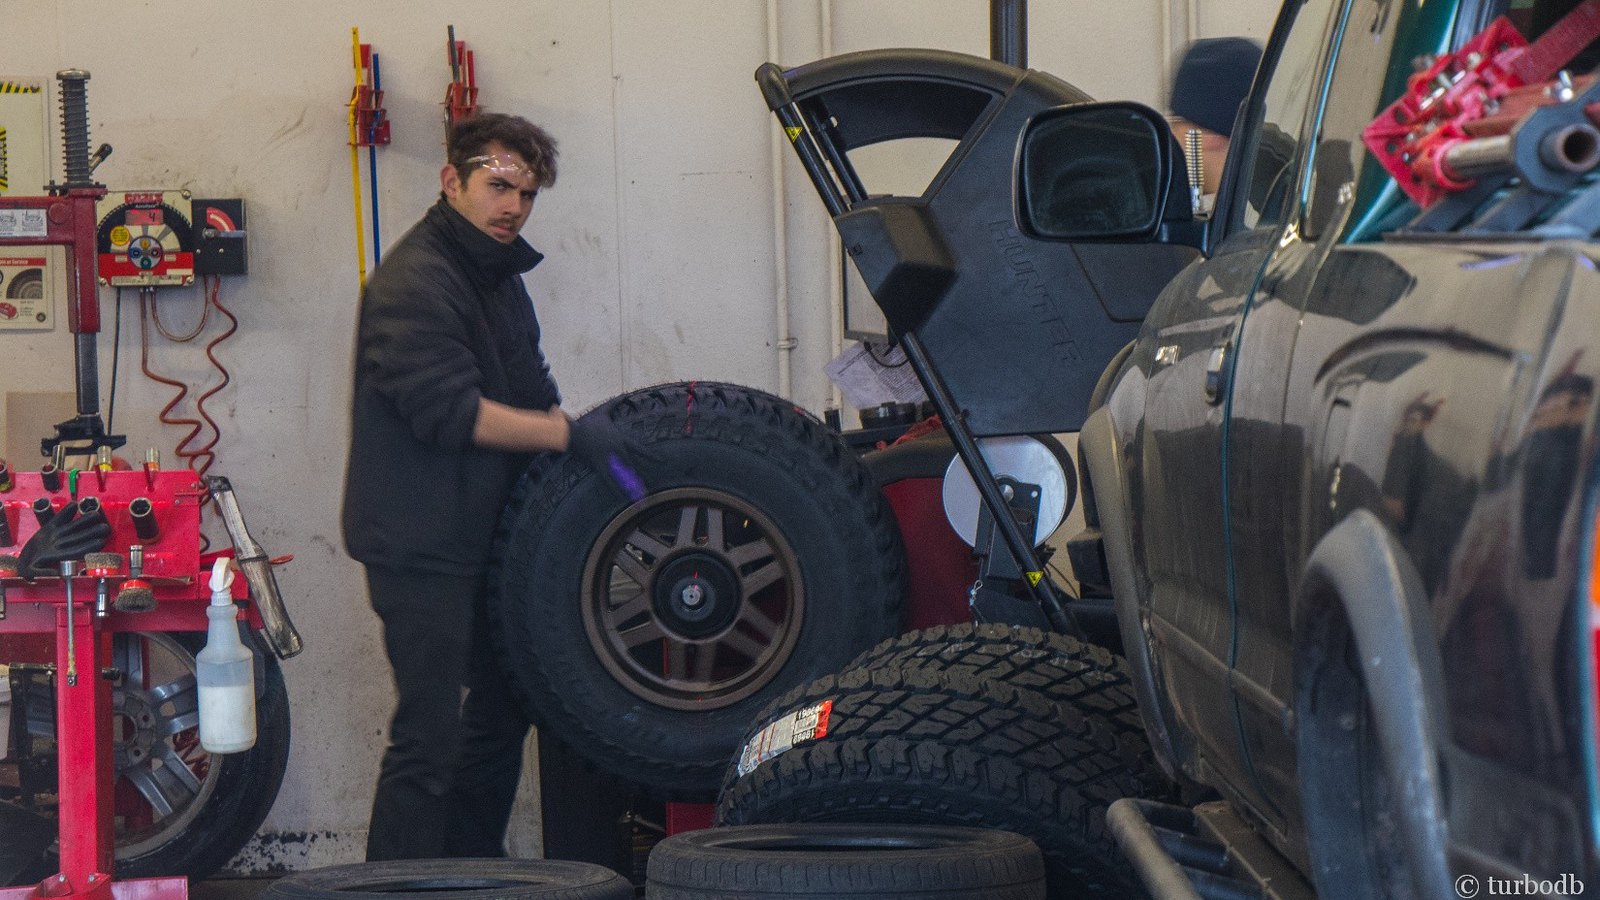
During the appointment, I was flagged down by three different people asking about the truck. The UPS driver wanted to know how I liked the RTT (he'd just gotten a SmittyBuilt, that could "only open backwards"). The store manager remarked, "I knew that was your truck - that's a nice looking rig." And another customer asked, "What's that black tube on the back?" (the shower)

An hour later, they were done.

Someday soon, I'll need to go get some better pictures on a sunny day. For now, I can say that
  • the tire/wheel combo looks great - the "lack-of-grr" from the ST Maxx's is definitely offset by the additional width provided by the Stealth6's,
  • I love that these things are way quieter on the freeway than the KM2's,
  • the 3.5" backspacing is going to mean a lot more dirt on the sides of the truck in muddy conditions,
  • I've got some more work to do with rubbing - the 3.5" backspacing means that the outer edge of the tire contacts the fender liner on inside turns a bit more than the steelies I was running previously.
40054952042_d96b6db297_h.jpg
 

owyheerat

Adventurer
New Wheels and Tires, Again! (Stealth6 and ST Maxx)
January 12, 2018.

The day has arrived, finally. For three months, I've had a set of SCS Stealth6 wheels stacked, in the boxes they arrived in, in the living room.

@mrs.turbodb has not been happy.

In that time, I've been trying to decide what tires I want to run on those wheels. I knew I wanted 33's, and I knew that I wanted as little rubbing as possible, but that left me with three options:

40054951412_770a292c5d_o.jpg

  • BFG KM2's or KM3's @ 255/85R16 - these have the right profile (tall and skinny) for less rubbing, and a nice aggressive tread pattern, but I didn't love that they were a pure mud terrain (I prefer an AT/MT hybrid) since I do a lot of freeway driving. The one time I hit some snow, they also lacked traction compared to the Goodyear Wrangler Duratrac's that I previously had installed.
  • Cooper Discoverer ST Maxx's @ 255/85R16 - these too have the right profile, and they are an AT/MT hybrid, which I like. The downside is that they don't look quite as "grr" as the KM2's.
  • Goodyear Wrangler Duratrac's @ 285/75R16 - I knew I'd love the "grr" and AT/MT traction profile of these tires, since I was coming from a 31" version of the same tire. However, these tires are a full inch wider than the other two, and I knew that'd lead to a lot of rubbing - which I really wanted to avoid.
For the last several months, I've been running a set of KM2's, and I'd decided that while I wasn't a huge fan of the KM2's on a daily driver, I'd wait for the KM3's to see if they'd have better snow performance before making the final decision. But then, my hand was forced when we decided that we'd make a January run to Death Valley.

For that trip I'd need a spare - something I'd been running without on the KM2's - which immediately eliminated "waiting" for KM3's. I also convinced myself that the "grr" look of a tire isn't as important as the overall fit and performance, which ruled out the Duratracs.

So I ordered up a set of ST Maxx's and scheduled an installation appointment.

40054951482_485c20d36f_h.jpg


40054951562_ad0b891e39_h.jpg


40054951752_c0b131764e_h.jpg


40054951952_1896f006dd_h.jpg

During the appointment, I was flagged down by three different people asking about the truck. The UPS driver wanted to know how I liked the RTT (he'd just gotten a SmittyBuilt, that could "only open backwards"). The store manager remarked, "I knew that was your truck - that's a nice looking rig." And another customer asked, "What's that black tube on the back?" (the shower)

An hour later, they were done.

Someday soon, I'll need to go get some better pictures on a sunny day. For now, I can say that
  • the tire/wheel combo looks great - the "lack-of-grr" from the ST Maxx's is definitely offset by the additional width provided by the Stealth6's,
  • I love that these things are way quieter on the freeway than the KM2's,
  • the 3.5" backspacing is going to mean a lot more dirt on the sides of the truck in muddy conditions,
  • I've got some more work to do with rubbing - the 3.5" backspacing means that the outer edge of the tire contacts the fender liner on inside turns a bit more than the steelies I was running previously.
40054952042_d96b6db297_h.jpg

I really like those wheels and tires. And I also, like the tire size you chose. I am currently running the same size tire (on stock wheels) on my (99) 3rd gen 4runner, and I have been very happy with there performance. However, that being said, I just ordered 35's....

Lastly, the look on the 'tire guys' face made me laugh out loud. Too good!
 

turbodb

Well-known member
Fixing the IFS Skid Mounts
January 14, 2018.

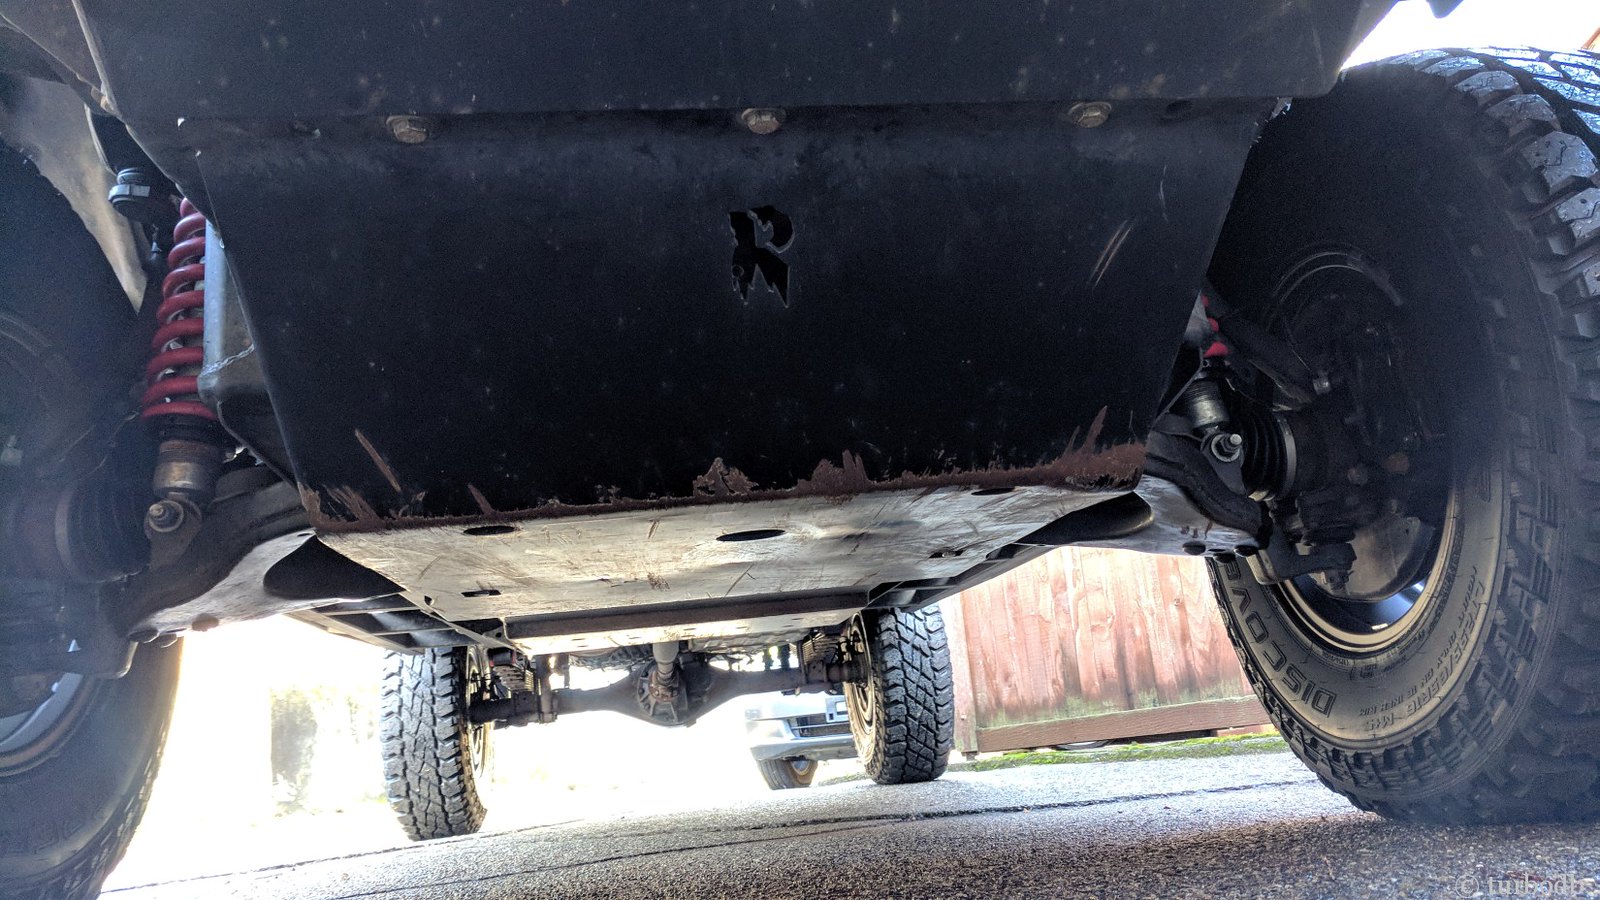
"That's strange." I thought as the guys at JT's Parts and Accessories took my IFS Front Skid off to replace the gears in my front diff. "I don't remember the guys from @RelentlessFab putting any clips behind the middle bolts. I wonder how those help hold the skid on?"

39376059844_e4b8928f72_h.jpg


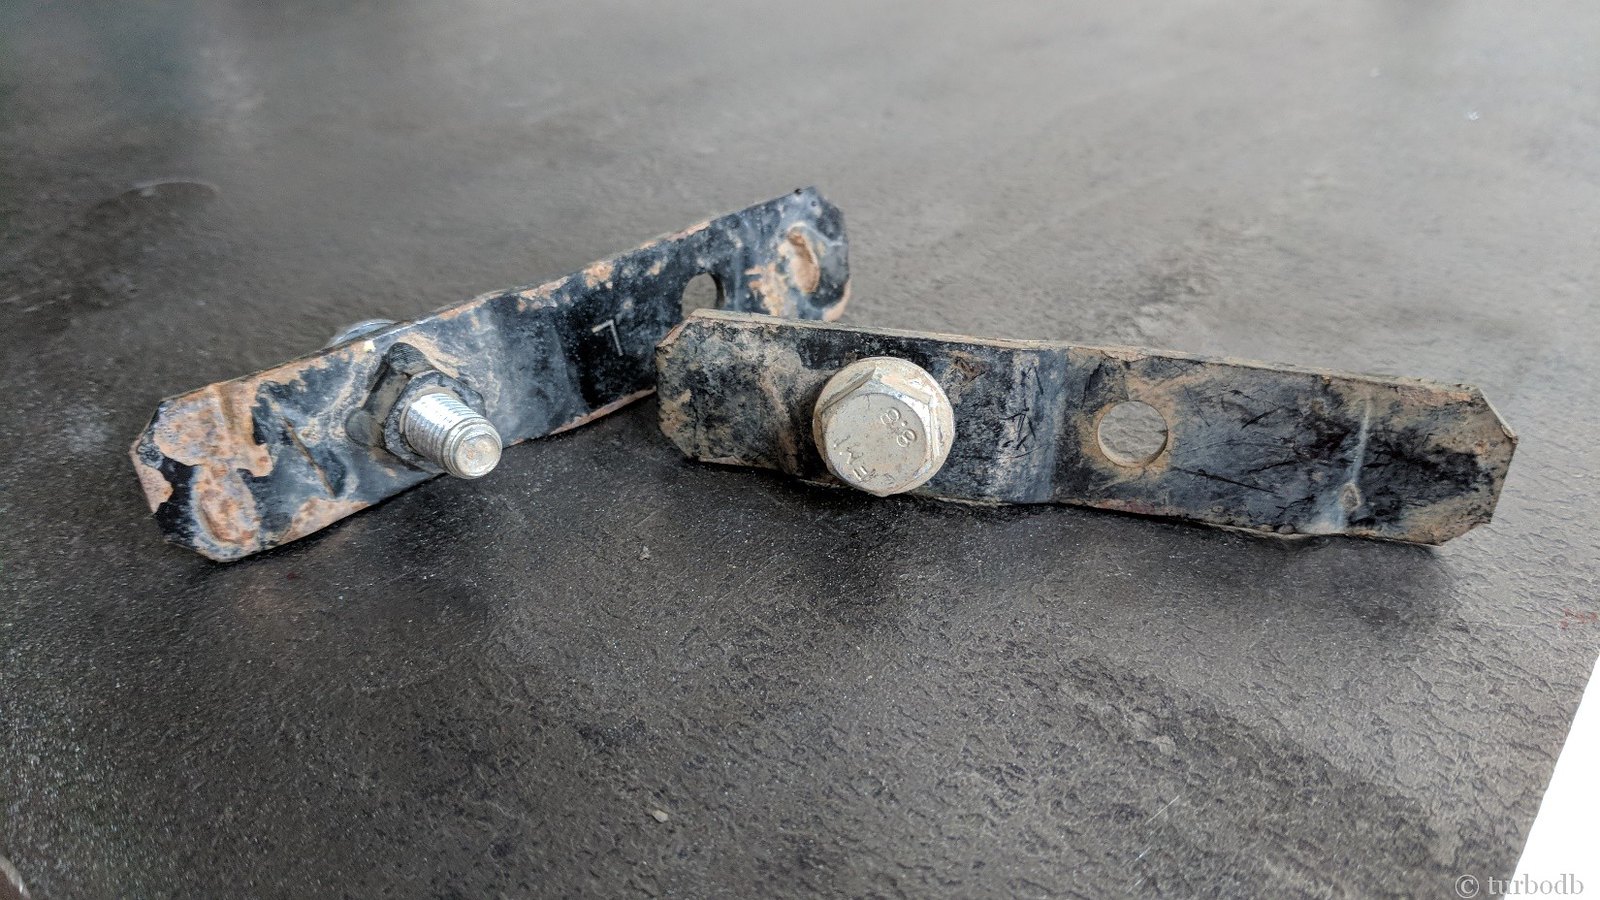
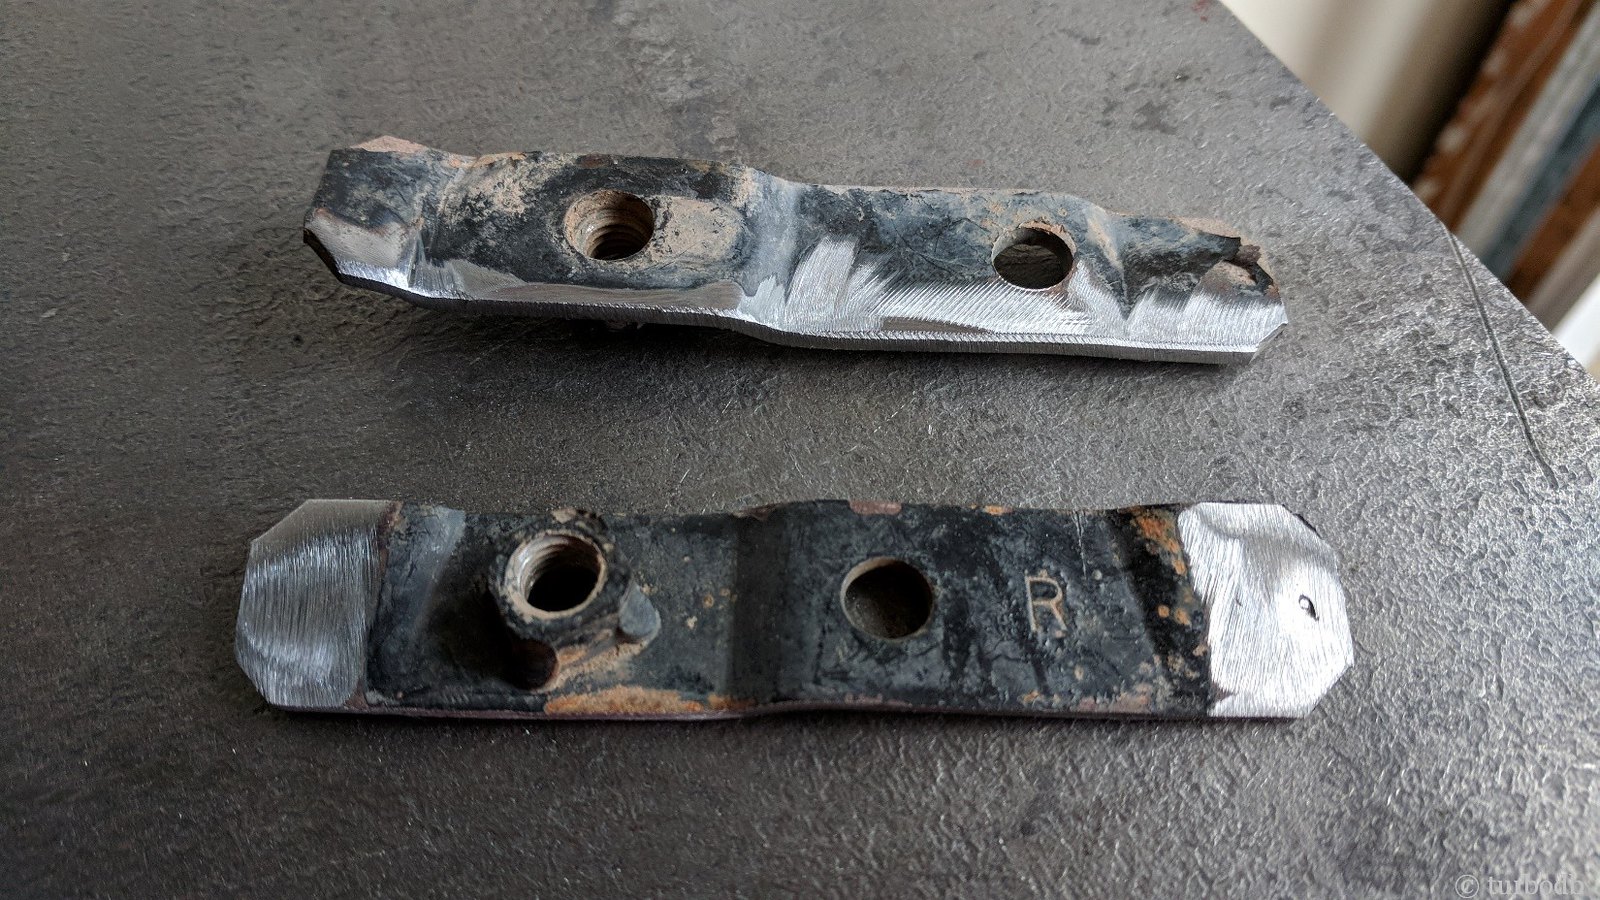
A couple hours later, the three of us realized that in fact, there were no clips installed by Relentless - rather, the OEM mounts had broken off! I probably shouldn't have been surprised - the skid is beefy at 3/16" thick, surely stronger than the mounts were on closer inspection.

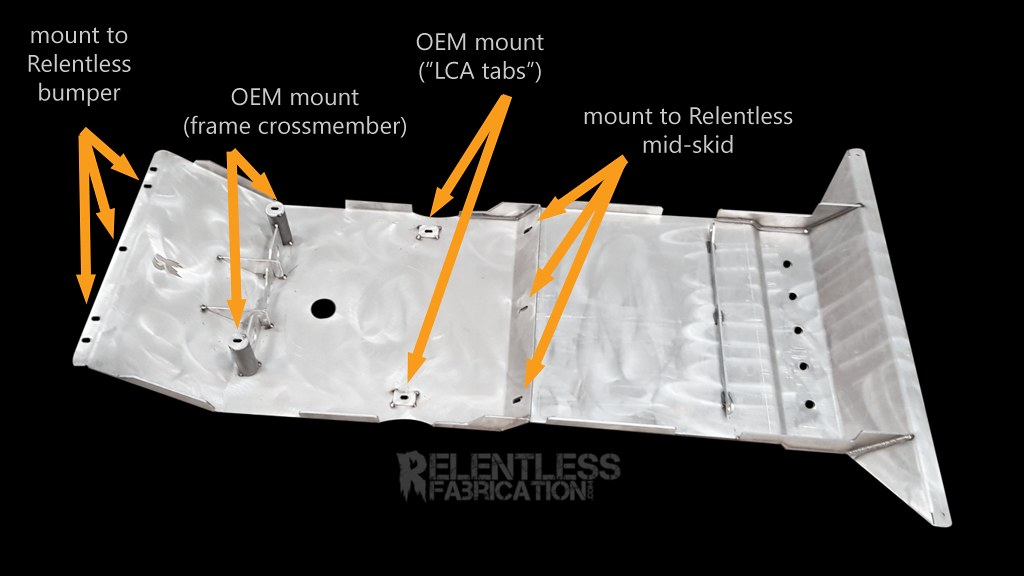
Luckily, none of this caused any worry when we reinstalled the skid after the new gears - Relentless IFS skids have 4 different attachment points when paired with the mid-skid - so everything was secure even without the two OEM "LCA tab" mounts.

39376059994_075fc58112_b.jpg

When I got home, I noodled for a while on whether I wanted to just run the skid with the remaining 8 mounts, or if I wanted to try to fix the LCA tab mounts. In the end, I figured I might as well see if I could get those reattached. If I could, great; if not, no loss from the current situation.

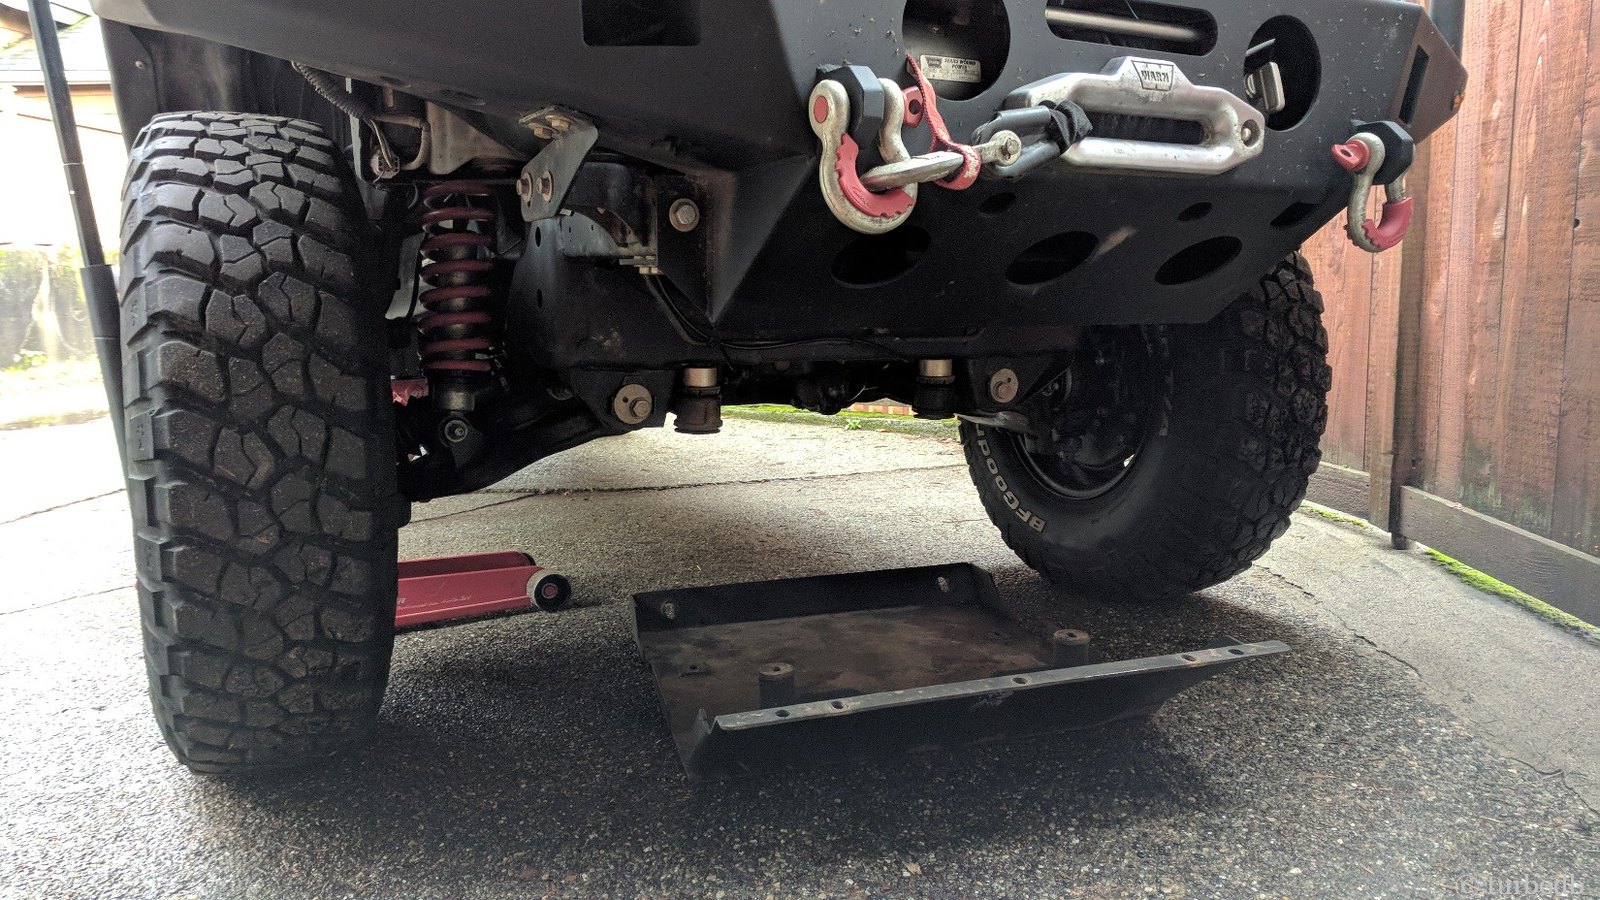
The first step was to make a bit more room under the truck using the floor jack, and drop the IFS skid.

39376060244_d3aeeed09f_h.jpg

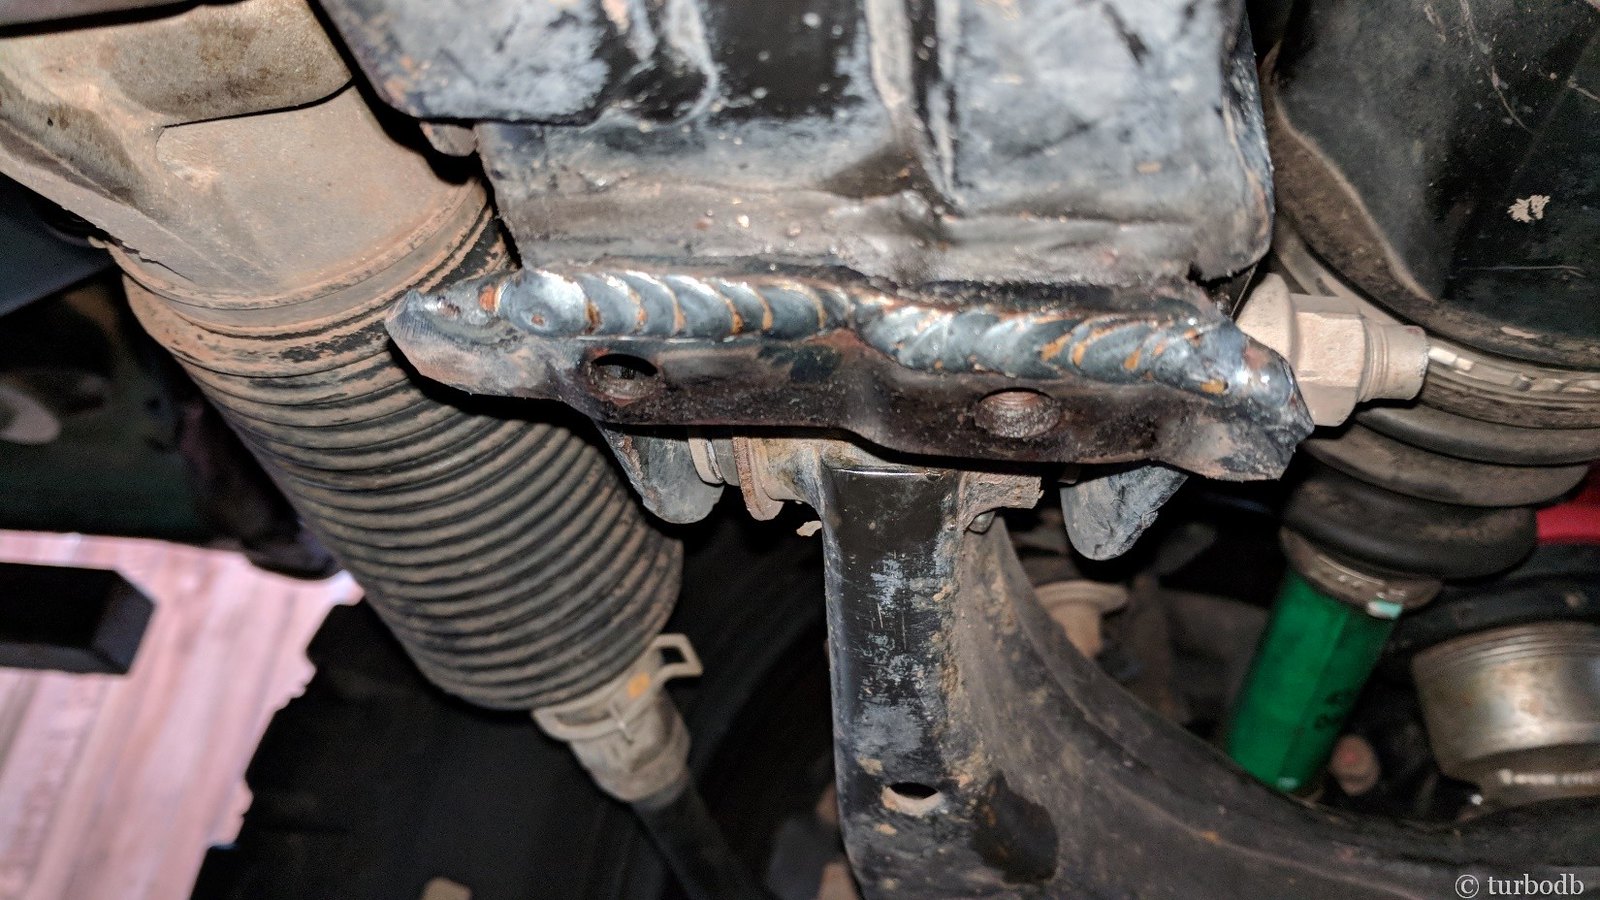
With access to the OEM mounting points, I was able to spend some time figuring out the exact positioning of the tabs on the LCA brackets (by lining up the broken tack-welds on each side), and come up with a plan of attack for reattaching them. Naturally, that plan started with grinding down both the tabs and mount point to bare metal - not only on the ends of the tabs where they were tack-welded from the factory, but also along one entire edge - ~3½" in length - for a much stronger weld.

40087430011_aa7c3aab15_h.jpg


40087430941_c50e09a6bf_h.jpg

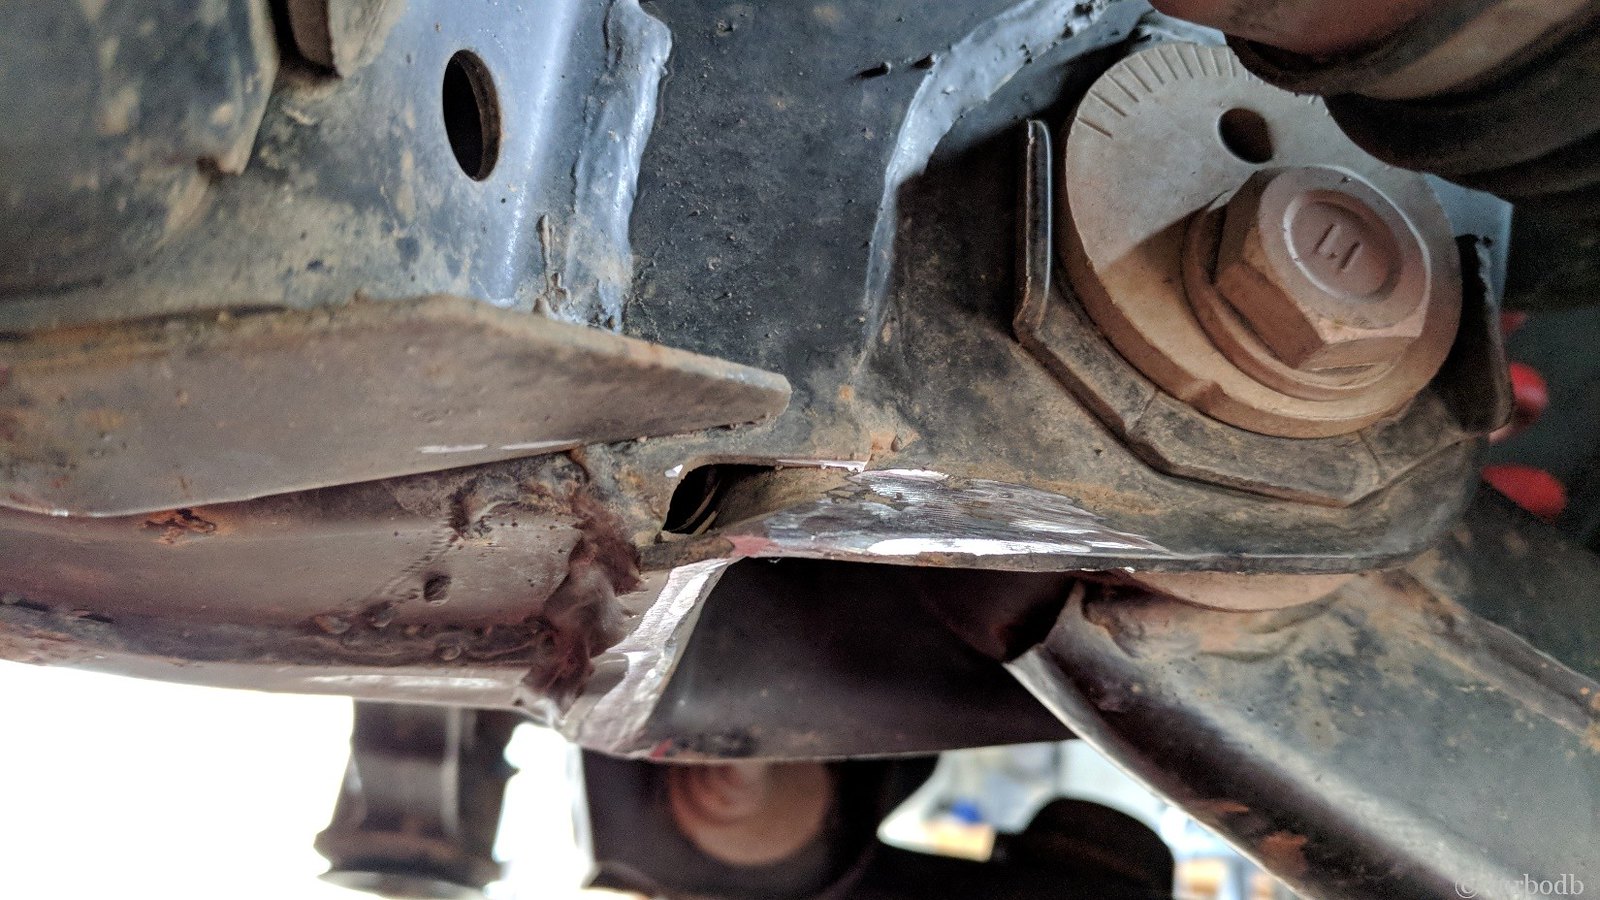
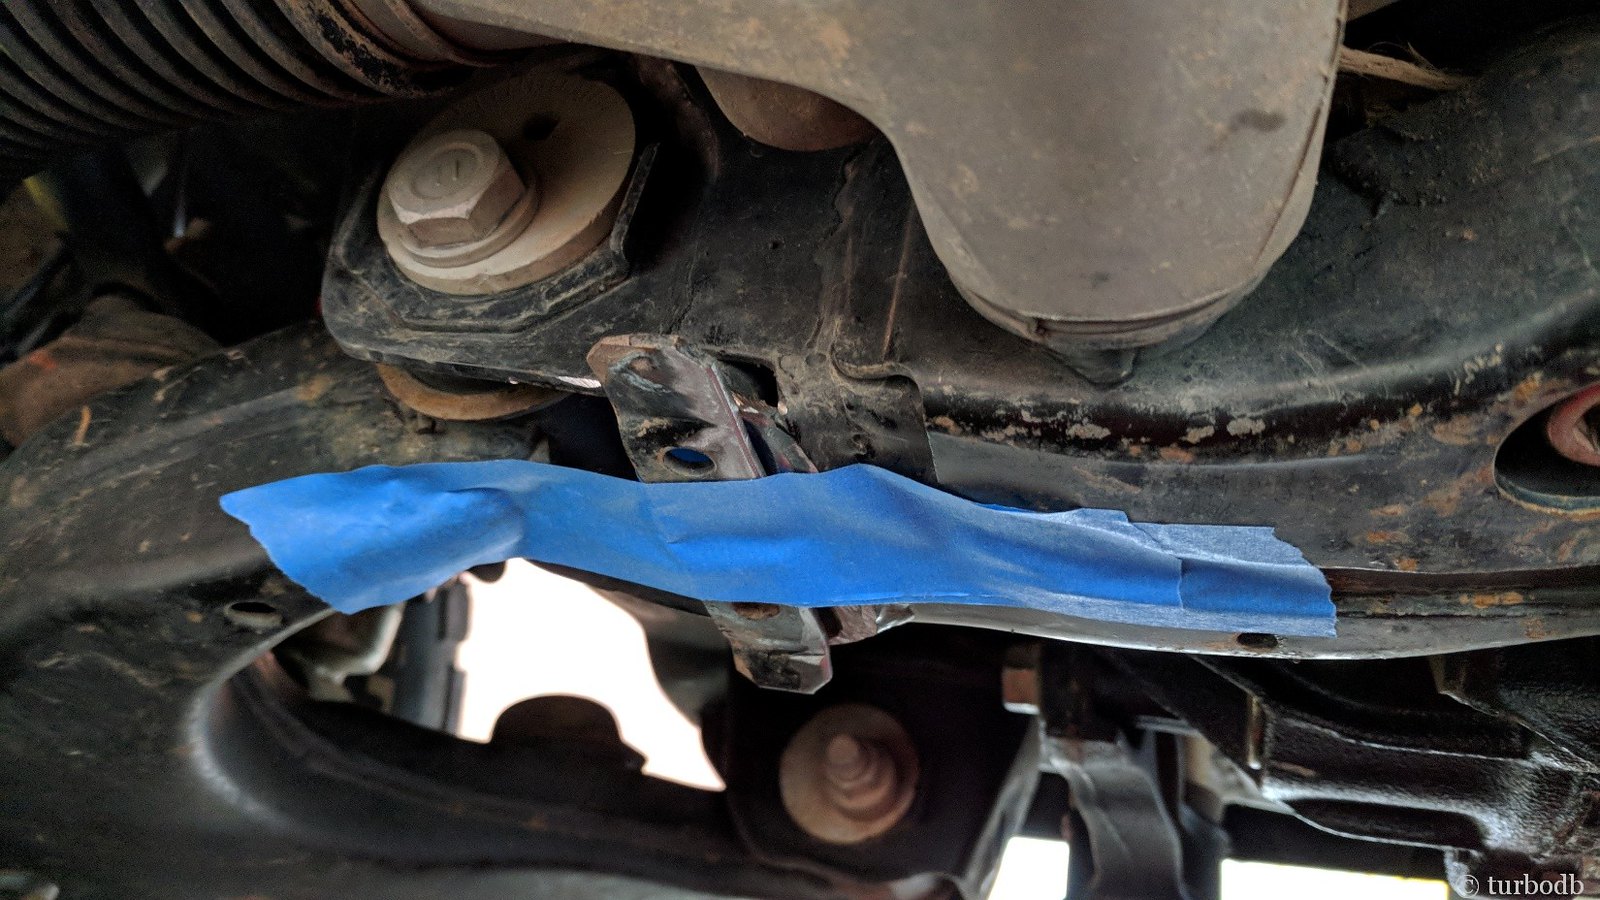
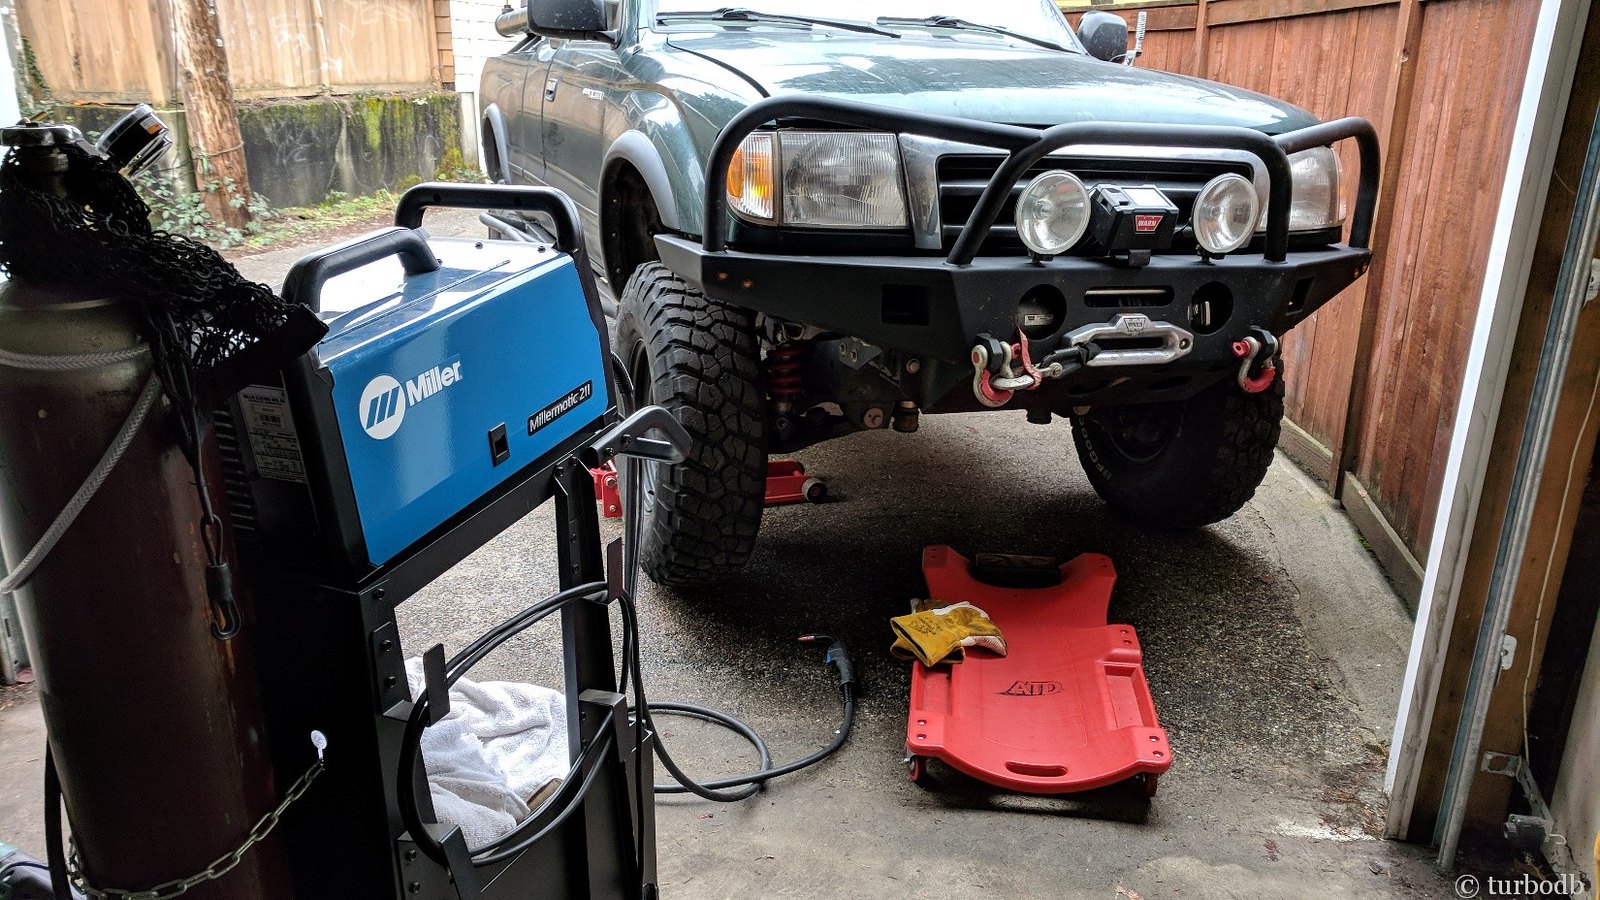
Metal prepped, it was time to position the tabs in place and weld them on. Working by myself, positioning was achieved with the clamp of champions - blue tape as I slithered under the truck with the welder. I don't do a lot of overhead welding, but with a bit of extra juice to ensure that everything was hot enough, I started by tacking, and then welding along three sides, for about 4½" of welded surface, vs. the two tack welds that I started with.

40087431491_1c300c21dd_h.jpg


40087432331_d7a0b89fb8_h.jpg


40087433251_c5526f2deb_h.jpg

Happy with the results, I cleaned the area and primed and painted everything - hopefully to keep the rust at bay. And then, the moment of truth - did I have the mounts in the right place to line up with the holes in the skid?

Yes. I did.

And now, we'll see - do the mounts hold better now, or are these mounts just in a tough spot for bumps? Only time will tell.

40087433851_7e01b392dd_h.jpg


40087434551_ba2af0911b_h.jpg

UPDATE January 2019: the mounts are holding up great, after 10,000 trail miles on the truck last year - success!
 

turbodb

Well-known member
External Speaker for Ham Radio
January 15, 2018.

The Kenwood D710GA has been working well since it was installed. Transmission and reception seem good, the APRS has worked as expected, the display is nice (but not quite as nice as the Icom 5100A), and it's great having it securely mounted under the passenger seat.

But the built-in speaker - that leaves something to be desired. With the Icom, I had no trouble hearing what contacts were saying, but even with the volume turned all the way up on the Kenwood, it's just slightly too quiet for me to parse what's being said.

Luckily (and of course), there is an external speaker jack, so I figured I'd get a speaker and the problem would be solved. However, as I looked into speakers, I wasn't happy with any of them - they were all too big and bulky, and none of them had great "attachment mechanisms" (by which I mean they all wanted you to drill a couple holes in some part of your interior to install their mounting bracket).

So I decided, why not build one myself? I could make the case out of some scrap maple, find a low profile speaker, and attach the whole thing to the driver side lower trim panel with some Velcro.

So, that became the plan.

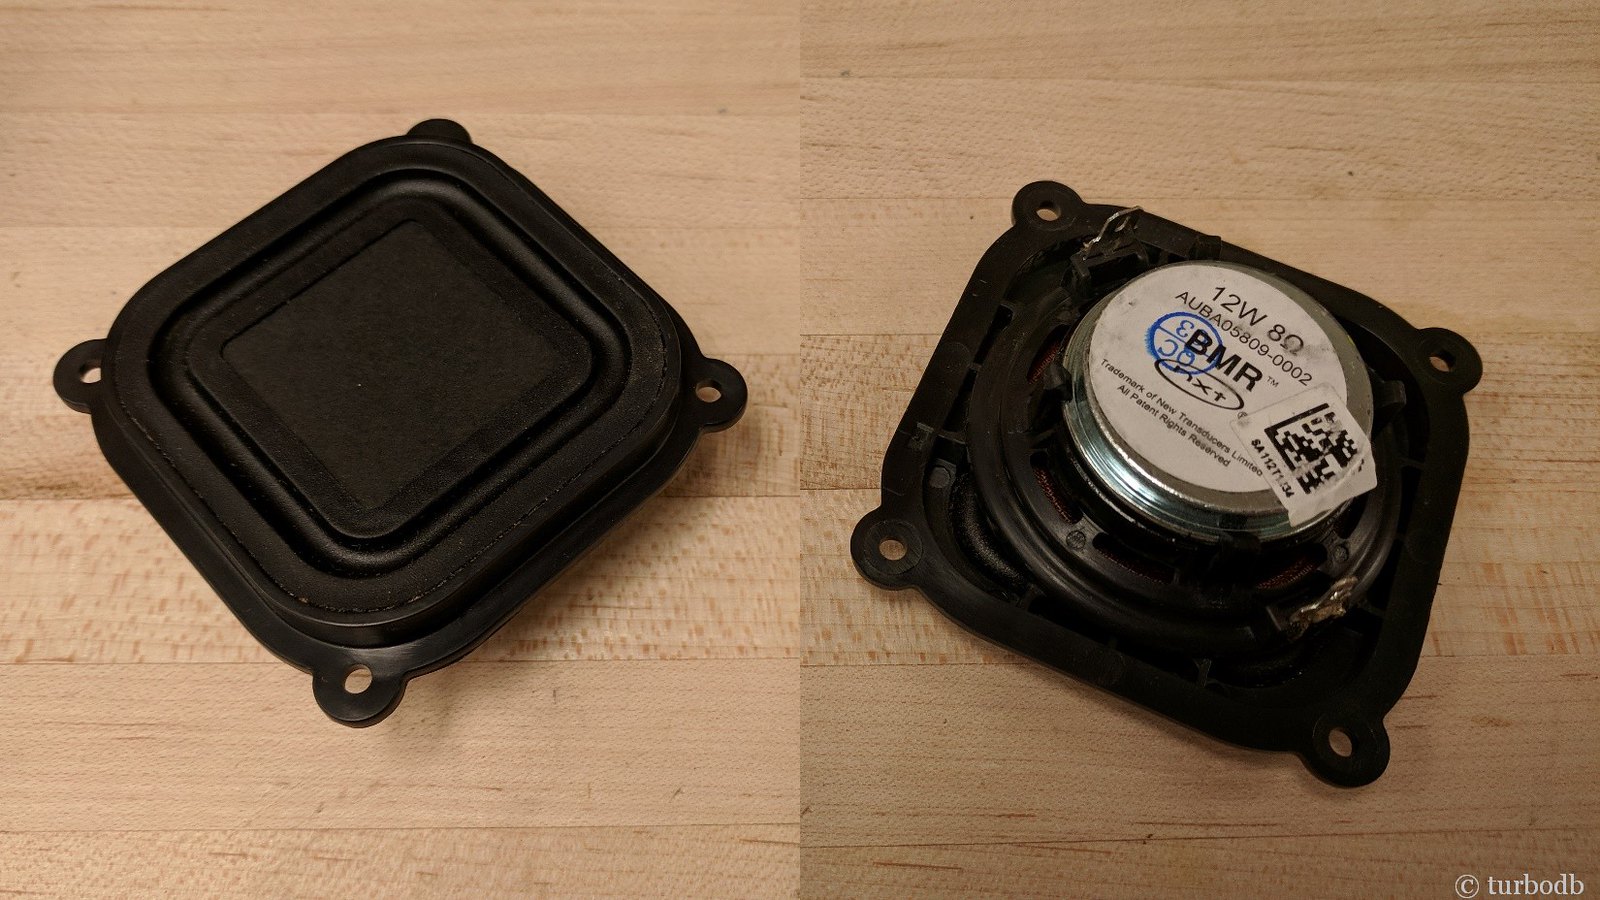
I started with a 2" speaker that was only ¾" deep - an 8 Ohm HiWave BMR12. I hoped that its promise of full-range, would turn out to be close enough to true, and that it would be loud enough for my use.

40087435481_8b419a810c_h.jpg

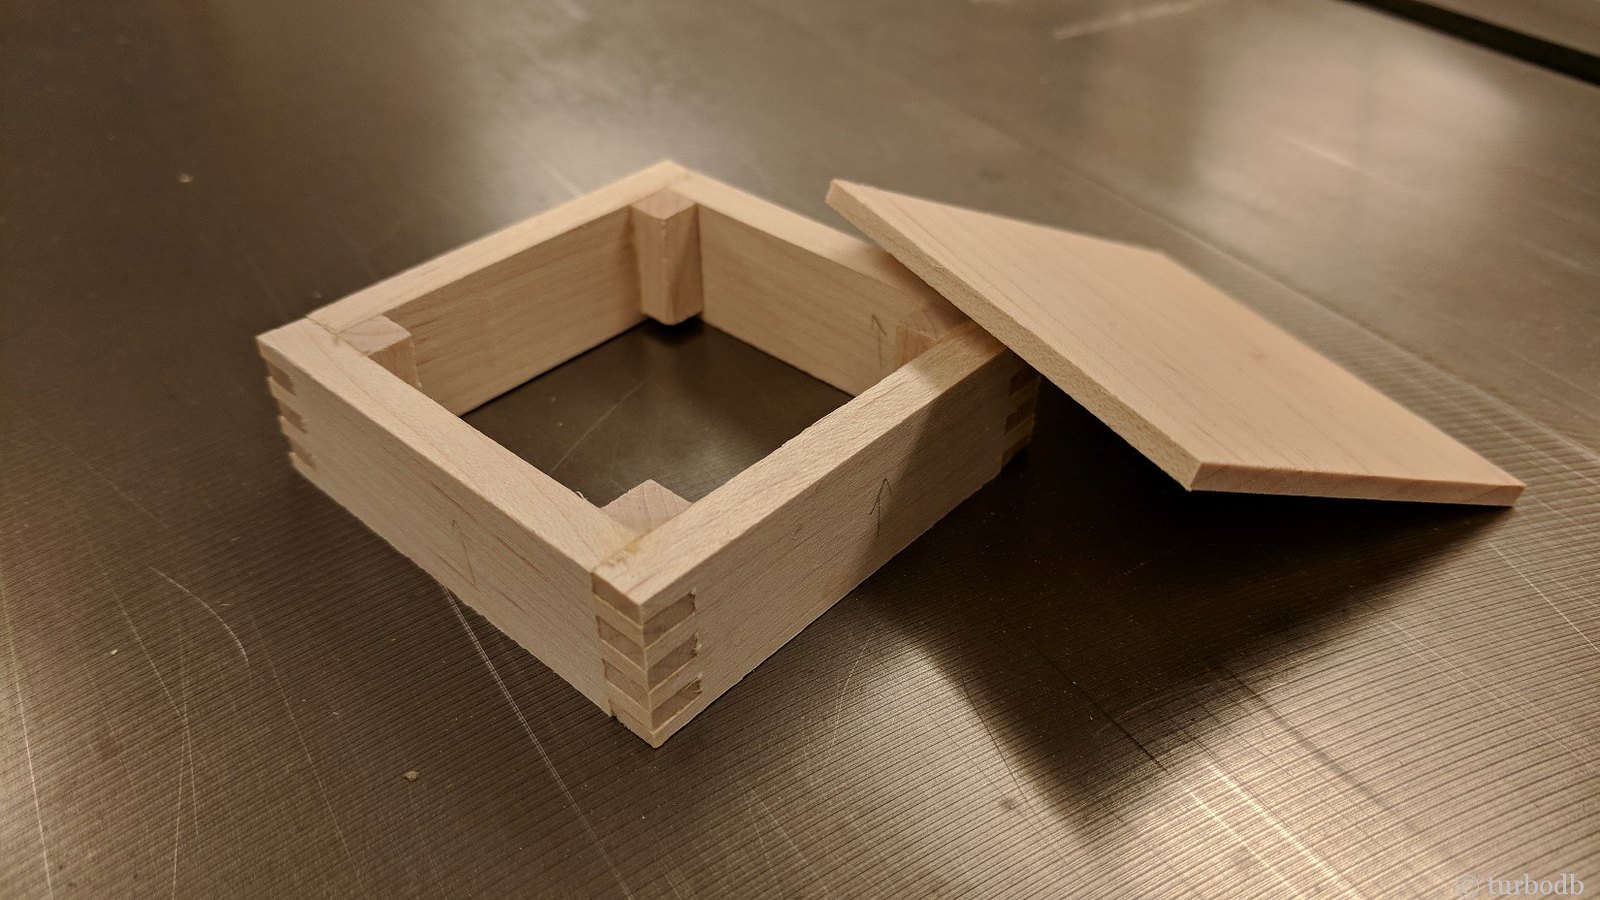
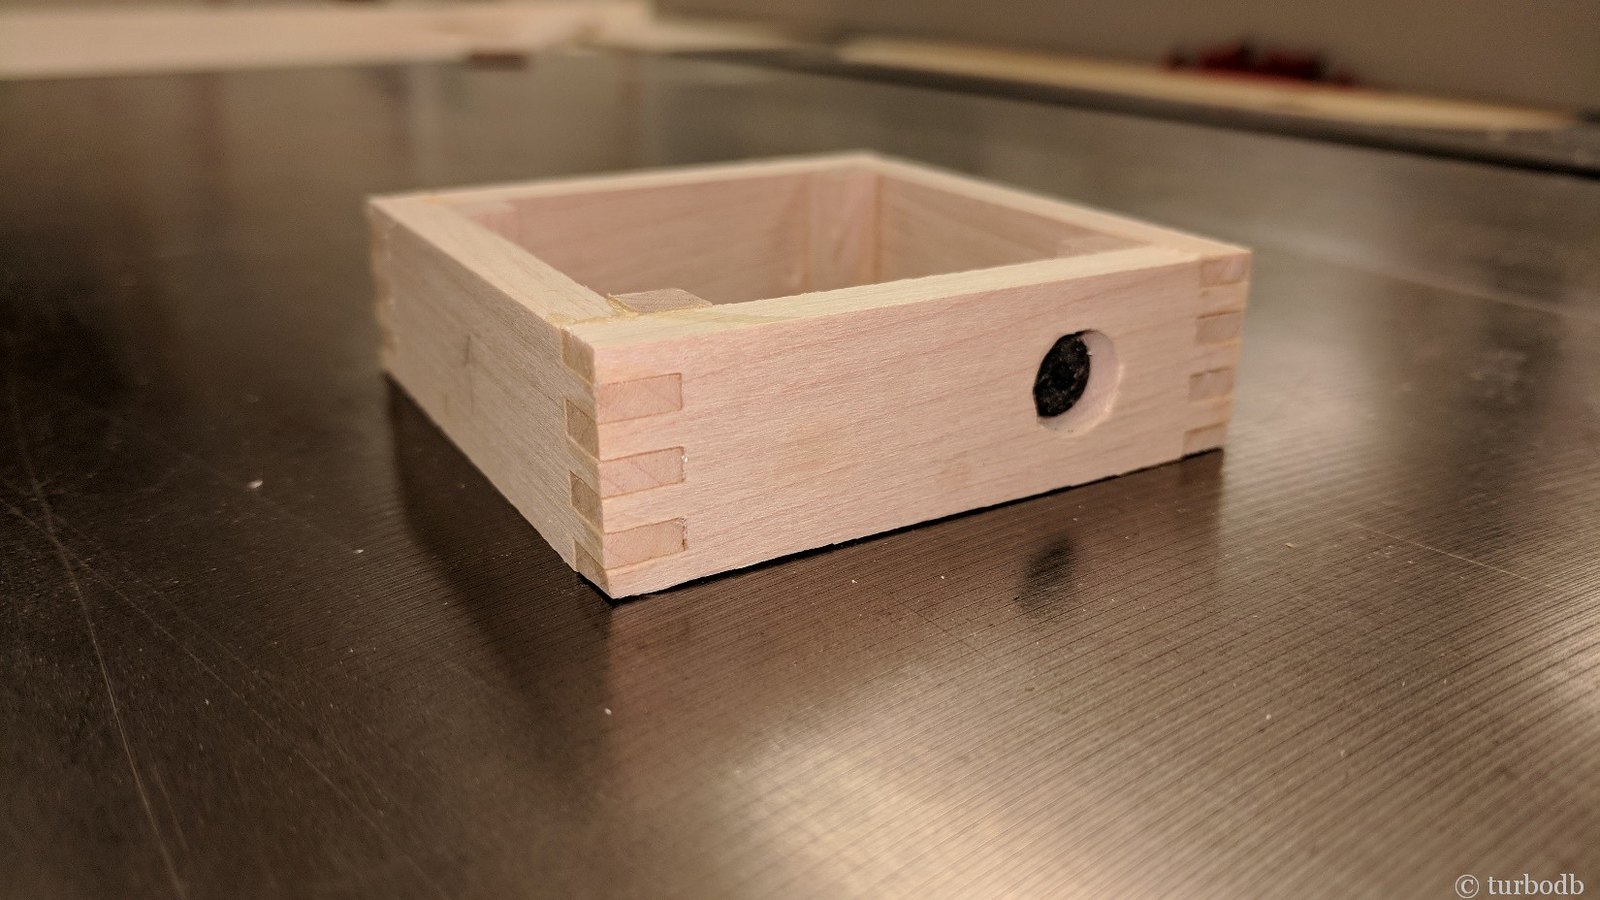
Next it was time to create a small box. Trying to keep weight and bulk down, the corners were the only real "interesting" part of this box - I needed something that would be strong despite the size, and so a box joint was the answer - lots of surface area for glue, and the joint itself would help keep the box square. I added a few corner blocks as well to accept screws that would hold the speaker in.

28306598609_7b94f8249e_h.jpg

The box made, it was time to drill for a grommet that would allow the speaker wire to pass through. This was done with a 3/8" forstner bit to recess the grommet, and then a 3/16" bit for the through-hole. Several minutes of pushing and prying later, and the grommet was installed.

28306598899_4c84a875f8_h.jpg


28306599319_b626bfb175_h.jpg

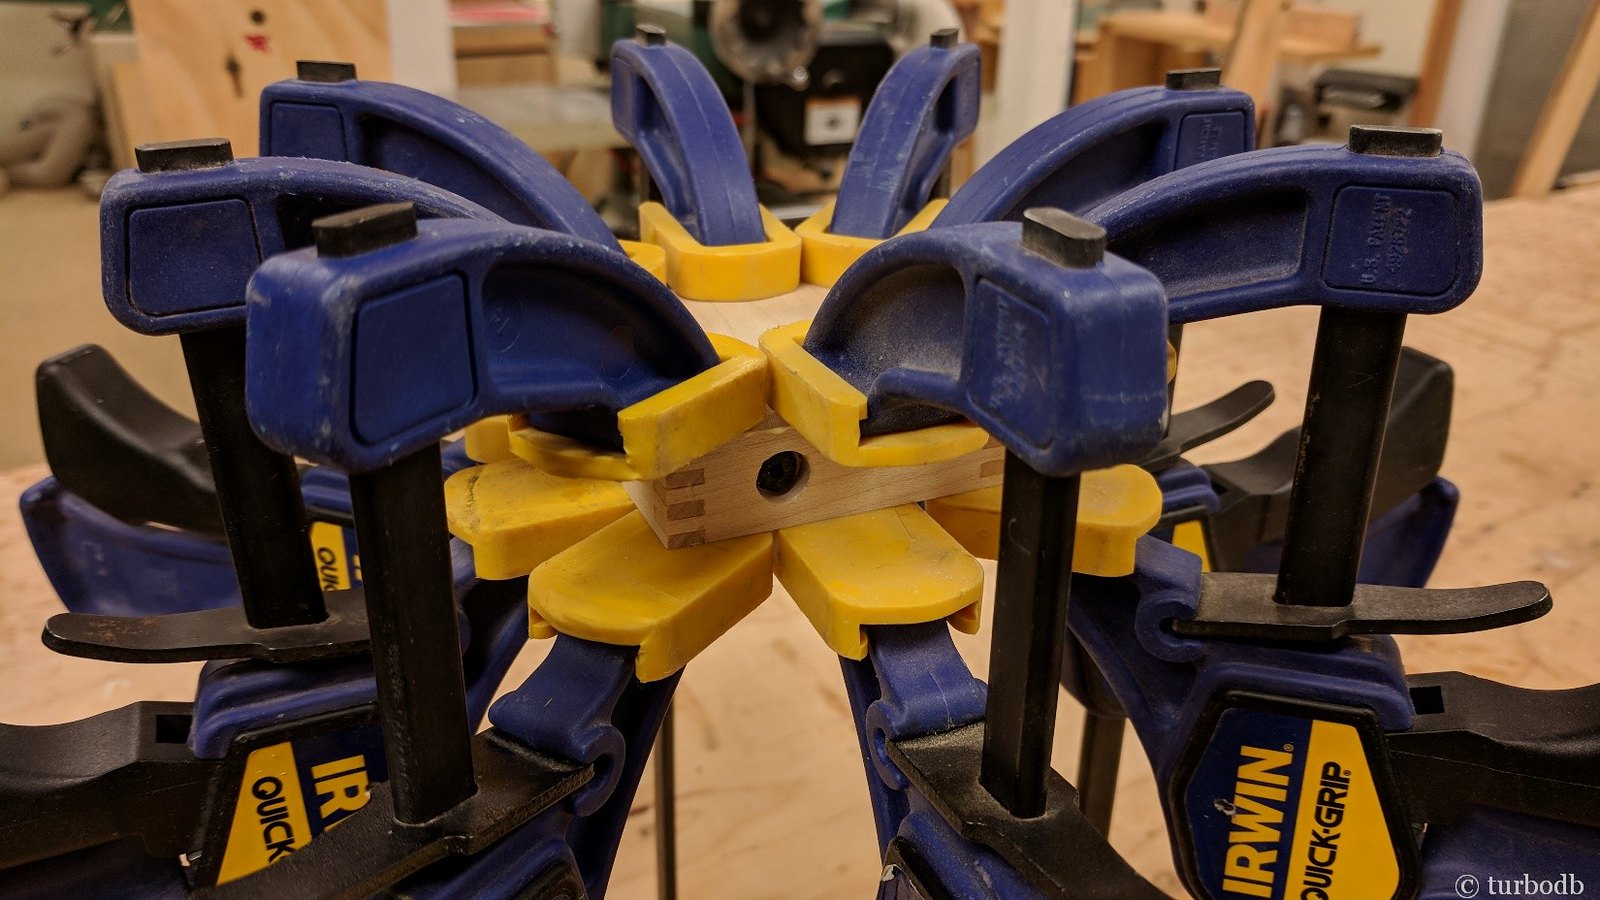
Next, I glued the back on. You can never have too many clamps when woodworking.

28306599729_07ace80247_h.jpg

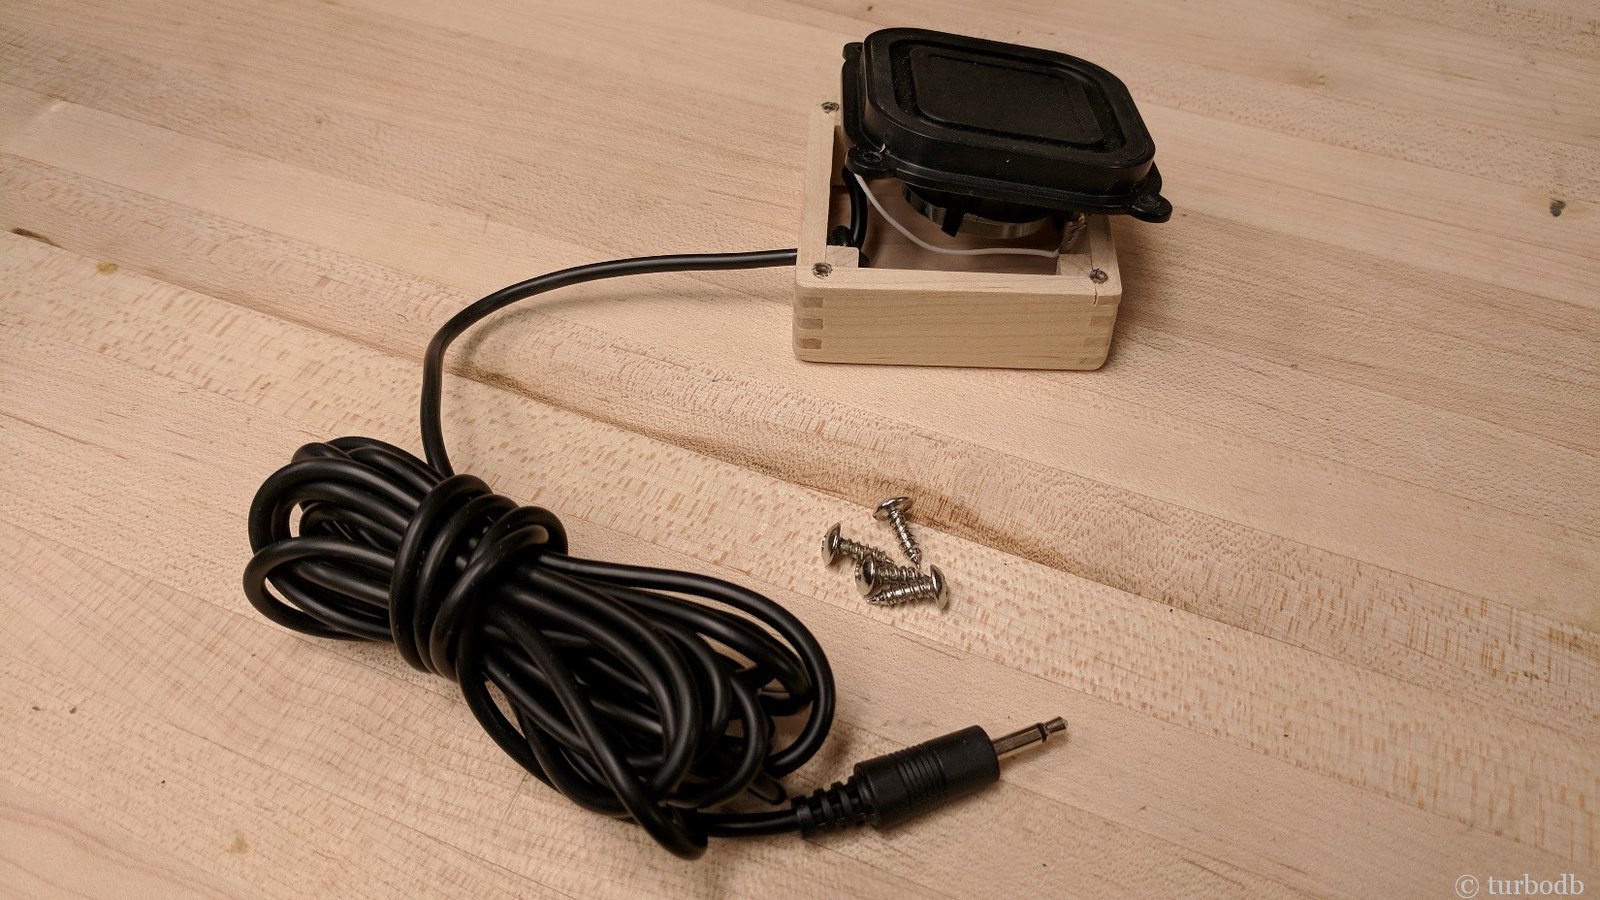
Finally, it was time to finish the box with a couple coats of polyurethane and wire and install the speaker.

28306600099_a4374d5dd6_h.jpg

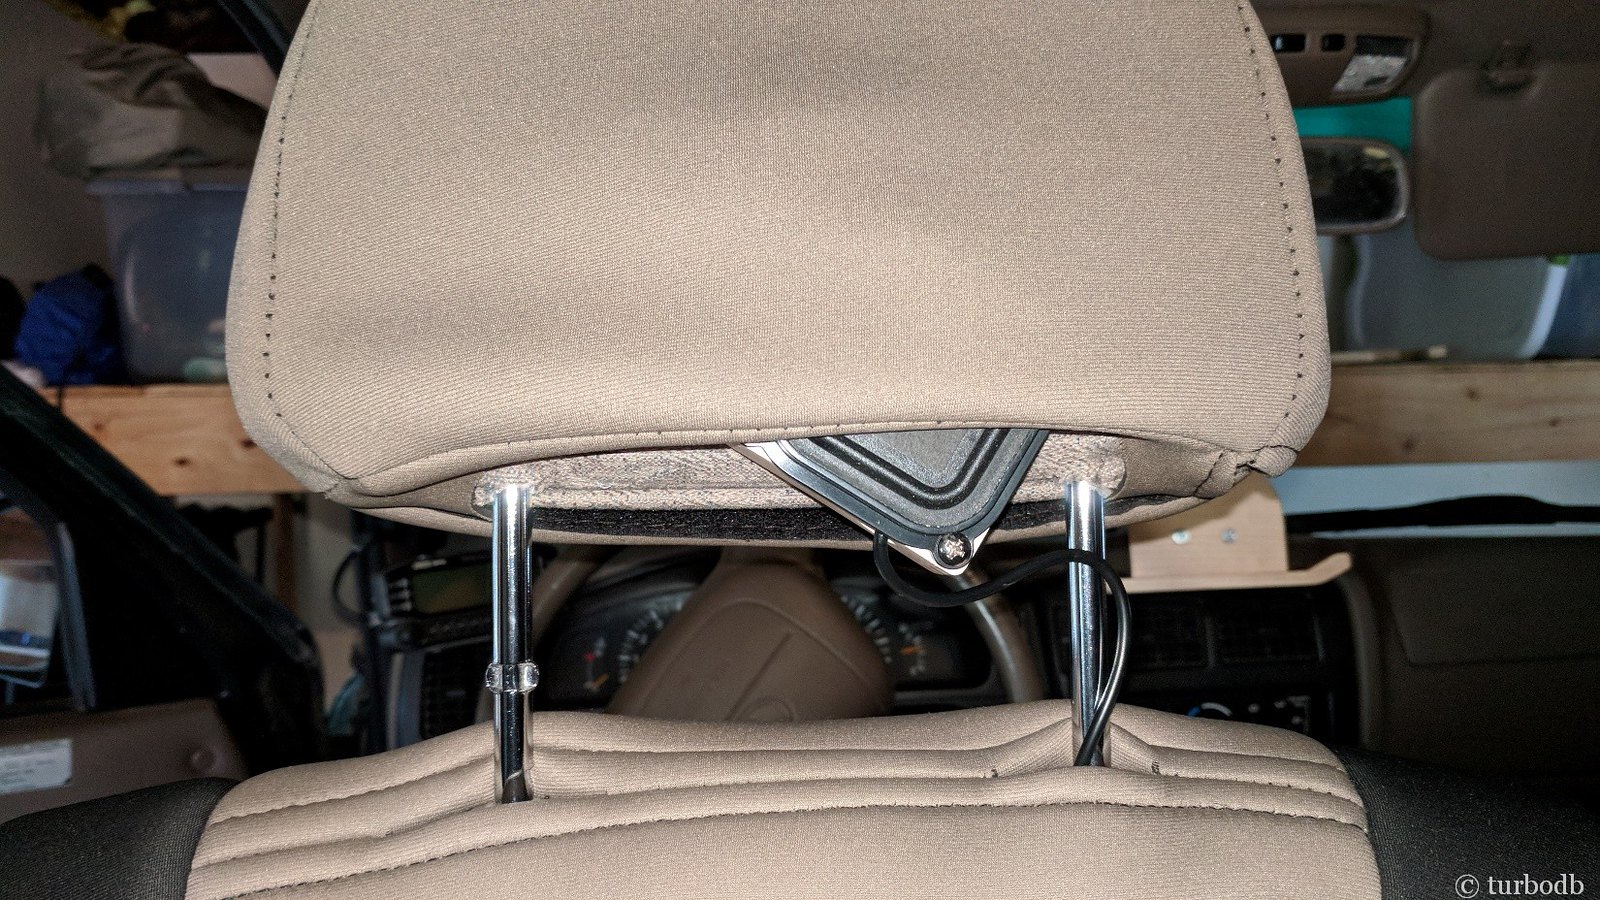
As for installation - as I was looking around for a place to install, I realized that my seat covers provided the perfect answer. These covers also came with head rest covers that I didn't particually like when I installed them, but have since become invisible to me. Now, they'd provide the perfect location to stash the speaker!

So, I pushed the speaker up into the back of the driver-side head rest and ran the wire down under the seat cover, under the center console, and directly to the Kenwood radio.

I gave it a test, and it's loud. Perfect.
28306600579_2b687ea066_h.jpg
 

turbodb

Well-known member
We were glad to have battened down the hatches on the tent, because the heavy winds continued all night, literally shaking the entire truck as though we were in a series of mini-accidents. Needless to say, our sleep wasn’t as great as it'd been the previous night when we were sheltered in Racetrack Valley.

And then, around 1:00am, the wind got significantly colder, and we started to feel moisture in the air. We didn't realize it at the time as we zipped up the remaining windows, but the moisture we were feeling was snow. By the time I rolled out of bed around 6:30am, even with heavy winds there was still a nice dusting of snow in the valley, and the surrounding mountains were white.

So yeah - we went to Death Valley to escape the cold, and we got snowed on. You don't see that every day.


Keep reading the whole story, and see all the photos of a day that had many surprises in store: Death Valley Day 4: You Don't See This Every Day

25159519137_200ea64c57_h.jpg


39320269124_de95a3330b_h.jpg
 

turbodb

Well-known member
Death Valley: Day 5 & 6 - Eventful Trip Home
January 21-22, 2018.

It was a clear, snowless night - not something you commonly have to think about in Death Valley! A big chilly out, but cozy under the down comforters in the tent. Morning light gave us a chance to explore our site a bit more - a big cave carved into the sandstone that had clearly been used by previous campers as well.
Read the full story and see what happened to us as we headed home - Death Valley: Day 5 & 6 - Eventful Trip Home

26157391838_892c2d0a75_h.jpg
 

turbodb

Well-known member
Garage Hoist - Winter Weight Loss for AdventureTaco
February 13, 2018.

Ever since installing the bed rack and CVT the truck has been in "adventure mode." I don't mind that so much when I'm just driving around (though - it'd be nice to not haul around the extra weight all the time), but it does make me nervous to park it unattended/unsecured overnight. As such, I've been trying to come up with a plan to remove the rack and RTT (ideally at the same time), and store them.

In our barely-1-car garage.

25386400907_6a879dccf1_h.jpg

At any rate, I knew the solution was going to involve either a winch or pullies (or both) and ultimately I considered three options:
  1. Assemble some misc pullies and rope (from amazon or Lowe's Depot).
  2. A cheap ATV winch from Harbor Freight.
  3. A pre-packaged hoist solution, like the Harken Hoister.
I was sure that option 1 would be the way to go from a cost perspective - but then I had a tough time finding pullies that were strong (and small) for a price that would make it competitive with option 3. I ruled out option 2 because I figured it was additive with either of the other two options.

And then, I found a 200 lb. Harken Hoister on eBay for a great deal - about 75% off - which I couldn't pass up!

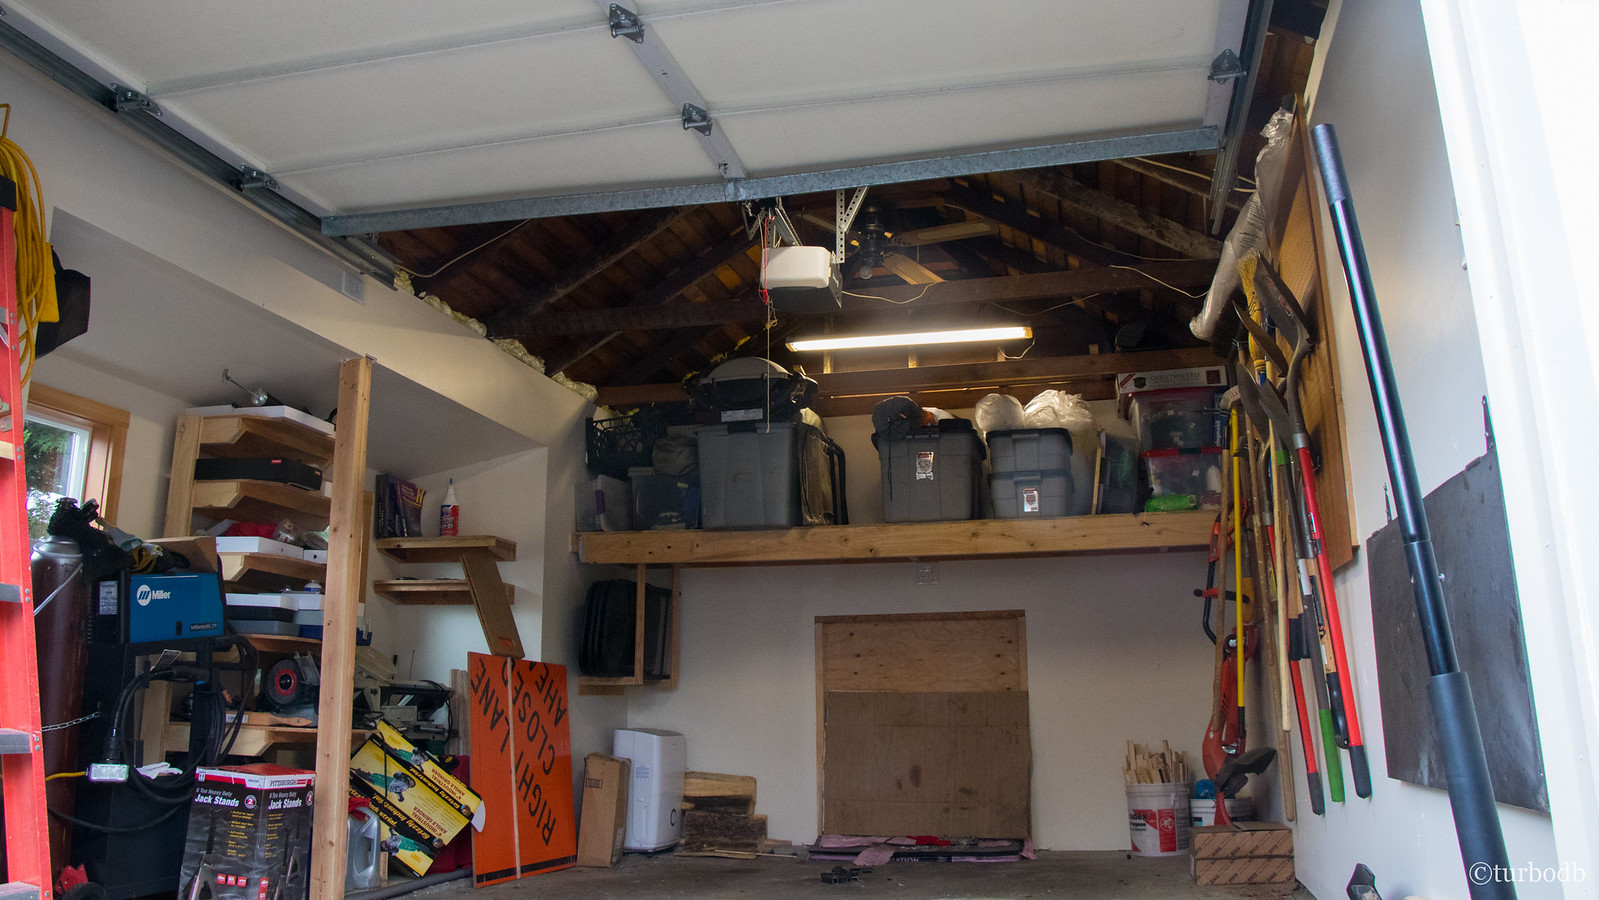
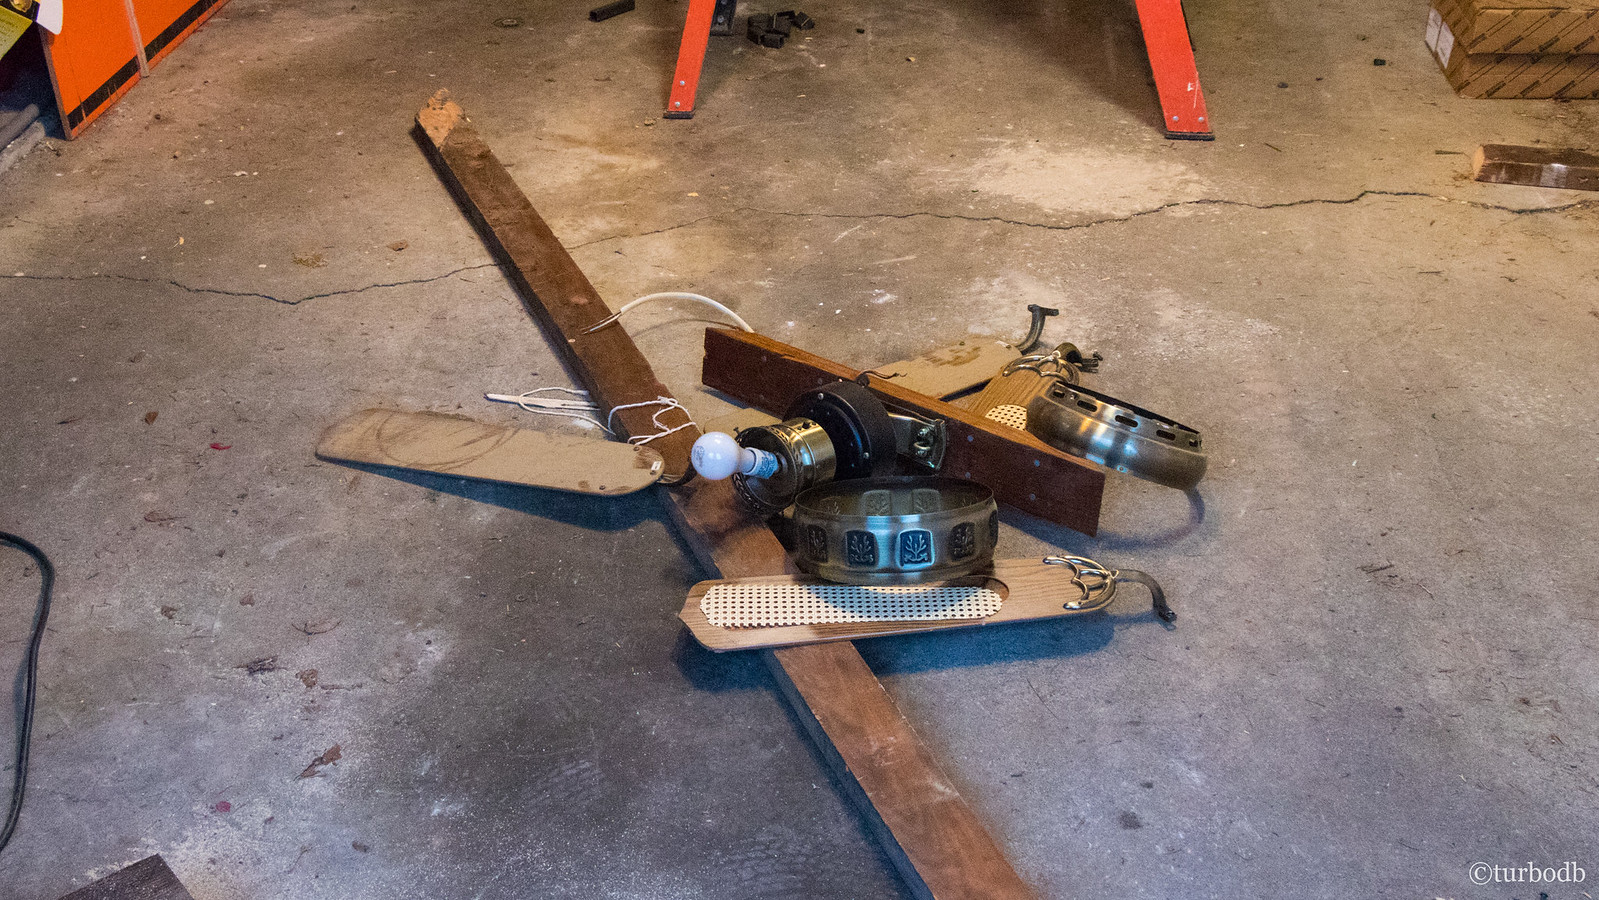
As is always the case, the project started with a bit of demo to make room in the rafters - I removed a cross-brace that was blocking the area where I'd raise the tent and added another brace just out of the way. I also removed a ceiling fan that a previous owner had installed.

Strange, given that it's generally cold here.

25386402347_5eadef6e81_h.jpg

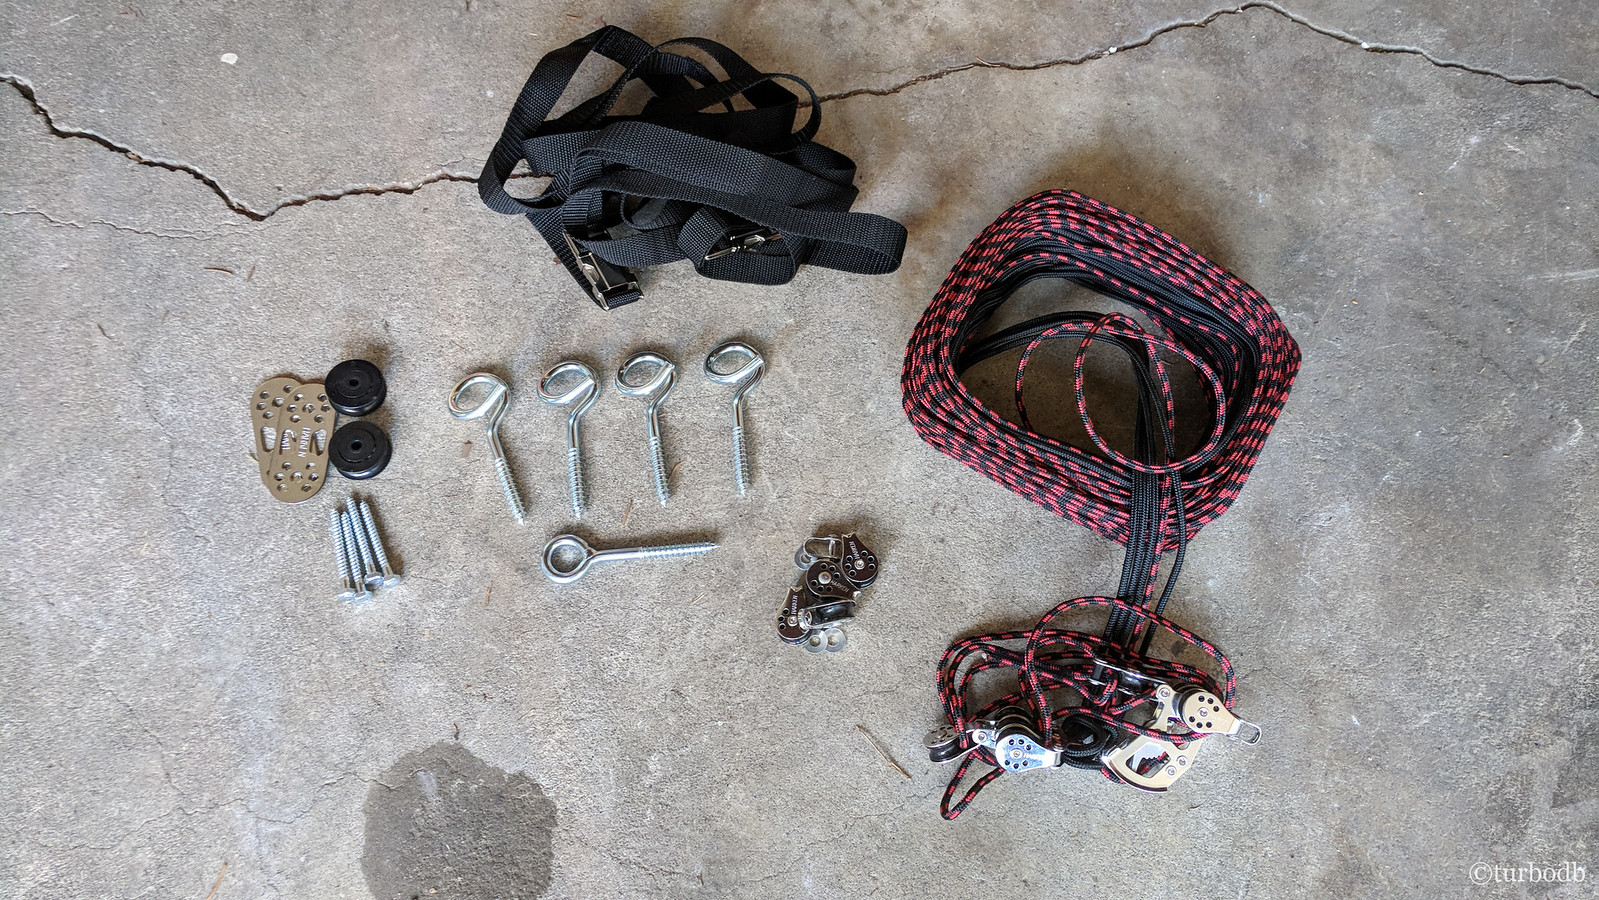
Demo done, it was time to take a look at the hoist system. Straight forward enough, there were
  • Four eye bolts to lift the load, and a fifth for the anchor.
  • Four pullies, as well as a fifth pully/cleat assembly that gives mechanical advantage and the ability to "lock" the load at a given height.
  • A "rope organizer" - again, just two pullies that help to align the ropes.
  • And finally, rope + straps to support the load as it's lifted/lowered.
25386403987_949250b109_h.jpg

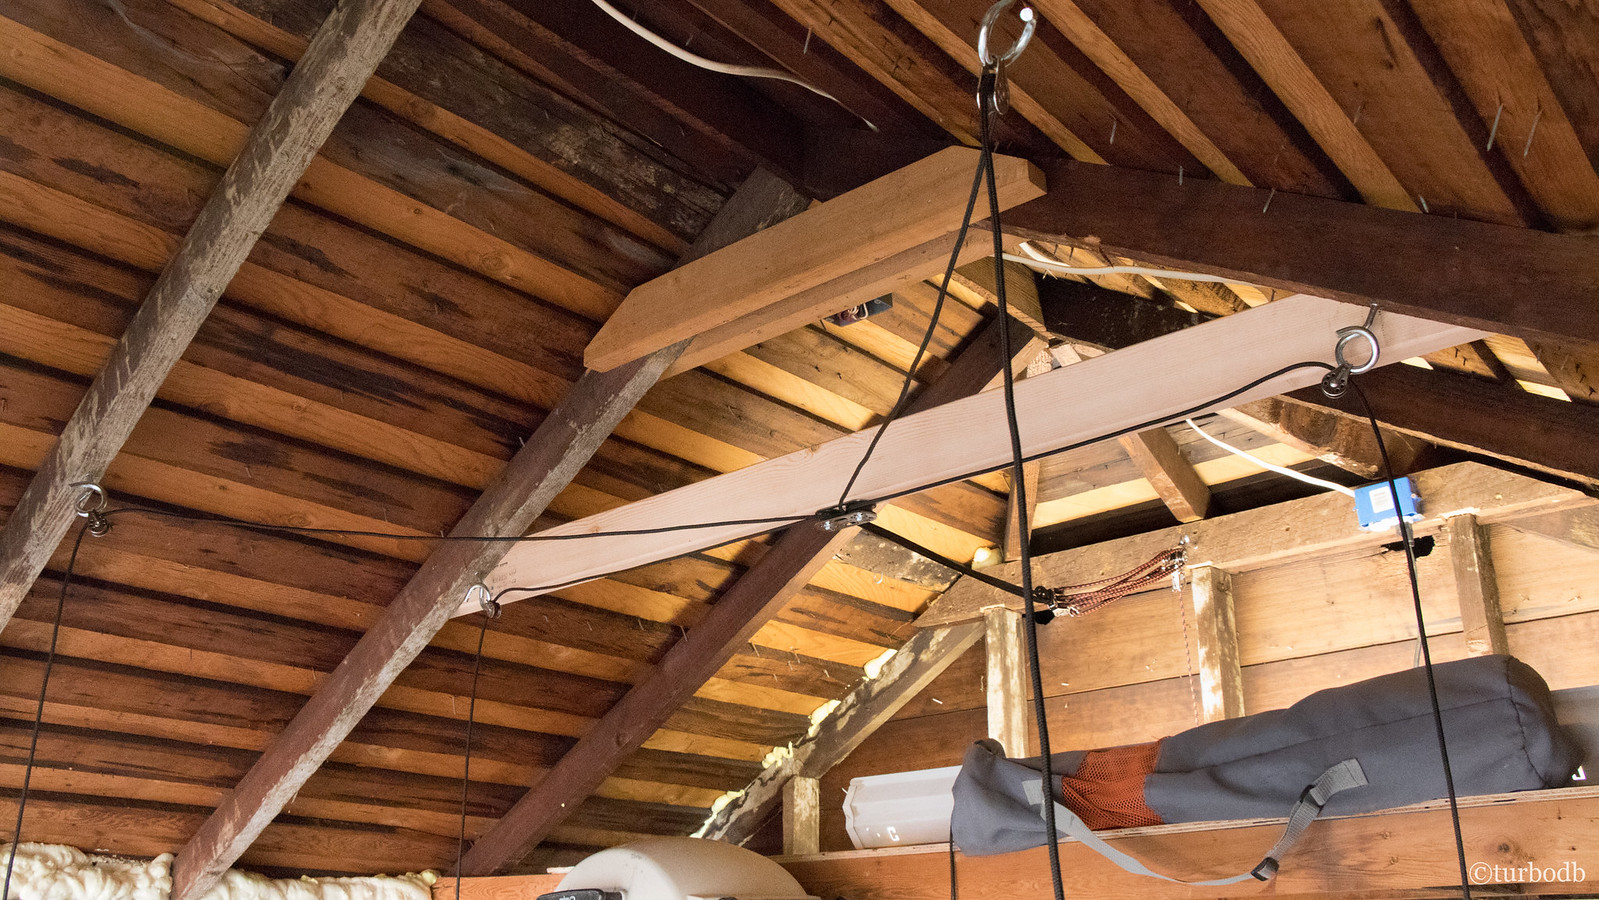
Installation was similarly straight forward. Because the rafters in the garage ran perpendicular to the truck, I was able to screw in the eye bolts directly, rather than using mounting boards. However, given the roof pitch, I did need to install a crossmember that the "rope organizer" was bolted to.

25386405887_5da6b2f145_h.jpg

And then, it was time to give it a try. I backed in the truck and aligned the rack under the hoist. I attached the straps and gave the hoist rope a tug. And then another tug.

And then I remembered that I needed to unbolt the rack from the bed. LOL.

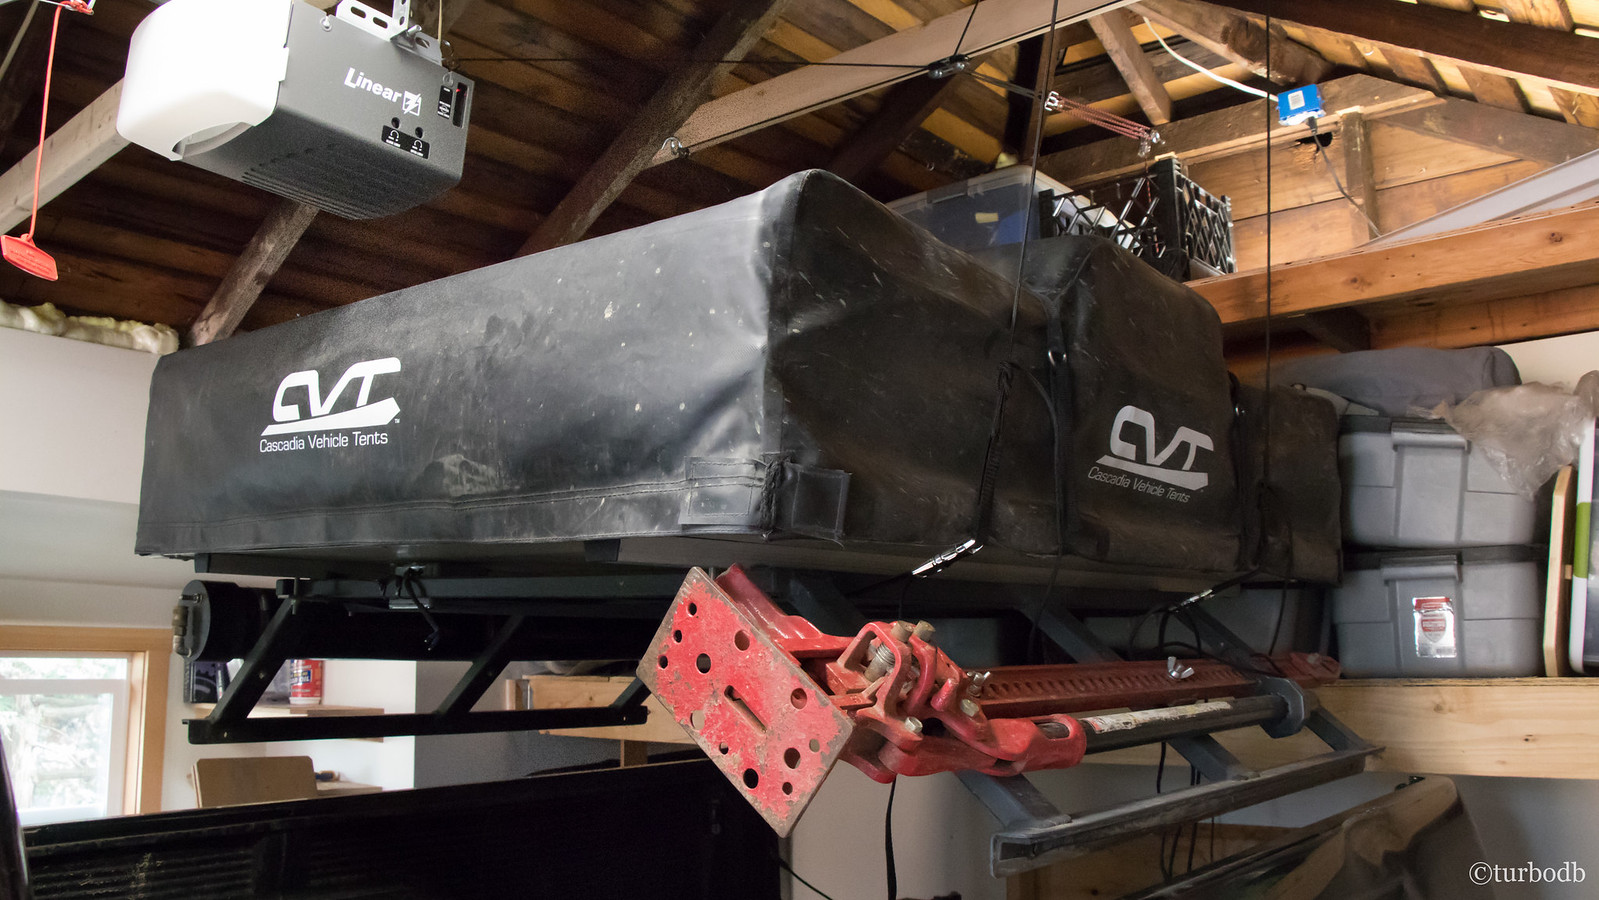
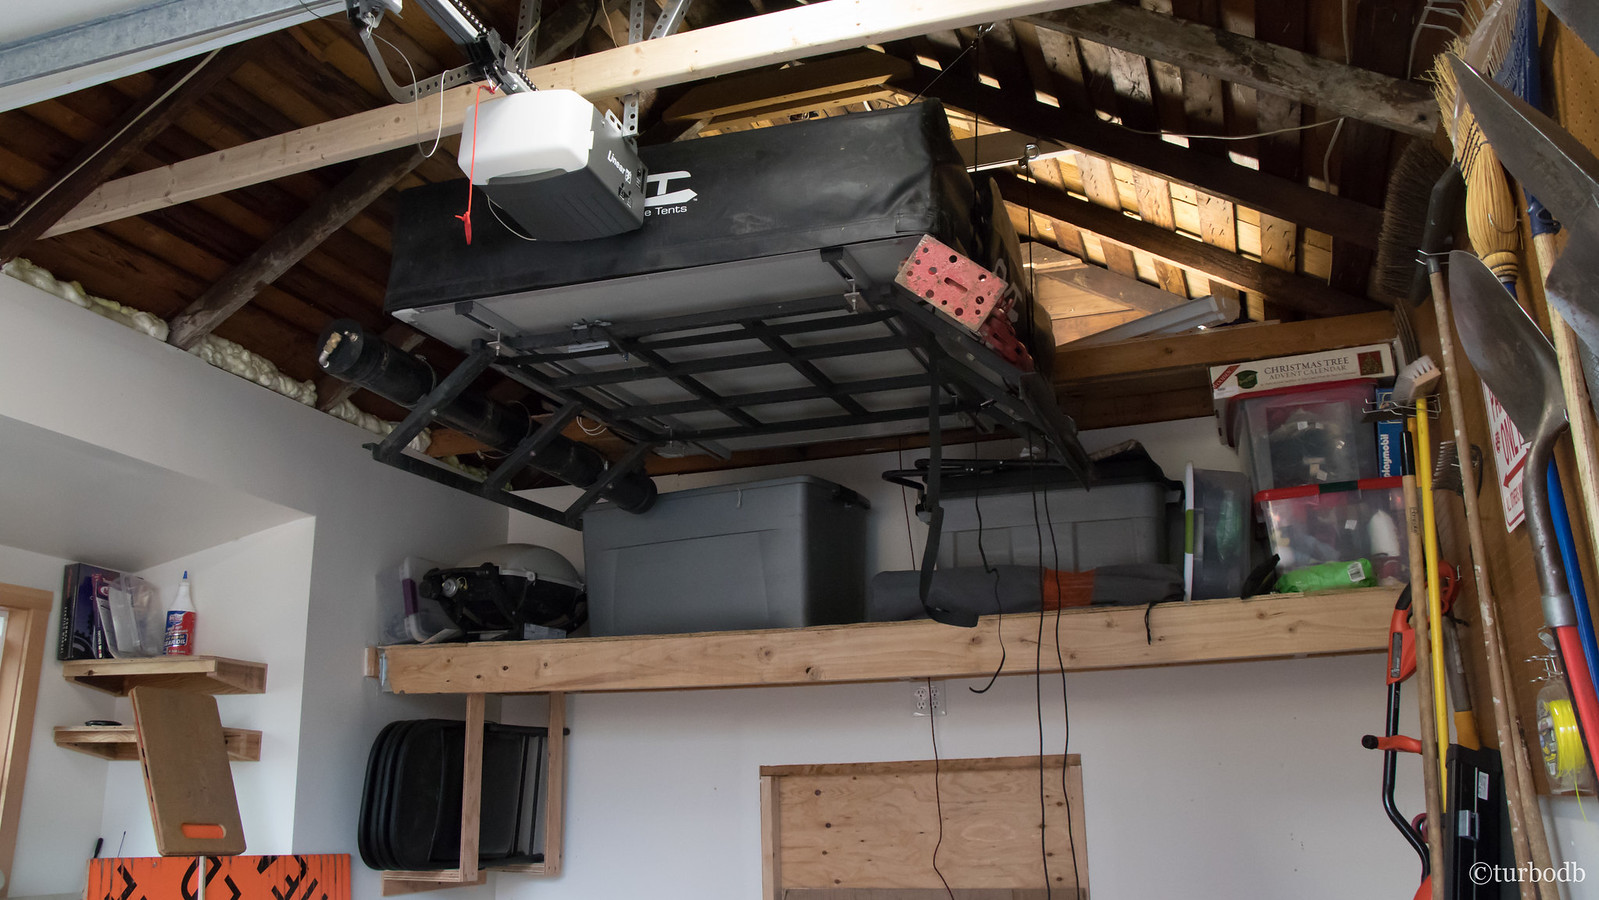
Rack unbolted, a few more tugs (there's a lot of mechanical advantage), and the rack + tent rose off the bed rails and into the air! A few more and it was "up in the rafters."

39546045504_3d8abd5c4a_h.jpg


25386405377_1f846423f9_h.jpg

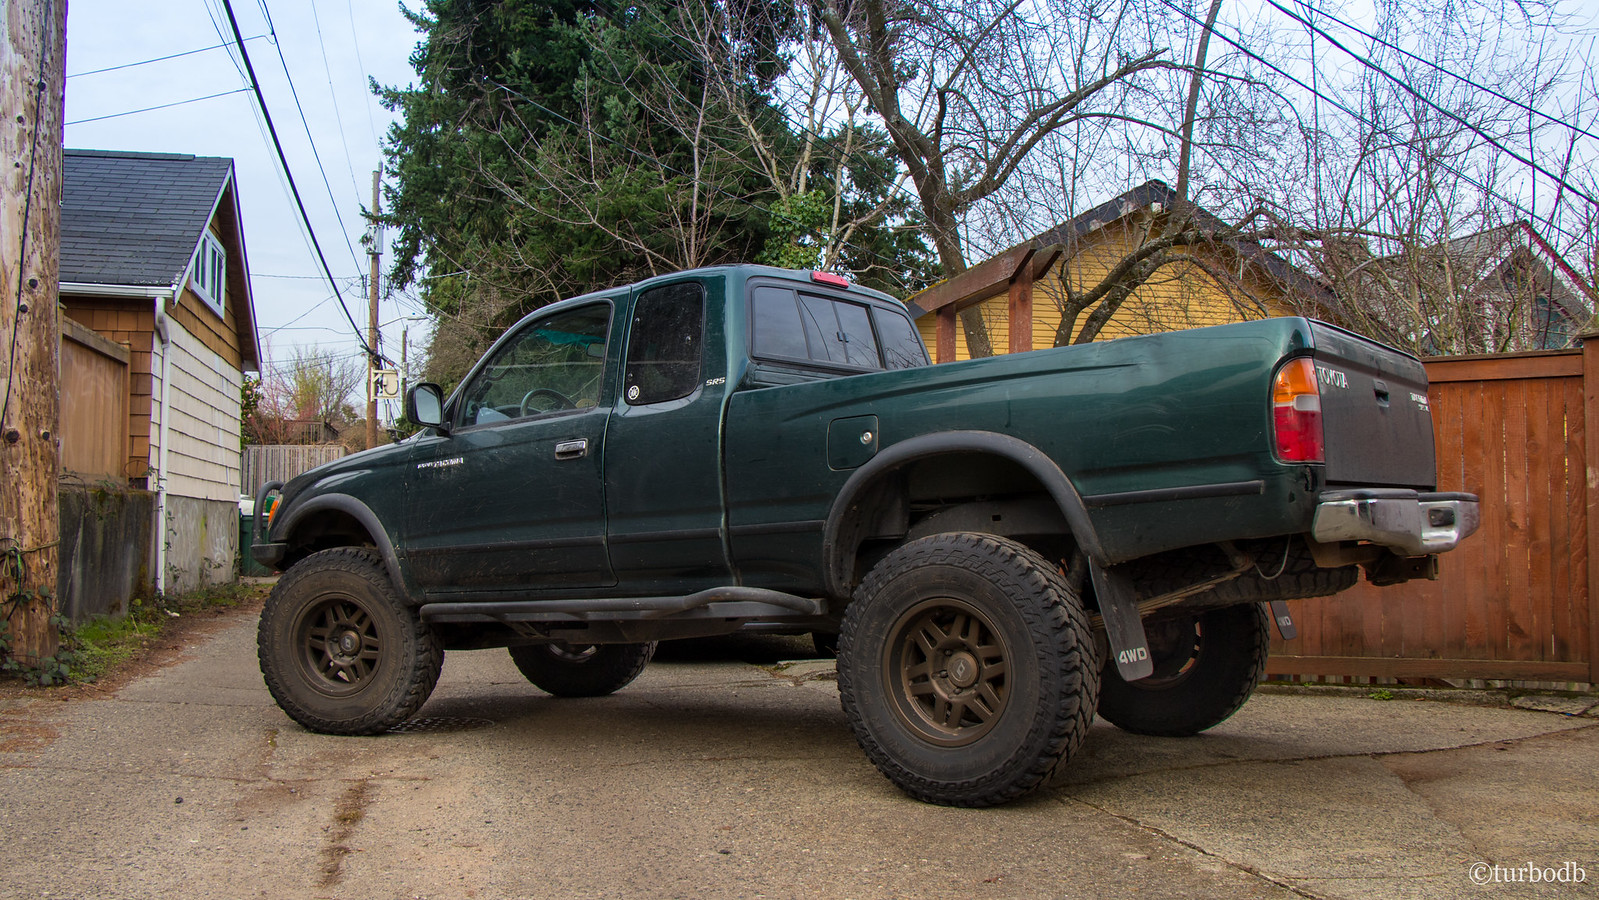
And now, for the first time in a long time, the truck looks like a pickup. And in pickup mode, the rearview mirror is amazing! You can actually see things behind the truck . And, while the truck probably won't be in this mode all that often, it's nice to know that if I need full bed access to haul something taller than the rack, it's now an option.

39541616194_adb7eee2c9_h.jpg
 

Wayaway

Member
Life changing magic of tidying up - or, "I hate my stereo"
August 7, 2016.

I've suffered enough.

That Panasonic stereo I installed back in 2013 was great for the Bluetooth, and it was nice for playing videos, but the UI was just horrendous. I mean, why can't there be an option to just make the background black, and not some pulsating craziness that belongs in "The Fast-er-est and Furious-er-est," not a Toyota Tacoma?

Plus, I'm getting to that point where I should just buy what I want - I mean, I've learned from Pops that I'm just spending Clara's inheritance at this point, even if she did love the old stereo for watching videos.

So, I did the same thing I did last time. Let me refresh your memory:

I want a black background.

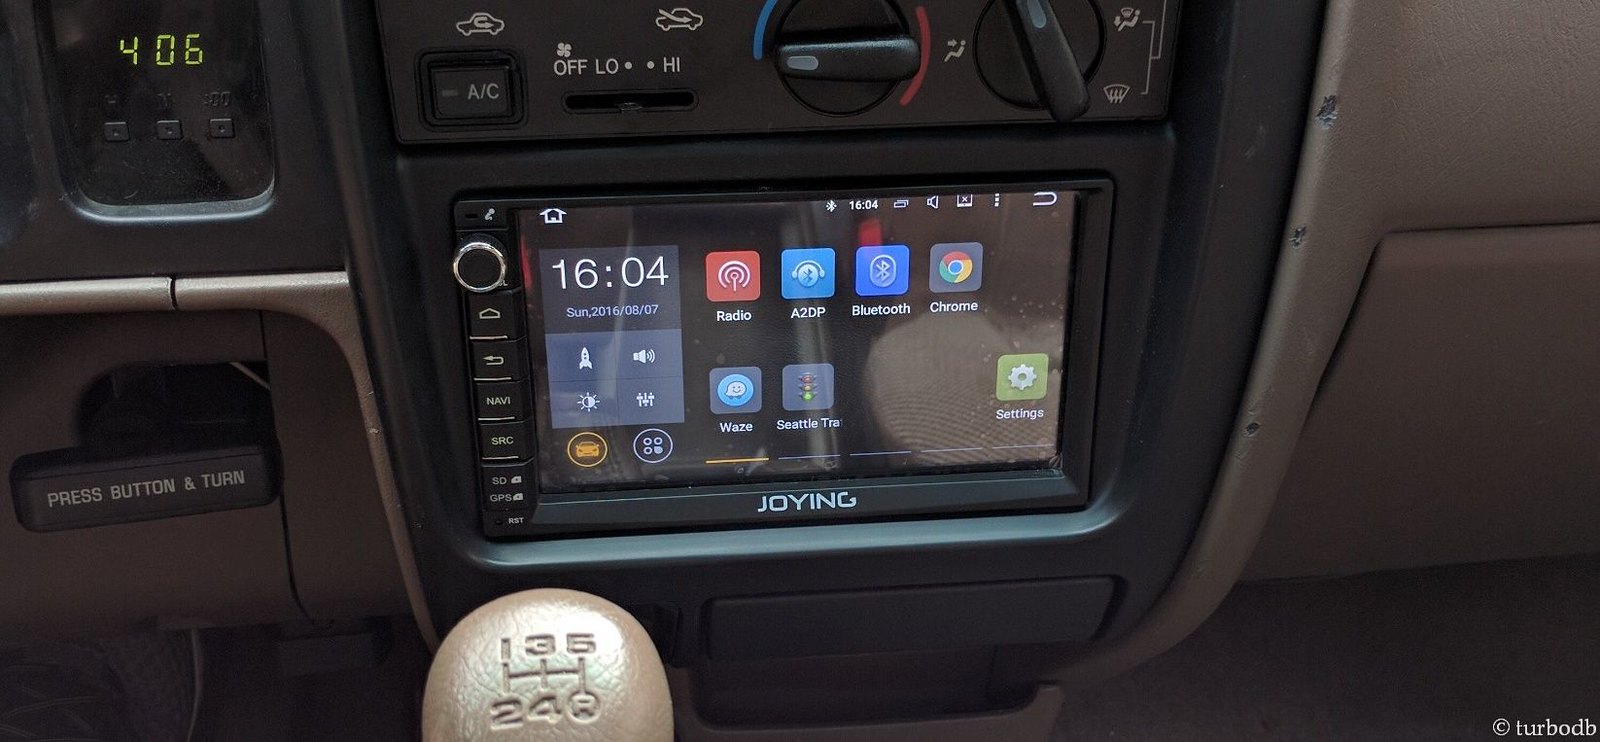
This stereo is Android (5.1 Lollipop) based, and is oh-so-much better. It's got the black background. And yeah, I had to sand down the double-DIN opening a bit to get it to fit around the stereo bezel, but c'mon, the background is black.

26213187218_05ac22136b_h.jpg

I'm sure this stereo will last me 10 years.

---

Here are detailed install notes from this thread that I started about the stereo.

So, I just got a new head unit that got a bit of discussion in a thread a few days ago - an Android (v5.1.1) based unit by JOYING (JOYING JY-UL135N2). I got it to replace an already after-market Pioneer that I wasn't a huge fan of due to the obnoxious background graphics that I couldn't get rid of.

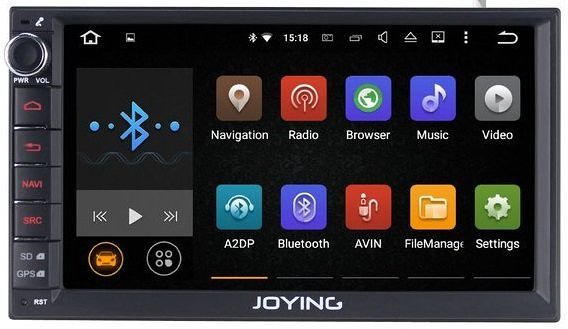
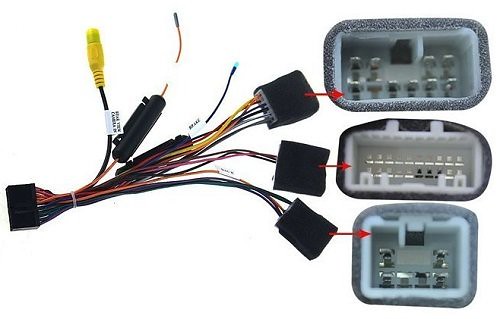
Stock pics of the head unit and harness from amazon:
39397021294_321593dfef_z.jpg


39397022174_6fd6c9e05d.jpg

Install notes (on a 1st gen - 2000 XtraCab SR5 V6 4WD TRD):
  • The harness available from JOYING makes the head unit plug and play electrically
  • While the head unit body fits just fine, the bezel is about 2mm too wide and 2mm too tall for the opening in the dash; had to carefully enlarge the opening with sandpaper
  • The GPS unit is magnetic; I placed it on the round bar between the firewall and passenger air bag, which seemed like a place that would get relatively good reception
  • It supports two cameras, but I didn't install any
  • The password for the "Settings > Factory Settings" (where a lot of the useful settings are) is "126"
Overall, I definitely like this unit better than my pioneer, and of course better than the OE CD/Tape player. If you don't mind the minor mod (above), I totally recommend this for a great experience in a 1st gen.

Things I like:
  • Boot screen is configurable. And it comes with a Toyota logo, which makes it look OEM
  • Easy to configure the wallpaper. I'm basically using "black" and it's nice to have it be so clean looking
  • The built-in apps seem to work relatively well for basics (radio, pairing with phone for podcasts and phone calls)
  • The microphone on the head unit works well (there's an external mic too, which I tested, but ultimately didn't install after testing sound quality of both)
  • It's Android, and so it's configurable (including the hard buttons on the device)
  • I can install apps from the Play Store. Waze, etc.
Things I don't like:
  • The built-in app names are lame. The app used to make calls is "Bluetooth" (should be "Phone) and the app used to stream audio from my phone is "A2DP" (should be "Bluetooth")
  • The bezel is a bit deep for my tastes - nearly a half inch. That makes seeing the top of the screen tough, because of the bezel overhang
  • The "hard" buttons work fine, but they feel cheap
  • The Bluetooth stack is pretty lame. It's probably fine for most things, but it won't connect to my Kiwi3 OBDII device; thus, no DashCommand (EDIT May 2017: With the newer JY-UL135N2 Intel Sofia based version of this head unit, the Kiwi and DashCommand now work!)
Ask away if you have questions.

I hate the aftermarket stereo that was in my 4Runner. Thanks for the detailed write up.. I too want something that isn't flashy, and Android would be awesome.
 

turbodb

Well-known member
I hate the aftermarket stereo that was in my 4Runner. Thanks for the detailed write up.. I too want something that isn't flashy, and Android would be awesome.
I will say, that the fit-and-finish on this stereo after using it for a while is not the best. it works, and everything is functional, but you can tell it doesn't have the usability research/testing that a mainstream brand has. Really what I would like is an Android auto wireless stereo...Just need to wait a couple years for the price on those to come down to a reasonable amount.
 

Wayaway

Member
I will say, that the fit-and-finish on this stereo after using it for a while is not the best. it works, and everything is functional, but you can tell it doesn't have the usability research/testing that a mainstream brand has. Really what I would like is an Android auto wireless stereo...Just need to wait a couple years for the price on those to come down to a reasonable amount.
Ah, cool - thanks for that.
 

Forum statistics

Threads
188,007
Messages
2,901,050
Members
229,355
Latest member
BDM66
Top