AdventureTaco - turbodb's build and adventures

turbodb

Well-known member
OBDR Day 2: There's always a go-around.
July 30, 2017.

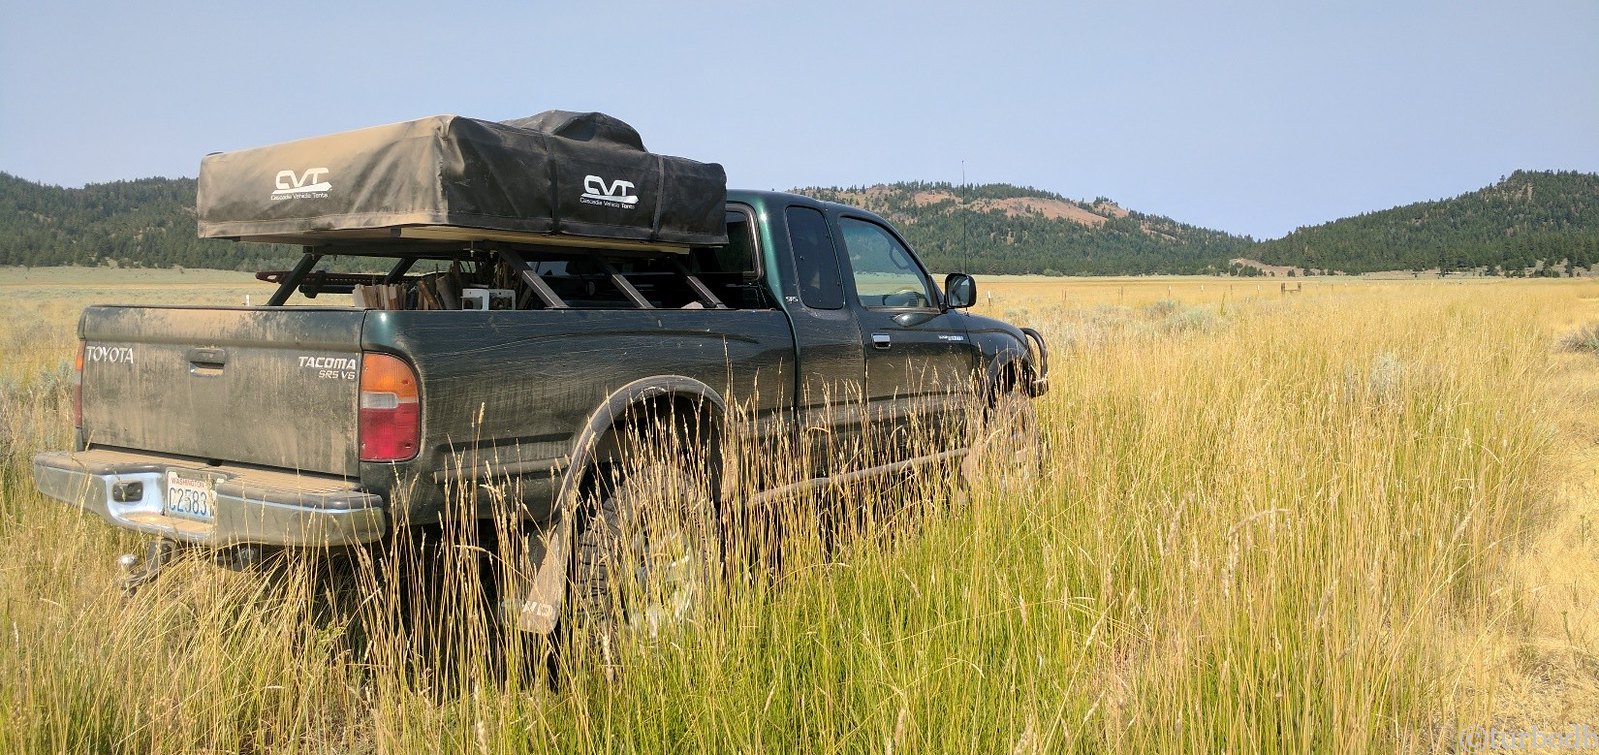
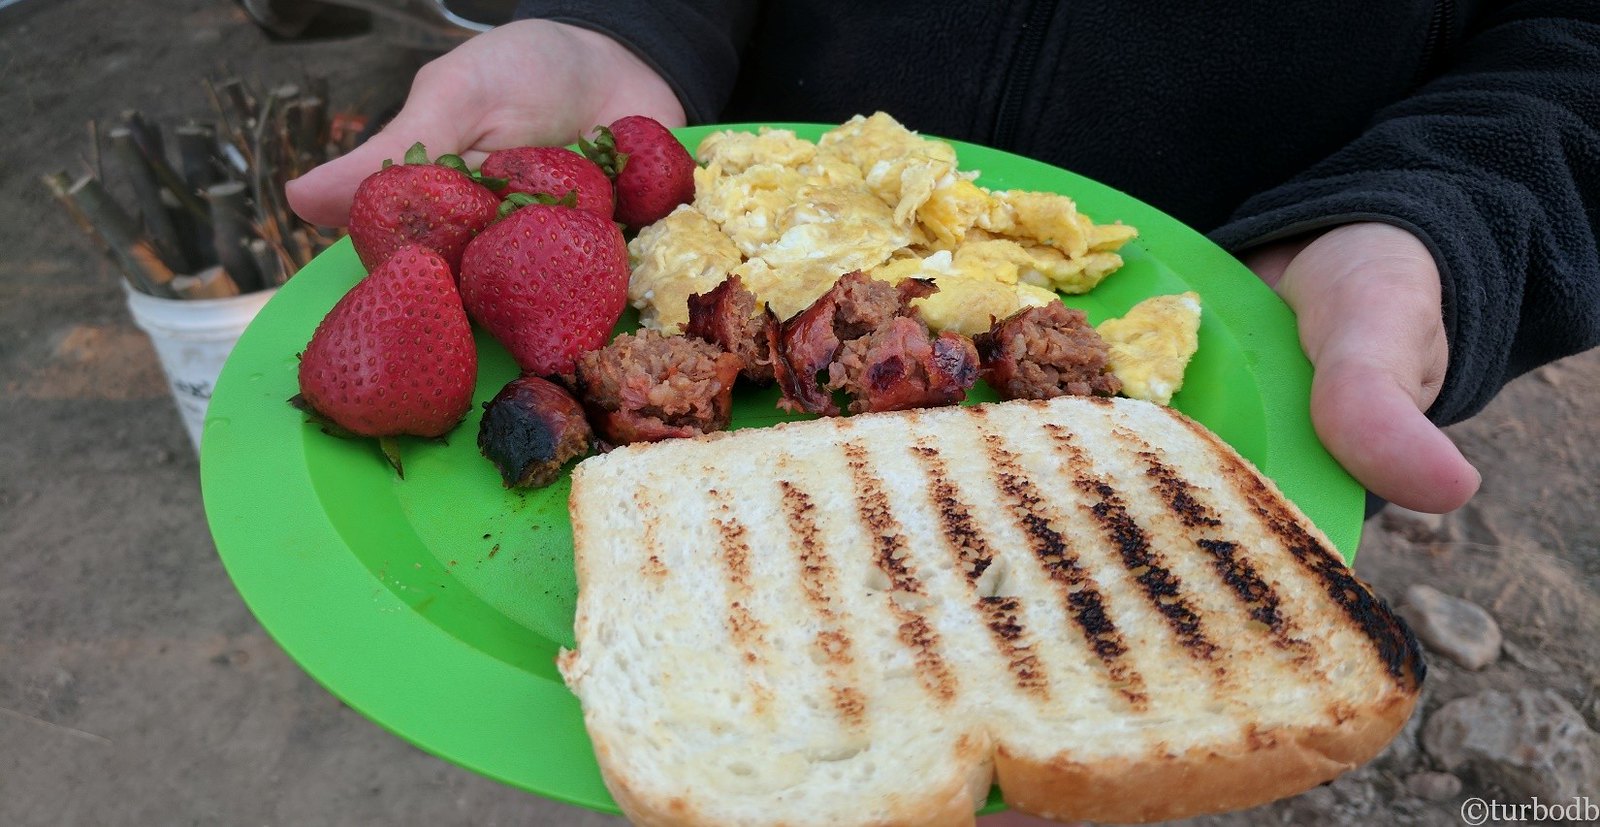
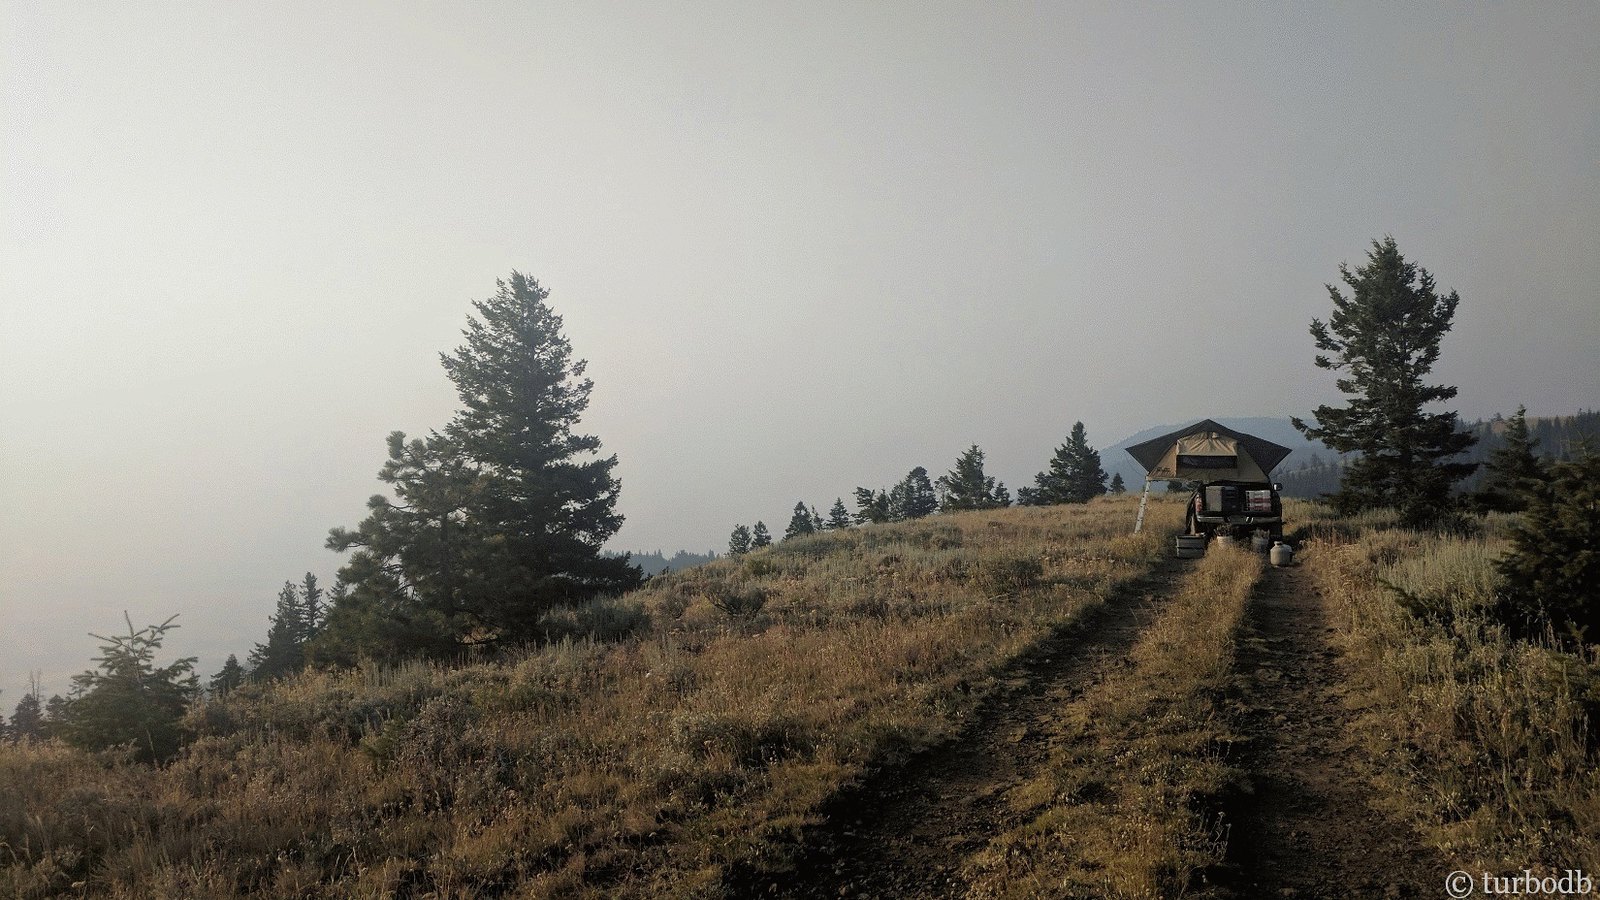
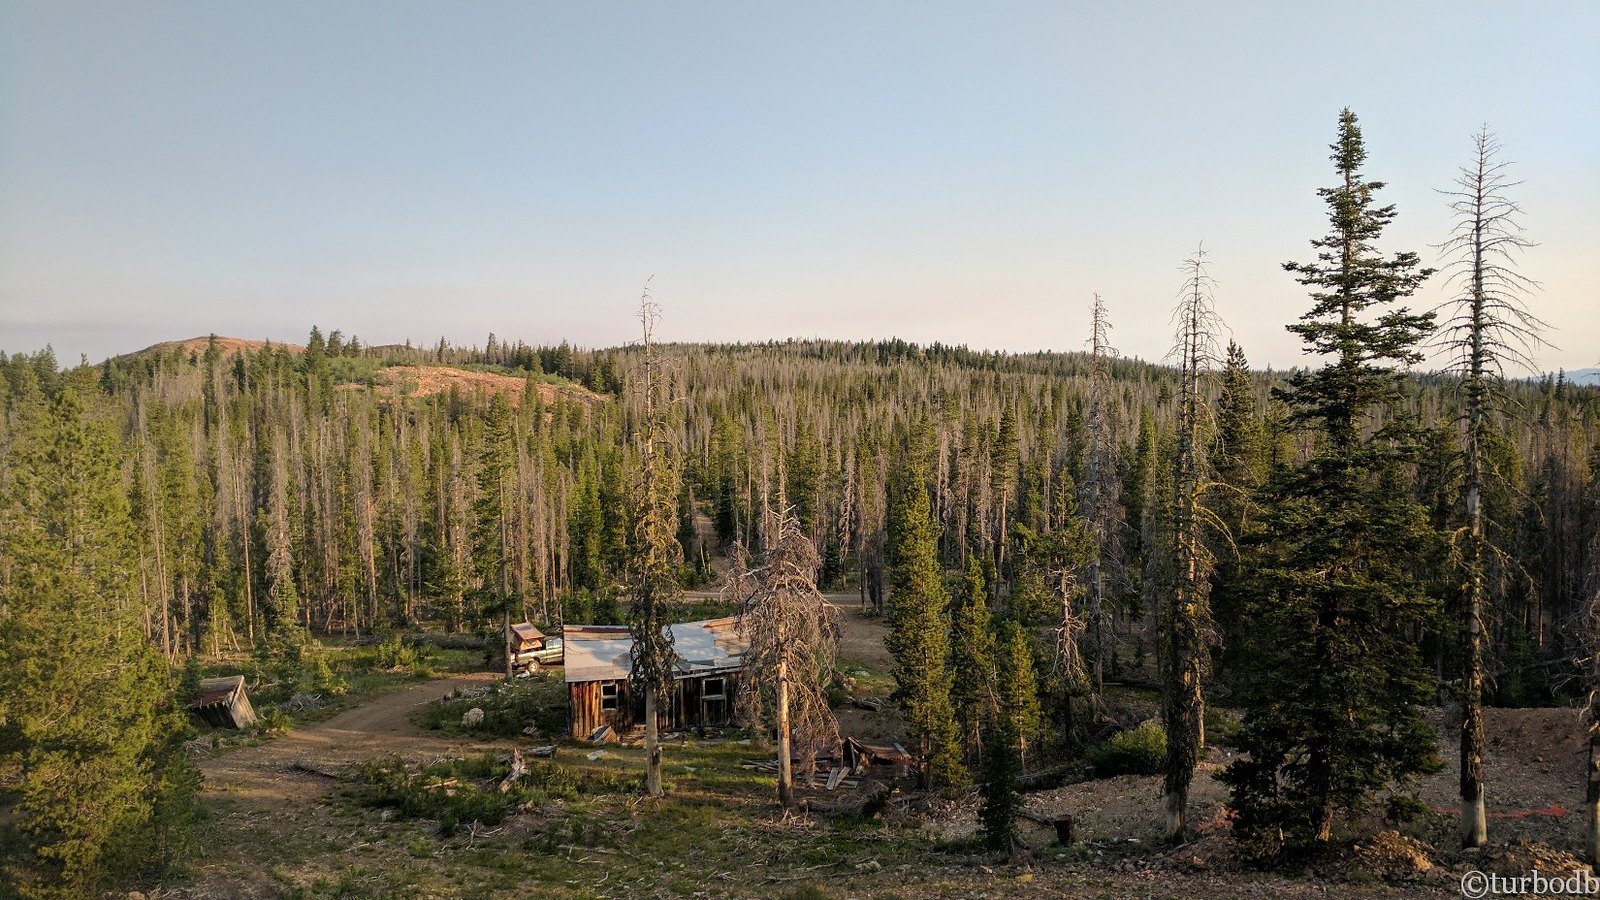
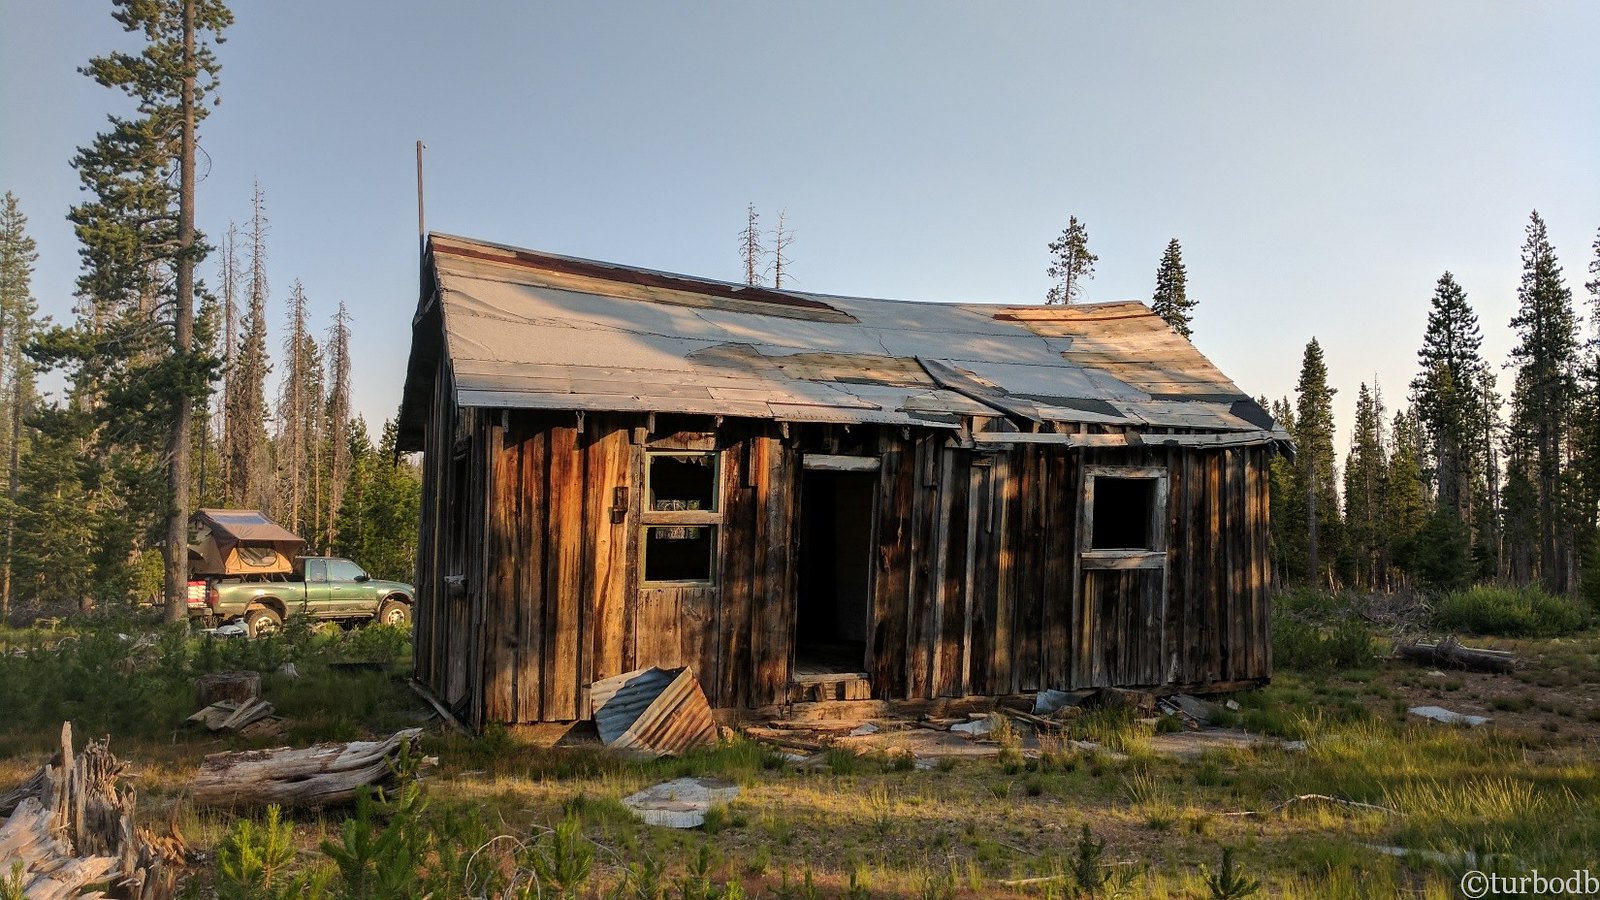
After a long day, we'd fallen asleep quickly and slept soundly by Moonlight Mine at the top of Crane Mountain. Morning light brought a bit more time to explore the mine and make breakfast out of the fridge - scrambled eggs, spicy sausage, toast and strawberries - delicious, and ready for @mrs.turbodb when she climbed down from the tent at 7:45am.

The anti-condensation mat worked fantastimagically, and there was very little condensation under the mattress - the only morning we'd have any. Even with the condensation, it was on the floor of the tent, away from the mattress itself, so there was no need to wait for the mattress to dry out - just wipe off the floor and we're done.

Anyone who's got an RTT should get a mat. @Cascadia Tents mats will fit all brands, and they are the cheapest I could find.
39376226914_d71c598d8e_h.jpg

While making breakfast, another truck rolled by the mine - a local, one of only two times we'd run into someone on the trail - who was out "scouting for deer." He asked if we were doing the same, and was intrigued by (and clearly not interested in attempting) the idea of running the OBDR.
39376227694_798c700615_h.jpg

As I put away the tent and @mrs.turbodb took care of the breakfast dishes, we knew that the moment of truth was upon us. Where would we go, and what would we do - given the previous night's excursion?

As we loaded into the truck and took a look at the maps, what would become our first rule of the trail became clear:

When the trail is impassible, there is always a go-around.

If we'd simply looked at the map the evening before, rather than blindly following the GPS waypoints, we'd have seen that with a few extra miles though the Dismal Swamp, we could join back up with the GPS track just over the Oregon border.

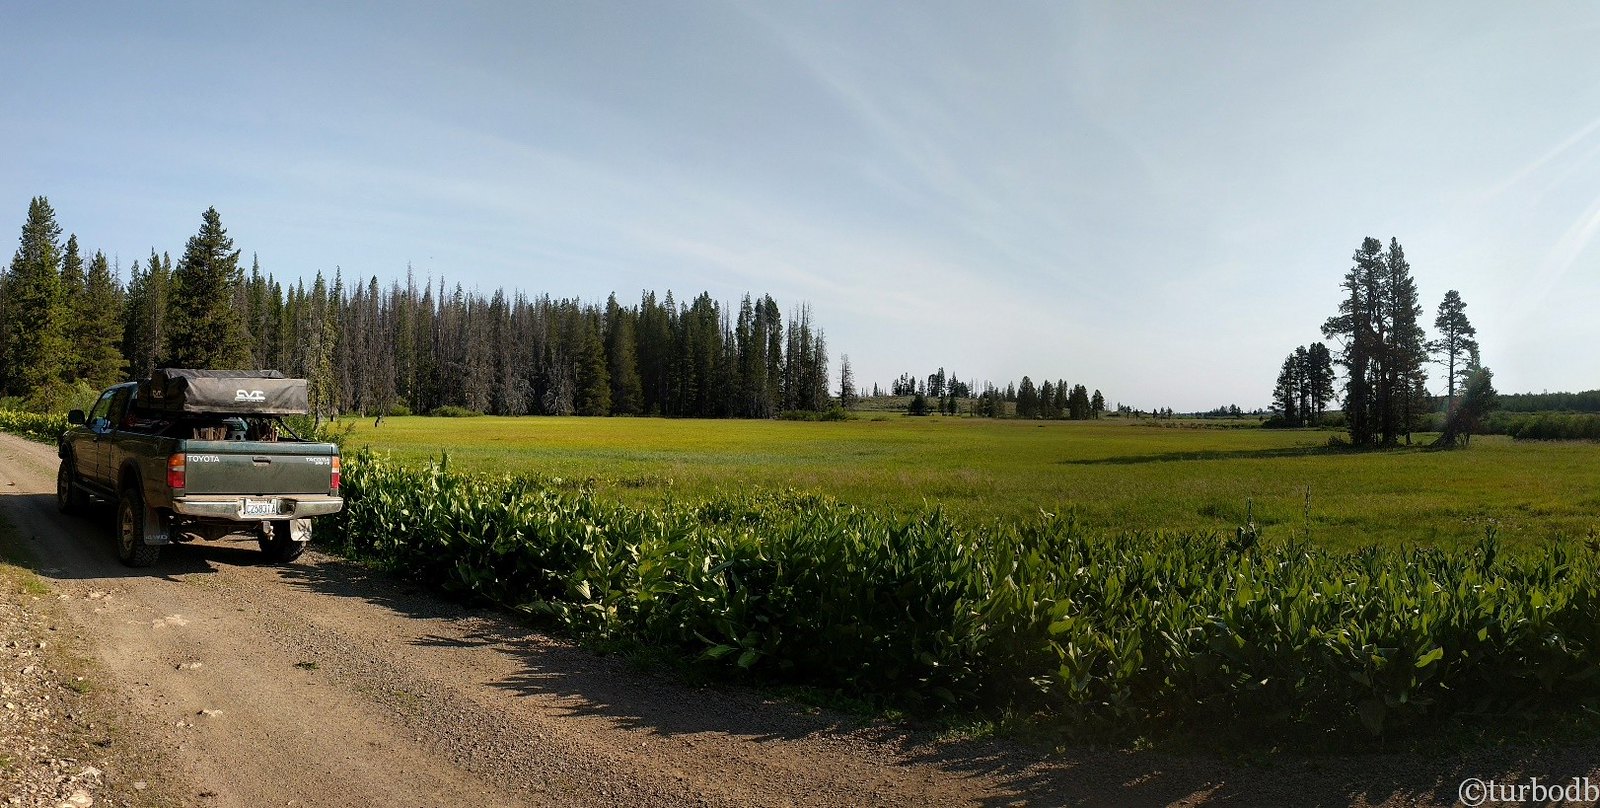
So we did. And the Dismal Swamp was anything but!
39376228194_05bdcead56_h.jpg

Lush and green, the road was enjoyable and our spirits were raised. We were back on our adventure, and we'd learned a valuable lesson - the OBDR is a long trail, and constantly changing conditions mean that there's more than one way to complete it.

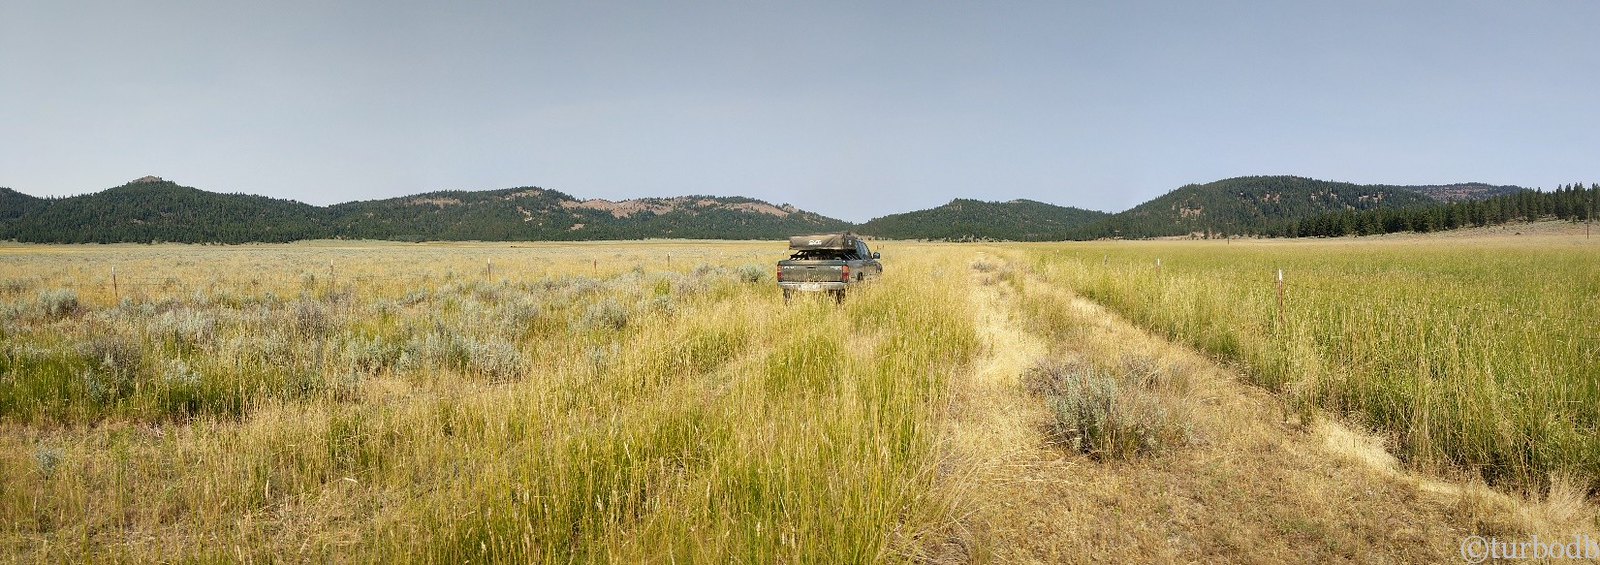
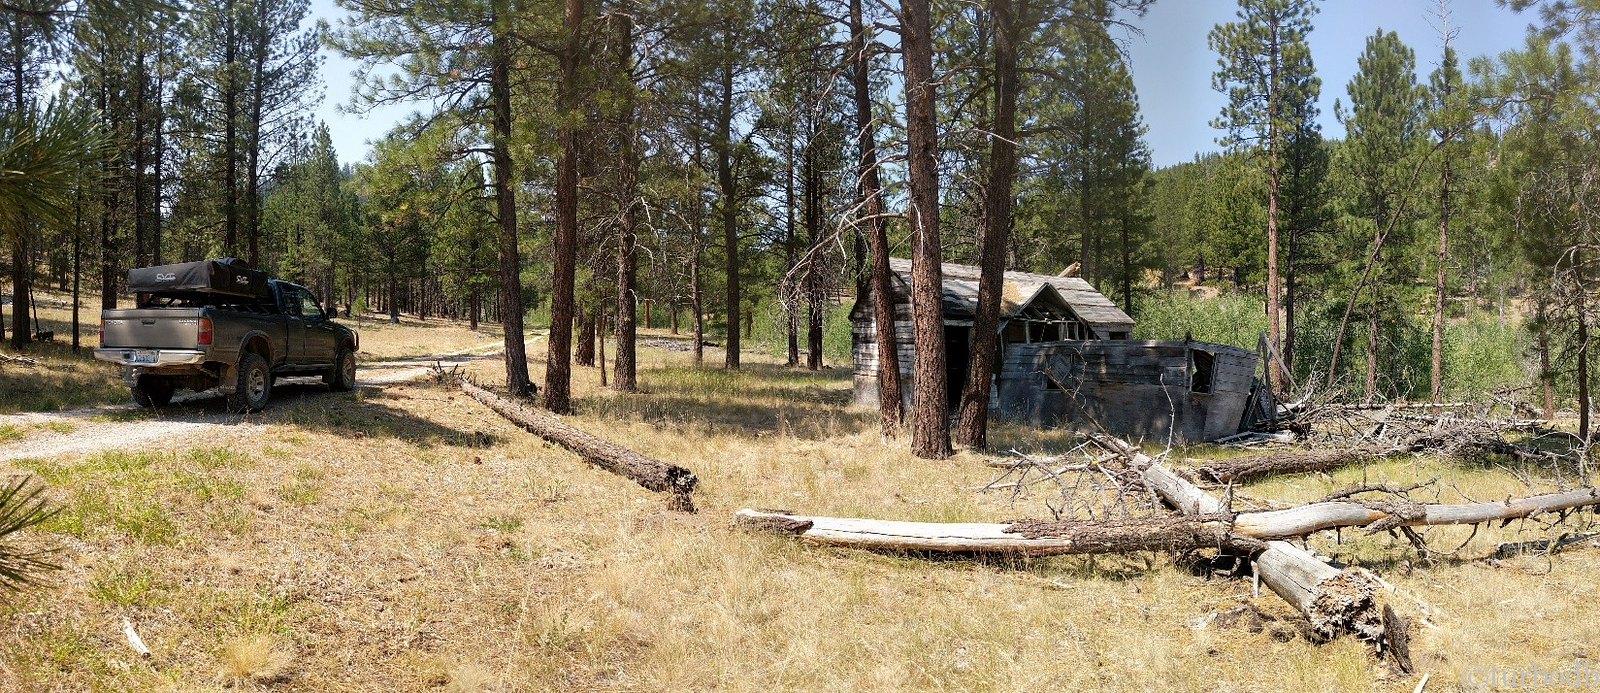
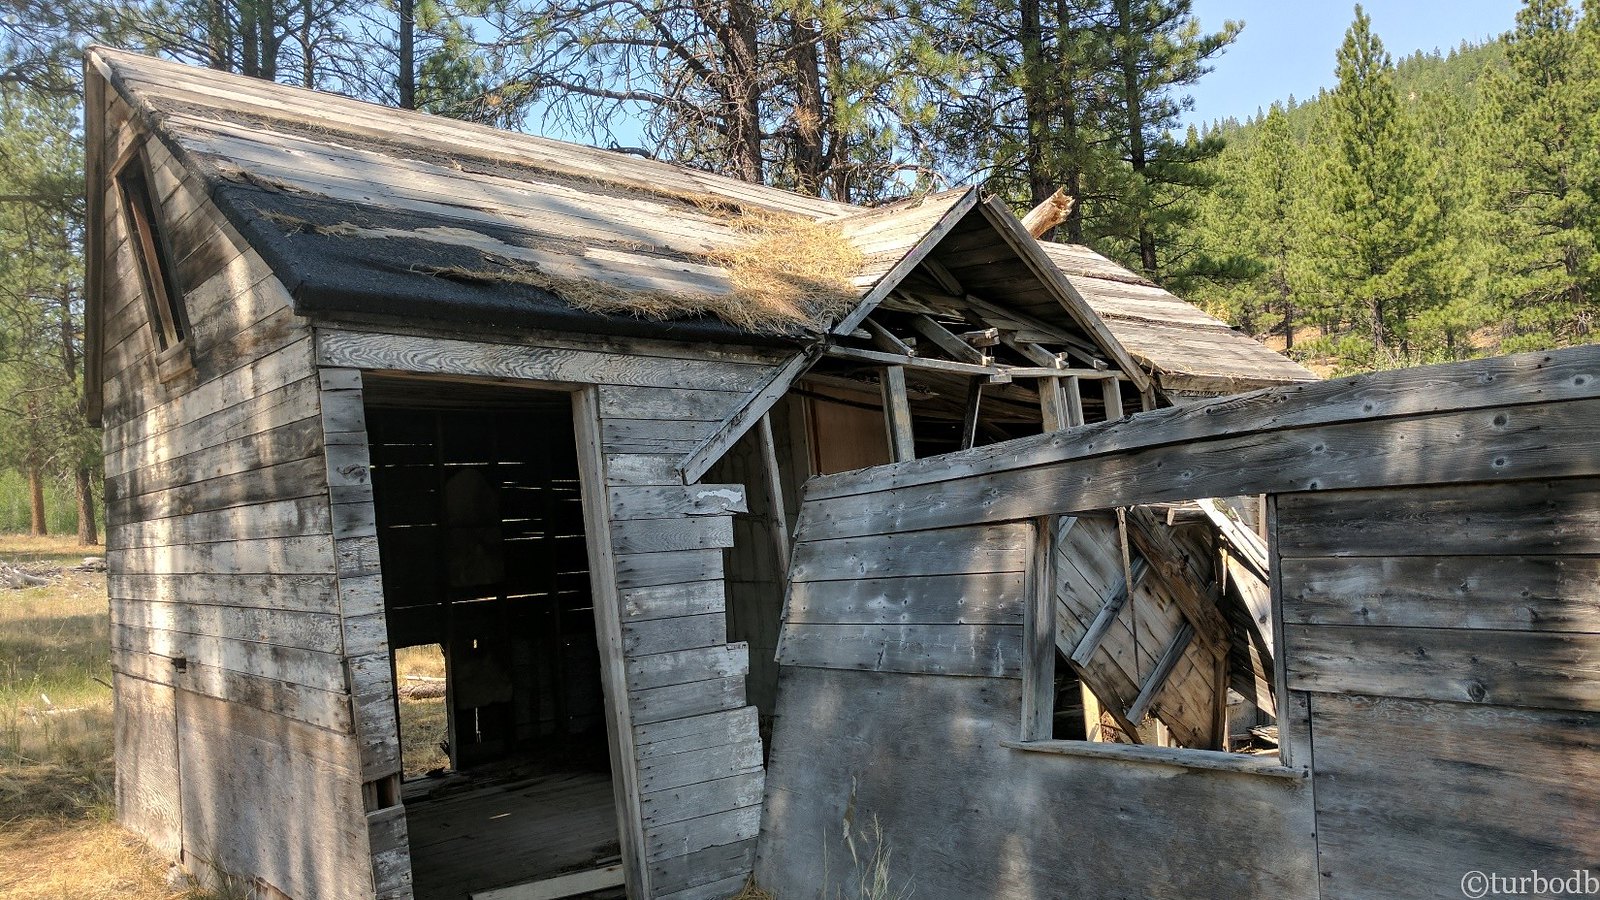
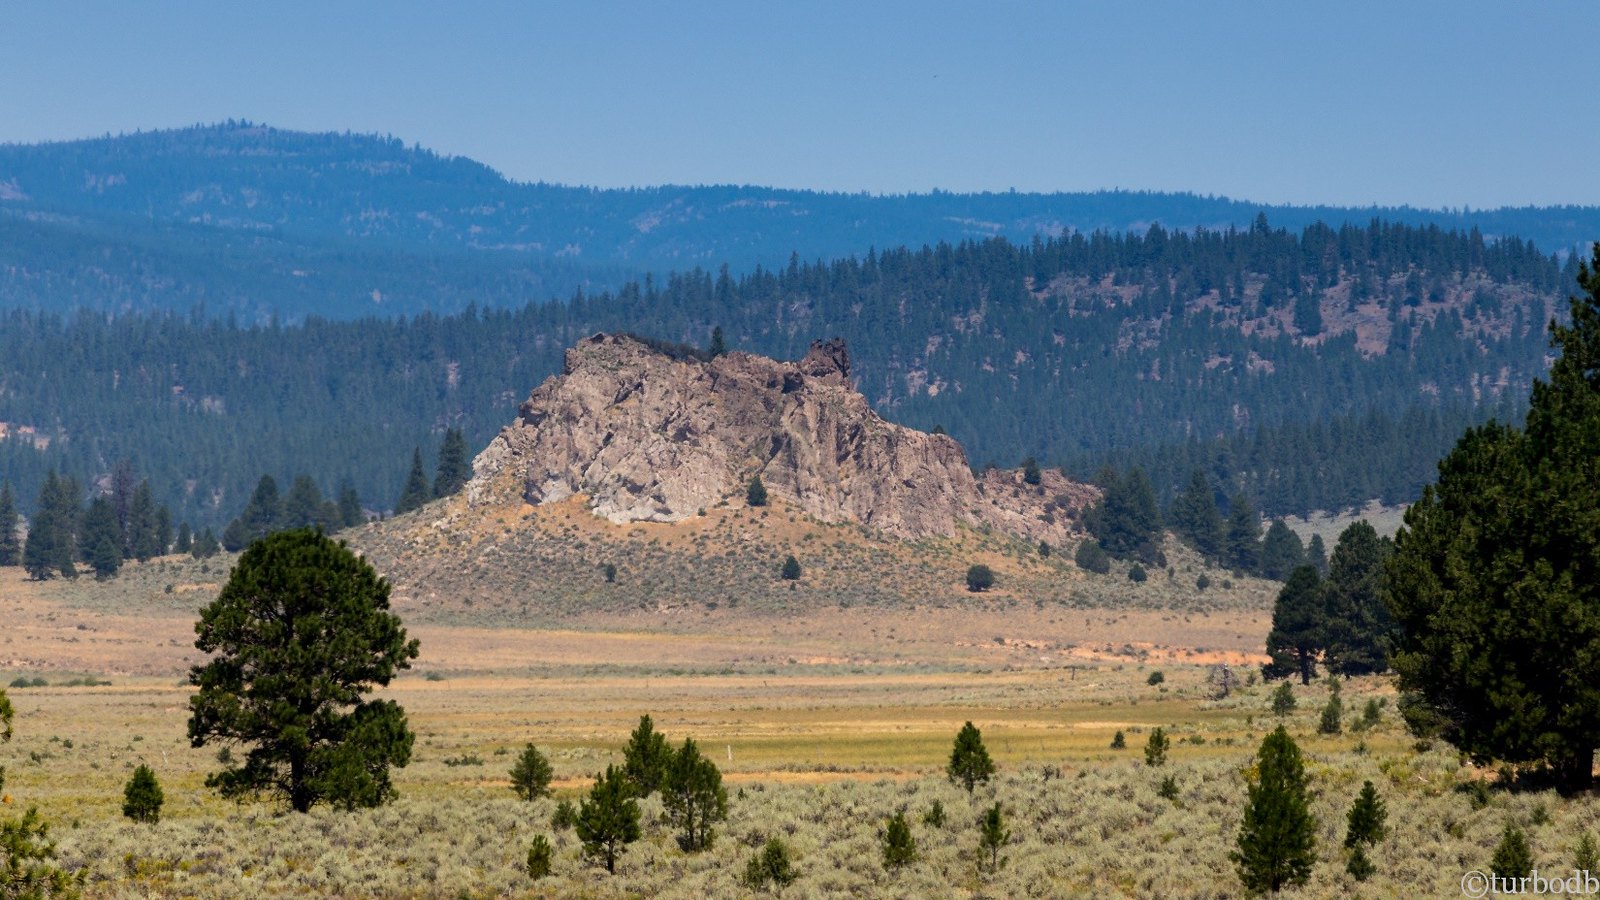
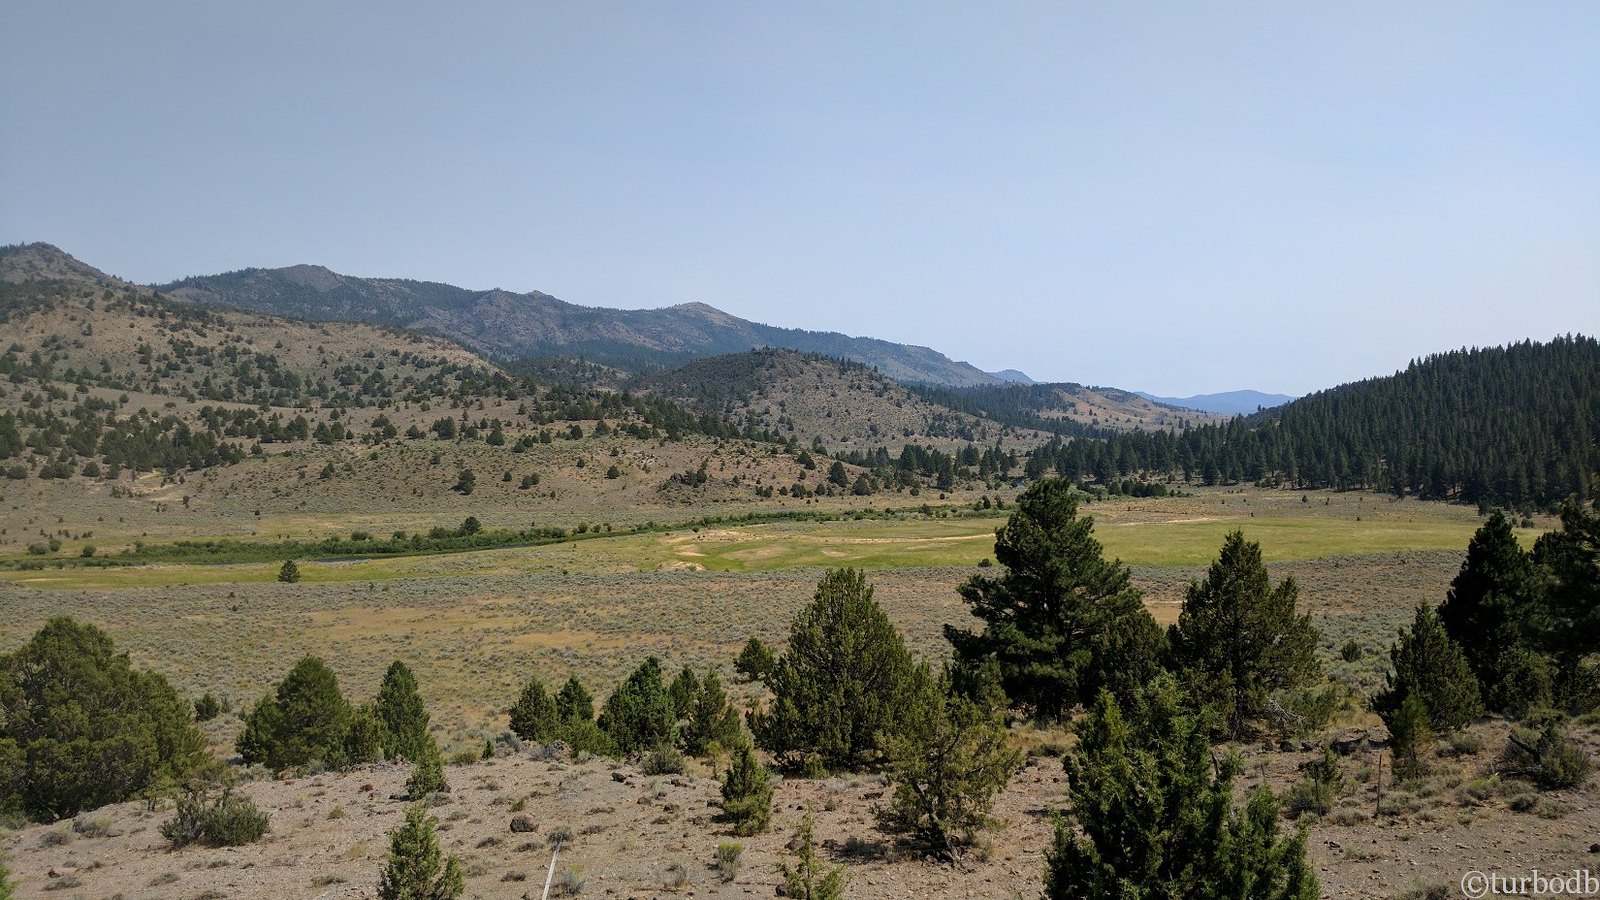
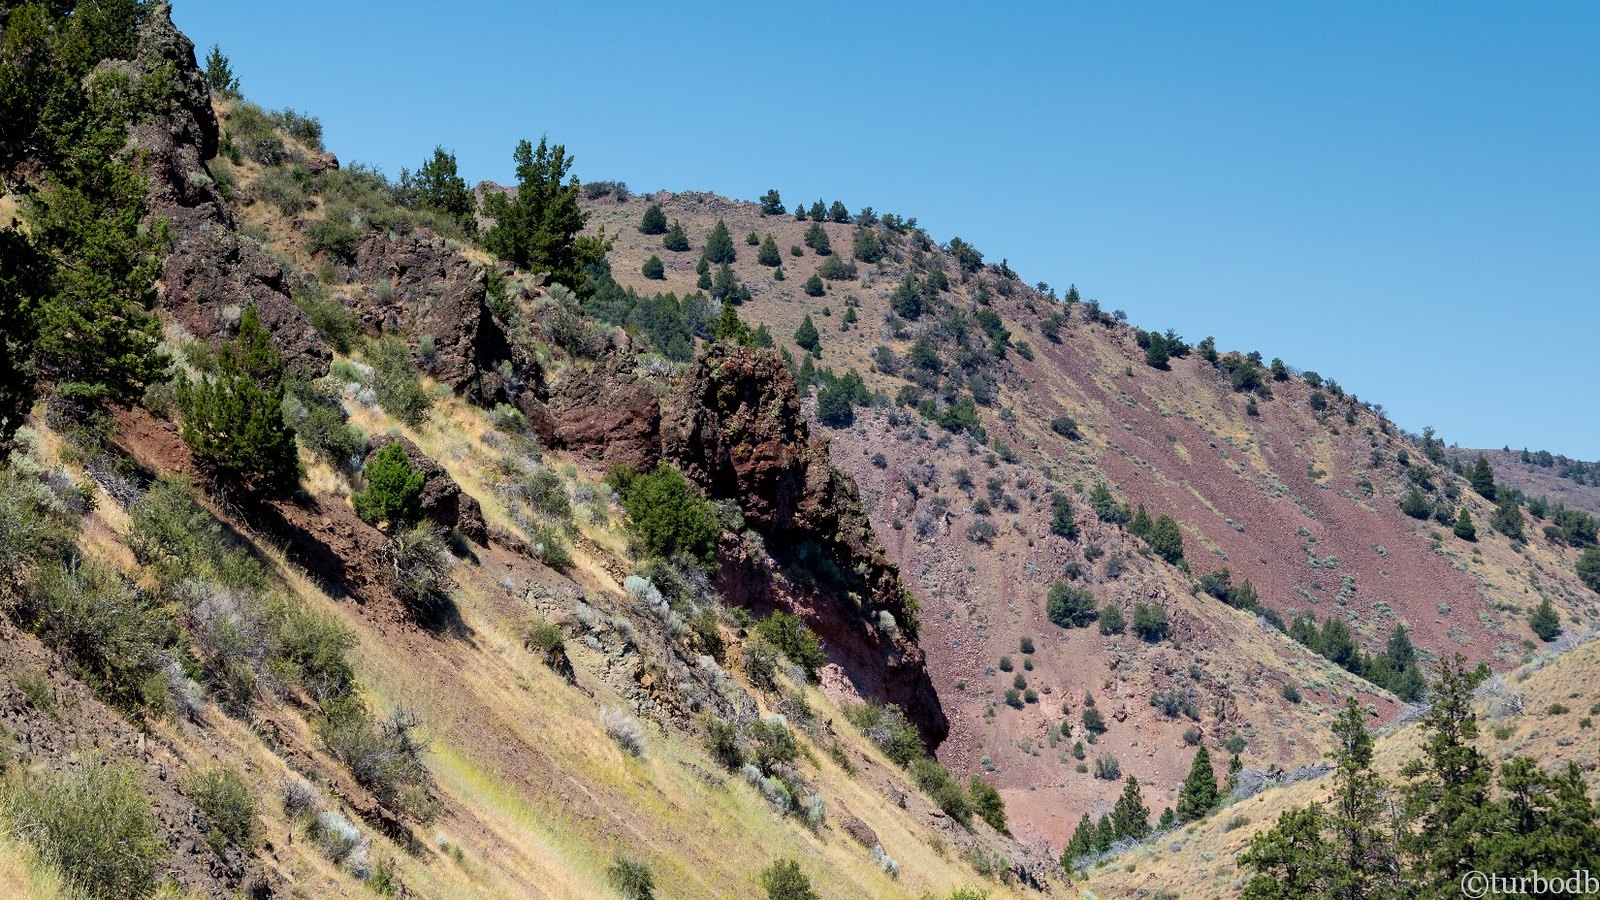
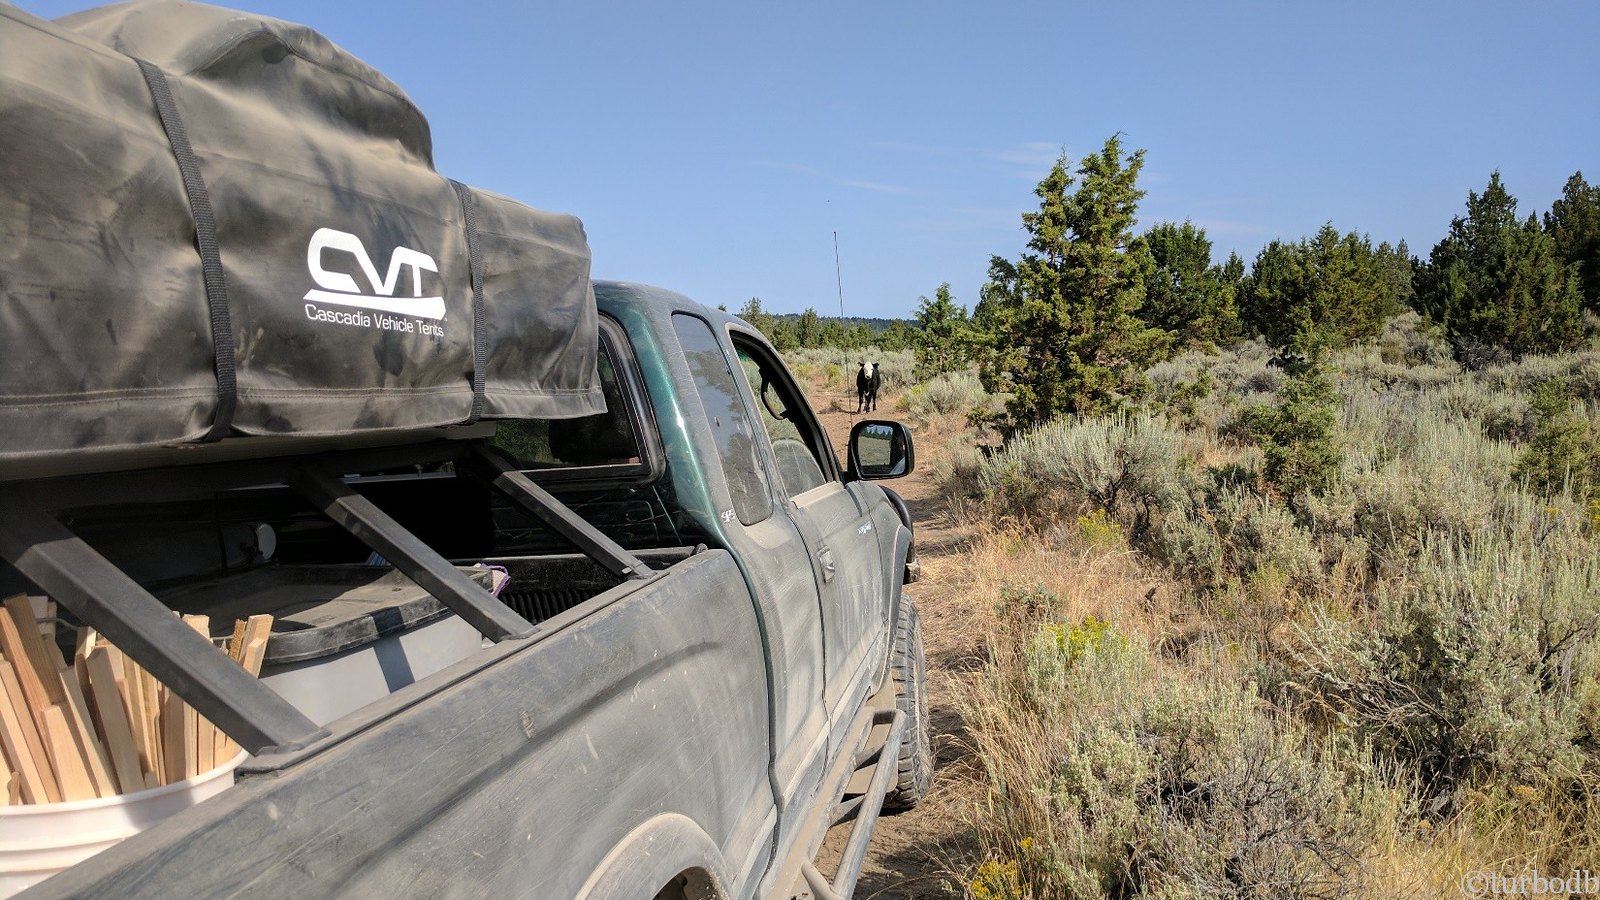
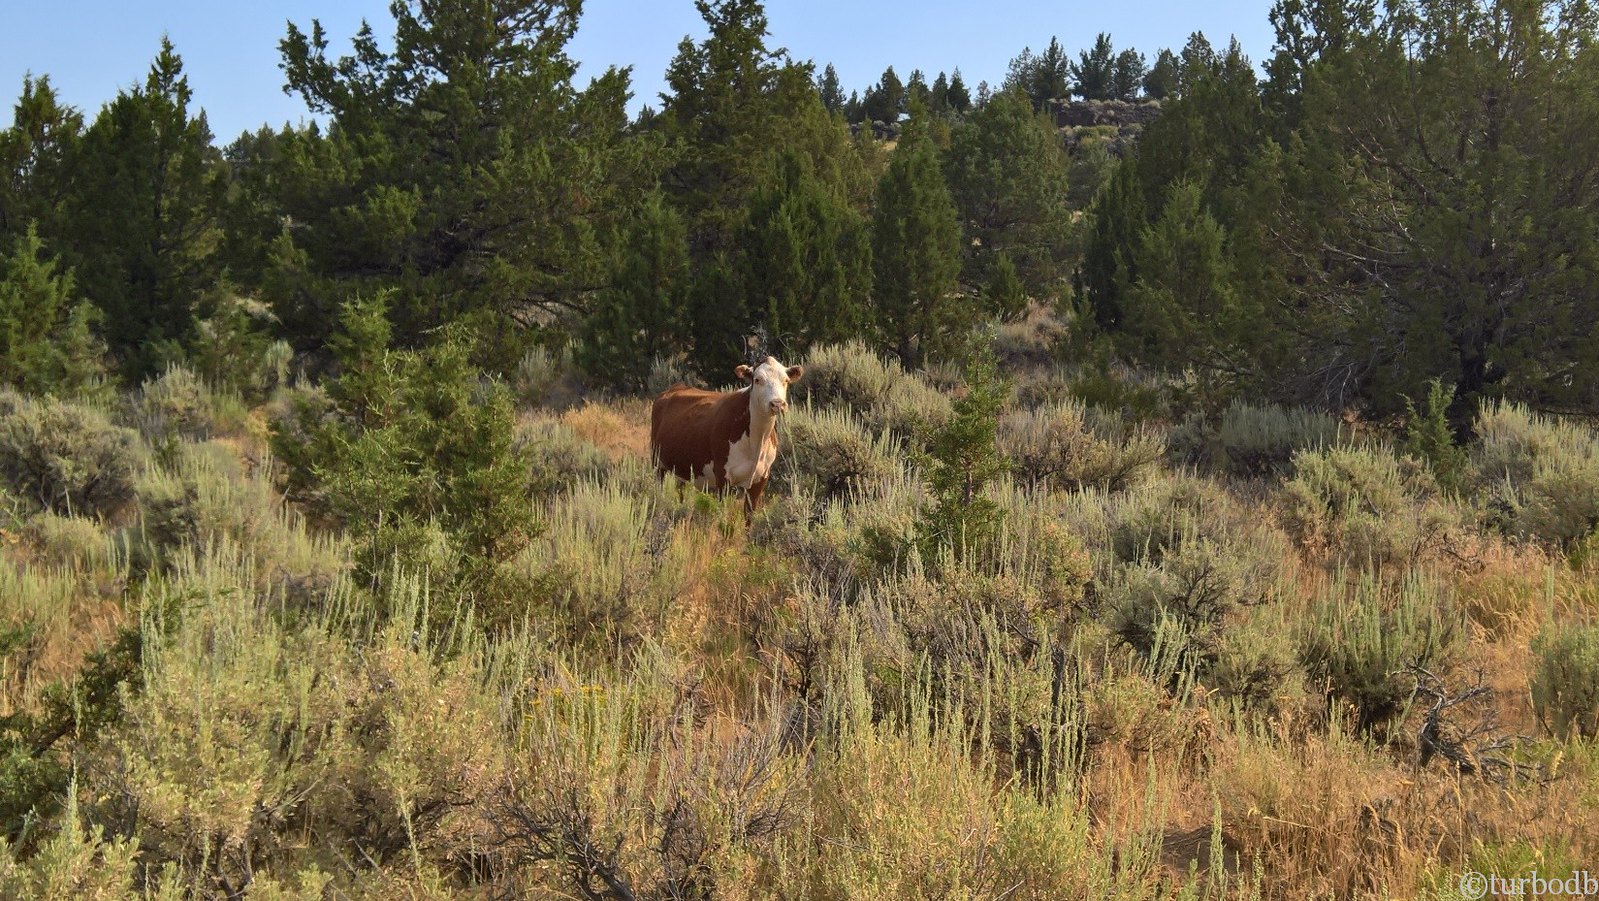
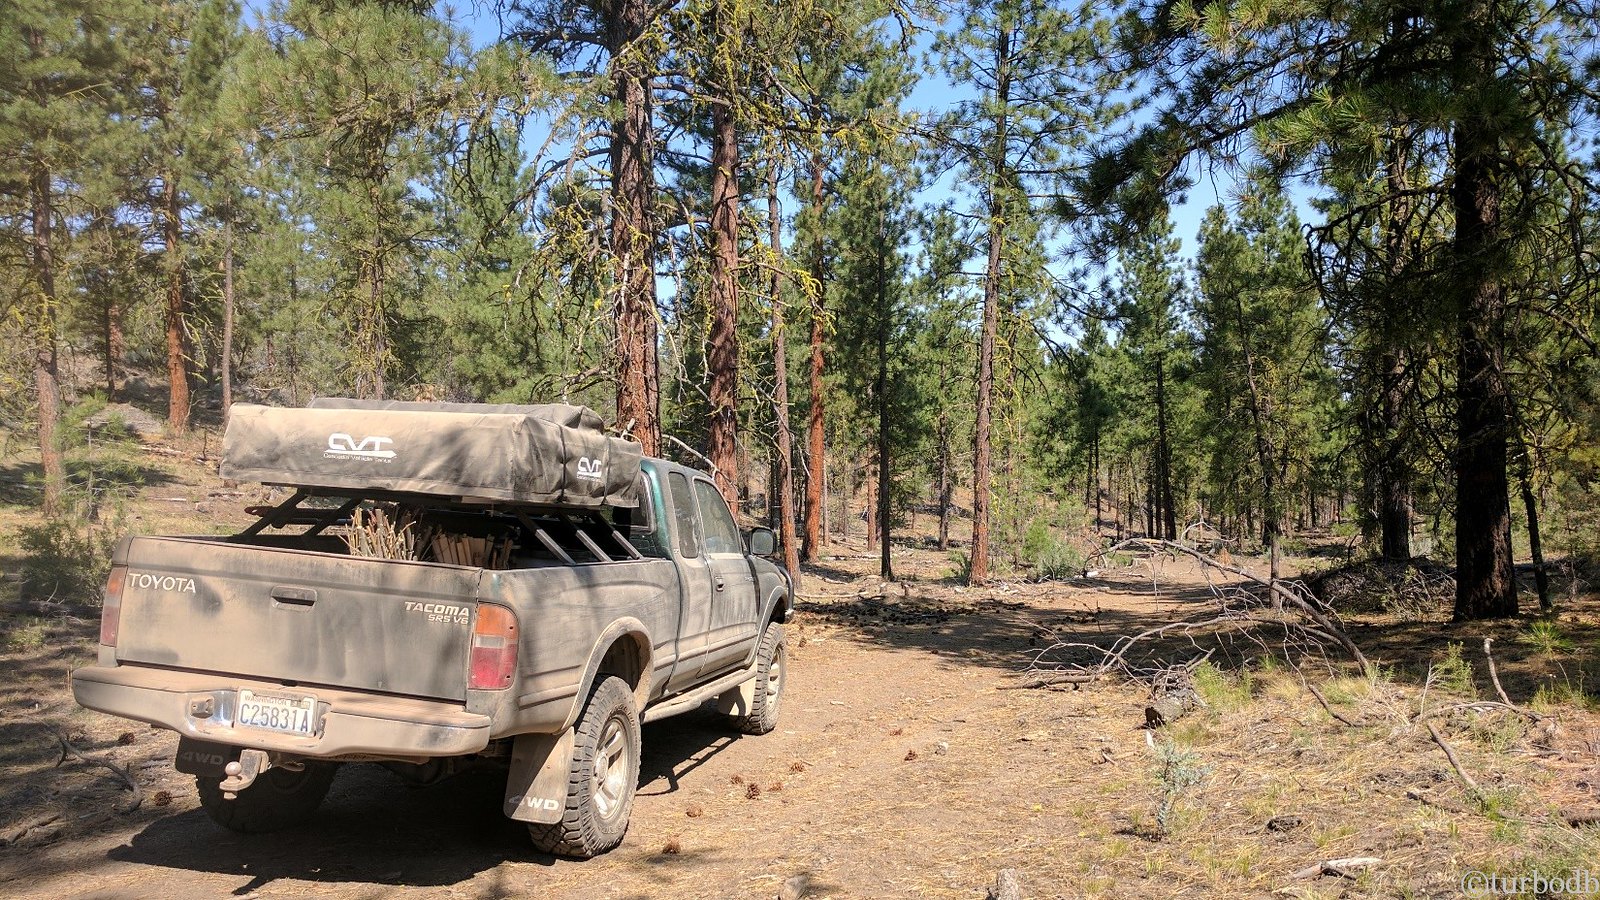
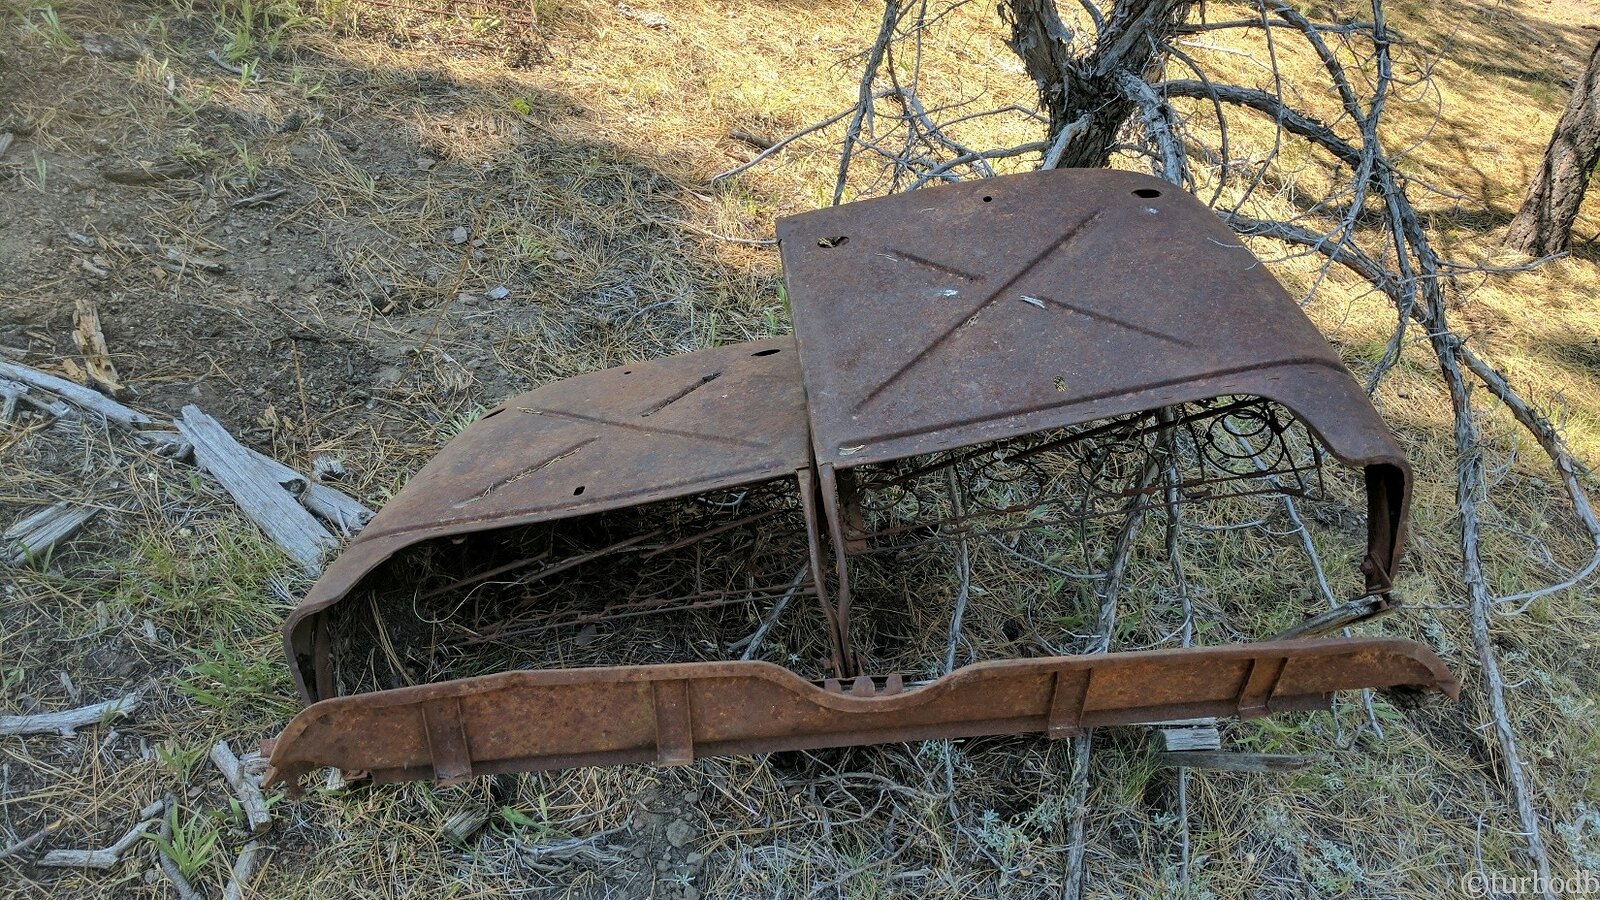
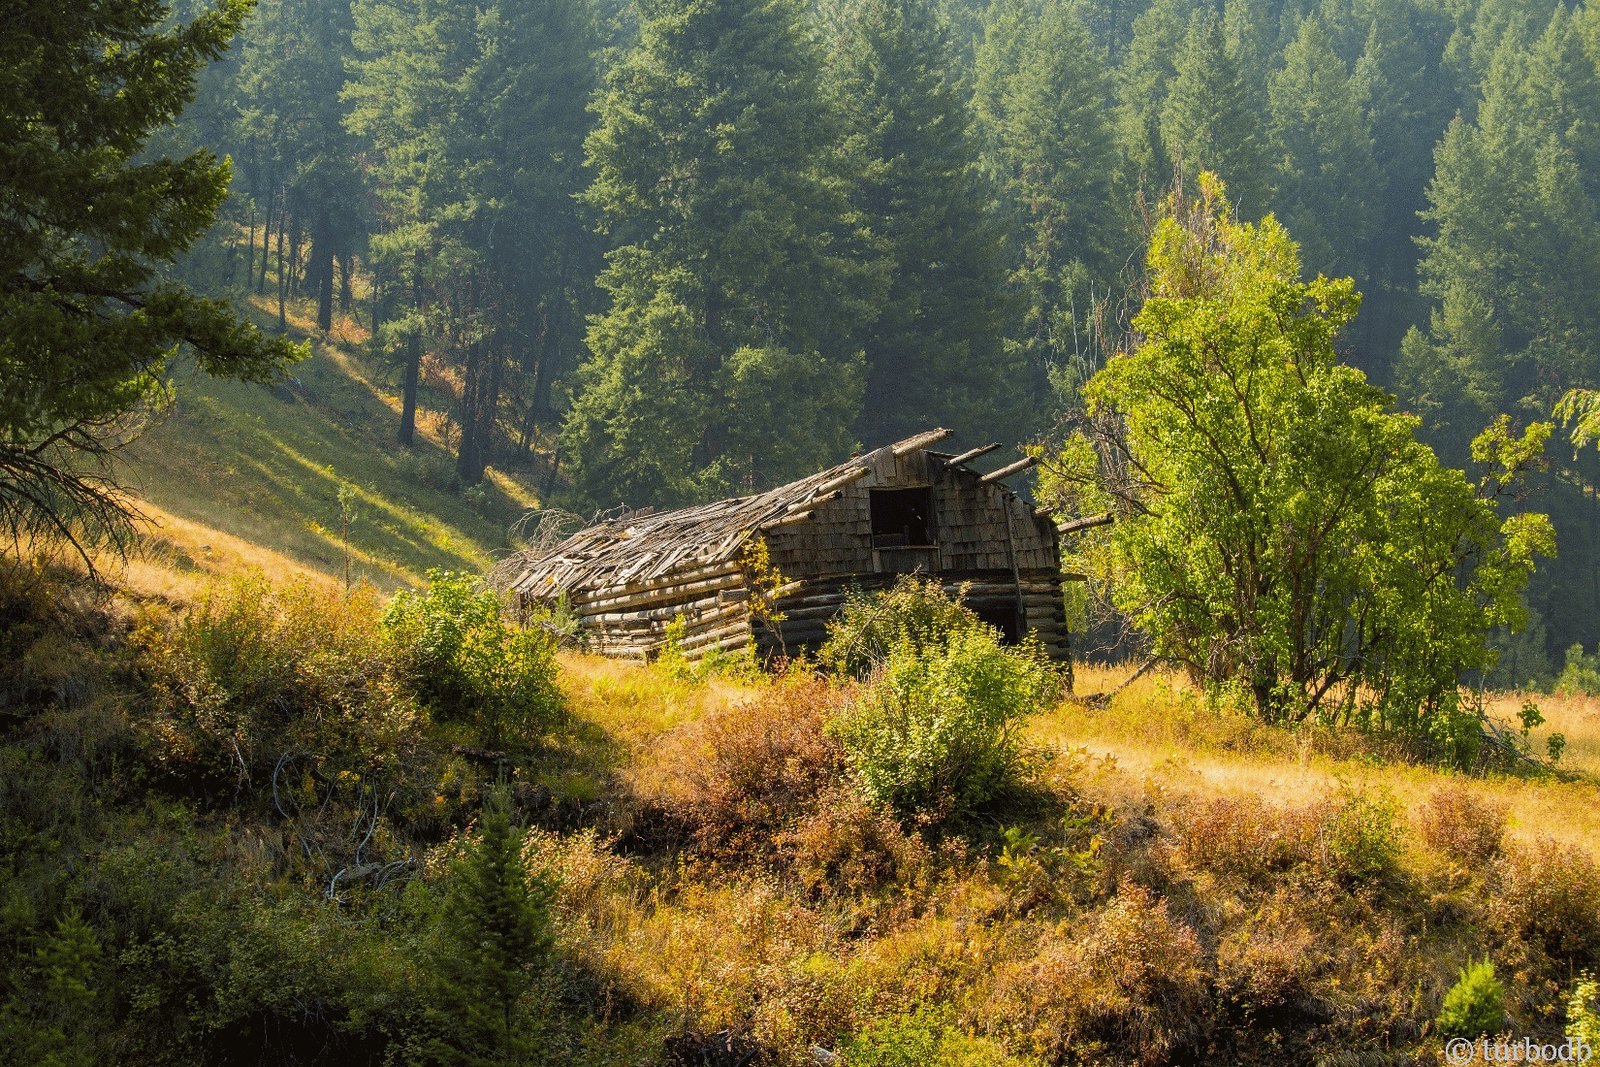
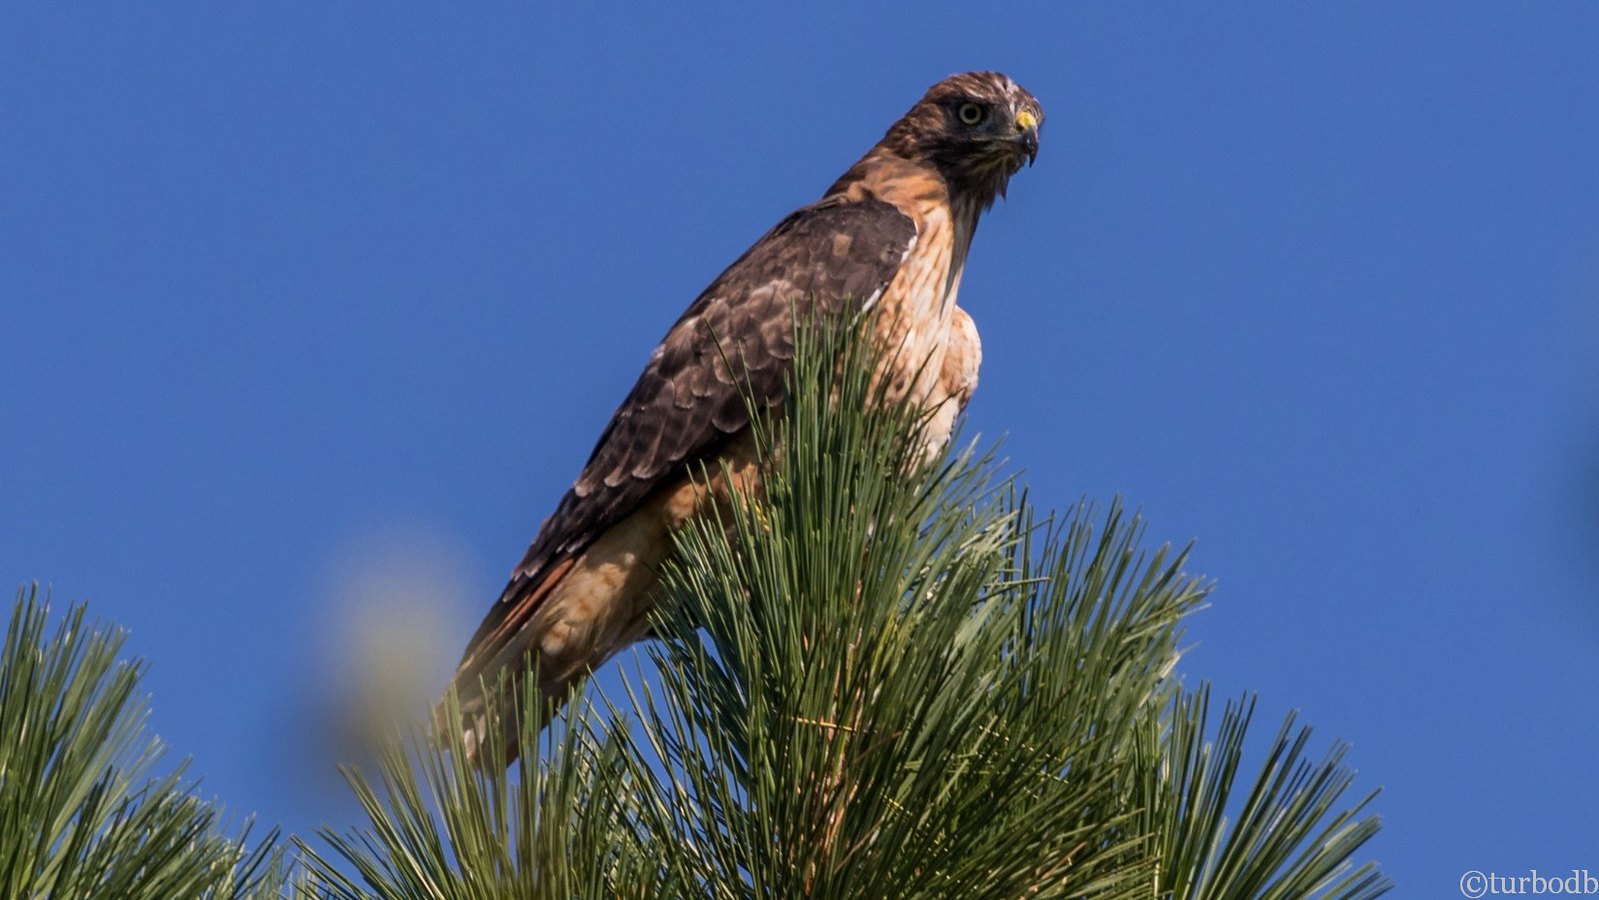
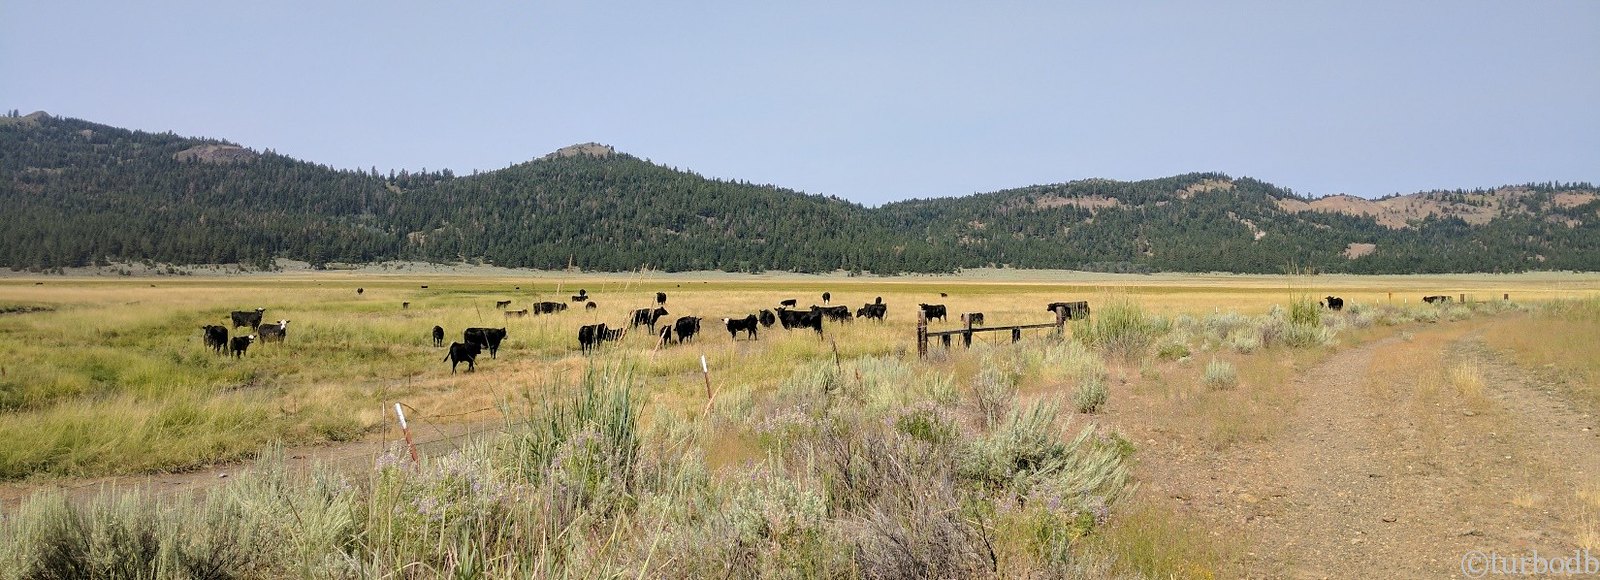
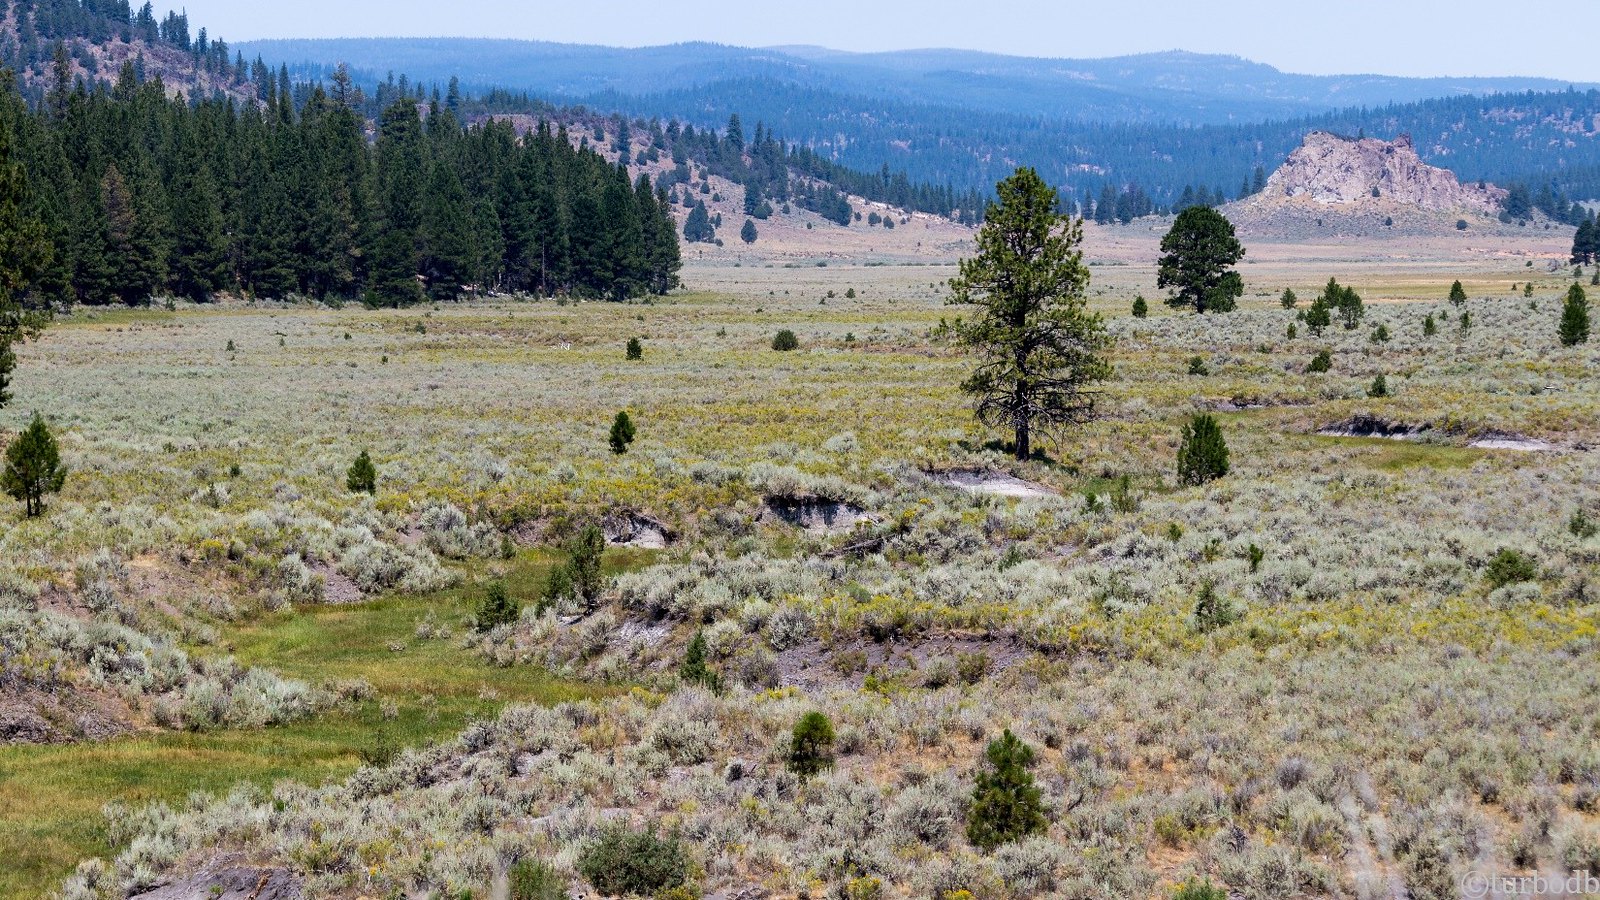
As we drove, we saw wildlife (and cows), beautiful scenery (much of the smoke of the day before had cleared), and remnants of long-forgotten structures.
39376228534_ffef128f20_h.jpg


39376229164_1c7917a832_h.jpg


39376229774_33a3953f20_h.jpg


39376230054_7a9abdbf15_h.jpg


39376230474_5e757c20ff_h.jpg


39376230854_f8e3f90adf_h.jpg

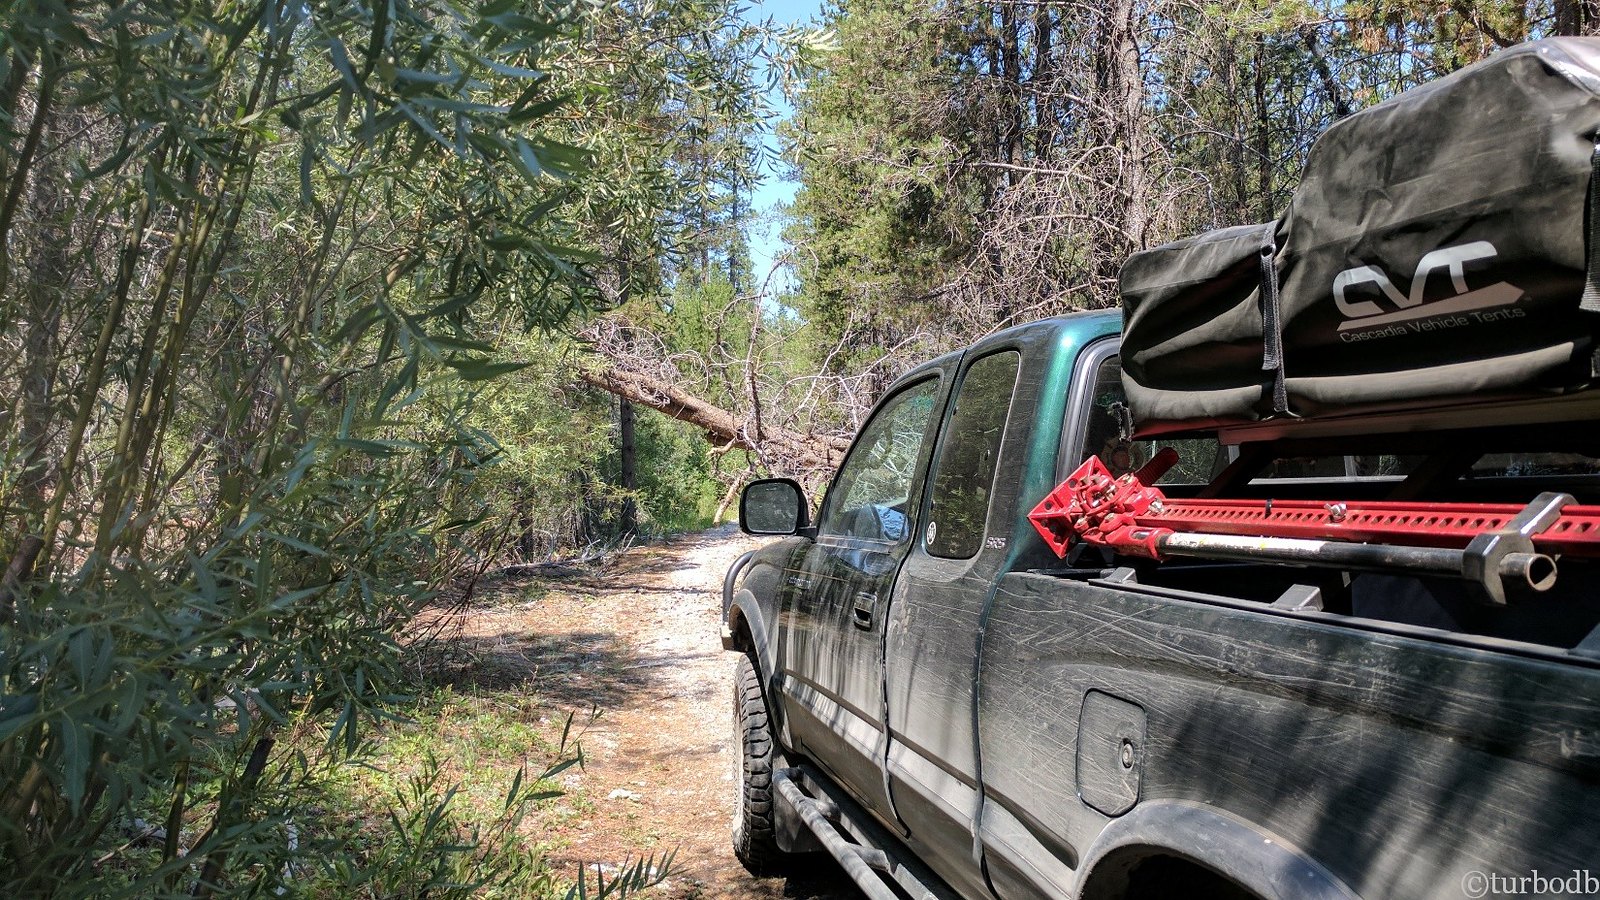
We also ran into more trees along the road - not many, but a few - easily dispatched by the chainsaw. And, not that I needed any real justification for the purchase - my motto is that all tools are totally required, but all that sawing the previous day had been "unnecessary," so it was nice to know that I hadn't "totally wasted" my money.
39376231374_c418a7020b_h.jpg


39376232494_24b4bb91aa_h.jpg


39376233074_9ea069a850_h.jpg

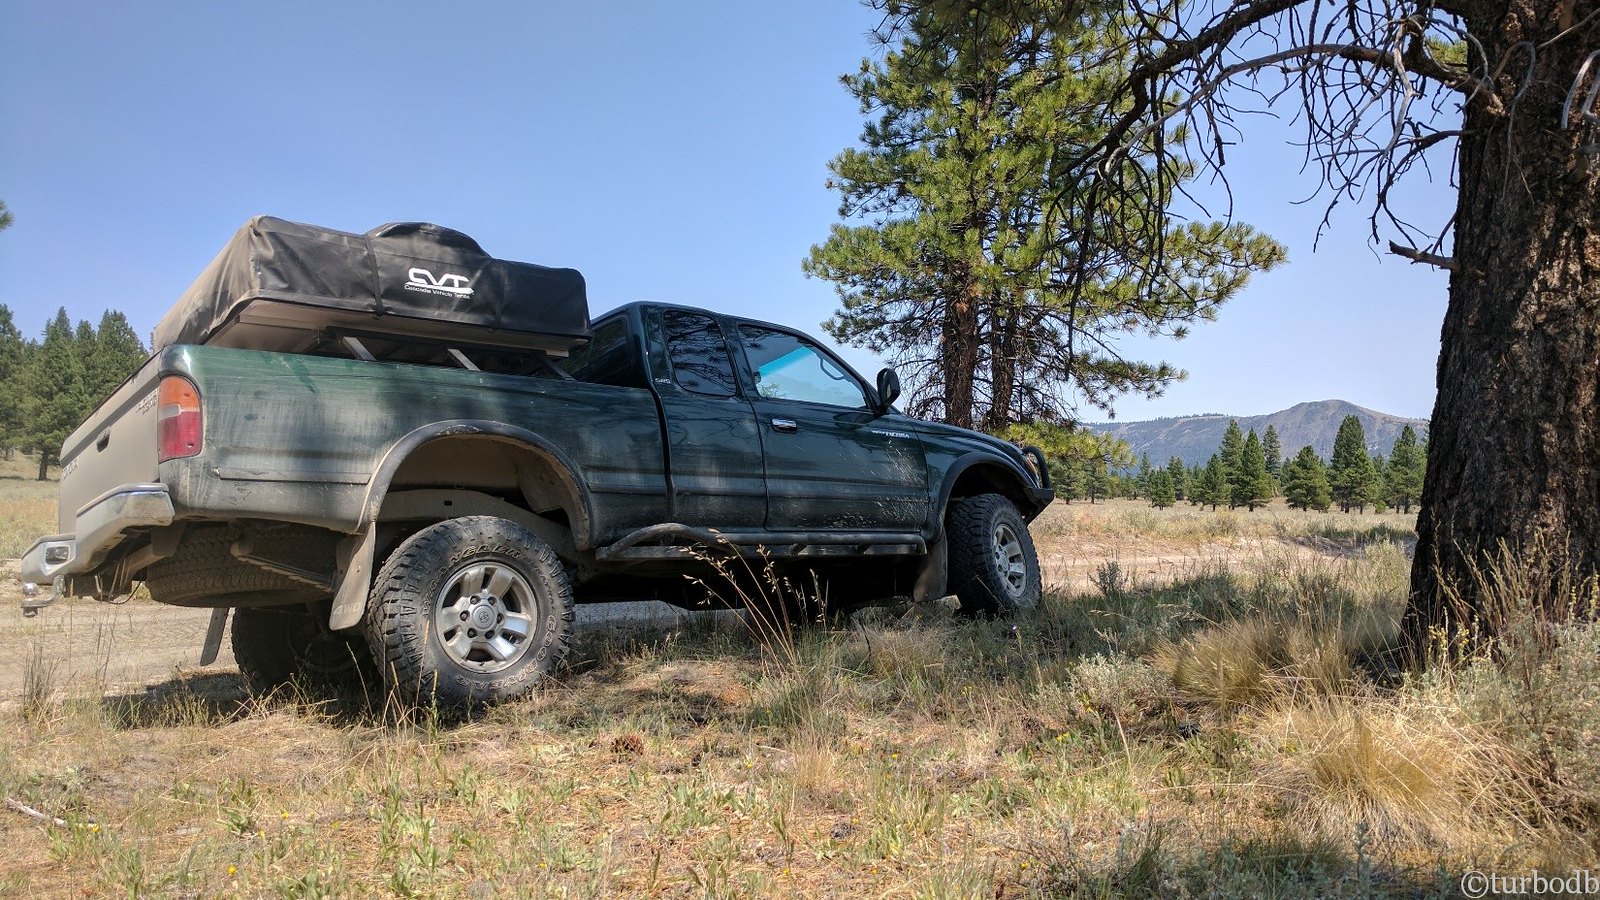
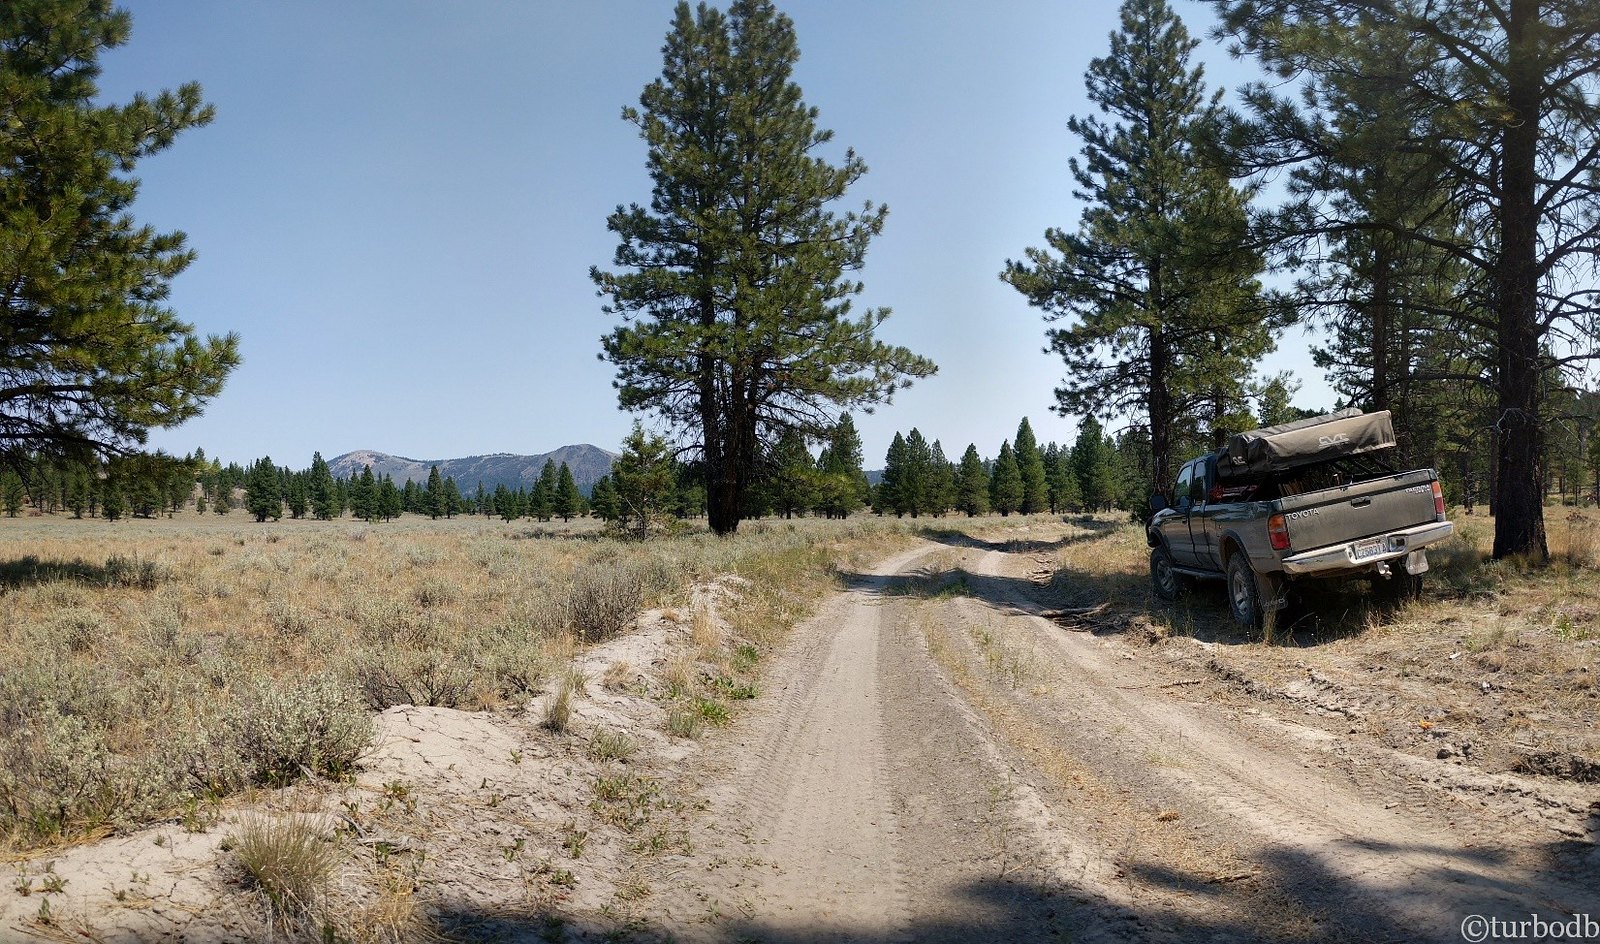
In all of it we saw no people, and in retrospect, we probably didn't need to pull over to the side of the road (super-off-camber) for lunch. Let's just say we were "aiming for shade." LOL.
39376234284_6240b0a17c_h.jpg


39376235624_5ea556e044_h.jpg

Into the fridge in 95°F, it was so nice to have all of our food dry and 37°F, no longer dependent on block ice. We sat in the shade eating for a bit and then got back on the road.

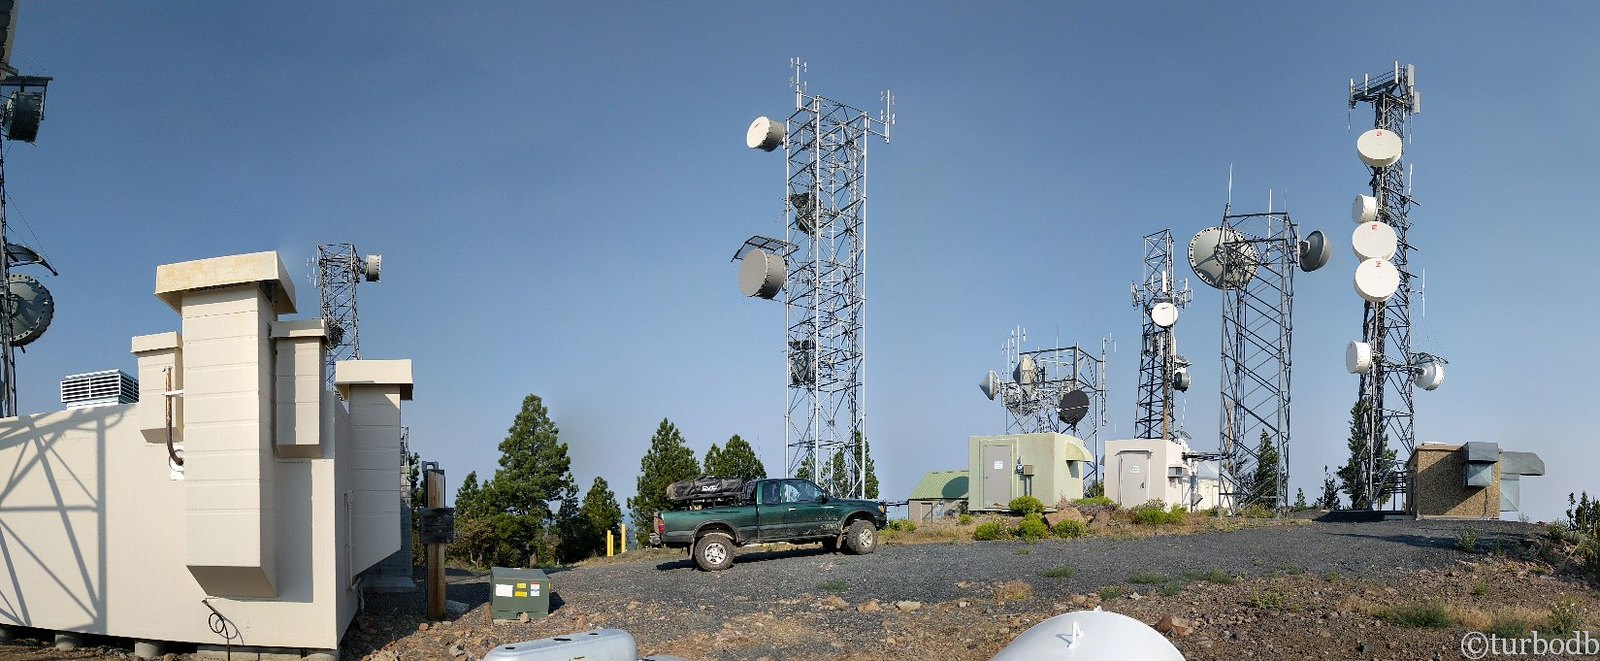
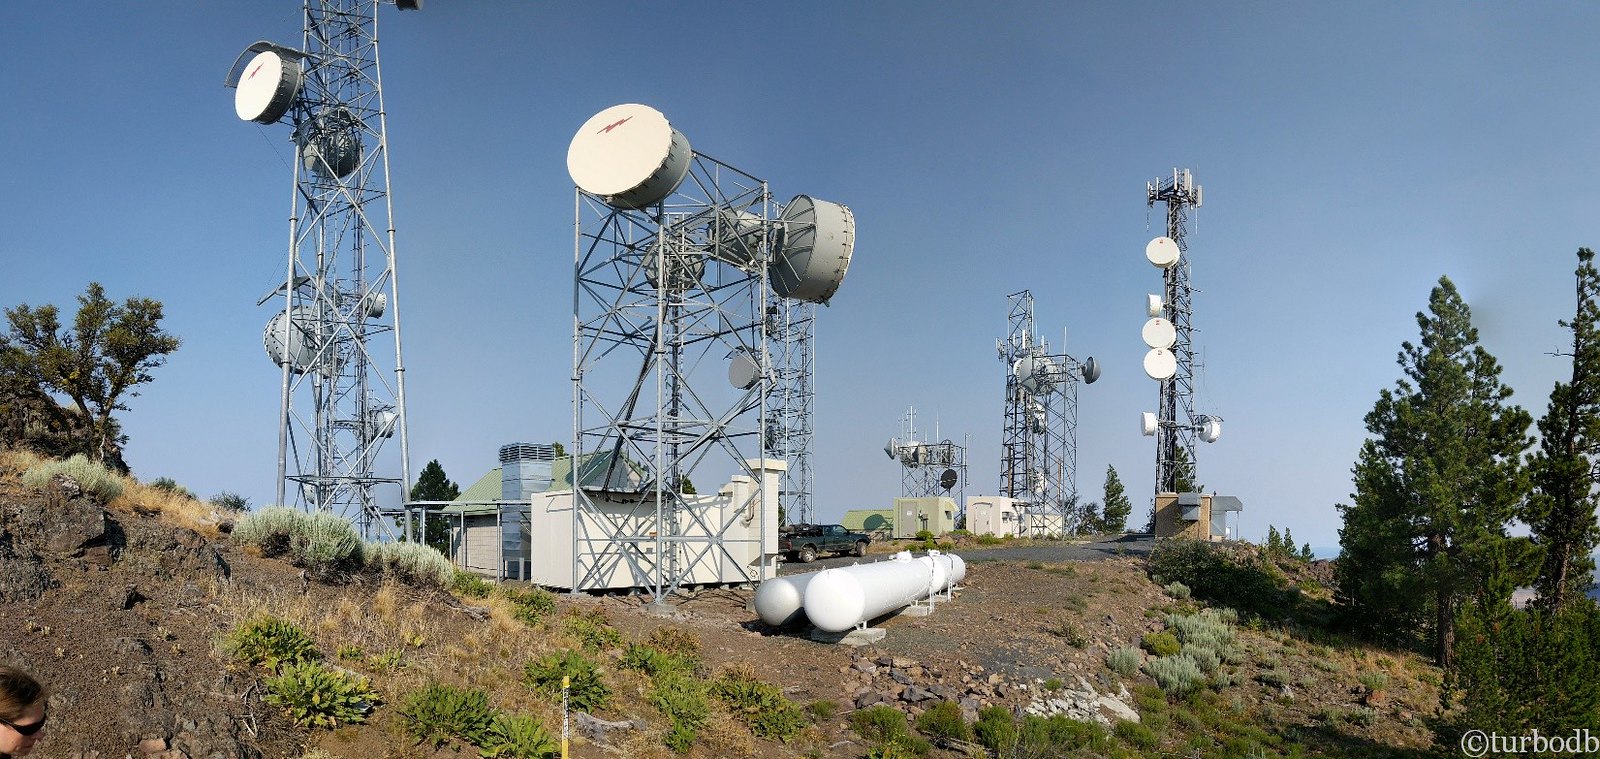
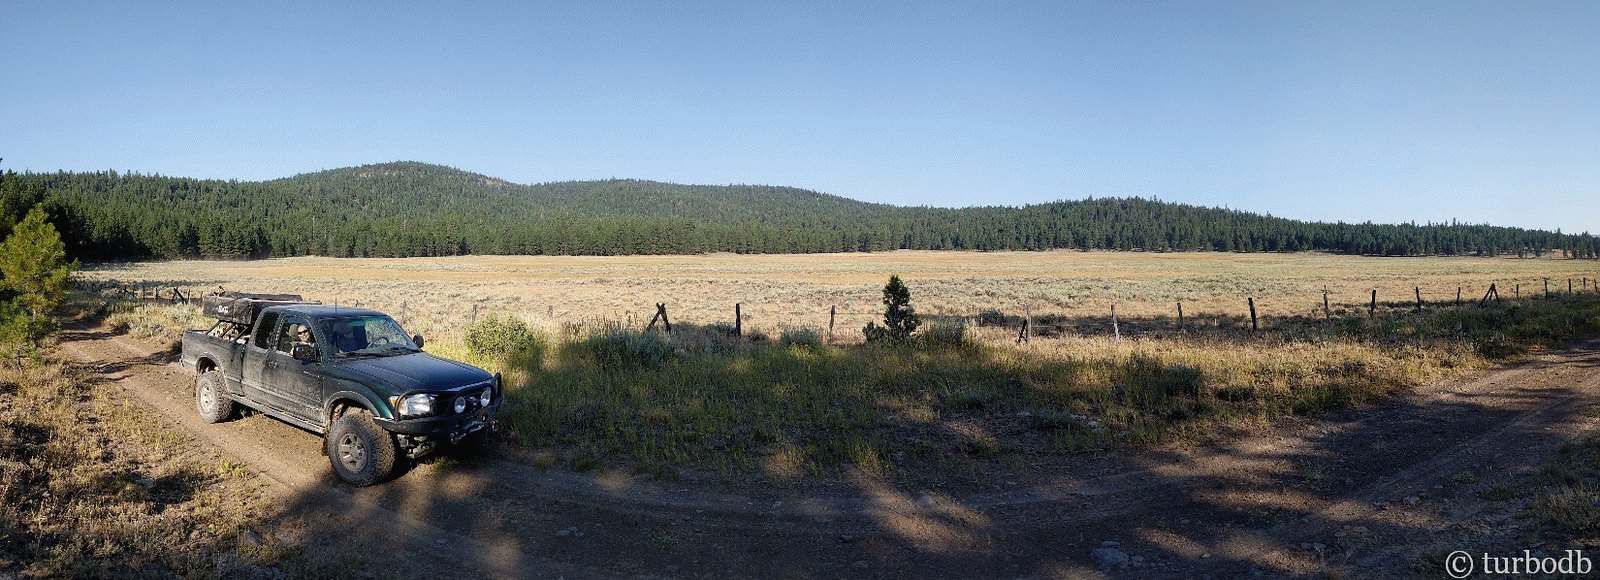
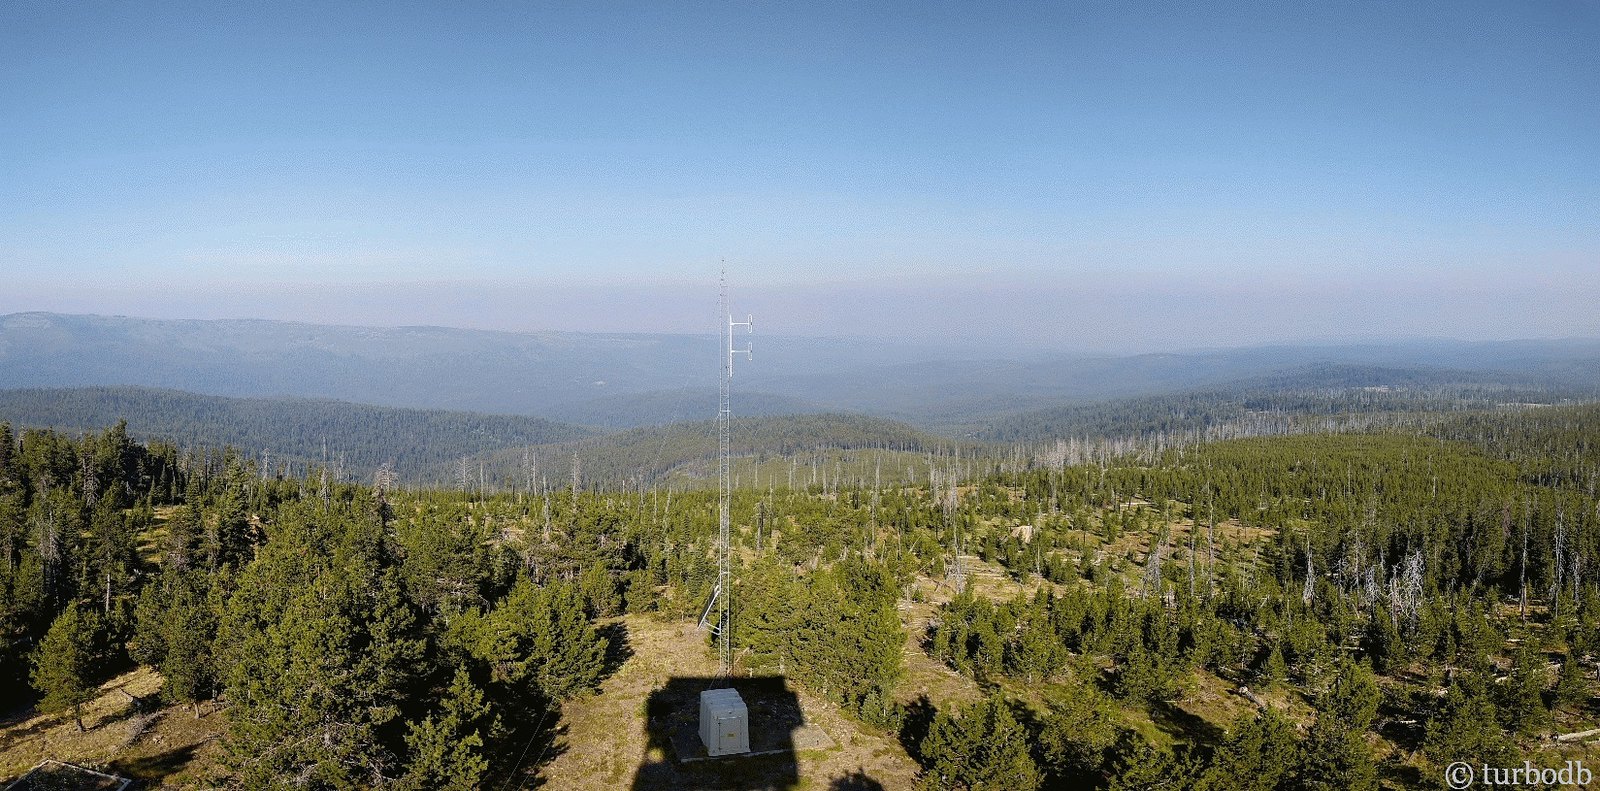
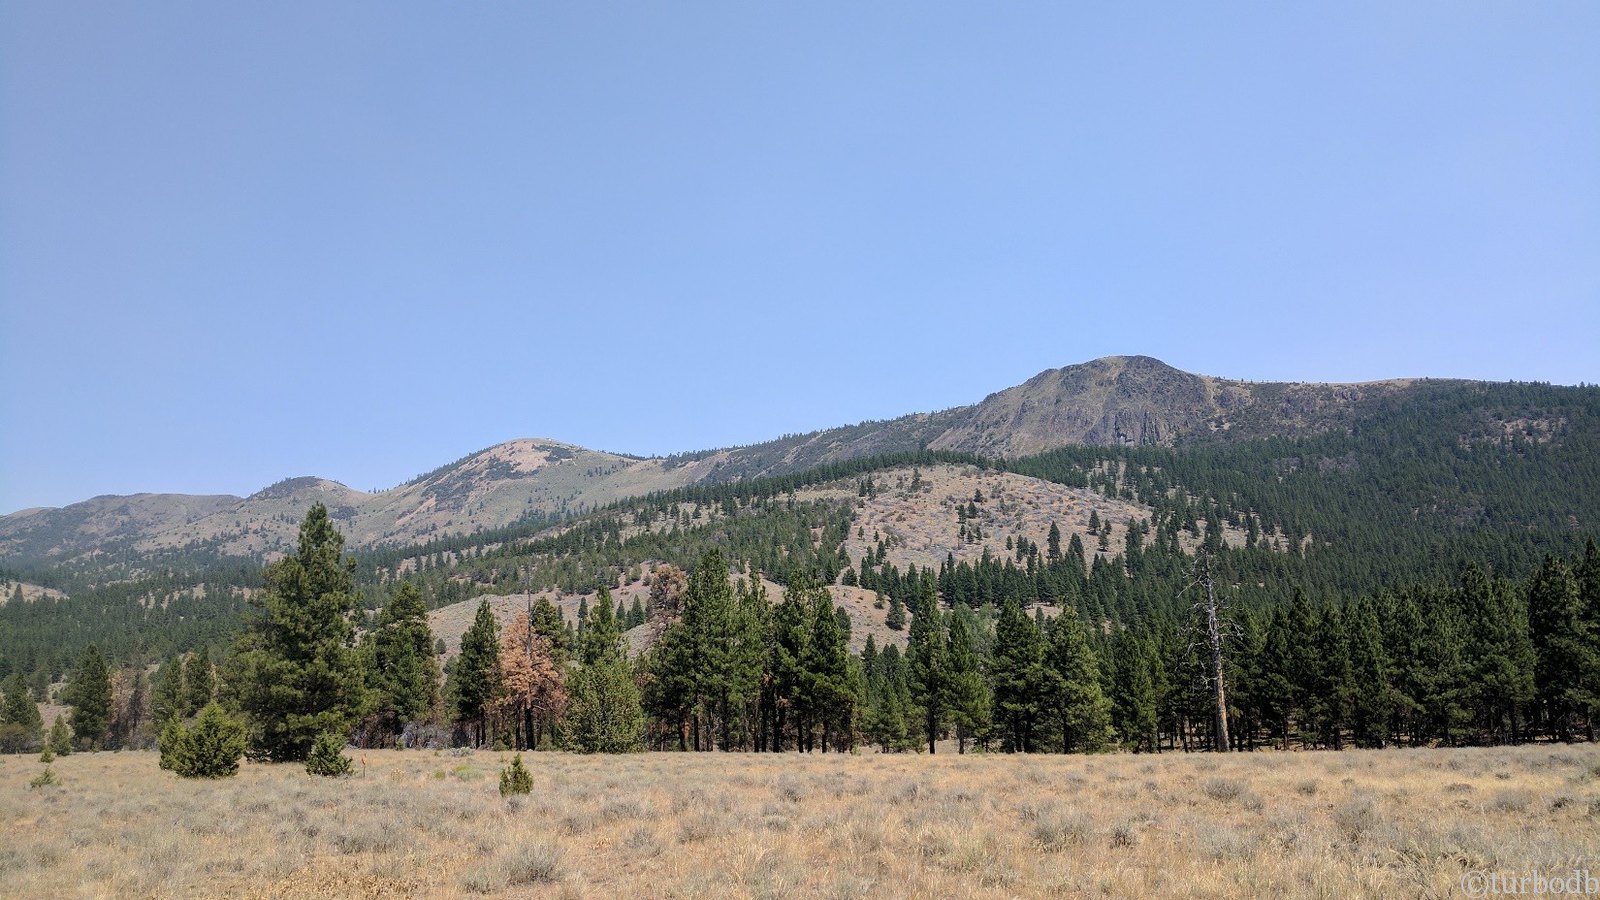
We made our way through mountains and meadows - on some well-groomed gravel, and rutted dirt tracks. There was a side-excursion on this leg as well (as on all legs) up to the top of a mountain - some sort of radio tower, we think - but a two miles before the top stated "Road Closed - Sensitive Electronics," with a locked gate. Skirtable in an ATV or motorcycle, but the end of the road for us.

So it was back down the mountain where we ran into the second (and last) human contact for the week - three more retired guys out "scouting" on their motorcycles and ATVs. After chatting with them for a bit, we headed into Paisley for some gas, chuckling to ourselves about "scouting" for deer, which we've decided means:
  1. Getting to play in the woods on your ATV.
  2. Camping with your buddies.
  3. Shirking any household duties.
  4. Hoping you see a deer, but knowing that even if you do, they probably won't be in the same place a week or two later when you actually (maybe) go hunting.
39376236734_5e12a5d126_h.jpg


39376237724_483d8d6b5d_h.jpg


39376238394_b0954f3ac4_h.jpg


39376240254_0891df7111_h.jpg


39188826935_9104be975e_h.jpg


39188828235_e7cb8f7c12_h.jpg


Don't miss the rest of the story, and all the remaining photos - it'd all be included here if it fit. But until then...

Keep reading the rest here
OBDR Day 2: There's always a go-around.


.
 

turbodb

Well-known member
OBDR Day 3: Crazy Day
July 31, 2017.

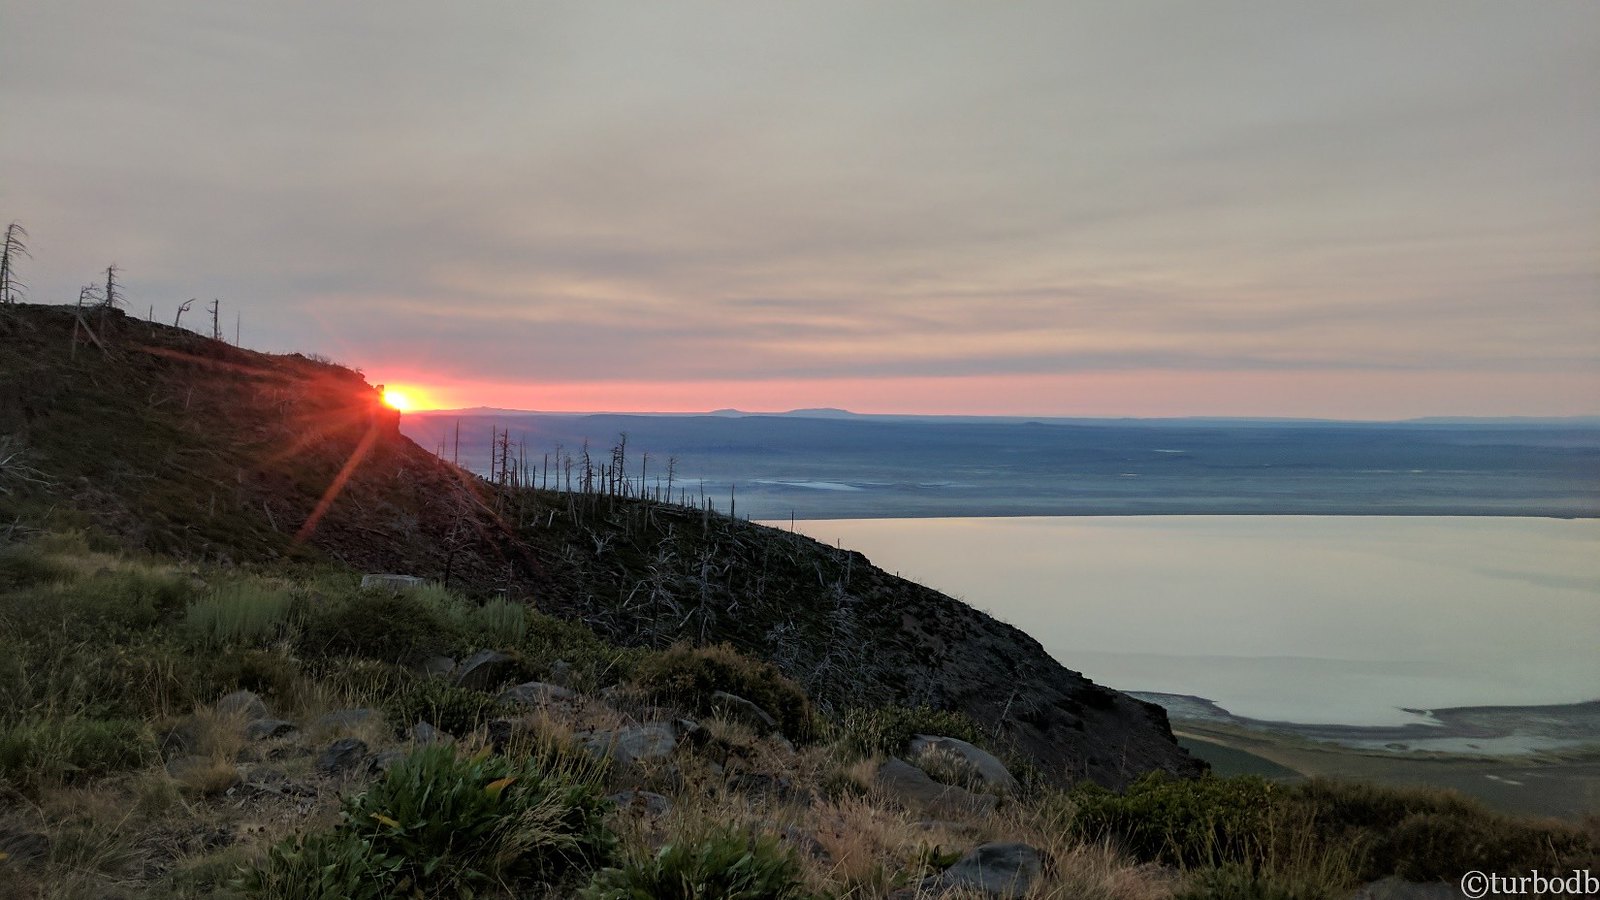
The wind having woken us up a few times throughout the night, we were up at sunrise above Summer Lake.

39376266794_0368d193c9_h.jpg

The smoke was still light as we rolled out of bed and made breakfast - just cereal and blueberries this morning - and packed up camp for an early start - our goal was to make it from Summer Lake to Riley by 7pm. After a few final pictures, we were on our way.

39376266954_3167defedc_h.jpg


39376272644_f29b5c2cf3_h.jpg

As we traversed the northern half of Winter Ridge, a small detour took us to the top of a peak to some of the best cell reception we'd have all trip. We still wonder why.

39376274264_ee1ae34fed_h.jpg


39376279004_773fc7535f_h.jpg

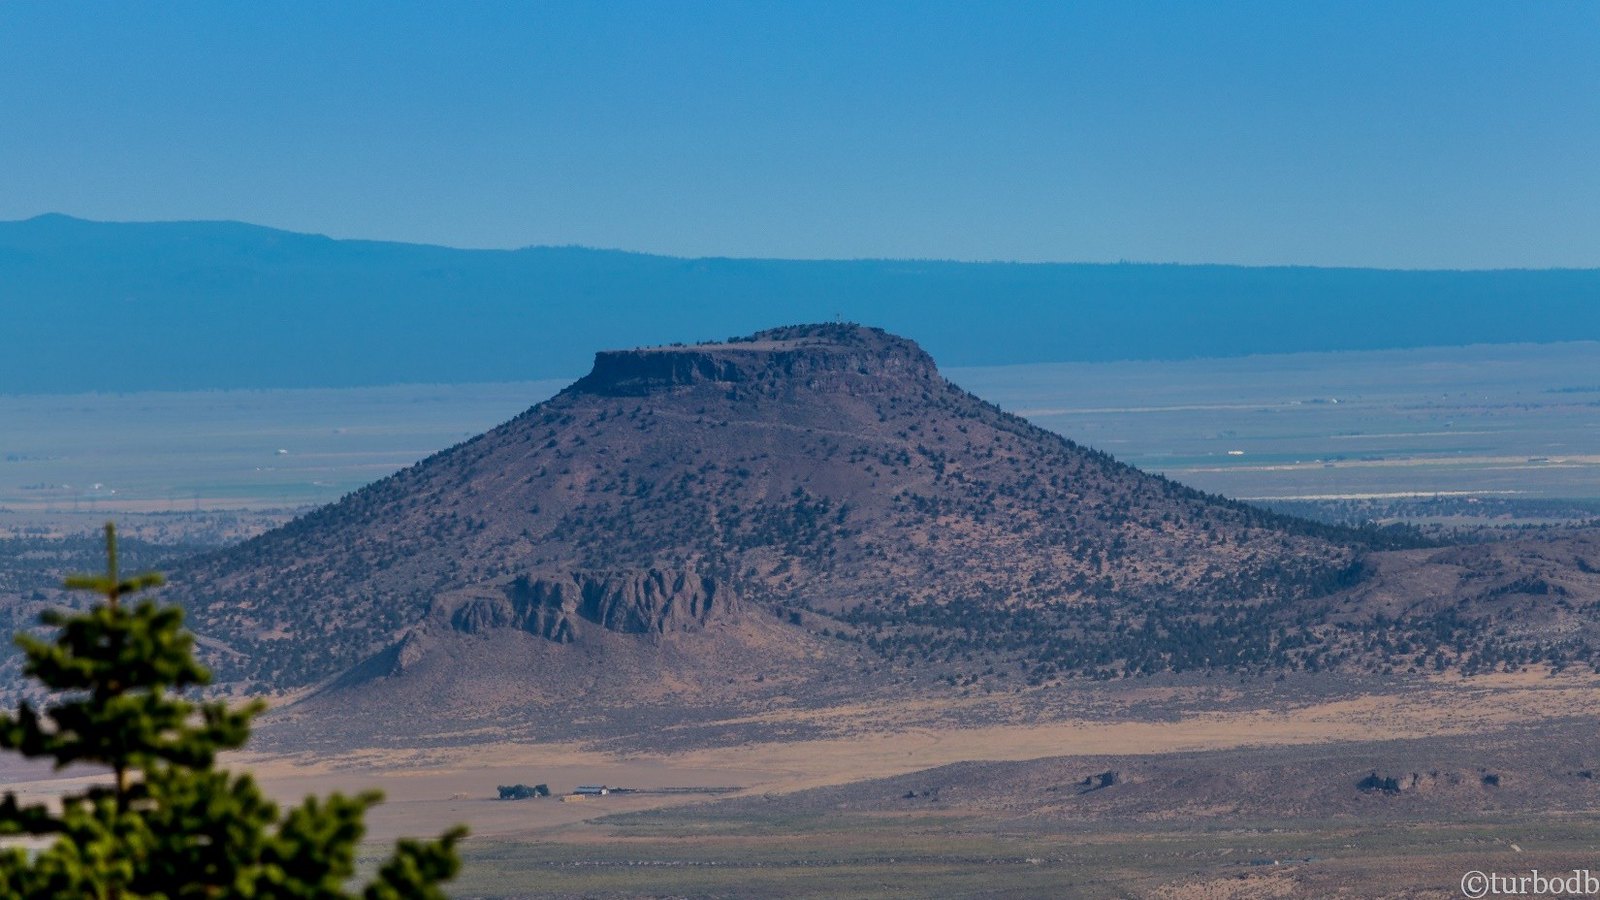
Heading back down to the trail, we began our descent out of the mountains to the valley floor. Even as we looked out towards Table Mountain, little did we realize how dramatic the shift in landscape would be - not only were we abandoning all shade trees (for tundra), we were also abandoning what we'd thought were rough roads for something in a completely different league - roads so rough that our average speed would drop to under 5mph.

39376281474_7fb8bf3efd_h.jpg


39376283674_cbfbf12ae0_h.jpg

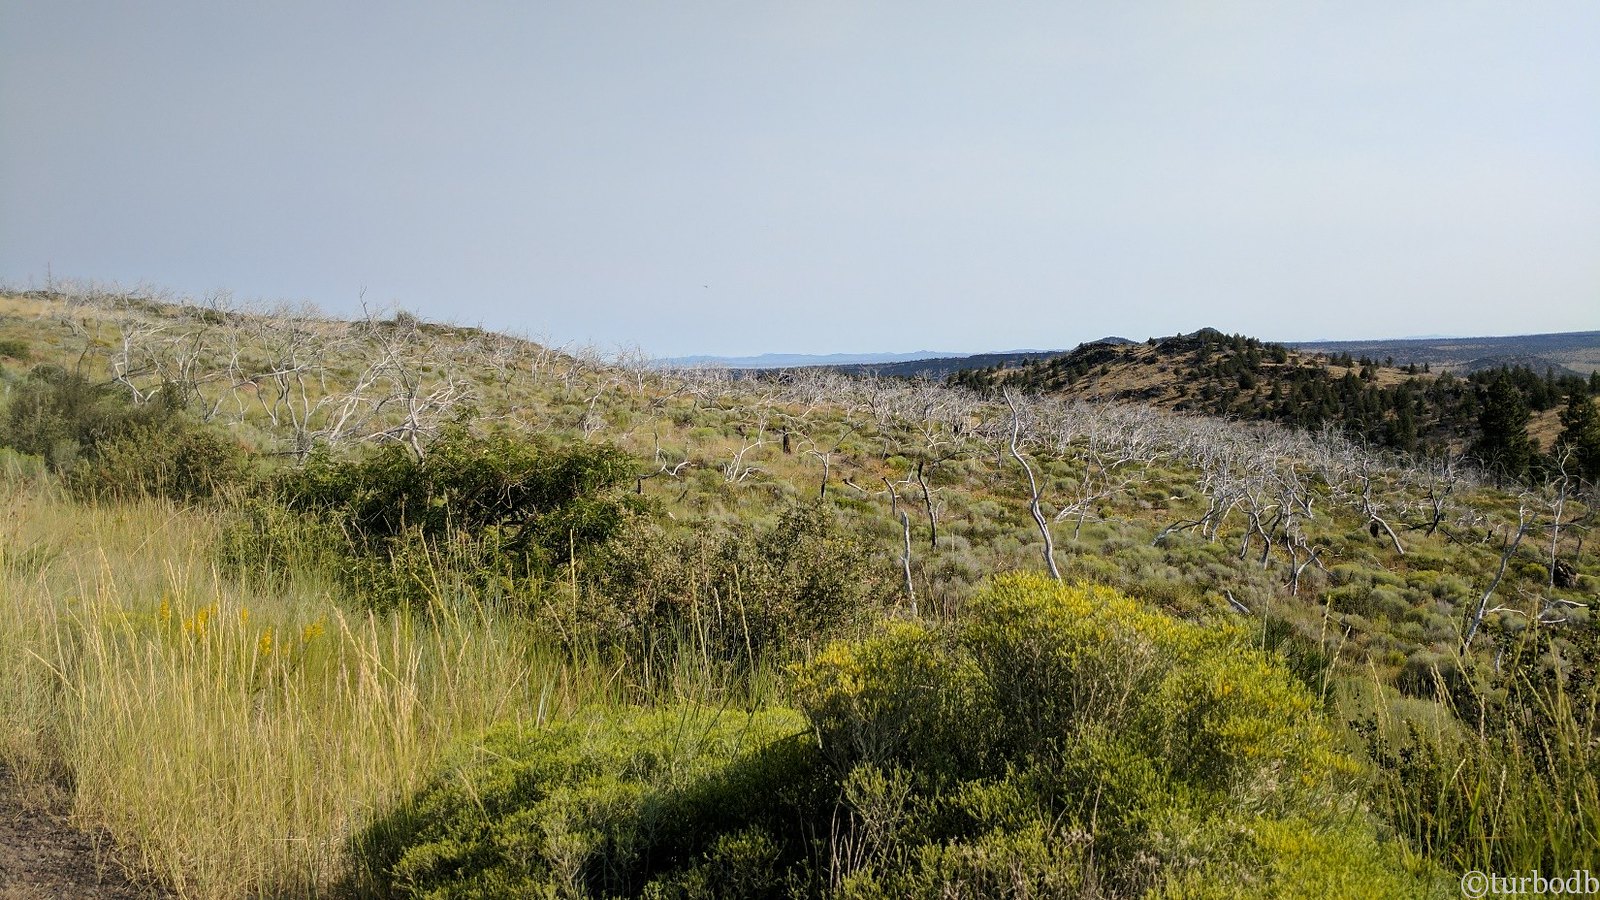
Our last view from Winter Ridge was of what we called a "ghost forest" - a green hill covered in long-dead, white, gangly trees - ghosts over the landscape. Likely caused by fire or drought years before.

39188867905_3b376a4c0a_h.jpg

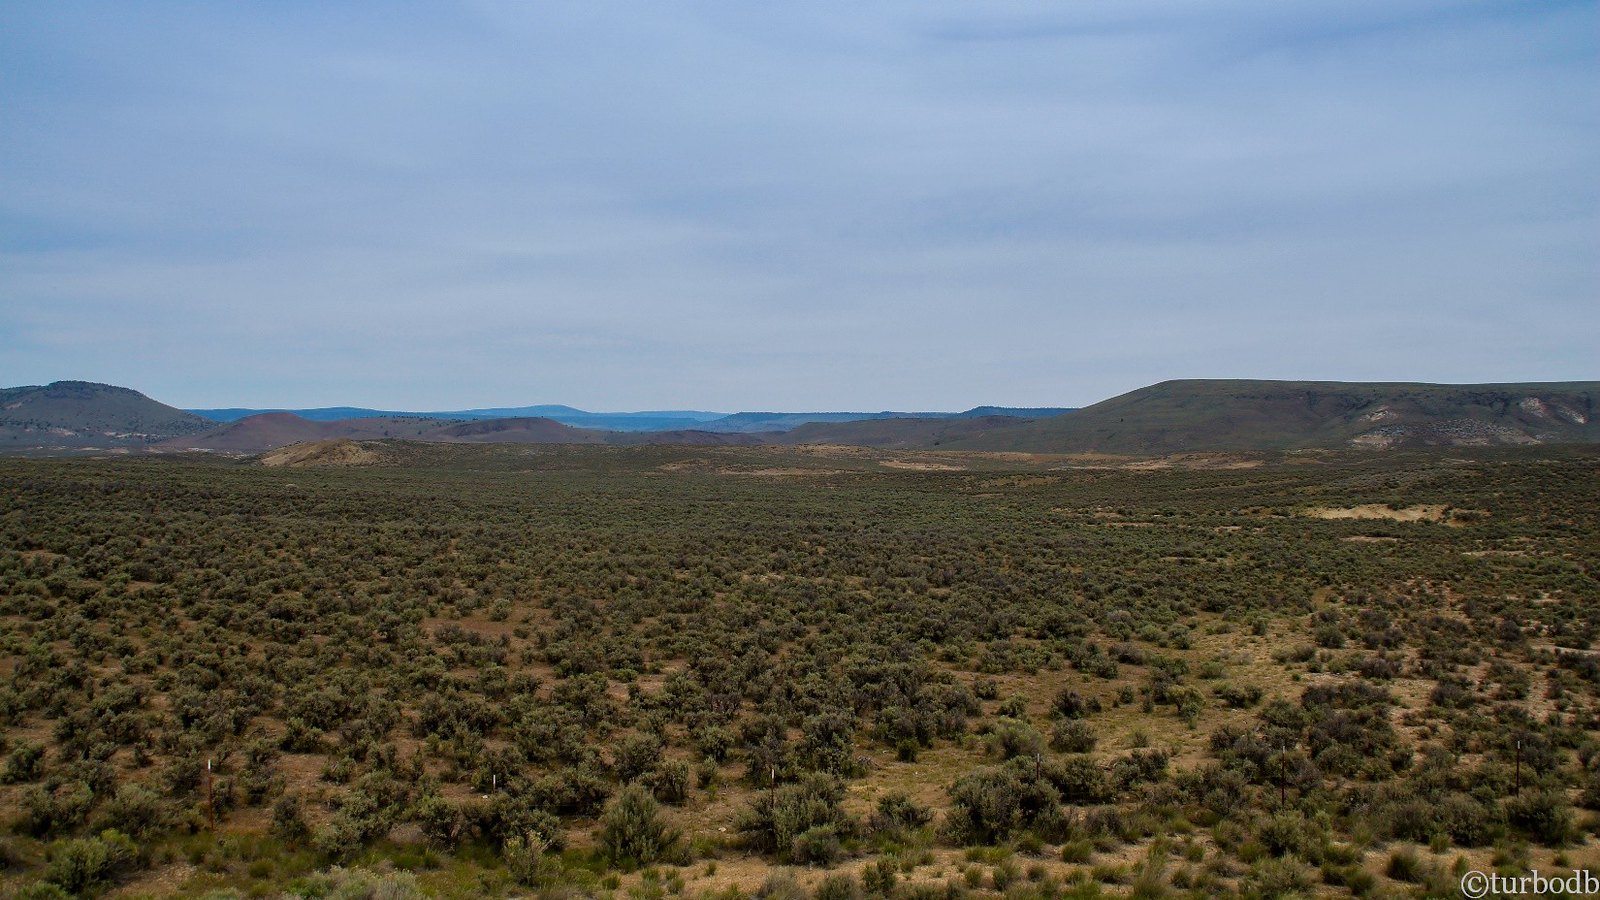
We crossed Highway 31, and the tundra started immediately. It was hot and dry. Not yet 10am.

39188868725_cf7b2be2c3_h.jpg

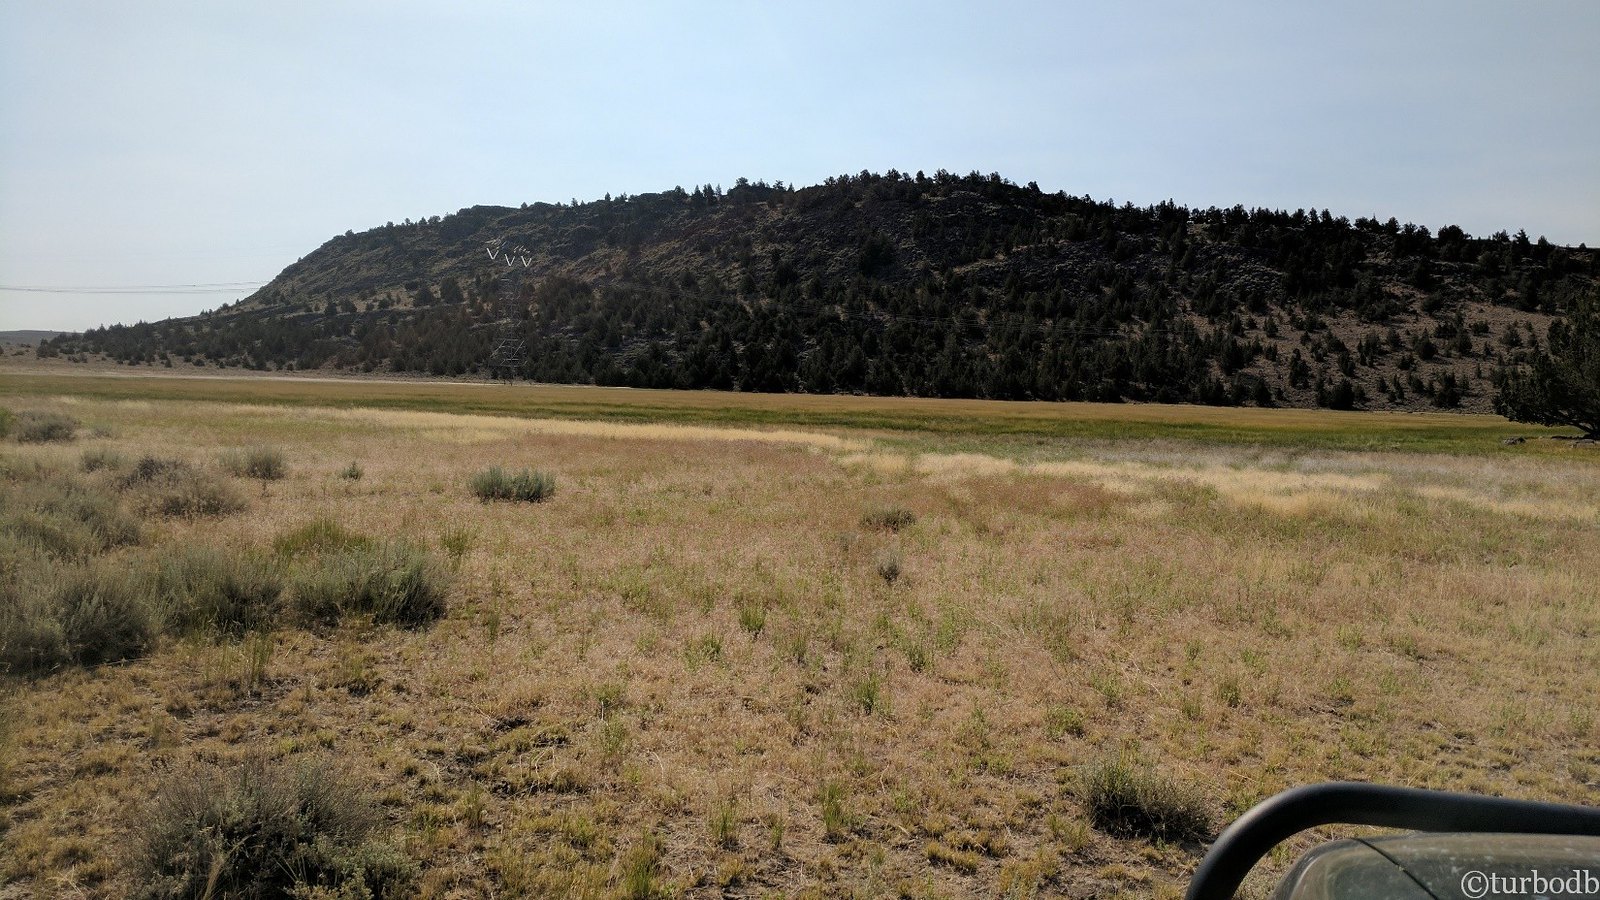
The trail followed powerlines for a couple miles up over a crest, and then, once again the GPS track went "off road," and through a meadow. Seeing faint tracks through, we looked at each other an forged ahead - cautious - could this be right? If it would get us out of the rocks, we were willing to try it.

39188869765_914141ba44_h.jpg

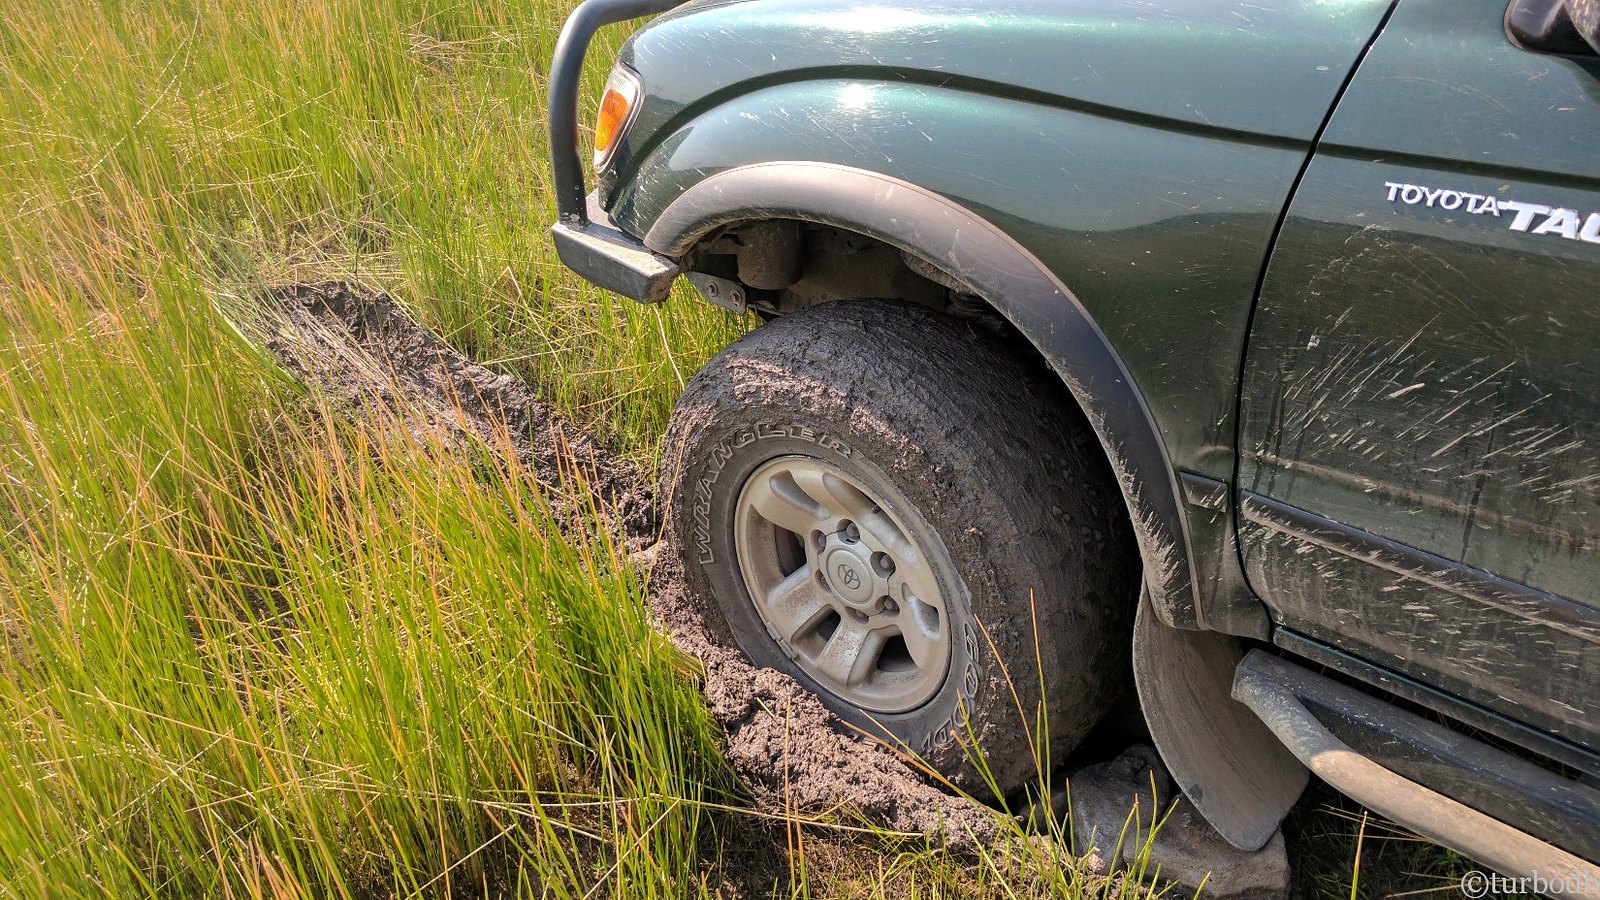
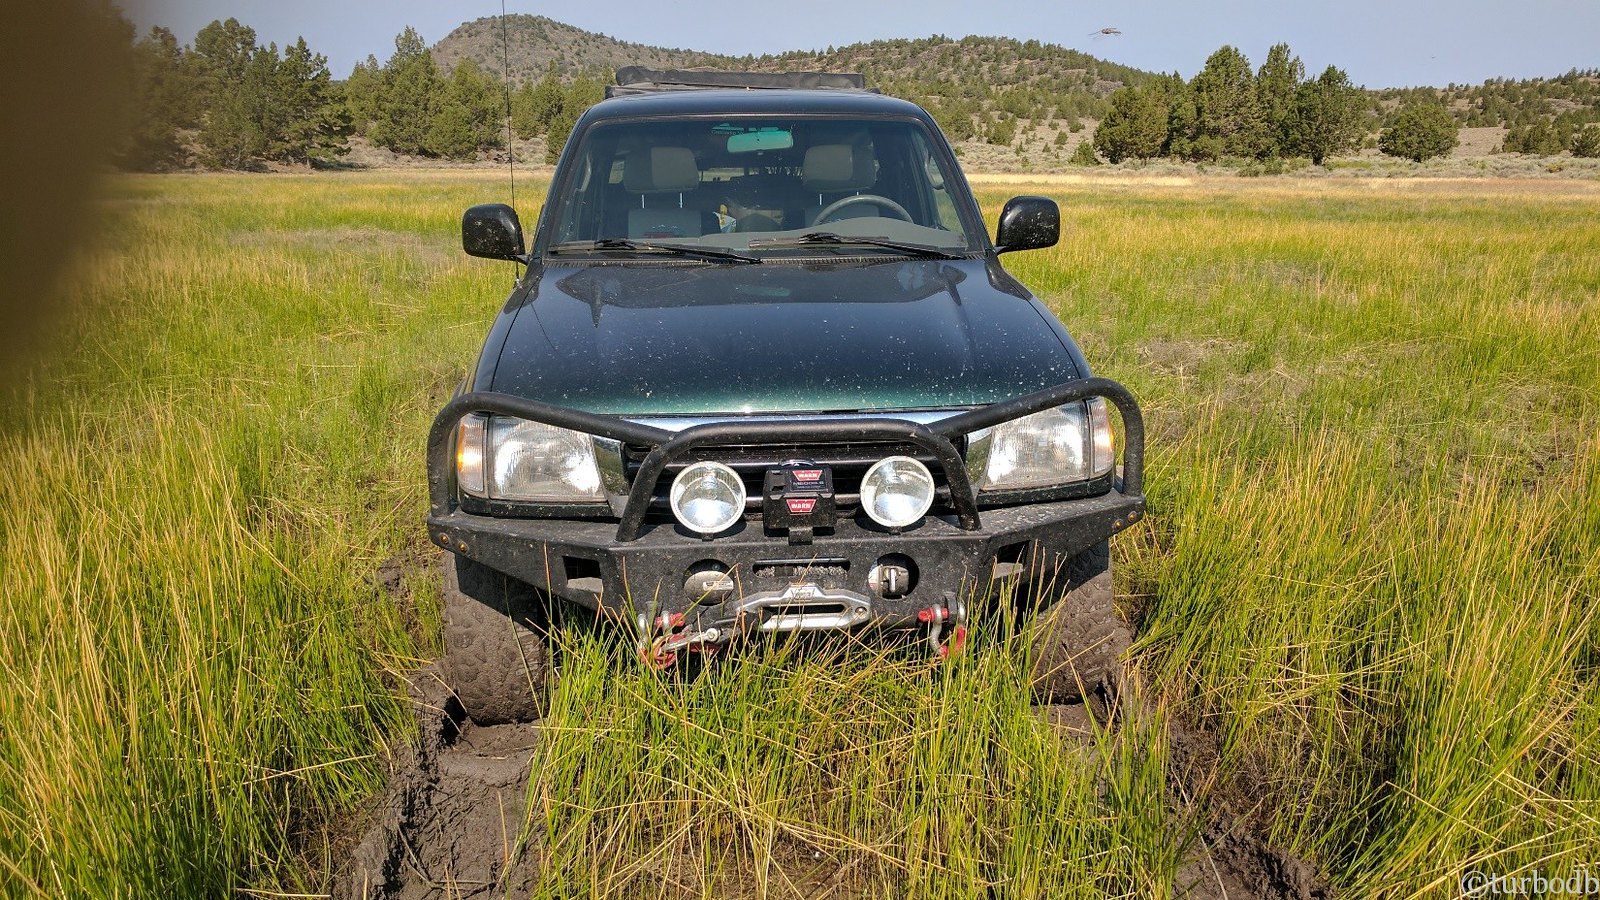
We proceeded slowly, through knee-high grass until @mrs.turbodb yelled, "it's wet!"

Within feet, I stopped. I put the truck in 4WD. I tried to back out. The wheels spun and immediately filled with sticky clay. I stopped again.

39188871505_c299a00bcf_h.jpg


39188875405_e17433b1a9_h.jpg

It was time to follow a rule I'd heard from my uncle years before, and had gotten a refresher on when we'd found a van perched precariously in Diamond Craters a couple months earlier:

Stop. Get out. Evaluate the situation. Act.

A quick look around the truck showed that we were about 20 feet into the mud of the meadow at the front of the truck (which is 17 feet long) - so we'd done well there. I thought we might be able to put it in 4L lock the rear, pull forward a bit, and then back ourselves out - so I got back in and asked @mrs.turbodb to watch the tires. If they spun as I was backing out, I wanted to know immediately.

They spun.

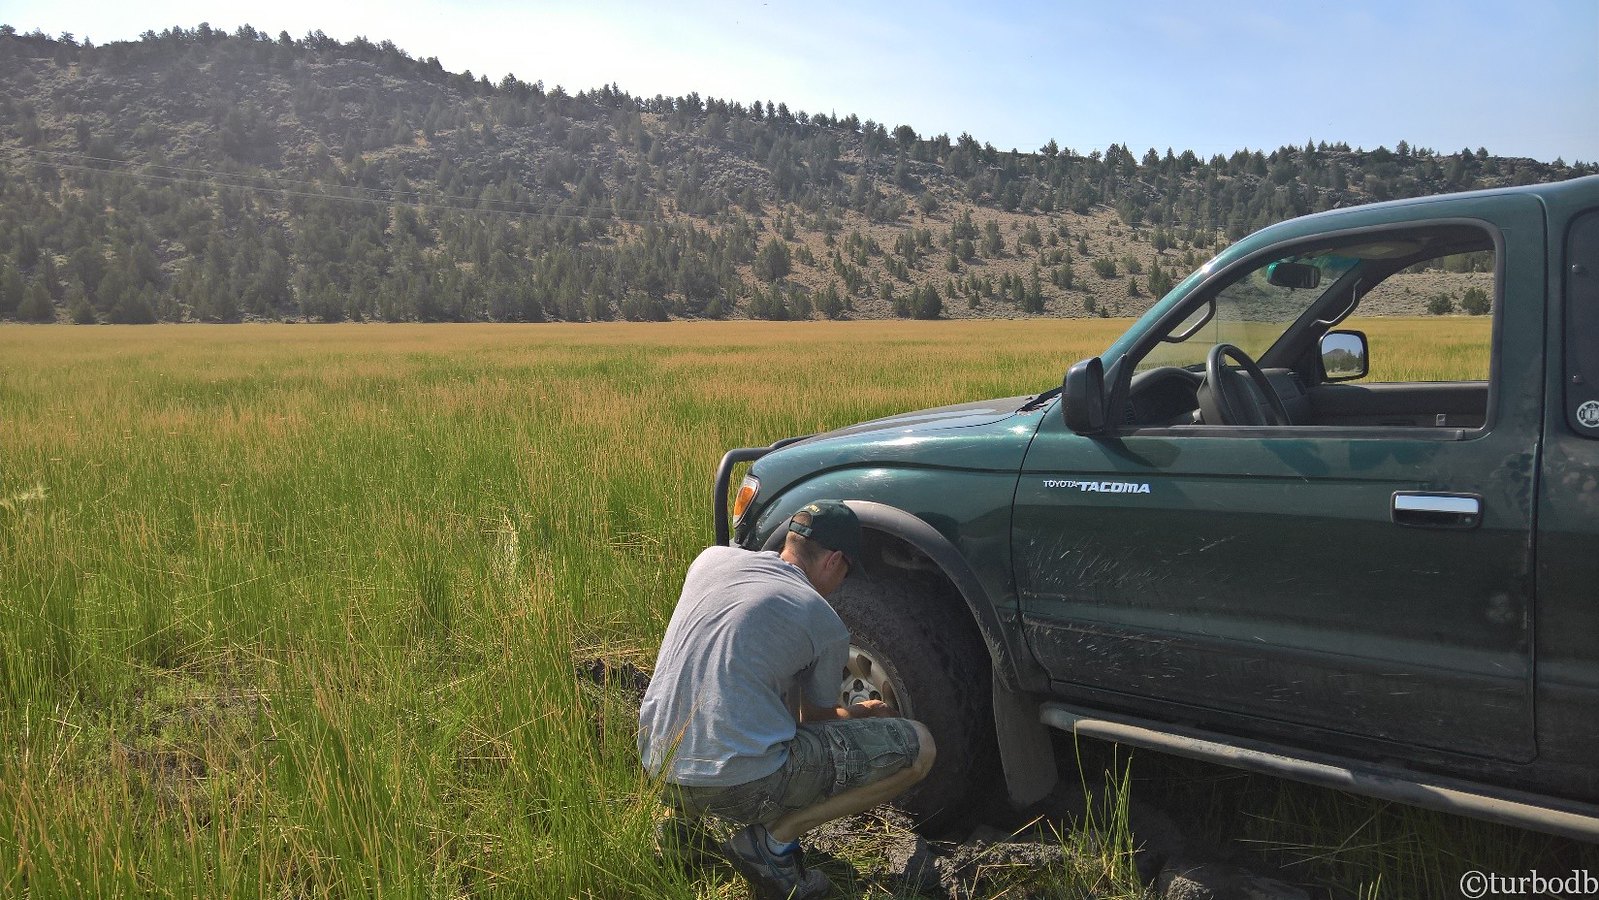
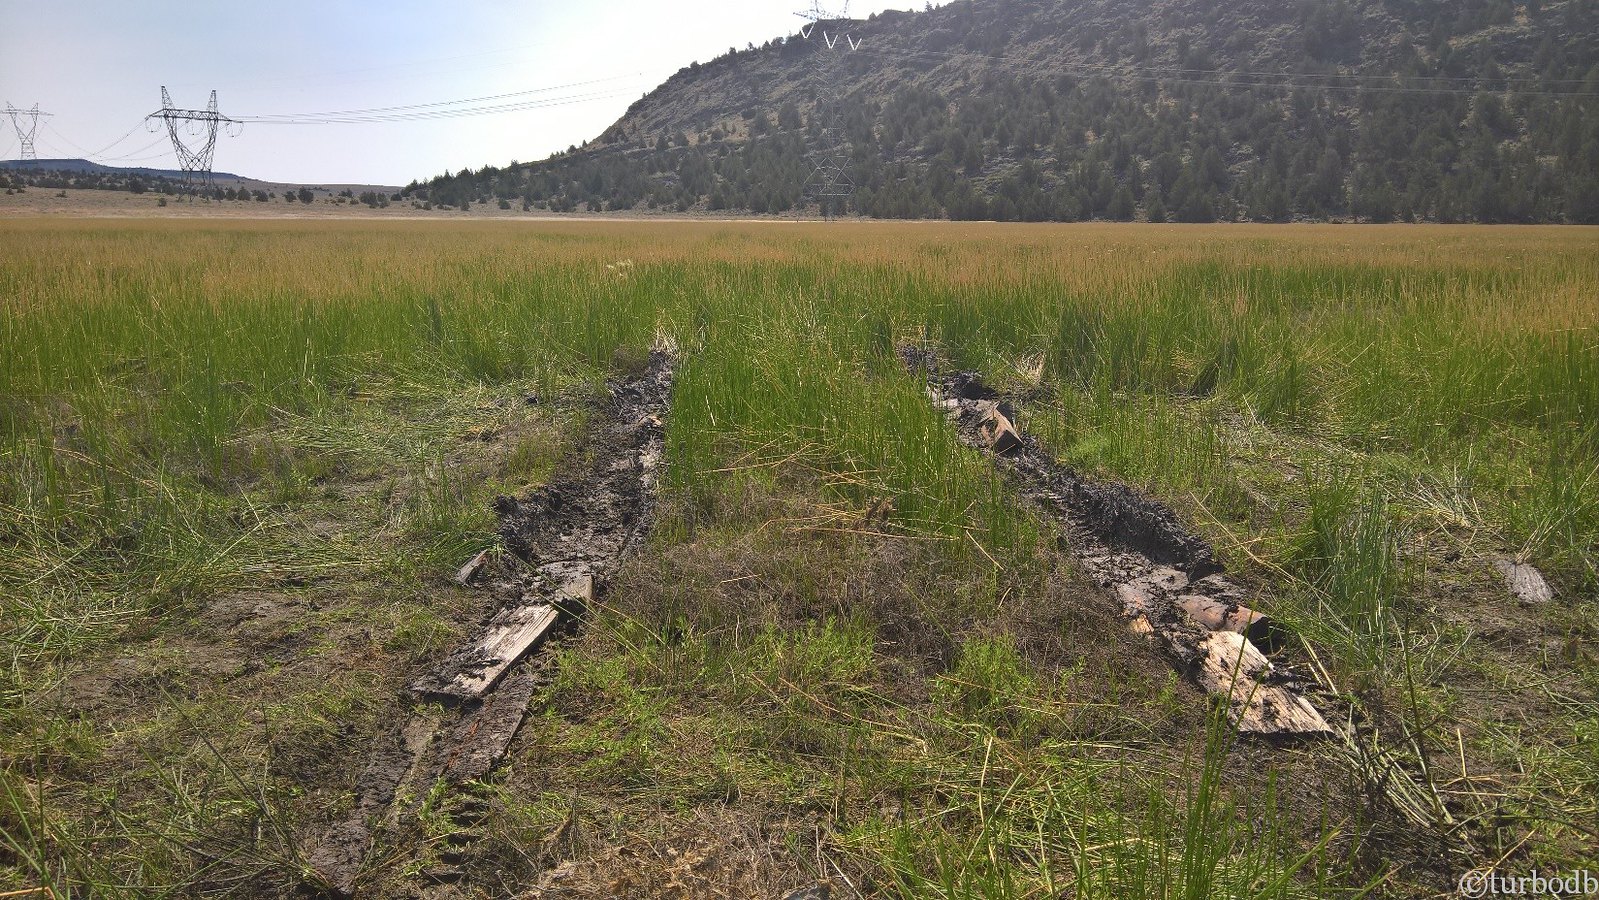
It was time for plan B. We don't carry MaxTrax (maybe we should), but we'd just driven out of the rocky tundra - so we headed to the edge of the meadow where we gathered rocks from an old fire circle as well as some abandoned firewood to pile behind the tires.

It took several trips, but within 30 minutes we had enough rocks and wood for ~5 ft behind each tire. I dug out some of the mud to position the closest rocks nearer the bottom of the tires, and I reduced tire pressure from 18 to 12 psi.

Then, it was back in the truck to give it a try again.

39188876965_0acb48c52c_h.jpg

Success! As the truck freed itself, I backed well clear of the mud and took a few minutes to clean the shovel, my shoes, and my hands, which were covered in clay mud. And then, we set off around the meadow, on a rocky tundra road, to meet up with the GPS coordinates coming out the other side.

39188878815_c21aa9d592_h.jpg

For the next several hours we drove on some of the worst roads of the trip. Broken up only by gates, we bumped out way over hill after hill until we came to a second meadow.

Much more cautious, this meadow proved drier than the first, and it was clear that at least a few cars had proceeded us. We soldiered on, grateful for the reprieve from the rocks, aware of the GPS tracks that showed us driving up and over the rocky hill in the distance.

39188879345_00f201856a_h.jpg

By early afternoon, we finally made it the 15 miles to final gate before Christmas Valley.

We were ready for a break (lunch), and the truck was ready for some fuel.

Don't miss the rest of the story, and all the remaining photos - it'd all be included here if it fit. But until then...

Keep reading the rest here OBDR Day 3: Crazy Day
.
 

turbodb

Well-known member
August 1, 2017.
We slept soundly through the calm night and woke up just as the sun was painting the sky the next morning. Well rested, we were excited for the coming day of travel - the plan was to reach Seneca, the town where we'd set off on what turned out to be Mission Impossible: OBDR, back in May. Once again, we enjoyed a hot breakfast before packing up and heading out; we were on the road by 7:45am.

40087643581_2b1ebabdd4_h.jpg


40087643751_38bf35f980_h.jpg

The OBDR wasn't far from our camp site, and by 8:00am we were through the first gate and making our way between a bluff and a pasture.

"I'm so glad the roads are nicer today." @mrs.turbodb said, to which I let out a sigh. Like clockwork, the road immediately turned into the same rocky hell we'd experienced the previous day.

40087644341_63dfe72bbd_h.jpg

We hoped the sky foretold better roads ahead.

40087644661_2726373584_h.jpg

The bumps continued for an hour until we crested a bluff and came to a large shallow lake. Once again, the GPS tracks headed straight through - something we weren't about to attempt a second time! Instead, we very carefully crawled around the edge of the lake - on dry clay, but only inches above the water line - picking up the road again on the other side, where we were involved in a second show-down with a calf.

40087644971_7379d53679_h.jpg


40087645311_62c9592ce5_h.jpg

Once again, we were victorious!

This wouldn't be our last encounter with the cows, and our victory wouldn't always be so complete. But for now, we continued onward, momma cow keeping a close eye on us.

40087645661_dc8fc4dabf_h.jpg

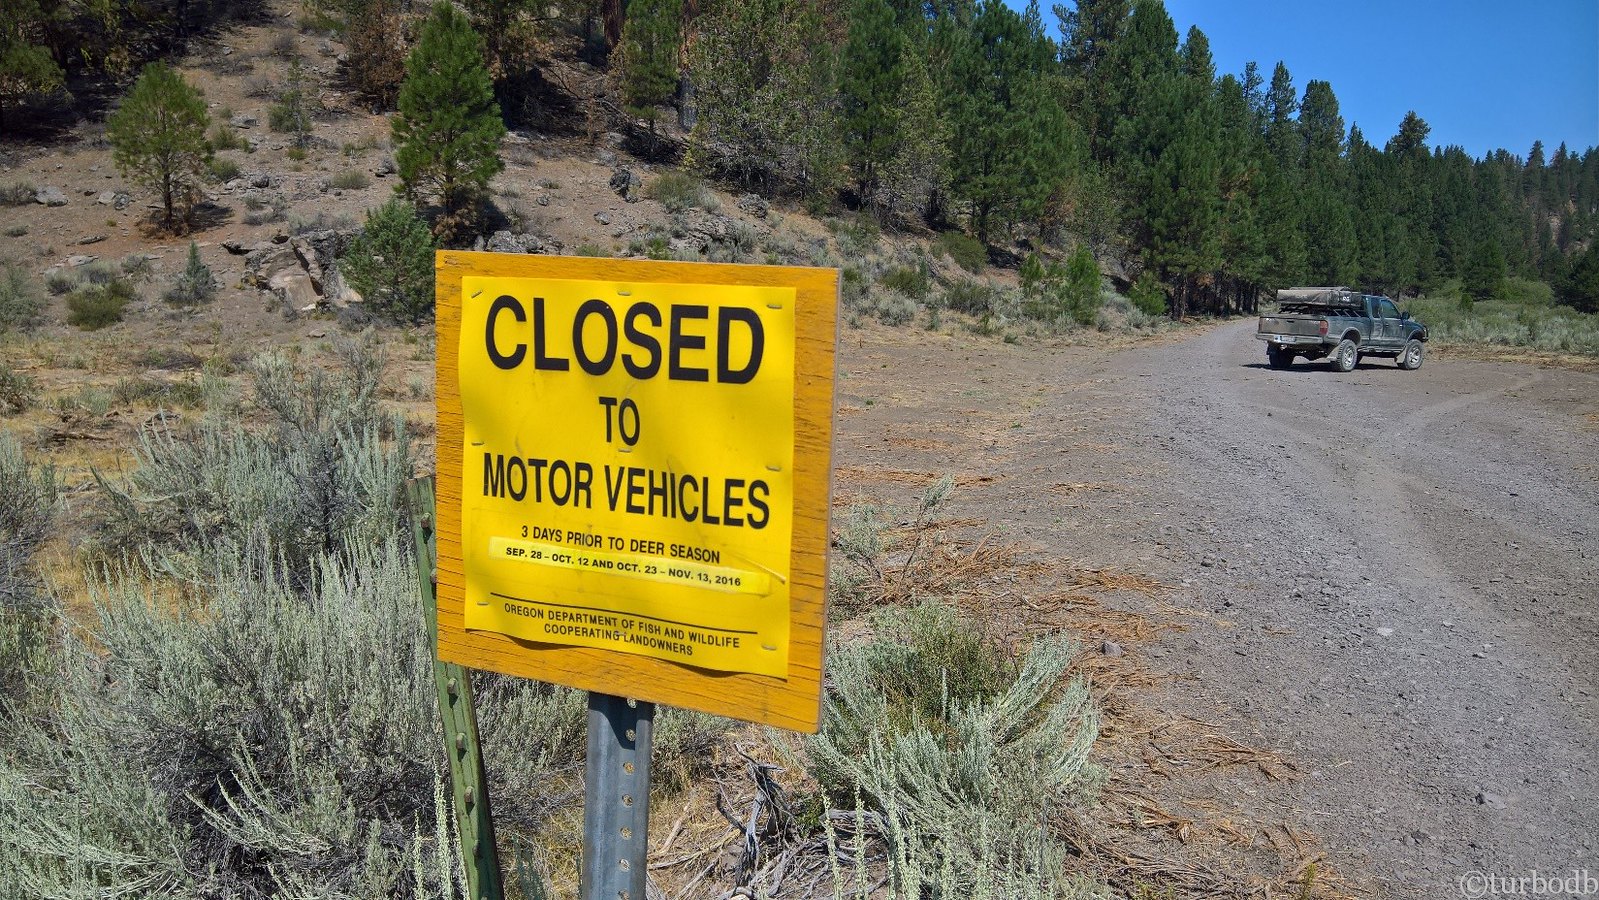
Almost immediately the trail got noticeably worse. So bad in fact, that I turned off the truck at the bottom of a hill climb, and started walking the trail, picking a line and moving basketball+ sized boulders to the side of the road. It was already 95°F and I was hot. My clean shirt was sweaty, and as I climbed back in the truck, the AC went on full blast.

In the end, and with careful planning, we made it up the hill and through gate at the top with little fanfare. Soon after, we entered the trees that marked the boundary of Ochoco National Forest. Except for a few short spurts, we'd conquered the tundra, a little dusty but full of hope for better roads ahead.

…and ultimately, while forest roads were slow going at times and offered their own challenges, we generally preferred them to rocky hell of the high desert.

40087646051_7d62d8deef_h.jpg

Need a set of jump seats for your Jeep? Free pair (needs a little rust removal) at the entrance to Ochoco National Forest.

40087646361_6a80d13c79_h.jpg

Not far into the forest, it was clear that the Forest Service had been hard at work. Underbrush and dead trees were not only cleared, but the enormous burn piles - more than 75 ft in diameter - had already been burned. Kudos to the good folks who did that work.

40087647761_e8cb7a34c1_h.jpg

Past the burn piles, we came across a tree in the road. Nothing we couldn't handle quickly as we moved on, past road closed signs and through dry river crossings. Every mile traveled above 5 mph raising our spirits and bringing us closer to our goal.

40087648561_6bfa548410_h.jpg


40054788252_a65334a244_h.jpg


40054788552_75a2b197c3_h.jpg


40054788902_4ae6478dfd_h.jpg

Caught in the act…and the result.

40054789412_e7d6027695_h.jpg


Don't miss the rest of the story, and all the remaining photos - it'd all be included here if it fit. But until then...

Keep reading the rest here
OBDR Day 4: Flying Debris Ahead


.
 

turbodb

Well-known member
OBDR Day 5: What Were We Thinking in May?

August 2, 2017.
Having gotten in late, we woke up a little later - you know, 6:30am - the morning of Day 5. The day was full of anticipation for us, since this was the leg that had bested us in May, so we were immediately out of bed and exploring Frazier Lookout.

39376304884_638eed2b7d_h.jpg

Turns out that it's been closed (too dangerous) since 2007, but that didn't stop me from climbing up a couple of levels to check out the view.

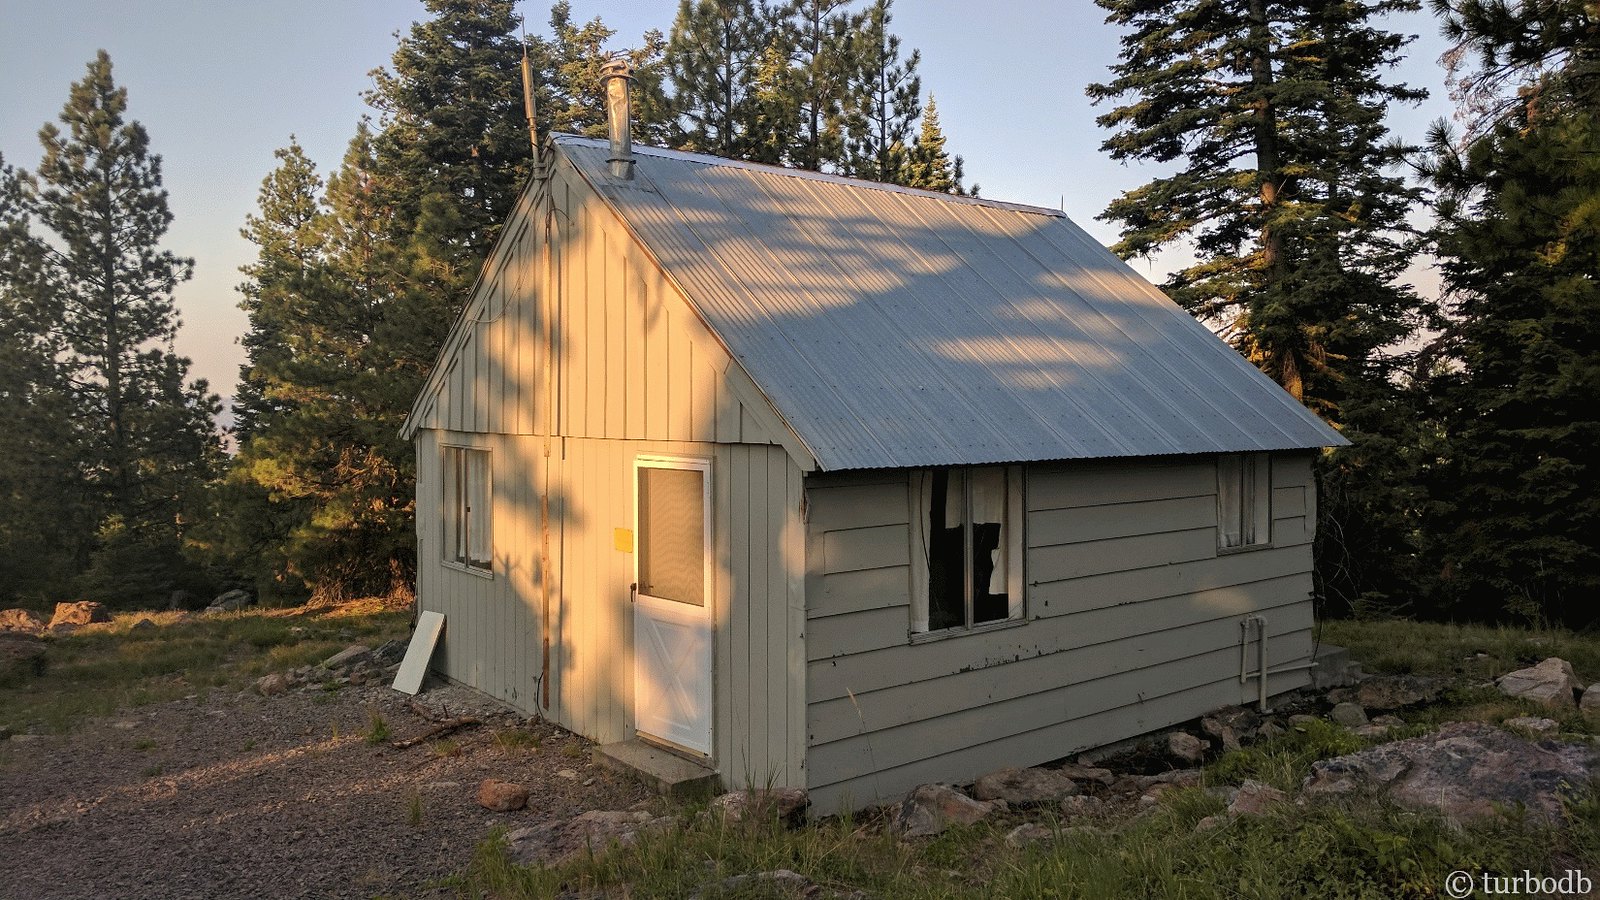
We also explored the super-sketchy lookout house, which was still in reasonable condition on the outside (save some broken windows) and looked as though the last staffer had just "walked out" on the last day the lookout was manned.

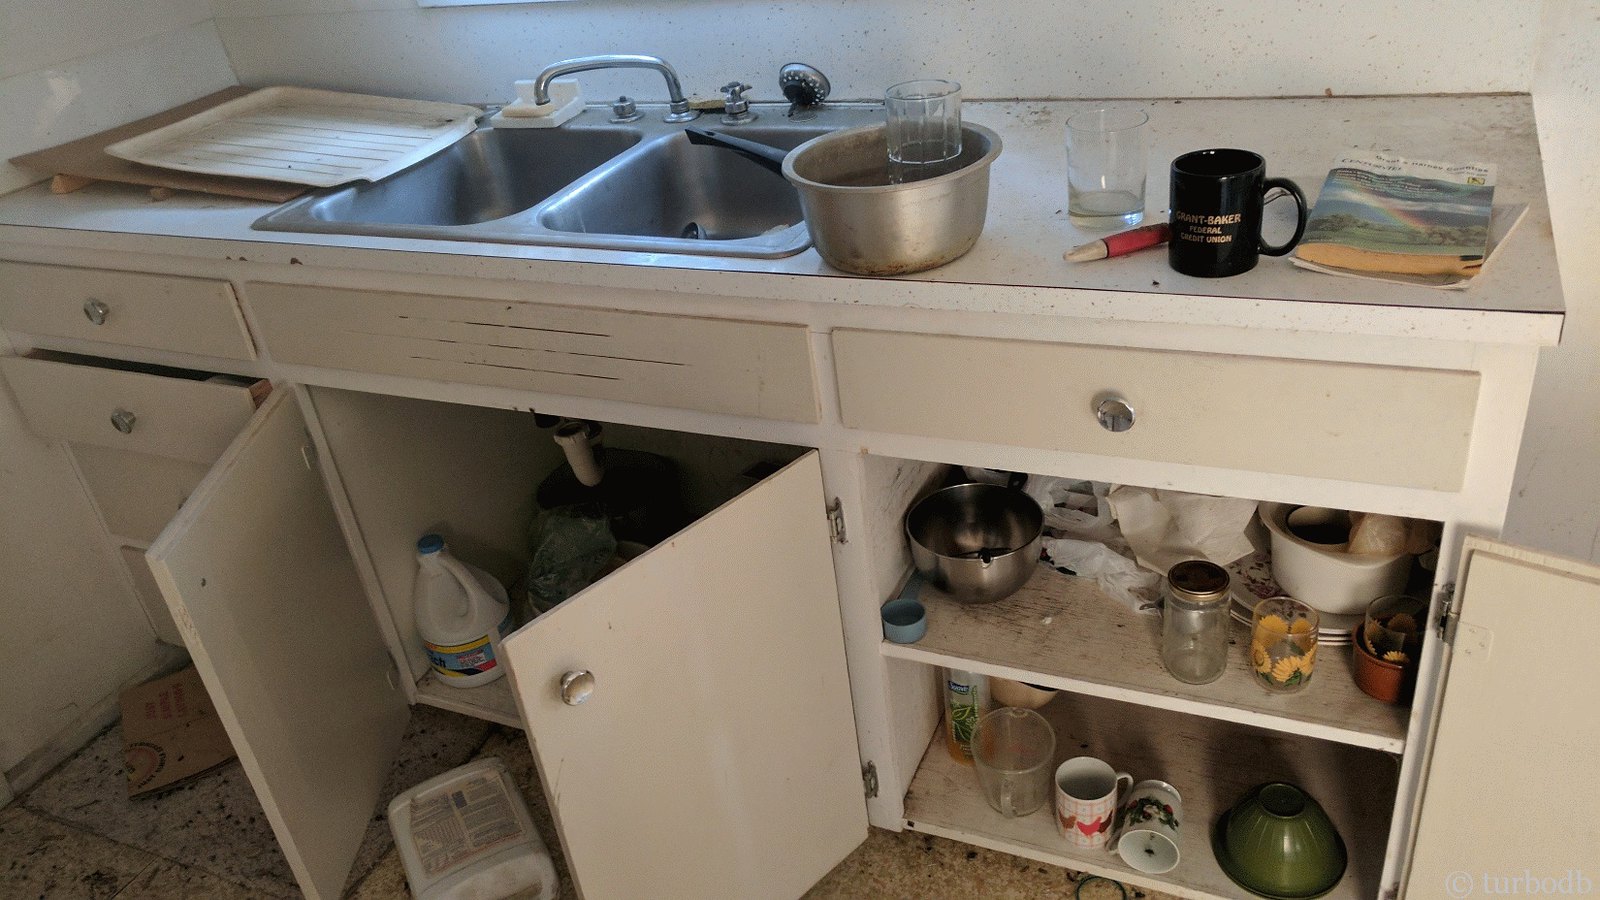
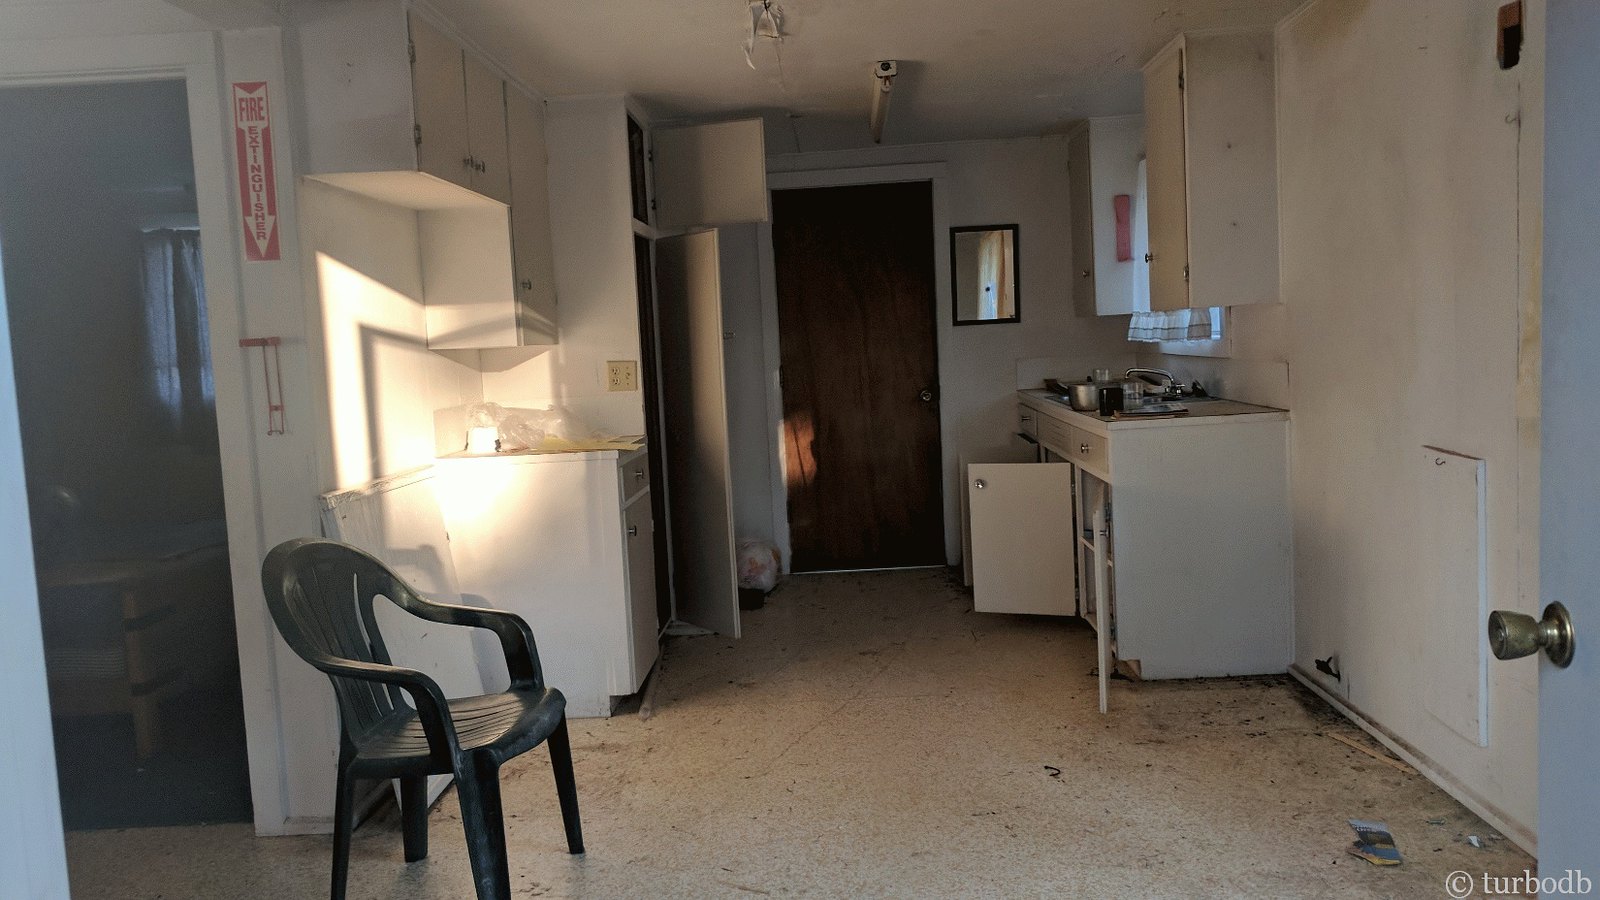
There were papers, magazines, and cookware left in the cupboards, a single bullet hole in the hall mirror, and a plastic chair setup in front of the window that looked out towards the lookout tower.

We didn't linger.

39376305054_a1d0109e94_h.jpg


39376305234_cf4f331d6d_h.jpg


39376305404_36fe059444_h.jpg

After some exploration, we made a quick breakfast of cereal and fruit and packed up the truck. As we drove down the hill, we encountered the same cows that had caused the trouble the night before, and proceeded to herd them nearly two miles down the road, before they finally ran off into the woods.

Boy, were those cows fat.

For an hour or so, we drove along the roads we'd recently cleared. As the miles passed, we saw a dozen or so trees we'd cleared, as well as the spots we'd camped on our previous jaunt.

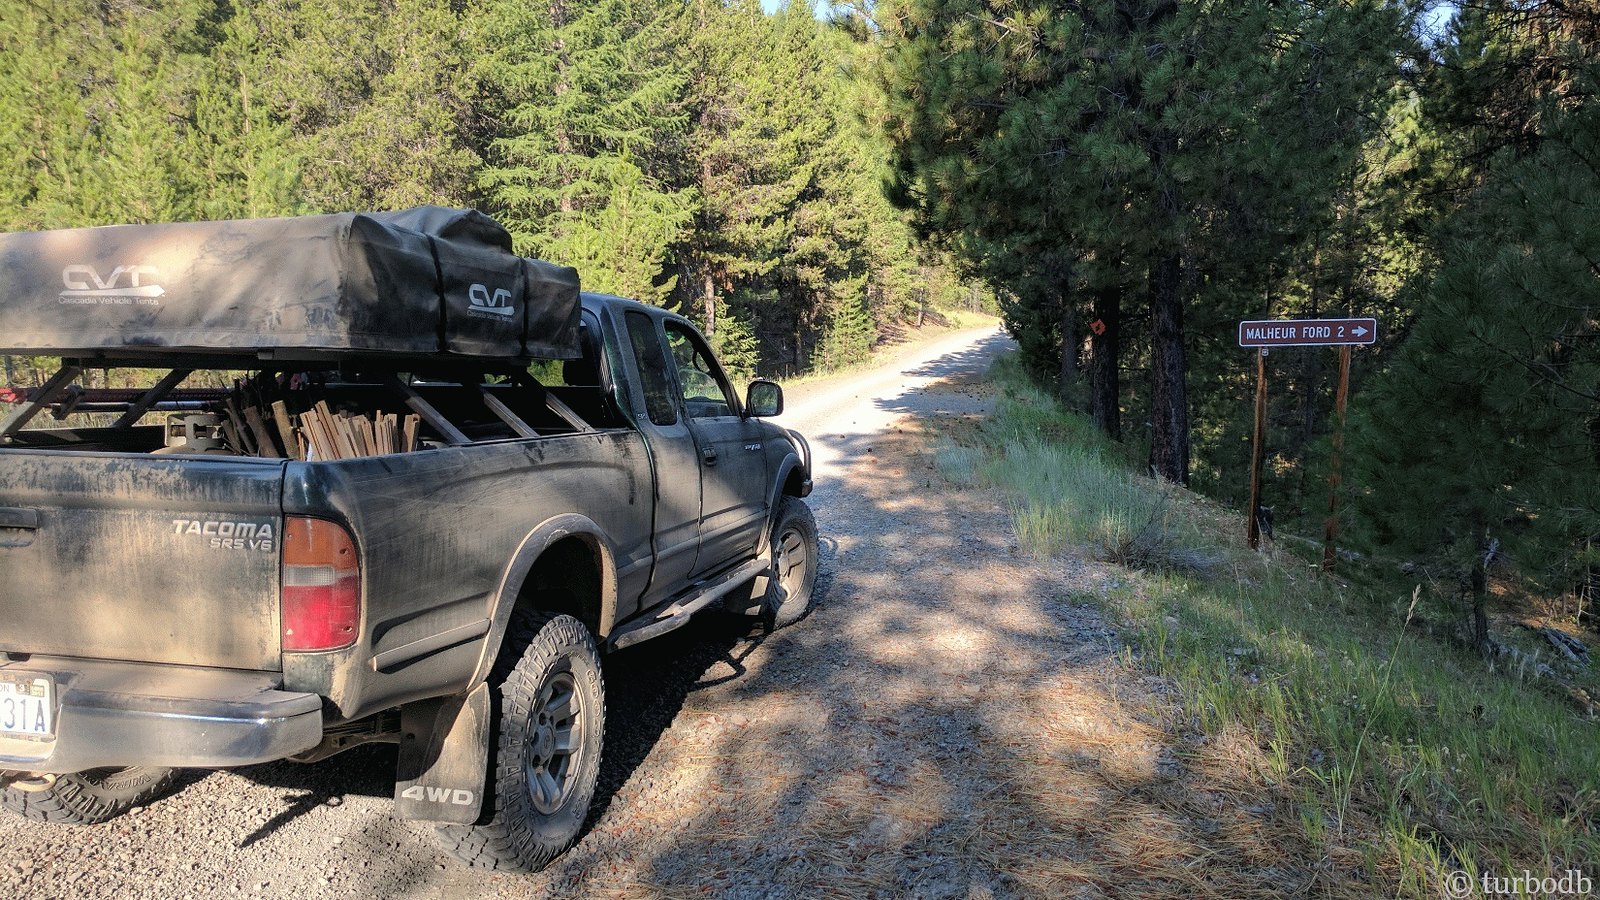
And we made great time. Amazing time really. Within an hour, we were at the sign for Malheur ford - the same crossing that had turned us around in May, water "balls deep" and fast moving as I waded across to scout it.

39376305804_77ba1227b8_h.jpg

We continued on, excitement building. Fields that were bright green were now golden. Our hopes raised that water levels would be down.

39376306024_1f07ec89eb_h.jpg

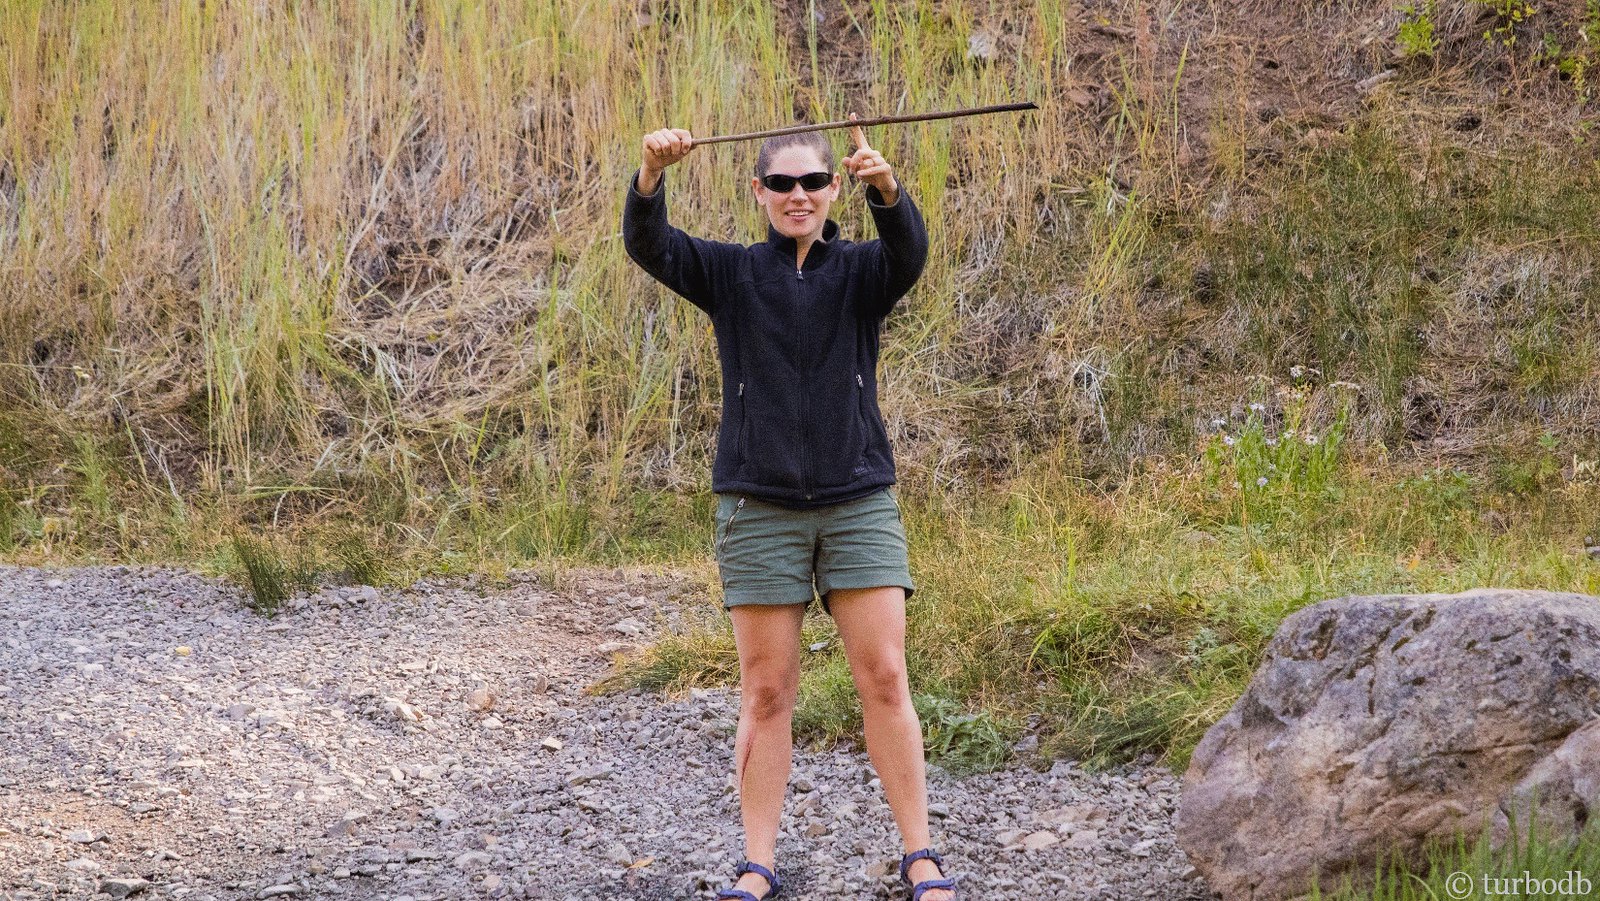
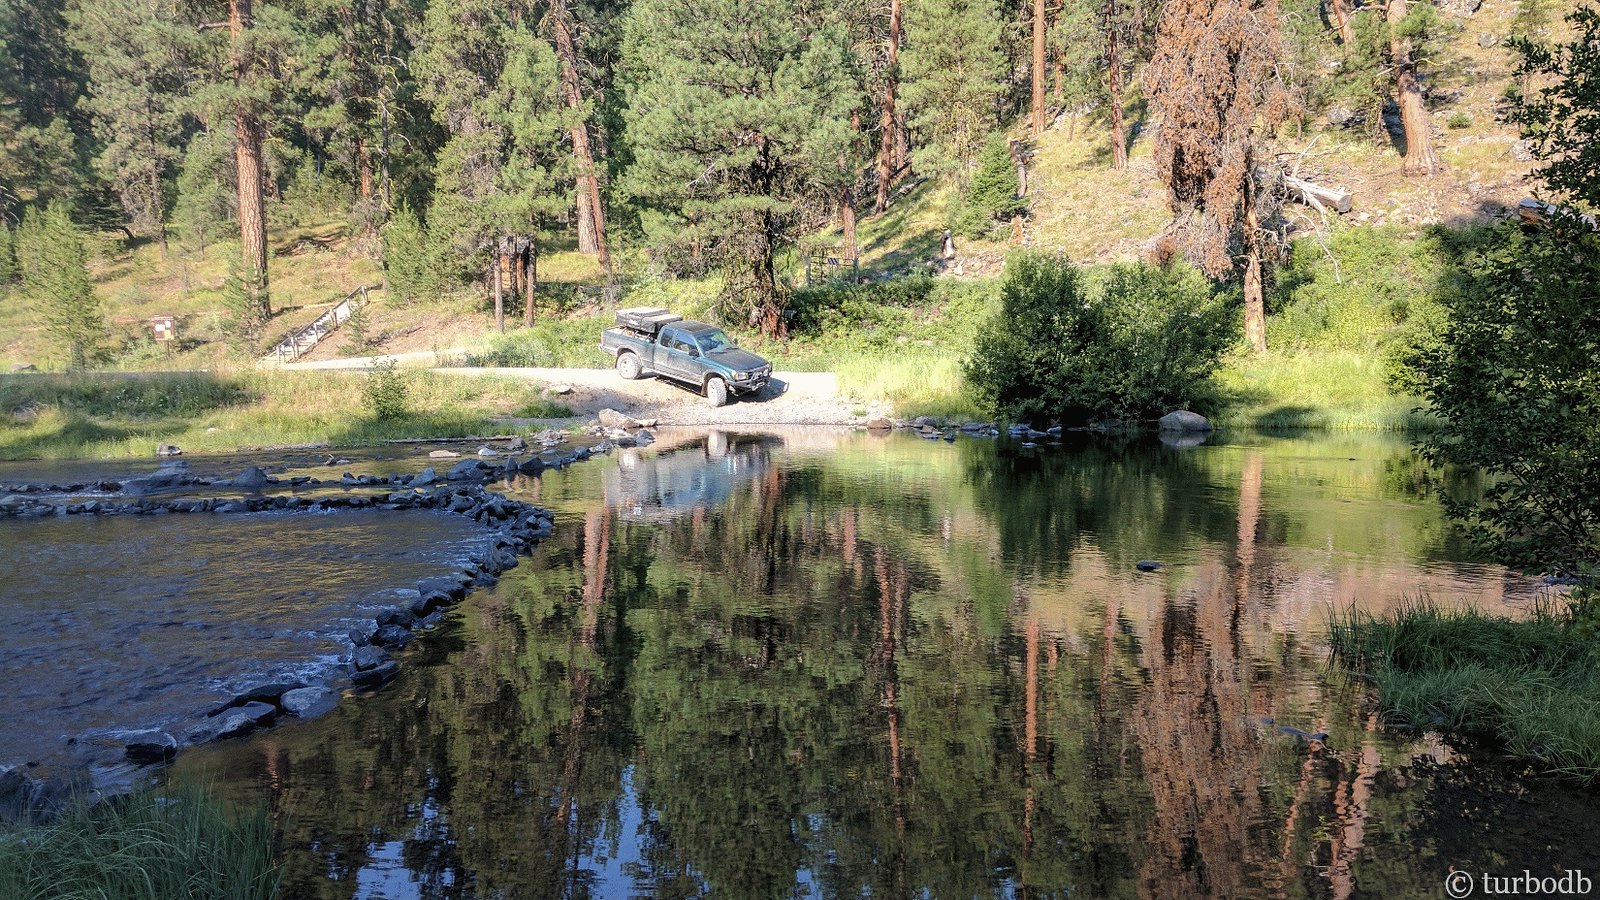
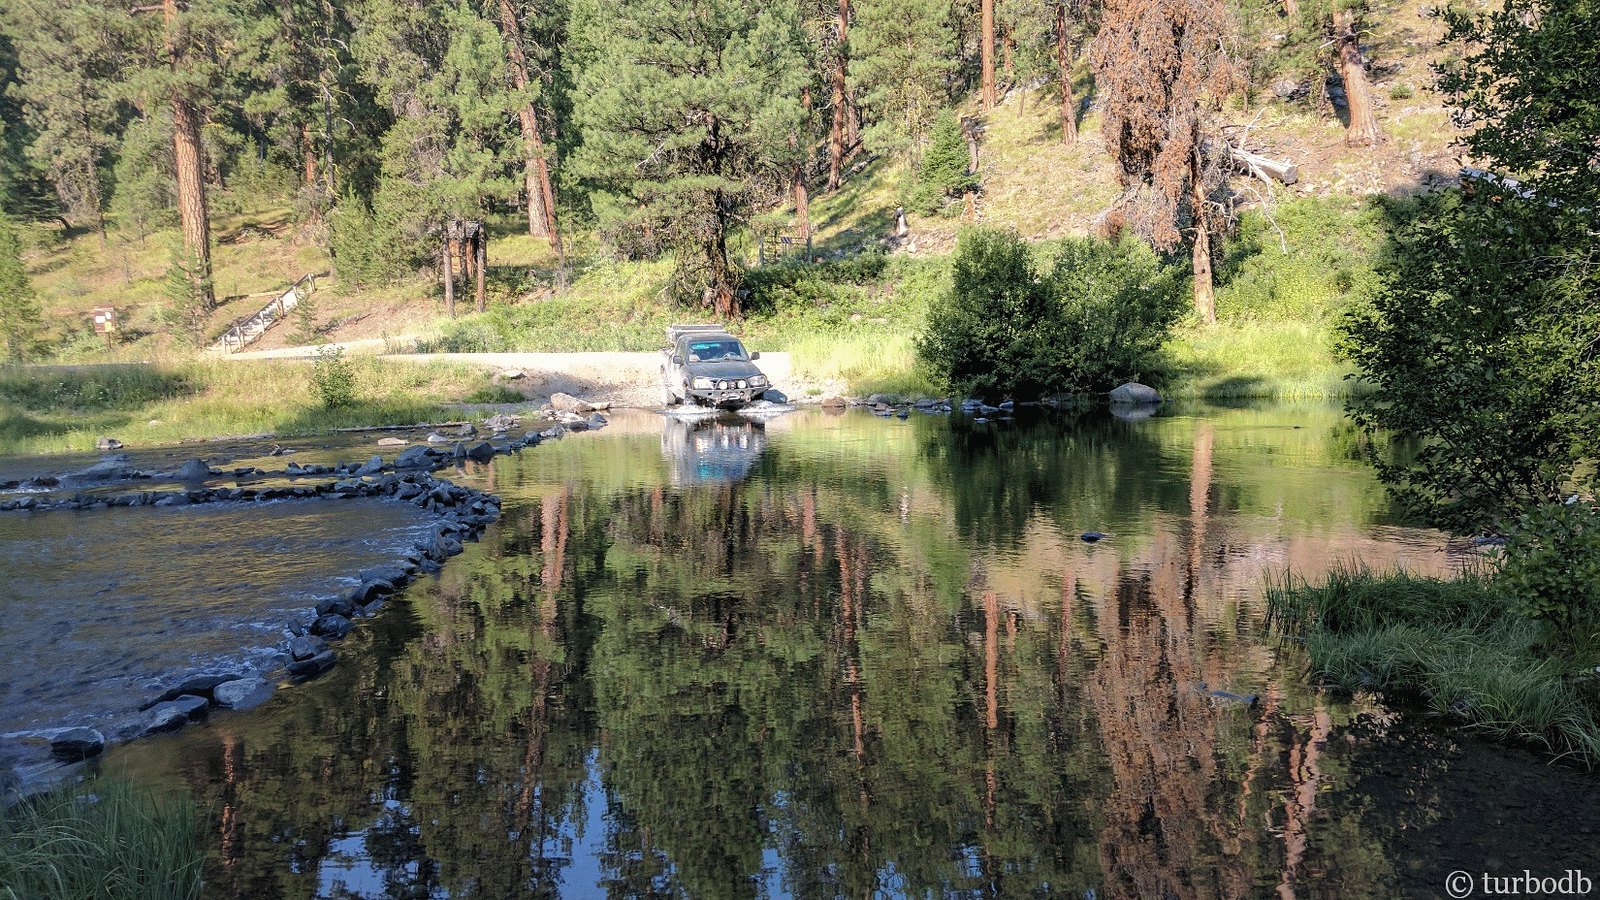
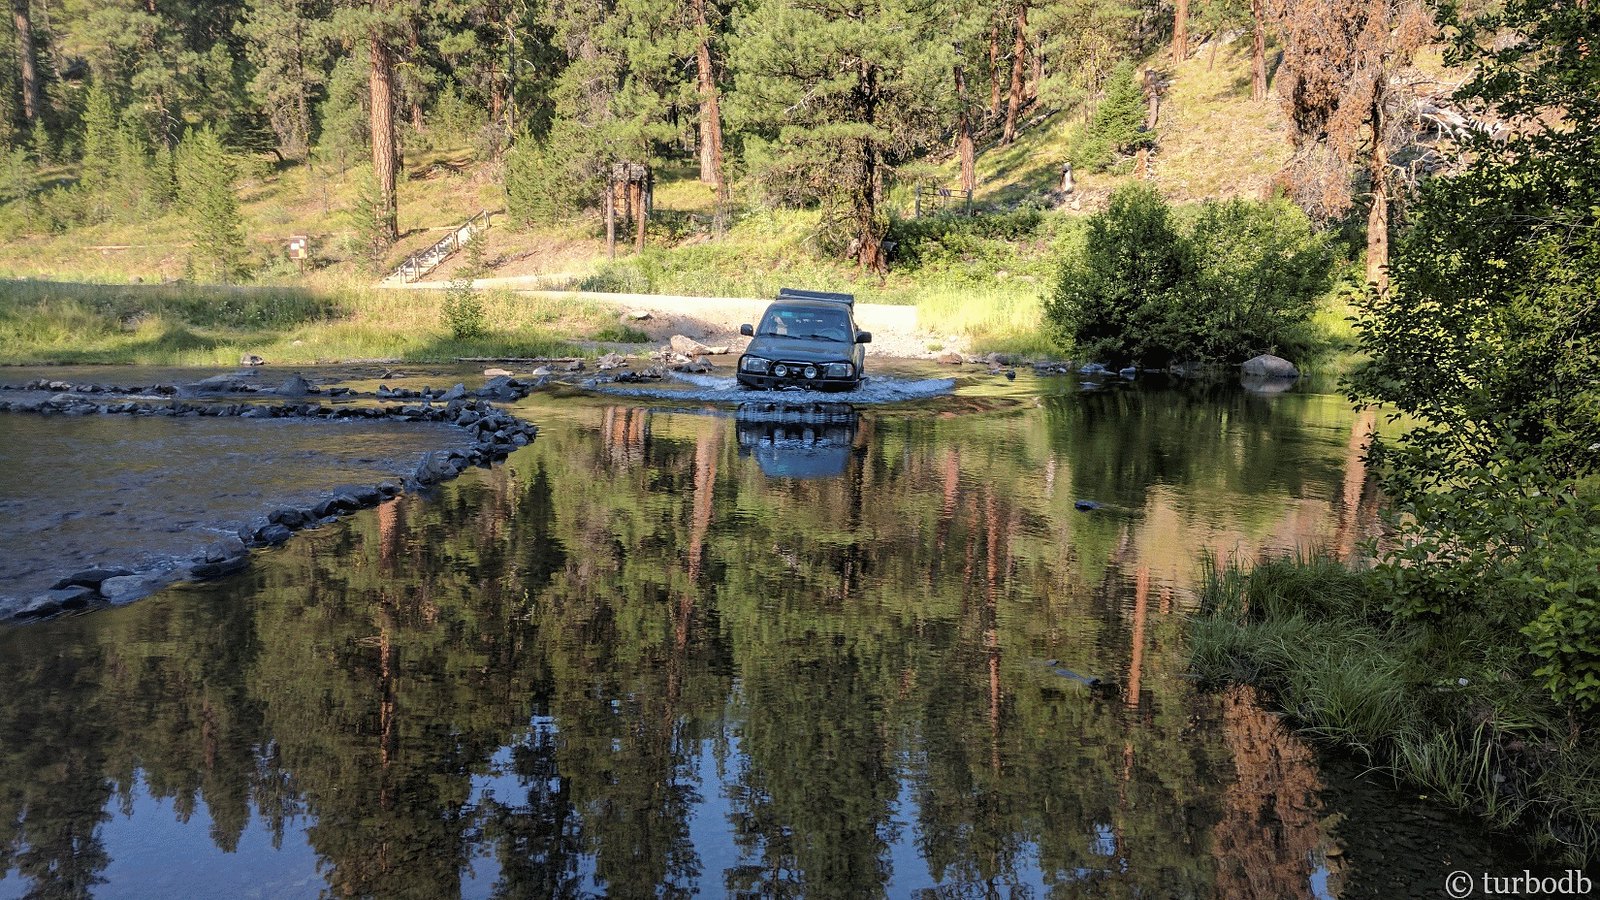
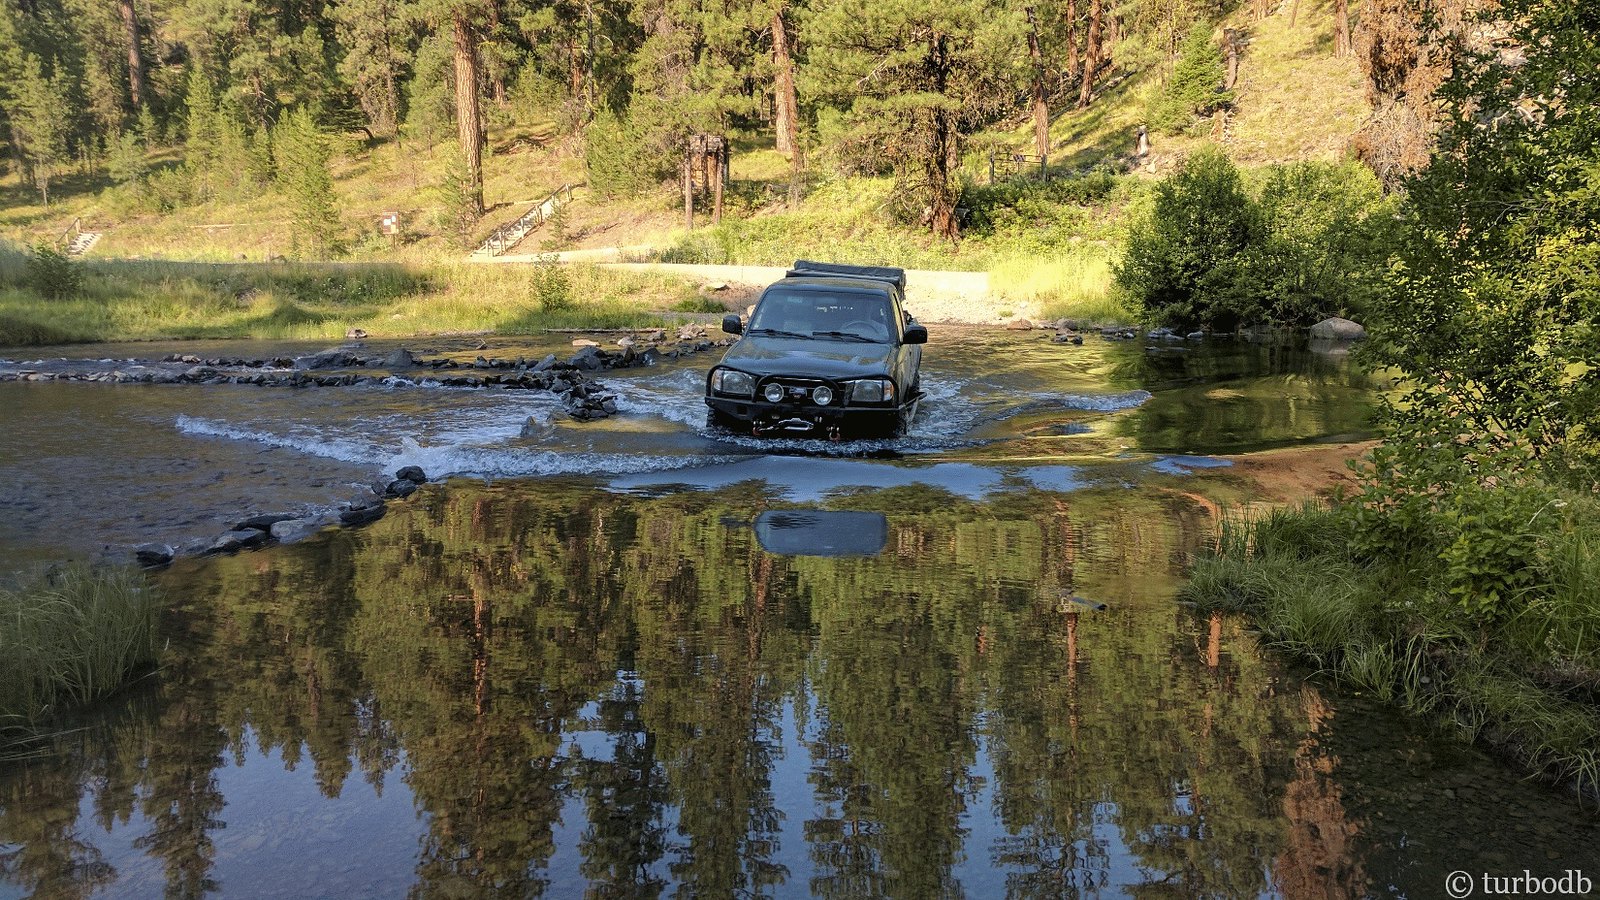
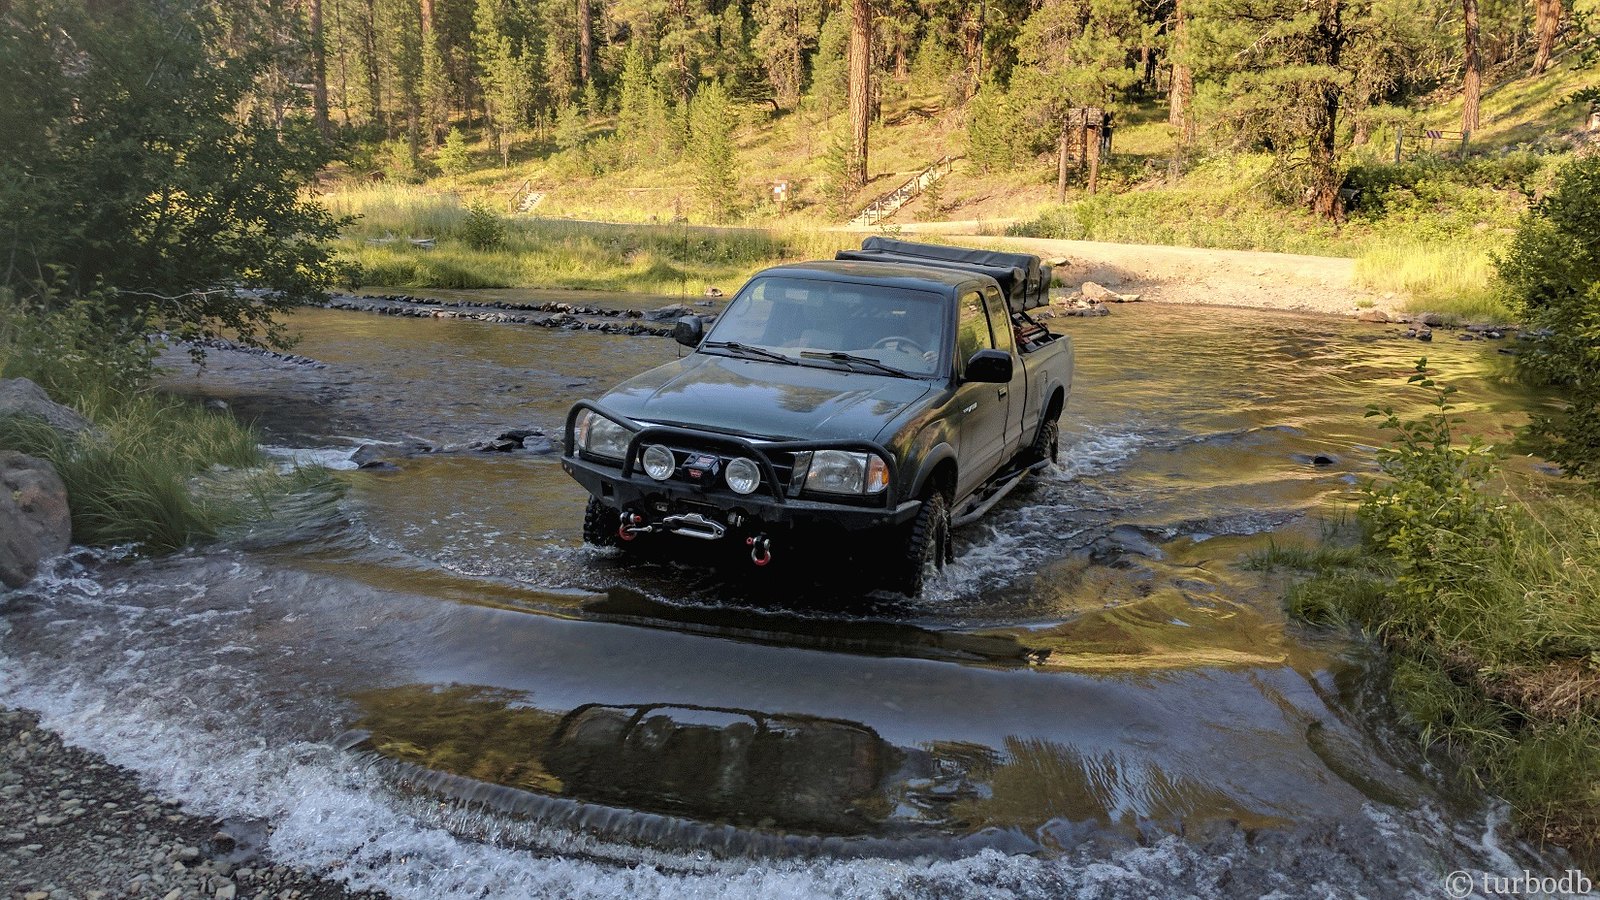
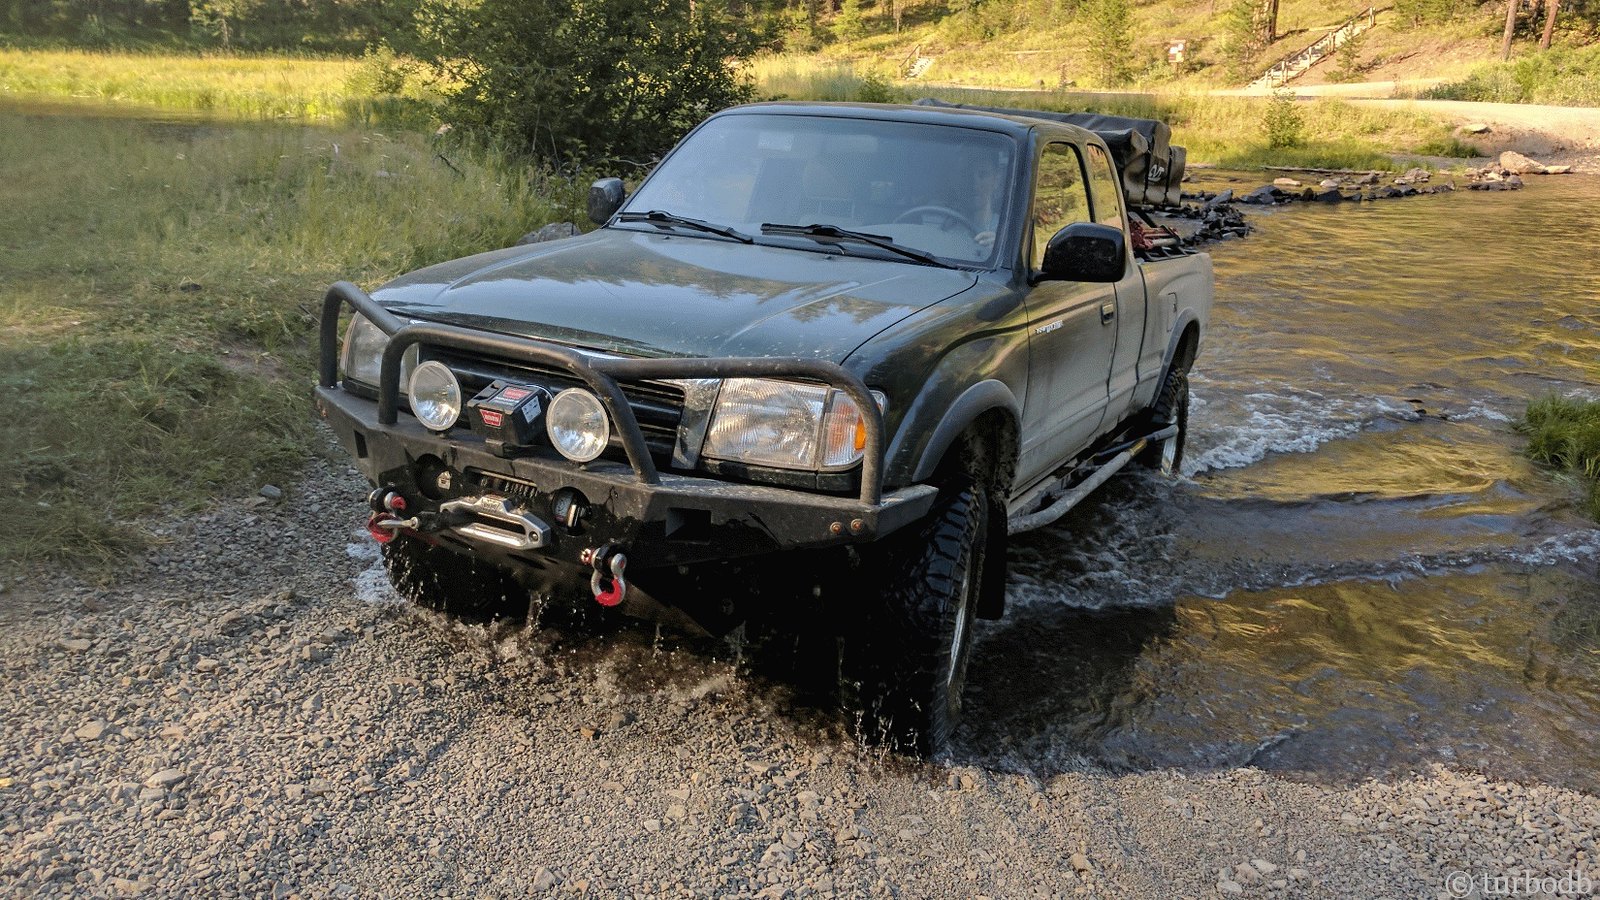
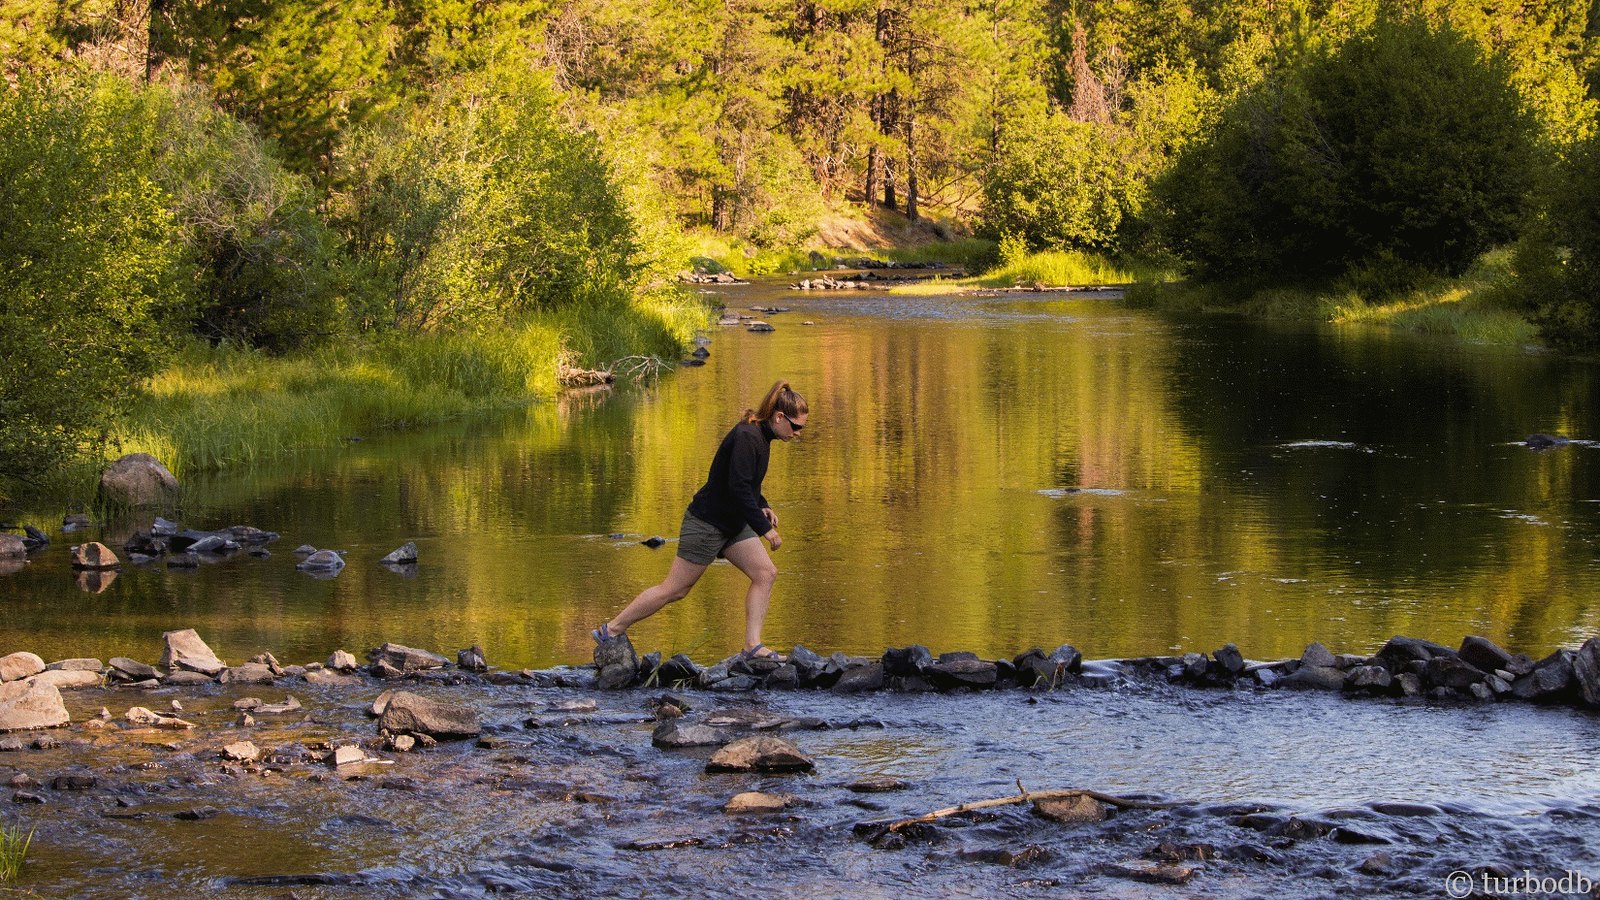
And then we arrived. Immediately we knew that there'd be no turn around today. The water wasn't just lower, it was almost a joke. In fact, it would have been even lower except for a rock dam that had been built to hold some of the water in the ford. @mrs.turbodb headed across, prepping to take pictures of the crossing.

40054801832_017f76ab79_h.jpg


40054802482_412672cb0b_h.jpg


40054803062_fabcaf31ca_h.jpg

Yeah, two feet lower than last time - this wasn't going to be a problem. I headed across in the truck.

40054803742_5a3edcfa09_h.jpg


40054804212_63dc70a286_h.jpg


40054804882_8bccad092f_h.jpg


40054805662_02ddbf3123_h.jpg


40054806352_bacd269b29_h.jpg


40054806902_a9b95d9f10_h.jpg

And with that, we continued up the other side of the canyon, to a beautiful view we hadn't experienced on this route the last time we visited.

40054807522_2cba348c33_h.jpg


40054808072_4497402a2e_h.jpg

Me: "Come take a picture with me."

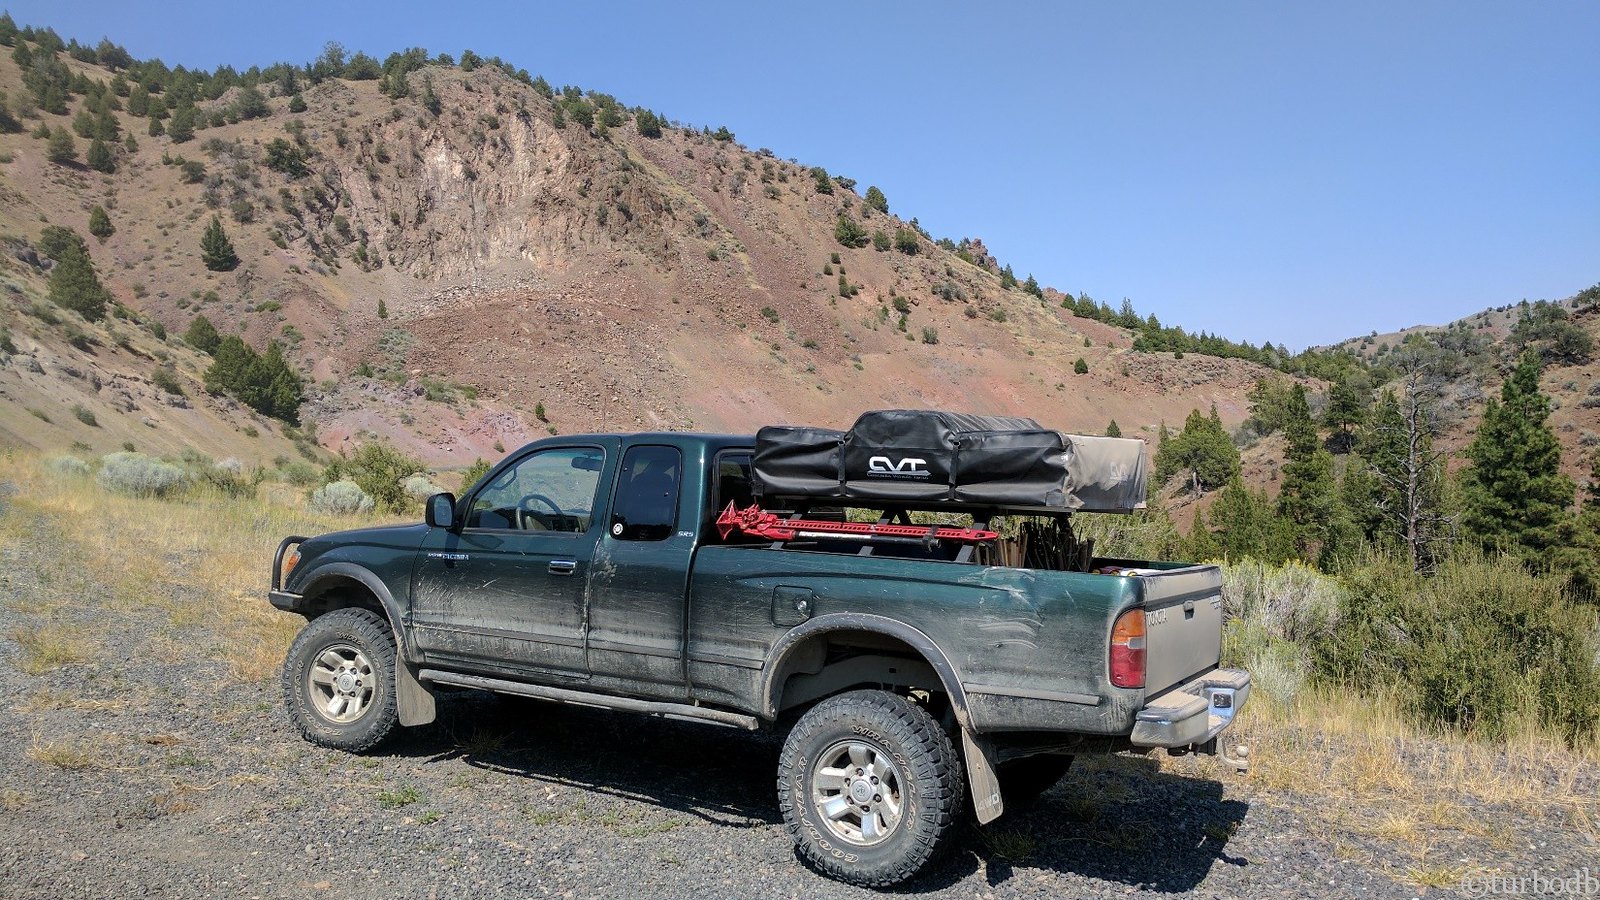
@mrs.turbodb: "Hahaha, I see what you're doing here." (as I make sure the truck is framed in the background)

40054808692_a0993c7ea0_h.jpg


Don't miss the rest of the story, and all the remaining photos - it'd all be included here if it fit. But until there are more than 20 photos in a post...

Keep reading the rest here
OBDR Day 5: What Were We Thinking in May?


.
 

turbodb

Well-known member
OBDR Day 6: Lookouts

August 3, 2017.

Mornings were becoming routine. Beautiful sunrise, tasty breakfast. Such a tough life.

Of course, we suffered through it as we talked about the day ahead. While the previous day had been one of our longest (distance-wise at 180+ miles), today was going to be one of our shortest - only 110 miles or so, since we'd tackled 20 already after hitting Granite early - ending near a small town that even the locals (when we stopped for gas) - had never heard of: Kamela, Oregon.

40087674481_44606ac75e_h.jpg

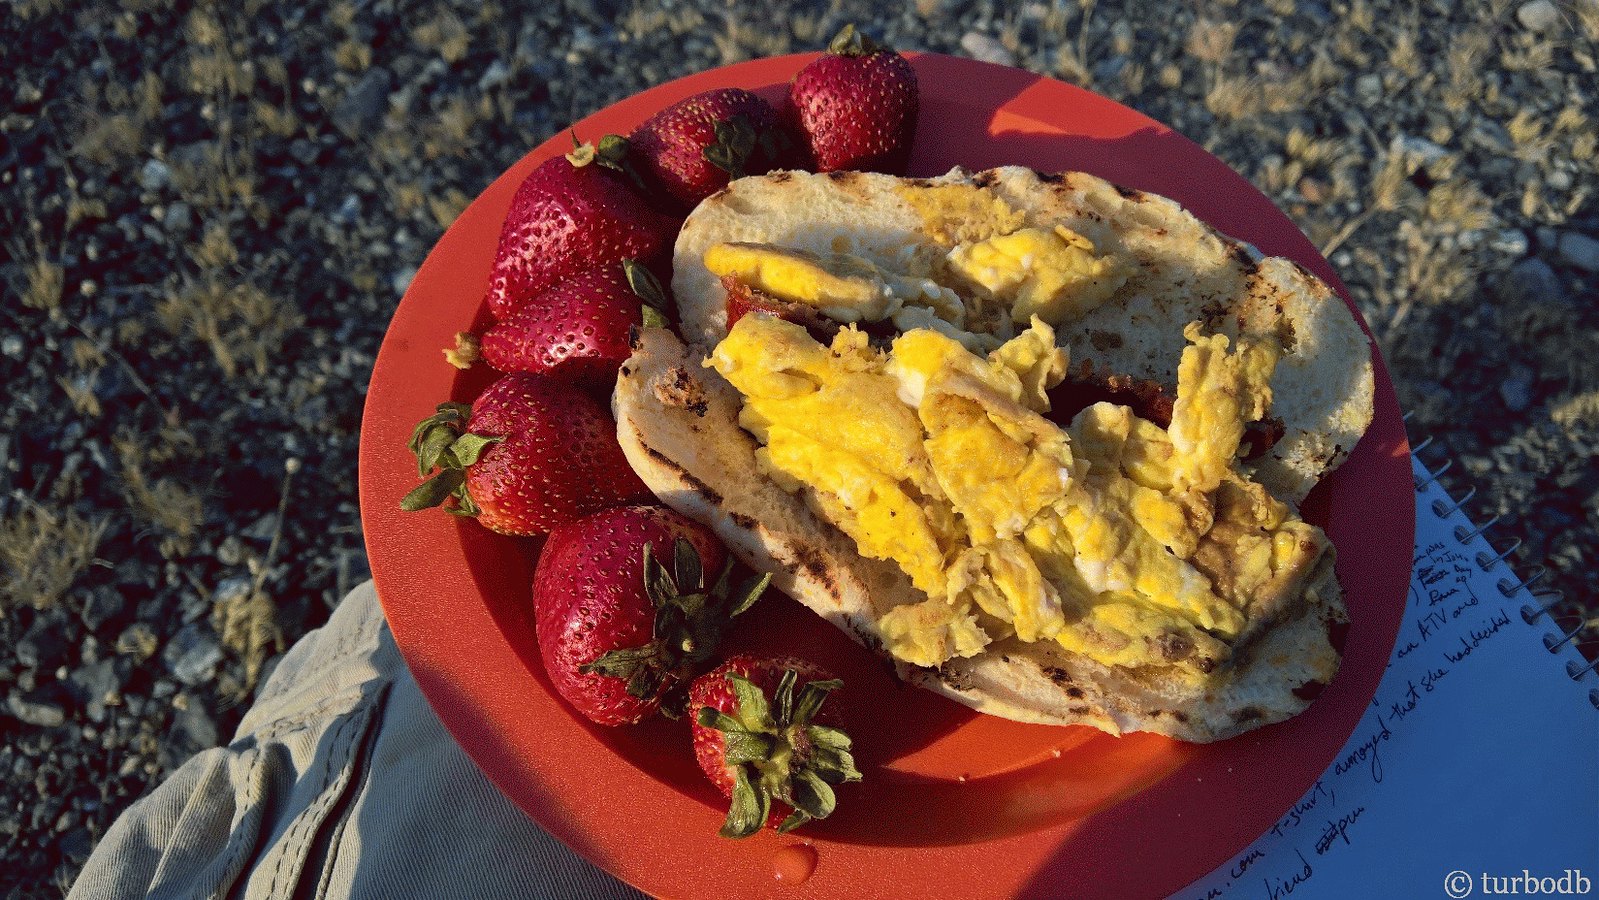
There's a spicy sausage in that breakfast sandwich. Yum yum!

40087674871_b90b3c04c9_h.jpg

And then we were off.

40087675041_bc4d38af78_h.jpg

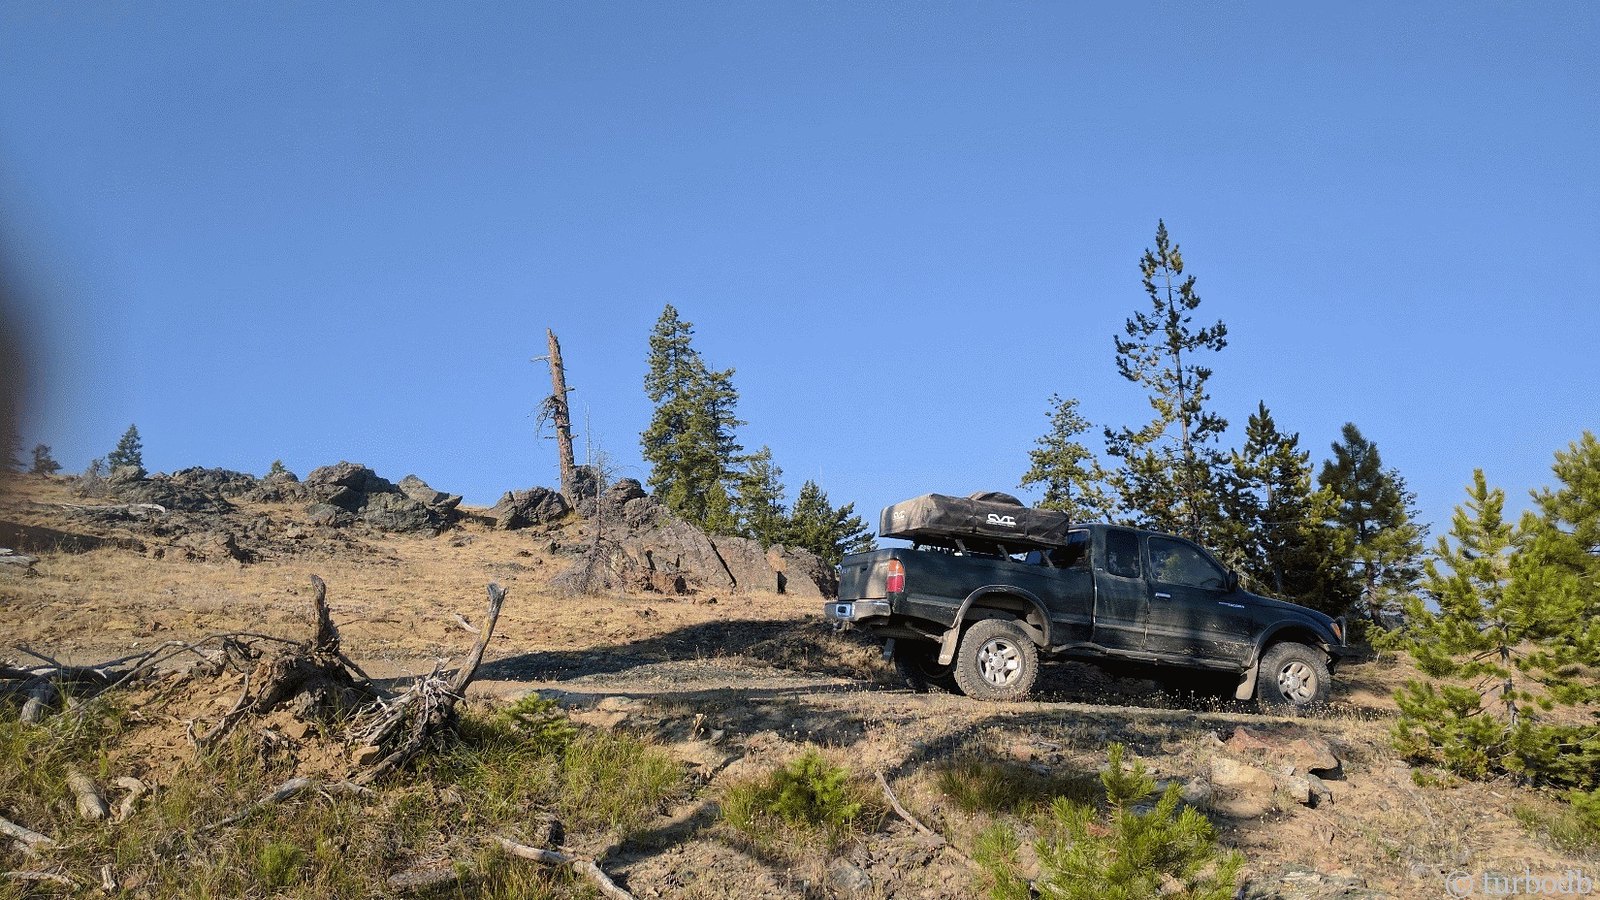
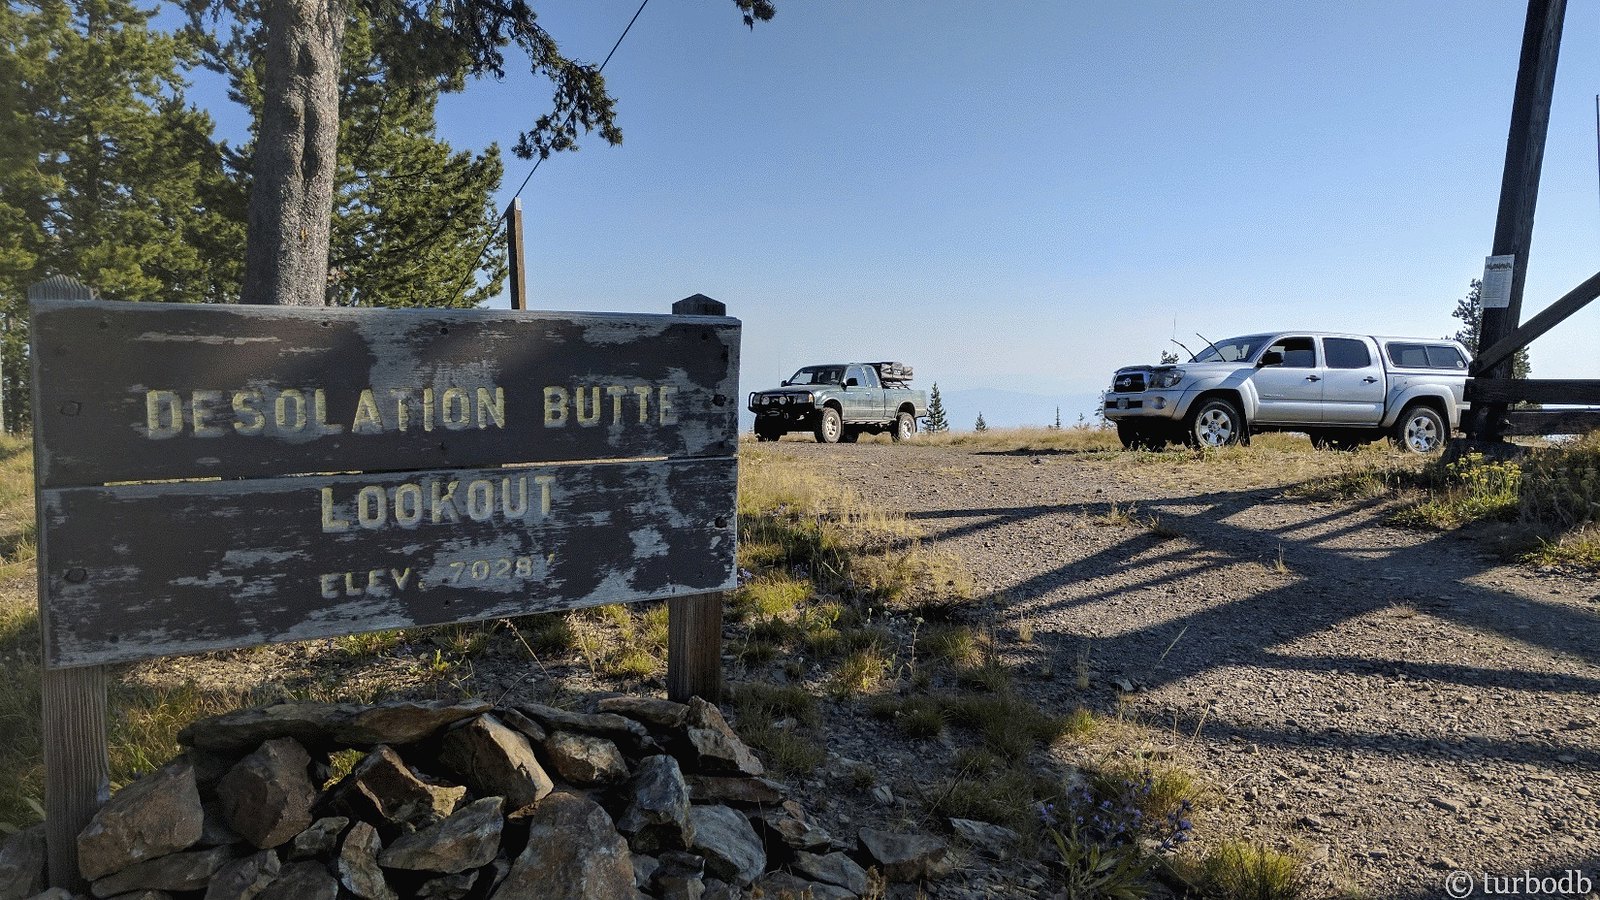
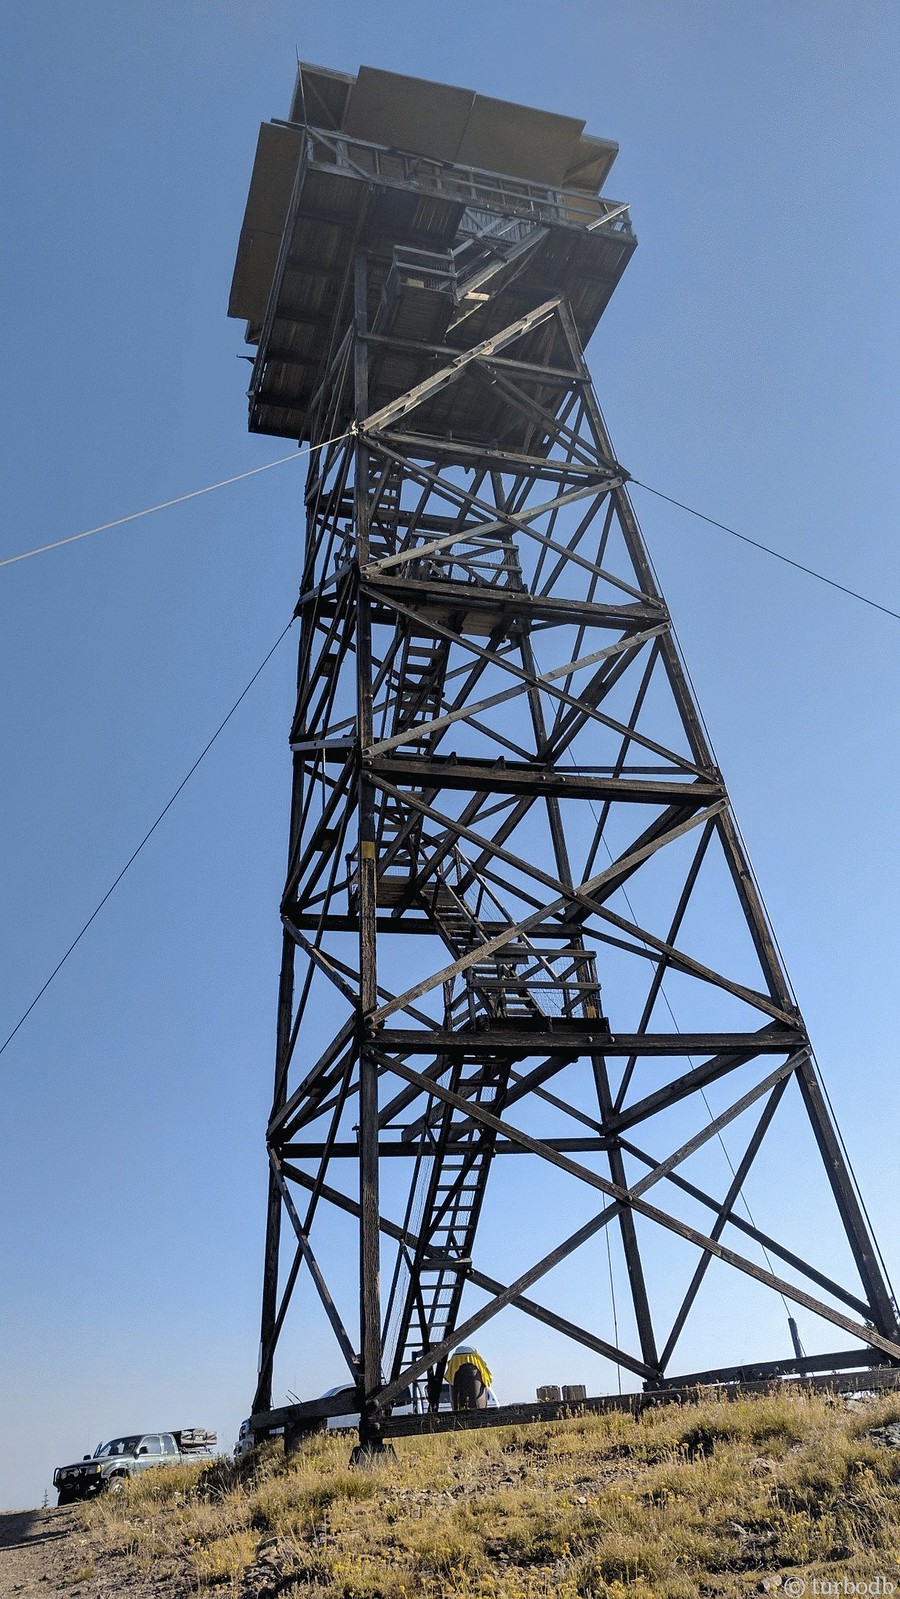
Within 20 minutes, we arrived at what would be our first extended stop - Desolation Butte Lookout. And as we pulled up, we each looked at each other knowingly - parked there, under the lookout, was another Tacoma.

Of course. Of course the only other vehicle we'd seen on the trail was a Tacoma. This one, a 2011.

40087675311_bc52275e0c_h.jpg

As I backed in next to it (for a pic of course), Mike, the lookout dude was just coming down the stairs and called down, "Hey, don't park on the grass."

My window already down to greet him, I waved, said "No problem," and then muttered to @mrs.turbodb as I backed the truck in over some gravel, "Off to another good start with the lookout resident."

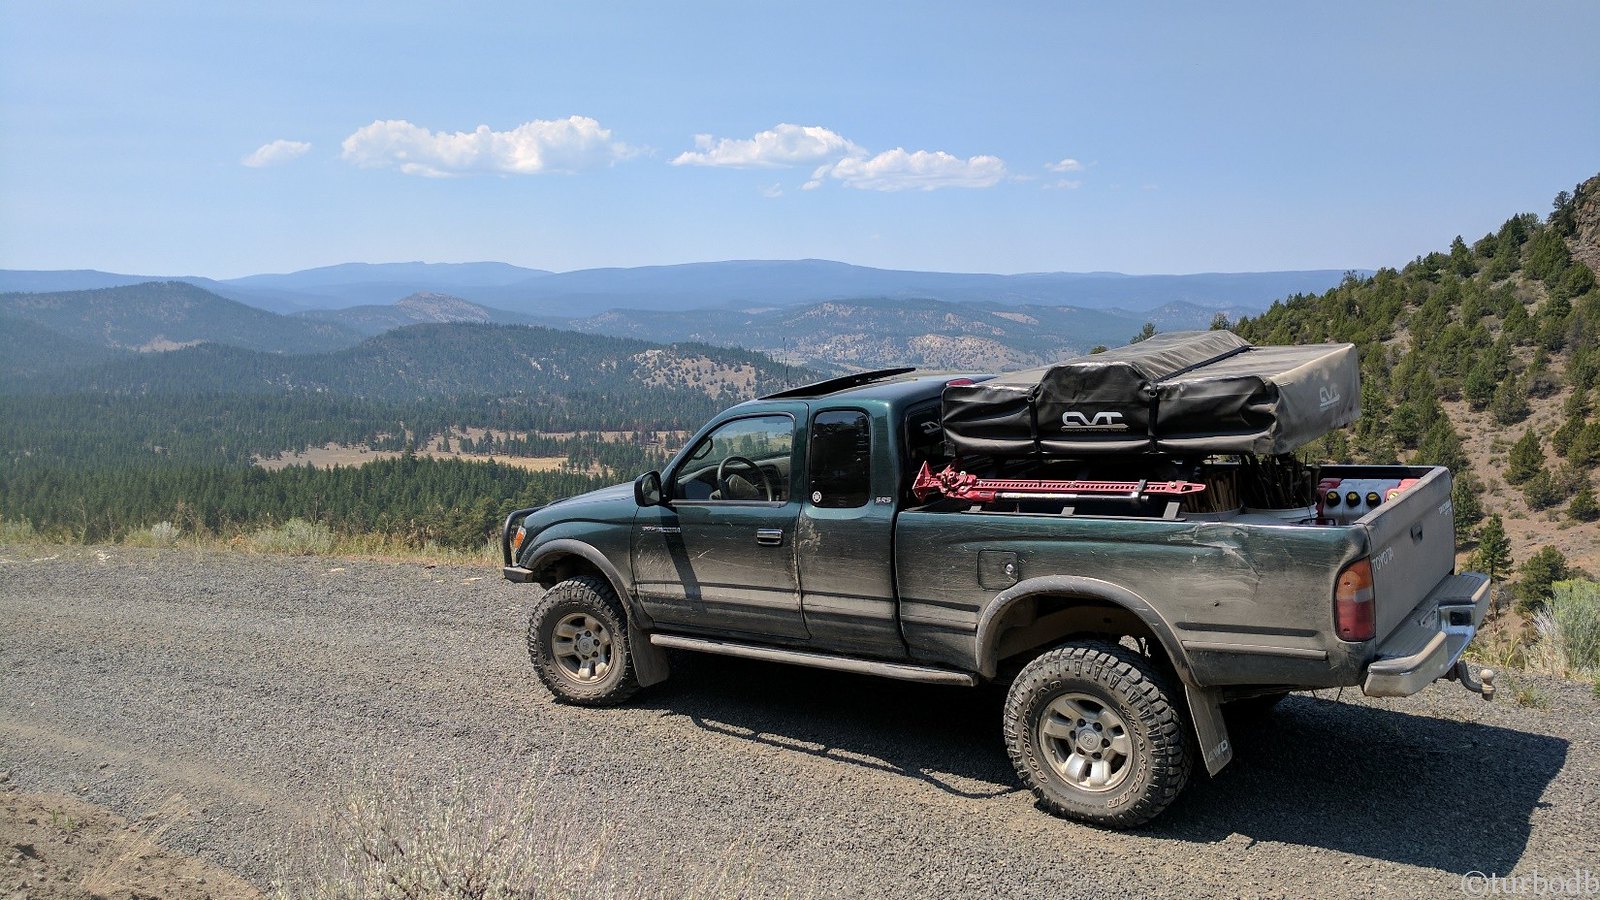
But then, when he got to the bottom he introduced himself as Mike and explained that the fire danger was so high that he didn't want to risk the bottom of the truck catching anything on fire, before telling us that we were free to head up the lookout while he used the out house. As we were heading up, he beelined for our truck to give it a look, and asked what year it was and what we were up to. Turns out he was on his 9th Tacoma, of which he still owned three.

Once at the top of the lookout, it was clear that the smoke from BC was going to make the rest of the trip one of local views, rather than grand vistas. Mike described to us how unusual it was to have these northerly winds, and how visibility here was usually 100+ miles, but today we could only see two.

40087675821_50ef6dbb38_h.jpg


40087676051_47c193b7c0_h.jpg


40087676281_7f10d5e185_h.jpg

We chatted for an hour - both sides happy for the company, and Mike happy for the chocolate @mrs.turbodb had brought him. He pointed out several previous fires, answered all the questions we had about the lookout and forest management, and we had a good chuckle over his amazing NPR reception in the tower ("It's great, I don't even get this at home," he said!)

After 45 minutes we signed the guest book, discretely left a couple more chocolates (since he'd long finished the first several), and headed down the stairs. As we pulled away, I turned to @mrs.turbodb and said, "OK, he's restored my faith in Tacoma owners." It was an interaction that brightened our already great morning.

After making our way down, down, down from Desolation Butte, we found ourselves crossing the North Fork of the John Day River and following it down to the town of Dale, where we hungrily filled up on gas, having struck out the previous day in Granite.

40087676451_7e10d6388a_h.jpg


39376321624_ffe6ffd0eb_h.jpg


39376322144_341cd3ff16_h.jpg

This time, it was @mrs.turbodb who said, "Let's take a picture of the three of us."

'atta girl! (when you gonna get your T4R?)

39376322414_76e34d1347_h.jpg

As usual, history along the route was thick - this old cabin was over a hundred years old.

39376322824_7435564354_h.jpg

After a short gas stop, where the owner started with, "Where are you kids headed?" followed by, "Kamela? Never heard of that!" (it was less than 75 miles away at this point), and waved with a "You kids have a great time!" as we pulled away, we continued on, back up the North Fork of the John Day to the longest hill climb we'd encounter.

Don't miss the rest of the story, and all the remaining photos - it'd all be included here if it fit. But until then...

Keep reading the rest here
OBDR Day 6: Lookouts!


.
 

turbodb

Well-known member
OBDR Day 7: Out of the Mountains
August 4, 2017.

Somehow, we were ahead of schedule. Having made it 15 or so miles past Kamela the evening before, that meant we had only about 85 miles to the end of the OBDR for our final day. That was fine with us because we woke up to pea-soup levels of smoke - enough to completely obscure Summerville in the valley below our middle-of-the-road camp.

39376336084_9bbb01a9b4_h.jpg

We rolled out of camp early, heading down our ridge on our way through the last of the Blue Mountains on our way to Walla Walla.

28306849989_0320683723_h.jpg


28306850199_082896272c_h.jpg

Travel today would be on the easy side - no extreme roads, river fords, or “off-map” GPS tracks to follow. It was as if, as the original OBDR planners made the route, they had been “ready to be done” as they neared the Washington border.

The road up to High Ridge Lookout was gated and locked, but as we drove by on a nearby trail we were able to spot the occupant on the catwalk keeping an eye on things.

28306850489_4888c3be59_h.jpg


28306850769_ad3de3b416_h.jpg


28306851119_a54e9fbe50_h.jpg


28306851509_30ee919167_h.jpg


28306852019_49efe734ab_h.jpg

And then, we reached our final descent. It was long, following the folds of the mountainside.

28306852439_1291a7519f_h.jpg


28306852929_e6b386ddcd_h.jpg

On our way down, we passed an F150 parked in the middle of the road airing up. When we stopped to make sure the driver was OK, we confirmed that he was; he was fixing his third flat in a week from the same stretch of road. Ack!

And then, we arrived at the end of the OBDR and the Oregon - Washington border. A non-descript section of road, where the gravel transitioned to pavement, we couldn't believe we were done. 850 miles of Oregon backroads, less than 50 of which were on pavement, and with relatively few problems.

28306853479_b12b7dc009_h.jpg


28306854719_9d15fadfb0_h.jpg

Back in Washington, it was time - for the first time in a 7 days! - to air back up. And when we found another Tacoma parked 50 feet into Washington, we knew that was as good a place as any. Plus, there was a nice spot of shade :) ...

28306855329_69efb6410c_h.jpg


28306855799_27b7d69e66_h.jpg

It was a trip, and adventure, and an experience that we're sure to remember for years to come.

/fin
 

turbodb

Well-known member
Bed Slides on the Cheap
August 20, 2017.

As soon as I installed the bed rack, I knew that there were going to be trade-offs - on the one hand, it made for a much nicer sleeping experience with the CVT; on the other, it was a lot harder to get stuff that was in the bed of the truck. Like the cooler, and kitchen stuff.

Don’t get me wrong, it’s a trade-off that’s totally worth it. But what if it didn’t have to be a trade-off?

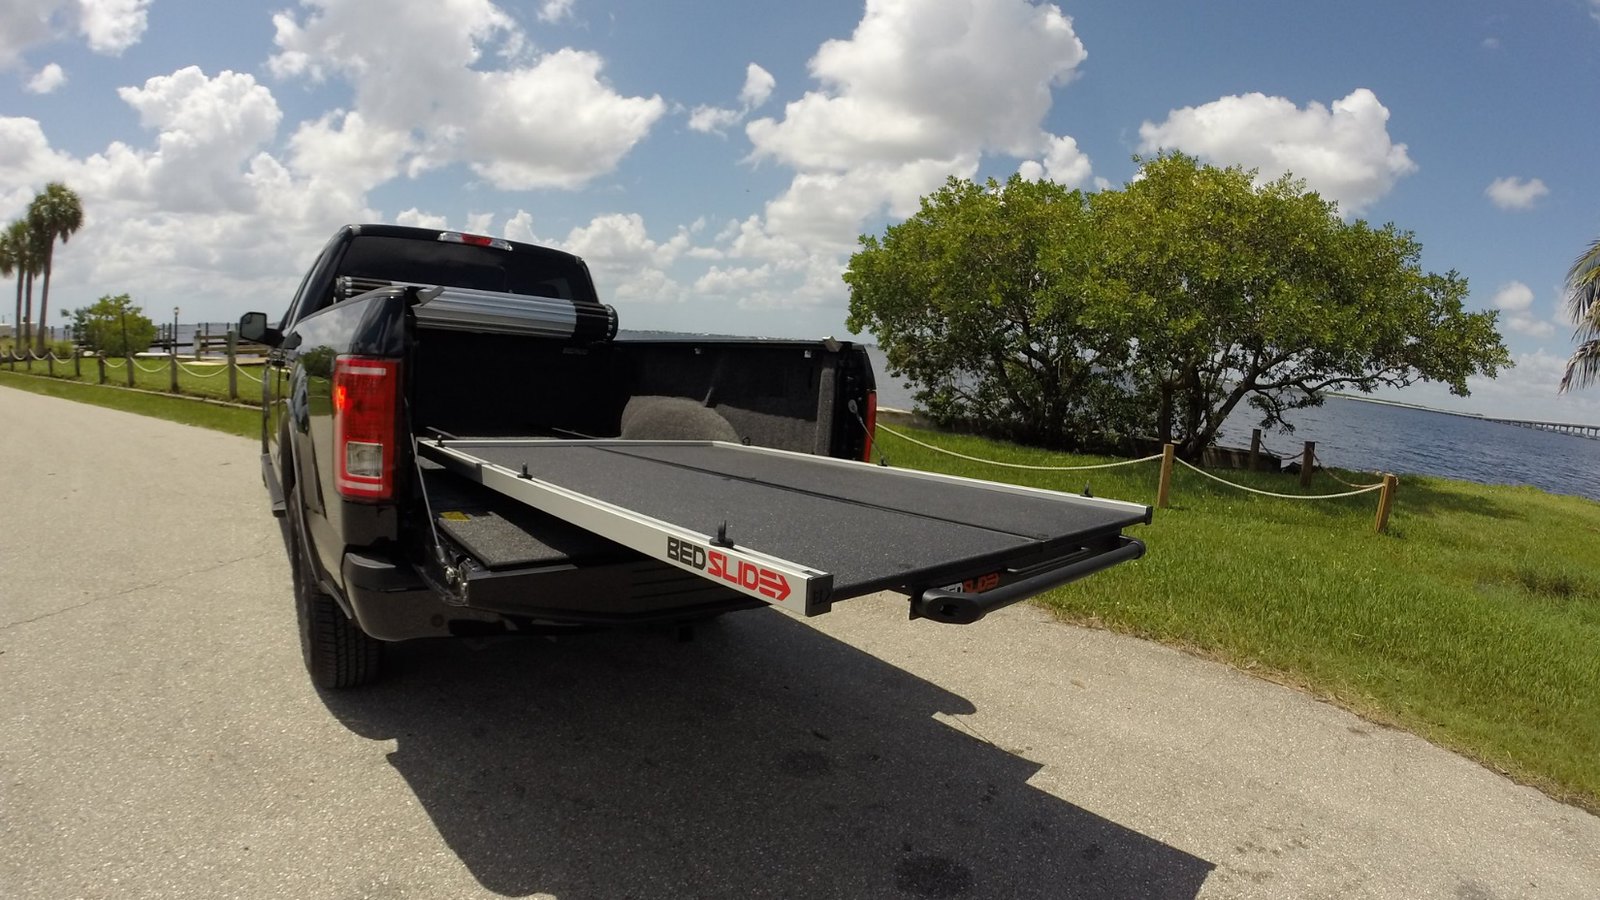
What if I could have my cake and eat it too? That’s what I thought when I heard about and then saw this - BedSlides. I mean, for a cool thousand bucks, I could easily get to everything in the bed.

28306856089_6e8a333f6f_h.jpg

There were just two problems: First, it was a bunch of extra weight I’d be putting back there all the time. And boy, I’ve already got a lot of extra weight back there. Second, it would add 4 inches of height to the bed. Not a big deal for most things, but I only had 3 inches of clearance for the ARB fridge.

The fridge is a life-changer, so there were no BedSlides in my future… and then I got to thinking… which is dangerous: “what if I made my own?”

At first, I was thinking through a plan that would mimic the design of the commercial slide. There was no way I could do that for a reasonable amount of money (5-foot drawer slides cost hundreds of dollars). And the thing would weigh a ton - part of the reason I didn’t like the commercial one.

And then it came to me: as a strapping young lad, I just need some way to push/pull stuff in and out of the bed. What if I were to simply slide it on a piece of plywood? It’d be cheap. It’d be functional. It wouldn’t weigh much. It wouldn’t raise things up off the bed too much (so the fridge would fit).

It was worth a try.

Knowing that this would be outside, I opted for some ½” MDO plywood (the MDO would have good weather resistance) and I lucked out when I discovered that the local traffic guys were getting rid of some of their older signs.

I picked out a “RIGHT LANE CLOSED AHEAD” sign that was 48x48 inches and got to work.

28306856309_c252e3f9e5_h.jpg

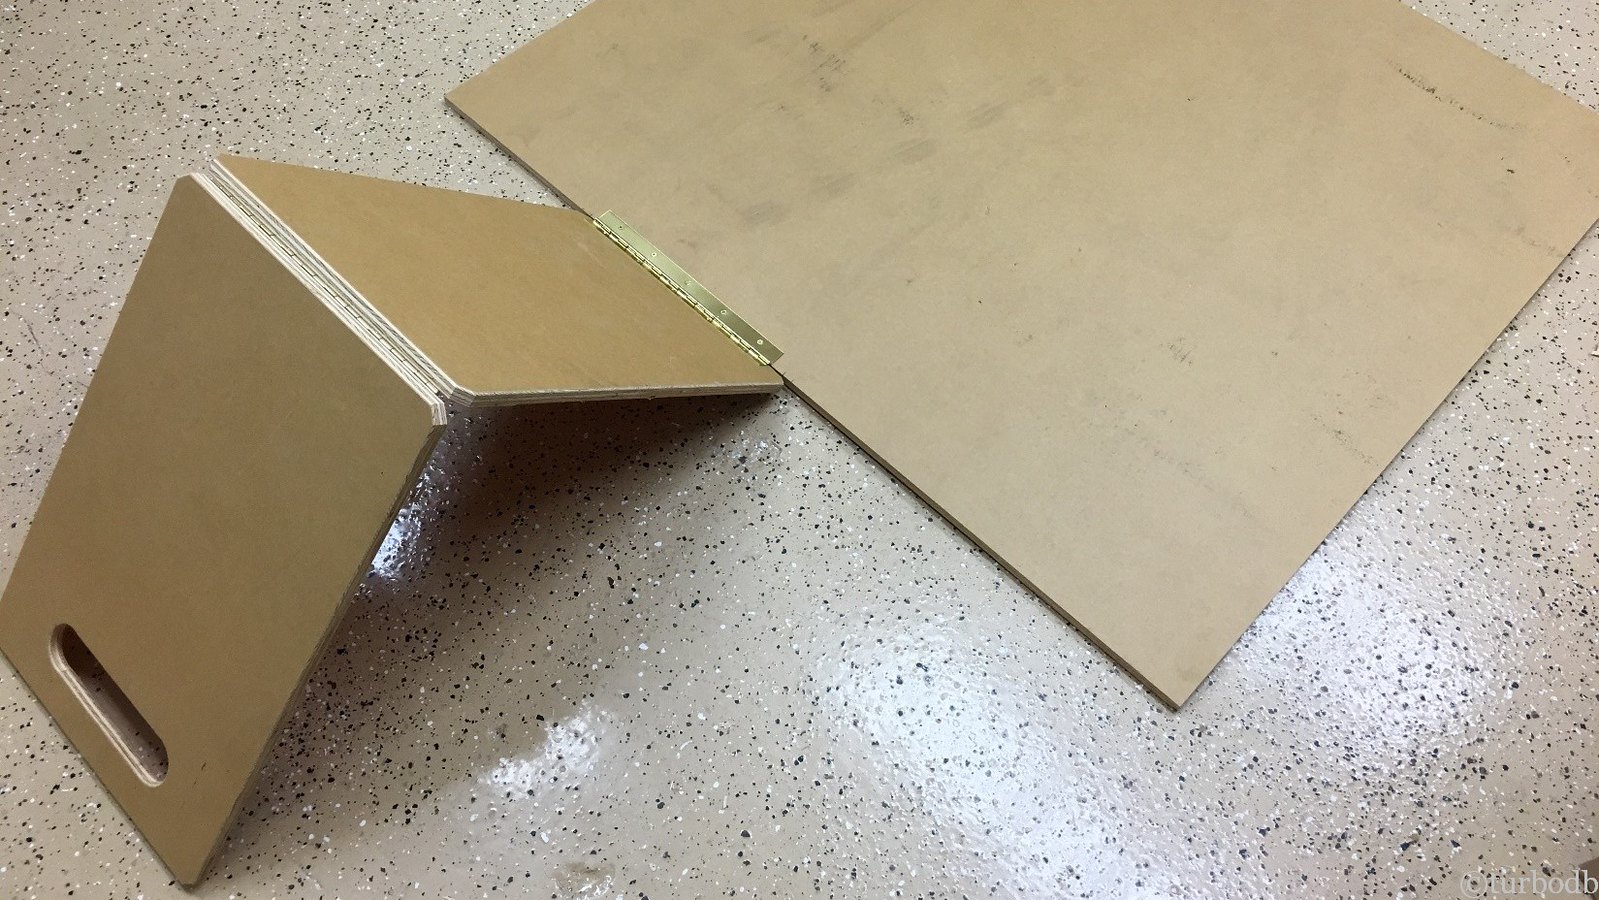
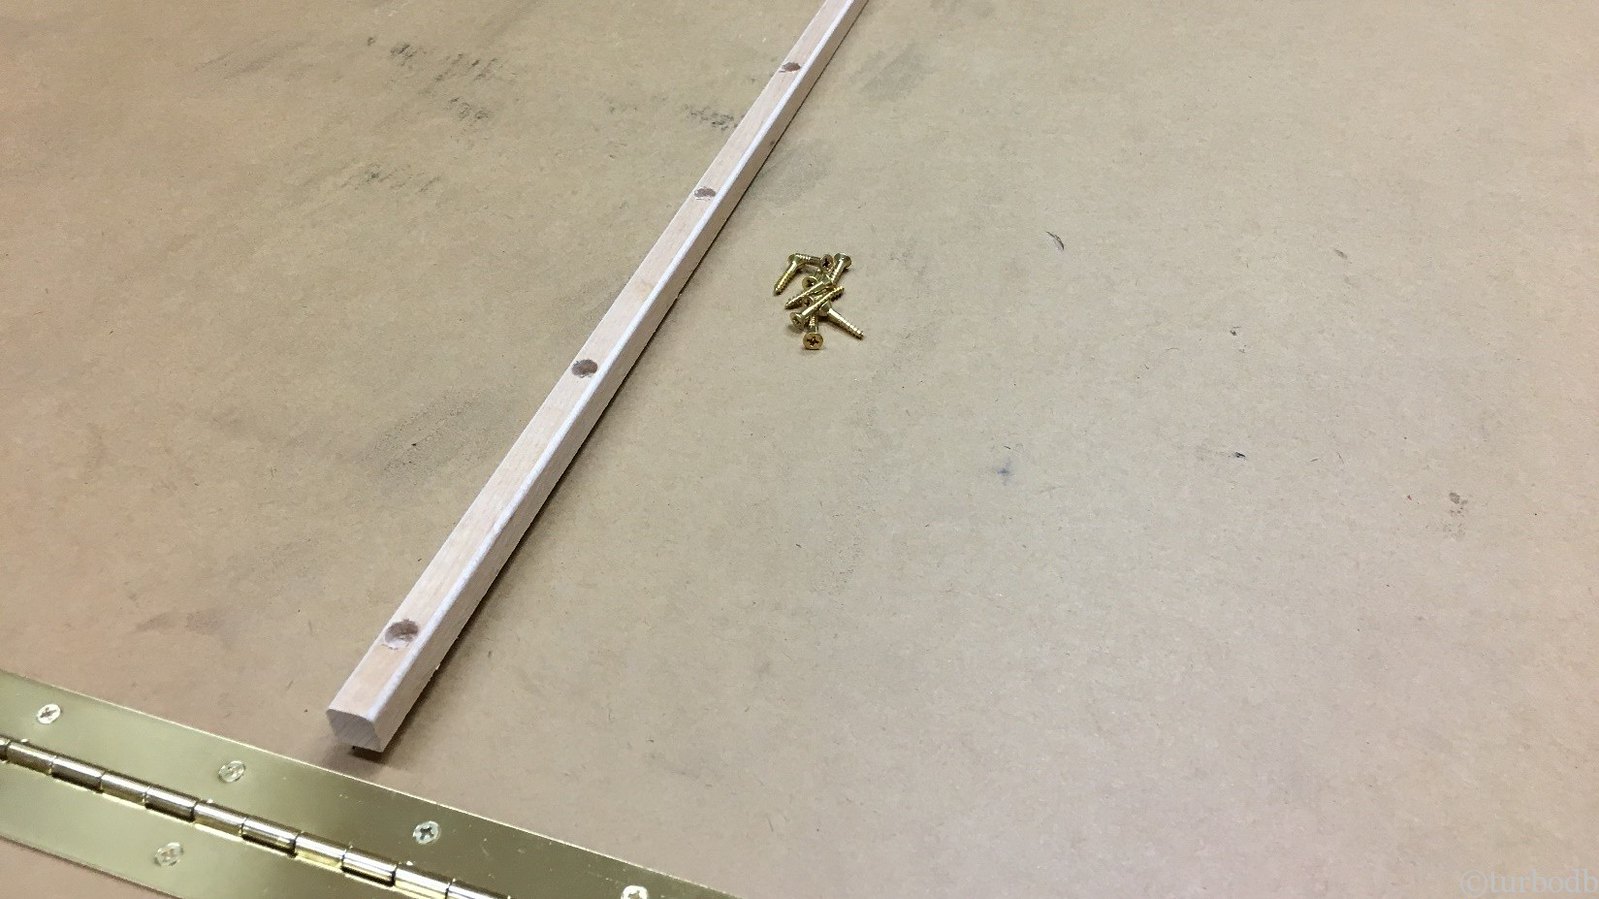
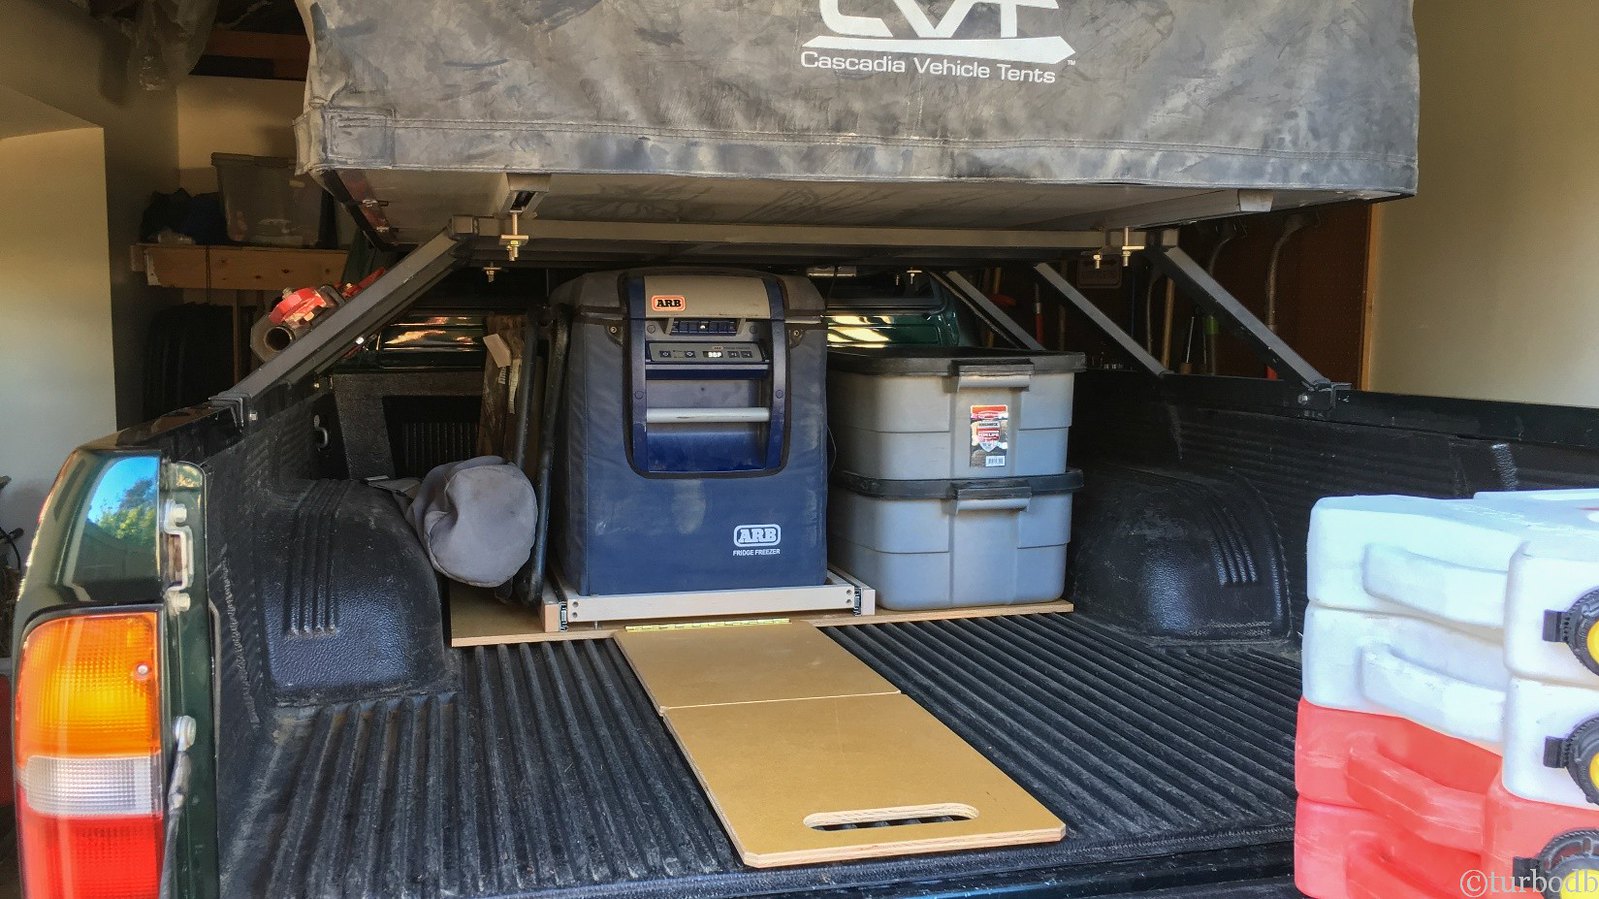
In the end, I used a 39" wide by 36" deep piece as the main "slide." That was big enough to fit the fridge, all of our kitchen stuff, and a bunch of other gear that's always harder to get out of the bed. Then, I used the remaining 12" that I'd cut off to build a handle that I could use to pull the slide in and out of the bed. I made the handle in sections, so it can fold up in the bed, or fold down over the tailgate for easy maneuverability.

I also added a maple runner on the bottom of the slide panel to keep it aligned in the bed (it runs in the grooves of the bed liner).

28306856549_bb8af1aeb0_h.jpg


28306856749_aca950841b_h.jpg

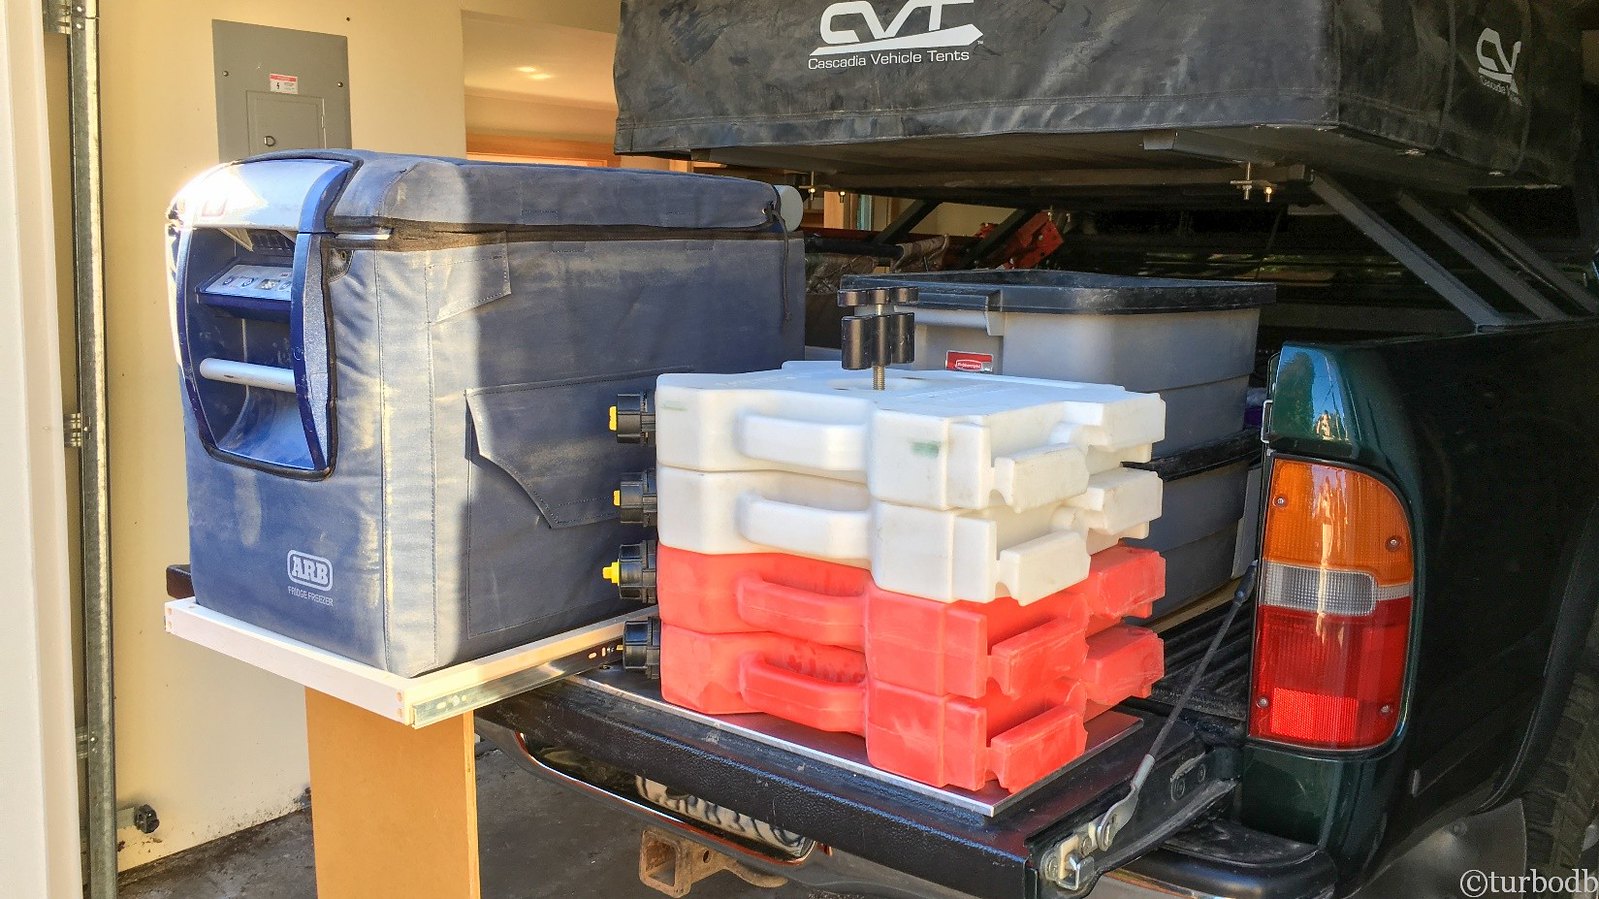
With the slide complete, getting to items in the back of the bed was easy. Pull out with the handle; push in with the handle. But there was one problem - even when pulled all the way out, the fridge was still a bit too far back in the bed; opening the lid would cause it to hit the CVT.

No problem I thought; I can create a small shelf on some drawer slides, and that'll get it to slide out another 24 inches. And it did. And it worked.

28306856899_e5a7d013d6_h.jpg


28306857149_4b15324628_h.jpg

Overall, this turned out great. The only thing I had to buy was a pair of drawer slides, but even if you had to buy everything, it'd be under $100. And it's super functional, and easily removable; you know for the 95% of time you don't need it and just want to use your truck like a truck!

Materials used:
.​
 

owyheerat

Adventurer
Bed Slides on the Cheap
August 20, 2017.

As soon as I installed the bed rack, I knew that there were going to be trade-offs - on the one hand, it made for a much nicer sleeping experience with the CVT; on the other, it was a lot harder to get stuff that was in the bed of the truck. Like the cooler, and kitchen stuff.

Don’t get me wrong, it’s a trade-off that’s totally worth it. But what if it didn’t have to be a trade-off?

What if I could have my cake and eat it too? That’s what I thought when I heard about and then saw this - BedSlides. I mean, for a cool thousand bucks, I could easily get to everything in the bed.

28306856089_6e8a333f6f_h.jpg

There were just two problems: First, it was a bunch of extra weight I’d be putting back there all the time. And boy, I’ve already got a lot of extra weight back there. Second, it would add 4 inches of height to the bed. Not a big deal for most things, but I only had 3 inches of clearance for the ARB fridge.

The fridge is a life-changer, so there were no BedSlides in my future… and then I got to thinking… which is dangerous: “what if I made my own?”

At first, I was thinking through a plan that would mimic the design of the commercial slide. There was no way I could do that for a reasonable amount of money (5-foot drawer slides cost hundreds of dollars). And the thing would weigh a ton - part of the reason I didn’t like the commercial one.

And then it came to me: as a strapping young lad, I just need some way to push/pull stuff in and out of the bed. What if I were to simply slide it on a piece of plywood? It’d be cheap. It’d be functional. It wouldn’t weigh much. It wouldn’t raise things up off the bed too much (so the fridge would fit).

It was worth a try.

Knowing that this would be outside, I opted for some ½” MDO plywood (the MDO would have good weather resistance) and I lucked out when I discovered that the local traffic guys were getting rid of some of their older signs.

I picked out a “RIGHT LANE CLOSED AHEAD” sign that was 48x48 inches and got to work.

28306856309_c252e3f9e5_h.jpg

In the end, I used a 39" wide by 36" deep piece as the main "slide." That was big enough to fit the fridge, all of our kitchen stuff, and a bunch of other gear that's always harder to get out of the bed. Then, I used the remaining 12" that I'd cut off to build a handle that I could use to pull the slide in and out of the bed. I made the handle in sections, so it can fold up in the bed, or fold down over the tailgate for easy maneuverability.

I also added a maple runner on the bottom of the slide panel to keep it aligned in the bed (it runs in the grooves of the bed liner).

28306856549_bb8af1aeb0_h.jpg


28306856749_aca950841b_h.jpg

With the slide complete, getting to items in the back of the bed was easy. Pull out with the handle; push in with the handle. But there was one problem - even when pulled all the way out, the fridge was still a bit too far back in the bed; opening the lid would cause it to hit the CVT.

No problem I thought; I can create a small shelf on some drawer slides, and that'll get it to slide out another 24 inches. And it did. And it worked.

28306856899_e5a7d013d6_h.jpg


28306857149_4b15324628_h.jpg

Overall, this turned out great. The only thing I had to buy was a pair of drawer slides, but even if you had to buy everything, it'd be under $100. And it's super functional, and easily removable; you know for the 95% of time you don't need it and just want to use your truck like a truck!

Materials used:
.​

Turbo, I love the ingenuity! What a great solution, and cheap. Also, good choice of material (MDO).

Durwin
 

turbodb

Well-known member
Truck Shower - What is that Smell?
September 4, 2017.

Nice hot showers. Love those.

Of course, when you're out exploring the wilderness, showers can be few and far between. Often times that is fine - there are opportunities for hot springs, lakes, and creeks - any of which can make a great place for lathering up and taking care of some of the sweaty grime that can build up.

But sometimes it'd still be nice to have a warm shower. On our week-long trip running the Oregon Backcountry Discovery Route, it turned out that the first 4 days of the trip presented no washing opportunities. And with temps hovering around 100°F, we were gross. And The Tour is coming.

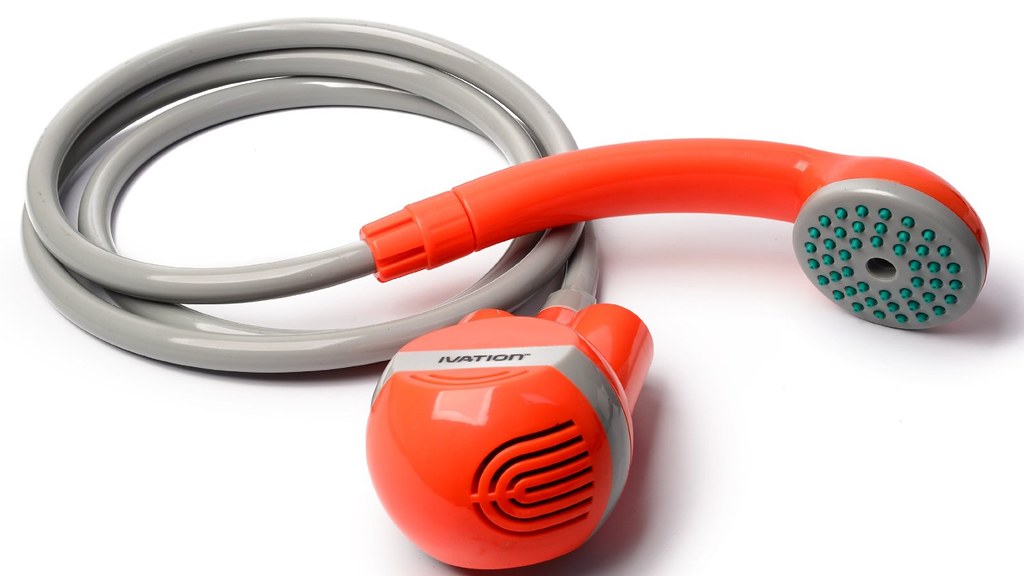
Upon our return, I started looking for ways to make washing on the road possible. I figured someone else must have run into this same thing and come up with a workable solution. And I was right. In my research, there are two broad categories of "shower." The first is a pump that you submerge in a vessel of water - nice because it's relatively compact, can use any container (bucket, pan, bowl, etc.) to hold water, and if you're near a water source, you can take as long a shower as you want.

Of course, the water may not be all that warm.

28306857289_472b20cec6_b.jpg

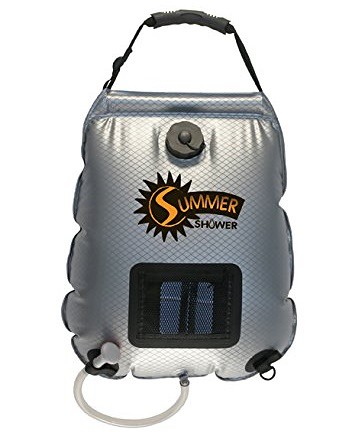
The second type is what I'd classify as "a vessel of water that you empty onto yourself." These come in different shapes and sizes - some you hang on a tree, others attach to the car - but the idea is that the sun heats up some water in a container, and then gravity or pressure push the warm water out onto you - the smelly smelly human.

28306857369_a4f6cea653.jpg

I didn’t really love either of these, because I wanted warm water, but I didn't feel like I'd generally be "in a camp" for long enough (or early enough) to heat up a big container of water. Instead, I wanted something that would attach to the truck, be self-contained, and give me warm water wherever we ended up each night.

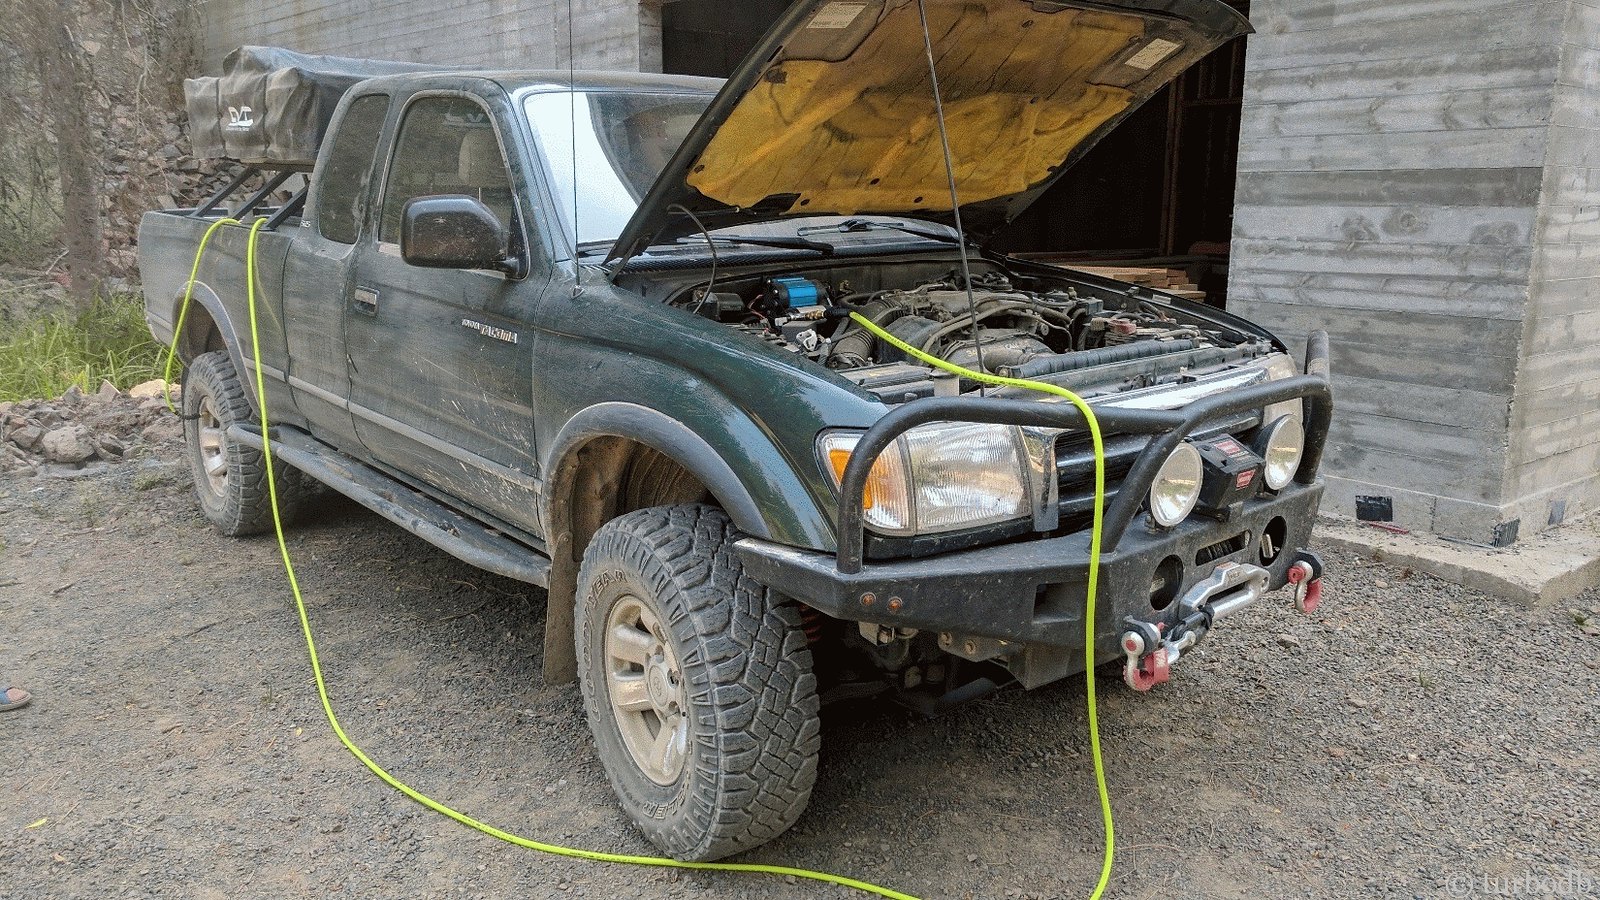
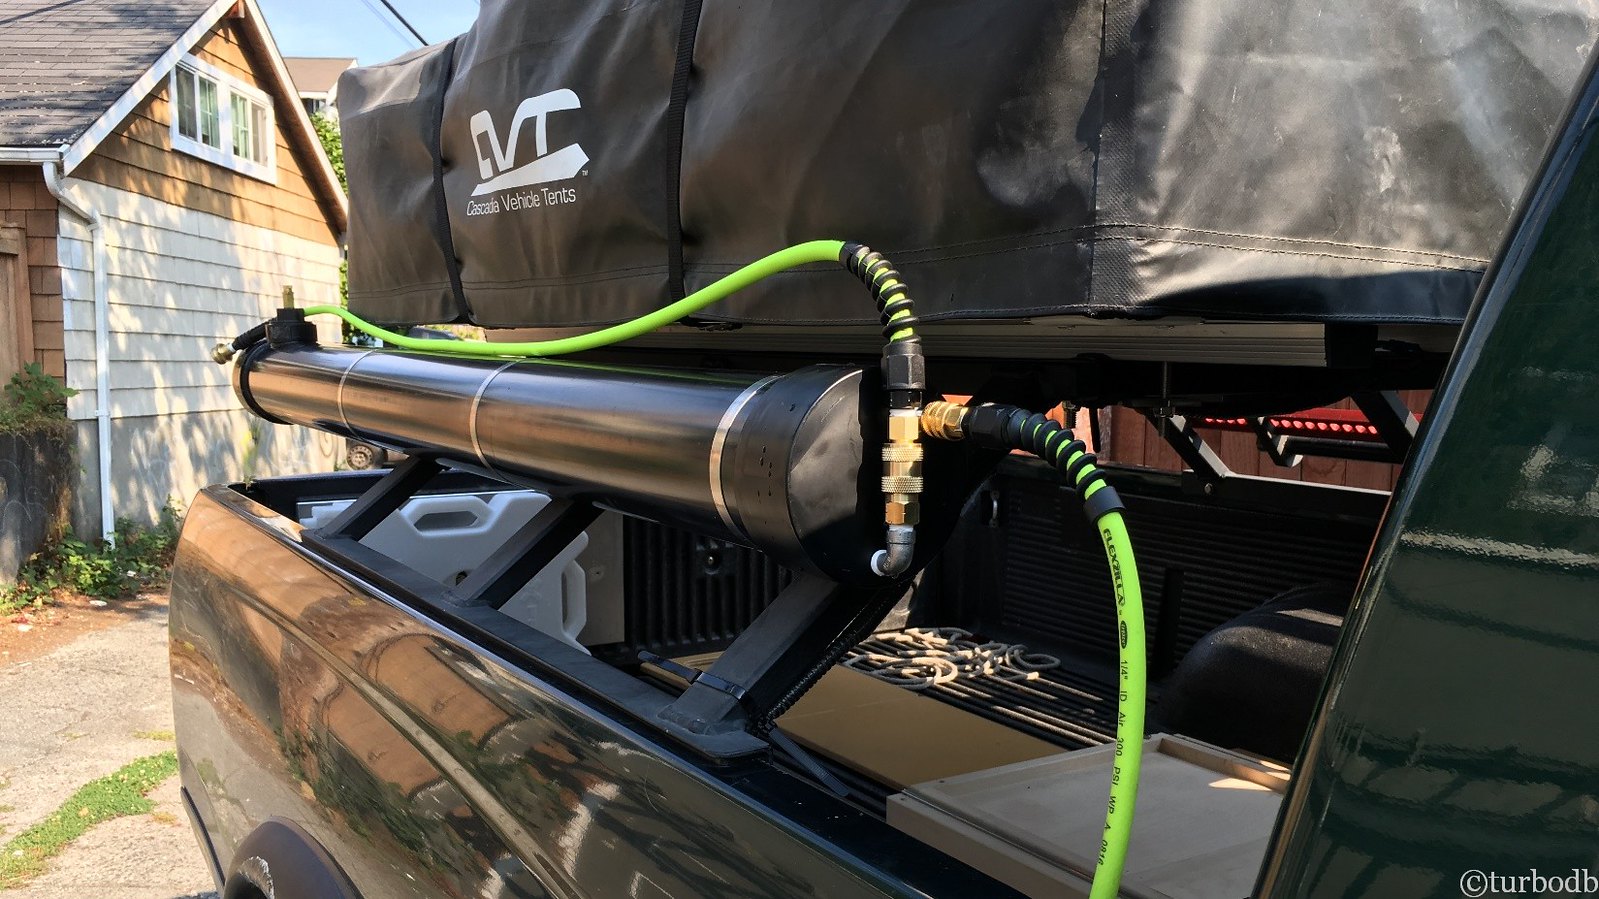
I hatched an idea (OK, I'm probably not the first one with this idea…as usual) - use a 4" ABS pipe for the vessel, and the compressor under the hood to pressurize the water, just like a real shower. The first step was to gather materials - some 4" ABS pipe and end caps; a 2½" threaded adapter and plug; a valve stem and pressure relief valve; and a ¼" NPT elbow + quick connect coupling to make up the vessel; plus a quick connect, two hose ends, some flexzilla hose, and an NPT-GHT adapter for a spray head for the shower.

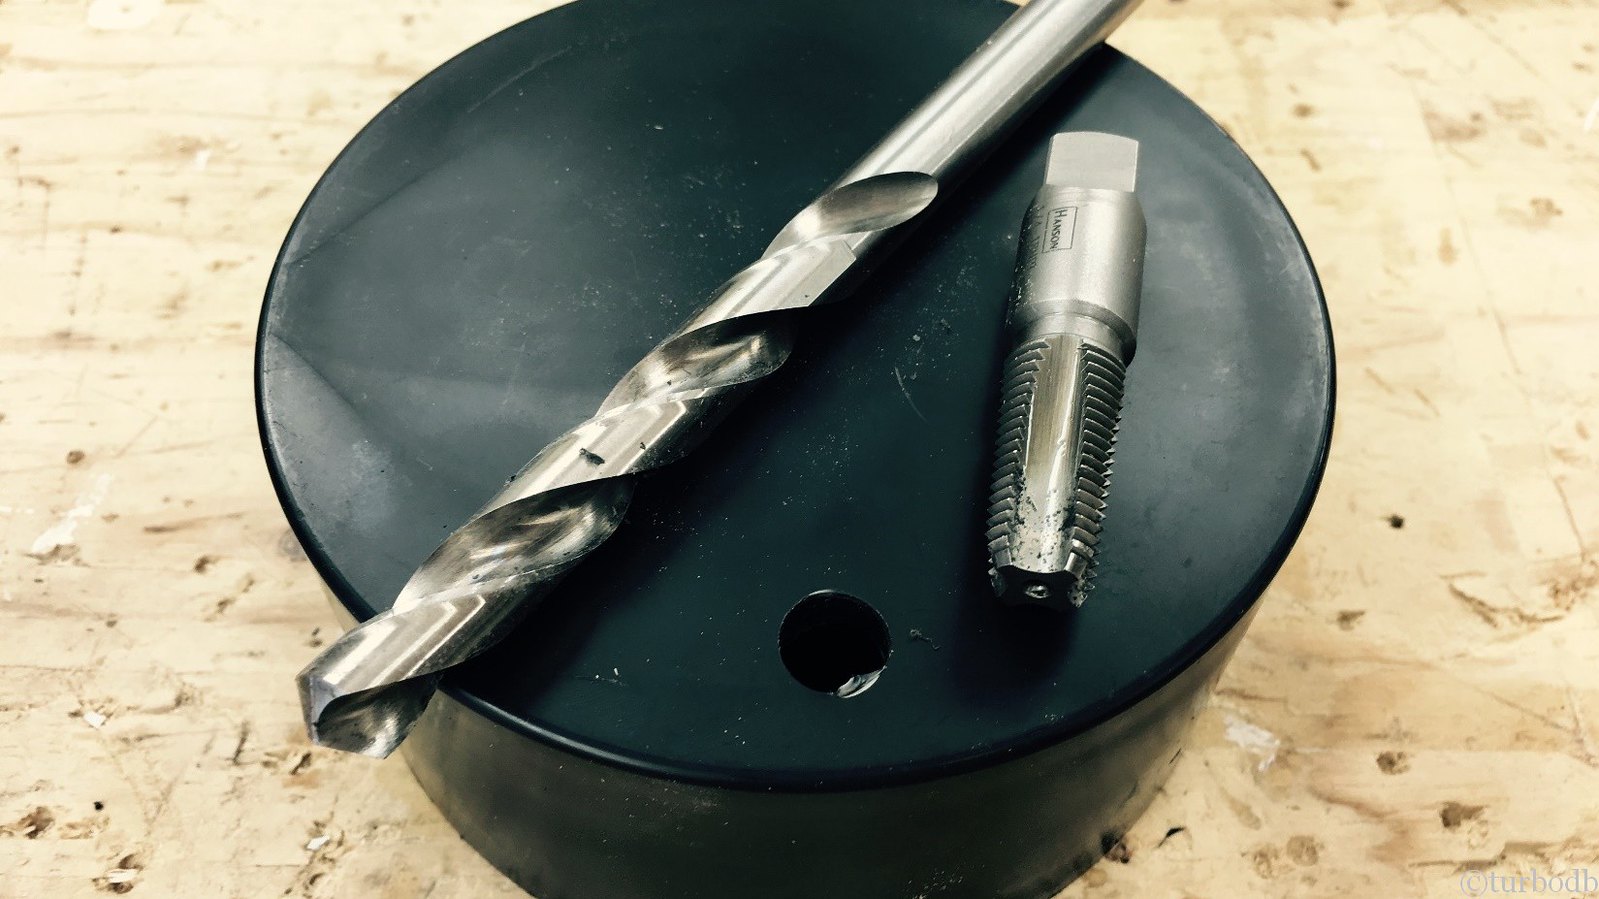
Of course, I also needed some tools and consumables… ABS cement, 2 3/8" hole saw, 7/16" drill bit, ¼" NPT tap, and a bit of teflon tape.

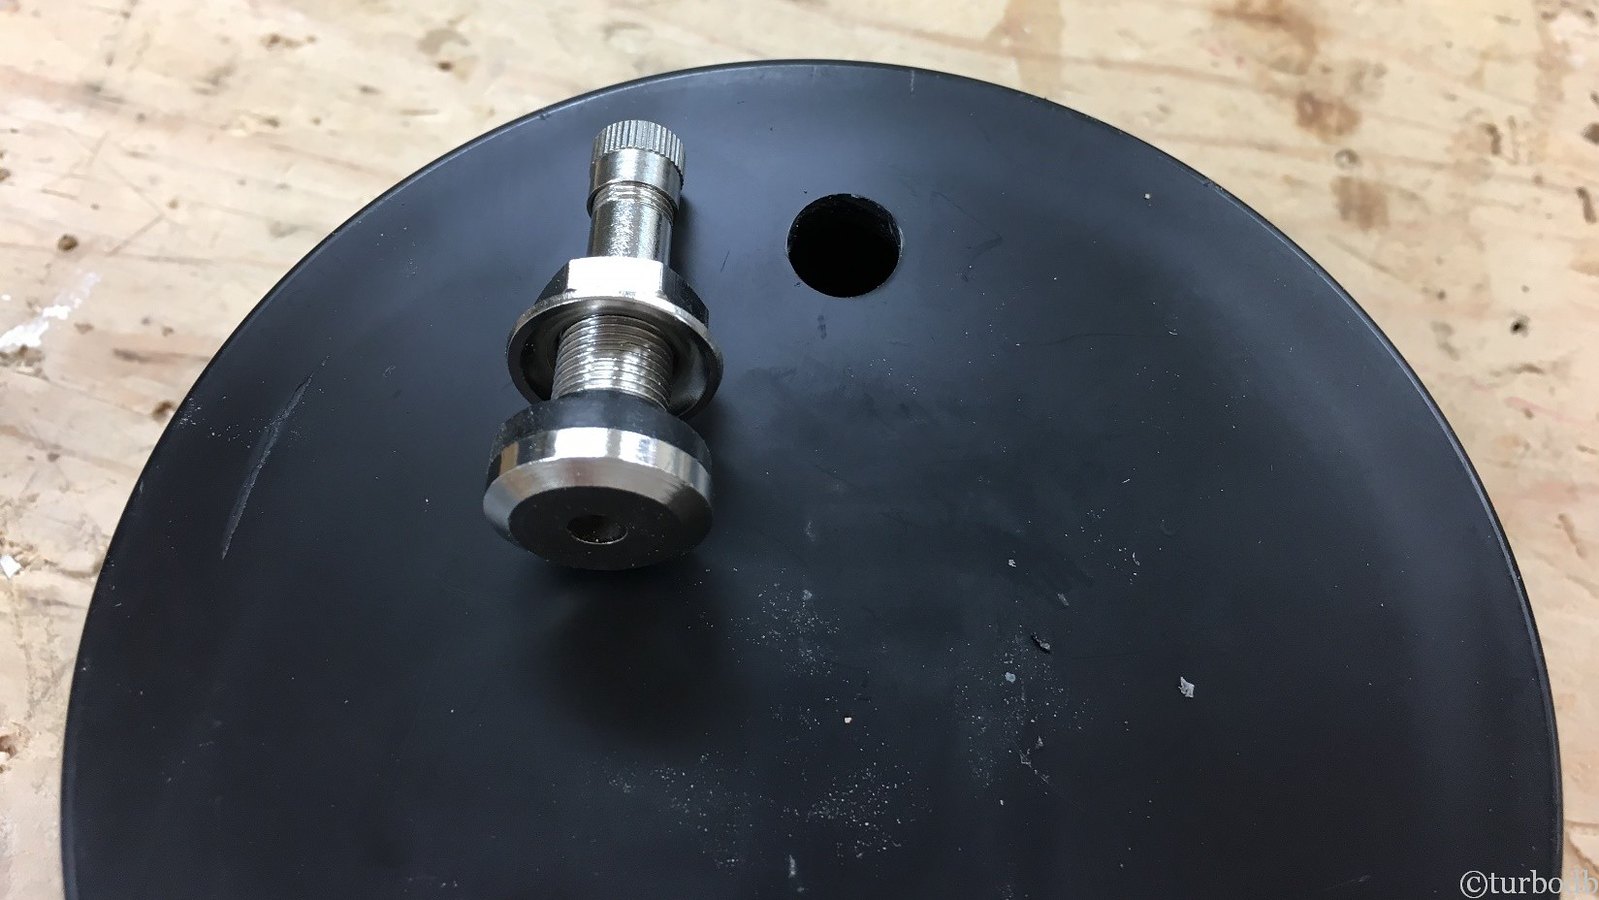
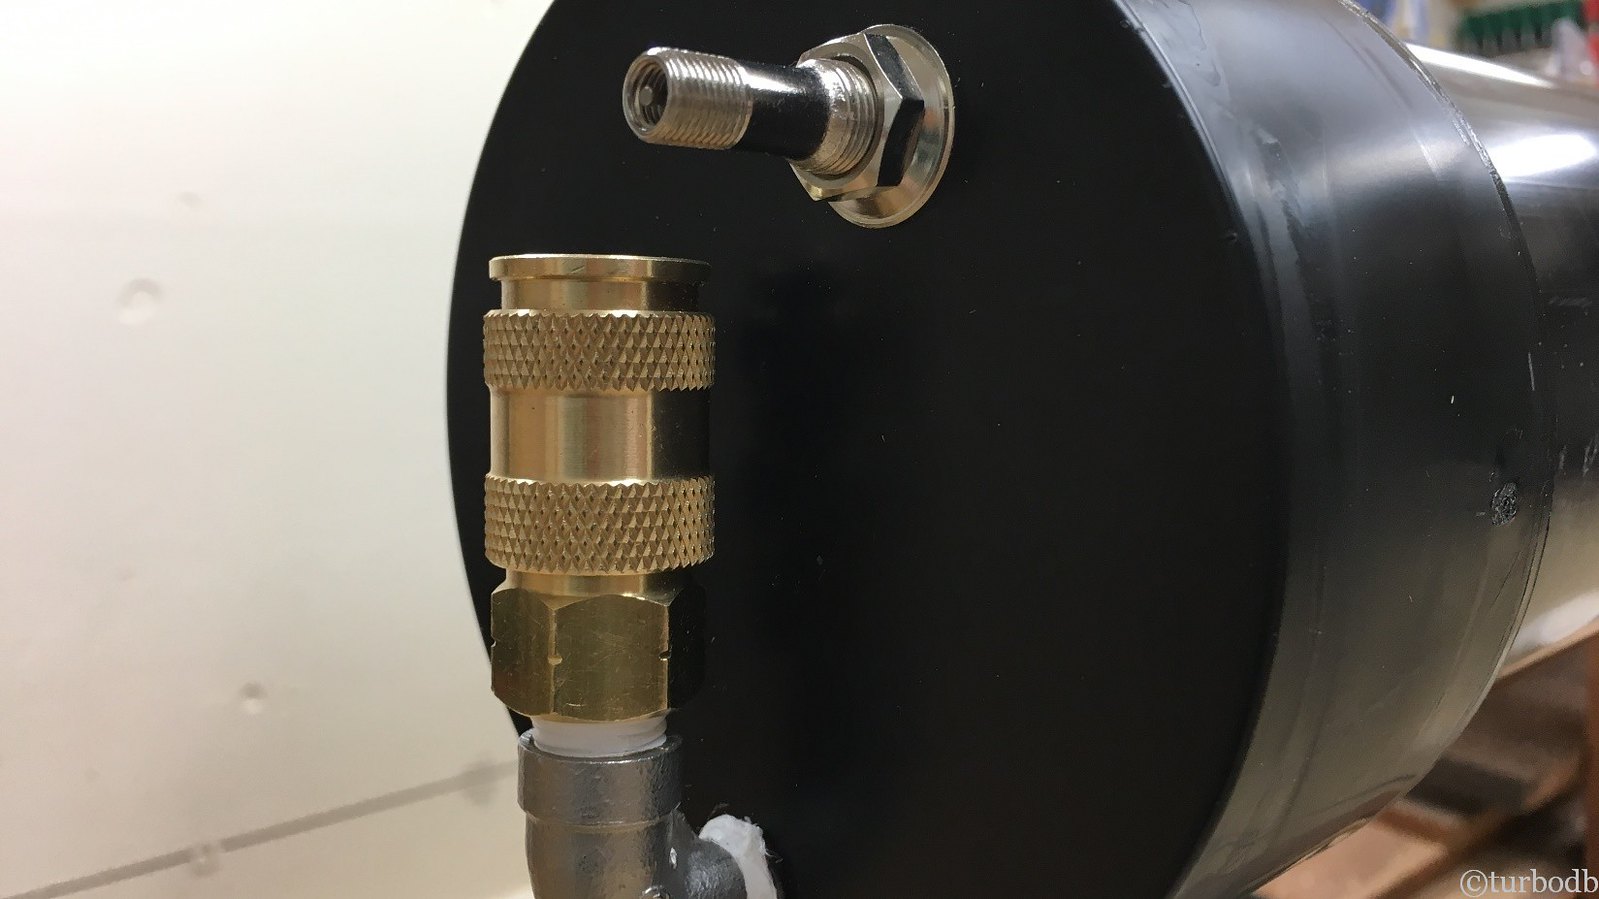
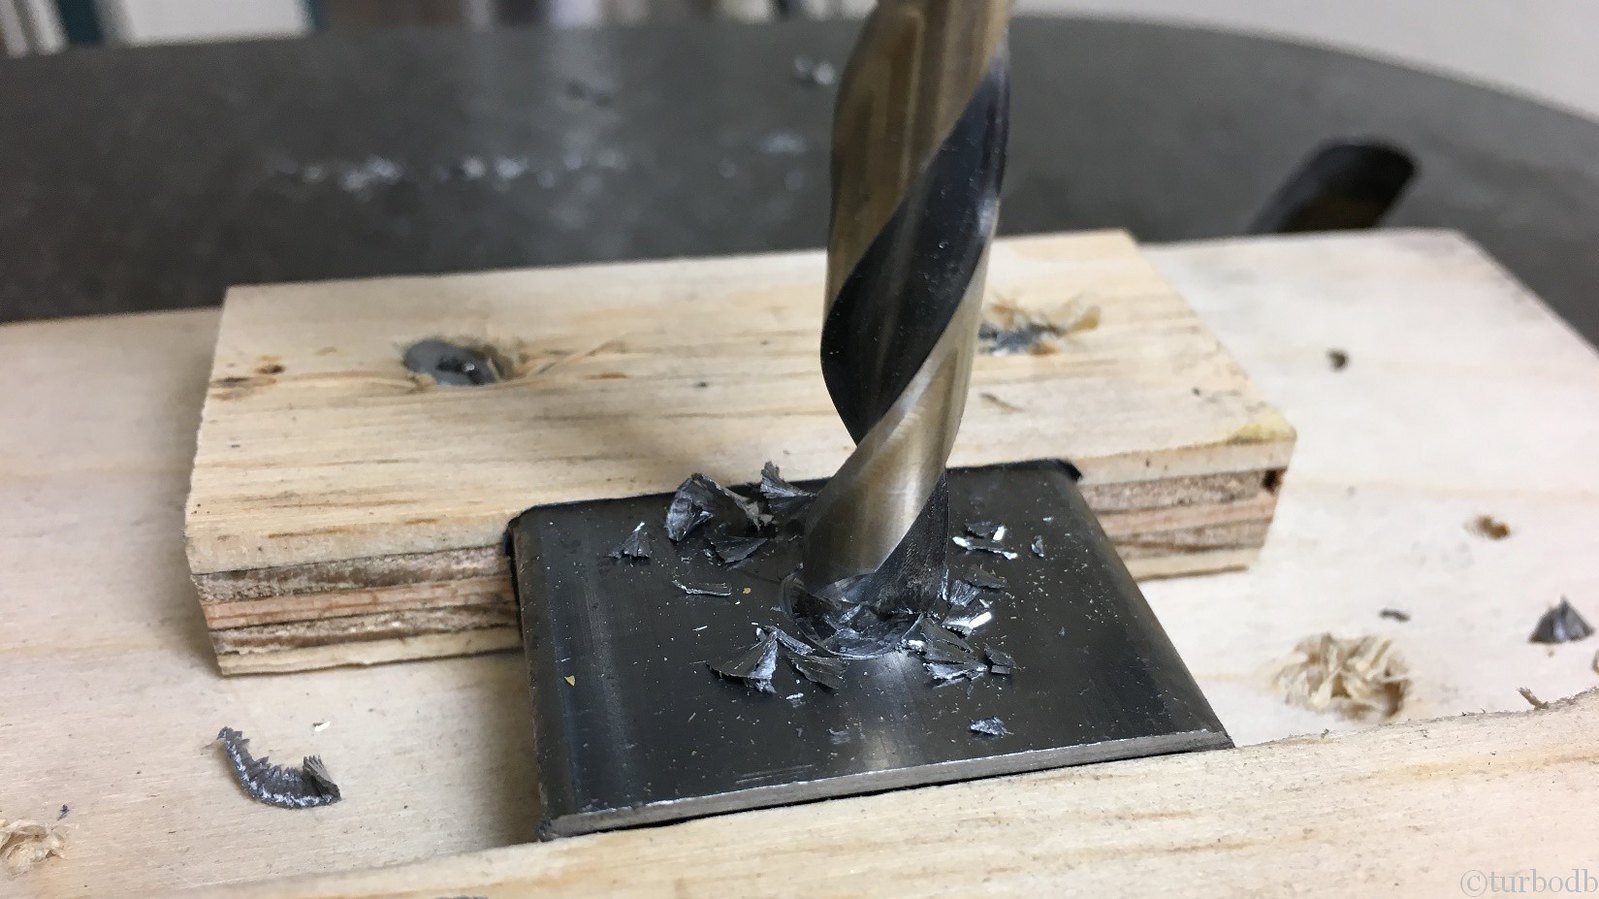
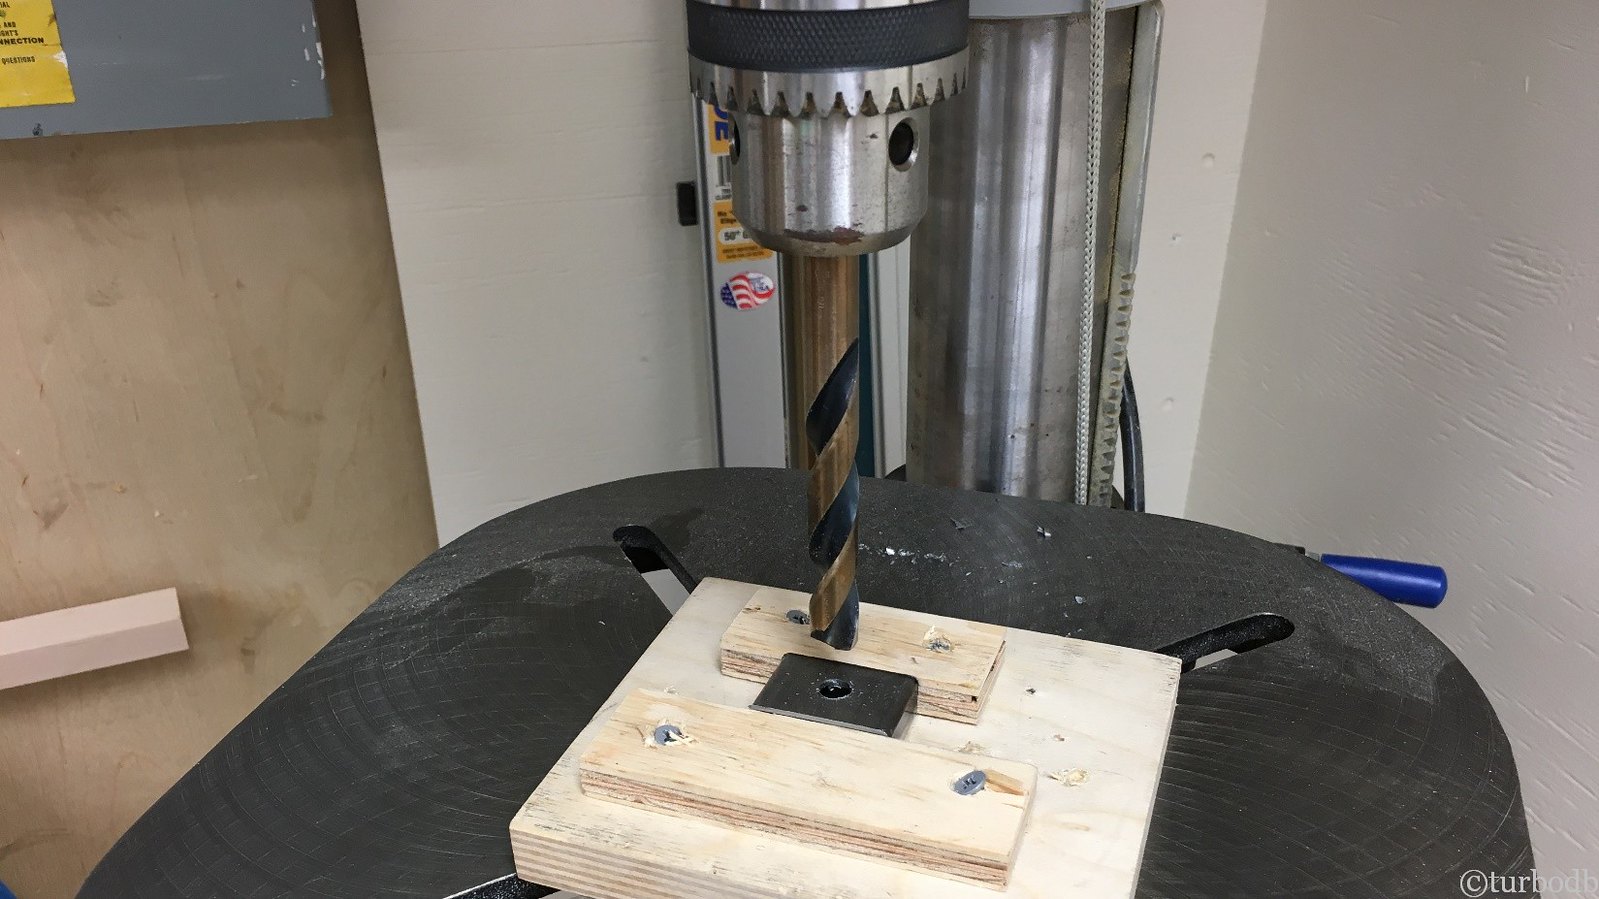
Materials in hand, it was time to get started building. First, I'd drill out holes for the valve stem and elbow + quick connect in one of the ABS caps. Both used the same 7/16" bit, which was nice. Of these, the hole for the elbow and quick connect gets threaded; the valve stem hole doesn't.

The key here is to get the quick connect drilled as close to the bottom of the cap as possible, so you can get as much water out of it the system as possible. Positioning of the valve stem is less important.

28306857779_9dd4731ae6_h.jpg


28306857869_75274f9fc3_h.jpg

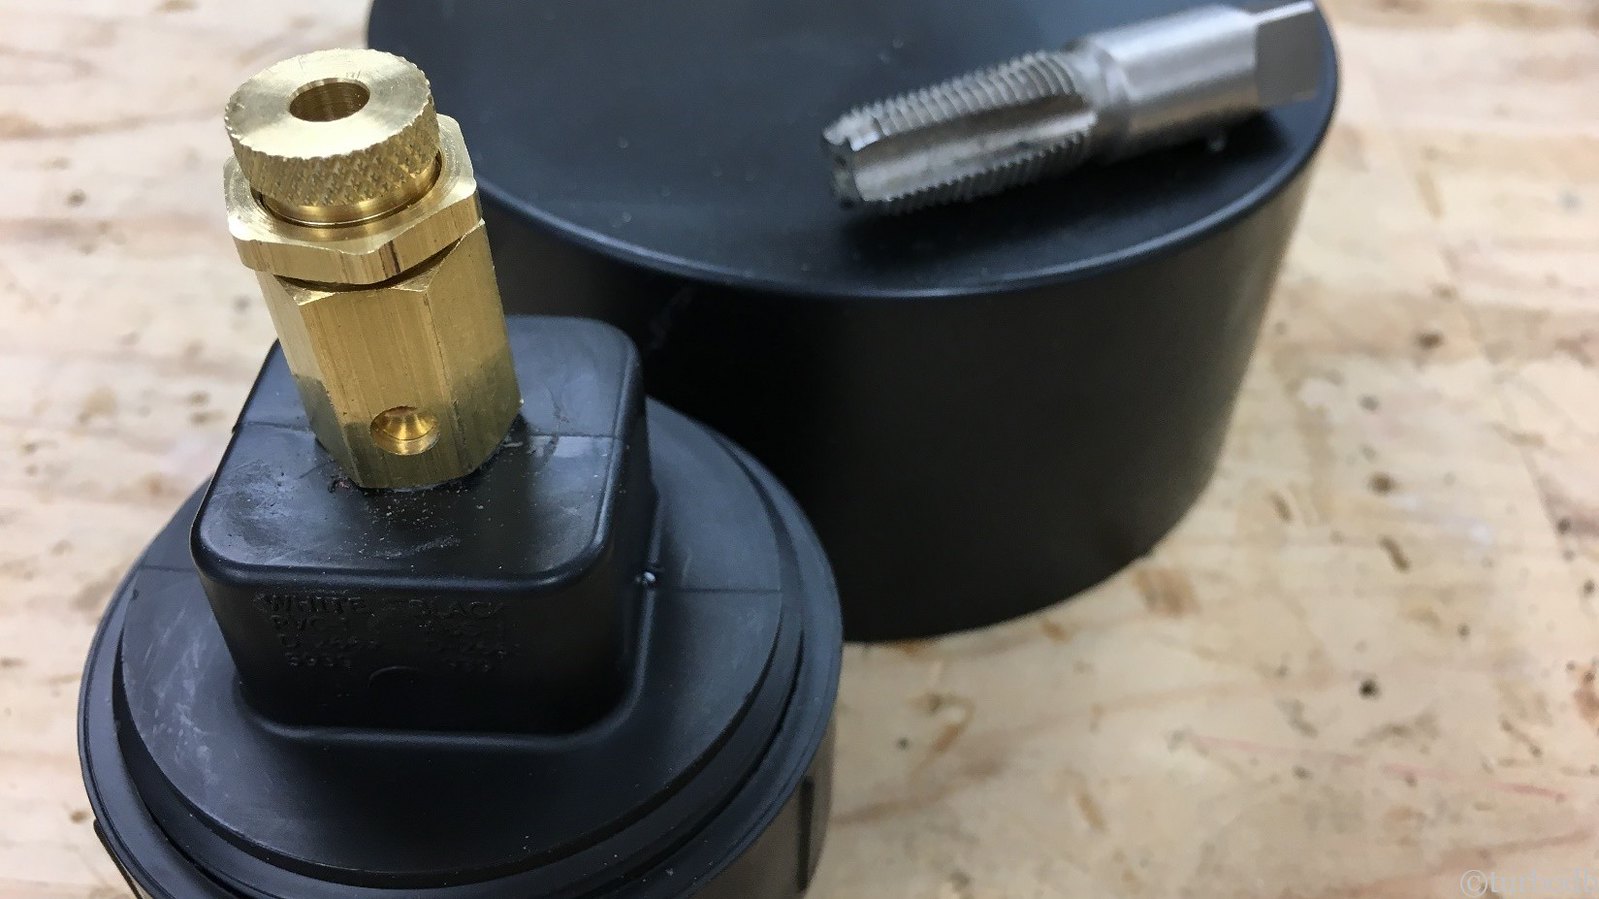
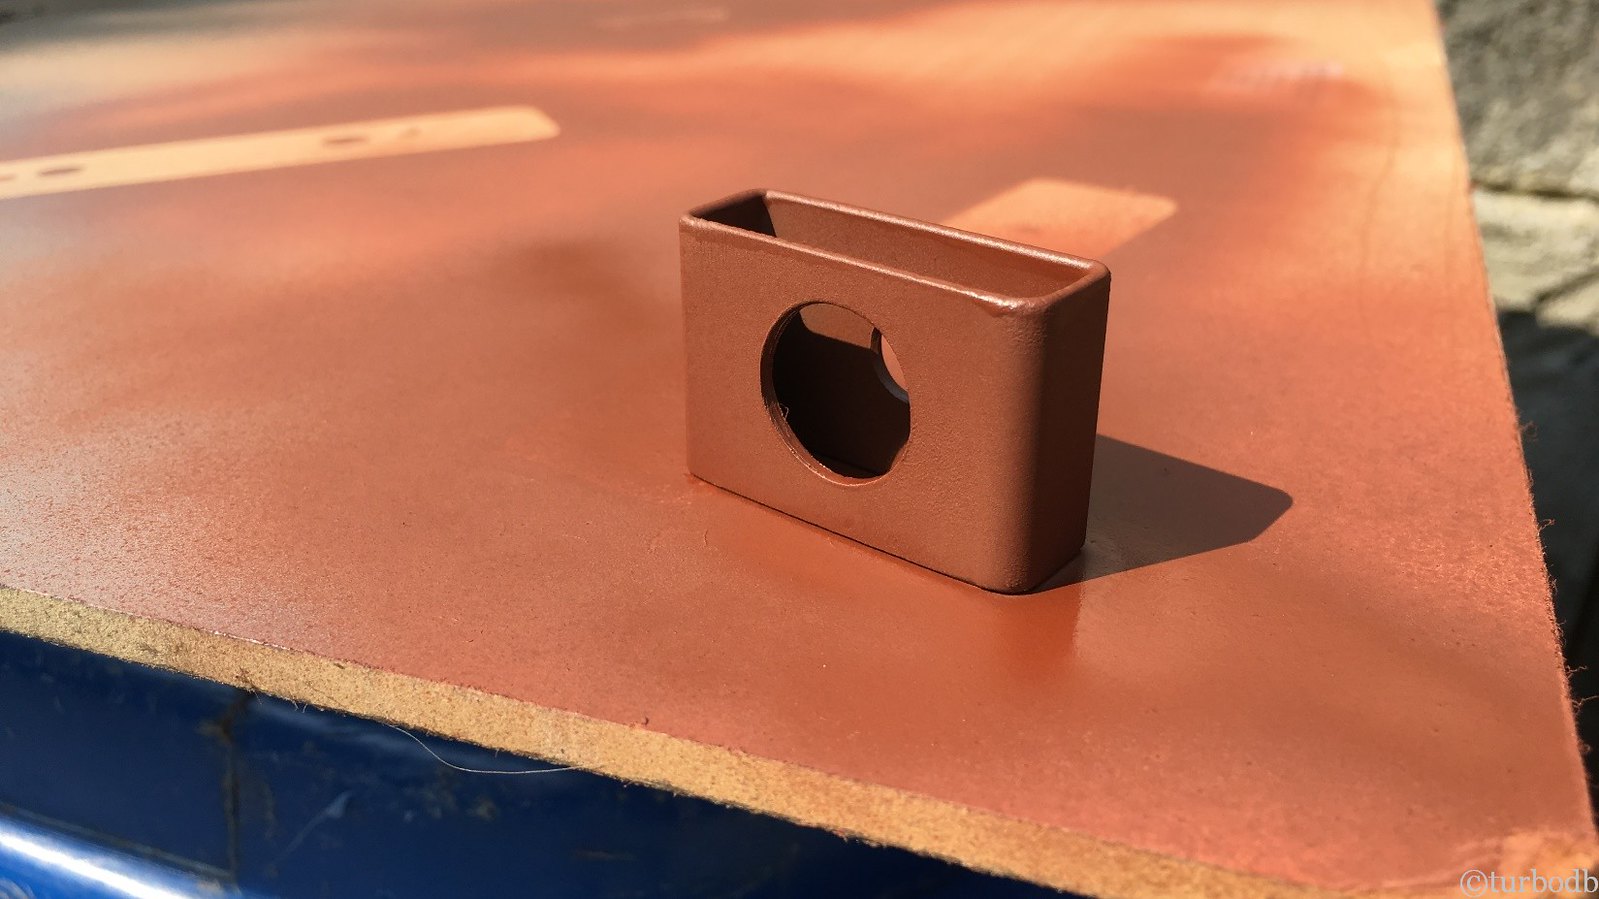
Next, it was time to drill and thread a hole in the 2½" plug for the pressure relief valve (set at 50psi) in the plug for the threaded , which will ensure that the Truck Shower won't explode or become a rocket.

28306858039_a89372698e_h.jpg

With that done, I used the hole saw to drill a hole in what would be the top of the vessel for the filler, and then it was time for assembly.

One fitting at a time, ABS cement both sides. End caps first, making sure to put the outlet hole (with the elbow and quick connect) 180 degrees from the 2 3/8" filler hole. With the end caps on, I lathered on the cement to the filler and fit it into the hole on the top of the vessel.

28306858129_30e8bc3763_h.jpg

Then I waited. Full cure is two hours and I was super curious to know - would it hold pressure?

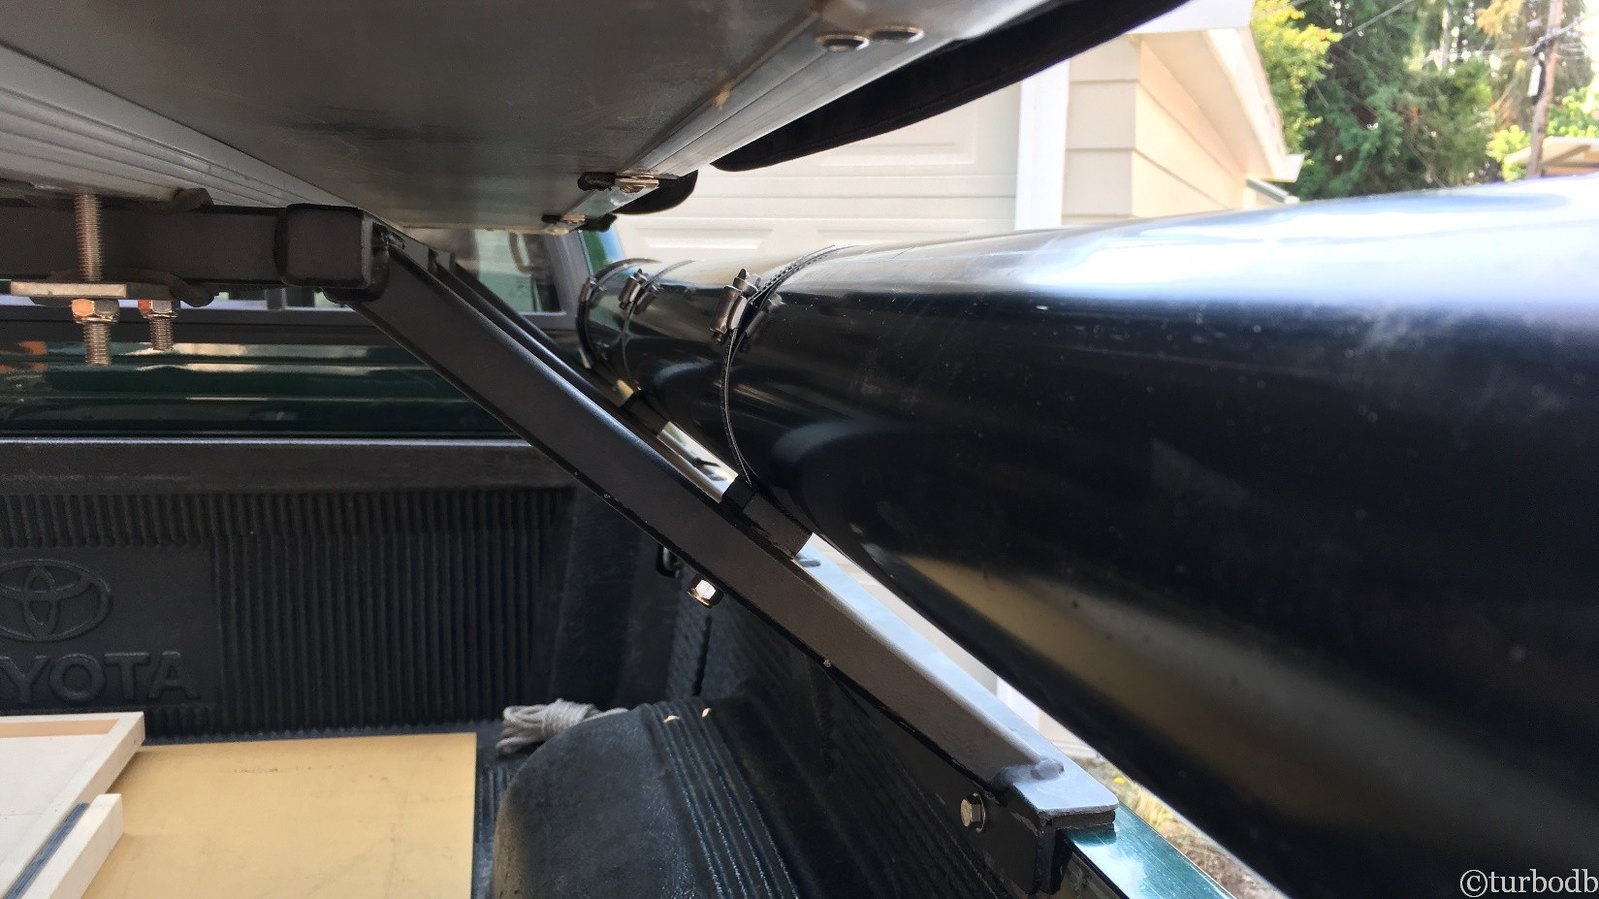
It did! With a few custom brackets that I made out of some 1½x1" tubing, and pipe clamps I attached it to the bed rack.

28306858319_eab9aa4314_h.jpg


28306858849_899fefd8e4_h.jpg


28306859209_573abd7a60_h.jpg

Now we've got warm (to hot) water for two-to-four-ish showers right on the truck - awesome. And perhaps most importantly, @mrs.turbodb approved.

28306859439_a9e2d8f467_h.jpg


28306859649_861cc2c9c8_h.jpg

Oh, and since I used the same air fitting quick connects as the on-board air, it's easy to "blow dry out" the shower hose when we're done showering. So win.
 

turbodb

Well-known member
Greasing the Drivetrain
September 09, 2017.

With a low mile truck that's been stored in ideal (covered, underground) conditions it's entire life, maintenance for me has been minimal. With regular oil changes (done at the dealer until 2016) and services, I've pretty much done nothing.

But the last couple years have seen more off-road use of the truck. And, knowing that more use means more maintenance, I've started learning to do things myself… because dealership maintenance is not cheap.

So, I decided that my next order of business was going to be to grease my zerks. And I decided that because it's fun to say.

When I mentioned it to Pops (by asking what grease he thought I should use, he said, "You mean you've owned the truck for 18 years and never done it before?"

"Ahh, nope, hahaha," was all I could say. (and I hoped that the dealer had done it)

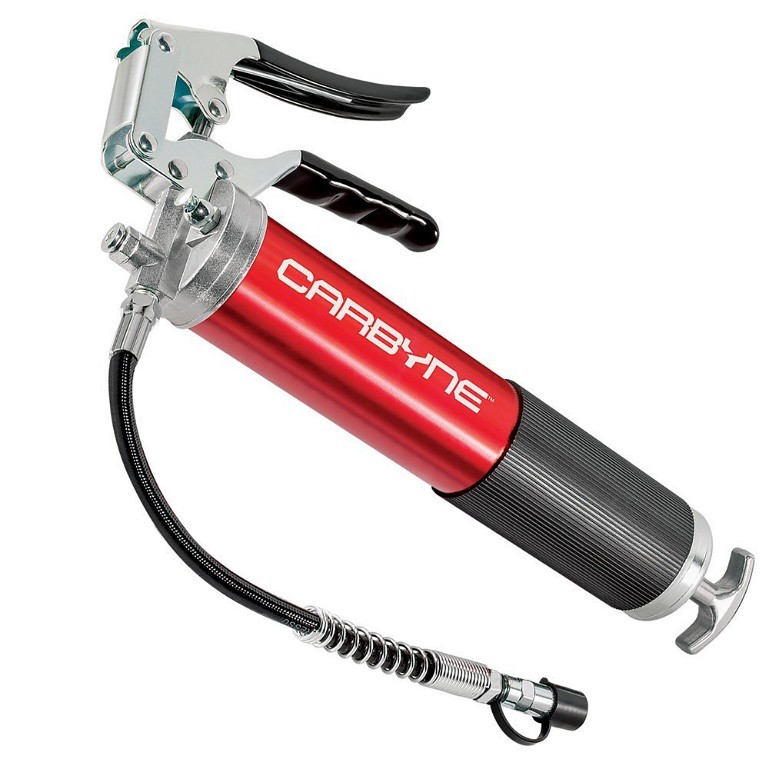
At any rate, I bought my supplies on amazon and they arrived on time. Perhaps the most interesting part of this was that I didn't realize how to insert the grease tube into the gun. Had to look it up on the interwebs to figure out that it goes in the top and not the bottom. LOL.
28306859739_0553cfaae8_b.jpg
28306859849_ae27bee97a_b.jpg

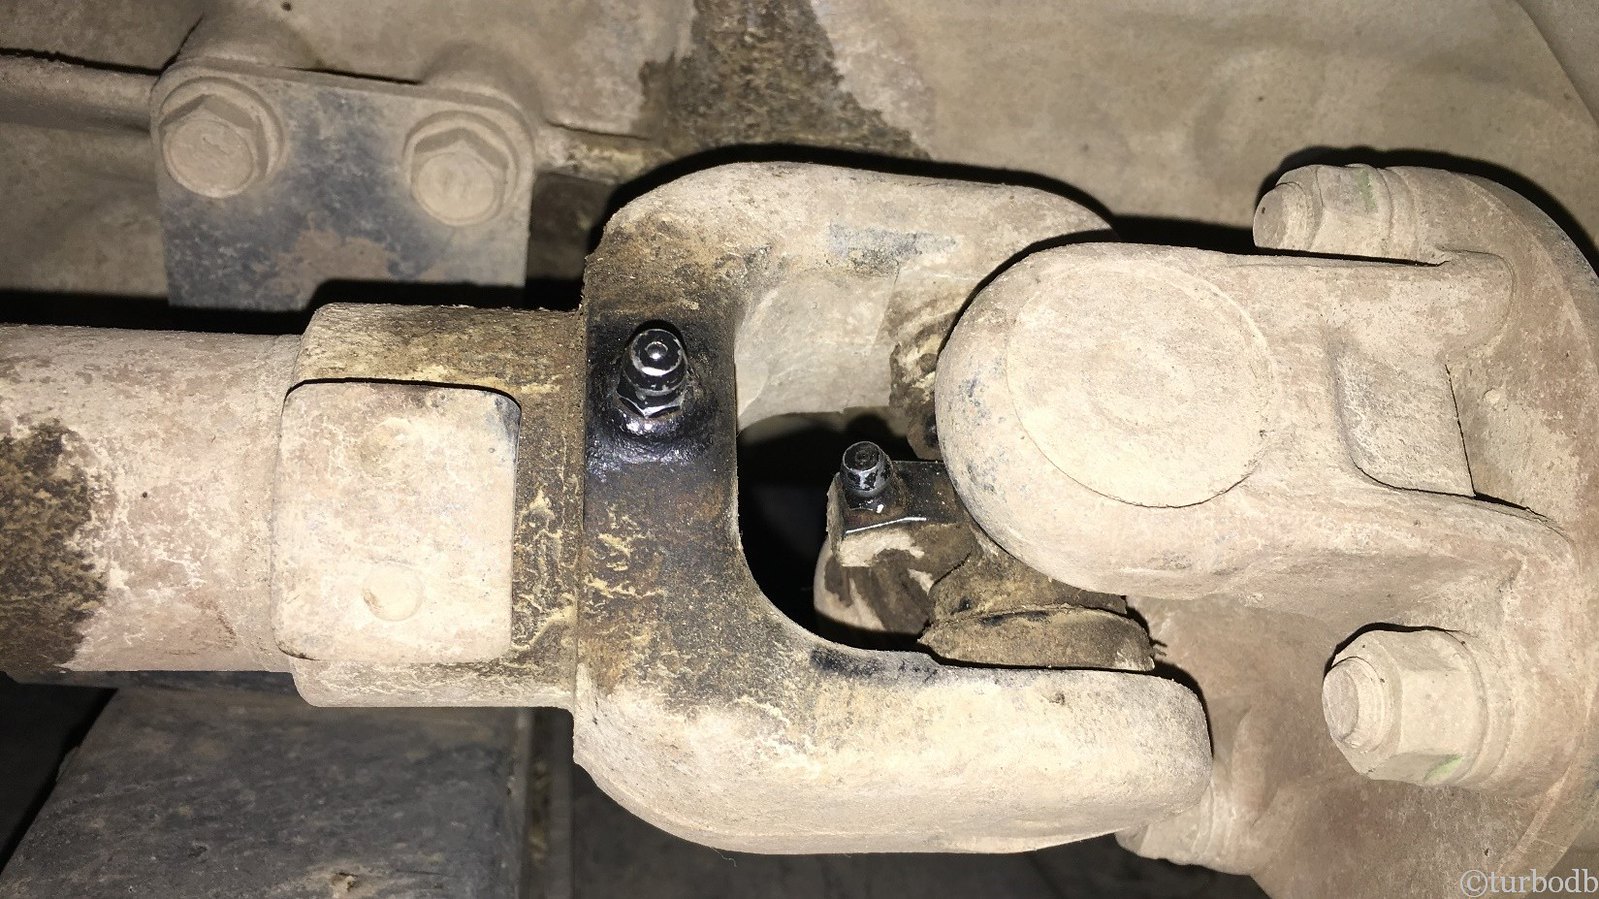
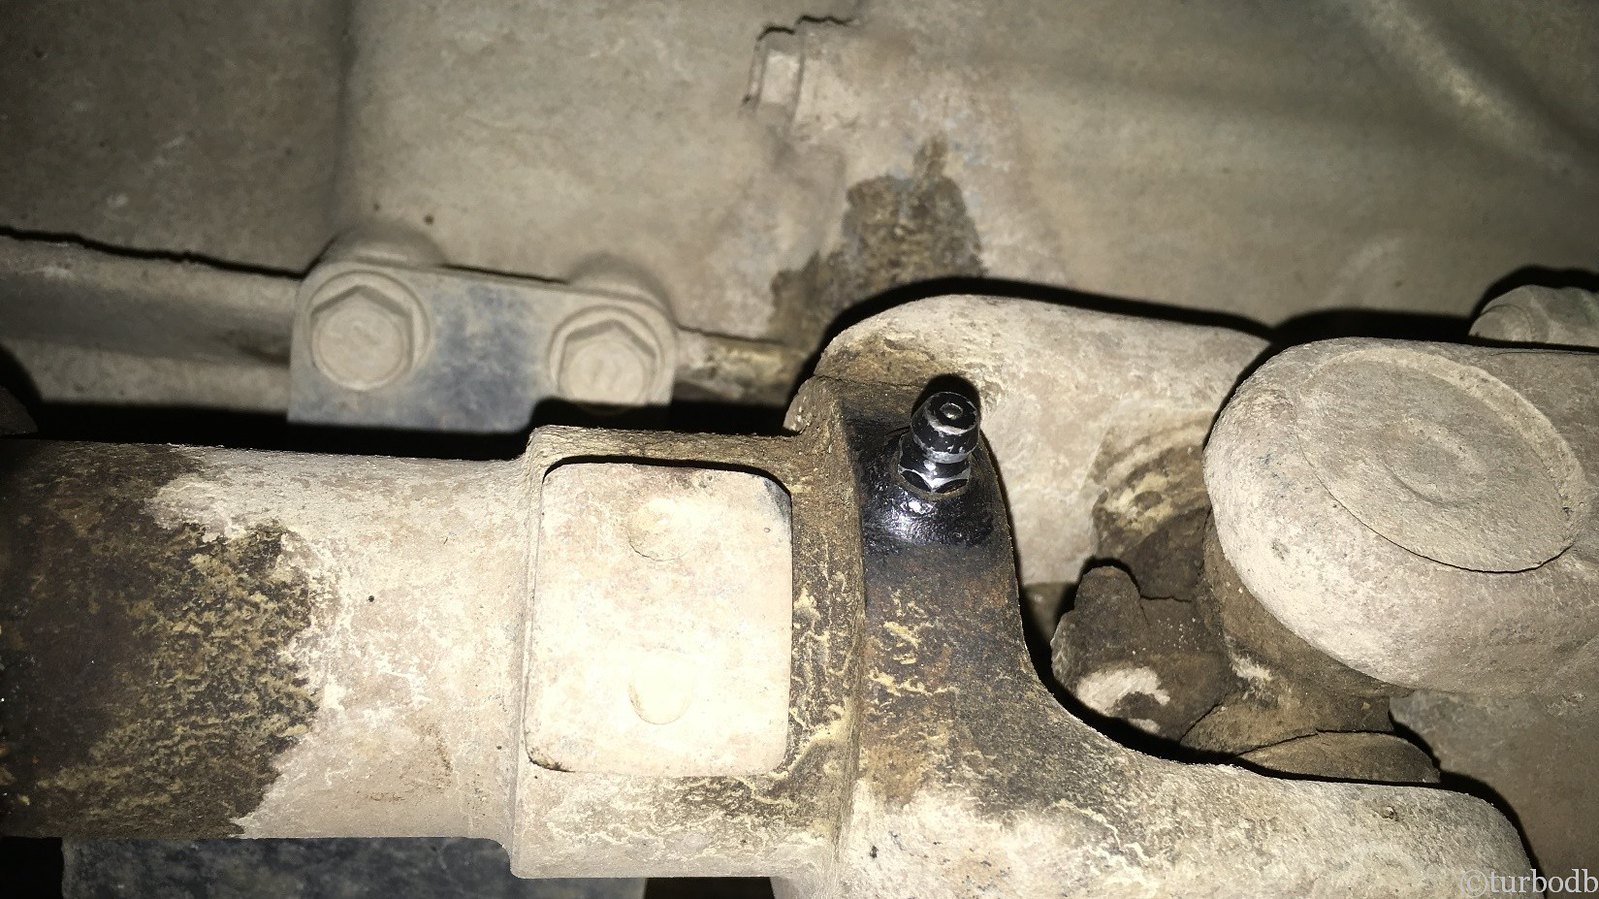
With that figured out, the rest was relatively easy, though I still don't really know if I did it right! I scooted under the truck on my creeper and found all the zerks on the drive shaft. Cleaned them off, and squeezed in the grease.

28306860079_73c64c7924_h.jpg


28306860379_26235ba1fe_h.jpg

Took me about 45 minutes all told, which is way too long, but of course - it was the first time. Next time will be much faster, I'm sure!
 

Kpack

Adventurer
I've enjoyed reading of your adventures here and on your website. Thanks for taking the time to write them up. And I also appreciate your candid and honest evaluations of equipment and what works/doesn't for your needs. Very helpful for me to read your experiences.

Your last post reminded me that I'm overdue to grease my zerks. I'll have to find some time this weekend.
 

turbodb

Well-known member
I've enjoyed reading of your adventures here and on your website. Thanks for taking the time to write them up. And I also appreciate your candid and honest evaluations of equipment and what works/doesn't for your needs. Very helpful for me to read your experiences.

Your last post reminded me that I'm overdue to grease my zerks. I'll have to find some time this weekend.
(y)
Thanks! Glad you're enjoying. I've found that it's fun to relate these stories (mostly for the family originally), and so it's always nice when other folks enjoy them. Hopefully they can help motivate everyone to get out there as well - so often I think people are intimidated to just try.
 

turbodb

Well-known member
CB Radio - 'cause not everyone's a HAM
September 10, 2017.

When I got the ham radio, my hope was that I'd just skip the whole CB thing. I mean, when you've got the real thing… :)

But, as it turns out (and let's be honest, I knew this when I installed the ham radio), a lot of folks don't have a HAM license, so CB's are the common denominator on trips. About to set-off on a 14 day Tour of Montana and Wyoming, it was time to get the CB installed.

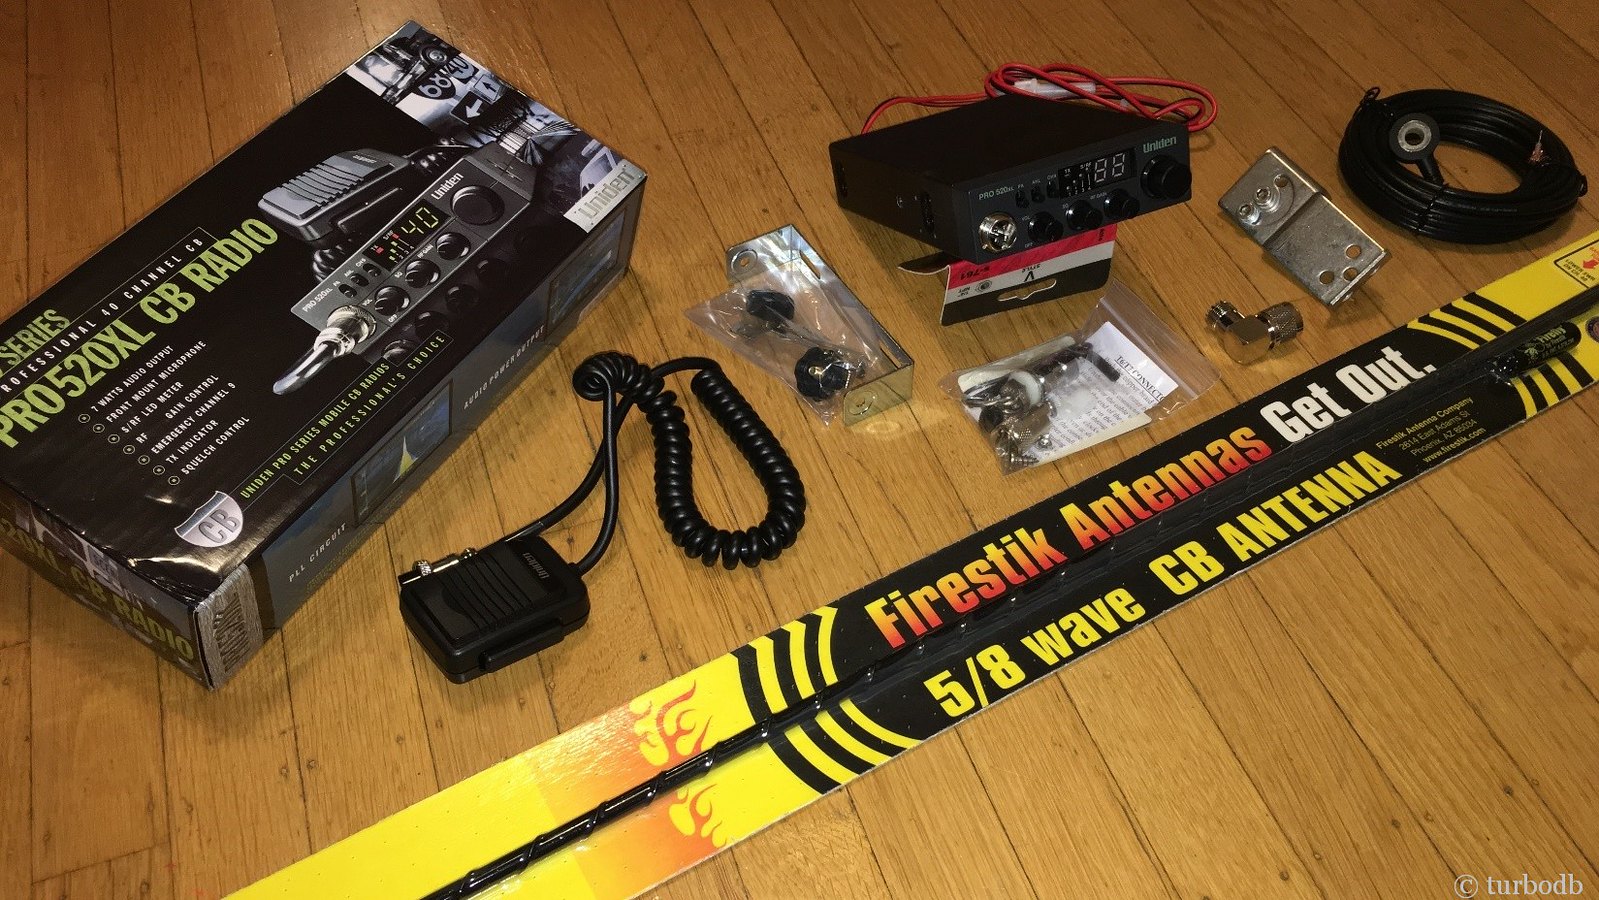
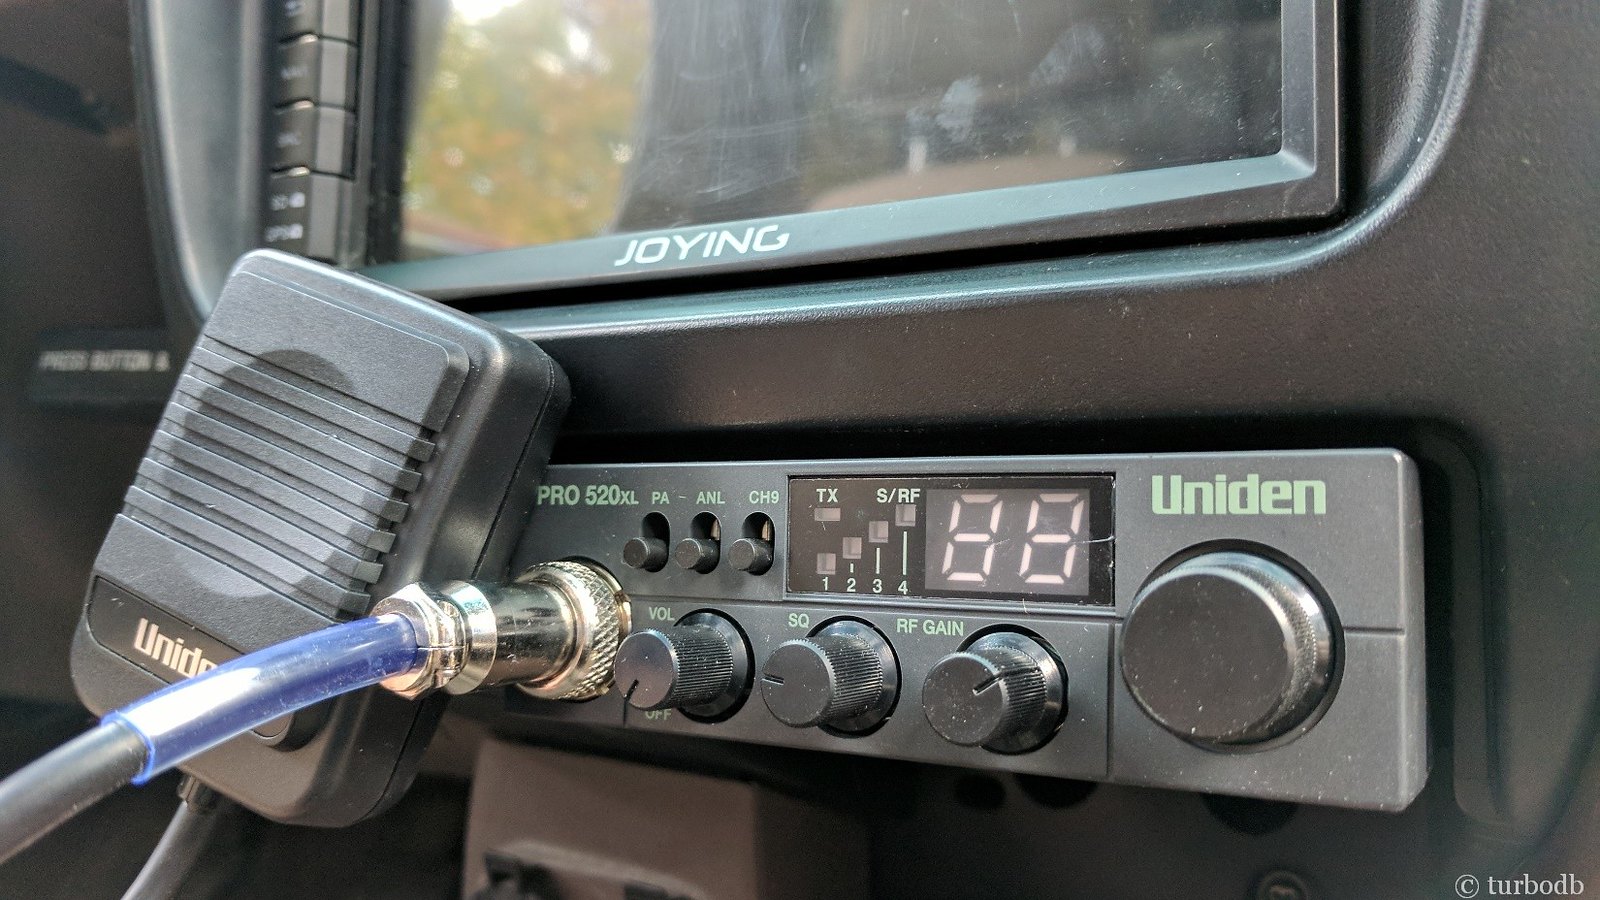
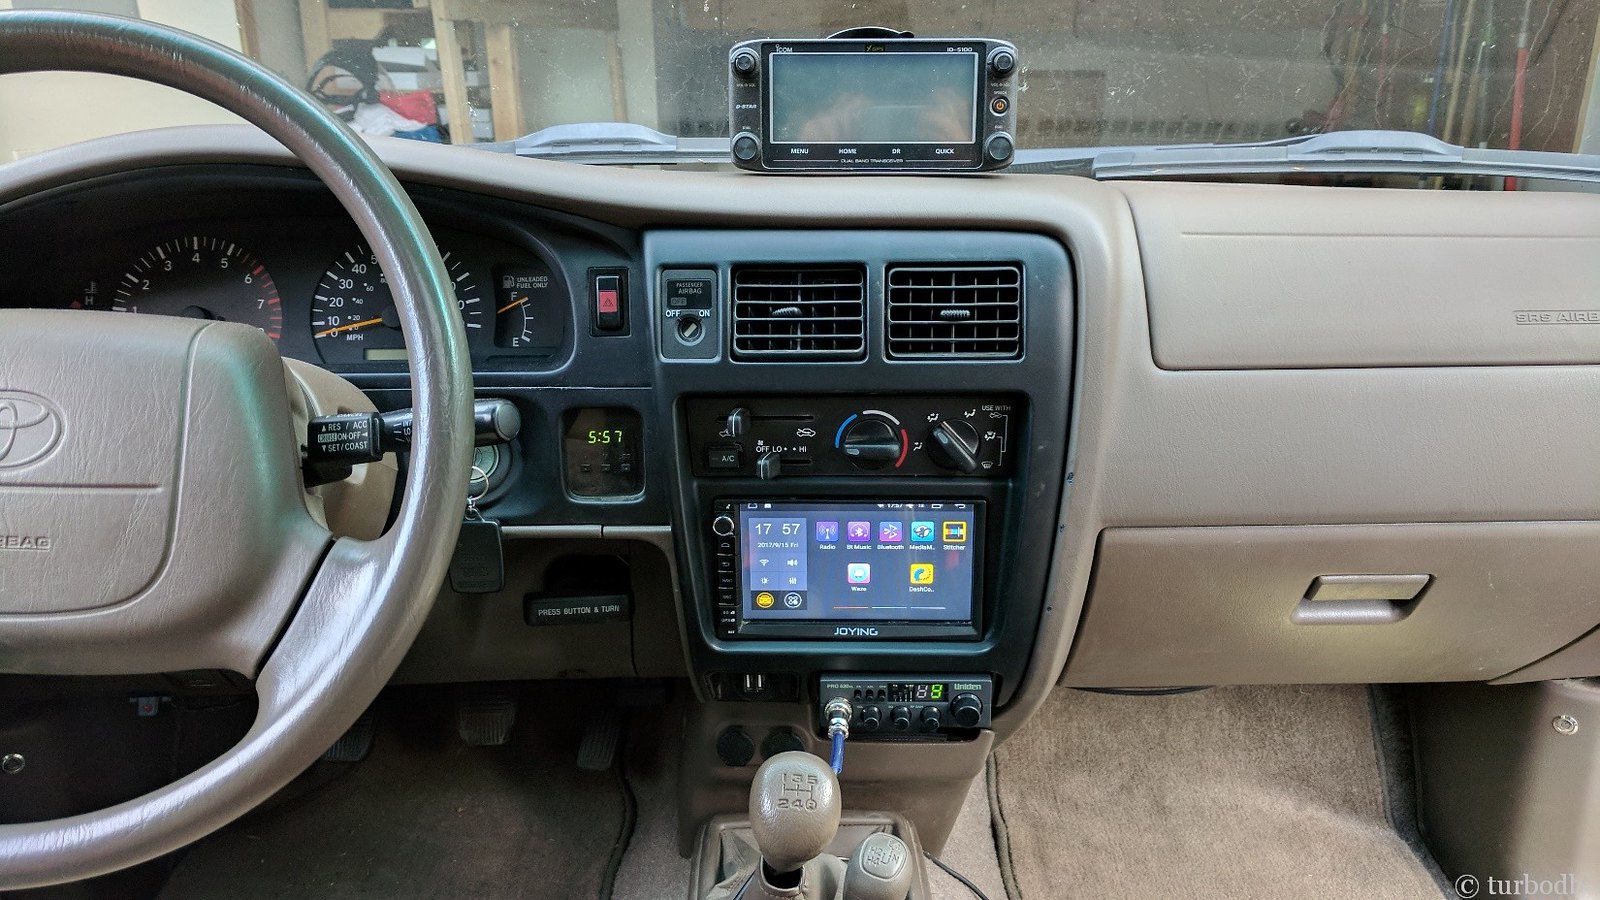
For First Gen Tacoma's, there's really only one option for a CB radio IMO - the Uniden PRO520XL 40-Channel CB Radio. It fits perfectly in the ashtray location, and gets really high marks for usability and clarity - so of course, that's the way I decided to go. I'd need a few other things as well:
It all arrived over the course of several days - some of it "twice" - since the first CB radio amazon sent was the wrong one. So fun getting packages in the mail!

28306860659_38c7d03719_h.jpg

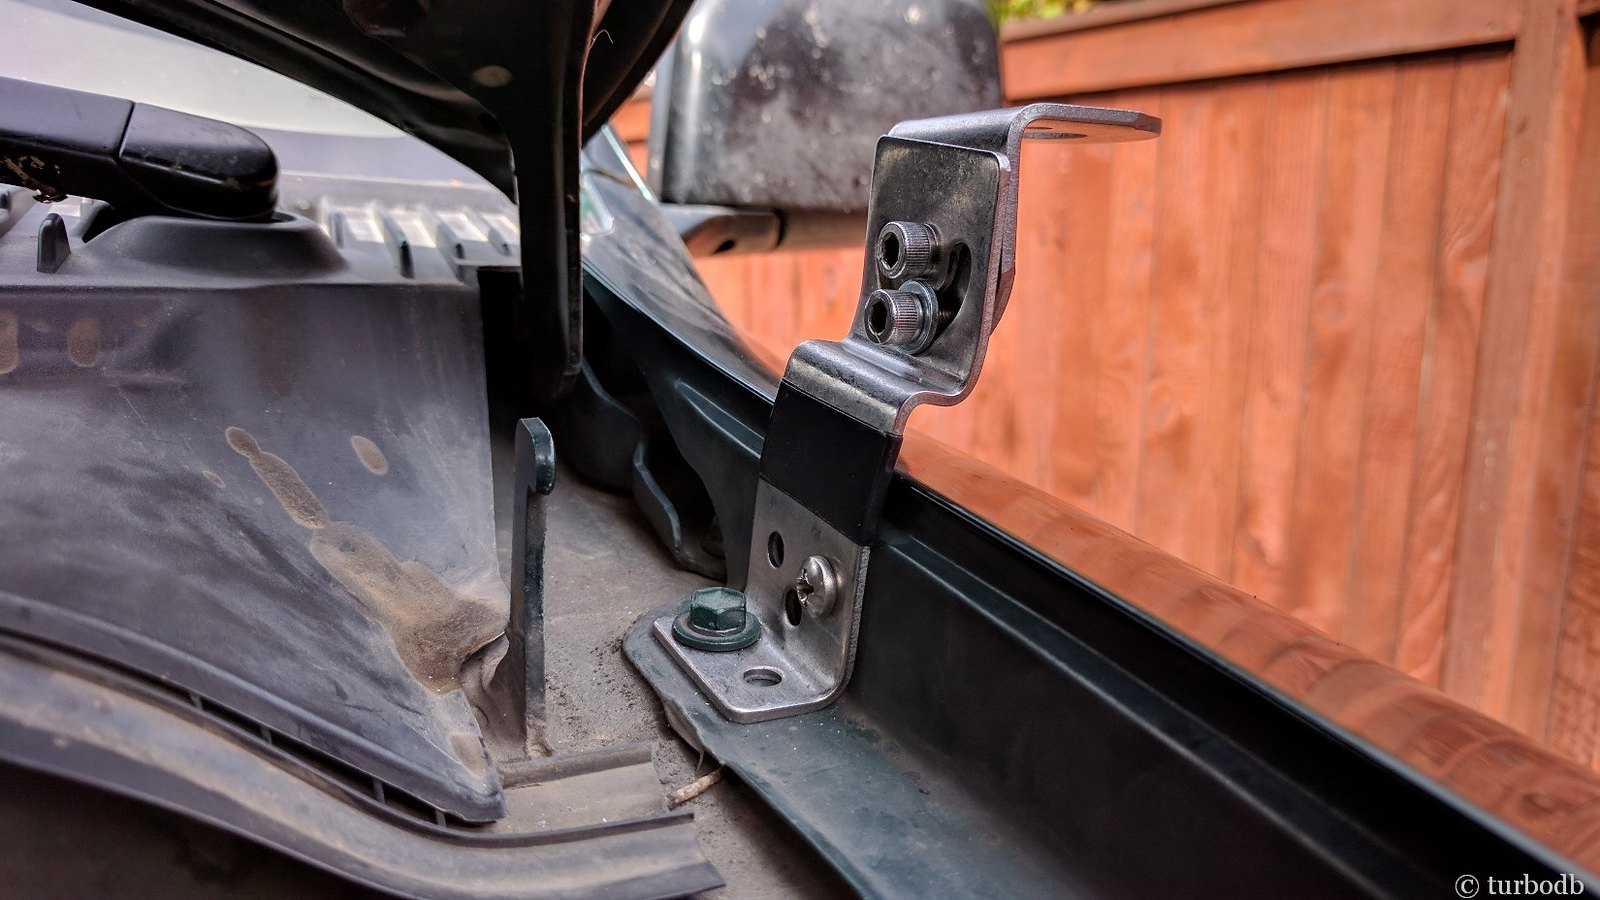
Ready to go, I knew that the install would be straight forward, but time consuming to make "clean." I started with the mount, which I placed on the drivers side. I was able to utilize a factory bolt (nice!) and drilled a single hole into the hood channel. I also had to bend the mount slightly to get it to fit in the channel, and I utilized a bit of electrical tape to help (hopefully) with any rubbing if (when) there are vibrations.

28306860839_eee08d9ac0_h.jpg

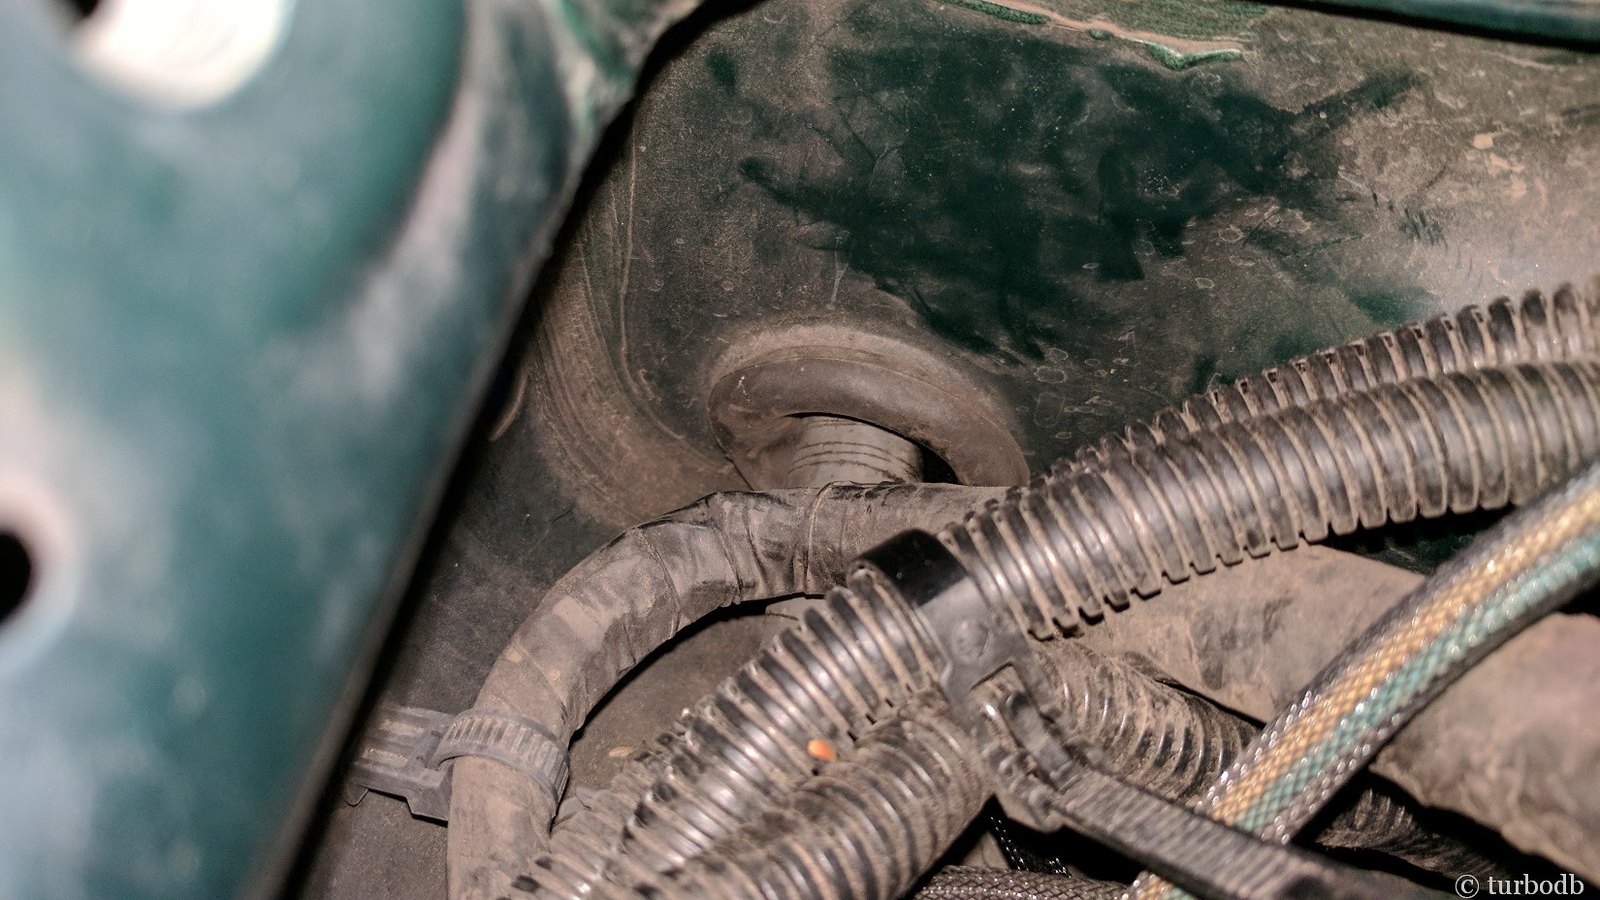
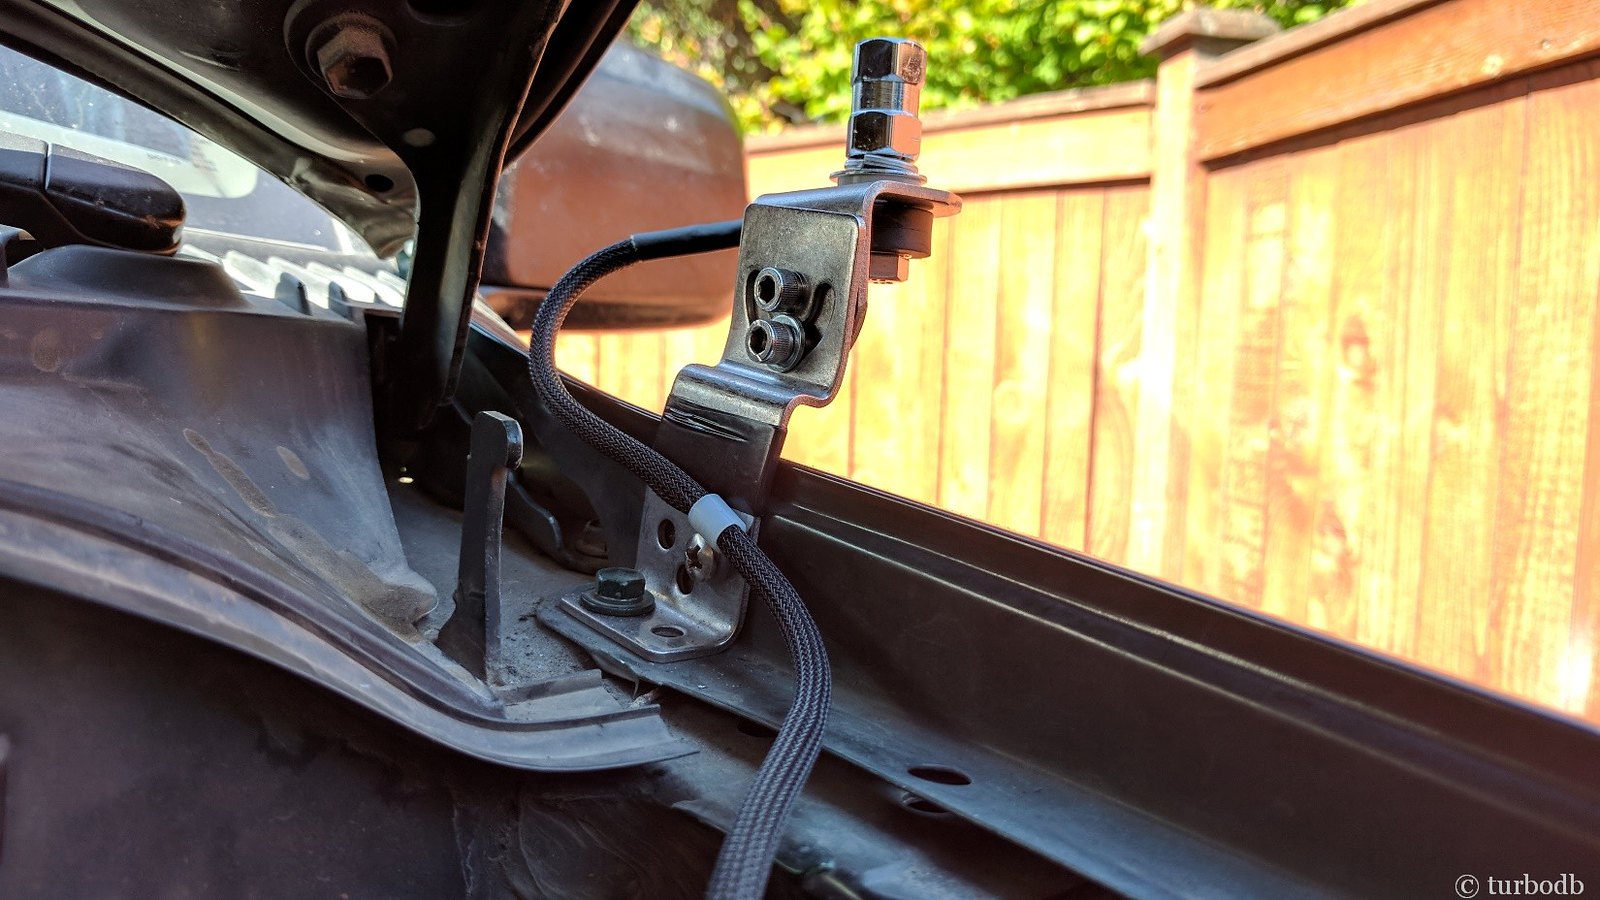
Then, it was time to install the coax that runs from the mount to the CB radio in the cab. First, I covered the exposed portion of the coax with some braided sleeve, and then I pushed it through the firewall near the clutch pedal and attached it to the stud on the mount.

Easy peasy.

28306861069_03feadfdc5_h.jpg

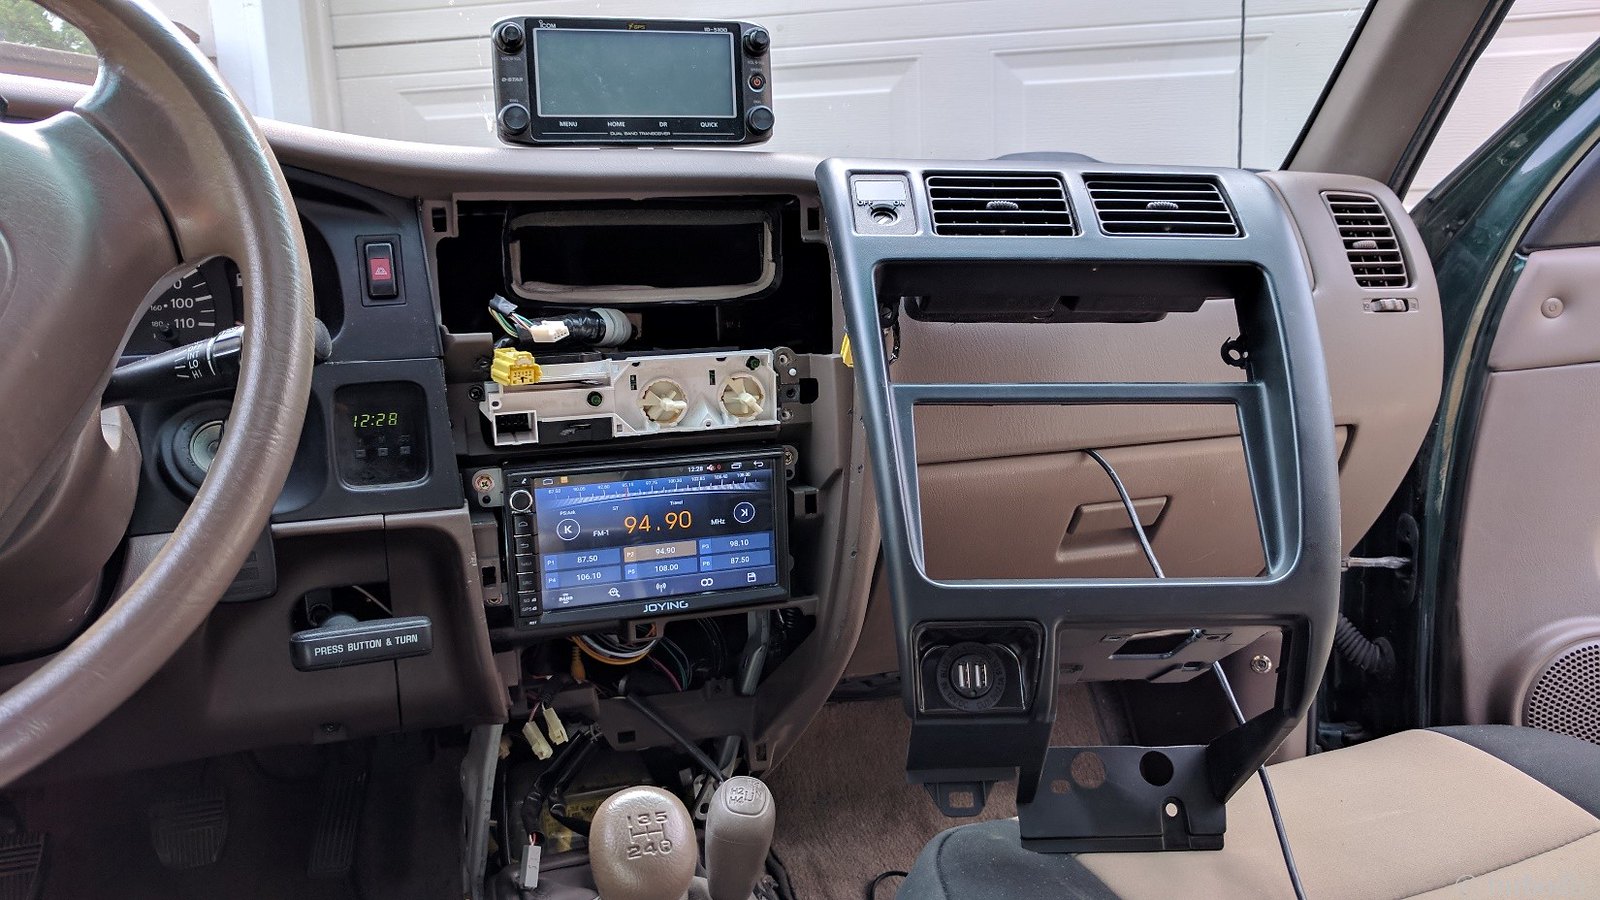
Then, it was time to get started on the interior. The first step of course was to remove the center console. I've done this so many times now that I can do it in my sleep. And, I've learned that there's no reason; I repeat: no reason at all; to ever attach the climate control face panel completely - just let the knobs hold it on - because it's a pain to pry it out (and it cost $30 to replace it - ask me how I know!)

28306861319_c630ec635a_h.jpg

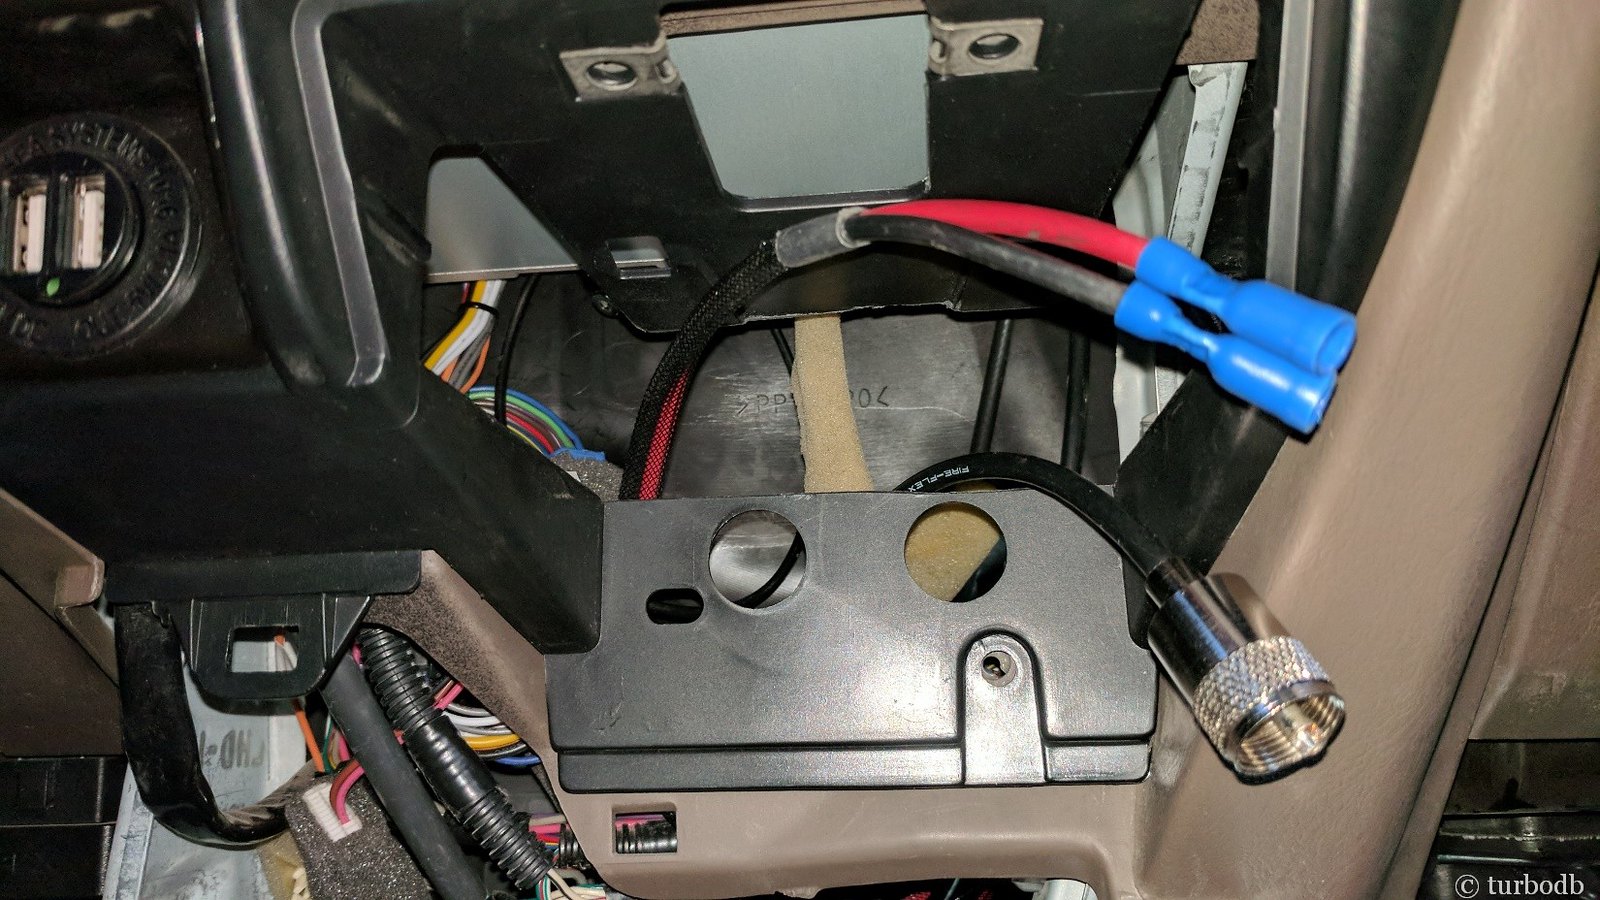
Center console out, I took the time to route the coax from the firewall by the clutch pedal over to the console area, burying the extra (appropriately "wrapped," but not in a circle) behind the passenger airbag with the end coming out just under the stereo head unit.

And then it was time for power. This is where the Bussman relay/fuse box I installed earlier this year really shines - I ran a couple more wires to it, plugged them in, and I was good to go. So much easier than trying to finagle everything directly off of the battery. Oh, and I was able to get rid of the inline 2A fuse on the CB radio that would have been buried behind the dash - another plus!

Power got routed through the firewall on the passenger side, and over to the center console, where it was a simple matter of plugging things together and then buttoning everything back up!

28306861479_b5ca22f910_h.jpg


28306861629_c1eaf6112e_h.jpg


28306861889_6e2d869404_h.jpg

Buttoning back up is relatively straight forward. The only caveat is that the AC housing is just a bit too close to the back of the ashtray, and so a heat gun can be used to soften the plastic and deform it about 1" back - so the radio can slide in just a bit further (cosmetic only).

28306862039_303183ca21_h.jpg

And now - I'm ready with the comms; however they come!

28306862299_a524aca7a4_h.jpg
 

turbodb

Well-known member
New-to-me Tires and a Tundra Brake Upgrade
October 25, 2017.

When you find yourself on a trip with other Tacoma owners, there's a tendency for everyone to come away from the trip wanting something. And in my case, with a relatively "young" build, that's extra easy.

For me, I've always known that I want bigger tires. But I've hesitated to do so because well, tires are expensive and bigger ones are hard on the gas mileage. Well, after The De-Tour, it was clear that I'd just have to suck it up and go for it - I mean, the Truck did great on the trip, but the front skid took a whooping.

Which isn't bad - I mean, I paid good money for that thing. Glad it's doing its job.

Anyway - one night on the trip, I mentioned bigger tires, and I could see Monte and Mike's faces light up. Because bigger tires meant only one thing to them: an opportunity for me to get bigger wheels! I mean, because I would need bigger wheels if I was going to do (obviously) the Tundra brake upgrade.

And it was all the better (for them) because it was my wallet getting lighter! Hahaha!

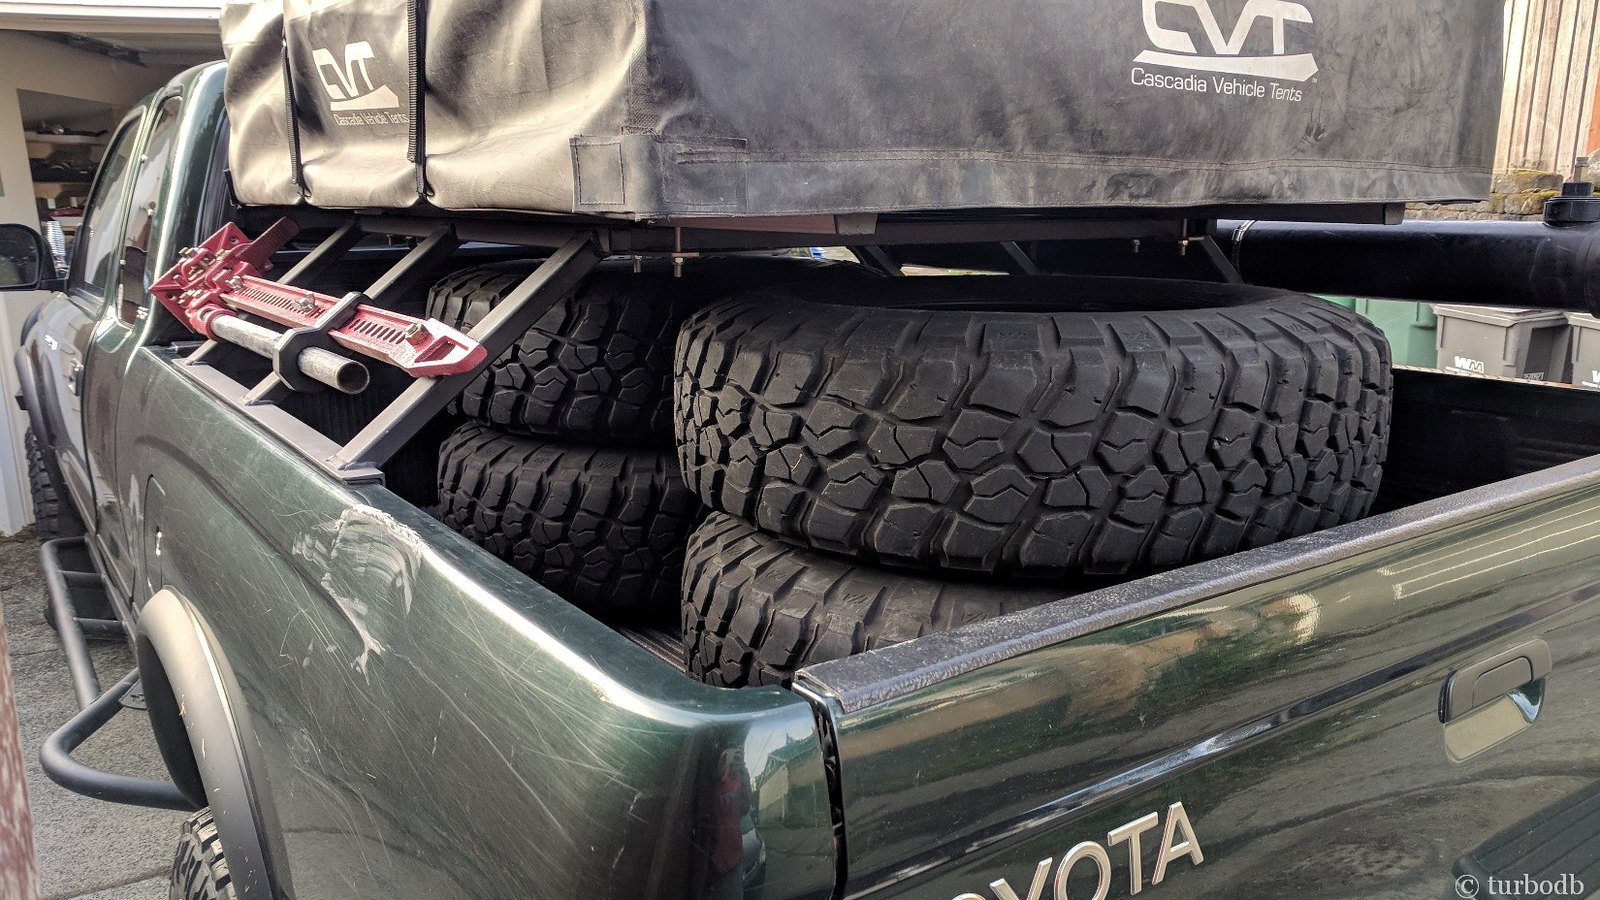
Well, I decided on and ordered wheels first, because I was sure of what I wanted - SCS Stealth6's. But then I had to figure out what tires to mount up. I thought I wanted 255/85R16 BFG KM2's, but I wasn't sure. So, when I got a lead from @drr on a great second-hand set that he had on some steel spares, it didn't take me long to decide to give them a try - if I like them, I can get some new ones. And if I don't, it will be a cheap experiment.

So, home they came!

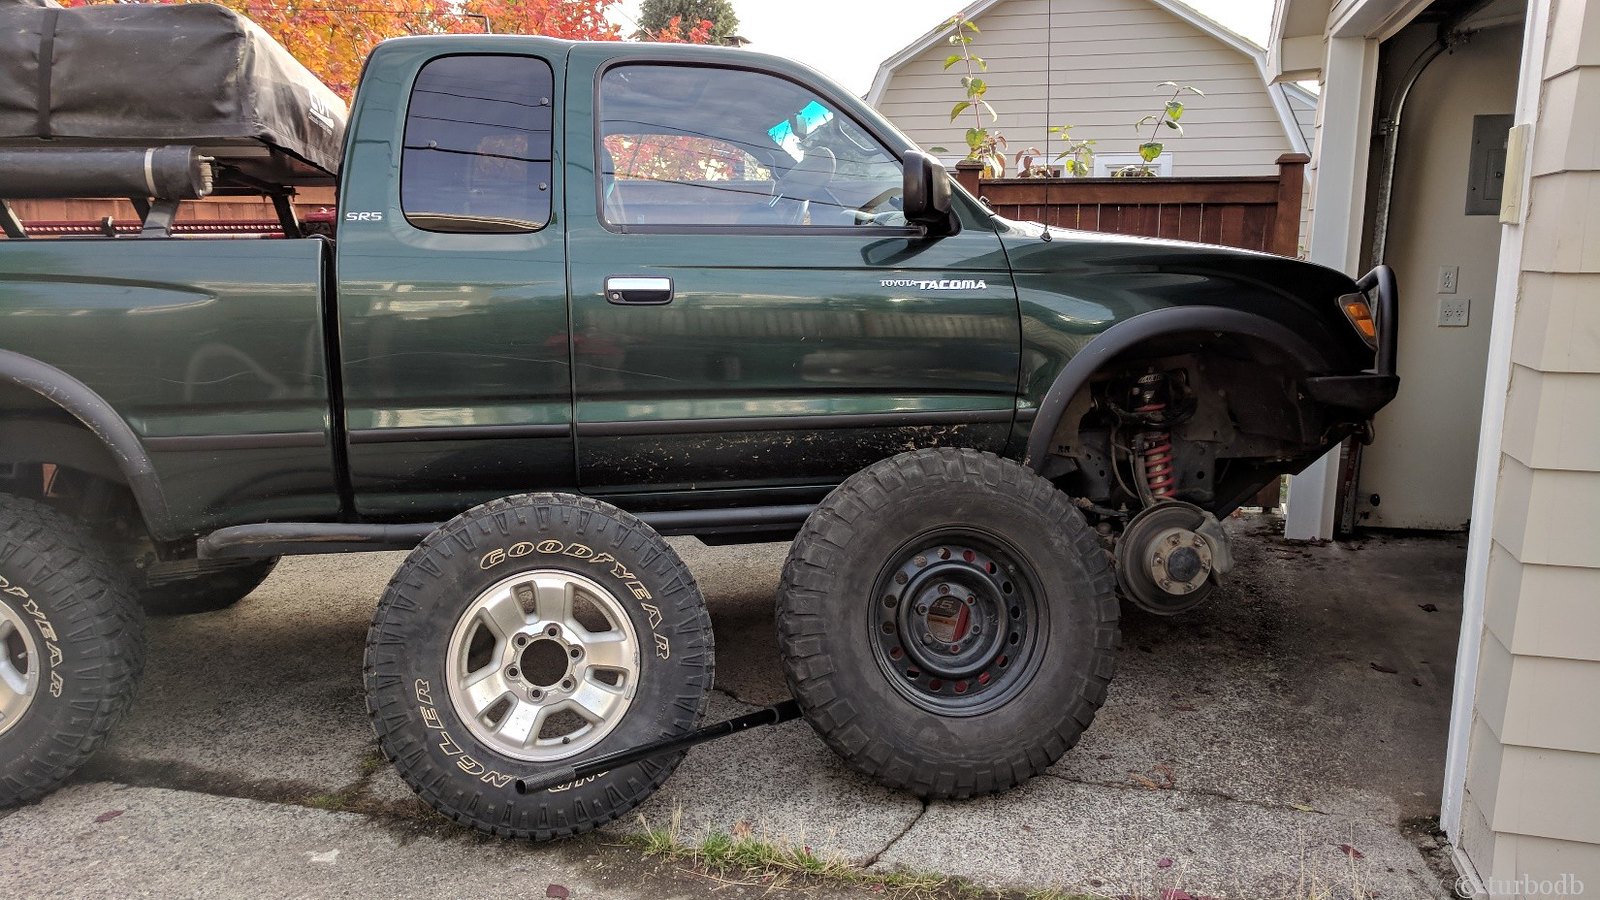
40054864652_8003ec49a2_h.jpg

They mounted up pretty easily - turns out that there were two different backspacings on the steel wheels (maybe 1st gen / 2nd gen? Or Tacoma / 4Runner?). At any rate, I put the smaller backspacing on the front, and the larger on the back, knowing that I'd be installing the bigger brakes in the front, and I hoped they'd clear.

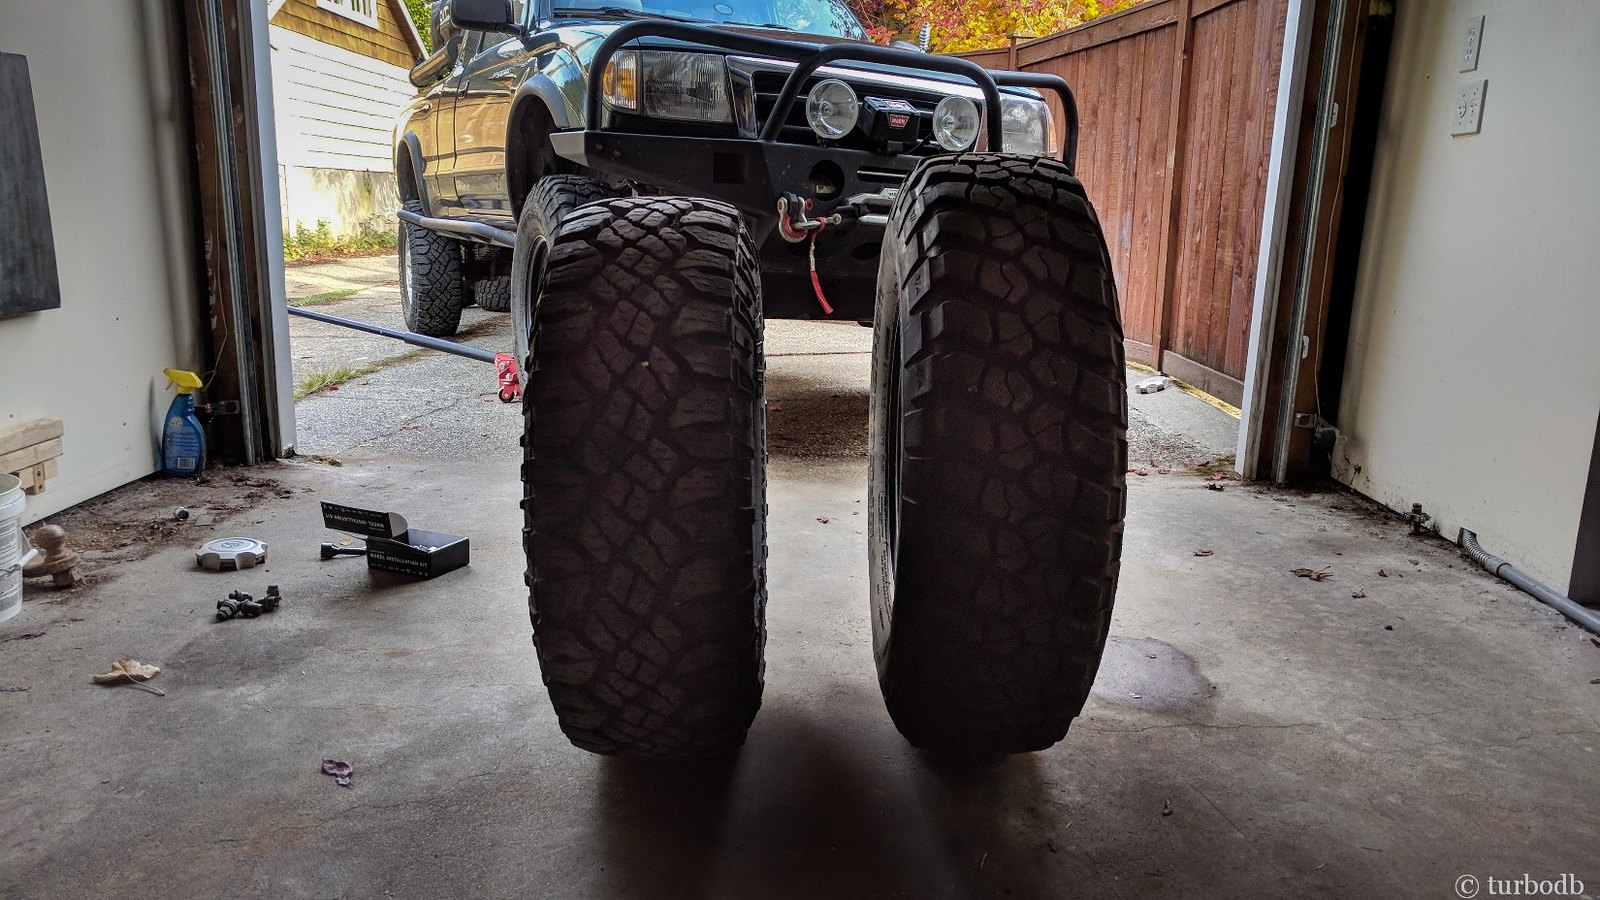
40054865432_384f162e7c_h.jpg

They were definitely bigger!

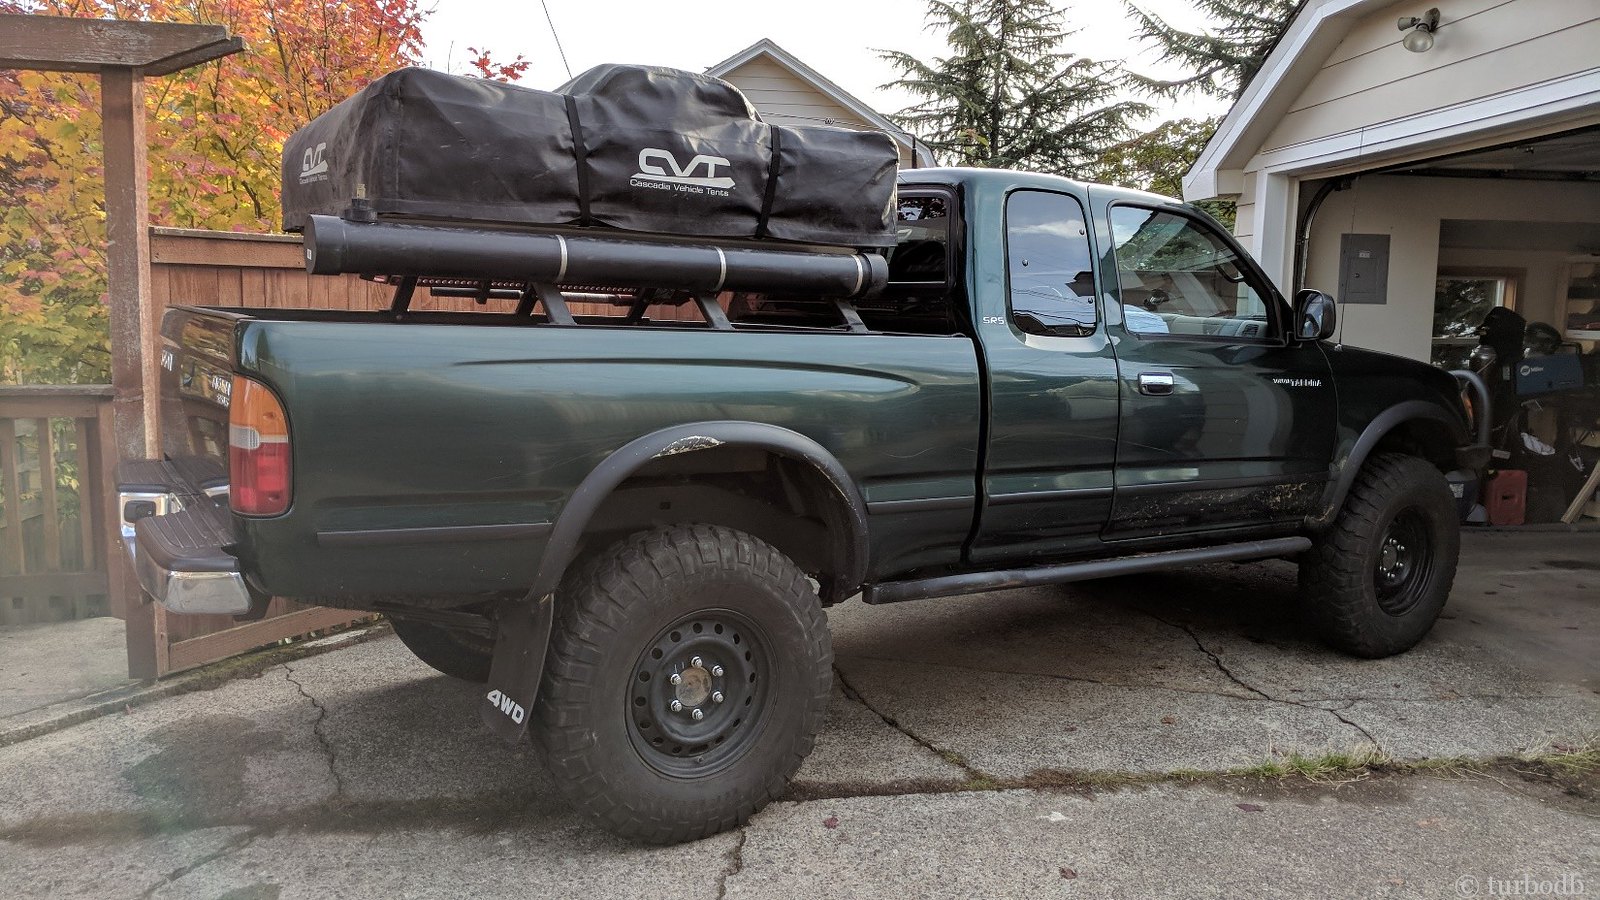
40054865802_1d59ff971b_h.jpg

And installed, they look pretty nice - definitely lift the truck up a bit! The rears sit a little far back in the wheel wells for me, but I'll deal with that "later," - it won't be a problem in the city, and only might be a problem on the trail.

40054866082_197716b753_h.jpg

With the new-to-me tires installed, I was ready to get to the brakes. My wear indicators started squealing on the last trip, so I knew it was time - especially with bigger tires, I didn't want to do a lot of driving on the current set of pads!

I'd already gotten everything ordered up, having debated between two possible routes:
  1. Go with a "kit" that came with all the components I'd need. Either a Callahan or PowerStop.
  2. Buy individual components to get the best quality.
Ultimately, I went route #2. I think this is the less common route, but after finding a great comparison of OEM vs. non-OEM here, I figured that I didn't want to mess around with brake quality, and I could cover the extra expense - after-all, it's not like there's anything else expensive I want to get for the truck, right?! :)

(Note: I think that for route #1 the PowerStop brakes are probably the better bet even though they are a bit more expensive, since others have had problems with the Callahan's.)

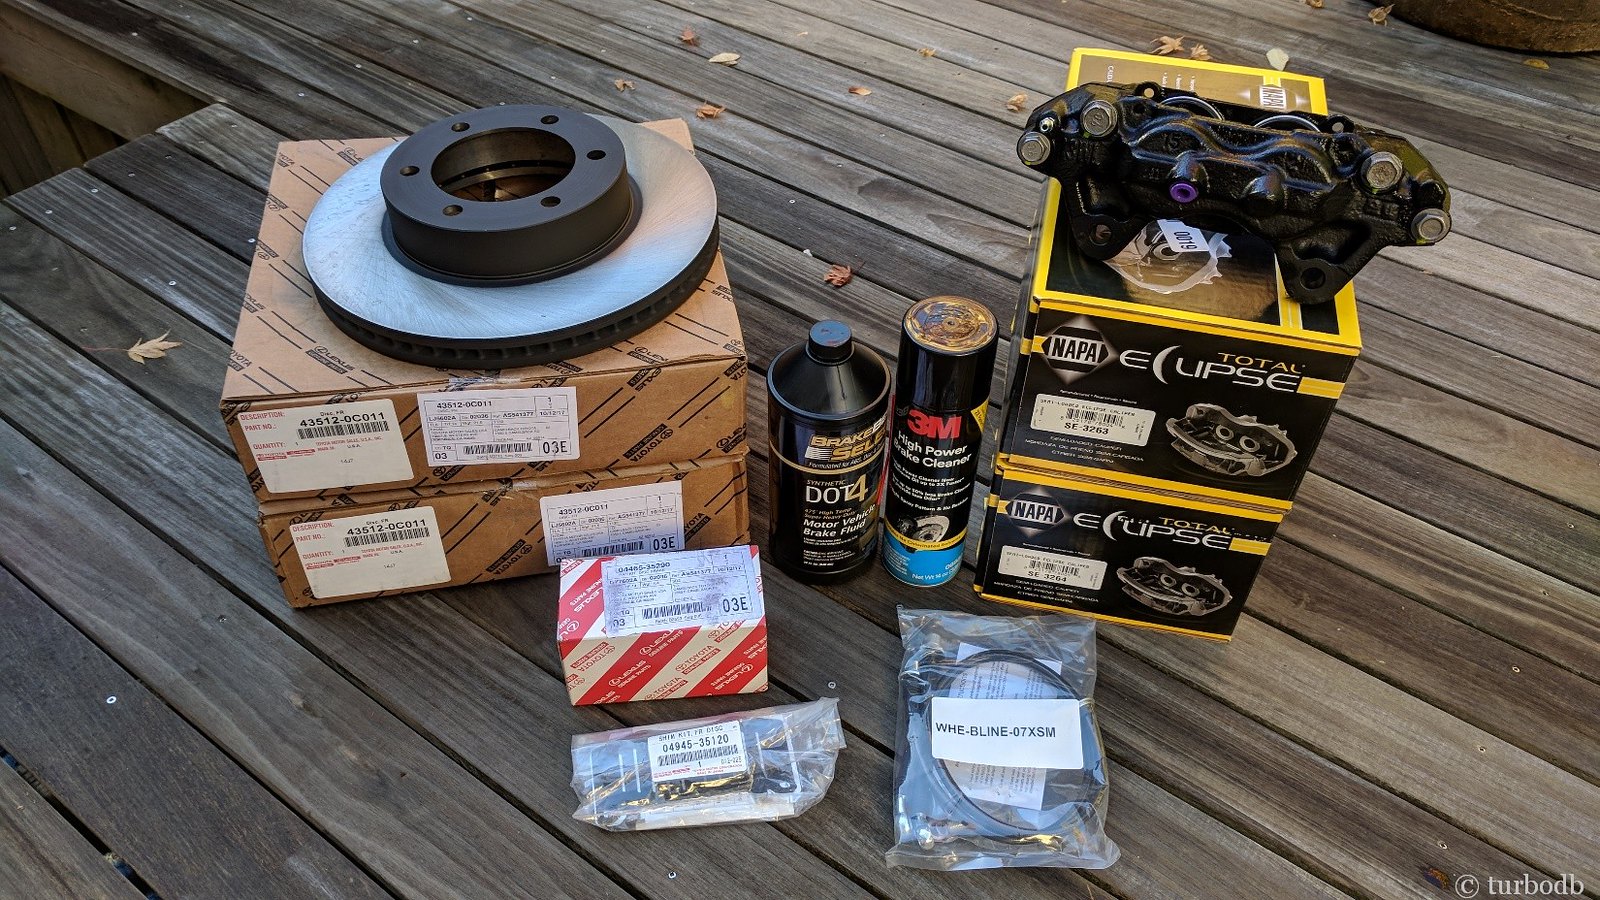
Having decided on route #2, I'd ordered:
40054866342_76cd5ba968_h.jpg

Then, my only question was: would this stuff fit with those steel wheels I was currently sporting? I hoped so, but in the awesome write-up I mentioned, there was this caveat:

BigFishAllDay said:
THE STOCK SPARE WILL NOT CLEAR THE 13WL CALIPERS!!!! I test fit the spare and there was so much interference the wheel wouldn't even turn. If you plan on doing this upgrade keep in mind you will either need to purchase a different wheel to use as a spare, run a wheel spacer full time or carry one to install w/your spare, or you will have to change TWO tires if you ever get a flat on the front axle, putting the spare on the rear axle and the wheel from the rear axle on the front.

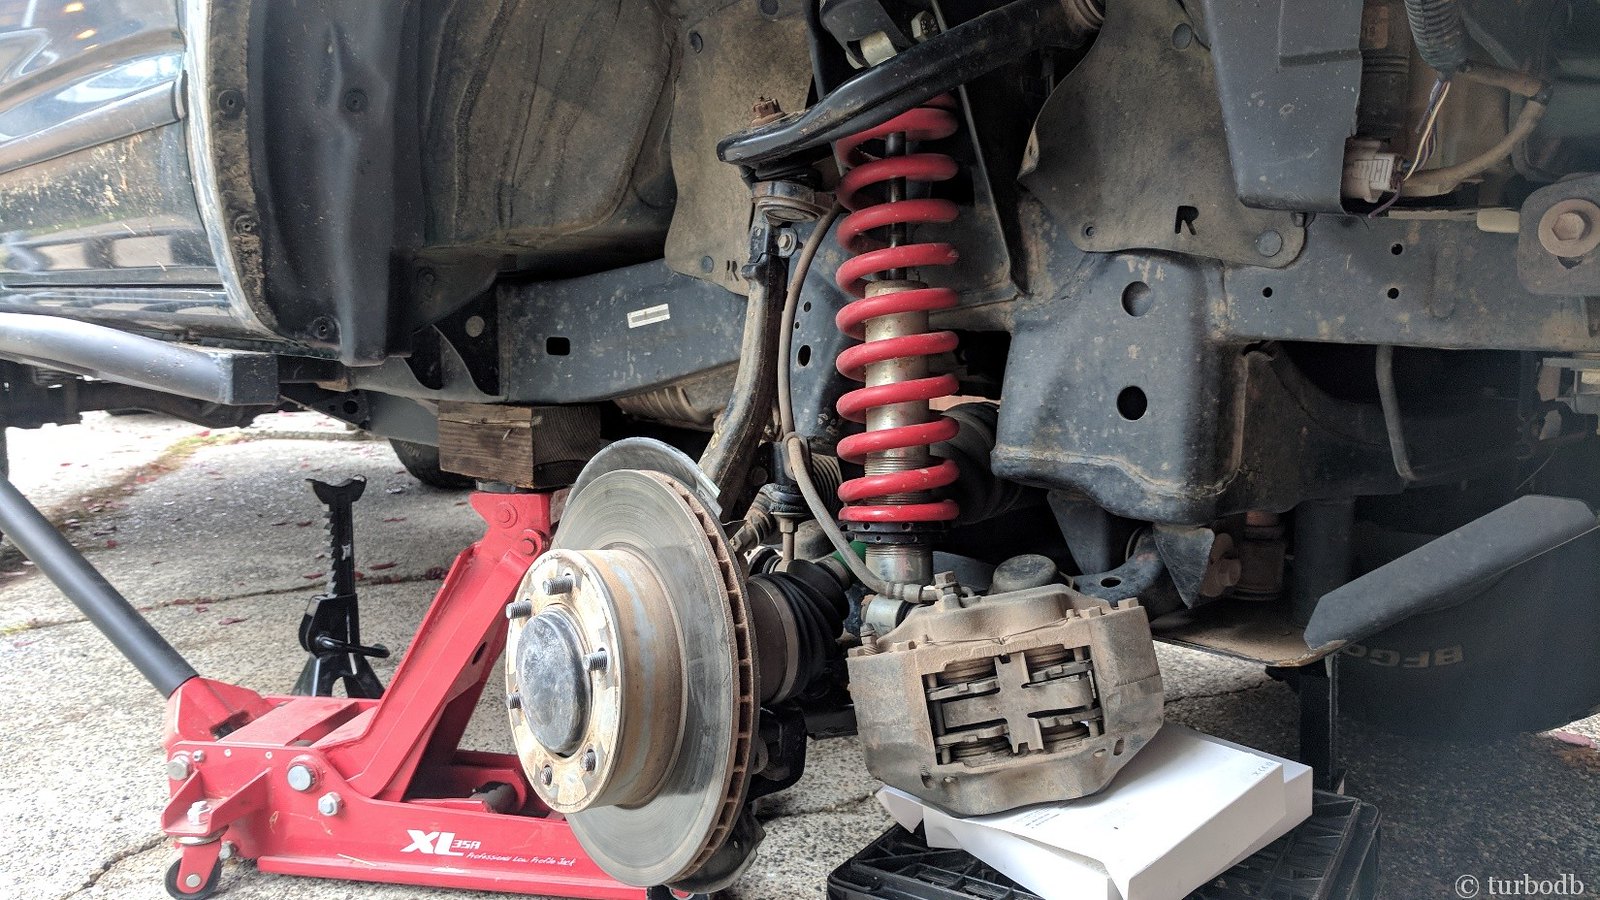
I asked, and there were of course differing opinions, so in the end, I just gave it a shot by removing the Tacoma caliper and temporarily bolting on a Tundra one. It worked!

40054866592_c7becd2eab_h.jpg

I just set aside the Tacoma caliper, while I tried out the Tundra one (pad-less).

40054866782_c308dc82e5_h.jpg

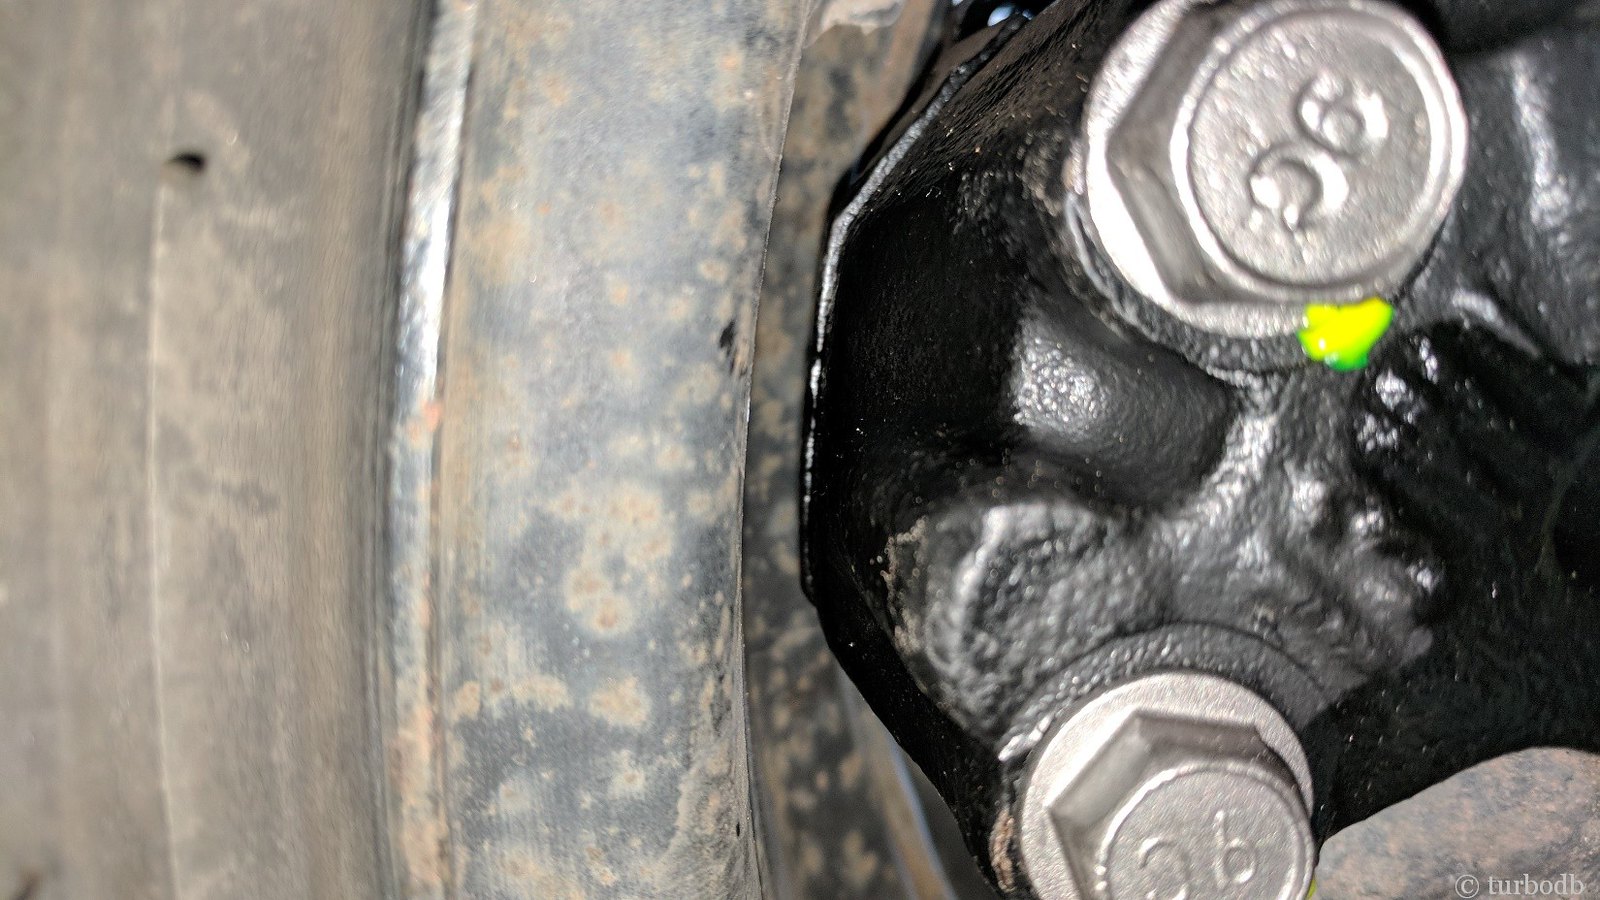
That was a huge relief, so I got started with the install. It was actually quite straight forward - though it took me a while since I was being extra careful, not wanting to mess anything up.

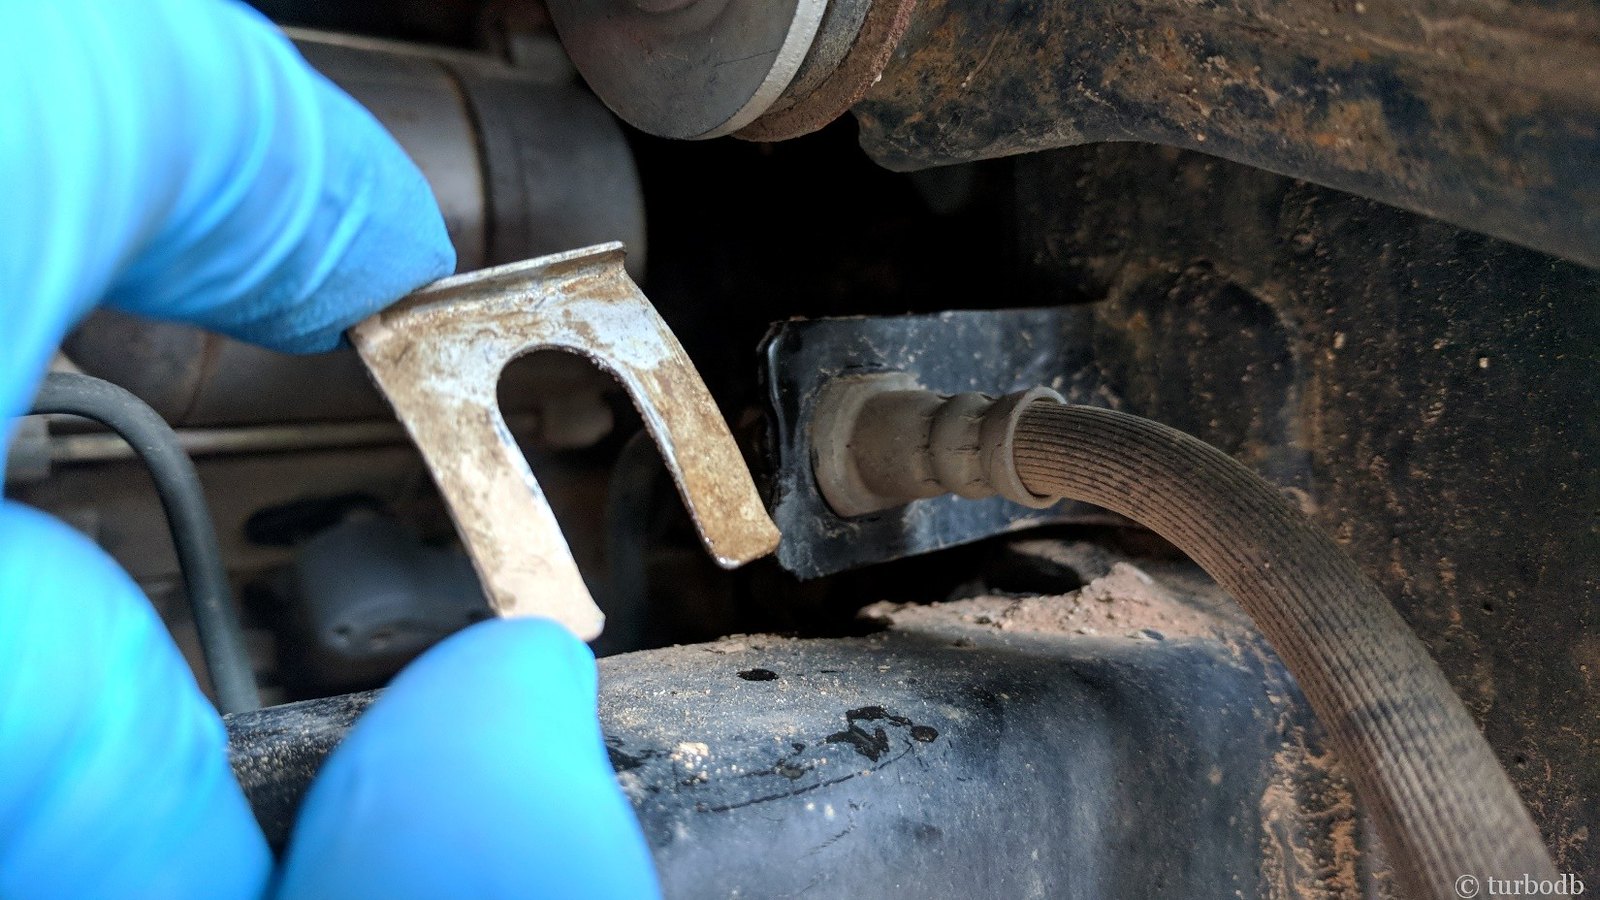
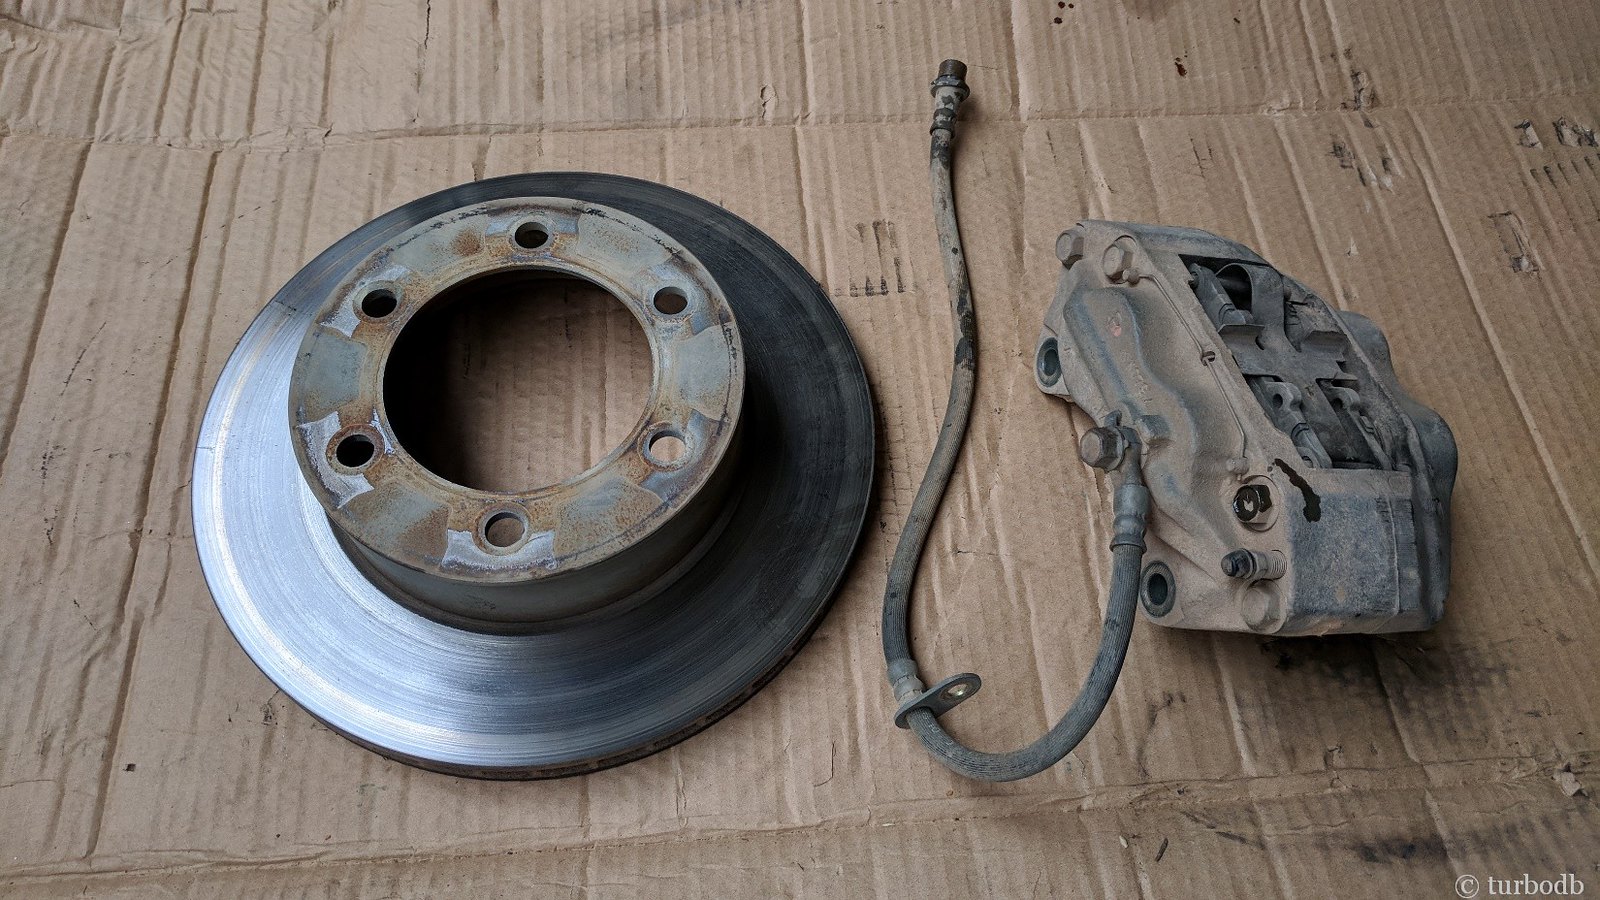
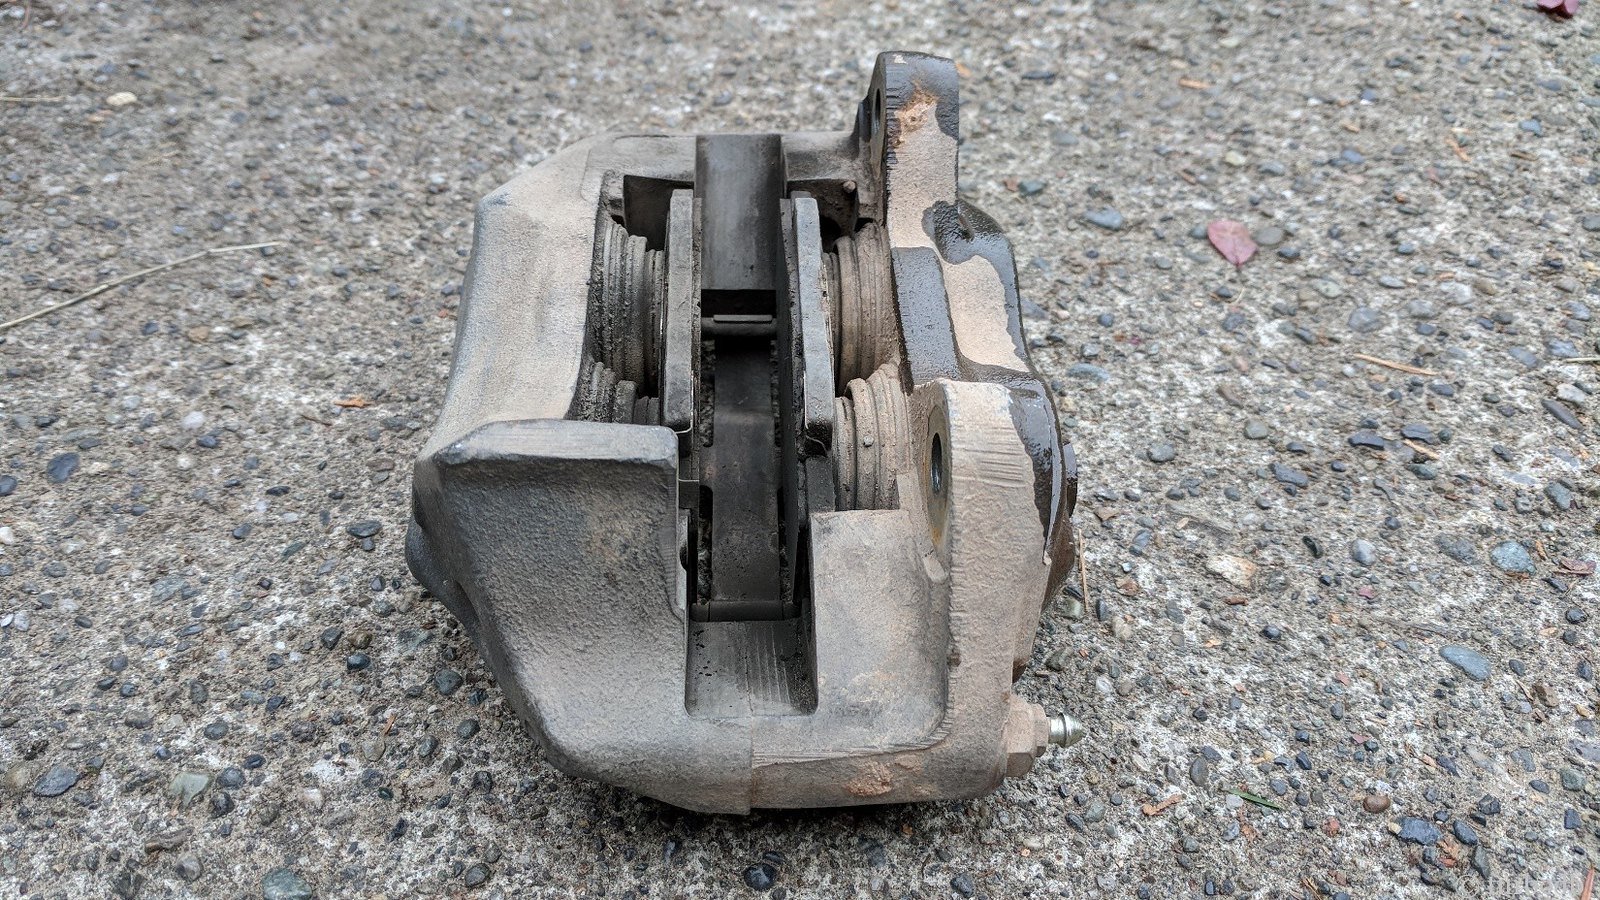
Having already taken off the Tacoma caliper, the next step was to remove the center anchor for the flexible line, and then disconnect the flexible brake line from the hard line. I broke the nut free with a 10mm flare nut wrench and then removed the clip so I could pull out the flexible line + caliper, and then the Tacoma rotor.

39376356724_a9bfa7ca46_h.jpg


39376357114_c80b978e14_h.jpg

If I'd not done the Tundra upgrade, it was definitely time for new pads anyway...

39376357784_2ecd526a5c_h.jpg
 

Forum statistics

Threads
188,007
Messages
2,901,053
Members
229,355
Latest member
BDM66
Top