AdventureTaco - turbodb's build and adventures

turbodb

Well-known member
Building the Bed Rack (did someone say "new tools"?)
December 2016 - February 2017.

You may recall that no too long ago I decided to purchase a CVT, and then of course realized that the truck would need a bed rack to attach said CVT. That led to my Millermatic 211 acquisition, and the realization that this bed rack was the beginning of yet another expensive hobby (metalwork).

Excited to get going, I started looking for bed rack designs. I wanted something that
  • would support the CVT - both on the road as well as deployed
  • would position the top of the CVT "in-line" with the top of the cab - for looks, to minimize drag on the freeway, and to give as much storage underneath as possible
  • was as light weight as possible (no need for a huge rack)
  • would be a good place to mount additional gear (hi-lift, shovel, rotopax, etc.)
Of course, I wanted all of this before I did any actual measuring of the bed, cab, CVT, and additional gear - so it was only semi-realistic. Details.

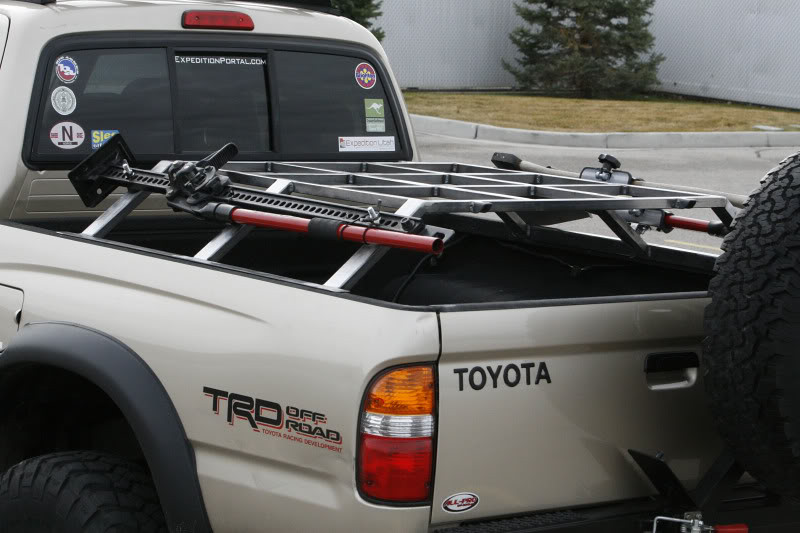
After spending a bit of time on TacomaWorld, I stumbled across @Box Rocket's bed rack design that he built for himself, and then a couple other folks several years ago. It seemed like a good contender (if he was still making them, I'd probably have just purchased one) with a couple minor tweaks - namely, I wanted it to ride a bit higher, and I didn't need it to have the tie-downs or light mounts (since I was just going to mount my tent on it). Oh, and I needed something to protect my bed rails - I wasn't sure of his design there, but I didn't want the legs of the rack to scratch up the rails too much (even though I'd have to drill them to attach the rack).
25215229077_a2d0c6fd7d_b.jpg

So, I sat down for a couple hours in the bed of my truck with a tape measure and dimensions of my various "things to haul" to figure out exactly what I wanted. In the end, I came up with a design that I was happy with and met all my criteria but one: I wouldn't be able to mount the rotopax. Unfortunately, the two gallon containers that I have (fuel and water) were just slightly too large to mount on the support arms and have clear the bed rails and bottom of the CVT when it was deployed.
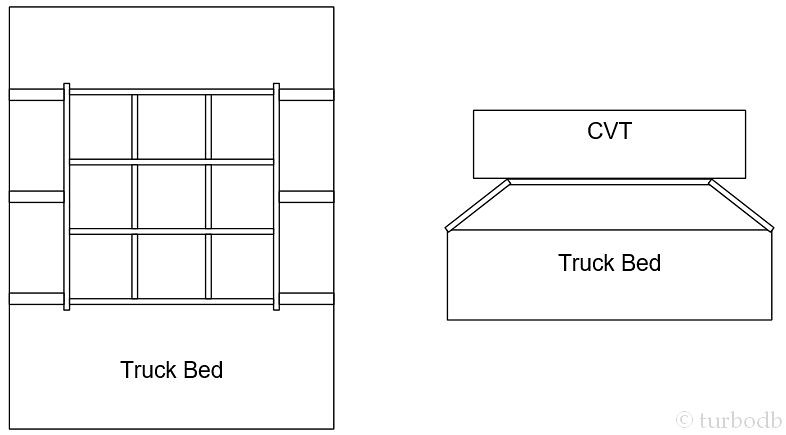
25215229197_95ba98d6c3_b.jpg

We all make compromises, and this one seemed relatively minor. Plus, it leaves open the possibility of a swing-out rear bumper in my future, which I like the look of (even though I don't love the weight profile).

Having built pretty much all my own furniture, as well as constructed the better part of three homes, I'm completely at home in a hardwood warehouse or lumber yard. But boy, my first trip to the steel yard was nerve racking. I didn't know the right terminology, didn't know where to look for what, and just generally felt out of place.

But I walked out with what I needed for the rack, as well as some supplies to build a welding table.

Turns out, the rack is bigger than the table, so building the table first was a bit of a waste of time (though it did get me some practice). And after building the table, it was time to build the bed rack.

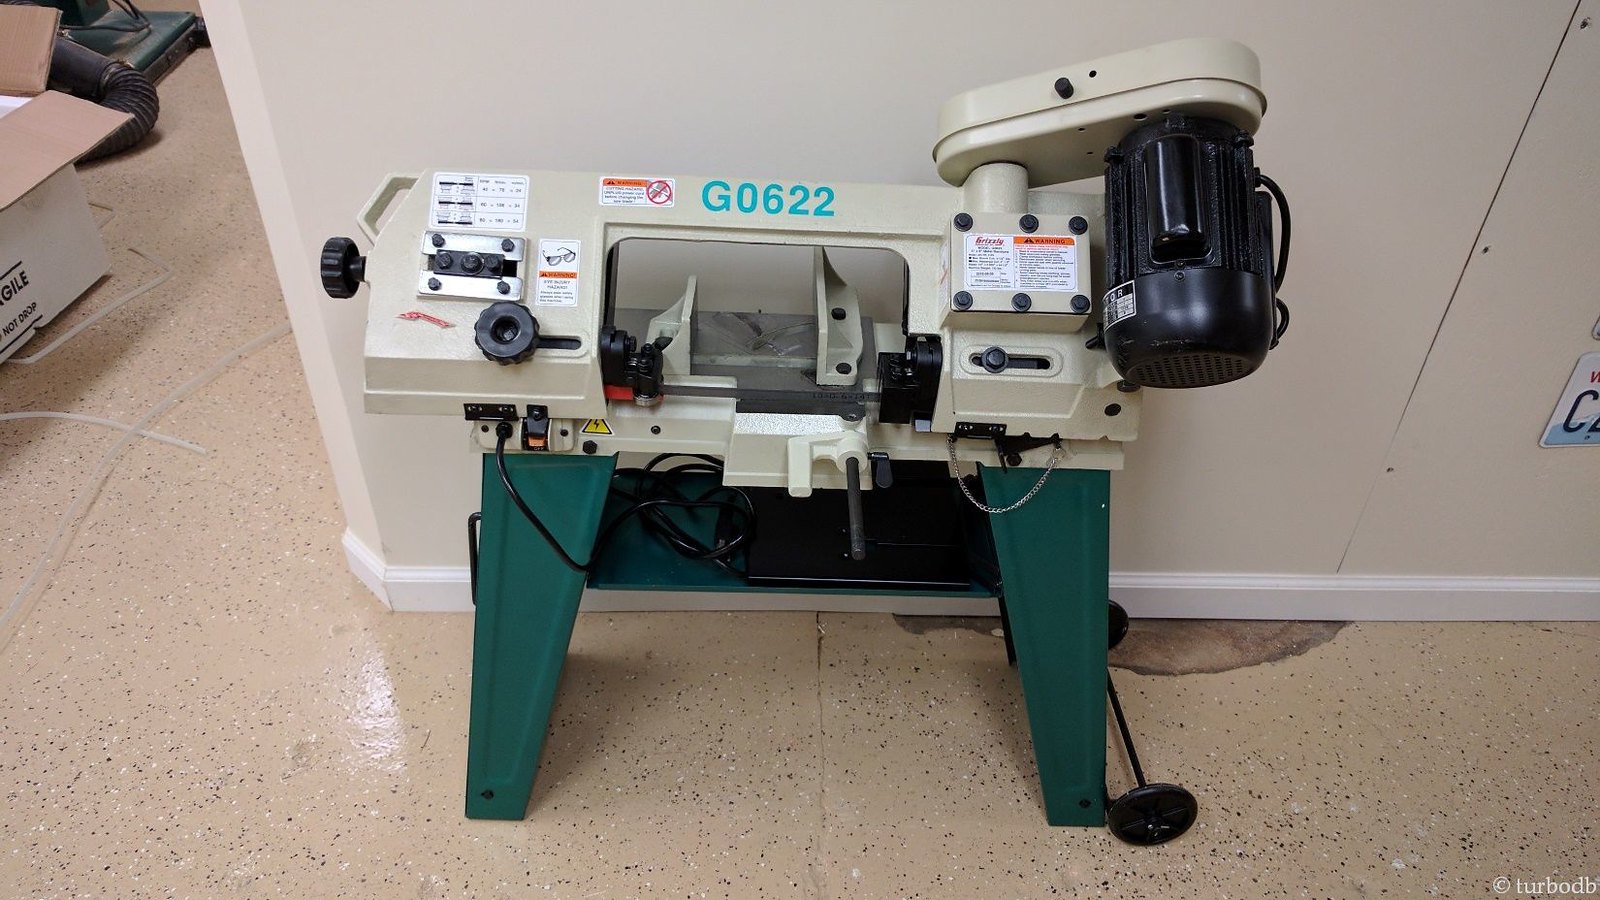
Not having any tools for working with metal, my first order of business was to get something to cut the steel I'd purchased. For the frame of the welding table I'd used a grinder, and boy - the accuracy of those 45 degree corners left something to be desired. So, I looked around and finally decided that a horizontal/vertical bandsaw was going to be the most versatile option for my new hobby.

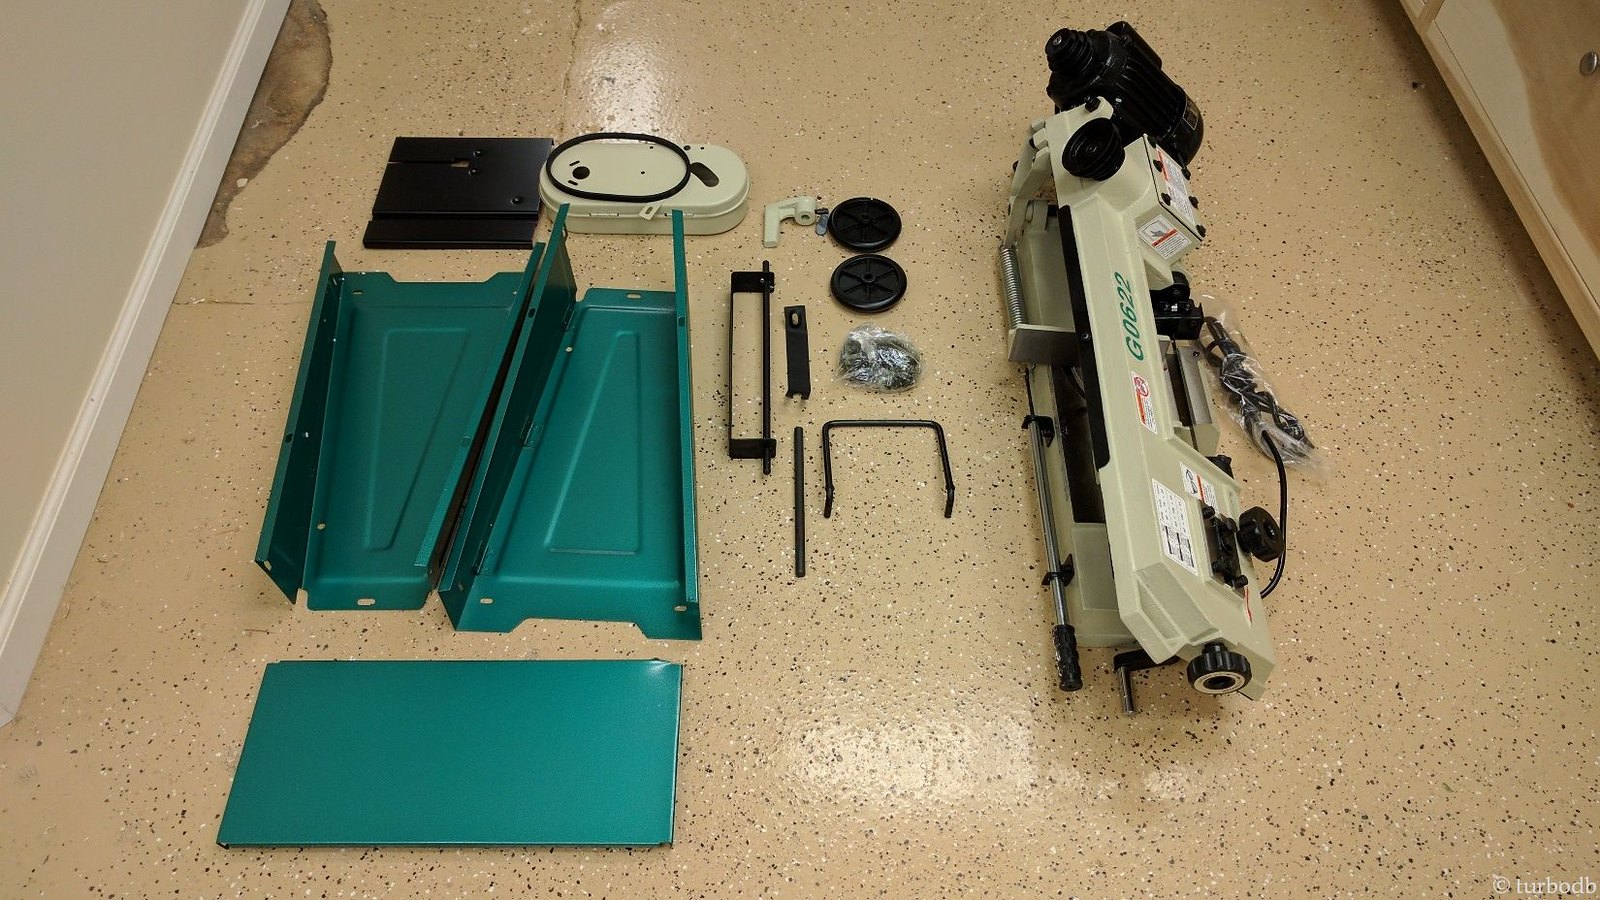
So it was off to Grizzly tools, to pick up my new G0622 metal bandsaw. As you may have noticed - the rack is getting cheaper all the time!

25215229277_9be9bfcbe8_h.jpg

Smaller than I'd expected, it was easy to put together when I got home.
25215229417_1ea4b1f37a_h.jpg


25215229537_f68d3b39c7_h.jpg

Assembled it worked great, and being a bandsaw, I felt right at home using it - although I have been careful to keep it quarantined from the rest of the shop - I don't want to get the oils and metal shavings mixed up with my wood.

But I still wasn't ready to build my rack.

One of the issues I'd been running into as I measured for the rack in order to make a detailed set of plans was that I had to keep moving between the truck and the shop. That was a pain, especially in the 35 degree weather we were having. Plus, I knew I wouldn't be able to build the rack in the truck.

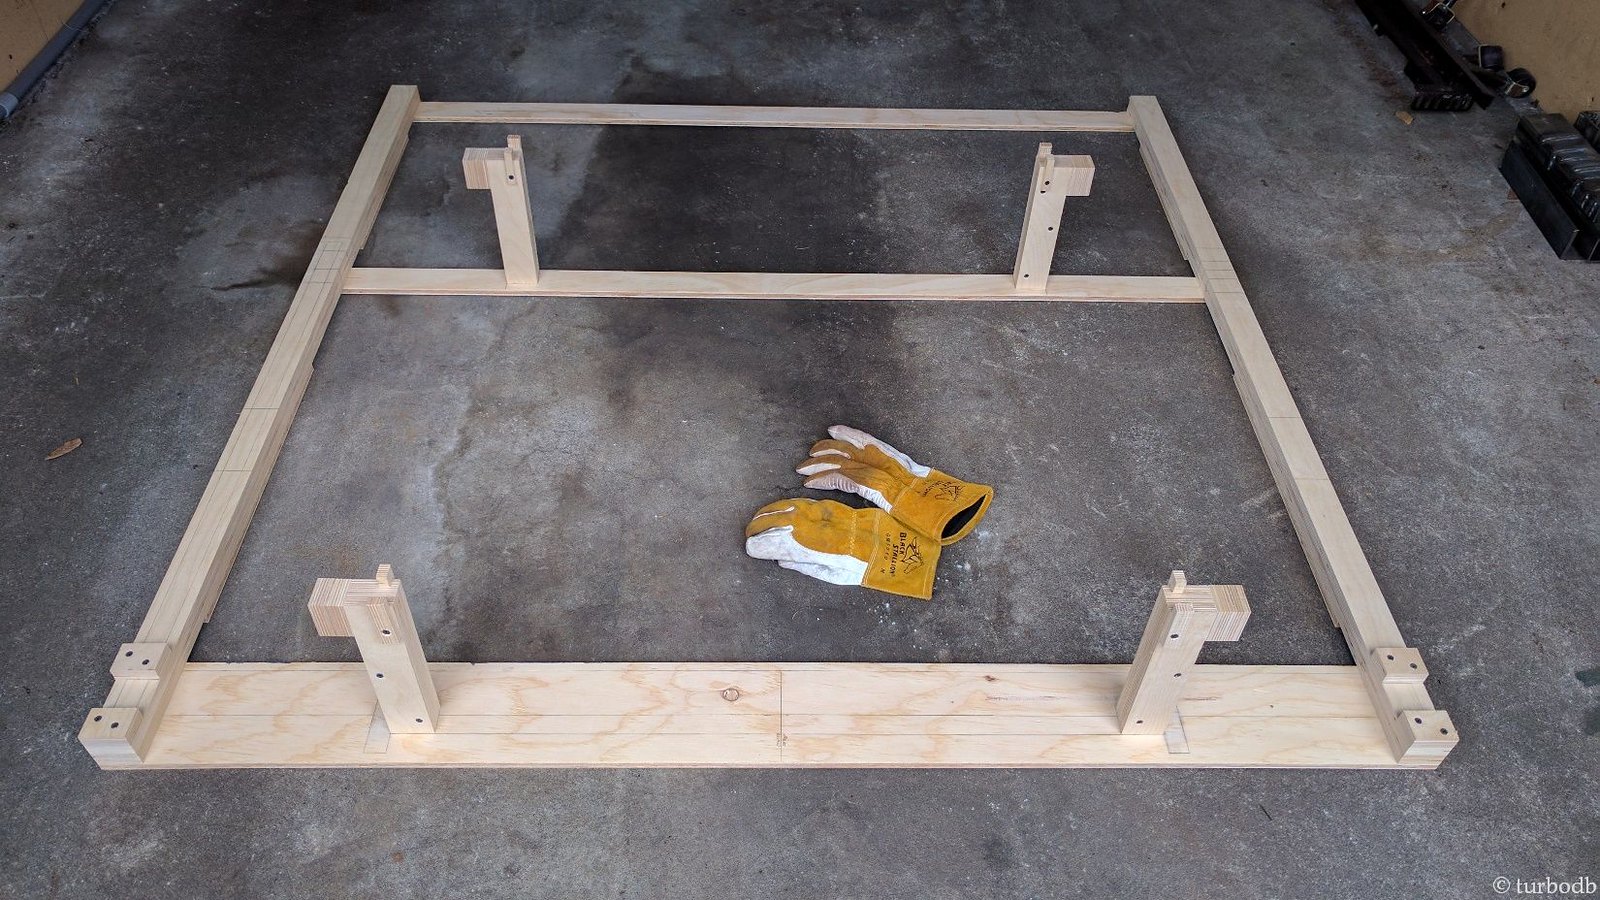
So, it was time to build a jig. A full-size mockup of a first gen Tacoma bed, along with various brackets and tabs that would enable me to more accurately measure, assemble, and weld this puppy together.

But there was a catch. And I liked it. I'd make the jig out of wood.

Would it work? Maybe. Would it be sturdy enough? Maybe. Would it burn up as I welded? Maybe (but I hoped not).
25215229717_fa9a4dc1c8_h.jpg

In the end, the rack came out just fine - relatively quick to build, great for alignment, and seemingly sturdy enough for actually welding on. Plus, now I could build more racks (more easily) if this first one actually worked out. Maybe even enough to pay for all this new equipment!

Boy, I sure am getting ahead of myself.

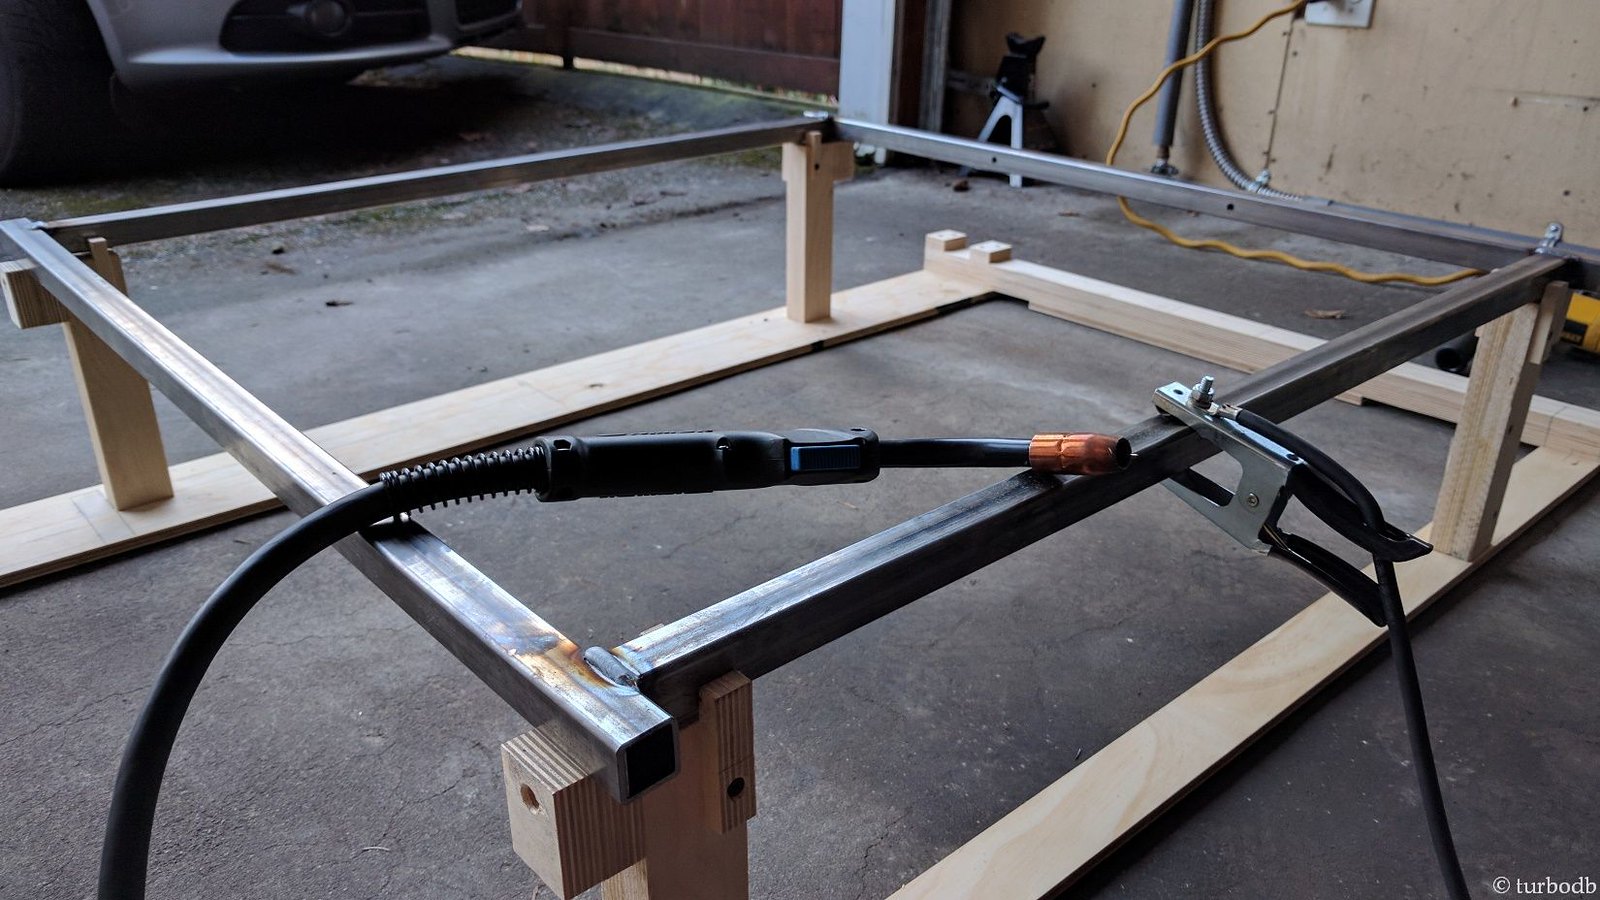
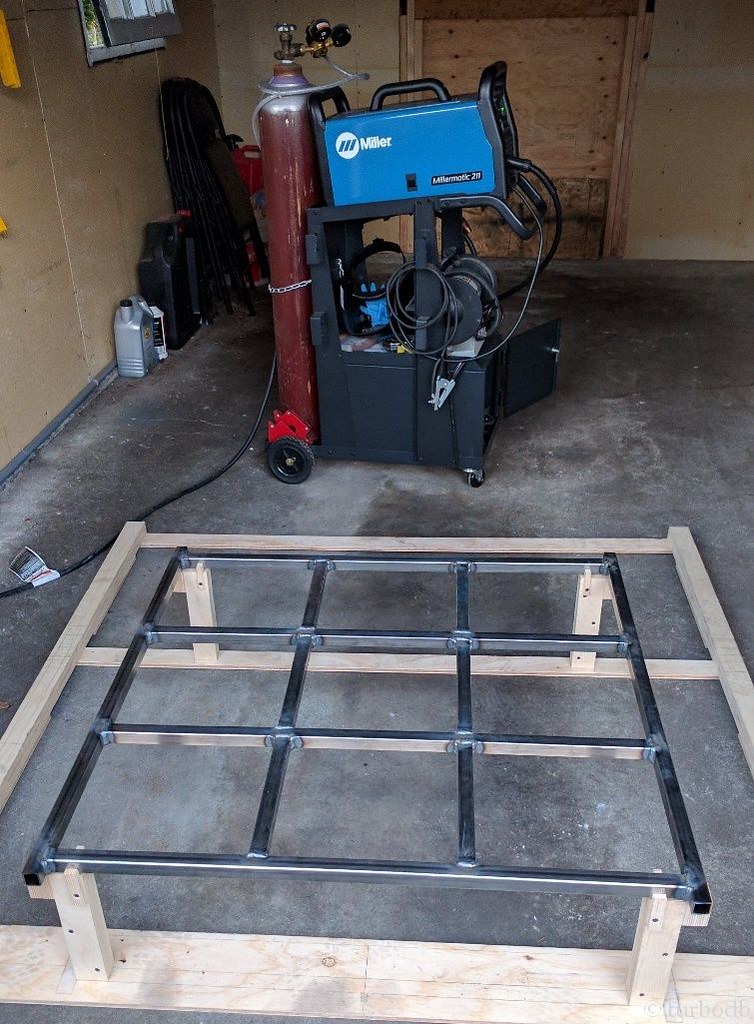
With the rack built, the bulk of the parts cut on the bandsaw, and an in-the-garage temperature of 29 degrees, I setup the frame of the platform and started tacking everything together, following along with full welds. Before long, I had a frame.
25215229897_cf3e432678_h.jpg


And not long after that - the platform of the rack was complete.

And the jig wasn't a pile of coals. Success!

The welds weren't the most beautiful I've ever seen, but they were better than my first welds a month ago, and I knew I'd be grinding them down anyway, so it didn't matter too much.

Of course, so far, I'd stumbled through the easy part. The legs of the rack were next, and those were a bit more complicated.

But first, we were off to Hawaii for ten days!
25215230027_90ba878b3f_b.jpg

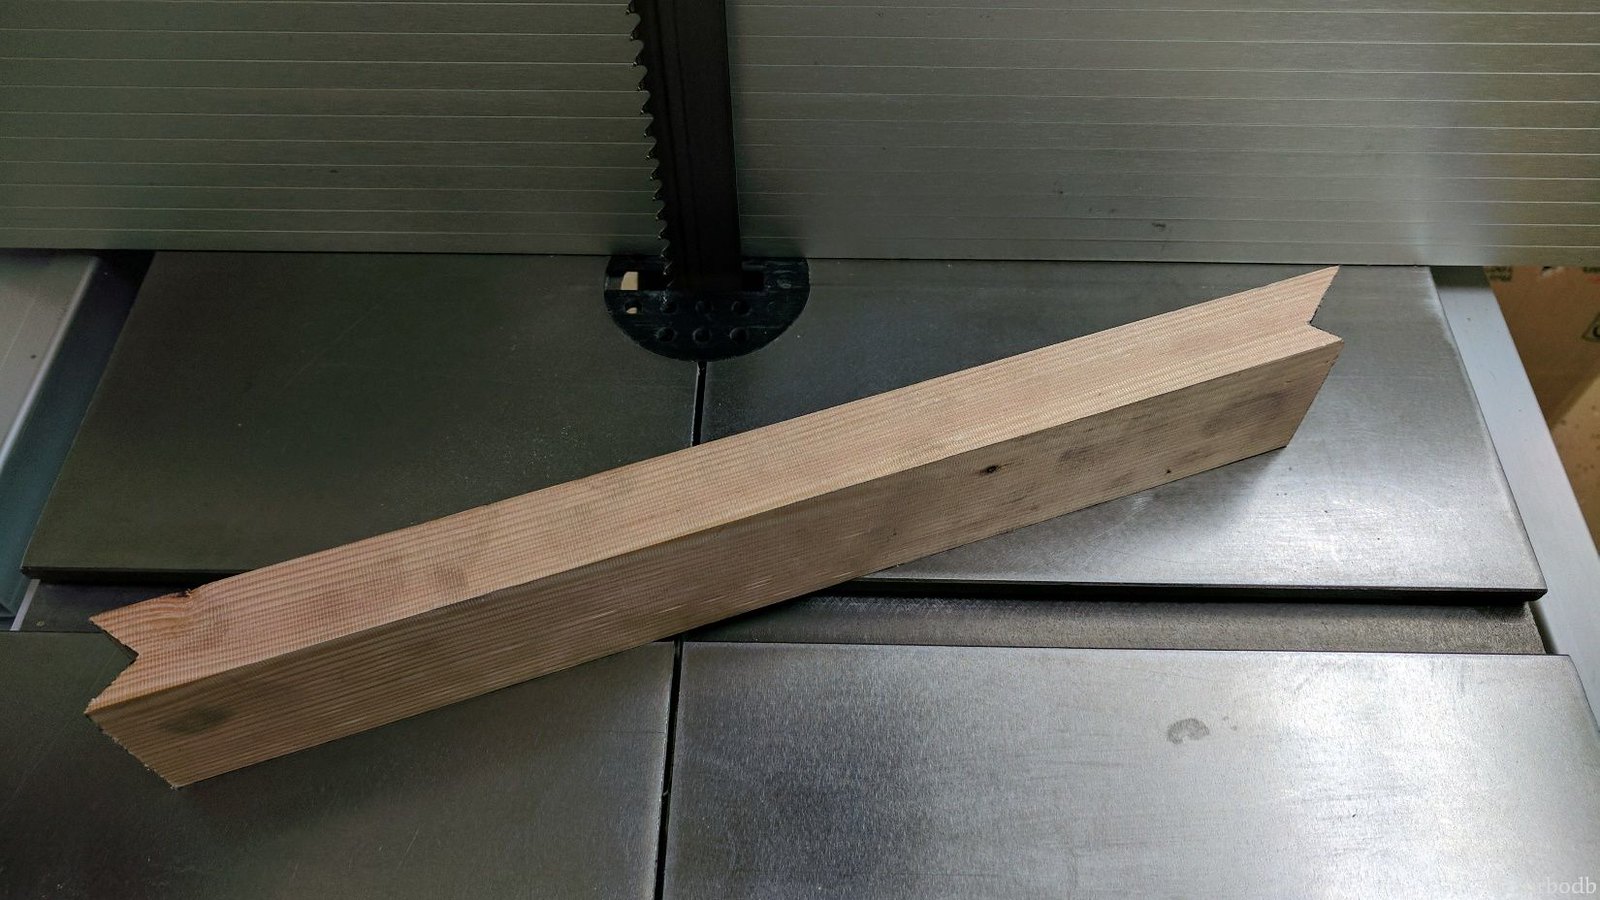
With ten days to think about how hard the legs were going to be, I was itching to get going when we returned. The next weekend I set about building a template, when I realized that I could make the legs stronger by notching both ends of the legs, so they cradled the rack and the sides of the bed.

Of course, this would also make my fabrication life much harder. It was a no-brainer. Notches!
25215230107_ee694fbeaa_h.jpg

Template built, I traced the pattern onto a piece of metal tubing and tried to figure out how to cut it efficiently on my bandsaw. Ultimately I don't think I ever found anything - and a task that would take me 15 minutes with wood, took me a good couple hours. But in the end, I had six legs.

…that when I test fit them, were all 1/8th inch too long.

No problem with wood, but with metal - well, it's a problem. At least for me. I ended up grinding each and every one down (a bit too much)…in another hour. Sigh.

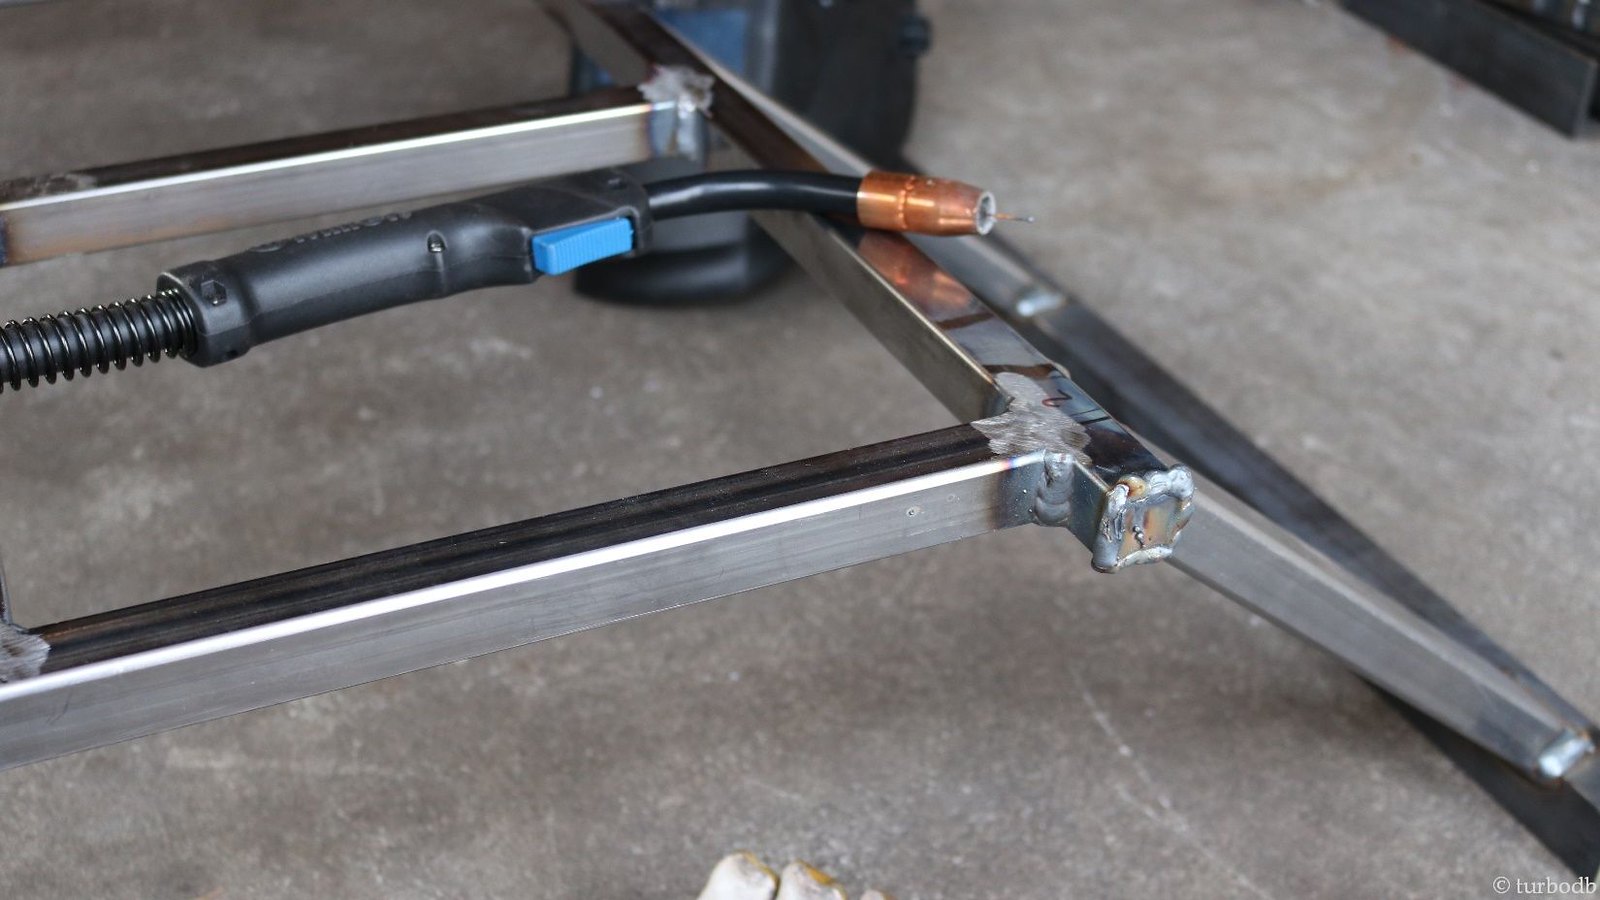
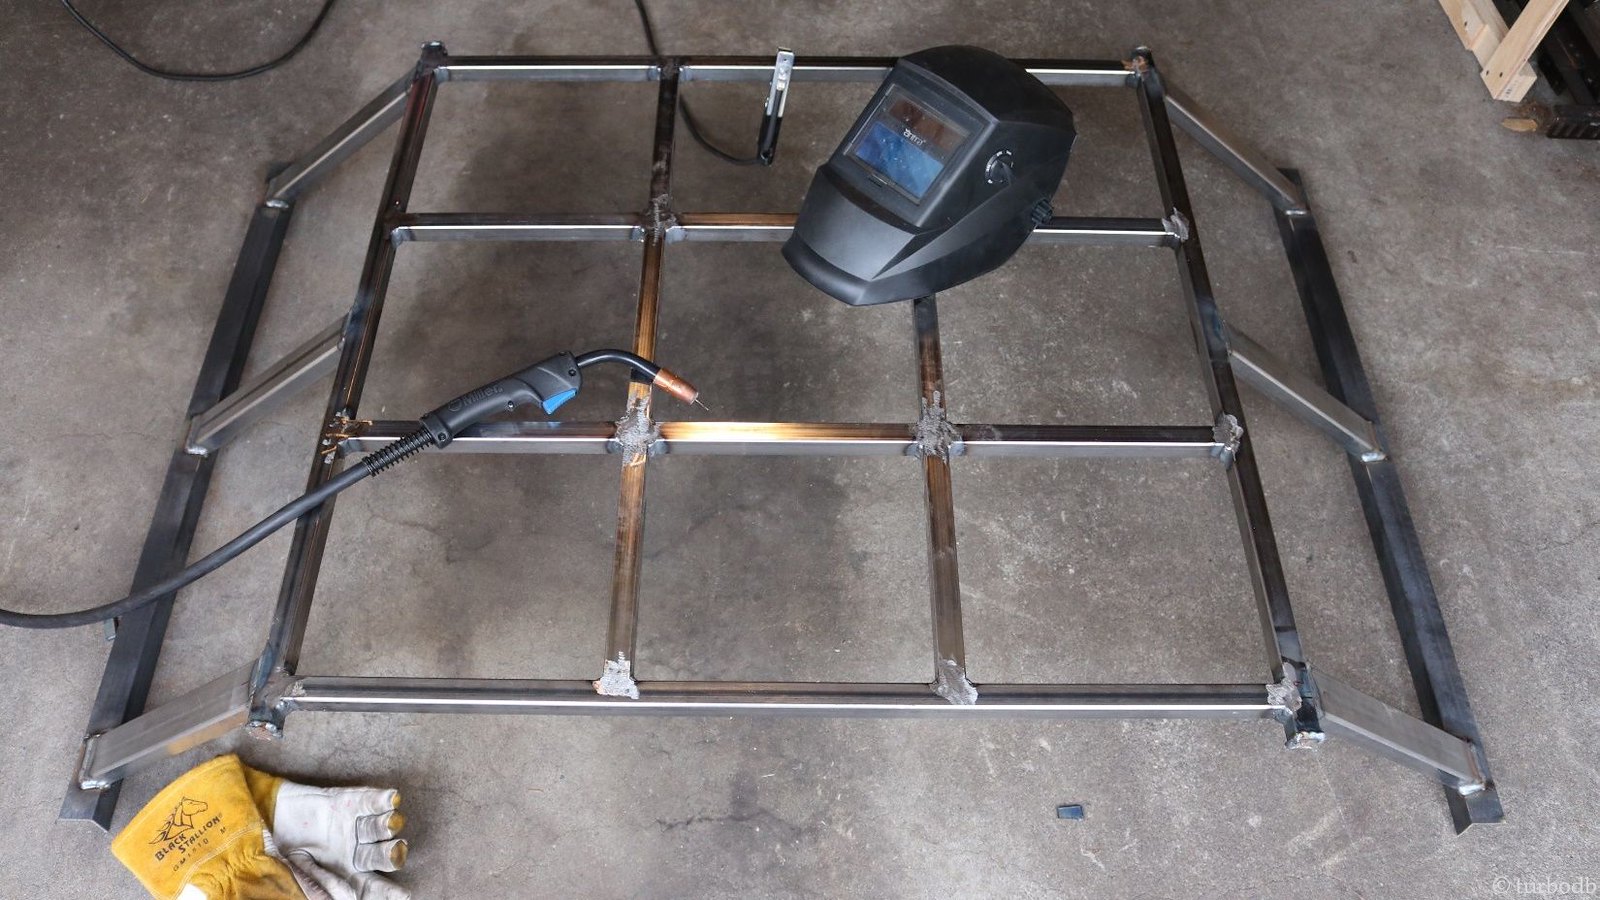
But then, with some more welding and a bit of grinding (and by a bit, I mean a lot - they say you're either a welder or a grinder…and I'm clearly still a grinder), I had a bed rack. And to my surprise, it seemed to be the right size to fit a 2000 Tacoma pickup bed.
25215230227_5b213868b5_h.jpg


25215230307_504f72edf2_h.jpg

All that was left was prep for paint, priming, and painting. Naturally, that would take two weekends - because in prepping for paint, after using a wire cup on the grinder, I painted on some phosphoric acid (to convert any rust and prevent future rust). After rinsing off the acid, rather than eliminating rust, the entire rack flash rusted. "Minorly upset," I set it aside until the next weekend, when I could go over the entire thing again with the wire cup.
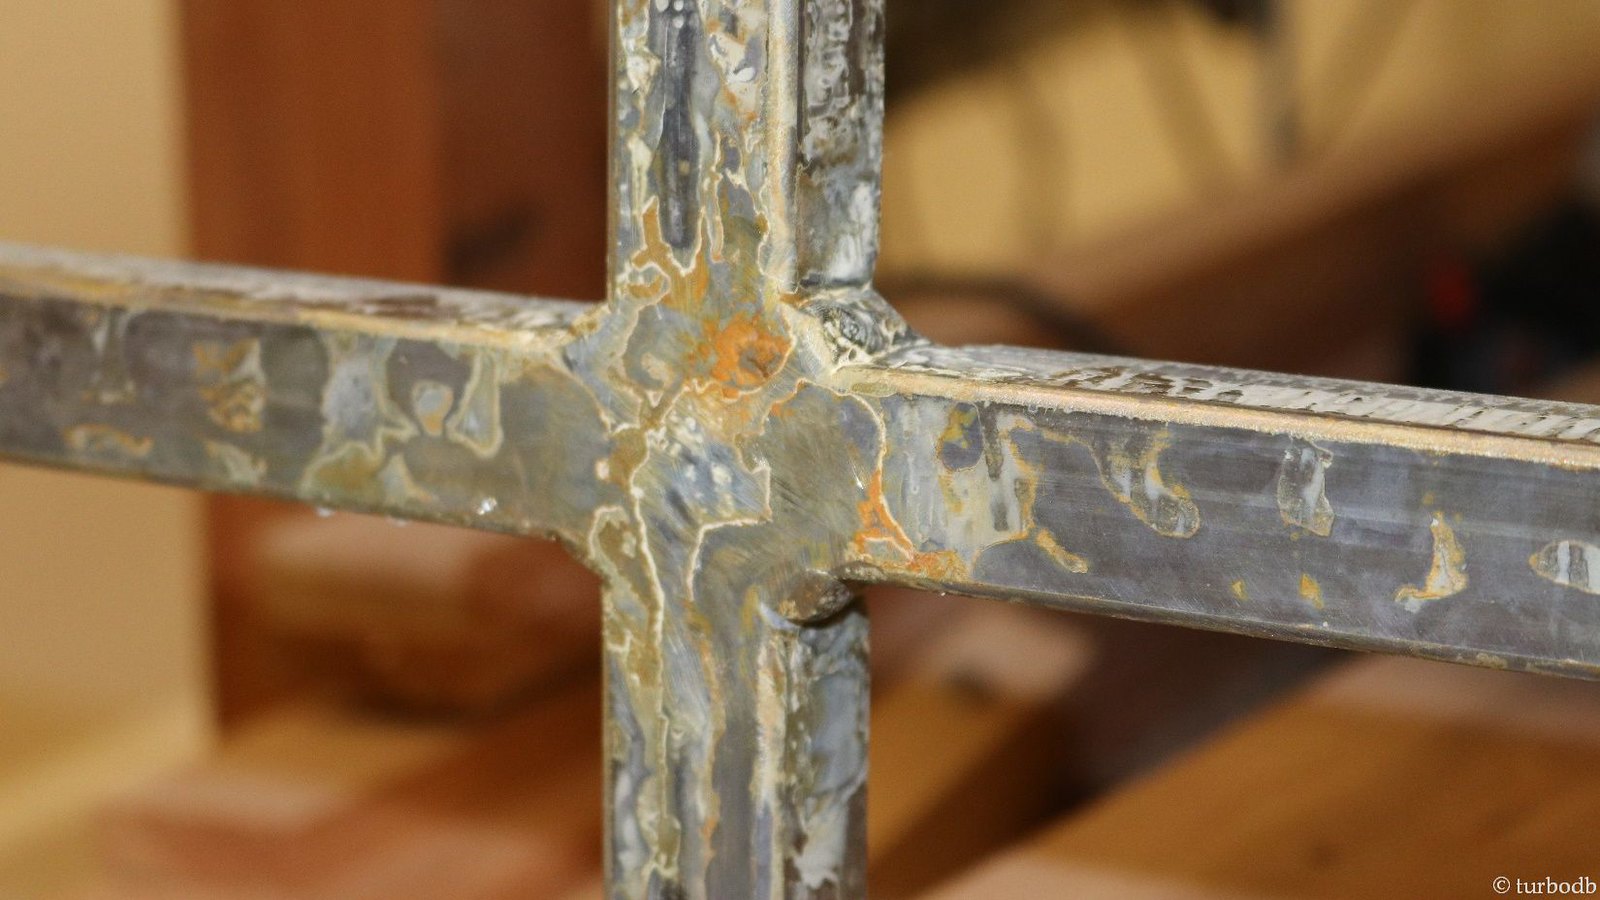
25215230417_17bf397ed7_h.jpg

Some grinding later I was ready for paint - but with temps below 50F, I wasn't sure that I'd get good adhesion, so I warmed up the garage using a propane heater and then sprayed on some Rustoleum primer and two coats of rubberized undercoating with no hiccups. Then, it dried for a week.
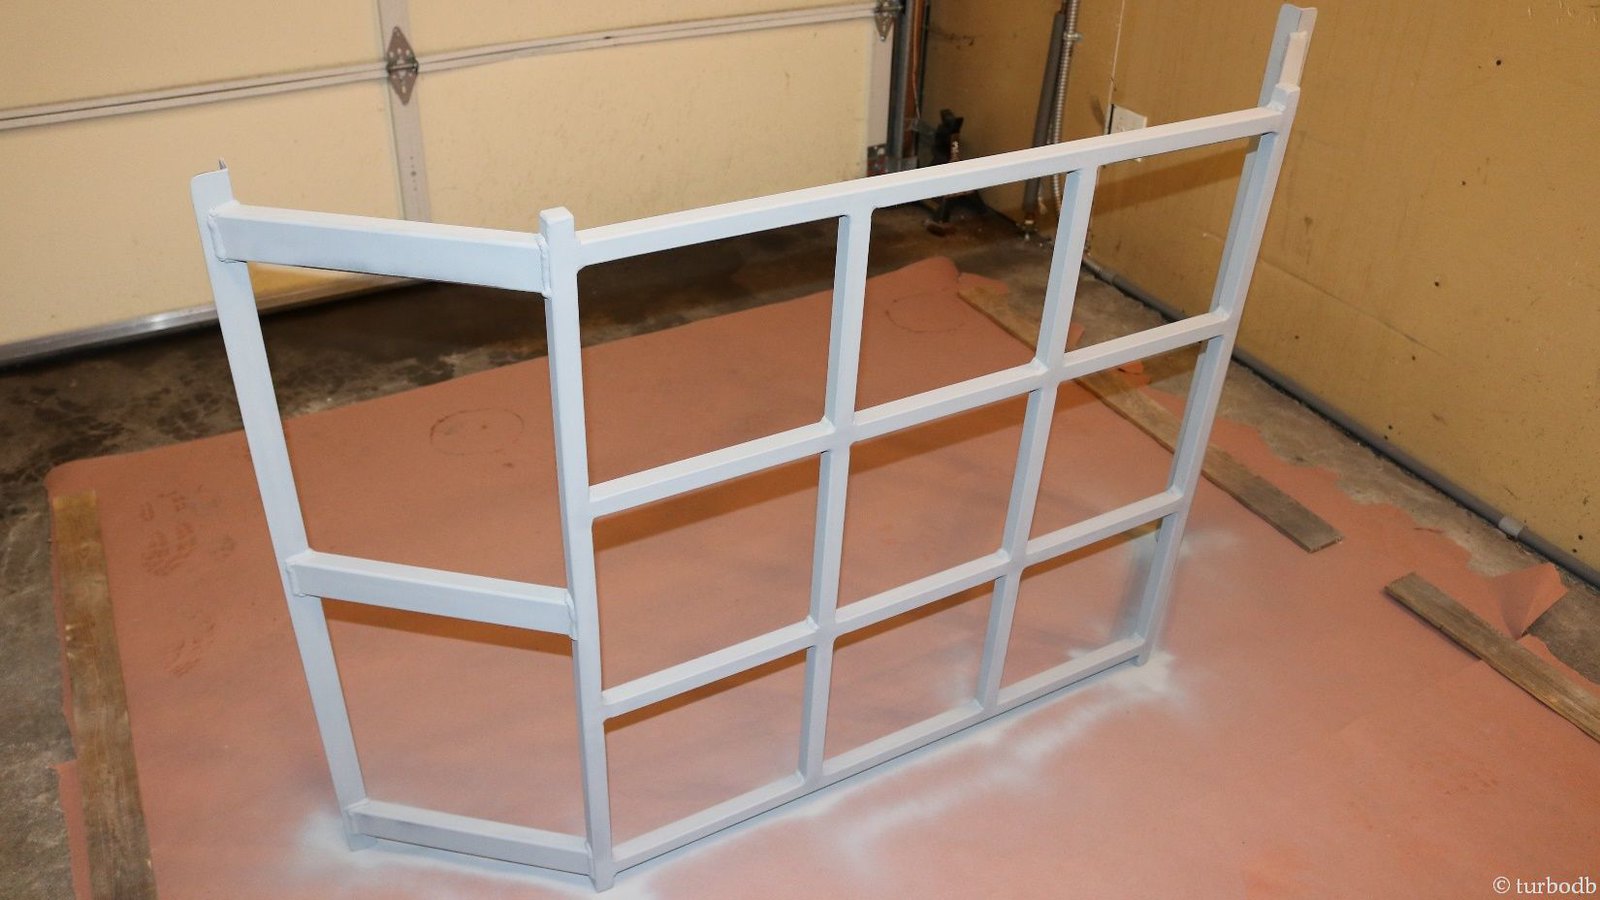
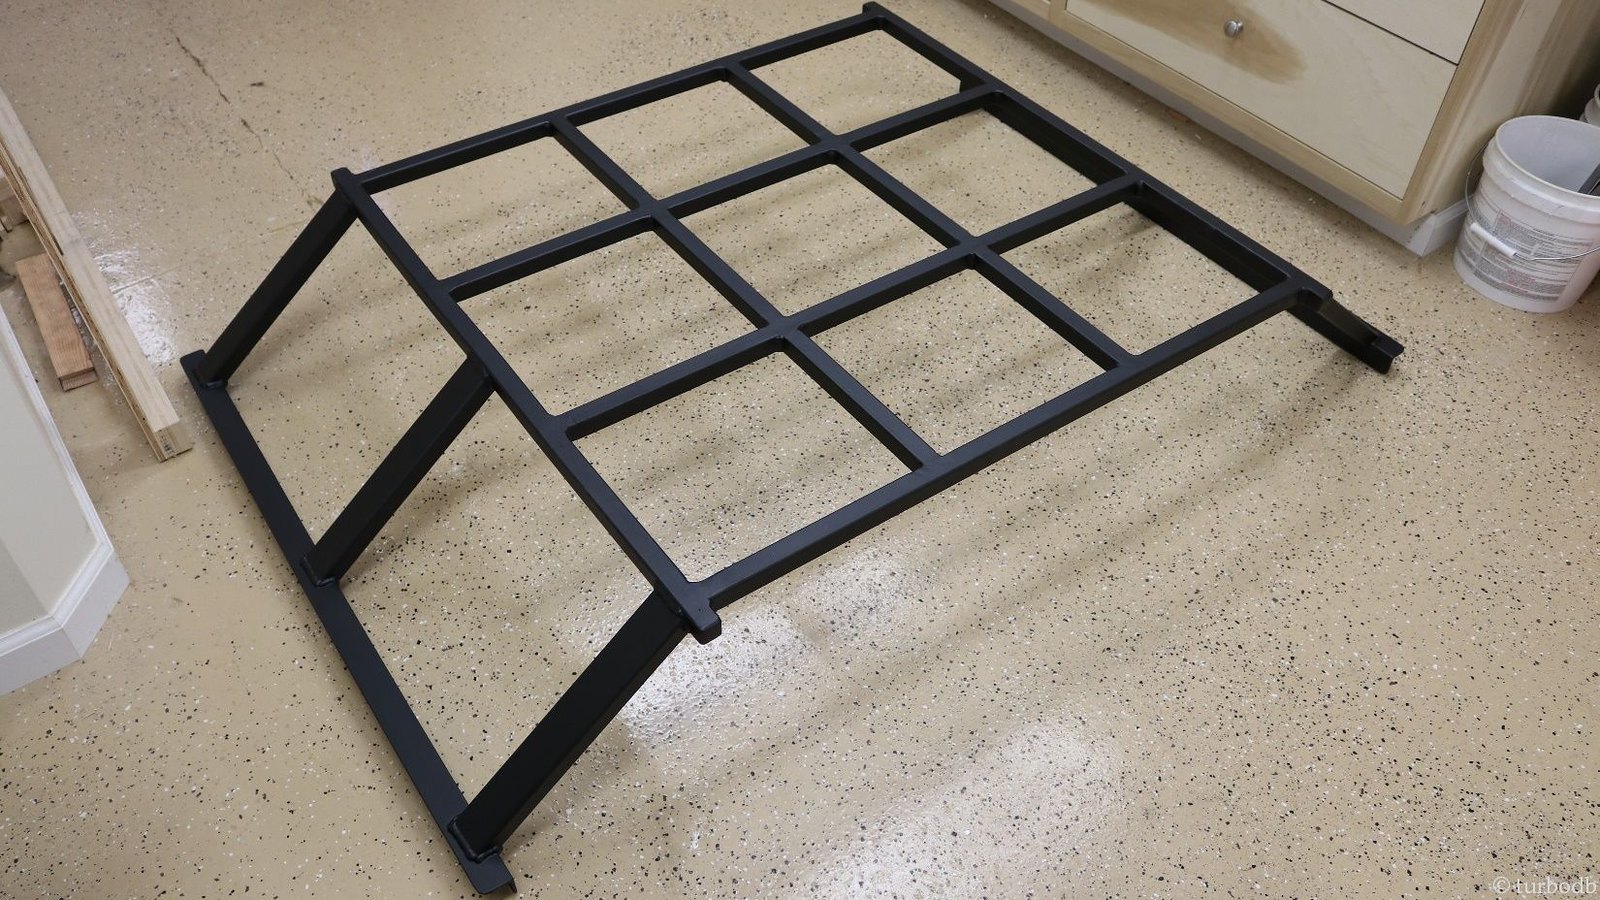
39376059094_3384015cfe_h.jpg


39376059324_8411def1cc_h.jpg

After all of this, installation was easy. A bit of high density rubber to protect the bed rails, and it fit like a glove.
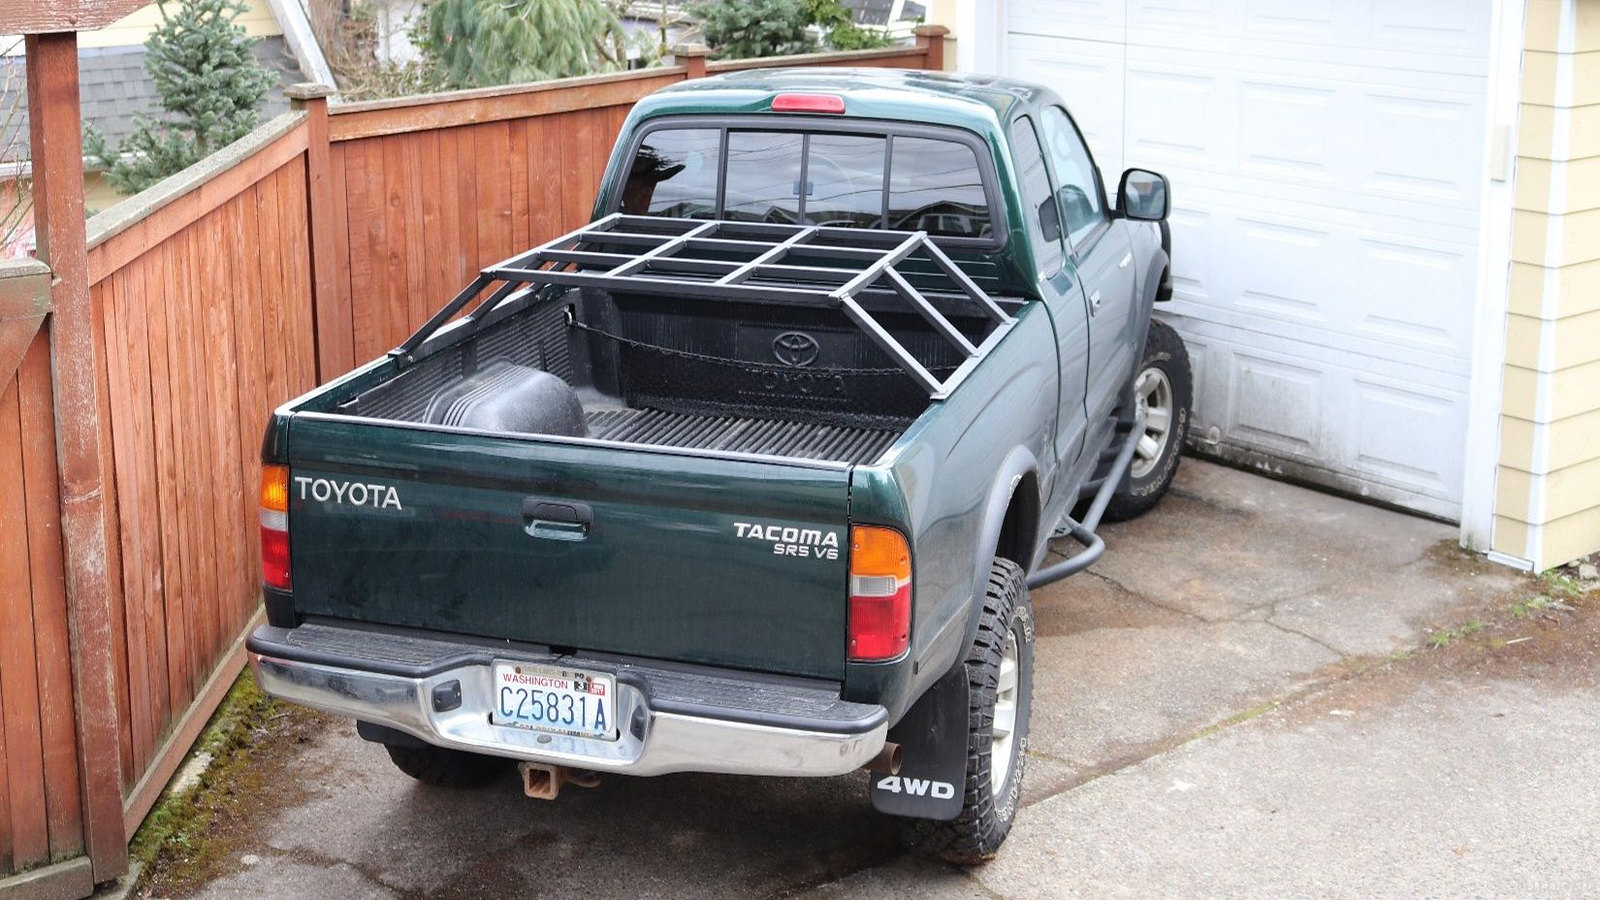
39376059634_932ee90c90_h.jpg

Looking back, this was a great project. I mean, it cost me about five times (or more) what purchasing a set of bed bars from Relentless would have cost, but I had a great time. And who knows - there might just be someone out there who wants me to build them one…for the right price!

Now, I just need to pick up that CVT!
 
Last edited:

turbodb

Well-known member
Rear Diff Breather Mod - Why didn't I do this sooner?
March 19, 2017

It seems like just about everyone does this mod sooner or later, and I chose a little later. 17 years a little later.

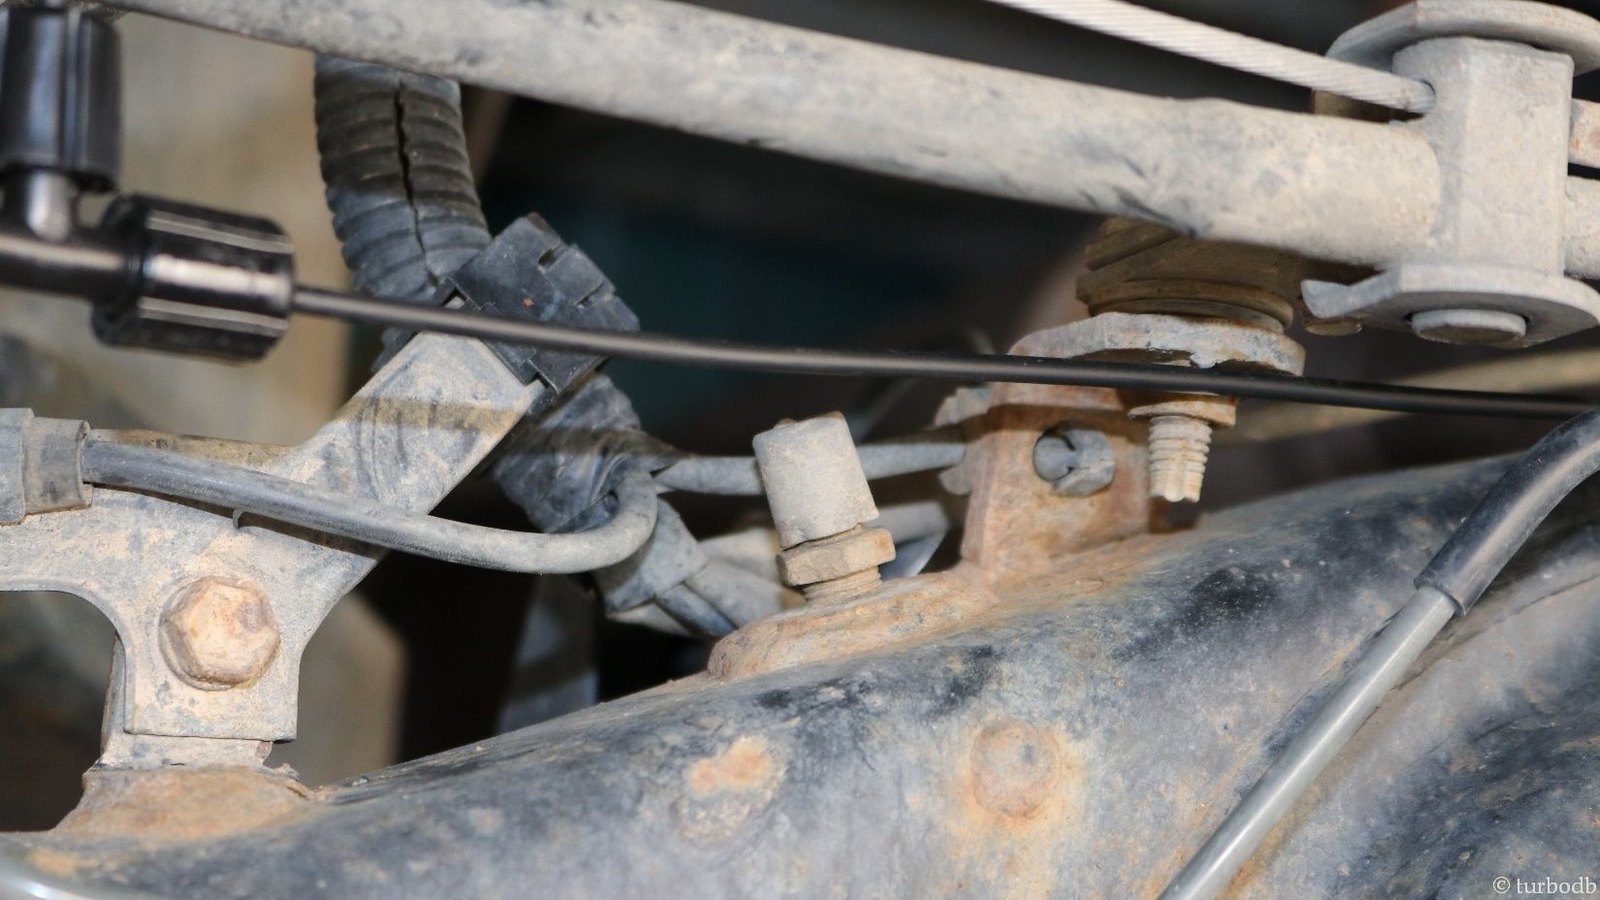
The fact that we have to do this mod at all is a bit unfortunate. Designers at Toyota placed a breather for the rear differential right on the diff housing, which means that if you submerse the diff in water when it's hot, the contraction of air in the diff could suck water into the diff, destroying it.

Sounds great, right? Yeah, clearly no.

28306600699_62ce4a0915_h.jpg

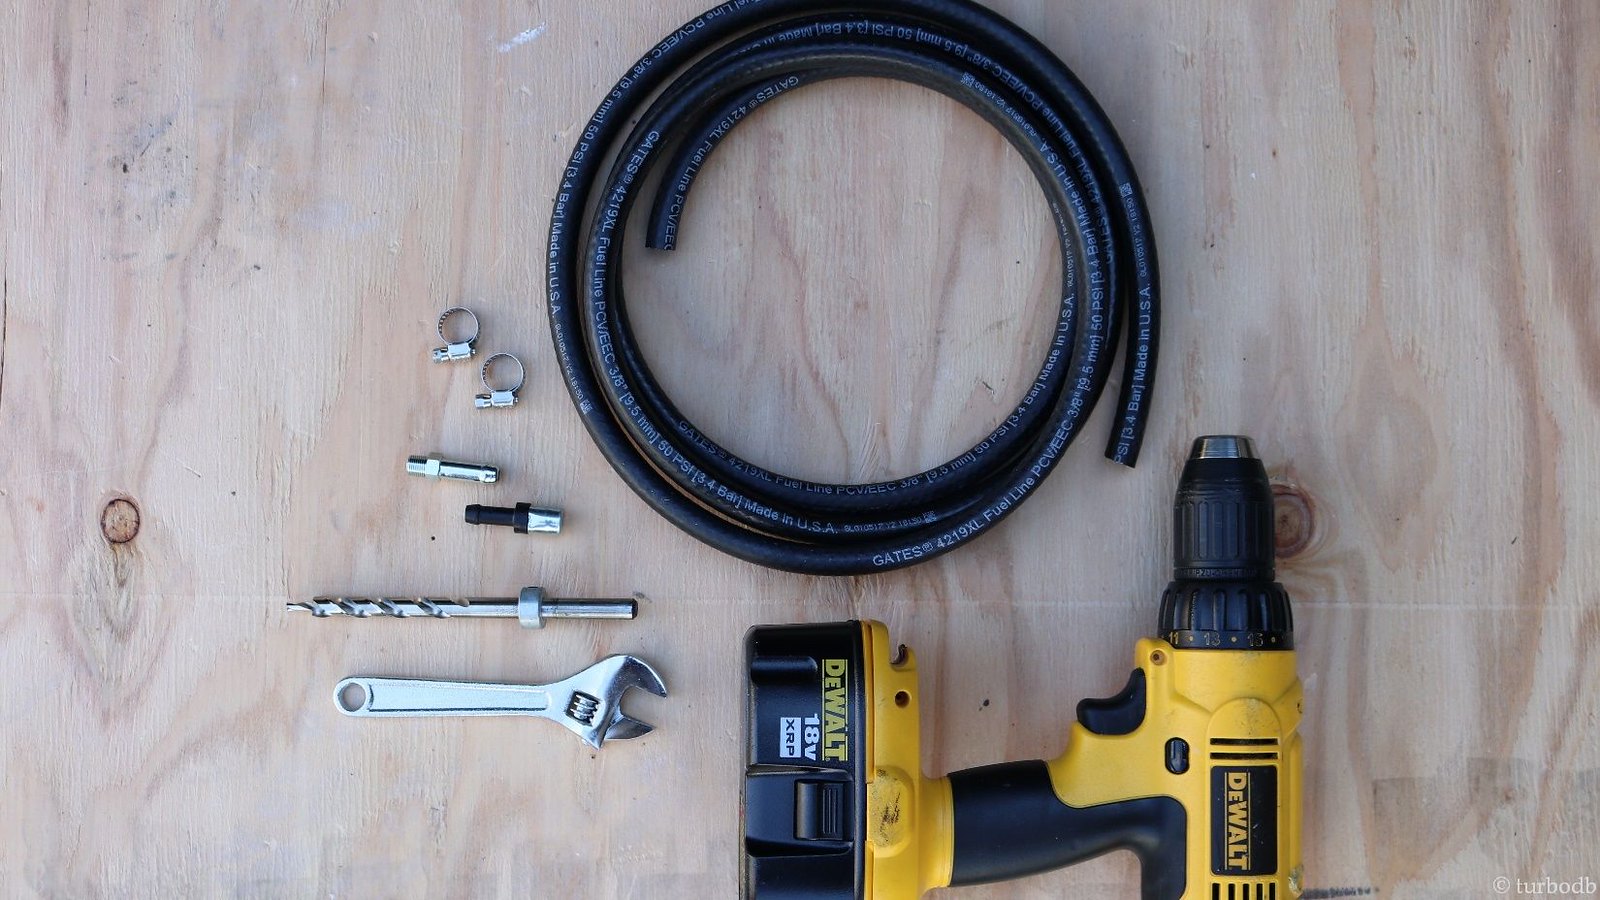
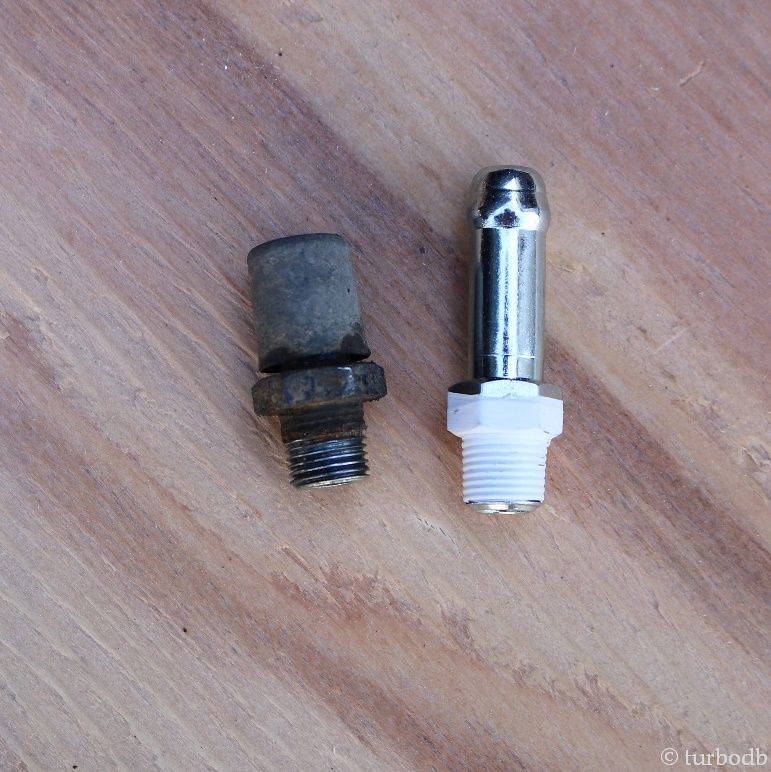
The fix is pretty simple: add an extension to the breather to move it up out of the reach of any water crossing. The hardest step is finding the right parts to do the mod. Luckily, others have gone before, and the parts have been well identified:
  1. 90930-03136 Plug Breather
  2. 90404-51319 Union
You'll also need a few other odds and ends, and tools:
  1. Two stainless steel hose clamps
  2. A length of 3/8th inch fuel line (8' is plenty, I used about 6' to get to the fuel door location)
  3. Slot screwdriver
  4. Drill (if you're going to drill a hole for the relocated breather)
  5. Adjustable wrench
  6. A few zip ties
40087440581_5461a78196_h.jpg

Everything in hand, the entire process took less than 30 minutes:

1. Drop the spare, to get a bit more room to work under the truck.

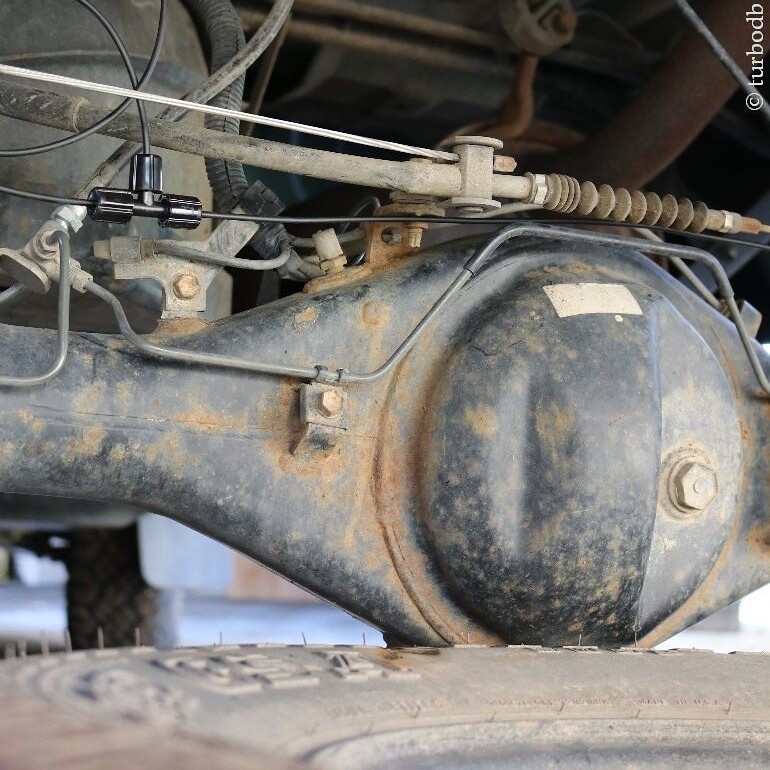
2. Clean around the OEM breather (so nothing falls in your diff as you make the swap, and then remove the OEM breather, prep the Union, and install it.

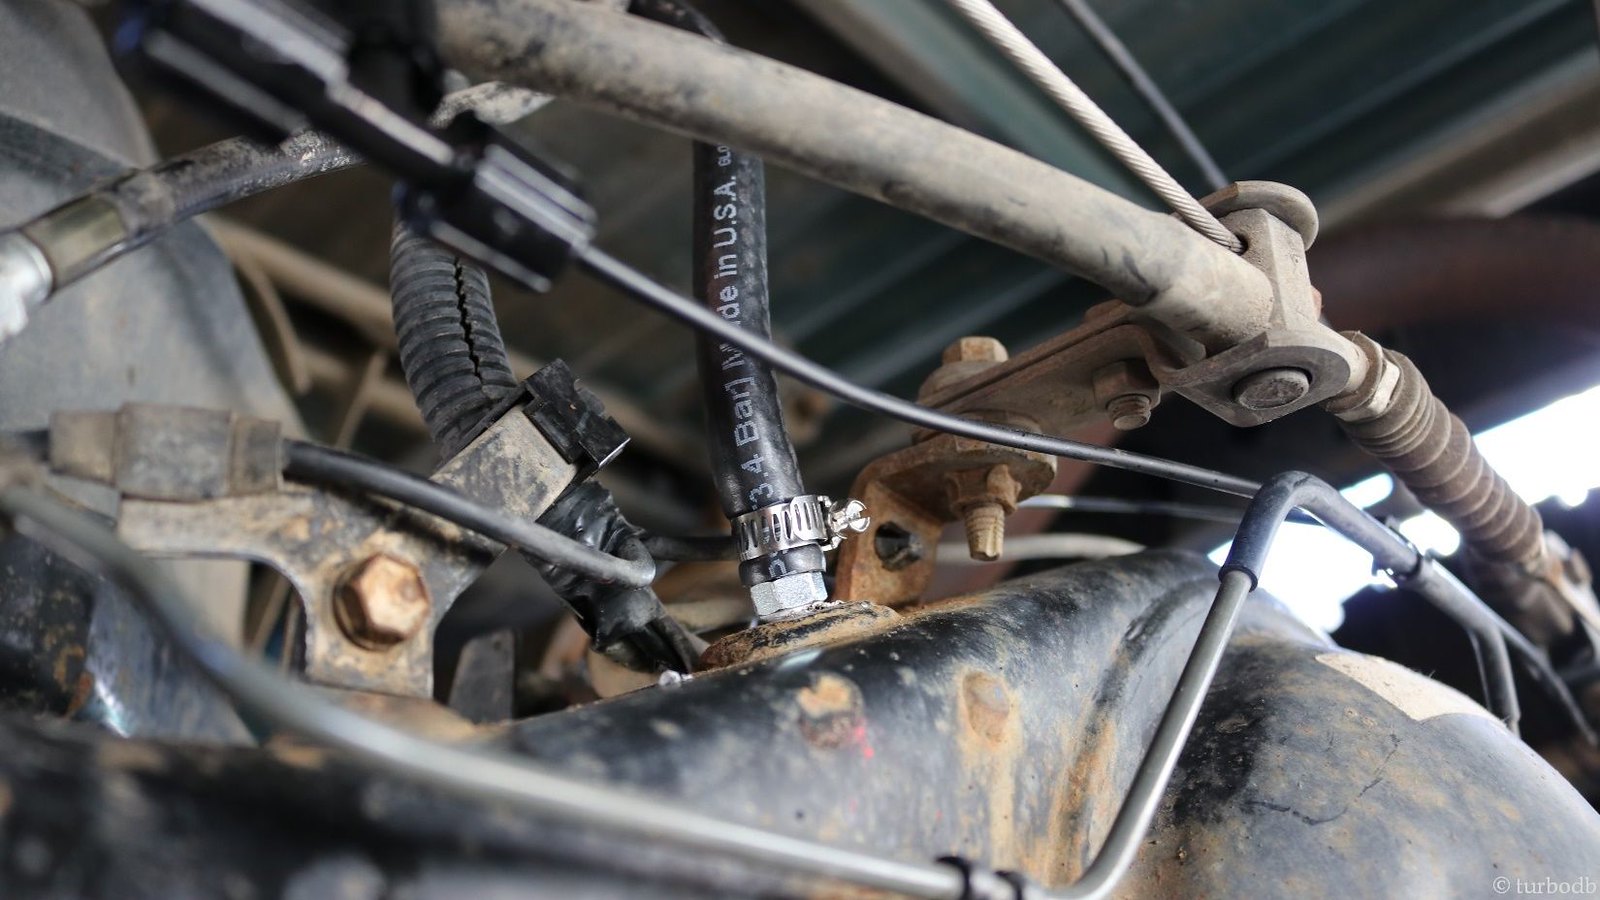
3. Attach the fuel line to the Union with a hose clamp and run the other end to the location you'll install the new Plug Breather. Zip tie it as you go, and don't forget to allow for rear axle droop (leave some slack).

4. Attach the fuel line to the Plug Breather with the other hose clamp.

40087440901_15b1afa3ed_b.jpg


40087441061_90dfdaf956_b.jpg


40087441251_7fc93af16d_h.jpg


40087441401_18cada4a37_h.jpg

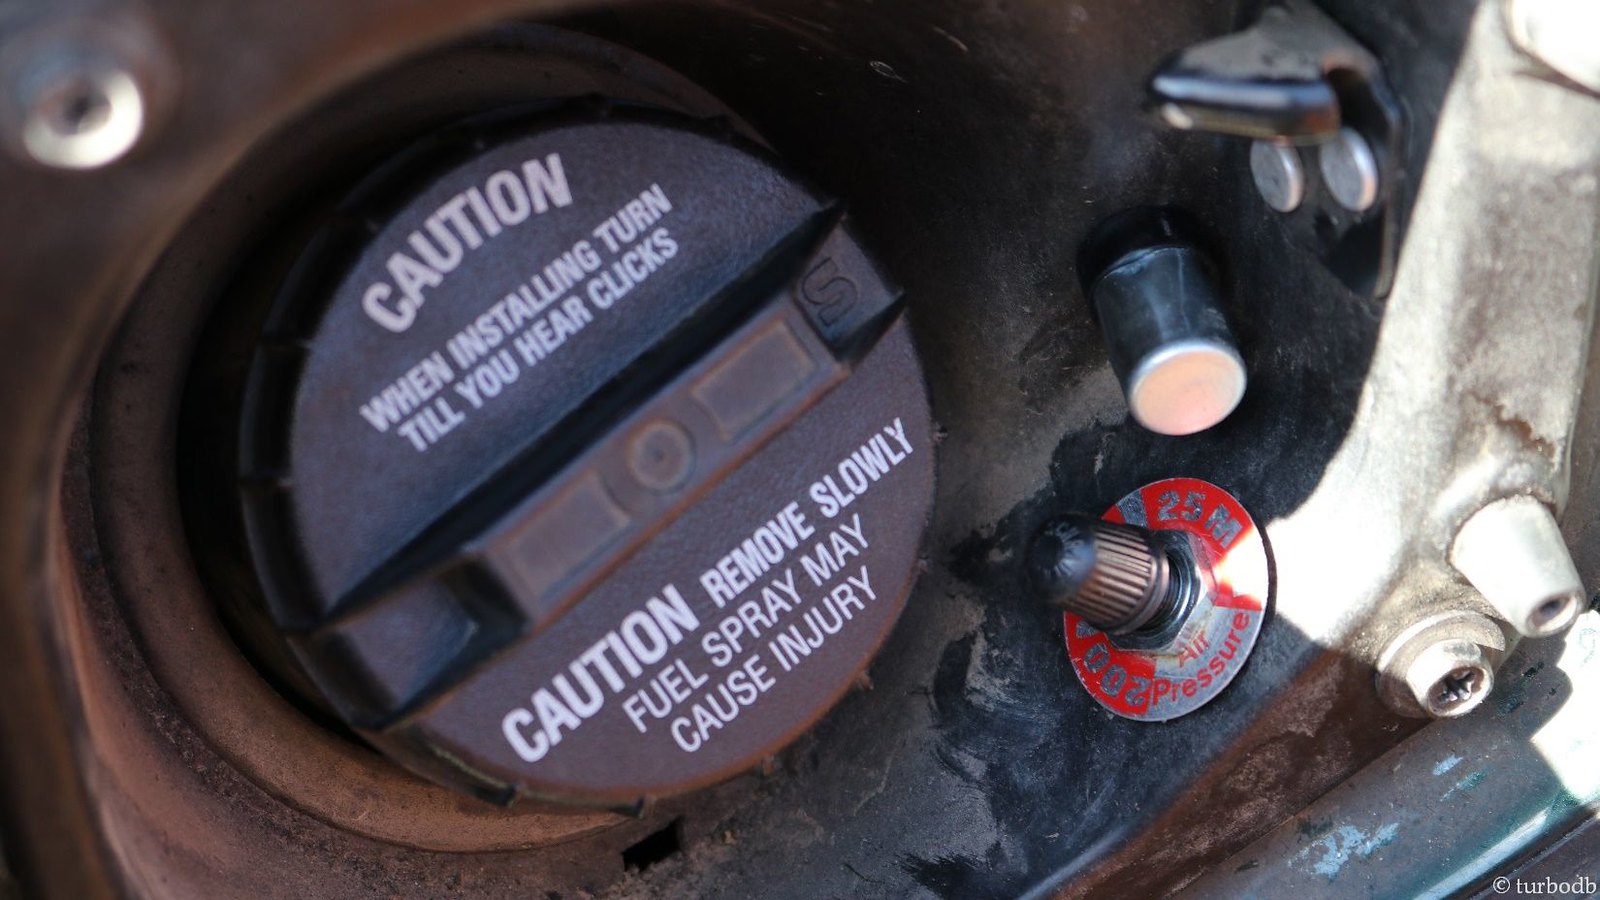
So there it is, installed behind the fuel door, next to the valve for the air shocks. Getting a little crowded in there, but still fits nicely. Why didn't I do this sooner?
 

turbodb

Well-known member
Bussmann RTMR installation
April 2017.

Wires everywhere. That’s how it’s starting to feel with the various accessories that I’ve added to the truck. Sure, I tuck them away here, and zip-tie them away there to try to clean things up, but in the end I still have several pair of wires running from various fuses and relays in the engine compartment to accessories and switches on the truck. As someone who likes organization, it’s always bothered me.

Luckily, there are solutions out there for those of us who like order. There are pre-made fuse boxes from folks like Blue Sea Systems, and there are components from folks like Bussmann, each of which allow you to centralize fuses and relays for accessories.

I decided to go with a Busmann box, and because at the time I ordered it (December), I didn’t really want to go through the hassle of building it out myself, I ordered one built for my by @Sandman614. It turned out great. (It also turned out that I ended up ordering a bunch of stuff to complete it - essentially weather proof connectors and such - and so I probably should have just built it myself, but I’m still totally happy with what I got from @Sandman614.)

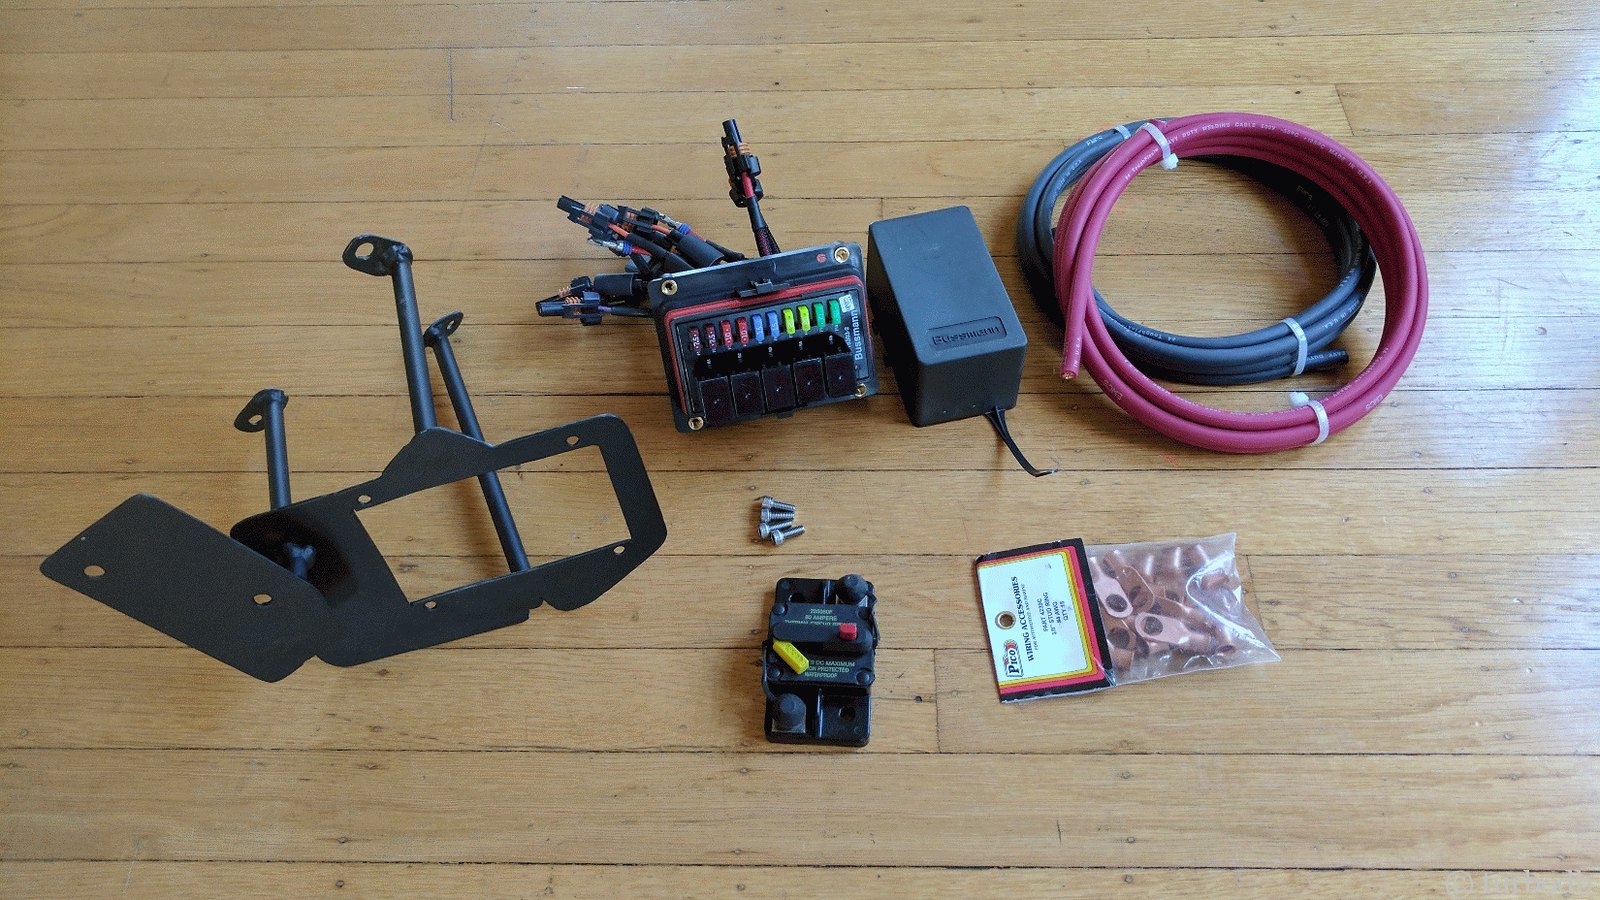
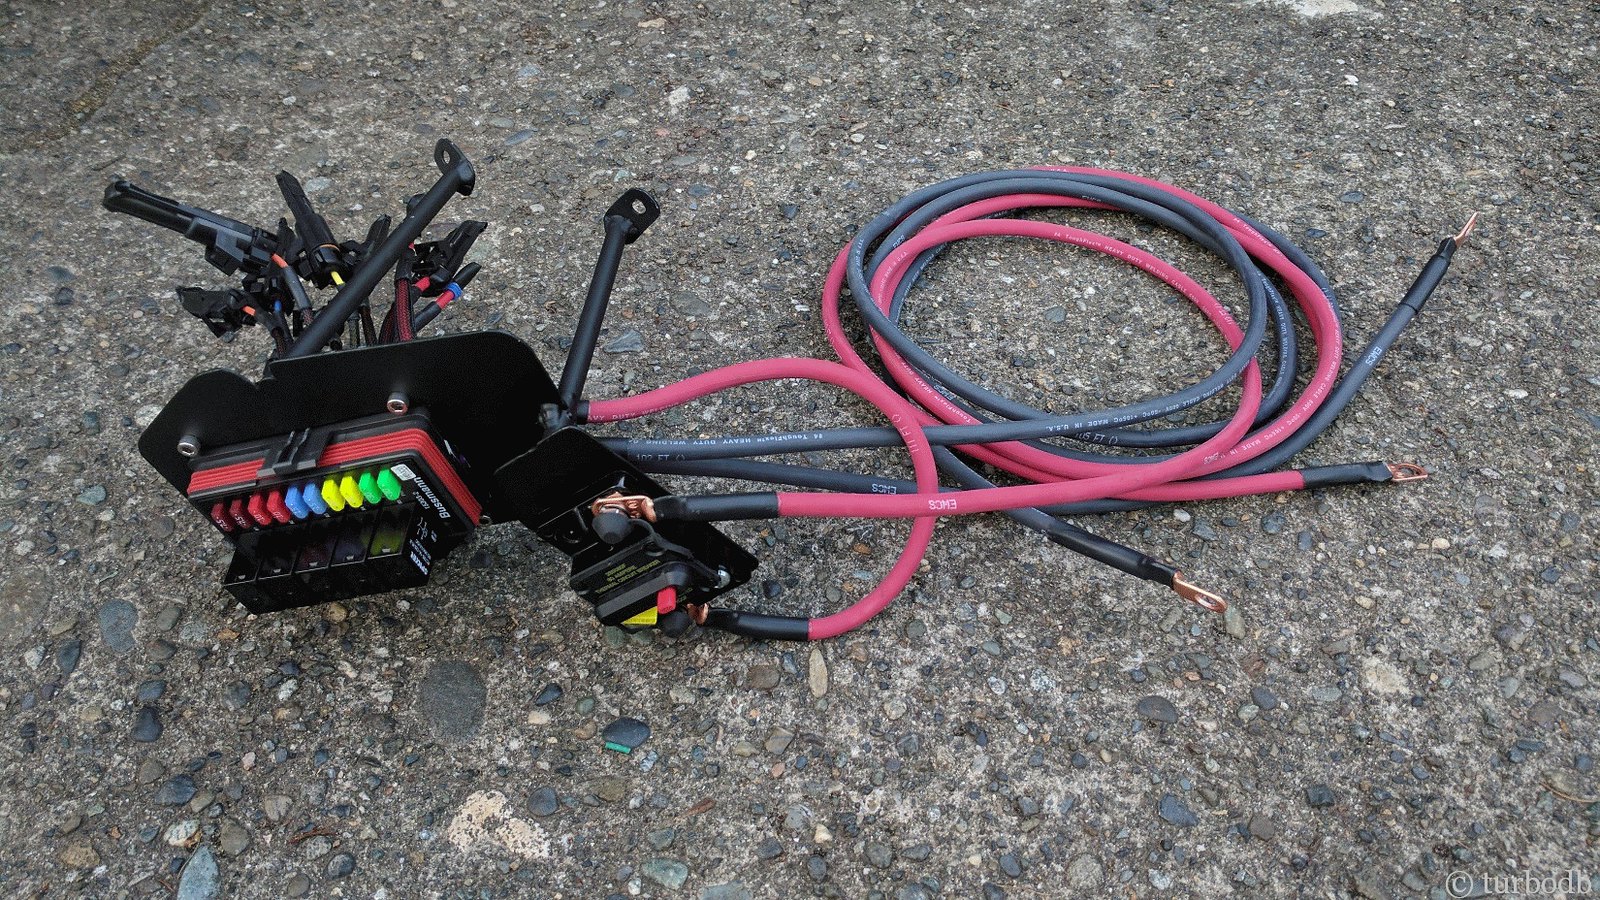
The RTMR box I’m going with is a 10 fuse, 5 relay model - specifically Bussmann 15303-2-2-4, wired up with:
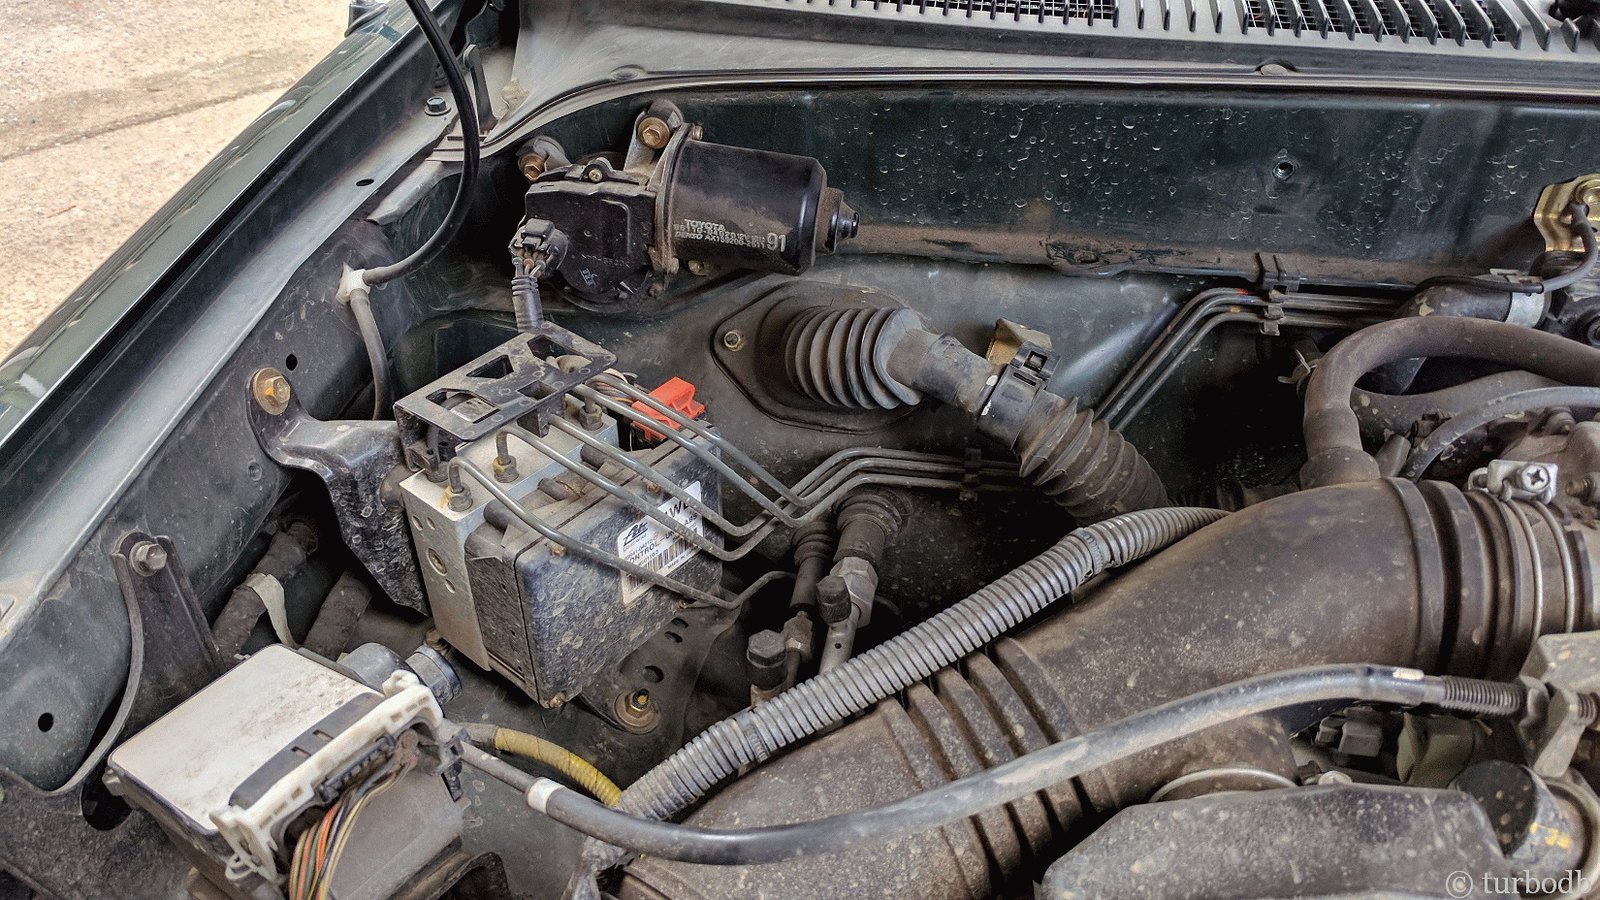
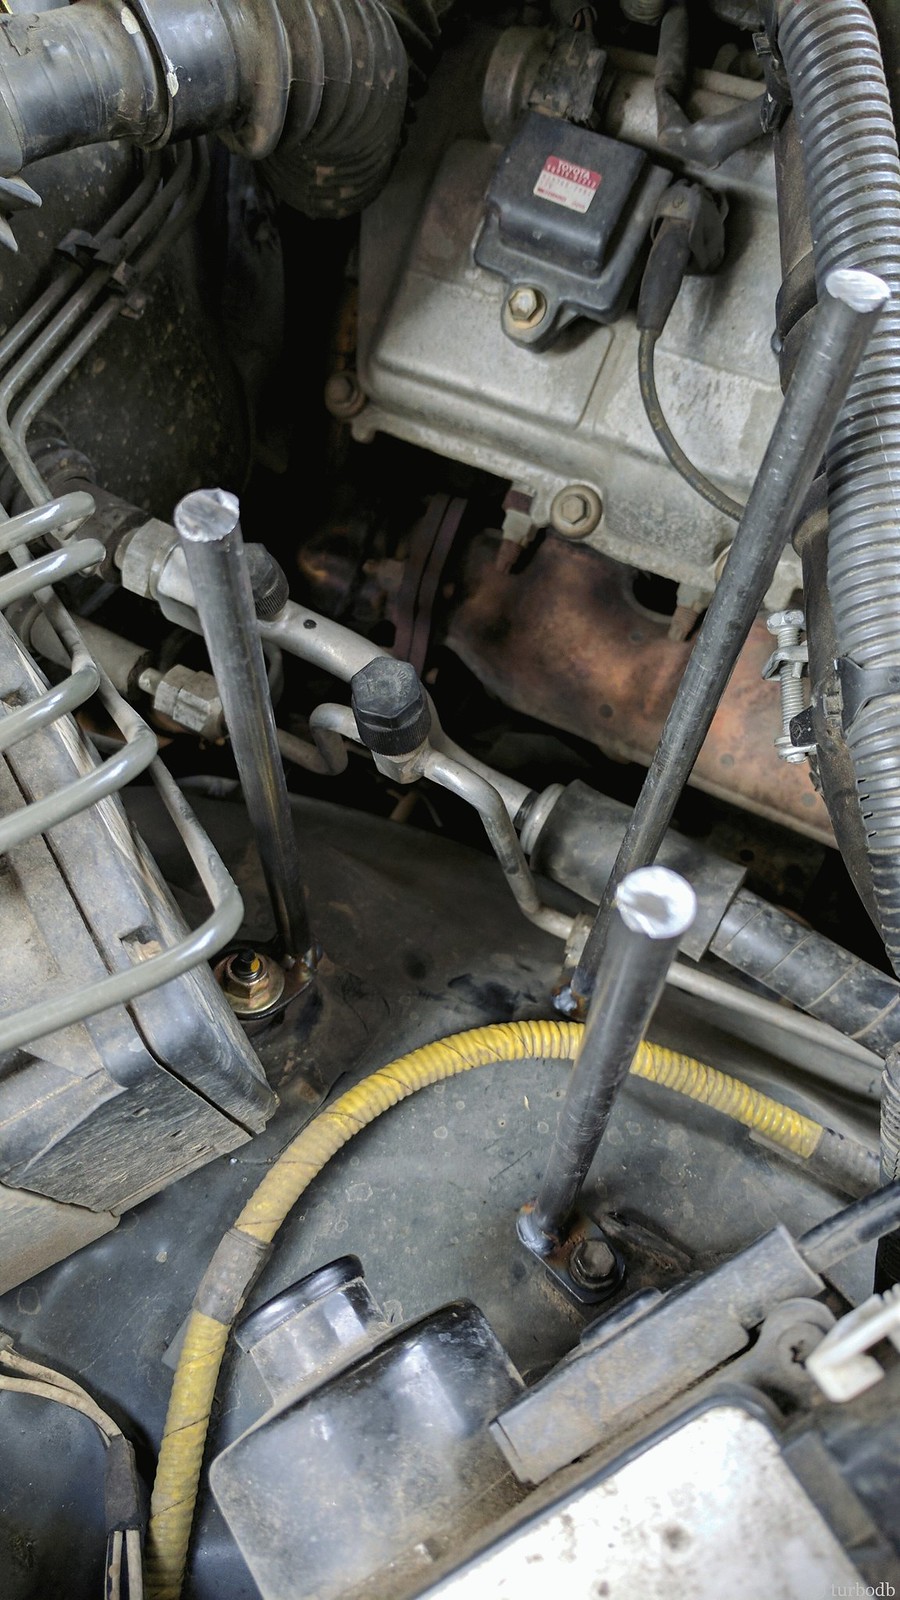
Of course before I could get anything installed, I needed to find a place to install the fuse box and circuit breaker. While not an easy task (a 2000 4WD Tacoma with ABS, AC, and cruise control has apparently the least amount of room under the hood of any Tacoma), I was finally able to find a location where I could squeeze everything, but I’d need a custom bracket.

40087443011_d94c58a34c_h.jpg


40087444501_f1f4ced694_h.jpg


40087445011_a078bf5a14_h.jpg


40087445531_d58532729a_h.jpg

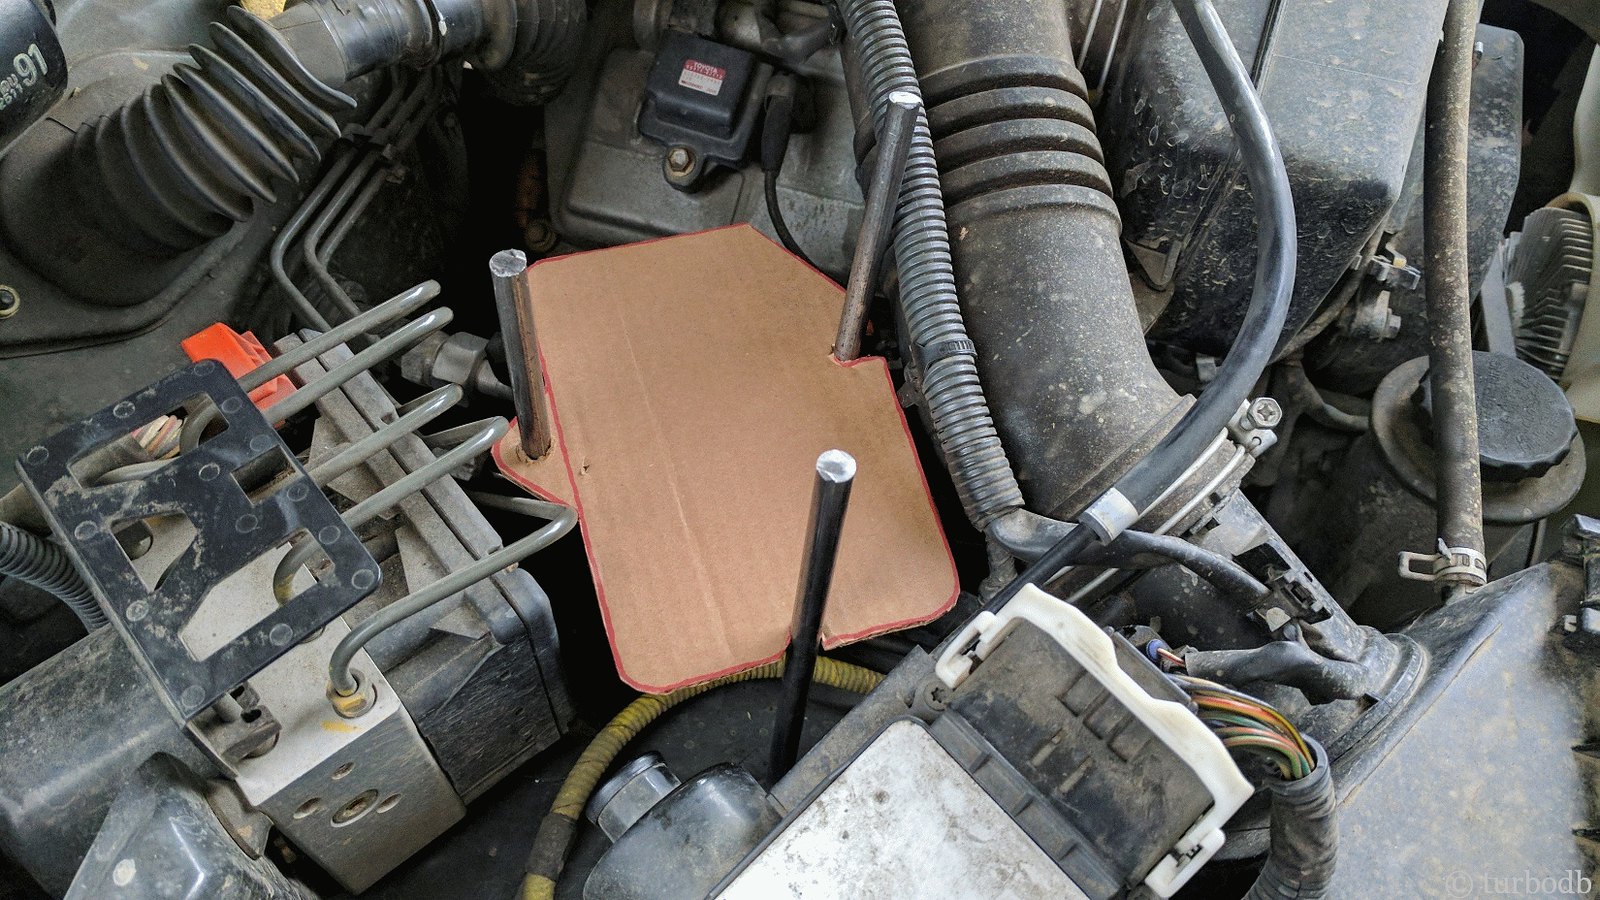
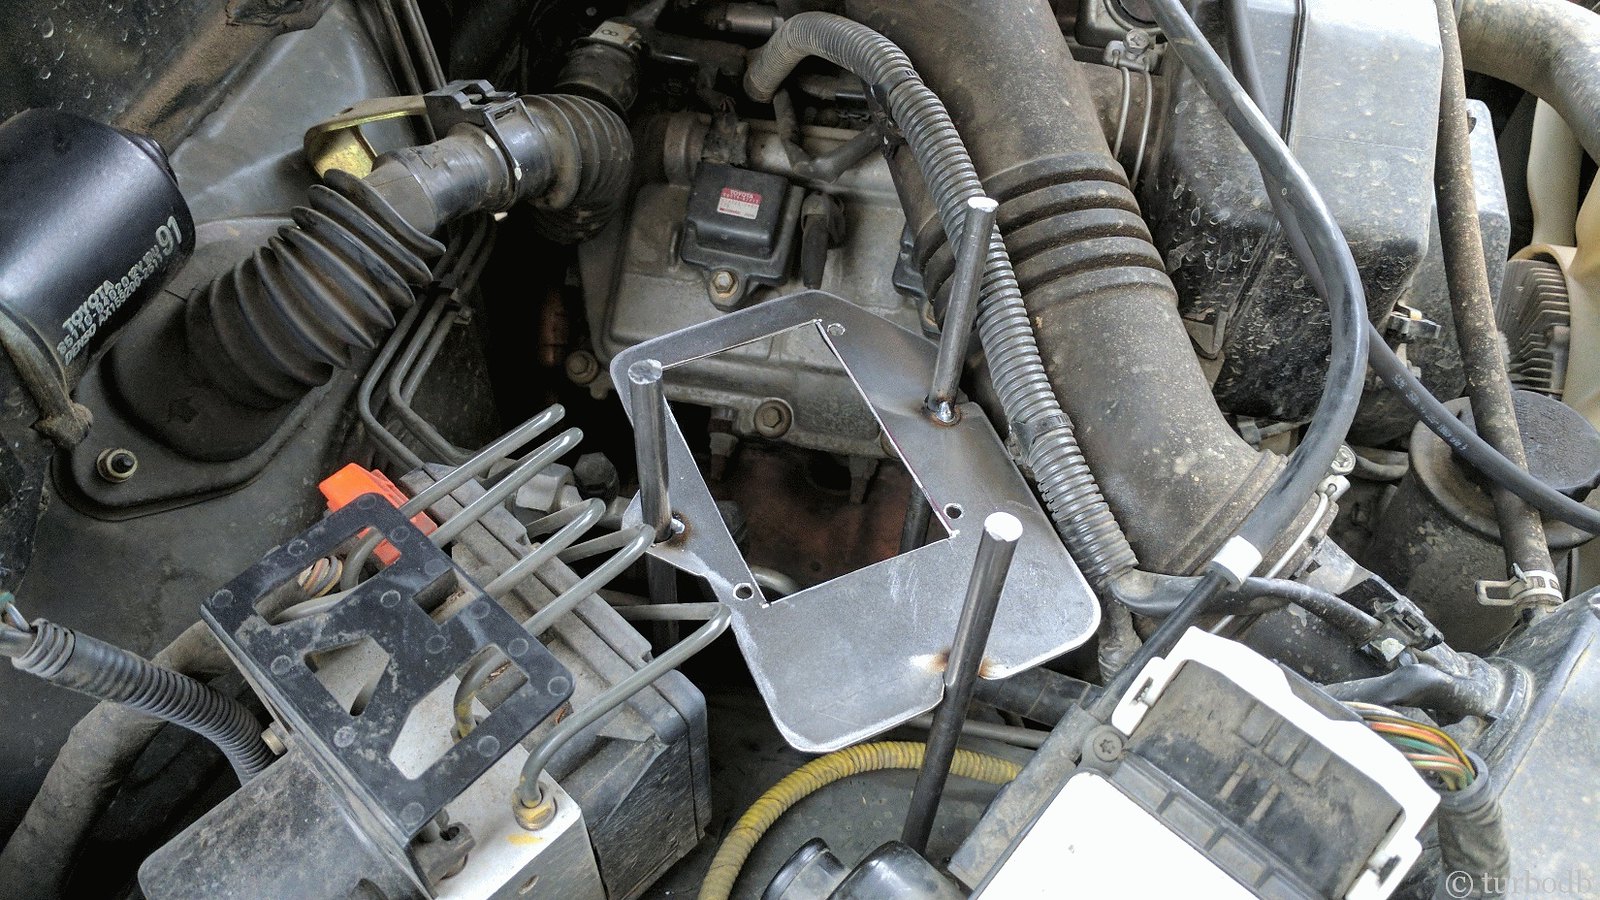
The bracket started with some round rod and sheet metal, which I cut from cardboard templates and tacked together to get “just right.” I ended up mounting the bracket on three existing bolts - one for the ABS ECU, one for the cruise control module, and one holding a pair of brake lines to the inside of the fender.

After getting everything situated and tacked up, I pulled the entire assembly out for full welding, grinding, priming and painting.

And then I put the project on hold for two weeks. I realized that one of the things I wanted to do was get connectors added to all of the wires - to ease installation of accessories, so I ended up ordering all the other parts I needed in order to get that accomplished, as well as the larger gauge wire I’d need to hook the whole thing up to the battery.

It was at this point - as I was ordering “minimum quantities” of the various bits (in the hundreds sometimes) - that I realized I should have just built this whole thing myself. Life. Anyway, who knows - maybe if @Sandman614 is busy, I can step in and build a few of these for folks now - I’ve got enough supplies to make several. :)

For anyone interested in the parts, there’s a great write-up here on how to build your own Bussmann, and I used the parts listed there - Metri-pack 280 connectors and all of the supporting bits. I also ordered some 4 gauge welding cable and lugs from amazon since I wanted only 10’ of cable (vs. 250’).

40087446011_0572cf89ec_h.jpg


40087446761_d14f99cab7_h.jpg

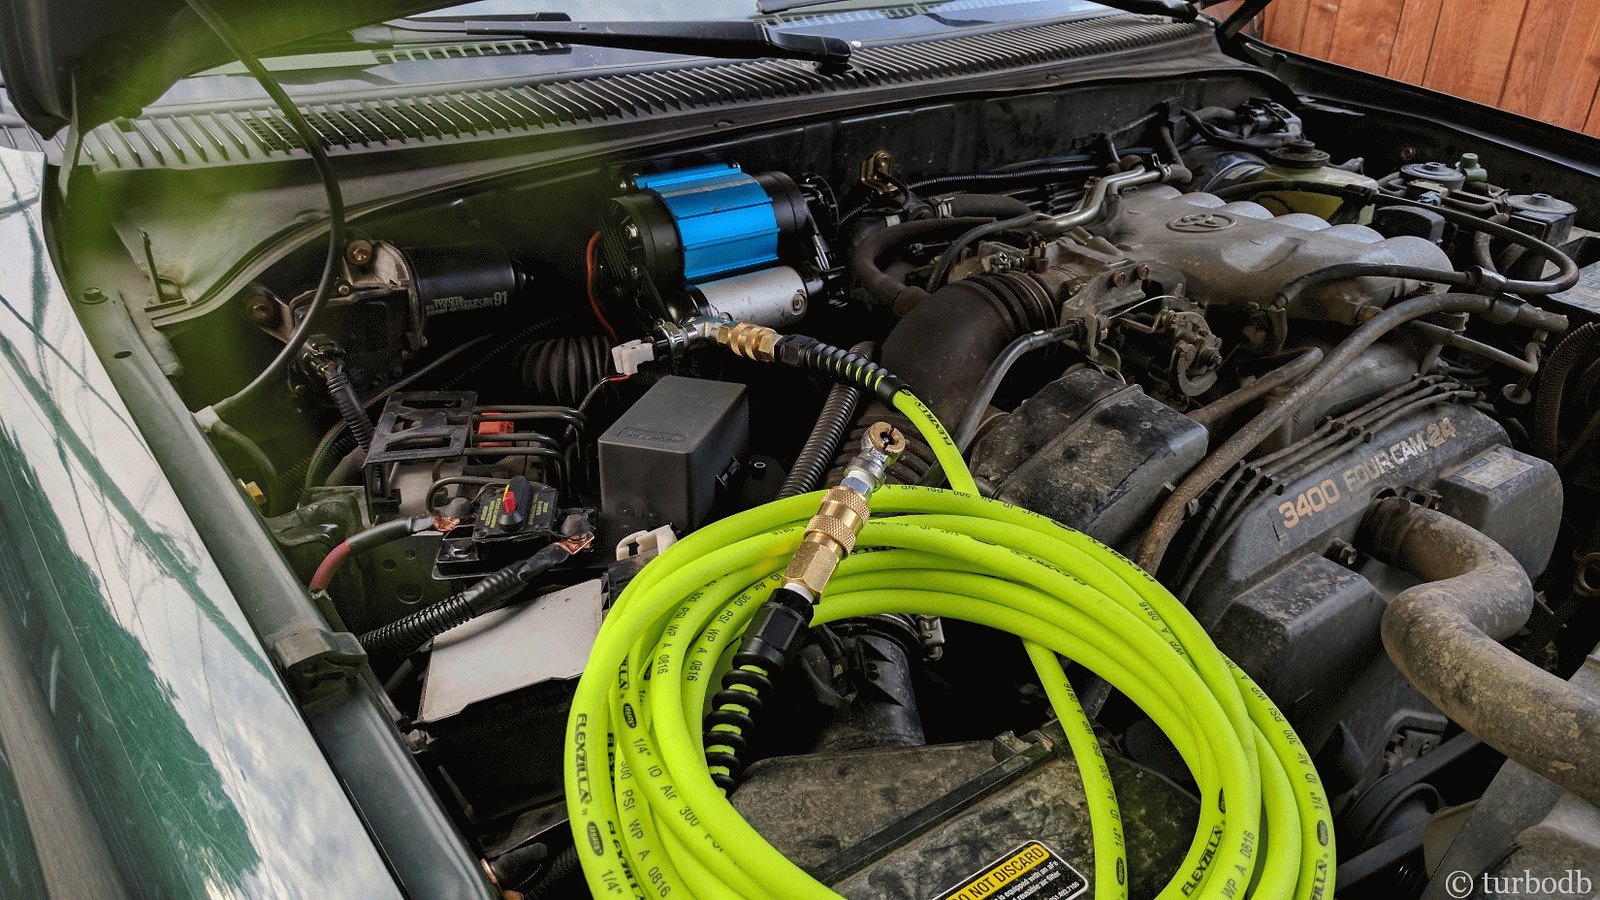
Ready to go, it was a simple matter of bolting in the bracket with the existing bolts, and plugging in the requisite accessories - in this case, my Hella 500’s and an ARB CKMA12 compressor I installed at the same time.

And now, the wiring is oh-so-much cleaner.

40087447371_26da39ca6a_h.jpg
 

turbodb

Well-known member
Washboard relief - ARB CKMA12 on-board air compressor
April 2, 2017.

Thousands of miles.

How far have I travelled on washboard roads at full tire pressure? Definitely thousands of miles. Probably not ten thousand, but enough that I wish I’d have known how much better life is when you can air down and air back up without too much hassle.

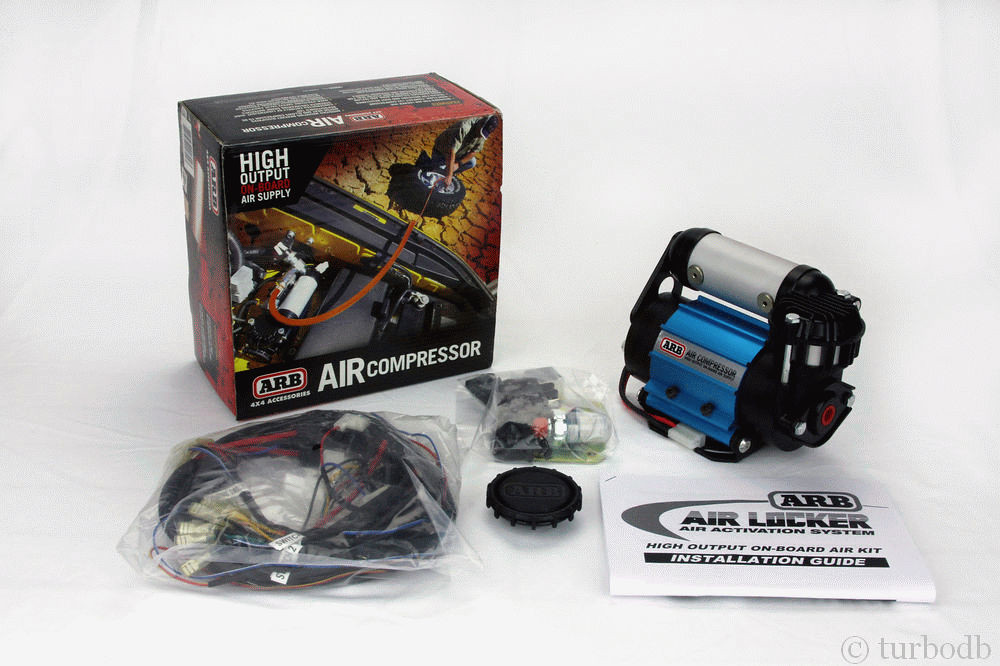
Luckily, while I’m still cheap, I’ve smartened up over the years, and I know that some things are worth a little extra. And comfort is one of those things. So, it’s time to install an ARB CKMA12 air compressor.

28306604939_a7427be8e5_b.jpg

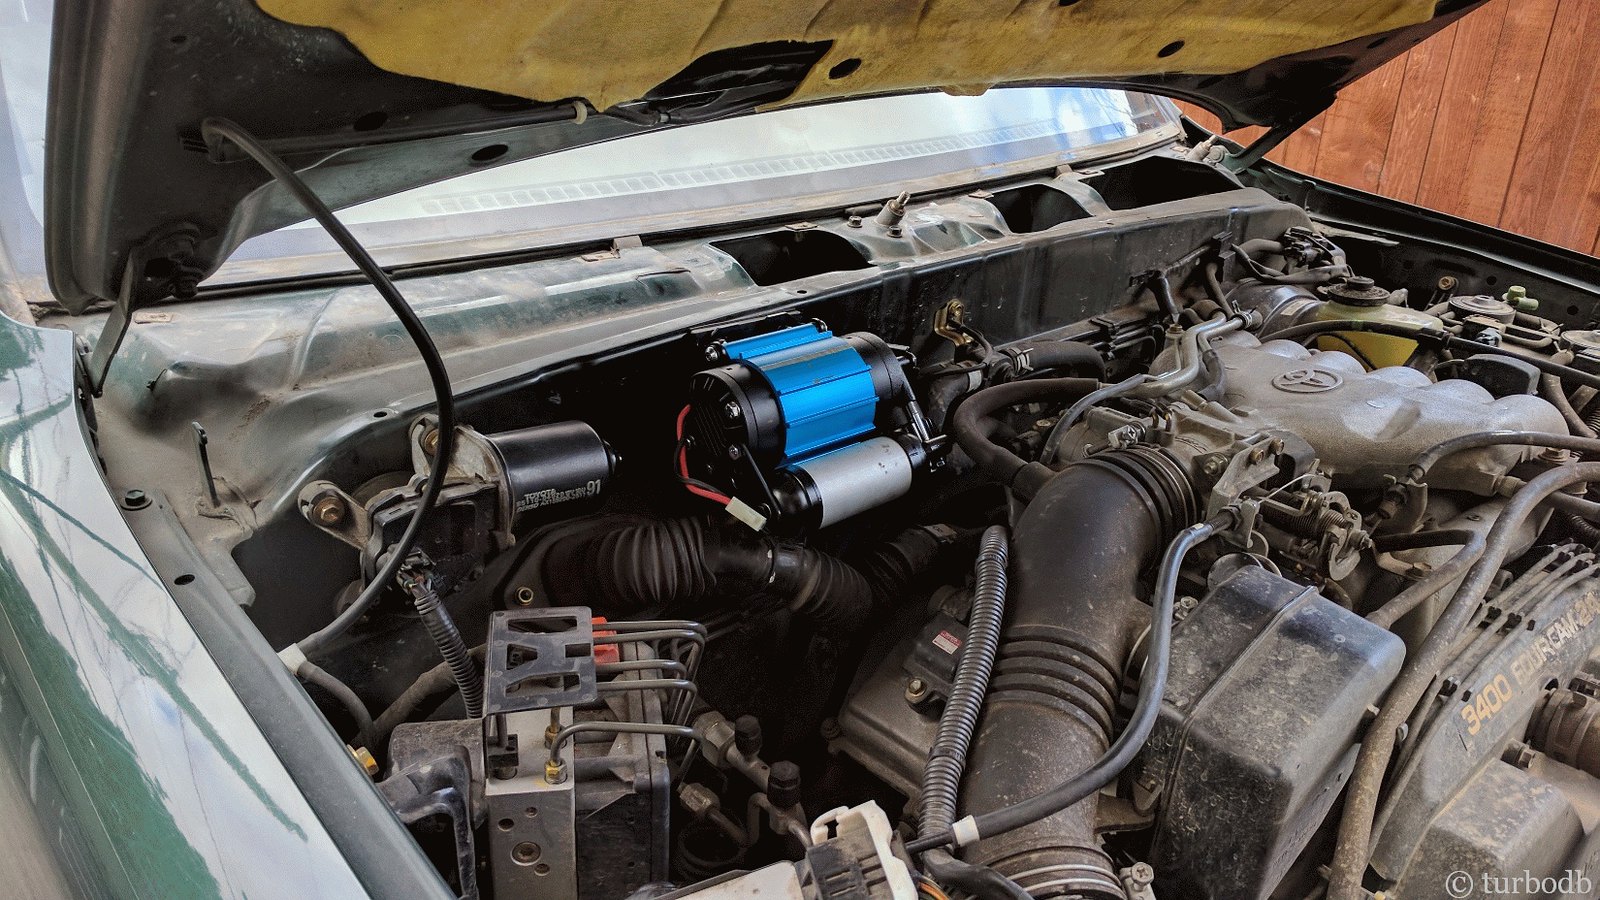
I’ve opted for the single compressor here rather than the twin (CKMTA12), because I’ve got really limited space under the hood. In fact, as it turns out, a 2000 4WD Tacoma with ABS and cruise control apparently has the least amount of space of any Tacoma, ever. The driver side engine compartment is completely full, with the battery, fuse box, charcoal canister, and power steering, and the passenger side is pretty full with the air filter, power steering, and ABS controller.

Not to be dissuaded, I spotted that blank space on the firewall - it looked close, but, I was willing to give it a shot.

40087443011_d94c58a34c_h.jpg

So I did some searching around on the internet, and I finally discovered that the good guys over at Expedition Overland happened to find that same spot on their 2001 Tacoma, and in a short video cameo, I was able to see the compressor mounted. Was victory mine?

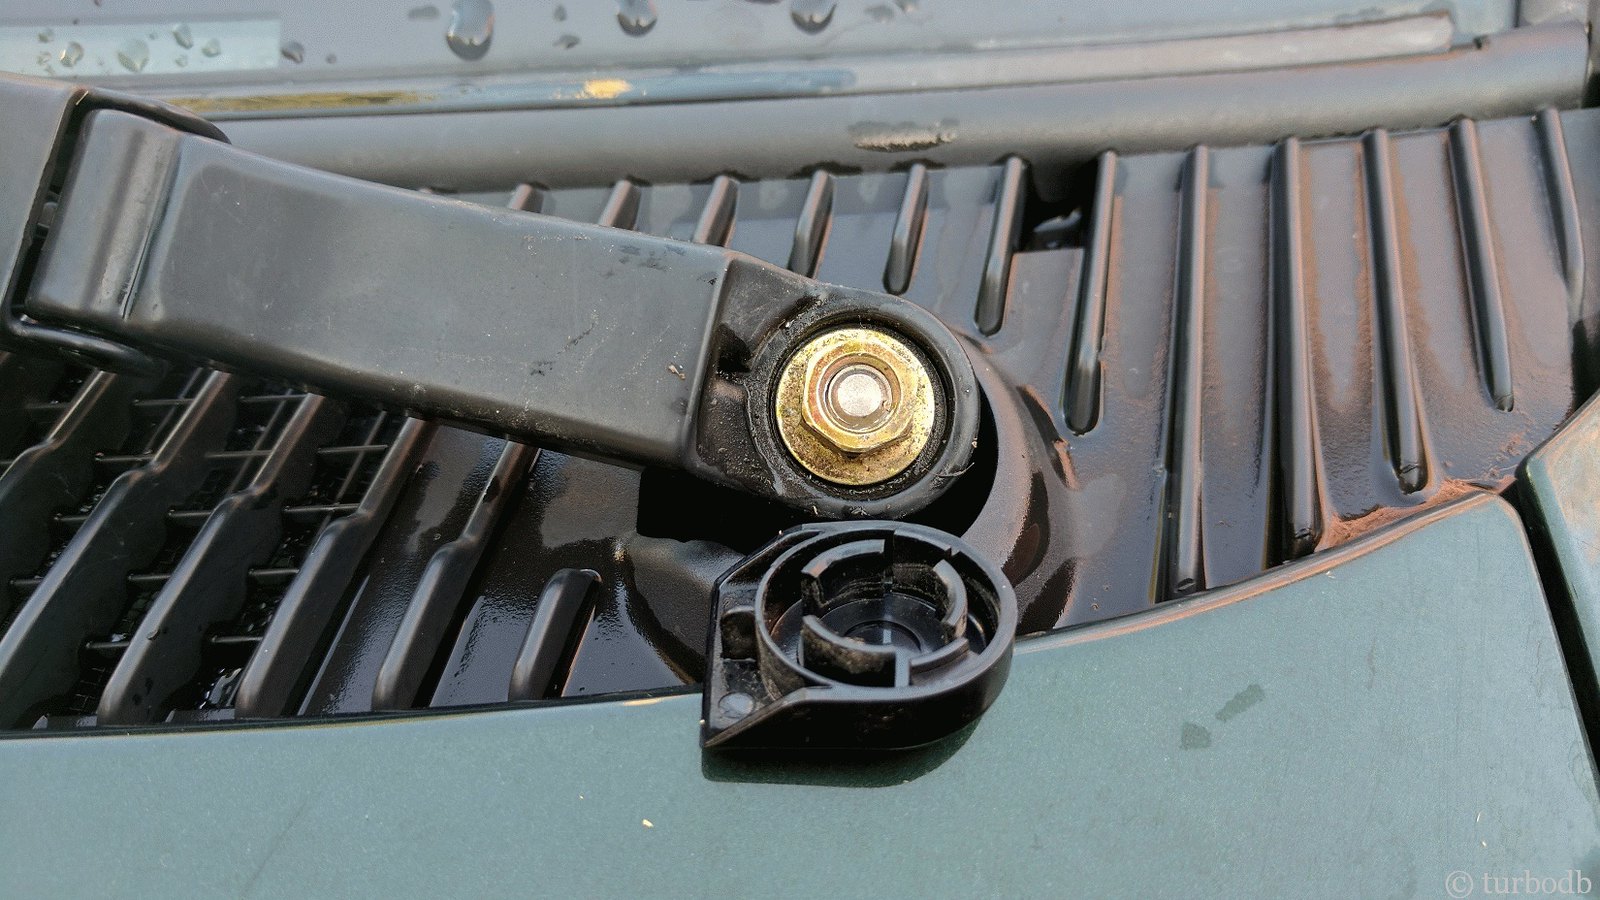
Hoping so, I emailed them to see if they had any more footage or documented the installation. Jeff got back to me in a couple days and while they didn’t have anything he could share from a picture perspective, he did confirm that it fit, and gave me a valuable hint about removing the plastic cowl in front of the windshield (where the wipers are) to access the back of the firewall in that location. At this point I could tell, victory was going to be mine!

Or so I thought.

I didn’t discover until the end, but it turns out that the one last thing that makes a 2000 Tacoma’s engine compartment different than 2001-2004 is that the hood swoops down slightly in the middle rather than swooping up. Probably makes about a 1½ inch difference right where the compressor was going to mount.

Victory would still be mine, but only with a little bashing. More on that later.

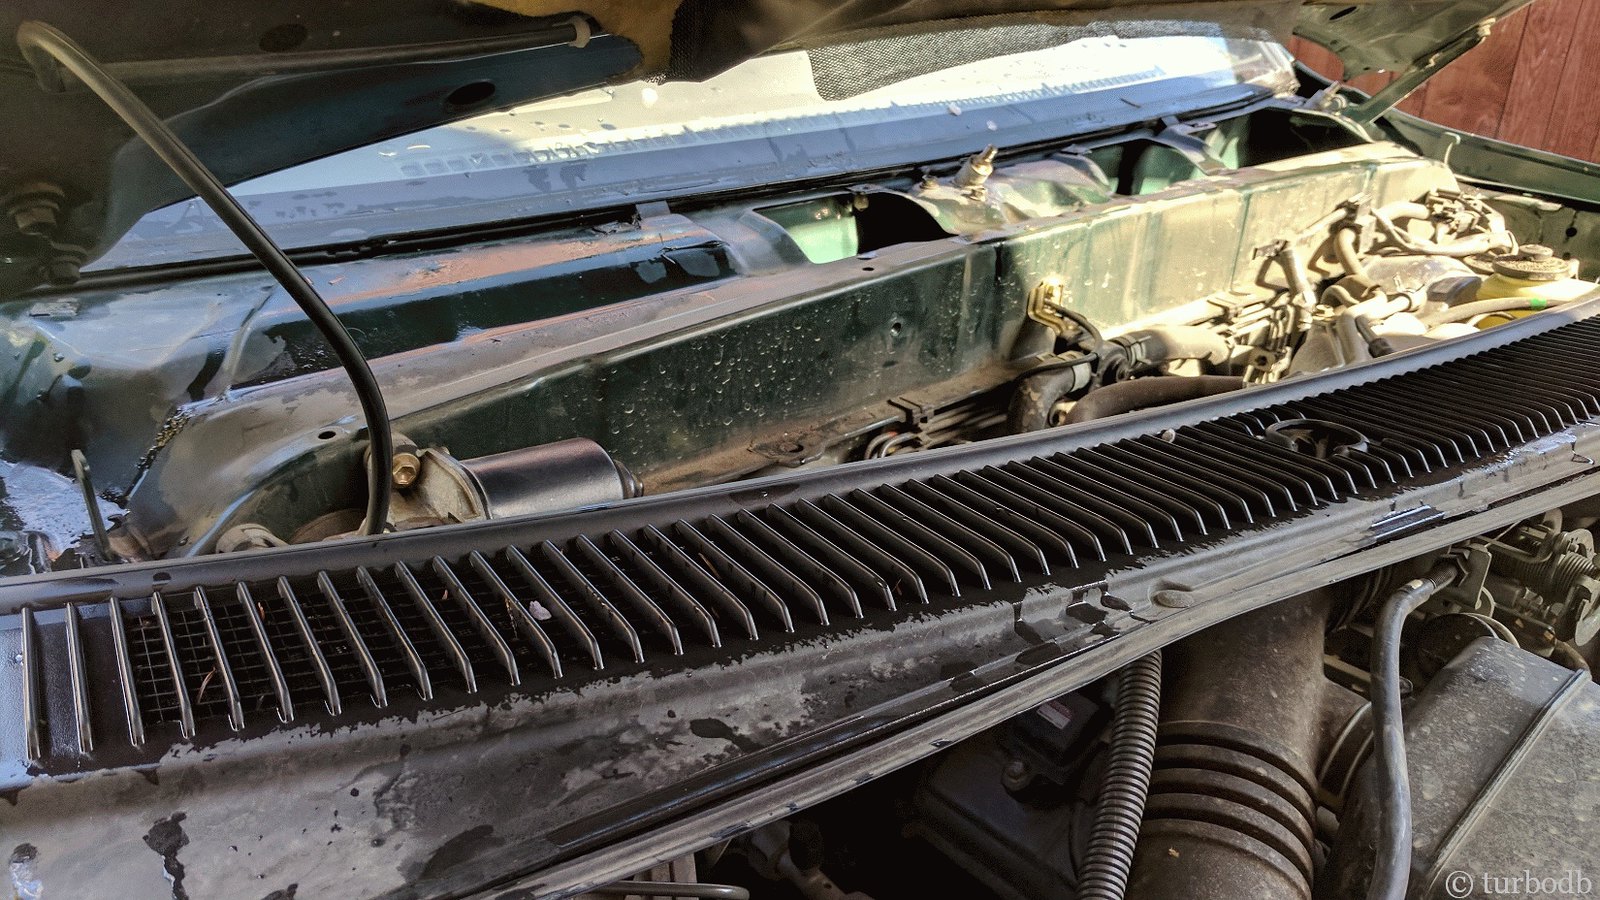
First, I removed the windshield wipers, then a few screws, and finally some plastic clips that held the cowl in place.

28306605119_bb1b3d799a_h.jpg


28306605319_3658ba86aa_h.jpg

It’s always nice when you can remove plastic clips without breaking them.

28306605629_46328a085d_h.jpg

Fifteen minutes in, and I was sure, I’d be done by lunch!

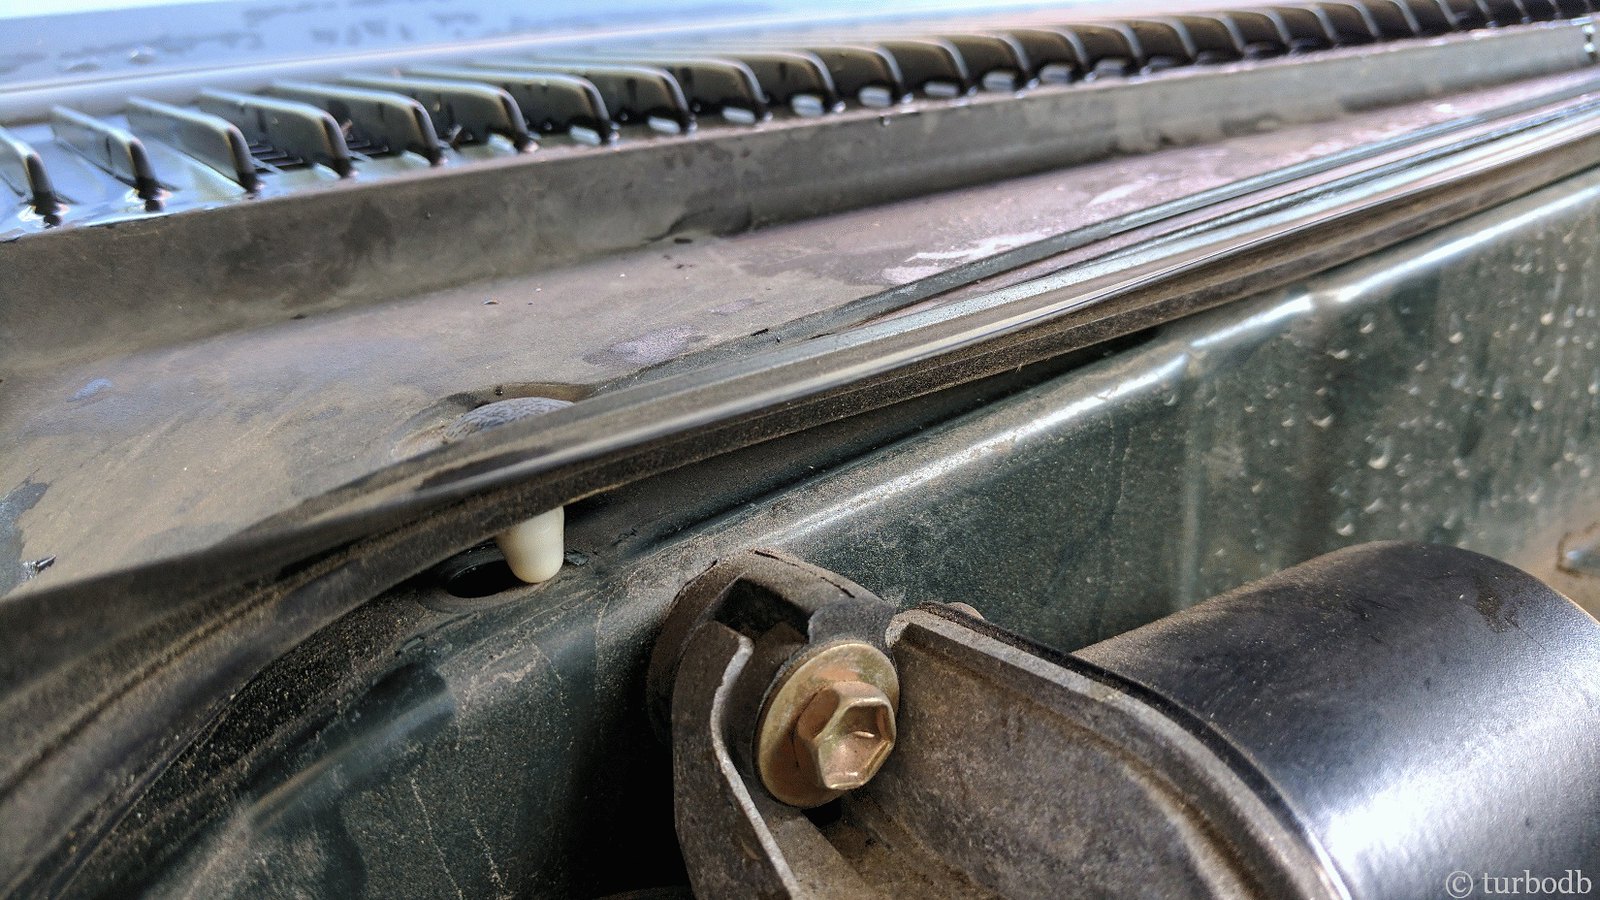
But of course, this is when the fun part started. It was clear to me that there was just no way that the compressor was going to fit on the firewall above the little metal shelf. When placed there, two problems arose: First, it was about ¾” too tall; second was the fact that the mounting bracket wouldn’t sit flat against the firewall when the compressor was installed -- the motor on the compressor would hit the shelf.

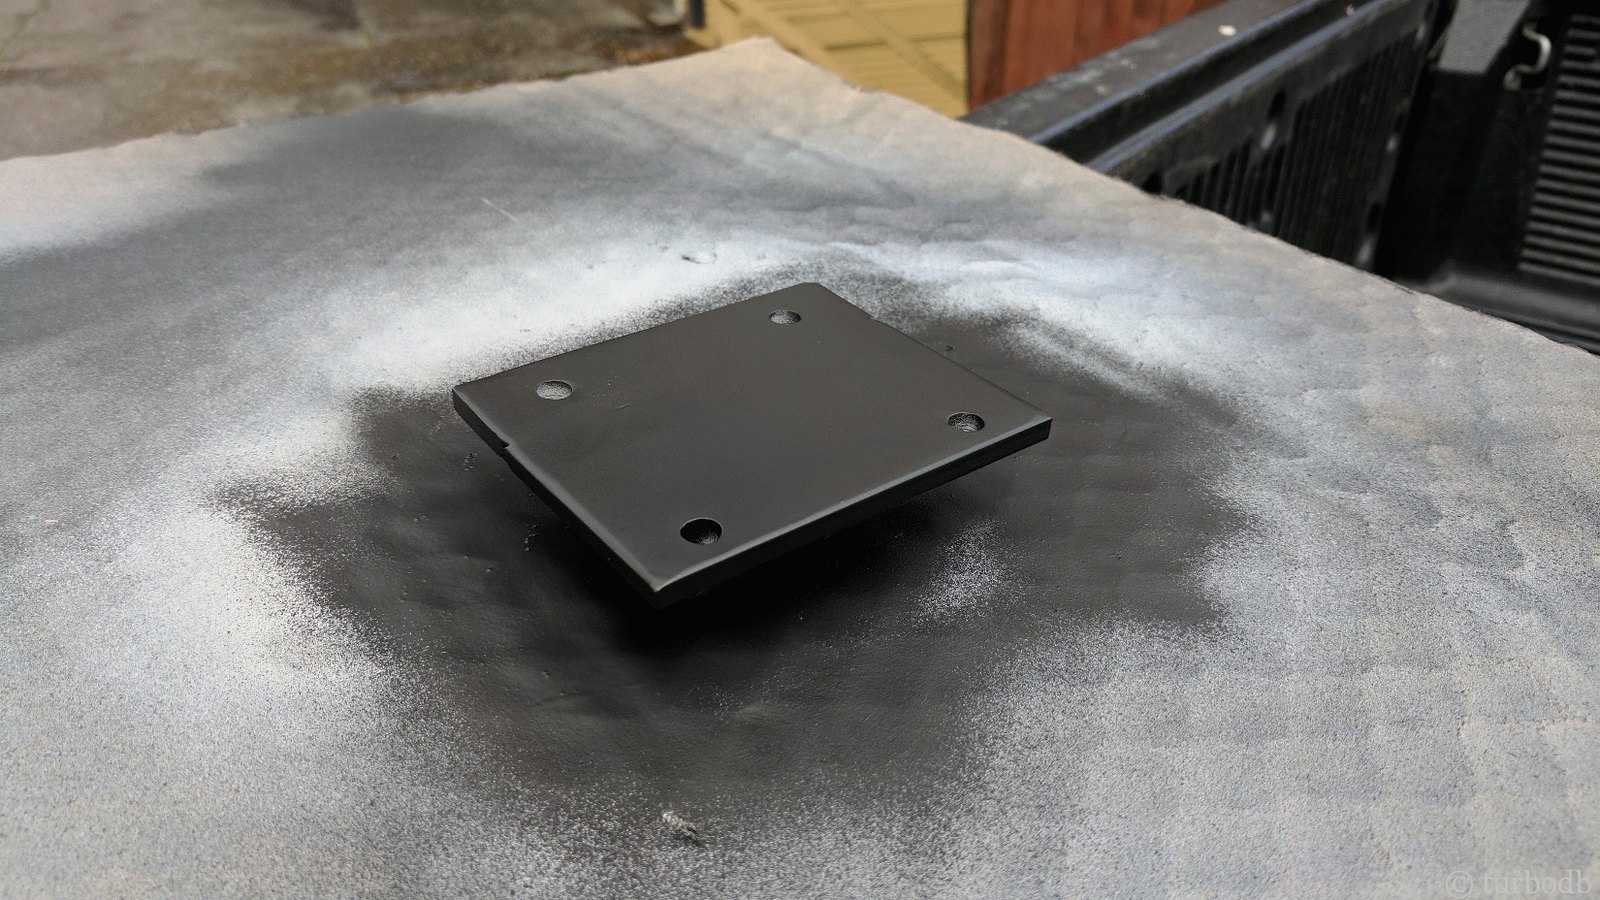
So I did what anyone in my position (aka “stuck,” since I’d already paid good money and had nowhere else to mount the compressor) would do - I improvised. First, I cut off as much of the bottom of the ARB compressor bracket as I felt like I could, while leaving myself enough room for the two bottom bolts to hold it on to the firewall. And second, I seam welded up and painted a couple pieces of ¼” bar stock to use as a spacer behind the mounting platin - hopefully pushing it far enough away from the firewall to clear the shelf.

28306605899_7a6bbe300f_h.jpg

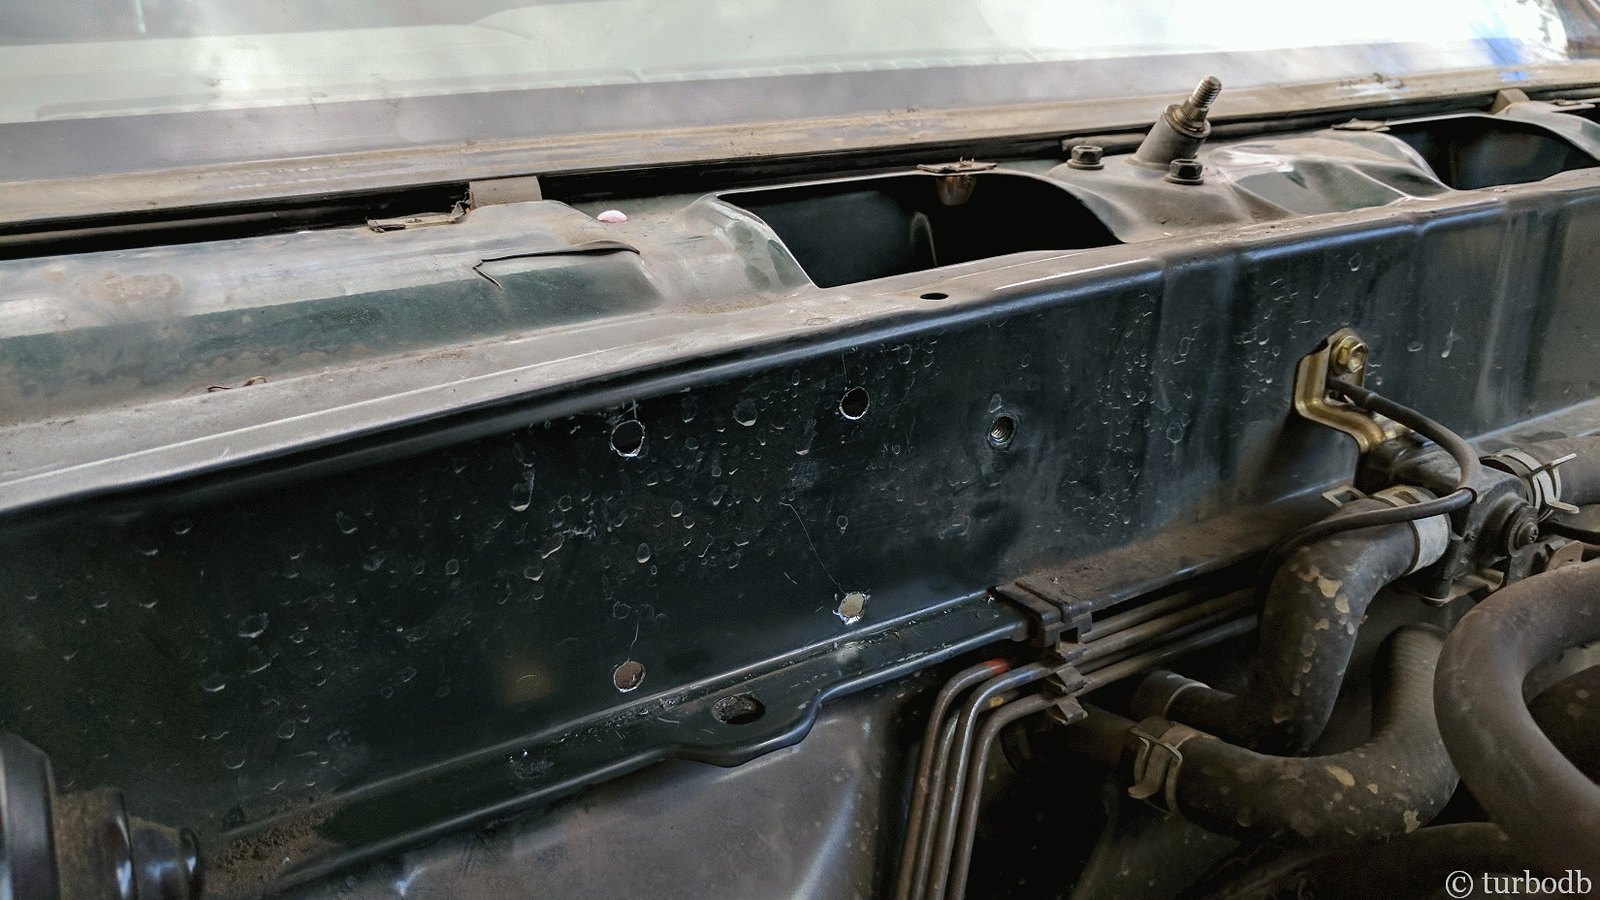
A bit of paint on the spacer, and four holes in the right place, and some EPDM rubber on the back for vibration isolation and sealing, and it was ready to mount up. Oh, and I used it to mark and drill the holes in the firewall.

There is little I’ve done to the truck more nerve racking than drilling holes in the firewall. And technically, this isn’t even really called the firewall, since it doesn’t go directly to the cabin.

28306606199_32ee935ae6_h.jpg

After getting the holes drilled, it was time to mount everything up. Mounting consisted of some stainless steel hardware I’d purchased separately for its corrosion resistance. The sandwich then was:
  • ¼” stainless hex bolt
  • ¼” stainless lock washer
  • ARB mounting bracket
  • ¼” stainless washer
  • ¼” custom steel plate (painted)
  • EPDM rubber, 1/8” thick compressed
  • Firewall
  • 1 ¼” fender washer
  • ¼” stainless washer
  • ¼” stainless nut
The idea of course is to ensure that the lock washer holds everything in place, and that the washers on the back of the firewall are large enough to support the weight of the compressor as it gets bumped around on the trail.

Bracket installation took about 90 minutes, since access to the holes was nearly impossible (probably would have been easier with a second set of smaller hands, and the hood removed) and the stainless hex bolts I was using were just long enough (1 inch) to get started in the nuts with the whole sandwich.

With the bracket mounted, I was sure that I was totally screwed. The more I looked at it, the more convinced I was that there was no way the compressor was going to fit under the hood. Hard-headed as always, I kept going.

Turns out the hood wasn’t the thing I should have been concerned about (first). The shelf in the firewall was still a bit too wide and the bottom of the compressor was hitting it when I tried to mount it to the bracket. Sure that I was doing the right thing, I pulled out my hammer and knocked it down a bit, and out of the way. Disaster avoided.

I then spent another 60 minutes screwing in the four bolts that hold the compressor to the mount (everything’s such a tight fit that getting an Allen wrench in there is nearly impossible.

And then, it was mounted. Luckily, I think I only stripped one head when it was all said and done, and just as I completed tightening it.

At least we know it’s never coming out.

Oh, and now I’m really committed to making it work.

28306606599_2641130871_h.jpg

The moment of truth. I gathered up my various tools and shut the hood. It was no good. I could tell that even with my cutting of the bracket, it was hitting on the top of the compressor. Actually, it was hitting on one of the anodized blue aluminum fins.

So out came the grinder, and off went the fin. Easy peasy. Who needed that fin anyway?

I closed the hood again. Better, but still touching. No more fins to grind off, I needed another ¼” or so to feel like there was enough of an “air gap” to accommodate hood vibration, etc. Luckily for me, the part of the hood hitting the compressor was a reinforcing bar, so I was able to once again use my precision hammer to bash it in just the right place and generate the necessary clearance. And with that, just like a 2001-2004 Tacoma, you can fit an ARB CKMA12 in a 2000 Tacoma. Sort of.

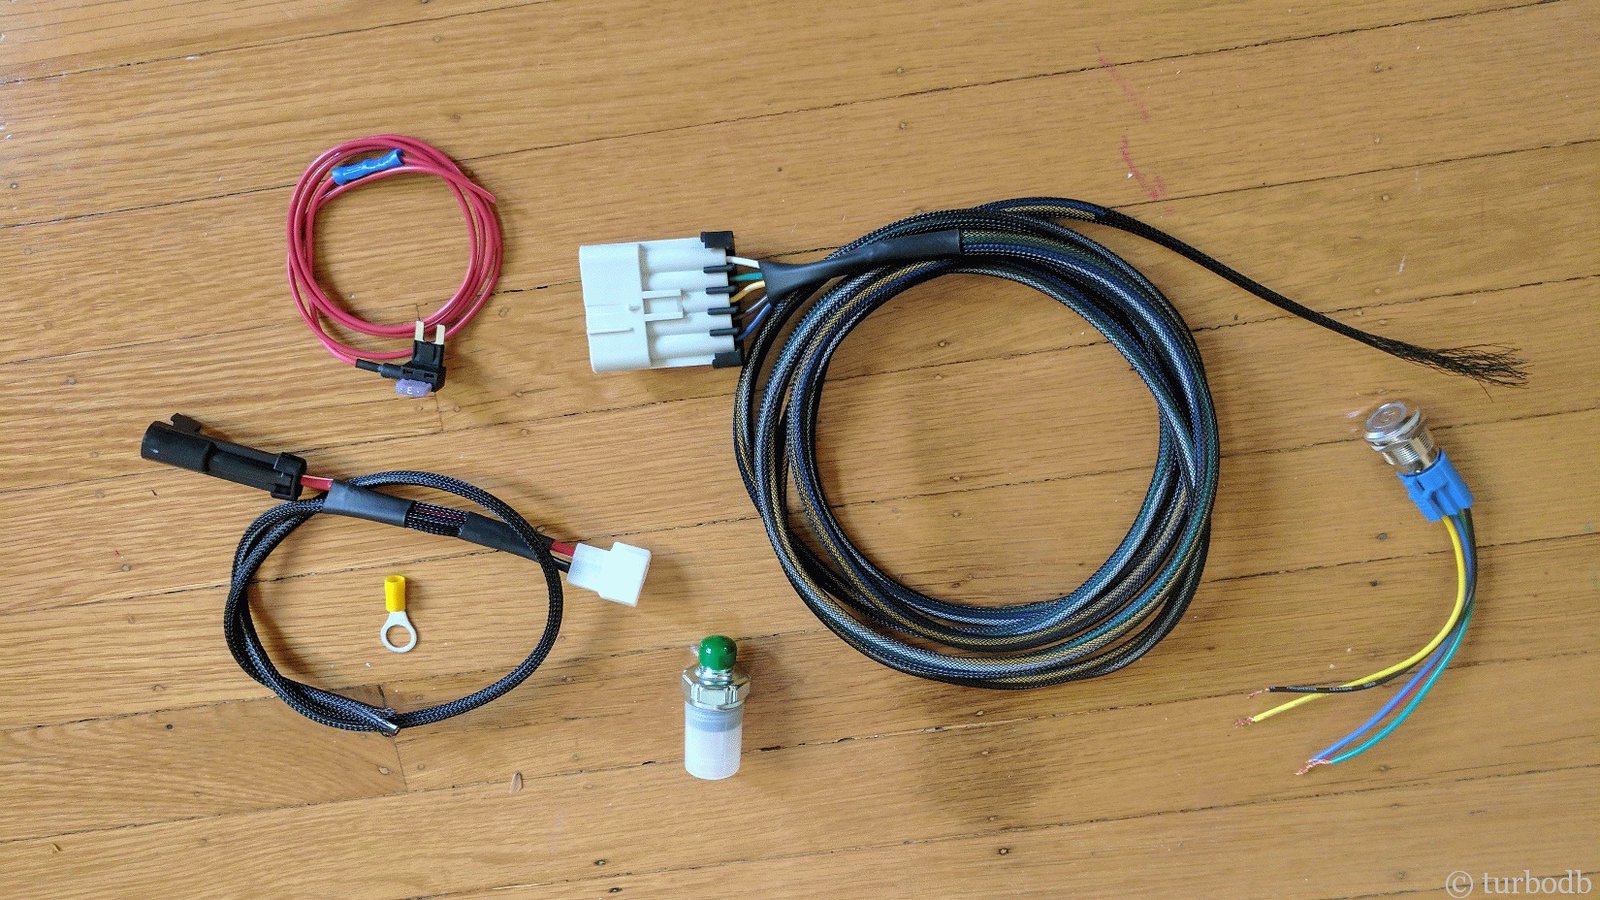
And now, it was time for wiring. Having just installed my Bussmann RTMR, I was looking forward to using one of the relays to power this puppy. So I broke out the wiring harness that came with the ARB and pillaged the necessary bits from it - some 10 gauge wire here, connectors there - essentially removing the bits that would be replaced by the Bussmann. I also gathered up a few other new bits of electronics that I’d need to get everything connected up

28306606869_3adfe47c10_h.jpg

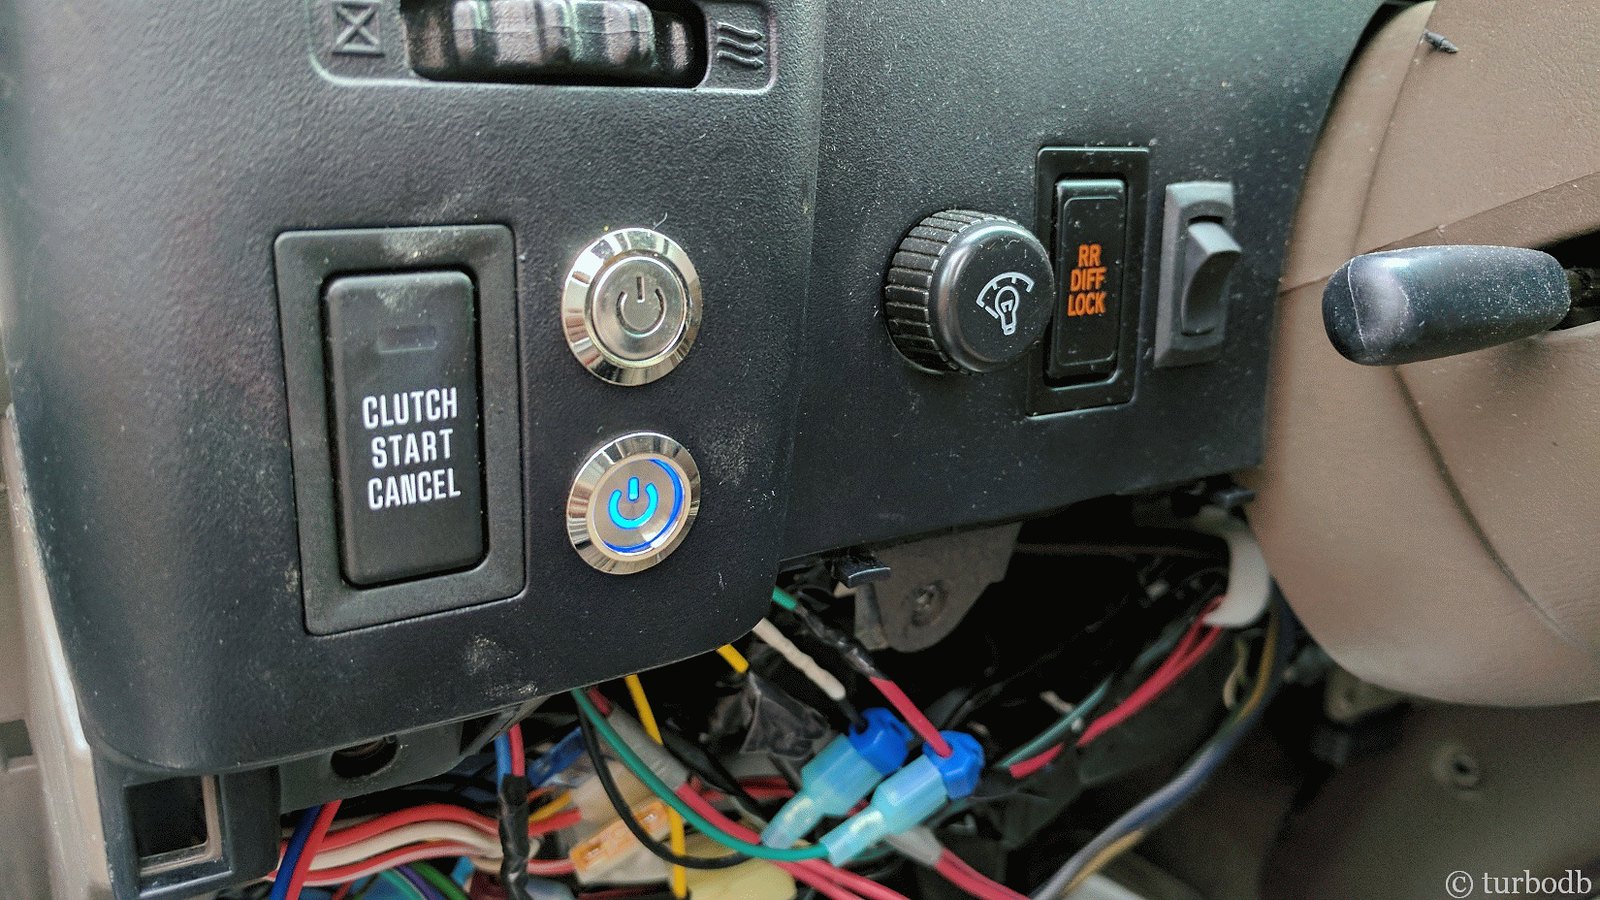
Those got split-loomed into the engine bay, and run through the firewall to the cab, where I installed my own push-button switch (that matches my other switches). A bit of soldering, reconnection of the battery, and I a test was in order.

The switch switched. The compressor compressed. I could see the finish line.

28306607189_54fab301a0_h.jpg


28306607409_409948c01c_h.jpg

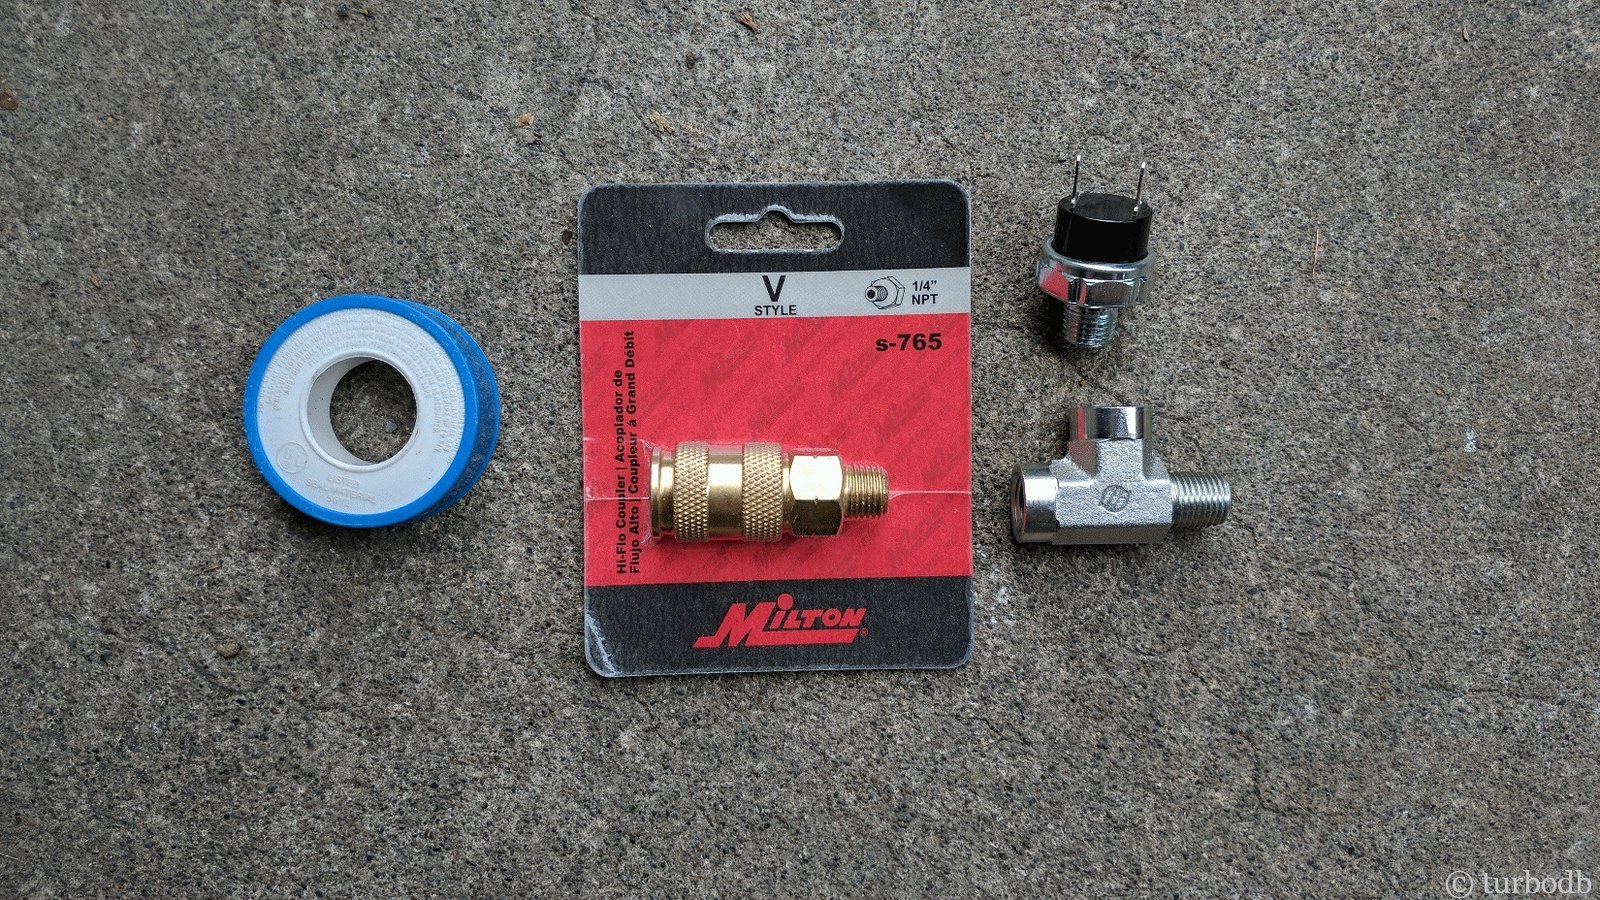
The last step was to attach the various fittings and hoses that would move the air from the compressor to the tires. With the single compressor version of the ARB, I made sure to get all V-style (to ensure as much airflow as possible):

Some Teflon tape and everything went together well.

40087447371_26da39ca6a_h.jpg

And now, I can look forward to airing down when we leave the pavement.
 

turbodb

Well-known member
Oregon-bound Chapter 1: Acquisition and Installation of the CVT
May 8, 2017.

The day is here, and it's a big one. It was over half a year ago that I decided I wanted a CVT, and in that time I'd purchased one and fabricated a bed rack that I hoped would work to hold it behind the cab of the truck.

Naturally I'd gotten a good deal on the CVT, and had spent 10x more fabricating the rack (buying tools, etc.) than if I'd just purchased a pre-fabricated one.

This day was also a big day because it was the start of a week-long camping trip where we'd meet up with Dad and Uncle J for a few days of camping in the Malheur National Wildlife Refuge, and then split up - each camping our way back home… us to the north, and they to the south.

So we really hoped that everything went smoothly with the tent - because we needed it to.

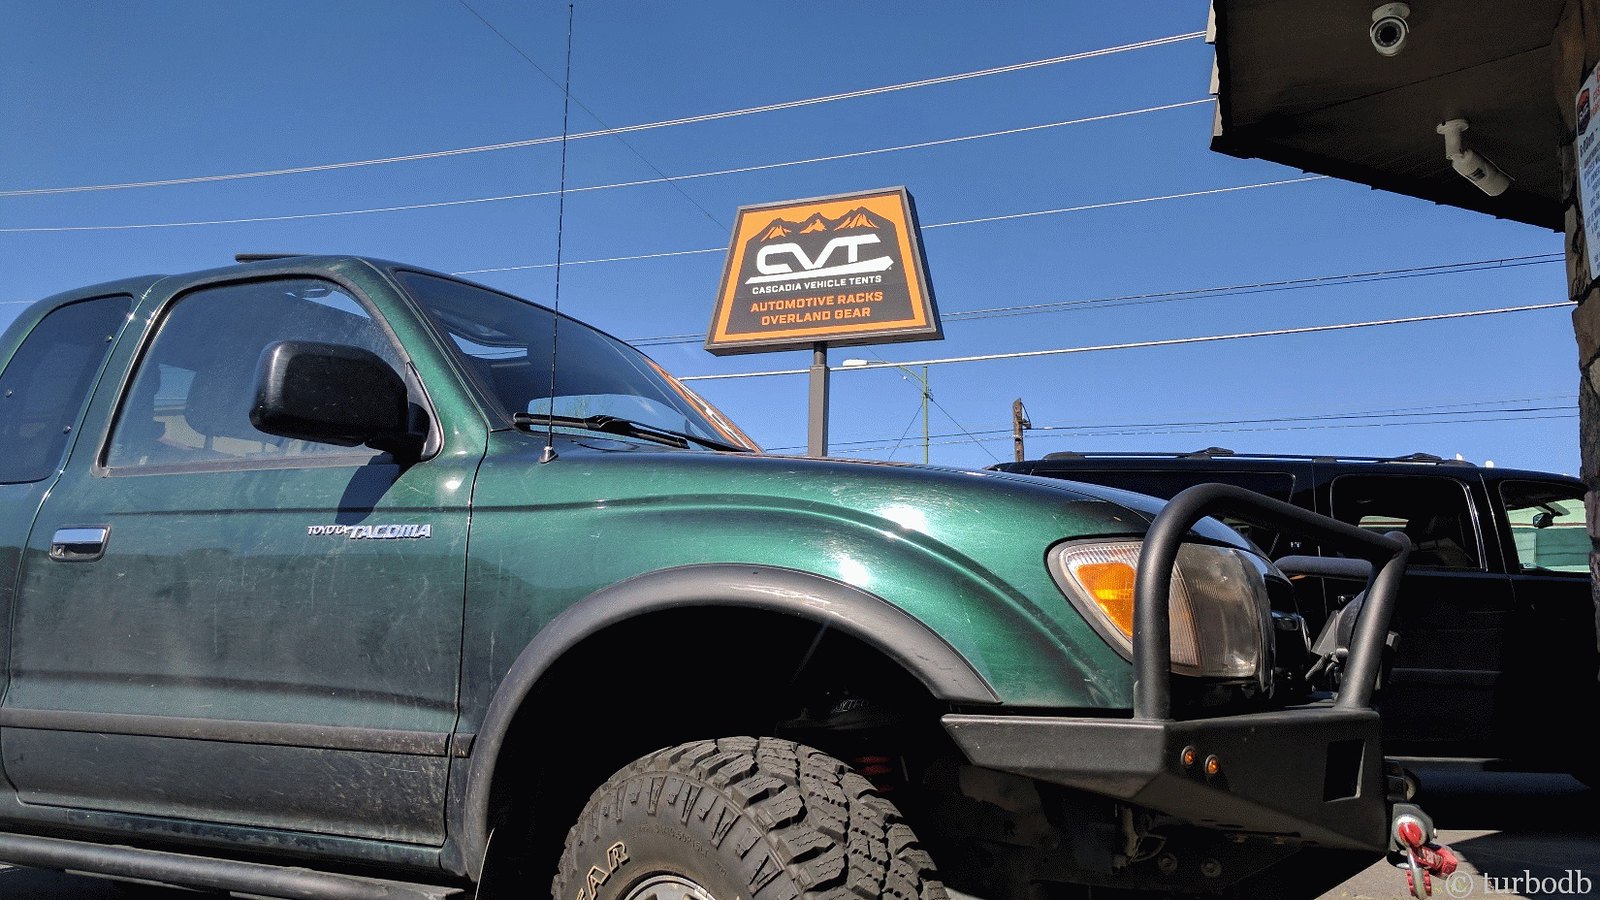
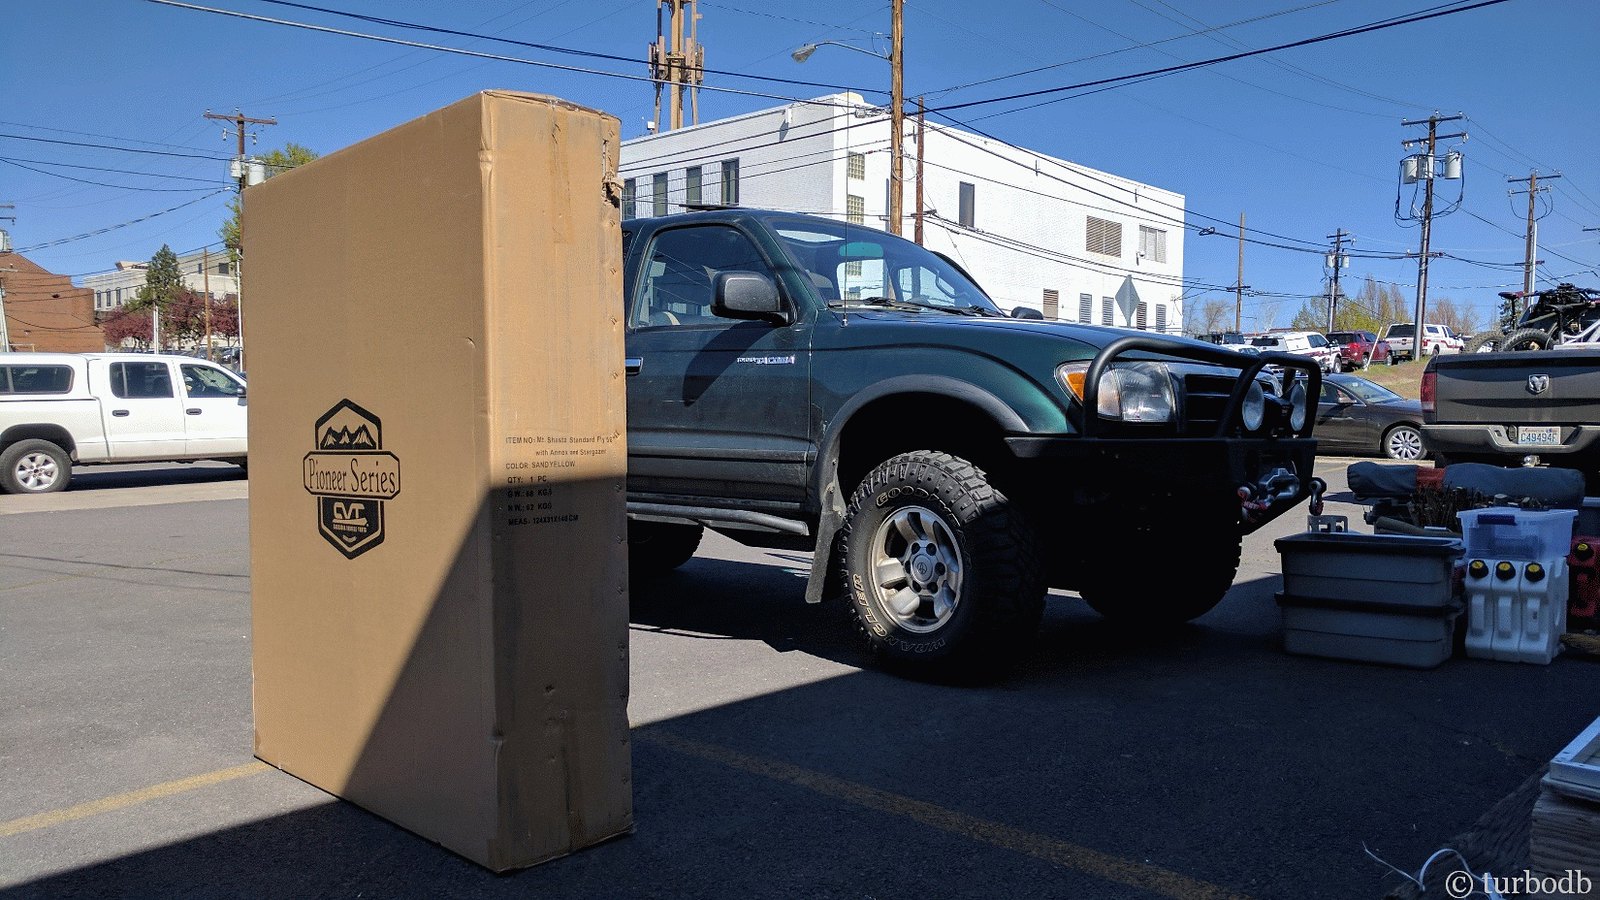
We got packed up and ready to go on Sunday night, and we left at 2am Monday morning, so we could arrive at CVT by opening (9am). Turned out that we got there around 9:45 after stopping for gas and breakfast and of course snapped a couple photos to memorialize the trip.

28306607669_230fb9b3b5_h.jpg

28306607899_f50c193862_h.jpg

After playing tourist outside, we headed in and were greeted by Megan, who I'd traded several emails with as she'd generously held my tent in the warehouse for the last six months until we could make it down to Bend. Turns out it was a super busy morning for them (it was just her and Ty working the front of the house), but within half an hour or so, they got us setup around back so we had room to do the install, and gave us a few tips about how to open the tent and be as efficient as possible.

28306608089_ca29f9cac4_h.jpg

So we emptied all of our gear out of the back of the truck, and then, we were off to the races.

Literally. Without knowing it.

You see, it turns out that a couple other folks had also arranged to pick up their tents the same morning, and CVT was doing an install on a T4R and trailer in the back of the shop. Curious about how we'd fare, they kept coming out to check on us, discretely.

In fact, I never noticed that they came out to check several times, but when we were done and were driving away, @mrs.turbodb said, "Did you see that they kept coming to check on us? I heard them talking and they were surprised that we finished so quickly - faster than them!" LOL

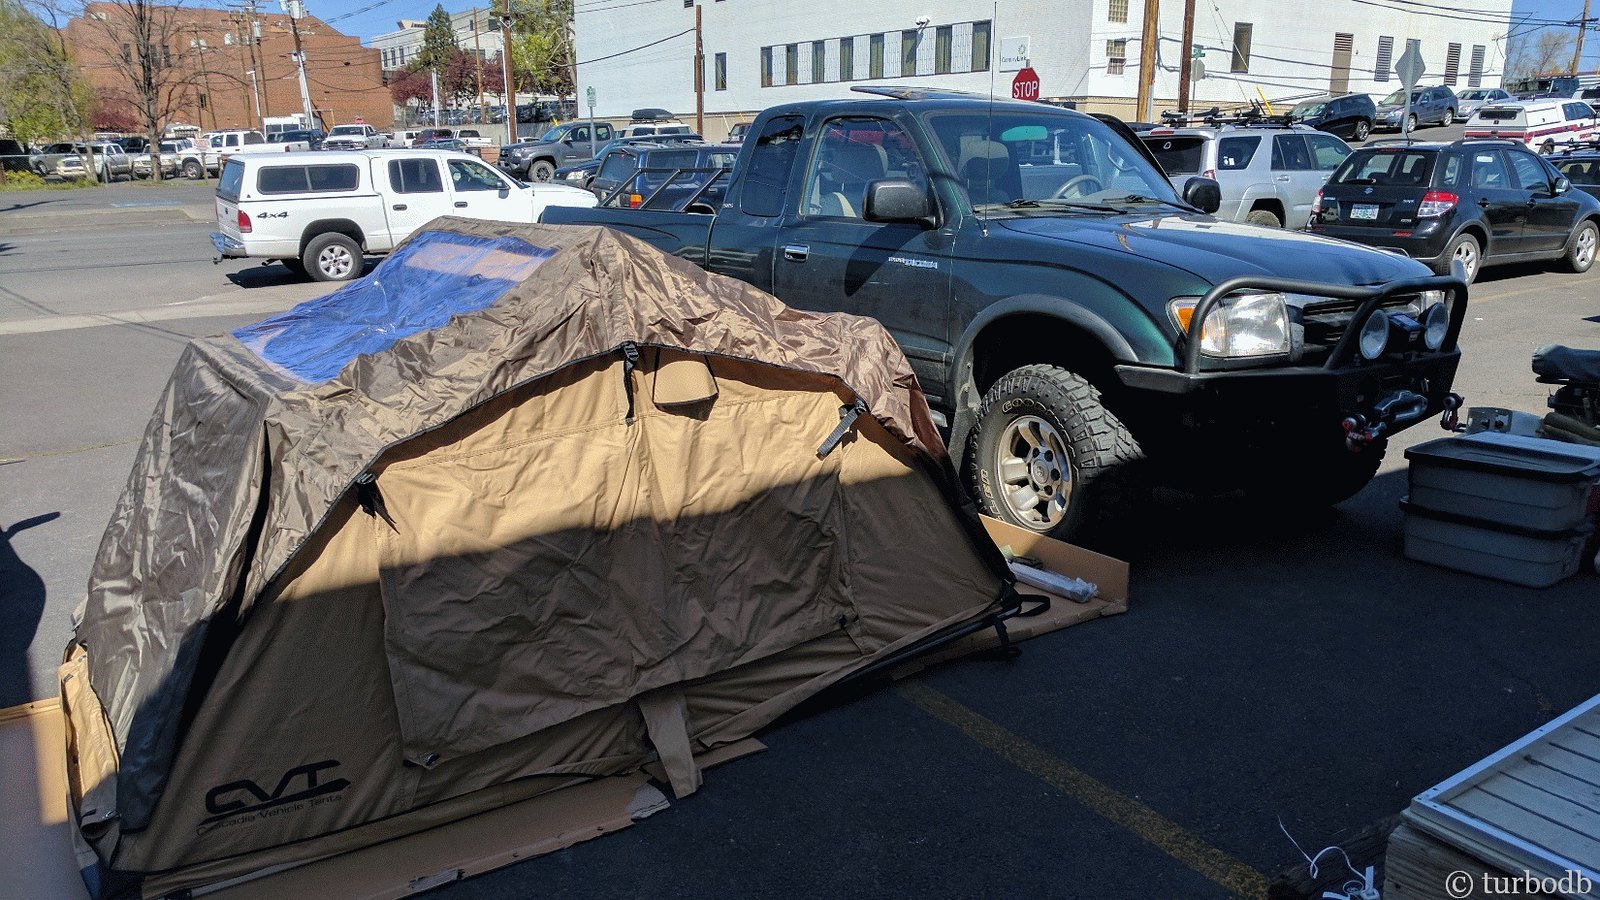
But, we're getting ahead of ourselves here. Tent install started by cutting open the box and laying it on the ground - a work surface.

28306608389_21506a953a_h.jpg

We unfolded the tent and pulled out all the bits, which included the installation hardware, all tools needed for the installation (wow, this was amazing, even though we didn't need them), the cover, the annex, the mattress, and of course, the installation instructions.

We immediately set the annex aside - we aren't ever planning to use it, and then installed the mounting rails along the bottom. That was pretty much all that was needed to get the tent ready for mounting, so 15 minutes later we were lifting the tent onto the bed rack.

It was the moment of truth. Would it fit? Would we have somewhere to sleep for the rest of the week?

Yes! We would.

40087454861_532dcfc28c_h.jpg

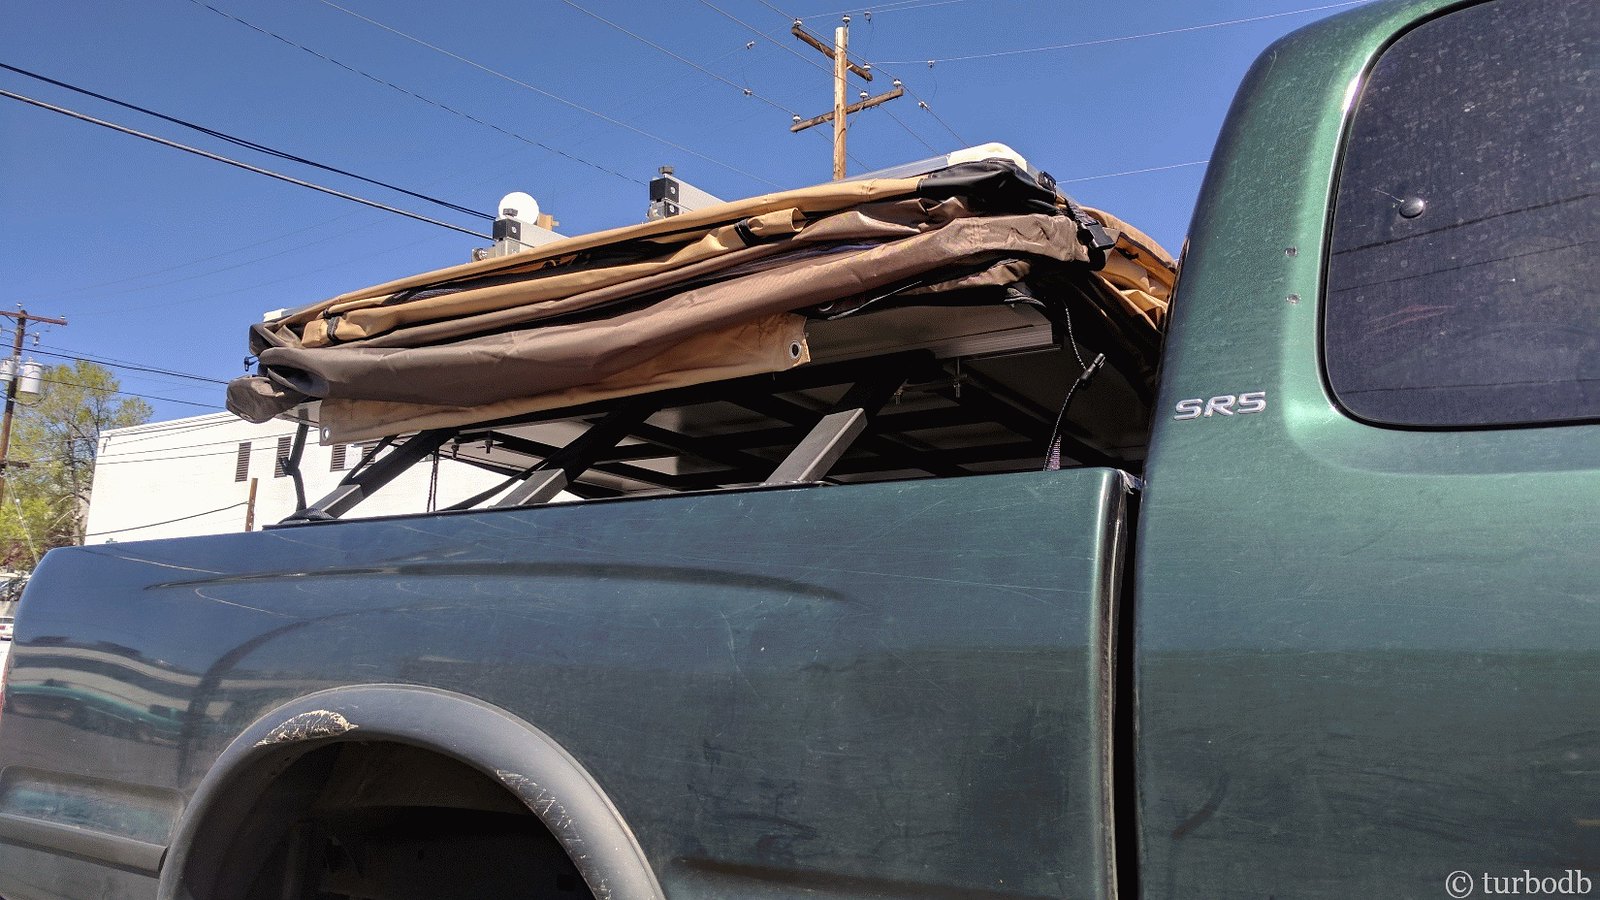
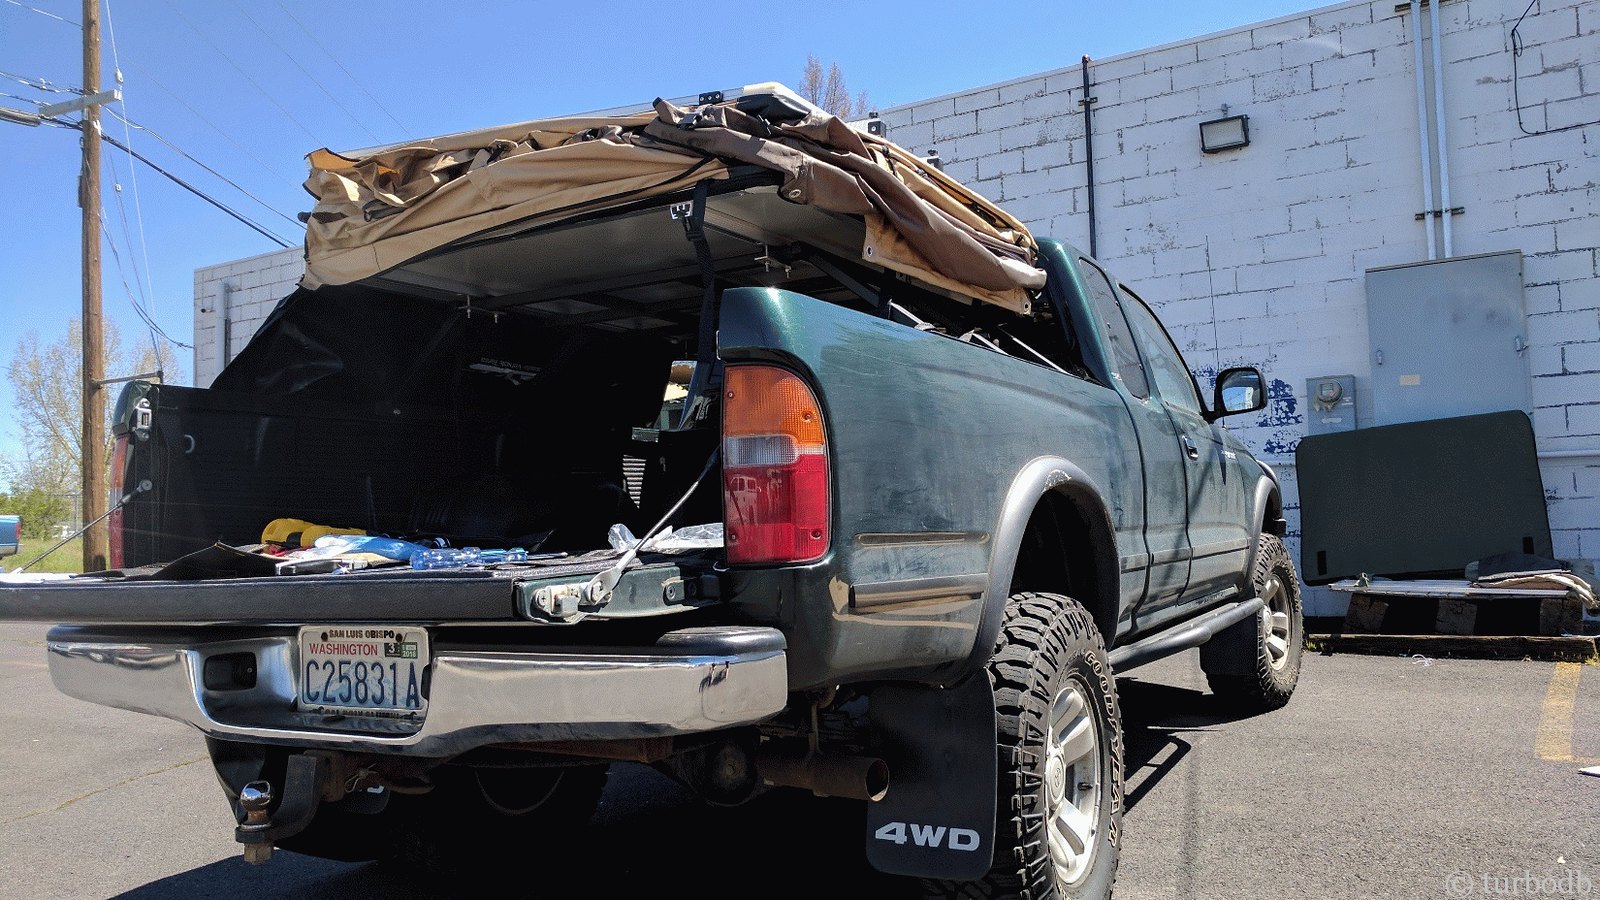
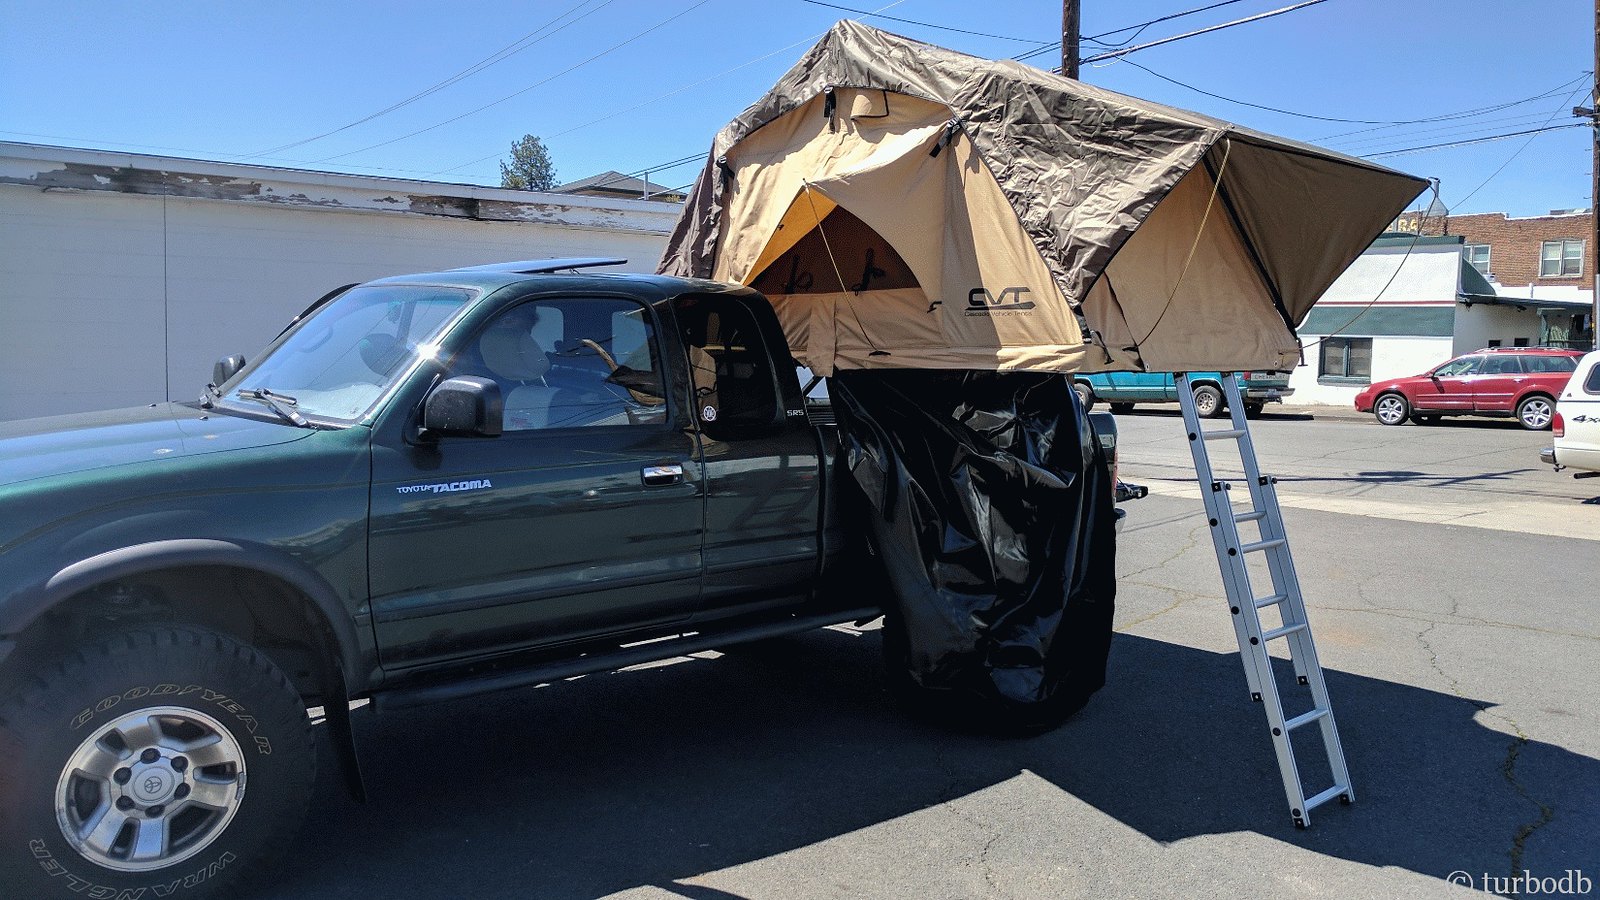
Tent on, we used the supplied brackets to secure it to the bed rack - inserting some rubber between the tent hardware and the bed rack in order to reduce vibration as well as rubbing/paint removal, and then, we installed the cover by inserting it into the aluminum channel on the driver side of the tent. It was a tight fit, but I considered that good!

40087455381_e4b4047cda_h.jpg

Cover installed, it was the (next) moment of truth. Time to open the tent and get it setup for the first time. Of course, unfolding it for the first time was super exciting (isn't that what we all love about our RTTs?) and as I inserted the polls that hold up the various awnings, I just kept thinking - this is going to be awesome.

This was also the point at which we drilled a couple holes in the ladder to lock it into place when extended, thereby supporting the overhanging side of the tent. Again - we were well prepared (I'd brought a drill and set of bits) and everything went off without a hitch.

40087455851_9548179499_h.jpg

At this point, we knew we were home free - everything was going to work out - and so I went inside to find Ty. He'd mentioned wanting to give us a few tips once we got setup, and when he saw me walk in to say we were ready for the tips, he mentioned that our hour-long install was one of the quickest he'd seen. Cool.

As he wrapped up with a couple customers, he came out and showed us a few tricks with the tent. I'm sure I don't remember all of them, but the ones I do remember are:
  • Don’t use the plastic clips to "cinch down" the tent as you're closing it. Doing so can pull out the rivets. Instead, compress the tent manually, then connect the clips.
  • When keeping sleeping stuff bags, pillows, etc. in the tent, move them towards the middle of the tent (in all directions) before you fold it up. It'll close up easiest that way.
  • Store the "awning poles" in the fold of the tent, just before you put the cover on. They wont interfere with any of the tent material, and they are easily accessible whenever you remove the cover and before you unfold the tent.
  • When zipping the cover, "fold the corners up" to expose the zipper on the top part of the cover. It's easier to zip that way.
And then, we were done. The tent was put away, and we packed our stuff back into the bed. It was noon, and we were ready to head out on our first RTT adventure - a week in the back country of Oregon.

40087456401_2e58c5f829_h.jpg

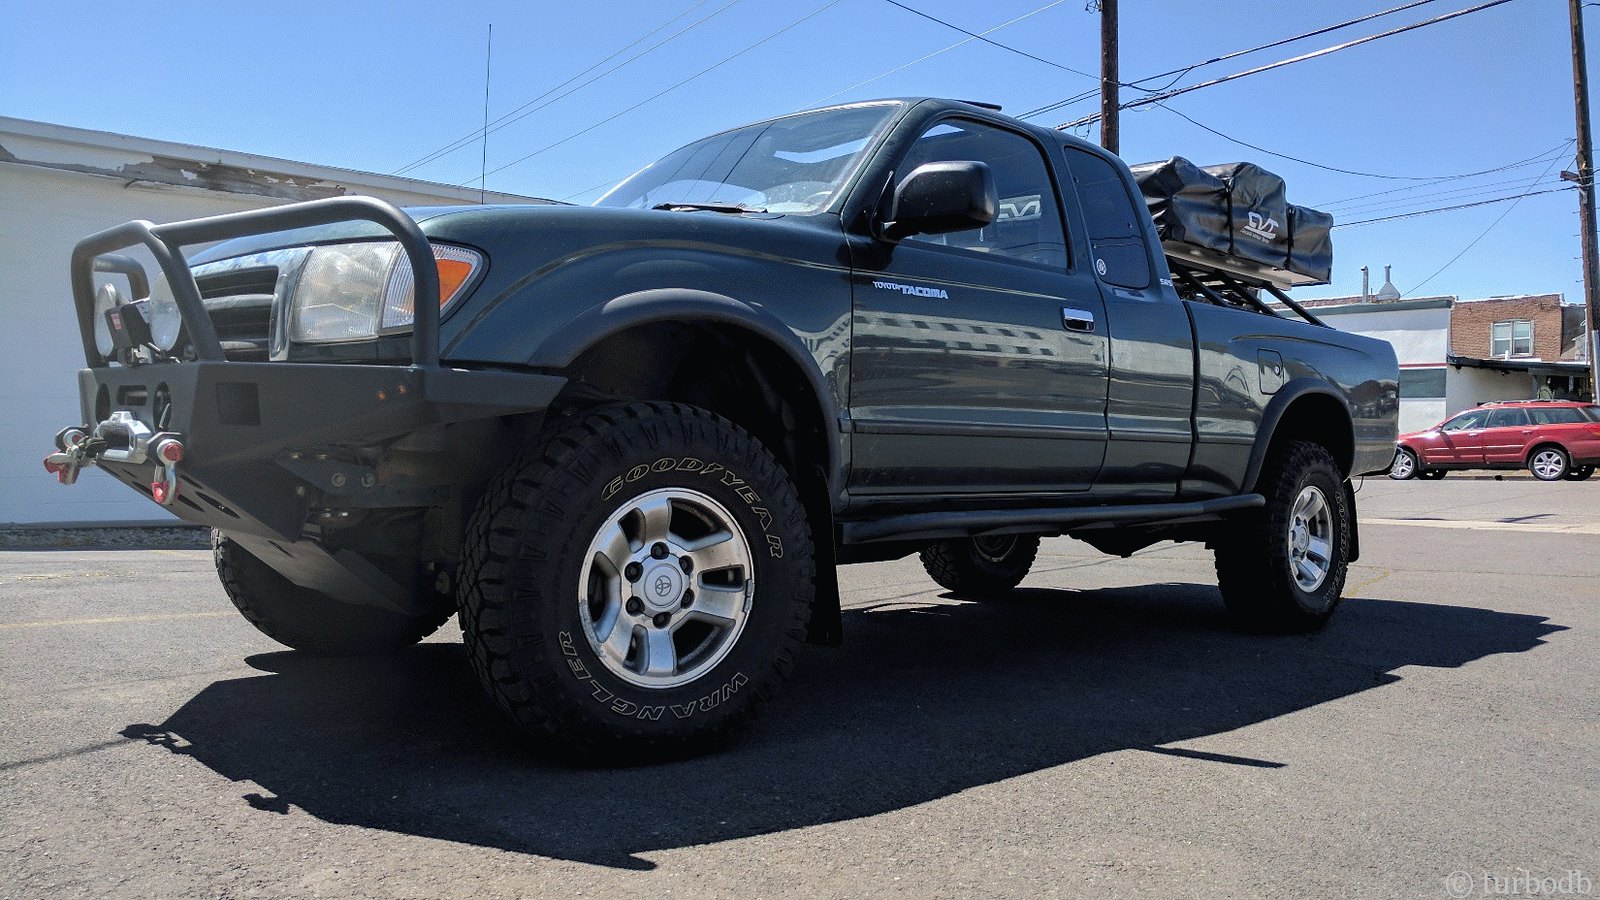
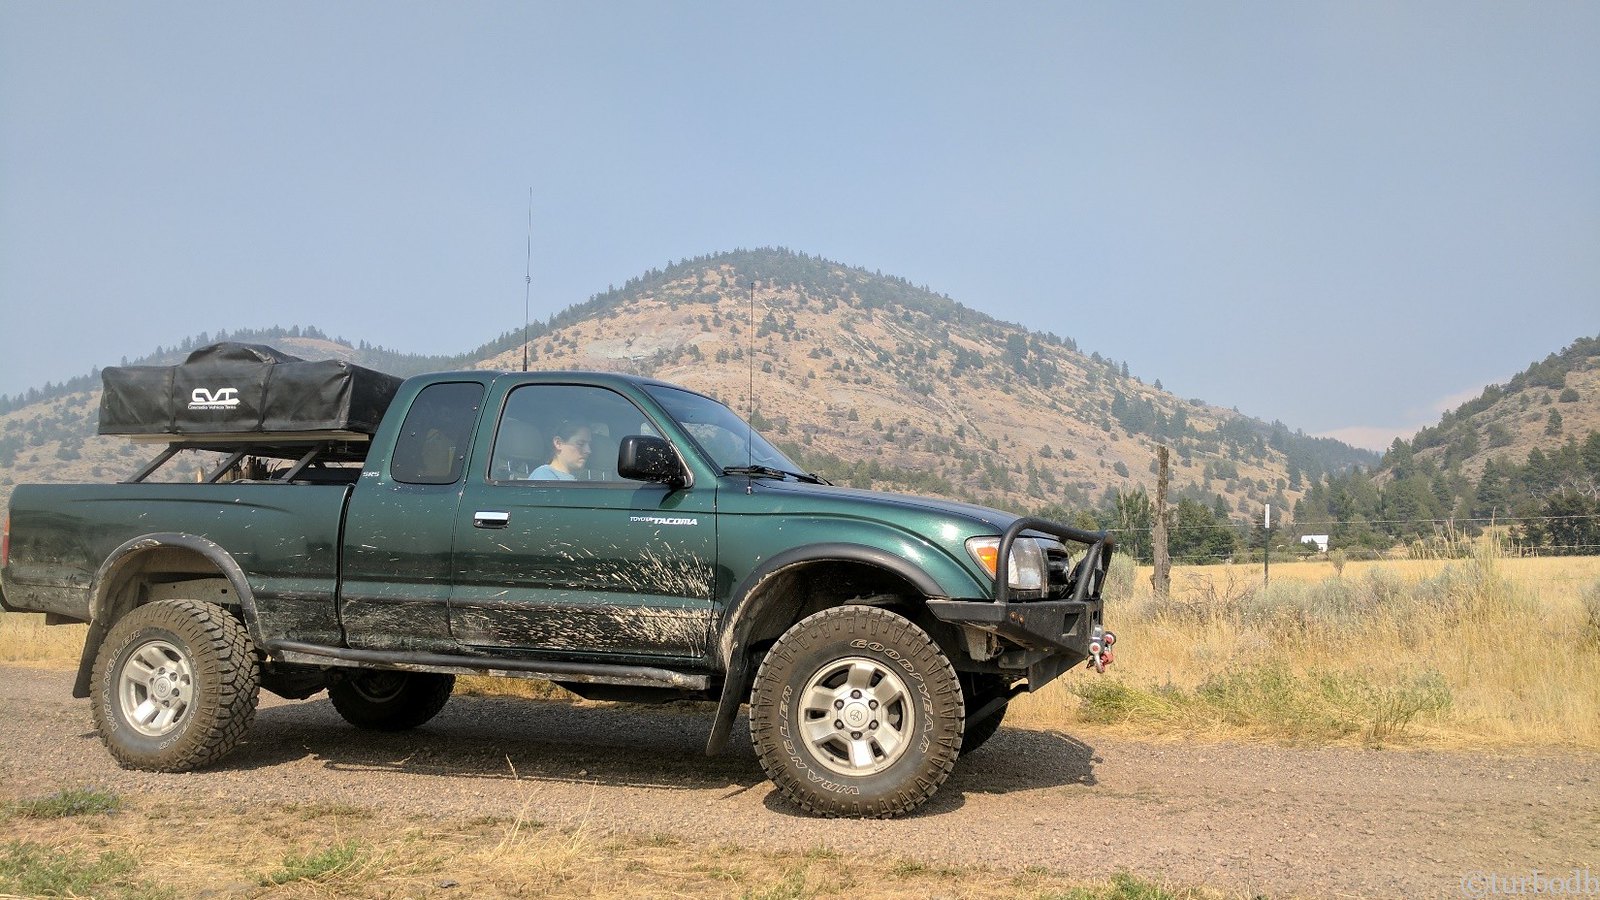
Oh, and it looks pretty cool too. That shouldn't really count, but c'mon, everyone loves for their truck to look cool.

... Chapter 2 coming soon ...​
 

turbodb

Well-known member
Oregon-bound Chapter 2: Exploring Oregon's Malheur National Wildlife Refuge
May 8-10, 2017.

(read Chapter 1: Acquisition and Installation of the CVT)

Day 1: Monday, May 8.

Acquisition and installation of the CVT successful, we were off for a week of desert and back country exploration - so awesome. The first few days would be exploring the Malheur National Wildlife Refuge area with Dad and uncle, followed by four days on the Oregon and Washington Backcountry Discovery Route (OBDR and WABDR) to get from central Oregon back to I-90 around Cle Elum and then ultimately back to the Seattle area.

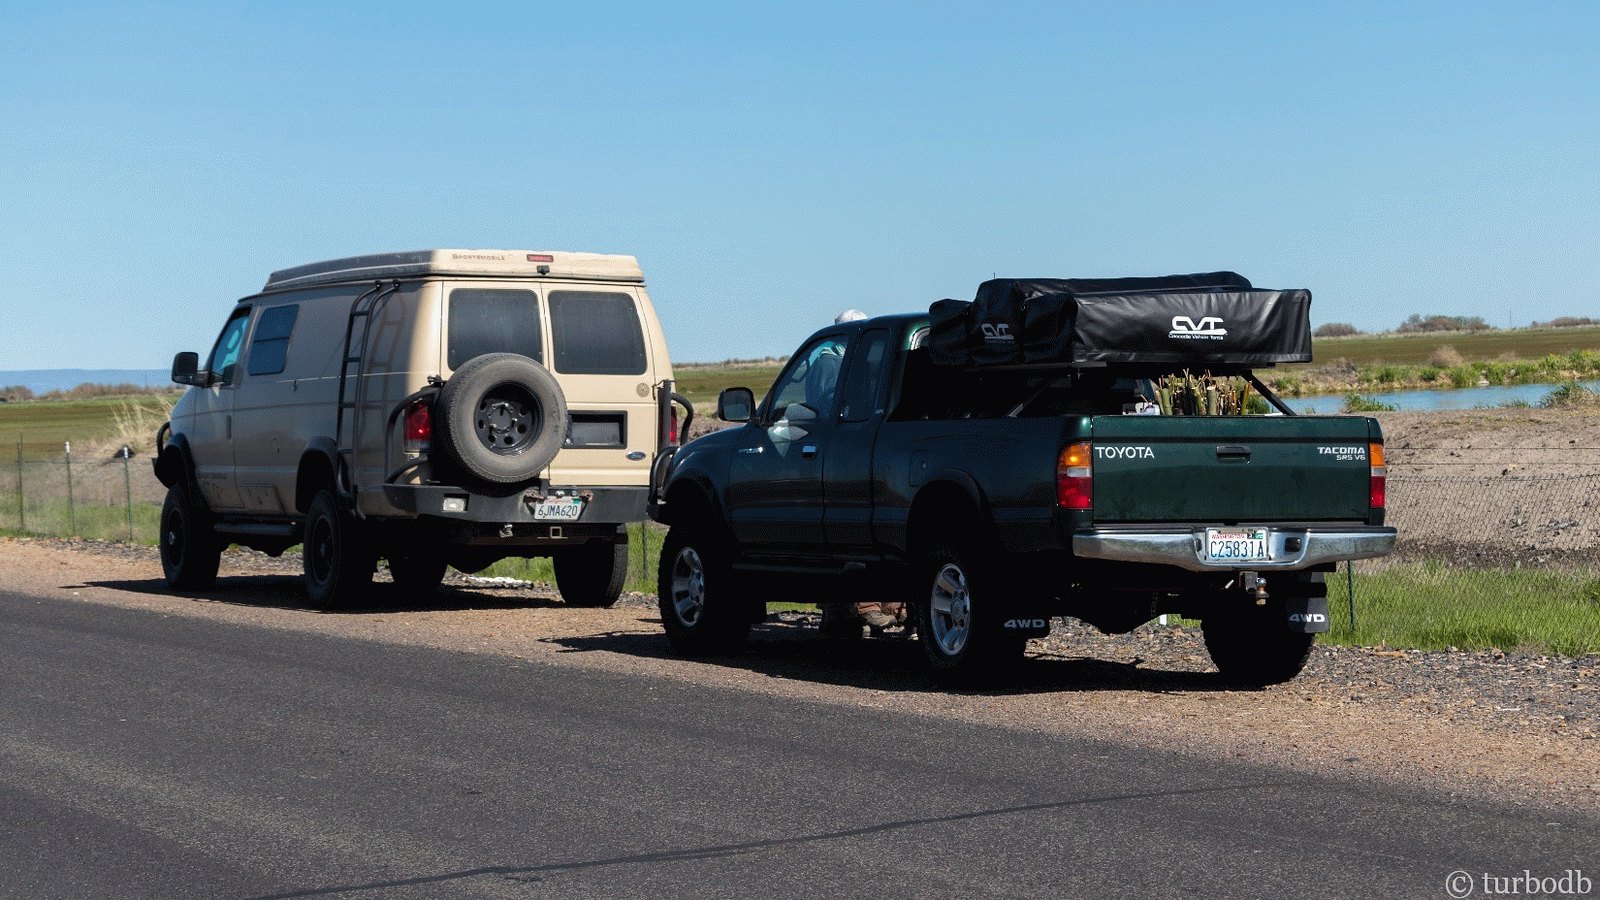
A couple hours driving from Bend to Hines/Burns and we met up with the rest of the gang. My uncle’s got a Sportsmobile that's pretty nicely appropriated - high clearance 4WD, custom bumpers, a kitchen and fridge inside, and with the roof popped up, two sleeping levels. At 8000 lbs loaded up, it's a beast. Perfect for two guys who are retired and like to explore the outback. In style.

40087456871_b23027d882_h.jpg

The shenanigans started as soon as we showed up.

40087457291_823ef64f3f_h.jpg


39376080944_6dcd3da3ea_h.jpg

Being close to 3pm when we met up, the first order of business was to eat lunch. See, my Dad and Uncle go a little slower now that they aren't in any rush to get back to work - I mean, for them it's basically living "vacation to vacation" as I like to call it. So, it's breakfast at 10:00am, break camp around noon, and of course that means lunch around 3:00pm.

And lunch was good. Fresh sandwiches with all the fixings. All pulled out of the Sportsmobile fridge. We were jealous!

After lunch we did a bit of looking over of the truck - talked through a few of the mods since I'd last seen Pops, and then talked about our plan of attack for the rest of the day. Our ultimate destination was Crystal Crane hot springs, where we'd spend our only night with anyone in eyesight for the next week.

It was probably one night too many, but the hot springs were calling.

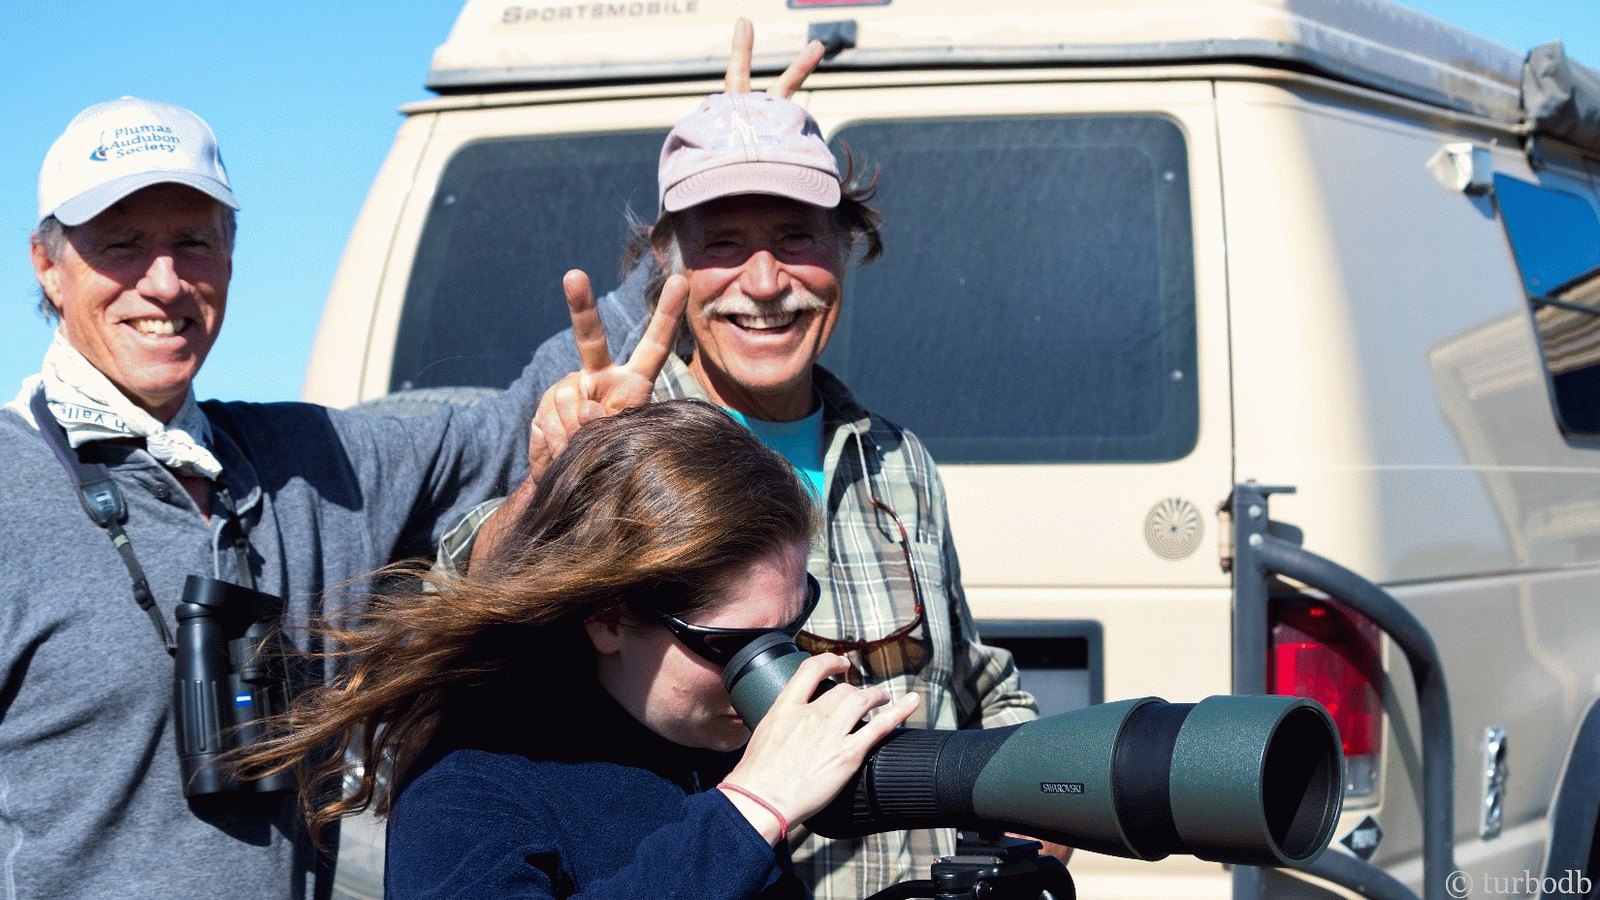
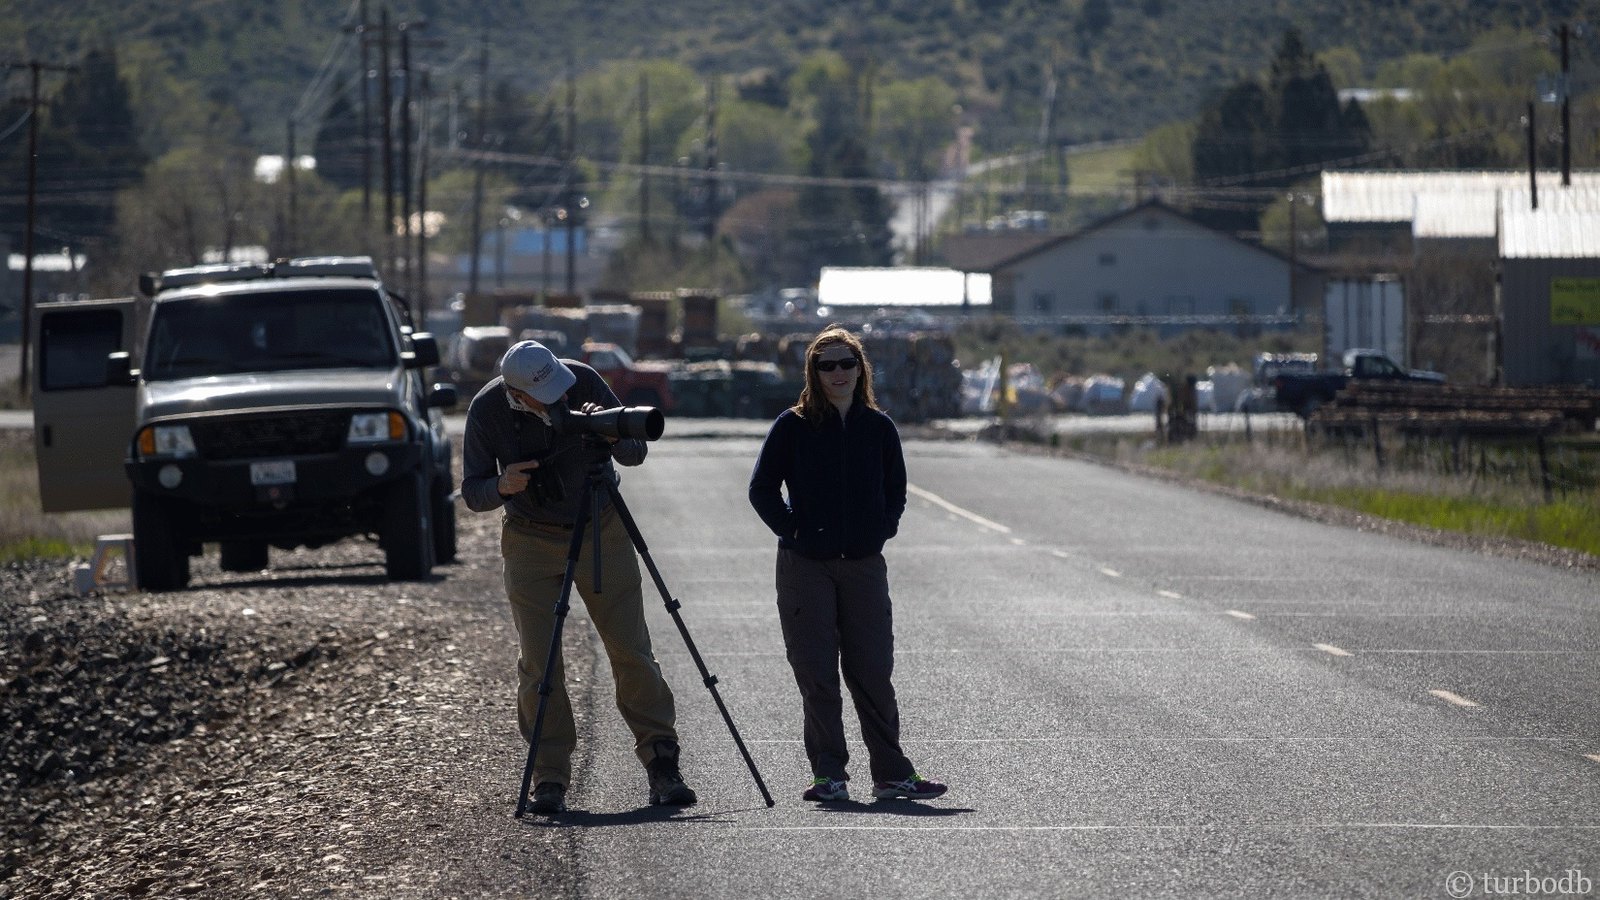
So we were off. My Dad and Uncle are both big birders, so we set out from Hines for something like 1000 ft. - at which point they pulled over. Next to a sewage treatment pond, where we stumbled upon a dead (bloated) skunk. Which we were sure was a skunk, even though it looked like a beaver.

Here, we birded; Hines still in the near background.

39376081264_c54d7c21df_h.jpg

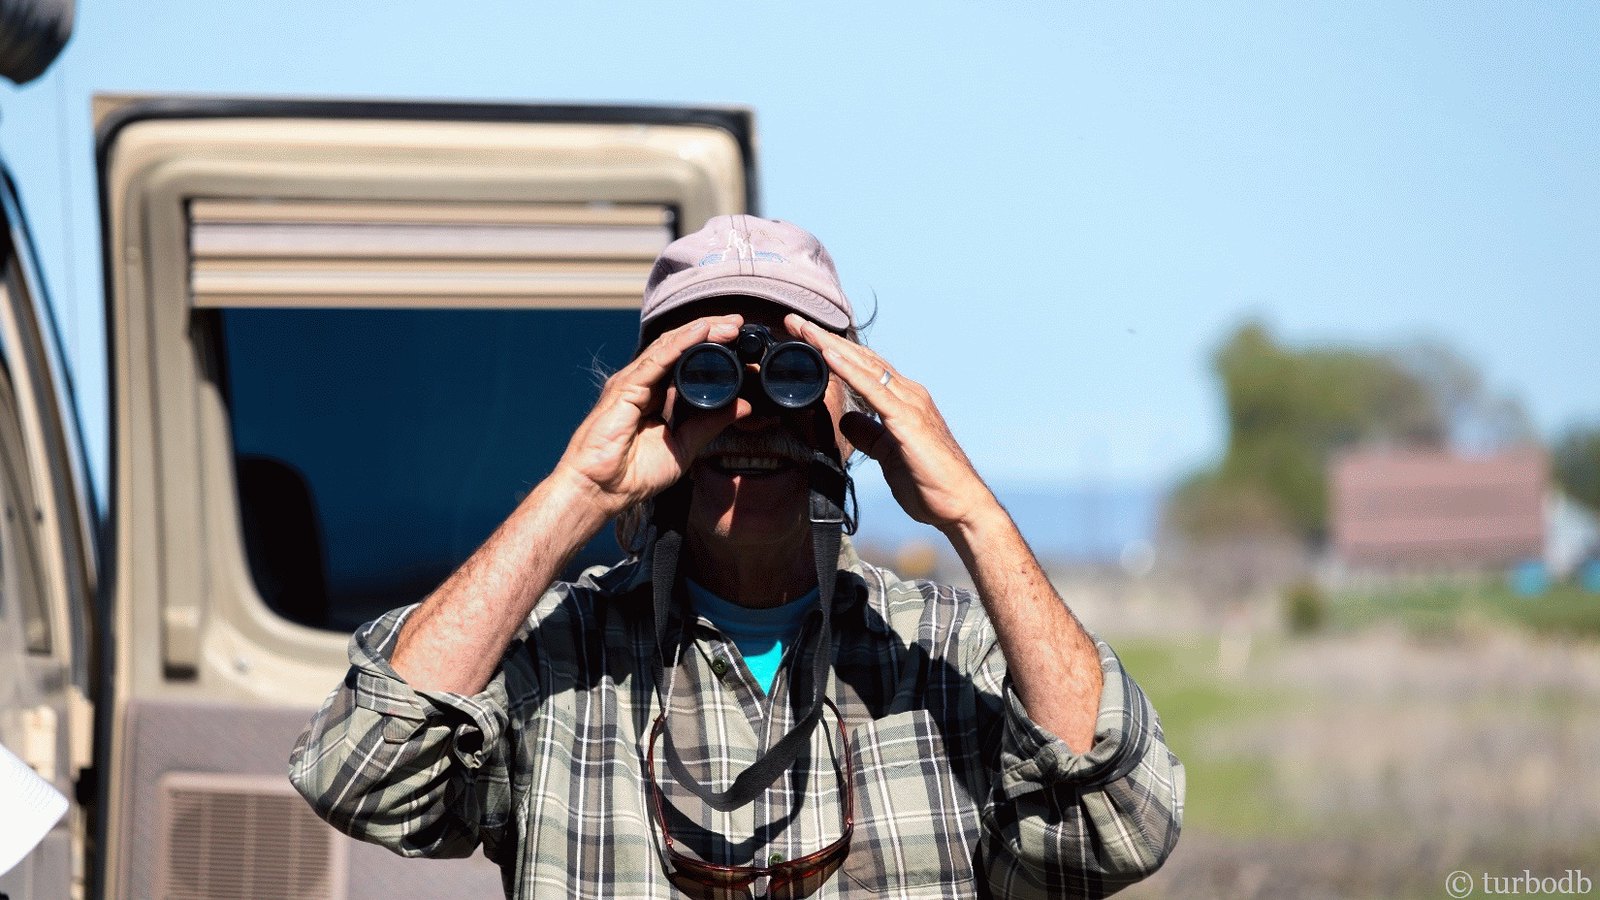
The way this works, apparently, is that you get in your vehicle and drive - for no more than a few hundred feet - before hopping out with all sorts of binoculars, scopes, and apps that track the plethora of bird species you're hoping to see.

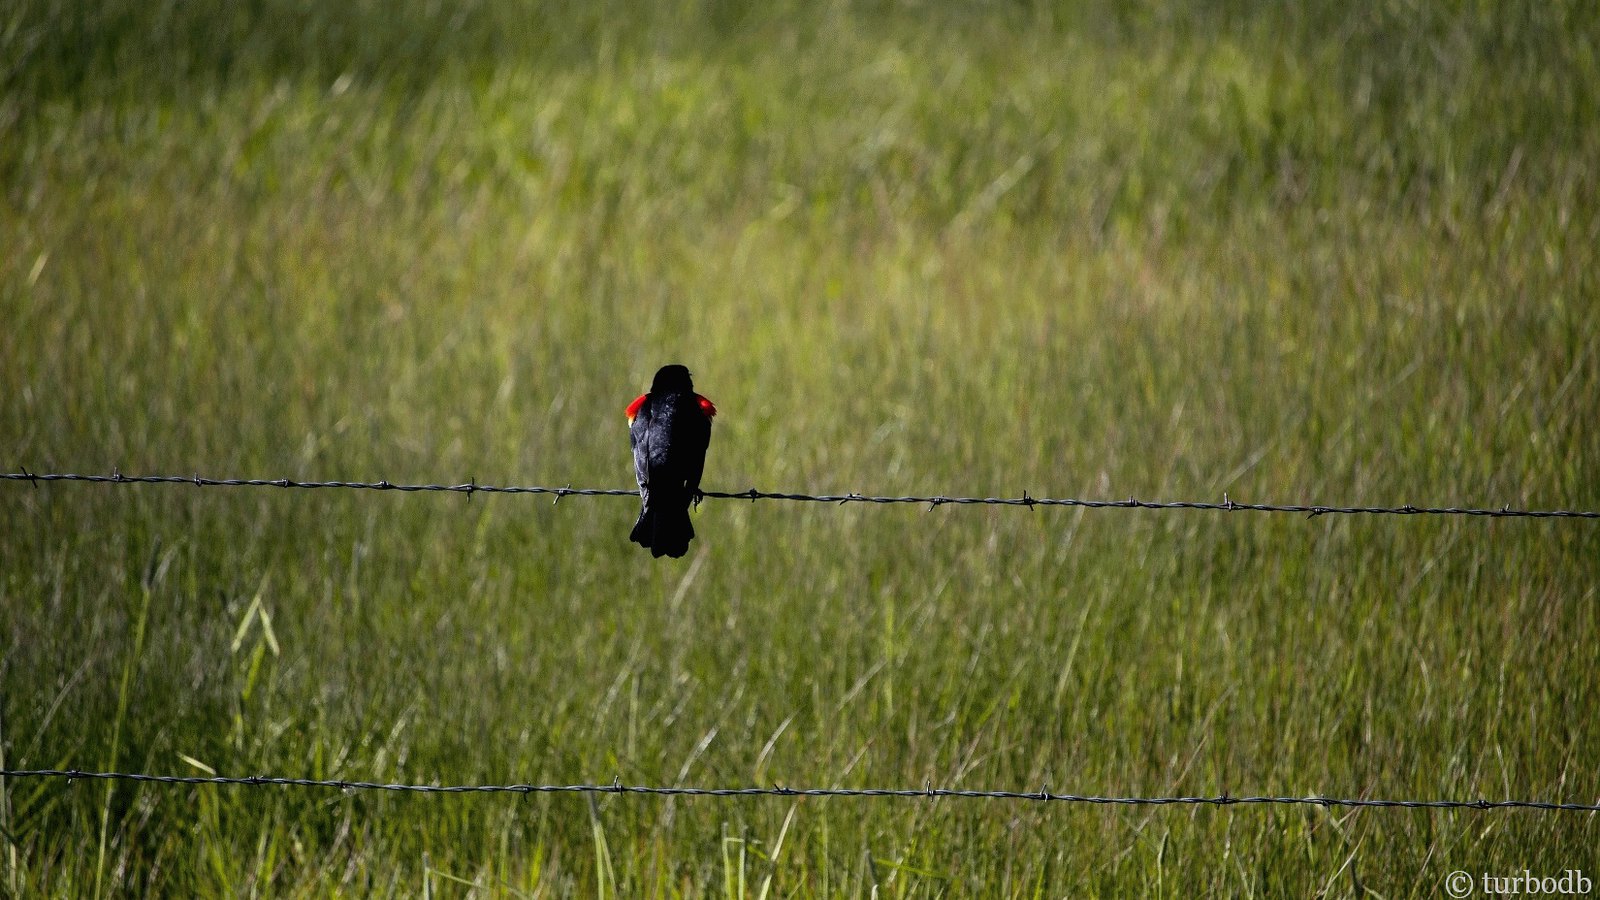
And we saw lots. It was a way of experiencing nature that @mrs.turbodb and I aren't generally accustomed to, and I think we both generally enjoyed it. We definitely saw lots of birds we'd never seen before, and we got some amazing views through the scope and with my new Canon 80D - like this soldier looking red-winged blackbird.

39376081504_a1aa8e68af_h.jpg

Eventually, by 5:00pm, we'd made it about a mile down the road. Maybe. I could tell that my Dad and Uncle felt rushed.

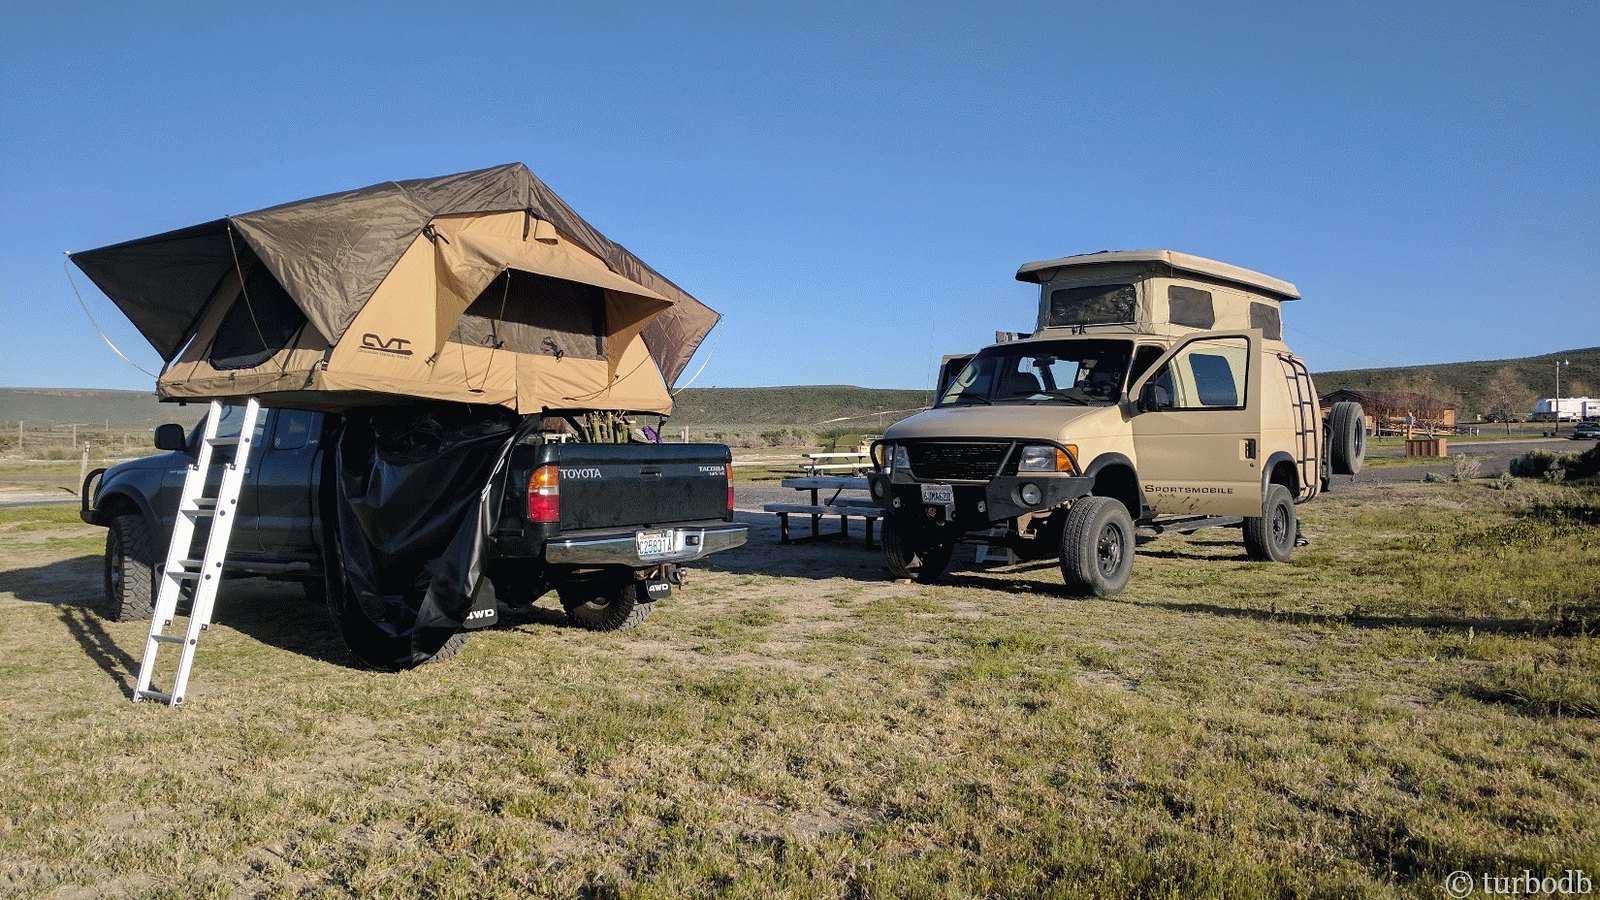
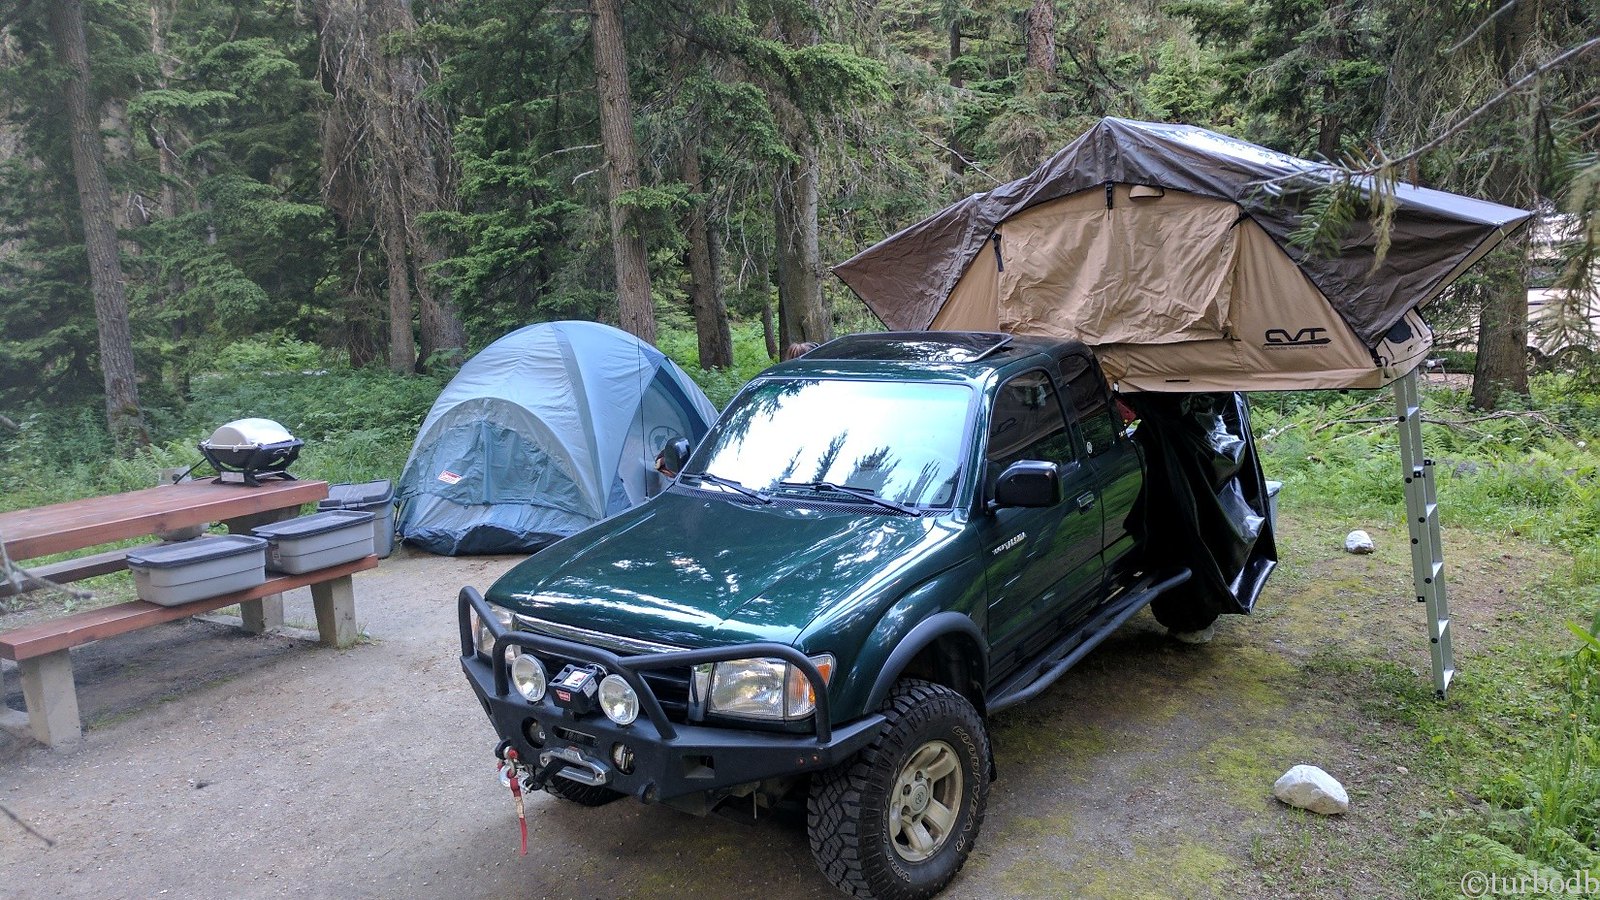
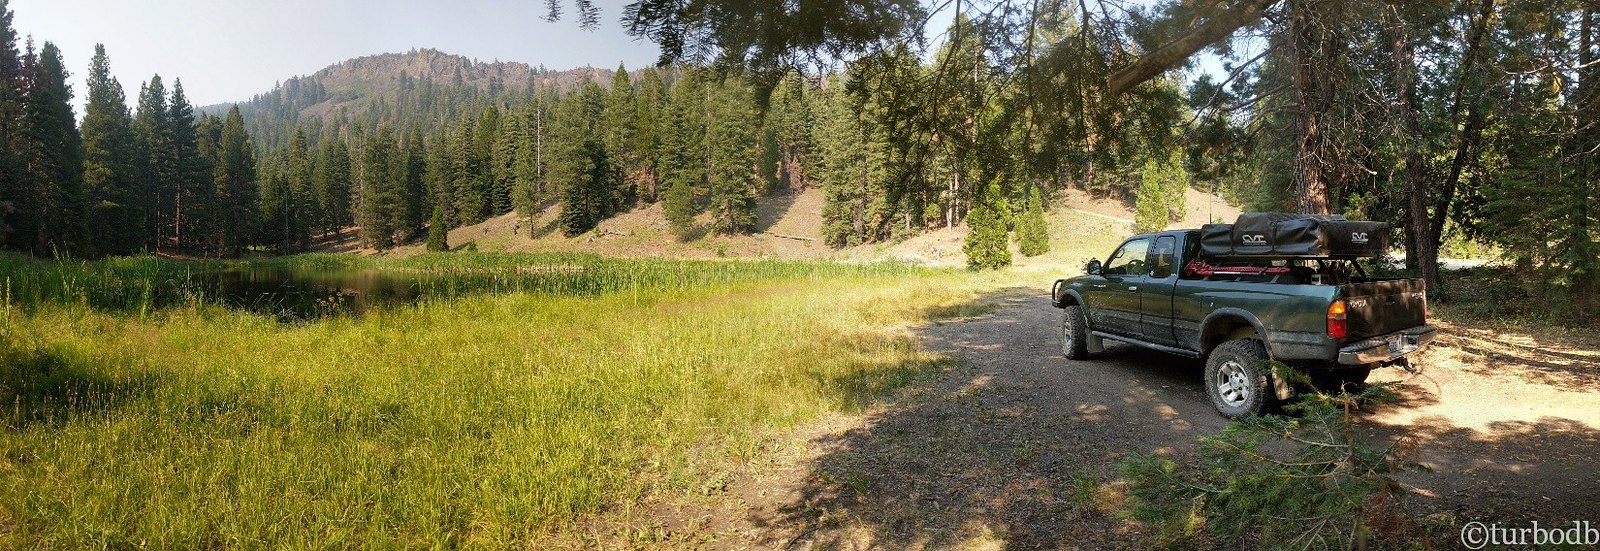
But, they were ready for some soaking in the hot springs, and having been up since 2:00am, we were ready for some sleep, so we high-tailed it out of the sewage treatment plant area, and the 40 or so miles to Crystal Crane hot springs, where we got a camp site, and proceeded to setup the CVT for actual sleeping for the very first time.

39376081834_2b0eb38582_h.jpg

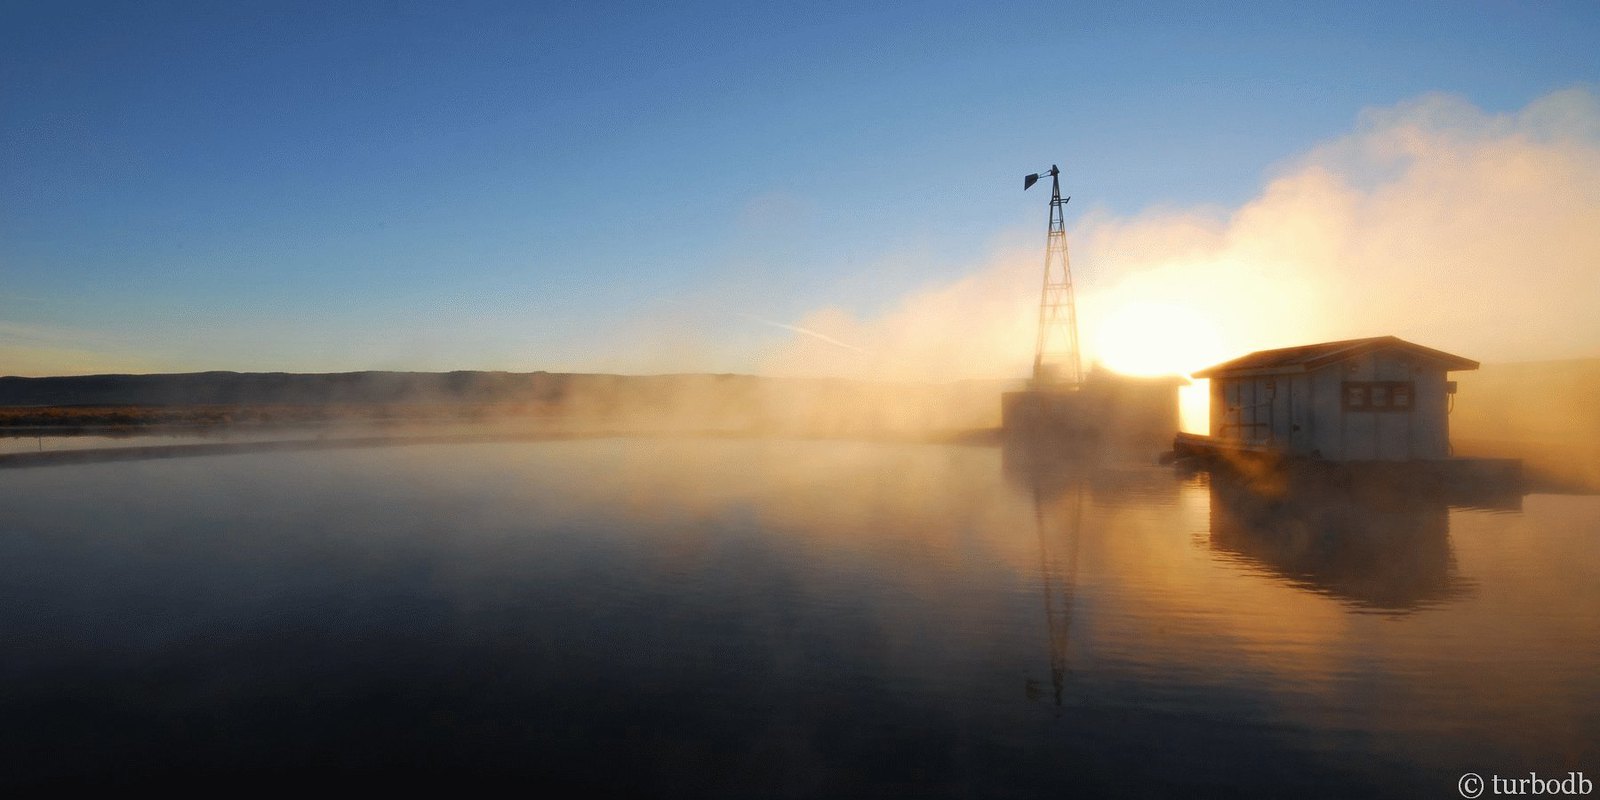
Happy with the setup, and ready for a soak, we headed to the well maintained hot spring where we soaked and chatted in the 104 - 107 degree water for about an hour, until the sun was setting and we were ready for dinner.

39376081934_2c33193882_h.jpg


39376082234_9564348ae6_h.jpg

Dinner was simple on this first night. Knowing how tired we'd be, we'd stopped at Jimmy John's and picked up some sandwiches - we chowed them down and hit the sack after a bit more catching up - before our travelling companions even had time to make their own gourmet dinner.

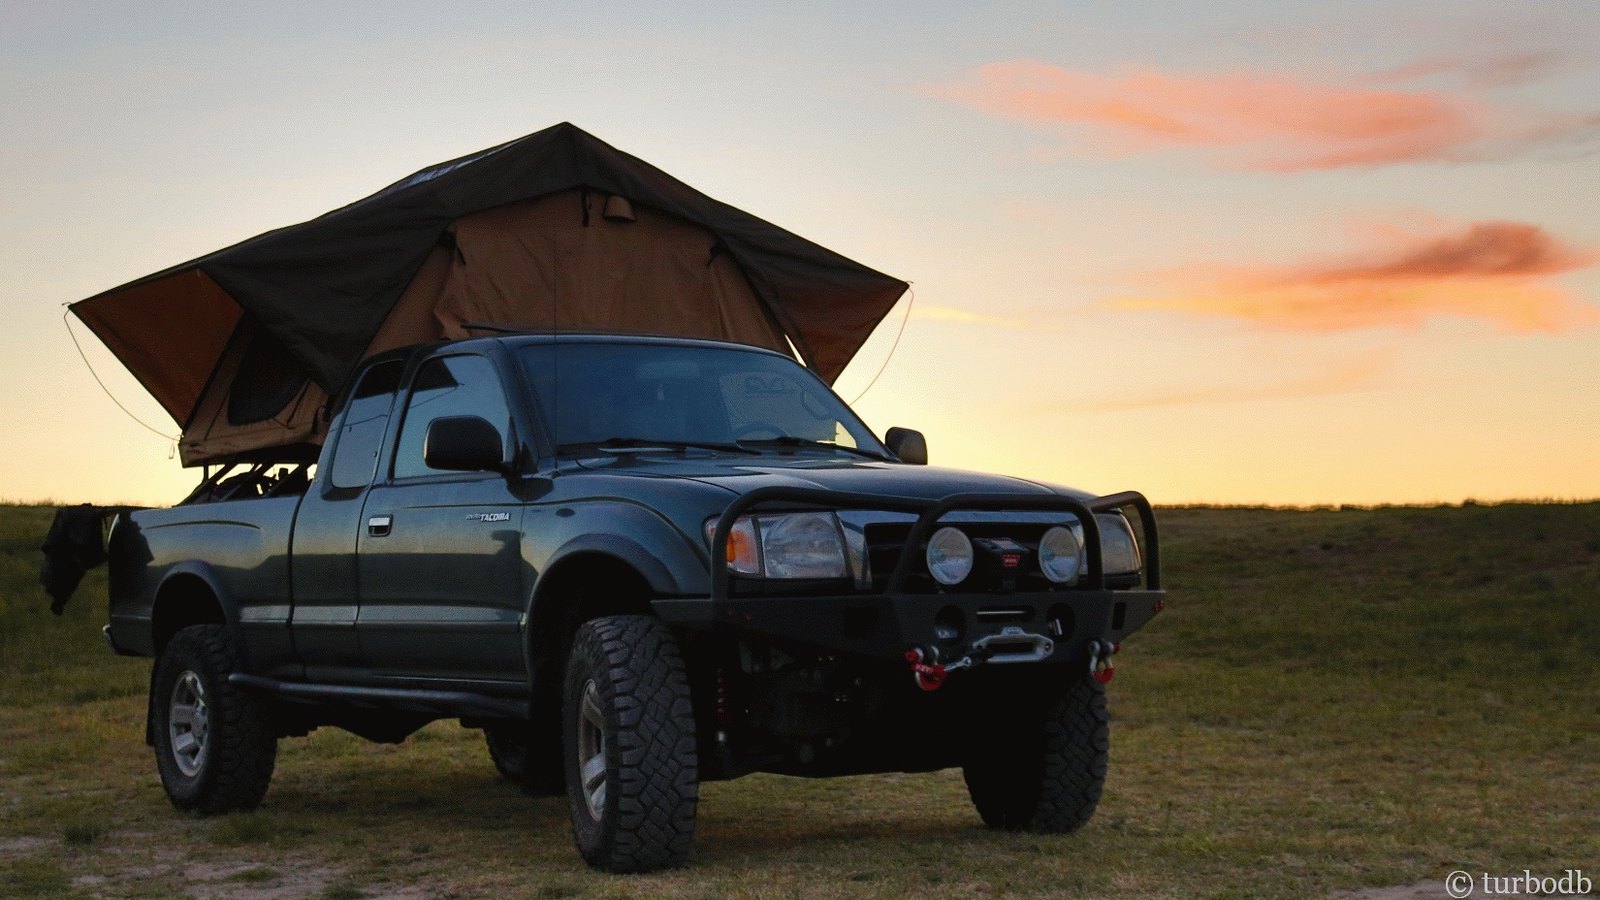
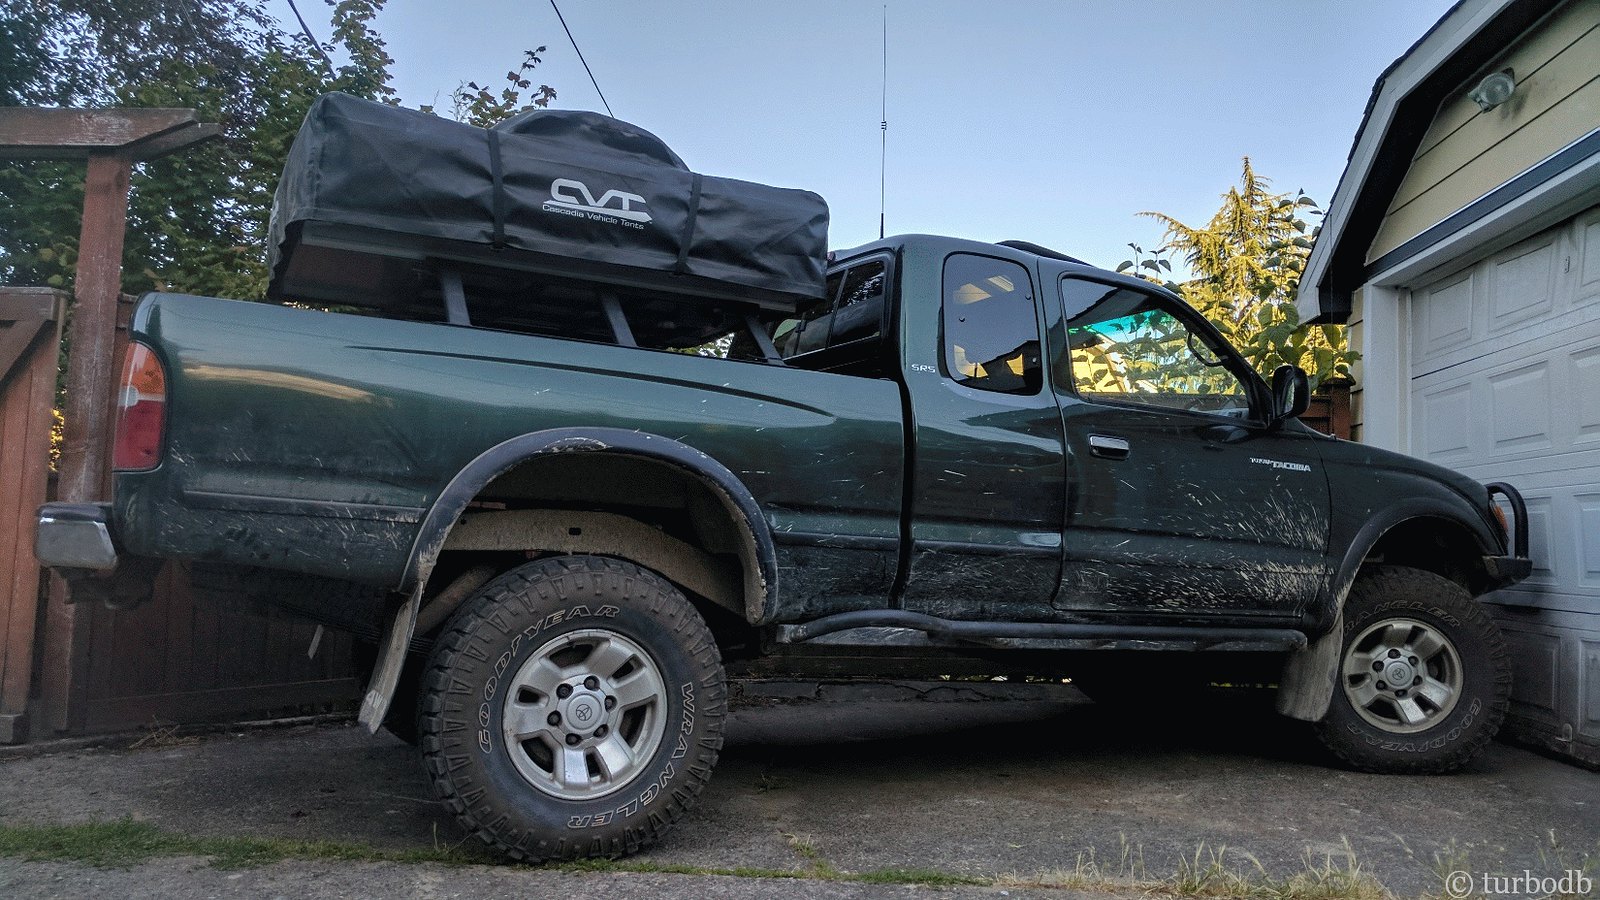
Of course, there was time enough to snap a photo of the truck and CVT just before we headed in to try it out!

39376082504_105af0c19d_h.jpg

Day 2: Tuesday, May 9.

We awoke to a beautiful morning the next day. The CVT worked splendidly - the foam mattress was comfortable, and we stayed plenty warm in our sleeping bag (and extra comforter). The only issue we ran into was a bit of condensation between the mattress and floor of the tent - something we’re used to in any camping situation - so we’re likely to pick up an anti-condensation mat in the future.


There's more to this story that won't fit here. Check out the remainder, with tons of photos at

Oregon-bound Chapter 2: Exploring Oregon's Malheur National Wildlife Refuge


.
 
Last edited:
turbodb

Well-known member
Oregon-bound Chapter 3: Mission Impossible: Oregon's Backcountry Discovery Route
May 11-15, 2017.

(read Chapter 1: Acquisition and Installation of the CVT, Chapter 2: Exploring Oregon's Malheur National Wildlife Refuge)

Day 1: Thursday, May 11.

Parting ways with Pops and my Uncle, our plan was to run the OBDR from Seneca, OR to Walla Walla, WA, and then the WABDR from the border up to Cle Elum - approximately 1000 miles of remote back roads in four days.

We knew it'd be a lot of driving, but we've driven a lot for other trips. We were sure we could do it - it's not like we'd be going 10 mph the whole time.

At least we were right about one thing. We definitely weren't going 10 mph the whole time. But now we're getting ahead of ourselves.

From Diamond Craters, we headed back to Burns where we stocked up on food and ice for the rest of the trip. We also stopped in at the ranger station to ask about snow pack and overall road conditions through the Malheur and Umatilla National Forests - where we'd be traveling on Forest Service roads for much of the trip. The rangers weren't sure, but they called a station to the north and the consensus was that we might encounter a snow drift or two at some of the higher elevations.

"Sounds like a fun trip," they said.

Boy, were they right. For all the wrong reasons.

We headed up to Seneca, and joined the OBDR on FS-16 - ready for an adventure. The GPS was on, maps ready.

40054639692_d18ea0ea2f_h.jpg


40054640532_0757d5cf72_h.jpg

We cruised along for 18 minutes, getting a feel for the GPS track and enjoying the back roads.

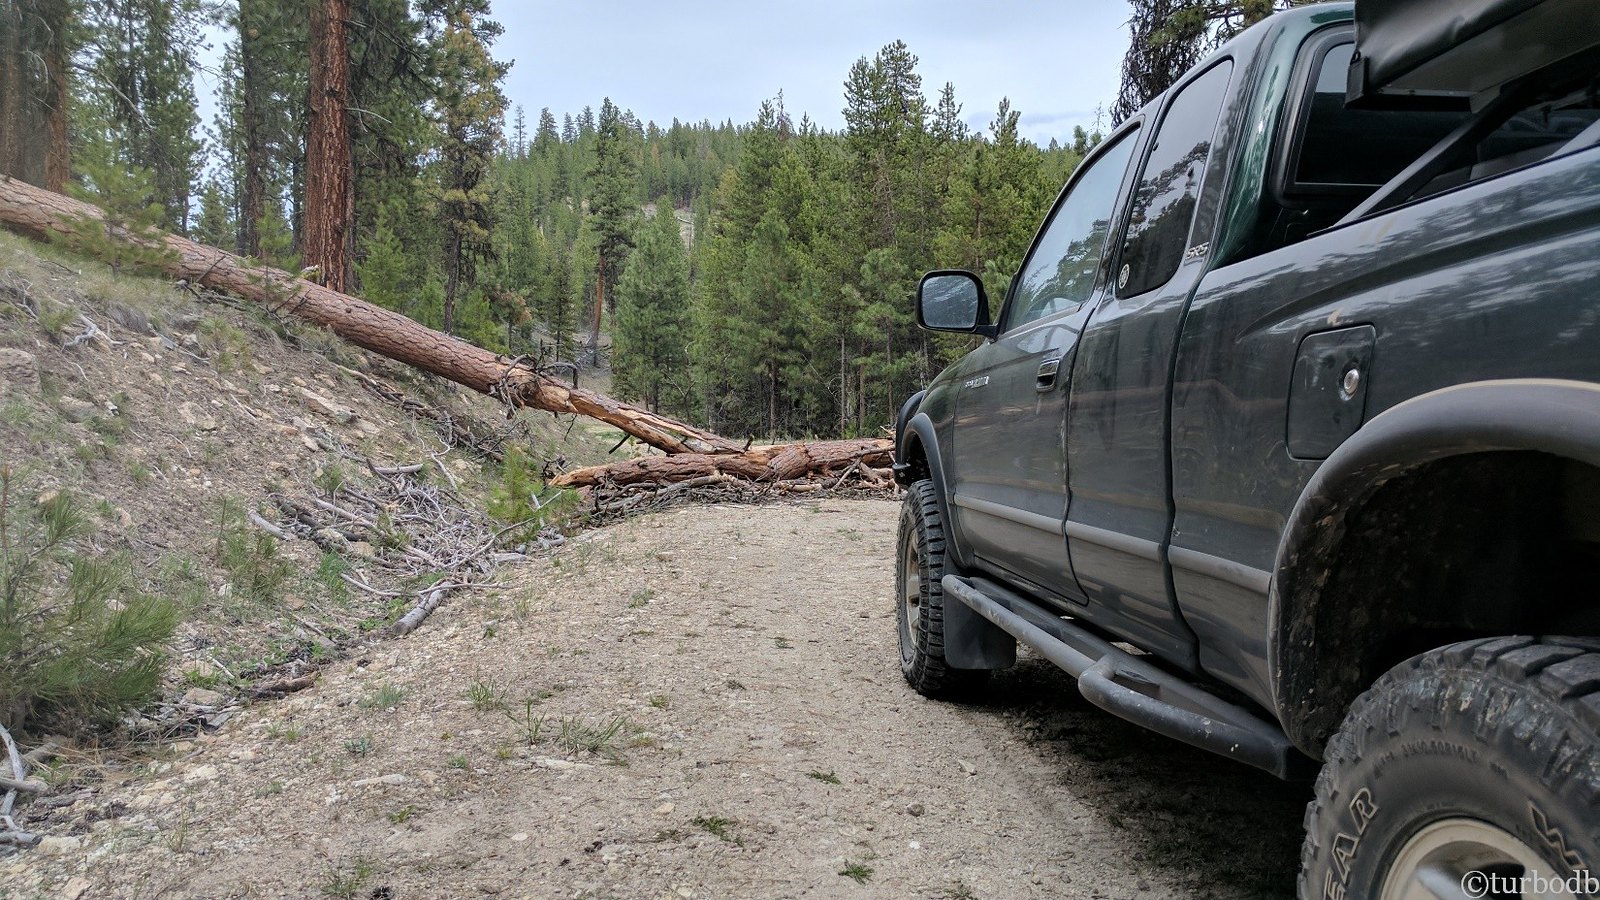
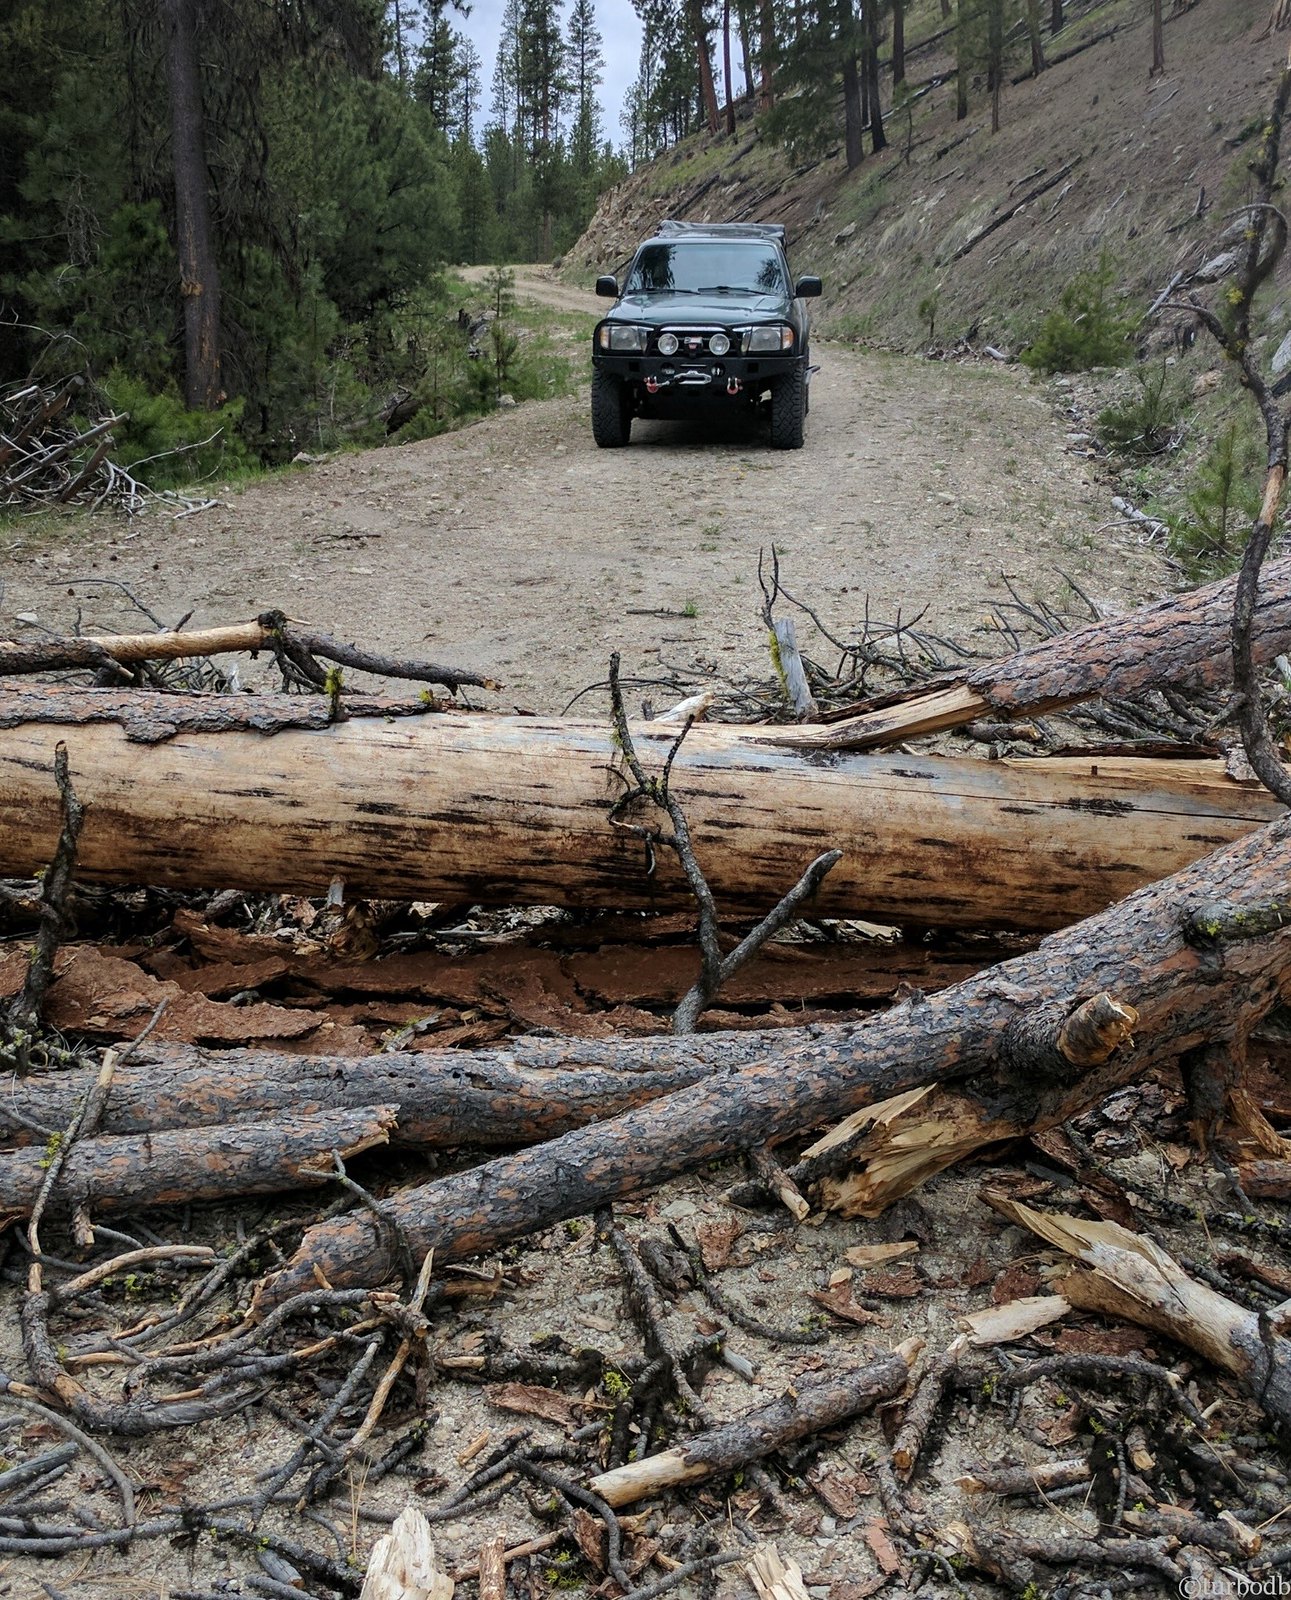
And then… our first tree. And it was a big one. Too big for my 10" Japanese pull saw.

40054641772_0155dabf34_h.jpg

We stopped and got out to evaluate.

28306646519_f2f77375d8_h.jpg

The main trunk was probably 12 to 14 inches in diameter, and there was a bunch of other debris on the road as well. The debris we could move, but without a chainsaw, were we going to be stuck looking for an alternate route, just 18 minutes into our trip?

No. No we weren’t. I had an idea.

Now, before I share the idea, I will warn you - it's not some groundbreaking idea. But I'd never had to do it before. Which looking back now is sort of shocking…

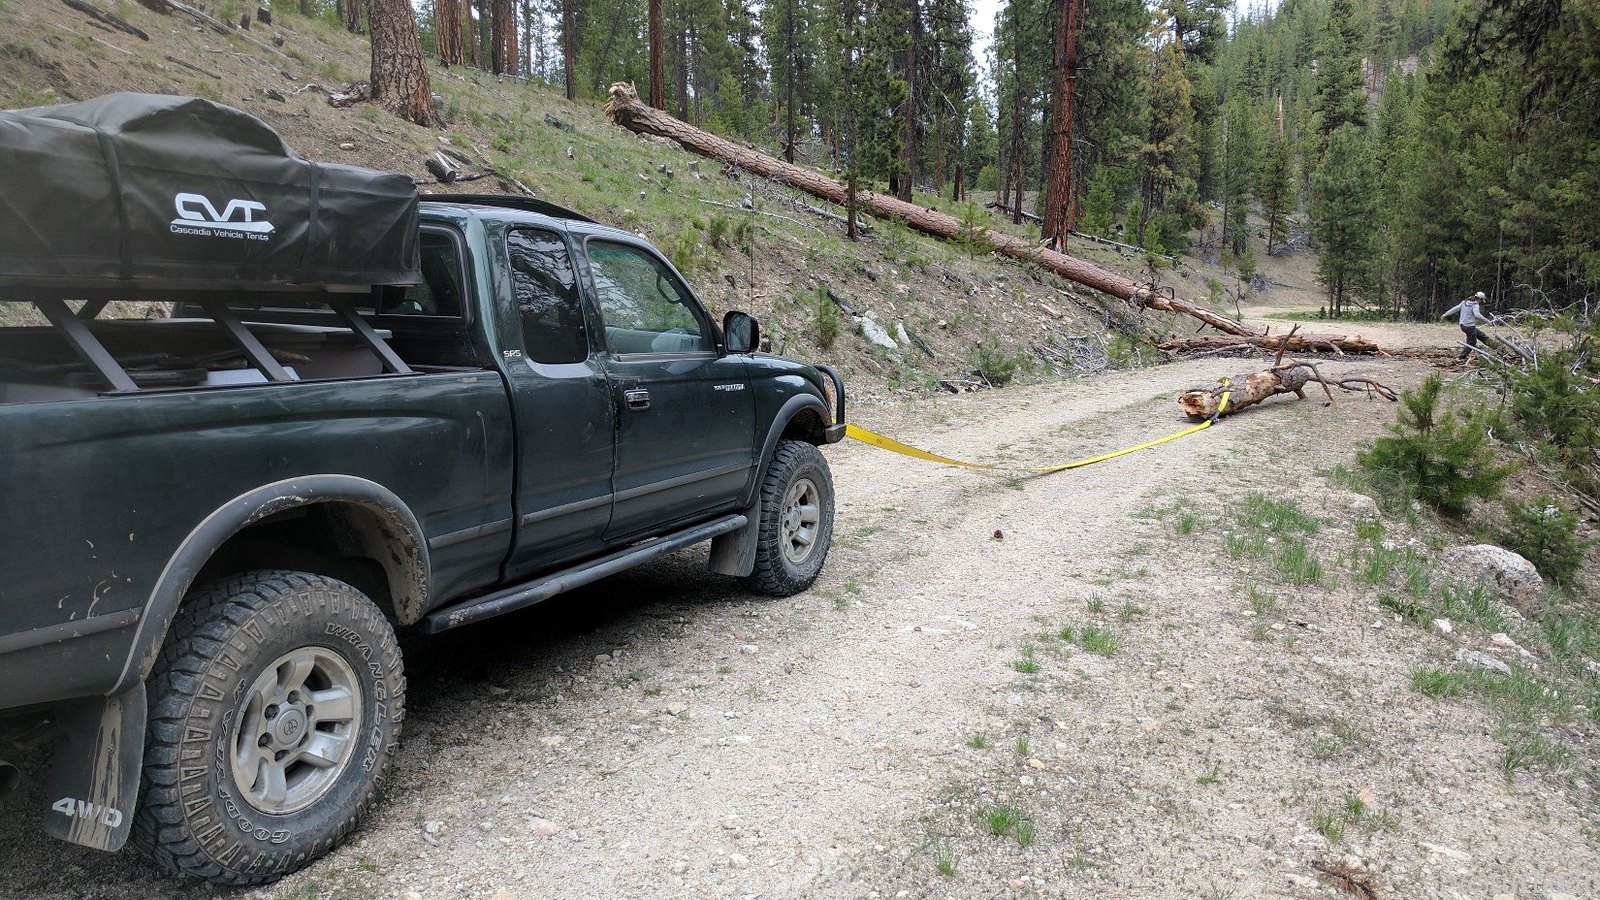
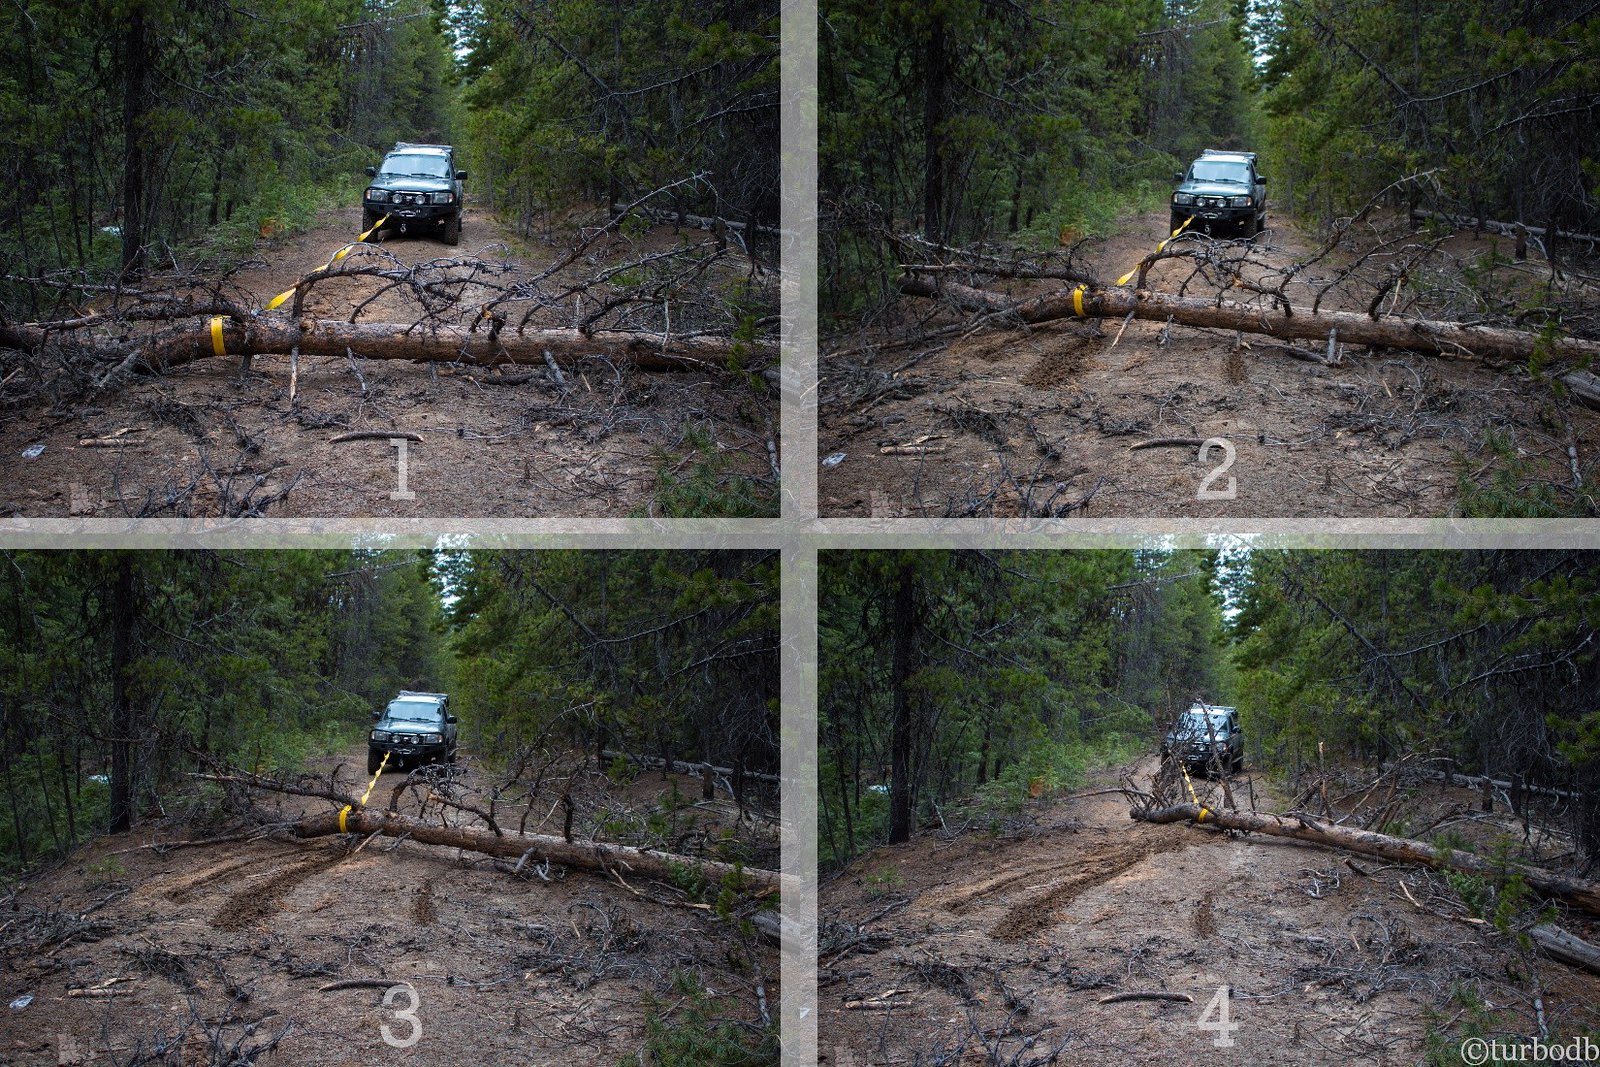
…so the idea: grab a tow strap, tree saver, and shackles, and pull the tree out of the way - at least enough to get by and keep going - we wanted to make it 60 or so miles to Unity (at least) before setting up camp for the night.

28306647679_3db2d3d9bf_h.jpg

With the largest section of the tree moved, and @mrs.turbodb having taken out some of her frustration on the debris (you can see her kicking it out of the way above), we continued on, proud of ourselves for overcoming such an obstacle.

The thought never crossed our mind that we'd run into another downed tree.

I mean, it's not like we were doing this early in the season. Or that it had been the snowiest, rainiest winter and spring on record.

Of course, it should have dawned us when we hit that first tree - we were the first this year. And there had been lots of water. Both are facts that would become patently obvious to us in the coming days.

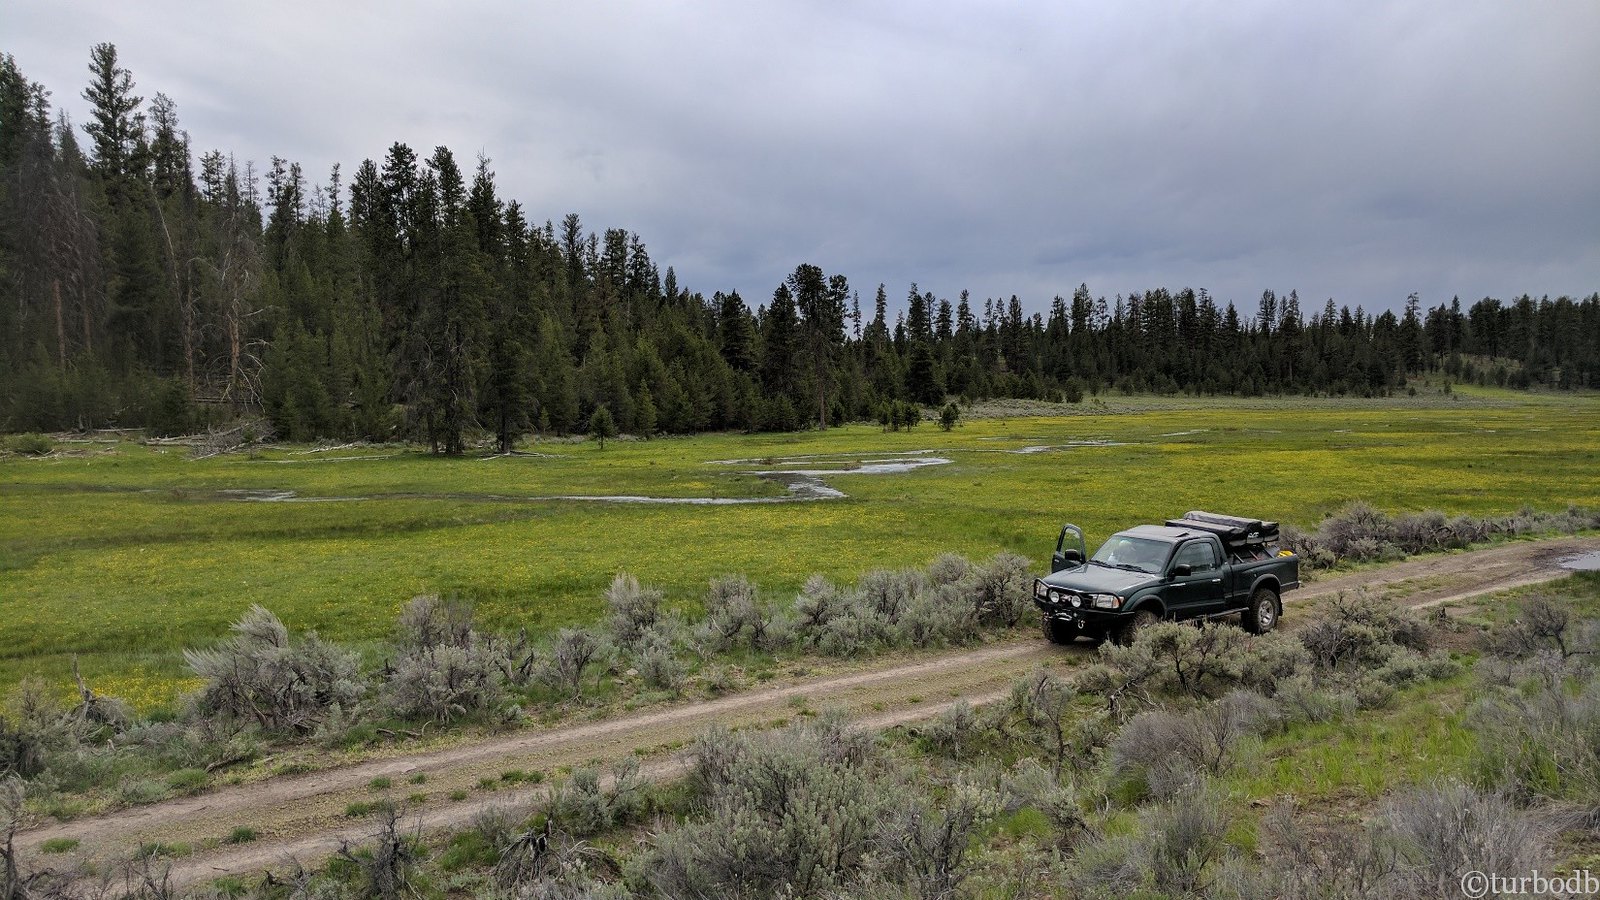
After another 15 minutes of driving, we decided it was time to air down. We should have done this first thing, but we were anxious to make good time. No one else around except the four elk that ran across the road in front of us, we stopped on the edge of their beautiful green meadow to let the air out of the tires.

28306648609_3067569719_h.jpg


28306649479_1f49834848_h.jpg

Down to 18 psi, and man did the ride get better. It's like the best suspension upgrade you could ask for. We were immediately thankful for the new ARB compressor, again.

We continued on, making good time until we got to a fork in the GPS tracks. To the right, the OBDR continued. To the left, an offshoot to Frazier Point Fire Lookout.

We initially continued on the OBDR, but then decided that a fire lookout was probably worth it, so we backed up and headed to the left.

Where we nearly immediately ran into another downed tree. Hot off our last success, we hooked up the straps again and pulled it out of the way.

28306650879_9ab9ab99f4_h.jpg

We continued on. Gaining elevation. Then, the snow started to appear. Not in the air, but on the ground. Small patches on the side of the road. Then, drifts on the road.

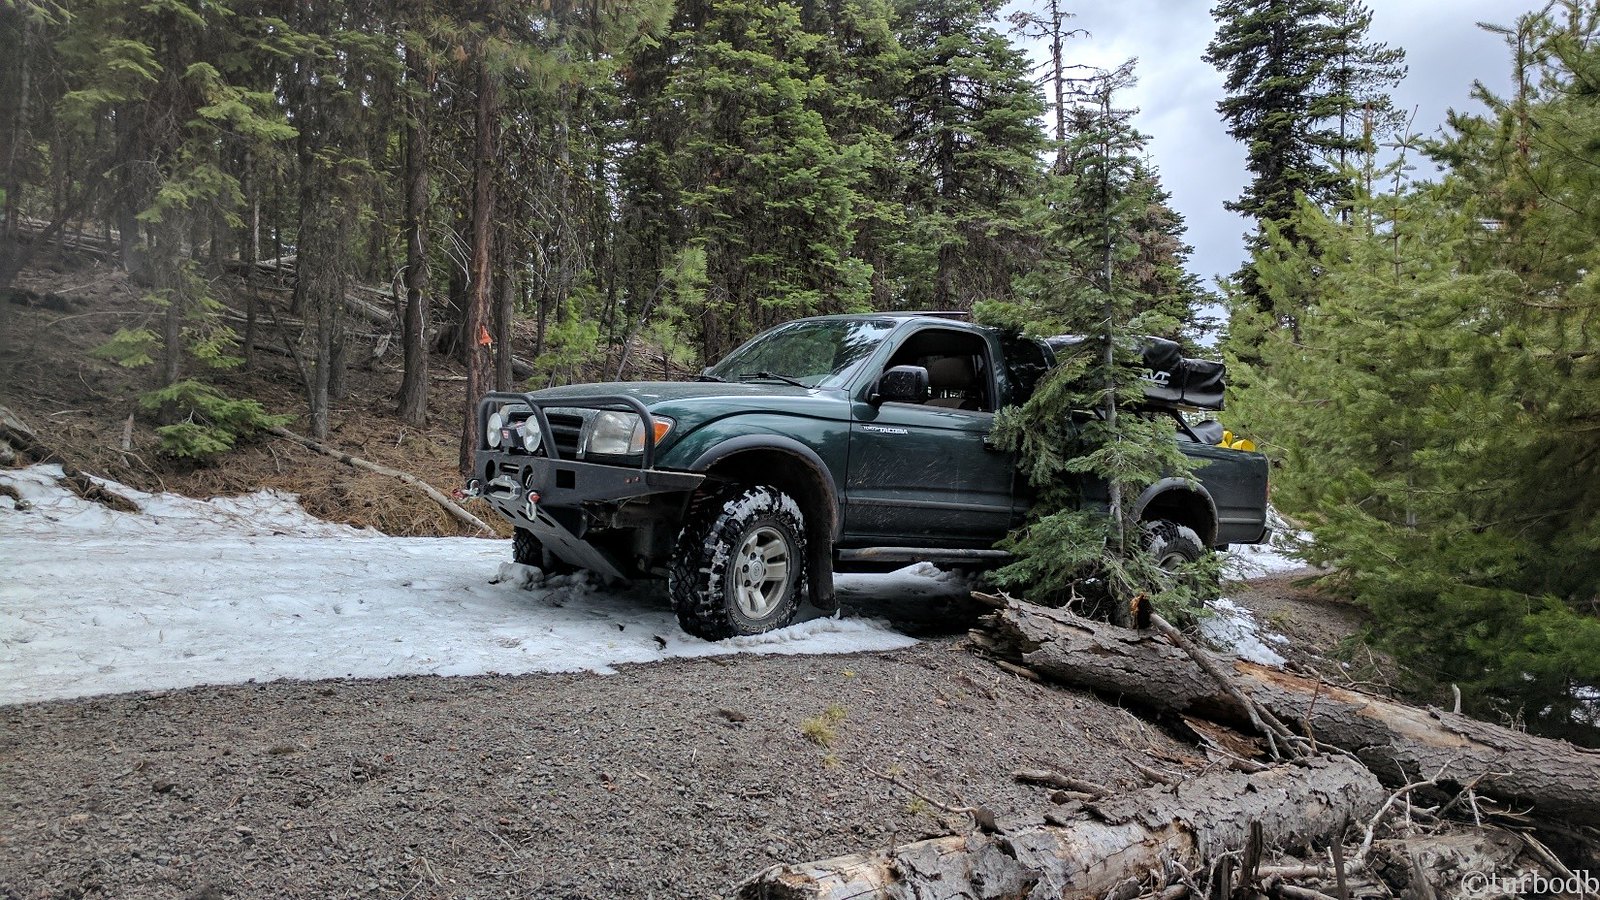
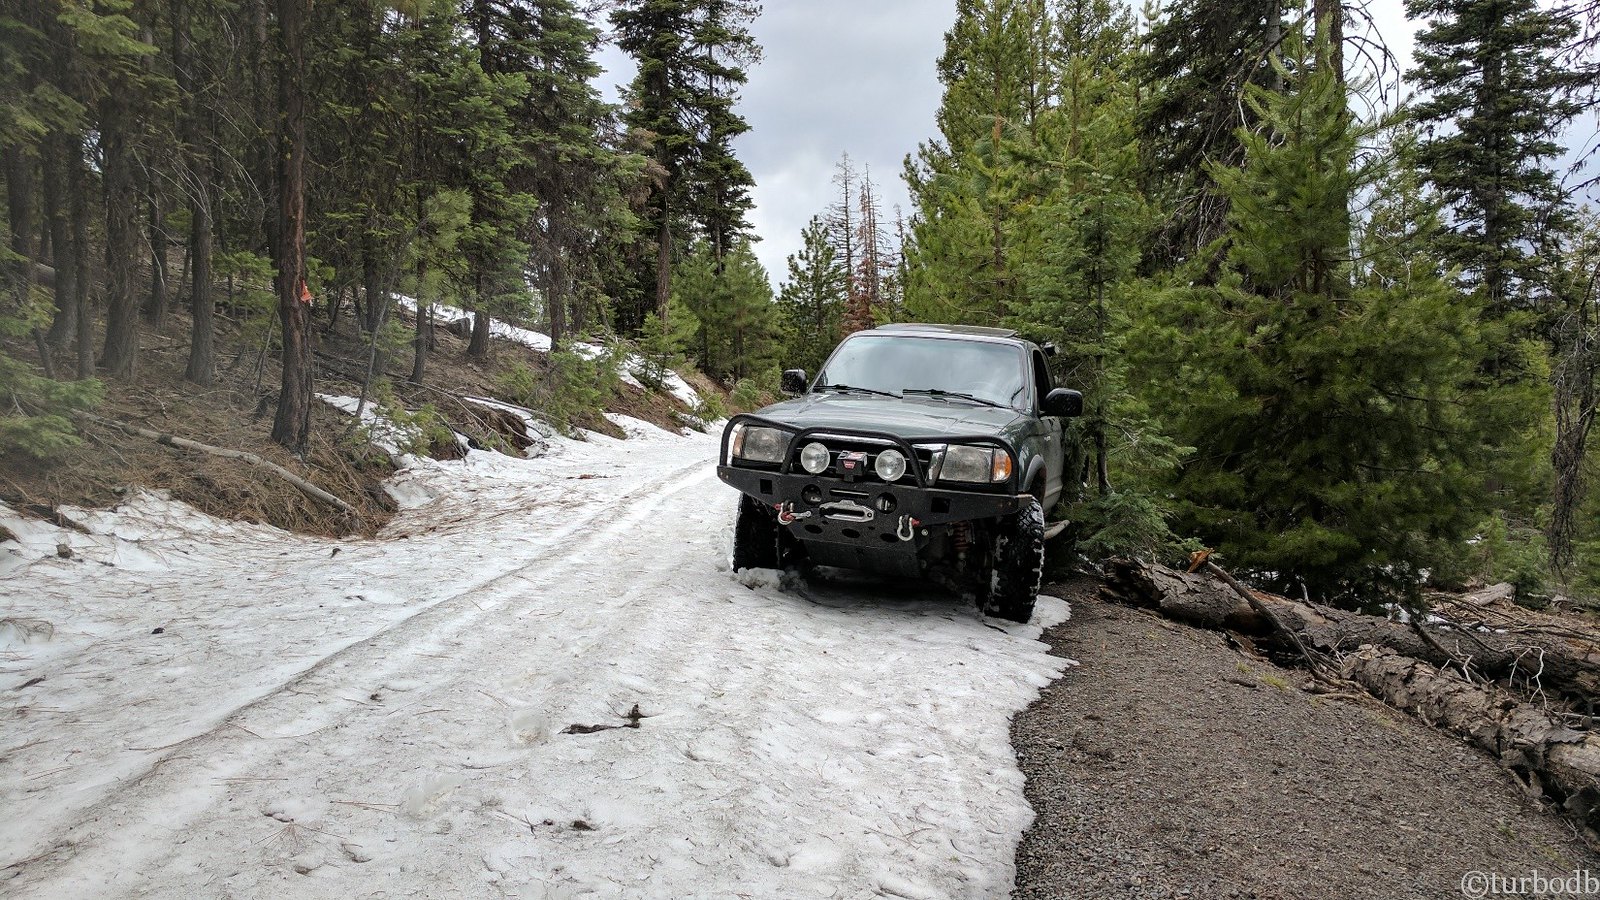
The first few drifts were easy to drive around, and then we got to one that covered most of the road. There was enough room to fit the driver side tires to be "mostly on road," but that was it - the passenger side would be in a foot of slushy, wet snow.

So I put it in low 4WD and locked the rear differential to try to maintain as much traction as possible.

It wasn't enough. We started sliding off the road. Down the side of the mountain.

I immediately got off the gas and exited the truck to evaluate the situation.

28306651469_7668bd5726_h.jpg


28306651849_aef6928c73_h.jpg

I'd gotten off the gas quickly enough that we hadn't slipped far. The small tree we were passing was inches from the slider. But there was no way forward, and no way backward, without making the situation worse.

At least, not using engine power.

So we broke out the tree saver again and unspooled the winch. We figured that we could slowly pull ourselves back up onto the road, and then re-evaluate the situation.

The self-recovery successful, we looked up the road to see larger and deeper drifts, and decided that Frazier Point Lookout wasn't in our future - it was back to the OBDR for us!

28306652439_b8d7d9c56a_h.jpg

We continued on for another 45 minutes until we came upon the only other vehicle we'd see all trip - of course, another Tacoma (a 3rd Gen, Quicksand). They were stopped (to camp) on the bank of the Malheur River.

And it turned out that the OBDR continued on - through the river. A ford as it were. From "100 Hikes / Travel Guide: Eastern Oregon":

Malheur Ford really does have a ford - a frightening 50-foot crossing where high-clearance rigs sometimes plow across the river to continue on Road 1651. Fortunately, there's no need to try it because the trail starts on the near side.

The problem was, we needed to continue on. We were one afternoon, and less than 20 miles into our 1000-mile journey.

We exited the truck to evaluate the situation. And the mosquitoes attacked. We got back in the truck.

I decided that I'd wade across the river (which looked too deep and too fast for us to make it) to see if there was any chance that we could continue on. I strapped on the tree saver and hooked on the winch line - I'd hook those to a boulder on the other side "just in case" we started getting swept down the river.

As I waded across in just by boxer briefs, the water was "balls deep." It was cold. And it was fast.

@mrs.turbodb was visibly concerned.


There's more to this story that won't fit here. Check out the remainder, with tons of photos at
Oregon-bound Chapter 3: Mission Impossible: Oregon's Backcountry Discovery Route


.
 
Last edited:
turbodb

Well-known member
ARB Tire Inflator Gauge Old-Guy Mod
May 25, 2017.

I’m not getting any younger, that’s for sure.

It used to be that I could do all kinds of manual labor for 20 hours/day, wake up the next day, and do it all again. I’d hurt myself in some semi-major way and my body would heal itself quickly.

Now, I get a little cut somewhere and it takes a week to heal.

And if I work for 20 hours one day, I want to sleep for 20 hours the next.

With all that in mind, I quickly realized that I needed a better way to fill my tires with air than bending down (or kneeling) and holding an air chuck on each tire for 3 minutes while they air back up. And then testing with a tire gauge, and then filling up again…etc.

Don’t get me wrong - my ARB CKMA12 is one of the best things that’s ever happened from an “enjoyable off-road adventures” perspective - SO NICE to have those tires aired down.

So, I invested in an ARB tire inflator + gauge - you know, the one everyone has:
28306604939_a7427be8e5_b.jpg

I used it for one trip and it was OK. It solved one of my problems - I no longer needed to switch between my air chuck and tire gauge. But it didn’t solve my problem of having to bend/kneel and fill up each tire.

But, with a few parts and a simple mod, I was able to solve that problem too. Oh, and so have others. I think this was a guy named @Crom's idea originally and not mine.

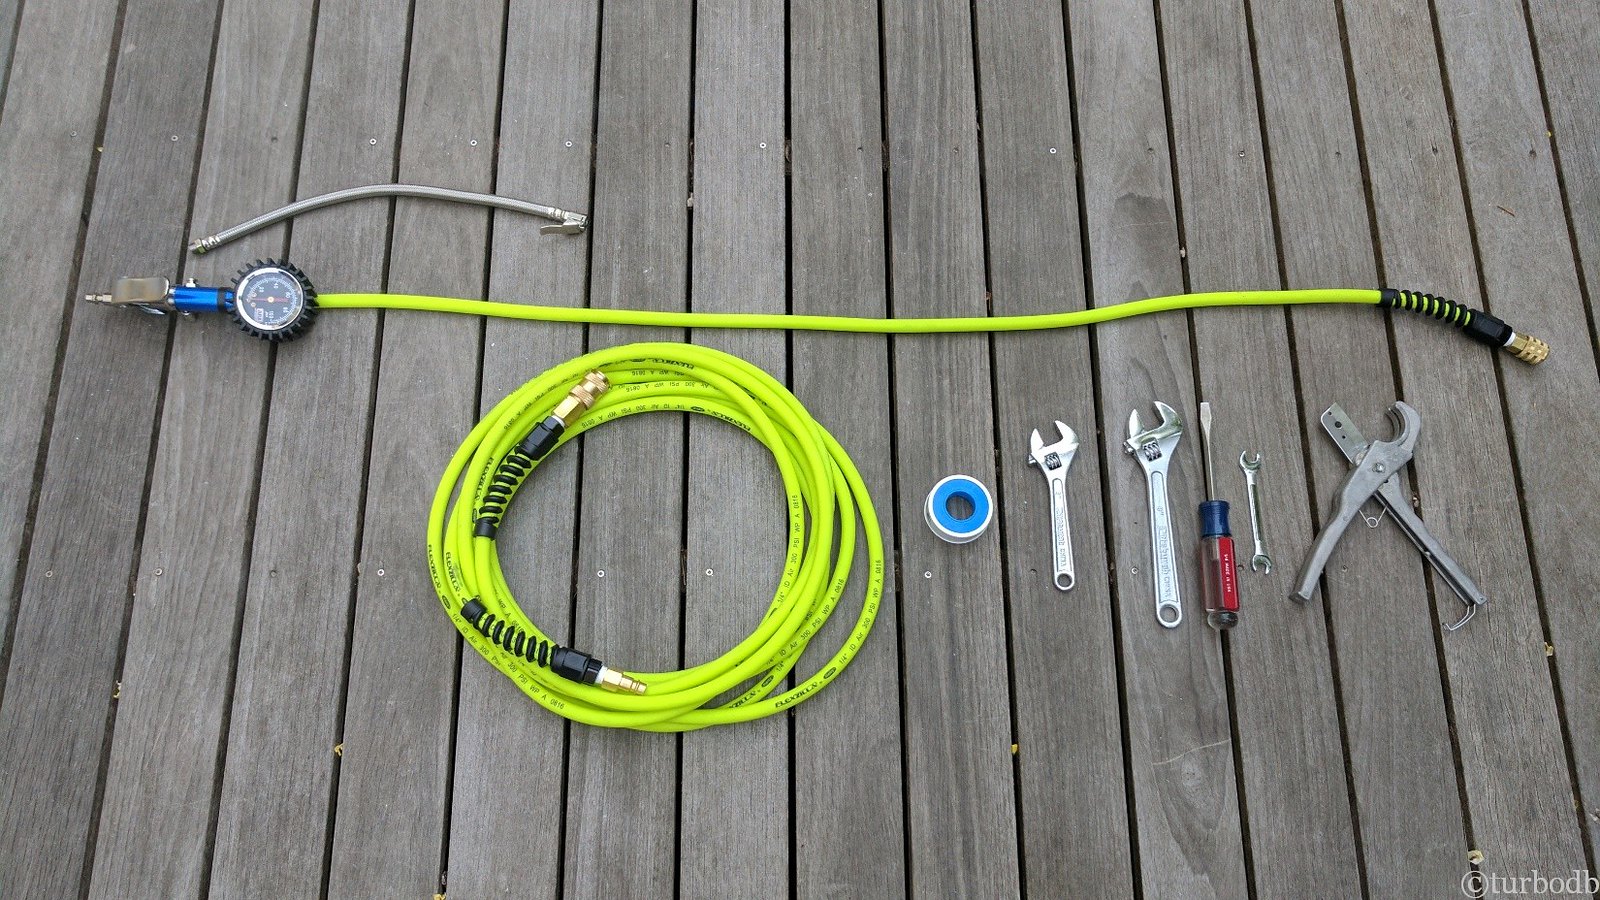
Essentially what you’re doing in this mod is you’re elongating the flexible hose from the gauge to the chuck, so you can attach the chuck to the tire and then stand up while it fills with air. To do that, you have to replace the hose, and put a connector on each end - one to connect it to the gauge, and one to connect it to the valve on the tire.

The parts you need are:
With all that in hand, the steps are simple:
  1. Using a small crescent wrench, unscrew and then remove the stainless steel hose from the gauge (being careful to keep the rubber eye in tact.
  2. Insert the 8mm OD Hose Barb 1/8BSP Brass fitting into the end of your ¼" hose (do NOT install the stainless steel hose clamp yet.
  3. Thread the fitting through the rubber eye, wrap it with some Teflon tape and screw it into the gauge.
  4. Attach the stainless steel hose clamp over the hose barb now.
  5. On the other end of the ¼" hose, install MPT fitting and the lock-on chuck
39376142284_1f5073be4c_h.jpg

Now, air-ups are jelly. Pop the air chuck on, lean against the side of the truck, and know this - you might be old, but you're definitely more comfortable!
 

turbodb

Well-known member
Aluminum Rotopax Tailgate Plate Mount
June 18, 2017.

As our excursions have been getting longer and more remote, I’ve started paying more attention to things like the amount of extra fuel and water we carry. It’s still nothing too extreme - 6 gallons of fuel (50-100 miles) and 6 gallons of water (several days).

And for convenience of packing, I’ve switched over to Rotopax from the cheapo red plastic gas cans and 1-gallon milk jugs. Of course, even finding deals on Craigslist means that I’ve spent a small fortune on the containers. But, they look great and are relatively compact when a trip gets started…

39376142734_d4b2a31b40_h.jpg

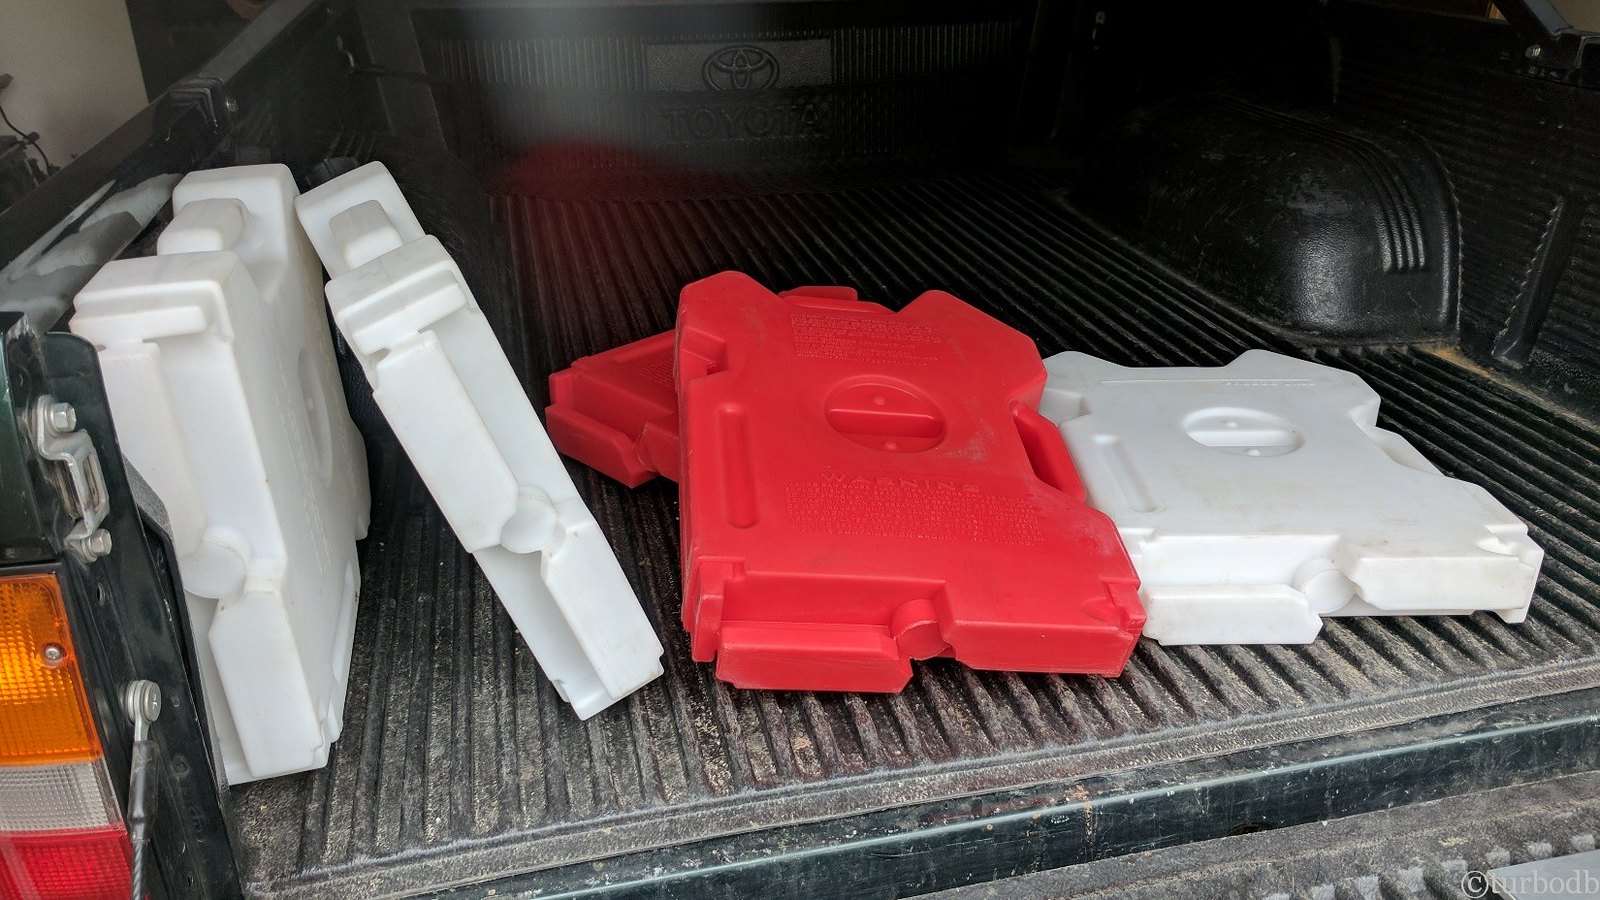
Of course, after driving for a while - over the mountains and through the woods - they quickly rearrange themselves in the bed of the truck, especially now that so much of our sleeping gear is permanently stored on the rack above the bed in the new CVT.

39376142914_f71211a7bf_h.jpg

Keen to solve this problem, I quickly looked past the cheapest, easiest, and most obvious solution: build a 3-6” tall box out of ½” plywood that would contain the Rotopax and keep them from sliding around - or at least would have them slide around as a unit, much like the other storage bins in the back of the truck.

In fact, I looked past this solution so quickly that it never even occurred to me until Pops suggested it on the phone as I was describing the more elaborate solution I’d employed.

My first thought was to mount them to the bed rack, but the height of the rack precluded this solution (I kept it purposefully low so that the CVT is in the wind-shadow of the cab).

My next thought was “new rear bumper with swing-out” but I knew that’d be months in the manufacturing and delivery. (This is still my favorite long-term solution.)

So in the end, the solution I choose was to mount everything to the inside of the tailgate - which would keep it from sliding around, and would utilize materials I mostly had on hand (I’d acquired two Rotopax mounts for free as part of one of my Craigslist finds).

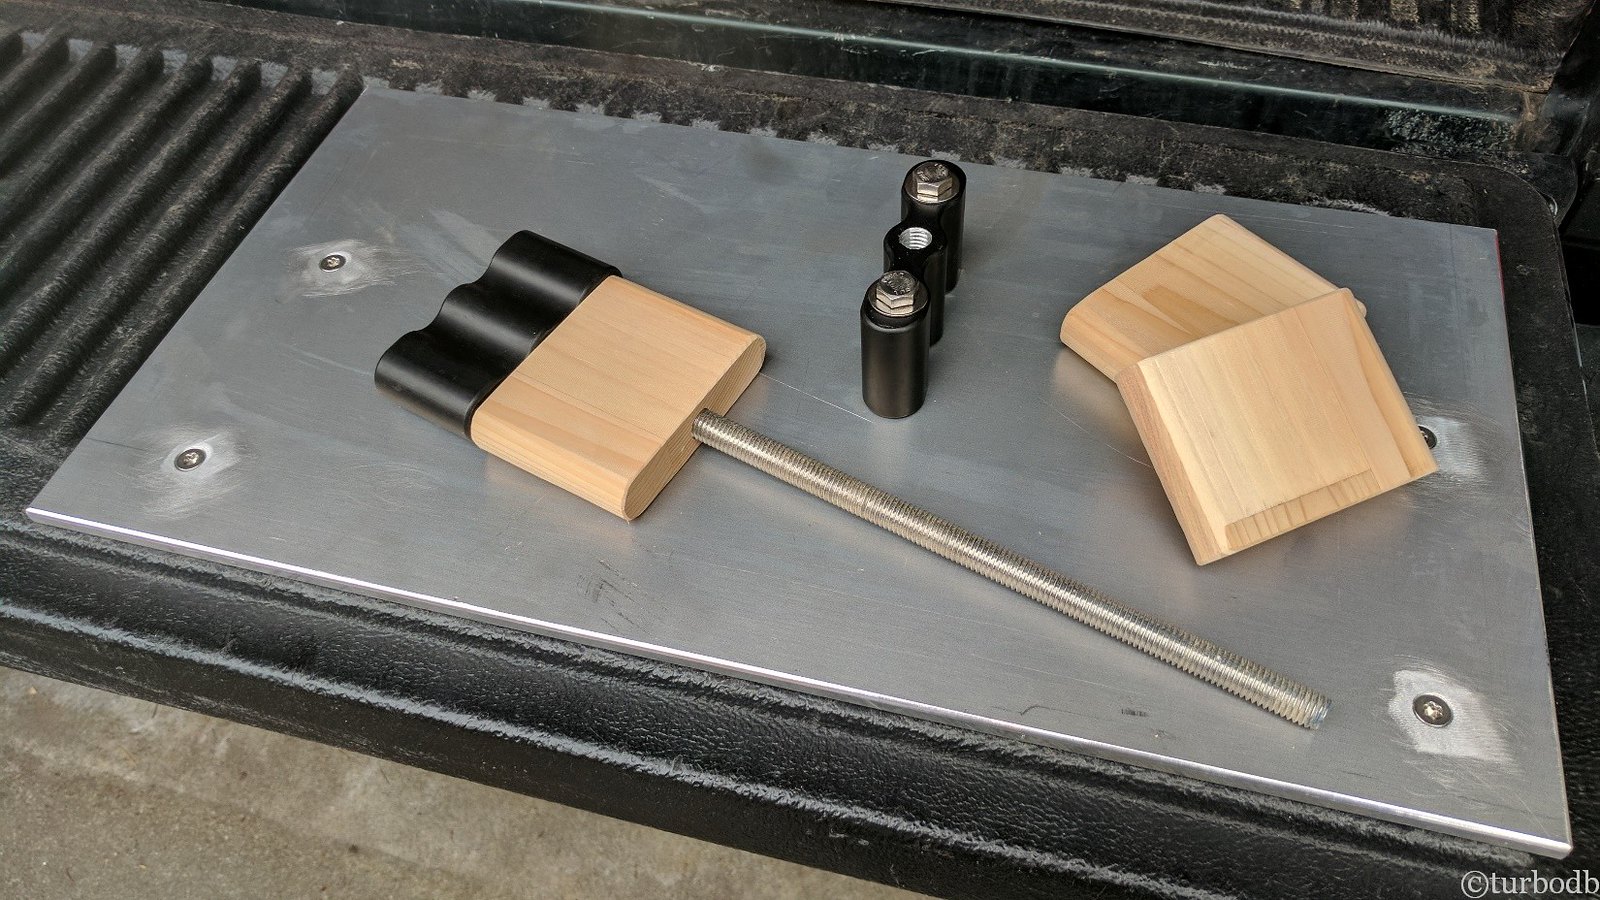
My idea was to mount a steel plate (though I ended up with aluminum) to the inside of the tailgate, and then bolt the “extended mounts” to that in the appropriate position, holding the Rotopax in tension against the tailgate. I’d make the “extended mounts” by using an appropriate length of ½” threaded rod between two standard Rotopax mounts.

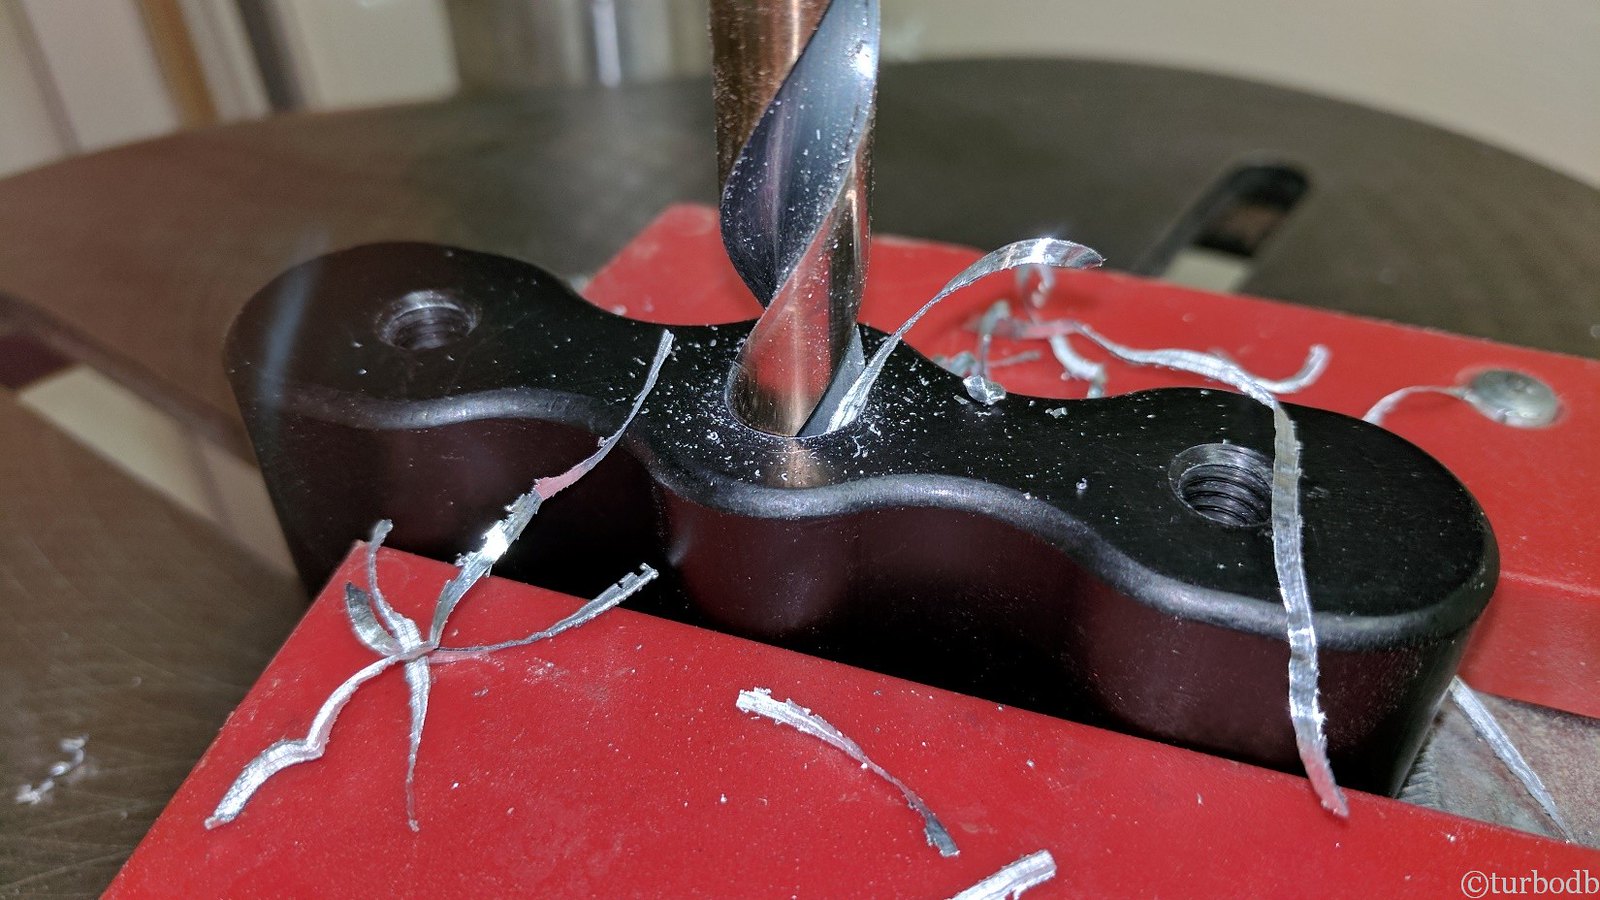
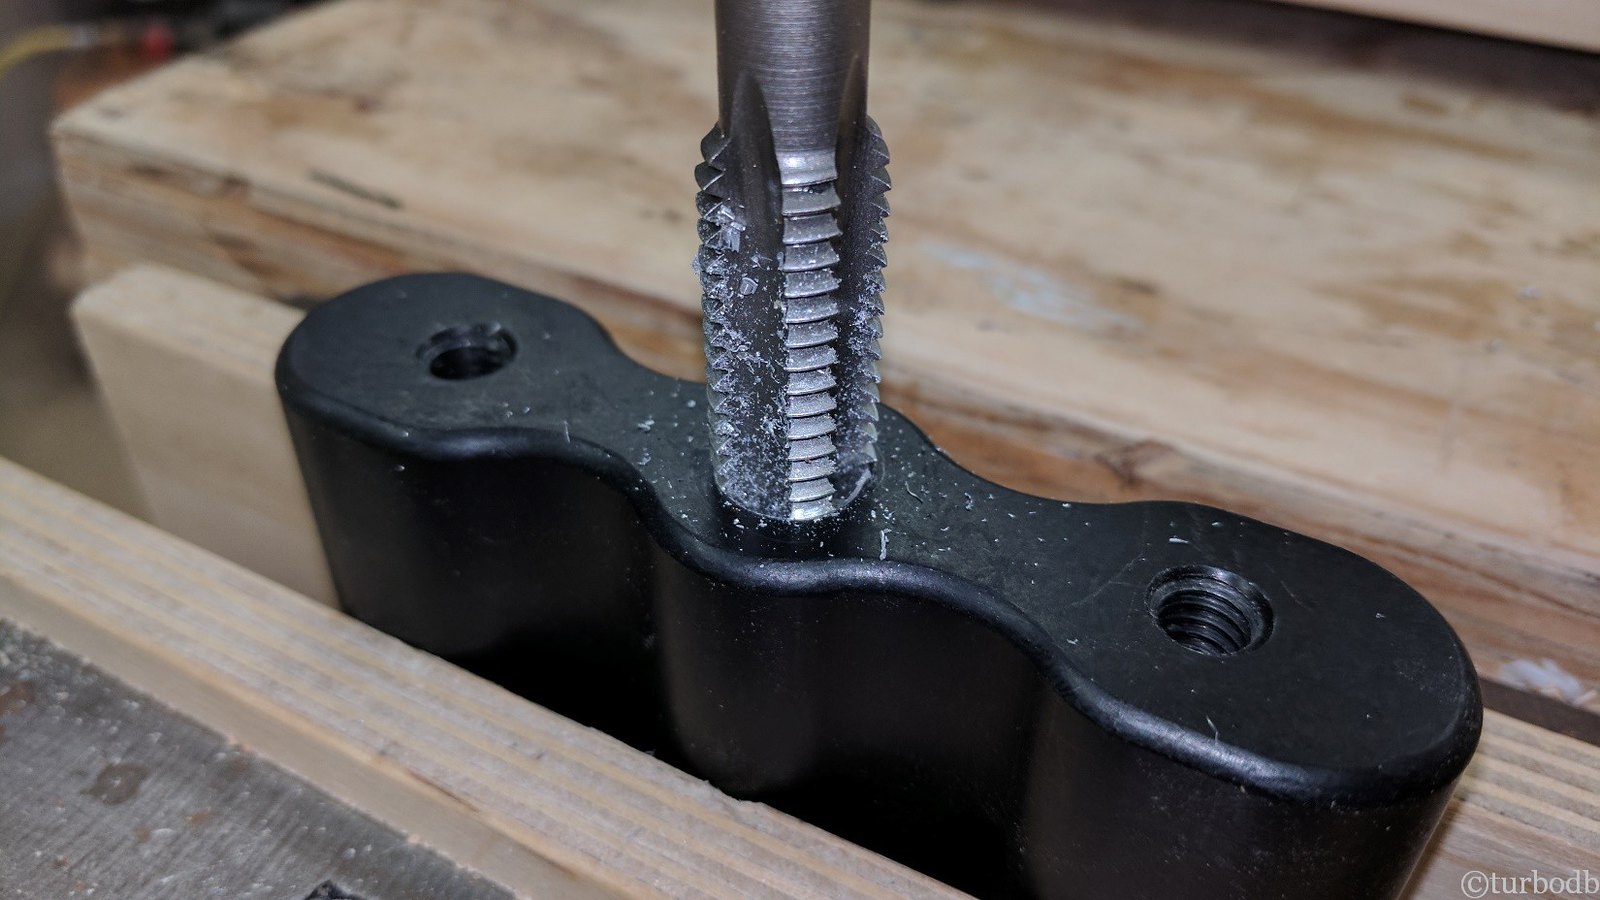
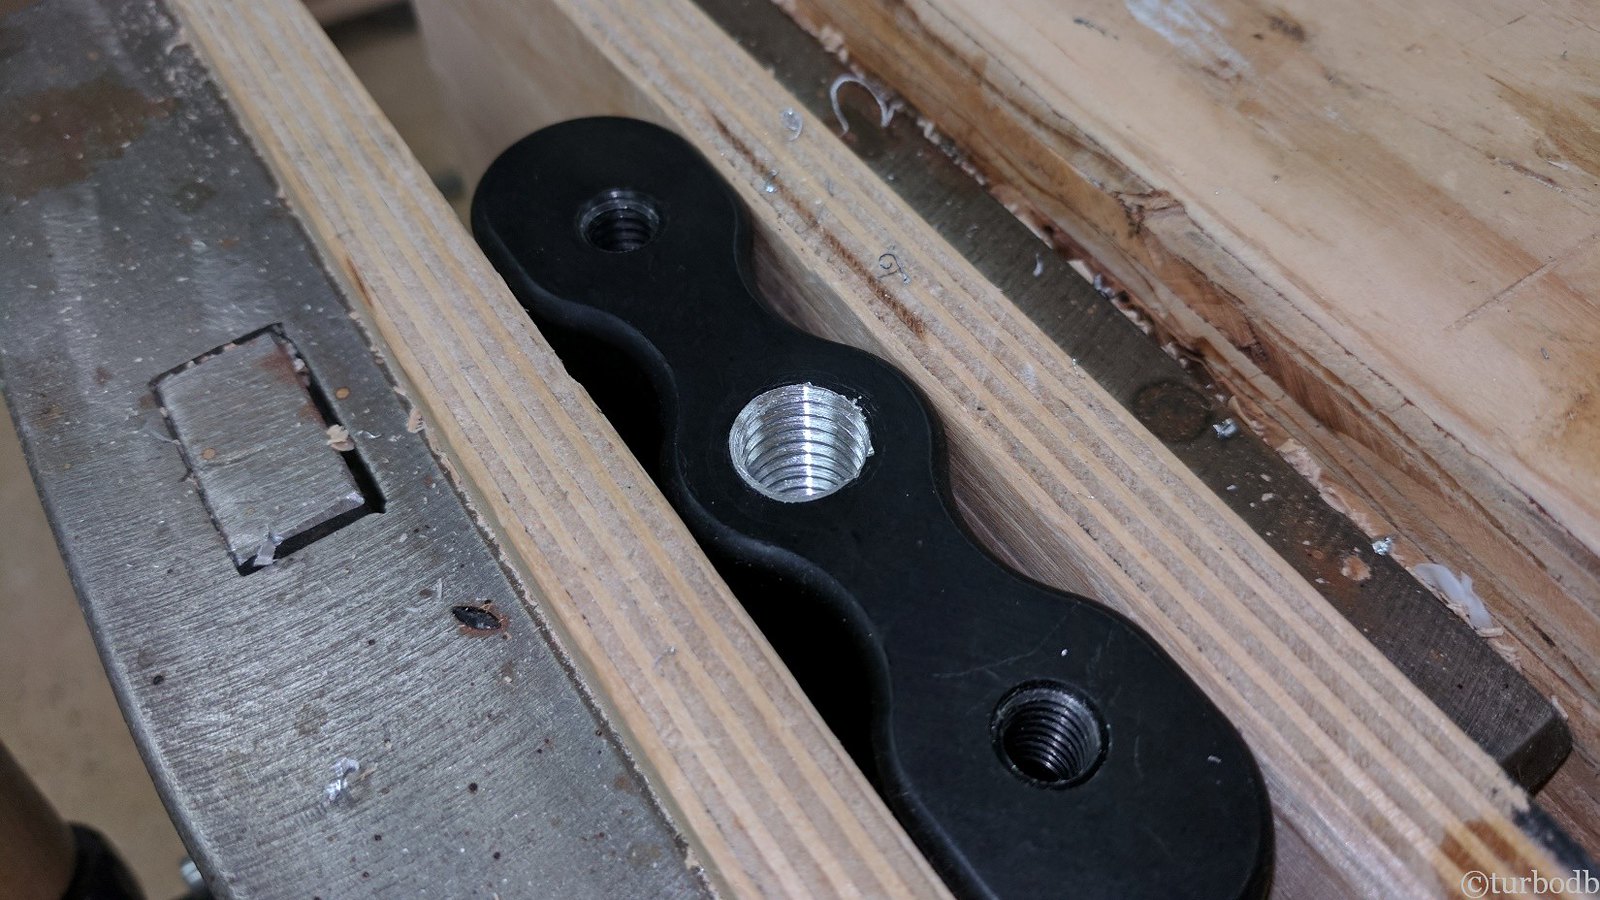
I got started by drilling out and tapping the center hole of the two Rotopax mounts to accept the threaded rod. I was pleasantly surprised to discover that they were made of aluminum, which made the whole process a piece of cake (and easier on the tools!).

39376143104_af247872ec_h.jpg

39376143244_9b30f7b274_h.jpg

39376143524_600c61d5ec_h.jpg

39376143714_ffbfddcc7a_h.jpg

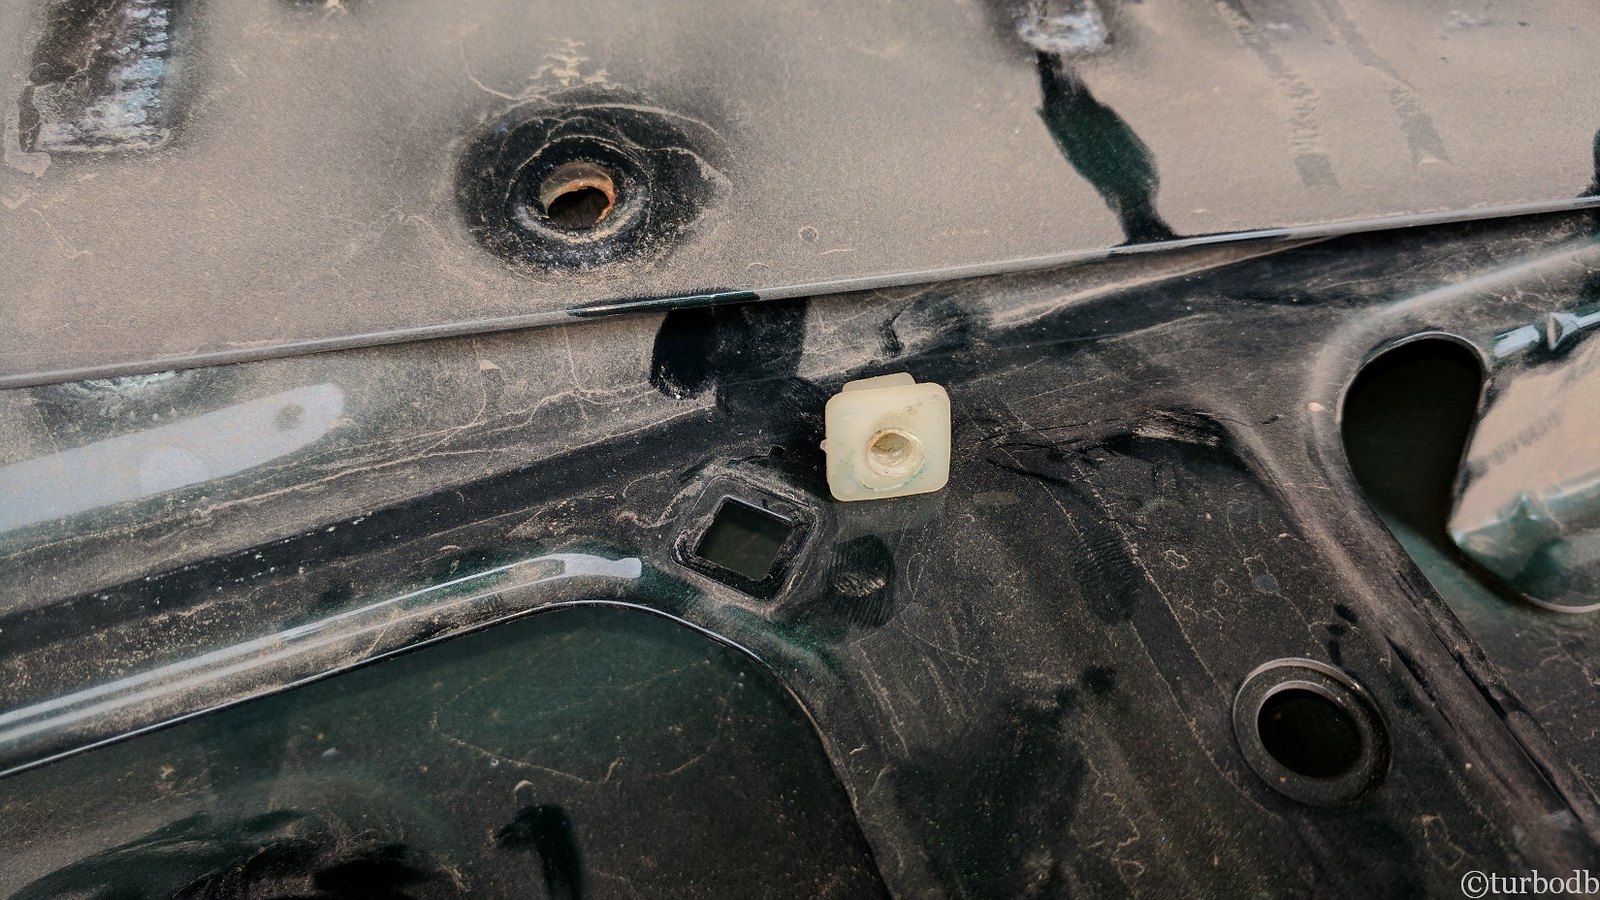
With the mounts prepped, it was time to remove the existing plastic clips in the tailgate and weld in some ¼” stainless steel nuts that would accept screws from the front of the aluminum plate. Again, this went relatively smoothly (so much so that I forgot to take a picture of the welded-in nuts…but they are in those square holes).

39376144004_48aa4db08c_h.jpg

With the tailgate prepped and the plastic liner back on, I marked for and drilled the necessary holes in the 3/8” aluminum plate I’d picked up at the salvage yard - 4 holes to hold the plate to the tailgate, and two 3/8” threaded holes to mount one Rotopax mount to the plate. I also made some wood blocks to keep the Rotopax aligned.

By removing those two bolts, I get “normal” usage of the tailgate as well - a nice plus for hauling situations!

40087510411_bad8029b69_h.jpg

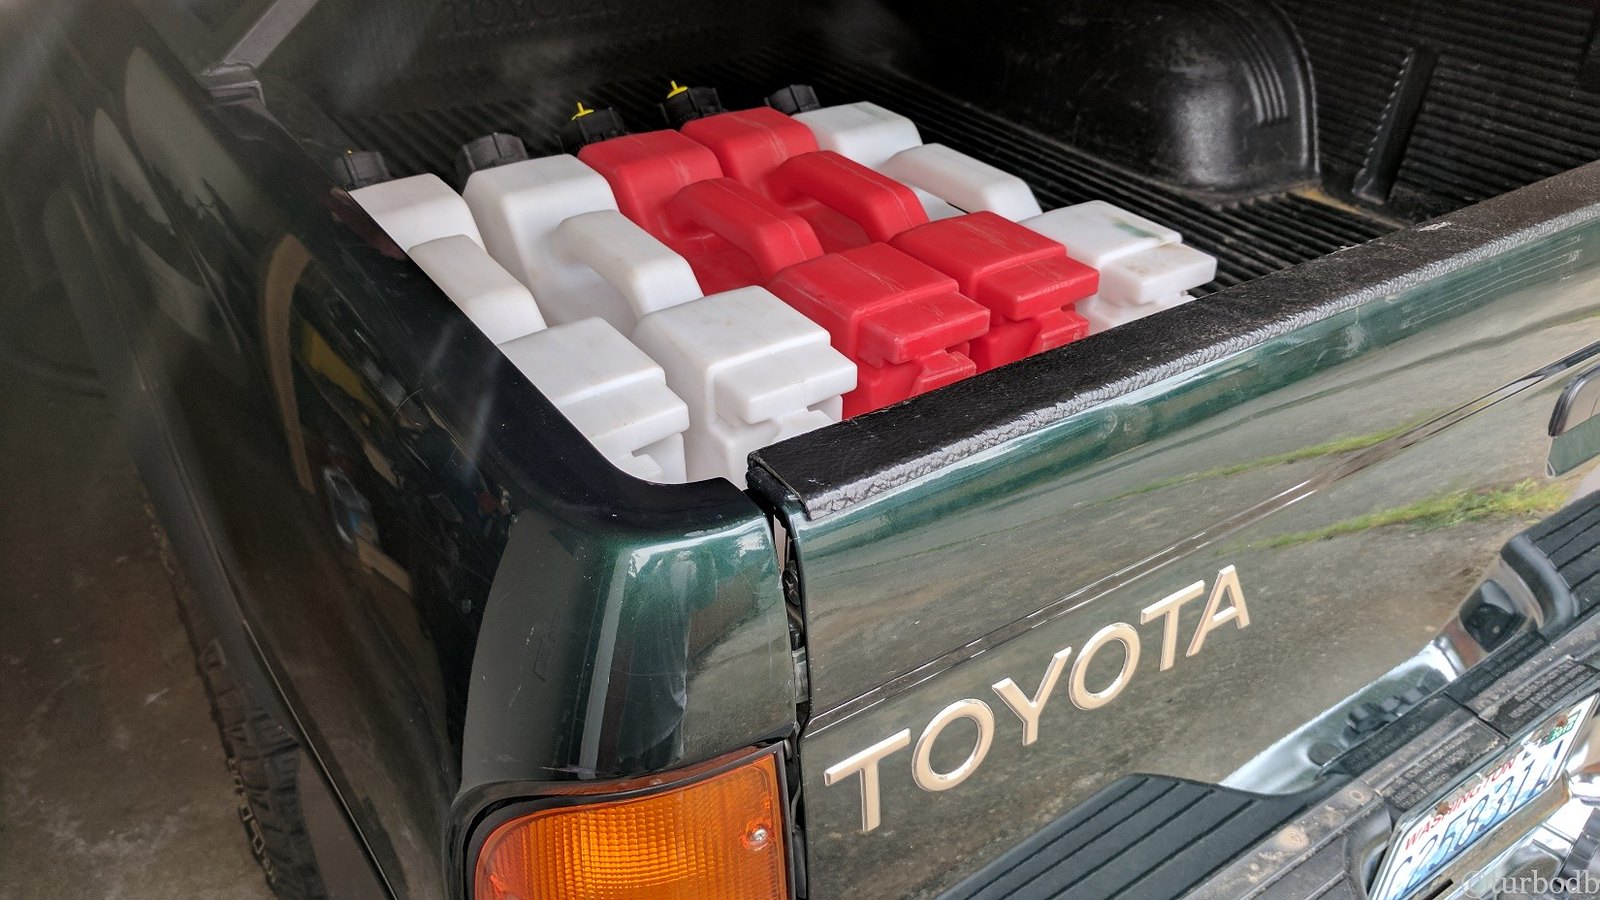
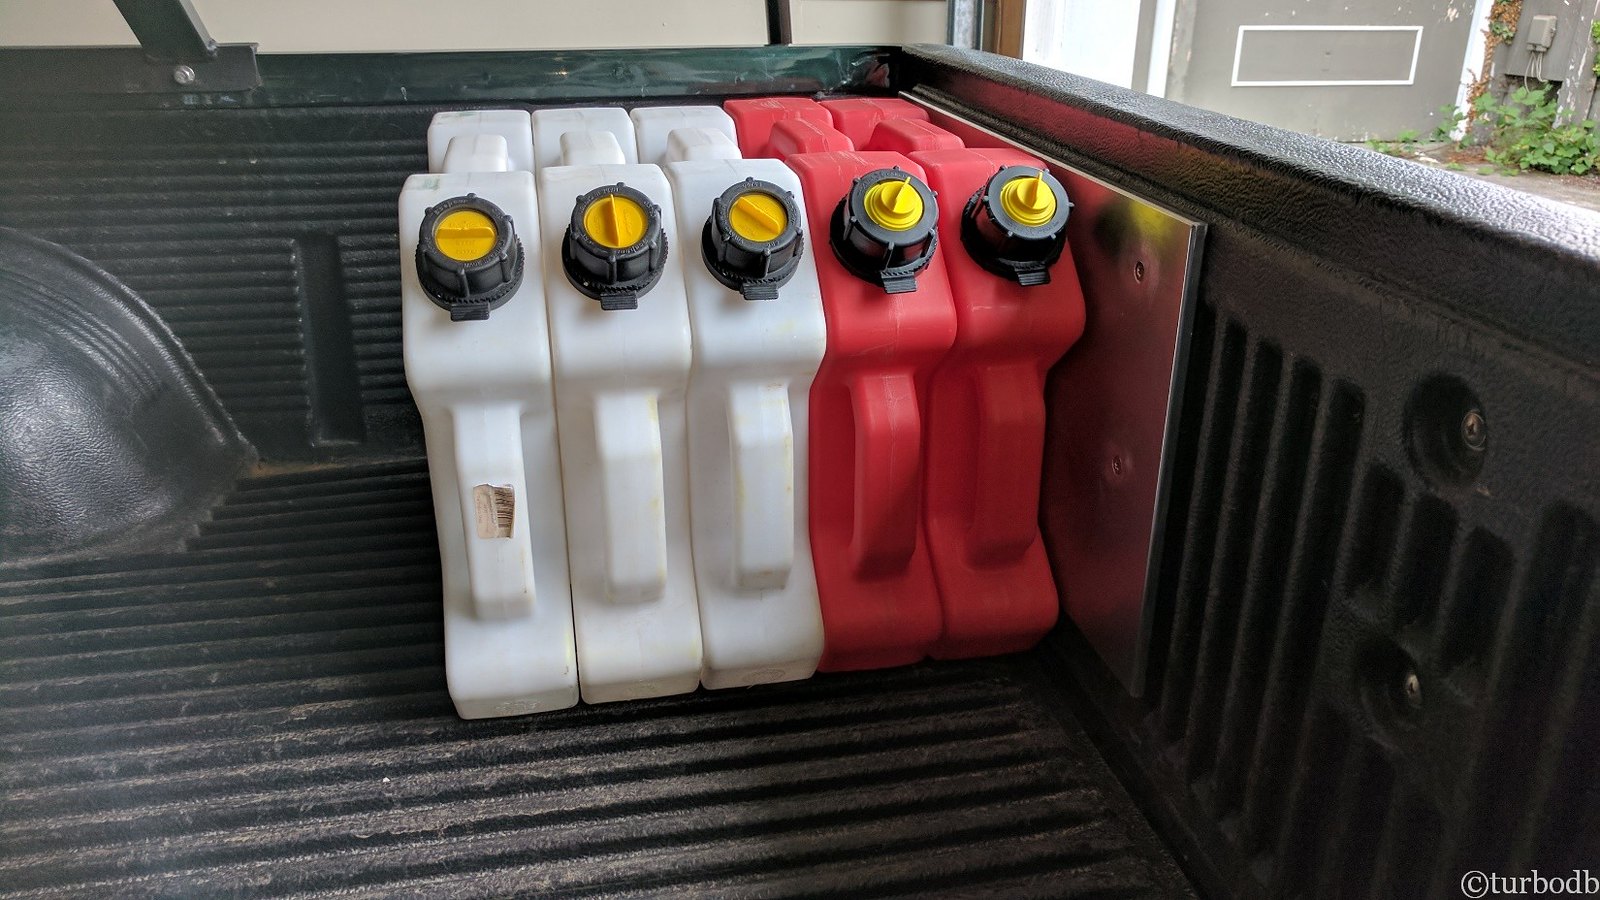
And with that, all that was left was to stack the Rotopax, test out the “clamp,” and see how it was opening and closing the tailgate. The clamp worked great, and the tailgate seems reasonable (with the packs full). I have to be careful opening and closing due to the extra weight, but it’s totally workable.

40087510771_36db24fcf1_h.jpg

40087511121_f783be2aa0_h.jpg

And with that, the packs are sure to stay well organized in their corner of the bed.
 

turbodb

Well-known member
Canada Adventure to Glacier, Yoho, Banff, and Jasper
June 30 - July 7, 2017.

June 29, 11pm: we finally decided to head to Canada for a week of camping. We’d leave the next morning at 7am sharp. It was going to be awesome!

But let’s rewind… We’ve been wanting to go to some of Canada’s National Parks for a while. So, in late 2016 when we discovered that Canada was celebrating their 150th anniversary by giving away free access to their national parks for 2017, we jumped on the opportunity to get a pass, and we started working out plans to hit Banff and Jasper during the summer. Little did we know that not only would we nearly scrap the trip, but that we’d then end up seeing two additional Parks Canada.

Early June rolled around and I started planning, and we got a great itinerary. But as we reached the two-weeks-until-departure date, it looked like the weather was going to be cloudy and rainy the entire week - not a recipe for success, when the goal is amazing views and a (good) time to remember for your nearly-7-year-old.

So in mid-June, I quickly also planned a trip to our own Glacier National Park in Montana. It’s a similar distance from our home base, we’d always wanted to go, and weather there was going to be 80 degrees and sunny all week!

But we kept an eye on the weather and slowly but surely the forecast for Canada got nicer and nicer. Just a day or two of clouds with a small chance of rain. And with that, we made the call to head north, with 8 hours to spare!

Day 1: Driving to Glacier National Park, British Columbia

Our daughter generally enjoys camping. What she doesn’t enjoy so much is the driving to get where we’re going. And this time, there was a lot of driving. Ten hours or so, assuming we didn’t hit traffic, stayed on-route, etc. As she’s started to read more and more things have gotten better, but once we get into the “how much longer?” line of questioning, it becomes unrelenting. But @mrs.turbodb had a plan: books on tape. (More accurately, on memory stick.) About an hour into the drive, we broke out the first book, and when it ended 8 hours later, we were almost to our destination: Glacier National Park, British Columbia.

And then we arrived at Loop Brook campground, to clearing skies.

40087511371_5c8b8ac91e_h.jpg

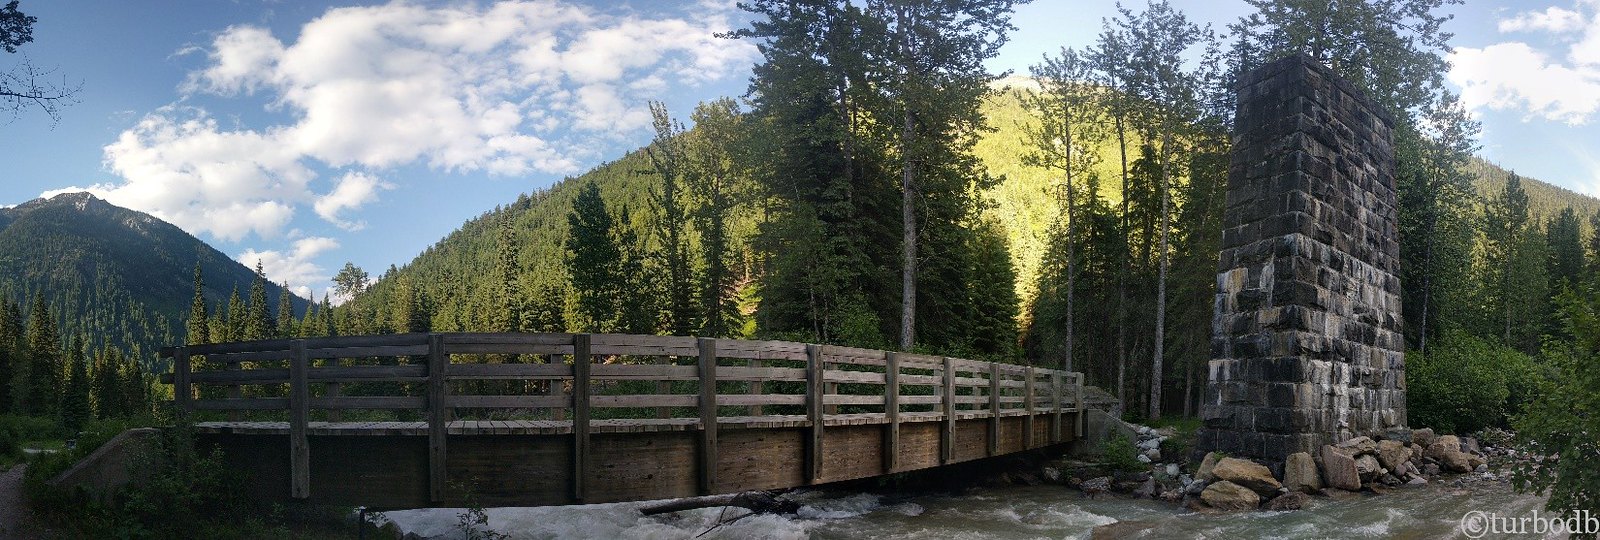
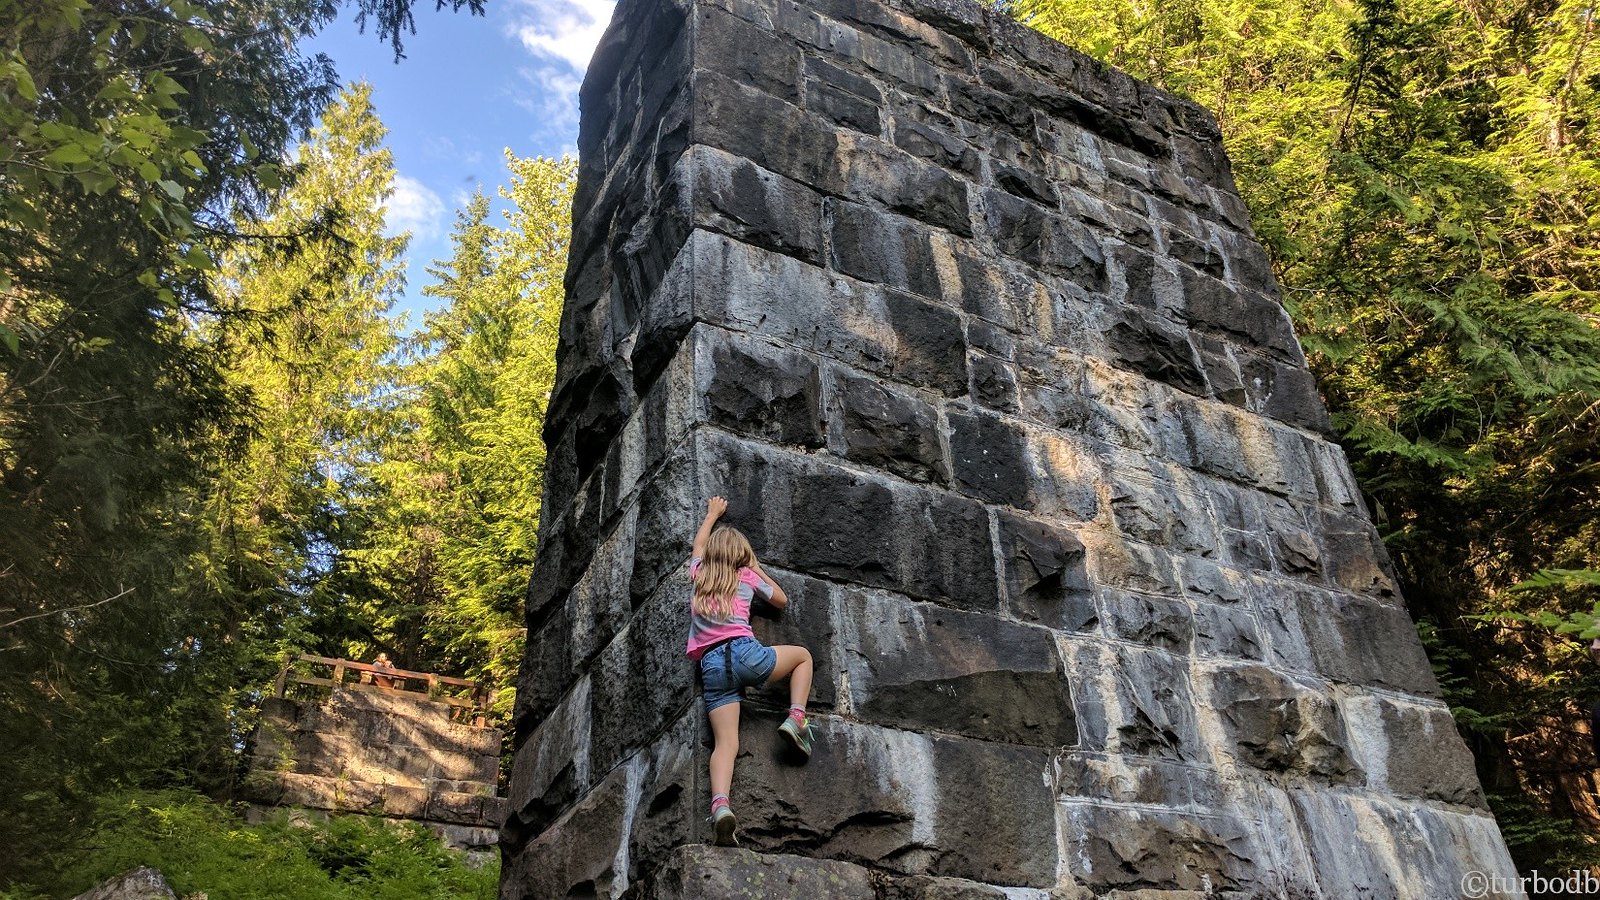
It was time to start exploring (that’s an old train trestle piling that’s being climbed), and then setup camp and BBQ a pizza.

25215300037_af6edfab6d_h.jpg


40087511881_8e4b5123b4_h.jpg


40087512271_08abcd8c0b_h.jpg

Day 2: Yoho National Park

With the big day of driving behind us, we drove another couple hours to Yoho National Park, where we had three destinations: Tekakkaw Falls, Natural Bridges, and Emerald Lake.

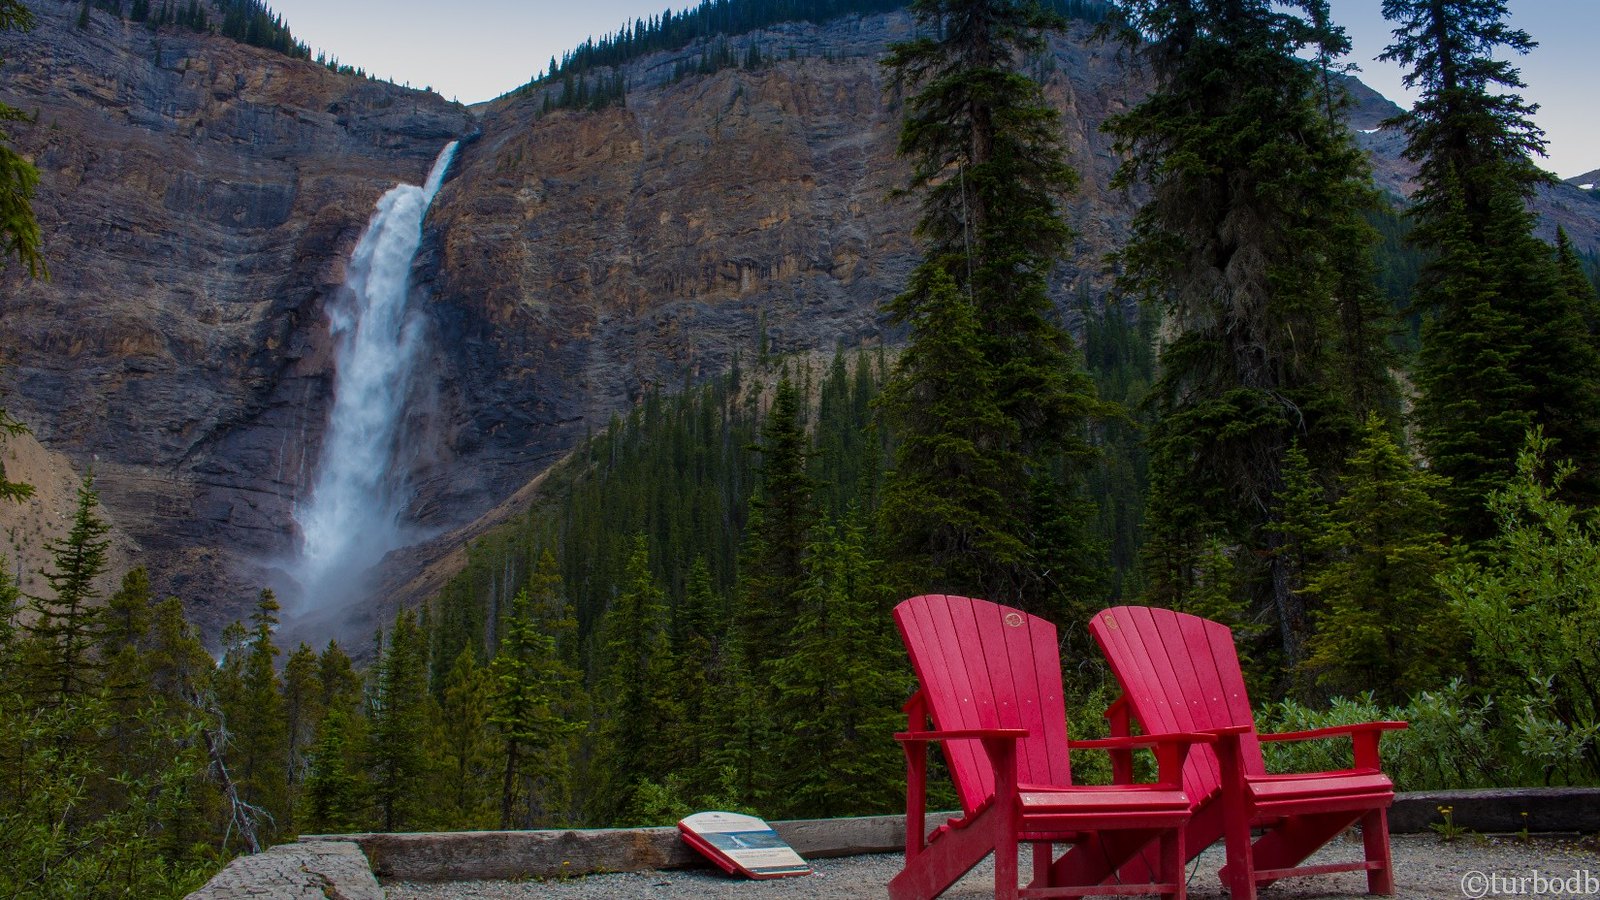
When we got to Tekakkaw Falls, the clouds were back and it was a bit drizzly. @mrs.turbodb and I looked at each other, hoping we’d made the right decision. Oblivious to it all, @mini.turbodb ran up the trail to the falls.

40087516011_8adc233333_h.jpg


40087519061_67f2c6c9f7_h.jpg


40087519601_09c7654d89_h.jpg

We also stumbled upon two red Adirondack chairs - a treasure hunt of chairs celebrating Canada 150, sprinkled throughout the Parks Canada system.

40087519801_8aee4736bd_h.jpg

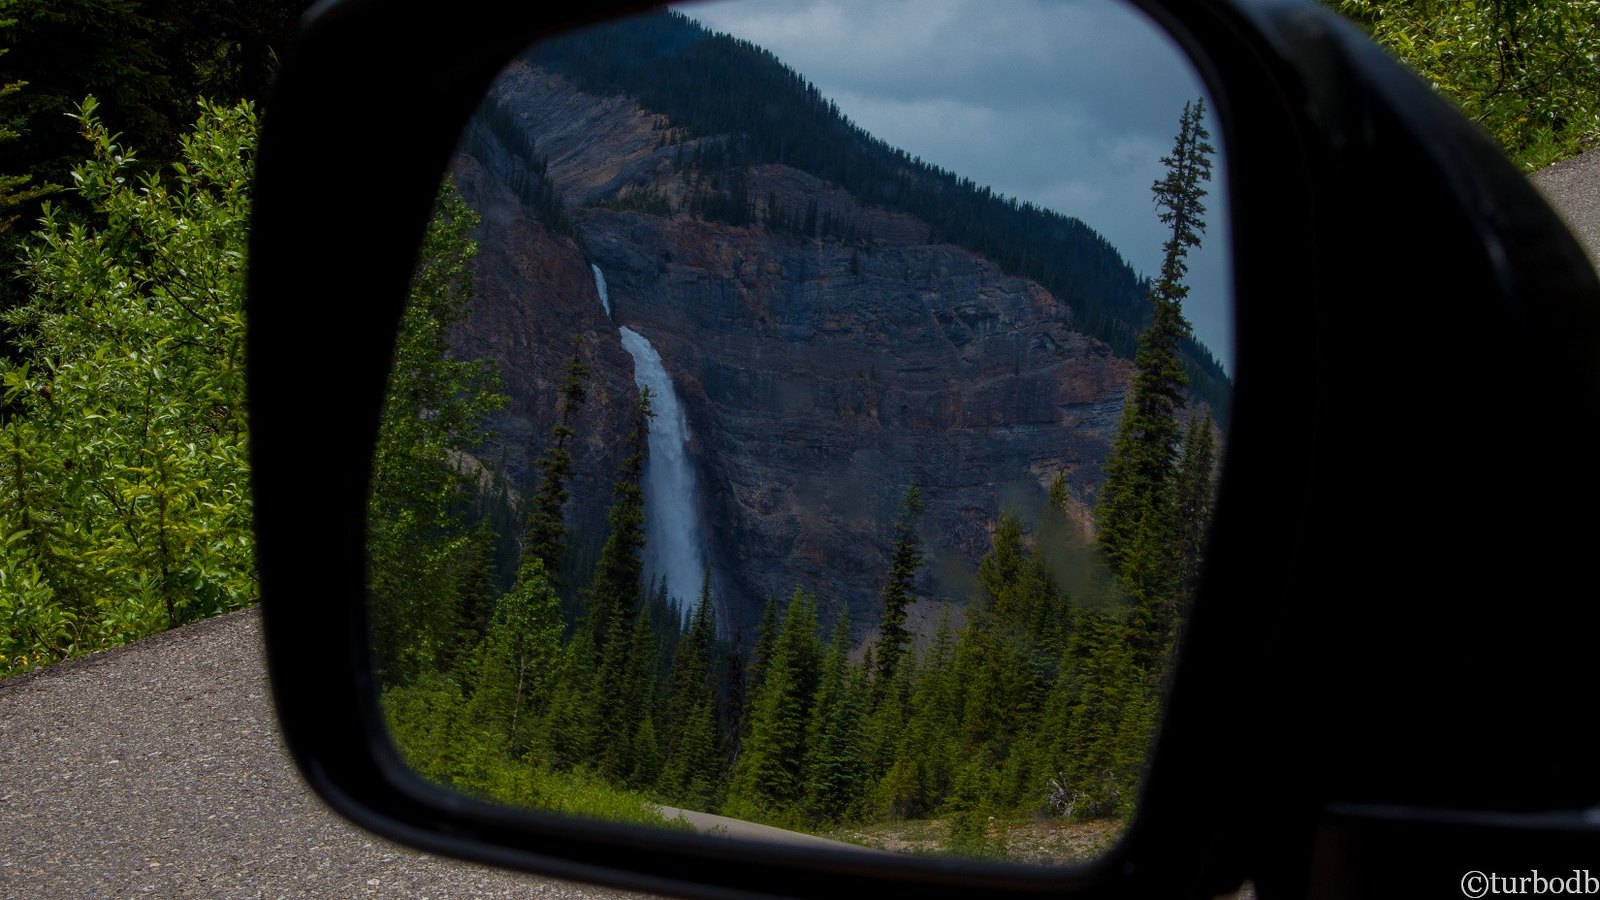
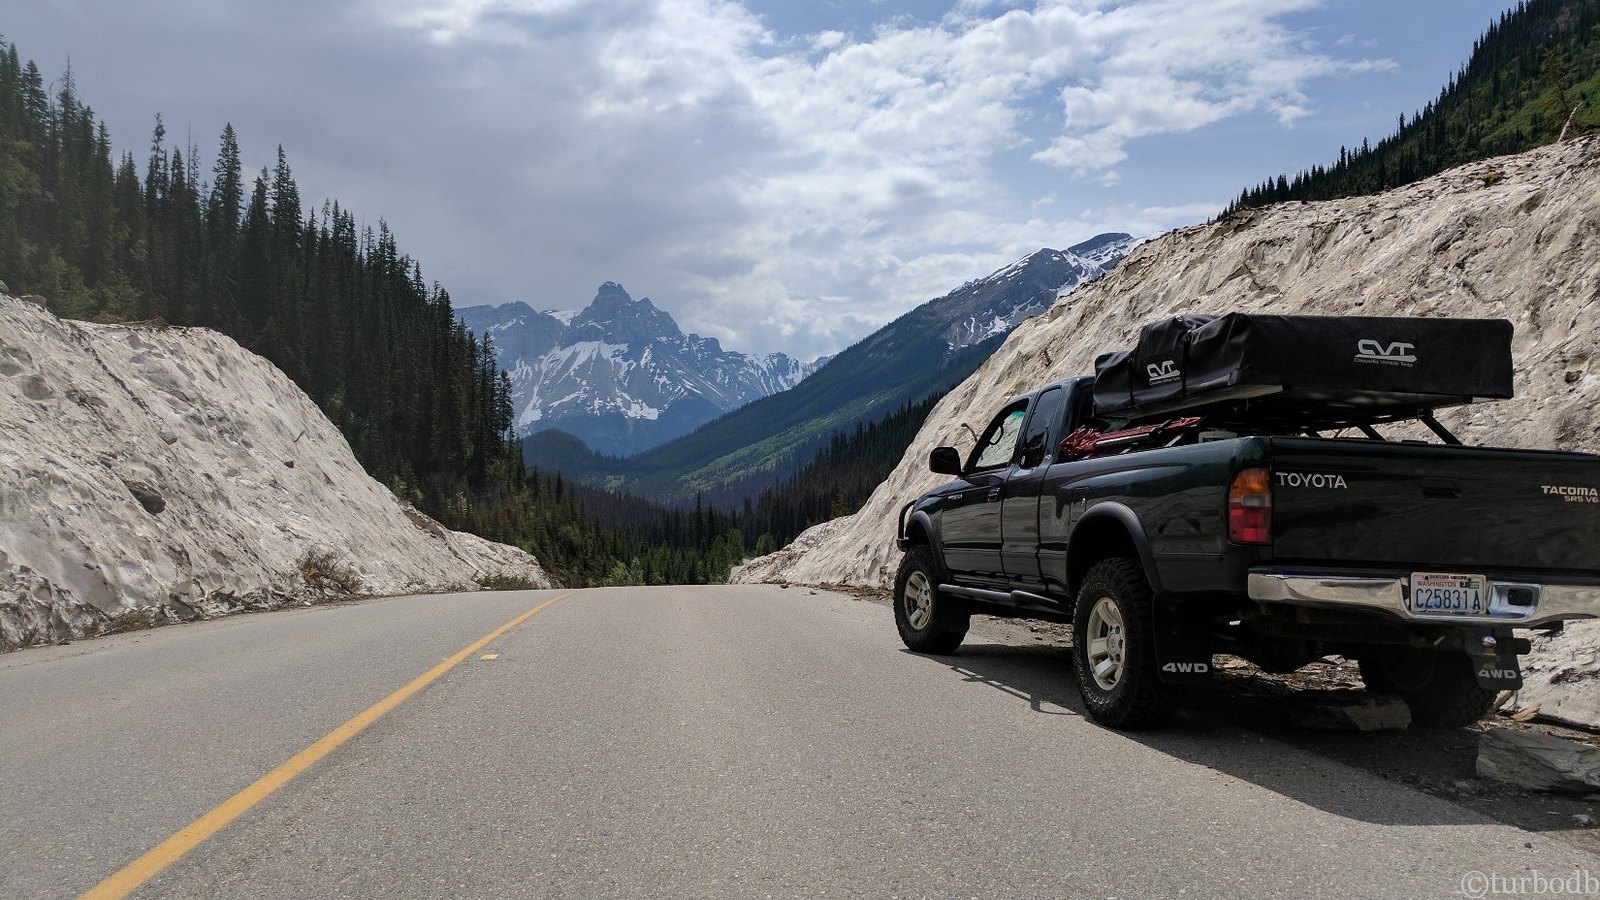
And with that, we were off. As we drove away, we could still see the falls and the sun was starting to peak through the clouds as we drove through a 25’ snow drift that had been cleared from the road just one week before.

40087520341_c3b389f26e_h.jpg


40087520651_6e8a3f2af3_h.jpg

Natural Bridges is an amazing rock formation where the water from an entire river goes into a hole in the rock, and comes out the bottom - think of it like a tunnel. And this is no small river. We took some pictures, ate lunch, and had our first rock-skipping opportunity (which would become a trend everywhere we went) of the trip.

40087521351_31081c818f_h.jpg


40087522041_4dddfb91c5_h.jpg


40087522331_c0dfa0cd33_h.jpg

Ready to move on, our next stop was Emerald Lake, where the recommendation was to rent a canoe. At $60 an hour we passed on that, but we did make the 4-mile trek around the lake - our first of many hikes on the trip. And, not the best showing for the small one. There were I think three timeouts as we made our way around.

40087522591_577cb9fff5_h.jpg

Emerald Lake really did live up to it’s name. Of course, it turns out that all the lakes we saw were this awesome emerald green color, since they are all fed by glaciers in the Canadian Rockies.

40087522681_78b526eb13_h.jpg

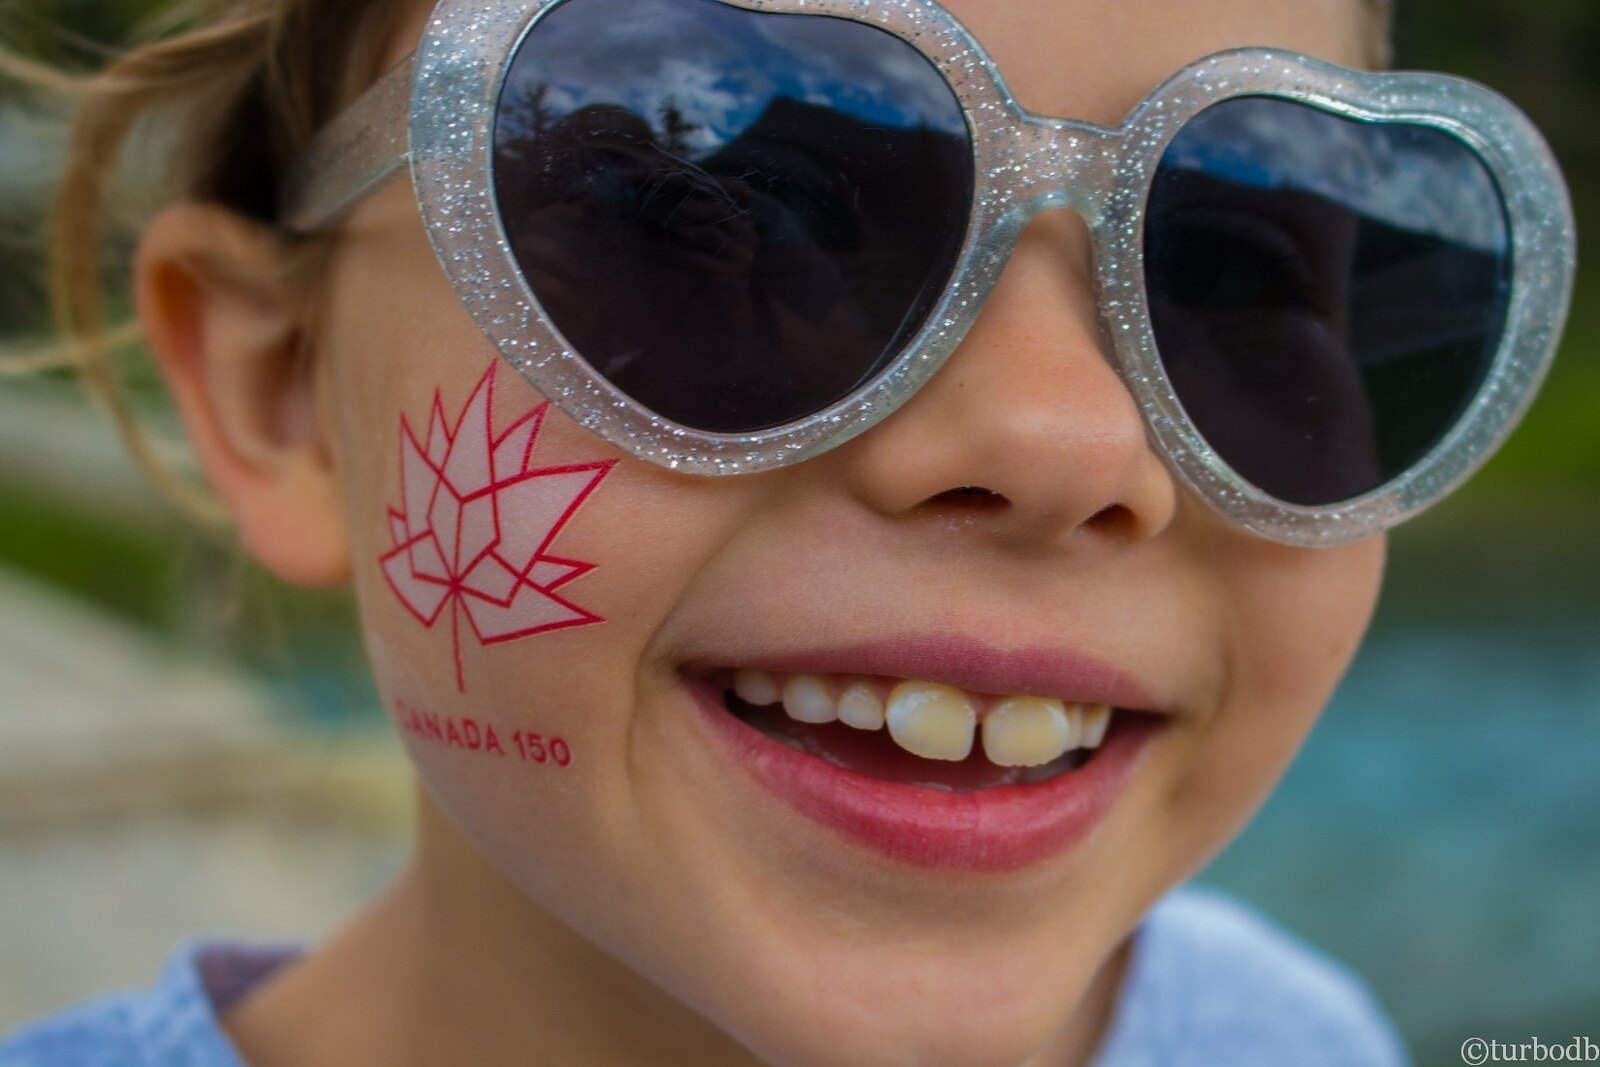
It’s Canada Day (July 1)! I’ve never seen such a patriotic crowd as Canadian’s on Canada Day (way more so than American’s on the 4th of July). Almost everyone was wearing a Canada shirt, or had a flag on their car. It was great to see, and some of us couldn’t resist joining in!

40087522841_a9a64f690b_h.jpg


There's way more to this story - don't miss day 3 - 8, with more photos than I can include in a post. From Jasper to the Icefields Parkway, this was a trip we'll never forget... and not just because of the bears...


.
 

turbodb

Well-known member
Fixing the Stance - New Alcan Leaf Pack for the Rear
July 15, 2017.

The truck has always had a bit of rake, with the rear being ~2-3” higher than the front. And I like it that way - it looks good.

Until the constant weight of the bed rack and CVT, the combination of stock leafs, Deaver AALs, and air shocks that I installed as part of the suspension overhaul were working reasonably OK. “OK” because I’ve never been able to get the air shocks to hold pressure - they lose about 10lbs a day, so I’m constantly filling them (which is easier with the ARB compressor installed). But with all the weight, the truck generally took on a more level stance.

With more and more trips, I decided it was time to fix the problem once and for all. I wanted that leaned-forward stance, and I want it all the time - not just when I got off my lazy butt and filled up the shocks.

So I started looking at new leaf packs. I initially thought I’d end up with OME Dakars with an extra leaf (which I could have gotten as part of my Toytec kit, so I was going to kick myself if I could have saved money) or the All-Pro Expedition Pack, since both had additional load capacity. But then I did a bit of reading around on TW and it seemed like a lot of the guys who have a bunch of gear and do a bunch of off-road driving tended to go for Alcan’s.

And, I liked the fact that Alcan is sort-of-local and custom built to my specs. So, I gave them a call and ordered up a set of springs with 600lbs extra carrying capacity and 3” of lift. Oh, and new, larger U-bolts.

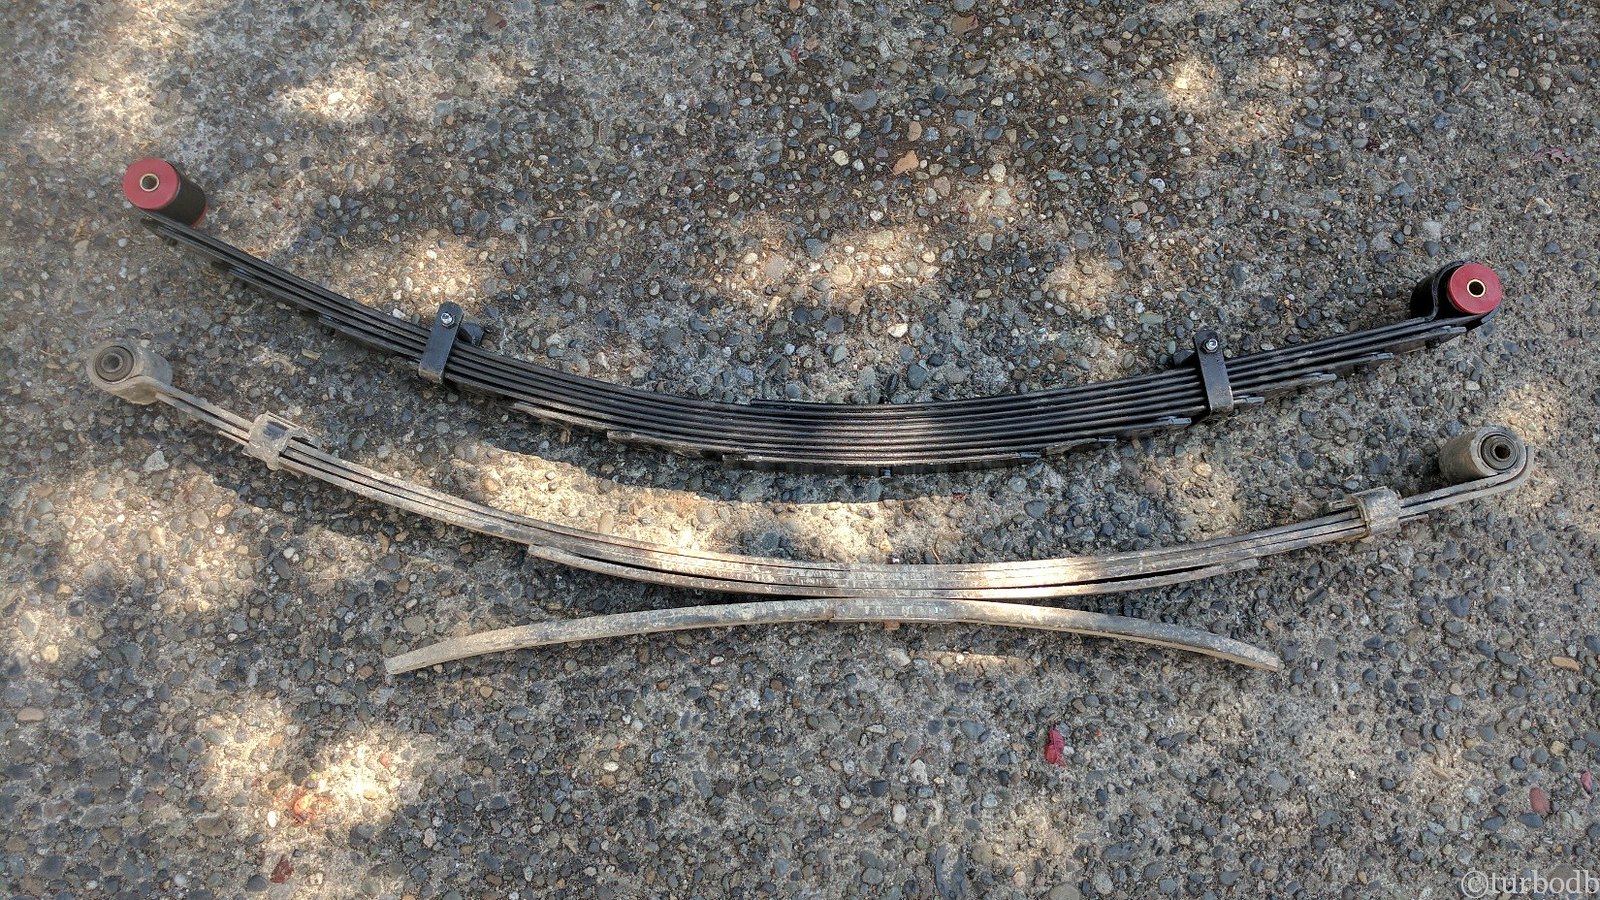
Communication wasn’t their strong suit, but a few weeks later (a totally reasonable timeframe IMO), the springs arrived. And they were heavy. At 68lbs each, they weigh about twice as much as the stock leafs, but have a similar unsprung profile, which is good - I don’t want the stance to be too crazy.

25215300417_f7fd200a35_h.jpg

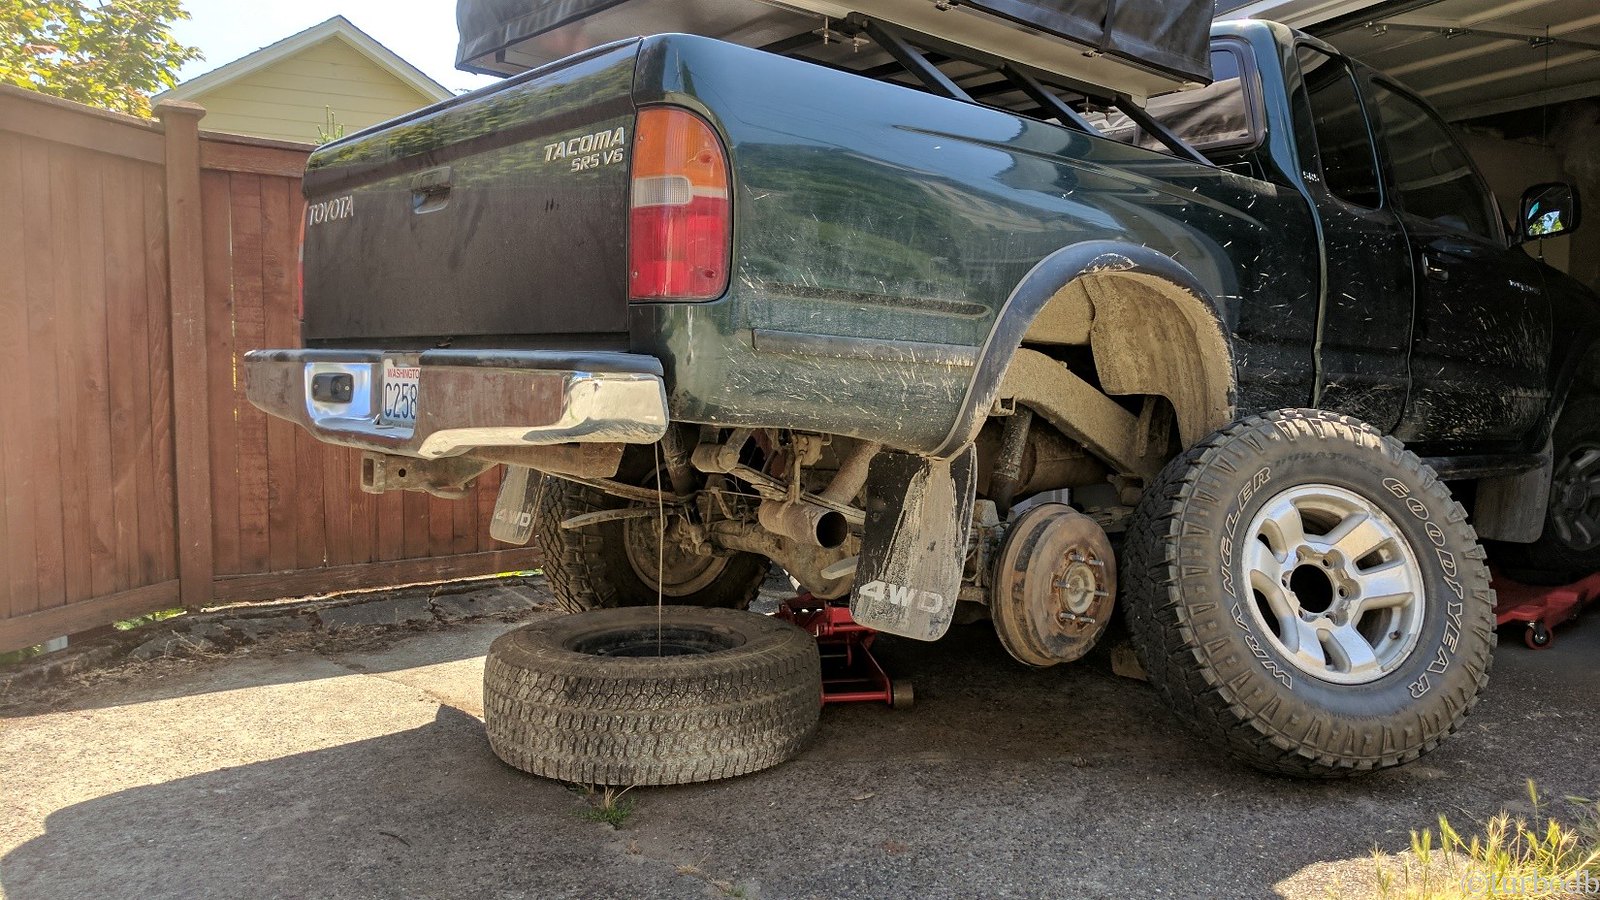
When the weekend rolled around, I got started with the install. Given my work-time-prediction history, I hoped that I’d be done in a couple hours, but I allocated a full day.

It took 6 hours. Including some unforeseen problem solving. I’m getting better. :)

The overall process was mostly straight forward.
  1. Jack up the truck and gain access to the leaf springs.
  2. Remove the old leaf spring on one side.
  3. Install the new leaf spring on the same side.
  4. Repeat 2 and 3 on the other side.
26213301918_bf5189605e_h.jpg

26213302038_fa556a9bc3_h.jpg

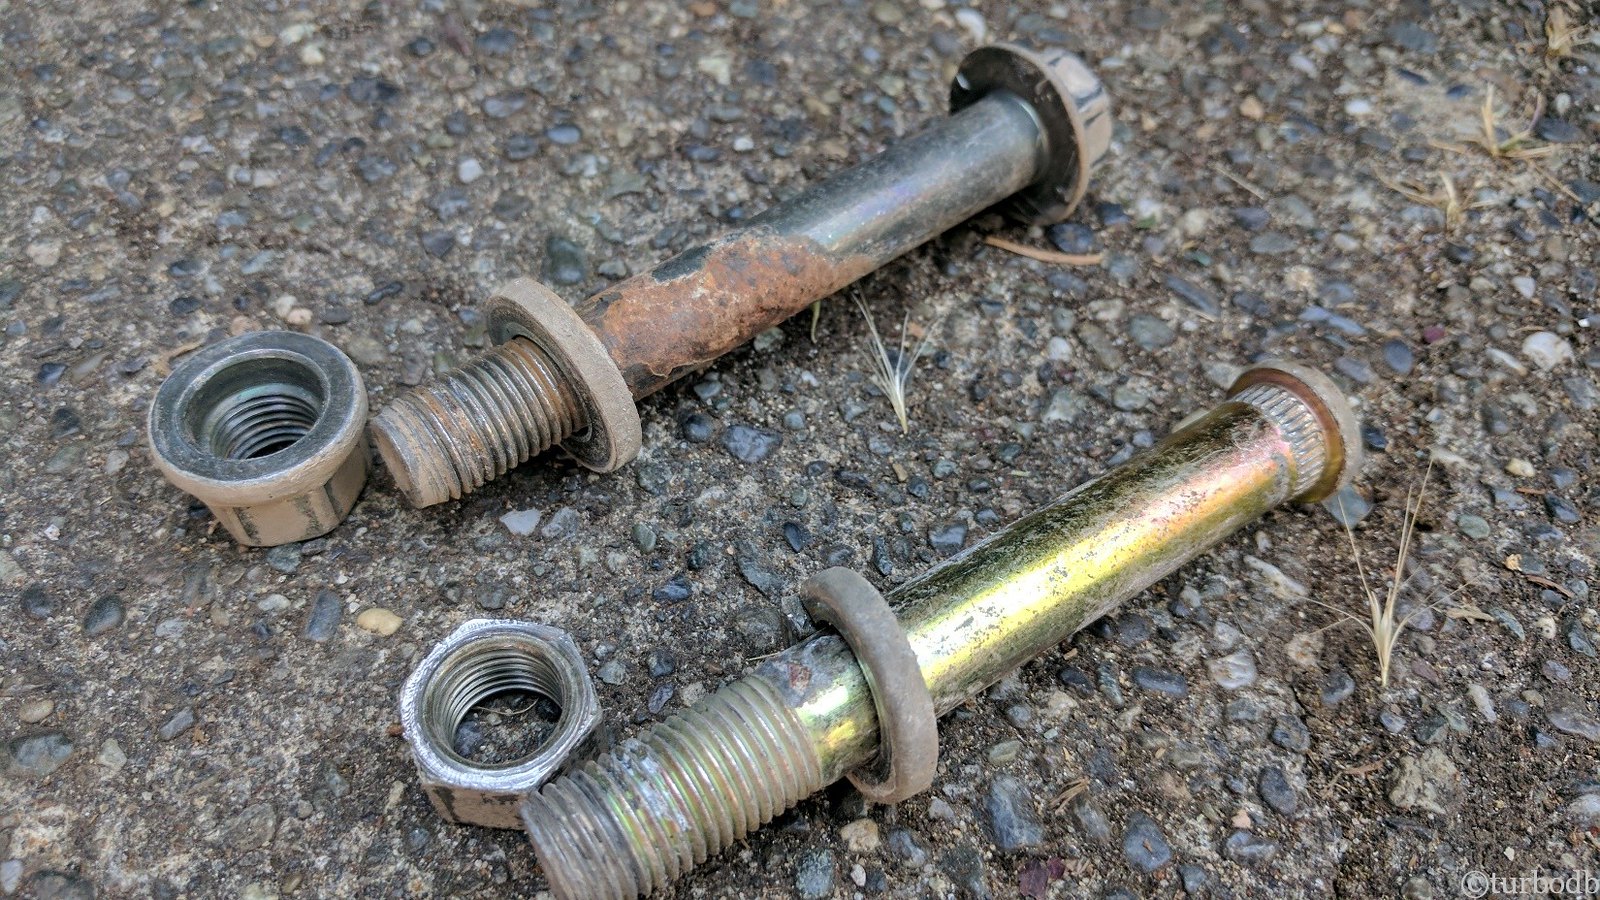
When removing the bolts on the front of the leaf springs, and the pins on the back, I was worried that they'd be seized. Not even close - while tight and requiring a breaker bar, they were in great shape and totally reusable. They torqued right back on at 116 ft-lbs in the front, and 67 ft-lbs on the shackle.

26213302338_54859794b5_h.jpg

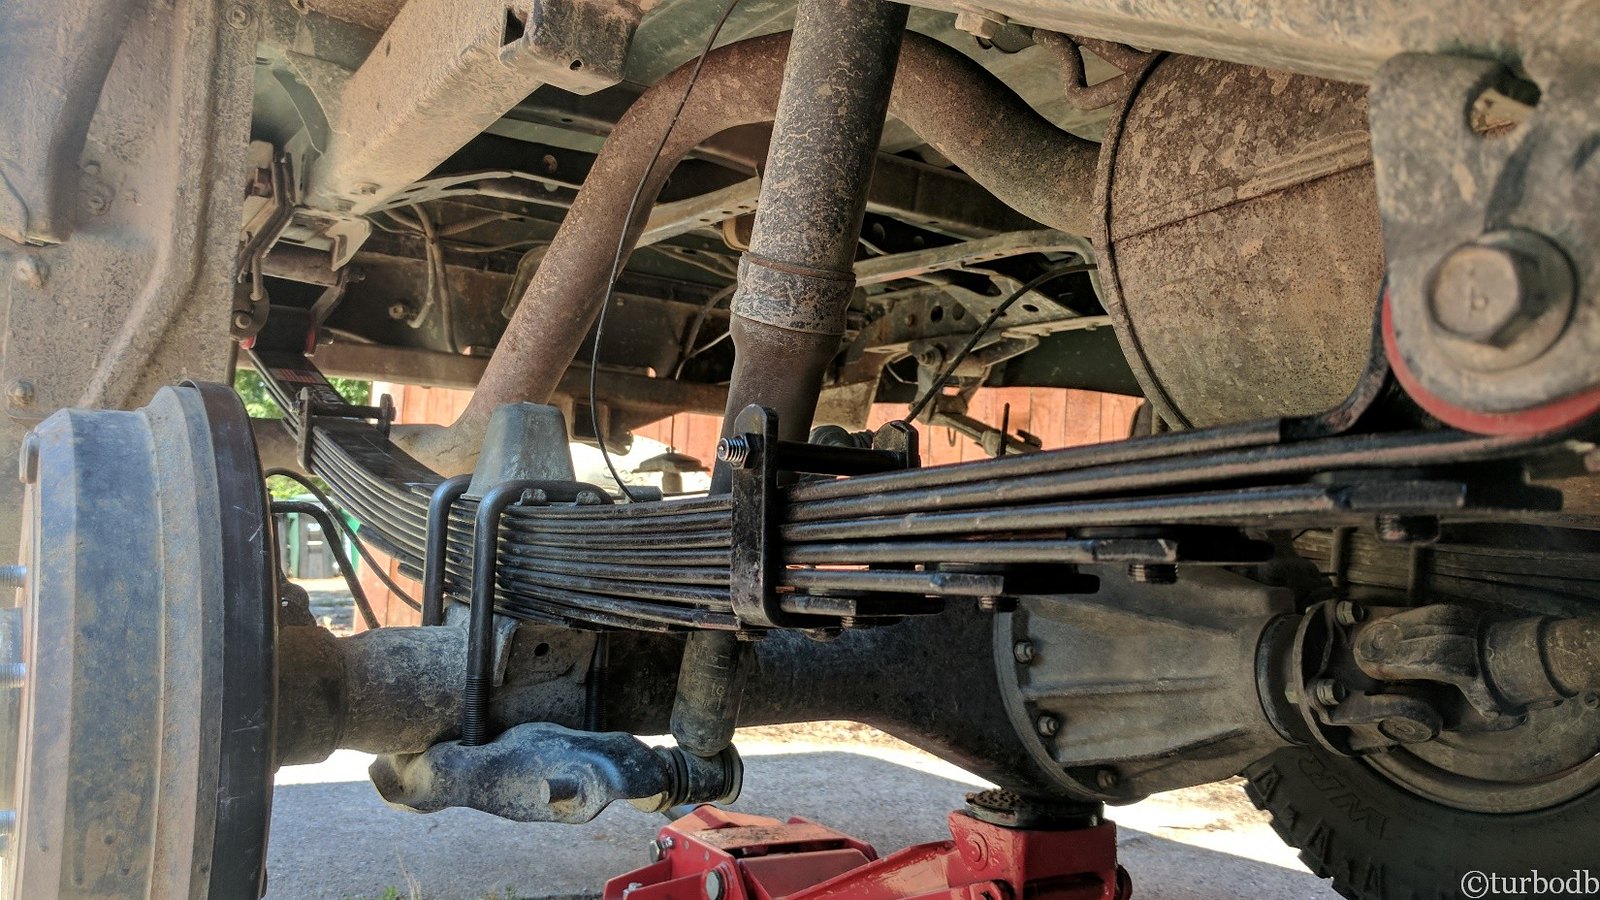
And then, with a little convincing, the Alcan's were installed. New, larger U-bolts were part of the deal as well - these are 9/16" diameter, torqued to 90 ft-lbs.

26213302528_3891284033_h.jpg

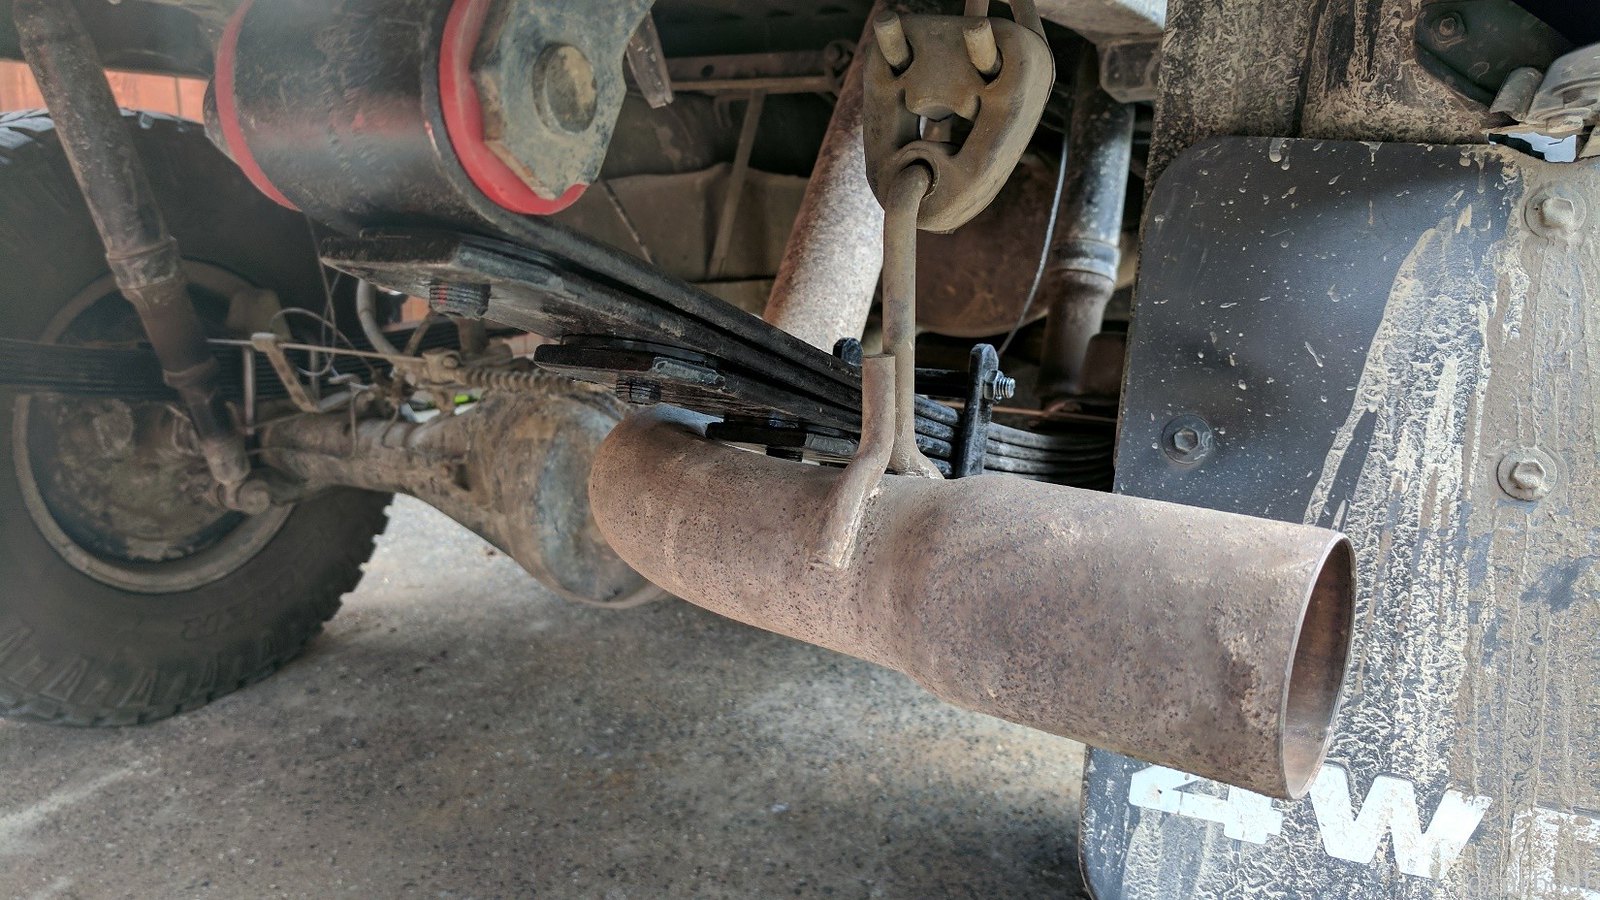
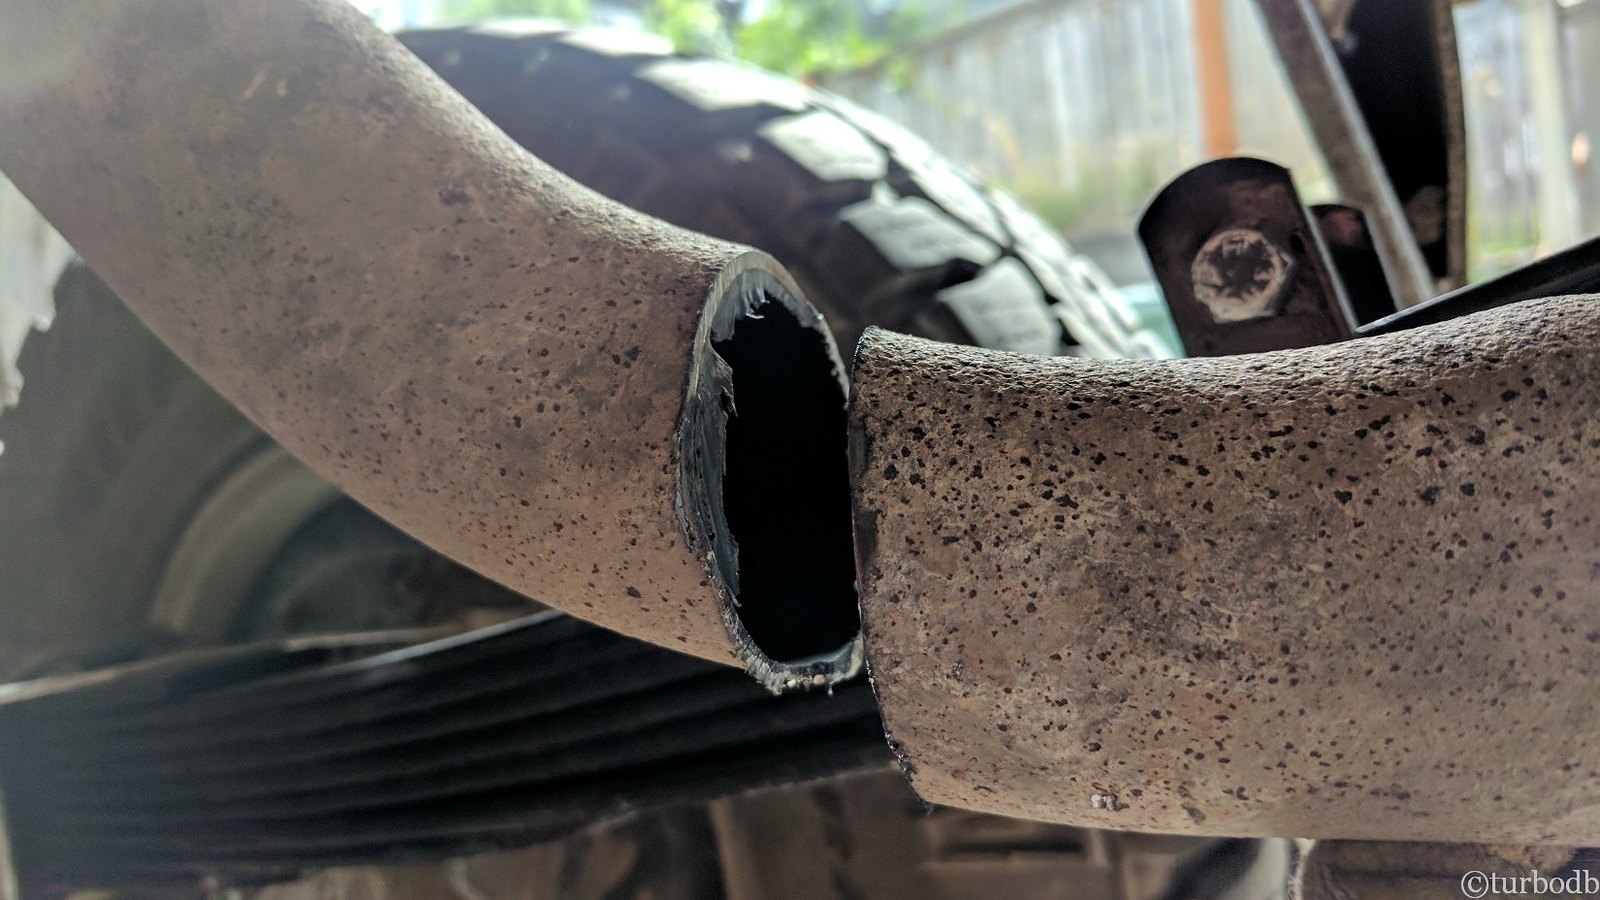
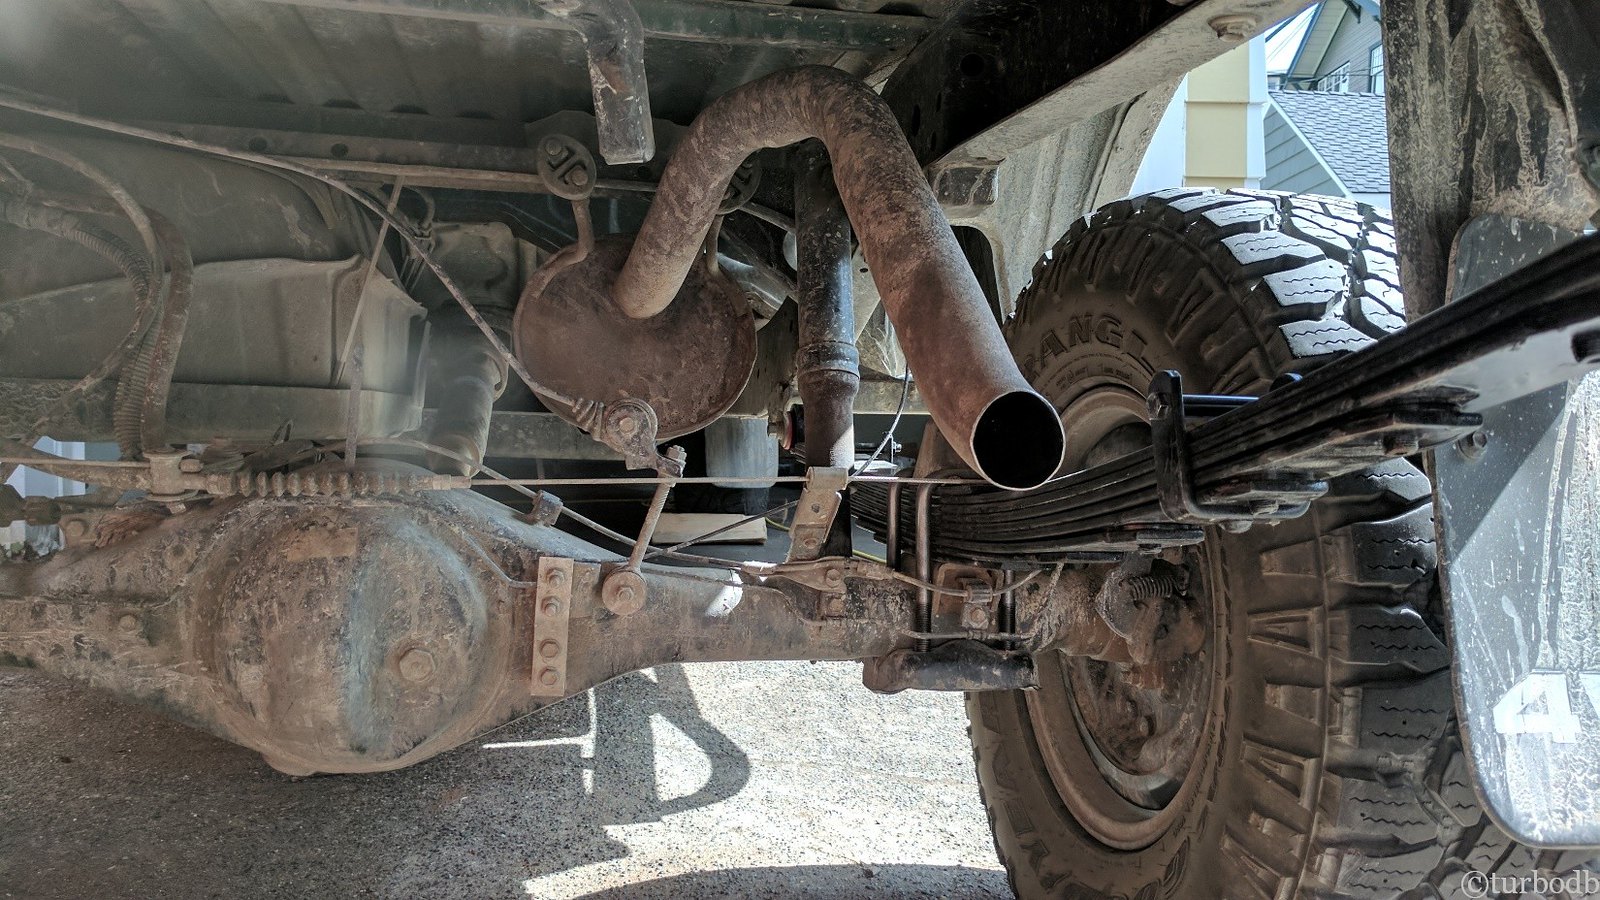
After installing the passenger side, I knew there was going to be a problem with the exhaust, but I hoped that it would "fix itself" when I installed the other side. It didn't (of course) and so further action was necessary.

26213302838_98f2417126_h.jpg

I was about as comfortable with this "further action" as I was when the good folks at Relentless chopped my frame and front wheel well liners when installing the bumper (which is to say I cringed the whole time). Because, as much as I like to make my truck more capable…I do really like it being as stock as possible.

26213302988_578cc7cb28_h.jpg

26213303198_6fad4eaf0b_h.jpg

And with that, I'd successfully stumbled through another bit of maintenance. The stance, even loaded with gear, is now perfect.

26213303418_8cbe16fce2_h.jpg
 

turbodb

Well-known member
No More Ice Runs or Wet Sandwiches - ARB Fridge
July 22, 2017.

It was July 8, 2017. I know because I will always remember the day @mrs.turbodb said, "You should just get a fridge for the truck."

We'd just returned from our week-long trip to Canada with the little kiddo, where we'd pre-prepared and frozen many of our meals, using our crappy 48qt cooler to keep everything chilly. Of course, even sandwiched in the middle of our gear and under the CVT, we had to get ice every day (does Canada not have block ice?) - which meant staying relatively near civilization.

So when we started talking about our next trip (attempting to run the OBDR again), we knew we needed to do better. And that was the day that @mrs.turbodb spoke the magic words.

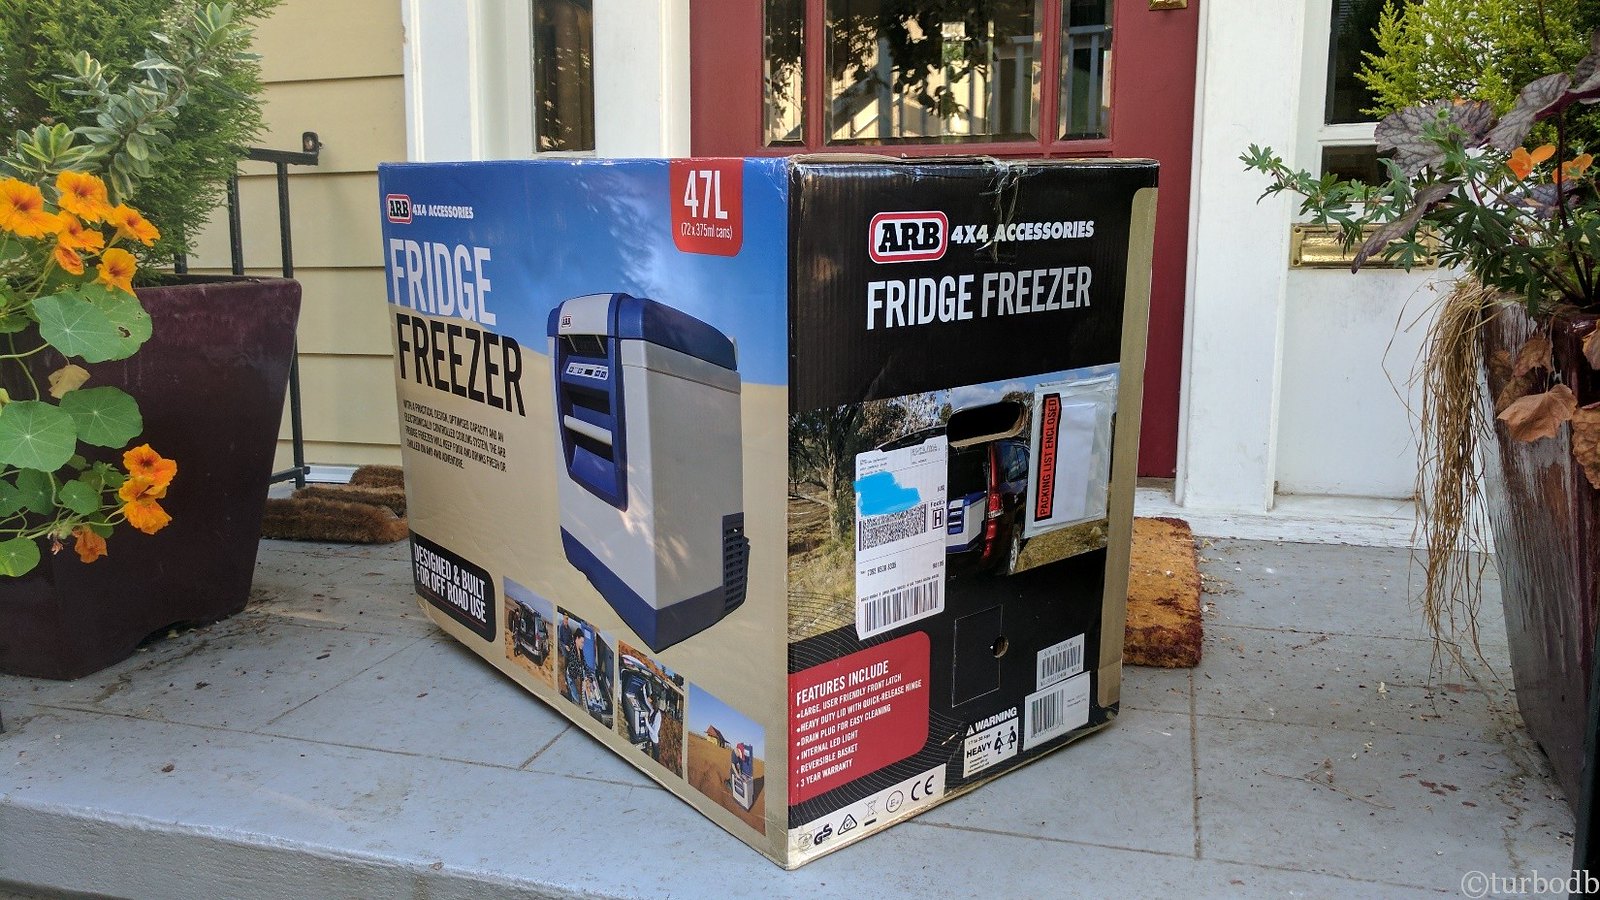
On July 14, this showed up on the front porch.

26213303568_fead77d69b_h.jpg

We brought it inside and plugged it in. It cooled. It was quiet. It was an ARB 50qt Fridge Freezer - 10800472. We had big grins on our faces. And later that night, when we were talking about putting some water in the freezer for our next trip, we realized…we don't need no stinking ice! And then we thought, "What are we going to do with all the room in there?"

But what we did need now was power in the bed of the truck. Second and third gens of course have power in the bed already, but being the proud owner of the best gen, well… I guess there were some improvements in later models.

So I gathered supplies:
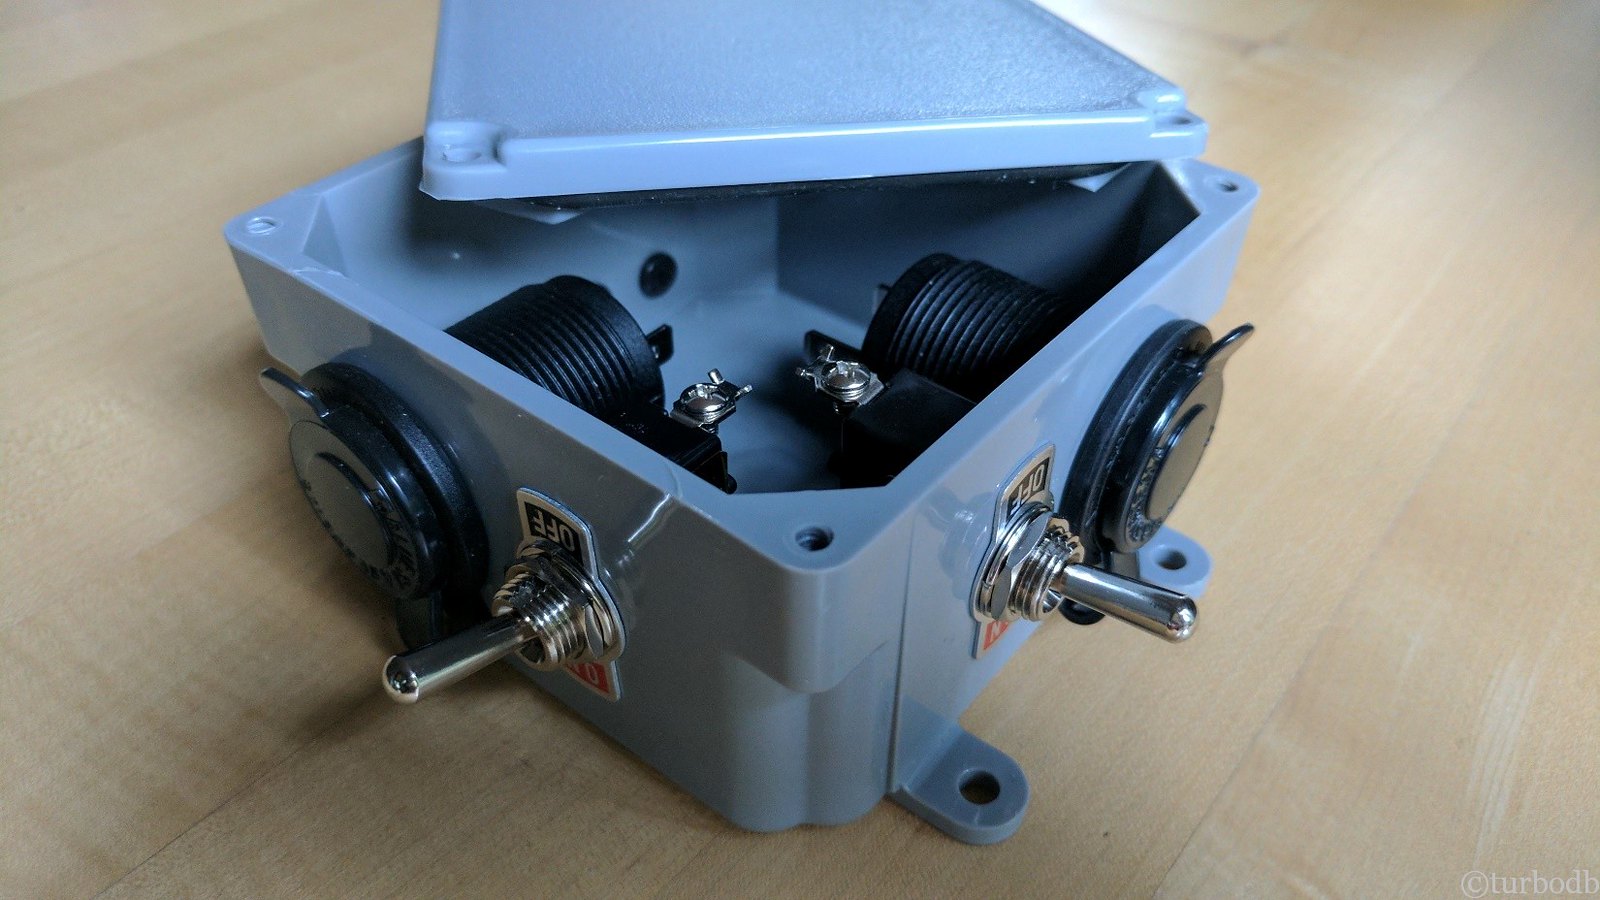
  1. A waterproof PVC box (4"x4"x2") (I got at Lowes; also at amazon)
  2. Two weatherproof 12v outlets from Blue Sea Systems
  3. Two weatherproof toggle switches
  4. Two 1/8" rubber grommets
  5. Some 14 gauge wire (red and black) and loom
  6. Blade connectors
  7. A few zip ties
  8. Electrical tape
  9. 1" 3M VHB tape (not cheap, I had some already)
  10. 1" x 3 1/2" plastic strips (I cut them from an old electrical box)
And some tools:
  1. Drill and bits
  2. Fish tape
  3. Soldering iron
26213303628_36f623c43c_h.jpg

Materials gathered, I drilled holes in the box for the 12v outlets, switches and rubber grommets and installed them. Then, I tackled the wiring. That was a bit trickier but I was able to send the wire and loom from the Bussmann I installed earlier this year, down through the engine bay by the passenger firewall, and into the frame along the passenger side. Using the fish tape to pull it through the frame to a hole under the bed (I never want to have to do that again), I wrapped the loom fully in electrical tape and ran it up between the bed and cab; then under the bed liner; and finally, up the side of the bed rack to a convenient mounting location under the CVT.

26213303718_8cc14f58da_h.jpg

26213304048_21ed81e999_h.jpg

26213304258_aac5849177_h.jpg

Now, we have switched, fused power in the bed, and we'll be eating in style on the road.

Of course, we still need to go to town for gas, but that can be days between runs…
 

turbodb

Well-known member
Icom 5100A Install (OMG, did I just drill a hole in the roof of my truck?)
July 23, 2017.

Ham radio is for old guys.

I must be getting old.

As the truck has gotten more capable, and as we’ve started doing longer and more remote trips, I’ve started carrying more tools, extra parts, etc. in order to make (minor) road repairs - hopefully enough to limp back to civilization. But in the back of my mind there is always a little voice that’s been saying, “What happens if you’re many miles out?”

I knew I needed some sort of ability to communicate. I considered getting an inReach device a SPOT tracker, or some other ePRB/PLB, but those solutions seemed too single-tasker to me. Not only would they require ongoing payments for the service, but ideally, I’d never use them.

Instead, I decided it was time to get a radio in the truck, and since I might need longer distances, the choice between CB and HAM was obvious: HAM. With a bit of research and a great deal on eBay, I decided to go with the ICOM 5100A (with Bluetooth) and a Diamond antenna (NR770HBNMO - thanks @Blackdawg) and NMO mount (C213SNMO).

25215304367_327228954b_h.jpg

That was in May - early May; just before we headed down to Oregon to meet up with Pops and my Uncle. My hope was that I could surprise the old fogies with how old I was getting (which would imply an even older age for their generation)! Unfortunately, it arrived the day after we left, so even with my newly minted Technician’s license, I didn’t have the hardware to back it up.

And then we got busy. With the kiddo out of school, summer projects around the house and with the truck, and lots of exploring and camping, there just wasn’t time to get everything hooked up.

But I did get my updated vanity callsign, which was pretty cool.

Fast forward to late July and our impending trip back to the OBDR, where once again we’ll find ourselves exploring the great beyond, sometimes very remote. It was time to get the radio installed.

But wait. There was another reason I’d been in no rush to install this puppy. It meant drilling a hole in the roof. And, if that wasn’t scary enough, it also meant taking out the headliner (at least partially) and I’d heard that was perhaps the most painful thing you can do when working on your vehicle.

So yeah, that’s actually two other reasons.

But it had to be done, so I bit the bullet and got started on Sunday morning. I figured it would take all day because I was going to go slow and make sure I didn’t mess any of this up. The game plan was:
  1. Remove the headliner.
  2. Drill a hole in the roof.
  3. Install the NMO antenna mount.
  4. Run the antenna wire under the passenger seat.
  5. Run power from the Bussmann to the passenger seat.
  6. Plug in and test the radio.
  7. Button everything back up.
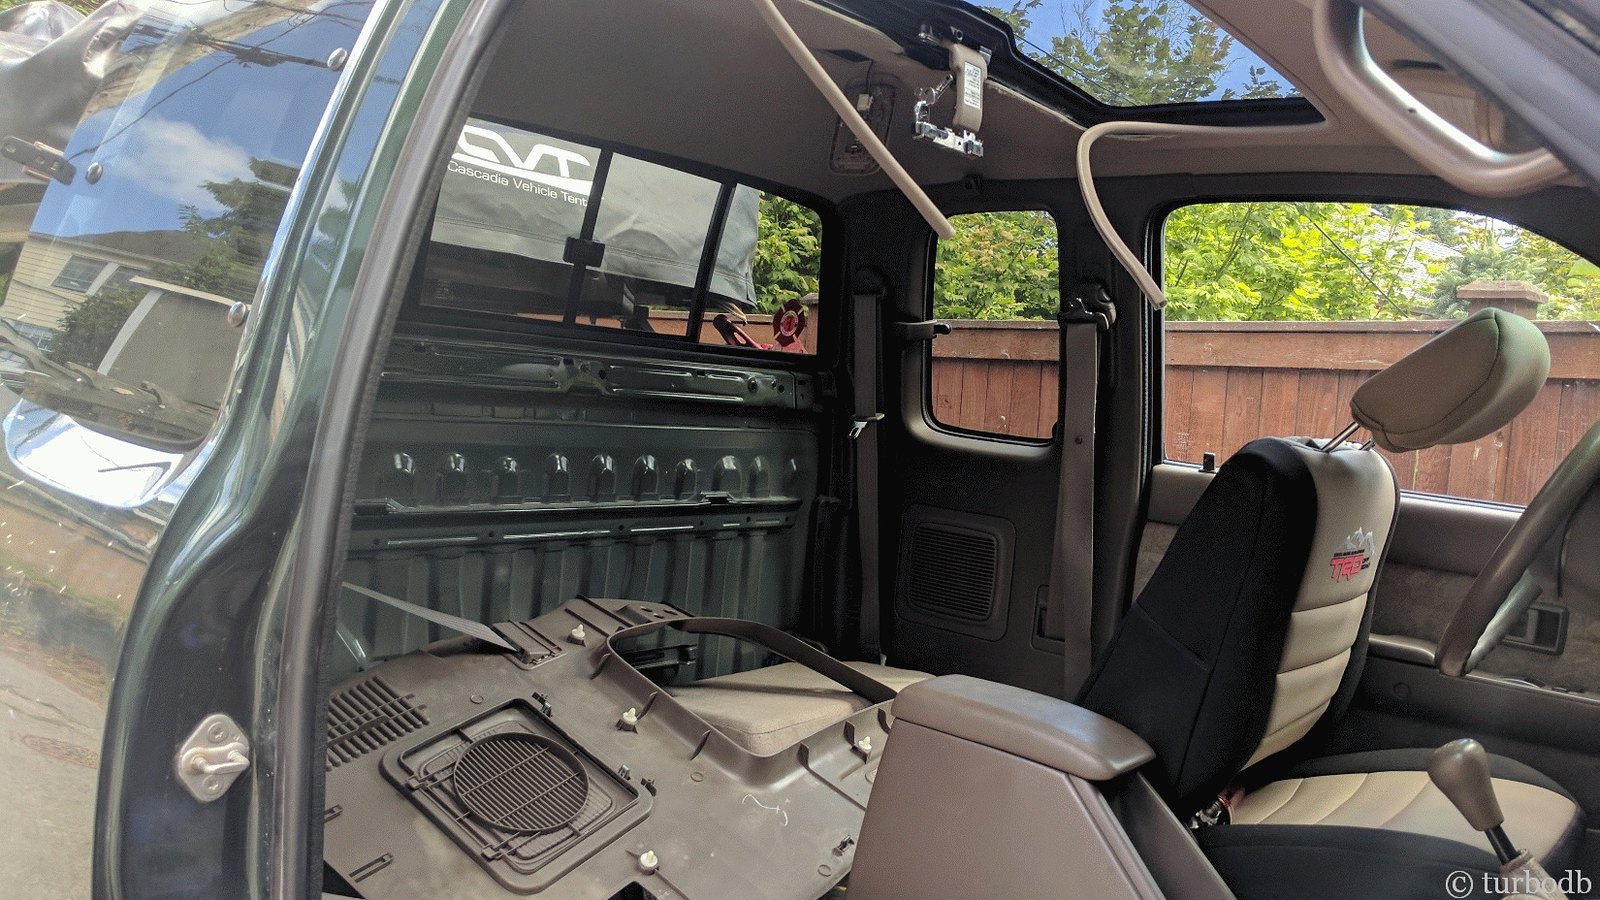
Removing the headliner... I searched and searched for visual instructions on this and didn’t find any, though I did have the FSM info which turned out to be pretty reasonable. At any rate, when I was all done removing everything (How to Remove a First Gen Tacoma Headliner), the truck looked like a disaster but I hadn’t broken a single clip.

It was a huge success.

25215304917_8de56e7bc6_h.jpg

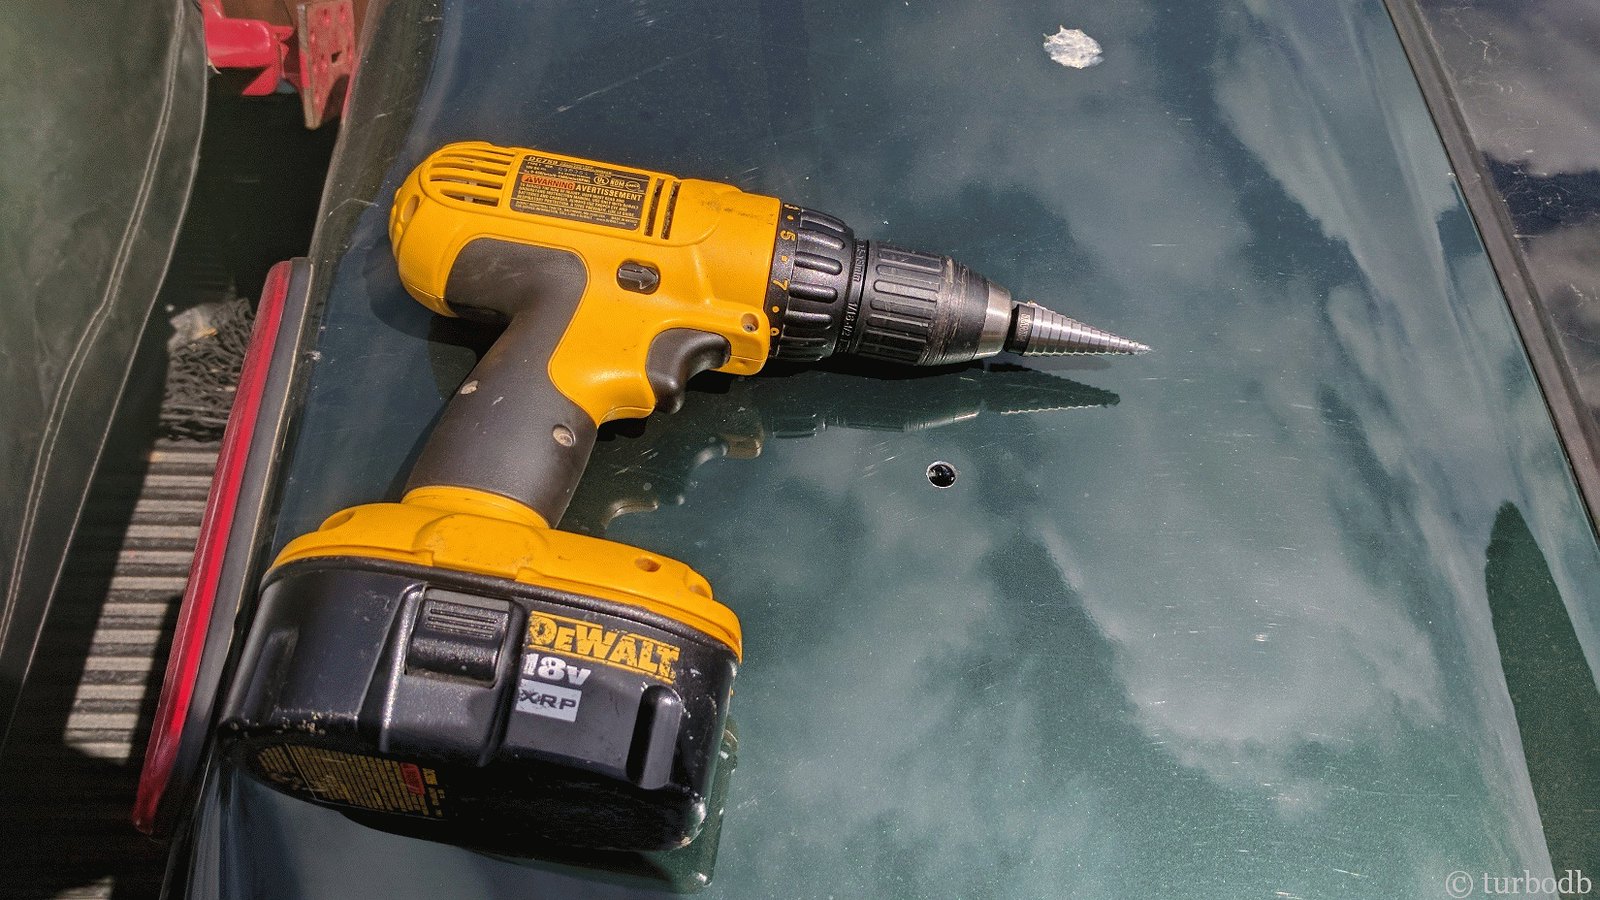
Next, it was time to drill the hole in the roof. I’d purchased a ¾” hole saw for this since everything I looked up on the interwebs said that’s what you use for NMO mounts, However, just in the nick of time, I watched one last YouTube video where the guy drilled a 3/8” hole.

What?!

Yeah.

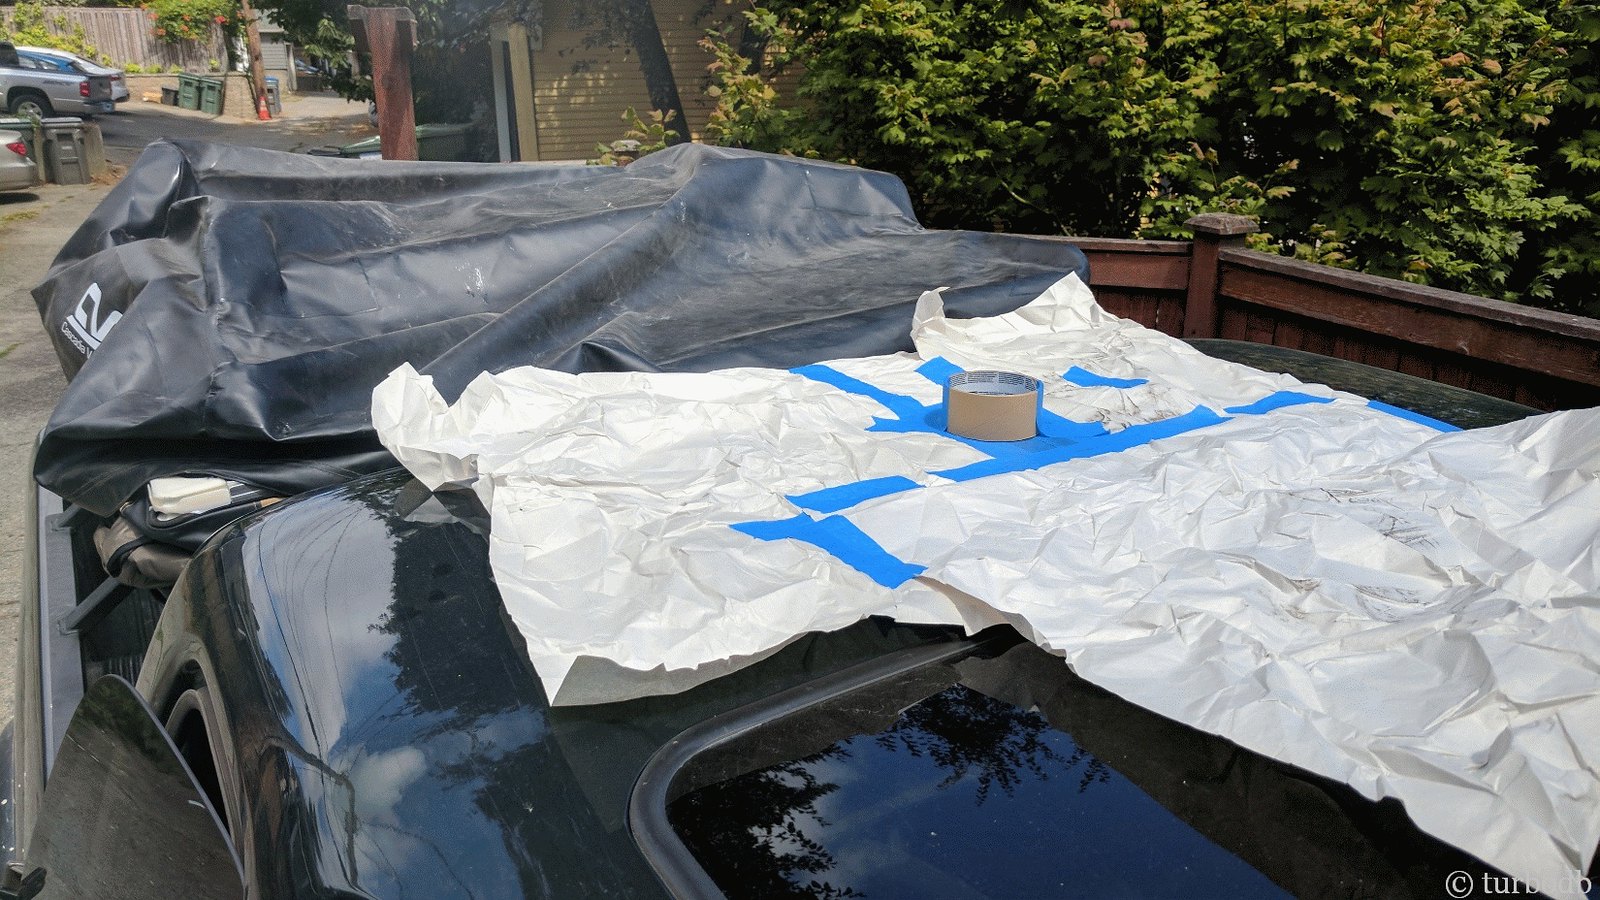
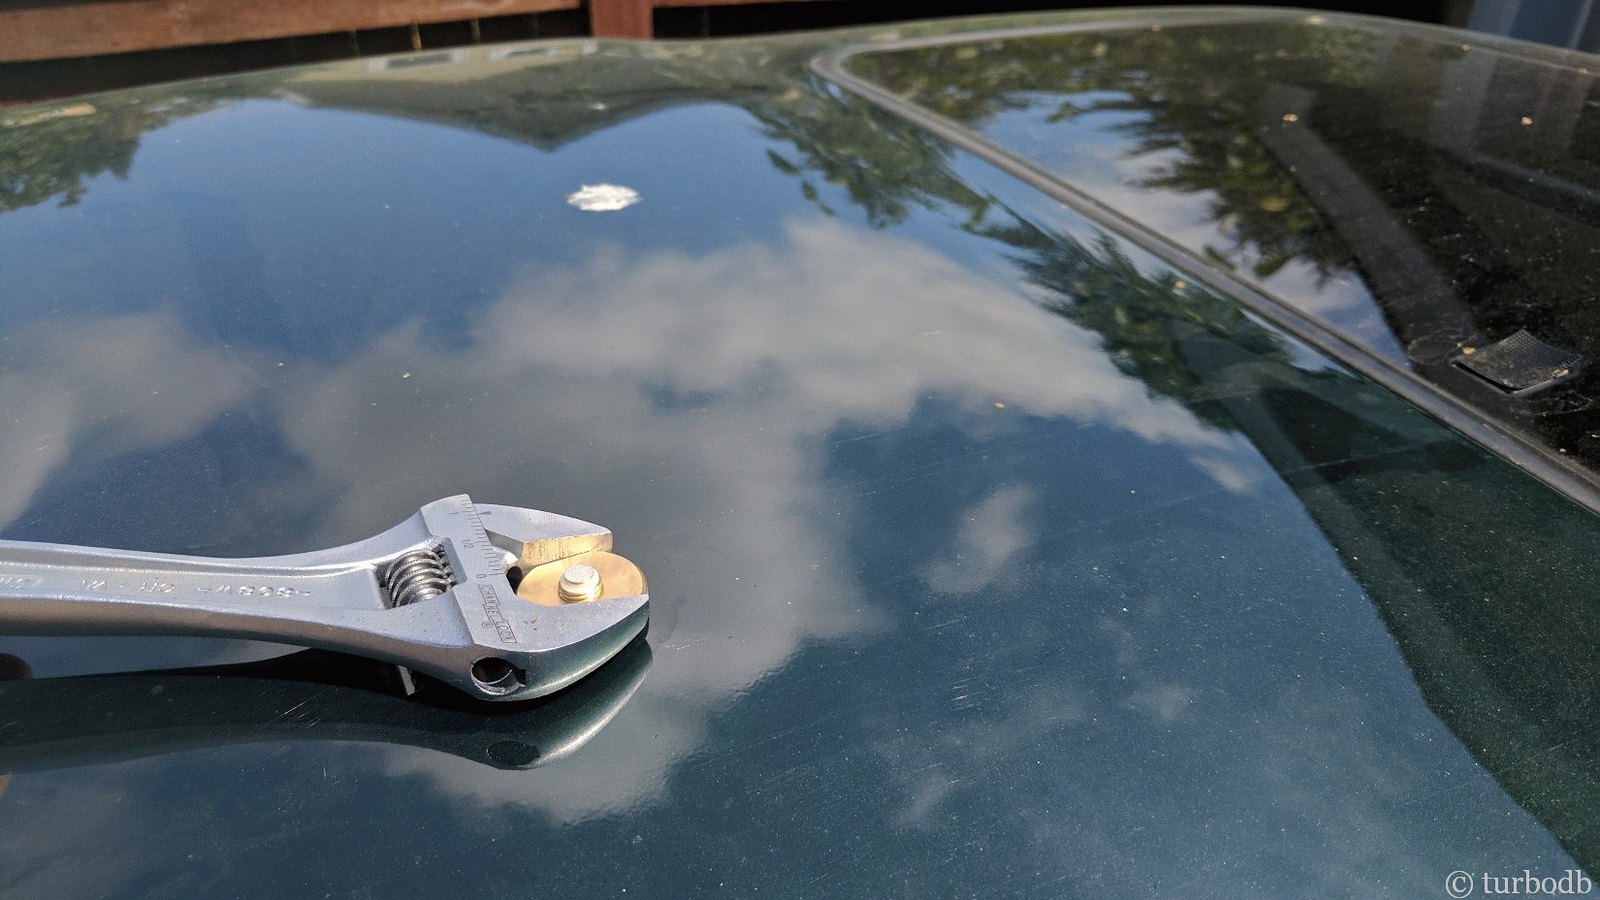
Turns out, the Diamond NMO mount I’d bought (C213SNMO) is different than most and requires a smaller hole. So, I whipped out a step bit, taped up the roof to catch all of the metal shavings, put some cardboard in the cab above the headliner (to catch the rest of the shavings) and started drilling.

25215305337_0a1636a4c5_h.jpg

25215305707_f850abf4bc_h.jpg

The whole thing went flawlessly, but I never want to do that again - I think I lost several years of my life in those few minutes.

Finally, after some touch-up paint on the bare metal of the hole, I screwed on the NMO mount and buttoned most of the interior.

25215306107_8678e94b85_h.jpg

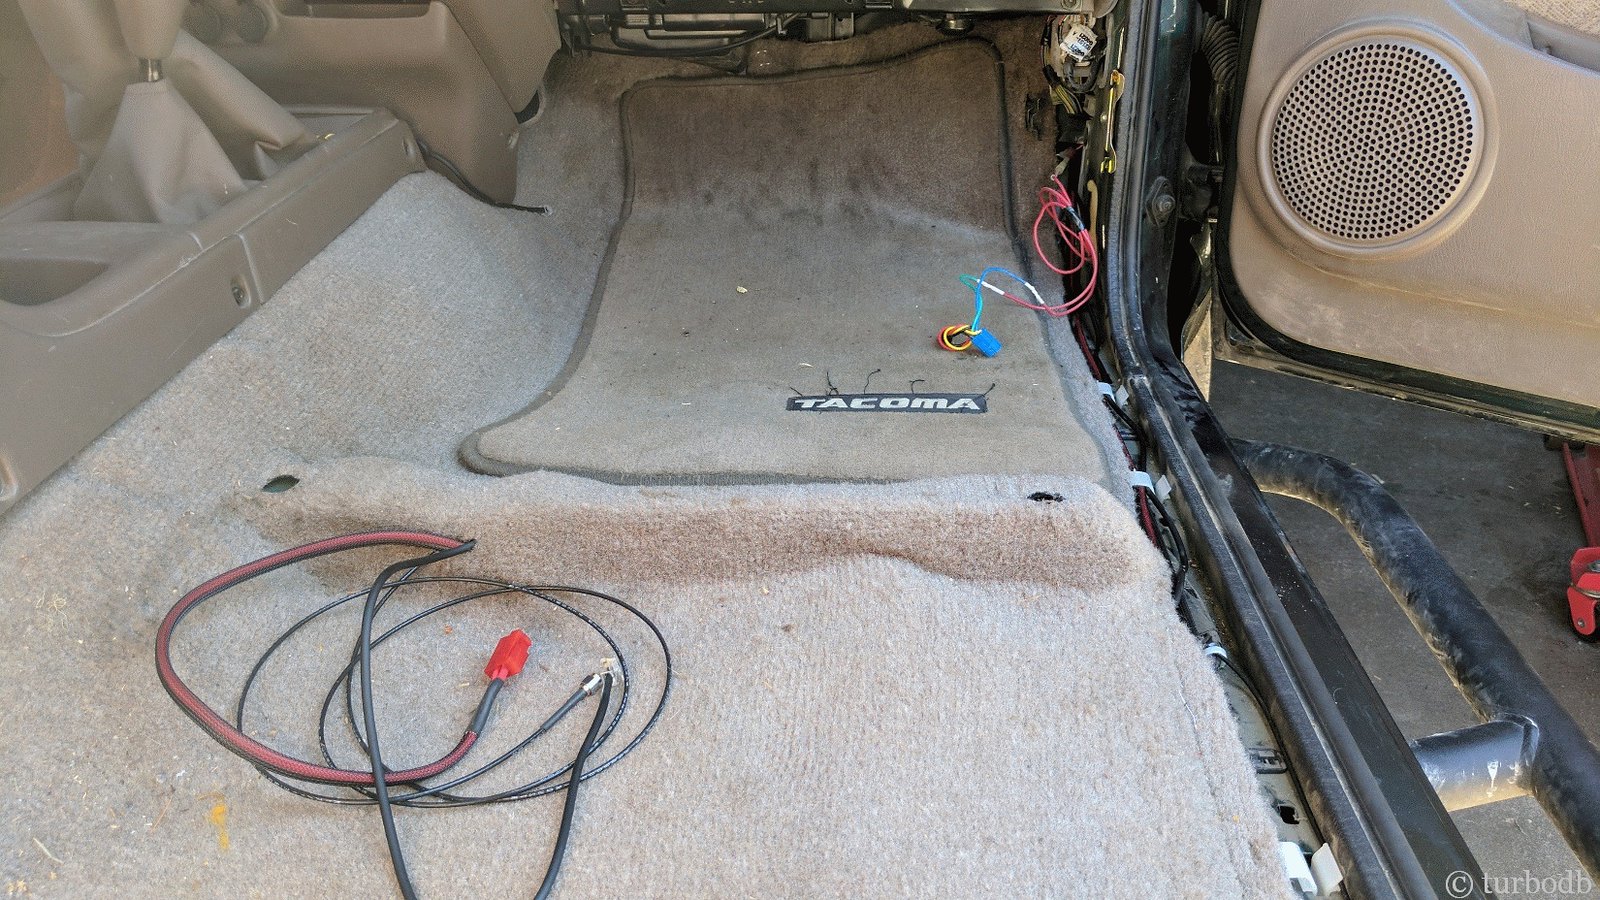
Then, I ran the cable from the antenna, power from the Bussmann, and the cable for the head unit along the passenger threshold and under the rug; coming out under the passenger seat where the ICOM 5100A will be located.

25215306537_edd3822d27_h.jpg

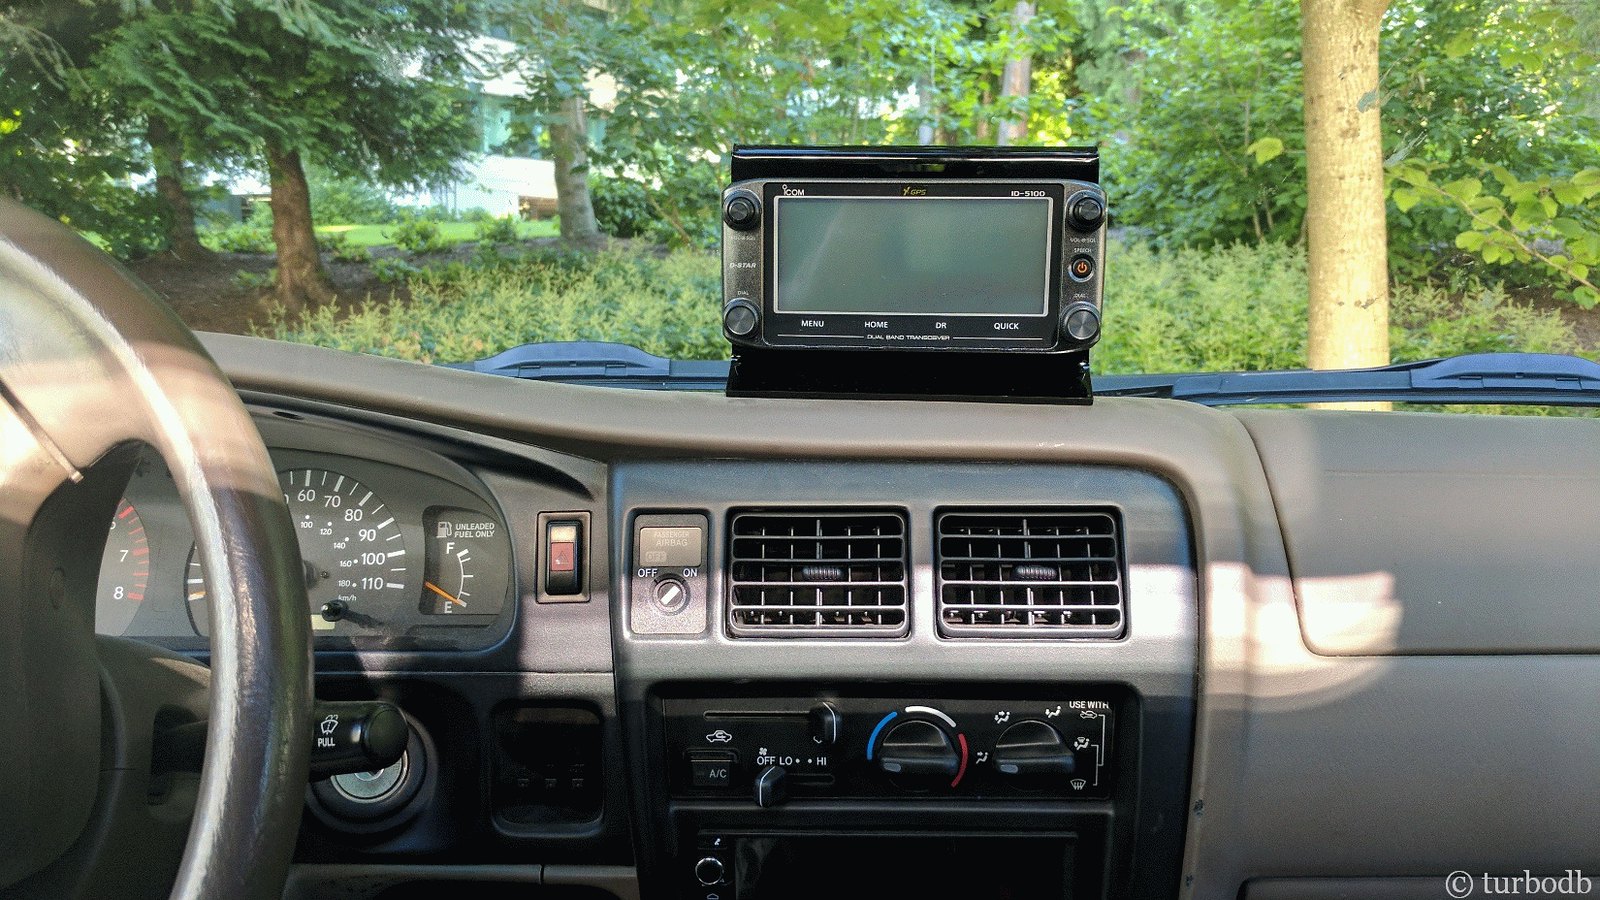
Then, I plugged everything in and tested the radio. Amazingly, it worked. So the rest of the trim and passenger seat went back in, and it looks like nothing happened. Well, except that there’s an antenna on the roof and a head unit on the dash. That’s what I call success.

25215307097_8715638397_h.jpg

25215307587_90084e5a8e_h.jpg

[EDIT Oct 2017:]
I've since replaced the Icom 5100 with a Kenwood D710G in order to get APRS functionality.
Read more in Adding APRS with a new Ham Radio (Kenwood TM-D710GA, Mobilinkd TNC2.2)]


.
 

turbodb

Well-known member
Return to the Oregon Backcountry Discovery Route

Back in May, we'd attempted to run the northern 40% of the Oregon Backcountry Discovery Route, from Seneca to the Washington border. A day in, we chose a more reasonable goal: Seneca to Unity. And at day three, we called it quits - less than 50 miles from our start point.

So you can imagine that we were excited for a second chance. Redemption as it were.

In the month leading up to the trip, we got ready. Alcan leaf springs, a new HAM radio, and an ARB fridge were going to make us more capable, safer, and well fed.

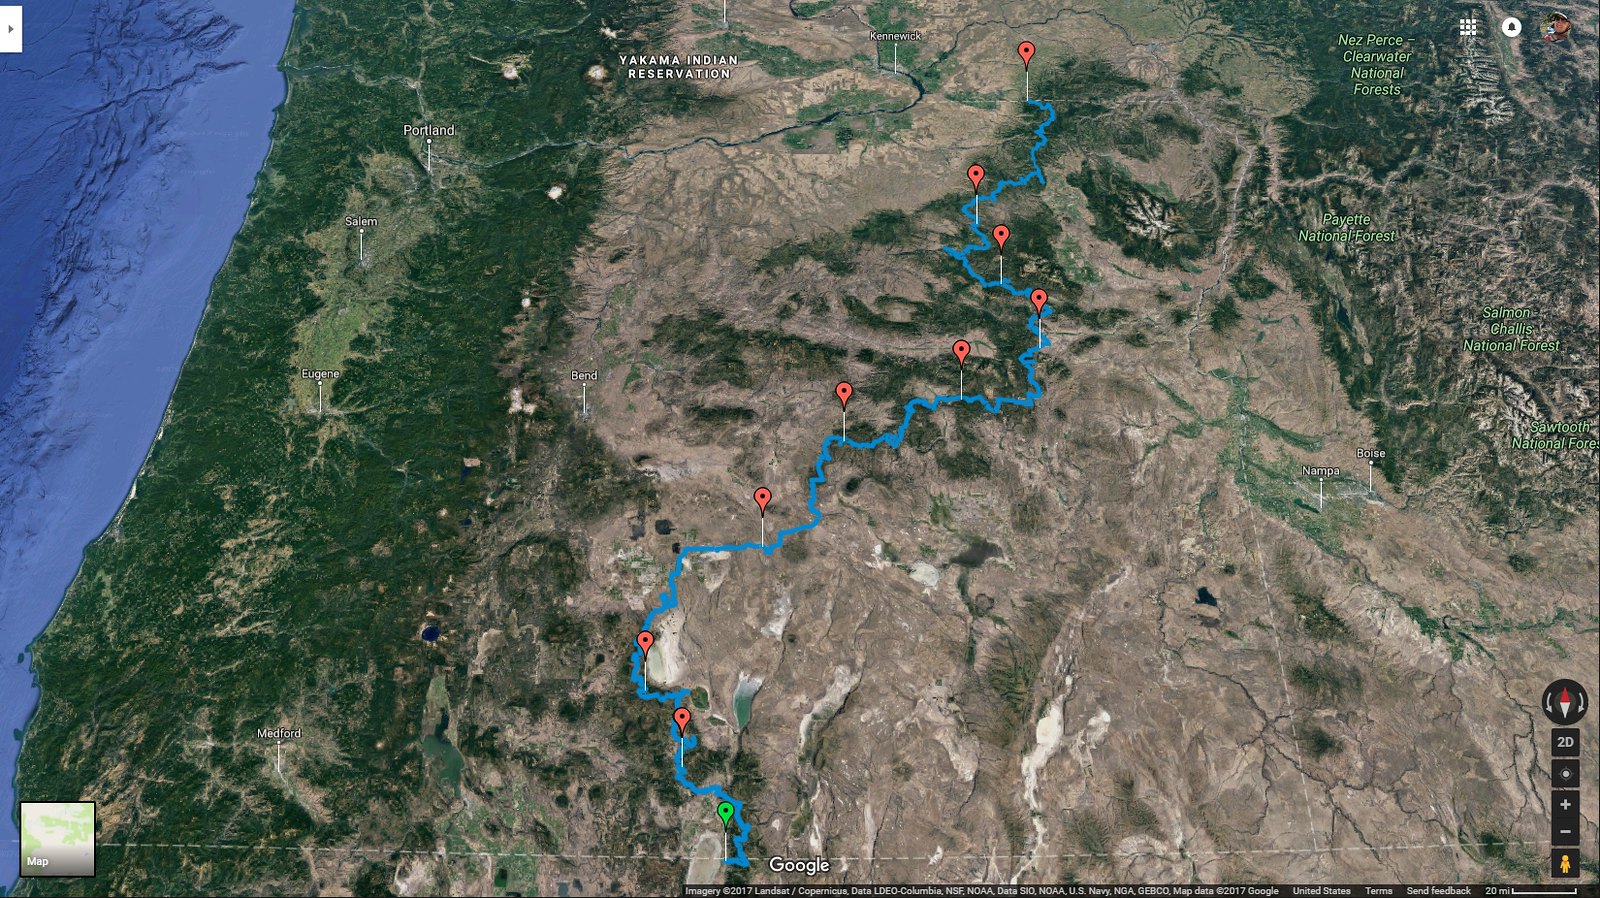
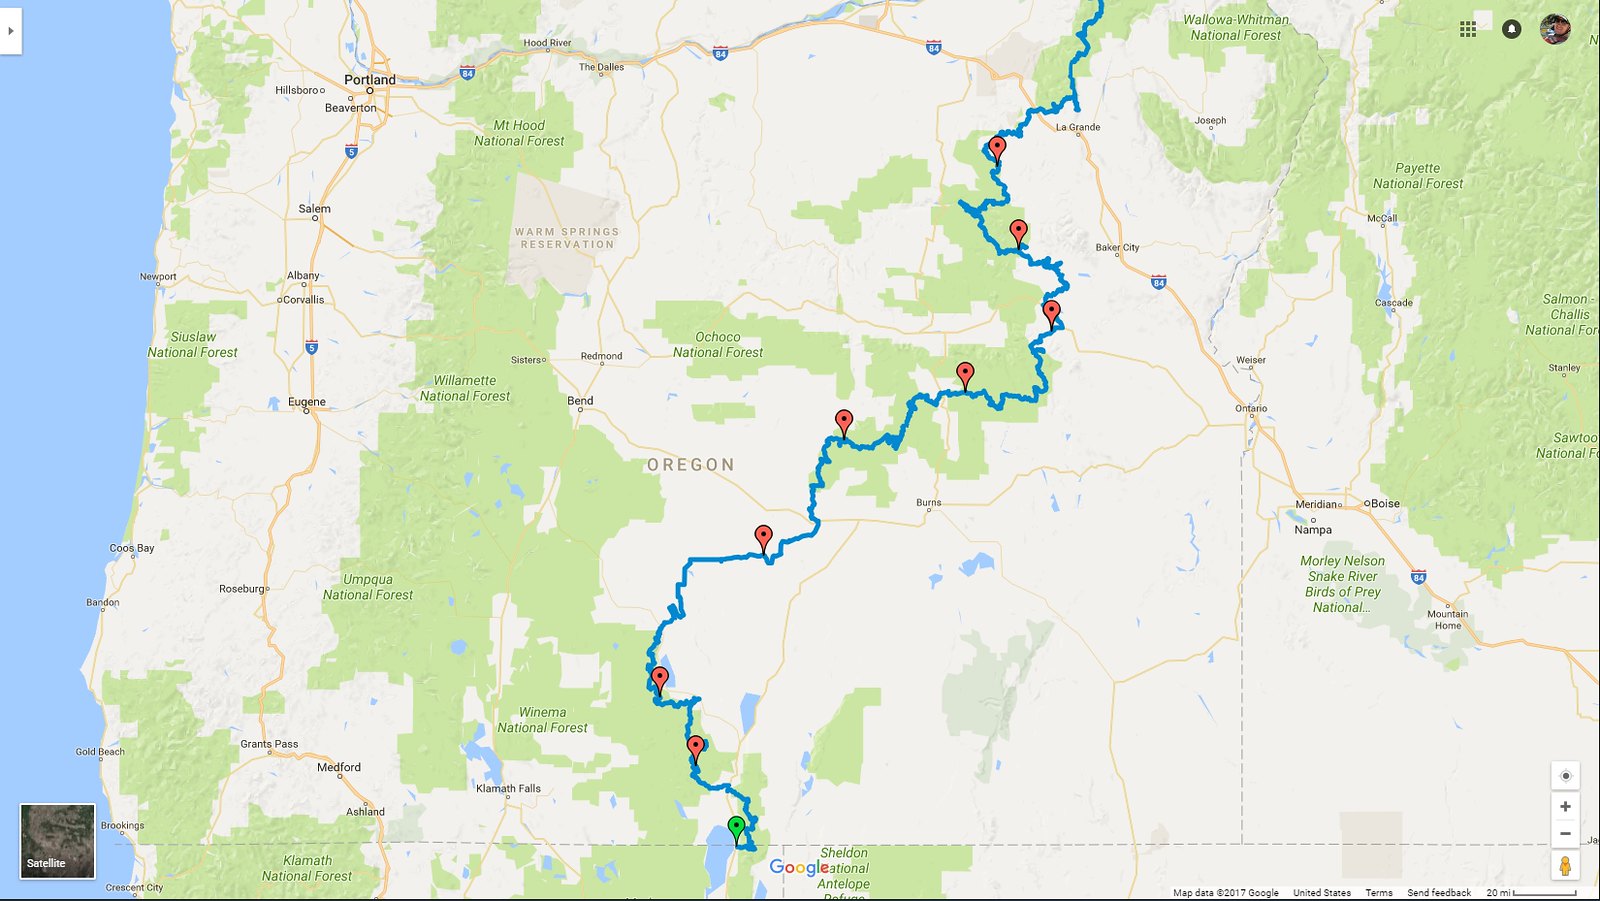
Our plan was to run Route 5 - from New Pine Creek, California to Walla Walla, Washington - in a week. It would mean approximately 150 miles per day (assuming no major re-routes) which we knew was a lot, but we hoped we could do.

Our daily goals would be:

Day 1, Saturday:
Home to Starting point in New Pine Creek, CA

Day 2, Sunday:
New Pine Creek to Summer Lake - 160 miles

Day 3, Monday:
Summer Lake to Riley - 150 miles

Day 4, Tuesday:
Riley to Seneca - 140 miles

Day 5, Wednesday:
Seneca to Granite - 170 miles

Day 6, Thursday:
Granite to Kamela - 130 miles

Day 7, Friday:
Kamela to Walla Walla - 100 miles

Day 8, Saturday:
Walla Walla to Home​

And the route we would take would be based on a route we’d found from 2015:

26213311228_077c1aa2a5_h.jpg


26213311758_4954e37abc_h.jpg

While this route was close to our ultimate path, there were a few deviations - mostly to keep us off of ATV-only tracks, and out of the middle of lakes. Luckily, we recorded everything so that the next time we want to make the run (hahaha, that’ll be a while), we know right where to go!

Return to the OBDR Day 1: Excitement, Adventure, Disaster.
July 29, 2017.

"Damn it." That's what I said when I felt the back of the truck slip a few inches downhill and come to rest on the side of a tree. It was 7pm, I was tired, and it was looking like the whole trip might be a bust.

But we are way ahead of ourselves. And we're just at the beginning.

The morning of day 1 we awoke early, showered, and got on the road. The drive from Seattle to New Pine Creek at the California-Oregon border was a 9-hour drive, and we had a couple of stops in Bend planned to pick up some gear.

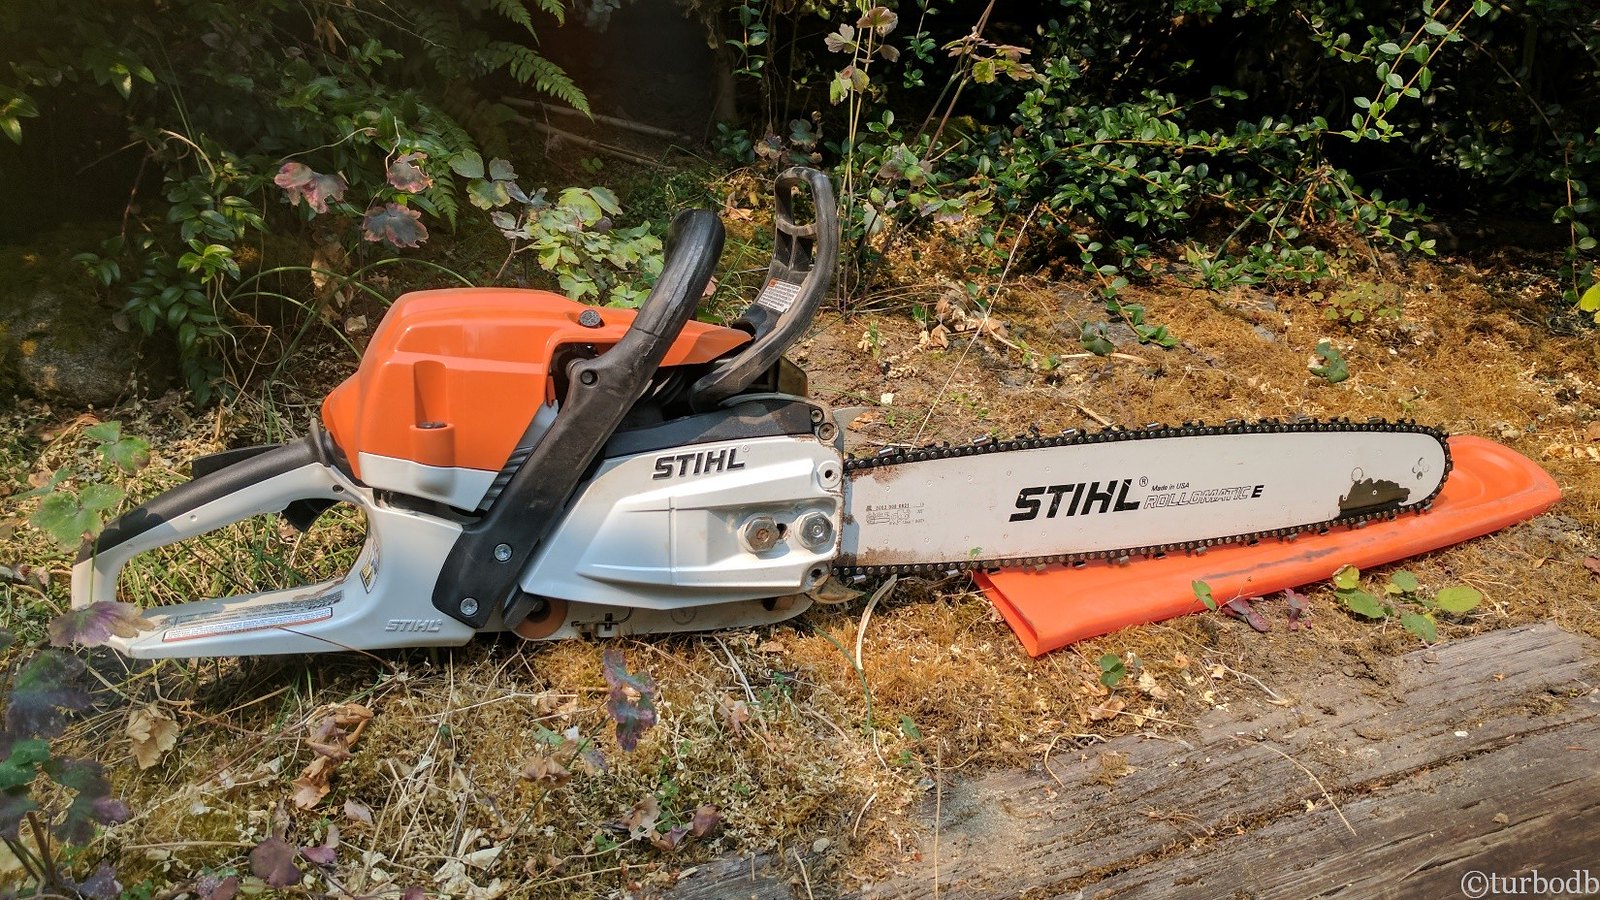
Our first stop was at Stark Street Lawn and Garden, a local Stihl dealer. Having cleared 30+ trees in our last outing, I'd arranged to pick up a little something to help with any downed trees this time - an MS-261 chainsaw with a 20" bar. Boy, were we glad that I did! They good folks at Stark Street were great, and we were in-and-out in less than 20 minutes, the proud owners of this beauty.

28306713529_202a6d7bec_h.jpg

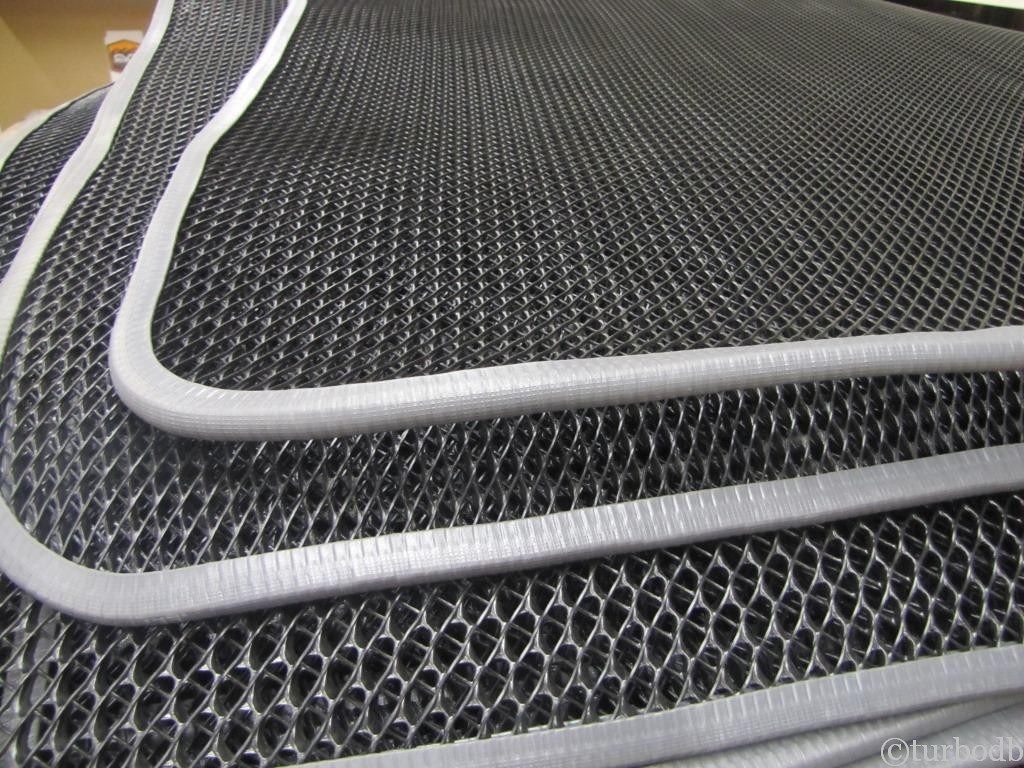
With that, we headed up the street a couple blocks to @Cascadia Tents, where we'd arranged to pick-up an anti-condensation mat for the Mt. Shasta we'd installed for our last trip to Oregon. We'd used the tent for 20 nights of camping already, and it was fantastic, except for the condensation we had to let air out each morning under the mattress.

The new condensation matt fixed all that. Completely. It was like magic.

28306713669_8993d8d709_b.jpg

And with that (plus a quick bite to eat), we were back on the road for several more hours until we reached our destination: New Pine City, California - the start of the Oregon Backcountry Discovery Route (OBDR).

28306713919_8721645800_h.jpg

As we pulled off the pavement, we made a quick stop to get our bearings, get the GPS showing the OBDR setup, and get the cameras ready. We decided we'd try to make it a few miles to the Oregon border to find a spot to camp for the night, so we aired down to 18psi (where we'd remain for the next 7 days!) and we got going.

28306716209_6c6701df81_h.jpg

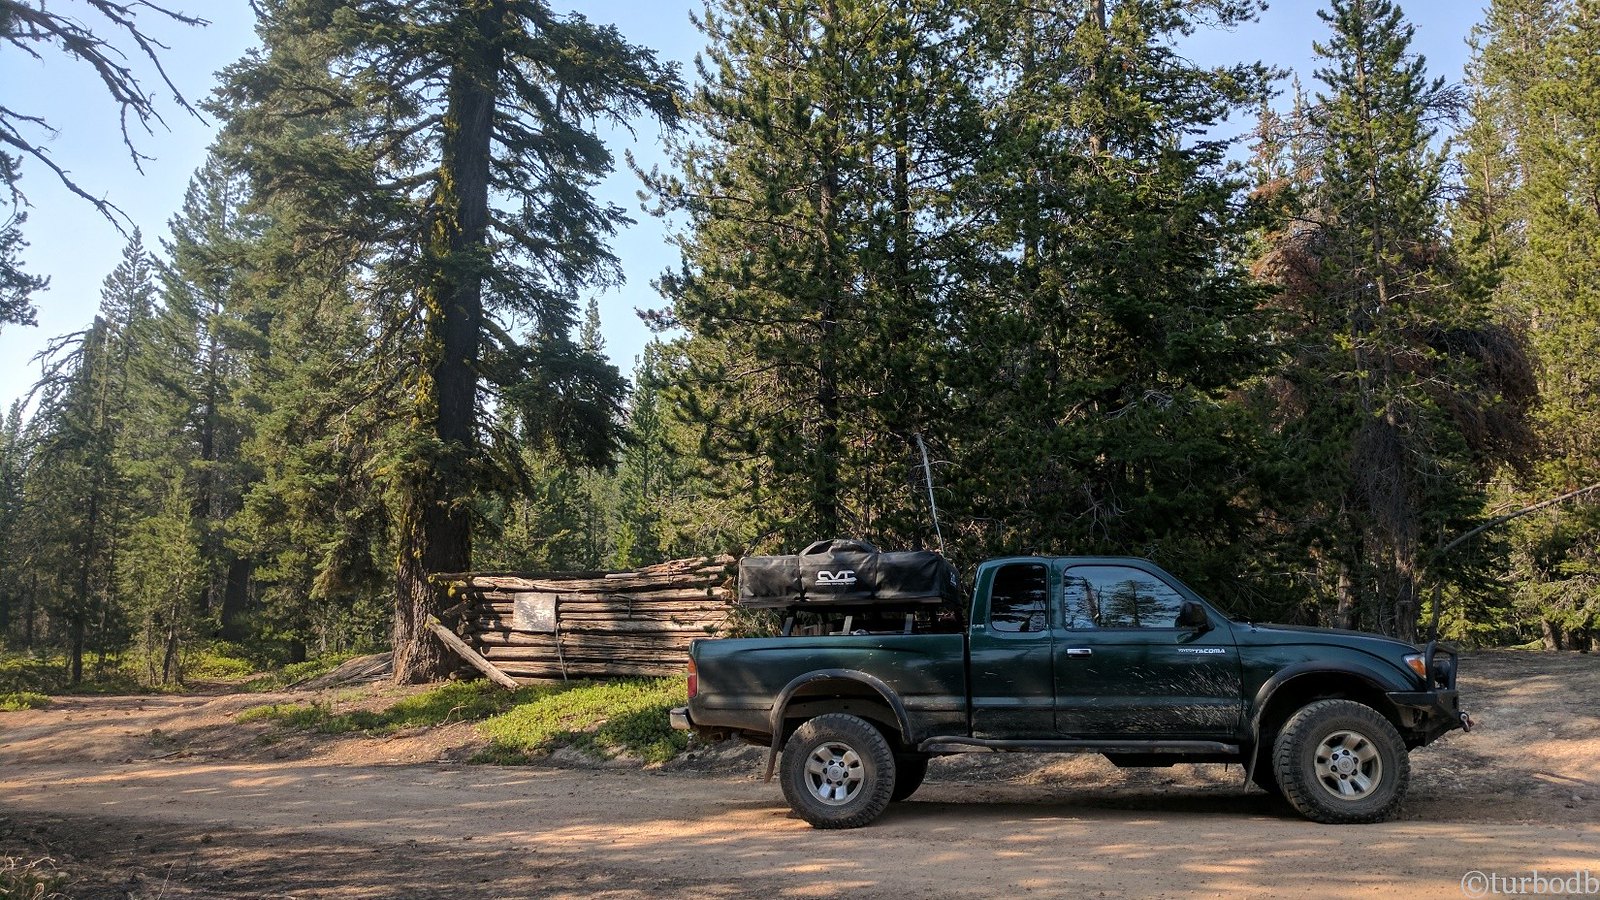
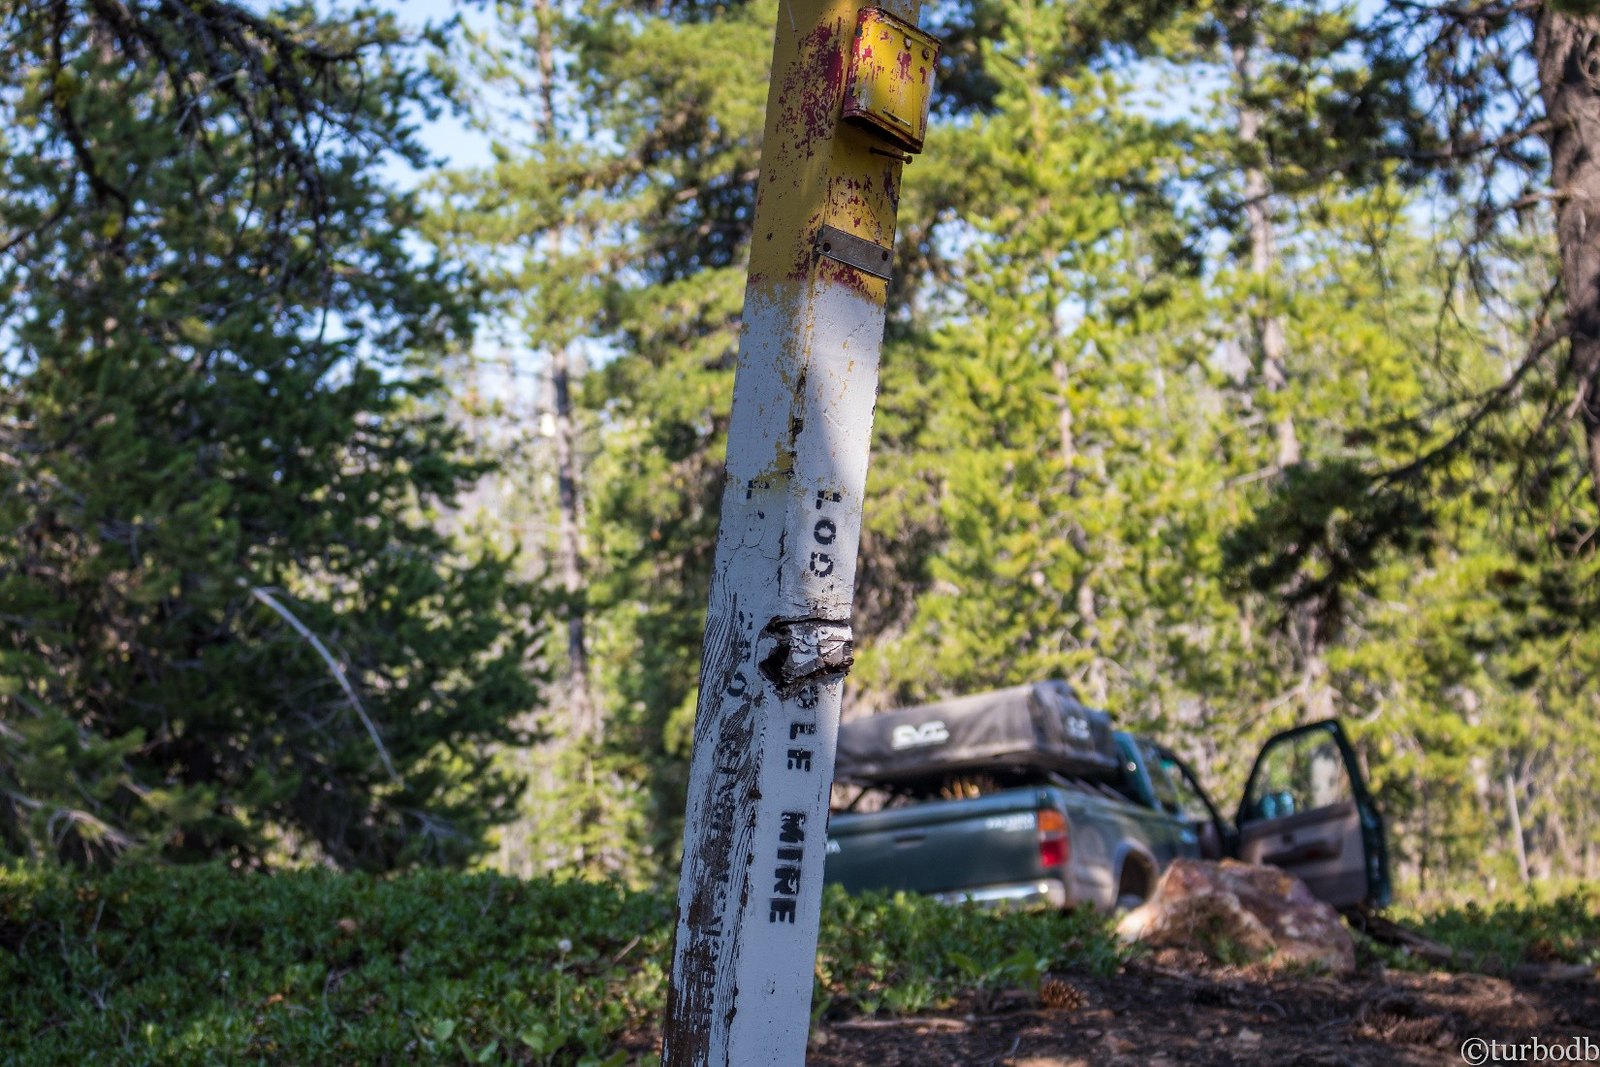
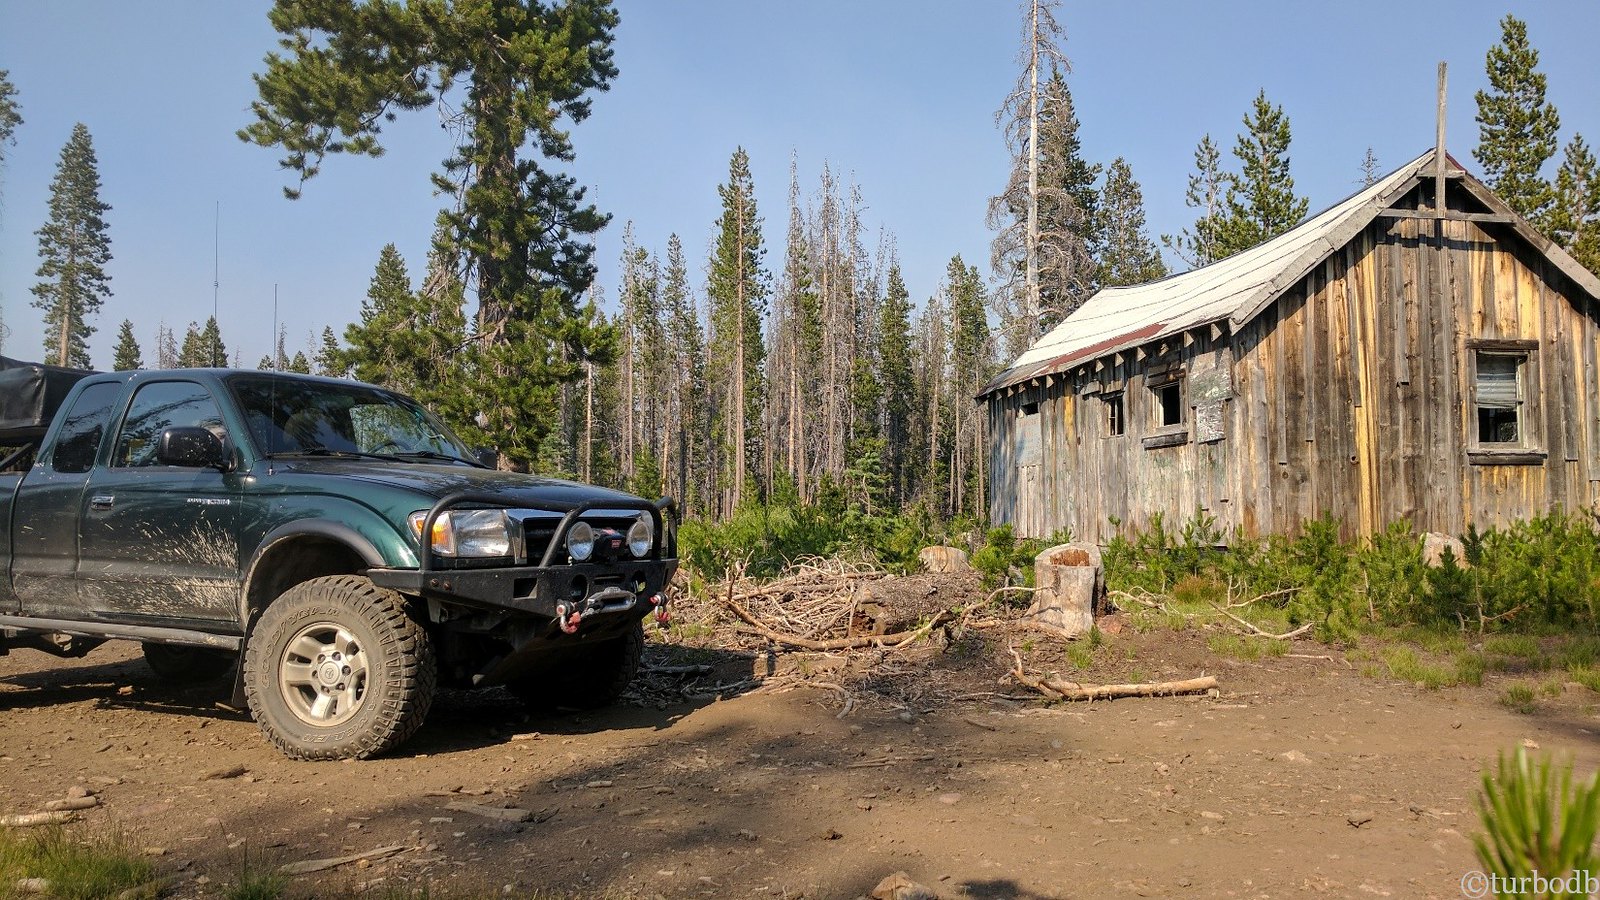
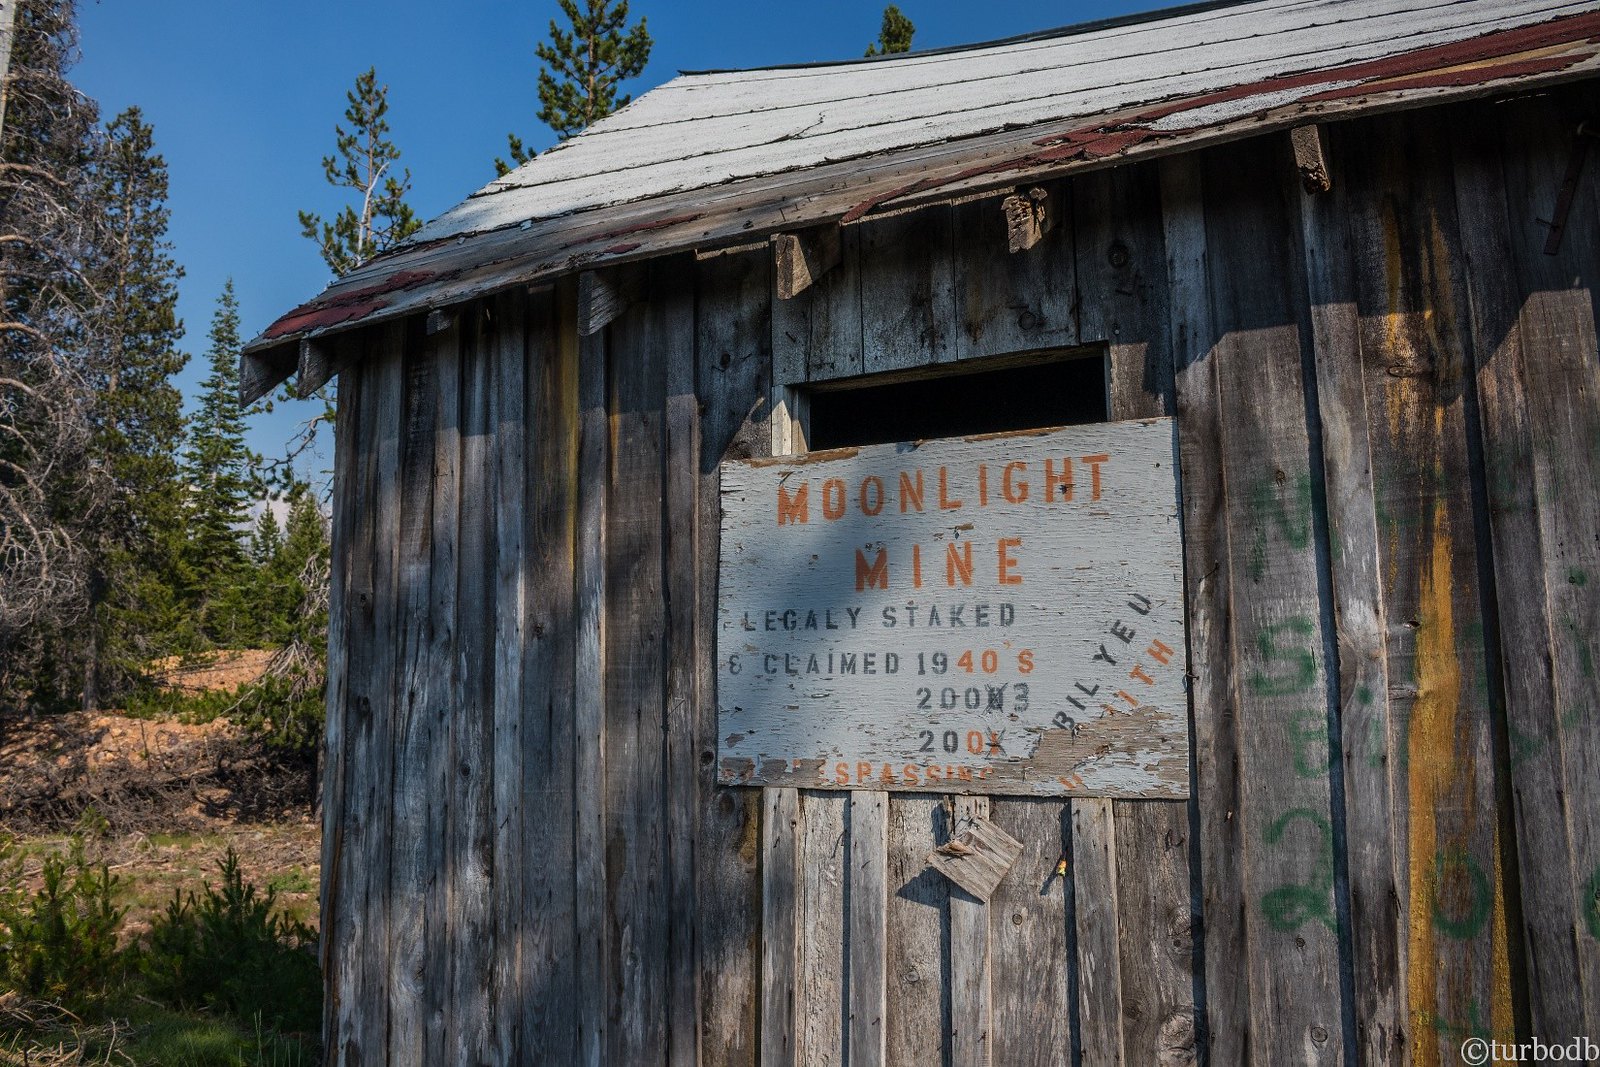
Immediately the trail had points of interest. Lakes and old mine sites proved too alluring to just drive by, so we explored. The Lodge Pole Mine was long abandoned, but the Moonlight Mine had more recent activity.

28306717289_2218aadb74_h.jpg


25215325577_7c1a76b5ad_h.jpg


25215329297_24f7162692_h.jpg


39376201424_453fc8c1f7_h.jpg


39376202734_1e23756f62_h.jpg


39376204134_bdf04bdfc8_h.jpg


40054709952_ca3f20e74f_h.jpg

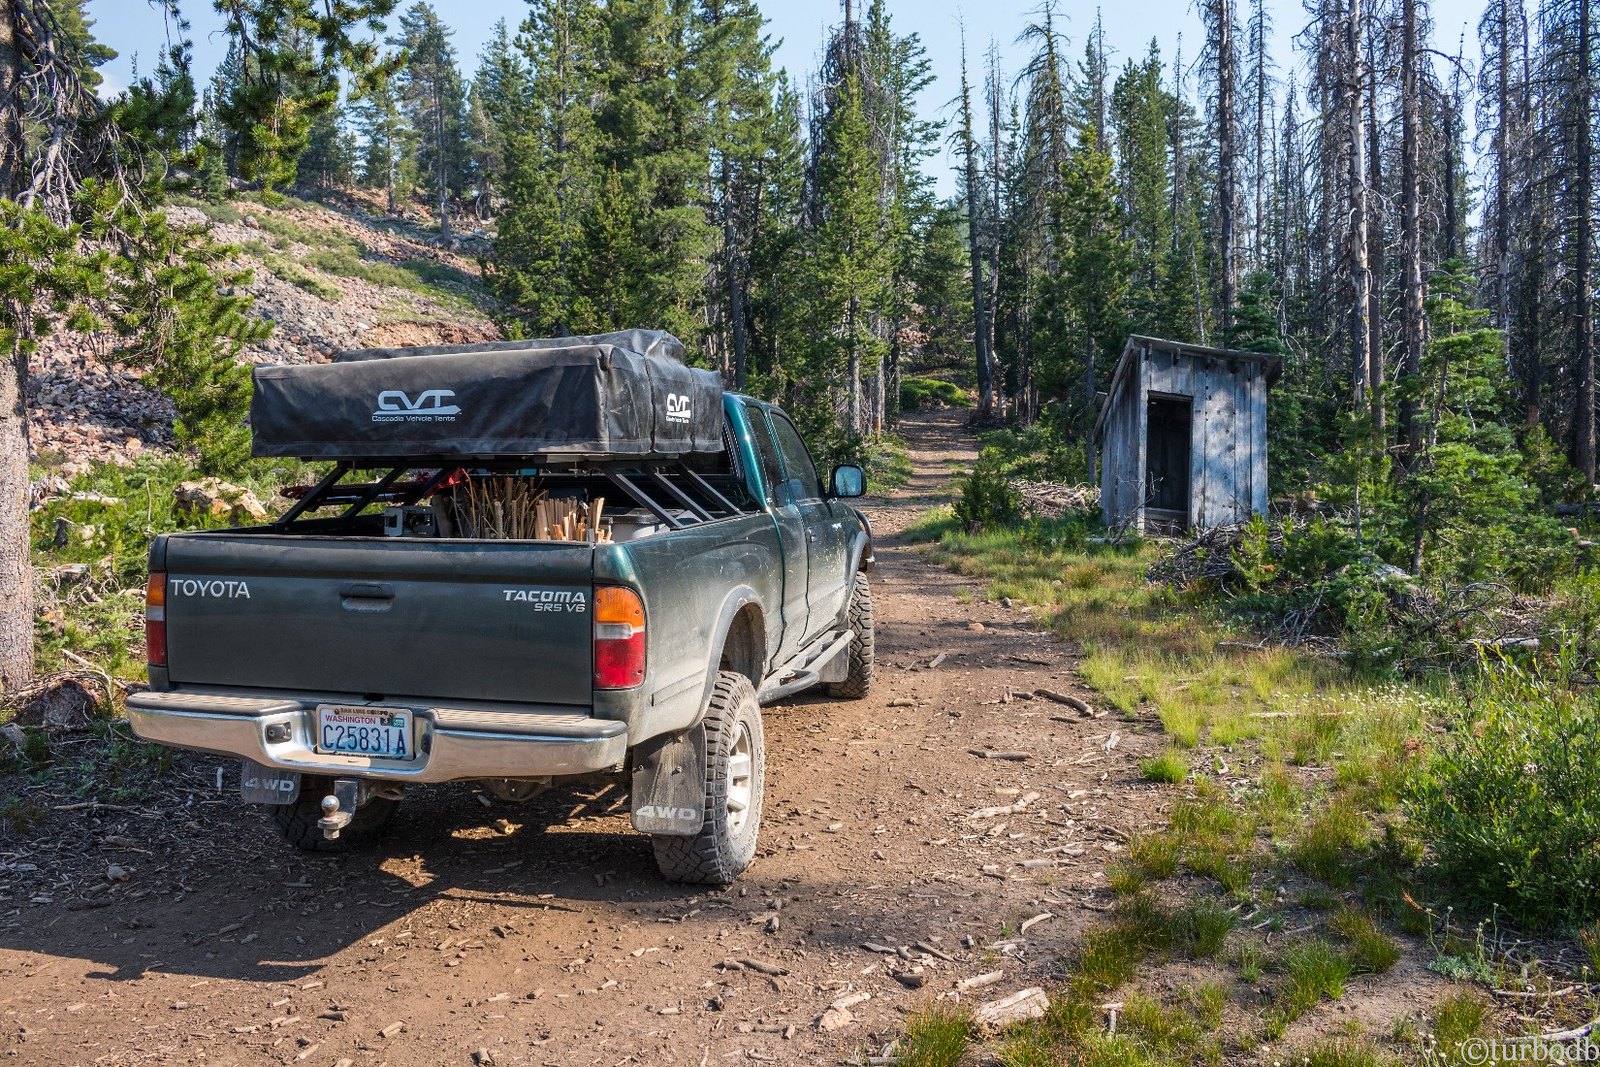
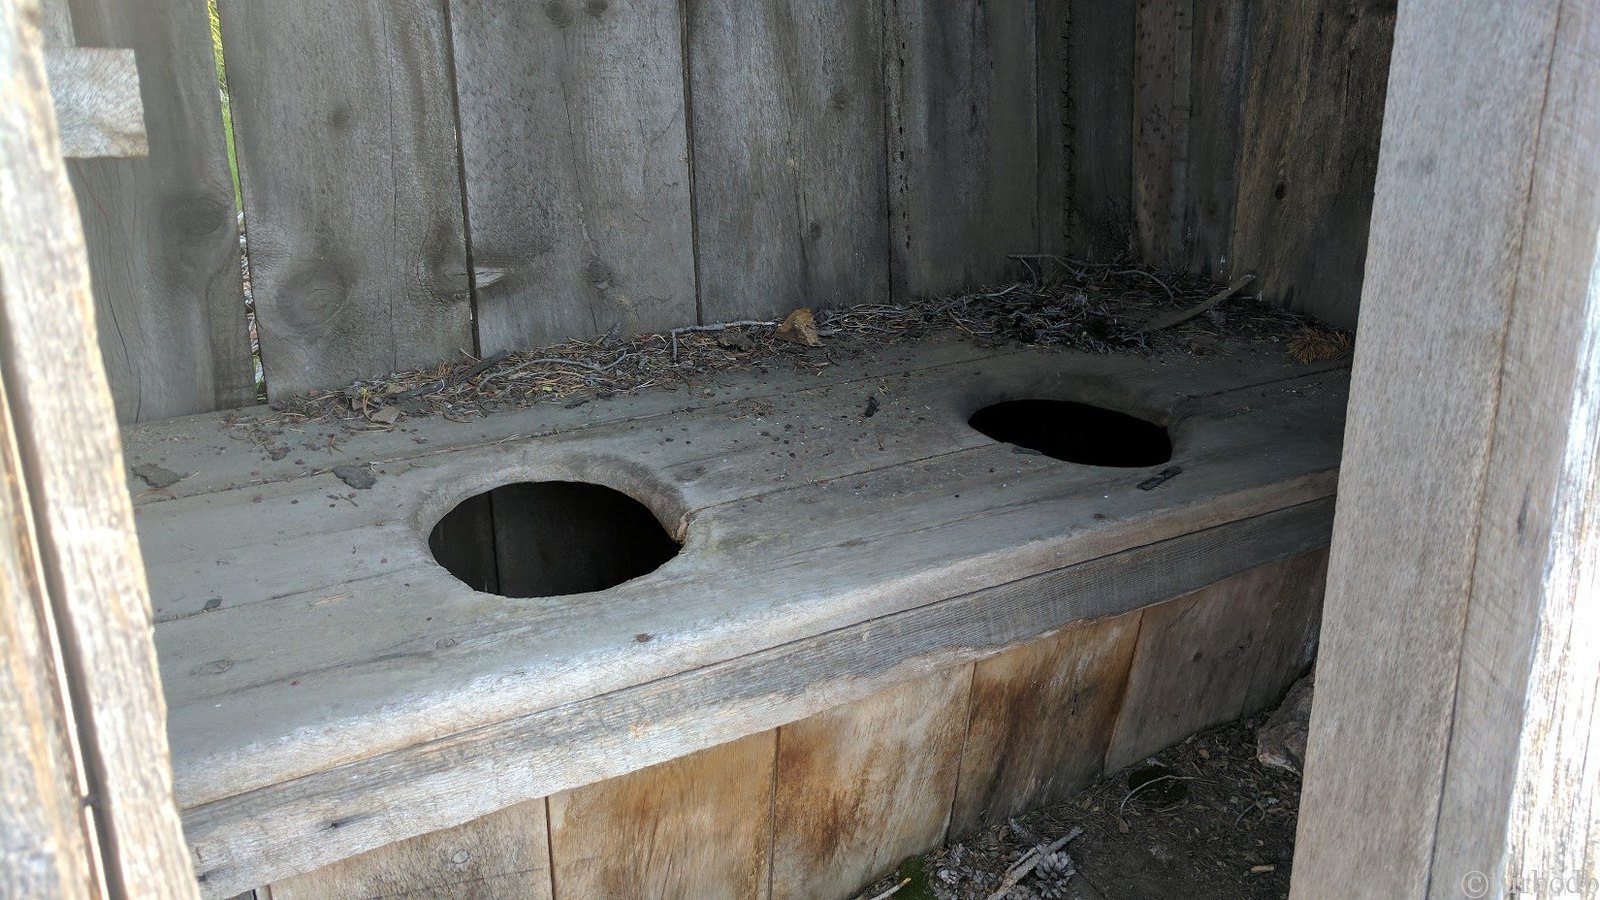
One thing that was a little strange at the Moonlight Mine - the outhouse. You don't generally think of miners using a two-holer. At least, I don't.

40054711312_5764bb0334_h.jpg


26213326108_cb645f3d0c_h.jpg

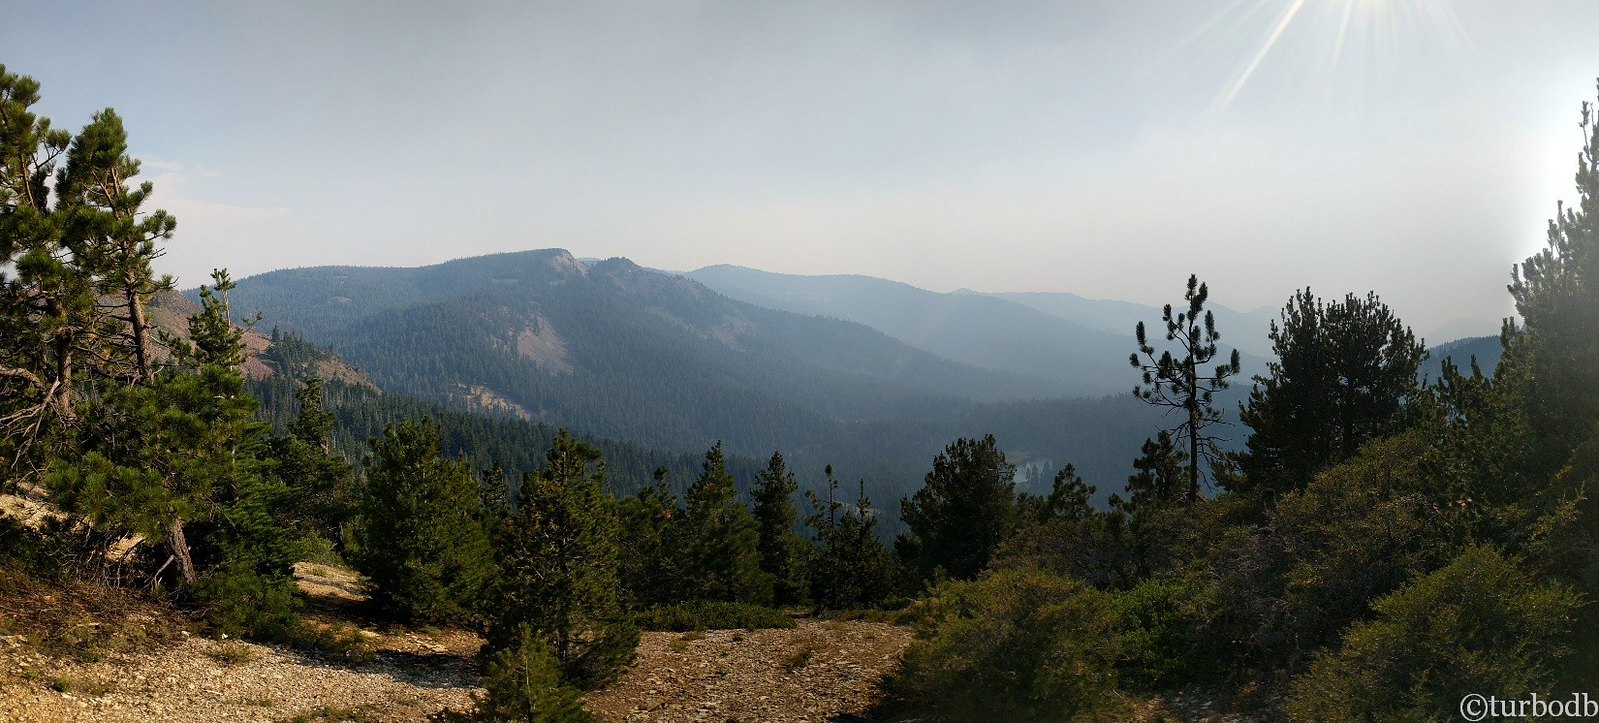
With that exploration behind us, we continued on the trail to the north, following waypoints on the GPS, despite the lack of road on the map. Up on a ridge, we had views to the south, where there were fires burning in California.

39376210964_947b327afc_h.jpg

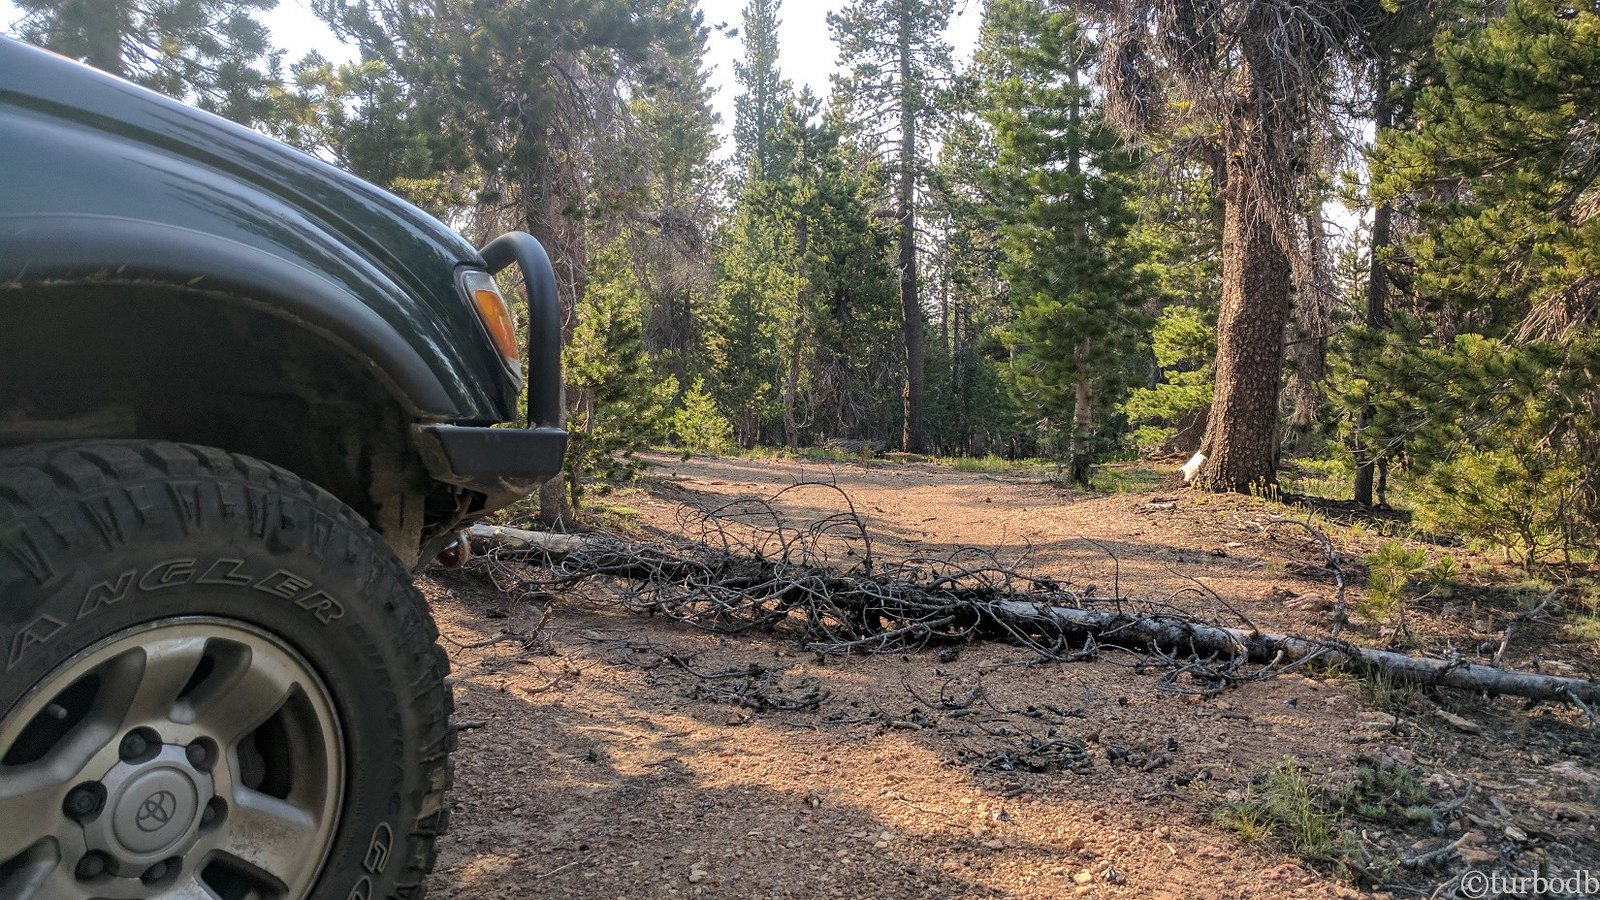
That lack of road probably should have been a tip-off, but we continued on until we ran into our first tree on the road. A small one - easily moved.

39376212174_67ab806caf_h.jpg

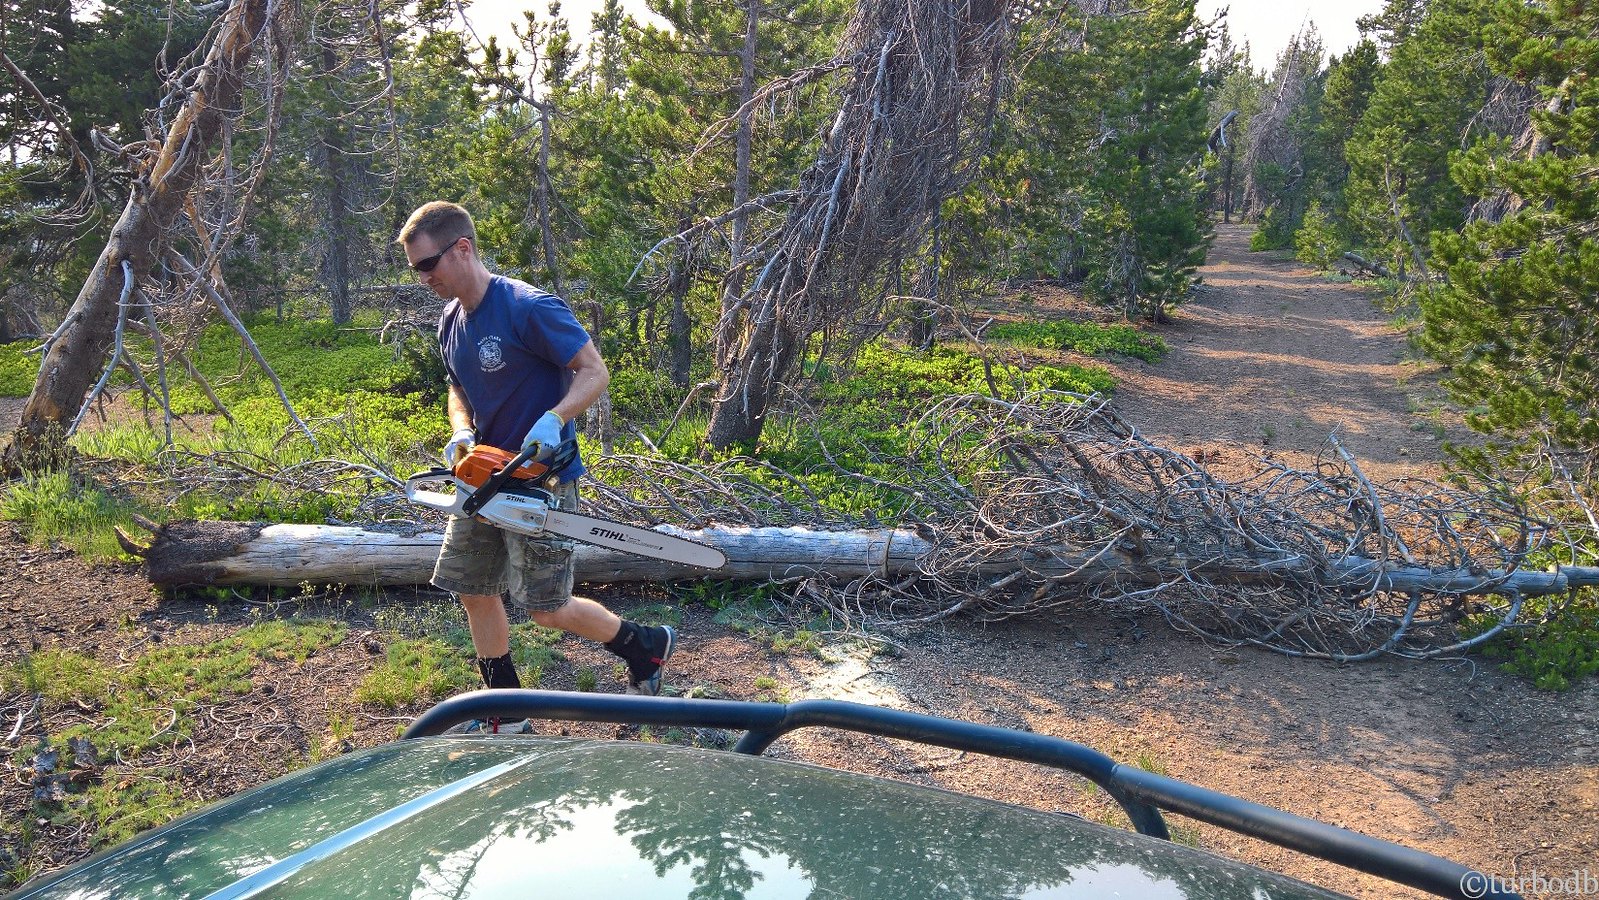
And then, a second tree. Bigger this time. Exciting - the first chance to use the new chainsaw, which made quick work of the obstacle. It would instill a confidence in us that was unwarranted and would shortly get us into trouble.

39376212524_09c5fe89eb_h.jpg


39376219834_a55569eabd_h.jpg


39376222214_ee539f3836_h.jpg

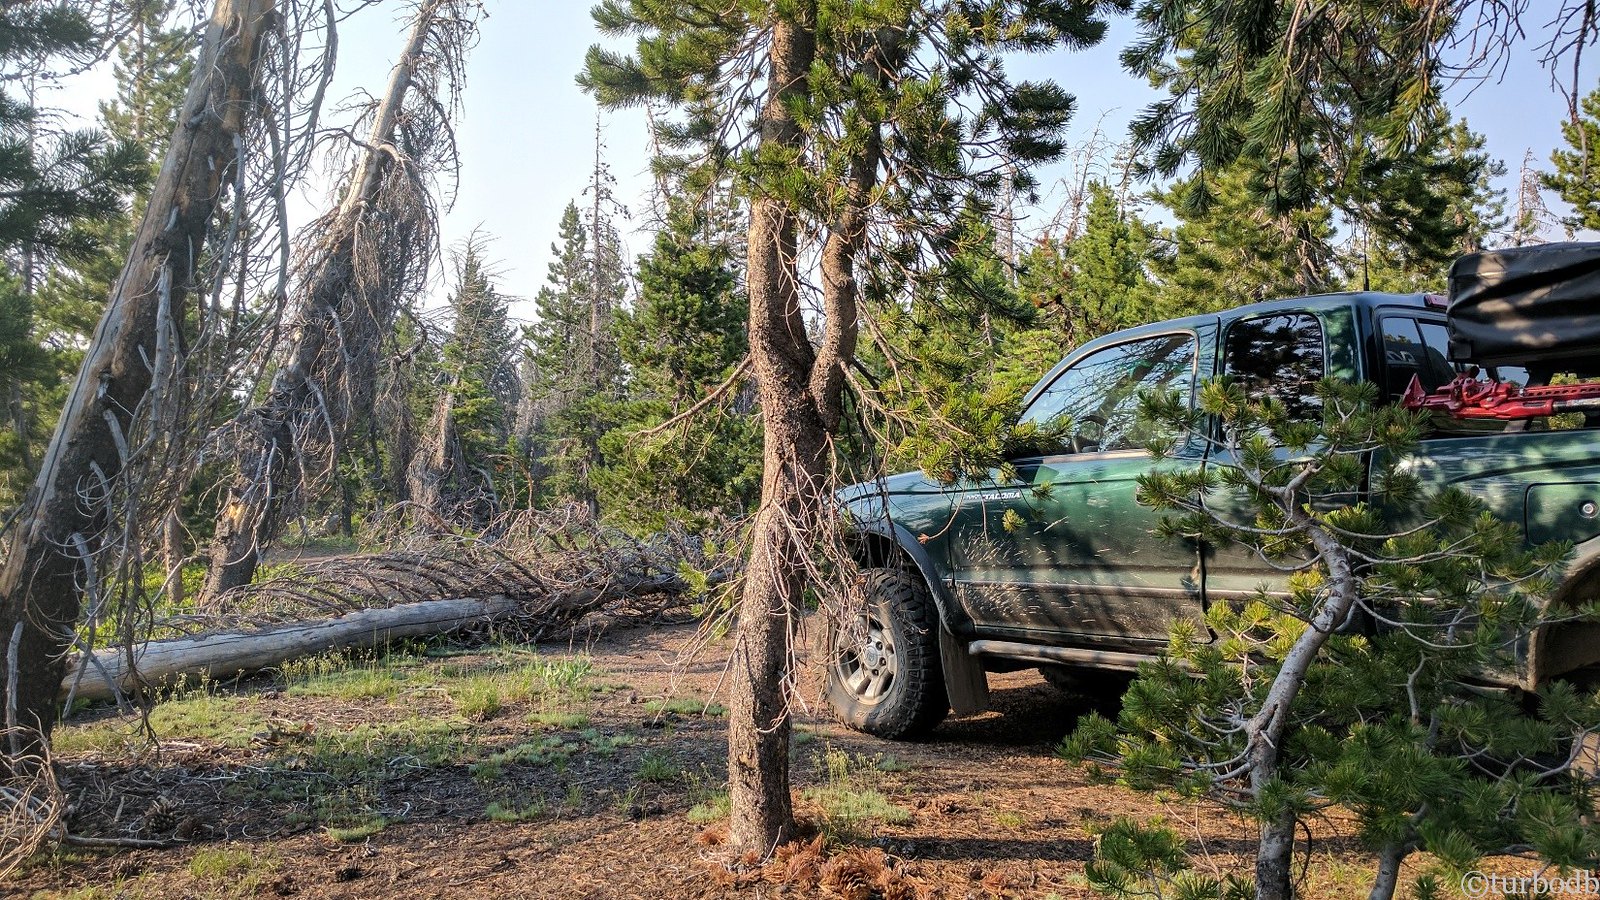
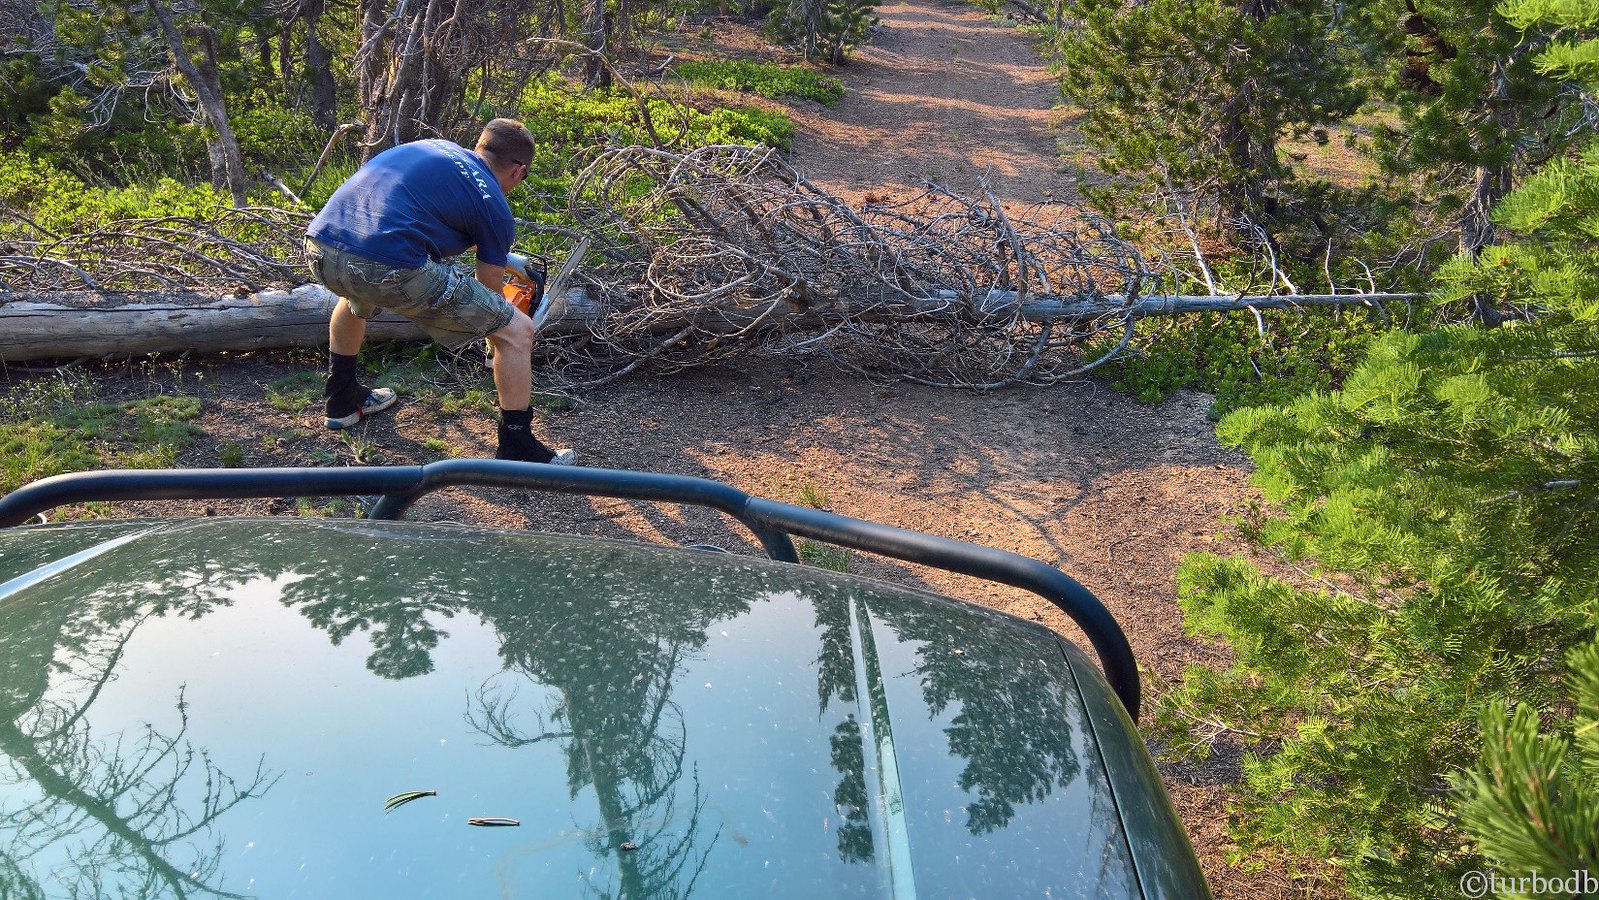
As we proceeded on, the trail got narrower. There were more trees down. And then, a section of trail covered in trees. Probably 30 or so over a half-mile climb to the top of the mountain. So we parked, I got out the saw, and we started clearing - from the top of the trail back down to the truck. Ninety minutes later, we'd cleared 25 trees (and refilled the chainsaw with more gas) and we were ready to go. As we started up the trail, we wondered if the entire trip would be a tree-clearing operation as it had been in May - much easier now that we had the chainsaw - and if all the roads would be this narrow.

The Tacoma is narrow, but it's no ATV, and there were a few places I'd had to cut down trees because the trail was clearly not wide enough. And then, as I was crawling through one especially narrow section, the back wheels slipped slightly left (when the right slider hit a tree) and the bed of the truck came to rest against another tree.

"Damn it!"


To see the damage, the rest of the story, and all the remaining photos...


.
 

owyheerat

Adventurer
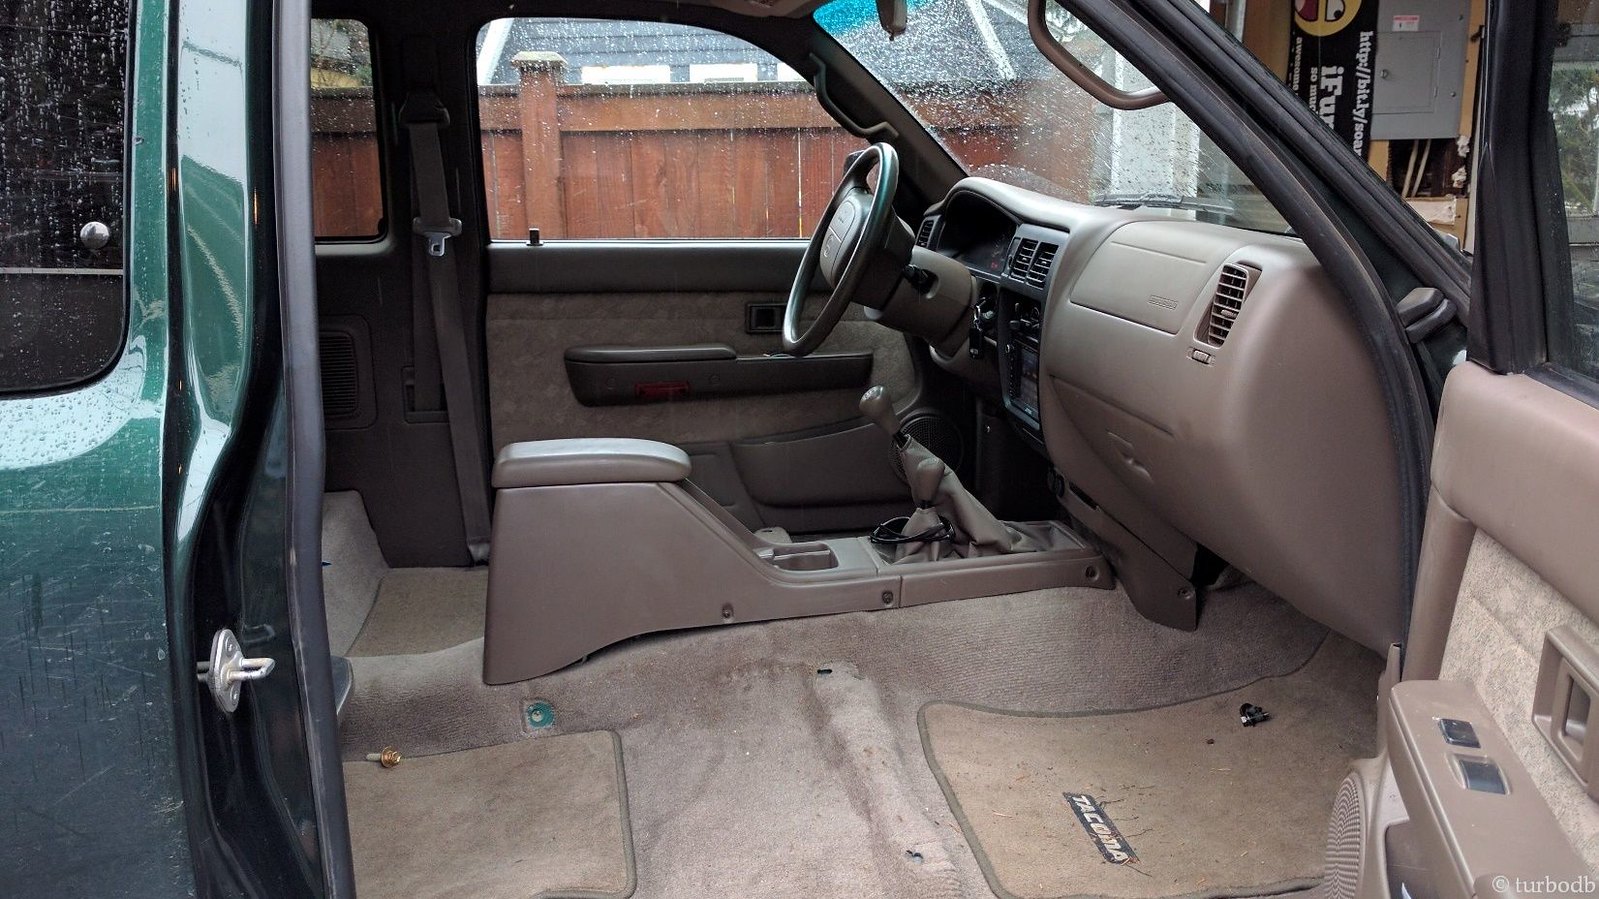
The @mrs.turbodb Mod - Custom Wet Okole Seat Covers
November 2016.

Most of the time, modifications I make to the truck are firmly in the "meh" camp for @mrs.turbodb. I mean, she appreciates the results, but she'd really be just as happy without them. And, they generally garner at least some amount of teasing about how they aren't technically necessary or how much money was spent (by which I mean, "if you give a mouse a cookie…")

But this time was different. This time, there was a sparkle in her eyes.

One of the first things I did to the truck in 1999 - six days after I brought it home - was put in some $45 seat covers from Target. Those same seat covers have been on the truck since, and they've worked really well - they matched the color of the interior, they kept the seats clean, and they fit pretty well. But of course, over time the flimsy straps broke, they bunched up here and there, and they had to be adjusted a little bit every now and then as the fabric stretched out.

They were cheap. They worked. That was good enough for me.

But, times have changed. The truck is getting more use, and when I saw the Wet Okele covers (with custom graphics) on the internets (Tacoma World), I was pretty sure that I should get some. At a couple hundred bucks as part of a group buy, they weren't cheap, but they got great reviews and an, "oh yeah, you should get some of those" from the woman.

Sold!

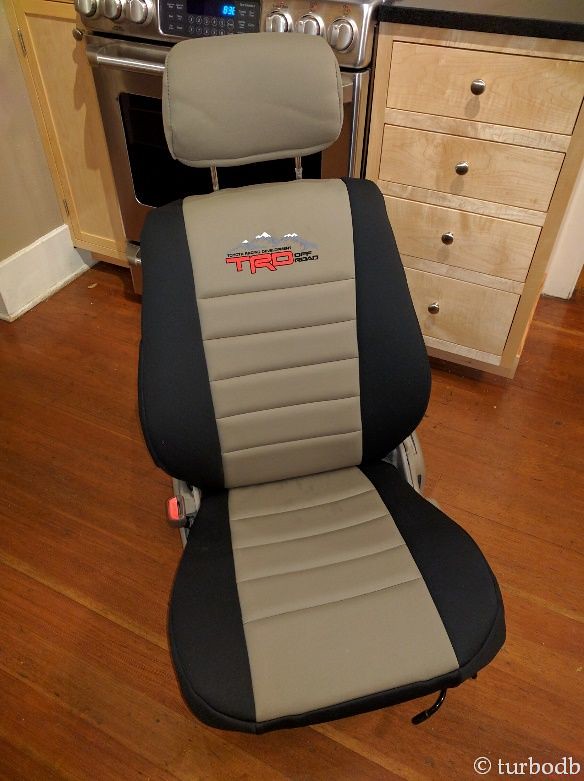
Wet Okele's are known in the Tacoma world, I think, because they are made in Hawaii - where 30% of the vehicle fleet are Tacoma's. They are made of neoprene (wetsuit material) and are custom fit to the seat - so much so that they recommend removing the seats to install them. Not only that, but they also offer embossed graphics - either a stock one from their catalog, or - if you design your own - a completely custom graphic.

I designed my own. It's rad.

25215226997_a10a7ccc91_h.jpg

After waiting for the covers to be made (I ordered covers for the front seats only, with mocha centers and black borders, as well as sunglass holders on the sides), and shipped, I was excited to hear that they'd be arriving a couple weeks into November. Of course, I was out of town when they arrived, and busy for a couple weeks once I got back, but I managed to get them installed Thanksgiving morning!

First, it was out with the front seats - Four bolts, each and immediately, moar leg room!

25215227107_1905aadaff_h.jpg

Then, on with the covers - pretty straight forward, and way easier to get tidy underneath with the seats removed.

25215227257_b4474d3112_b.jpg


25215227287_d2a71719a9_b.jpg

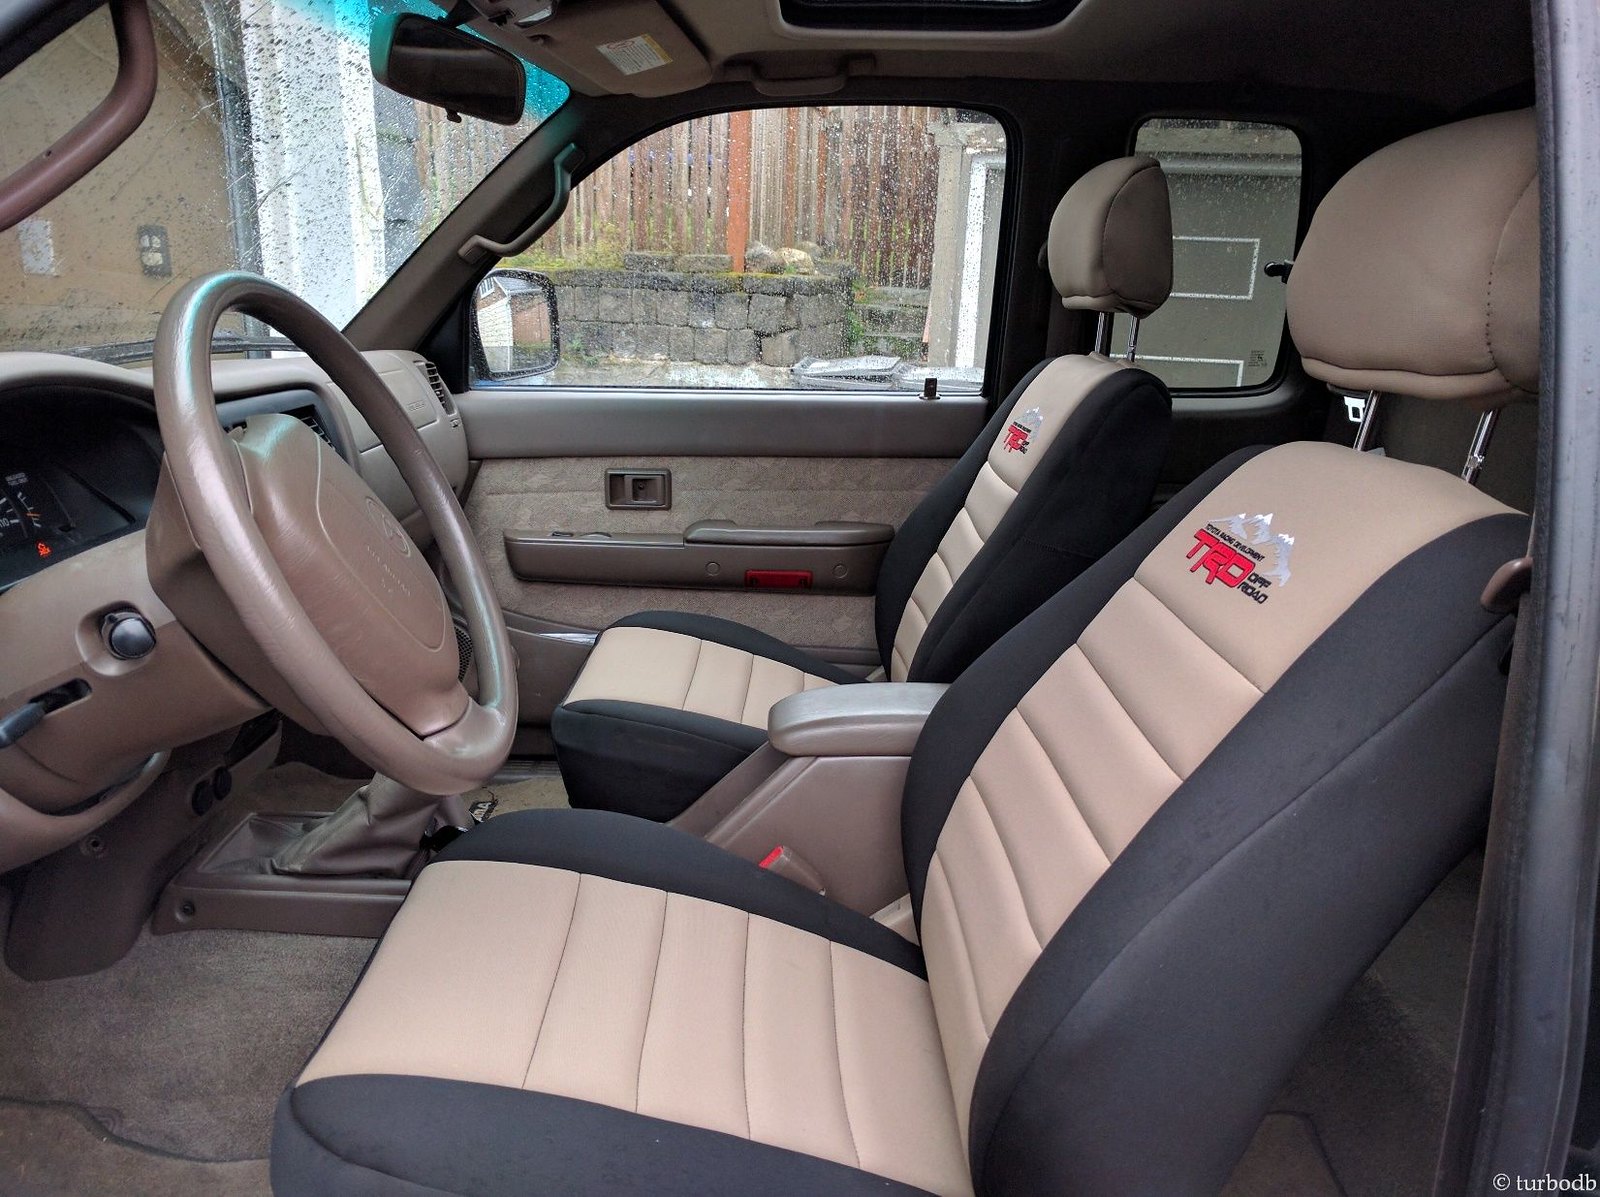
And then, back into the truck, easy peasy. They look great, though I'm not sure about the head rest covers - they are a bit baggy for my tastes, and I've never had the head rest covers installed in the past. I'm going to give them a month or two and see how I like them, but the color match is so good that I might just take them off - the headrests look nearly the same without any covers.

25215227457_b64cfbd239_h.jpg

In all, these things look great and are clearly a high-quality product. I imagine that these will be the last set of covers I buy. At least, until @mrs.turbodb tells me that we need heaters, like she has in her car :).

Dan,
Great build. I love your sense of humor and your trip reports. And nice maple cabinets. I'm also a woodworker, looks like very nice work.

I read all of your (and Monte's) 'the de-tour' trip report. What a great adventure. Also, your Owyhee Canyon trip is my back yard. I love that area...especially in the spring. You timed that trip perfect.

I look forward to following this thread.

Durwin
 

Forum statistics

Threads
188,007
Messages
2,901,053
Members
229,355
Latest member
BDM66
Top