AEV Brute Expedition Build in Dubai

Oman4x4

Laurie Bridger
Today's update... all the frame and suspension work is sandblasted and off for coating... can't wait to take pictures of it re-assembled and sitting on it's wheels.

The body is also being prepped for paint... but we have one last body modification to finish up - a little enhancement to the hood. :) The vents are from a 2014 Mustang GT and we plan to recess them so they sit flush exactly as they would on the Mustang, so the plan is to make a series of templates that will show the area to cut out and the area to recess. First template will be a rough-cut to relieve the tension on the metal, then there will be another template for the final cut marks to ensure the clips all bite properly.

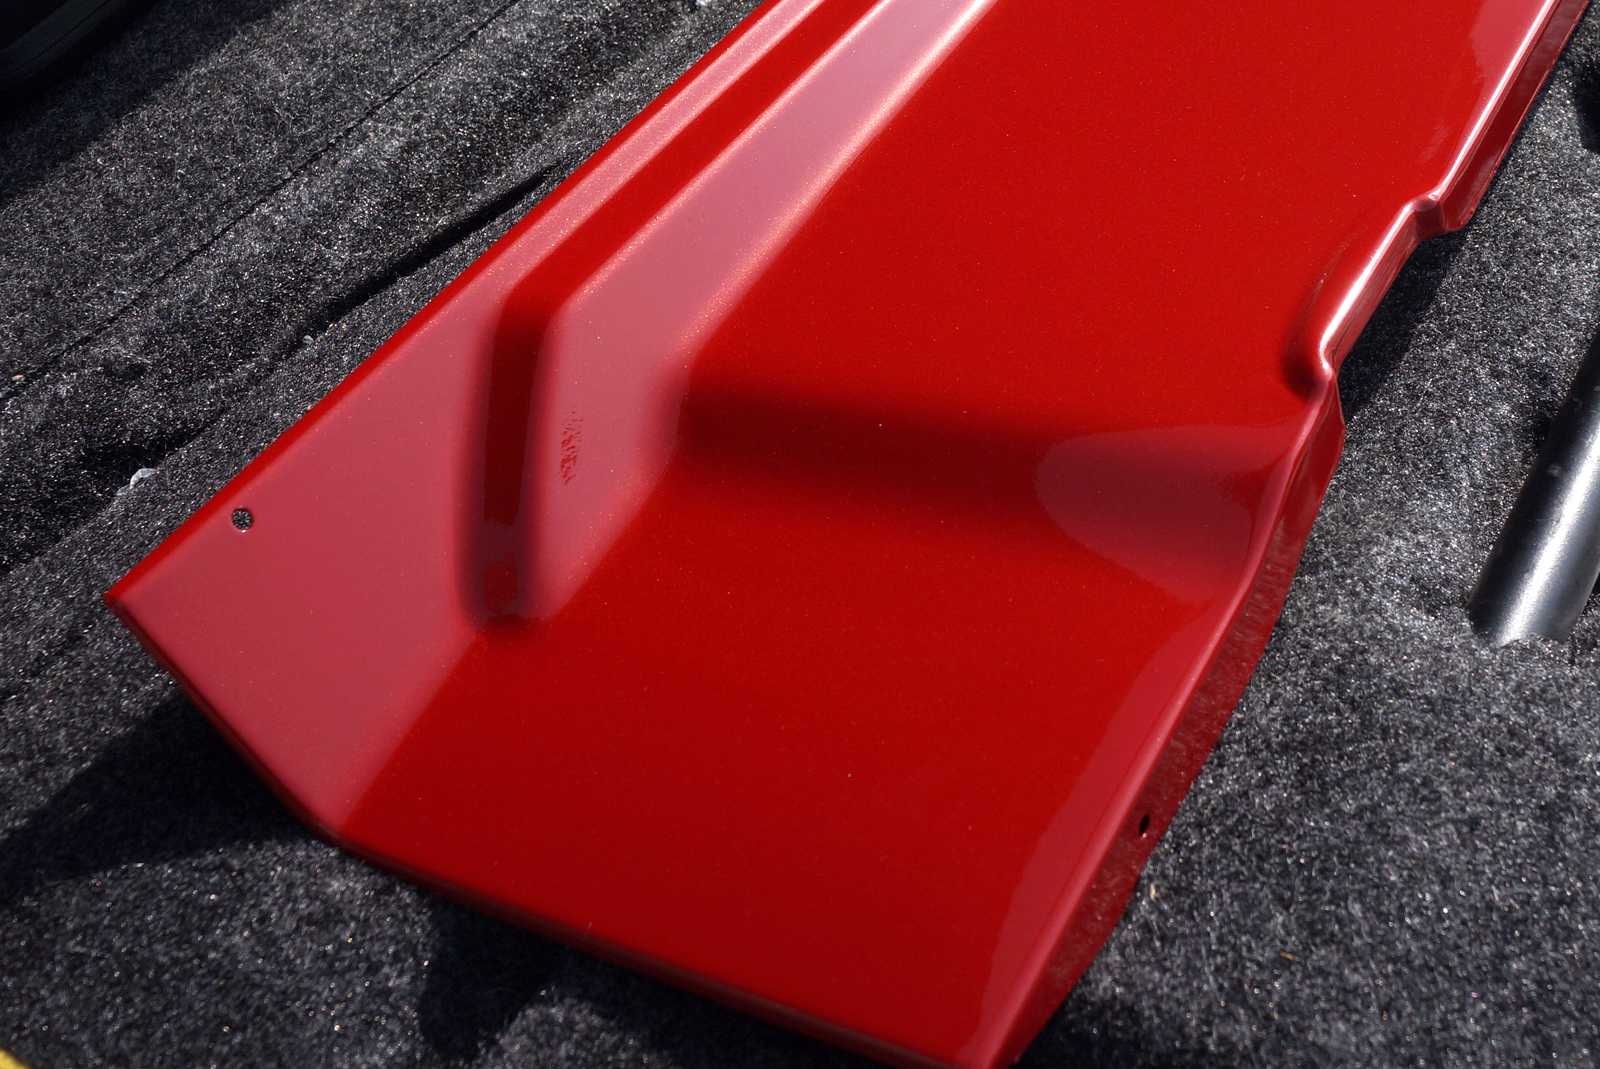
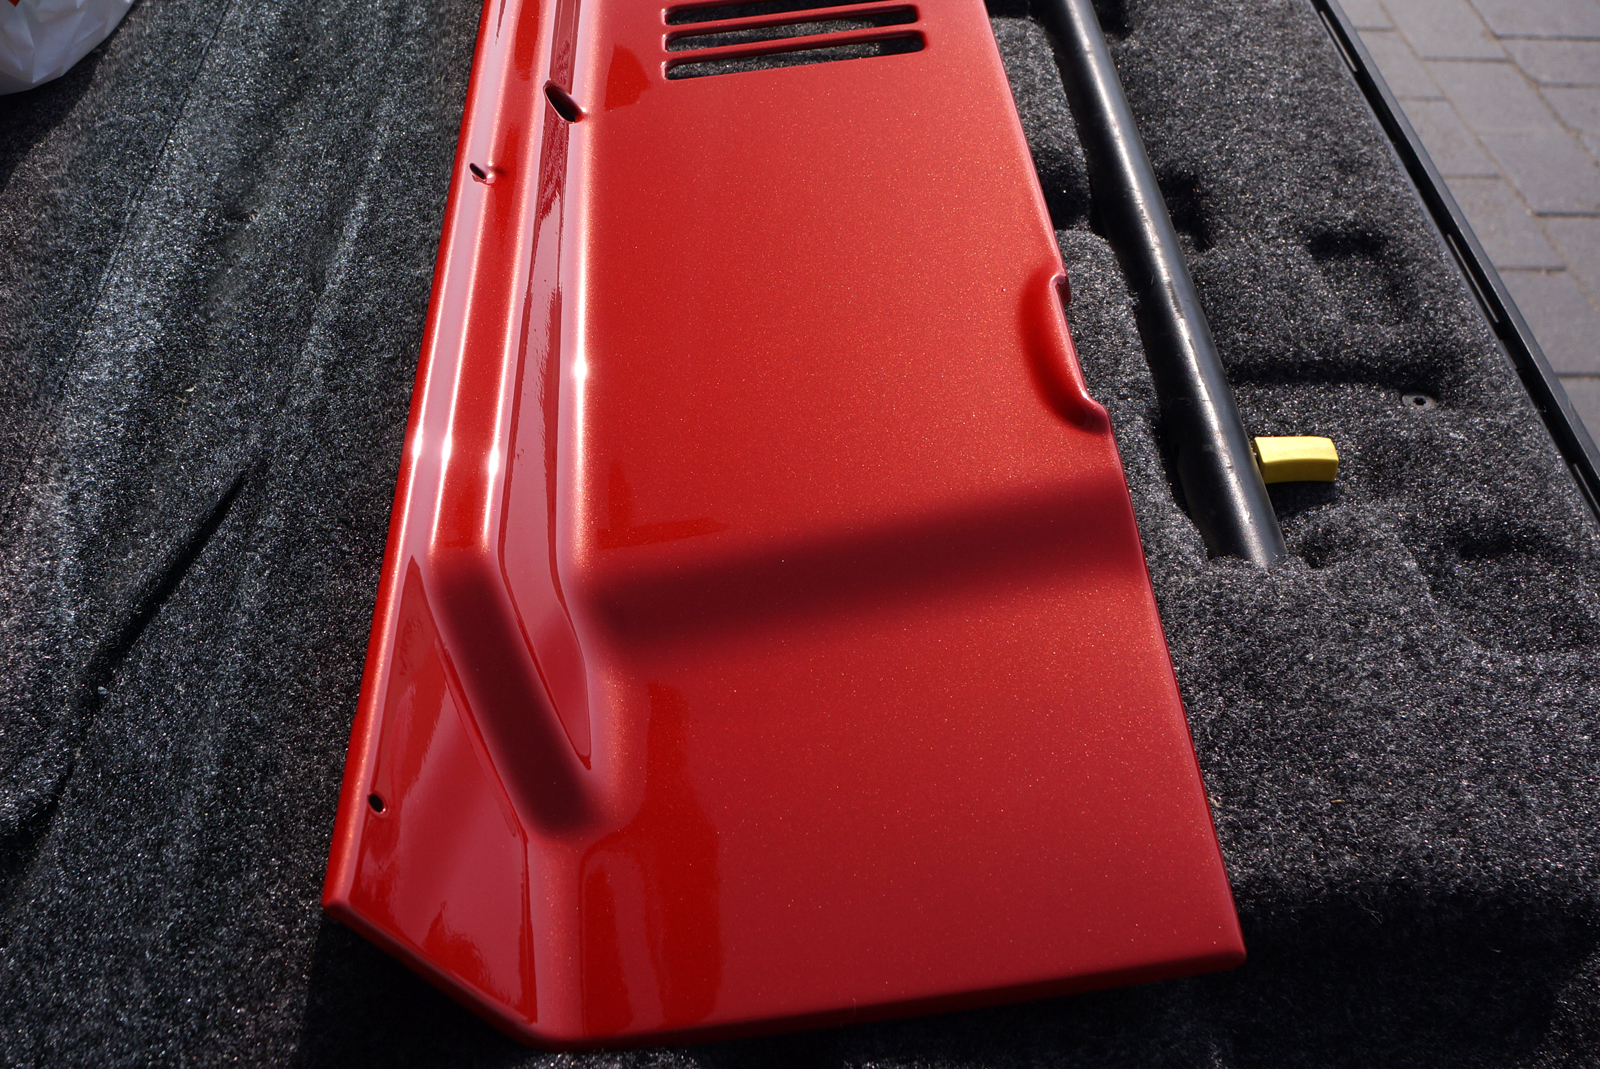
Some pics of the process so far:

The hood and approximate position of the vents:

10350507_10152335920827647_7854098443314832094_n.jpg


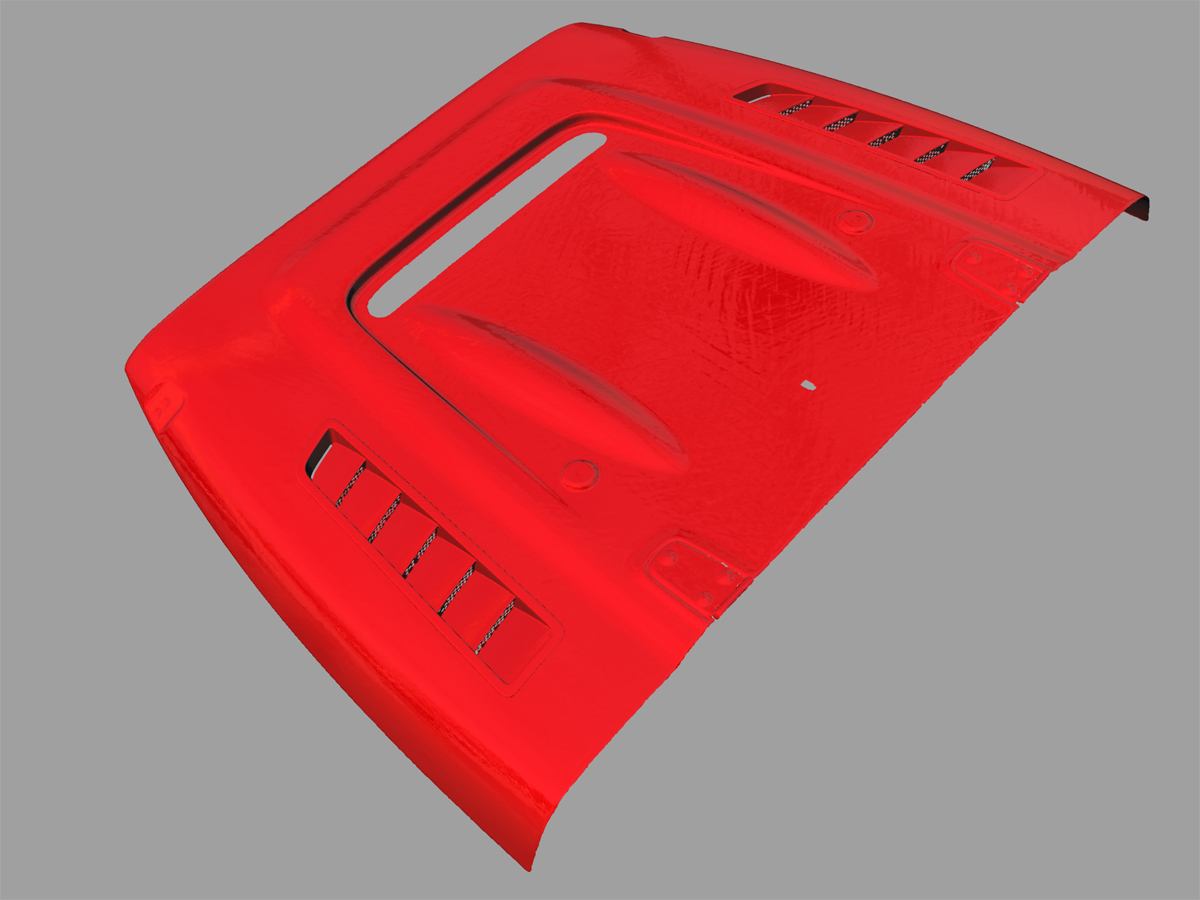
3D scan of the hood and the vents

10633352_10152335924262647_9012450063341299623_o.jpg


10473909_10152335924332647_2549877394056913724_o.jpg


Vents in place on the hood... time to start making the templates...

Hood2.jpg
 
Last edited:

vonguido

Adventurer
dude what do you do for a living that you can afford such nice toys lol. I can't wait to see the finished product!
 

Oman4x4

Laurie Bridger
dude what do you do for a living that you can afford such nice toys lol. I can't wait to see the finished product!

3D designer - but the real answer to your question is a lot of overtime and a lot of patience, and a lot of focus. :)
 

Oman4x4

Laurie Bridger
So the idea is (incase you skimmed over it above) to depress the area that the vent sits in so that the vent is flush once installed, the vents sit flush with the hood rather than raised above it. This is how they are on the Mustang. So we need to recreate the Mustang stamped effect on the AEV hood.

Scan of a Mustang

10629400_10152336760487647_8511589982398324352_o.jpg


Scan of the Mustang hole merged with the AEV hood scan:

10694319_10152336760812647_3406196978140032585_o.jpg


Vents in the recessed position:

10580964_10152336760967647_1957300443430990008_o.jpg


Template that I've made as a result:

1973959_10152336793247647_3489724870482120353_o.jpg


Template applied to the hood:

10169188_10152343618377647_4682801701333289230_n.jpg


Plan is to cut out the inner red part to relieve the stress - this is an area smaller than the final cut out hole. Then re-shape the outer thicker red border to give it that stepped height. Finally, cut the opening closer to the red pin-stripe which should be the actual opening - although will cut smaller and increase gradually as the shape may stretch as the outer wall gets shaped.

10177261_10152343643797647_185967026838958913_n.jpg


That's a lot of work to make some stickers, essentially :)

Next comes the scary part - hand it over to the metal-workers in the shop to work their magic! Hope they can pull off what I have in mind :)
 

94Discovery

Adventurer
You are working like you are going into full mod production ;)
And having a scanner and a drawing experience you can make every dream a perfect reality
 

Oman4x4

Laurie Bridger
You are working like you are going into full mod production ;)
And having a scanner and a drawing experience you can make every dream a perfect reality

Thanks :) What goes on the Brute may not necessarily go into production - the volumes and markets just aren't there. :)

But some of the lessons learned along the way might come in useful some day on a totally different design... so it's a fun opportunity to throw myself some challenges to solve... :)
 

Oman4x4

Laurie Bridger
A bit more progress... decided on the final paint colour... It's quite a classic looking red...

redpearl2.jpg


Until the sun hits it at the right angle and then the gold pearl shines up giving it a hint of orange... :)

redpearl.jpg
 

Oman4x4

Laurie Bridger
We have some progress :)

The frame has been powdercoated along with the axles, and re-assembled with the suspension.
The body has had it's base-coat done, and now they are in the process of putting it together in the right order for the final coats so everything matches perfectly.

Enjoy the pics :)

10624008_10152426862632647_9137706951217755389_o.jpg


10453029_10152426863027647_566906318096165510_o.jpg


1799063_10152426863287647_3767214414263357382_o.jpg


10468221_10152426863577647_4237086022799682808_o.jpg


10547997_10152426863562647_4789571752214749514_o.jpg


1956892_10152426863897647_4110295303298471829_o.jpg


1965570_10152427101637647_69576580395022754_o.jpg


1540263_10152427101627647_6801594483497502584_o.jpg


10321087_10152427101612647_2573559485827379626_o.jpg
 

WrenchMonkey

Mechanical Animal
Wow, that does look nice. Good work!
.
One thought: I know under the XJ, people seem to have much better luck with a double-sheer trackbar mount. Is that not as common an upgrade on the TJ (whose suspension is really a carbon-copy)?
 

Oman4x4

Laurie Bridger
Wow, that does look nice. Good work!
.
One thought: I know under the XJ, people seem to have much better luck with a double-sheer trackbar mount. Is that not as common an upgrade on the TJ (whose suspension is really a carbon-copy)?

Thanks

I've seen a double shear trackbar mount on the Nth Degree TJ suspension kits - but at the time those were hard to come by and at the same time the MetalCloak Trackbar has already been tested with the range of suspension travel that the Metalcloak shocks offer - so I figured that was the better / easier option. :)
 

Scott Brady

Founder
Are you guys in Oman? Just curious, as I have an Empty Quarter project brewing, and would like to connect with a few folks in-country.
 

Oman4x4

Laurie Bridger
Are you guys in Oman? Just curious, as I have an Empty Quarter project brewing, and would like to connect with a few folks in-country.

Scott,

I grew up in Oman and enjoyed this Jeep there for many years - but now I live in Dubai, UAE. My folks are still in Muscat though. Let me know if you need anything.
 

Forum statistics

Threads
186,851
Messages
2,888,735
Members
227,377
Latest member
blkcad
Top