AmboVan Restarted

Railvan

Adventurer
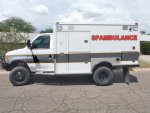
I think it looks great in solid white! I have had several white rigs and never got tired of it in the long run. But, if you want to add a little something to break up the white box look, consider a stripe with thinner pinstripes along the edges. I think this looks better than just a solid stripe. Here's an example with a graphite gray stripe and pumpkin orange pinstripes along it. Just a little something more than solid white, but not too much to attract lots of attention. This could be done with many color combos. Just my 2 cents...

vanP9060057c.jpg
 

hobietony

Explorer
I think it looks great in solid white! I have had several white rigs and never got tired of it in the long run. But, if you want to add a little something to break up the white box look, consider a stripe with thinner pinstripes along the edges. I think this looks better than just a solid stripe. Here's an example with a graphite gray stripe and pumpkin orange pinstripes along it. Just a little something more than solid white, but not too much to attract lots of attention. This could be done with many color combos. Just my 2 cents...

View attachment 119735

Dude! Shadows and everything! Lots of votes for 'leave it', but that is a good subtle touch. Thanks for the effort, and it is pretty much what I thought of when I thought of an accent stripe. I'm not doing anything yet, going to chew on it for a while. Good job!
 

bobDog

Expedition Leader
Dude! Shadows and everything! Lots of votes for 'leave it', but that is a good subtle touch. Thanks for the effort, and it is pretty much what I thought of when I thought of an accent stripe. I'm not doing anything yet, going to chew on it for a while. Good job!

I like that a lot. Maybe white lettering on the grey part. :thumbup:


Sent from my LS670 using Tapatalk 2
 

Balzer

Adventurer
The stripe is too ambulance-ish...
I cant photoshop so Ill explain it best I can.
How about something like a tire tread graphic starting from the rear bottom corner of the door and running up diagnally to the hood. Then perhaps a compass on the side of the "house". Just something to break up the white....
Otherwise it looks great.

Theres a 4x4 abulance but the pickup cab version for sale on a local classifieds, if I had the money I'd be tempted.
 

hobietony

Explorer
Off With his Head!

Or at least getting started on it...

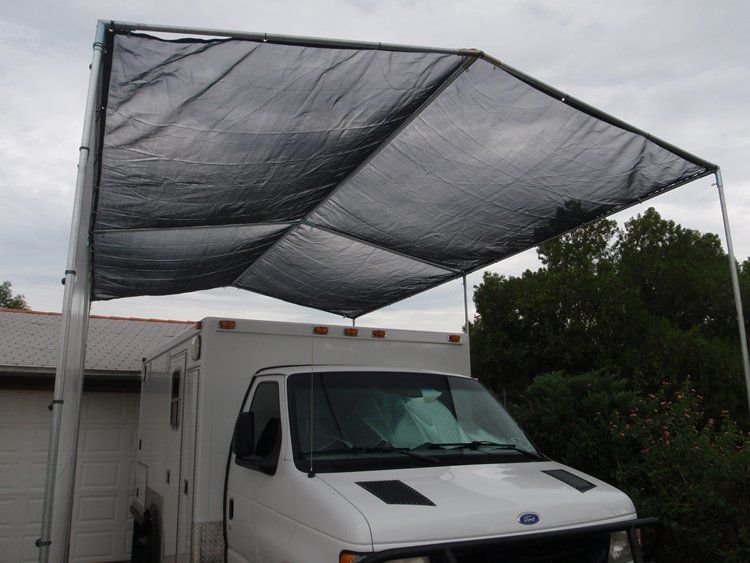
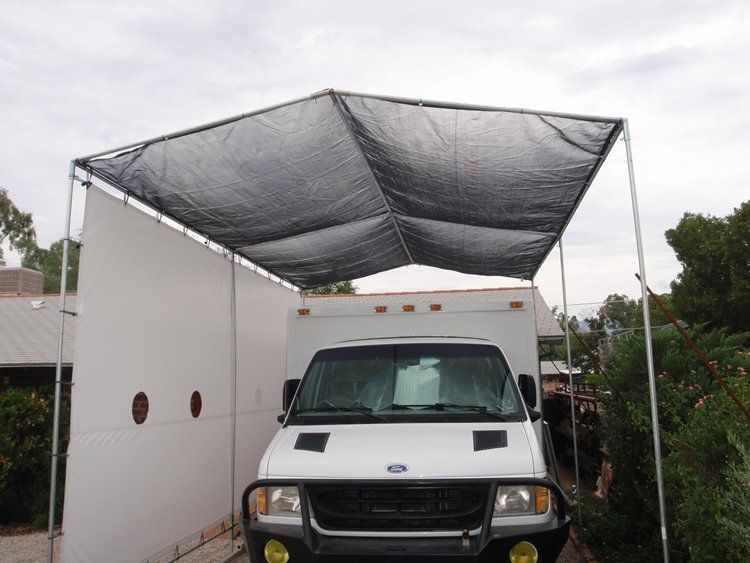
First thing was to tidy up my broke-d#$% shade structure again, 4th time is the charm?
m_P9110017.jpg

m_P9110016.jpg


Loose fit, porous fabric, maybe this will last a bit better

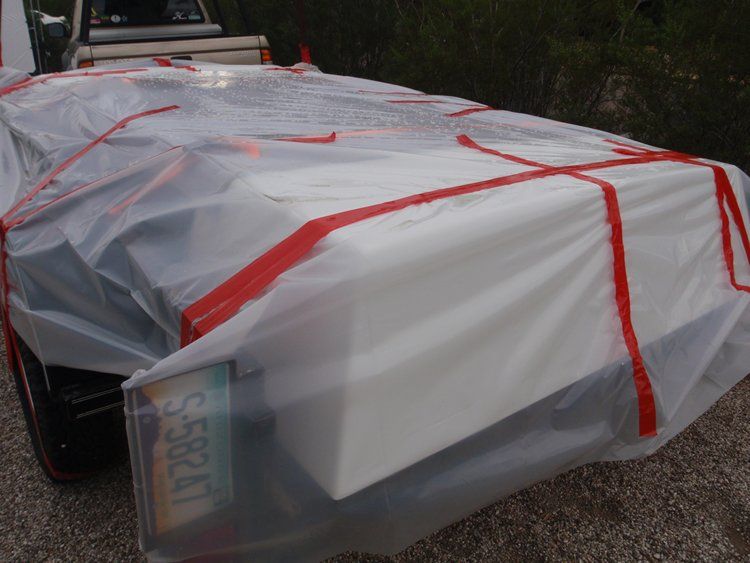
Topper back from the 'other' painter, not as good a job as the van, but the topper is way up there, away from close view, and I'm mostly just glad to have it back with paint that actually cured. Covered to protect the window openings from the rain, but it is under there.
m_P9110020.jpg


Since I dont have a waterproof structure to work under, and we are in a rainy season, I'm trying to fit in all the supplementary structure into the ceiling, with the top skin intact, before I cut the hole out. In the picture below, the piece that runs the length of the picture is the cut line for the opening. I cut a 2" wide notch into the roof 'rafters', and slid the new structure up tight to the roof skin. Left of the new support will get removed, topper flange attaches to the new piece, existing structure to the right remains. This make sense?
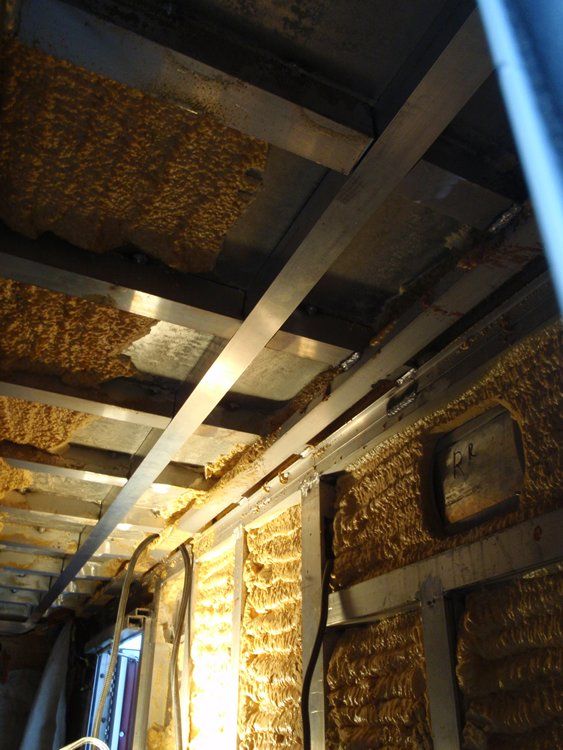
m_P9110001.jpg


My plan for tying the old to the new was to just run a fillet weld up where the existing structure 'T's into the new structure. Two problems though - I did some practice welds on the bench, and I cant get the existing aluminum clean enough to take a weld, even when it sitting on the table - Overhead, out of position, with the skin of that foam insulation not wanting to come off, it wasn't going to be easy. The other issue was dealing with the splatter and lava balls from trying to weld that dirty aluminum, falling into the nooks and crannies, and maybe burning the truck down. Hmmm, lets explore a mechanical fastening solution.

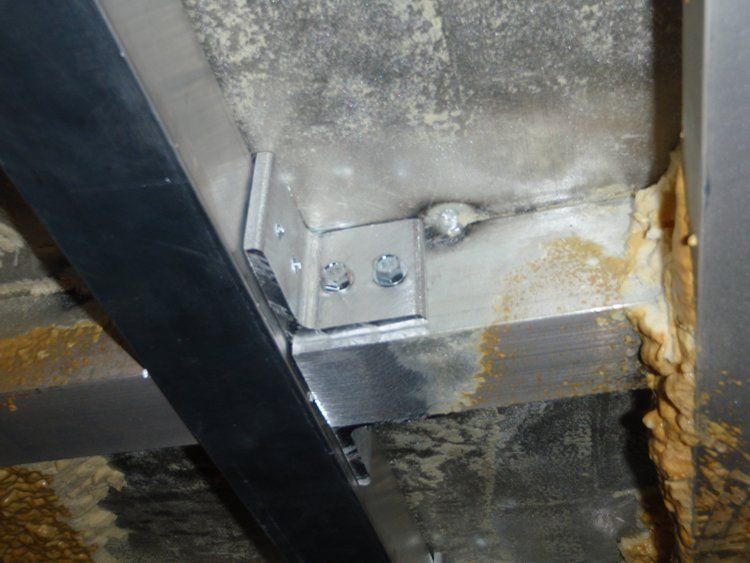
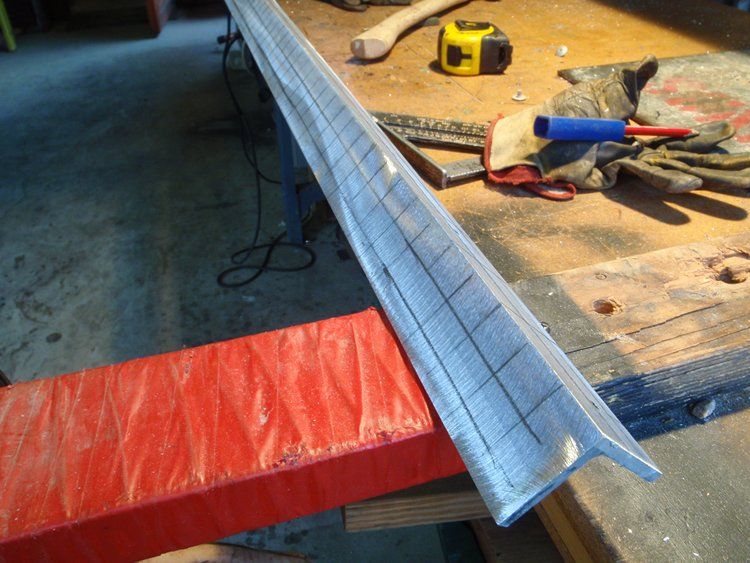
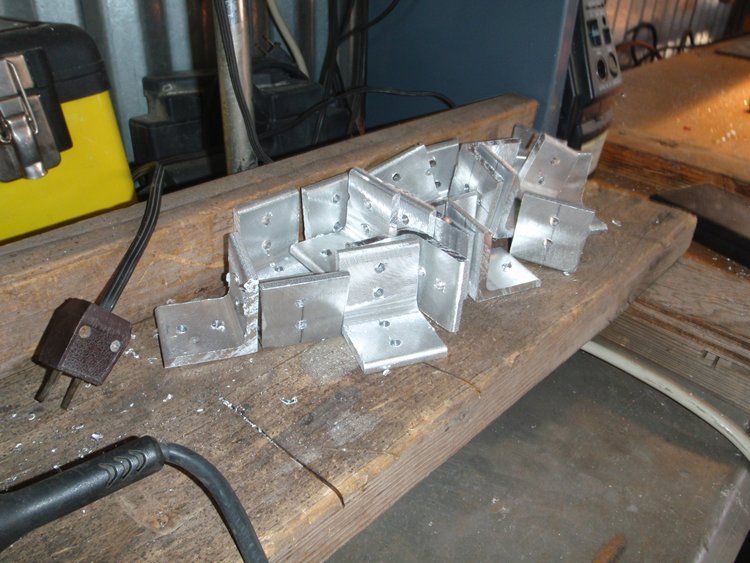
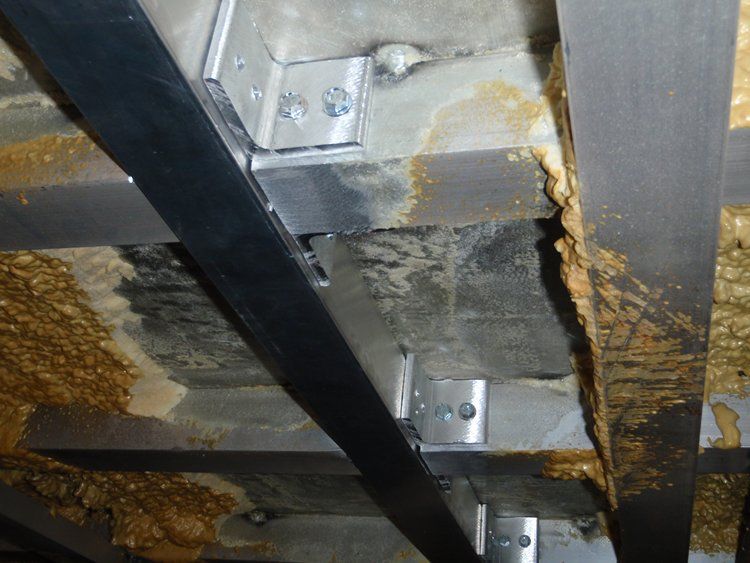
Made a couple of inside corner brackets from 1/4x2x2 aluminum angle, and #14 self tappers, seems like a workable solution - If I think I need it, I can also weld a fillet from the existing structure to the fresh aluminum at the bottom/cut edge of the bracket, it is in a more accessable position, and the existing is more easily cleaned
m_P9110012.jpg


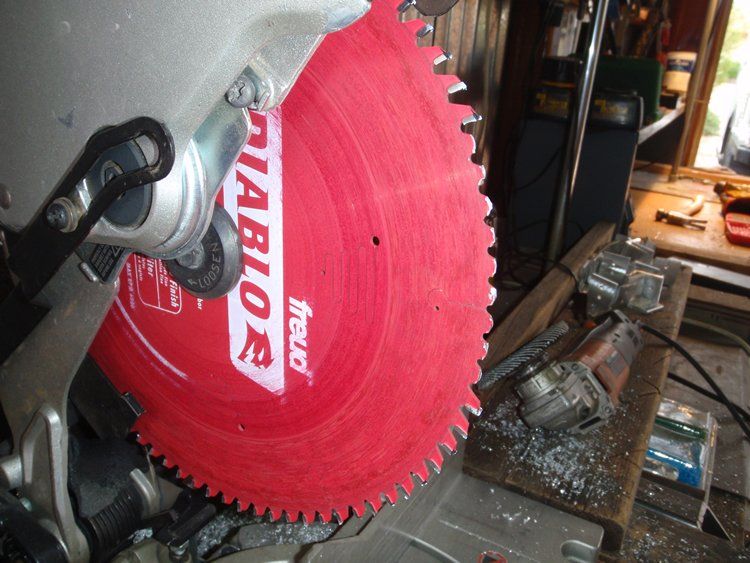
Set up the ghetto aluminum machining station
m_P9110003.jpg

m_P9110007.jpg


Mind the feed rate on the chop saw...
m_P9110011.jpg


Feeling clever at this point
m_P9110013.jpg


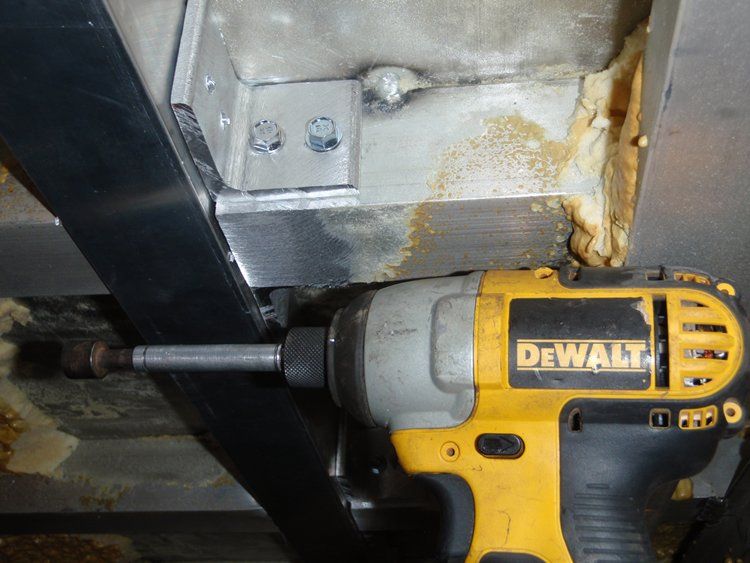
Until I went to install the other screws and found the driver doesn't fit in the space.
m_P9110014.jpg


Picked up a right angle head from Harbor Freight, hopefully that will be able to get into the space. Just nibbling at it this week, looking forward to a good run this weekend
 

Forum statistics

Threads
188,176
Messages
2,903,366
Members
229,665
Latest member
SANelson
Top