AmboVan Restarted

hobietony

Explorer
Looks great Tony and pictures usually don't do justice to the work involved behind electrical projects!

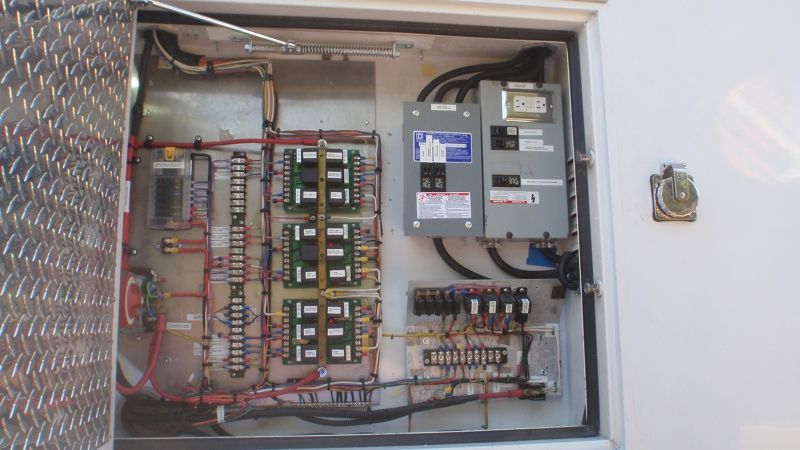
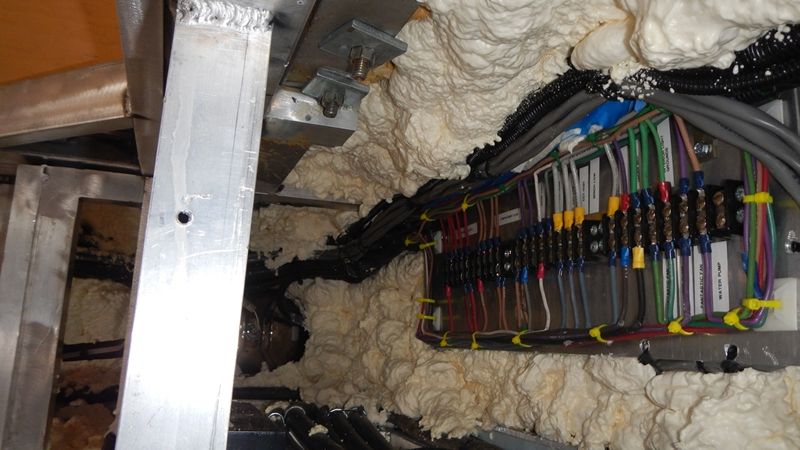
Curious, are these relays on those middle green boards? If they are,
why are you using so many? Unless you didn't convert most of your lights to LED? I see you have some HID and a compressor but looks like you still have quite a few relays...

Yup, pretty productive you are!

Cheers
Mr. D


Sent from my iPorn using TapaChat

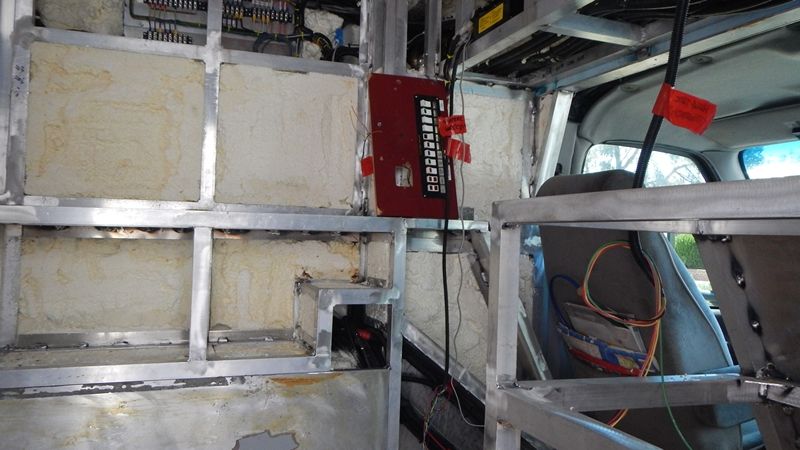
Well, I'm using them because I have them. The whole ambo electrical system was set up to use relays, all the switch banks were set up to complete the negative/ground circuit, to turn on the relays. I did change all interior lights to LEDs, but I stuck with the system I had for turning them on. If I find that I need another circuit, I can combine some interior electrical circuits to be controlled off of one switch, but I had the capacity to split them up, so I did. Kind of a big hammer approach, but the system was in place, so I've pretty much run everything electrical through this compartment
 

hobietony

Explorer
OK thats it. I am never parking beside you again. :mad: I got enough crap about your awning being better than mine.

Imagine the avalanche of crap I will get when they look at all the rest of your build. :bowdown:

Looks like it will be apples and oranges here in a bit, judging from your for-sale thread
 

hobietony

Explorer
Next installment of installed stuff...
-
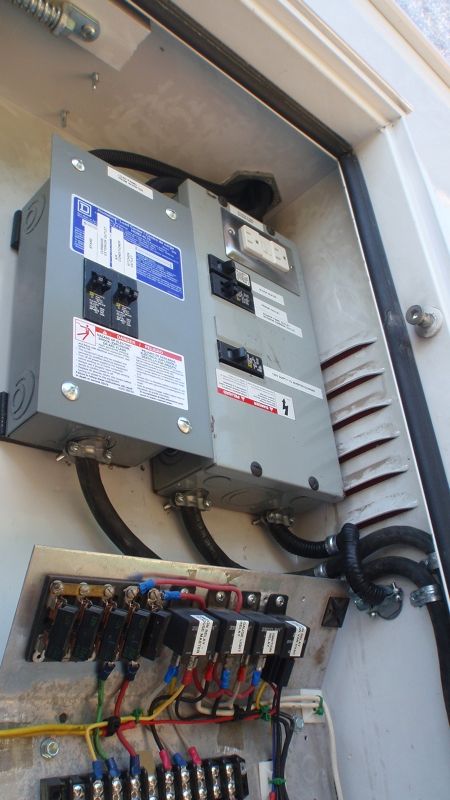
120v rough in complete, shorepower panels closed up and done - One panel (the original) for the incoming shorepower, one load panel for the inverter powered loads.
m_P8080050_zpsadc3595c.jpg

m_P8080056_zpsb82a0123.jpg

-
Air Conditioning control panel wired in
m_P8080062_zpsef53d30d.jpg

-
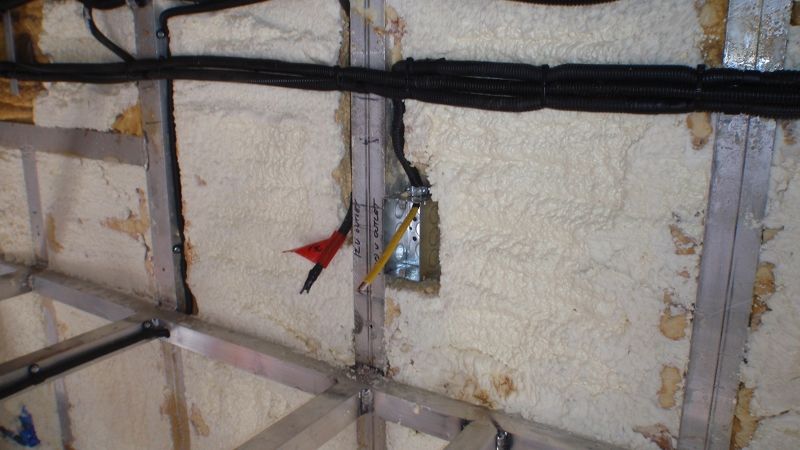
Riveting picture of interior outlet wiring
m_P8080060_zpse5f29a71.jpg

-
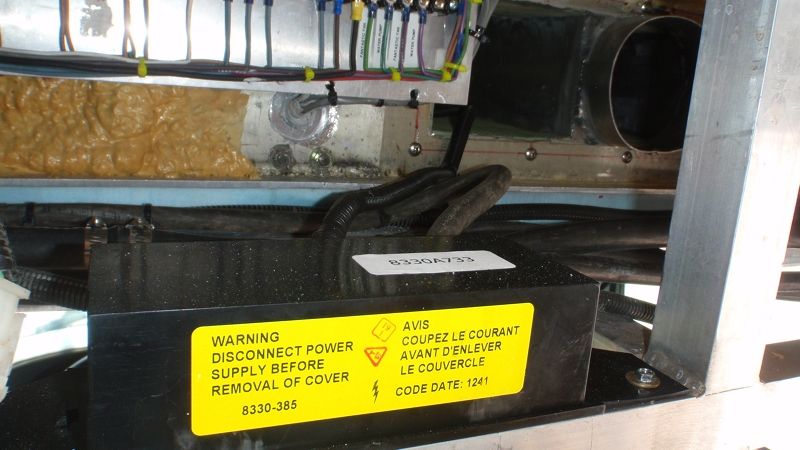
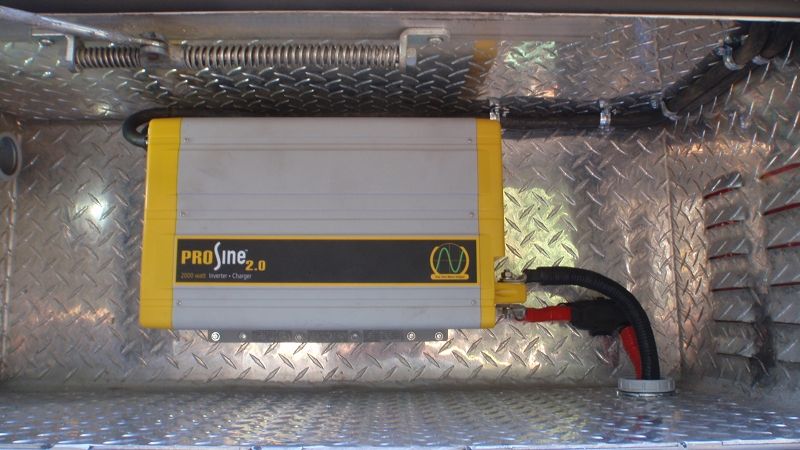
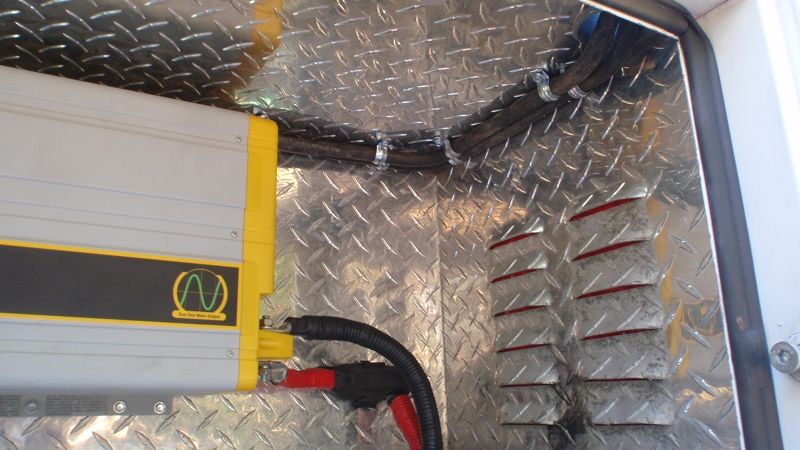
Inverter/Charger wired in, still need to run the control wires, but the fat ones are in.
m_P8080054_zps15496699.jpg

m_P8080055_zpsb5330c64.jpg

-
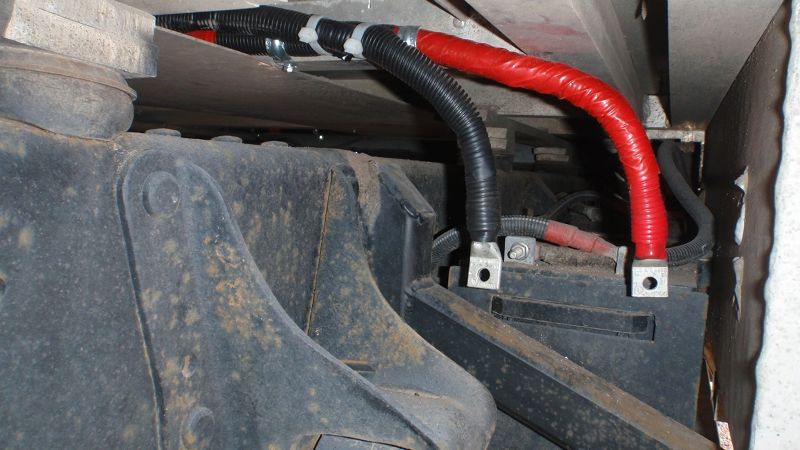
Per Xantrex recommendations, I used 4-0 cable to run from the unit to the house batteries. The instructions stated "OMG, USE COPPER WIRES! BAD THINGS WILL HAPPEN!". I had aluminum cable on hand, so I used it. If I die from this, consider this foreshadowing.
The stuff does not pull around corners very well, waiting to get the control lines run before bolting the 4-0 cables on.
m_P8080059_zps0012aaf4.jpg

-
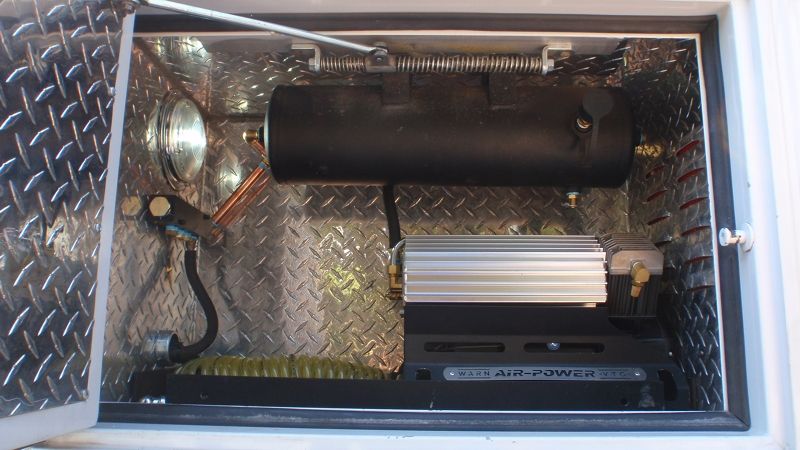
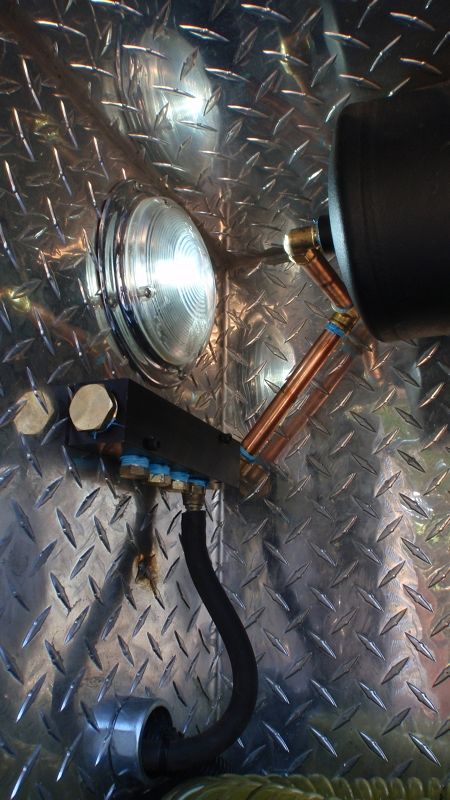
Finally, got the air manifold delivered, so I got the compressor install finished. Three years I've had the quick-connect mounted to the front of the bumper, I finally have air to it. Spare manifold ports are for the air bags, rear locker, and whatever else I might need air for. I think this is the first completely functioning system on the van.
m_P8080048_zps317a3a38.jpg

m_P8080047_zps253e0a7f.jpg

-
Work proceeds...
 

tcdent

New member
I think the real issue with the aluminum wiring is to spec it appropriately. 4 ga aluminum is not equivalent to 4 ga. copper.

Cool stuff!
 

hobietony

Explorer
Tired of Wiring

So I'll call it done enough.
-
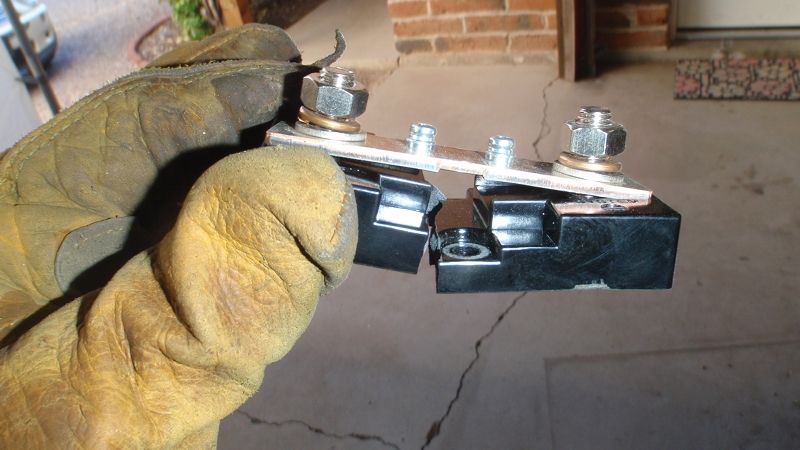
Last bit of electrical work to finish was to get the battery monitor roughed in, and the sensor/control wires run to the interior. I got a Xantrex LinkLite monitor, which is basically like a gas gage for the house batteries. The install requires that the flow from the ground strap to the batteries be interrupted by a shunt, which gives the meter a point to measure current to/from the house battery. Unfortunately, this shunt, which has two big 4-0 cables attached, has little two mounting screws, in the middle of the plastic base, which of course meant I broke it when I went to hook up the cables.
m_P8080073_zps56704af0.jpg

m_P8080074_zpsd3665916.jpg

-
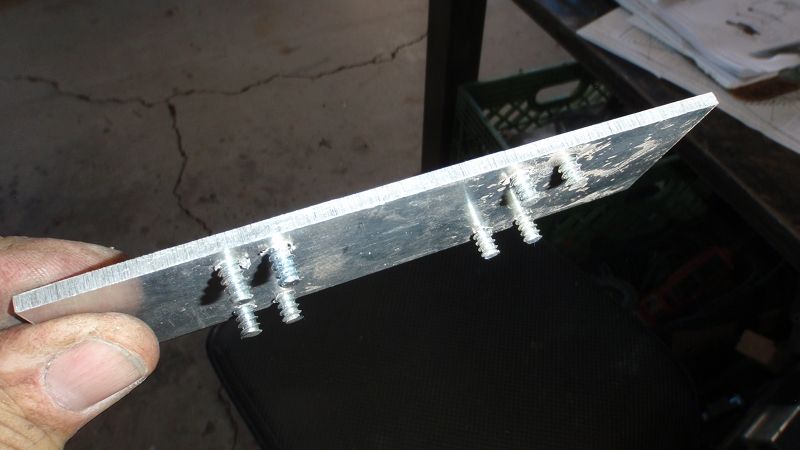
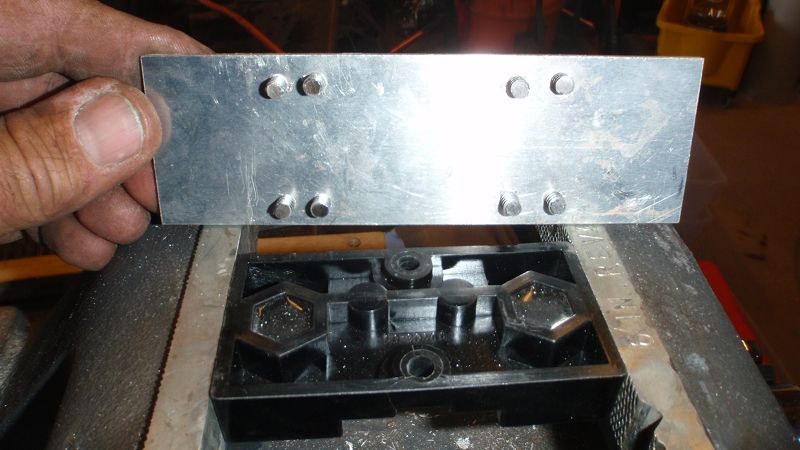
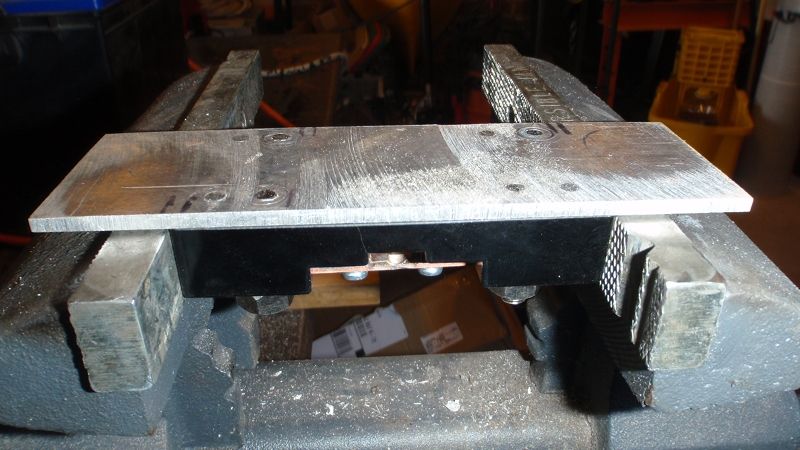
Opportunity to be clever, right? The base of the plastic piece was hollow, so I drove some screws through an aluminum plate, ground the heads off, filled up the hollow space with epoxy, and bonded the aluminum mounting plate to the plastic
m_P8080075_zps6365d40a.jpg

m_P8080076_zpsf5f85ec5.jpg

m_P8080077_zps0929ec34.jpg

-
Like a charm
m_P8090079_zpsc42aab1f.jpg

-
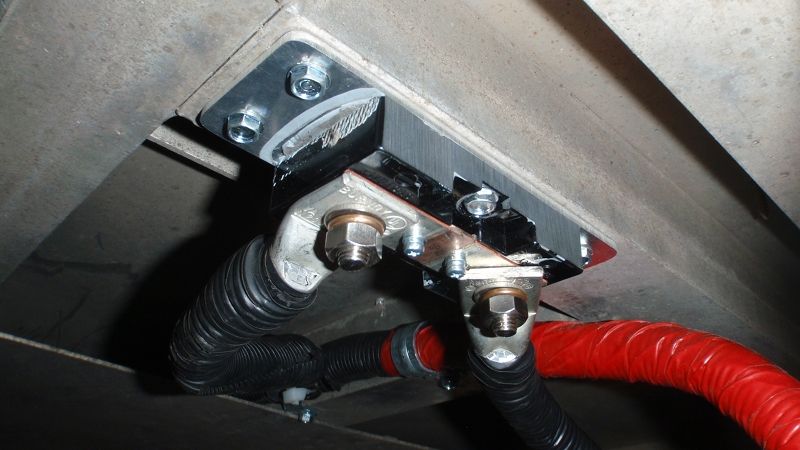
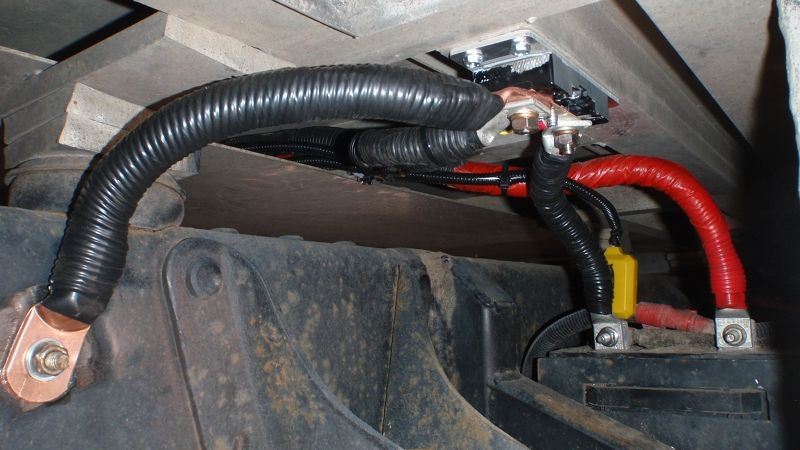
Final install, shunt monitor and batt temp sensor in and run to their proper locations, inverter and batt wires ready to roll.
m_P8090081_zps92208d8e.jpg

-
And that gets me far enough on that, going to start in on the interior systems this week, water/plumbing first. Updates to follow...
 

Abitibi

Explorer
Hey Tony

I've had one of those Xantrax for a couple years in my Patrol and they work really good. Unlike a Volt meter (which doesn't tell you much) this unit is more of a Amp meter so it accurately tells you how your batteries are doing. It saved my *** a few times. I ordered an extra one so I'll be able to monitor both the truck and the house batteries in the ambo.

Good purchase and good recovery fix!

Cheers
Mr. D
 

Ozrockrat

Expedition Leader
Didn't your Ambo come with a voltmeter and ammeter. I thought that was part of the standard Ambo specification. Along with the discharge and charging specifications they had to test to and certify.
 

hobietony

Explorer
Didn't your Ambo come with a voltmeter and ammeter. I thought that was part of the standard Ambo specification. Along with the discharge and charging specifications they had to test to and certify.

Ummm, yea, voltmeter no worky. Never had an ammeter. So, gone with the rest of the interior. Got the discharge specs, but I've pulled everything off that they tested to. Glad to see that I have a 190 amp alternator (If nobody changed it...) My intent for hot road trips is to run the 120v AC off of the inverter.

Bit of a setback though, had to pull one of the DC cables off the inverter to get to the ground wire, when I put it back on, I overtightened the bolt and snapped the mounting stud. It's bad, cant seem to figure how to get to it. Taking it to a Xantrex service center tomorrow and crossing my fingers that there is a trick to replacing the stud.
 

hobietony

Explorer

So, sometimes the karma wheel gives back. There are less than 40 xantrex service centers worldwide, one happens to be 5 minutes from my house. Almost nothing on the Prosine 2.0 is considered repairable, except the attachment lugs. These lugs are not actually available from Xantrex, the parts need to be salvaged from an old unit - Which they had. He was also excited to have a project where he didn't have to do any diagnostics, the problem was obvious. 2 hours after I dropped it off, he called, said it was done. One hour labor fee as a stupid tax ($100!), I was happy to pay it. I may even break out the torque wrench this time when I put it back.
-
In the meantime, more progress
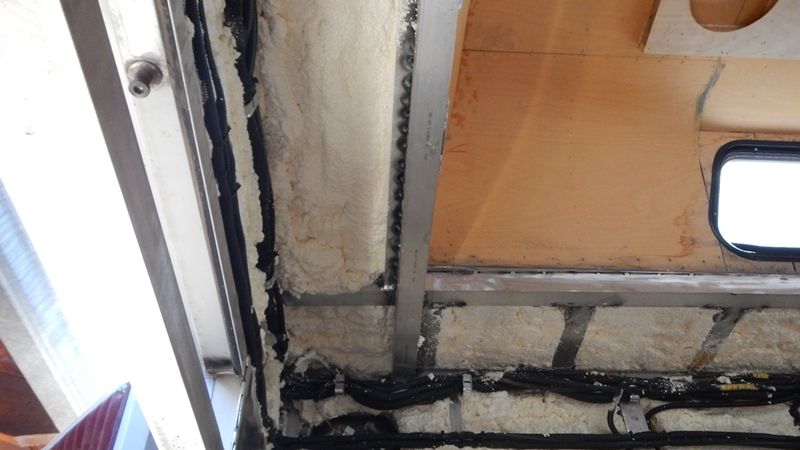
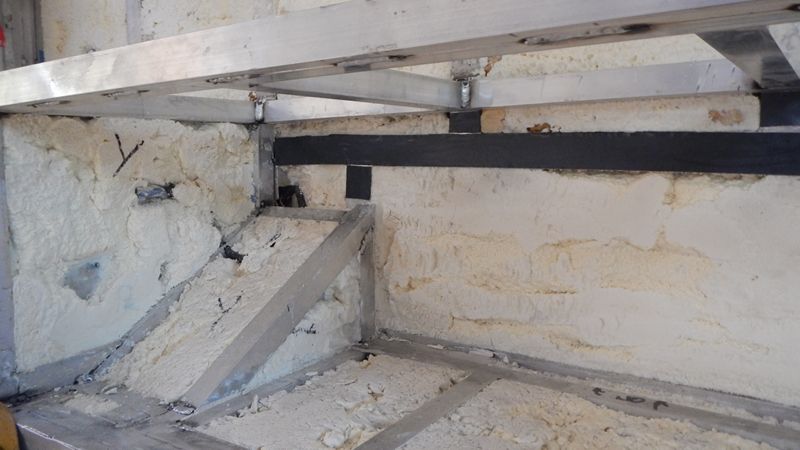
Got the last of the spray foam in
m_DSCN0012_zpsba2e0022.jpg

m_DSCN0009_zps6a26fc39.jpg

m_DSCN0008_zps225fc716.jpg

-
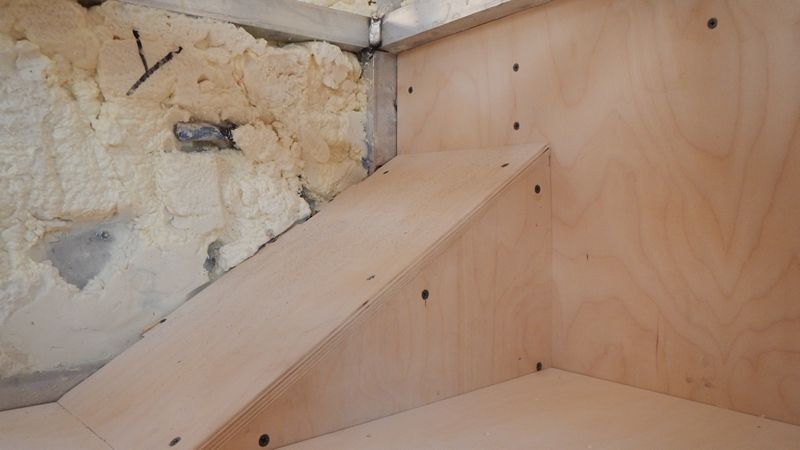
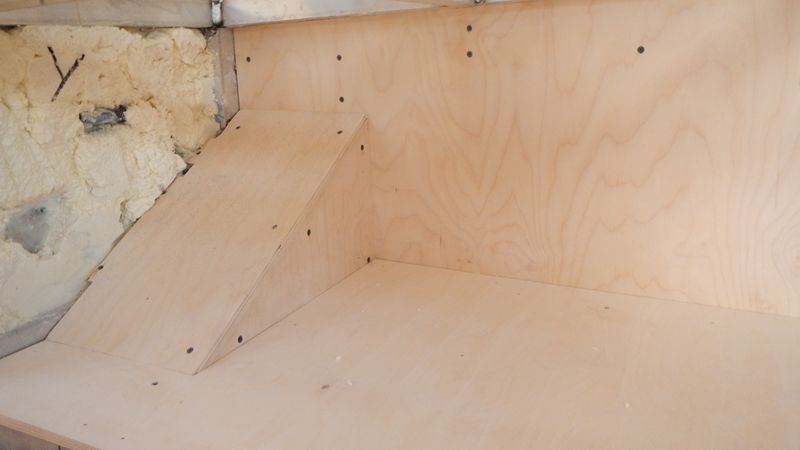
And finally (Finally!) I can start covering it up. Started on the water tank/pump area, I'm running some butyl tape on the studs on the outside wall to make some small effort to interrupt the thermal transfer through the aluminum studs. Inside of the cabinets to be baltic birch, mostly 1/4", but I have 1/2" under the water tank
m_DSCN0013_zps8acb4c6b.jpg

m_DSCN0018_zpsb38e3446.jpg

m_DSCN0015_zpsf885ed92.jpg

-
I'll need to seal the wood before the tank goes in, but so good to see the walls start to get covered
 

Forum statistics

Threads
188,177
Messages
2,903,360
Members
229,665
Latest member
SANelson
Top