You are using an out of date browser. It may not display this or other websites correctly.
You should upgrade or use an alternative browser.
You should upgrade or use an alternative browser.
Barn Door for JK factory hardtops
- Thread starter jscherb
- Start date
jscherb
Expedition Leader
Jeff, mini review of your hinges put up with a photo! Awesome design!
Thanks, I just saw it. Glad you like them!
To make it easy for people to find, here's the link to your "mini review": http://www.expeditionportal.com/forum/threads/143993-Quick-review-MorRyde-JK-tailgate-hinges
jscherb
Expedition Leader
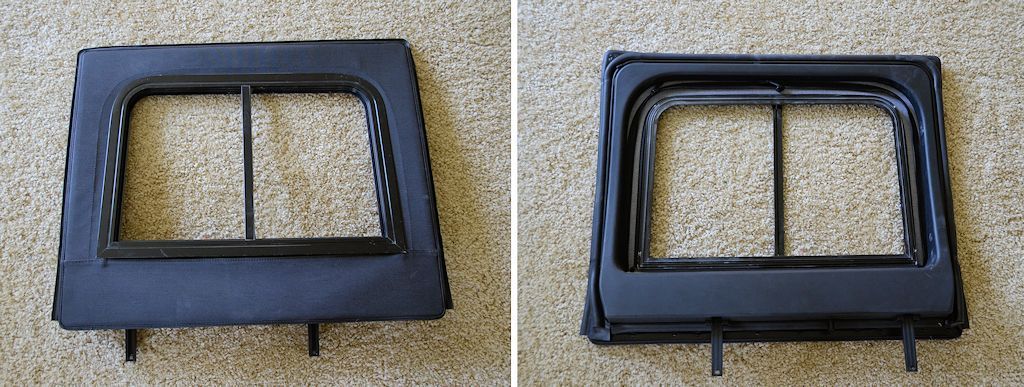
My plan is that the slider windows I'm working with the RV window company to have made can be used in multiple ways...
As part of a "soft retrofit kit" which replaces the vinyl windows of the factory, Bestop and Rugged Ridge uppers with glass sliders:
As part of full fiberglass uppers:
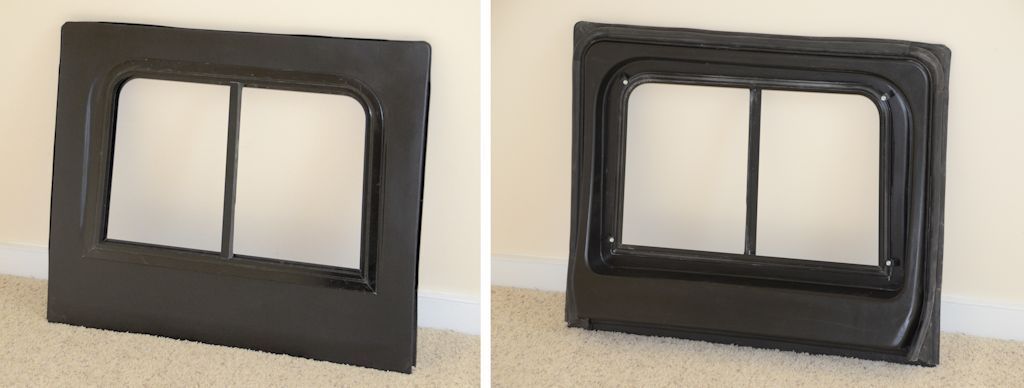
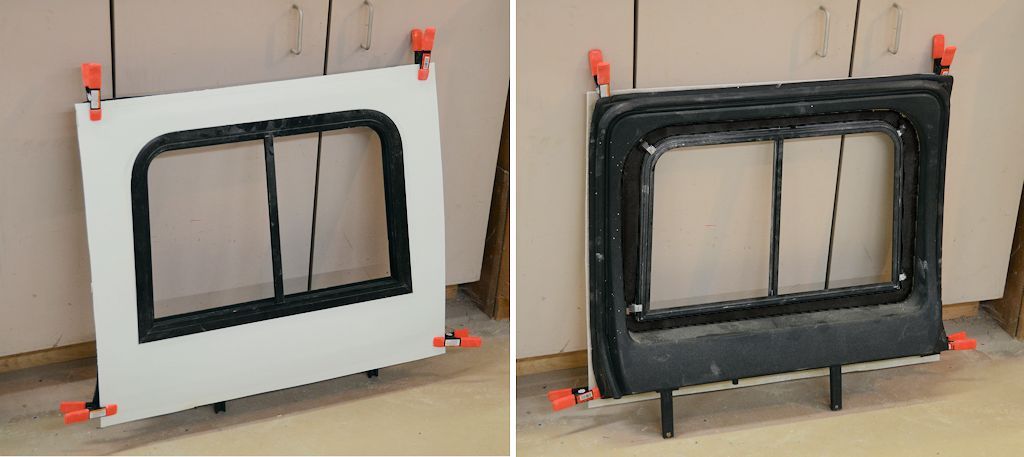
There's one other possibility. The upper in this next photo is just temporarily clamped together - on the outside it's the same as the full fiberglass upper, but the inside shell is the factory plastic shell. The factory canvas skin is removed and the fiberglass outer skin would be attached to the factory inner shell, turning the factory soft uppers into hard uppers with sliders and a fiberglass outer shell. Why would this be a good idea when I've already done the full fiberglass upper? It could be a very affordable option to turn factory uppers into hard uppers - the fiberglass outer skin is quick and easy to mold, so it should be inexpensive - a set of uppers converted like this should be able to be done for hundreds less than full fiberglass uppers. In this photo the fiberglass skin hasn't been trimmed to final size yet, so it's slightly larger than final size.
As part of a "soft retrofit kit" which replaces the vinyl windows of the factory, Bestop and Rugged Ridge uppers with glass sliders:

As part of full fiberglass uppers:

There's one other possibility. The upper in this next photo is just temporarily clamped together - on the outside it's the same as the full fiberglass upper, but the inside shell is the factory plastic shell. The factory canvas skin is removed and the fiberglass outer skin would be attached to the factory inner shell, turning the factory soft uppers into hard uppers with sliders and a fiberglass outer shell. Why would this be a good idea when I've already done the full fiberglass upper? It could be a very affordable option to turn factory uppers into hard uppers - the fiberglass outer skin is quick and easy to mold, so it should be inexpensive - a set of uppers converted like this should be able to be done for hundreds less than full fiberglass uppers. In this photo the fiberglass skin hasn't been trimmed to final size yet, so it's slightly larger than final size.

jscherb
Expedition Leader
My initial design criteria for the JK Safari Cab roof included the Alpine windows, tying the roof rack into the roll bars so heavy weights such as roof top tents can be carried on top without extra reinforcement, and the ability to install multiple sunroofs. During the design and modeling phase I built several models with sunroofs. Here's one of the early cardstock models with a sunroof:
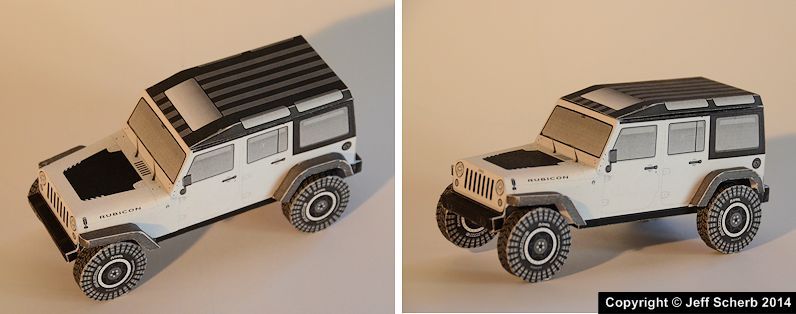
And later when I made a scale model of the roof panel in fiberglass I mocked up multiple sunroofs:

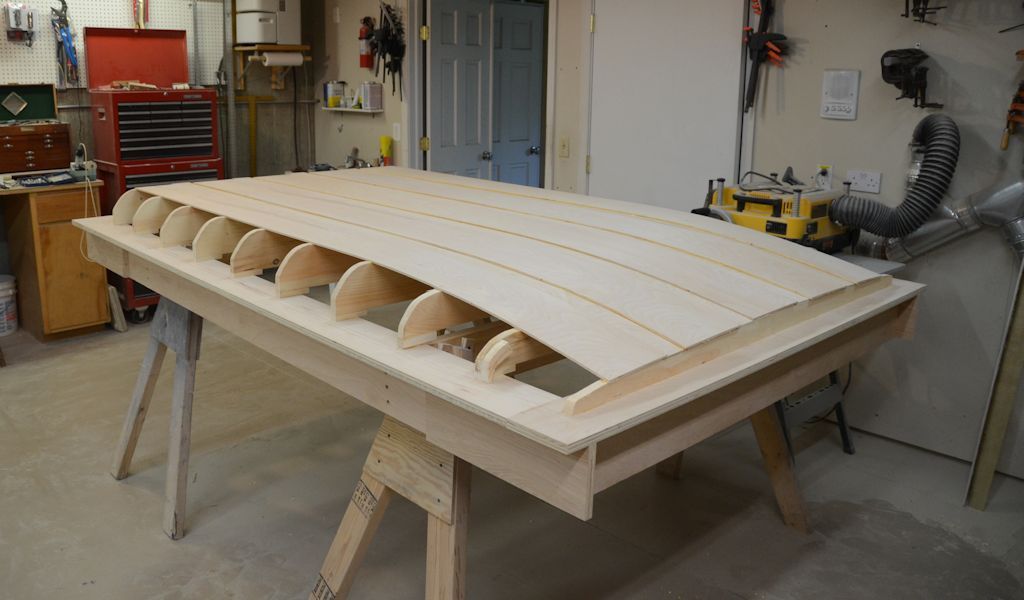
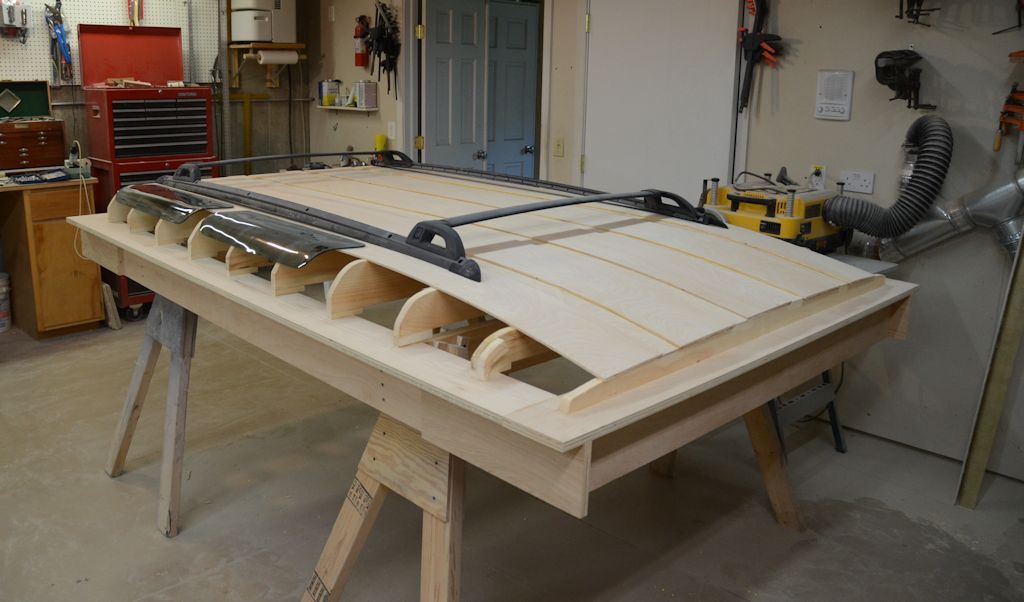
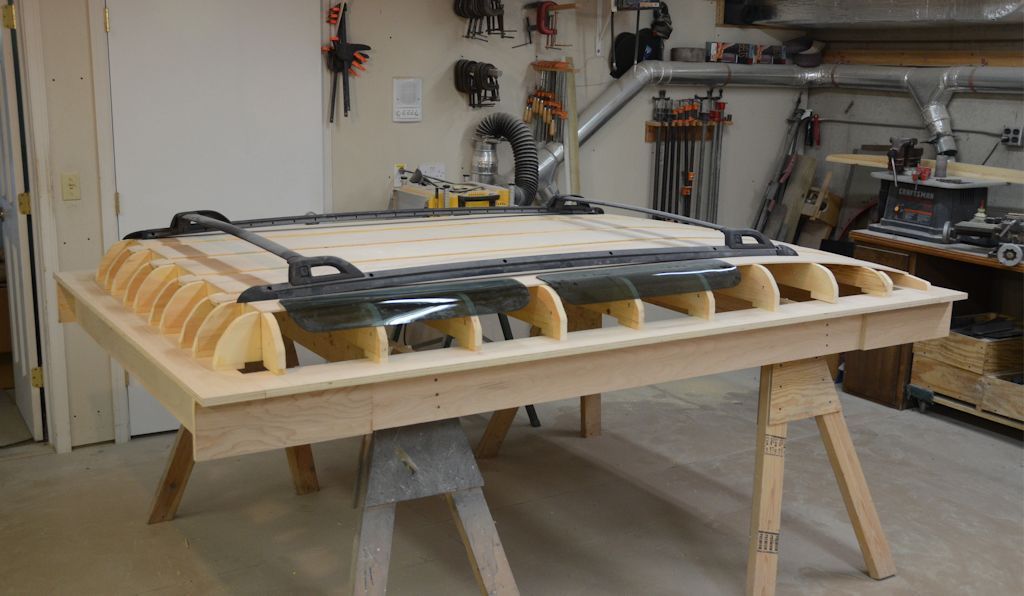
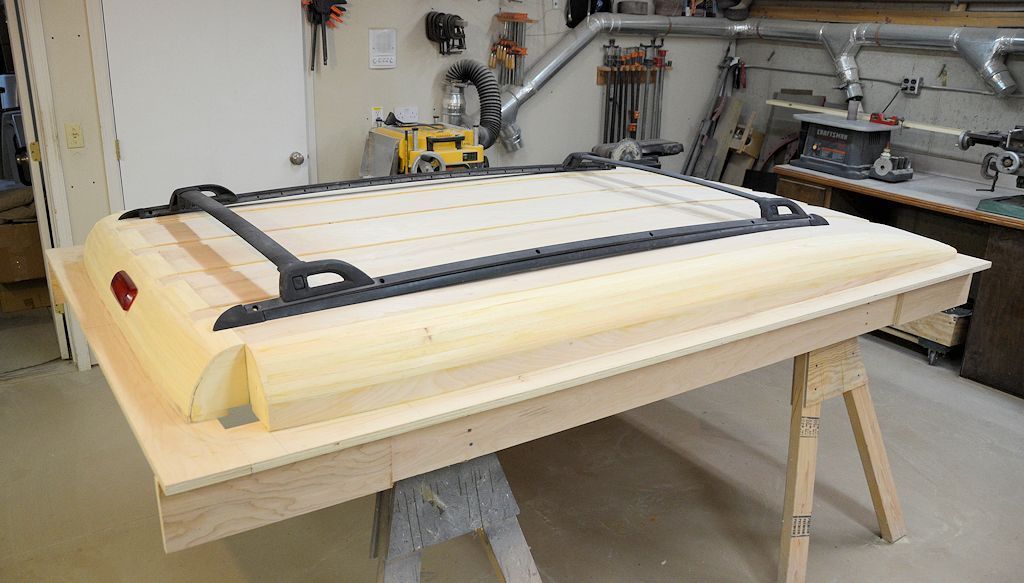
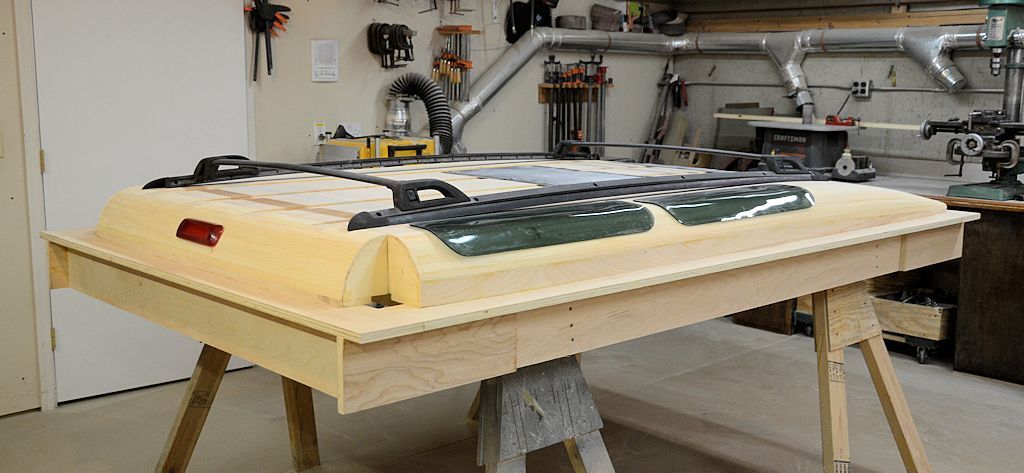
To help with the process of designing the dimensions for the internal roof structure, today I printed several full-size sunroofs on my printer to do a mockup on the roof work in progress. There's one over the first row of seats, and one over the second row of seats. A few photos.
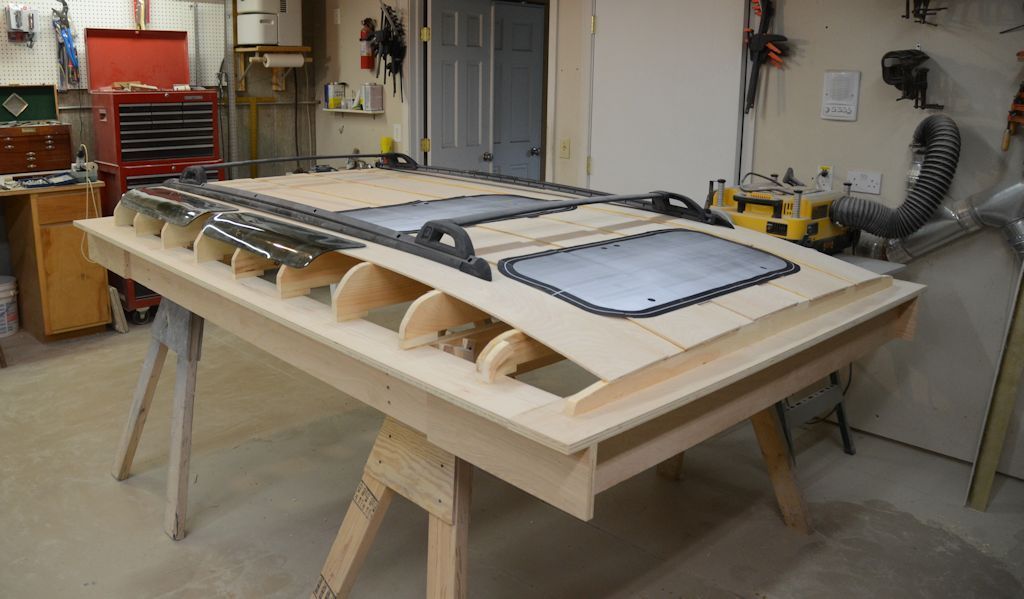
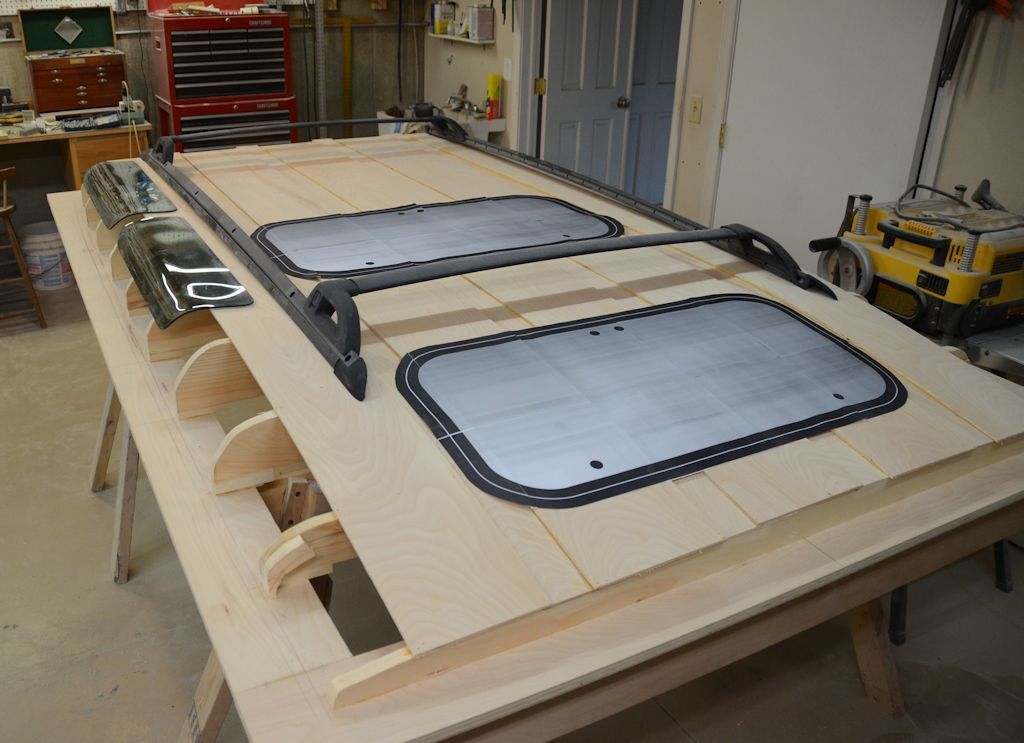
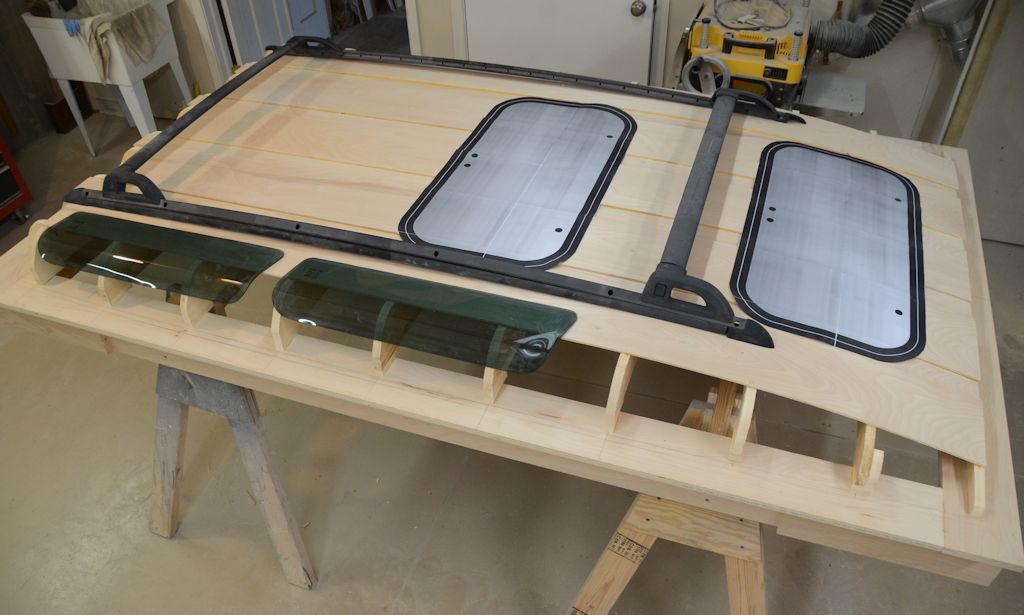
I don't plan to install sunroofs in the first prototype Safari Cab that comes out of the molds, but I do want to ensure I design the inner structure of the roof to support the installation of two as shown in these photos, which is why I'm using the printouts to help with the final design.

And later when I made a scale model of the roof panel in fiberglass I mocked up multiple sunroofs:

To help with the process of designing the dimensions for the internal roof structure, today I printed several full-size sunroofs on my printer to do a mockup on the roof work in progress. There's one over the first row of seats, and one over the second row of seats. A few photos.


I don't plan to install sunroofs in the first prototype Safari Cab that comes out of the molds, but I do want to ensure I design the inner structure of the roof to support the installation of two as shown in these photos, which is why I'm using the printouts to help with the final design.
94Discovery
Adventurer
I realy like the top it is more and more looking like a Defender land rover :Wow1:
All you need now is to fiberglass the front and make it look like a diffender and it will sell like a hotcake :drool:
All you need now is to fiberglass the front and make it look like a diffender and it will sell like a hotcake :drool:
jscherb
Expedition Leader
Jeff,
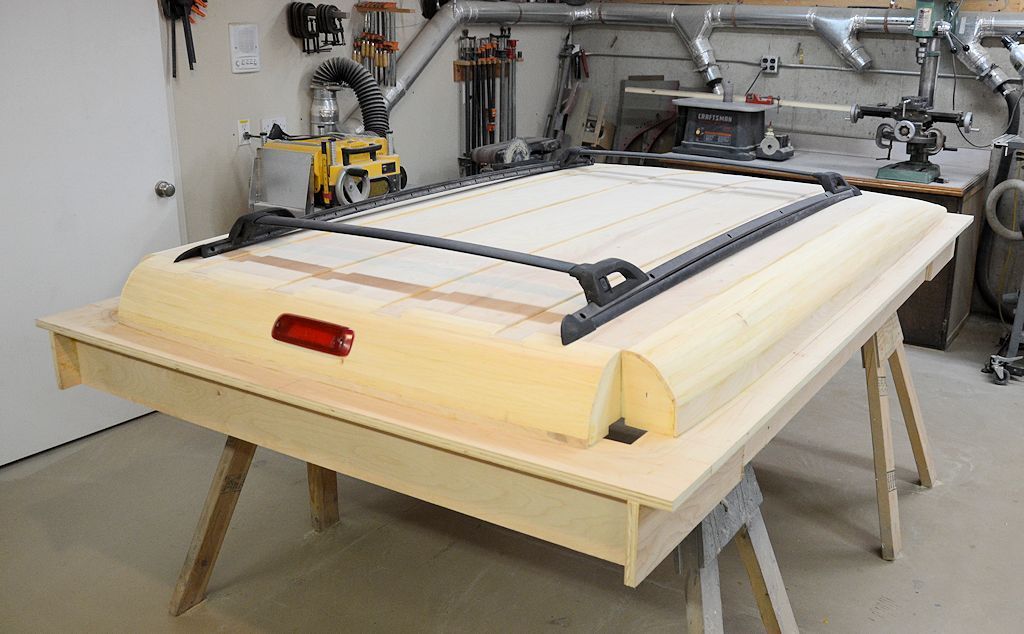
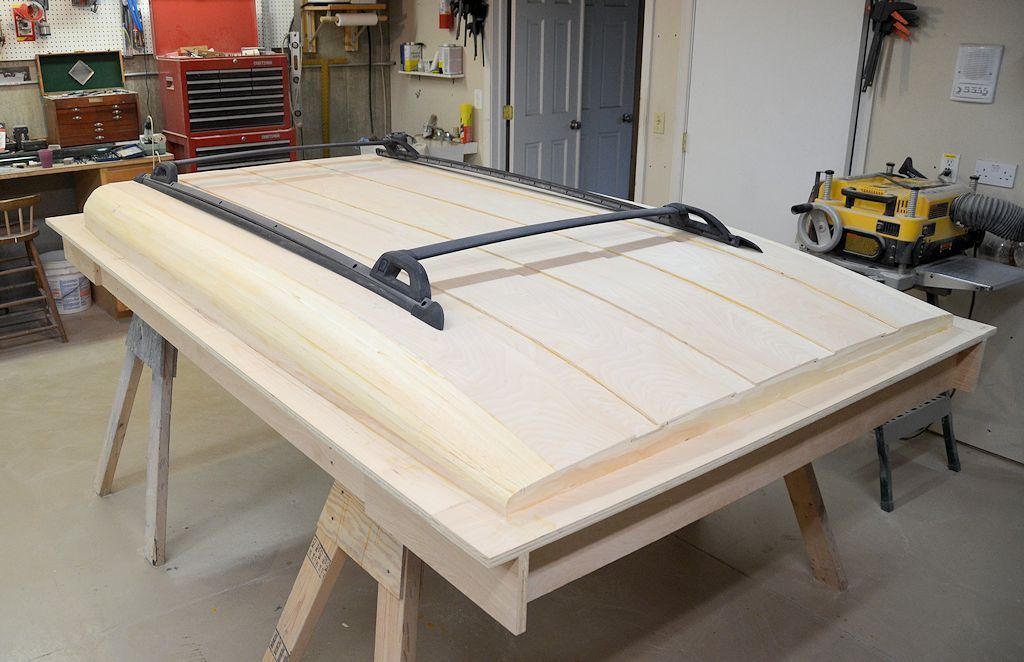
What rig did the roof rack come from?
It's from a ZJ Cherokee.
Brandon Libby
GeeK
That's looking great, jscherb! I really appreciate you sharing your process. I'm sure it inspires many of us to head into the garage. Great work!
94Discovery
Adventurer
If i compare to the top of the page the back do not look the same ,the back of scaled model is straight ,your mold is curved ,imho the scaled model is better looking ,one another thing installing your 3 light on an angle pointing to the sky will not help allot .
jscherb
Expedition Leader
If i compare to the top of the page the back do not look the same ,the back of scaled model is straight ,your mold is curved ,imho the scaled model is better looking ,one another thing installing your 3 light on an angle pointing to the sky will not help allot .
The third brake light is angled exactly the same on this roof as it is on the XJ Cherokee it came from, it isn't pointing at the sky. In the photo below you can see how the lens is angled compared to the bulb housing.

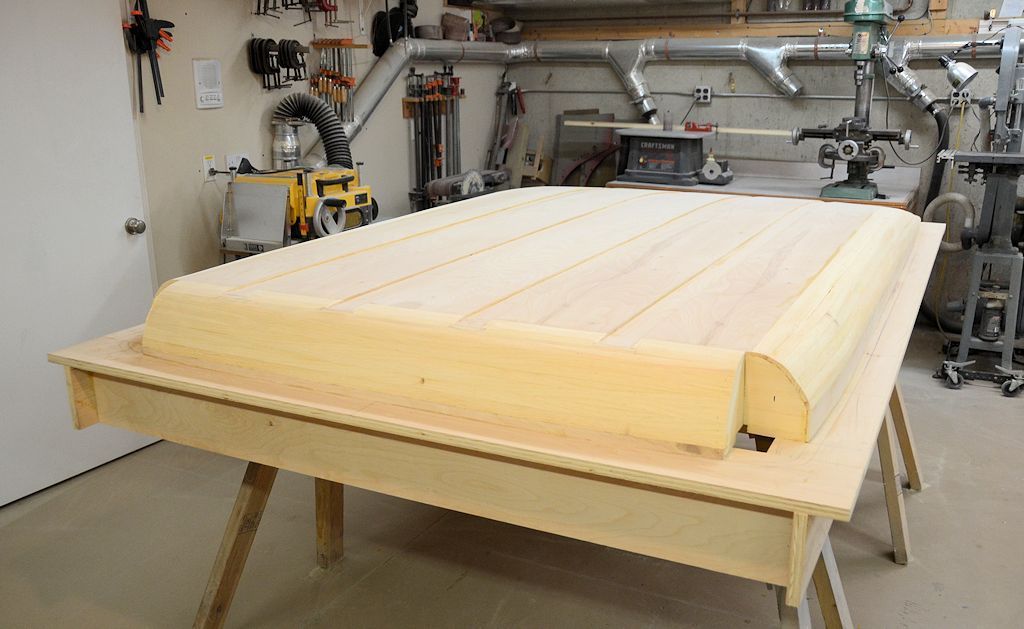
Yes, I did make the rear of the roof curved compared to the fiberglass scale model; I decided a curve to complement the curves on the side of the roof would look better than a more angled rear section. Apparently the designers at Jeep agree with me, they made the back of the Africa concept Jeep roof curved, similar to what I did.

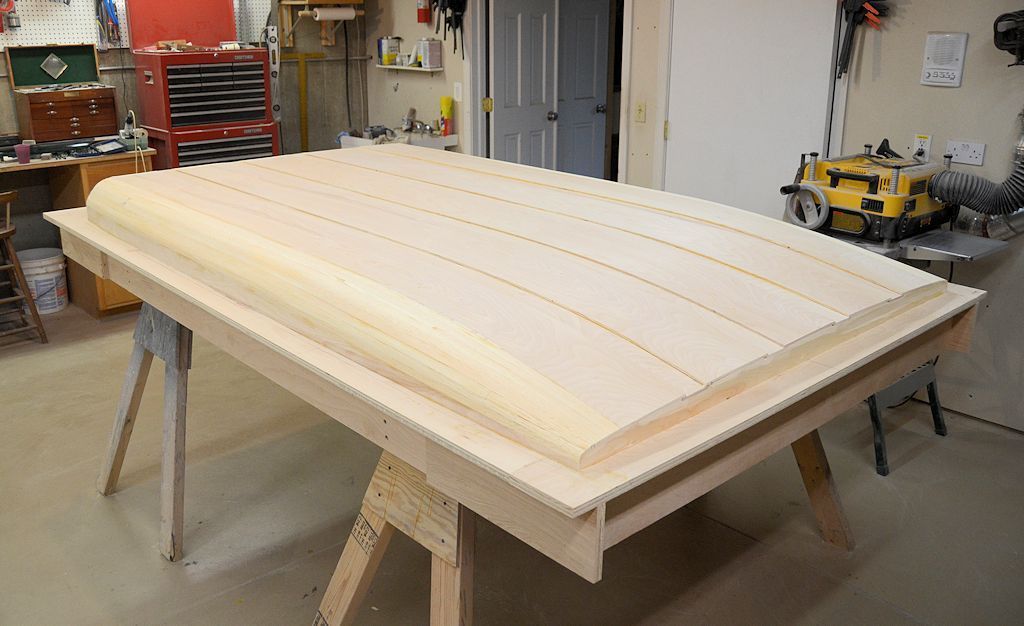
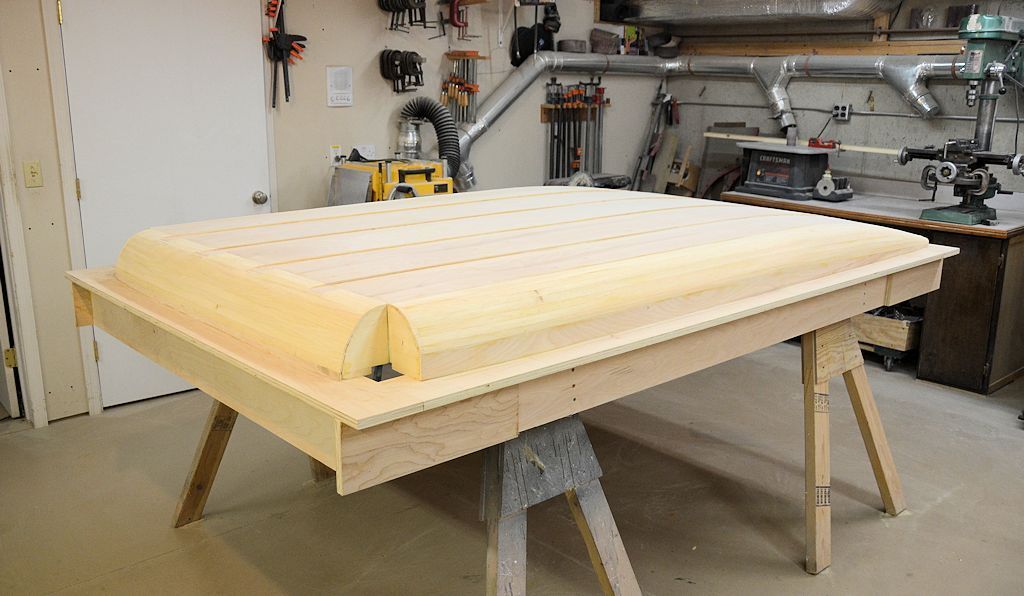
I decided that a more vertical and angular rear section of the roof would emphasize the tallness of the roof, while a curved end would integrate better with the curves of the rest of the hardtop and the Jeep. Here's a view with the partially shaped corner blocks in place; the curve at the back of the roof looks a bit less curved with the corners in place...

94Discovery
Adventurer
I am Not trying to put down your design still i find it the best in restyling a Jku on the market ,the curved back bring back the TJ look .
Last edited:
Similar threads
- Replies
- 7
- Views
- 3K
- Replies
- 2
- Views
- 2K
- Replies
- 1
- Views
- 2K
- Replies
- 2
- Views
- 2K

