You are using an out of date browser. It may not display this or other websites correctly.
You should upgrade or use an alternative browser.
You should upgrade or use an alternative browser.
Barn Door for JK factory hardtops
- Thread starter jscherb
- Start date
jscherb
Expedition Leader
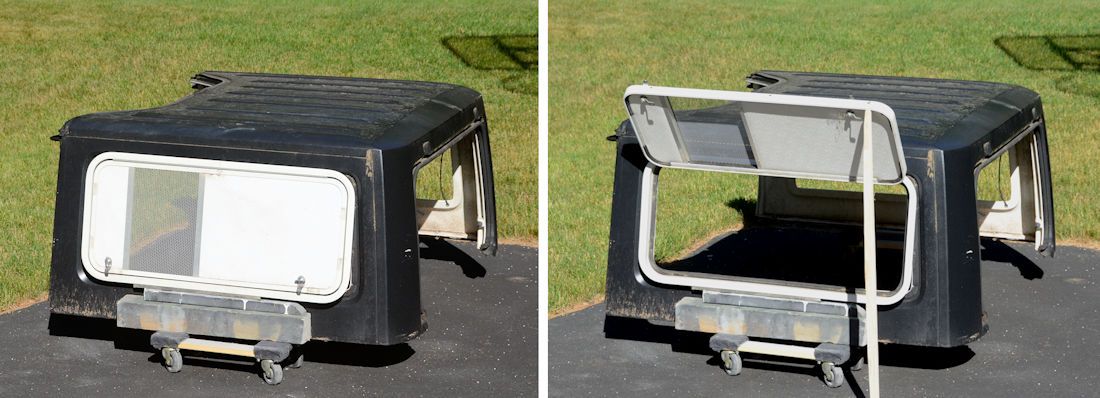
Verifying the fit of the hatch this morning, it's just propped in place on some boards to raise it to the correct height. It's slightly large, but for prototype purposes it can be trimmed the slight bit necessary. Also I'll replace the center panel when I install it, as I said last week this one was for an RV generator compartment so it's vented, but I grabbed it because it's pretty much the correct size and will do fine for prototyping.

jscherb
Expedition Leader
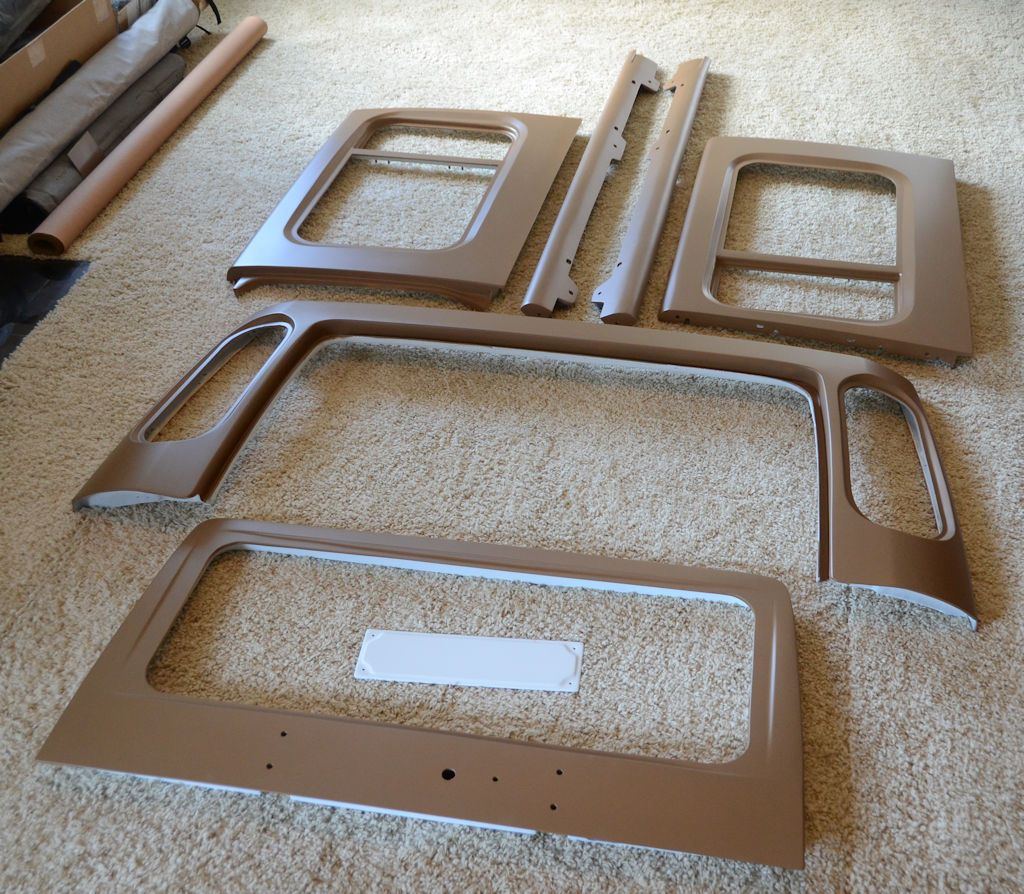
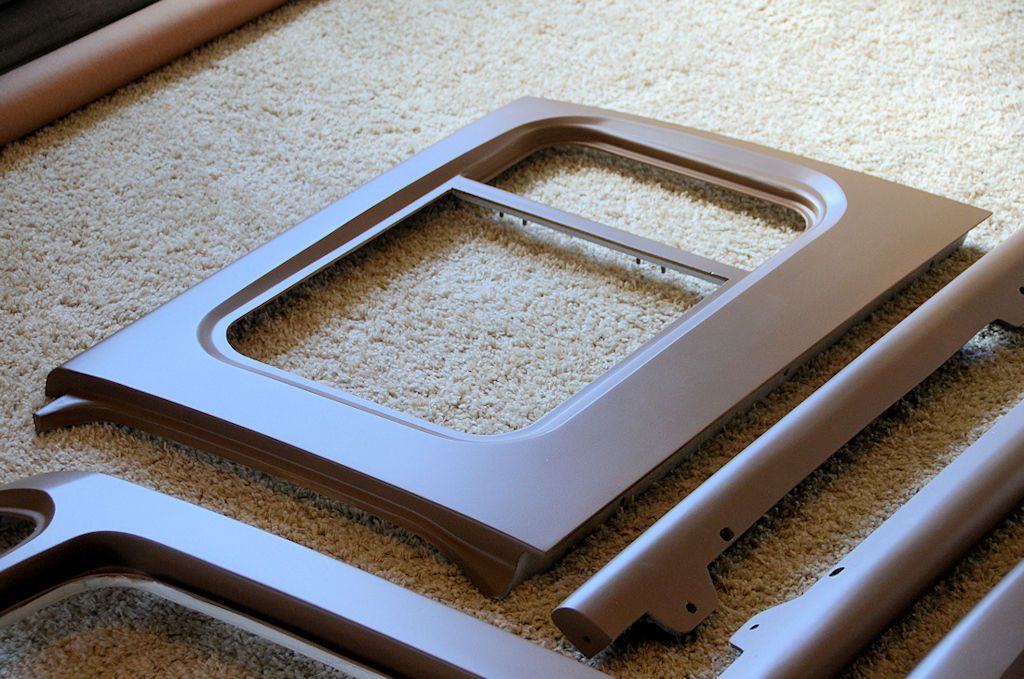
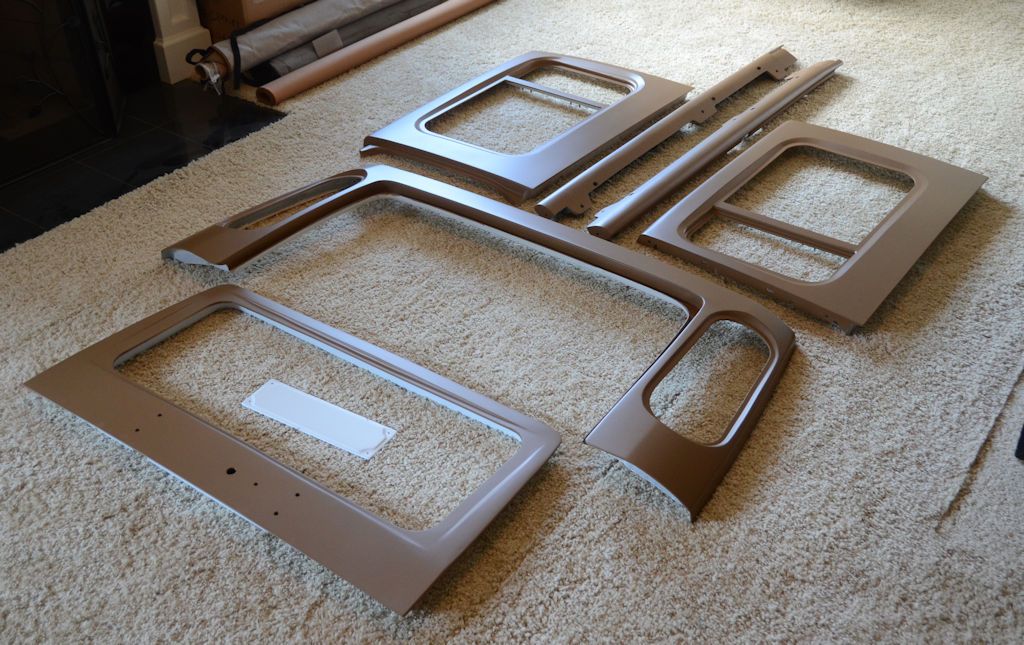
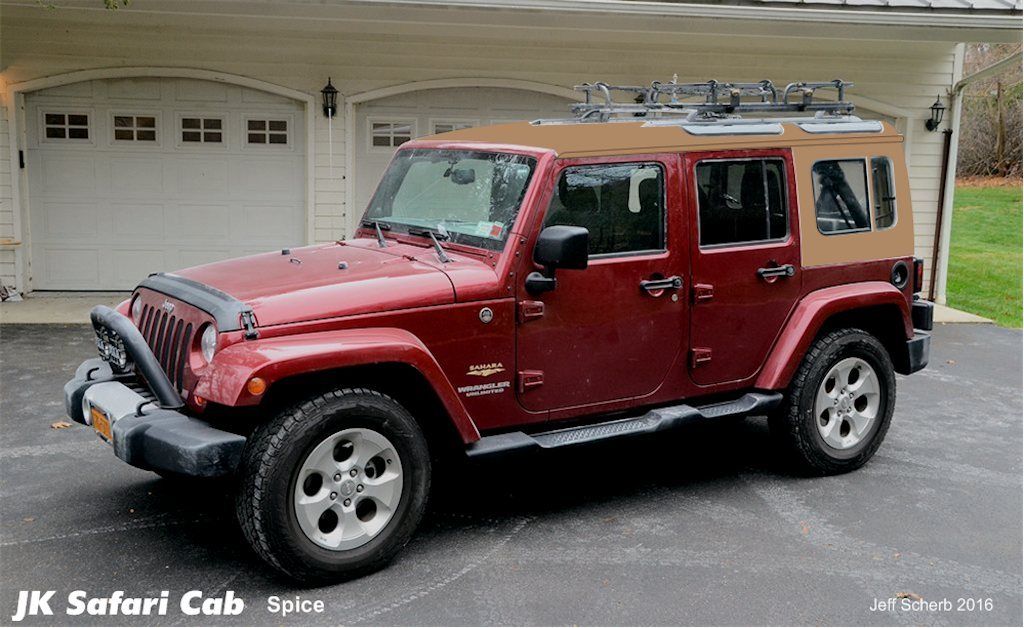
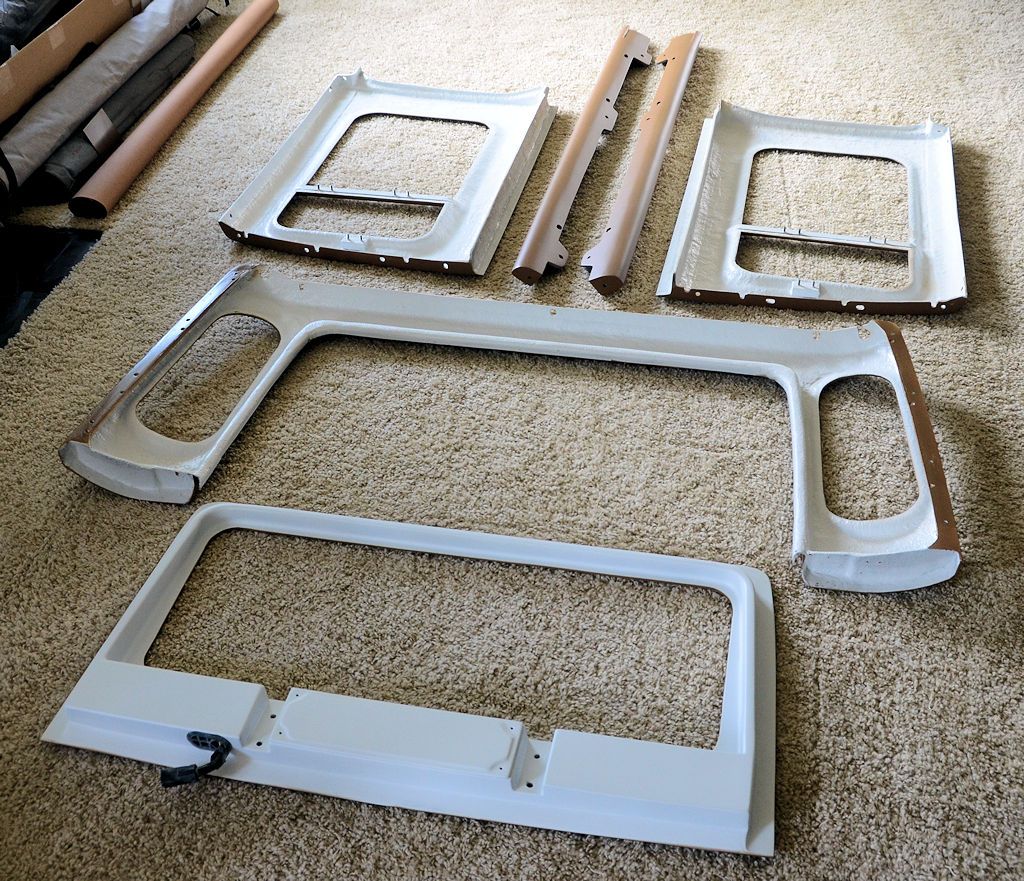
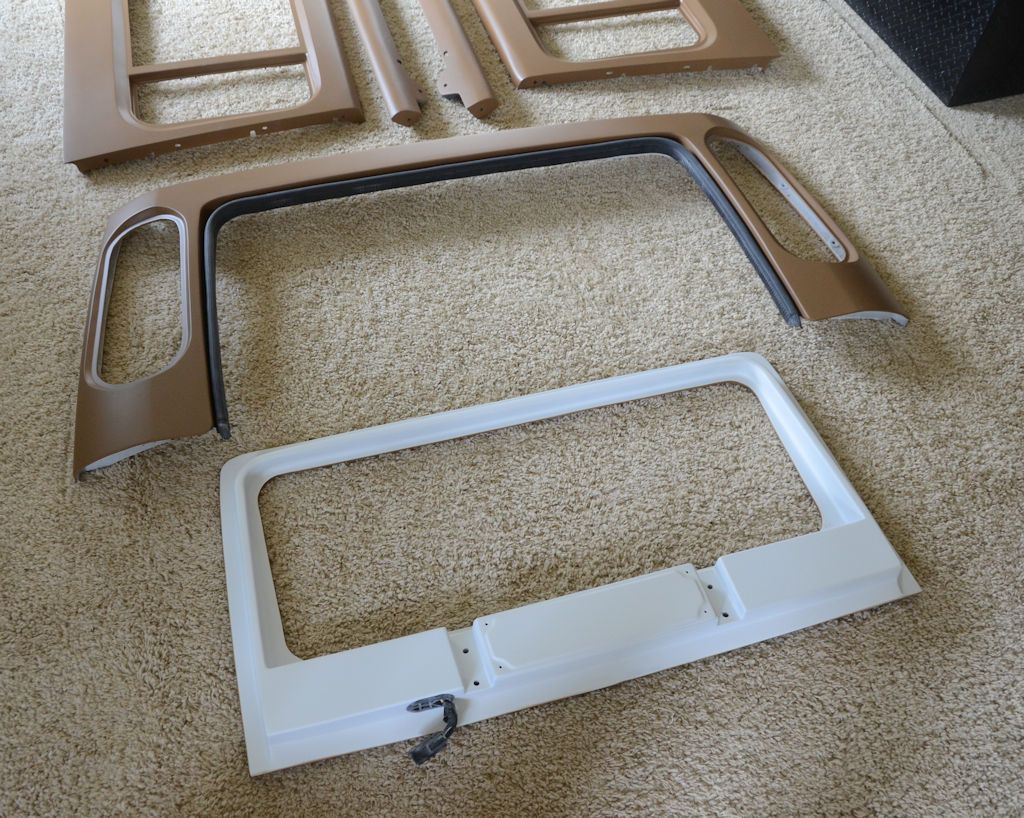
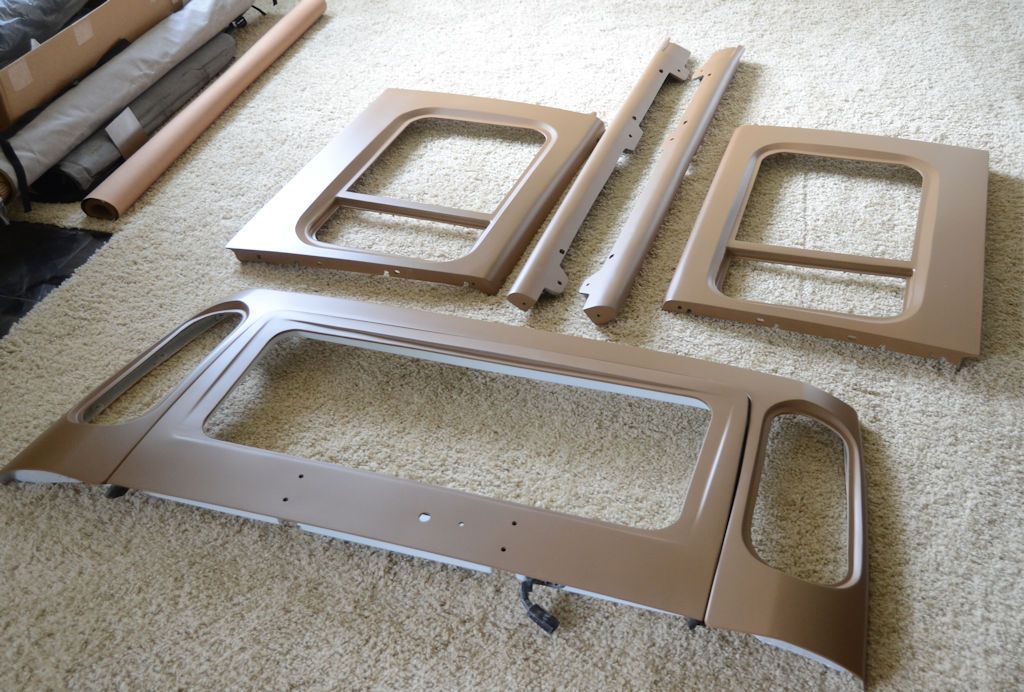
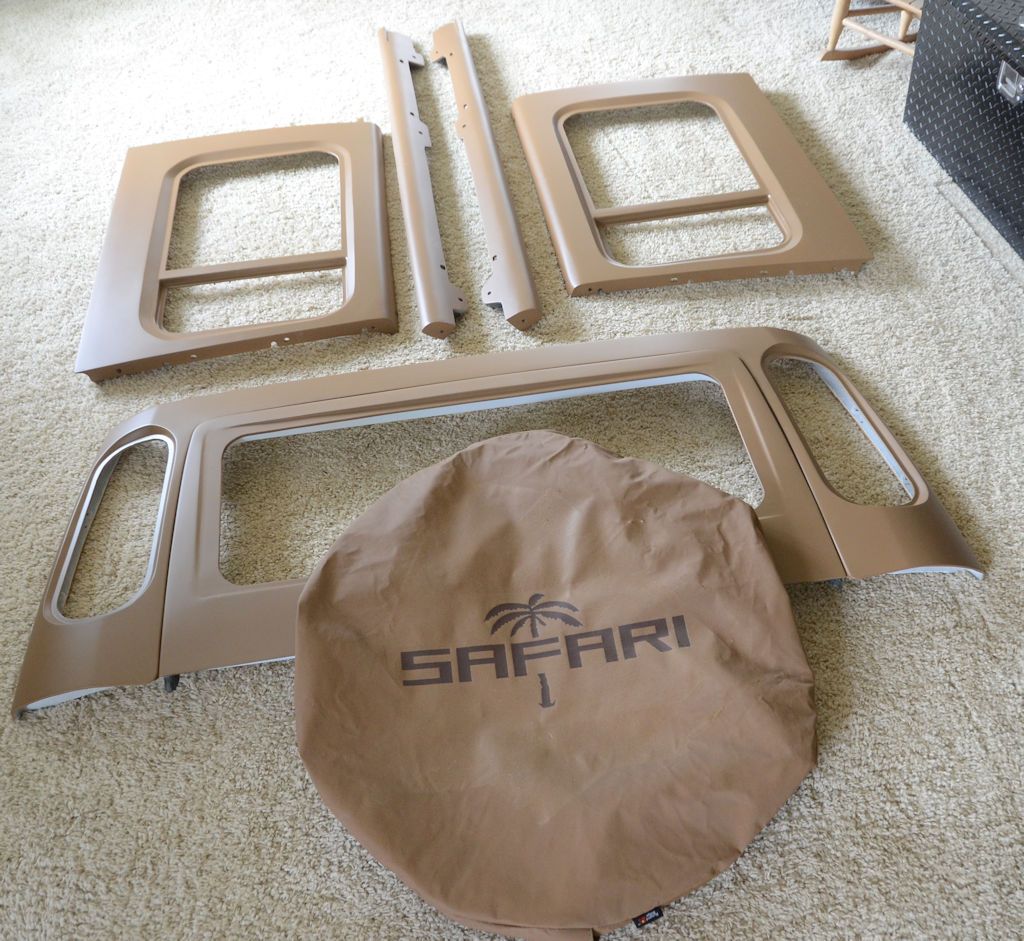
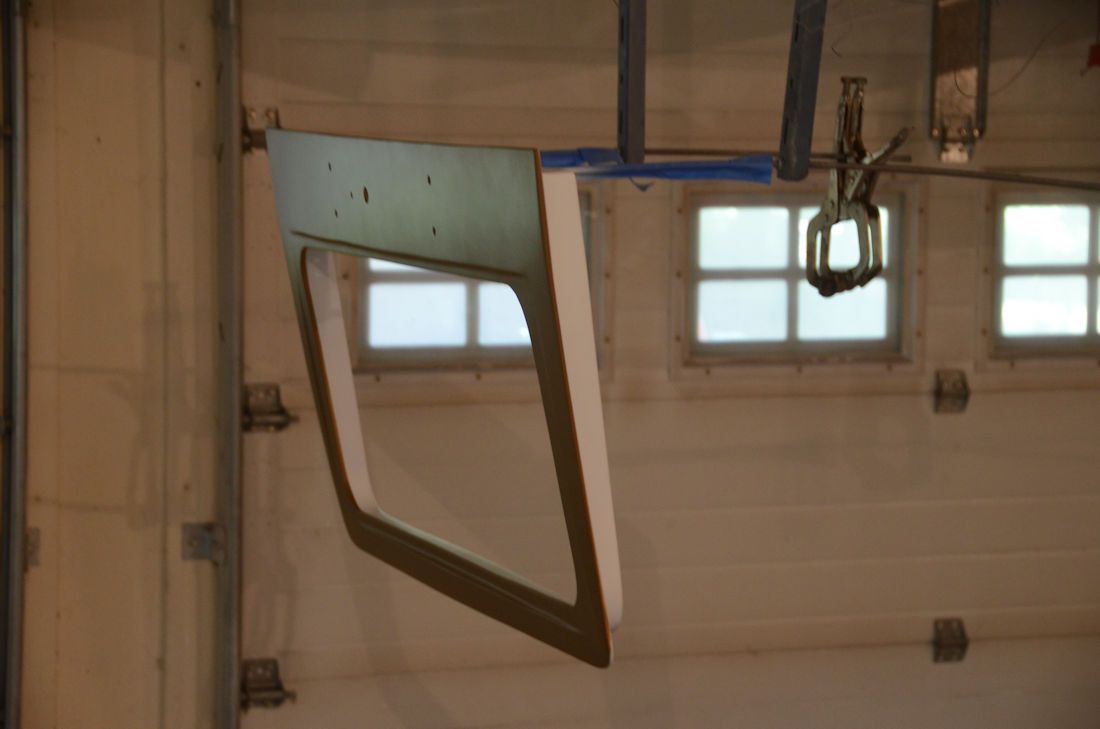
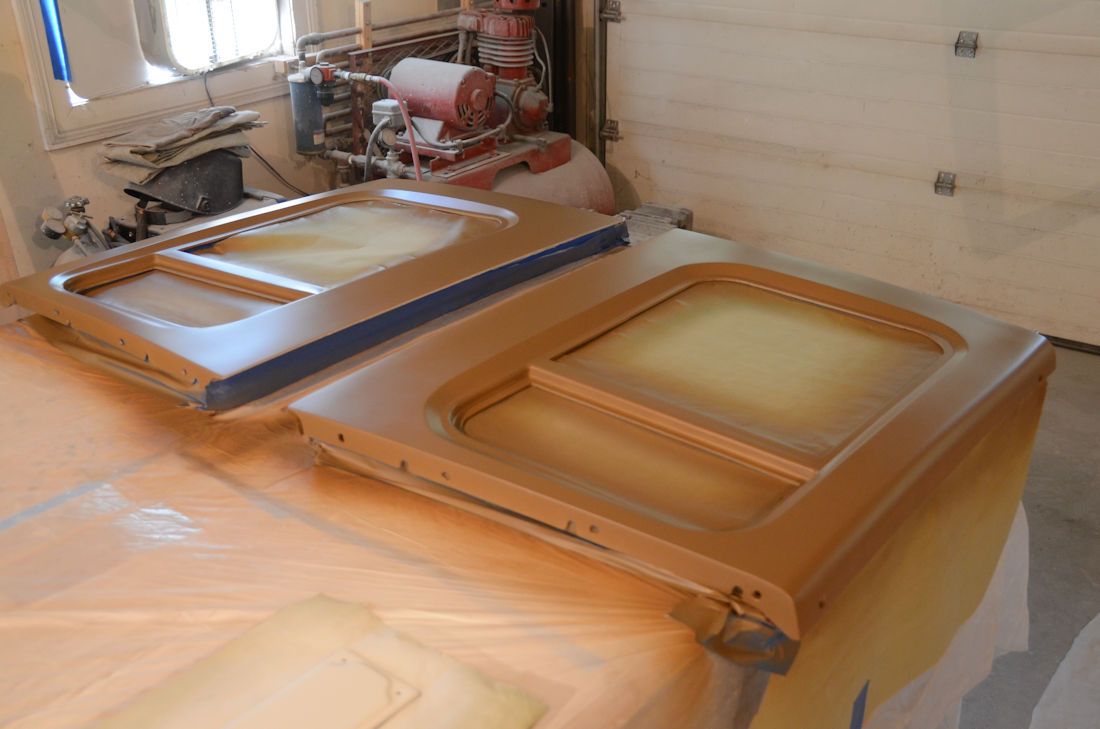
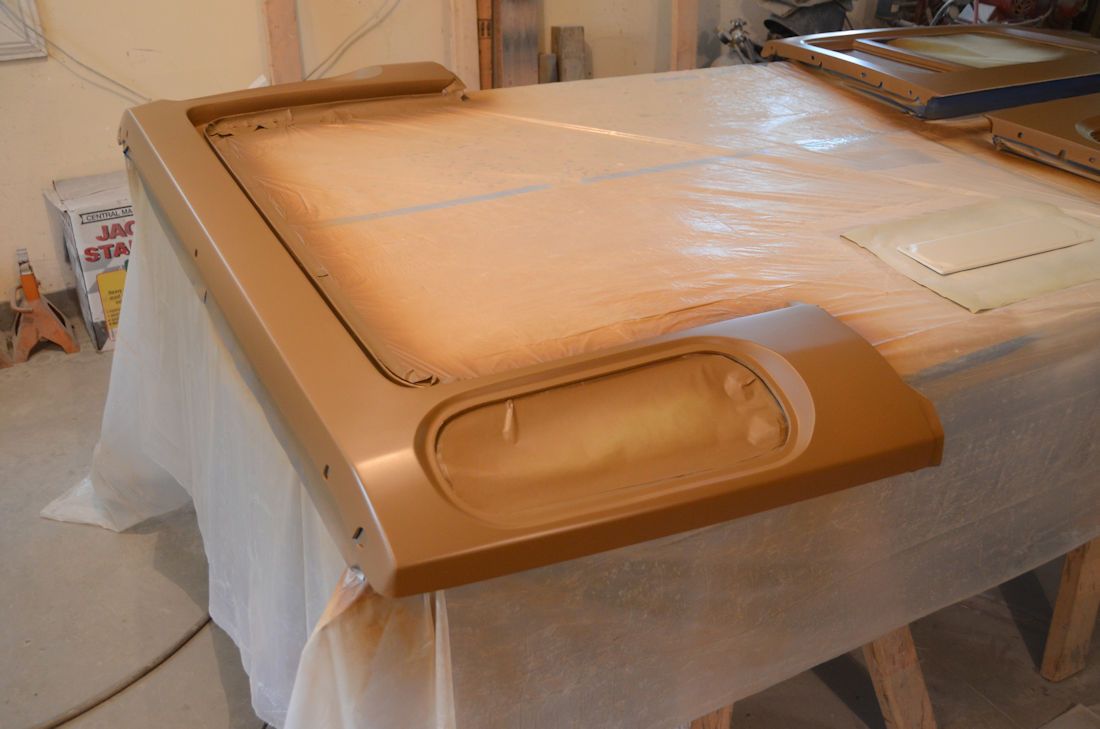
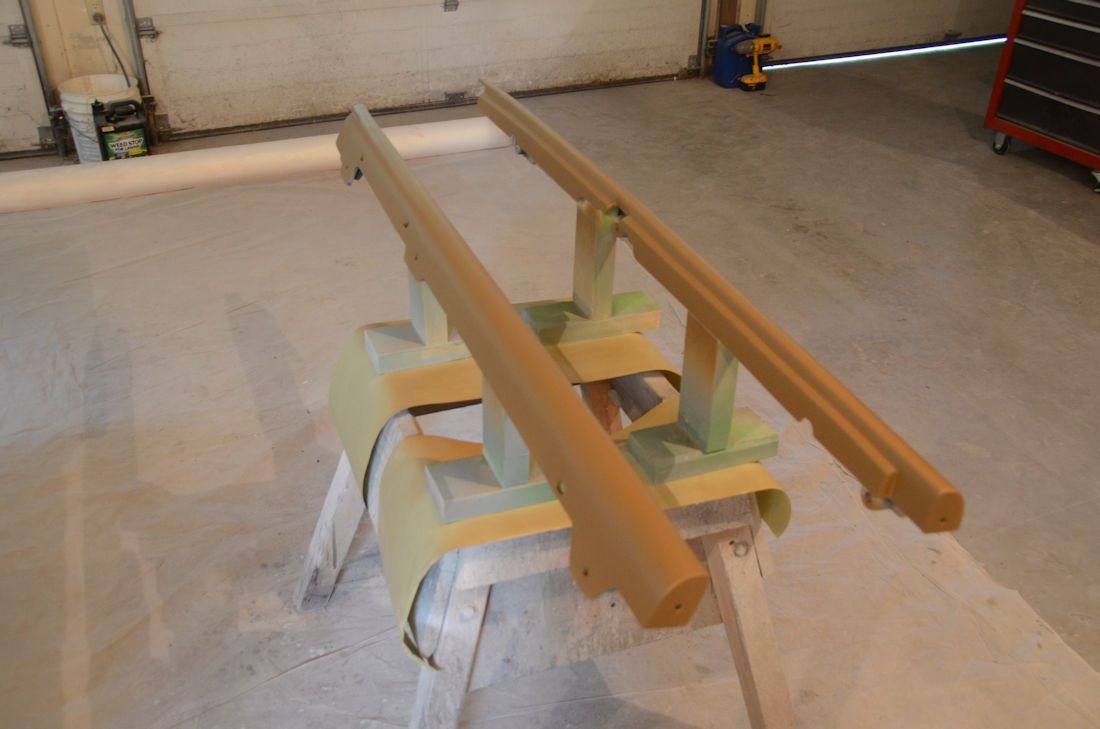
The painting process for all of the Safari Cab parts except for the roof is complete. The Eastwood matte clear gave me exactly the level of matte I was looking for. These photos are about 15 minutes after shooting (about how long it takes me to clean the spray gun) and the matte level is alreay just about perfect. As it cures all the way it'll flatten ever so slightly more.
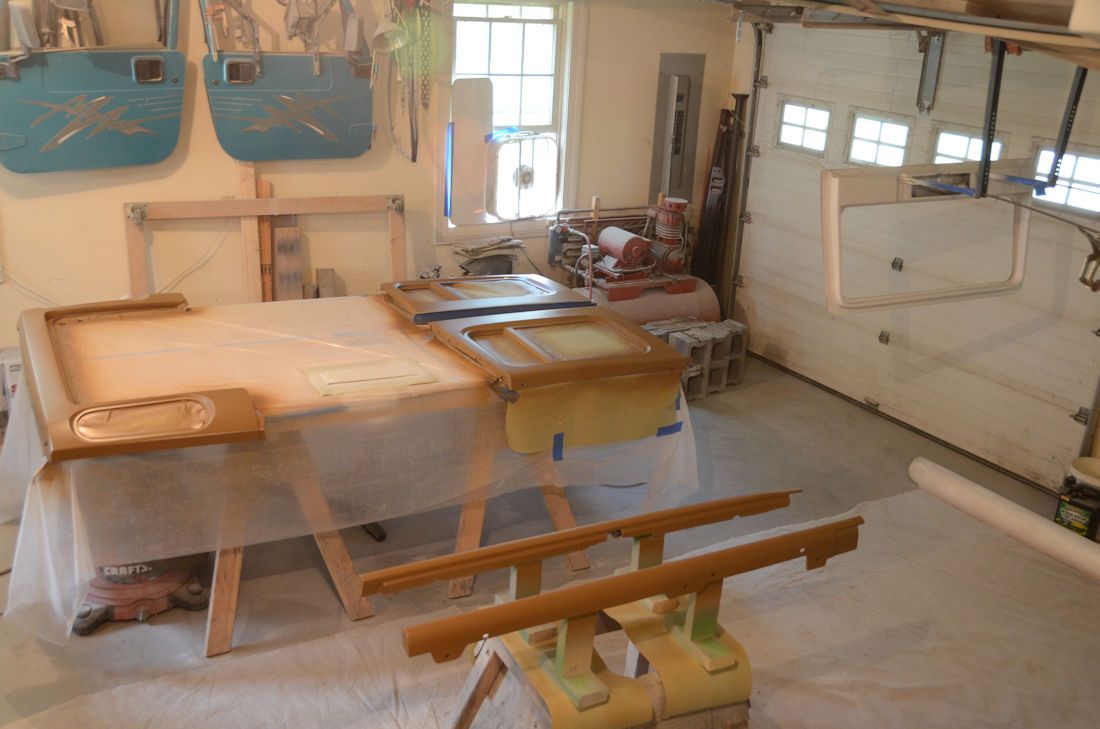
In the photo above you can see the inside of the barn door, it's painted white to match the white-tinted bedliner on the inside of the side and rear panels. Also on the workbench in white is the cover for the wiper cavity. Below is the other side, it's Spice.
Side panels:
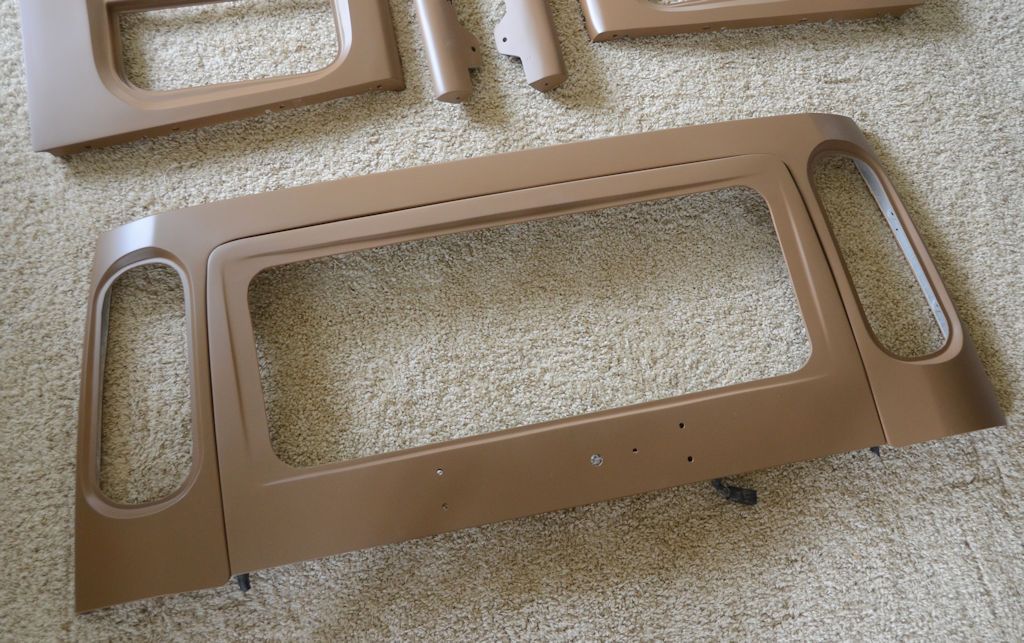
End panel:
Upper jambs:
Up until now I've had temporary acrylic windows in place, the next step is to replace them with safety glass. I talked to the glass place today and they're waiting for me to bring them templates for them to cut to. I'll do that next week.

In the photo above you can see the inside of the barn door, it's painted white to match the white-tinted bedliner on the inside of the side and rear panels. Also on the workbench in white is the cover for the wiper cavity. Below is the other side, it's Spice.

Side panels:

End panel:

Upper jambs:

Up until now I've had temporary acrylic windows in place, the next step is to replace them with safety glass. I talked to the glass place today and they're waiting for me to bring them templates for them to cut to. I'll do that next week.
jscherb
Expedition Leader
Nice work, (as always). The spare tire cover is a nice touch!
Thanks. It's all about the details
A few more details... the joint between the side panels and the end panel needs to be weatherstripped, and if I used black weatherstrip a black line would show at the joint. I'll be using a tan weatherstrip:
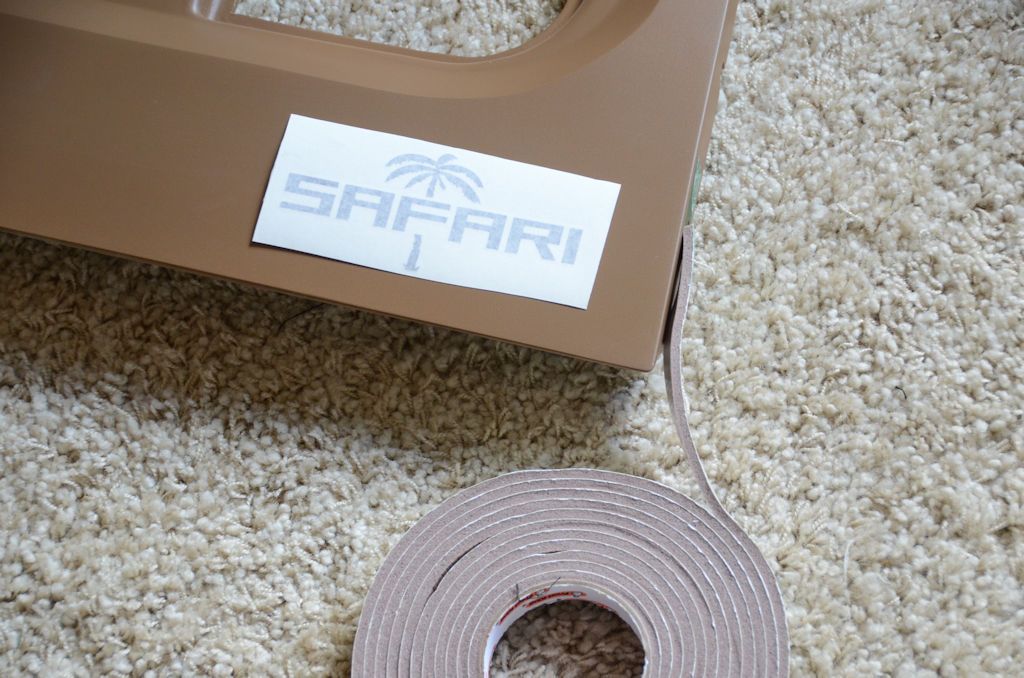
Also in the photo is one of the decals I had made up for the side panel. The carrier paper makes it hard to tell that the decal is a dark brown color, which I picked because I think it will look nice on Spice. I'll stick them on when I install the final windows.
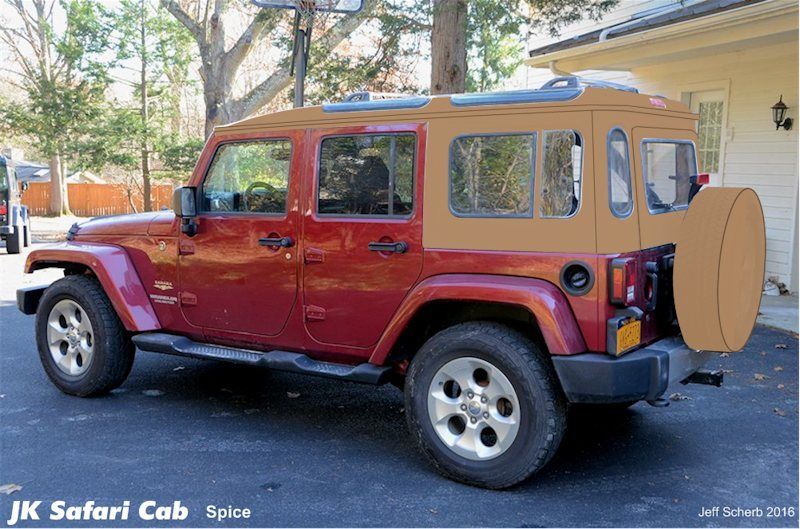
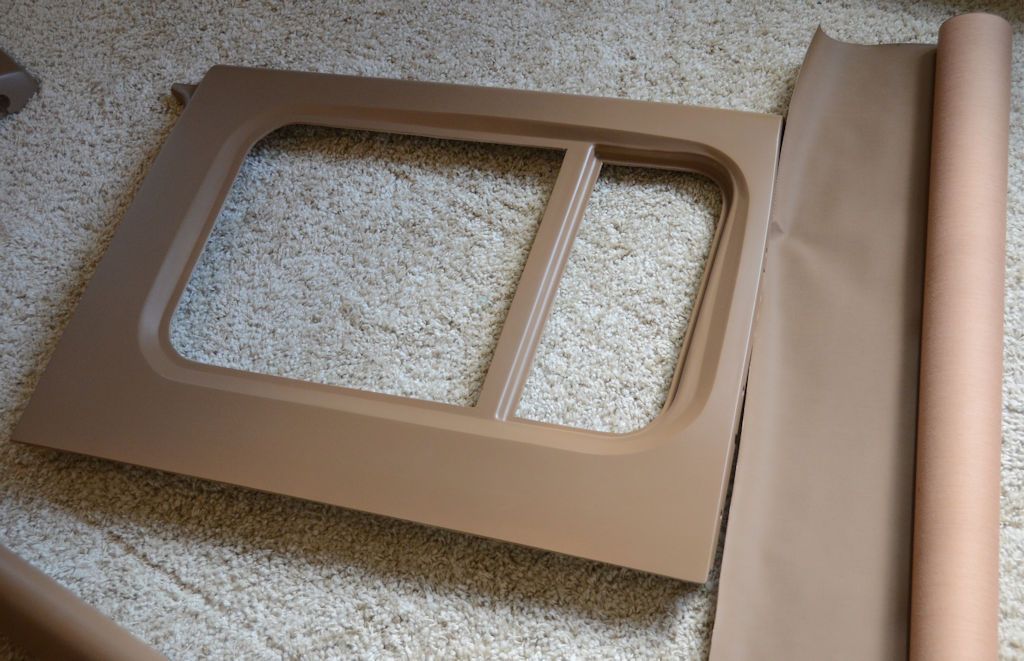
Another detail - checking the color of the Spice soft side fabric against the final painted parts:
And back to some old color concepts of the Spice soft sides...
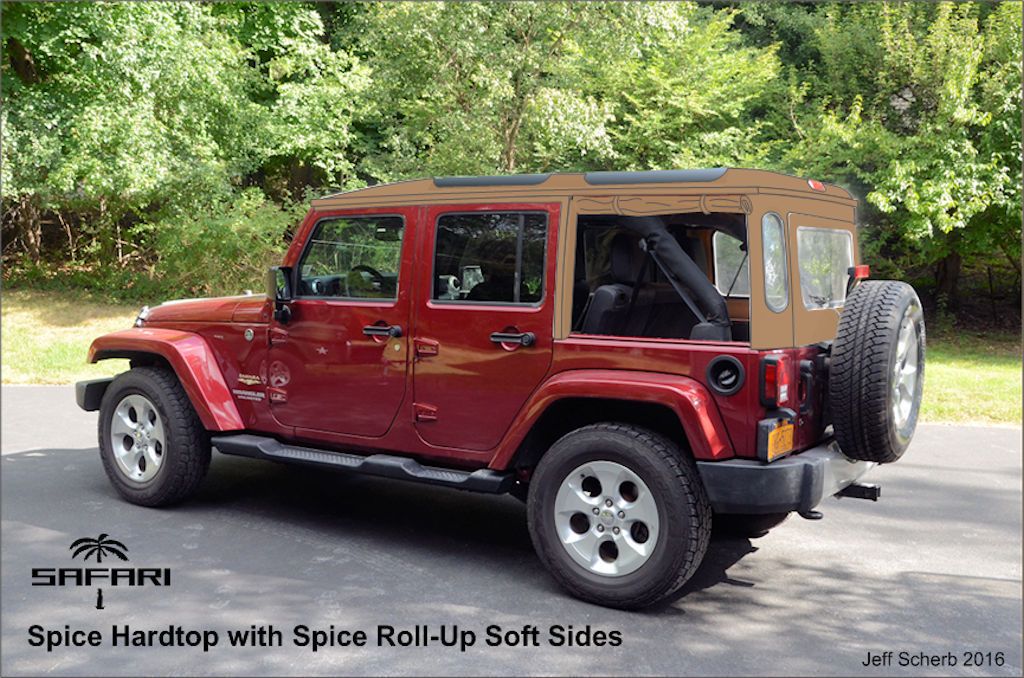
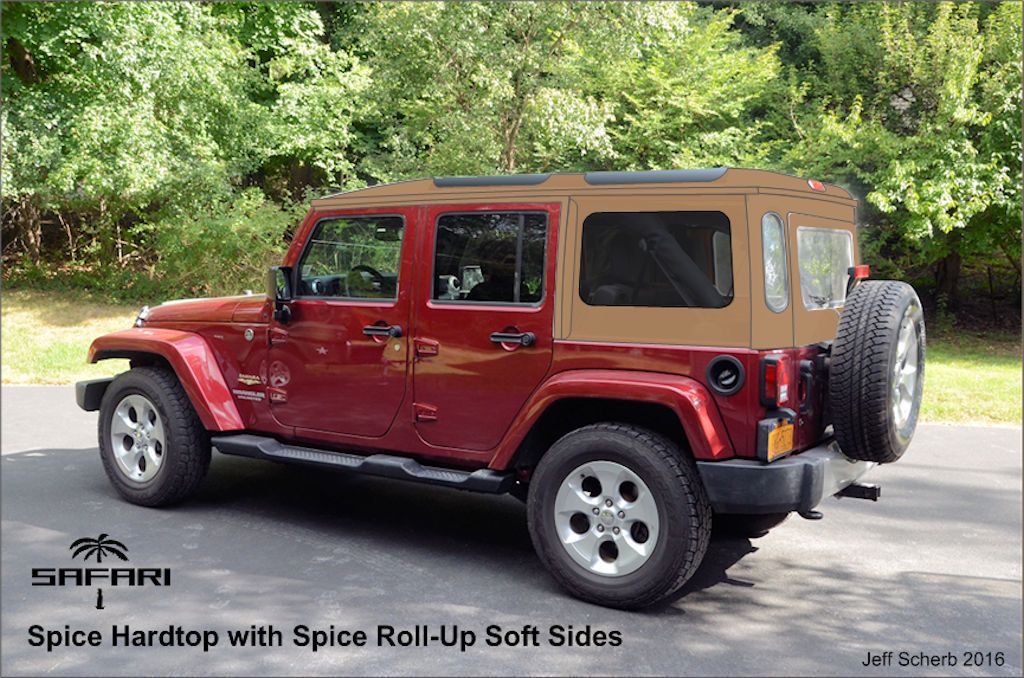
jscherb
Expedition Leader
Here's what's left to do before I can start using the Safari Cab every day (well, actually so my wife can use it every day, the JKU is her daily driver):
- Get final glass cut and installed
- Paint prep and paint the roof
- Install the headliner in the roof
Everything else is done. Next week I'll get the glass cut and start on the paint prep for the roof. The headliner I'll do after the roof is painted. In the home stretch now.
- Get final glass cut and installed
- Paint prep and paint the roof
- Install the headliner in the roof
Everything else is done. Next week I'll get the glass cut and start on the paint prep for the roof. The headliner I'll do after the roof is painted. In the home stretch now.
jscherb
Expedition Leader
As usual, with the attention to detail, I'm sure one of these concepts will be going into production.
Good work!
Thank you very much
jscherb
Expedition Leader
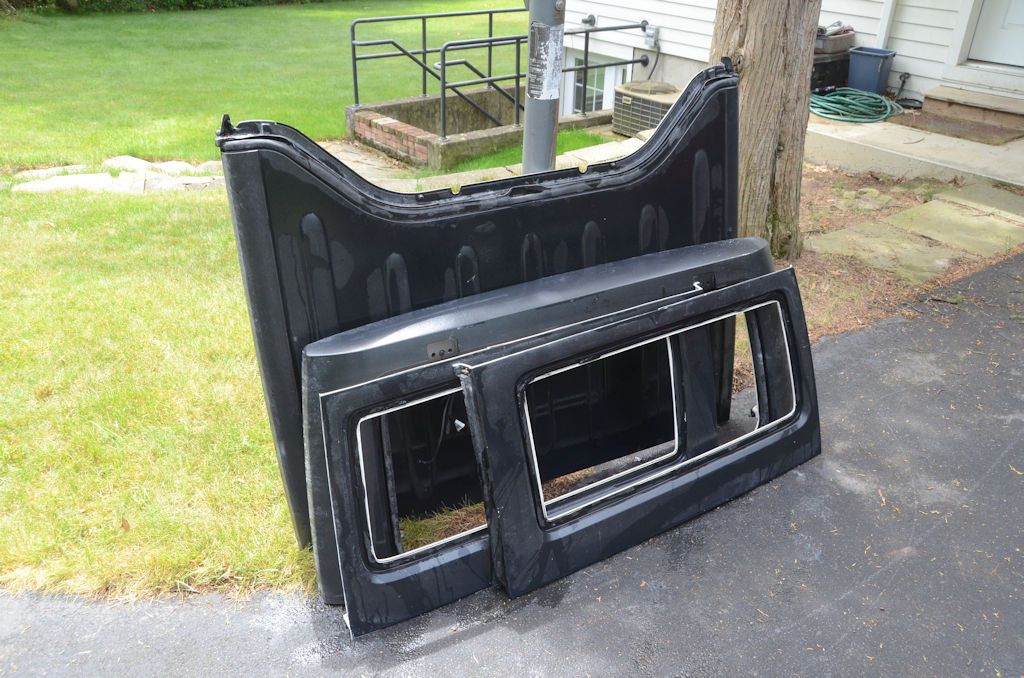
To make the 2-door hardtop easier to store until I'm ready to work on it, I cut it apart. Cutting took about 10 minutes, and once it was apart there were no surprises - it'll convert to going back together in a bolt-together modular way very easily.
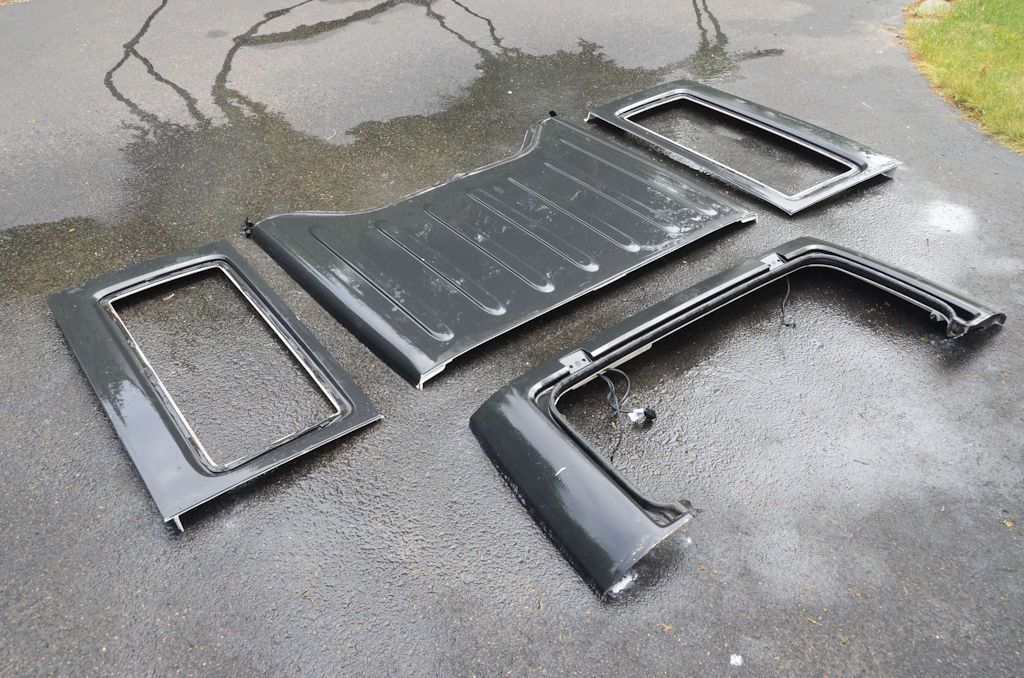
It definitely stores a lot easier in pieces...
My plan is to do the modular conversion and in the process write a very detailed step-by-step tutorial explaining how to do it. I won't be using any tools, techniques or materials that wouldn't be easily accessible to a reasonably handy DIY-er in a home garage, so this process should be possible for anyone brave enough to cut their hardtop apart .
.

It definitely stores a lot easier in pieces...

My plan is to do the modular conversion and in the process write a very detailed step-by-step tutorial explaining how to do it. I won't be using any tools, techniques or materials that wouldn't be easily accessible to a reasonably handy DIY-er in a home garage, so this process should be possible for anyone brave enough to cut their hardtop apart
jscherb
Expedition Leader
One of the configurations that should be possible with the factory modular conversion is running without the side panels. Two new holes will need to be drilled in the back panel flange and in the tub to secure the panel to the tub because there are no holes there for the factory top (red arrow).
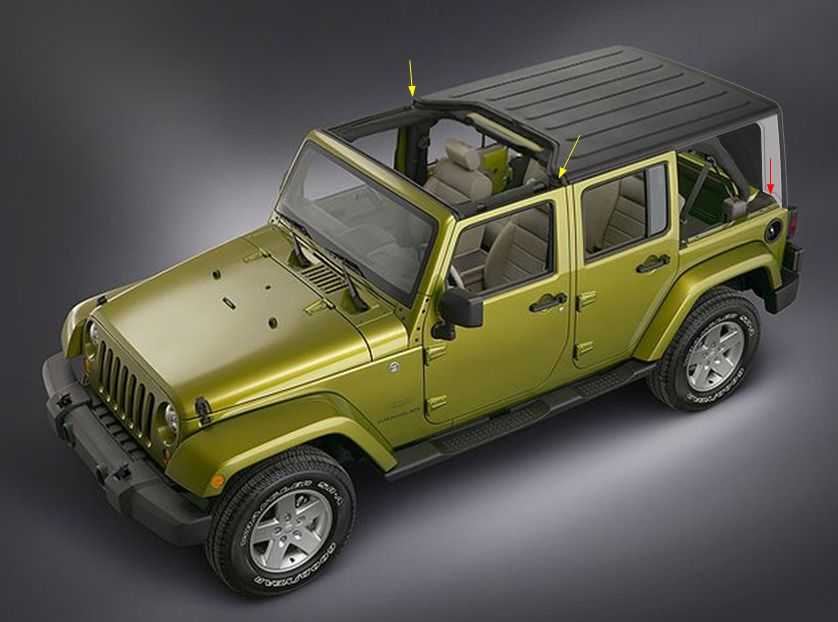
On the JKU, there are bolts in the front (yellow arrows) that secure the roof to the roll bar.
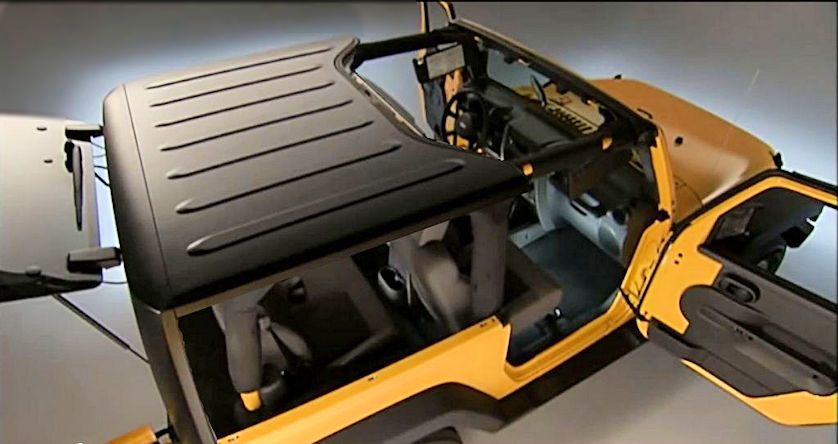
The 2dr doesn't have those bolts, and since I don't have a 2dr I don't know if the 2dr has the threaded holes in the roll bar like JKU does, so I'll have to leave it to you 2dr owners to decide how to secure the front of the roof panel to the roll bar.

Jurfie
Adventurer
The 2dr doesn't have those bolts, and since I don't have a 2dr I don't know if the 2dr has the threaded holes in the roll bar like JKU does, so I'll have to leave it to you 2dr owners to decide how to secure the front of the roof panel to the roll bar.
Nope, no threaded holes that I'm aware of. We'd have to leave the freedom panels in place when running with no sides. But IMHO, if I wanted both the sides AND the freedom panels off, I'd just run topless. I often run with my soft top up and no sides or back windows. With your barn door, you could do the same with the hard top.
Have the wheels in your brain been working on a way to run "hard top, soft sides"? That'd be the cat's ********.
Similar threads
- Replies
- 7
- Views
- 3K
- Replies
- 2
- Views
- 2K
- Replies
- 1
- Views
- 2K
- Replies
- 2
- Views
- 2K

