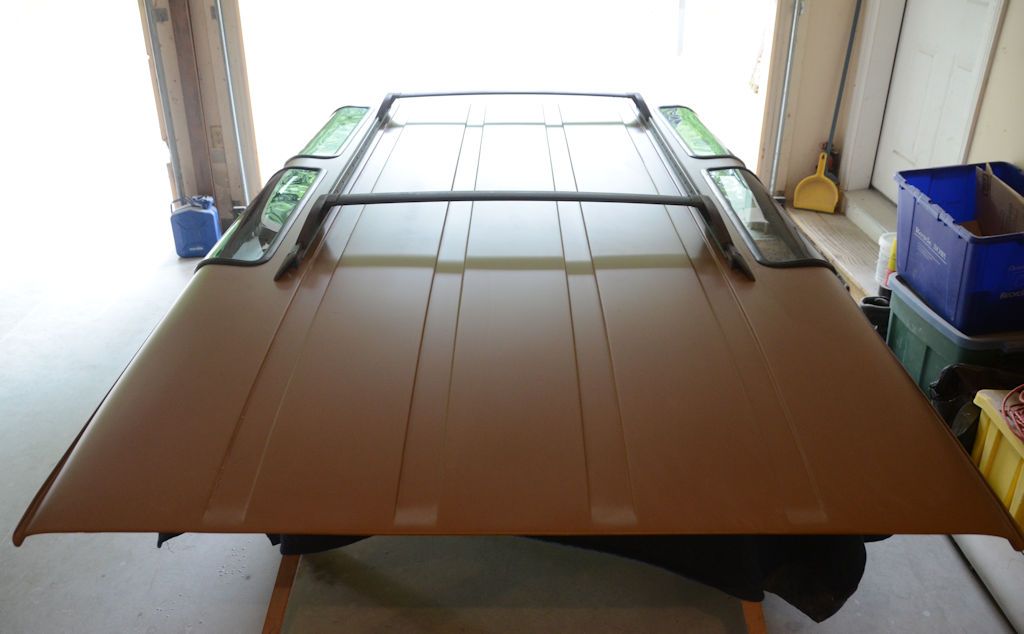
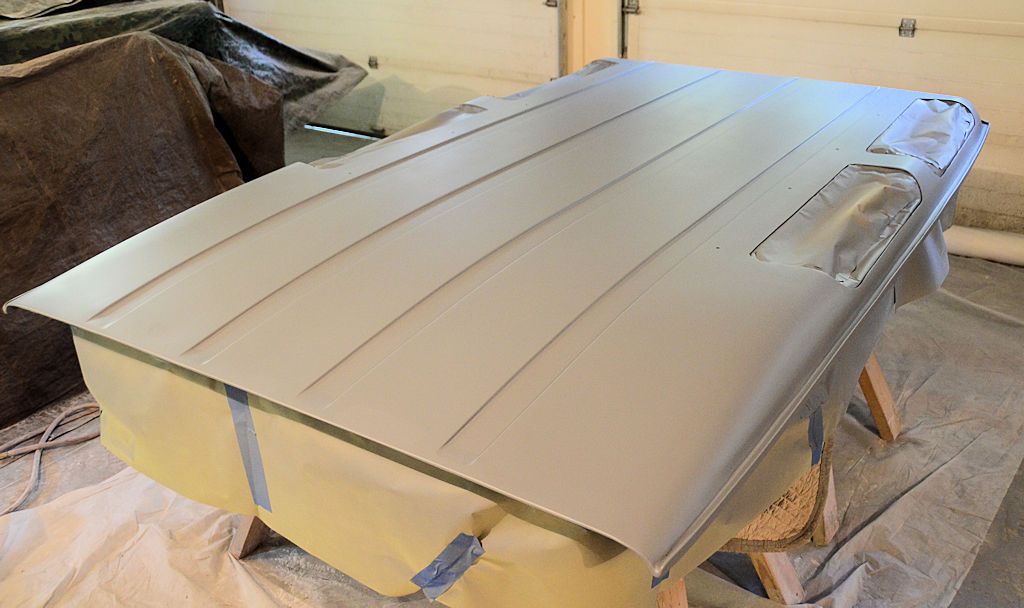
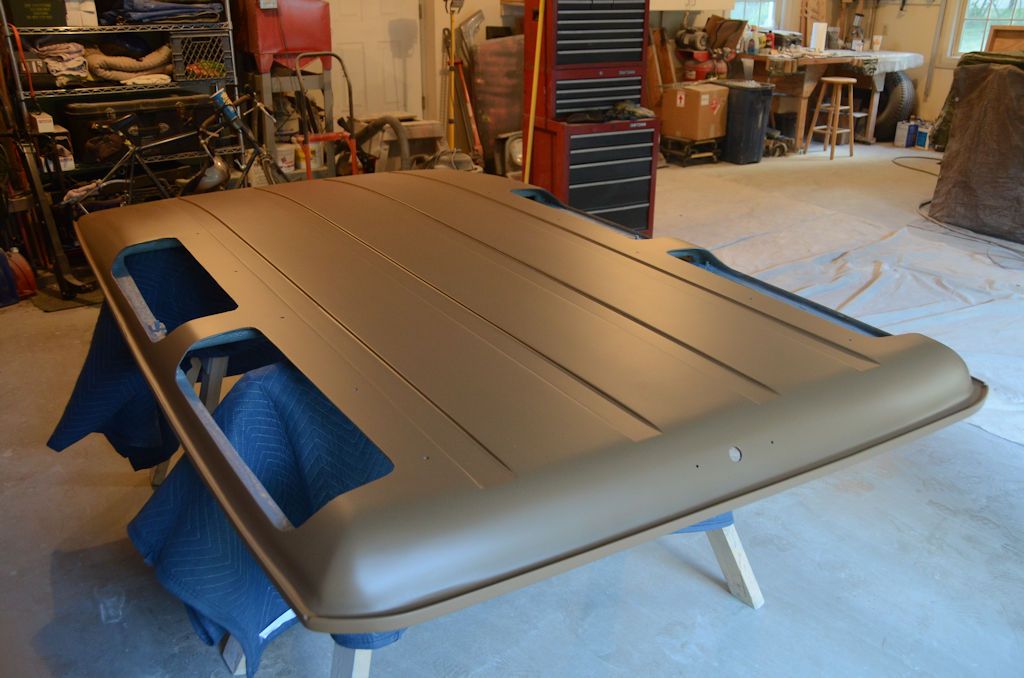
Looks great. From all I have read (no first hand experience here), the mat clear coat, and satin paints can be very difficult to get a nice even finish. So that is very impressive! :beer:
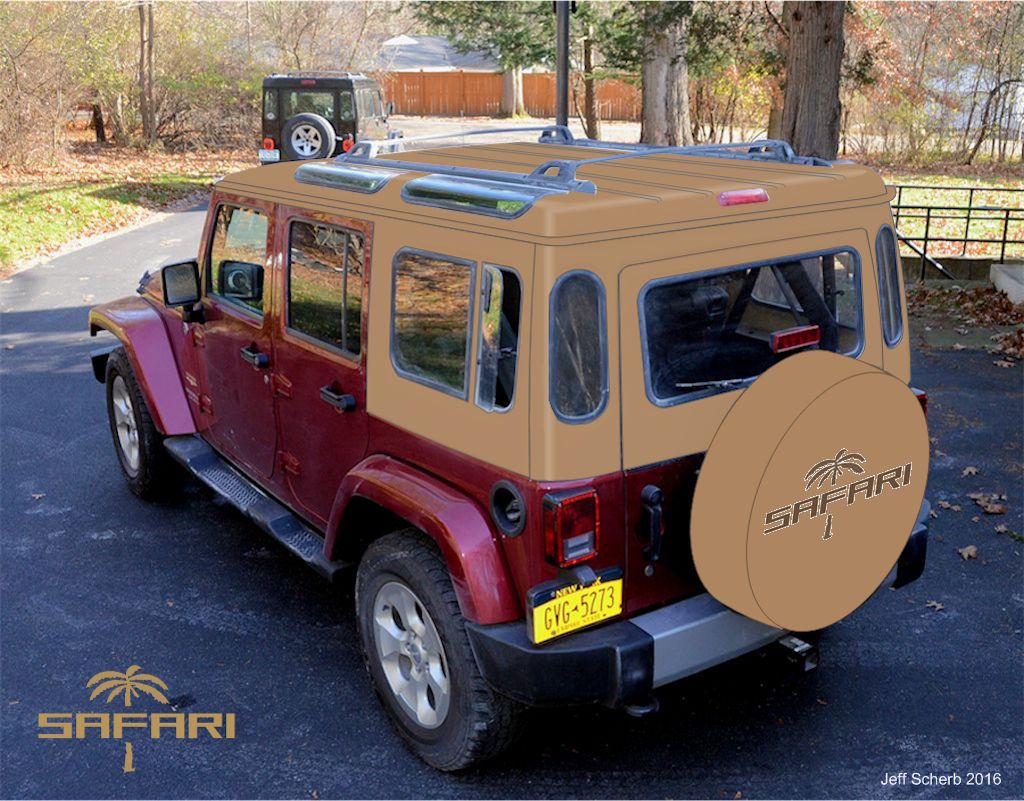
Can't wait to see it with all the tinted glass and installed on the Jeep. :beer:
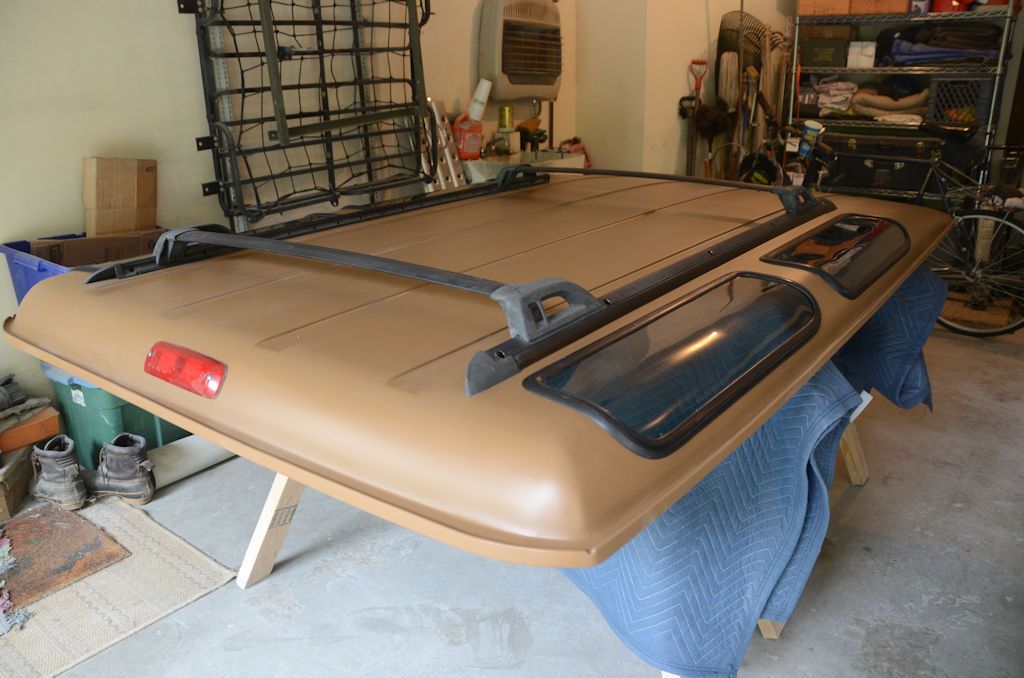
After all the work you've done (and it is very impressive), my favorite part is probably one of the simpler things you did, which is the electric opening rear windows. That is just such a cool "OEM" touch.
Pretty awesome Jeff.
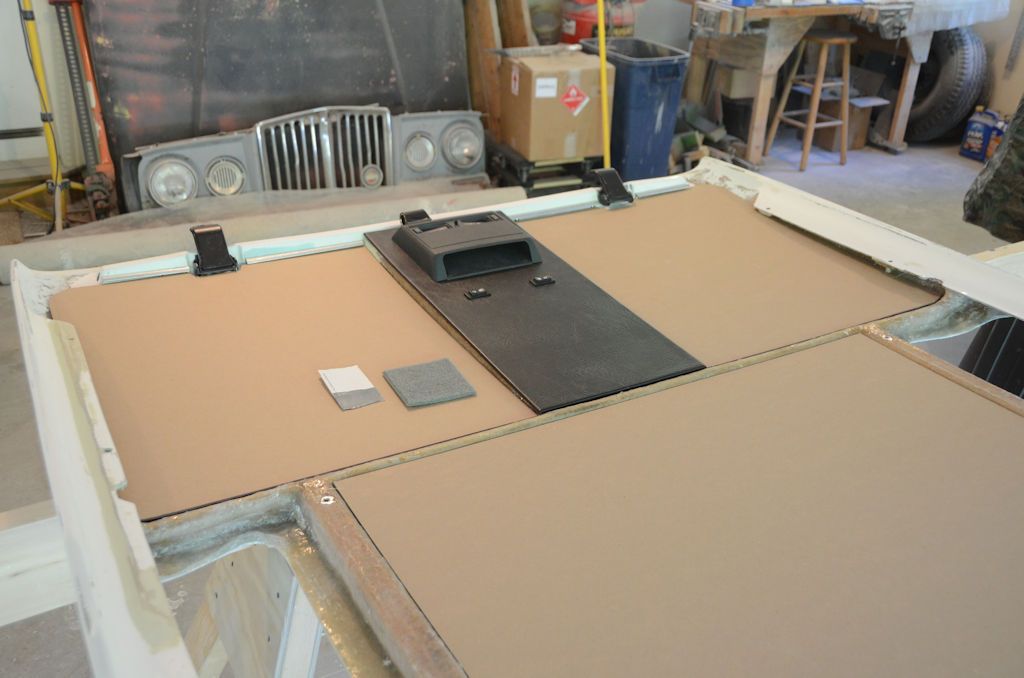

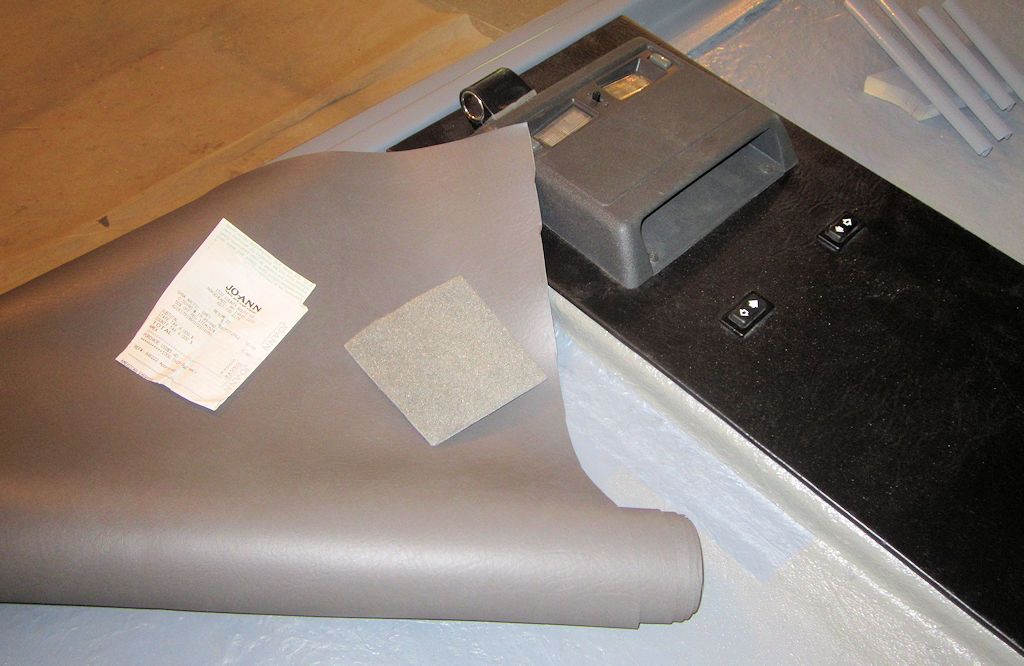
") . I hadn't originally planned them but someone posted "it would be really cool if those vent windows were powered..." and I thought I was a great idea so I did it. Lots of the features in my projects start as suggestions from people following my threads, that's part of the reason I post so much detail - so people have lots to comment on and give me good ideas
. I hadn't originally planned them but someone posted "it would be really cool if those vent windows were powered..." and I thought I was a great idea so I did it. Lots of the features in my projects start as suggestions from people following my threads, that's part of the reason I post so much detail - so people have lots to comment on and give me good ideas ") .
.