Battleship Jones: 2015 Tacoma DCLB Build Thread

Adventurous

Explorer
88th and Wads here. I drive north every morning for work, so hopefully we'll see each other on the road.

Big Choice is a frequent spot for me, be fun to meet up!

Cool! I'd love to schedule a little meet up for those in the area though I'm not sure what the best way to get word out is.
 

Adventurous

Explorer
After a week of plummeting temperatures and snowfall, I am here to report that the BFG Mud Terrains are indeed pretty sub-par in the snow. Not that this was totally unexpected, just re-confirming what was initially suggested.

Trip to the RMV tomorrow to find out how much I have to bend over to register this thing. Hopefully the pro-rated amount I paid for registering my previous truck contributes significantly towards this one.

Taking it in tomorrow to have the driver's and passenger's side windows tinted to match the rear. I'll be interested to see what the dealership has to say about the changes it has undergone since I bought it a month ago.
 

p nut

butter
After a week of plummeting temperatures and snowfall, I am here to report that the BFG Mud Terrains are indeed pretty sub-par in the snow. Not that this was totally unexpected, just re-confirming what was initially suggested.

Trip to the RMV tomorrow to find out how much I have to bend over to register this thing. Hopefully the pro-rated amount I paid for registering my previous truck contributes significantly towards this one.

Taking it in tomorrow to have the driver's and passenger's side windows tinted to match the rear. I'll be interested to see what the dealership has to say about the changes it has undergone since I bought it a month ago.

The Mud's are manageable in snow, but good siping of the center tread blocks would help big time. Side note, the new KO2's look amazing.
 

Adventurous

Explorer
Just a quick update:

After several weeks and 500 or so miles I do have to report that the OME/886 combination is a bit noisy. It makes a clunking sound while rebounding from sharp bumps or cross flexing while turning. Everything has been checked and retorqued but the noise still occurs. I can either chalk it up to them being noisy, which it appears that they may be anyway based on the reports of others, or not having the additional weight of a winch up front to settle things down a little bit more. Oh well, c'est la vie. I guess that's sometimes the price you pay while lifting. My OME/885 combo had some pretty harsh top outs too.
 

Adventurous

Explorer
Updates!

So not a whole lot has been accomplished since the last update. Life has been busy and I had to check a few things off the honey to do list. That being said, I was able to look into the noisy suspension issue and another round of re-torquing has more or less cured the problem. Things that turned out to be not as tight as they should have been: lower control arm bolts, upper control arm bolts, u-bolts. After getting those back to spec my noises are more or less cured.

Visited the registry this past week to get things registered and walked out $650 dollars lighter. That hurt. :(. I guess no winch/OBA for me for a while.

I also took it in to have the front windows tinted. I had them tint the fronts to match the back (not a big fan of ultra dark tints) and got the Llumar window tinting film which is supposed to offer some additional heat blocking feature. Whether or not that's true I suppose I'll have to find out but the GF was sold on it and seeing as how she is the one to complain about it most during excursions, I figured it was $175 well spent.

And another picture post tint!

20141207-P1010238 by Tim Souza, on Flickr

Next project to tackle: Electrical!
 
Last edited:

Adventurous

Explorer
So I start fabricating the bracket today to hold the circuit breaker and auxiliary fuse panel for the upcoming electrical accessories. I fabricated it from a piece of 1/8" x 12" x 12" 3003-H14 aluminum I ordered off of Amazon. I made the last bracket out of the same material and it proved to be easy to bend and plenty sturdy for my purposes.

As always, the first step was to make a cardboard template for the space in question. I chose to leave as much material as possible for reconfiguring in the future as I intend to add a dual battery controller, some relays, and perhaps relocate the winch solenoid under the hood. That's all in the future though, for now I just need the base piece.

20141213-P1010239 by Tim Souza, on Flickr

A few minutes with a guide and jig saw and I had myself a 2D version.

20141214-P1010241 by Tim Souza, on Flickr

Being a bit of a stickler for the details I spent a good 20 minutes or so with an angle grinder and flap disk grinding the corners into nice radii, breaking edges, and removing any burrs left behind.

The next step was to start drilling holes. 10 holes total need to go in though I only did 9 today. The missing hole is for an additional support on the inboard side of the bracket. I haven't made up my mind as to whether or not I'd like to run the support down to the bolt holding the breathers or have the support with two 90 degree bends and fasten it at the fuse box. I'm leaning towards the former but need to pop under the hood and take a look again before I drill the final hole.

Anyway, I got the all the mounting holes drilled and demurred. The bracket will eventually get paint + primer but being that my garage is not heated, it may have to wait til warmer weather rolls around. I still need to throw the 80 degree bend in it, a bit tough given that I don't have anything good to clamp it with. Perhaps the fellas in the shop at work won't mind me hopping in there for a second...

The final (2D) product! I can't wait to start wiring, it's a skill I've always wanted to learn.

20141214-P1010242 by Tim Souza, on Flickr
 
Last edited:

Oldmancrash

Adventurer
Nice looking truck. You have done a nice job. AS mentioned earlier, sipe your tires. I live up here in Montana and do not buy tires for any of our rigs any more without having them siped. Really helps in the summer as they run a lot cooler and winters they add a lot more of a traction area. Just my .02 worth
 

Adventurous

Explorer
Nice looking truck. You have done a nice job. AS mentioned earlier, sipe your tires. I live up here in Montana and do not buy tires for any of our rigs any more without having them siped. Really helps in the summer as they run a lot cooler and winters they add a lot more of a traction area. Just my .02 worth

I am most definitely getting my tires siped after the holidays. Although they will never be the worlds best snow tires it can only make them better.
 

Adventurous

Explorer
Bought myself a little Christmas present. Got an ARB CKMA-12 air compressor and a fill up kit. Any suggestions as to where to mount it? I've seen some people tuck them in the storage boxes in the bed but I'd prefer to tuck it under the hood for multiple reasons.

20141220-P1010244 by Tim Souza, on Flickr

Looking forward to having OBA. Should make airing up after running trails much, much easier.
 
Last edited:

Adventurous

Explorer
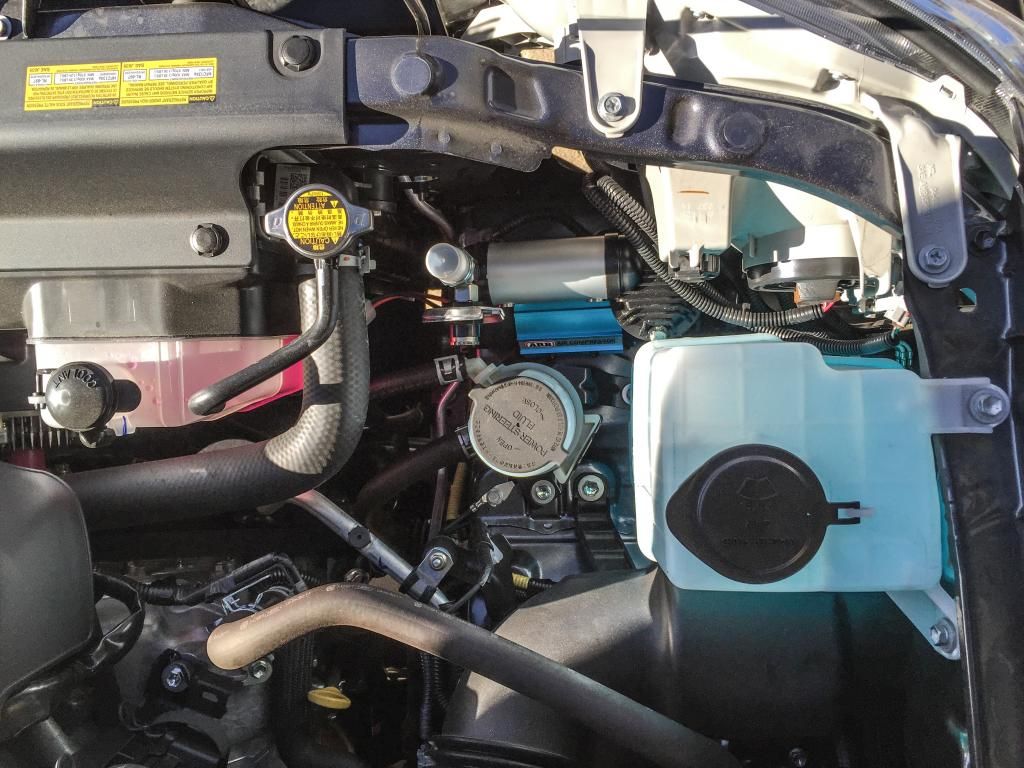
So I'd like to poll the collective Expo knowledge base. I took a look under my hood today trying to find a location for my compressor. I'd like to tuck it up under the hood if possible as that seems like the best location for it. After playing with things a bit I came up with the following place for it up front on the passenger side behind the headlight. I'm slightly worried about it's close proximity to the power steering fluid reservoir and some radiator lines. Should I be looking elsewhere? Or am I being overly cautious?

IMG_0116_zpsf7a6764d.jpg
 

DaVikes

Adventurer
My compressor is on the driver's side closer to the firewall. But I have an '11, and I don't know if they re-arranged anything under hood since then. I'm in Stapleton, and my truck is pretty similar to yours, except a short bed. Let me know if you'd like a picture of the compressor.
 

Adventurous

Explorer
My compressor is on the driver's side closer to the firewall. But I have an '11, and I don't know if they re-arranged anything under hood since then. I'm in Stapleton, and my truck is pretty similar to yours, except a short bed. Let me know if you'd like a picture of the compressor.

I would definitely be interested in taking a look at some point. I was intending to put the auxiliary fuse block and panel on the fender near there, do you have that same setup?
 

DaVikes

Adventurer
Compressor location

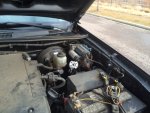
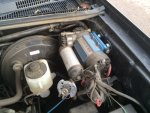
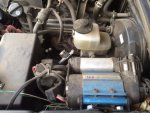
Life finally slowed down enough to take a couple pics. I didn't do the install, the prior owner did. The location works pretty well in that it's easy to get your fist around the hose to plug it in, without banging your hand on other things. Plugging the hose in takes a little force, so most people will need a good grip on it.

photo 1.JPG

photo 2.JPG

photo 3.JPG
 

Forum statistics

Threads
188,398
Messages
2,904,178
Members
230,274
Latest member
mbauerus1
Top