You are using an out of date browser. It may not display this or other websites correctly.
You should upgrade or use an alternative browser.
You should upgrade or use an alternative browser.
Bear, My 200 Series Newbie Build
- Thread starter aausmana
- Start date
wreckdiver1321
Overlander
Sold! Sign me up! We're there!
Sent from my iPhone using Tapatalk
I thought you might say that
...Though I do not have all the right tools (did not want to spend $300-400 on a table saw, etc.), and some of the lines are by no means straight or pretty, I think it's turning out pretty well - happy with it.
You don't need a table saw to cut a straight line, you can make a circular saw guide(or three) for the cost of a sheet of plywood that works great. Here's one way to make a nice guide done by Jay Bates(he makes very good vids). He mentioned its made for the particular circ saw that does the initial cutting, you also need to use the same model blade( 24 tooth, combo carbide tip, etc.) or you may lose the initial cut line do to different blade thicknesses and/or tooth set.
https://www.youtube.com/watch?v=n-1XKctLrAU
This is just one a zillion ways to do it, lots of other examples on utube. You can buy a guide but these diys are just as good.
Enjoying your build!
Brian
Last edited:
Great looking truck!
Sent from my iPad using Tapatalk
Thanks Mambo!
You don't need a table saw to cut a straight line, you can make a circular saw guide(or three) for the cost of a sheet of plywood that works great. Here's one way to make a nice guide done by Jay Bates(he makes very good vids). He mentioned its made for the particular circ saw that does the initial cutting, you also need to use the same model blade( 24 tooth, combo carbide tip, etc.) or you may lose the initial cut line do to different blade thicknesses and/or tooth set.
https://www.youtube.com/watch?v=n-1XKctLrAU
This is just one a zillion ways to do it, lots of other examples on utube. You can buy a guide but these diys are just as good.
Enjoying your build!
Brian
Thanks for the link Brian. I started using my own 2x4 guides clamped down which worked well toward the end of the project, it was the beginning where some areas on the carcass could have come out better IMO. Nevertheless, I am happy overall with the outcome.
This makes me want a 200 bad... :bowdown:
Thanks Chuck! We need more 200 owners out there - i think you should jump in!
More Pics 
So I have gotten plenty of requests for more pics... here are a few I think you will enjoy. I will post many more and have to find some time to complete my dual battery install, rear electrical distribution, rock lights, fridge slide and fridge install, etc. etc. etc. Feedback and questions welcomed! :Wow1:
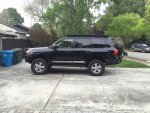
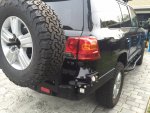

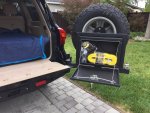

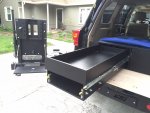
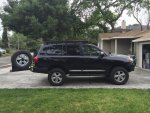
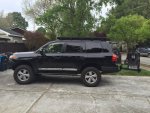
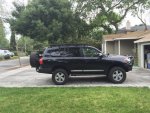
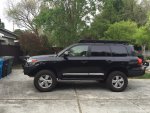
So I have gotten plenty of requests for more pics... here are a few I think you will enjoy.


sPOD and Light Install
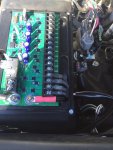
I finally got around to creating some wiring harnesses and getting them wired into the sPOD. Here are some pics of the install and outcome:
I began with removing the side section where I wanted to mount the ram mount to hold the sPOD LCD display. I was originally thinking about mounting it to the A pillar o ******** grab handle but after sitting in the rig for a while and looking at my setup, I found a very good spot for it the is out of the way yet quickly accessible with my right hand.

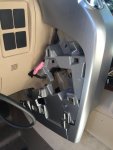
Drilled two holes to mount the Ram mount and used locking nuts on the back end to ensure a tight fit that should not come loose.
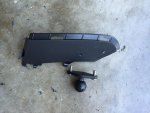
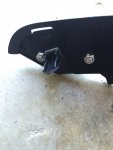
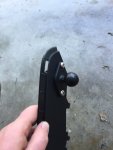
I then repositioned it and figured out where I wanted the connection cable to be routed out of the way and not visible when the sPOD was mounted. Use a drill to start and then a utility knife to trim cleanly.
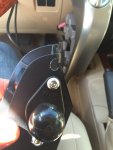
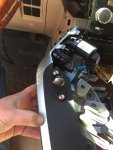
I finally got around to creating some wiring harnesses and getting them wired into the sPOD. Here are some pics of the install and outcome:
I began with removing the side section where I wanted to mount the ram mount to hold the sPOD LCD display. I was originally thinking about mounting it to the A pillar o ******** grab handle but after sitting in the rig for a while and looking at my setup, I found a very good spot for it the is out of the way yet quickly accessible with my right hand.


Drilled two holes to mount the Ram mount and used locking nuts on the back end to ensure a tight fit that should not come loose.


I then repositioned it and figured out where I wanted the connection cable to be routed out of the way and not visible when the sPOD was mounted. Use a drill to start and then a utility knife to trim cleanly.


sPOD Continued...
Got under the drivers side took the kick panel off and routed the cable under and through the hole I created.
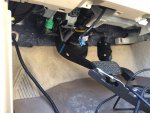

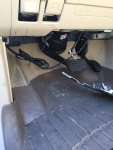
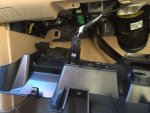
Put everything back together, fit was perfect and mounted the sPOD

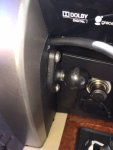
We have power!

Starting to connect some of the cables into the sPOD for simple testing, length sizing, etc. - super easy. Then started routing the cables as best I could.
Got under the drivers side took the kick panel off and routed the cable under and through the hole I created.


Put everything back together, fit was perfect and mounted the sPOD


We have power!

Starting to connect some of the cables into the sPOD for simple testing, length sizing, etc. - super easy. Then started routing the cables as best I could.


Similar threads
- Replies
- 44
- Views
- 8K
- Replies
- 1
- Views
- 1K
- Replies
- 5
- Views
- 1K
Forum statistics
Members online
- gobi_recon
- IdaSHO
- pappawheely
- roaming.nomads
- stoneglasshaus
- Expedit
- Dan Grec
- valcon1
- NOPEC
- 85_Ranger4x4
- Pierre D
- gnel
- mandz1mc
- Westy
- Bigroaddriver
- SloinMO
- simple
- Ferjablito
- harpersJK
- luthj
- KW15
- gwittman
- RKRUGER
- geovangelist
- DVD
- 2Jeeps&PatriotX1
- dizzydom
- SDDiver5
- Bluedog1
- avlfj40
- cbwymore
- SVTRIT
- Jack Mac
- jalake
- mark5280
- CORunner
- rino
- superbuickguy
Total: 3,036 (members: 43, guests: 2,993)


