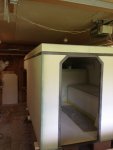
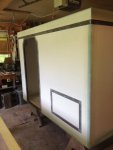
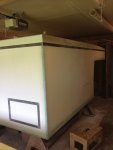
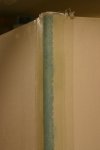
still at it, slow and steady. double our typical rainfall in june and 8" of rain so far in july is keeping it slow. painting the board locker was a learning experience! first coat i tried the 2 part high build epoxy primer. this stuff is super thick and the worst smelling stuff i've dealt with. i started to roll it on with a 1/4" roller cover....too much texture. switched to a 3/16 and it did a lot better, but was tough to get on even. had to be careful not to leave "ridges" at the edge of each roller pass. also, if i did not get complete coverage in the 1st pass and went back over that area to cover the voids, it would do the opposite and pull more primer off the surface, so i found i had to get good coverage on 1st pass. ended out with a pretty good job, but not as easy as i'd hoped. as this was a test, i wanted to see how the finish was without sanding the primer. after 1st coat dried, i switched to an "above water" 1 part high build primer. ("total boat topside primer"). this stuff was about half as thick as the 2 part, rolled on super easy, had better coverage and dried quick. i followed that with "total boat wet edge" topside paint, again without sanding. i could have achieved a much smoother finish had i sanded and will likely do so for the rest of the camper, specially the exterior, but this is a closed in area and i actually wanted a bit of texture to keep boards from sliding around. i "rolled and tipped" the final paint, my first attempt at this style, and it went easy. i think it will look much better on a sanded primer. one coat was all it took on the topside paint. i did run into another issue: it rained pretty hard just as i started painting the final coat. humidity stayed below 80 in my shop (it warns not to paint above 95%) but the paint cured super slow. the label said allow minimum of 16 hrs, but it took 3 1/2 days (about 70 deg and humid) to fully cure.
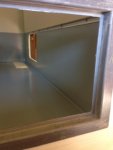
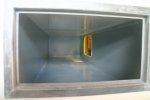
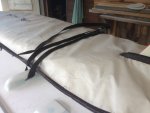
with the box painted, i could finally put the lid on it.
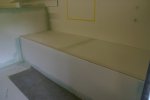
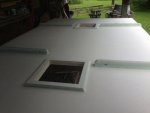
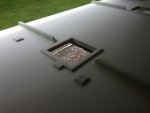
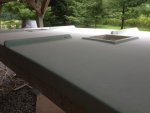
on to the roof. this i a big piece of nida-core.. 80" x 12'. the roof is curved from front to back in order to have no flat area where water can pool. on my old camper this has always been a problem, eventually causing sag and a reason for leaks around the vent. so the roof has short walls laminated to the main sheet. first, each wall must be "glued" in place before laminating.
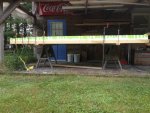
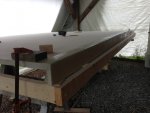
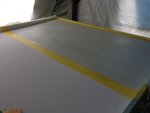
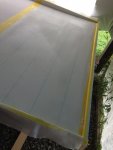
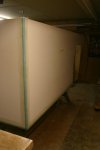
then the lamination. here's the final wall prepped to lam. the tape is layed out to provide a guide to roll out the fiberglass tape. the masking paper serves as a surface to "wet out" the tape. i roll out the widest layer of cloth on the paper, wet it out with resin by pouring and using a brush or squeegee. then brush resin on the surface to be lammed. next, i roll up the wet fiberglass, and starting from one end, roll out the fiberglass along the tape line. after it's rolled flat from end to end, i smooth out the top surface, working from the middle to each end, working out most air bubbles. then i do the same to the vertical surface. i usually do this using my hands (gloved, have a lot of gloves readily available). if the surface is good and wet this goes easy and i lay out the subsequent layer dry but in the same manner, using my hands and a fresh pair of gloves. use a brush to wet out any unsaturated area and finish up with plastic squeegee to get out any air bubbles and remove excess resin. here's a photo prepped to go.
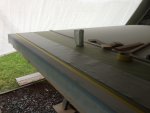
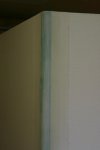
and here's a shot of a corner after it's been lammed.


