Box Rocket 1995 FZJ80 Build

Box Rocket

Well-known member
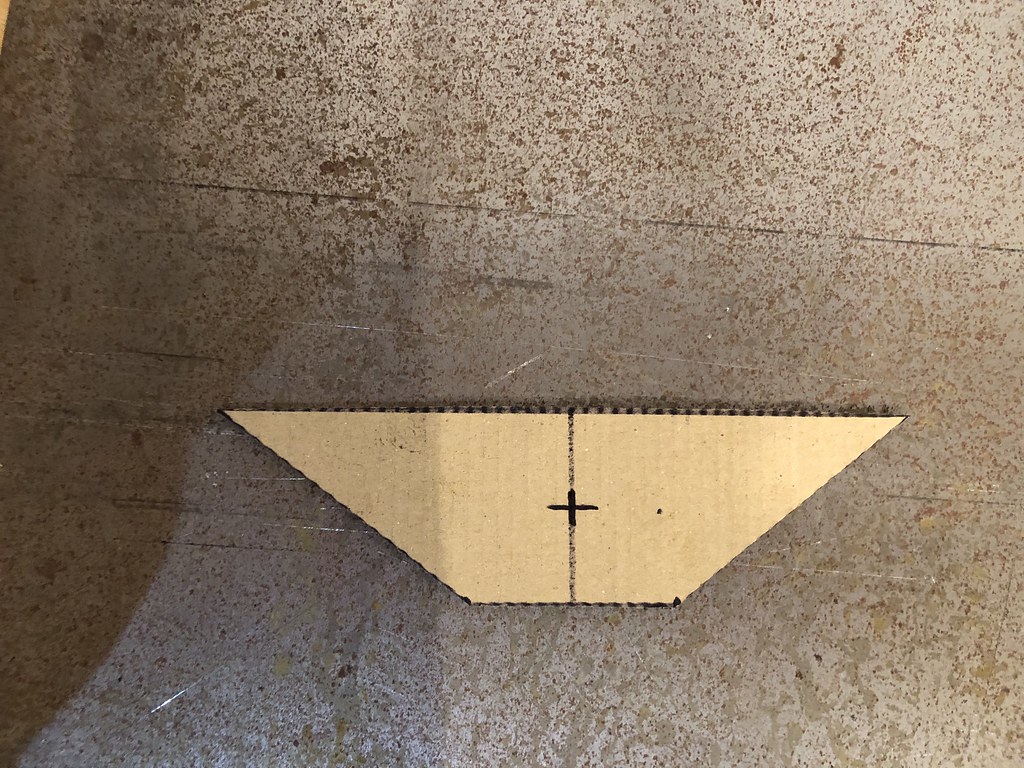
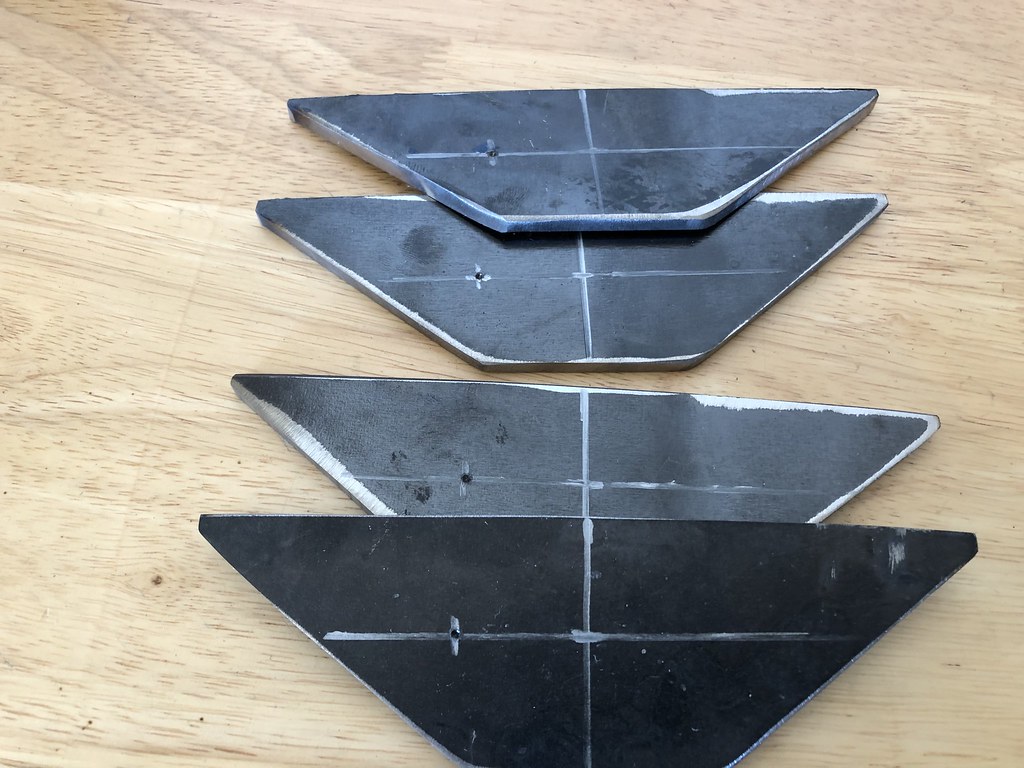
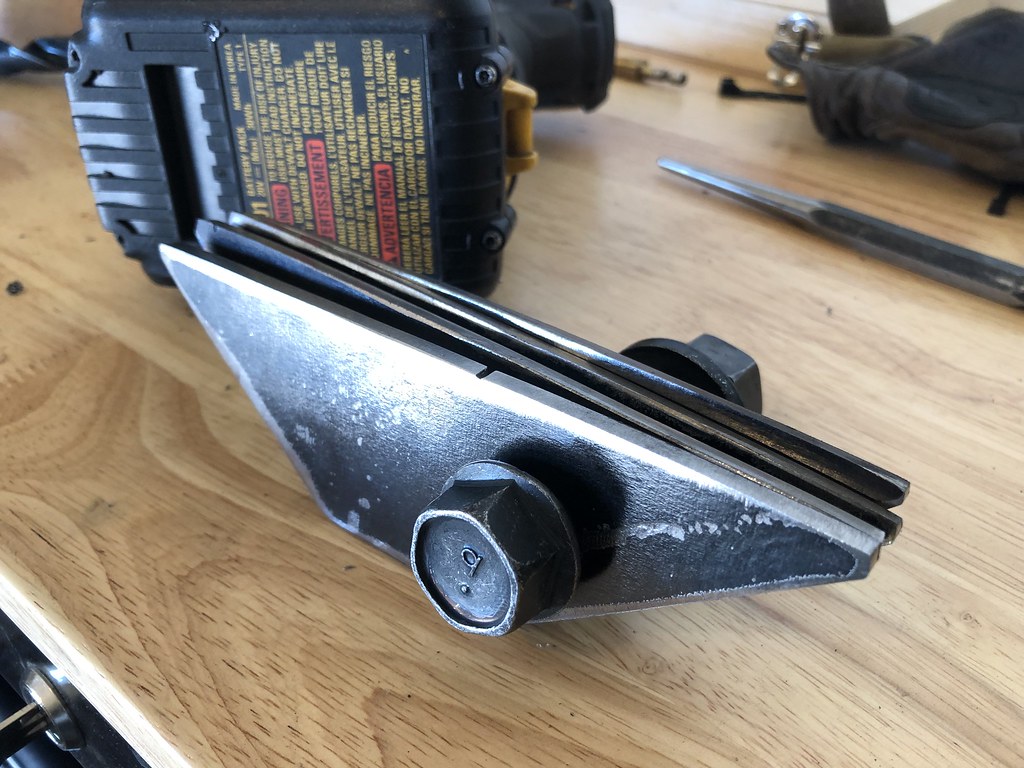
After the bumpstops are sorted, the last step will be to relocate the front axle ~1.5" forward. I plan to do this using the method Darren McRae has been using in Australia for some time now with the Slinky kits and factory radius arms. New plates are welded in to the frame bracket for the radius arms and new holes drilled farther forward. These will give better tire clearance at the firewall. Don't want to move it to far or there are clearance issues with the front panhard.
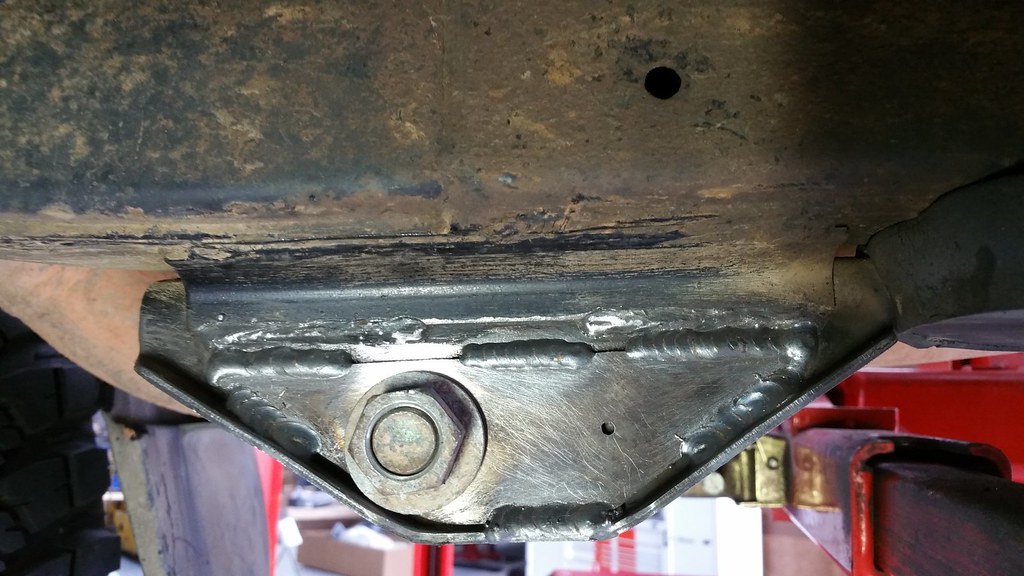
RadiusArmPlates by Adam Tolman, on Flickr
 
  • Like
Reactions: bkg

Box Rocket

Well-known member
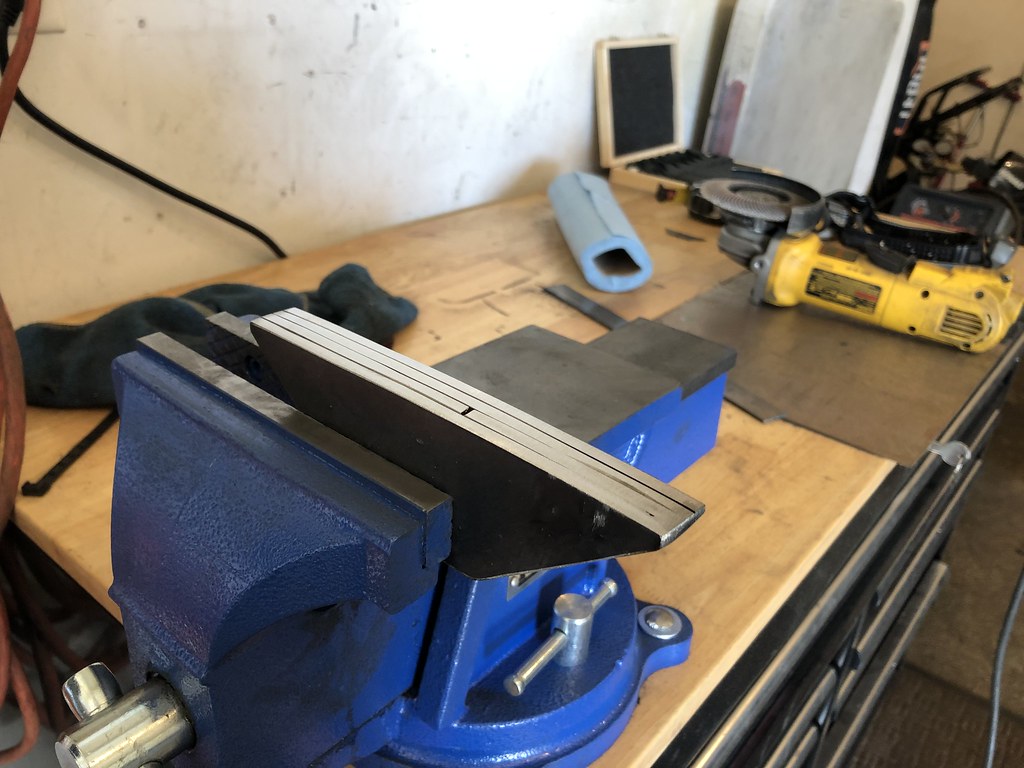
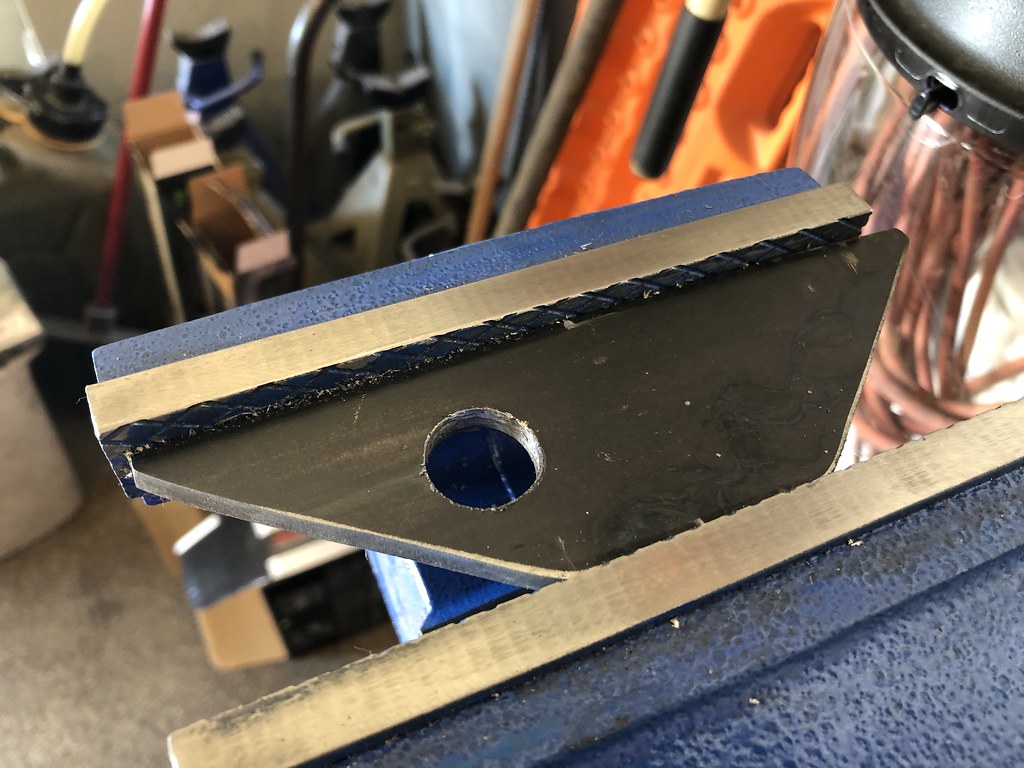
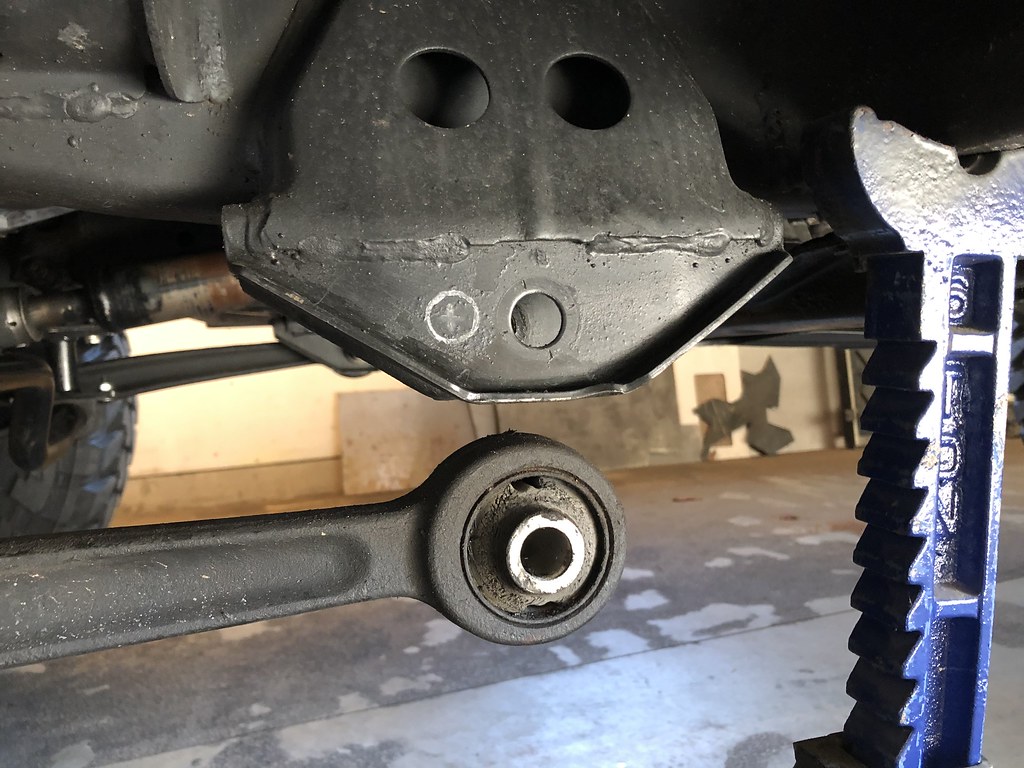
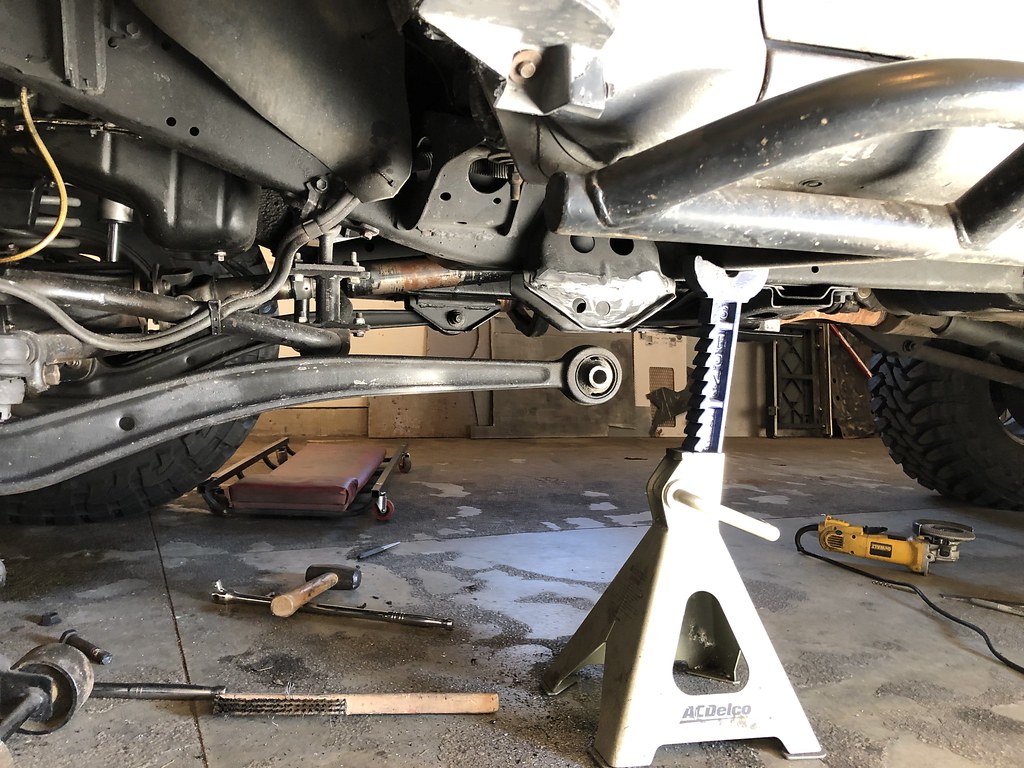
Saturday was spent doing my front axle relocation to improve tire/firewall clearance. Not a terrible job but maybe a bit slow because of my mostly basic tool set. EHO did not have any of the bracket plates on hand so I made my own from some 3/16 plate I had on hand.

Tools needed:
Angle Grinder with cutoff wheel to cut the plates.
18mm drill bit to drill the plates and frame brackets
22mm, 24mm sockets for the radius arm bolts.
Jackstands.
Hammer/drift to knock bolts out if they don't just slide out.
Antisieze for the bolts
Welder.


Moved the axle 30mm forward (~1.25"). Drove it around town Saturday night, and 200 miles on the highway yesterday. No change in driving behavior (as expected) but an improvement in tire clearance. This is a worth while mod to help fit larger tires (37s or larger) to minimize the amount of fender/flare trimming. There is still a bit of trimming but nothing extreme so far. Still need to do a full stuff flex test but I think I'm just about there with proper 37"tire fitment with the 3" Slinky kit.
Axle relocation by Adam Tolman, on Flickr

Axle relocation by Adam Tolman, on Flickr

Axle relocation by Adam Tolman, on Flickr

Axle relocation by Adam Tolman, on Flickr

Axle relocation by Adam Tolman, on Flickr

Axle relocation by Adam Tolman, on Flickr

Axle relocation by Adam Tolman, on Flickr

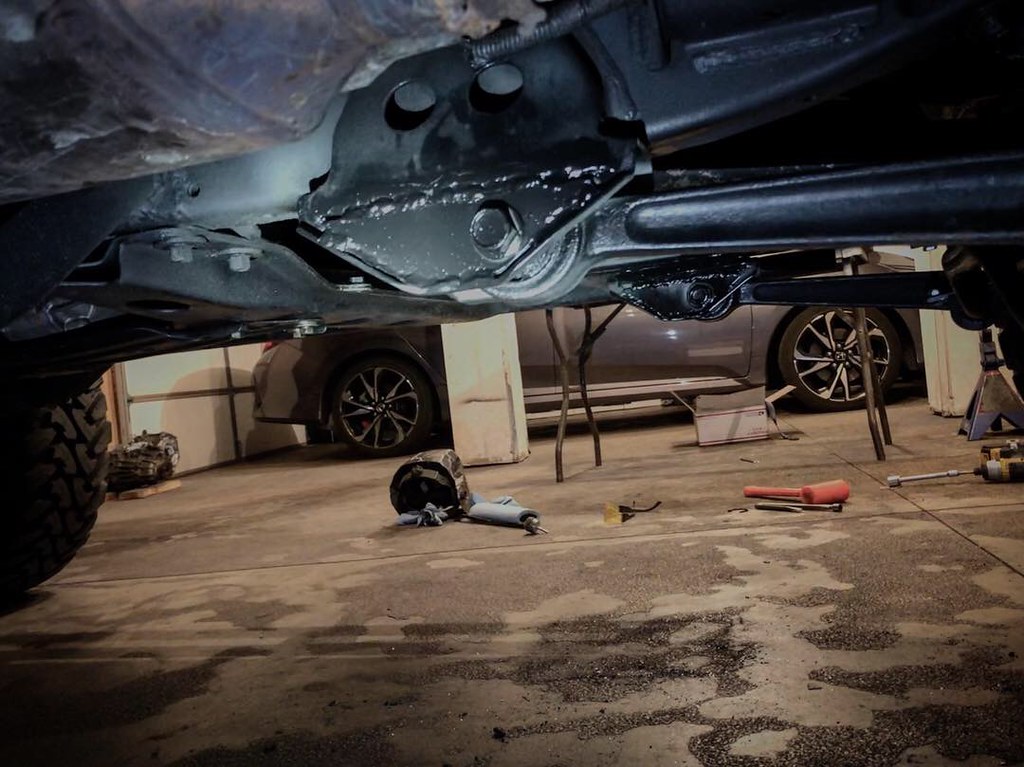
It was getting late and I still had a date with my wife so I didn't take additional pics of the welding process and only snapped one pic after it was all buttoned up. Fresh paint makes my welds look worse than they actually were, oh well.
Axle relocation by Adam Tolman, on Flickr

Coils are nice and straight now instead of the slight curve to the rear that you get with stock radius arms on a lifted 80.
 

cruiseroutfit

Supporting Sponsor: Cruiser Outfitters
Looks great Adam. We had a similar experience with the Timbren mounts, we ended up using the forklift to dial them in the the exact distance with an estimated "reserve" for hard hits. Fwiw we have precut sets of the relocation plates. Could have saved you a few minutes of fabbing.
 

Box Rocket

Well-known member
Looks great Adam. We had a similar experience with the Timbren mounts, we ended up using the forklift to dial them in the the exact distance with an estimated "reserve" for hard hits. Fwiw we have precut sets of the relocation plates. Could have saved you a few minutes of fabbing.
Had no idea you guys had relocation plates. Your own versions or ones from Darren? Yeah it could have saved me a little fab time but they were pretty simple. I get asked about where to get them periodically, so it's good to know you have some so I can point people your way.

Wish I had a forklift. :( It's a little tricky doing the fine tuning.
 

Box Rocket

Well-known member
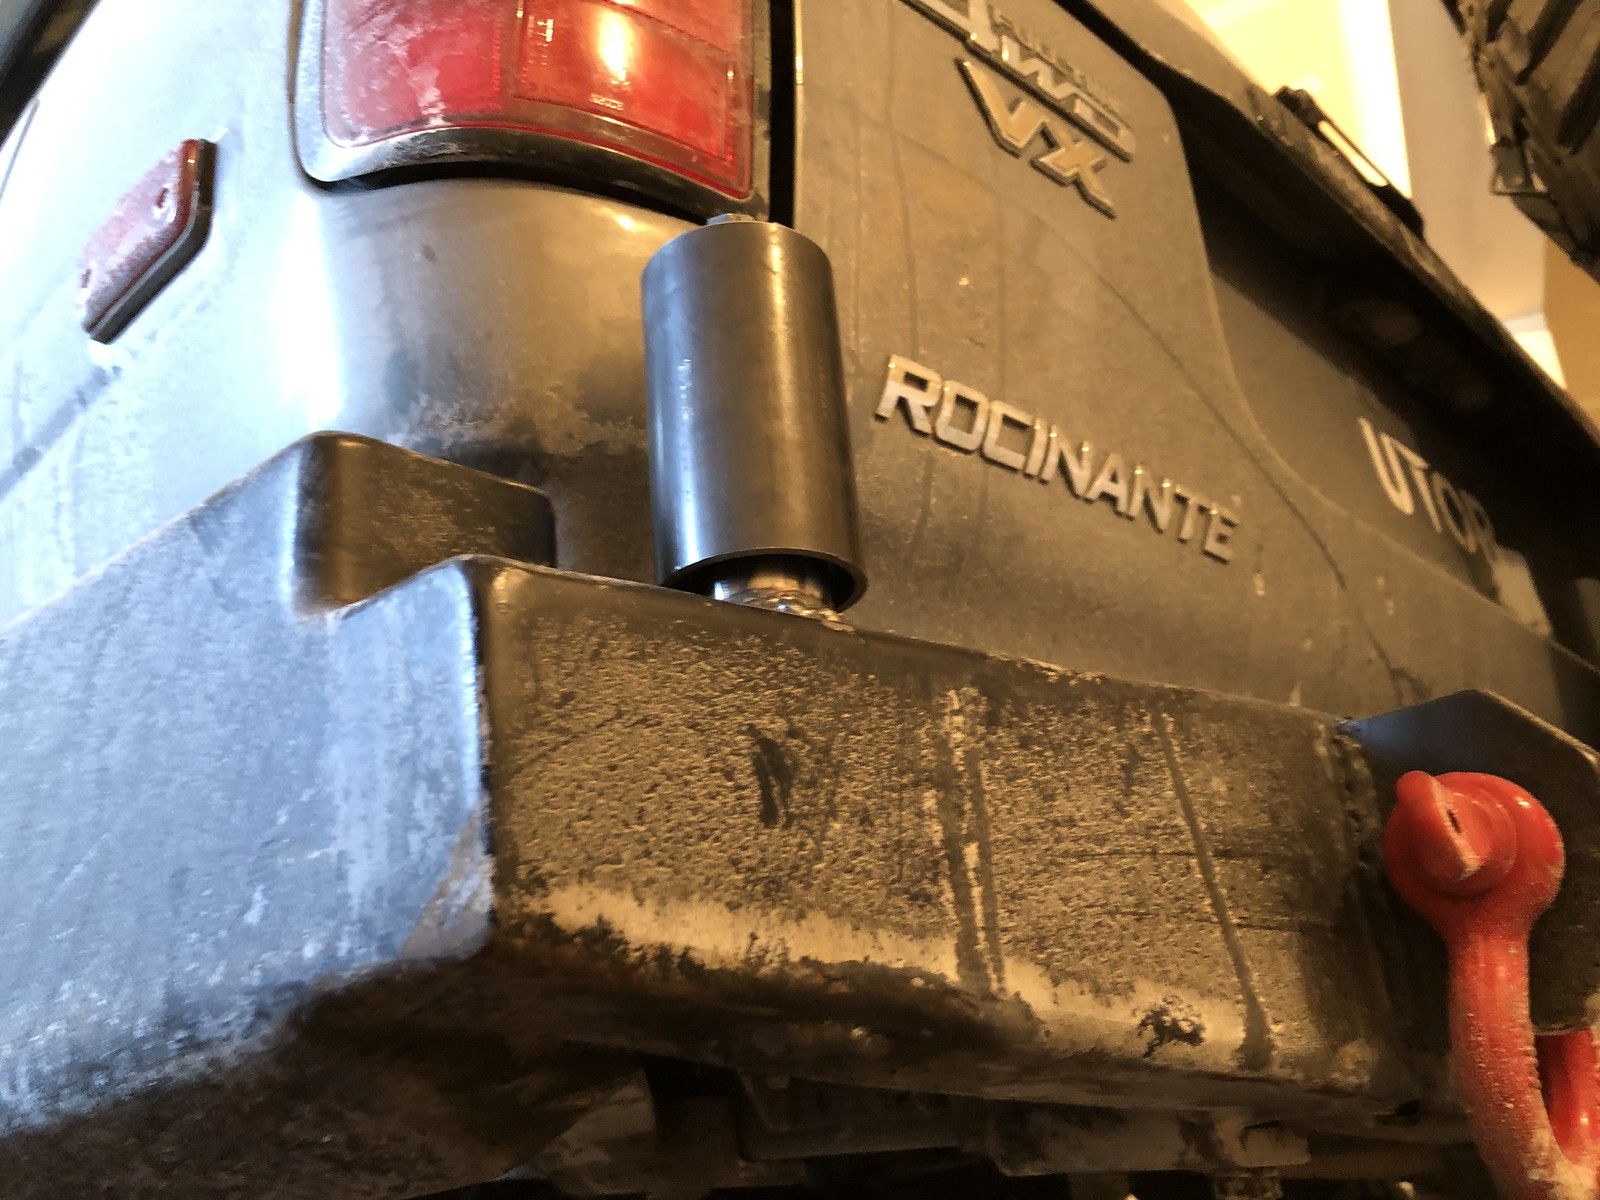
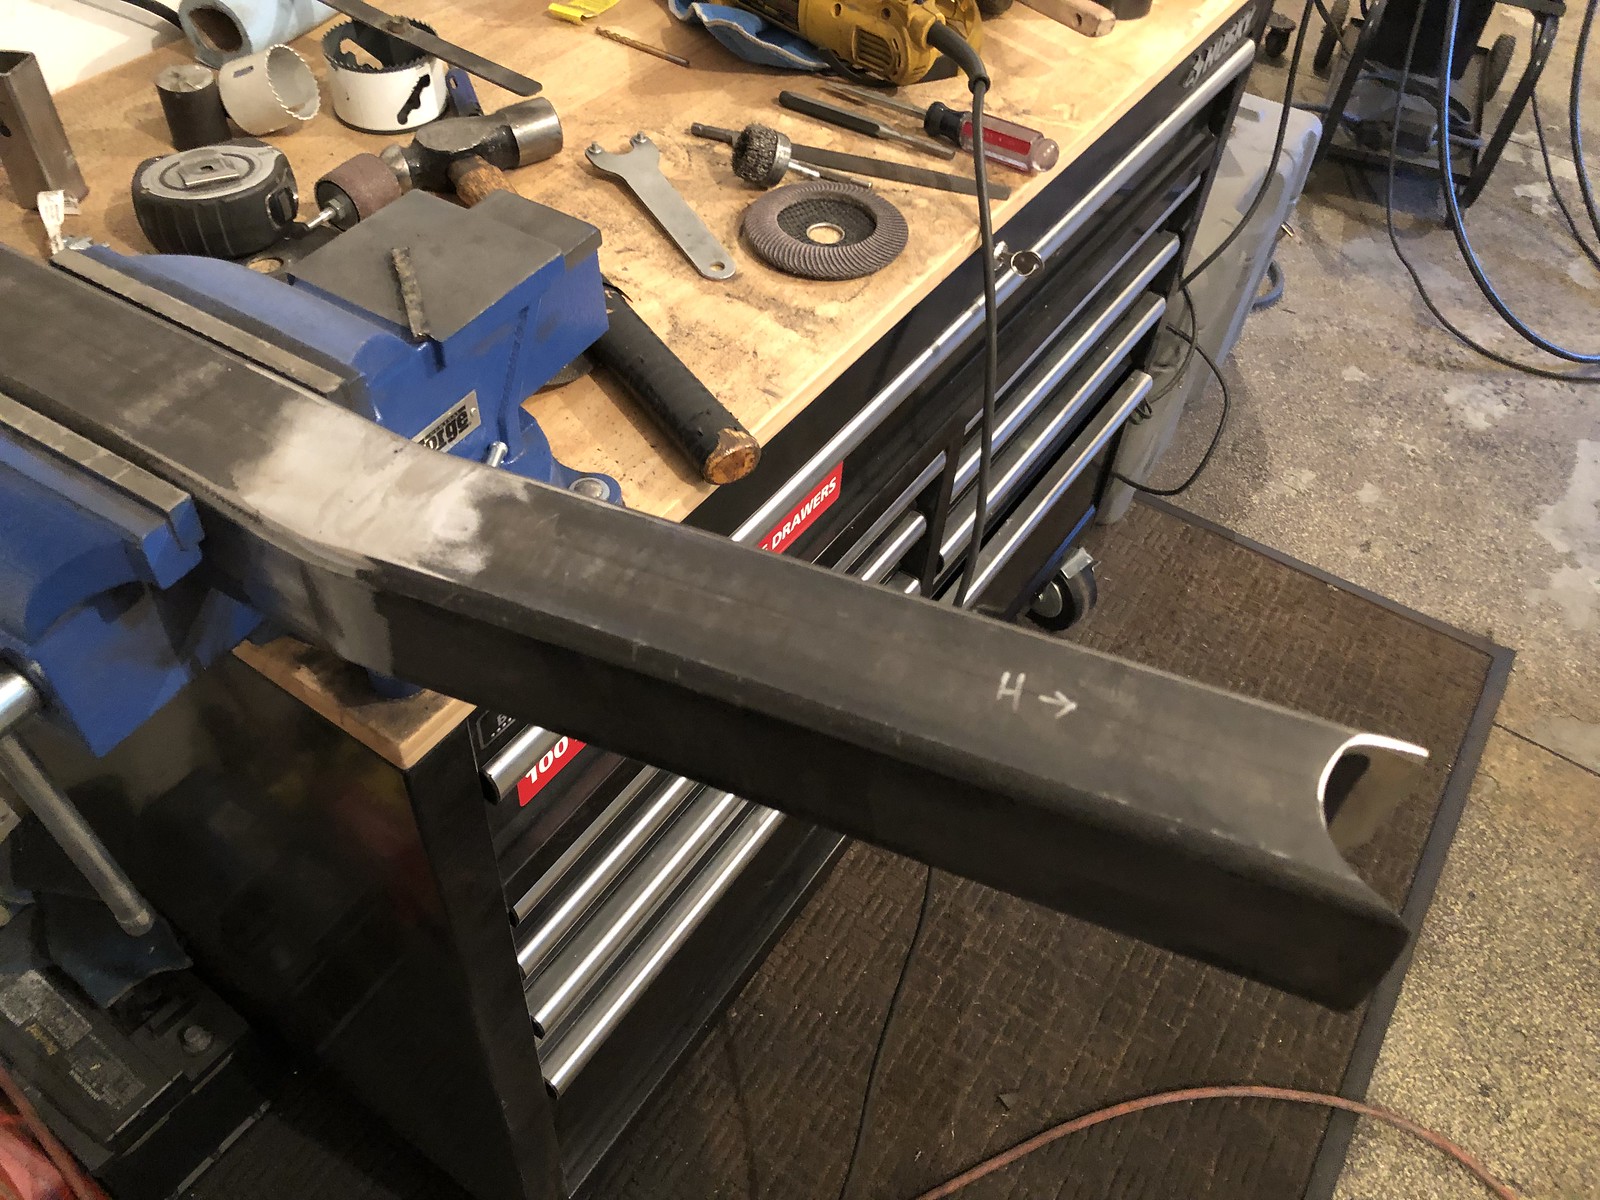
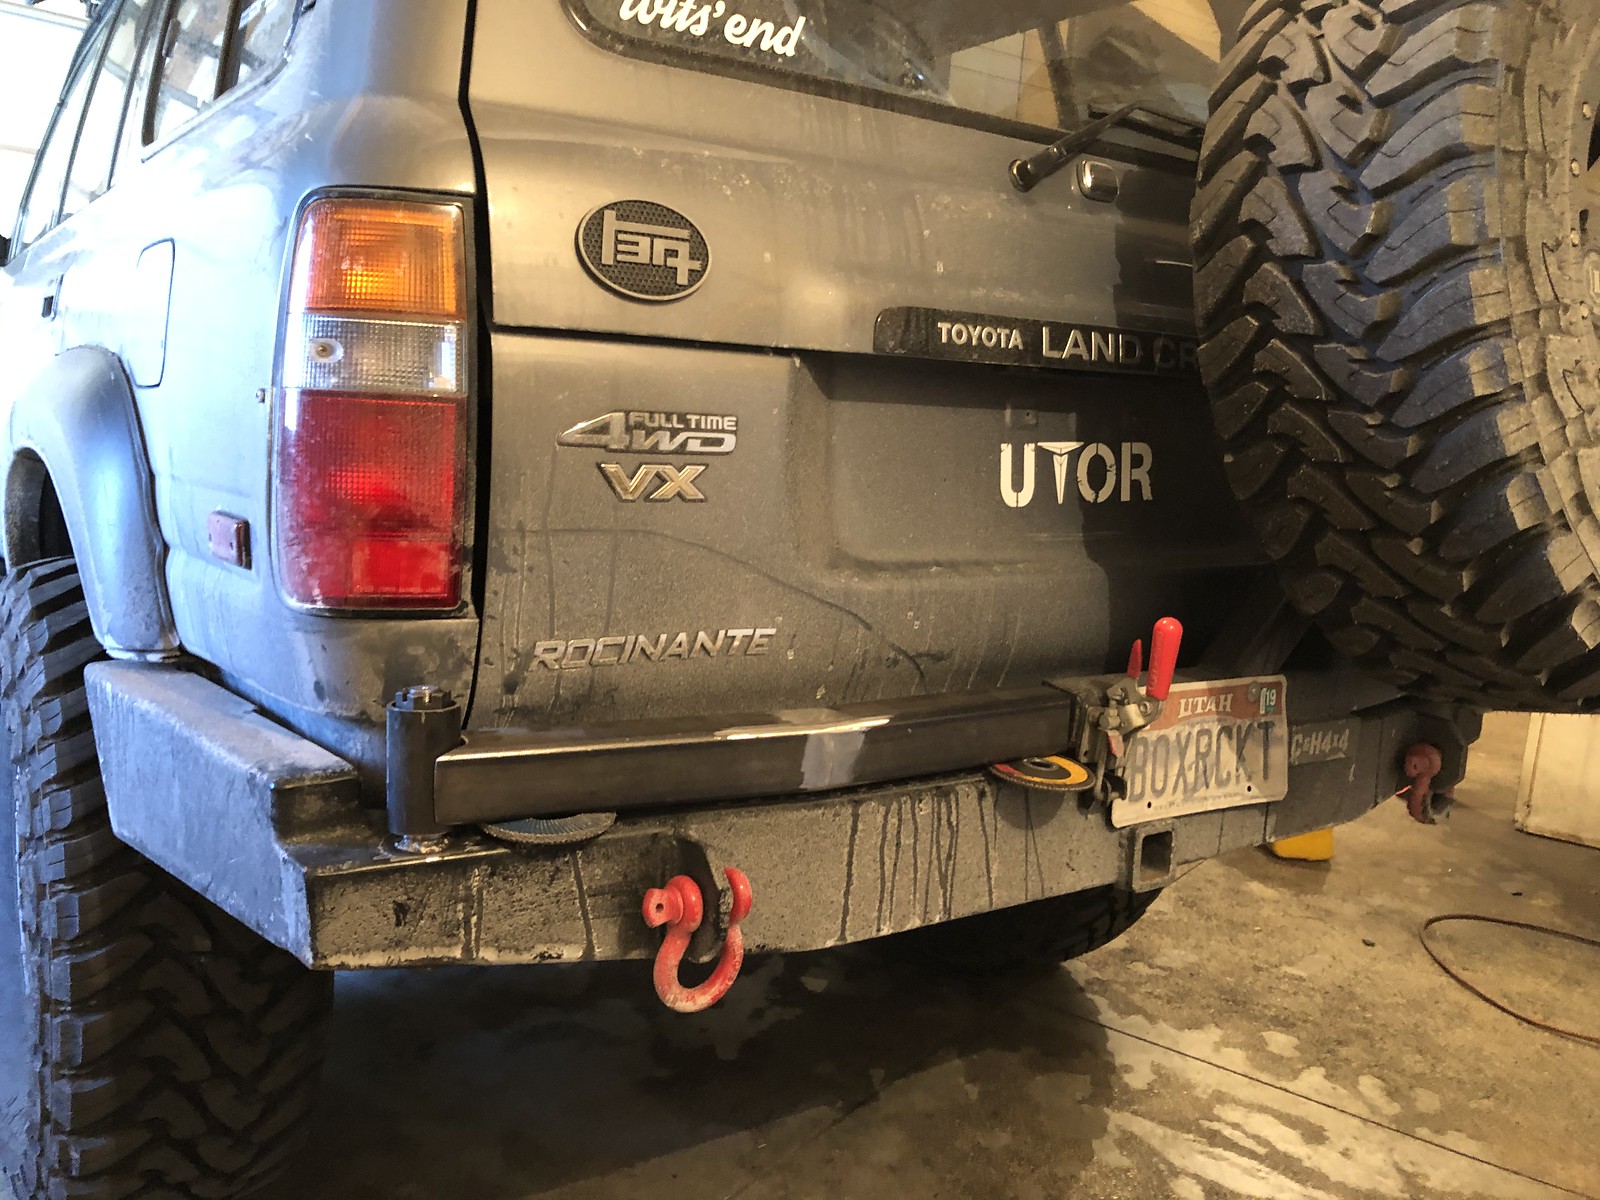
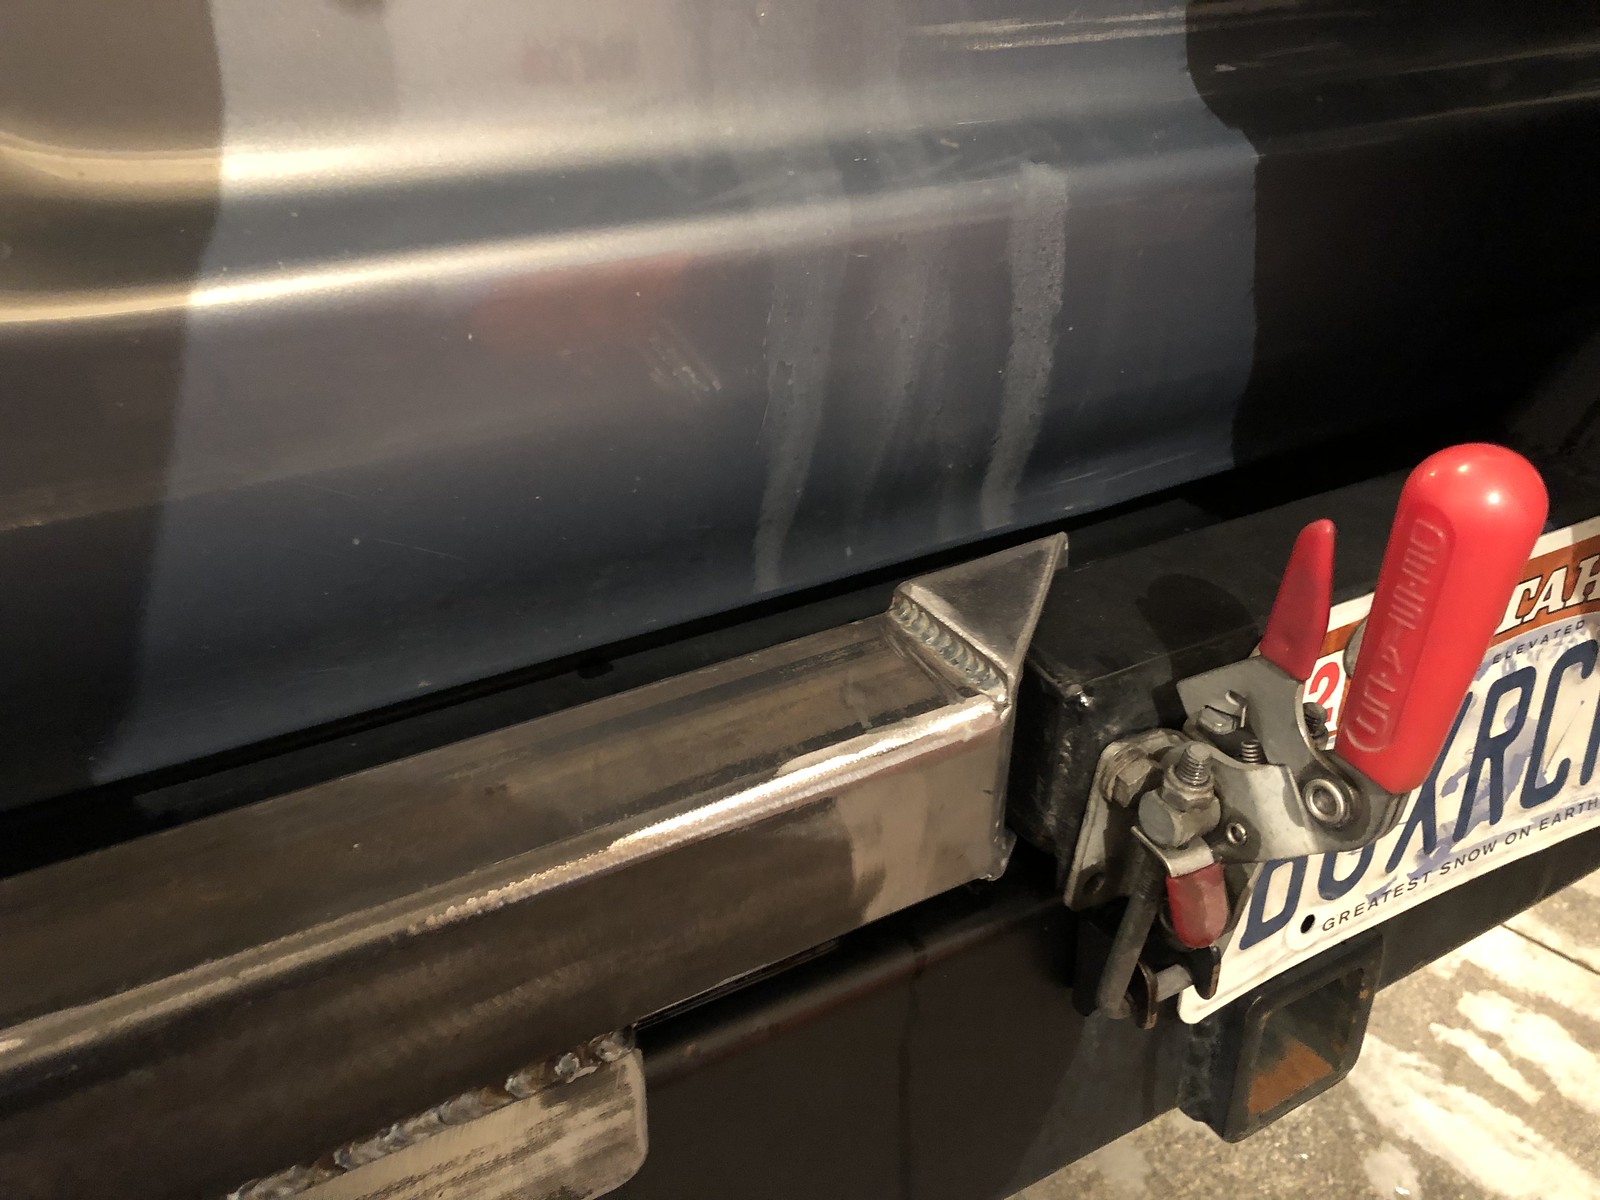
I've needed a second swingout for my rear bumper for a while and I finally got to working on it the past weekend. Using a Ruffstuff hinge kit. Spindle is in place and passes through the entire bumper, welded to the top and bottom. Main arm is done with a small bend to batch profile of the bumper. Simple pocket on the end of the new arm to fit the old arm so I don't need to add another latch. Should finish it up tomorrow.

Untitled by Adam Tolman, on Flickr

Don't mind the heavy layer of salt on the truck. We had a bit of snow this week and the salt trucks were out in force.
Untitled by Adam Tolman, on Flickr

Untitled by Adam Tolman, on Flickr

Not a great pic but you can kinda see the the spindle just through the bottom of the bumper.
Untitled by Adam Tolman, on Flickr

2.5" square 1/4" wall for main arm. Didn't get a pic of doing the bend, but it was just a cut through 3 sides and weld it up.
Untitled by Adam Tolman, on Flickr

Untitled by Adam Tolman, on Flickr

Untitled by Adam Tolman, on Flickr

"Stop" welded to the bottom of the arm to match the other arm and a pocket on the end.
Untitled by Adam Tolman, on Flickr

Untitled by Adam Tolman, on Flickr

Untitled by Adam Tolman, on Flickr
 

Box Rocket

Well-known member
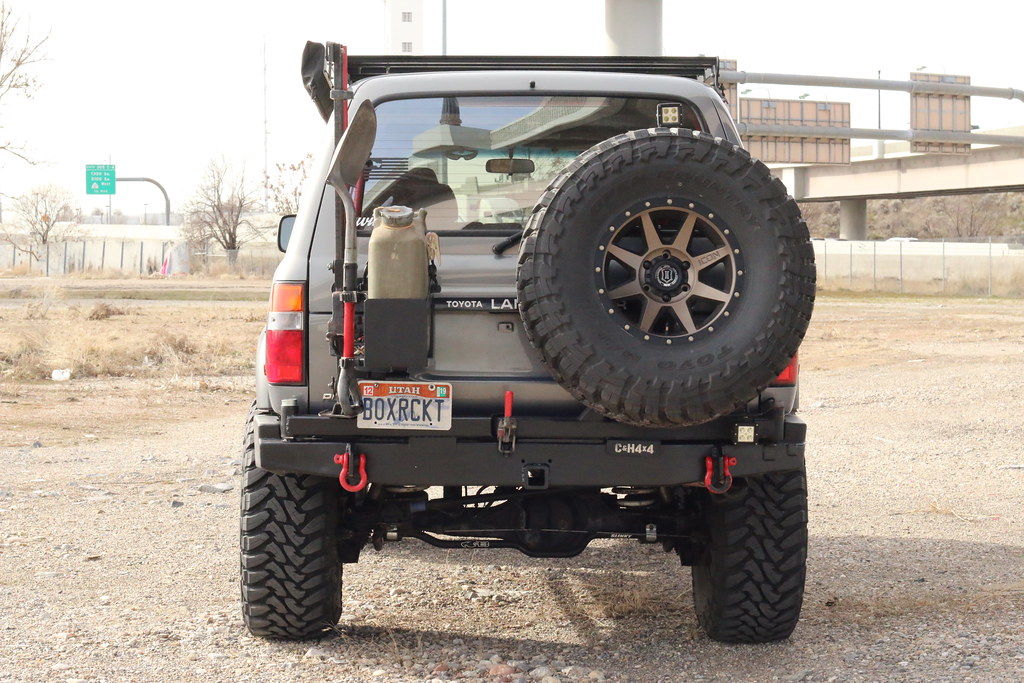
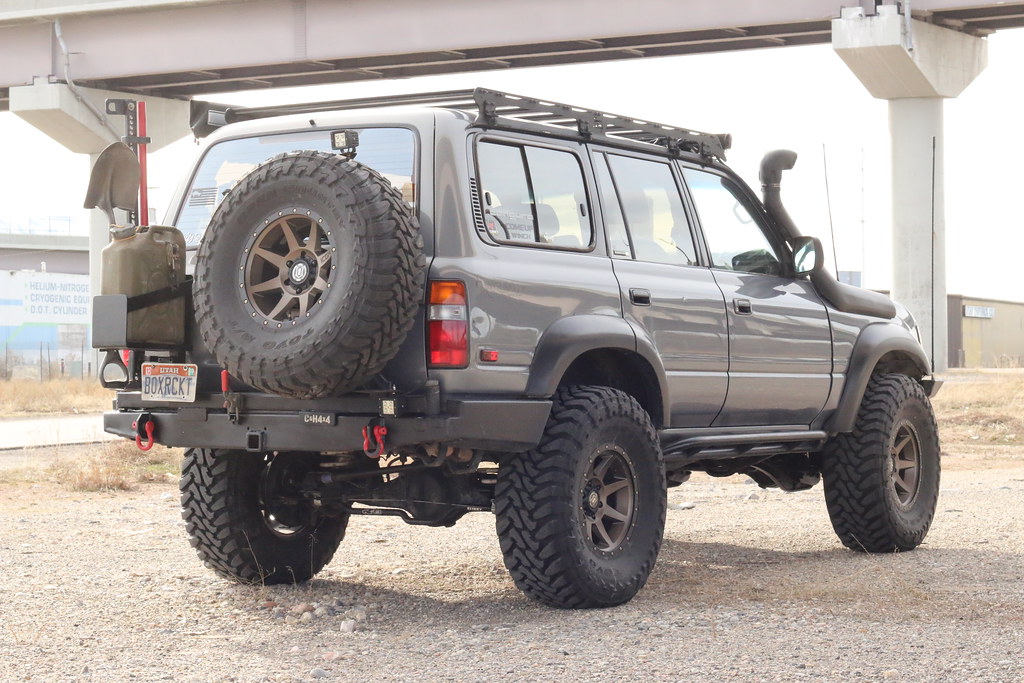
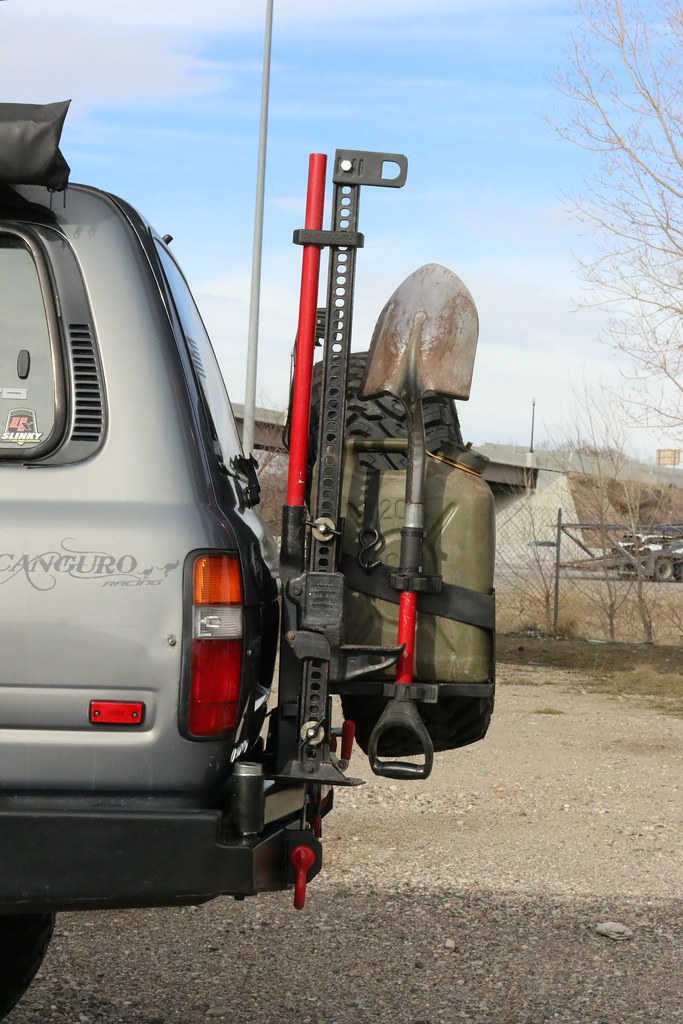
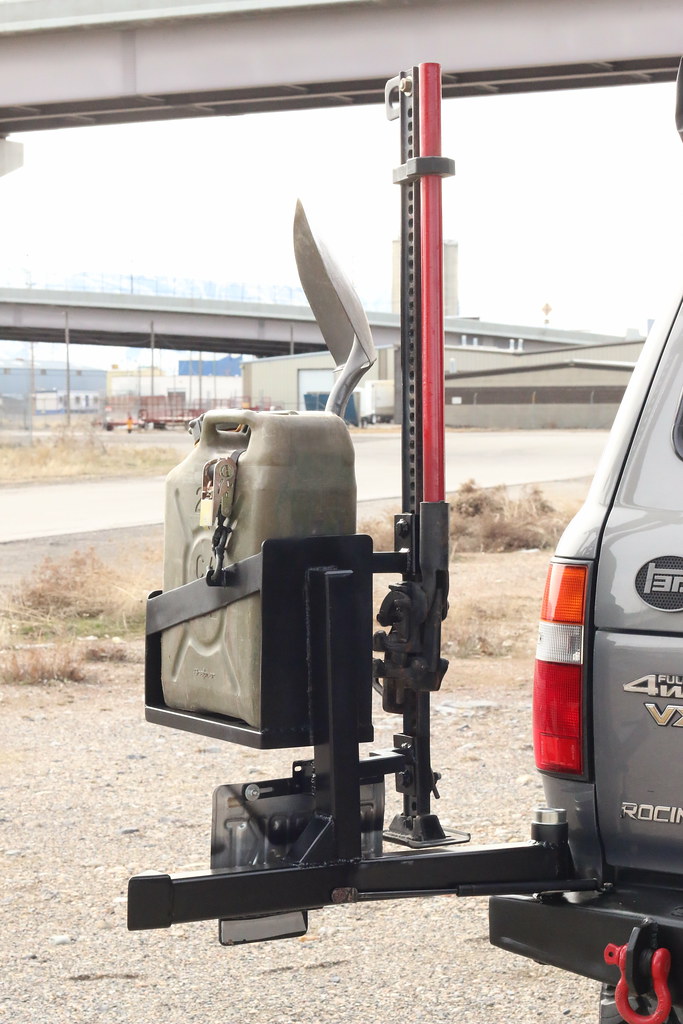
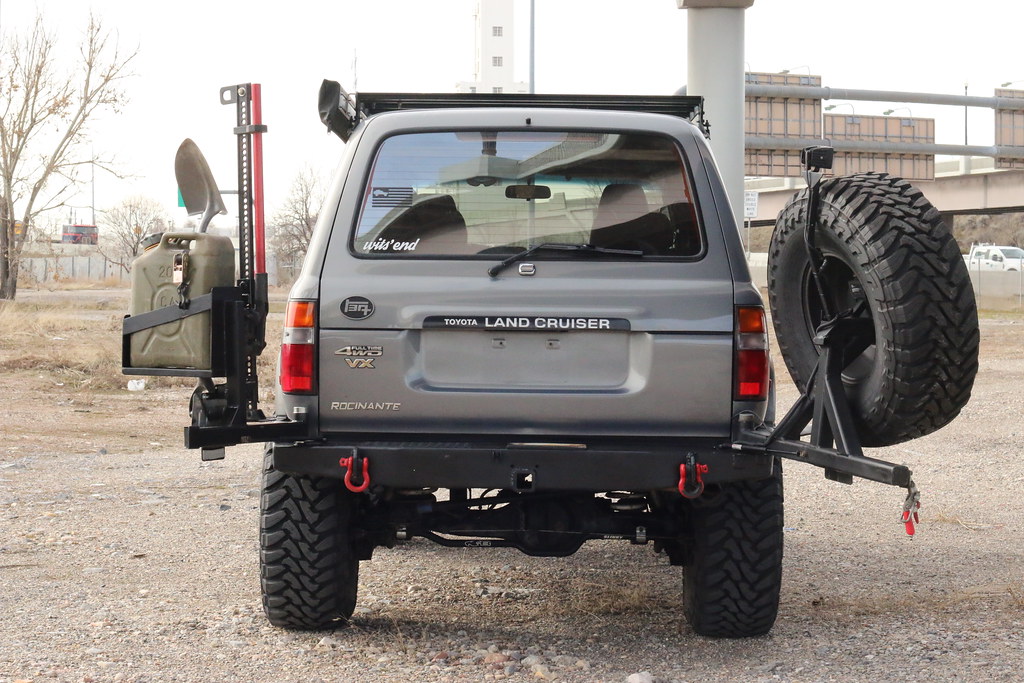
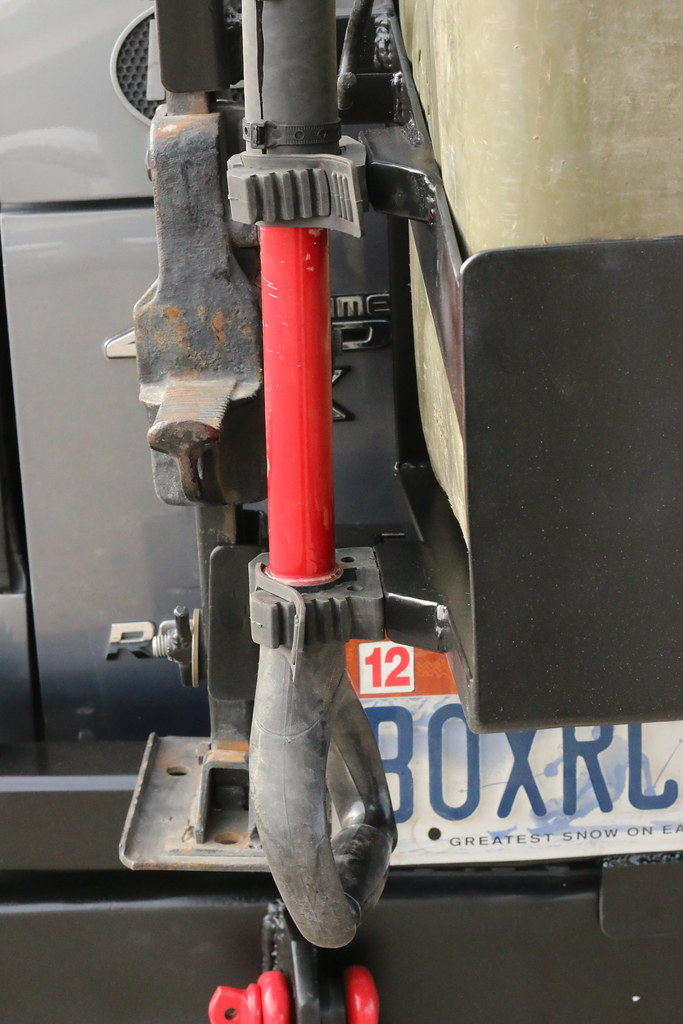
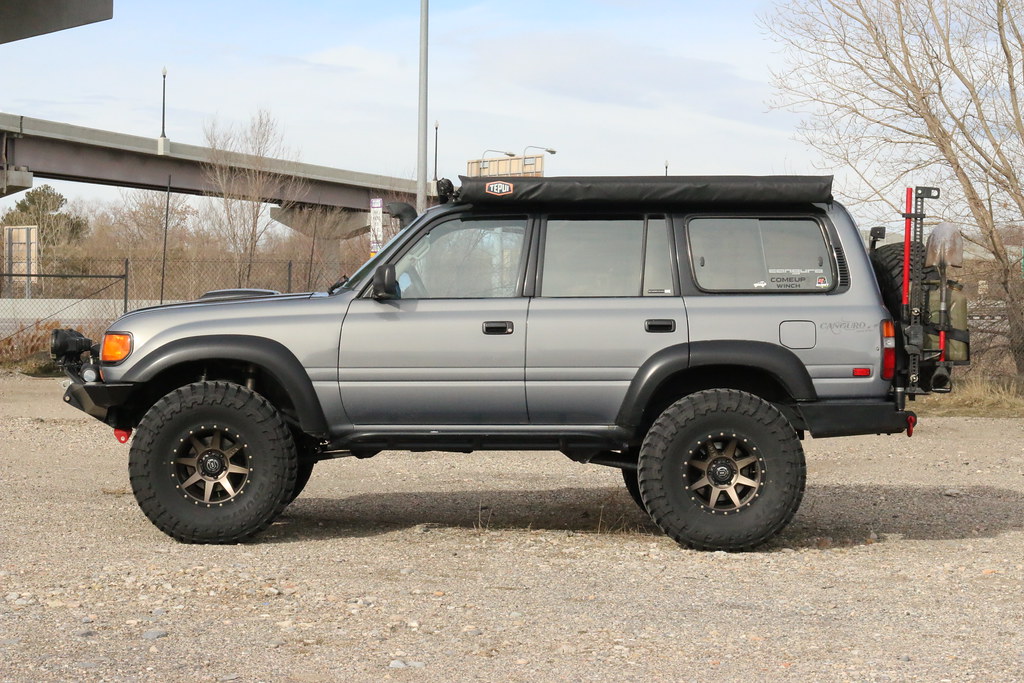
All finished up. Pretty simple setup overall to tide me over until I get a Delta bumper. Single fuel can basket (with room for a second if needed), hilift, shovel.
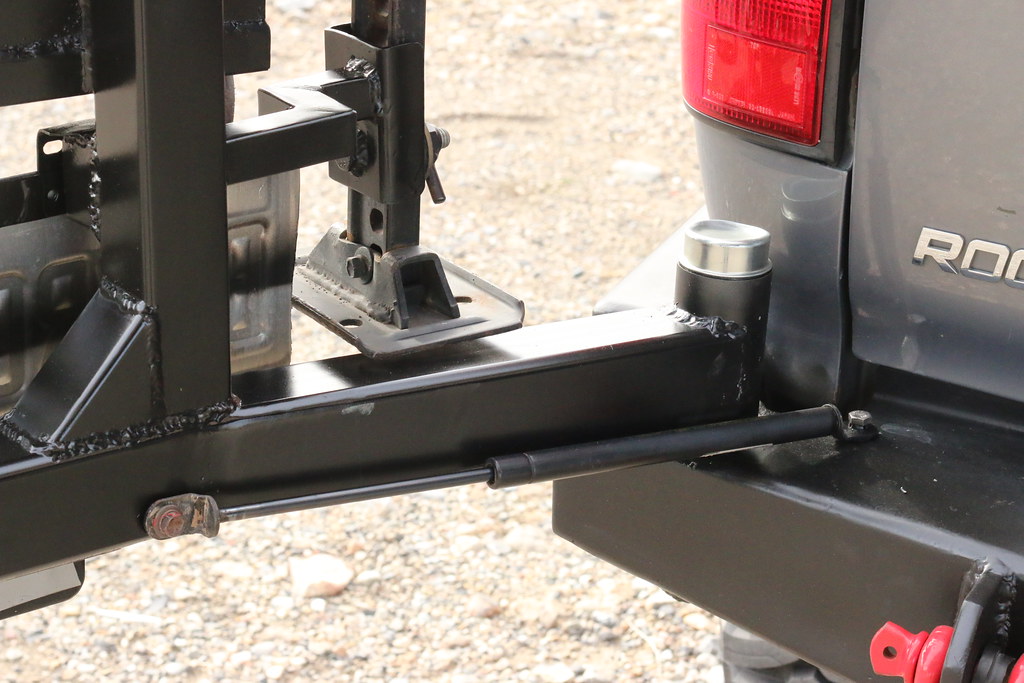
I replaced the gas struts on my lift gate a few weeks ago and the old ones still work well enough that I re-purposed them for the swingouts.
Bumper by Adam Tolman, on Flickr

Bumper by Adam Tolman, on Flickr

Bumper by Adam Tolman, on Flickr

Bumper by Adam Tolman, on Flickr

Bumper by Adam Tolman, on Flickr

Bumper by Adam Tolman, on Flickr

Bumper by Adam Tolman, on Flickr

Bumper by Adam Tolman, on Flickr

Bumper by Adam Tolman, on Flickr
 

jjohnny350

Adventurer
Looks great Adam, nice work. I've got a wildyoats rear as well that has 1 swingout on it and I'd love to put a second on it like this. Thanks for the pictures and info on it, its fun to follow along.
 

alia176

Explorer
Hey Adam,

Just curious about the rear swing out latch that pulls the end of arm in the downward vertical position. Do you know if the spare tire is moving fore/aft during wheeling and normal driving? Do you hear or feel anything? It's hard to tell from the inside but I was just curious.
 

Box Rocket

Well-known member
Hey Adam,

Just curious about the rear swing out latch that pulls the end of arm in the downward vertical position. Do you know if the spare tire is moving fore/aft during wheeling and normal driving? Do you hear or feel anything? It's hard to tell from the inside but I was just curious.
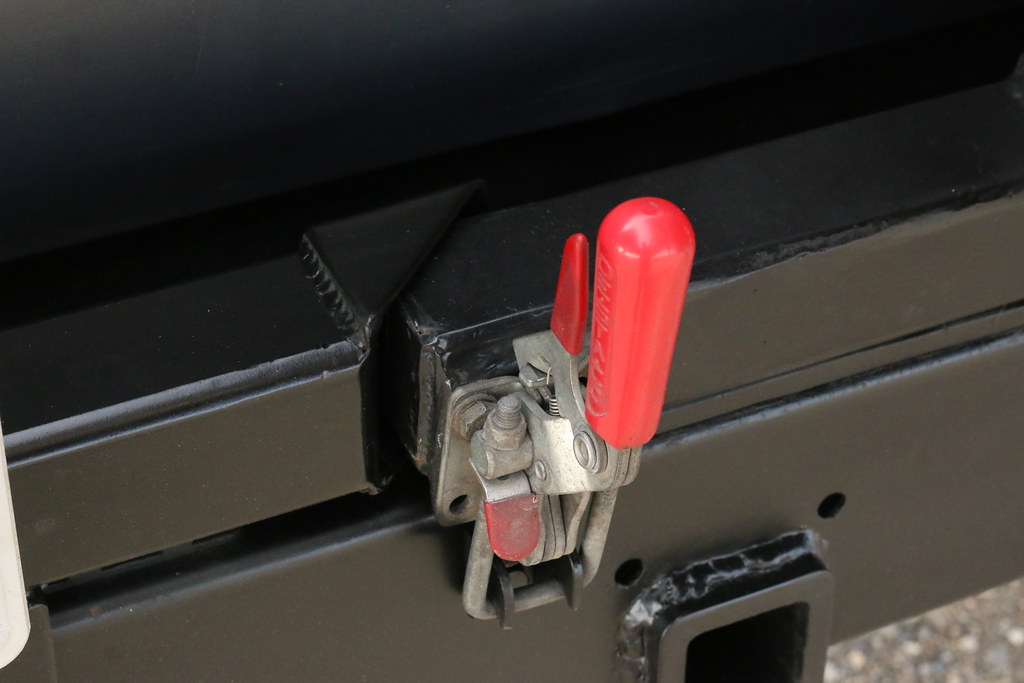
Good question. Here's how I have it set up. I have a 1/2" UHMW pad under the swingarm just behind the latch that the arm rests on so even when it's latched it's not putting leverage on the hinge. Secondly, the way the latch is oriented it pulls the arm slightly toward the truck. Lastly, there is a "stop" plate on the bottom of the arm that contacts the bumper face and keeps the arm from moving any further toward the truck (you can see the stop on each arm in the photo with the arms open).

So the latch is pulling the arms tight toward the bumper and against those "stops" so the arms have zero movement at the latch area. The spare tire gets a very slight wiggle on bumpy roads because of the vertical separation of the spare tire location in relation to where it's welded to the swing arm approx 12" lower.

HTH.
 

alia176

Explorer
Good question. Here's how I have it set up. I have a 1/2" UHMW pad under the swingarm just behind the latch that the arm rests on so even when it's latched it's not putting leverage on the hinge. Secondly, the way the latch is oriented it pulls the arm slightly toward the truck. Lastly, there is a "stop" plate on the bottom of the arm that contacts the bumper face and keeps the arm from moving any further toward the truck (you can see the stop on each arm in the photo with the arms open).

So the latch is pulling the arms tight toward the bumper and against those "stops" so the arms have zero movement at the latch area. The spare tire gets a very slight wiggle on bumpy roads because of the vertical separation of the spare tire location in relation to where it's welded to the swing arm approx 12" lower.

HTH.


Thanks for the info, that's what I thought. I think the reason my spare tire moves fore/aft quite a bit is because I used a trailer axle spindle instead of the beefy spindles that are sold nowadays. I built my bumper back in '04 and the market didn't have any beefy spindles for this application yet. Thanks again for the reply and nice job on the fabrication.

Cheers.
 

Box Rocket

Well-known member
Thanks for the info, that's what I thought. I think the reason my spare tire moves fore/aft quite a bit is because I used a trailer axle spindle instead of the beefy spindles that are sold nowadays. I built my bumper back in '04 and the market didn't have any beefy spindles for this application yet. Thanks again for the reply and nice job on the fabrication.

Cheers.
Let's see your bumper. Do you have anything tying the bumper wings back into the frame?
 

alia176

Explorer
Let's see your bumper. Do you have anything tying the bumper wings back into the frame?

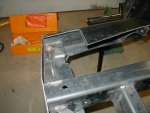
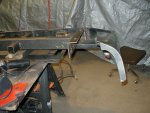
Yeah, I got triangulation back to the frame and I'm exaggerating the amount of fore/aft movement. But, during certain fwy corrugations, the spare tire falls into a resonance frequency of some sort and I can tell it's moving more than it should. I found some pics back from when I built it. One picture shows the side view, the other pic shows the bumper upside down. You can see the spindle gusseting and also how the wing is attached to the chassis (look to the right).503713503715503718503719
 
Last edited:

Forum statistics

Threads
188,043
Messages
2,901,579
Members
229,352
Latest member
Baartmanusa
Top