Box Rocket 1995 FZJ80 Build

Box Rocket

Well-known member
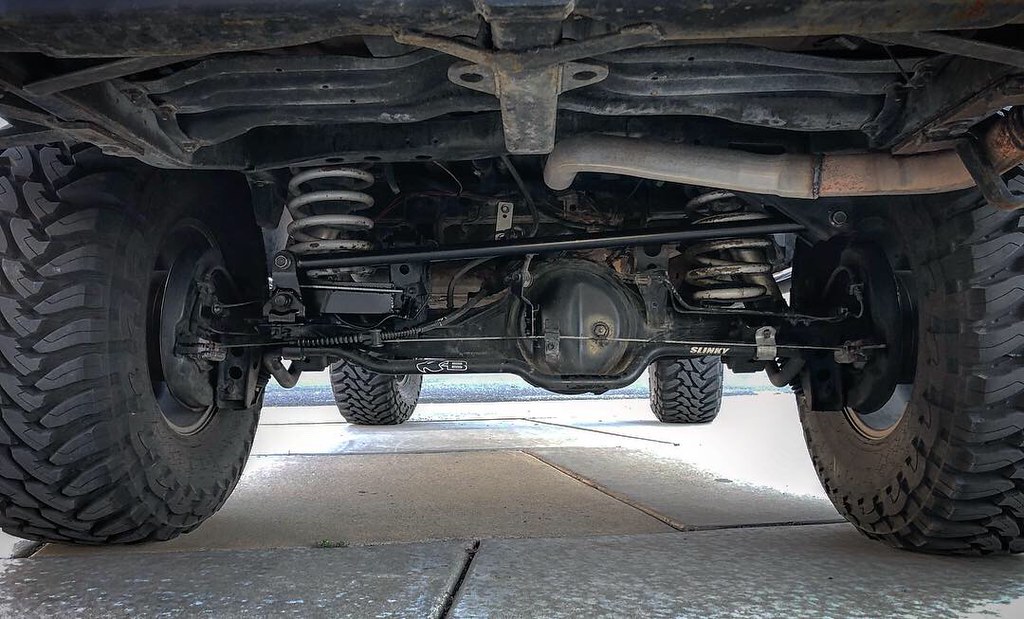
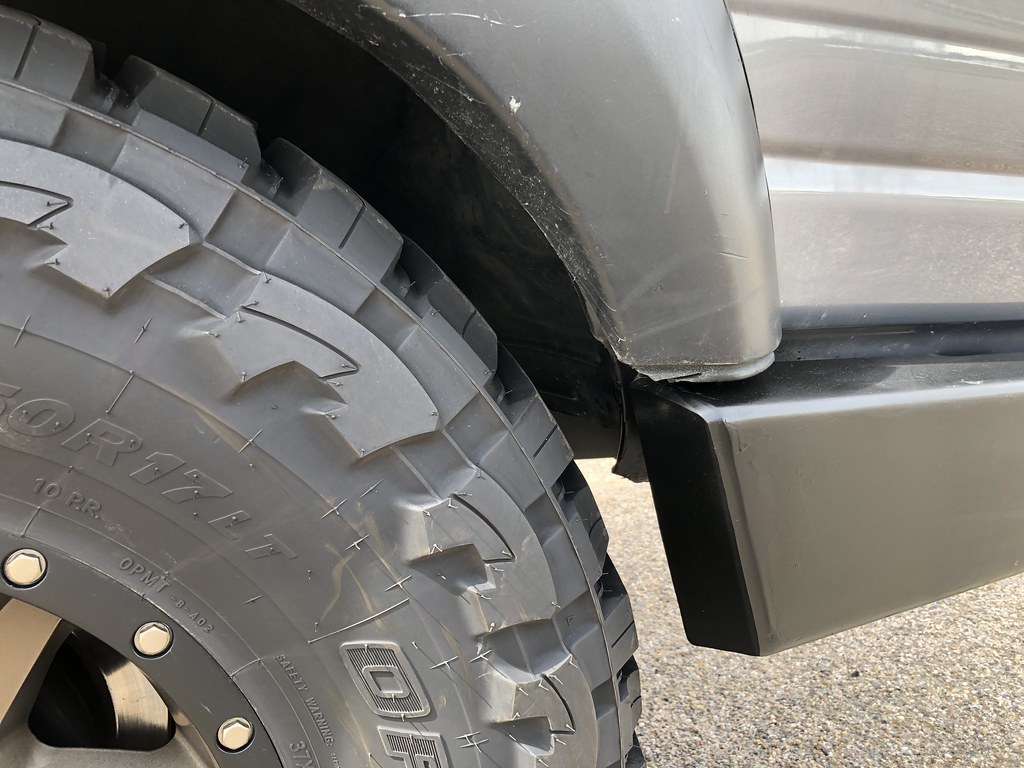
Yeah, I got triangulation back to the frame and I'm exaggerating the amount of fore/aft movement. But, during certain fwy corrugations, the spare tire falls into a resonance frequency of some sort and I can tell it's moving more than it should. I found some pics back from when I built it. One picture shows the side view, the other pic shows the bumper upside down. You can see the spindle gusseting and also how the wing is attached to the chassis (look to the right).View attachment 503713View attachment 503715View attachment 503718View attachment 503719
The front part of the bumper wing (where is meets the wheel arch) is there anything to tie that back to the frame? Or just the bracing at the corner near the hinge?

I was shocked when I first built my bumper how much leverage was transferred through the entire wing. My spare would wiggle more than I liked on the highway like you described. I traced it back to twist in the corner so the front edge of the bumper wing was moving up and down about .5". I tied the front of the wing back to the frame and it stiffened everything up significantly and the wiggle of the spare tire was almost completely gone.
 

Box Rocket

Well-known member
Do you own a shop? Have access to the tools? Or own all the tools including press break, bar bender etc.?
No shop for me. Just a dirty garage. :)
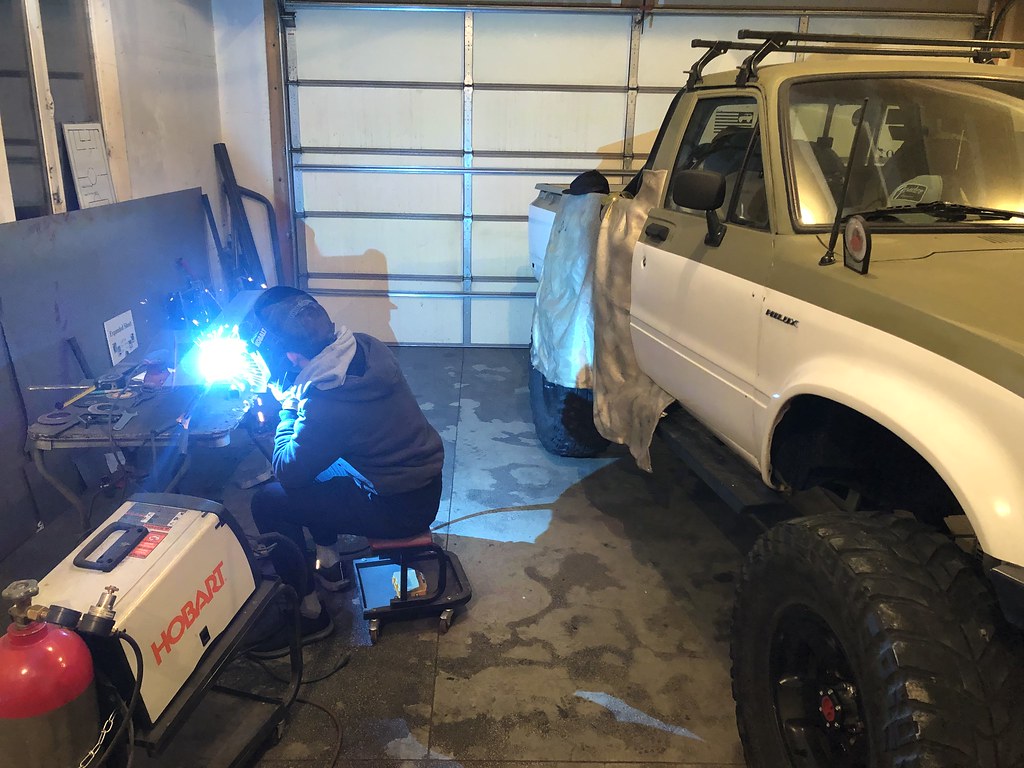
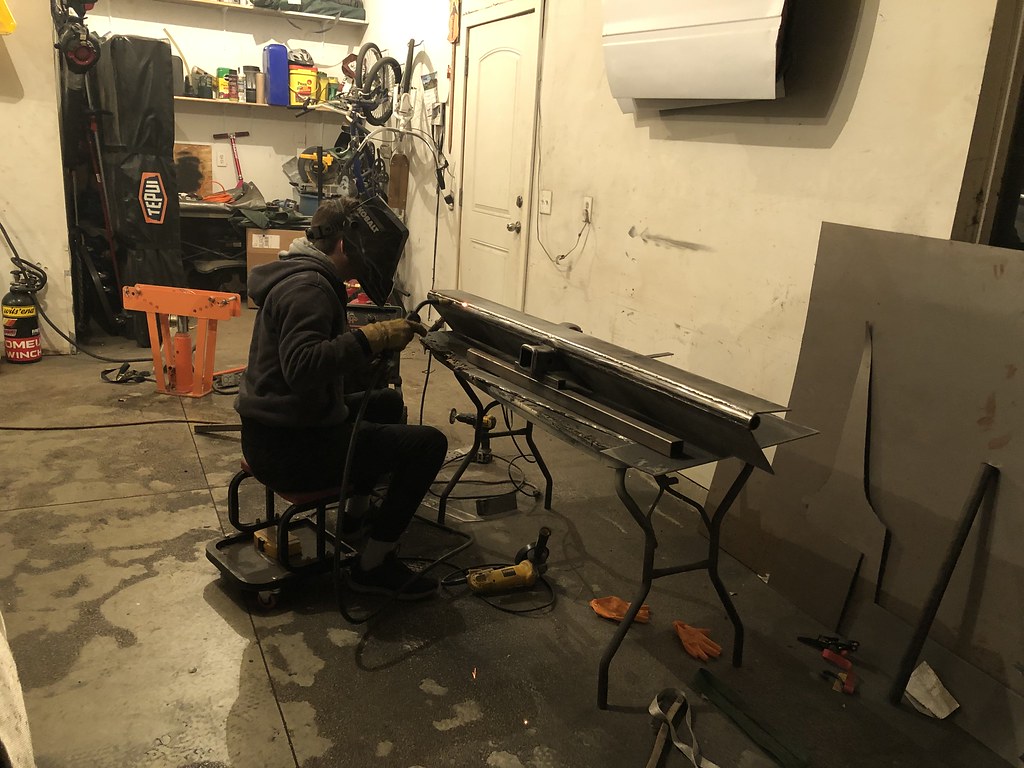
I have a 220v Hobart welder, a chop saw, angle grinder and a HF pipe bender. No press brake yet. Hoping to get a real tube bender and a plasma cutter this year.
 

Box Rocket

Well-known member
I have a 3-car garage but it’s bit tall enough for a lift. Eventually I’ll be building a “shop” behind the house with at least two bays and tall enough for a two-post lift. But that’s still a ways off.

Most of the bends I do are “whiskey bends”. Cut almost through the material with a cutting wheel and bend along the cut, then reweld the cut.
 

Box Rocket

Well-known member
I saw a 'Tank' in the pic. are you using solid MIG with gas or Flux core?

Our house in on 1 acre of property, 2 car garage with ~half as a Christmas storage closet. we're festive? - Would love some height in ours though I cant fit the truck in there. I'm constantly moving things around to gain space for small things. All mods are done in the slanted driveway.

Our property is a corner lot and only has a small side yard fenced in so building on another garage, workshop, even an exterior shed is a Nono here.

How has the HF pipe bender been? worth the money or save for nicer one? How are you milling out the ends the pipes for the radius? Hole saws?
I use solid wire and gas in my MIG.

The HF bender was cheap and I got it for something not truck related, but have used it for a few minor things on the truck. Honestly, it's not really worth it unless you're willing to take some extra steps to keep the tube from collapsing. I get the best results with no collapsing or kinks when I full the tube with damp sand prior to bending. I've planned on buying a real bender for years but I don't need one that often and the money always seems to go to something else.

I use a hole saw for cutting the ends of tubes (when I have the right size that isn't dull). Otherwise I'll just use a cutoff wheel and get close, then shape it with a flap disc in the grinder.
 

Box Rocket

Well-known member
I got some training and practice when I was rebuilding my FJ40 20 years ago at a shop that was willing to let me help with the rebuild.
But yeah I practiced on scrap and did small projects until I was comfortable. My biggest welding project after a few small ones was my scratch built trailer. Learned a ton on that project. That was 10 years ago.
503813
 

Box Rocket

Well-known member
I've followed this build for years and think we met at an event many years ago.

Did you MIG that or stick?
Cool. I apologize if I don’t remember meeting you. Just means we need to connect again on the trails somewhere.

I’ve played around with a stick welder but never built anything with one. Everything I’ve done has been with a MIG.
 

Box Rocket

Well-known member

Box Rocket

Well-known member
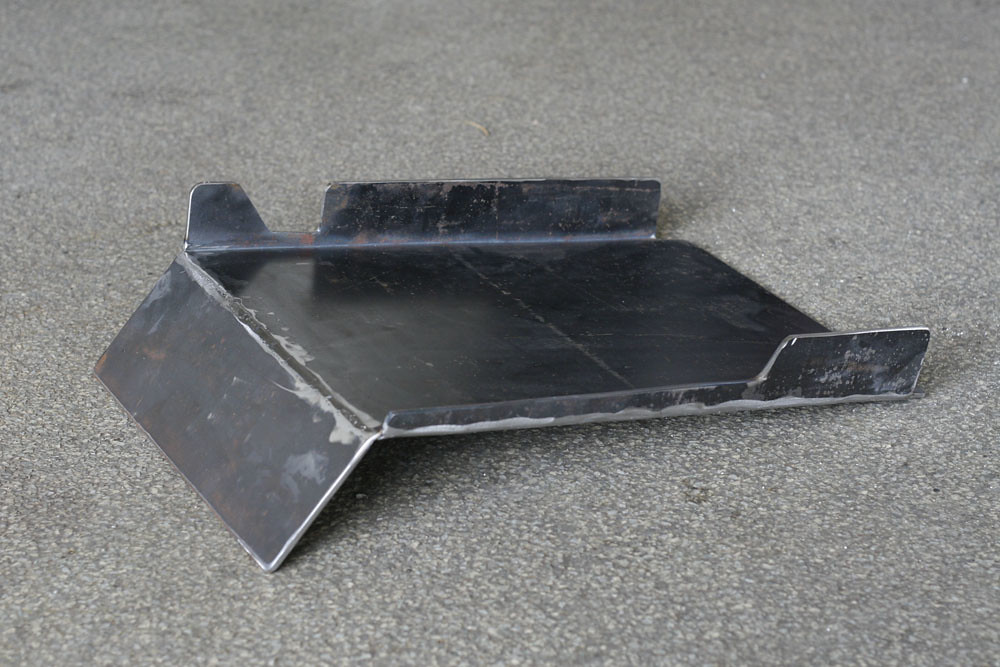
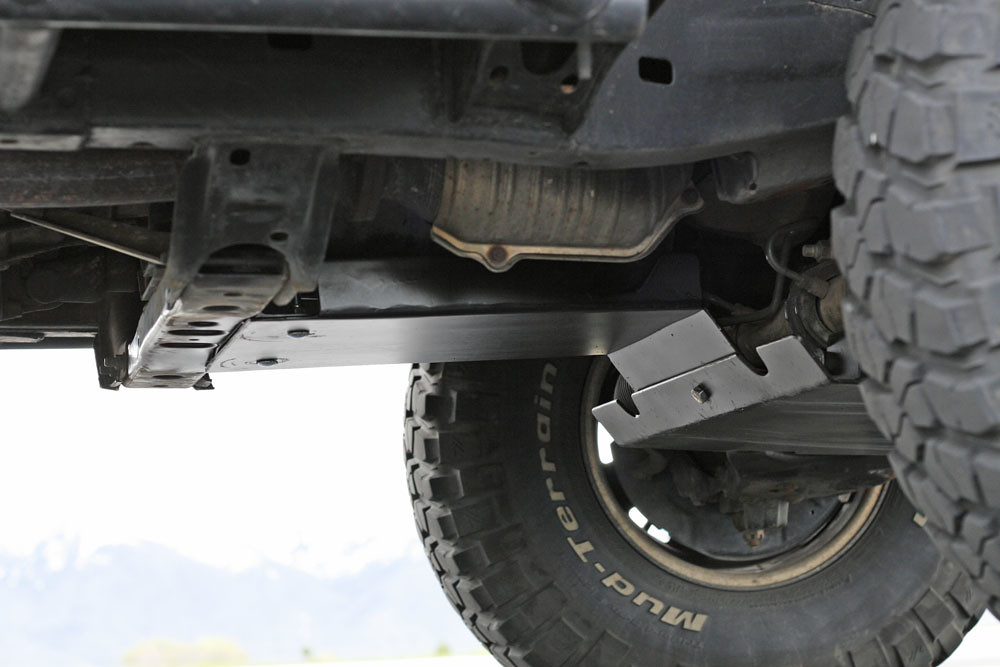
Kinda the same process as what I described. Whiskey bends like these for one of the skidplates I made for my Tacoma....
_MG_6403 by Adam Tolman, on Flickr

_MG_6402 by Adam Tolman, on Flickr

_MG_6405 by Adam Tolman, on Flickr

_MG_6431 by Adam Tolman, on Flickr

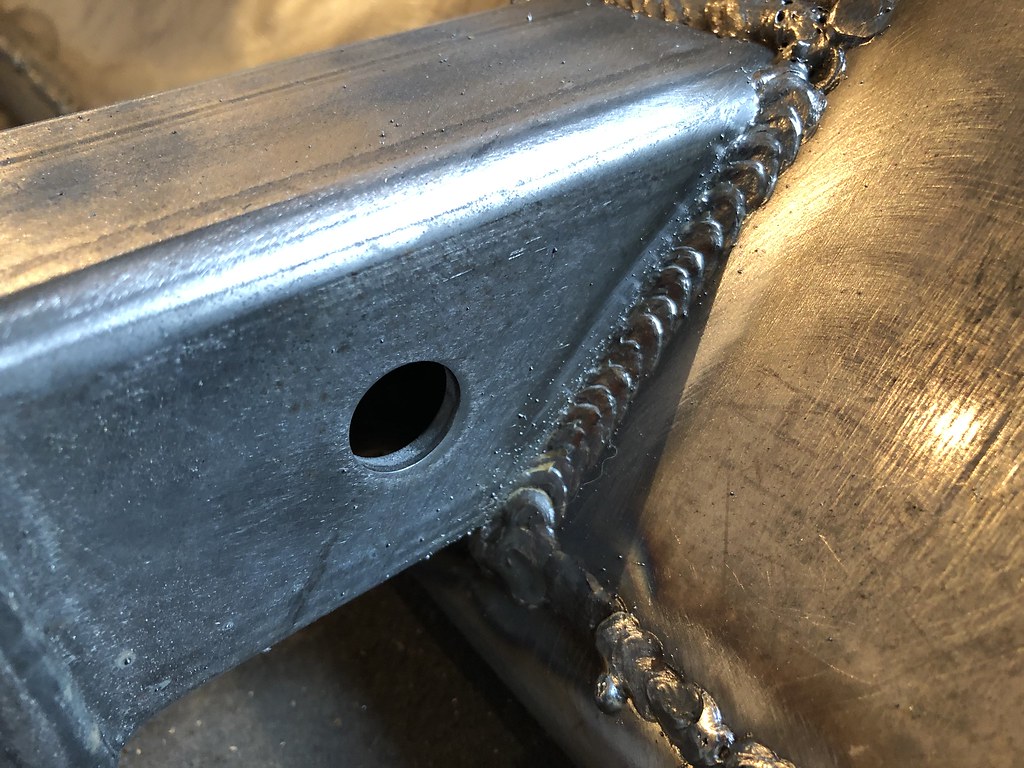
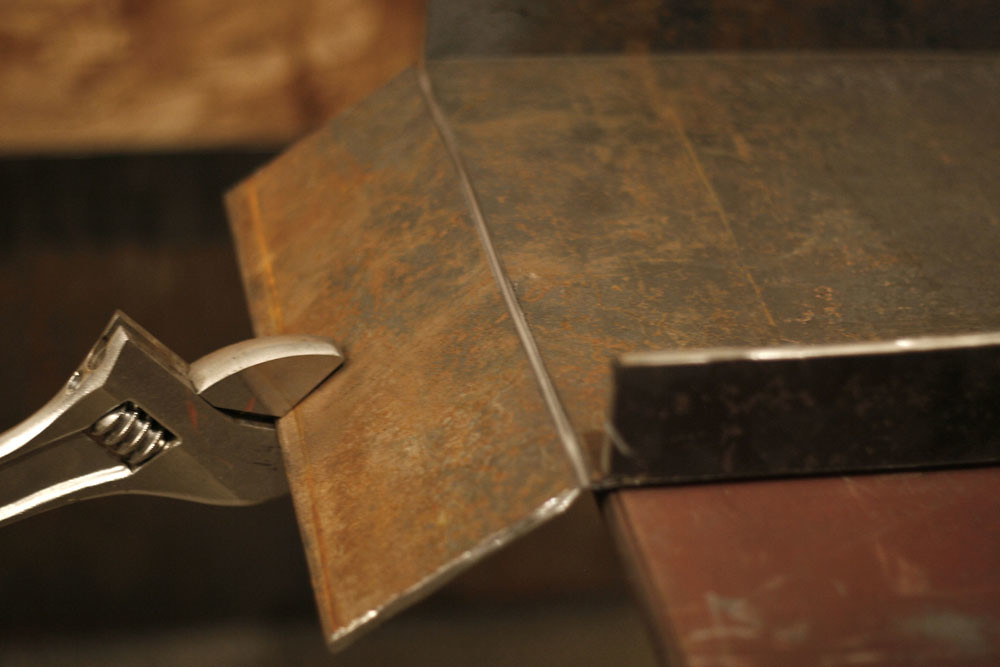
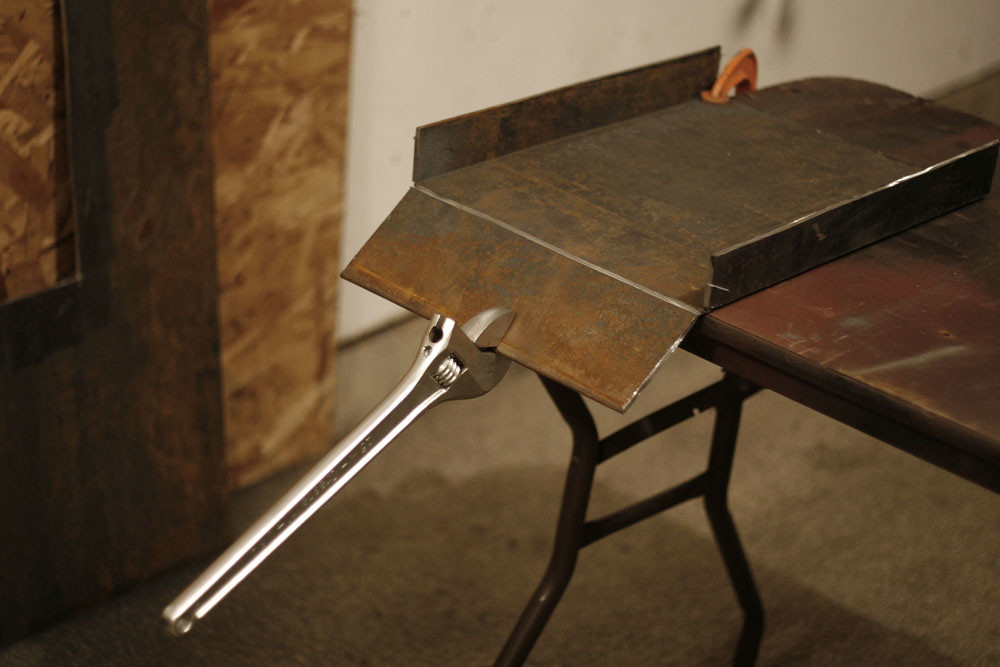
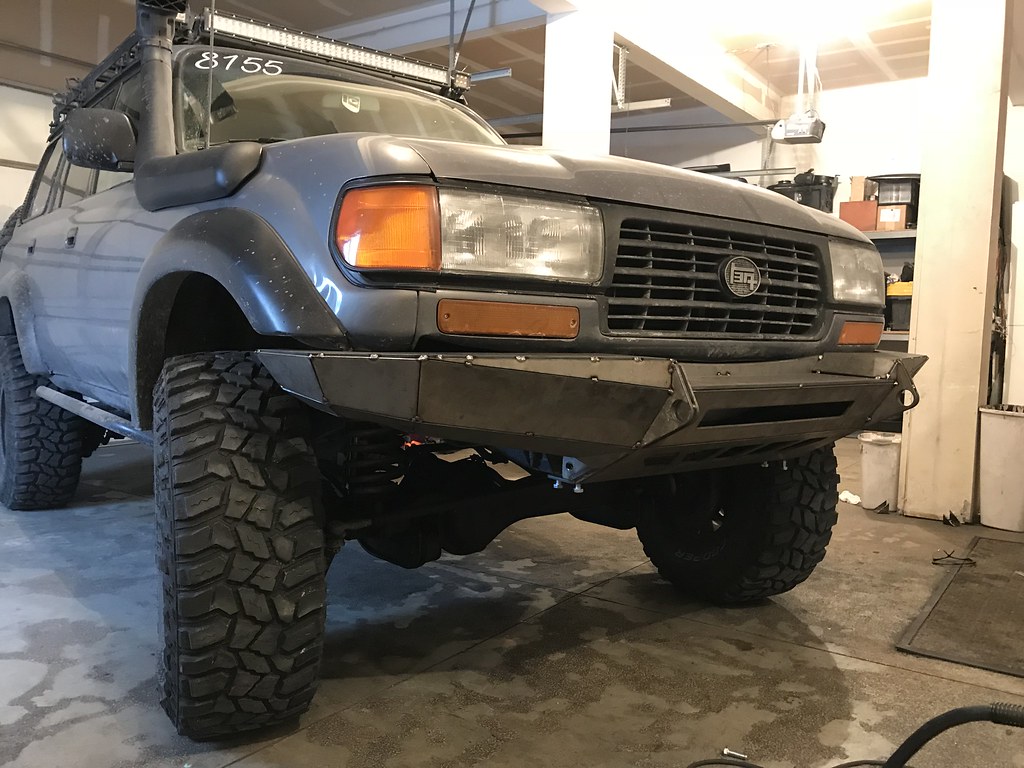
Or, cut pieces like my front bumper. Setting the seams with the right fillet you can get a nice corner after welding.
IMG_2214 by Adam Tolman, on Flickr

IMG_2220 by Adam Tolman, on Flickr

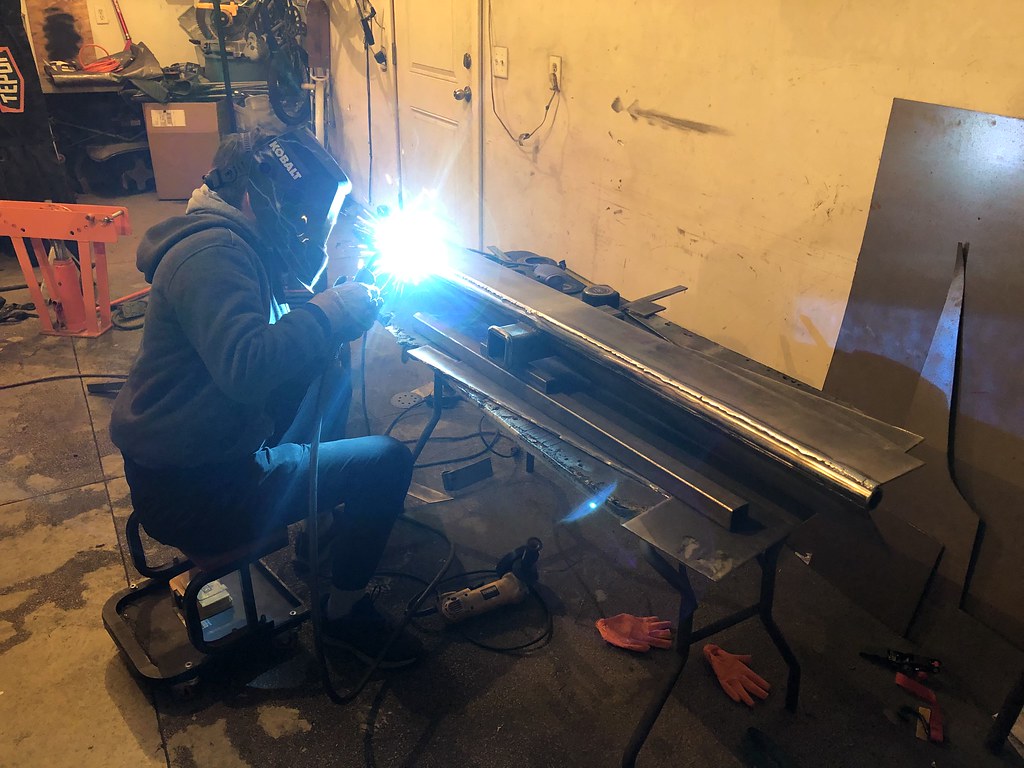
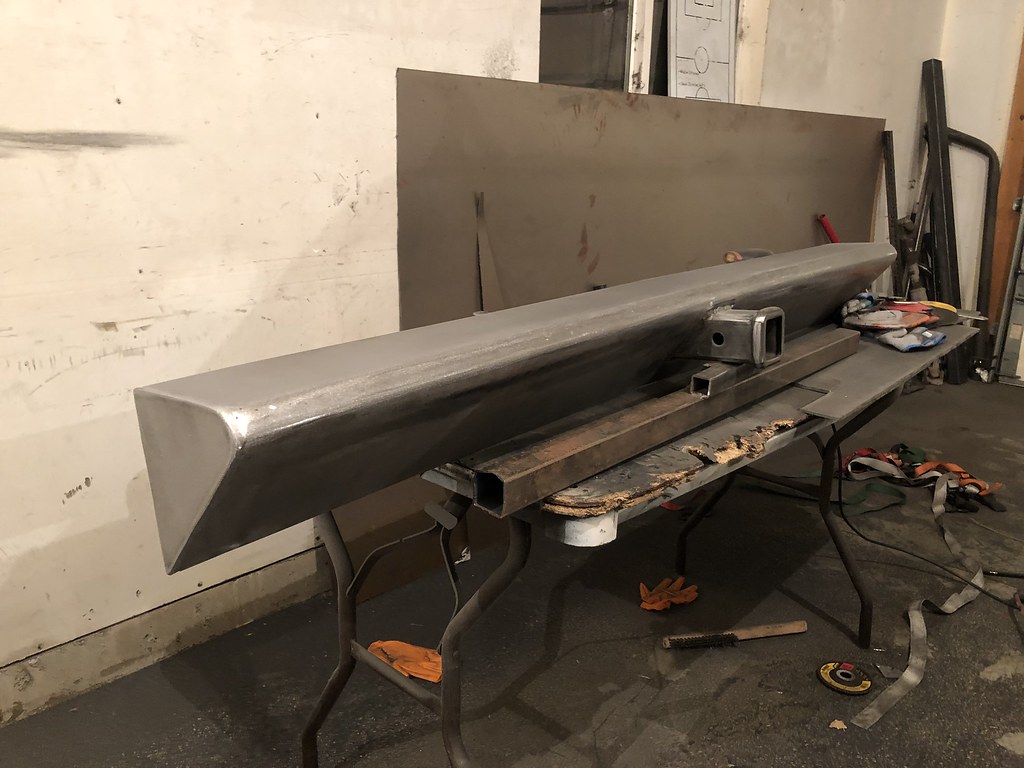
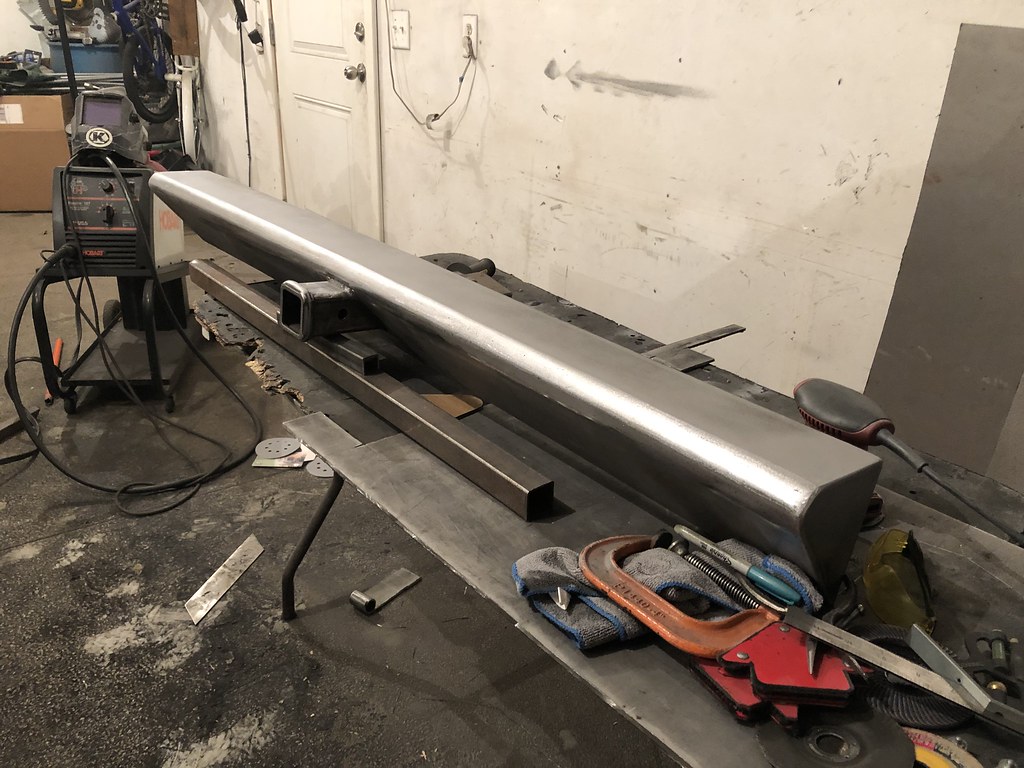
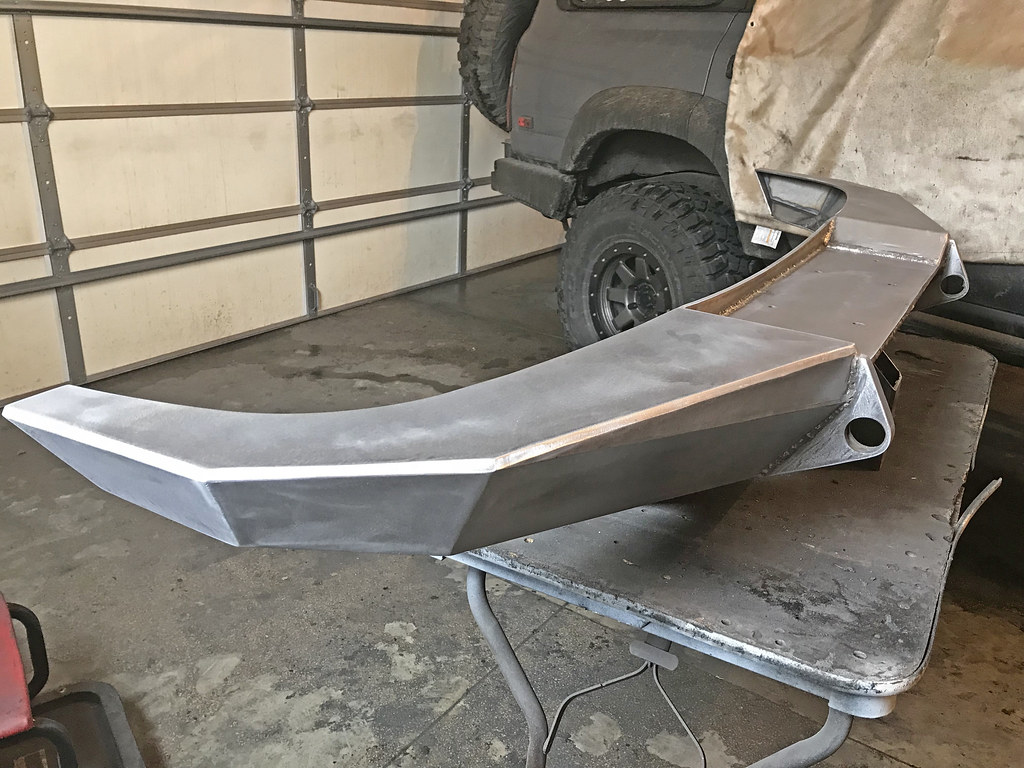
But that larger radius on the bumper my son is building is a tube for the radius with plates welded for the top and angled face.
Holiday bumper by Adam Tolman, on Flickr
 

Box Rocket

Well-known member
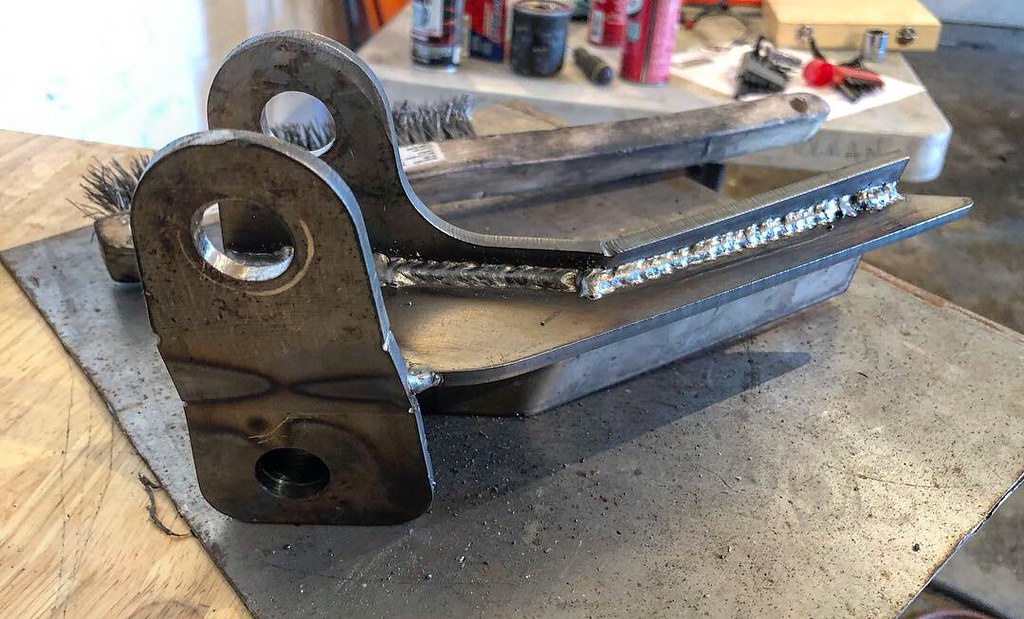
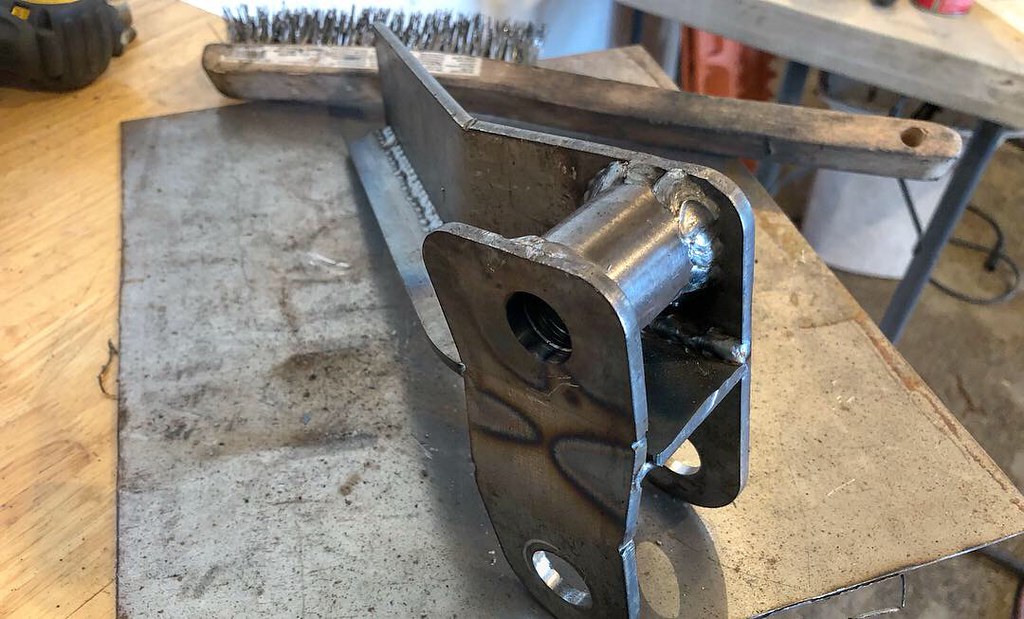
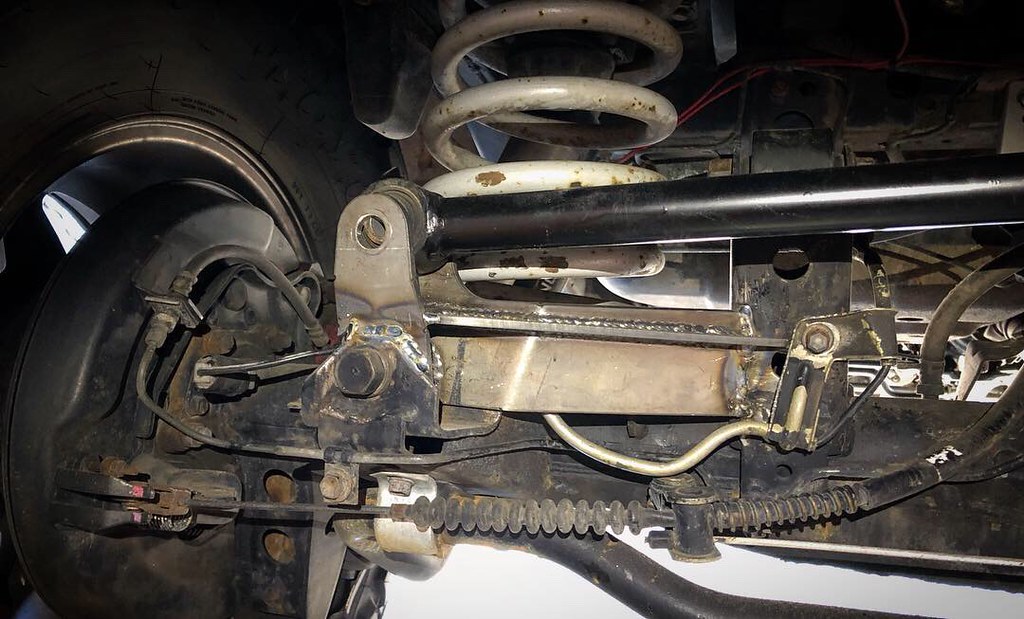
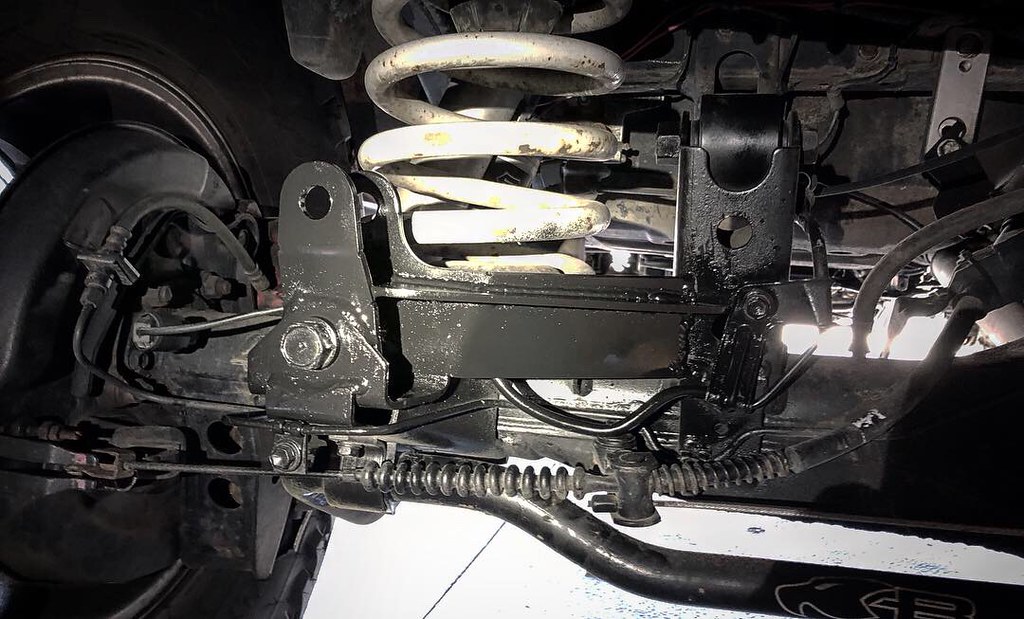
A local mudder cut out a few "kits" for a rear panhard bracket on his plasma table and I ended up with one of them. Similar to the Delta bracket but this one isn't completely bolt in and one edge is welded to the upper control arm bracket on the axle. There's a "safety" weld on the original panhard bracket but probably isn't necessary. I was planning to get the Delta one but this was offered to me and I happily snatched it up. Used a stock panhard with it to replace the adjustable one I've had.

Seems to be a minor improvement in handling over the adjustable panhard. I'll be honest, I was expecting a more noticeable change based on the feedback I've heard from others after getting the rear panhard leveled off. The "wiggle" that is described from the rear end of the truck that does not have a level panhard when hitting bumps was not that pronounced on my truck to begin with. I have to assume that the Slinky suspension and HD rear swaybar were controlling the back end pretty well, but this panhard bracket does seem to make the rear of the truck feel a bit more settled. So I think it's a worthwhile mod. I look forward to getting it out in the dirt and see how it behaves on some fast tracks.

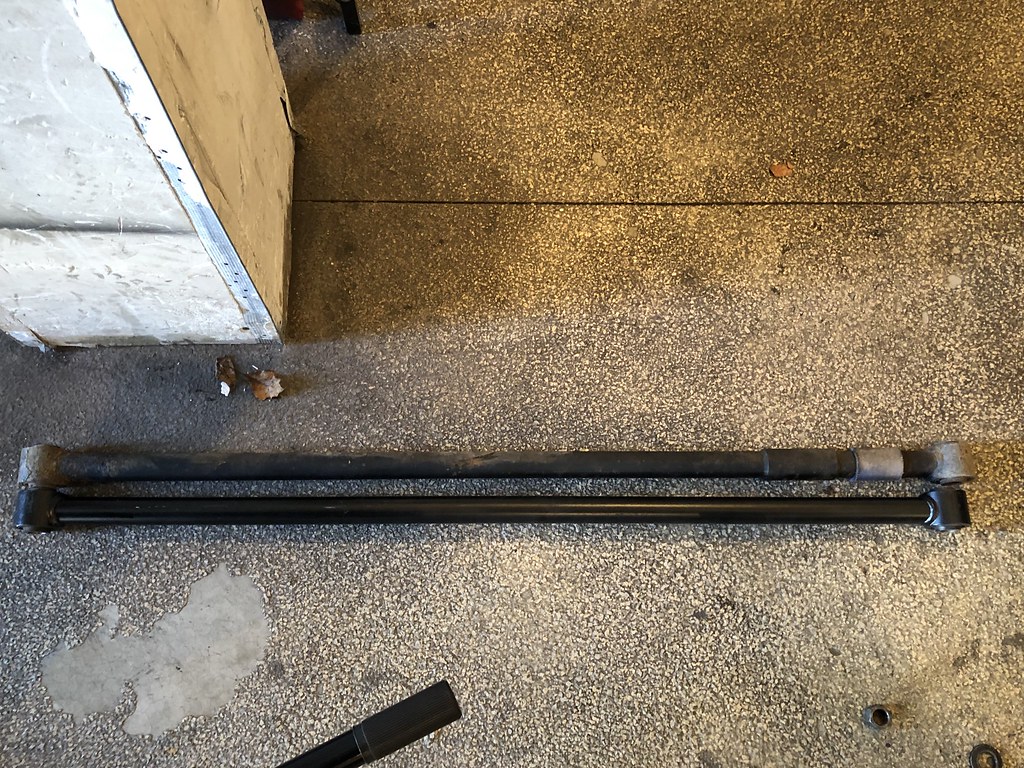
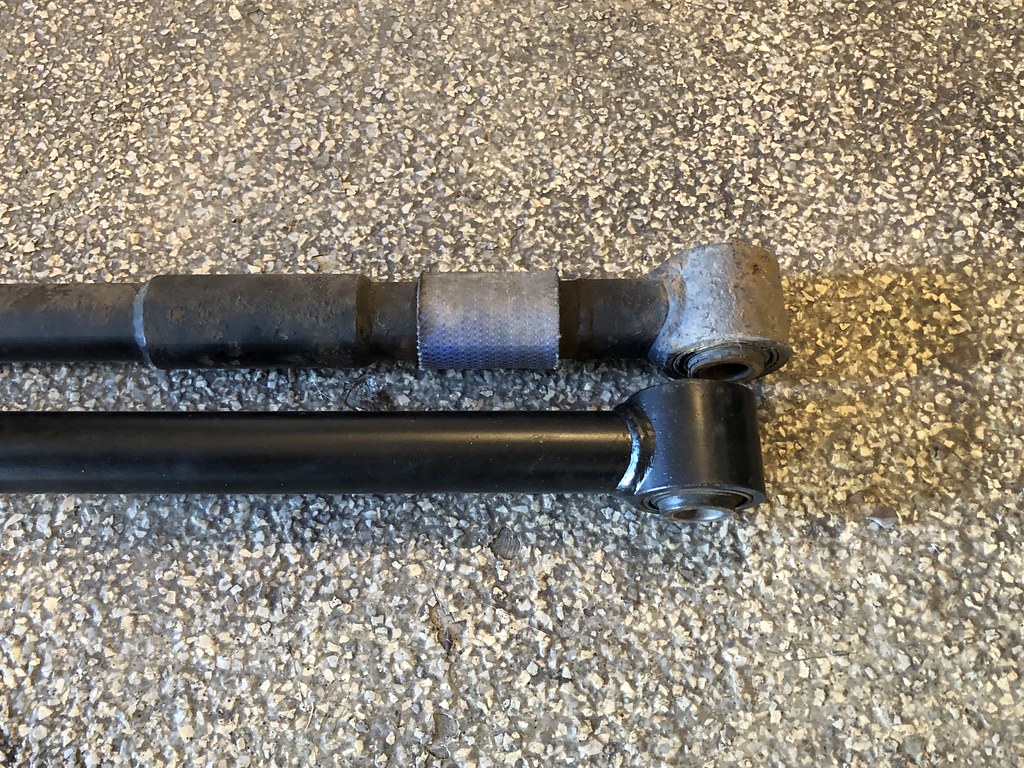
Stock vs adjustable panhard
Untitled by Adam Tolman, on Flickr

small difference in length
Untitled by Adam Tolman, on Flickr

Welded up the bracket.
Untitled by Adam Tolman, on Flickr

Untitled by Adam Tolman, on Flickr

In the truck
Untitled by Adam Tolman, on Flickr

Little paint
Untitled by Adam Tolman, on Flickr

New OEM bolts for the frame side bracket on the top of the new axle bracket. Reused the original axle bracket to hold the lower end of the new bracket.
Untitled by Adam Tolman, on Flickr

Untitled by Adam Tolman, on Flickr

There is interference with the Axle bolt and nut with the Slinky coil. One solution is to lift the frame of the truck to open up the suspension and slide the bolt in from the front with the nut on the back side. If you needed to remove it you would need to open up the suspension the same way to get it out. I chose to machine about 1/2" off the end of the bolt and about 1/8" off the nut (it's like a 1" deep nut) and put the bolt in from the back with the nut on the forward side so that it would clear the springs and I wouldn't need to open up the suspension to remove it.
 

Box Rocket

Well-known member
So I’ve got to ask and hope the answer is yes. Really like that roof rack. Is this roof rack available to purchase?
Ok, just because you're are hoping so much I'll say it's available! But really, it is. It's a Prinsu Design Studio rack.
https://prinsudesignstudio.com/product/lc80-prinsu-roofrack/

Couple things to note. Mine was built by request since the original owner was local to me and they didn't have an 80 rack. So mine was the prototype that eventually came to market so there are a couple subtle changes to the production version. The main difference is the production version sits 1" higher than mine. That was based on my feedback. I wanted a very low profile rack but after using this prototype rack for a bit it was a bit difficult to attach things like RTT's that required tightening fasteners between the rack and roof. There just wasn't much room to get a hand//wrench in there. The 1" taller production versions make that a bit easier while keeping a low profile design.

Only other real difference is that I had the TEQ logo cut into the sides on my rack. To avoid licensing issues with Toyota, that didn't make it to production models. The Prinsu logo is there instead.

Awesome rack! I've loved it. Very strong! and very light.
 

Box Rocket

Well-known member
Couple updates.

Spent a week with my family exploring Southern Utah for spring break. Had a great trip, but broke a shackle hanger on my trailer in a very remote location. Had to get creative with a fix to limp the 50 miles of dirt back to somewhere I could weld it up. All part of the adventure. Can't complain too much. I've hauled this trailer over tens of thousands of miles on and offroad over the past decade and it's really had no issues at all. Given how it gets used, this isn't too bad.

Untitled by Adam Tolman, on Flickr

IMG_2436 by Adam Tolman, on Flickr

IMG_2432 by Adam Tolman, on Flickr

Untitled by Adam Tolman, on Flickr

A little JB weld, a bunch of zip ties and a prybar did the trick to get us out :)
Untitled by Adam Tolman, on Flickr

IMG_2488 by Adam Tolman, on Flickr
 

Box Rocket

Well-known member
finished up the mods for bumpstops etc to go with the 37s. So far, really happy with the Timbren Active Offroad Bumpstops. In the rear I have about 5.5" of shock shaft showing at ride height. The Timbren bumps in the rear are set to bottom out at about 5" compression so that should be just about perfect for the rear and to keep the tires out of the fenders. I did flatten the inner fender lip. No other trimming of the body in the rear. I did however cut about 1.5" off the bumper wing.

37’s and bumpstops by Adam Tolman, on Flickr

37’s and bumpstops by Adam Tolman, on Flickr

The fronts are close. Little bit of trimming of the inner fender at the front and back. Tires are still rubbing a little at full compression on the bolts that hold the inner fender to the outer fender. I'll be replacing those with some button head bolts so that they don't catch the tires.
37’s and bumpstops by Adam Tolman, on Flickr

Front compressed. Not full stuff yet but almost equal distance to bumpstop as there is shock shaft.
37’s and bumpstops by Adam Tolman, on Flickr

37’s and bumpstops by Adam Tolman, on Flickr

37’s and bumpstops by Adam Tolman, on Flickr
 

Box Rocket

Well-known member
After I got back from the spring break trip I noticed this. Got a bent radius arm.
Untitled by Adam Tolman, on Flickr

Found a used set of stock arms with good bushings that will be swapped in this week. That will take care of them until the new Slinky radius arms are released in the next month or so.
Untitled by Adam Tolman, on Flickr
 

Forum statistics

Threads
188,244
Messages
2,904,466
Members
229,805
Latest member
Chonker LMTV
Top