Box Rocket 1995 FZJ80 Build

Box Rocket

Well-known member

alia176

Explorer
Hey Adam - besides the additional droop, what other reasons did you have for switching out the rear shocks? Are you trying to improve the way the 80 body moves after the addition of the thicker rear sway bar?

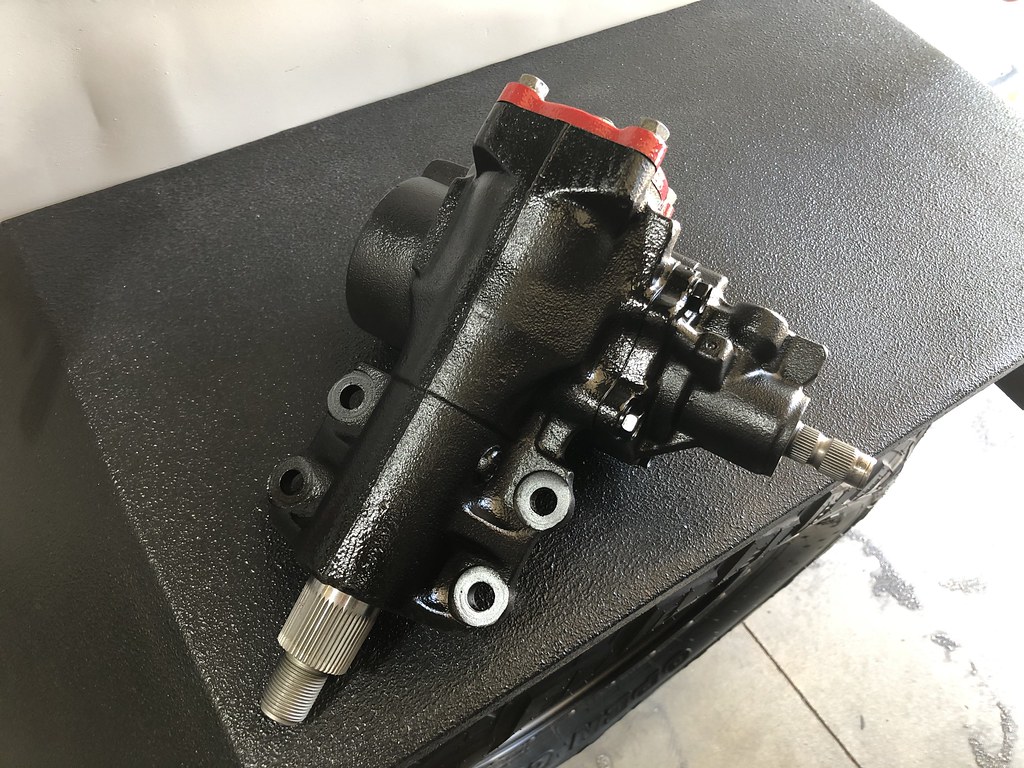
Regarding the PS pump leakage, mine is still leaking after a rebuild. My unit is leaking from the rear cover where the large O ring lives and I wonder if I nicked mine during the rebuilding process. Do you recall where your unit leaked from and what did you do to stop it? Mine is making a mess on the driveway.
 
Last edited:

Box Rocket

Well-known member
Nice rig...do you have a link or specs to your Icon wheels? I can not seem to find the specs....thanks.
This is the wheel I'm running. Icon will say they won't fit on an 80 because the center caps won't fit over the hubs unless you run a wheel spacer. So if you don't have a wheel spacer you just can't run the center caps.
 

Box Rocket

Well-known member
Hey Adam - besides the additional droop, what other reasons did you have for switching out the rear shocks? Are you trying to improve the way the 80 body moves after the addition of the thicker rear sway bar?

Regarding the PS pump leakage, mine is still leaking after a rebuild. My unit is leaking from the rear cover where the large O ring lives and I wonder if I nicked mine during the rebuilding process. Do you recall where your unit leaked from and what did you do to stop it? Mine is making a mess on the driveway.
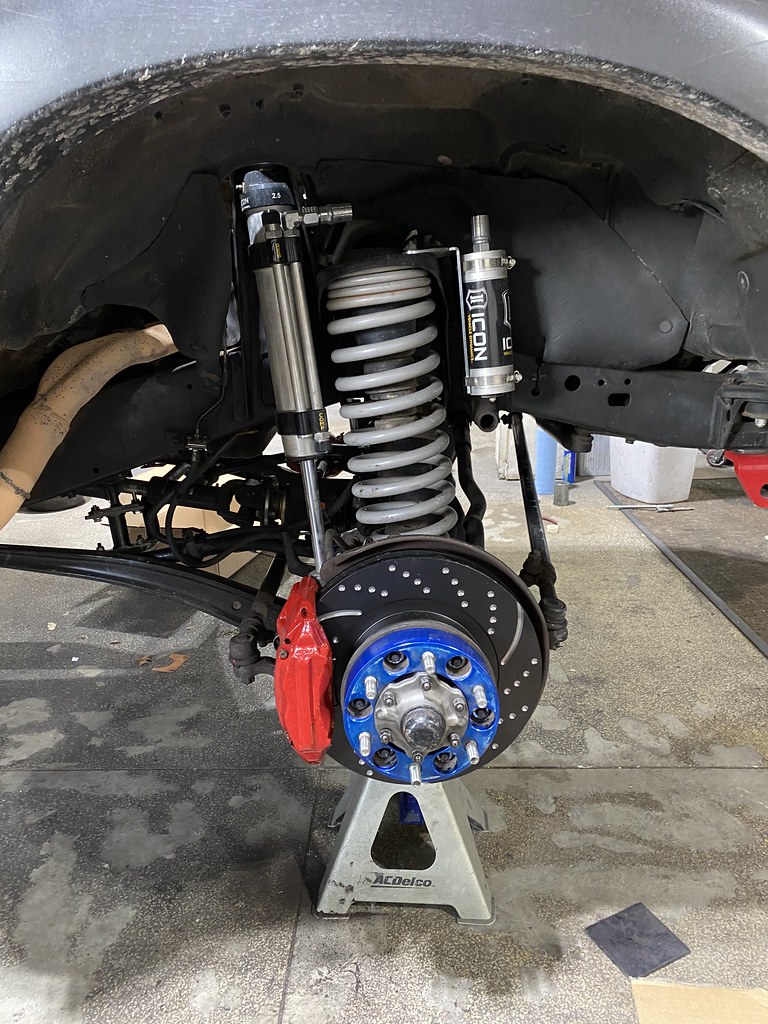
Actually it wasn't for the additional droop at all, (but that's a bonus). I'm also very happy with how the truck behaves with the rear swaybar. I am after the ability to make additional adjustments to the ride quality especially for fast driving on rough terrain. Ever since switching from OME to the Slinky suspension (even the stage 1 smooth body shocks) the truck has been so much easier to control. That control has made it much more comfortable to drive faster over rough terrain. As my speeds increase, you find the limits of what the different shocks can do. I pretty quickly found the limits of the stage 1 shocks and after a year stepped up to the Stage 4's with the 2.5 body, remote reservoirs and 10-point adjustable compression. Those are already an outstanding shock and I ran those for the past 4 years. These new stage 5 shocks are similar dimensions to the stage 4's but add dual bypasses (allows the oil to move into bypass tubes at different points in the stroke to give an even smoother ride over rough terrain) but also adds 25-point adjustability for both compression AND rebound. They are essentially a race-ready shock (although race vehicles like Trophy trucks use even larger body shocks with 3-5 bypasses rather than just the two that are on mine).

That's a long winded description in answer to your question. Bottom line is I was after a smoother, more controlled and tunable ride in all types of terrain and for different types of loads in the truck. These have been awesome on the past two trips I've done on them with roughly 1800 in the dirt.
 

Box Rocket

Well-known member
Few updates to add since last summer. Nothing too major but a few things to share.

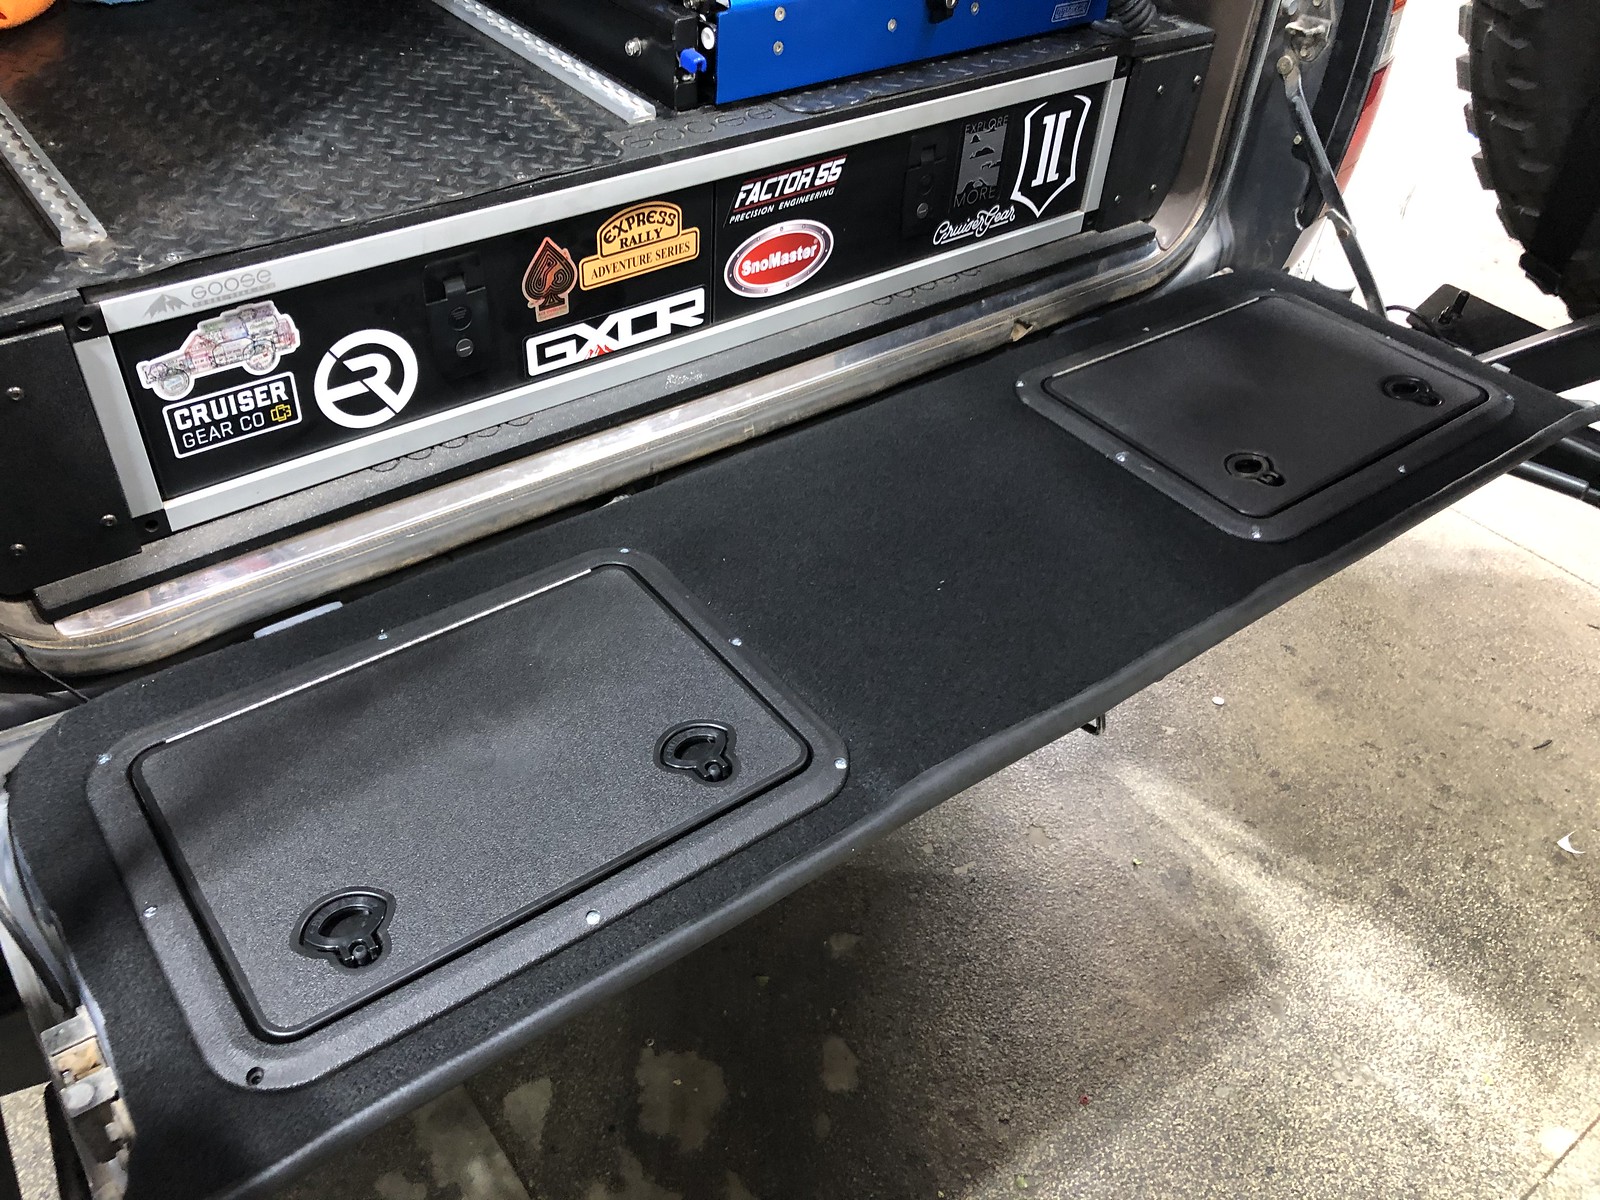
I decided to do a common mod to convert the tailgate to include some storage. I found some suitable hatches on amazon that were the size I thought would work. There are a few very nice full width storage hatches on the market. They can be a bit expensive and I was looking for less expensive option that I could manage quickly before a trip. The center area is quite shallow and not as useful for storage so I did two separate hatches in the deeper parts of the tailgate. These are still pretty shallow and things like a rolled recovery strap is about as thick as you can fit in that space. I'm using the space for recovery gear storage.
Untitled by Adam Tolman, on Flickr
Untitled by Adam Tolman, on Flickr
Untitled by Adam Tolman, on Flickr
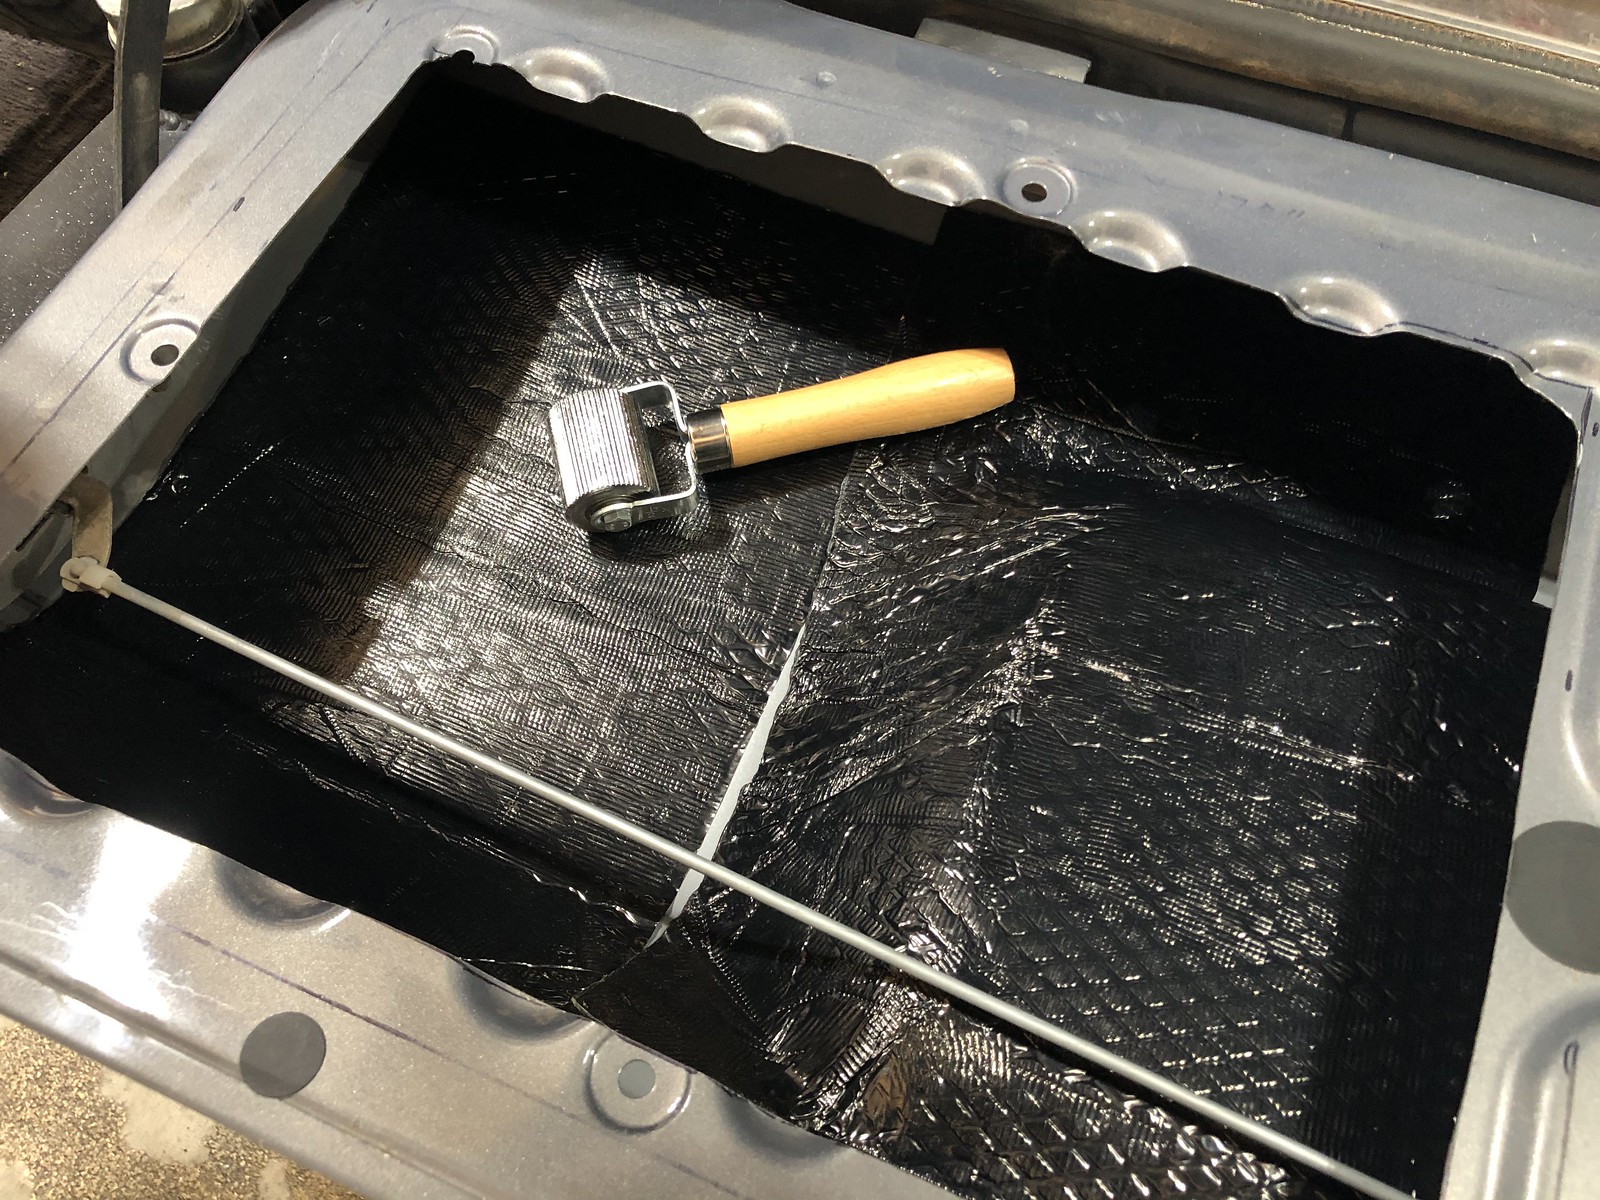
Used some Noico sound deadening mat on the inside.
Untitled by Adam Tolman, on Flickr

Untitled by Adam Tolman, on Flickr

Trimmed the original carpet panel, recovered in with new carpet and wrapped up the installation.
Untitled by Adam Tolman, on Flickr

Untitled by Adam Tolman, on Flickr
 

Box Rocket

Well-known member
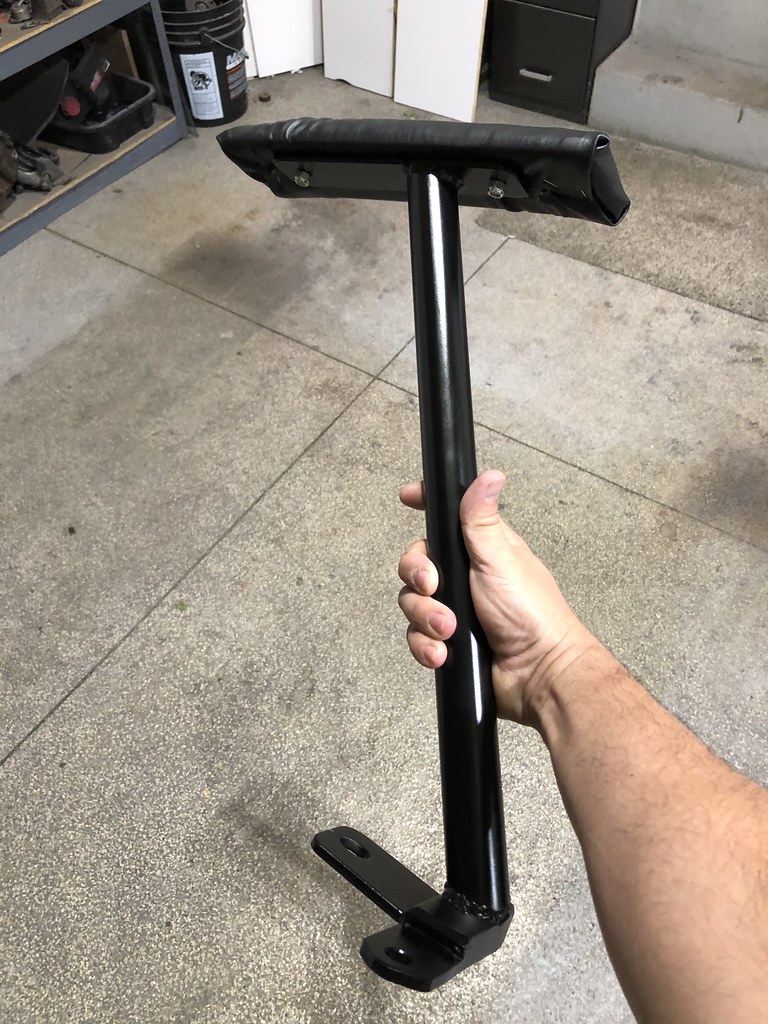
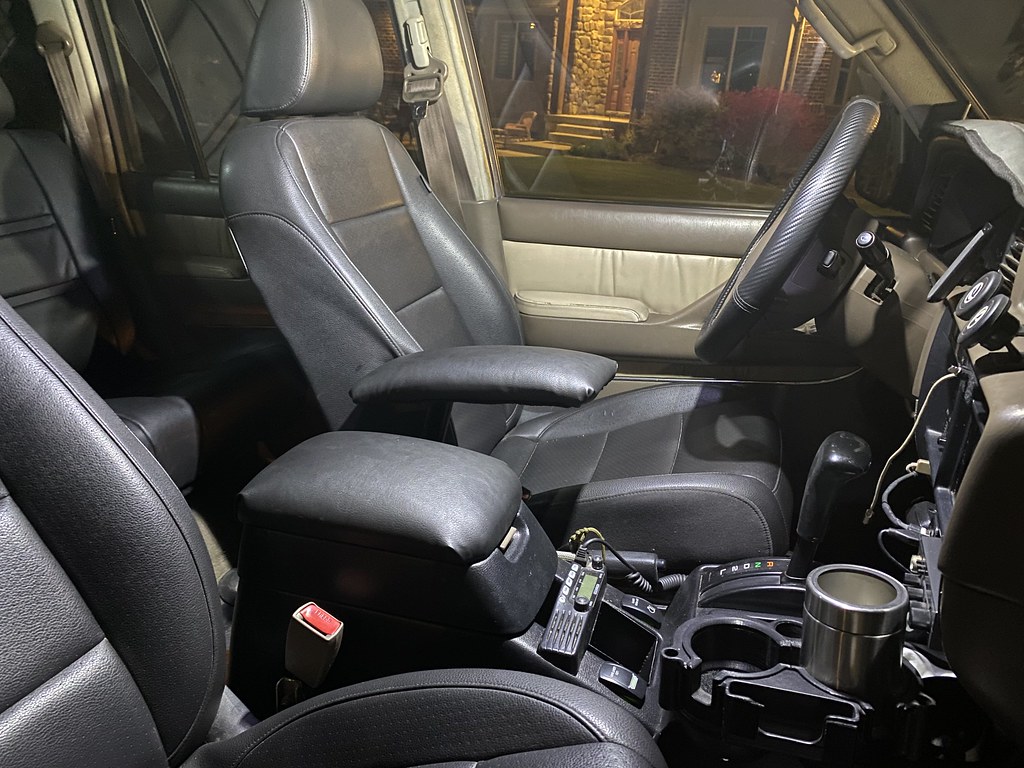
Next was something really simple. Will work for some, others may not like it. A driver armrest is something that many wish the 80 had. The position of the center console armrest isn't ideal and you have to lean over a bit to use it. I welded up a simple post that is anchored to the floor. There is a foot on the bottom and I've found bolting it down with a single bolt shared with the seat bracket. Some foam and marine vinyl finished it up. Makes my driving position much more comfortable especially on longer drives.
Armrest by Adam Tolman, on Flickr
Armrest by Adam Tolman, on Flickr

Untitled by Adam Tolman, on Flickr
 

Box Rocket

Well-known member
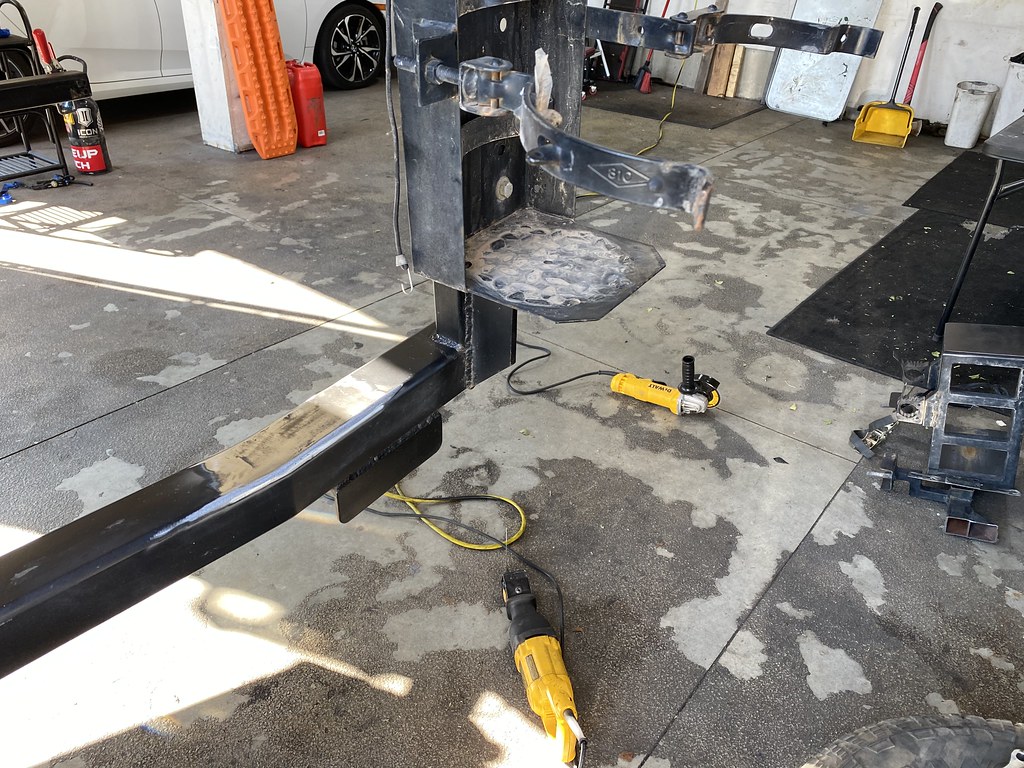
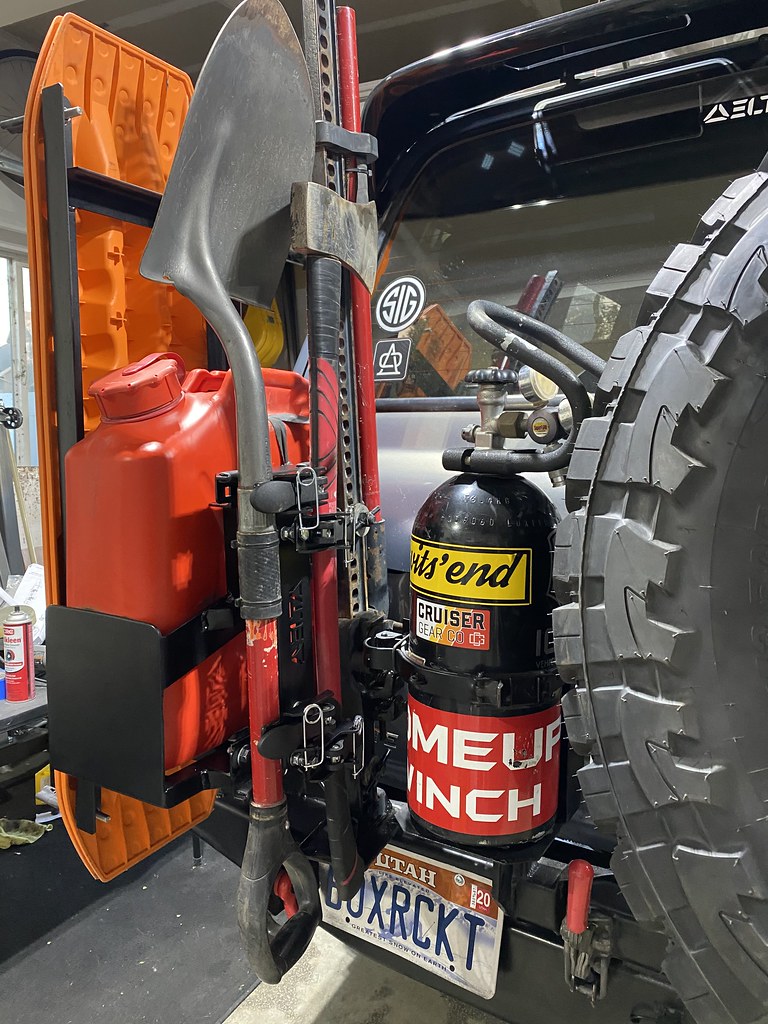
I was looking for a better way to carry my maxtrax rather than on the roofrack. The roofrack is fine most of the time but if my tent is on the roof there just isn't room for the maxtrax. So I modified my driverside swingout on the rear bumper. This required relocating the fuel can carrier farther outboard so that my highlift and shovel could be moved more to the inside and free up space on the outside for a bolt on bracket to hold the maxtrax.
Untitled by Adam Tolman, on Flickr

The rack for the maxtrax was built quick and dirty since this was literally the night before leaving on a week long trip. Some angle steel and some of the Maxtrax pins was all I used.
Untitled by Adam Tolman, on Flickr

Maxtrax mount by Adam Tolman, on Flickr

Maxtrax mount by Adam Tolman, on Flickr

I also got a fancy tool bracket from Delta VS that replaced the quickfists that were holding my shovel. This bracket is really cool and works great.
Untitled by Adam Tolman, on Flickr

Untitled by Adam Tolman, on Flickr
 

Box Rocket

Well-known member
Most recent mod was some new lights. I've been searching for some lights to replace the three HIDs I have on the front bumper. I'm a big fan of the HID lights and the distance of the light throw. The ones I have are Hella lights and I've been really happy with them. They've been discontinued so replacing them with new ones of the same thing wasn't possible. Most options on the market now are LED lights and while there are some really excellent lights out there, I had not been able to find an LED option that could match the distance of the HIDs, so I was reluctant to buy anything.

Then I found an option from LED CoLight that is a round LED light but uses a laser module with a projector lens in the center. The advertised distance of 2000 meters caught my attention. They are Chinese lights but use OSRAM LEDs that are known to be good quality. They weren't really cheap in terms of cost like many cheap chinese lights and the price was closer to other good quality lights. I decided to take a risk and order a pair. They have these Laser lights in 5", 7", 8.5" and 9". I got the 9" versions since I was only going to have two lights to replace 3 HIDs and wanted to hopefully have close to equal light output.
Laser Lights. by Adam Tolman, on Flickr

The 9" lights come with three translucent color rings (red, amber, blue) that can be changed. I didn't like any of the colors so I painted one pair of the rings a graphite color.
Laser Lights. by Adam Tolman, on Flickr

Laser Lights. by Adam Tolman, on Flickr

Installed.
Laser Lights. by Adam Tolman, on Flickr
Laser Lights. by Adam Tolman, on Flickr

Laser Lights. by Adam Tolman, on Flickr
Laser Lights. by Adam Tolman, on Flickr

I've had them a couple weeks now and I can say that I've been VERY impressed with them. The lasers have a noticeable increase in distance beyond the HIDs, which is what I was hoping for. I should note that the beam (especially the laser) is a really tight beam. I have some additional LED lights on the roof rack that give a more wide light pattern so I was not concerned about the tight beam of the new lights. If you got some of these lights you might want to consider some additional flood pattern lights, or ditch lights or something like that to light up a wider area. But I'm super happy with these so far.

I have never had a light that would penetrate fog like these lights. This photo is using only the new laser lights. No headlights, none of the other LED lights on. So it should give a pretty clear idea of the light pattern you could expect. The fog is impacting the distance somewhat. On a clear night these seem to go on forever.
Laser Lights. by Adam Tolman, on Flickr
 

Box Rocket

Well-known member
This past weekend I replaced the brake booster since I was having signs of booster failure. I used a Seiken brake booster that I'm told is an OEM part. Pretty straight forward install and brake pedal feels much better.
Untitled by Adam Tolman, on Flickr

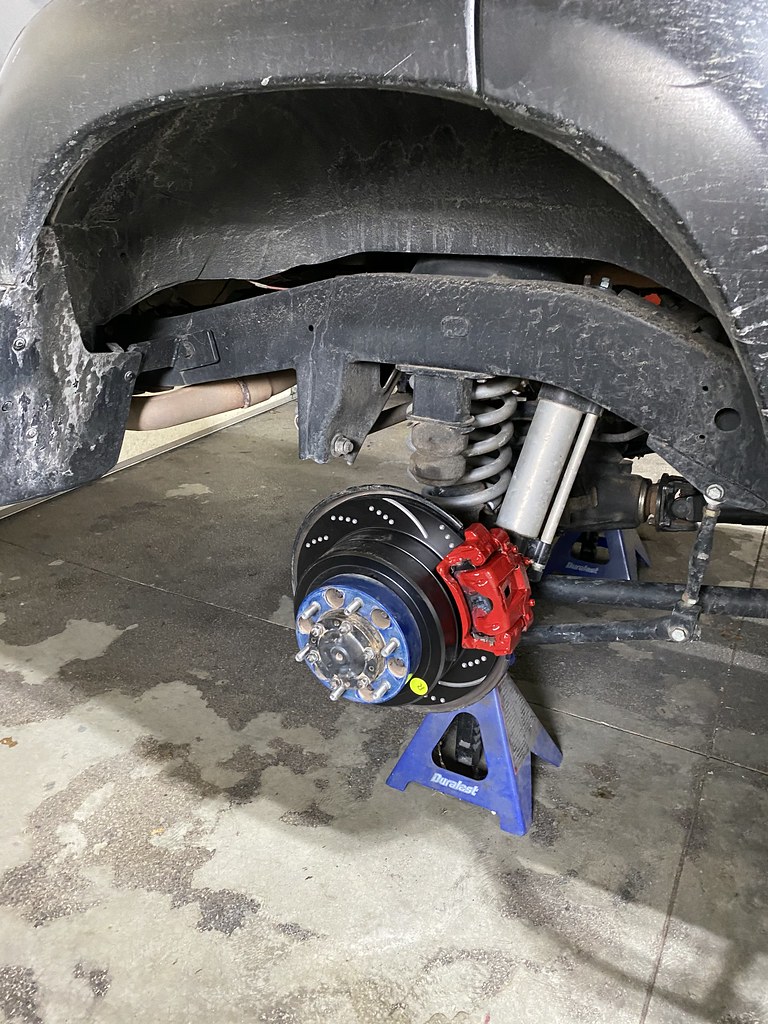
This coming weekend I'll be replacing the rotors and pads. I'm going to try some EBC dimpled and grooved rotors after hearing a fair amount of good feedback on them. Hawk green pads this time. Looking forward to compare these to the OEM rotors and pads I've always used and been pretty happy with.
Untitled by Adam Tolman, on Flickr

Untitled by Adam Tolman, on Flickr
 

ITTOG

Well-known member
Wow, that laser beam looks cool. I am surprised they are legal. I do see on their website they say off road use.
 

Forum statistics

Threads
188,244
Messages
2,904,465
Members
229,805
Latest member
Chonker LMTV
Top