It's been a month or so since my last update, so here goes!
My CarFax states that the camshaft seal(s) were replaced about 8,000 mi. ago, but I'm thinking it was the front one because my rear ones were leaking like crazy.
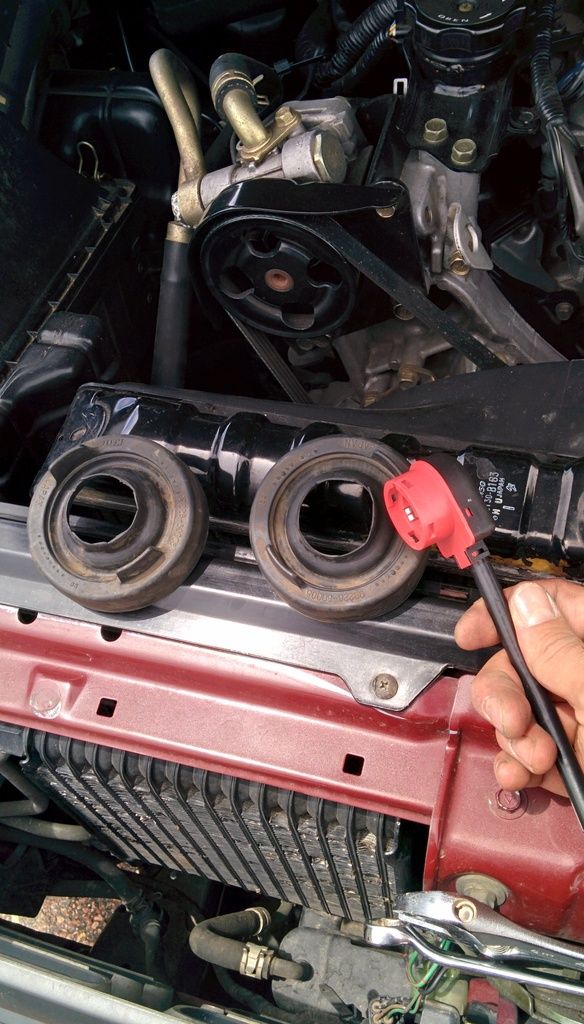
I started out by replacing the passenger side, which was easily reached from the top of the engine with the air intake pipe removed for elbow room. The driver's side had to be done with a combo of below and above the truck, but mostly from below. My forearms are still a bit sore from being so squished between everything. I was able to do the driver's side without removal of anything else.
I purchased some OEM Mitsu seals from the dealer, $2.09 each with commercial pricing.
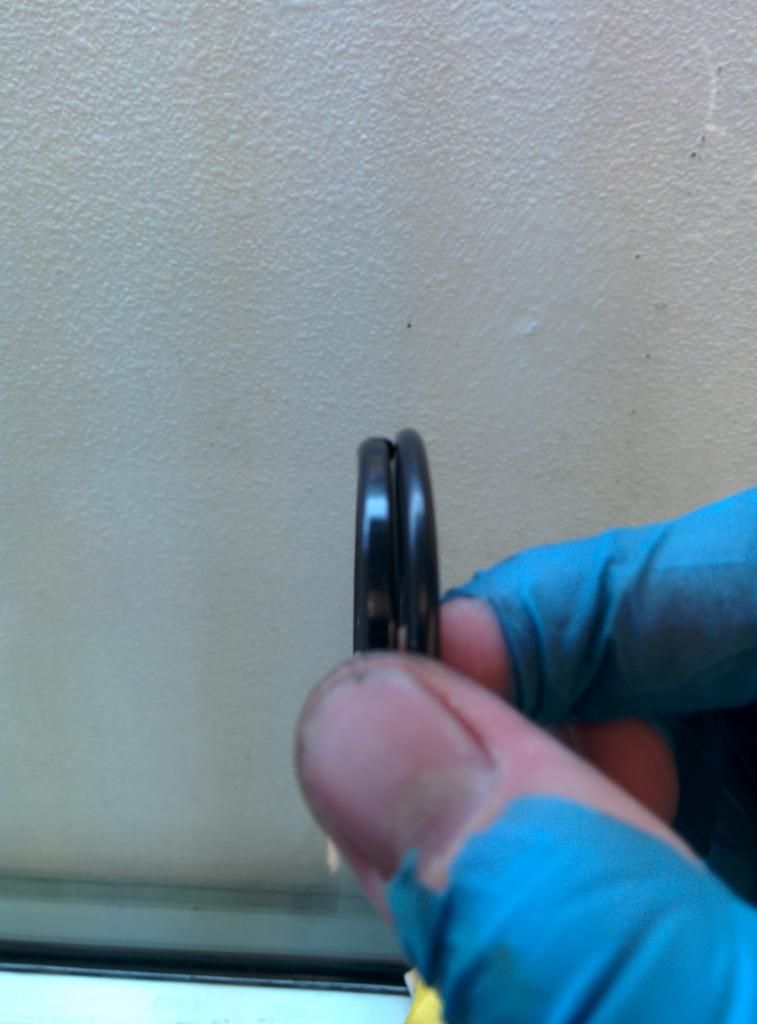
I believe they were the original seals. Pretty dry-rotted and cracked. The Mitsu seals are very nice and soft and feel well-lubricated. Definitely higher quality than a standard O-ring.
I cleaned up the metal housing the o-ring sits in and put a fine bead of black RTV on the round flange to ensure a good seal. Same goes for the other side. No more leaking cam seals! I also did an oil change when I got the truck using Valvoline Maxlife, and it was making the lifters tick like crazy. I got some awesome Brad Penn partial synthetic oil that I run in my other Mitsu and it has quieted it down dramatically!
---
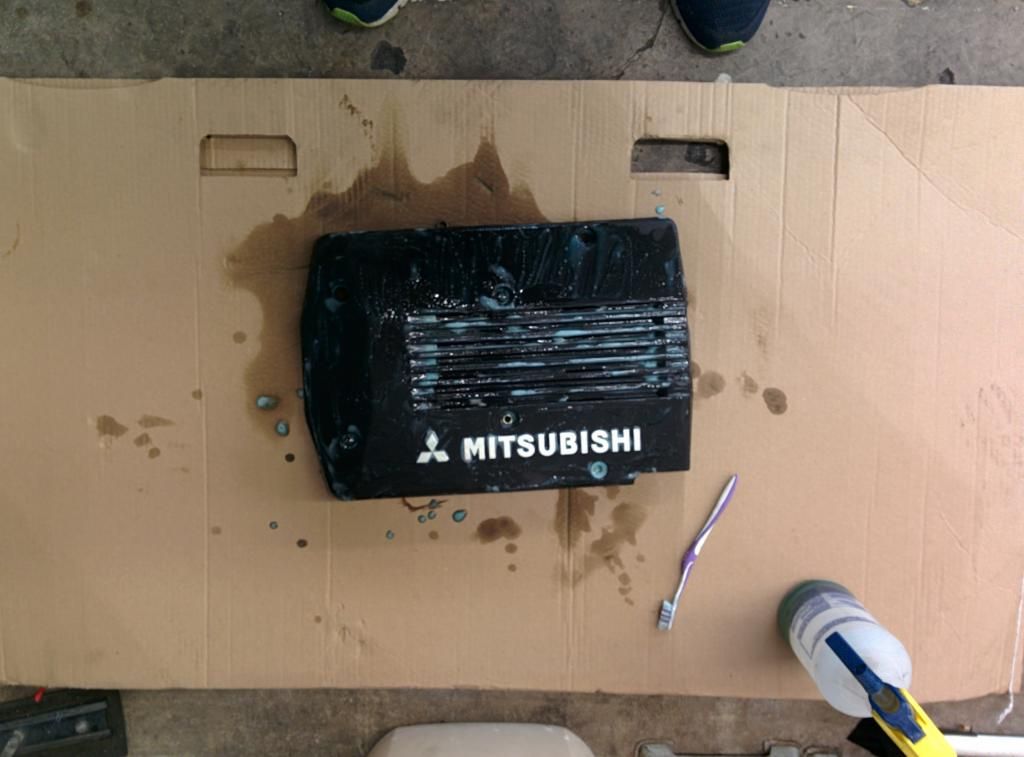
With that done, I decided to pretty up the engine bay a bit, so I turned to the plastic engine cover that had oil stains, scuffs, and a peeling OEM sticker with leftover adhesive.
A buddy of mine at work has been experimenting with hydrodipping, which is basically water transfer printing. It's like vinyl wrap, but it can be applied to nearly anything. The engine cover was going to be my test project!
Cleaning the piece
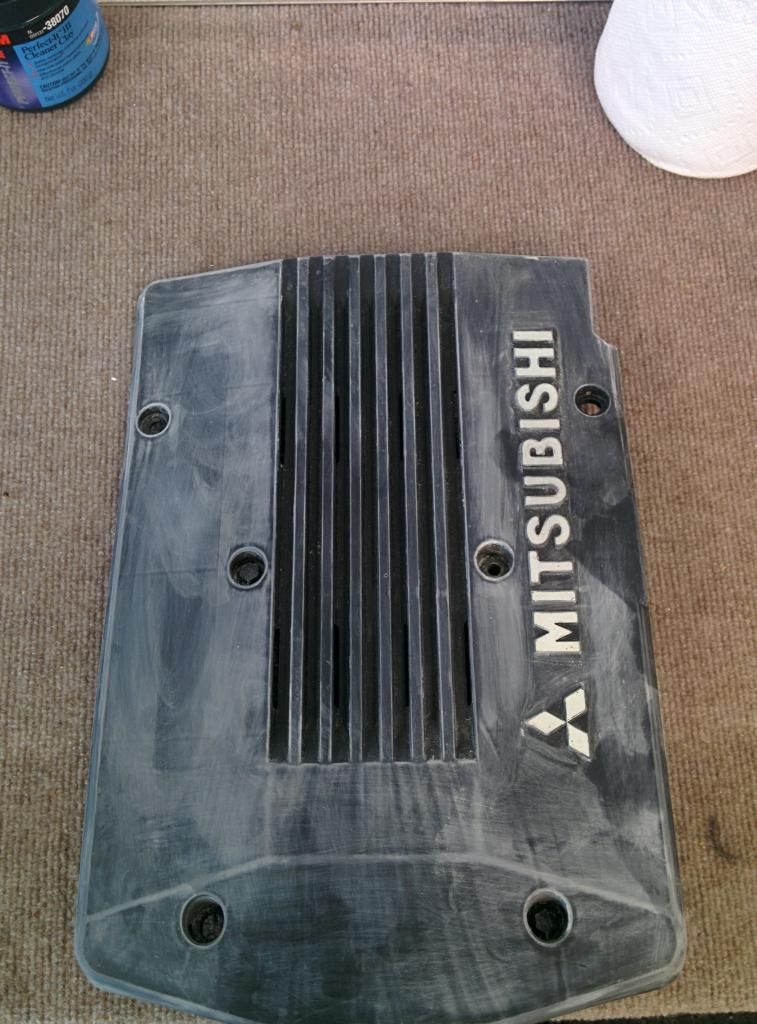
Scuffing and sanding
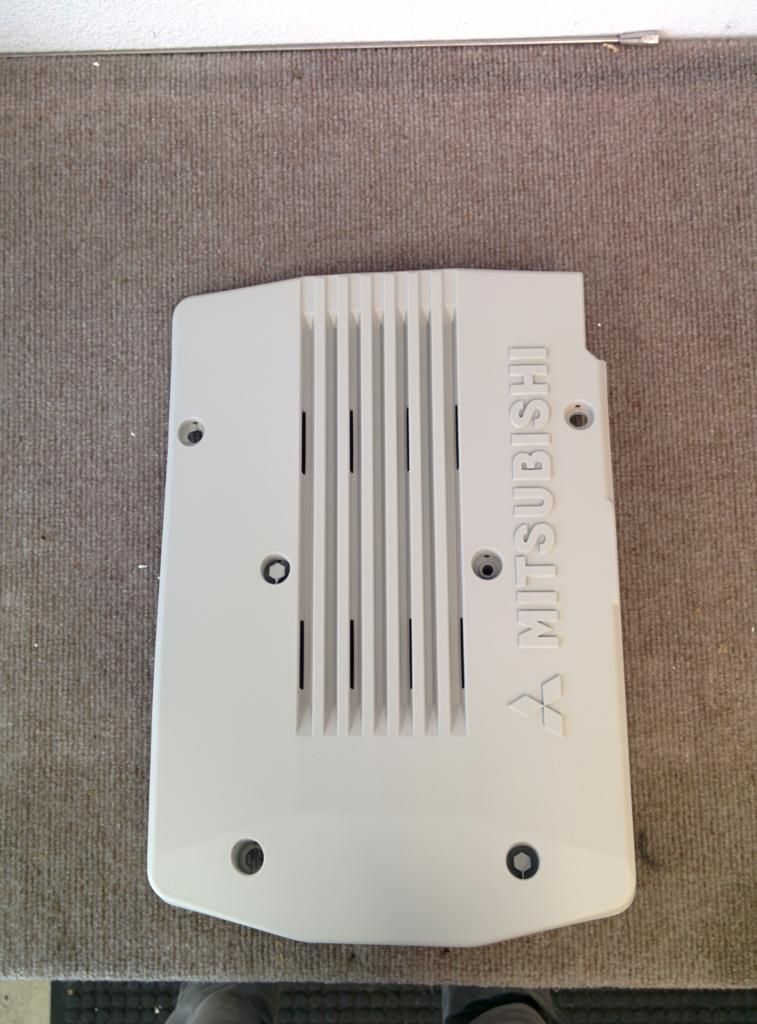
Plastic primer and tan base coat
The pattern that I will be using for the cover... Wood grain son! It's very thin, like tissue paper
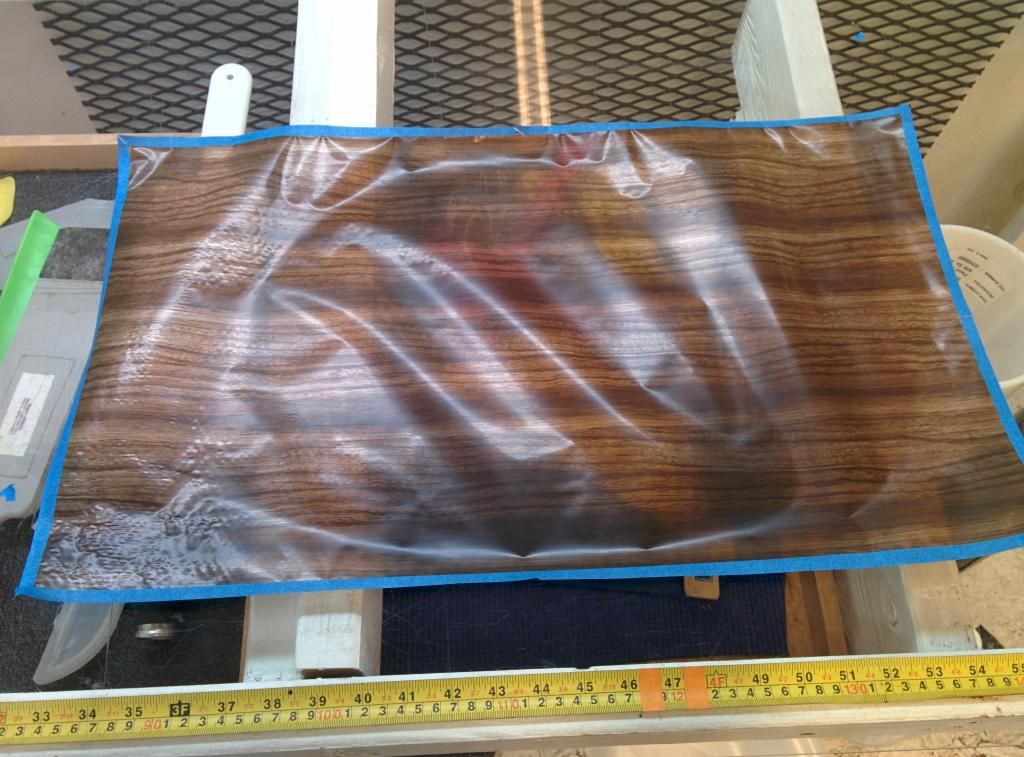
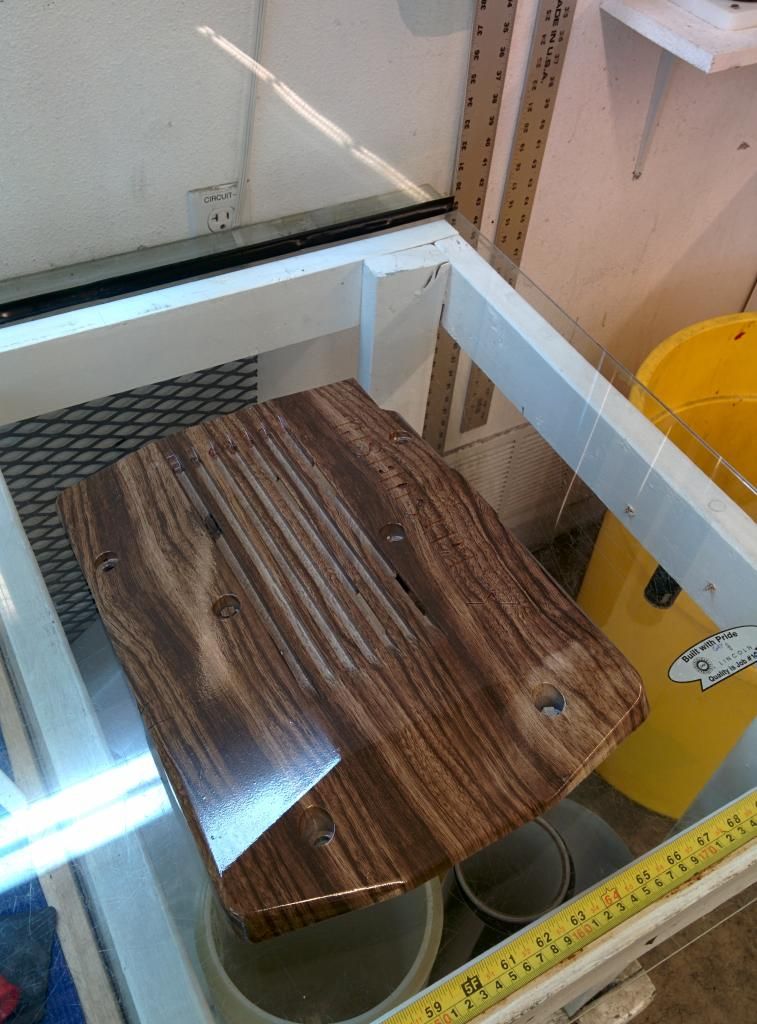
Here is right after dipping it, no clear coat or "touch ups"

I used good ol' Ace Hardware brand Enamel Clear Coat
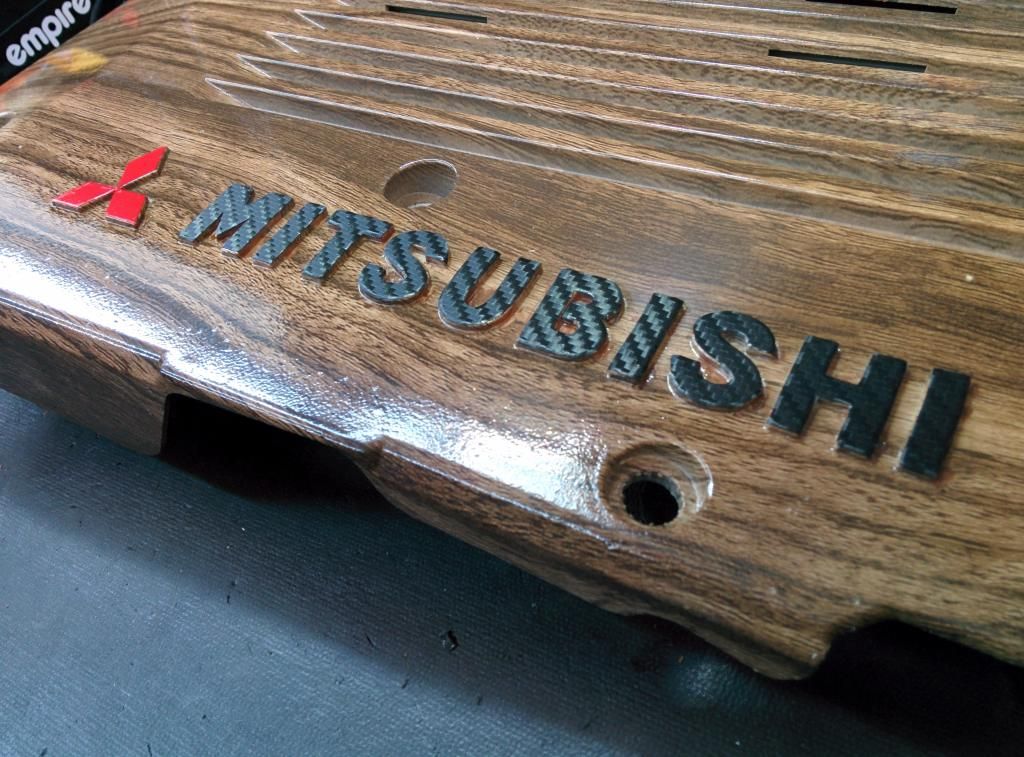
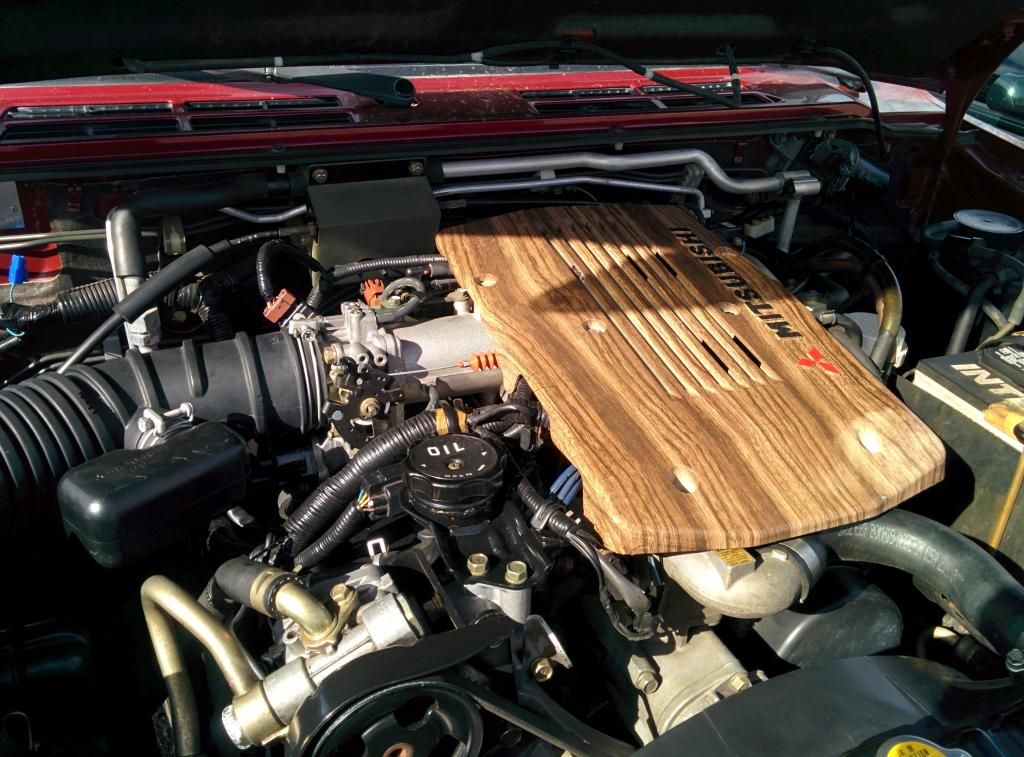
I had to make the MITSUBISHI pop again, so I layed red vinyl on the diamonds and black carbon fiber vinyl on the lettering...
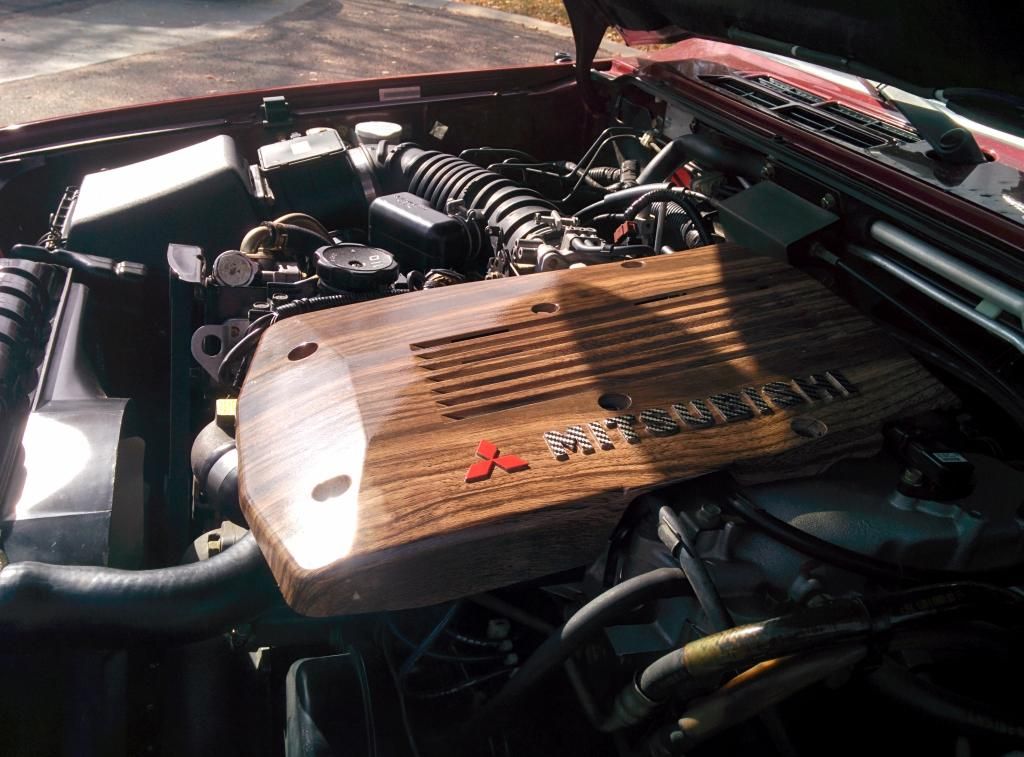
After letting it all dry for a few days, I installed it back onto the truck.
I also signed up on Fuelly.com and have been tracking the gas mileage. I've been getting 16mpg in city, with 31" tires! I'm pretty happy with that, and I think it will rise a little bit from there!
Oh, here's a video of a piece getting hydrodipped at a professional location. I did it in a tupperware tub with warm water and a spray can of the "activator".
My CarFax states that the camshaft seal(s) were replaced about 8,000 mi. ago, but I'm thinking it was the front one because my rear ones were leaking like crazy.
I started out by replacing the passenger side, which was easily reached from the top of the engine with the air intake pipe removed for elbow room. The driver's side had to be done with a combo of below and above the truck, but mostly from below. My forearms are still a bit sore from being so squished between everything. I was able to do the driver's side without removal of anything else.
I purchased some OEM Mitsu seals from the dealer, $2.09 each with commercial pricing.
I believe they were the original seals. Pretty dry-rotted and cracked. The Mitsu seals are very nice and soft and feel well-lubricated. Definitely higher quality than a standard O-ring.
I cleaned up the metal housing the o-ring sits in and put a fine bead of black RTV on the round flange to ensure a good seal. Same goes for the other side. No more leaking cam seals! I also did an oil change when I got the truck using Valvoline Maxlife, and it was making the lifters tick like crazy. I got some awesome Brad Penn partial synthetic oil that I run in my other Mitsu and it has quieted it down dramatically!
---
With that done, I decided to pretty up the engine bay a bit, so I turned to the plastic engine cover that had oil stains, scuffs, and a peeling OEM sticker with leftover adhesive.
A buddy of mine at work has been experimenting with hydrodipping, which is basically water transfer printing. It's like vinyl wrap, but it can be applied to nearly anything. The engine cover was going to be my test project!
Cleaning the piece
Scuffing and sanding
Plastic primer and tan base coat
The pattern that I will be using for the cover... Wood grain son! It's very thin, like tissue paper
Here is right after dipping it, no clear coat or "touch ups"
I used good ol' Ace Hardware brand Enamel Clear Coat
I had to make the MITSUBISHI pop again, so I layed red vinyl on the diamonds and black carbon fiber vinyl on the lettering...
After letting it all dry for a few days, I installed it back onto the truck.
I also signed up on Fuelly.com and have been tracking the gas mileage. I've been getting 16mpg in city, with 31" tires! I'm pretty happy with that, and I think it will rise a little bit from there!
Oh, here's a video of a piece getting hydrodipped at a professional location. I did it in a tupperware tub with warm water and a spray can of the "activator".
Last edited:


")


")