The Artisan
Adventurer
rruff how is your new camper going? Mine is in the same state but I have a new direction I am going with it.
Kevin
Kevin
rruff how is your new camper going? Mine is in the same state but I have a new direction I am going with it.
Kevin
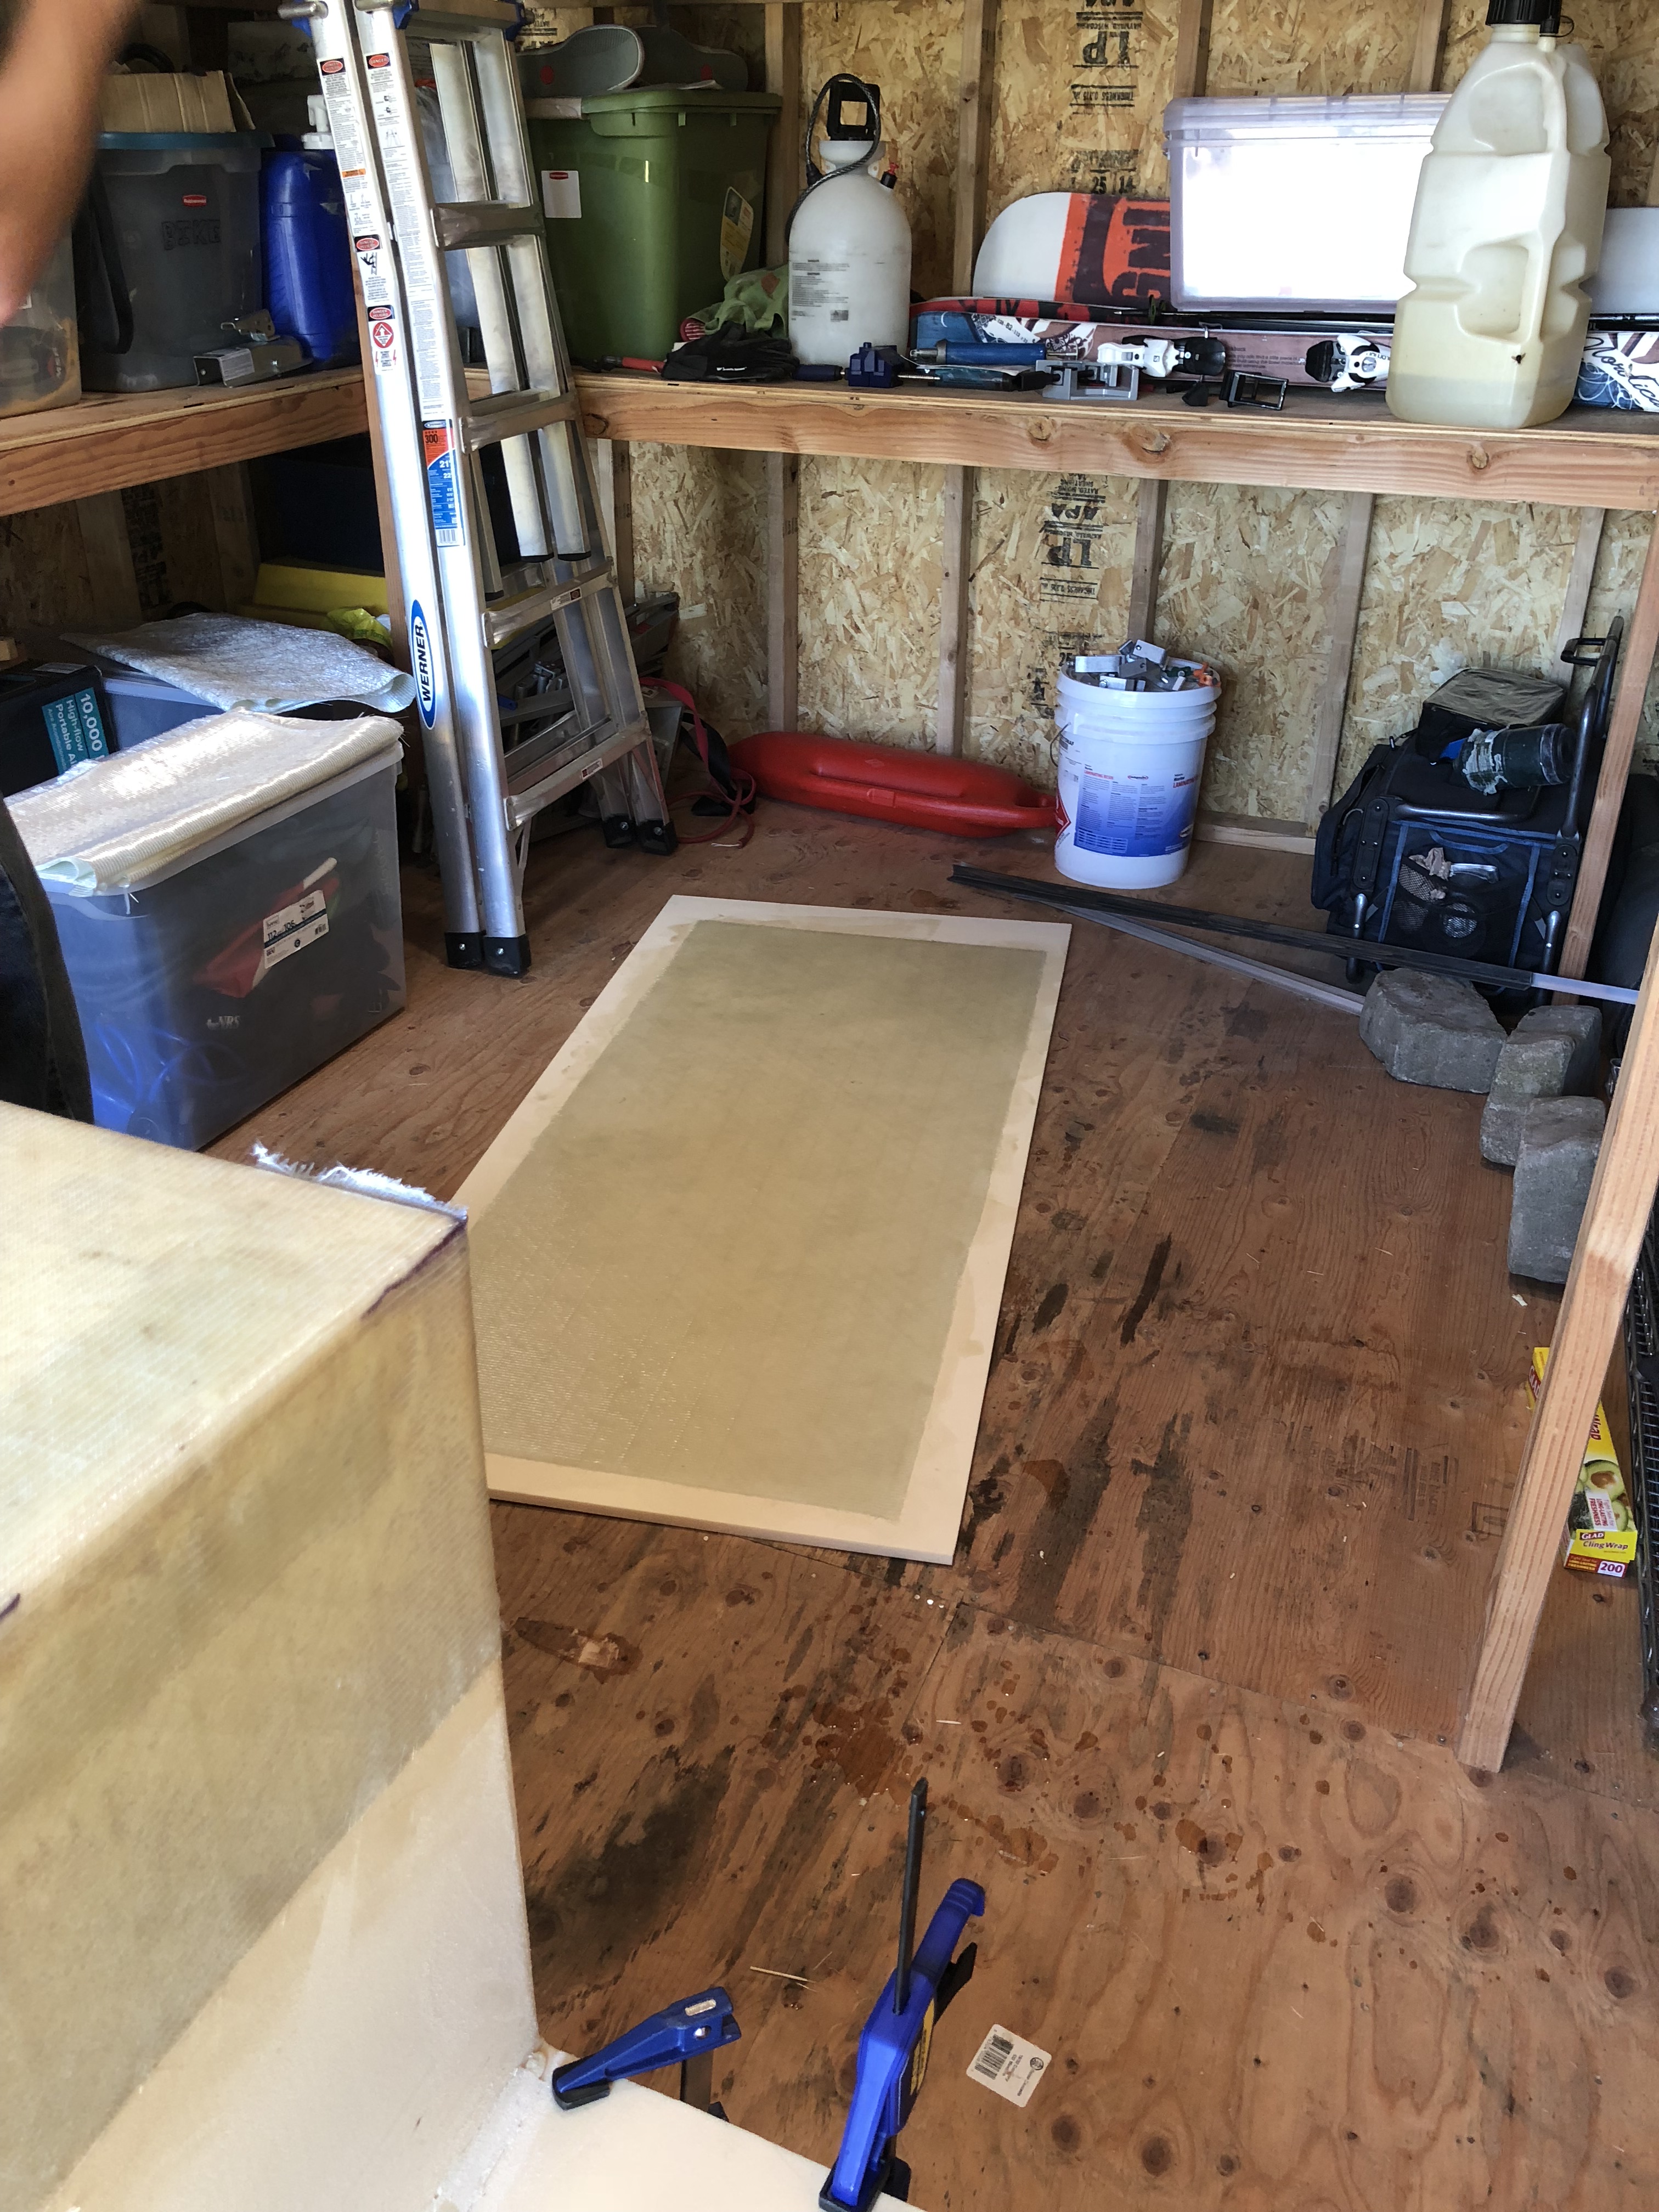
That's cool, so a few yrs you will retire?Stalled. I only have the base and one side done, and the other side half done. Barely started really. My wife had to sell her business and do some other things in support of that, so we won't be full timing for a couple years. So I decided to focus on racing bikes before my final "retirement".
That's cool, so a few yrs you will retire?
Oh nice ?I'm retired from working now, but the "final retirement" will be from bike racing.
Thanks for posting all this info; really appreciate it!
Oddly I built nearly the identical sample with XPS using the same Foamular. I had to jump up and "kung **** stomp" it to get it to break. The foam is indeed weak and very light (1.55 lb/ft^3 vs 5 lb for Divinycell) and will be the first thing to fail. I'd usually get a diagonal crack through the foam and then part of one side of the FG would break away from the foam.
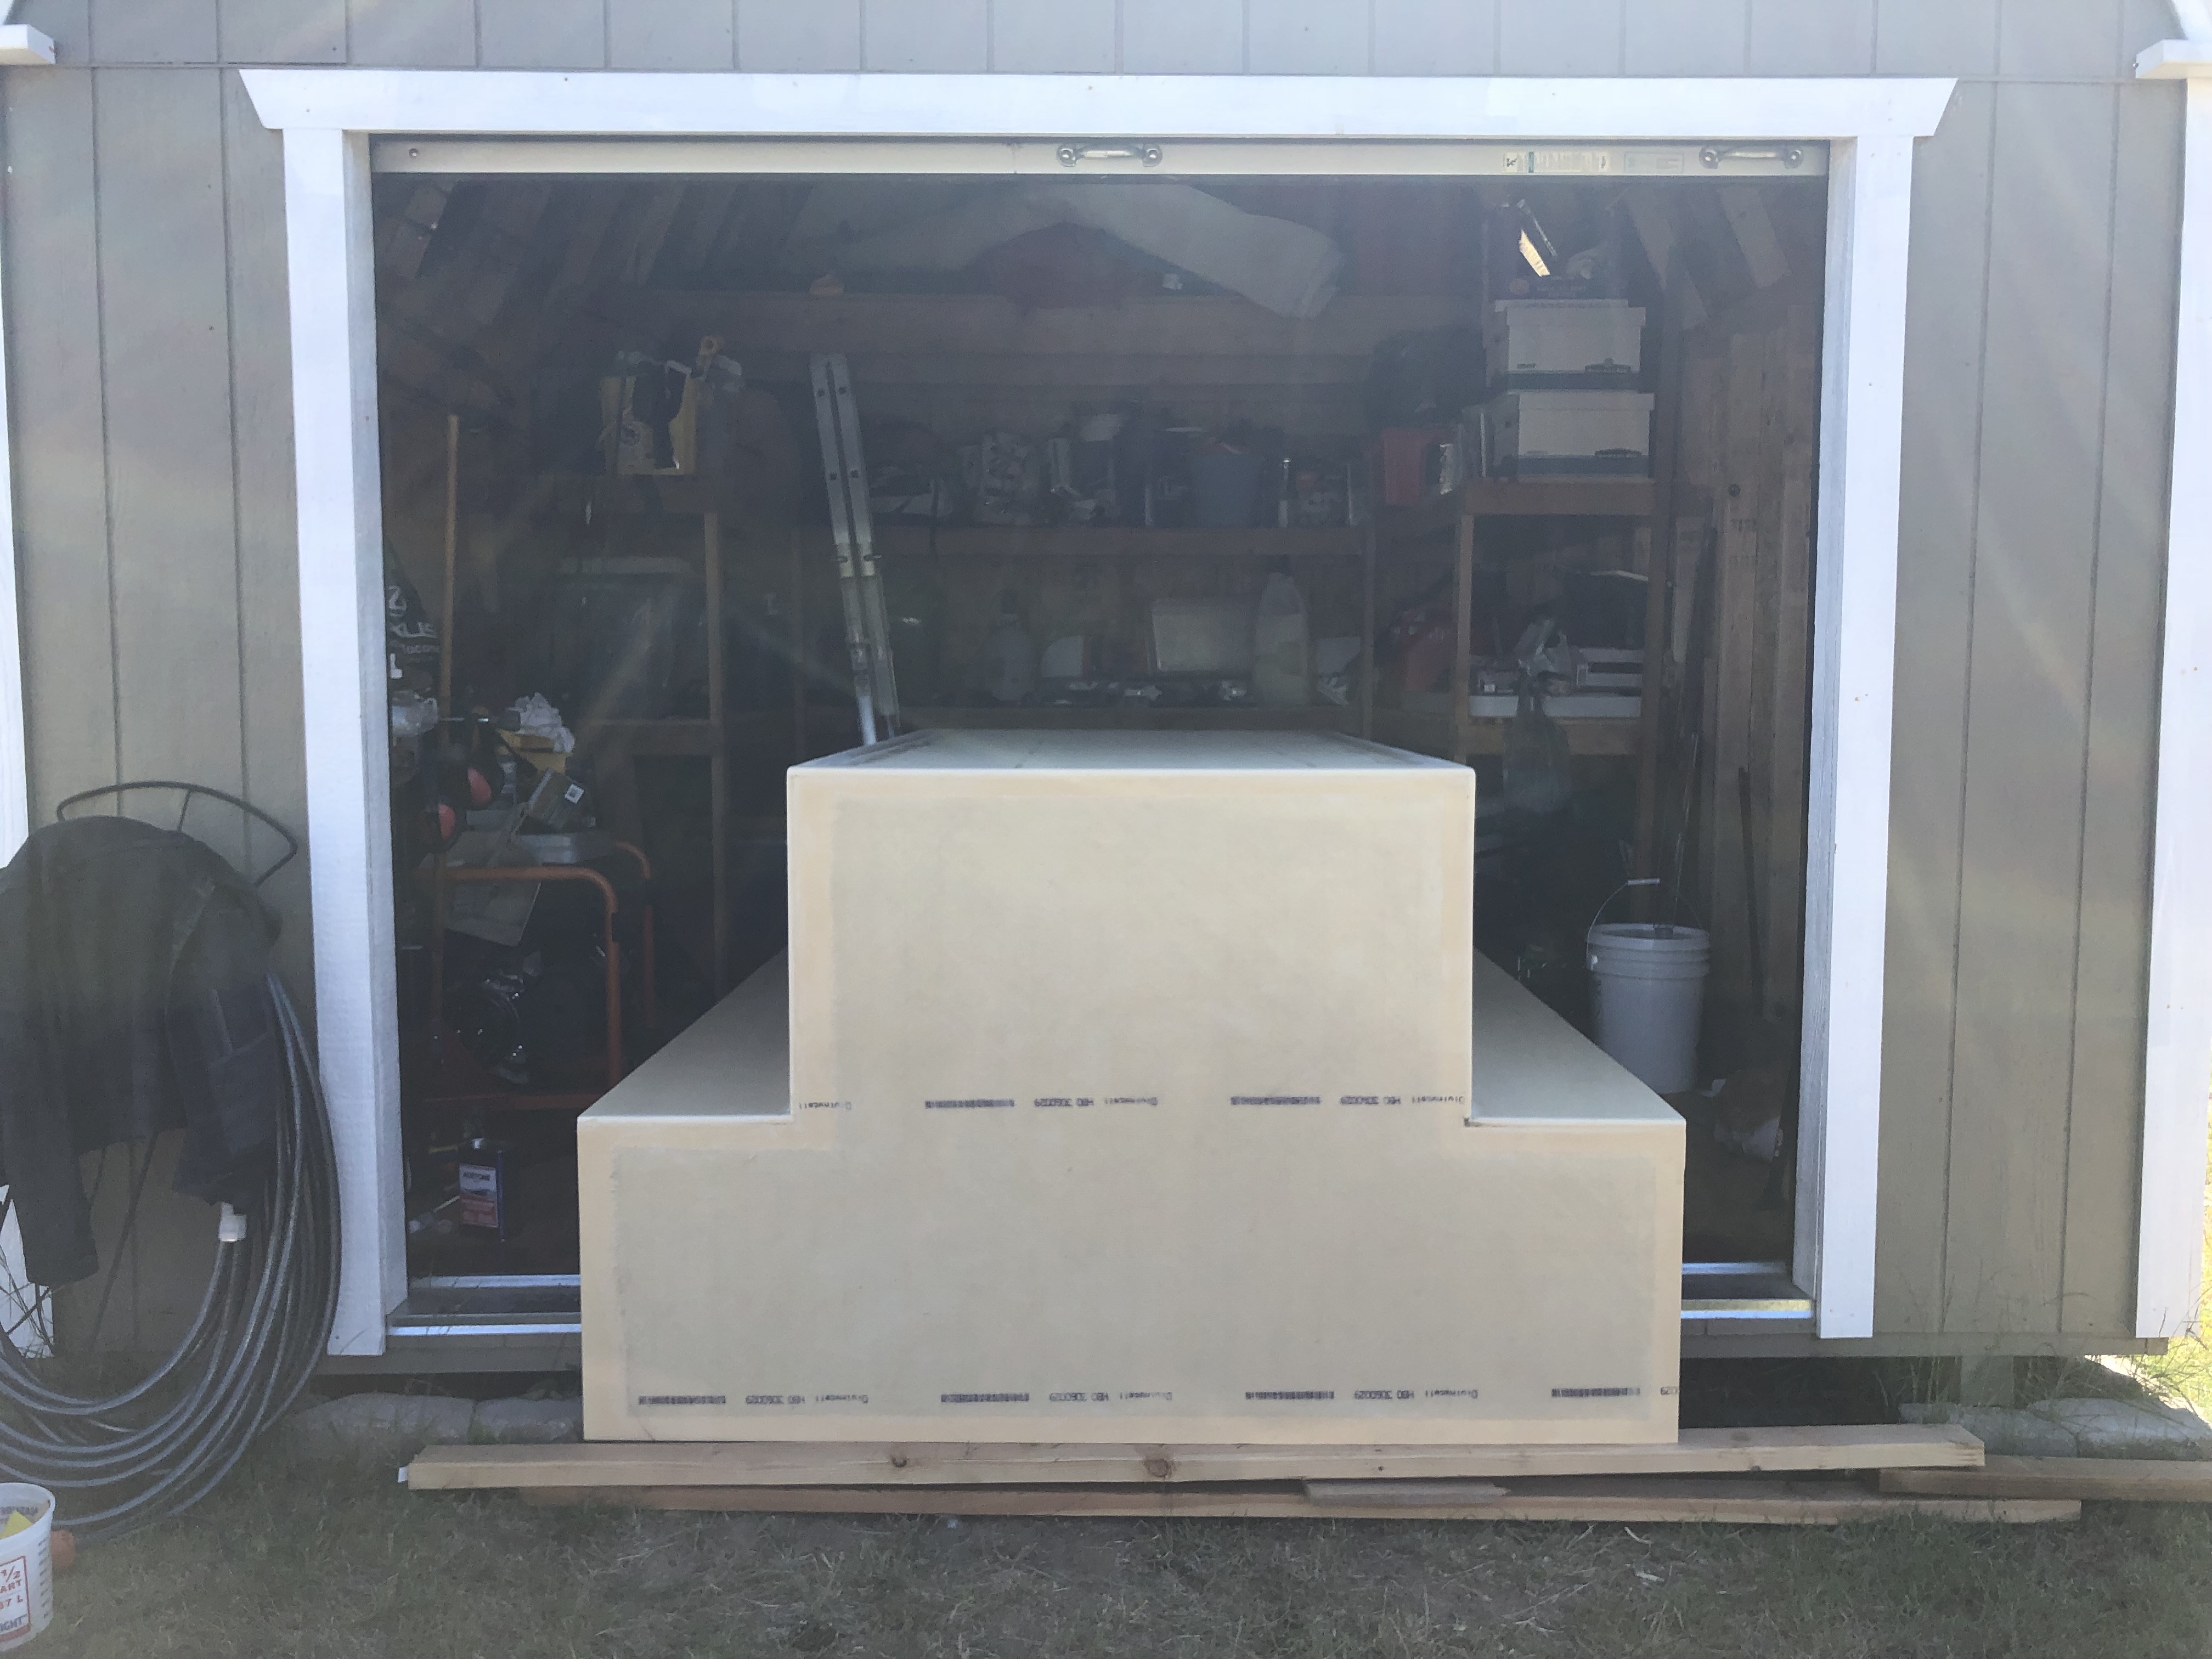
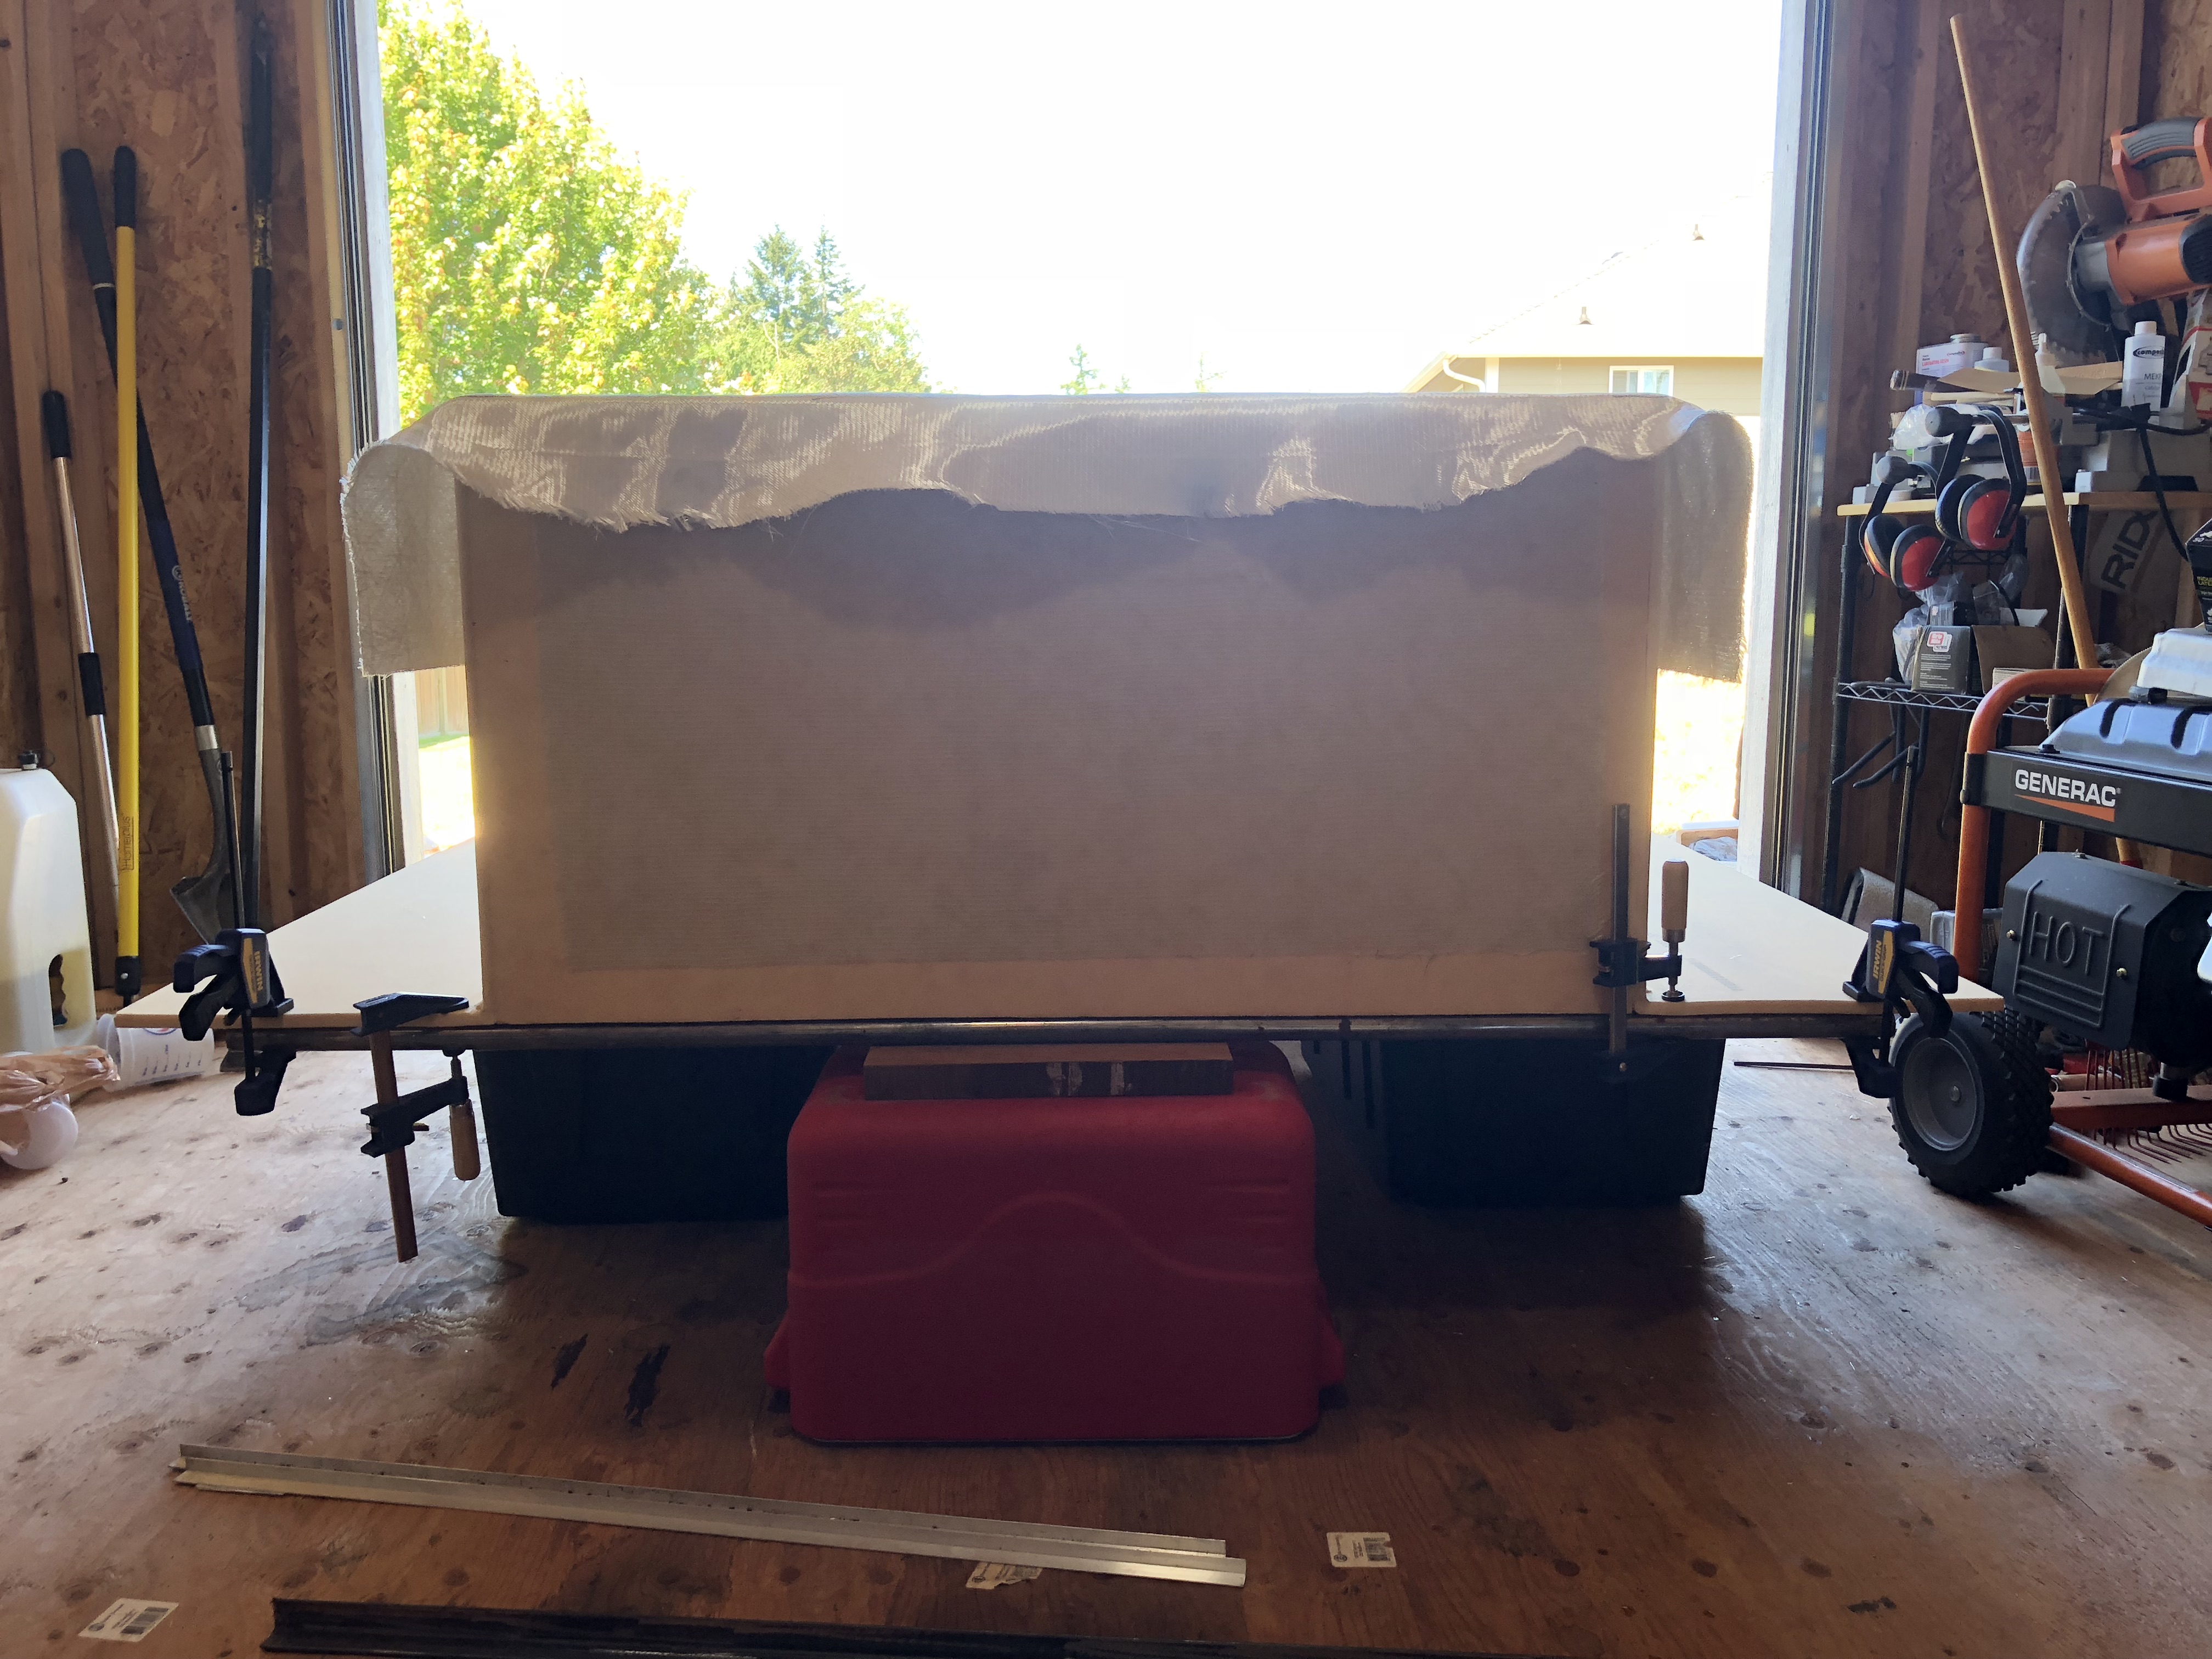
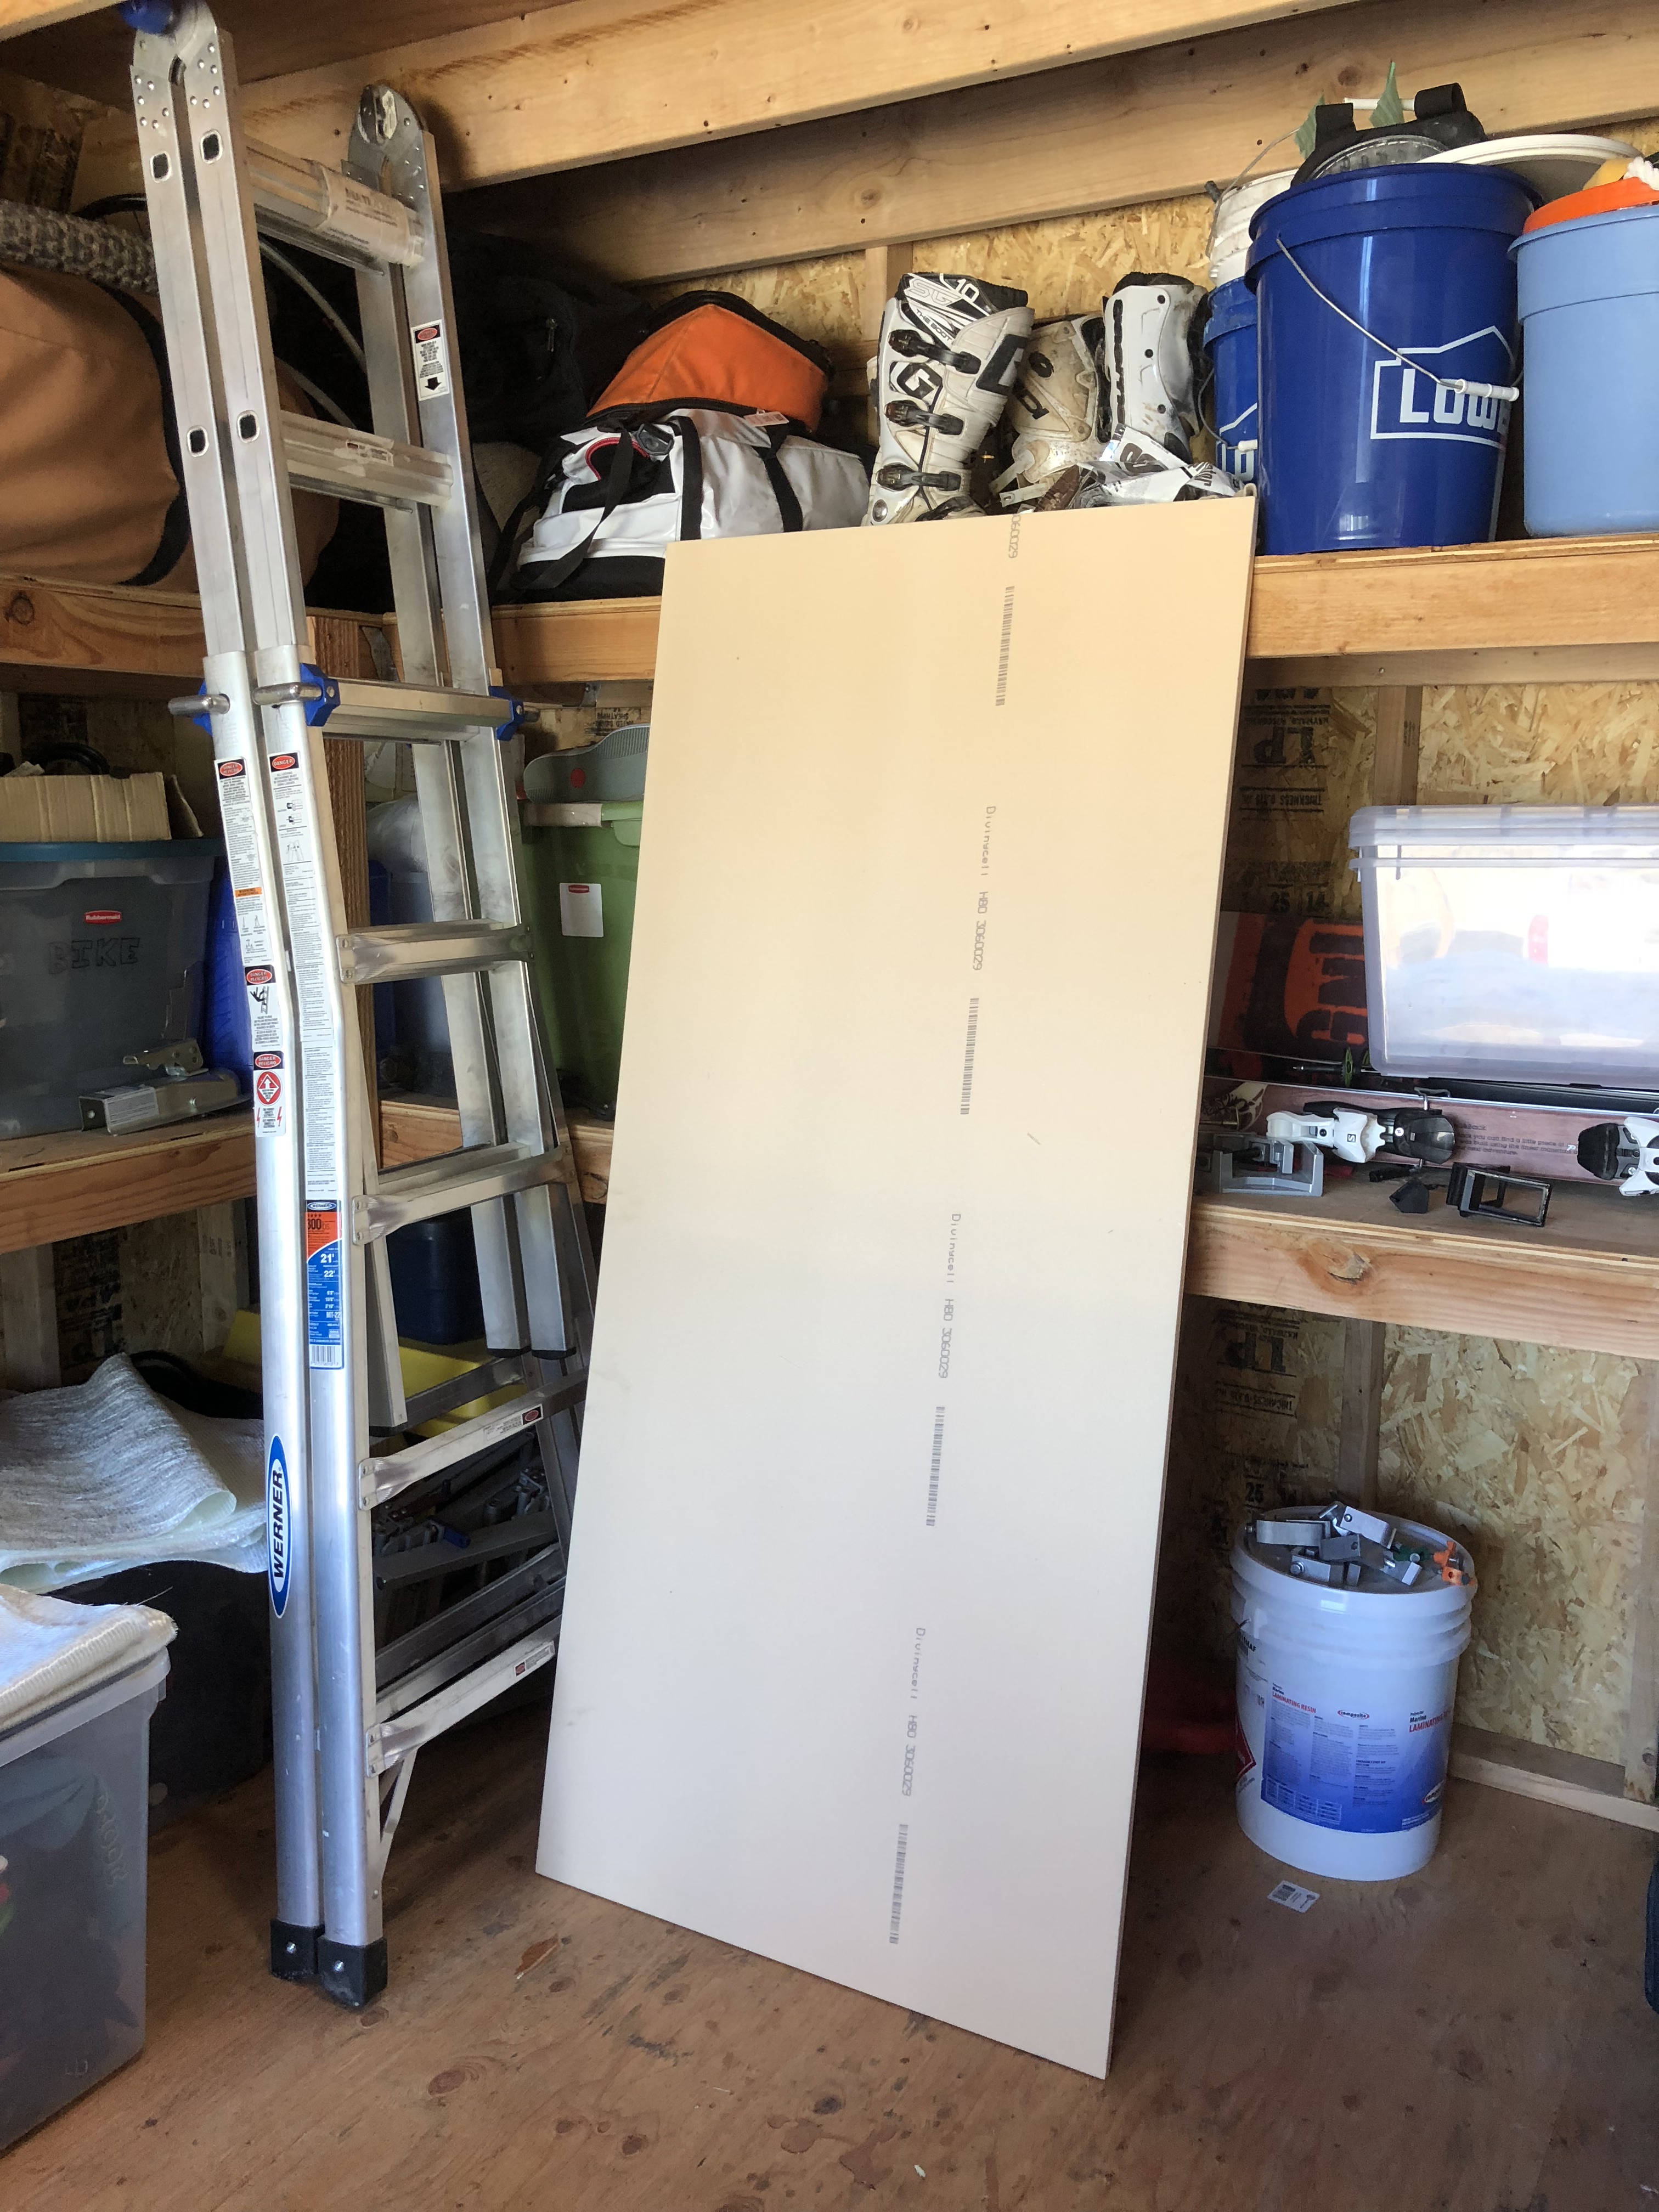
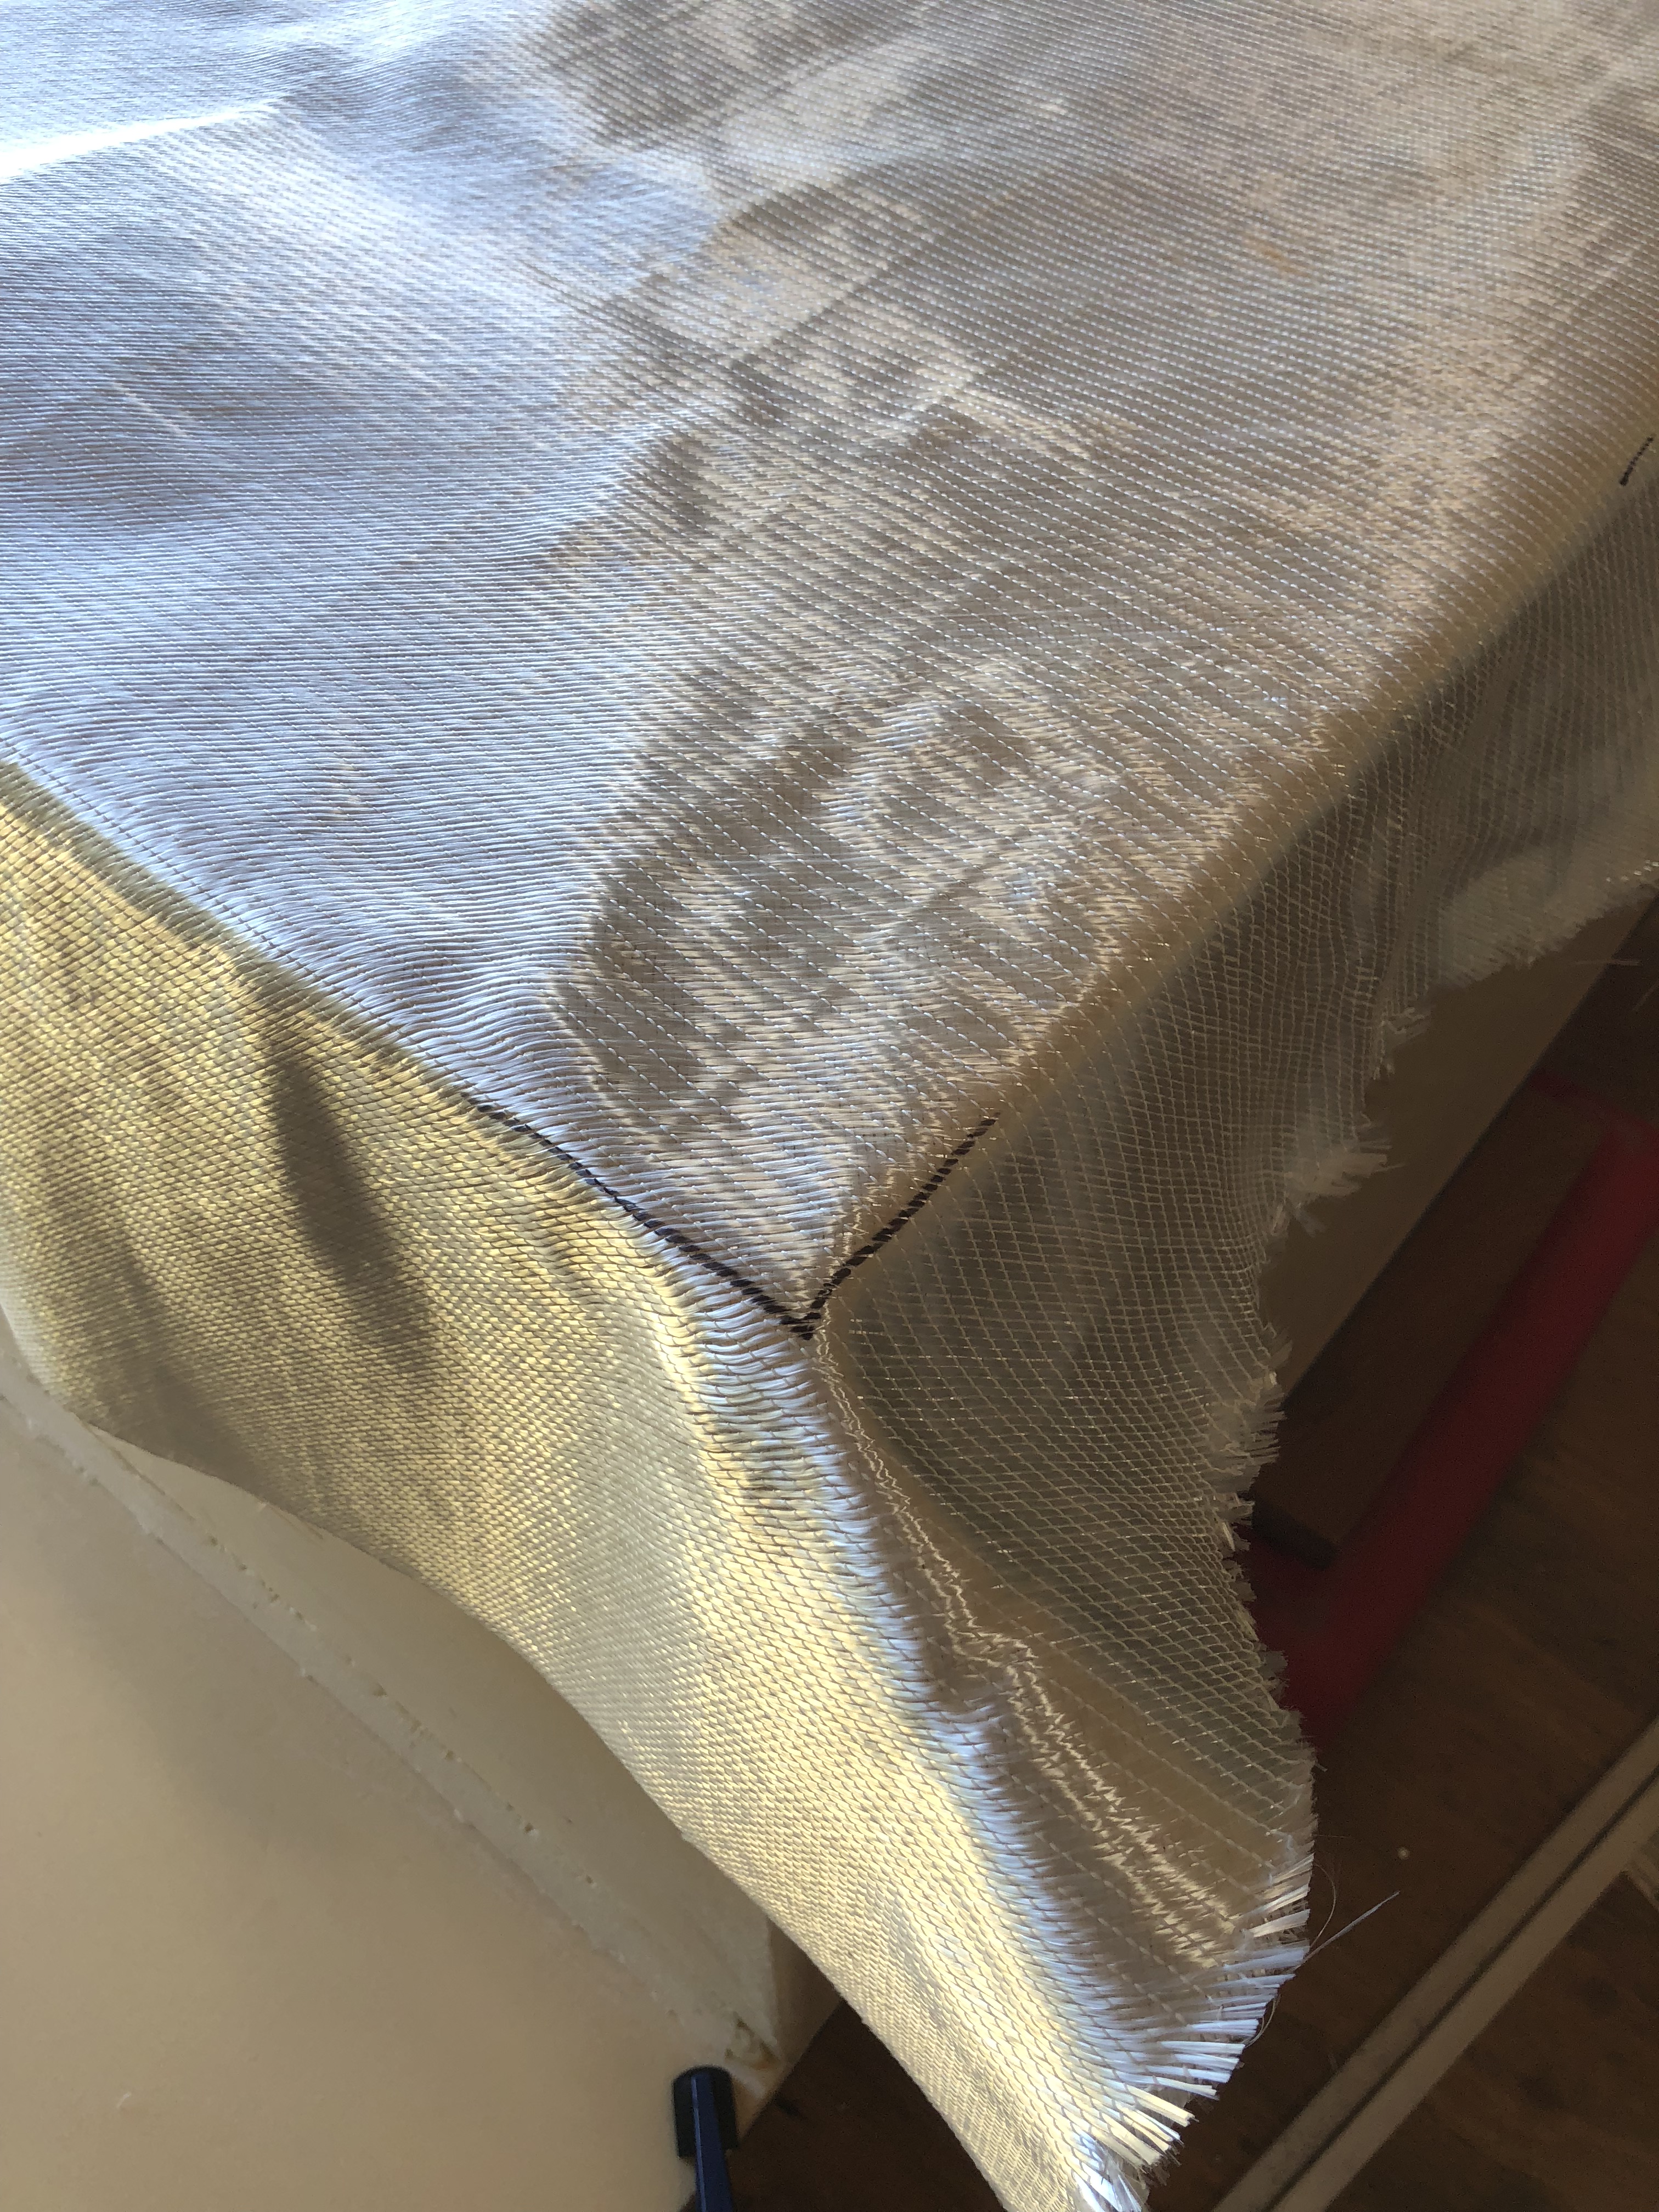
But still I deemed it suitable for my use, which is a full size camper that is frame mounted. I believe it will survive the stresses it will encounter, and it's much less expensive. A look online shows 1in sheets of Divinycell are $324, plus I would have had to pay considerable shipping. Price with shipping would be ~$13/ft^2 vs $1/ft^2 for the 2" Foamular 250 I'm using. My full cost of materials for the epoxy, cloth and foam for the panels is <$6/ft^2. I couldn't justify using high priced foam.
I'm definitely not dissing your choices at all! I know... I tend to go the cheap route first and see if that works for meMany people go for "the best" right off the bat and run with it.
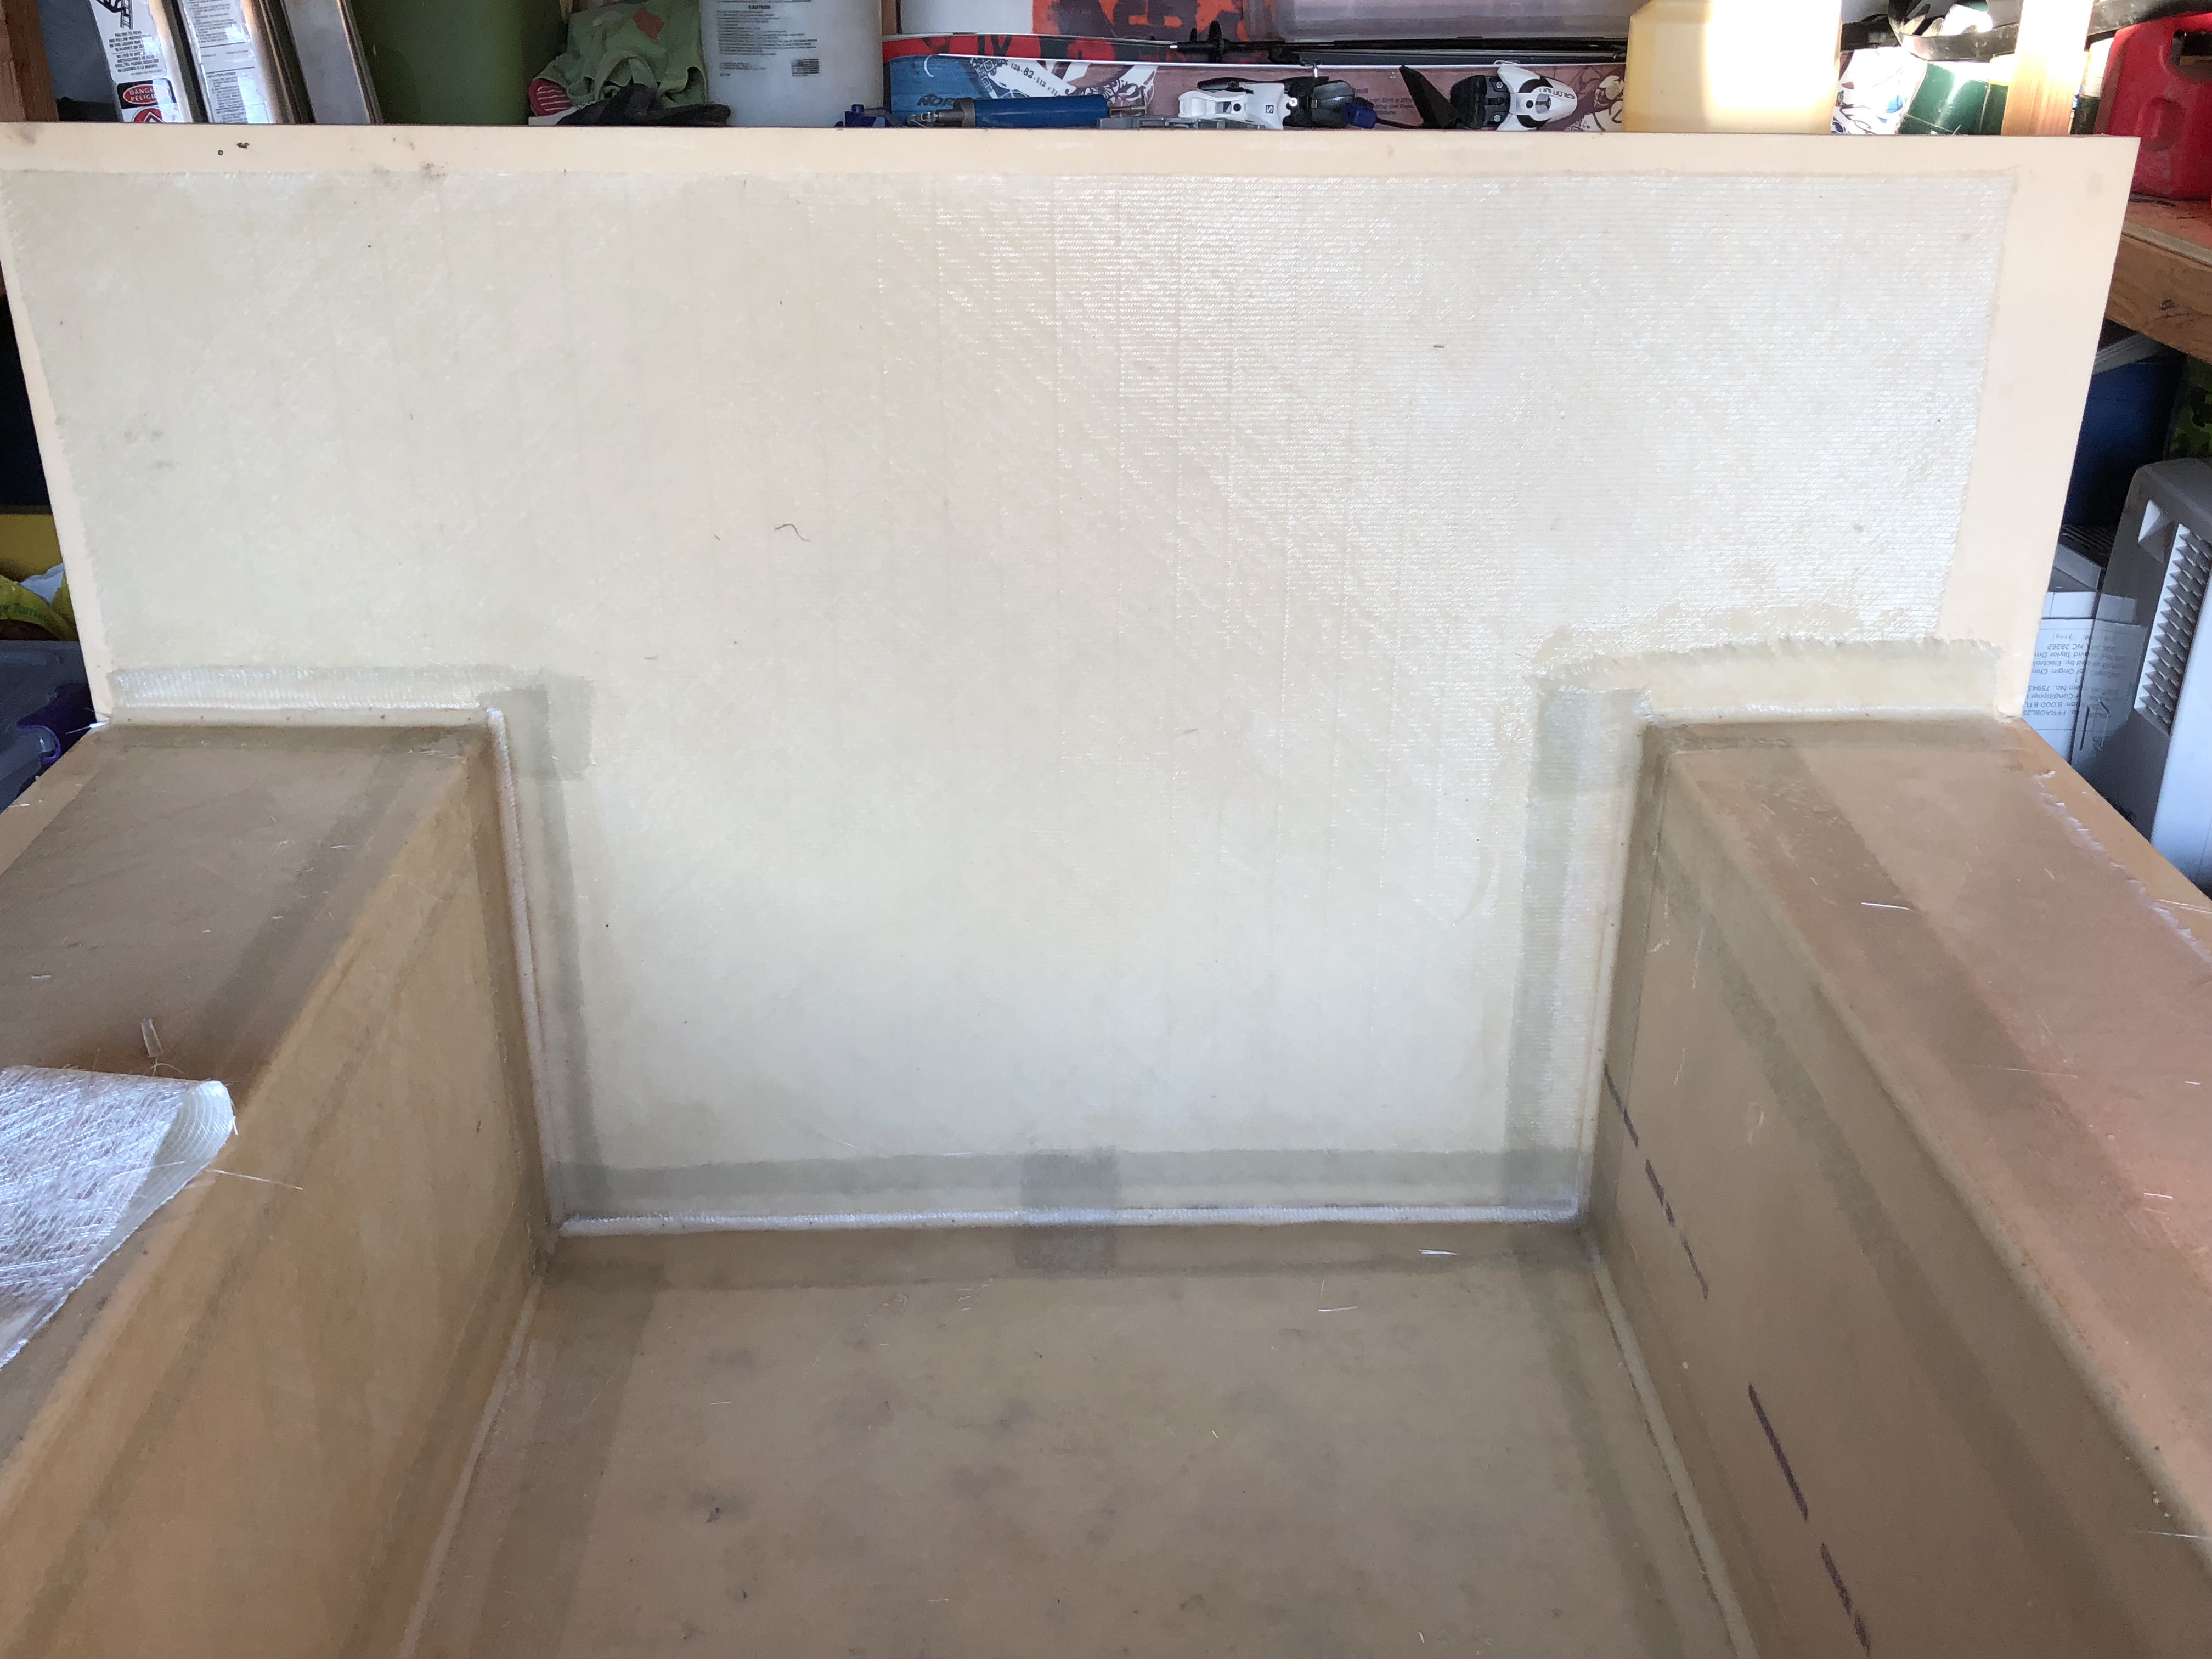
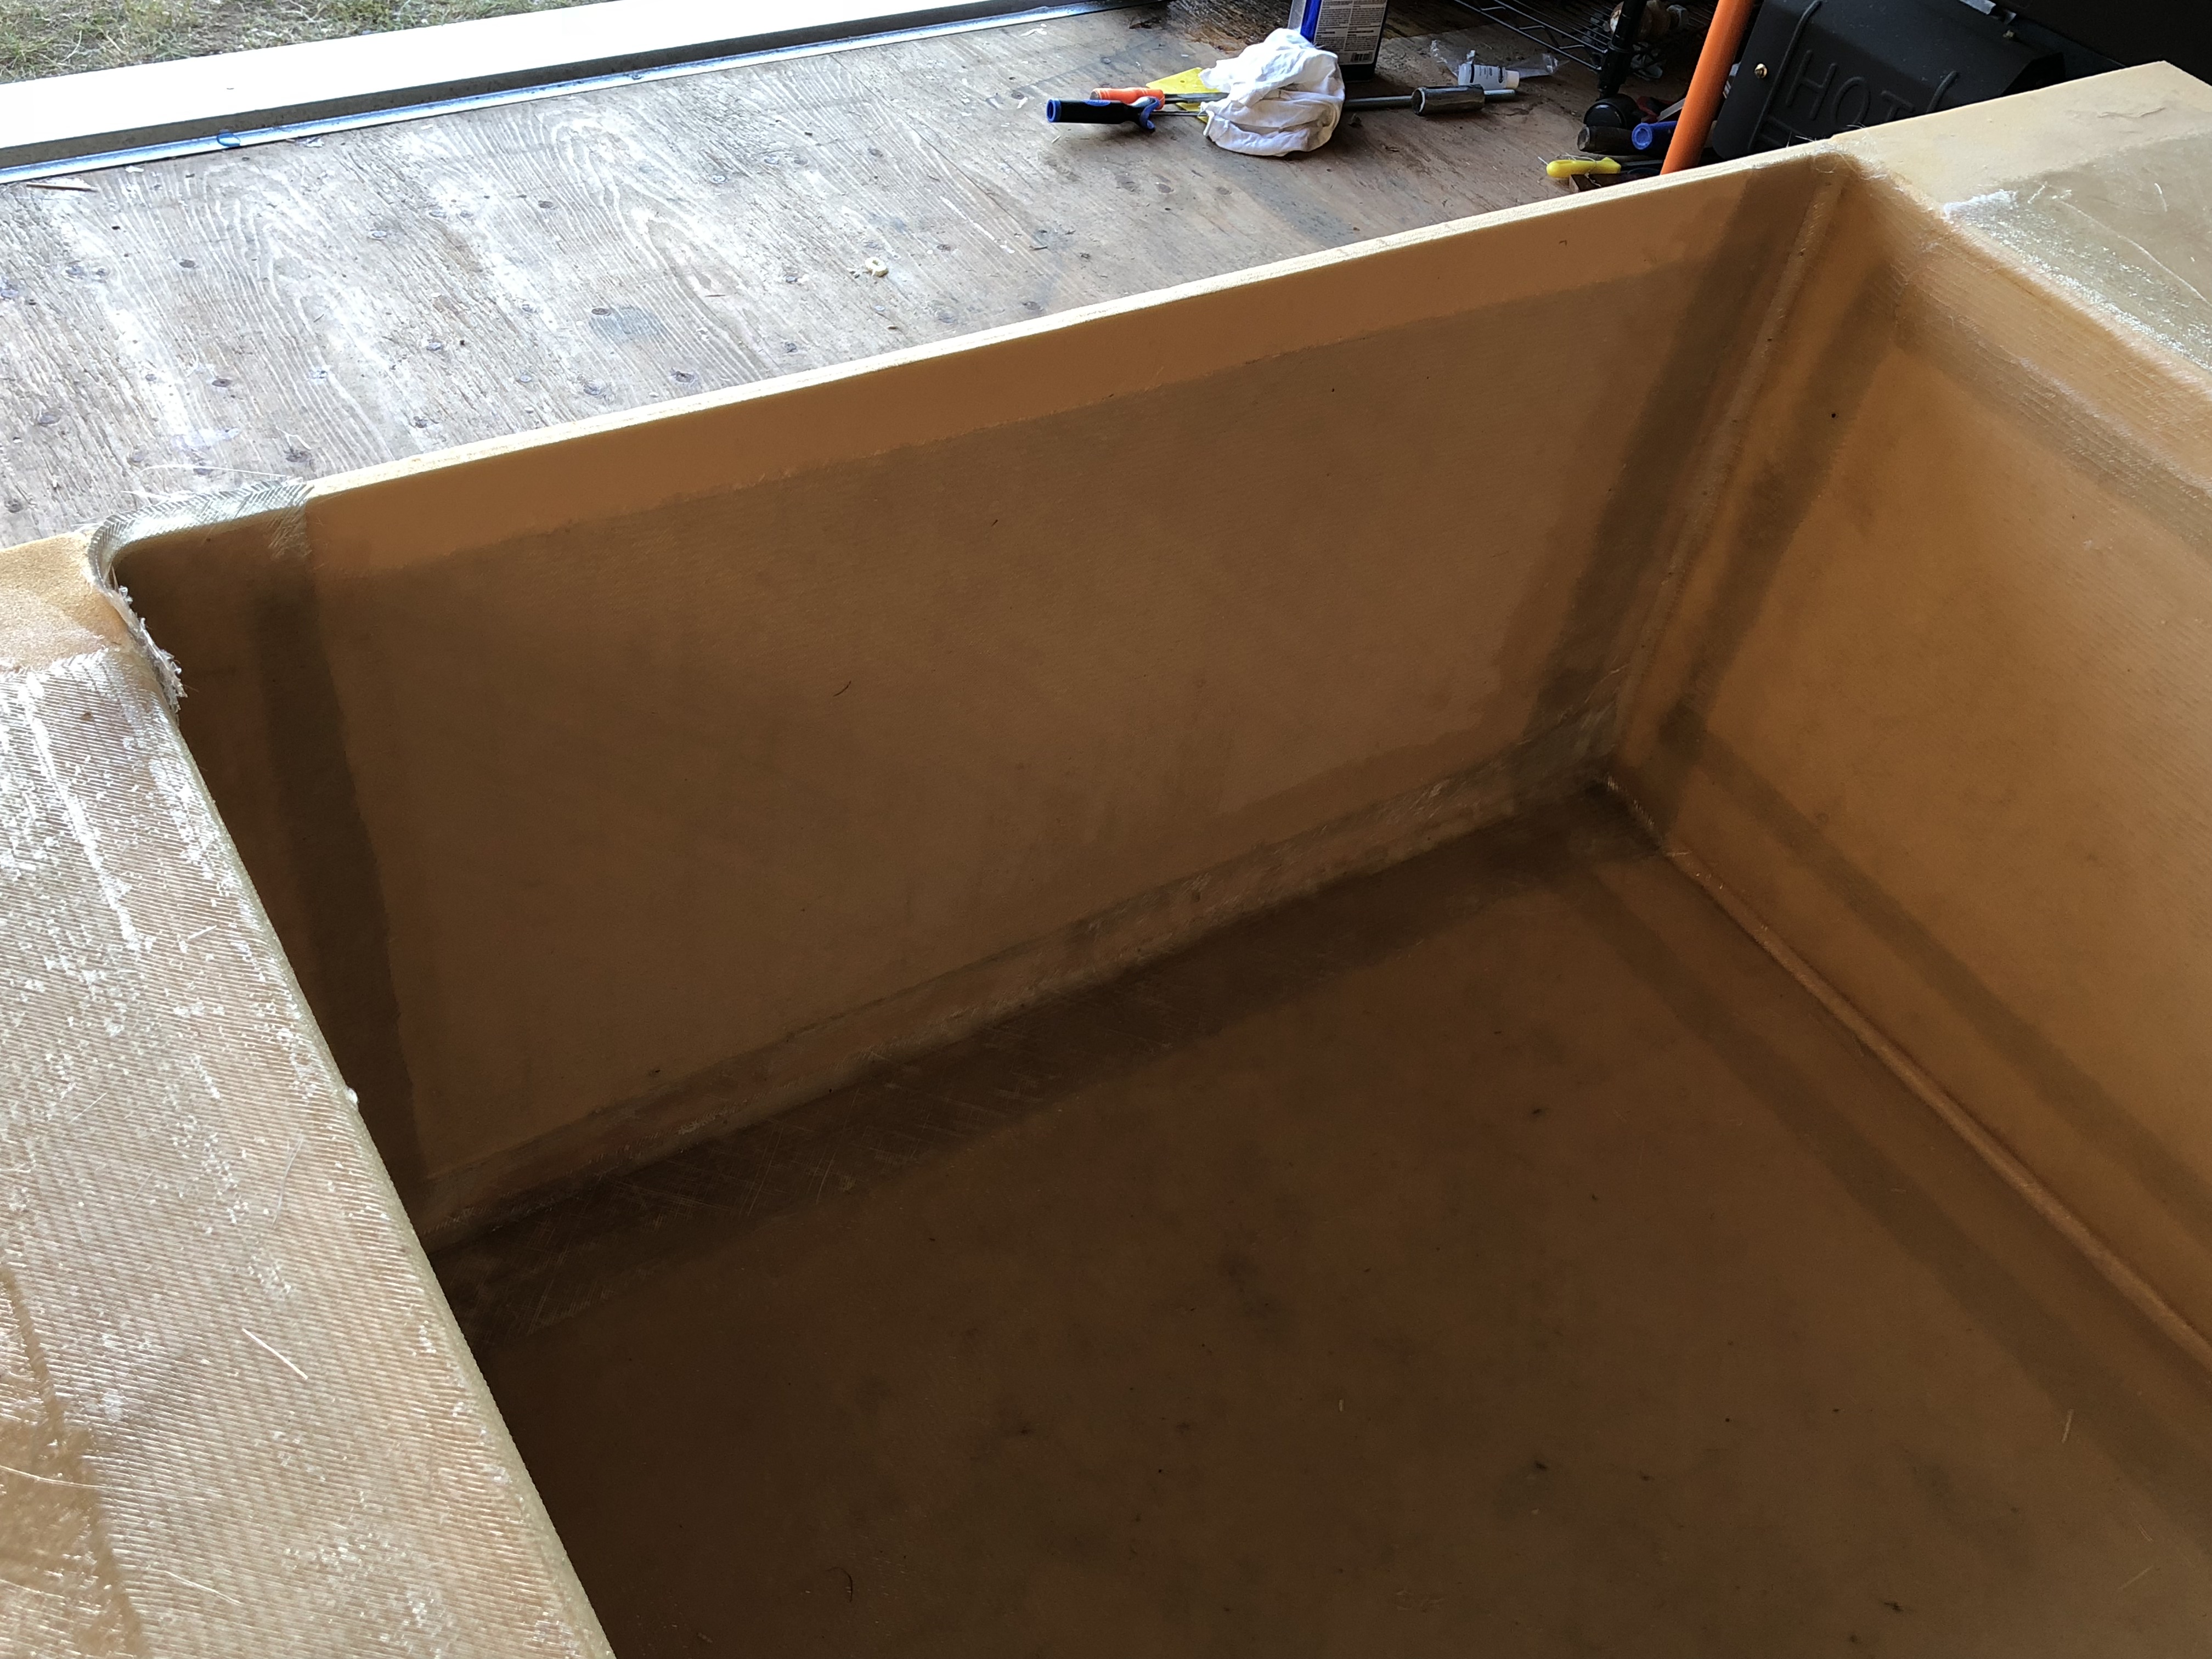
The XPS foam does need to be properly prepped. Light sanding first and then clean the surface. I tried using a wallpaper perforator and carpet roller to texture the foam, but the thing that seems to work best is a dog brush (recommend by someone on ExPo). It creates a lot of vertical slices.
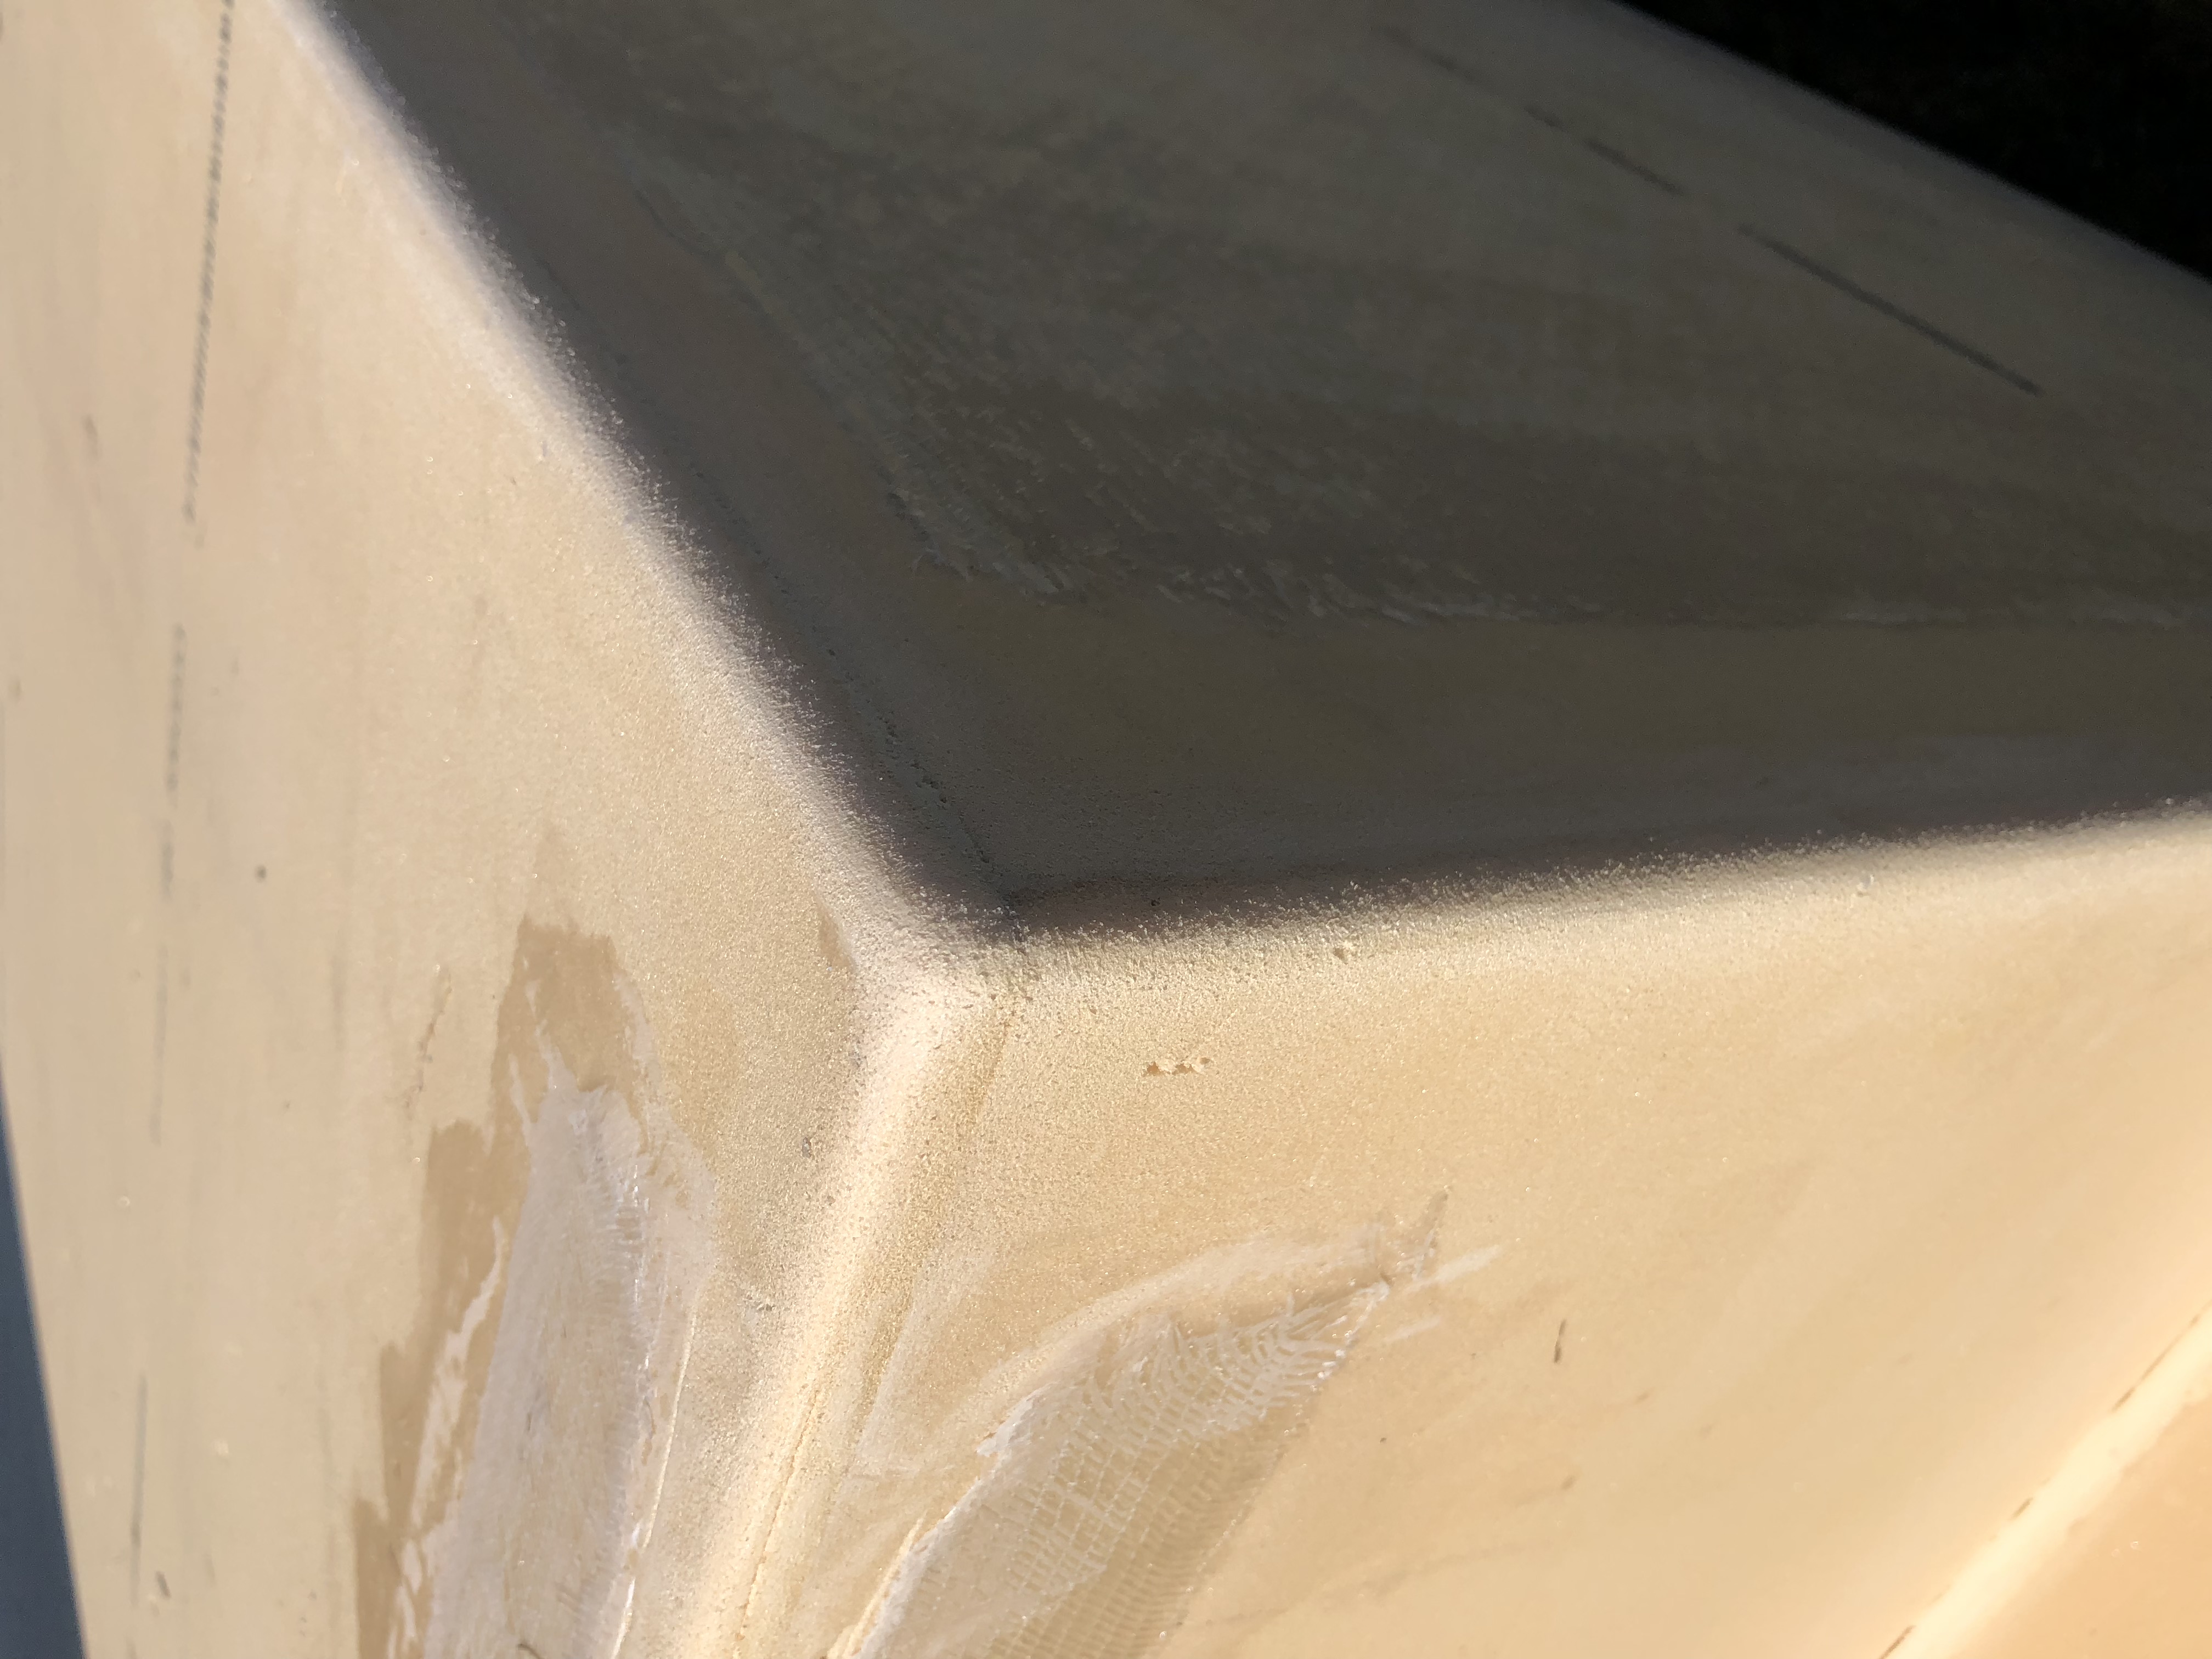
I also have every sheet of foam edged with a piece of wood, for my piece of mind and to give the panel additional strength, particualrly at the corners and edges.
...once we saw how easy it was to peel the fiberglass from the foam we decided we didn't want to go through all the effort of building the camper only to worry about delamination issues.
Interesting. When I did delam testing there were larger pieces of XPS that came away, in keeping with the perforations. I wouldn't say it took a ton of force to pull the skin off, but considering the concentrated load I was putting on it I thought it was sufficient, since high forces pulling the skin off wouldn't happen in practice. Plus I have wood every 4ft or less and the FG is stuck very well to that.
The strength sample I made was 36" long, 6" wide and 2" thick. I could support that on the ends and jump up and down on it and it was fine (170lb) . I had to really land with a stomp it to get it to fail.
There are expedition camper panel makers who use XPS cores. Not real high density foam either.
What was the epoxy you used and the temperature? Just wondering if that would make a difference.
Are you using wood as a framing material?
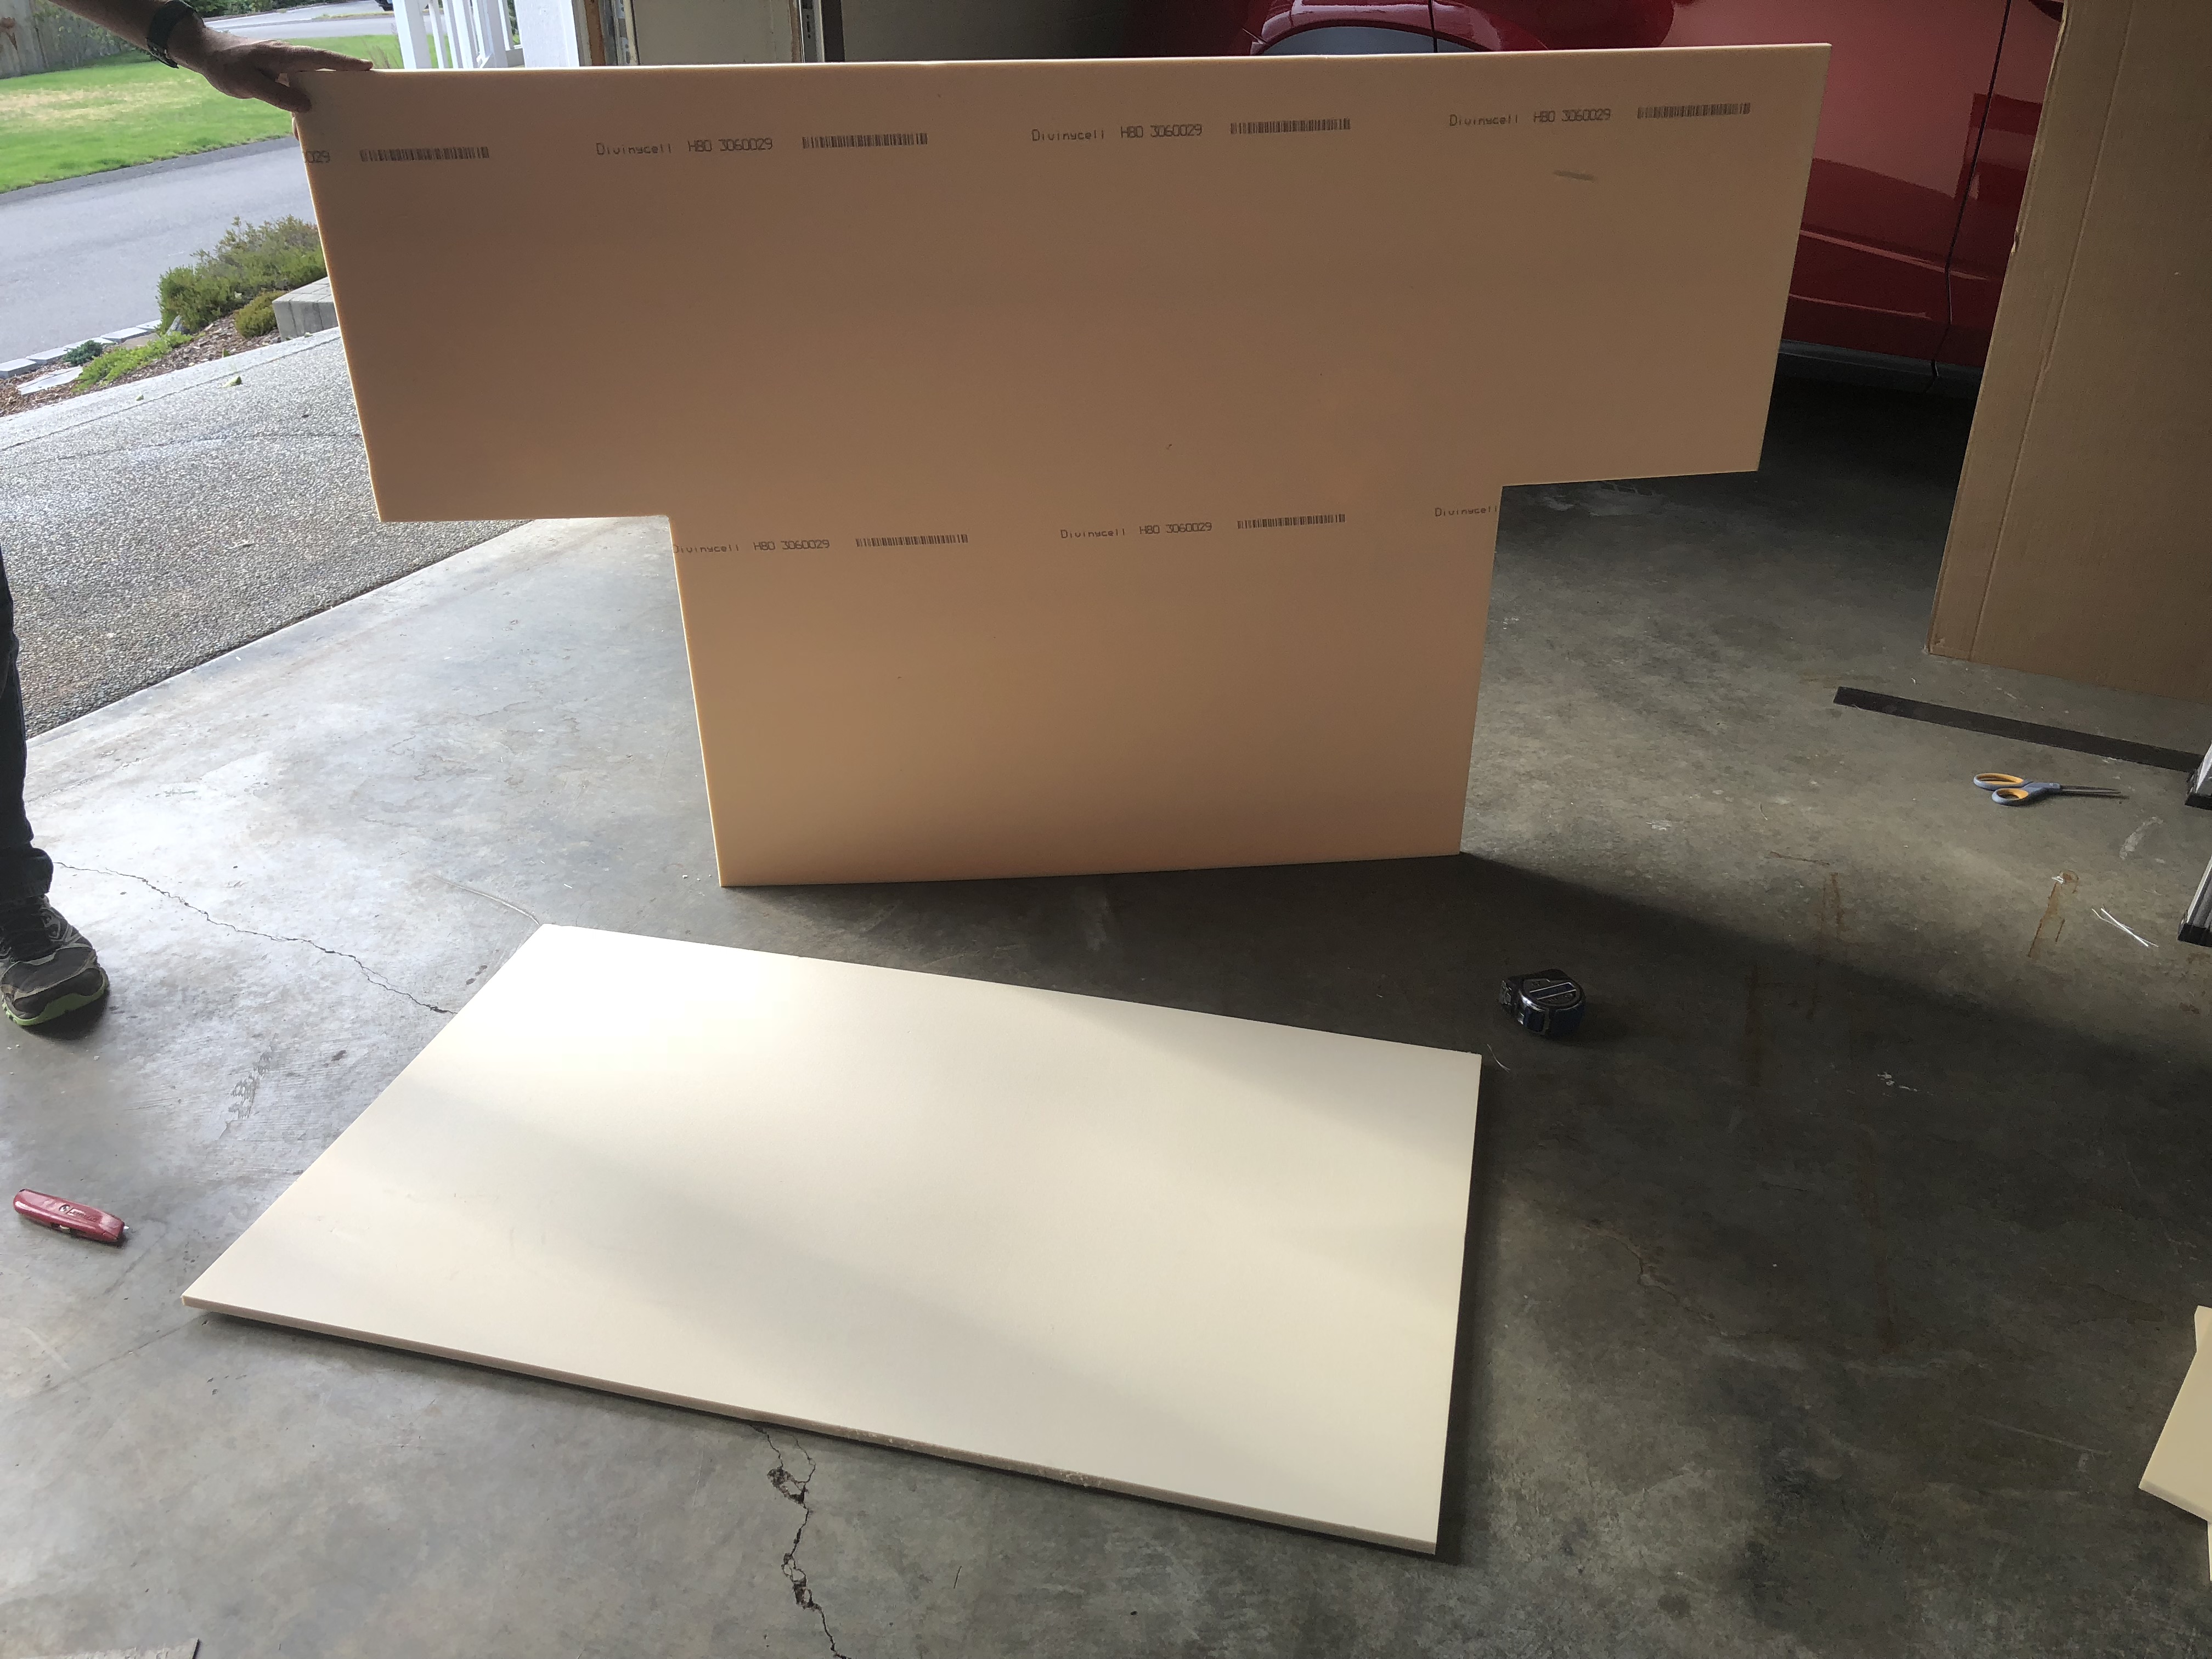
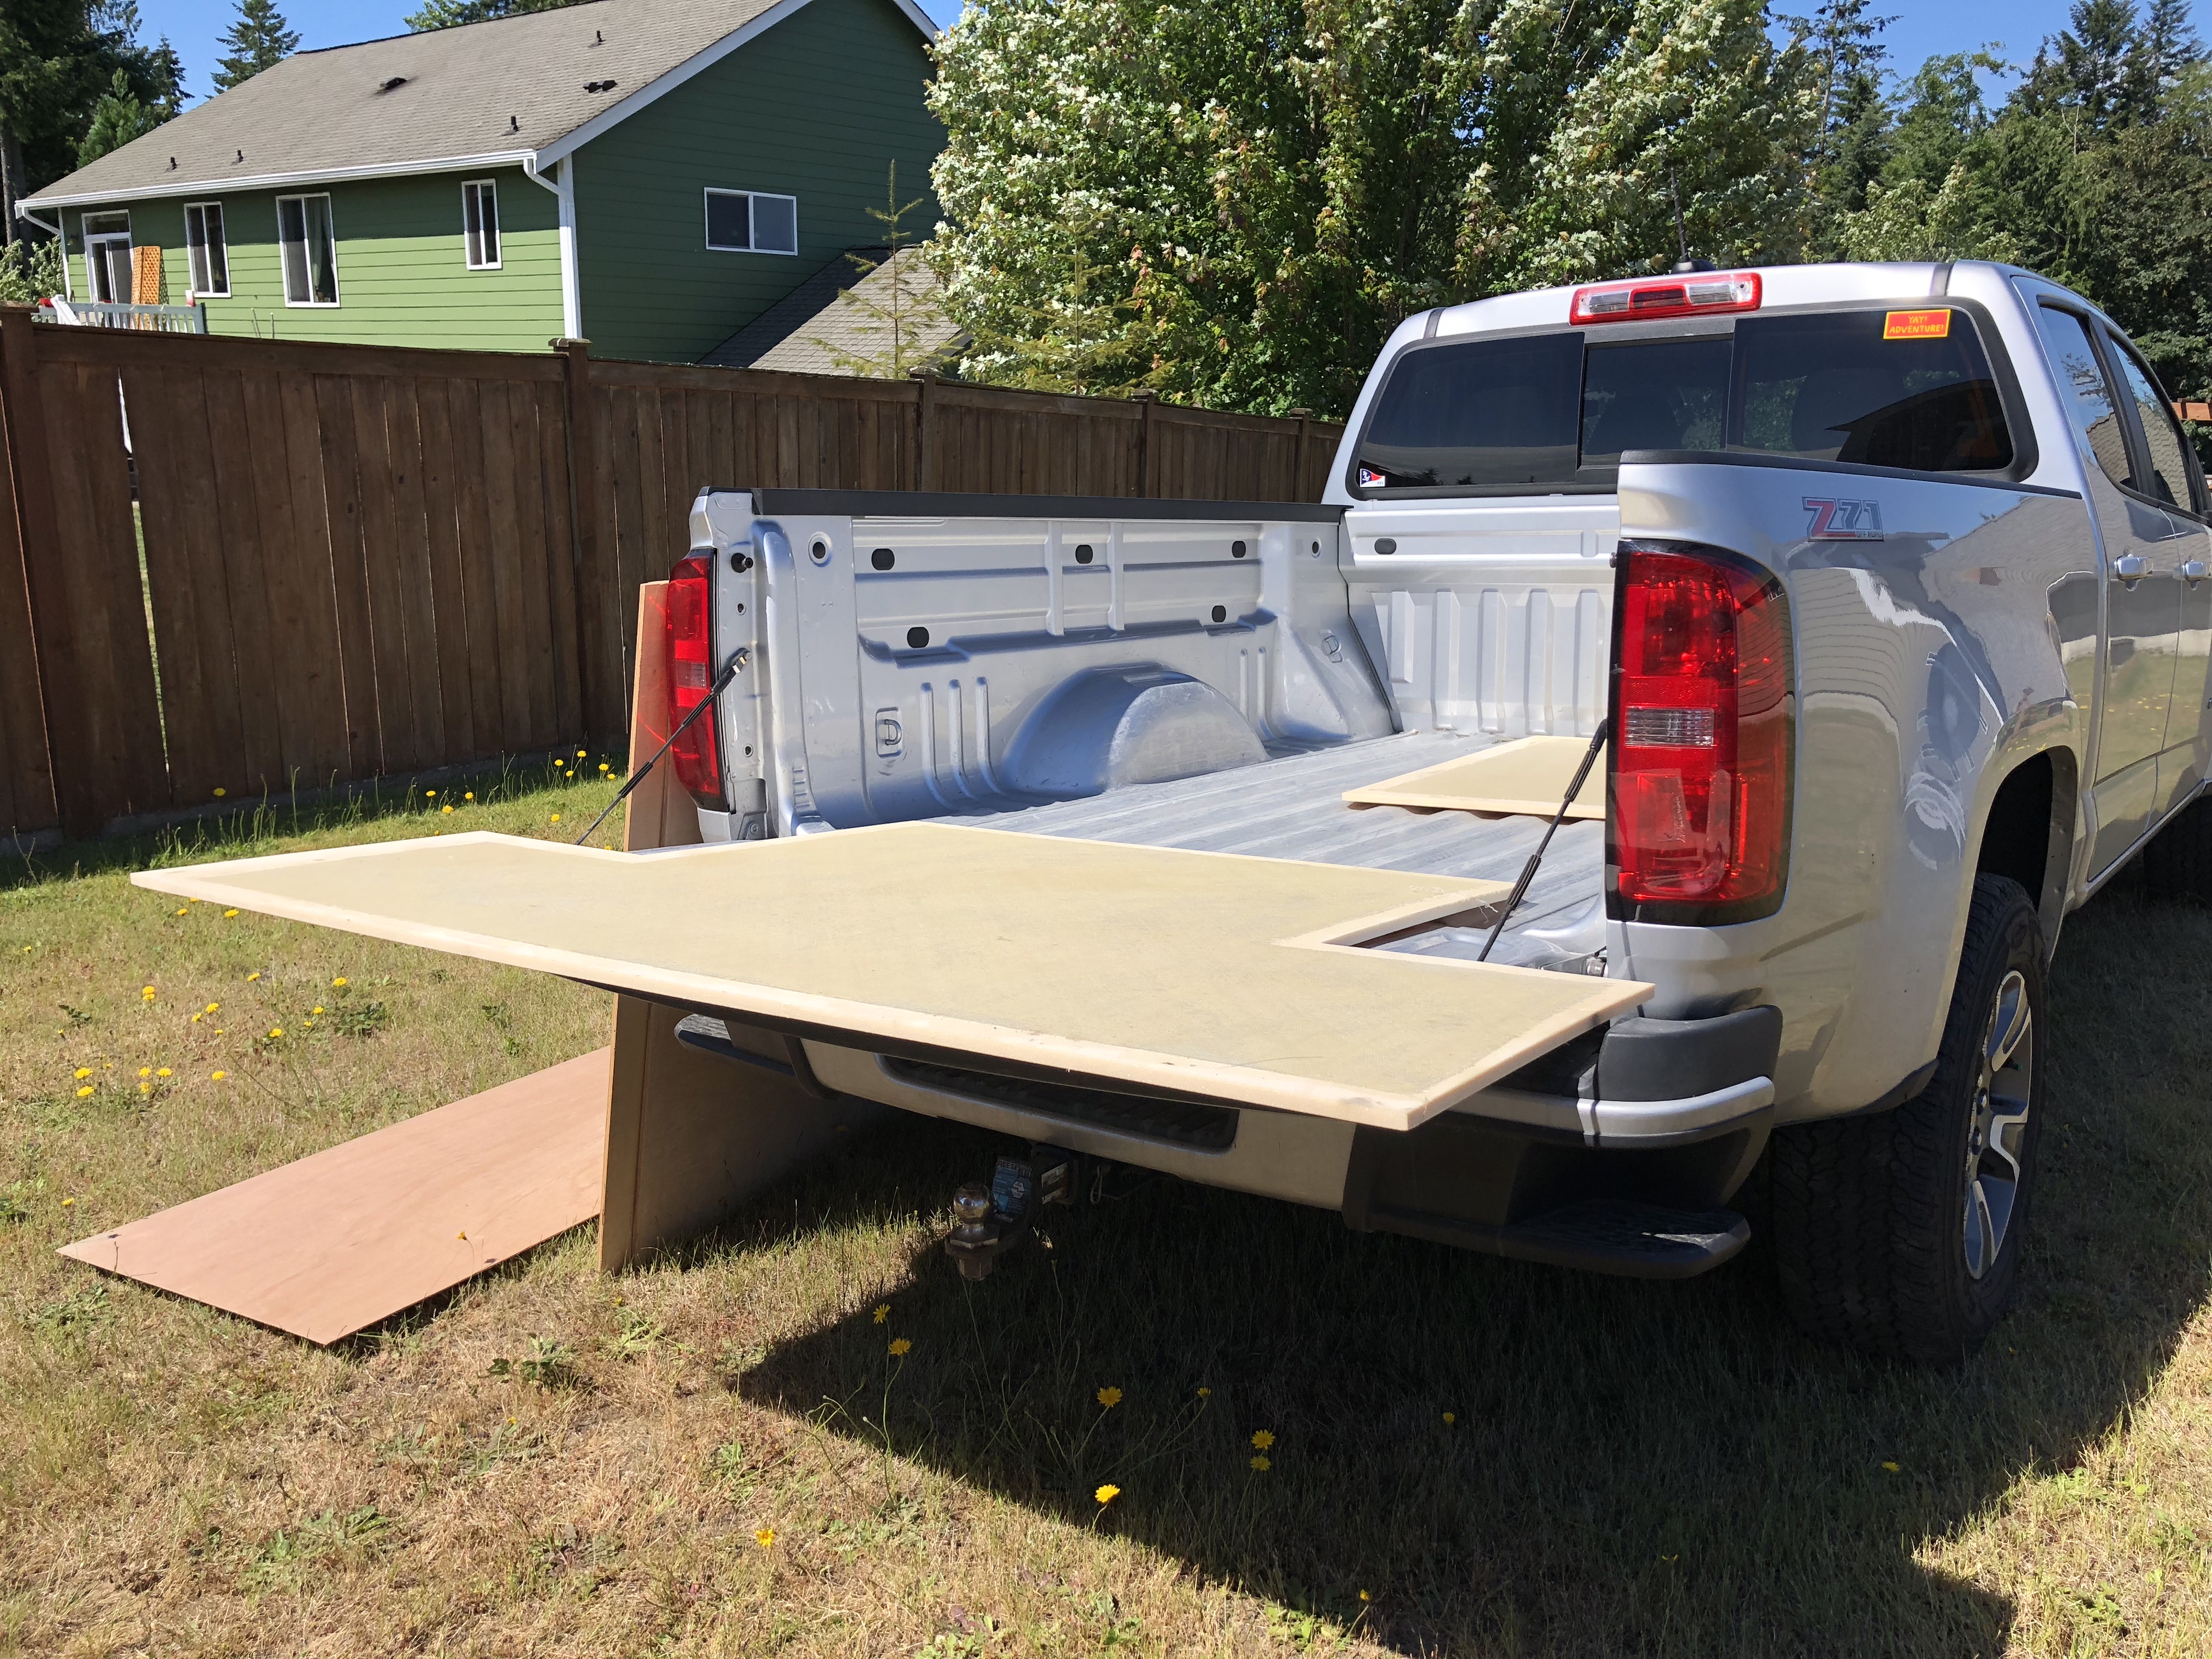
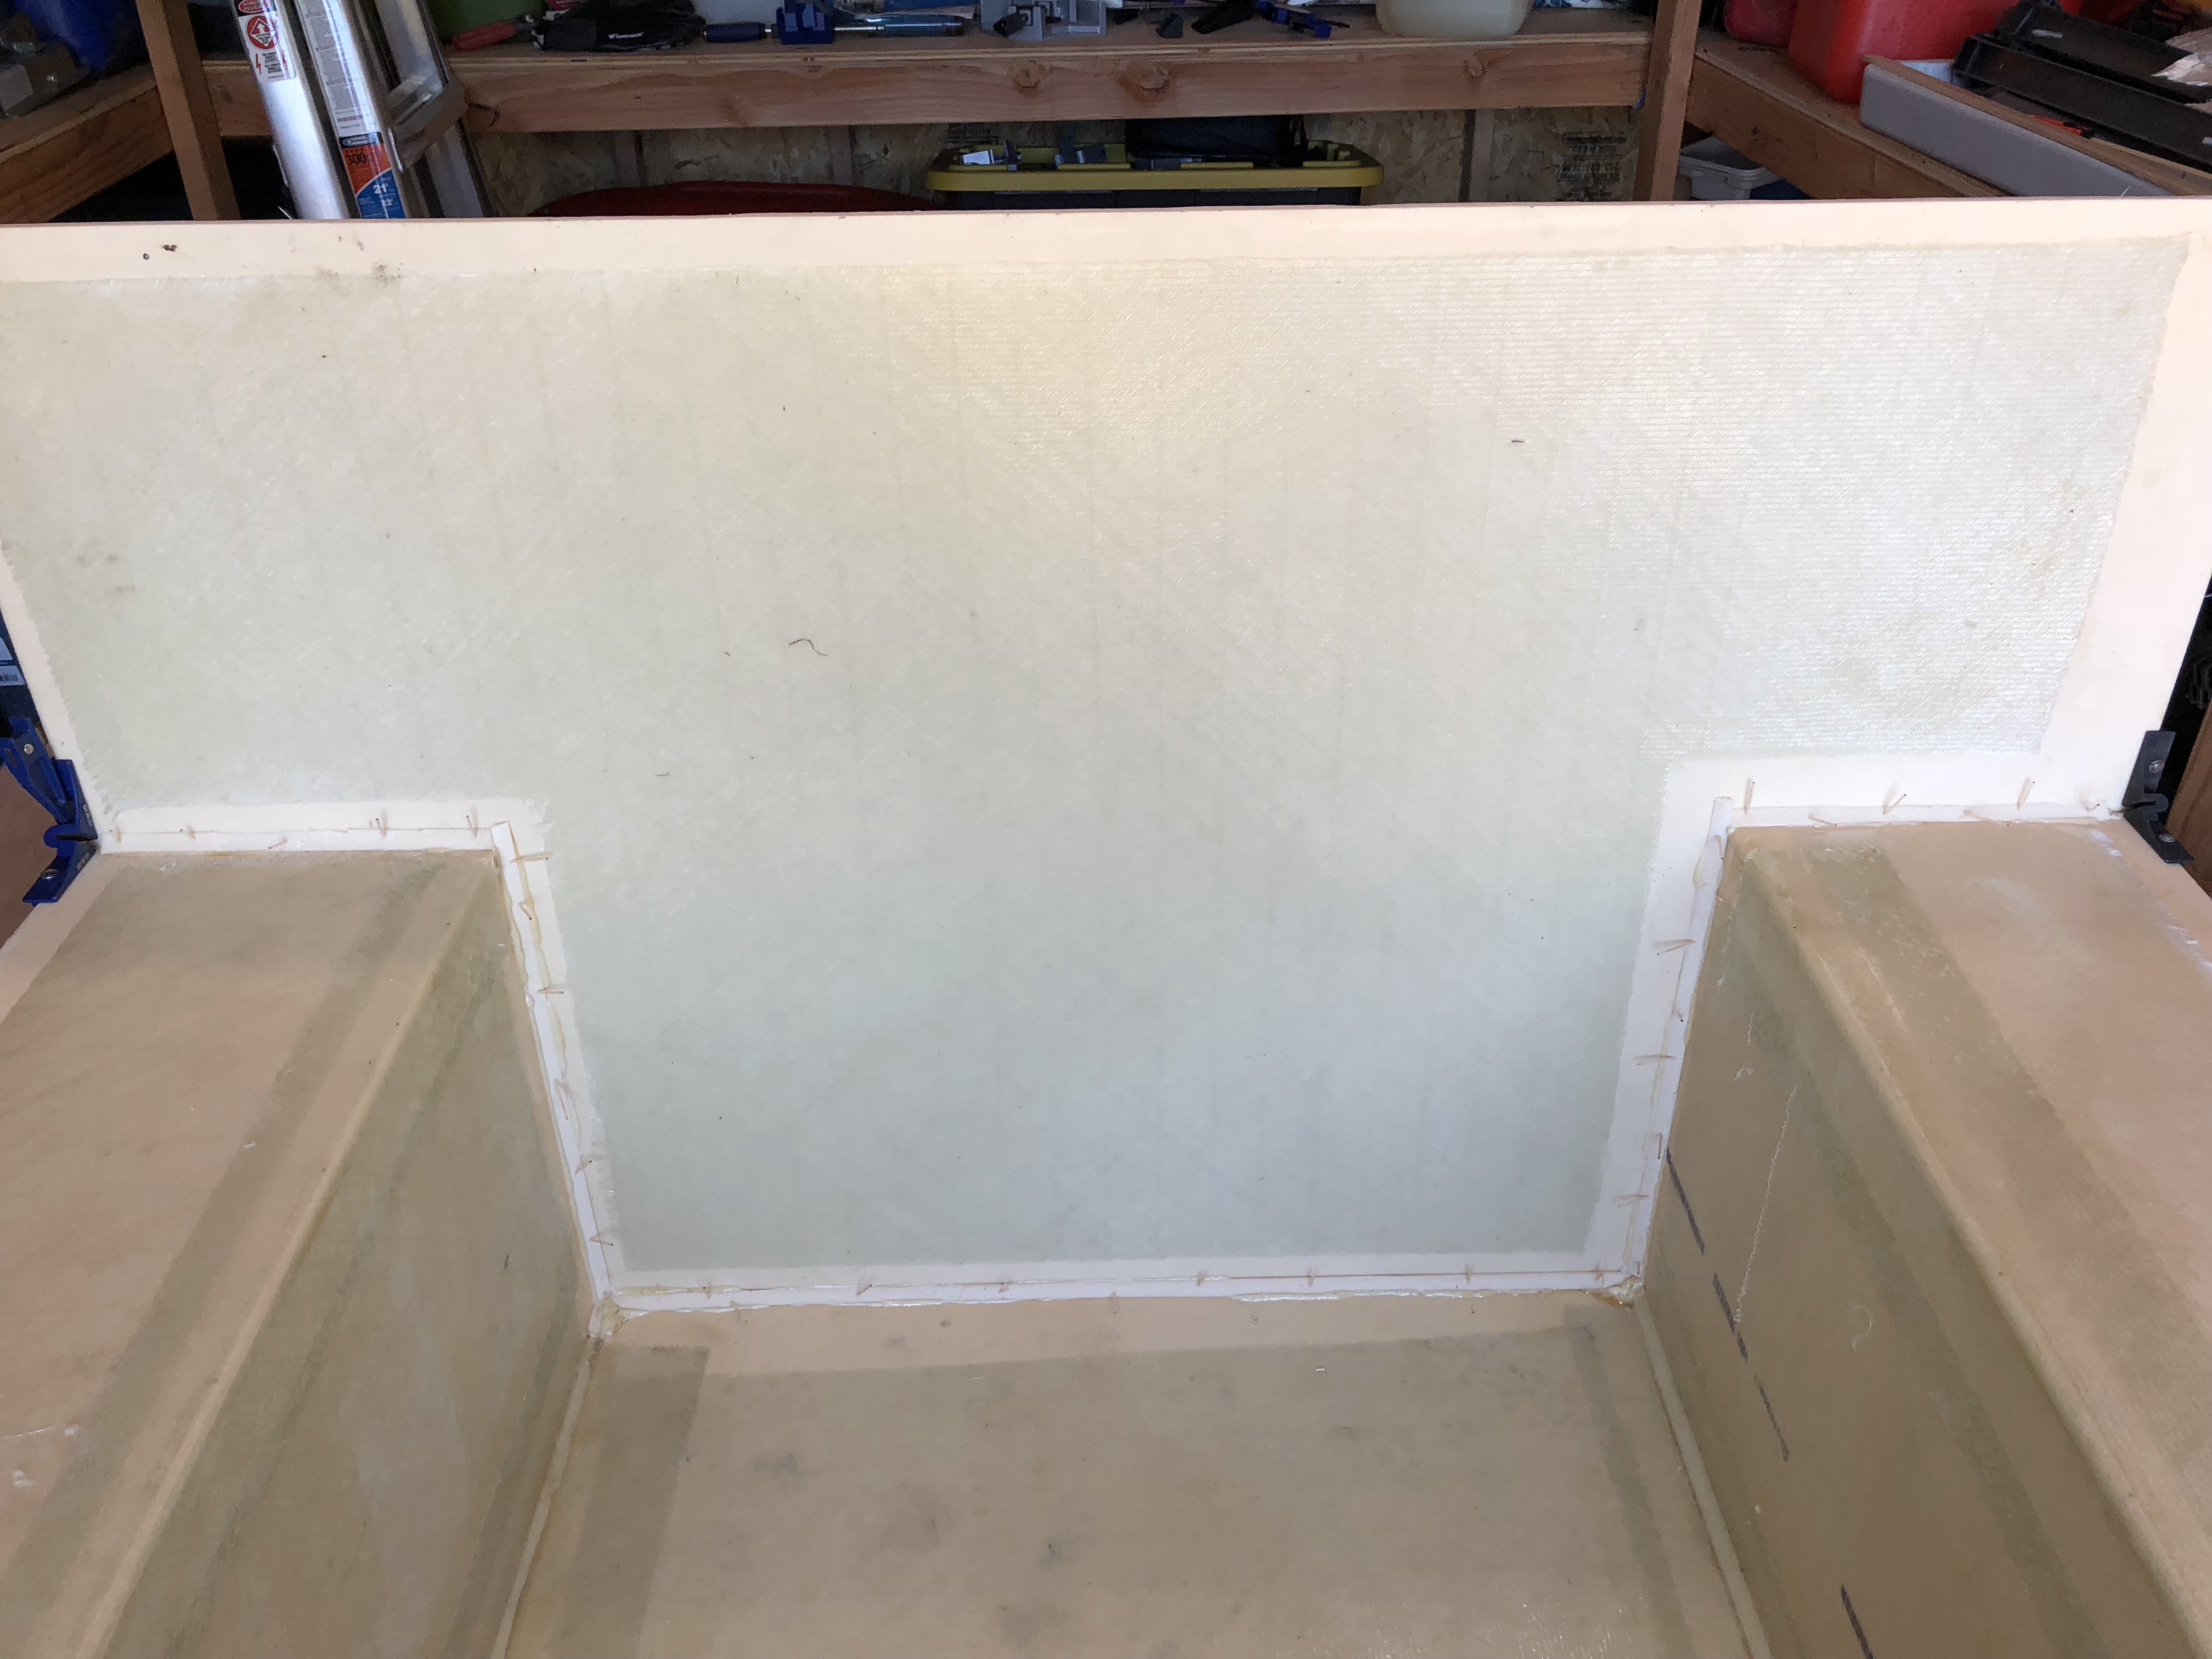
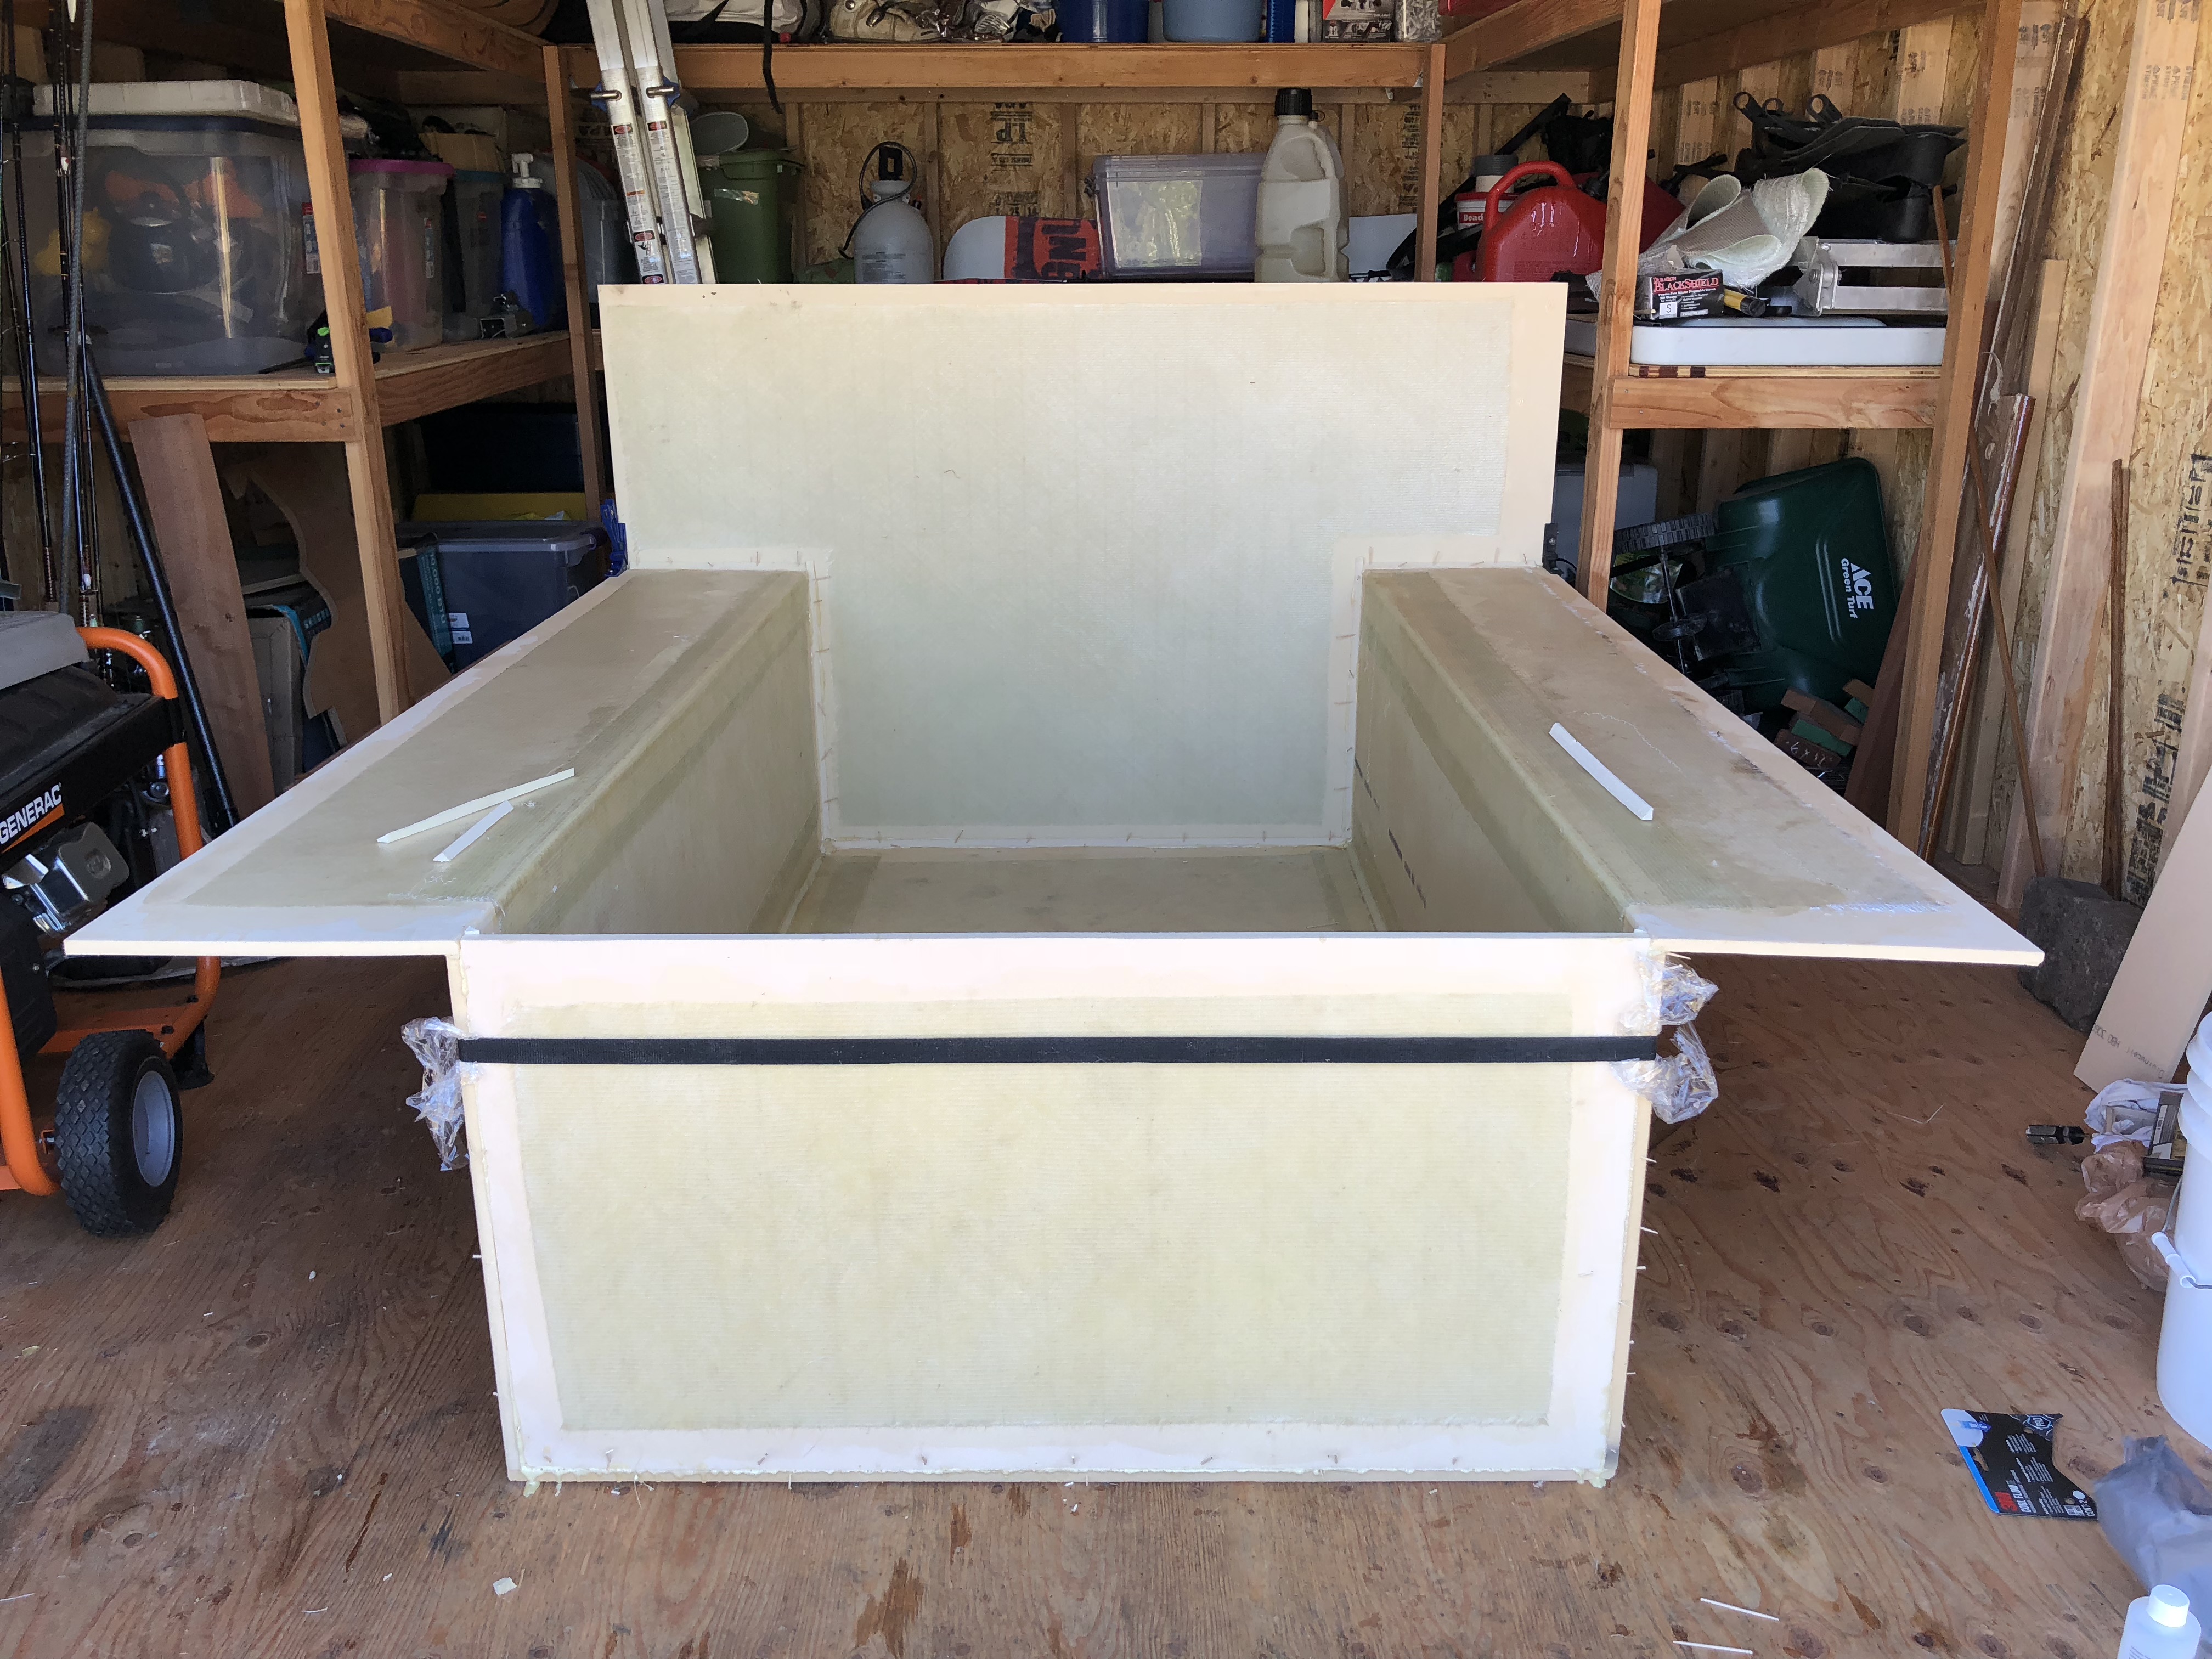
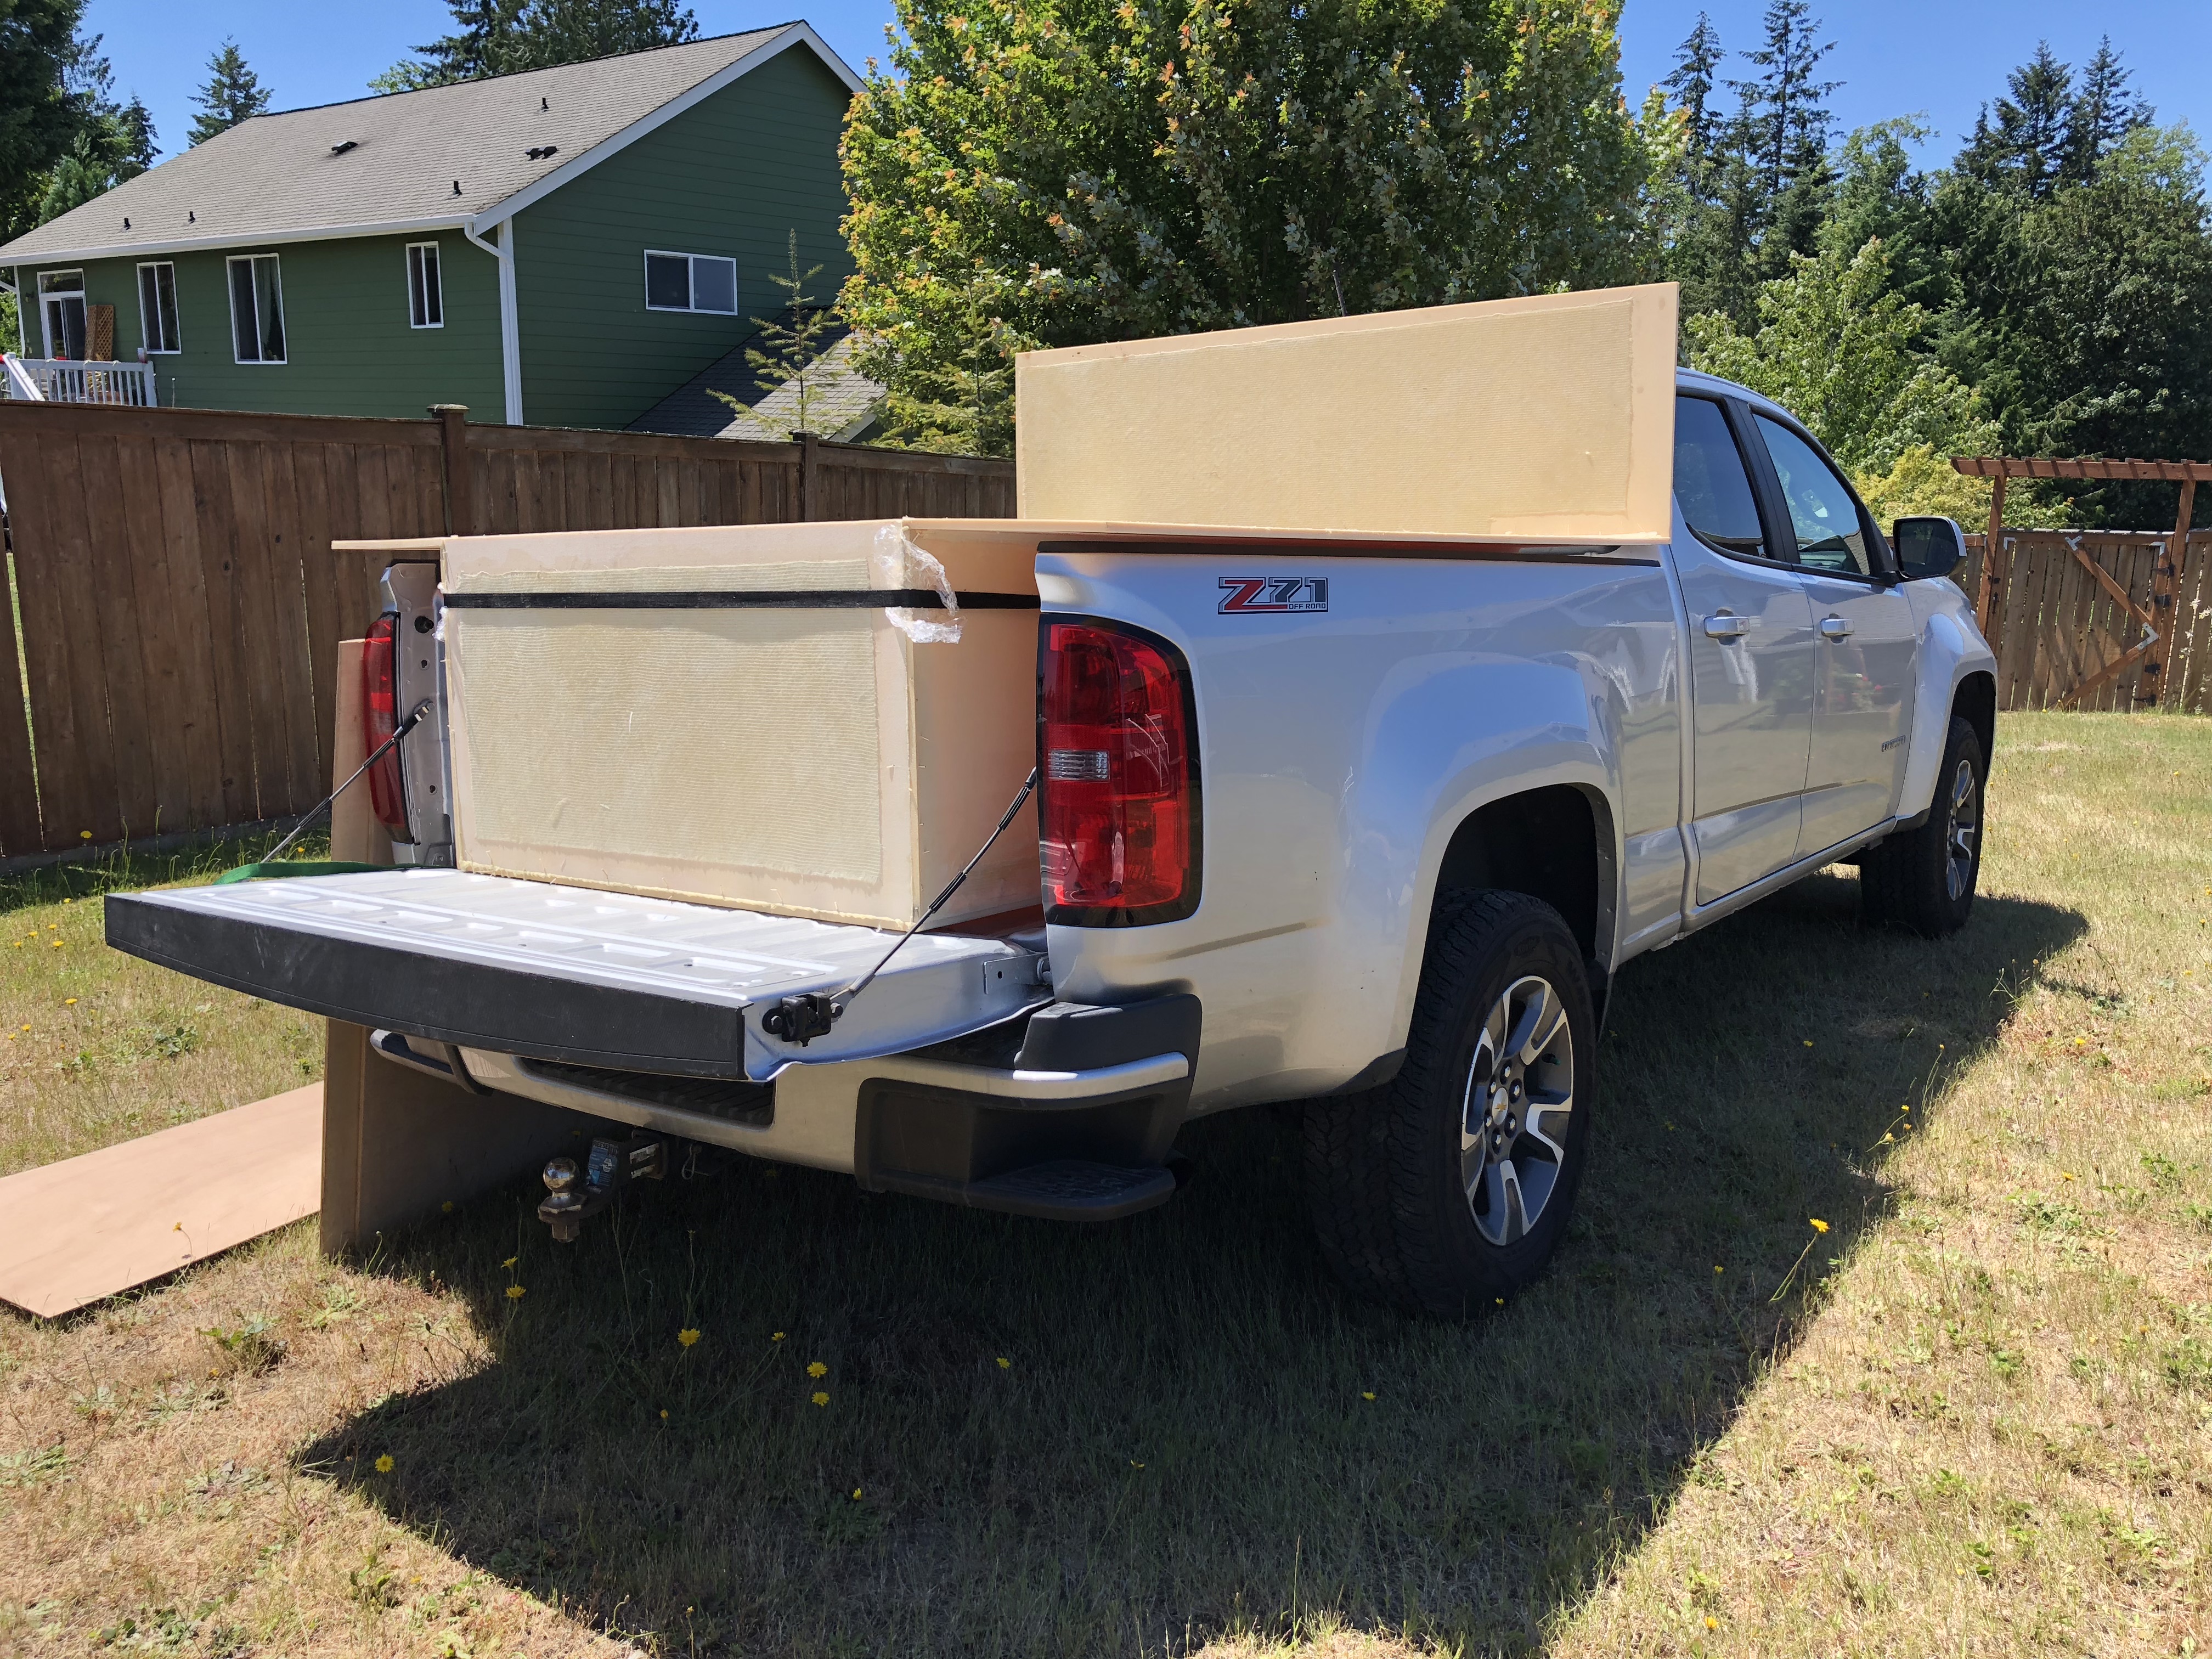
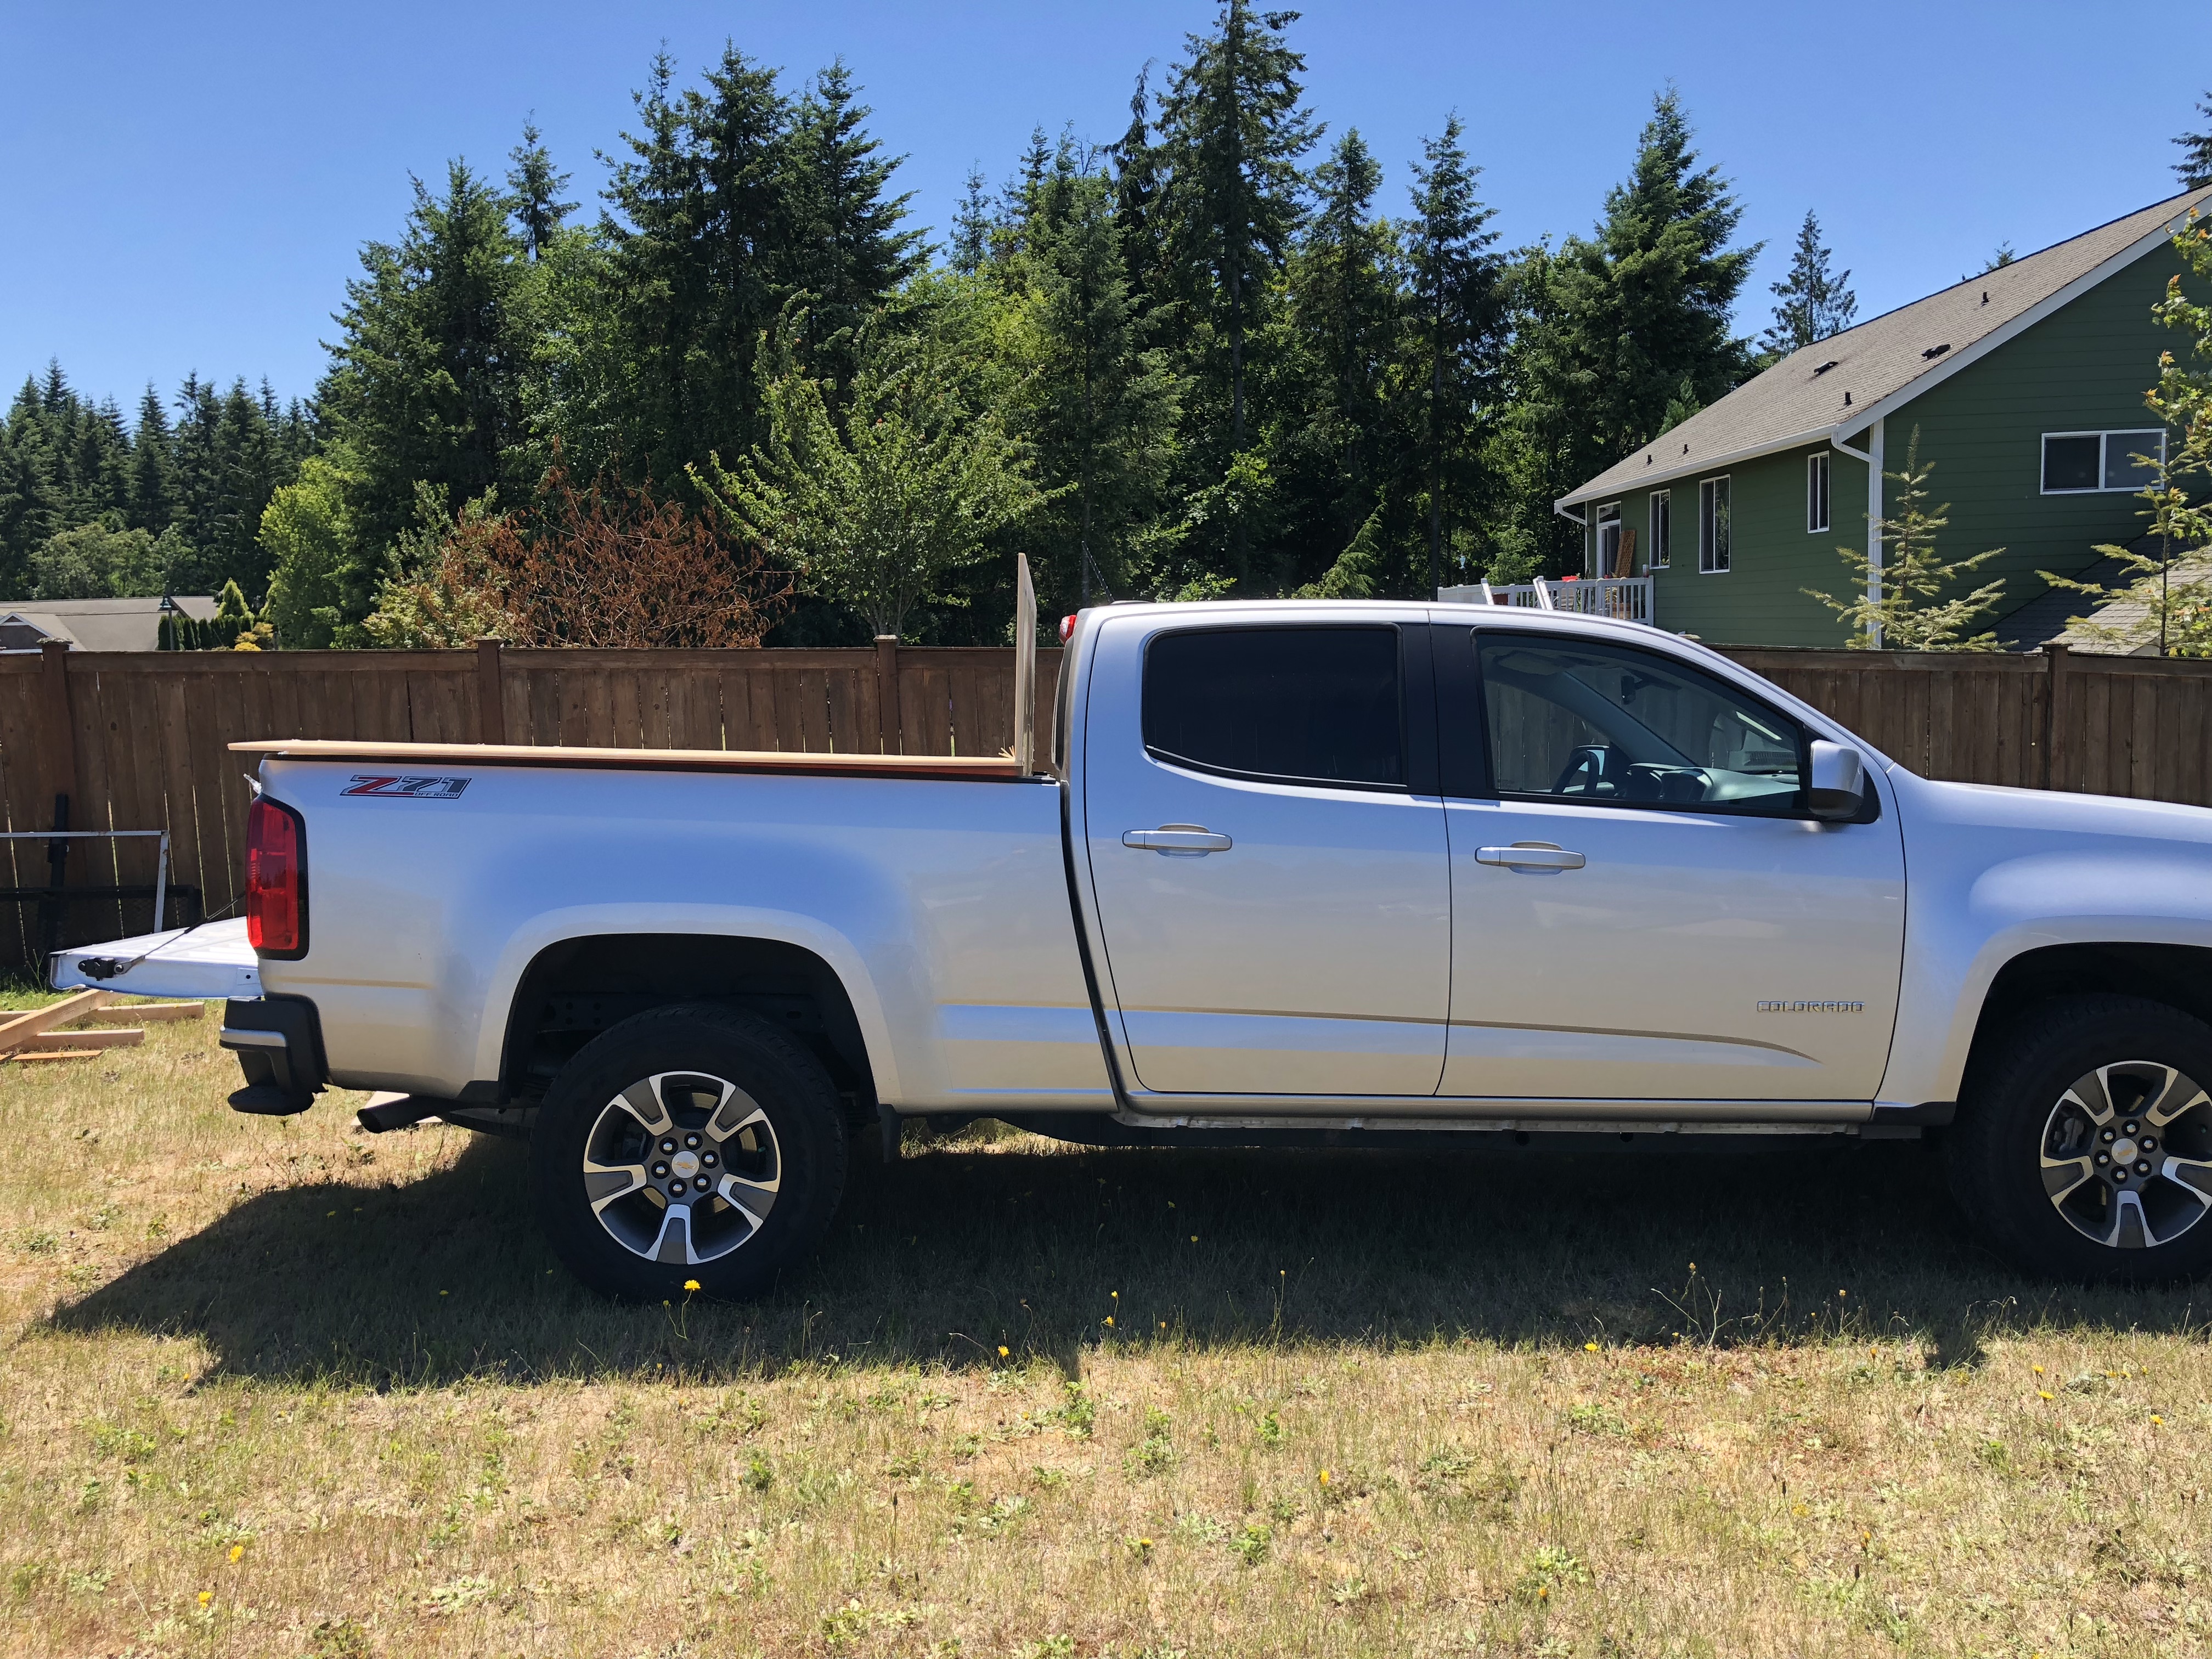
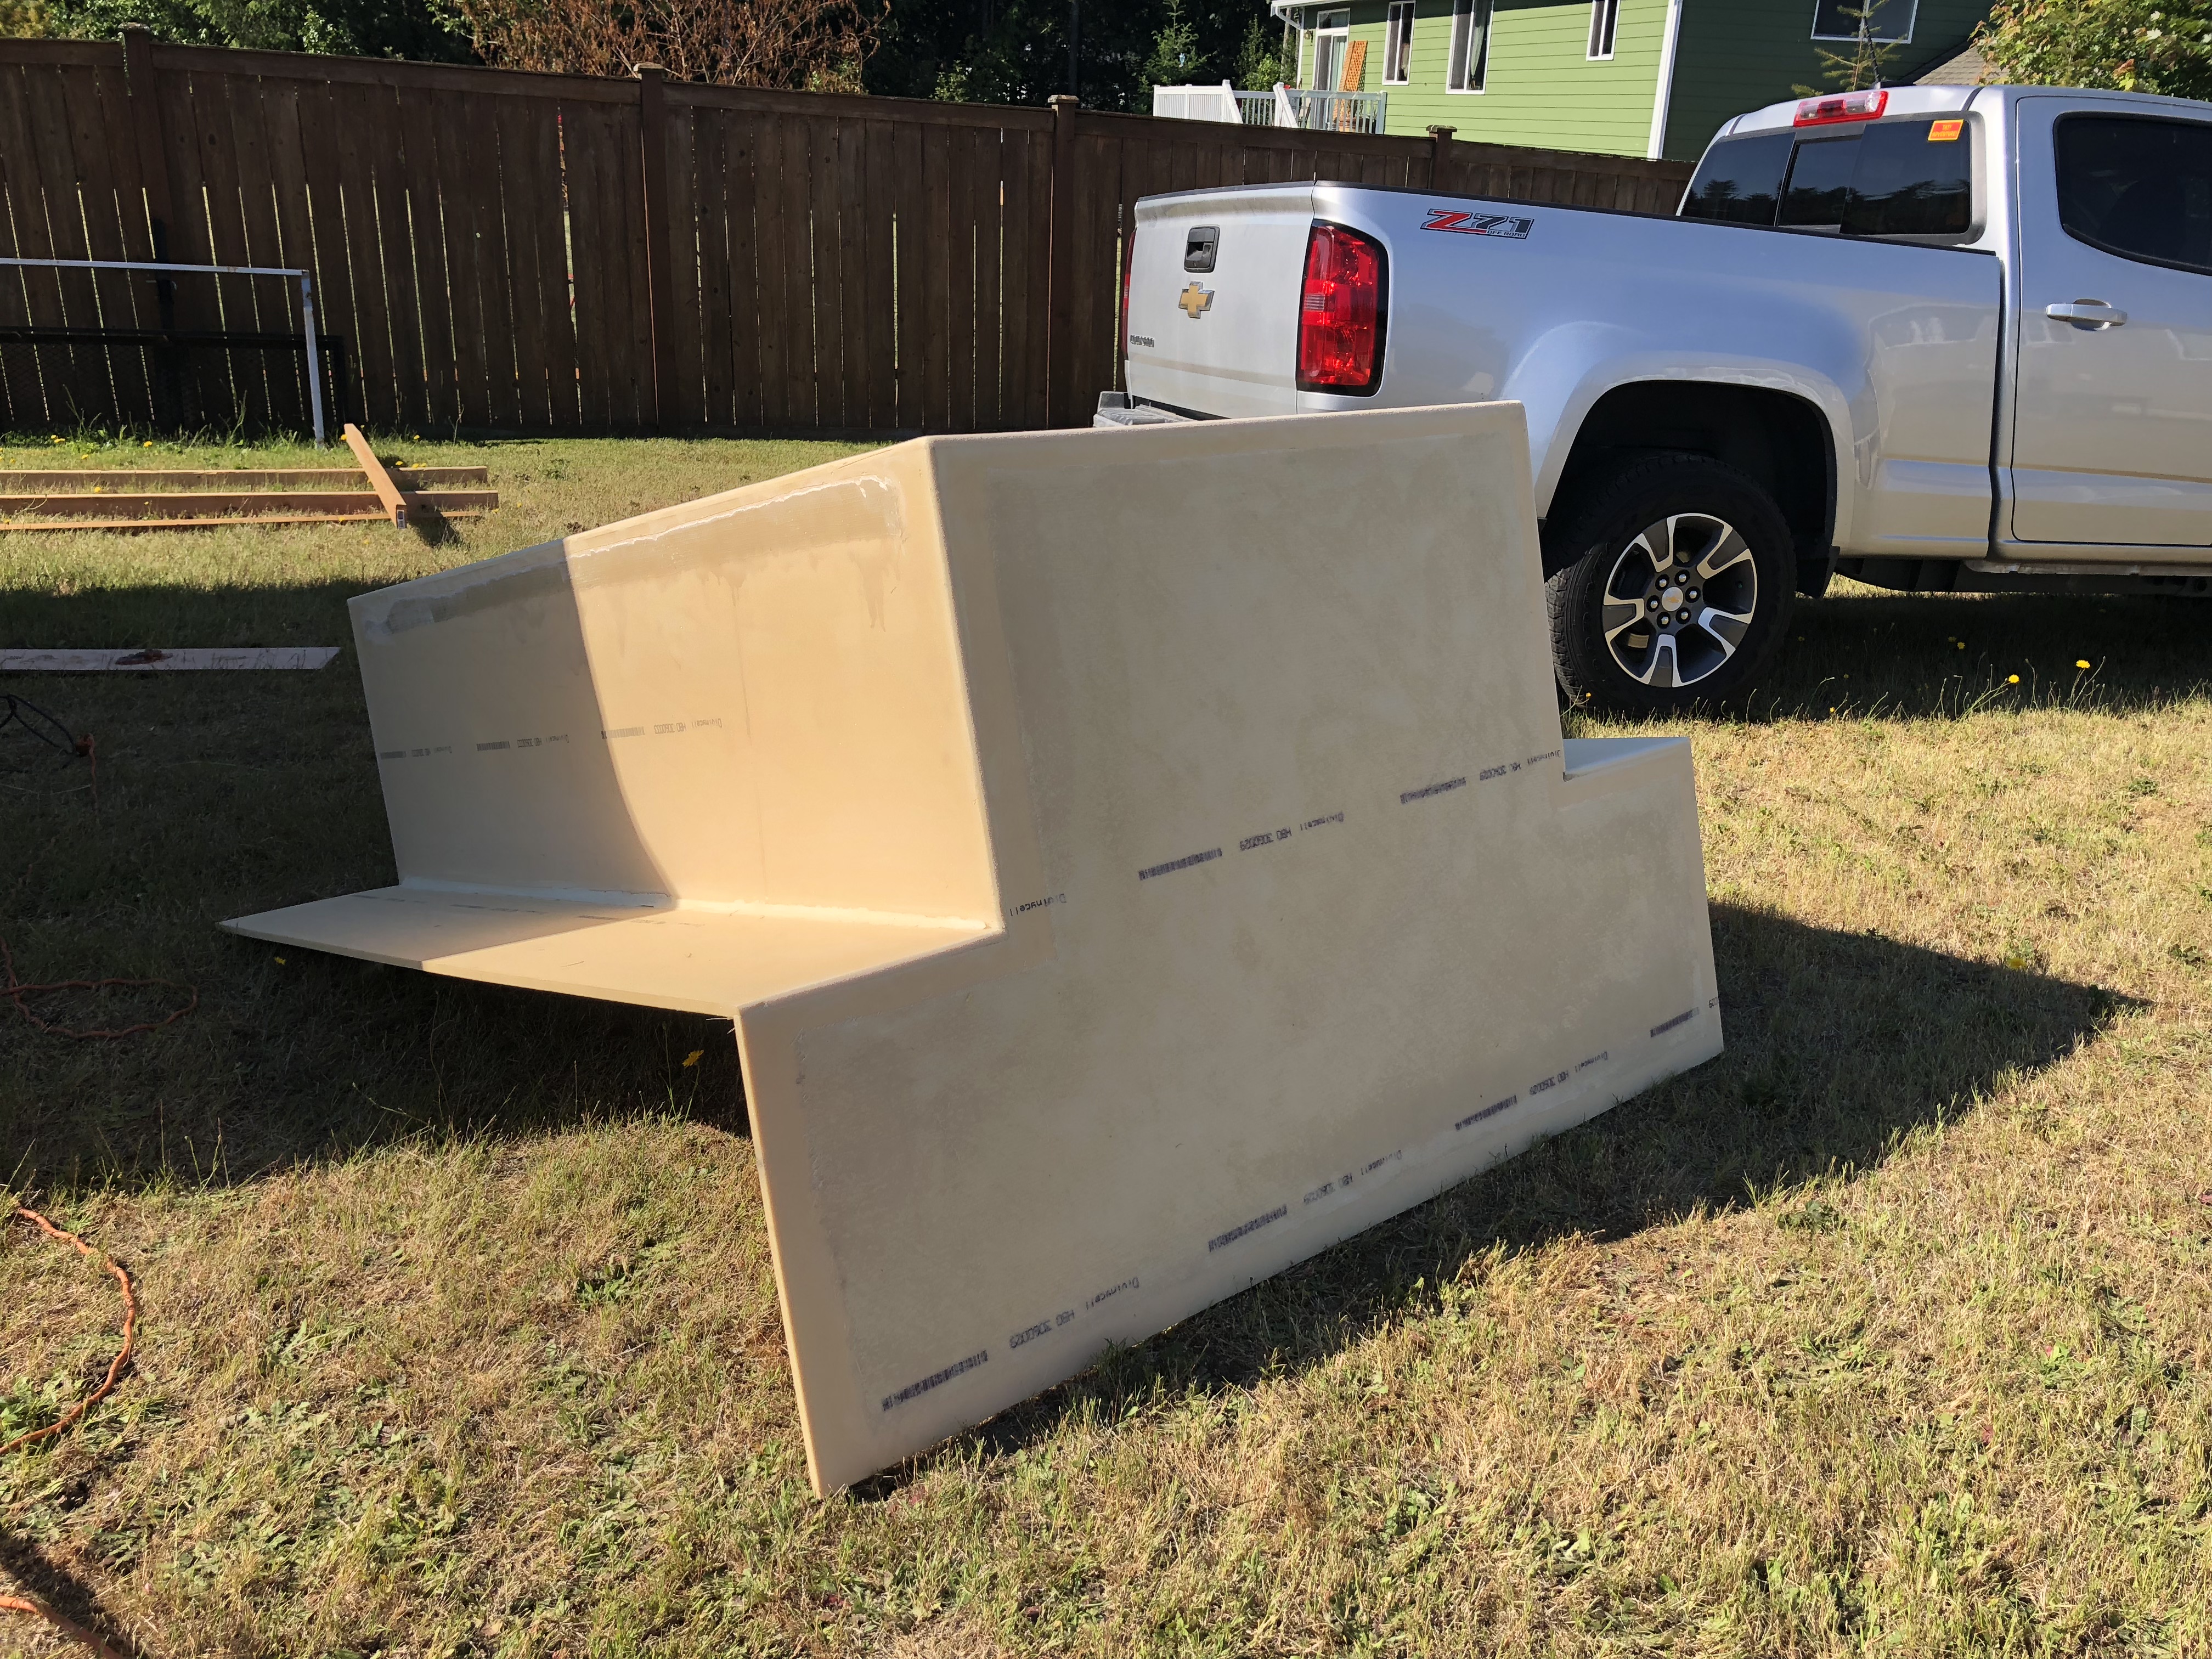
i'm assuming you mean at the back right? We were originally going to do that and make little storage lockers like a lot of the other campers have, but since we made the inside tub pretty much the entire width of the bed between the wells, there wasn't really a lot of room left. We thought about mounting some rotopax gas cans in that spot instead just never ended up doing it. In hindsight we should have narrowed the camper a little bit on the inside. We ended up with some wasted space inside the camper, but it worked out in the end.Any reason why not to expand the width to fit around the fender wells?
