Build - Fiberglass & Foam Truck Camper

The Artisan

Adventurer
Make 2x4 wood jigs on the inside and pump clamp in place. This will keep your structure square while you glass. You need a temp inner structure in place if you are not using a enclosed exo skeleton.
Kevin
 

underkill

Active member
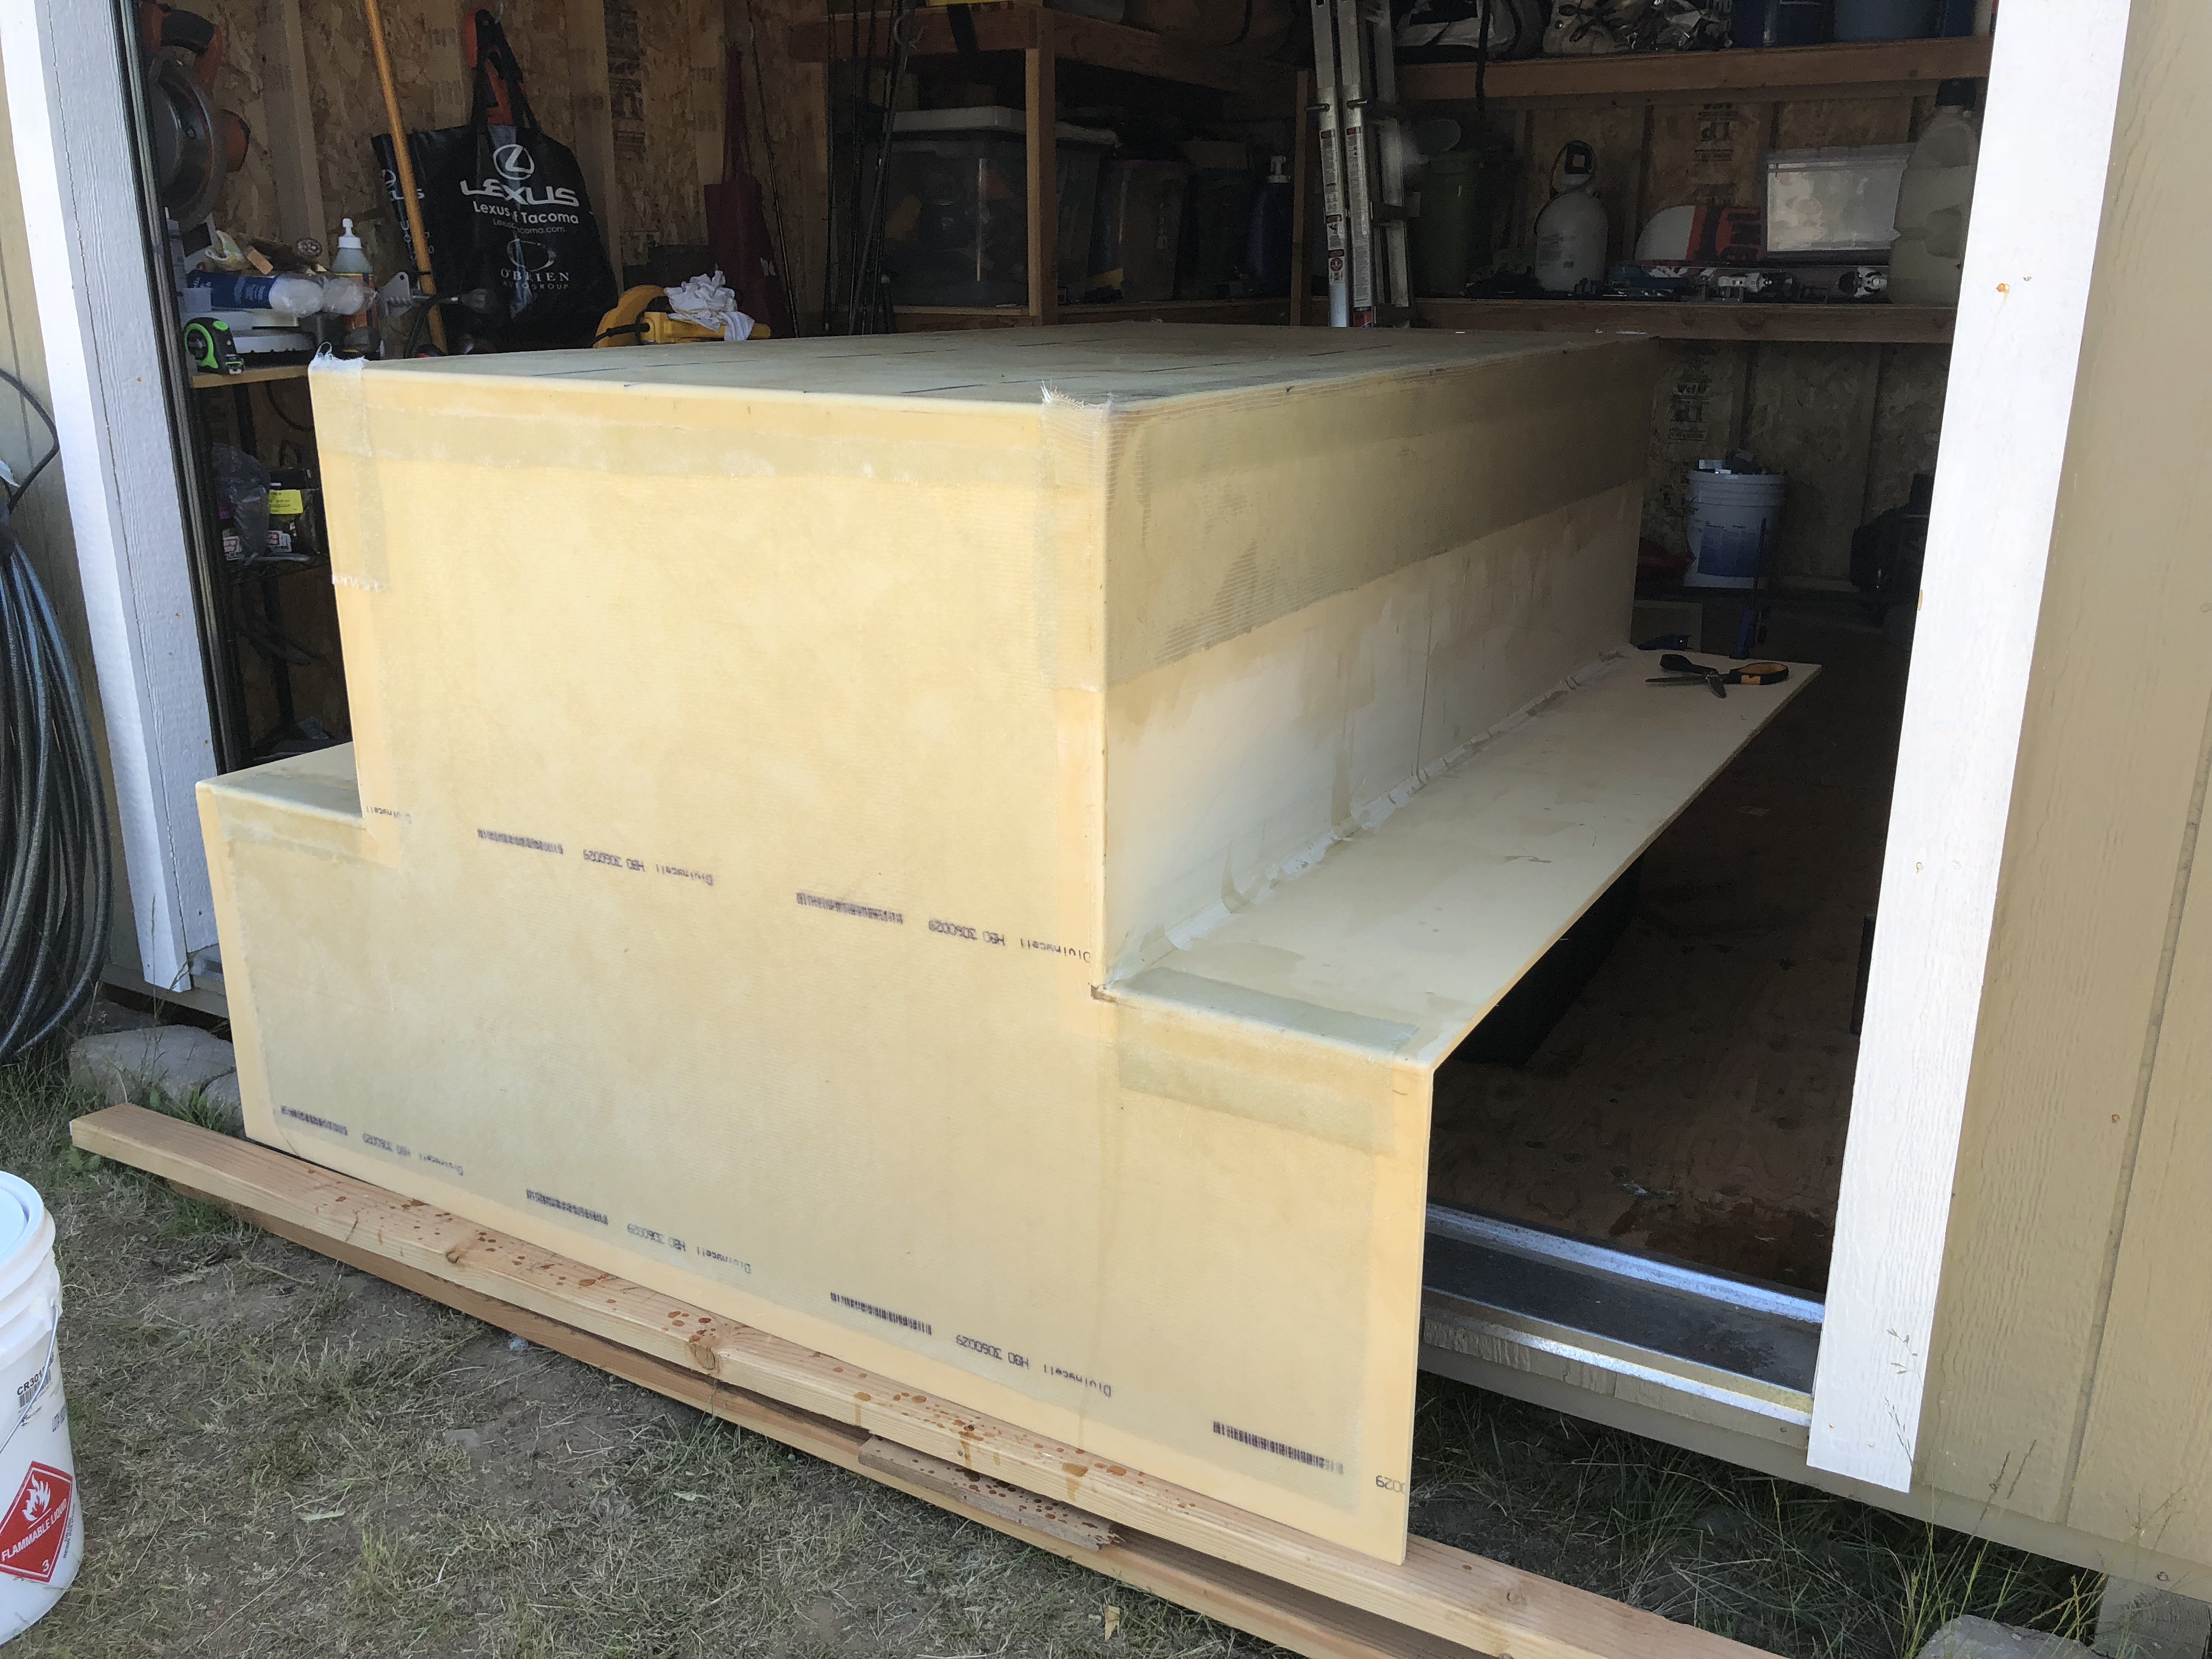
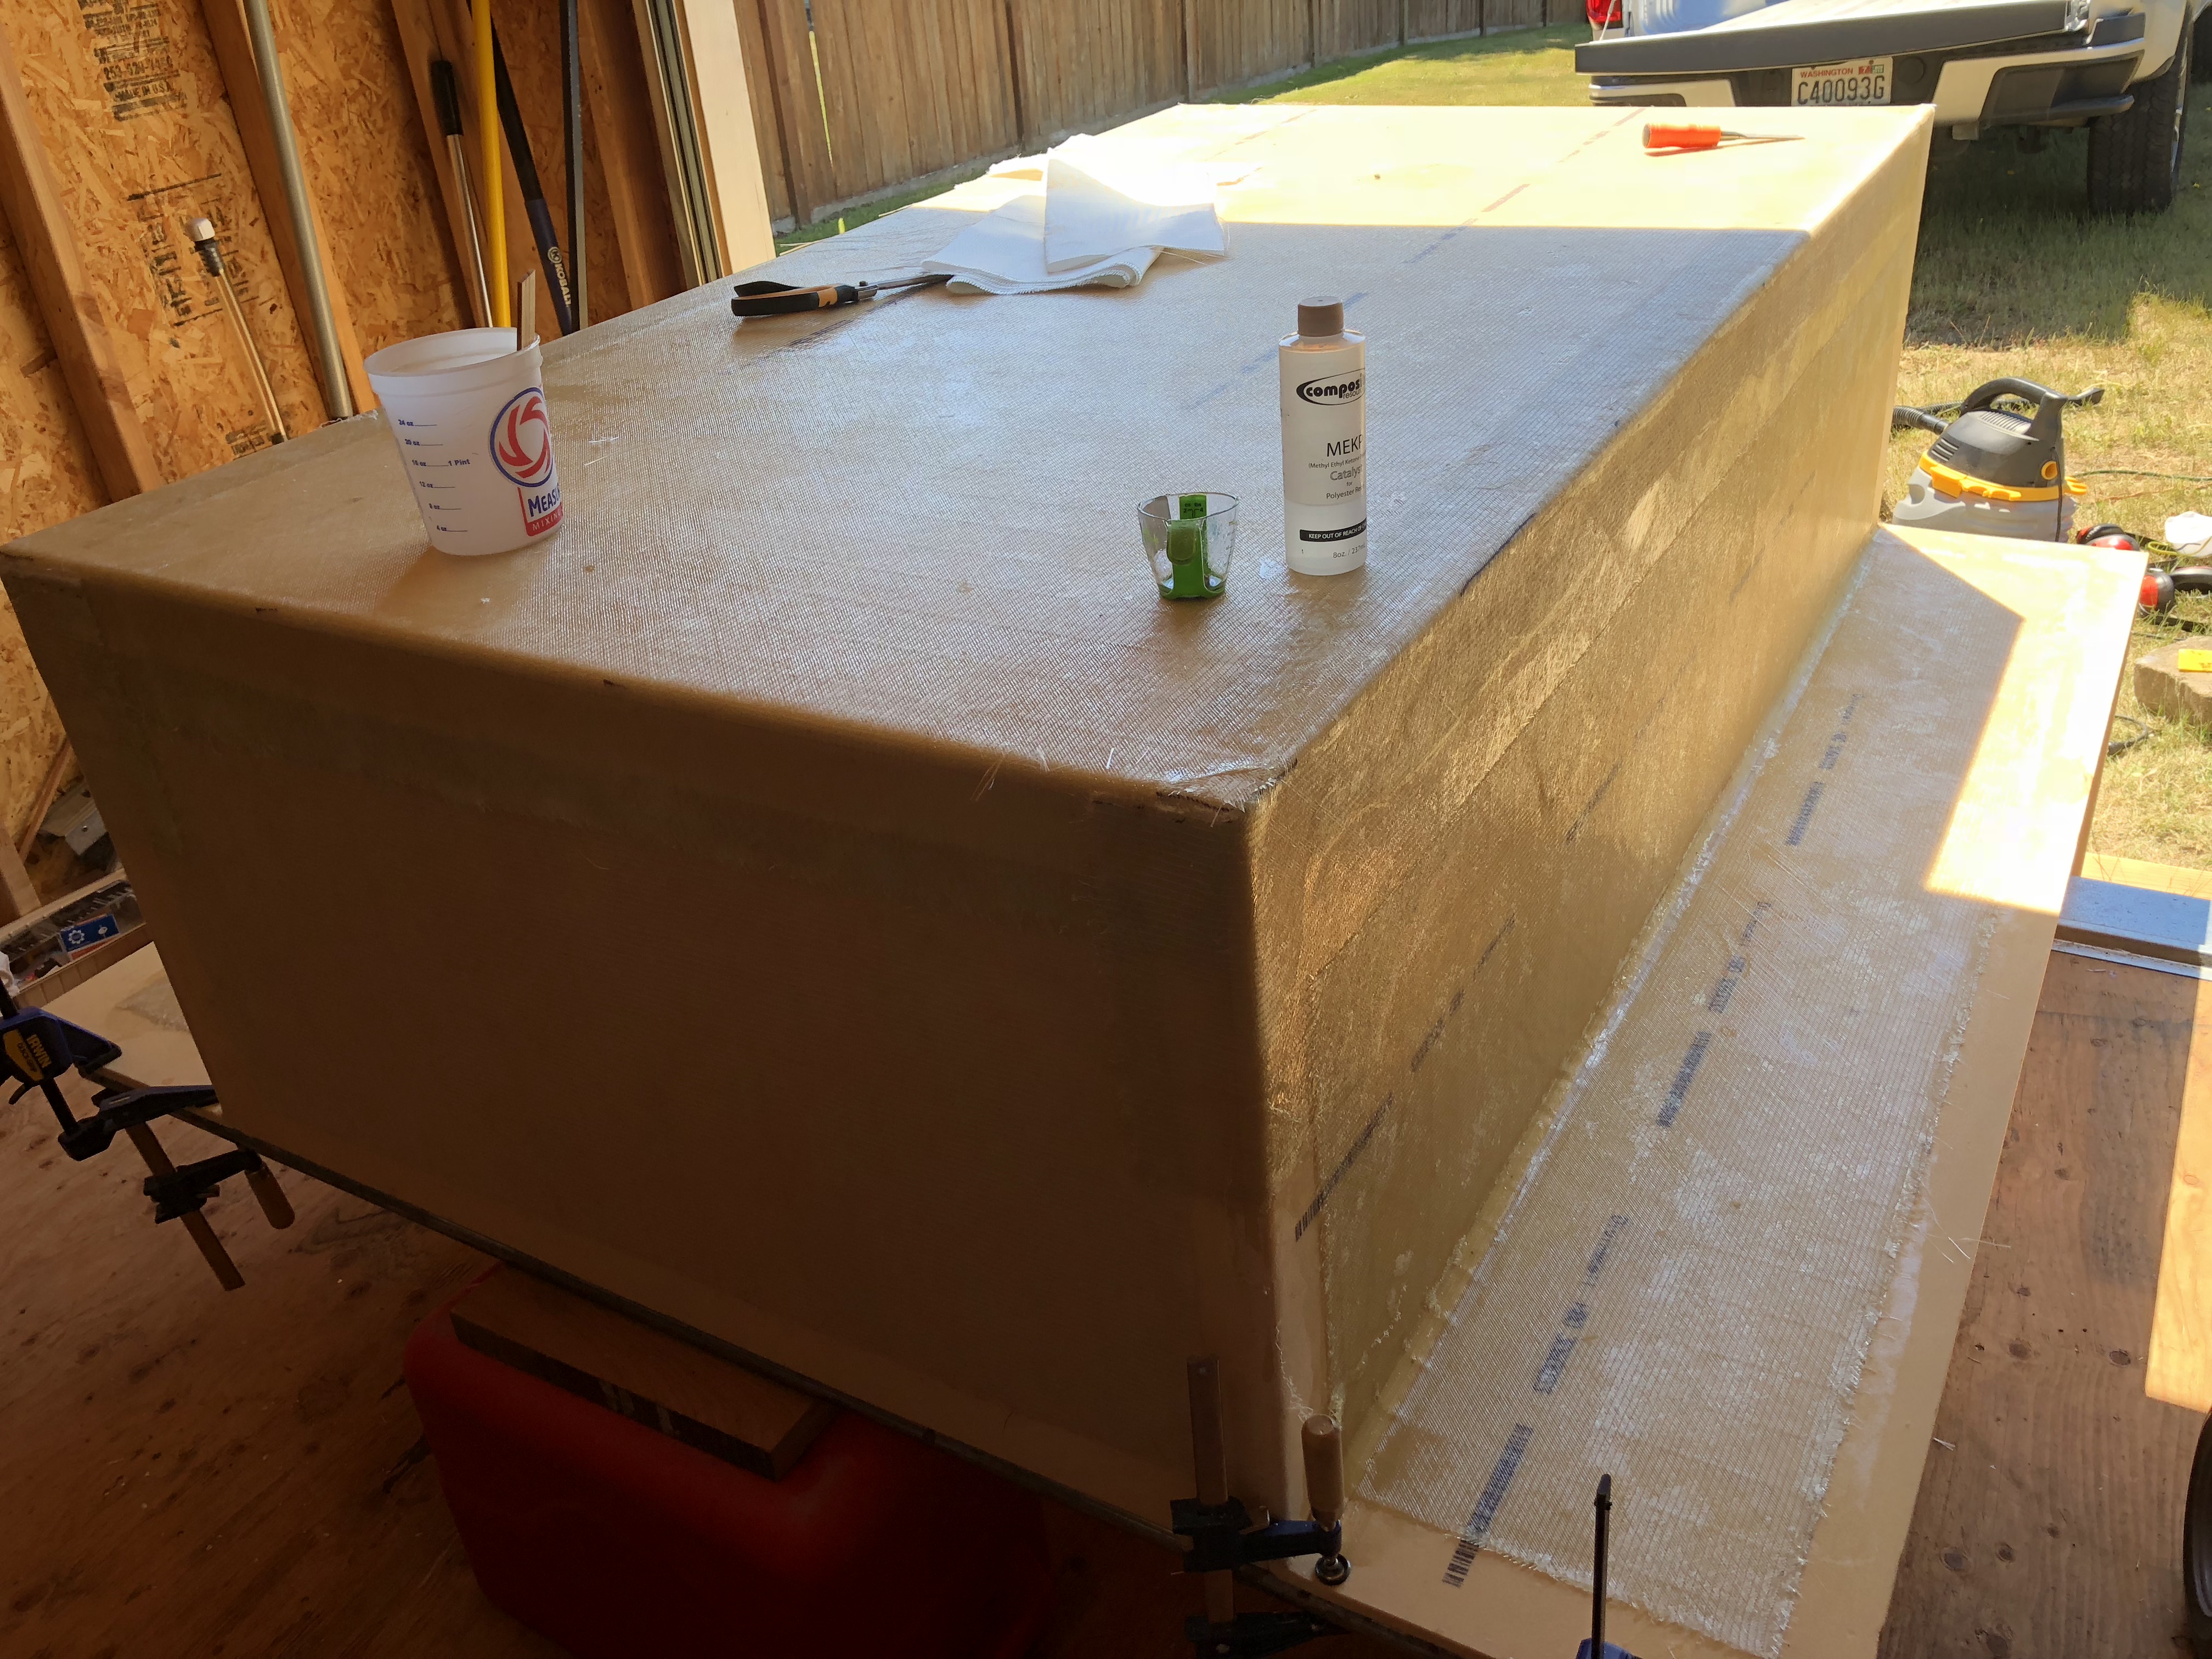
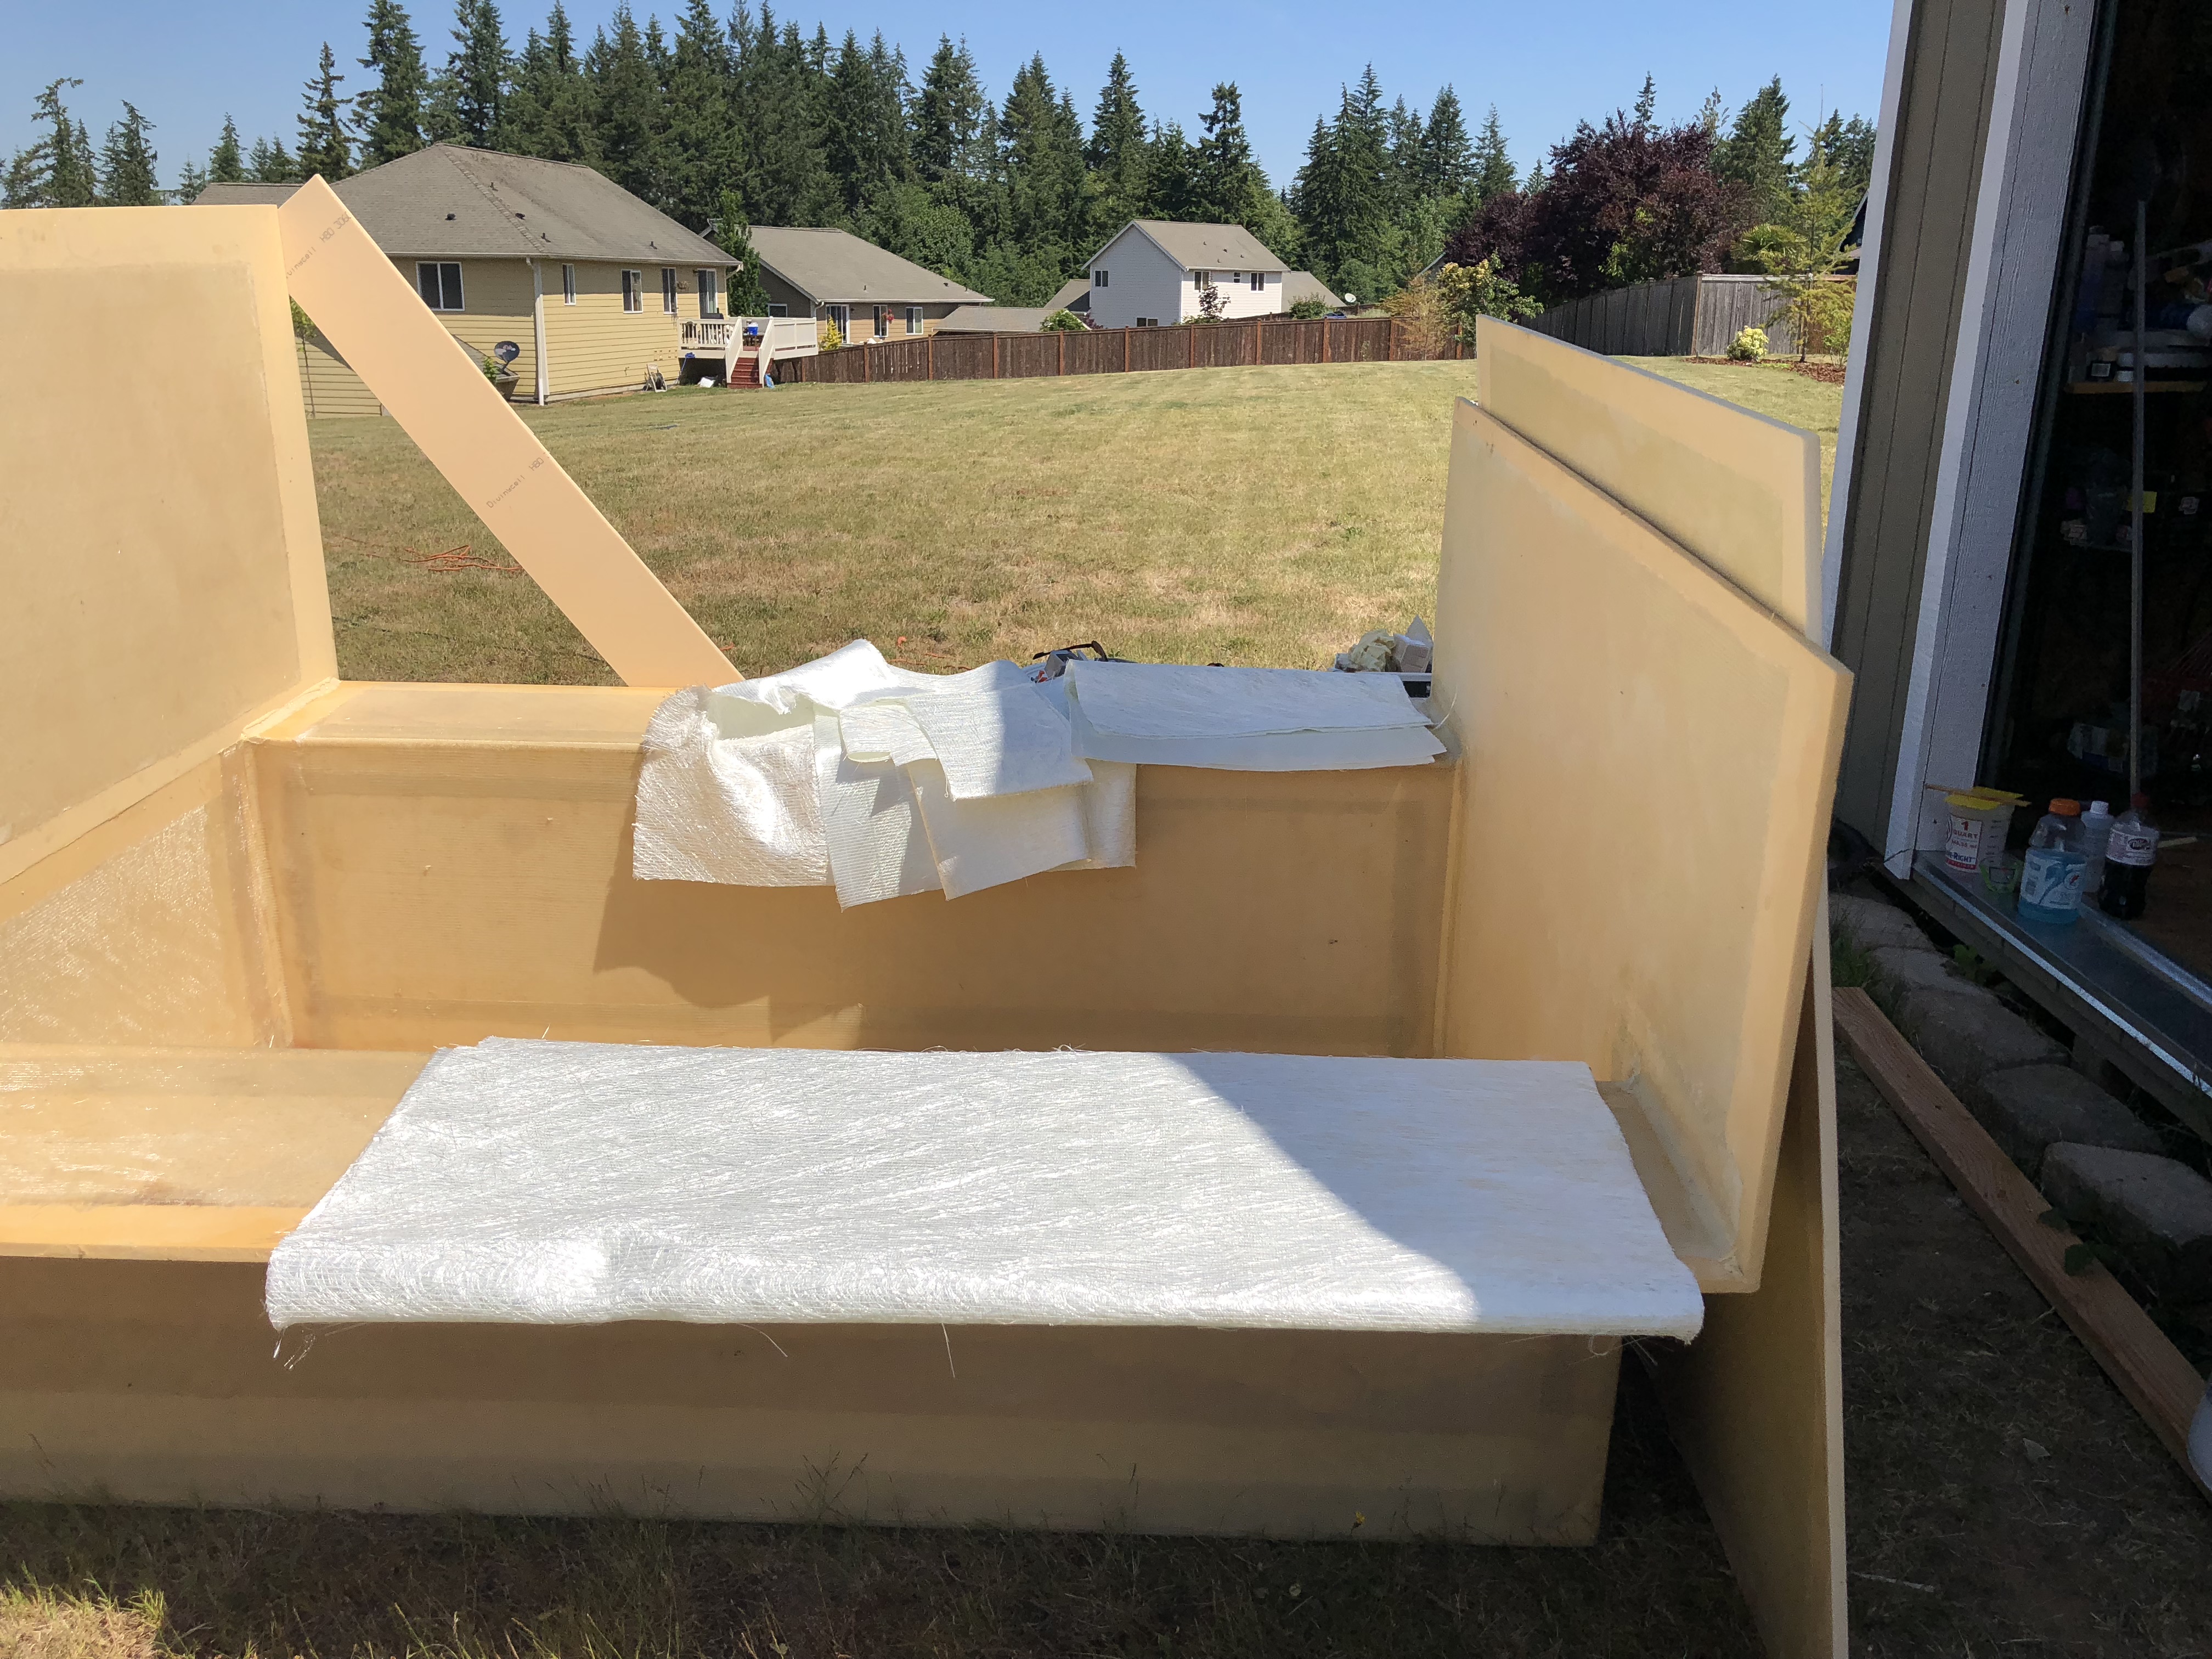
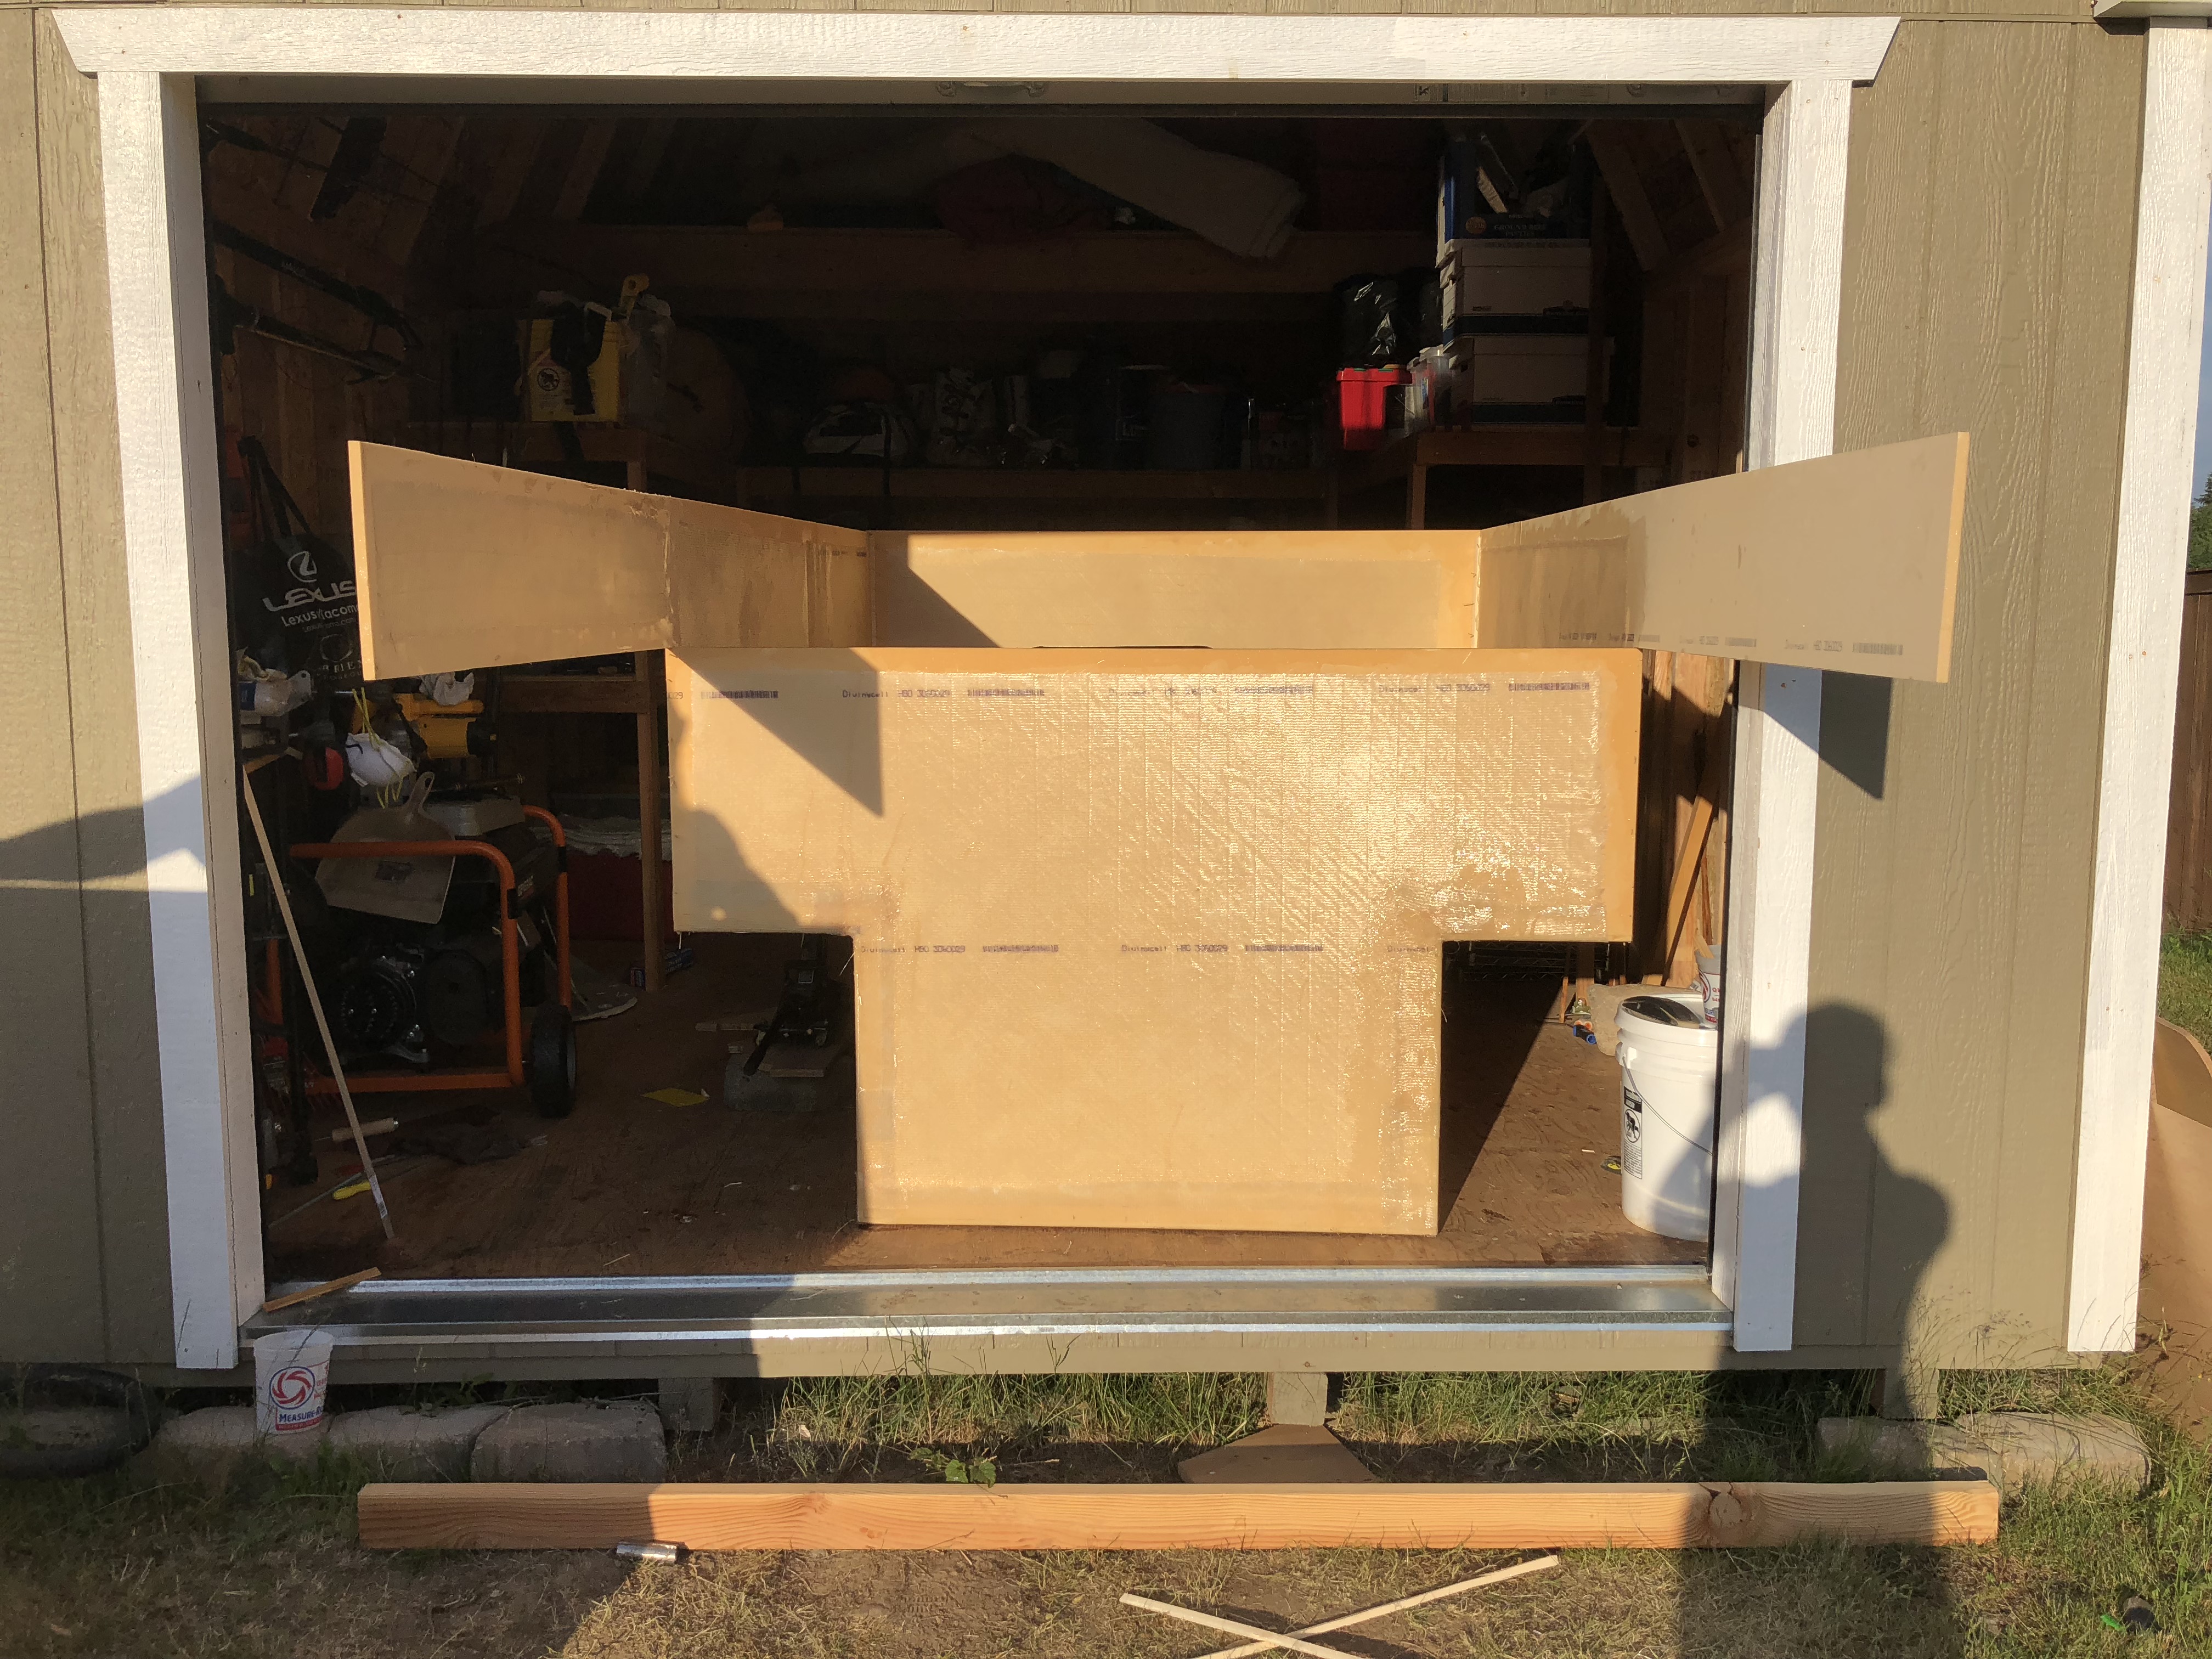
Turns out that we got a little over our heads with the huge sheet of fiberglass on the bottom. It was hard keeping that much resin mixed and functional and the sheet itself was just huge and a giant pain in the ass to work around and position.
IMG_9499.jpg

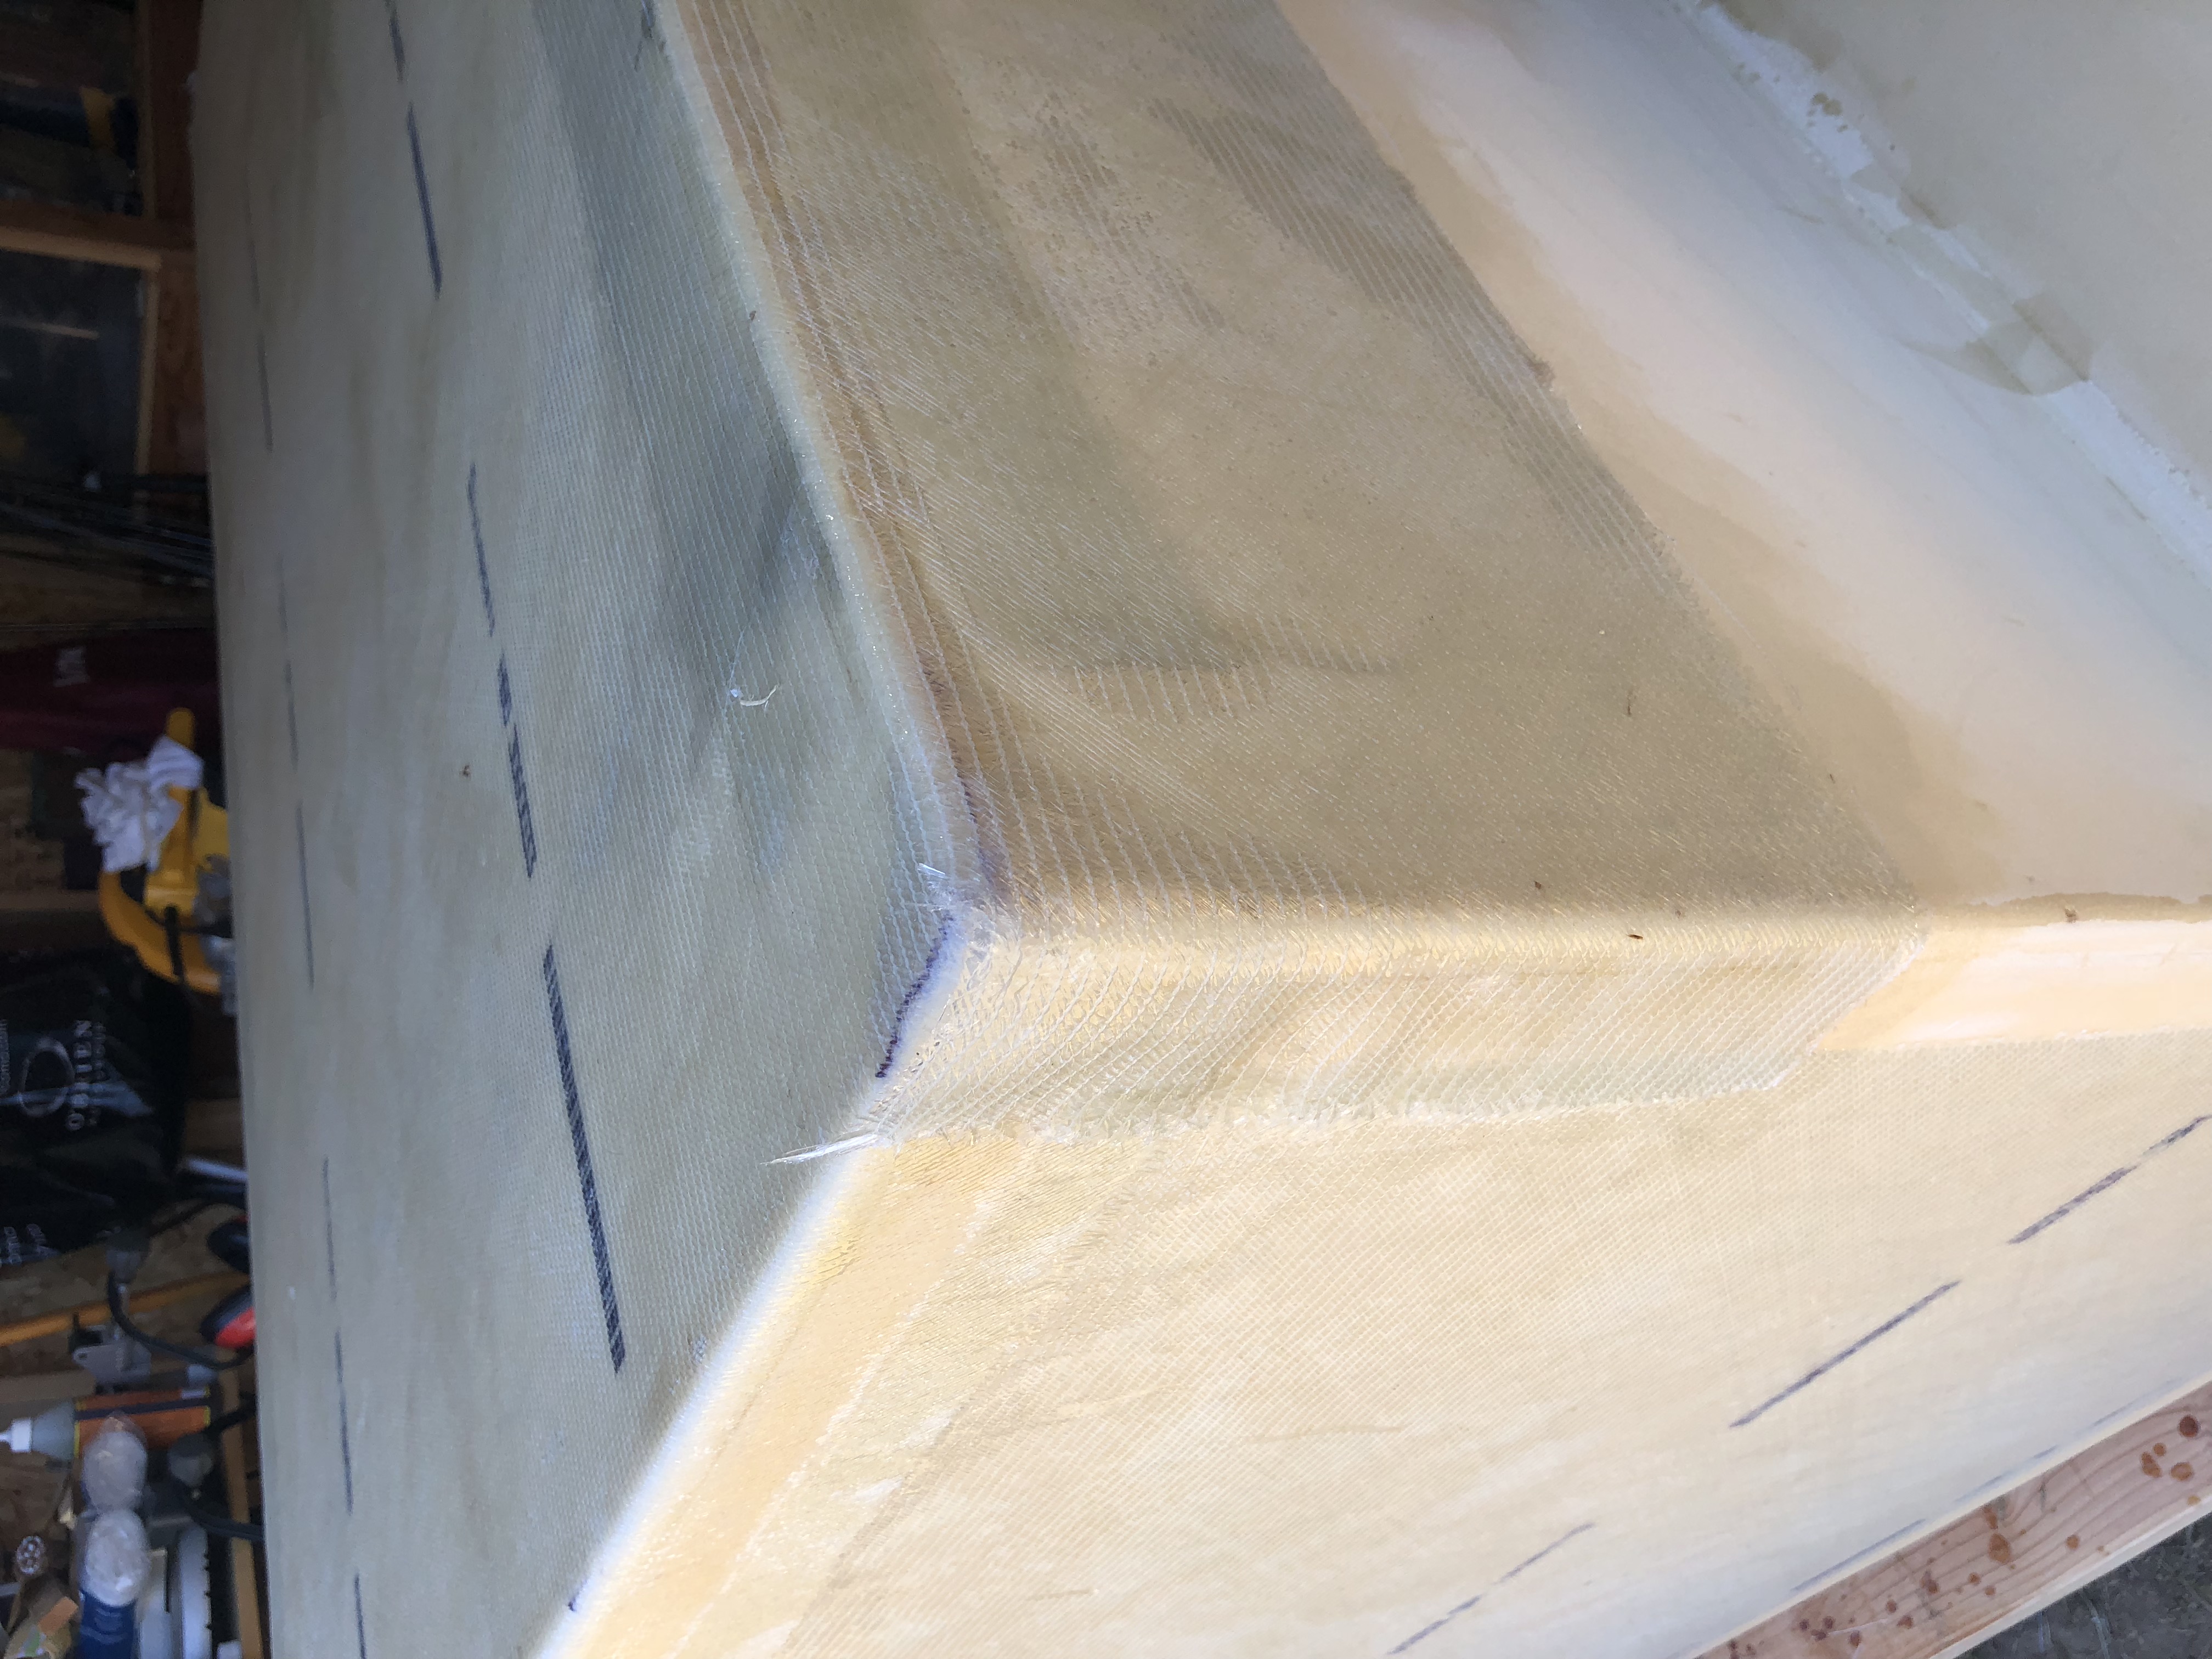
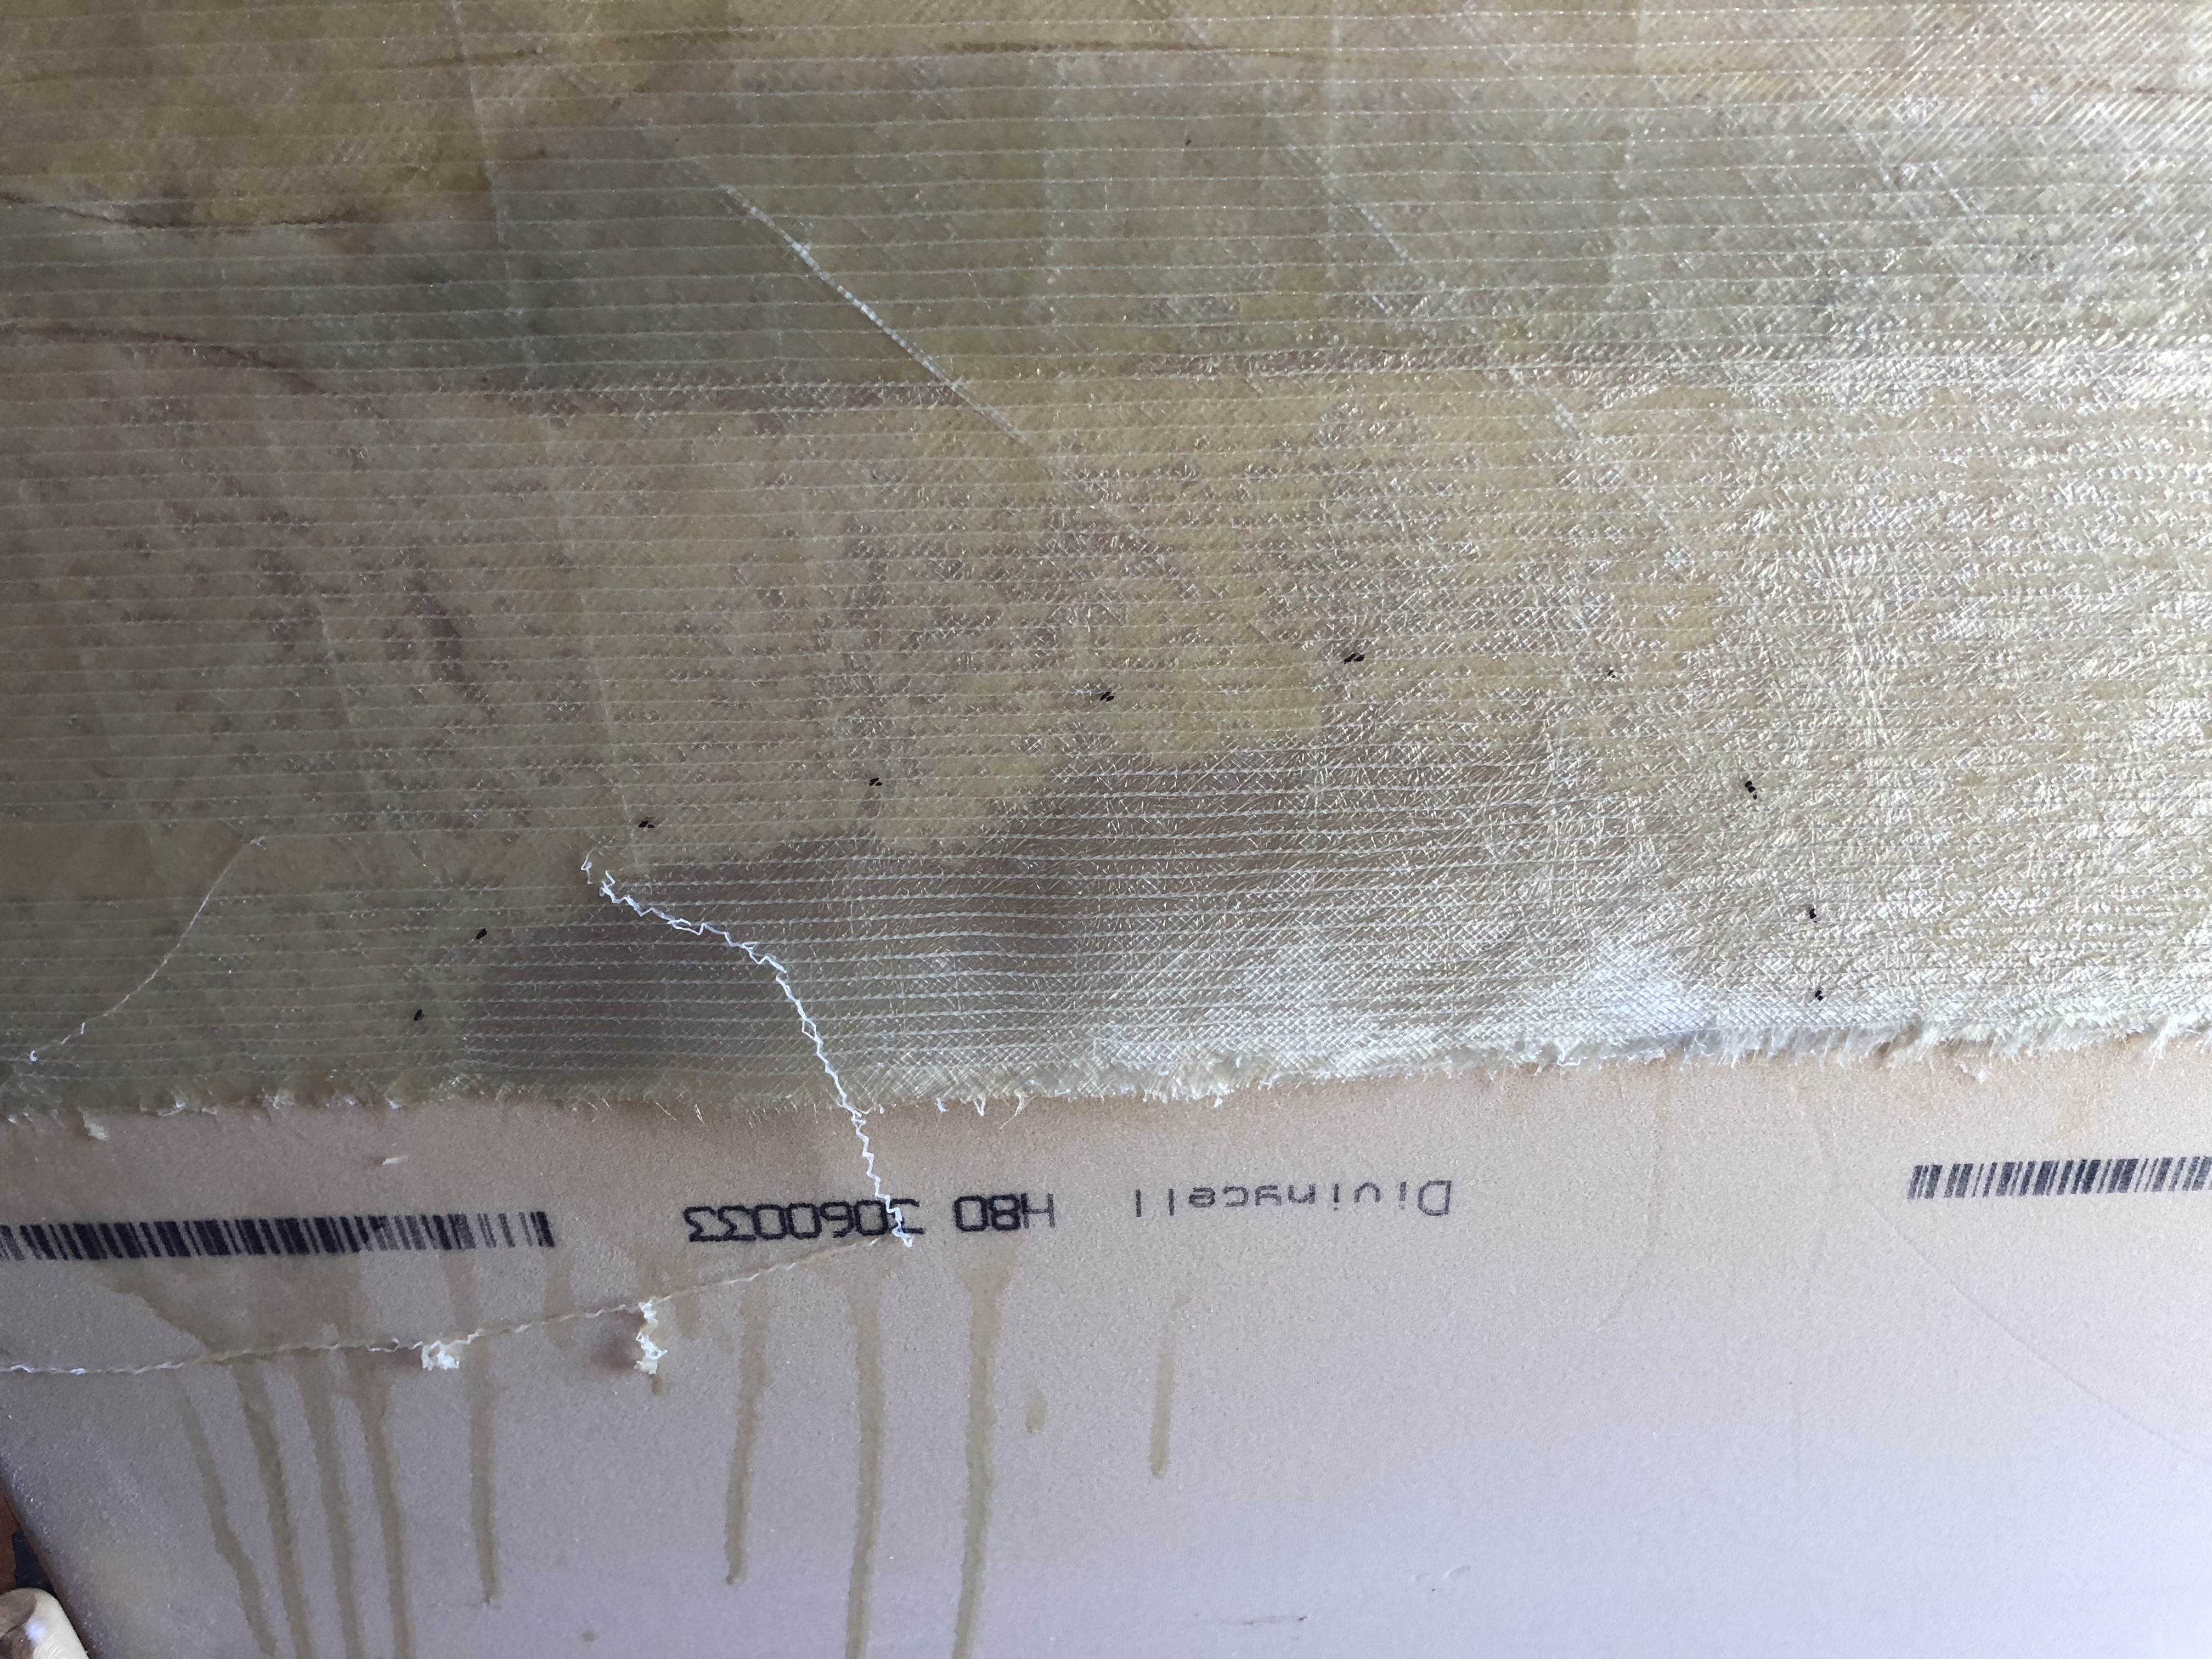
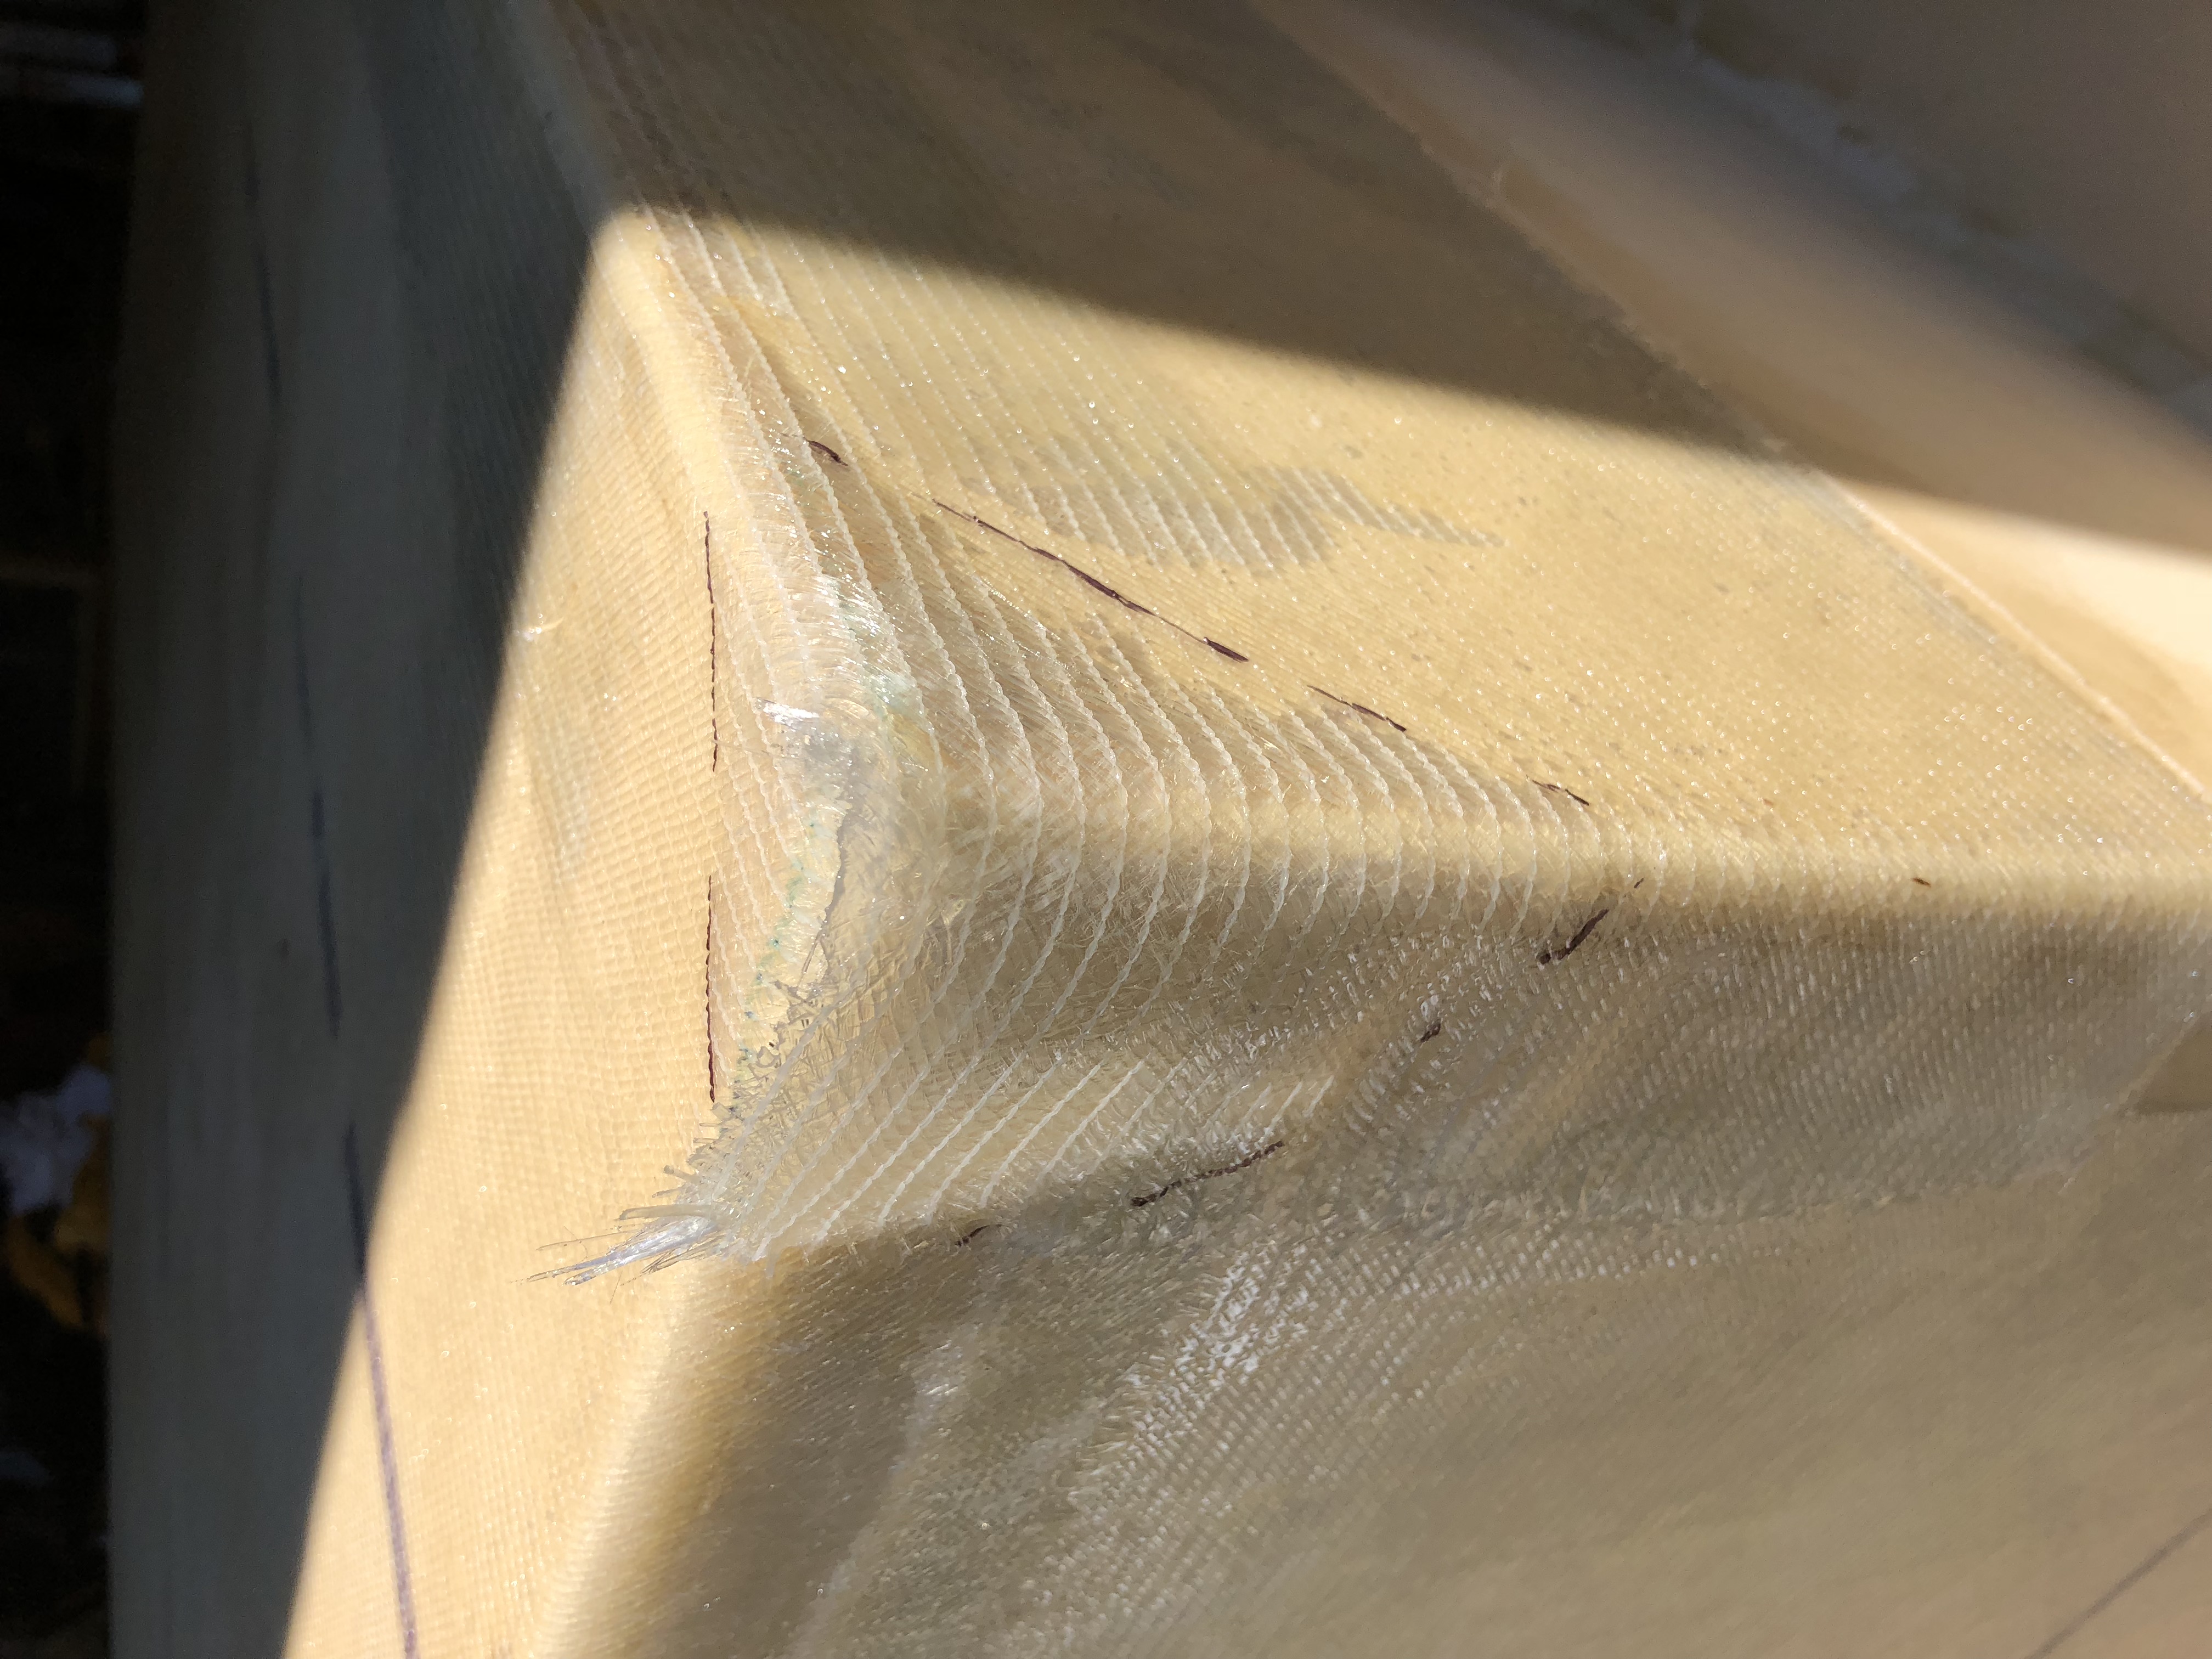
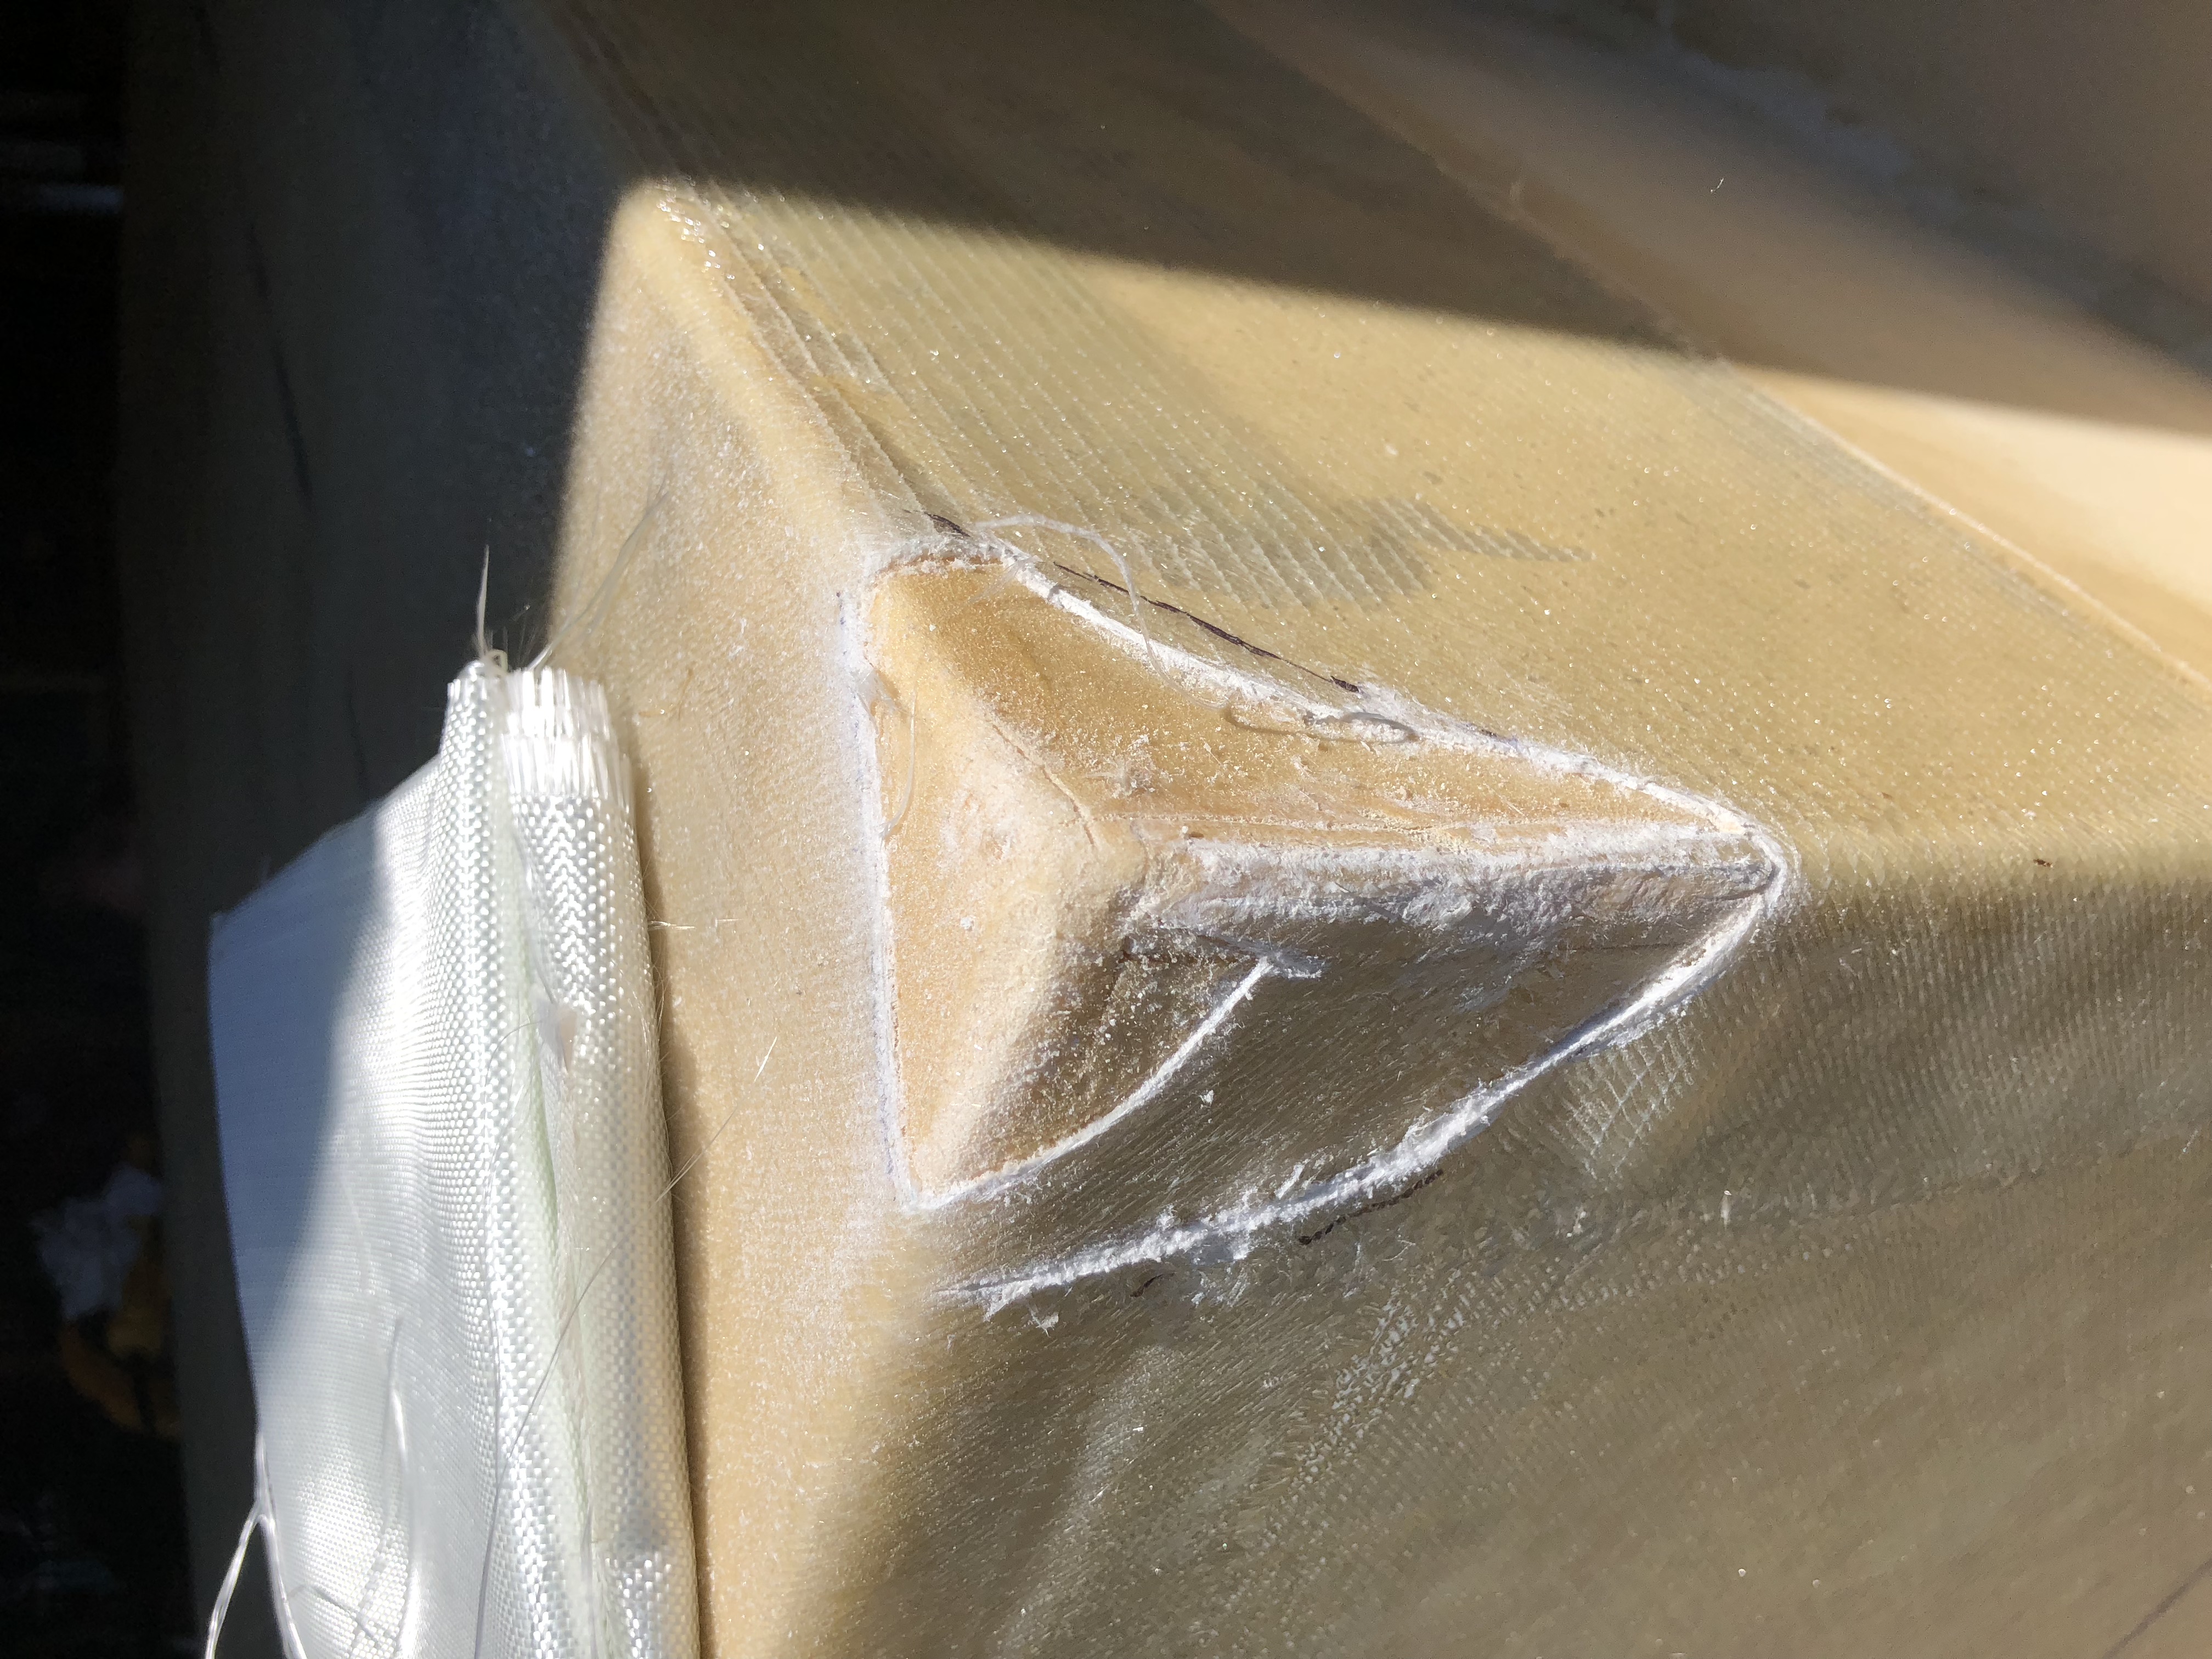
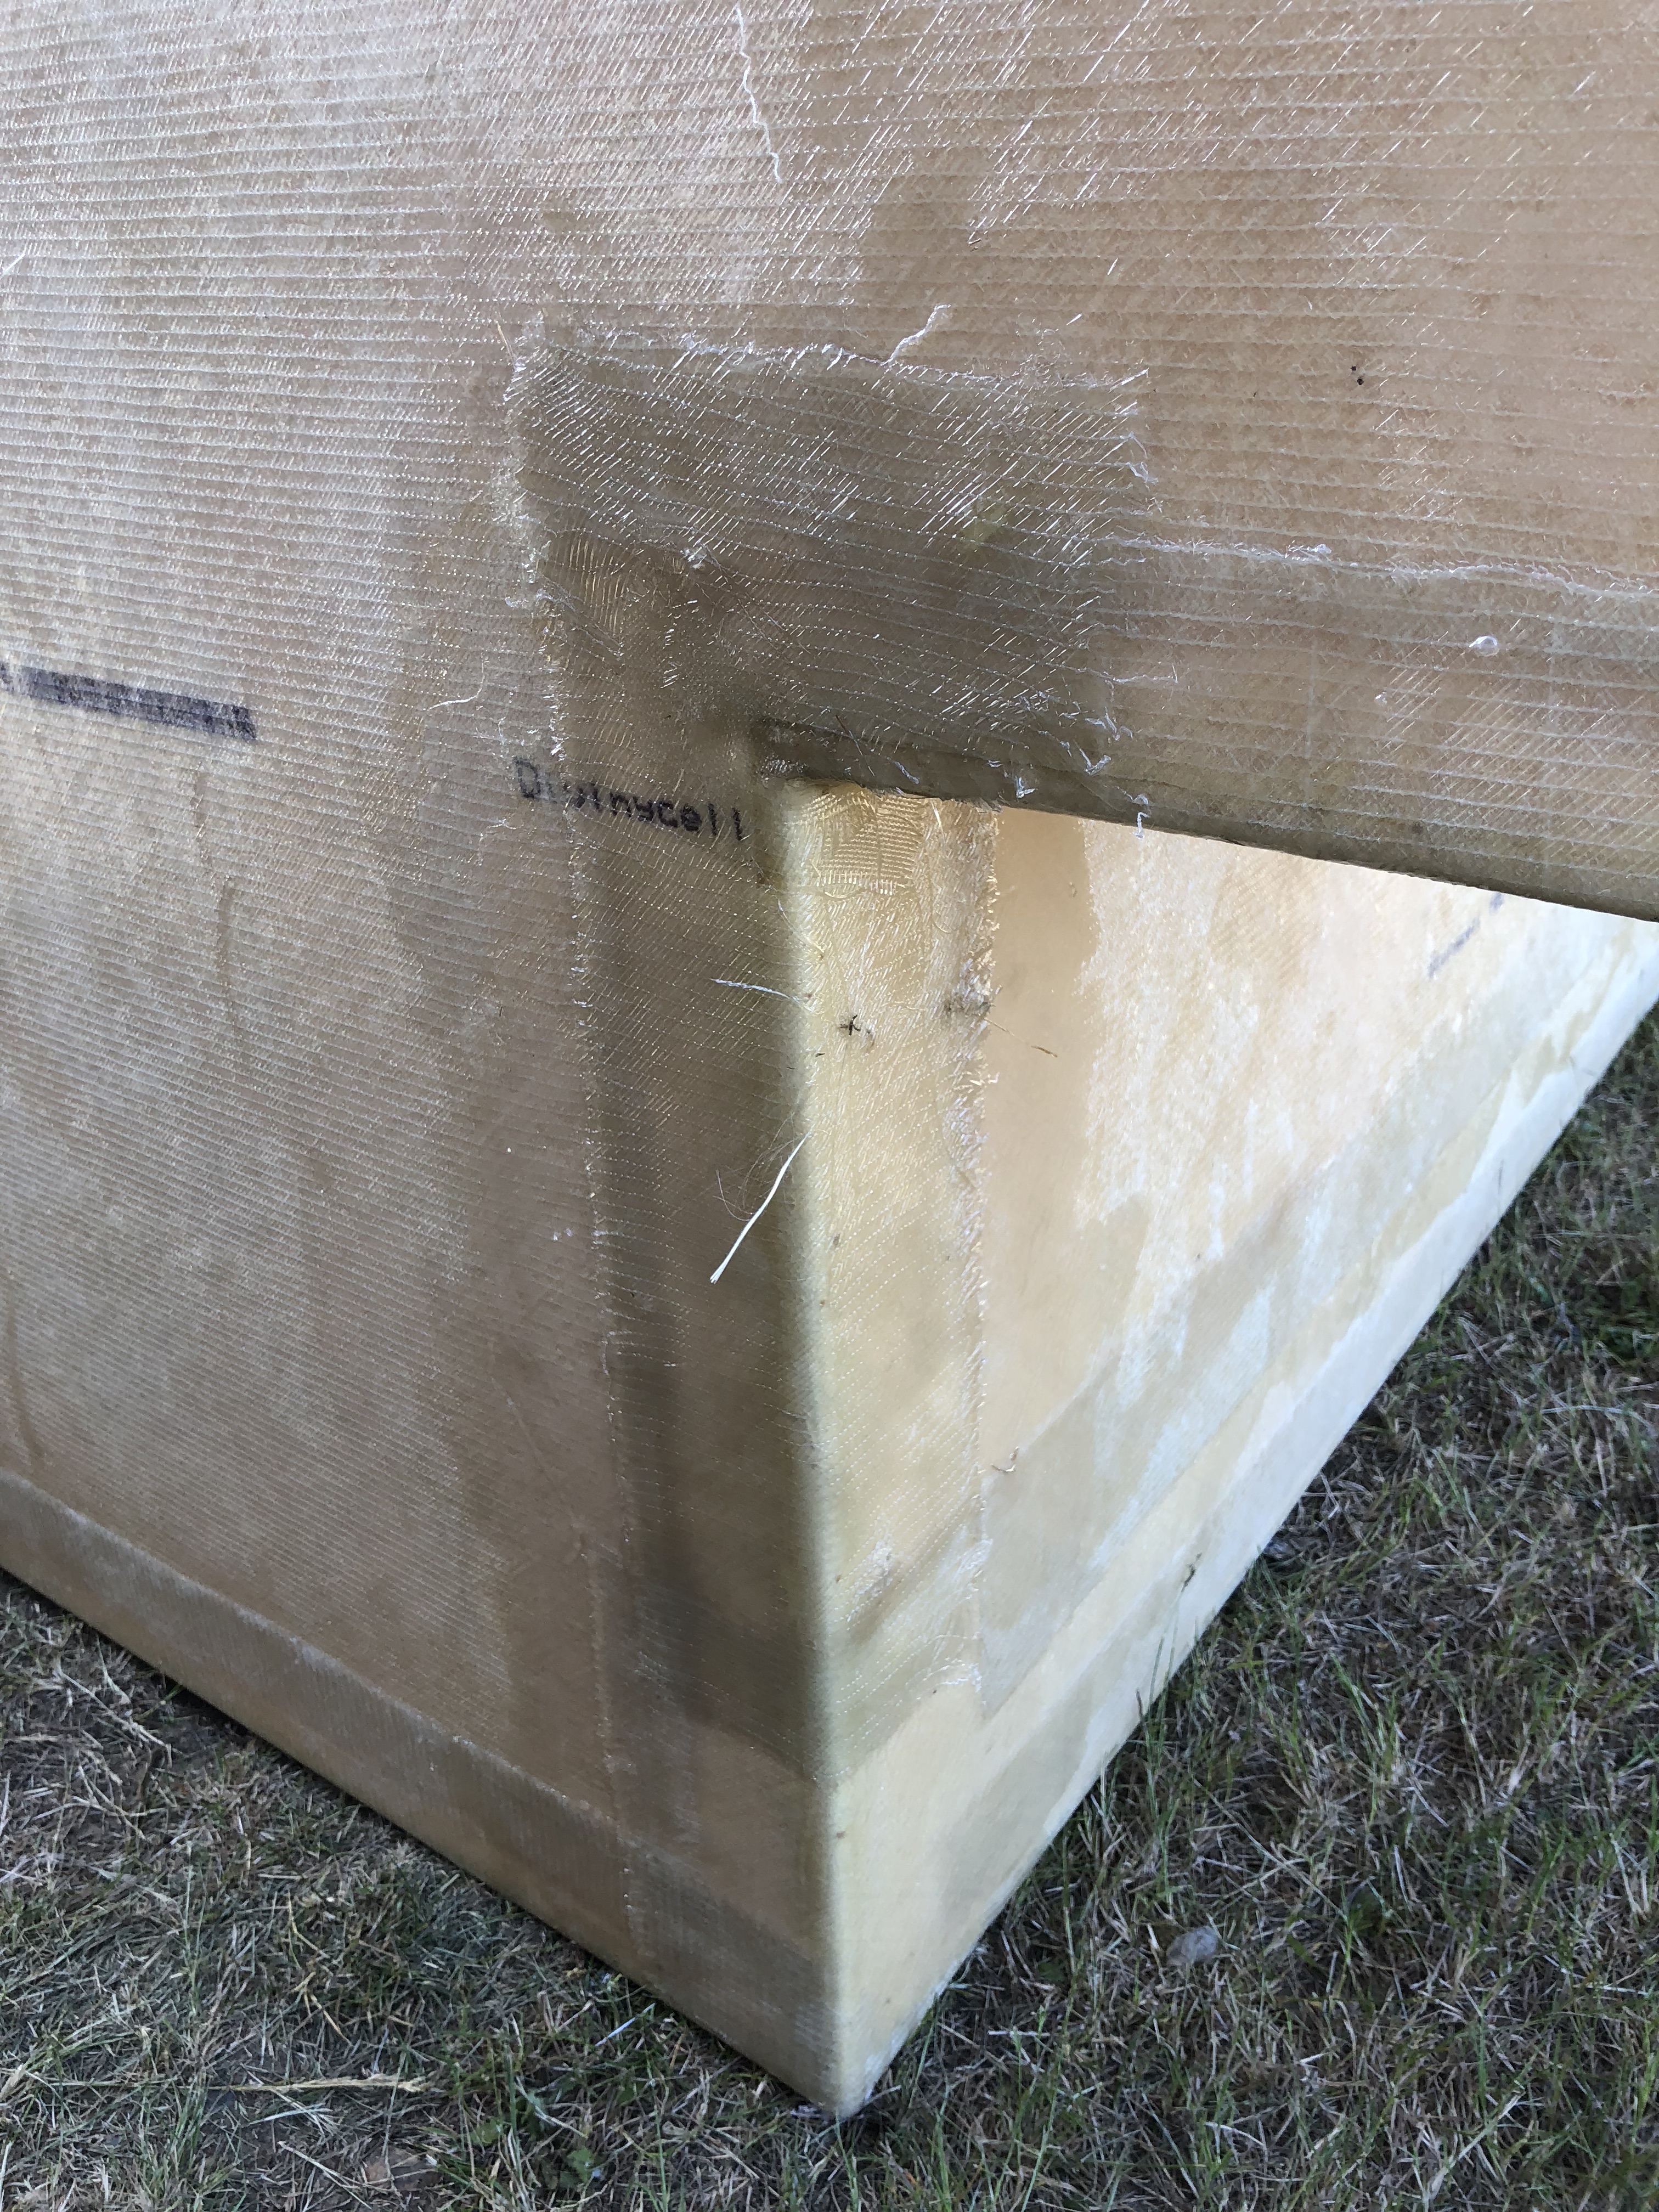
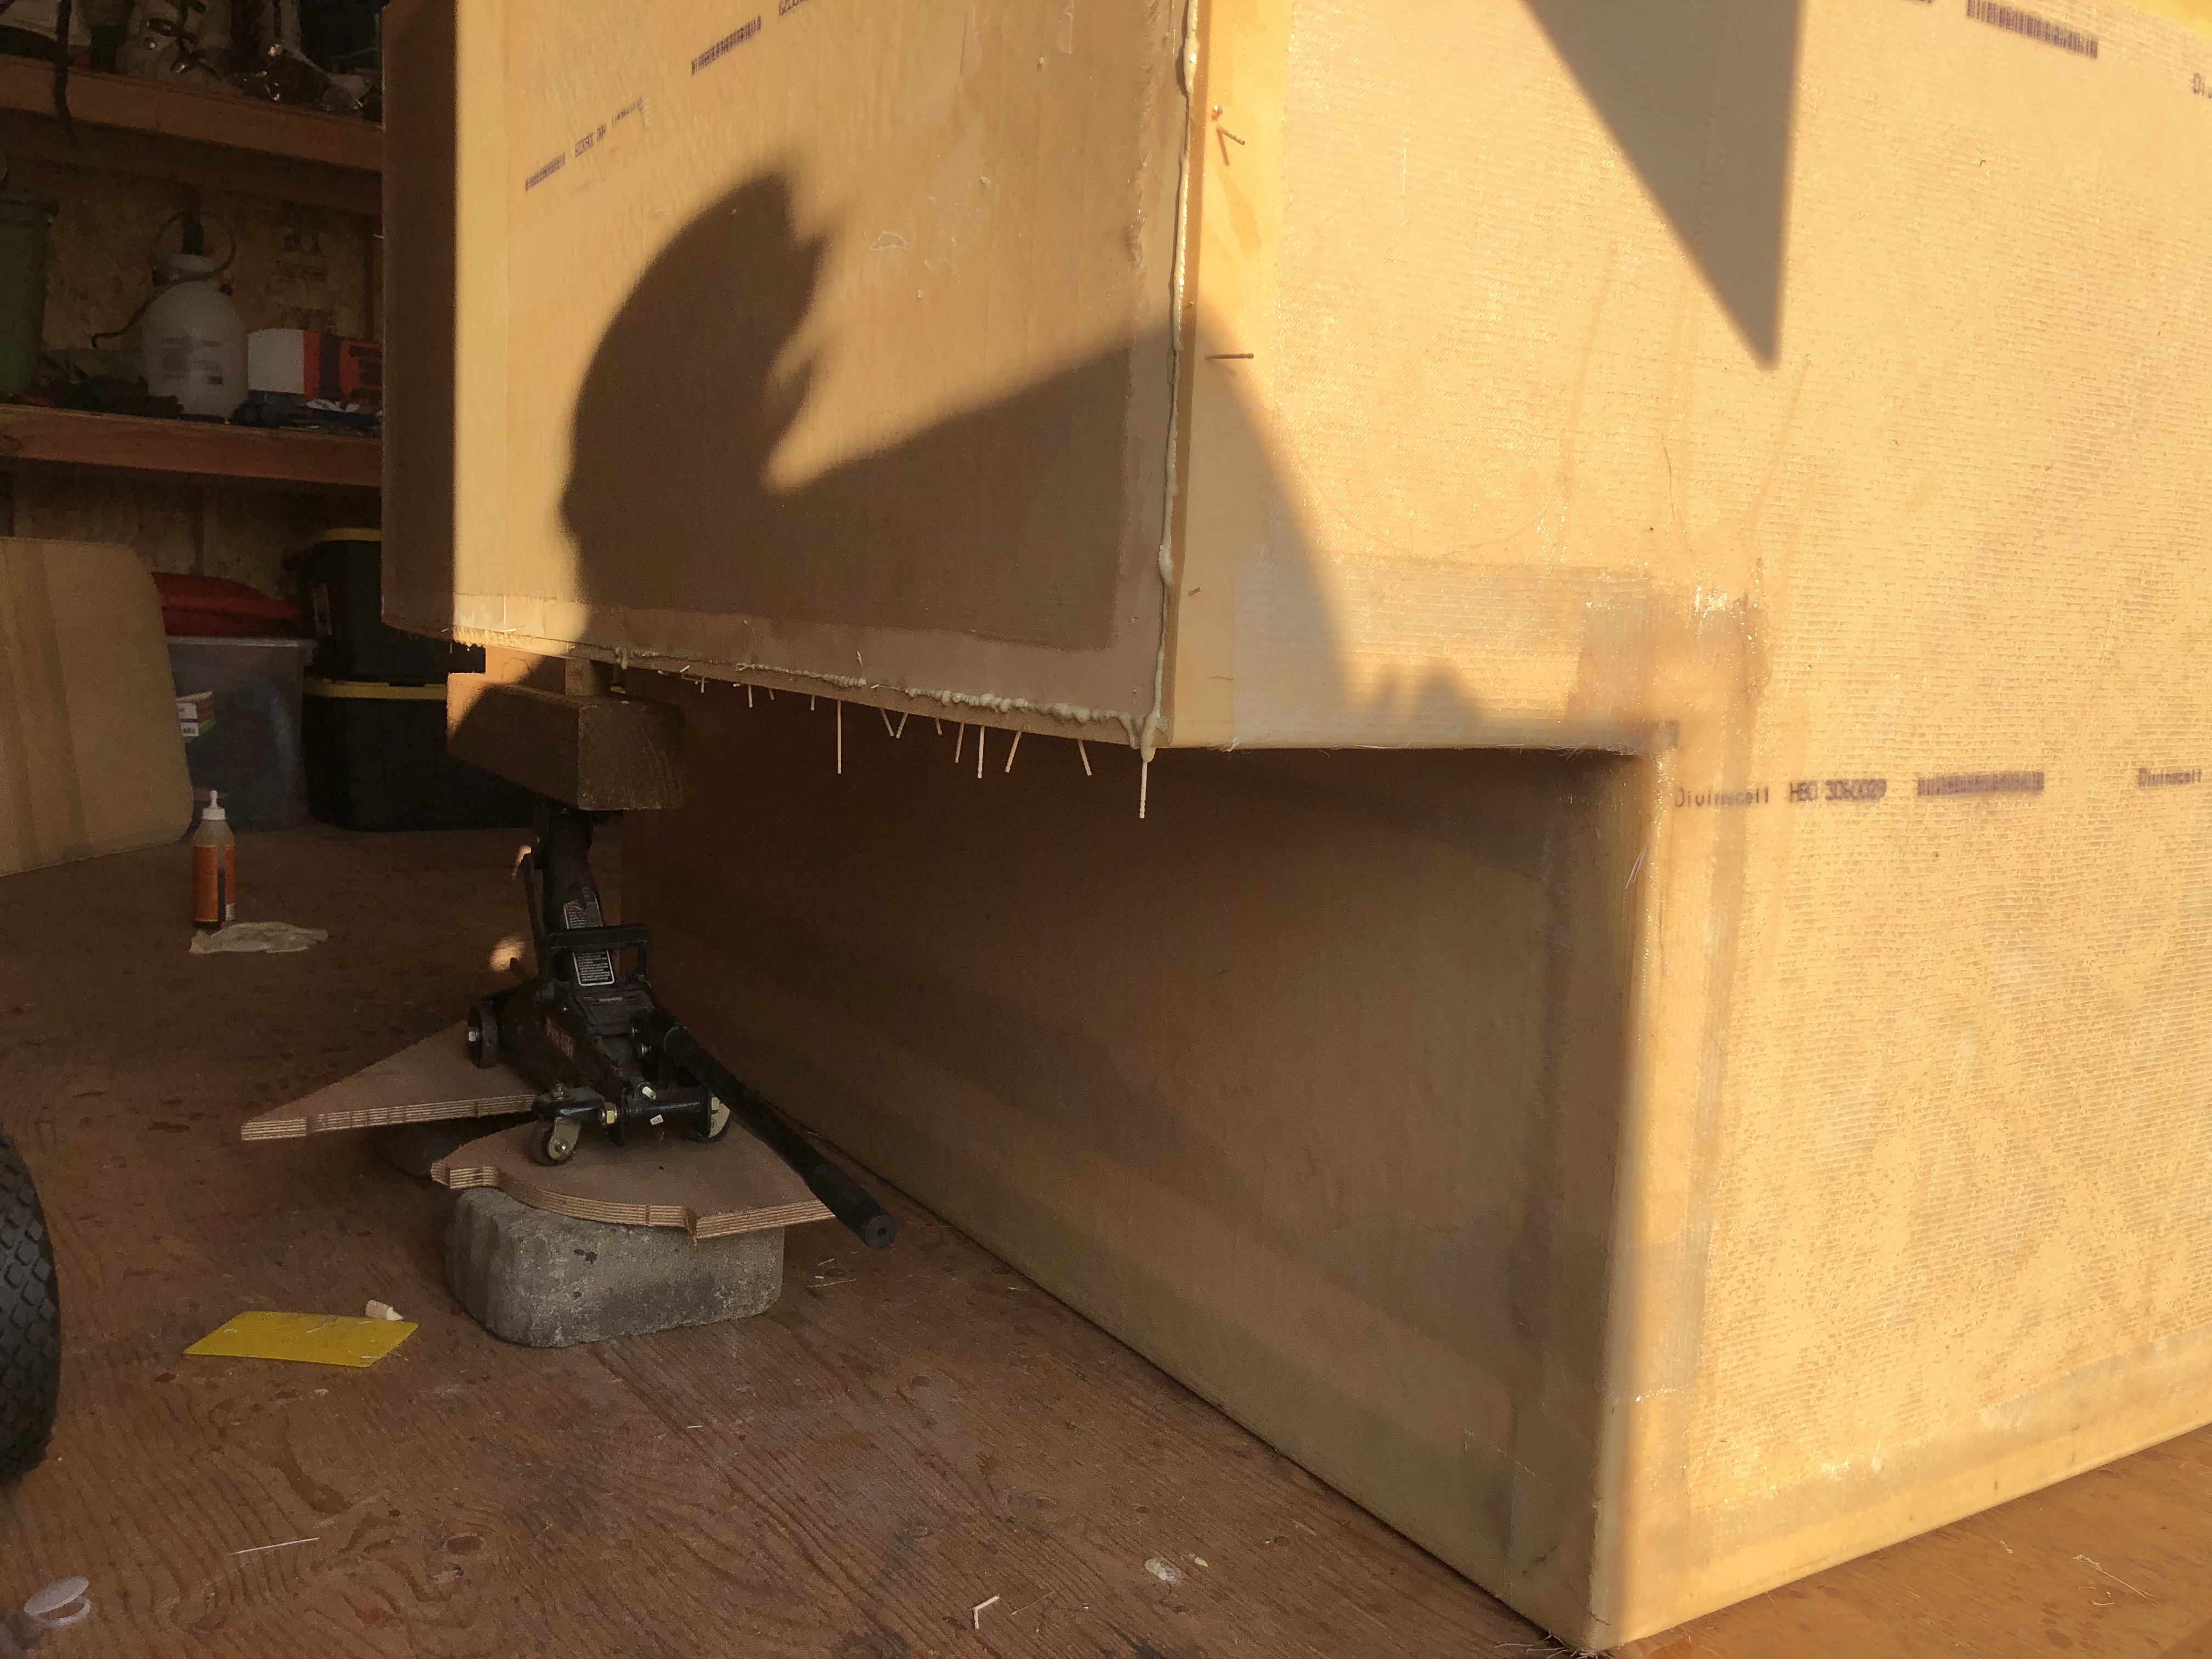
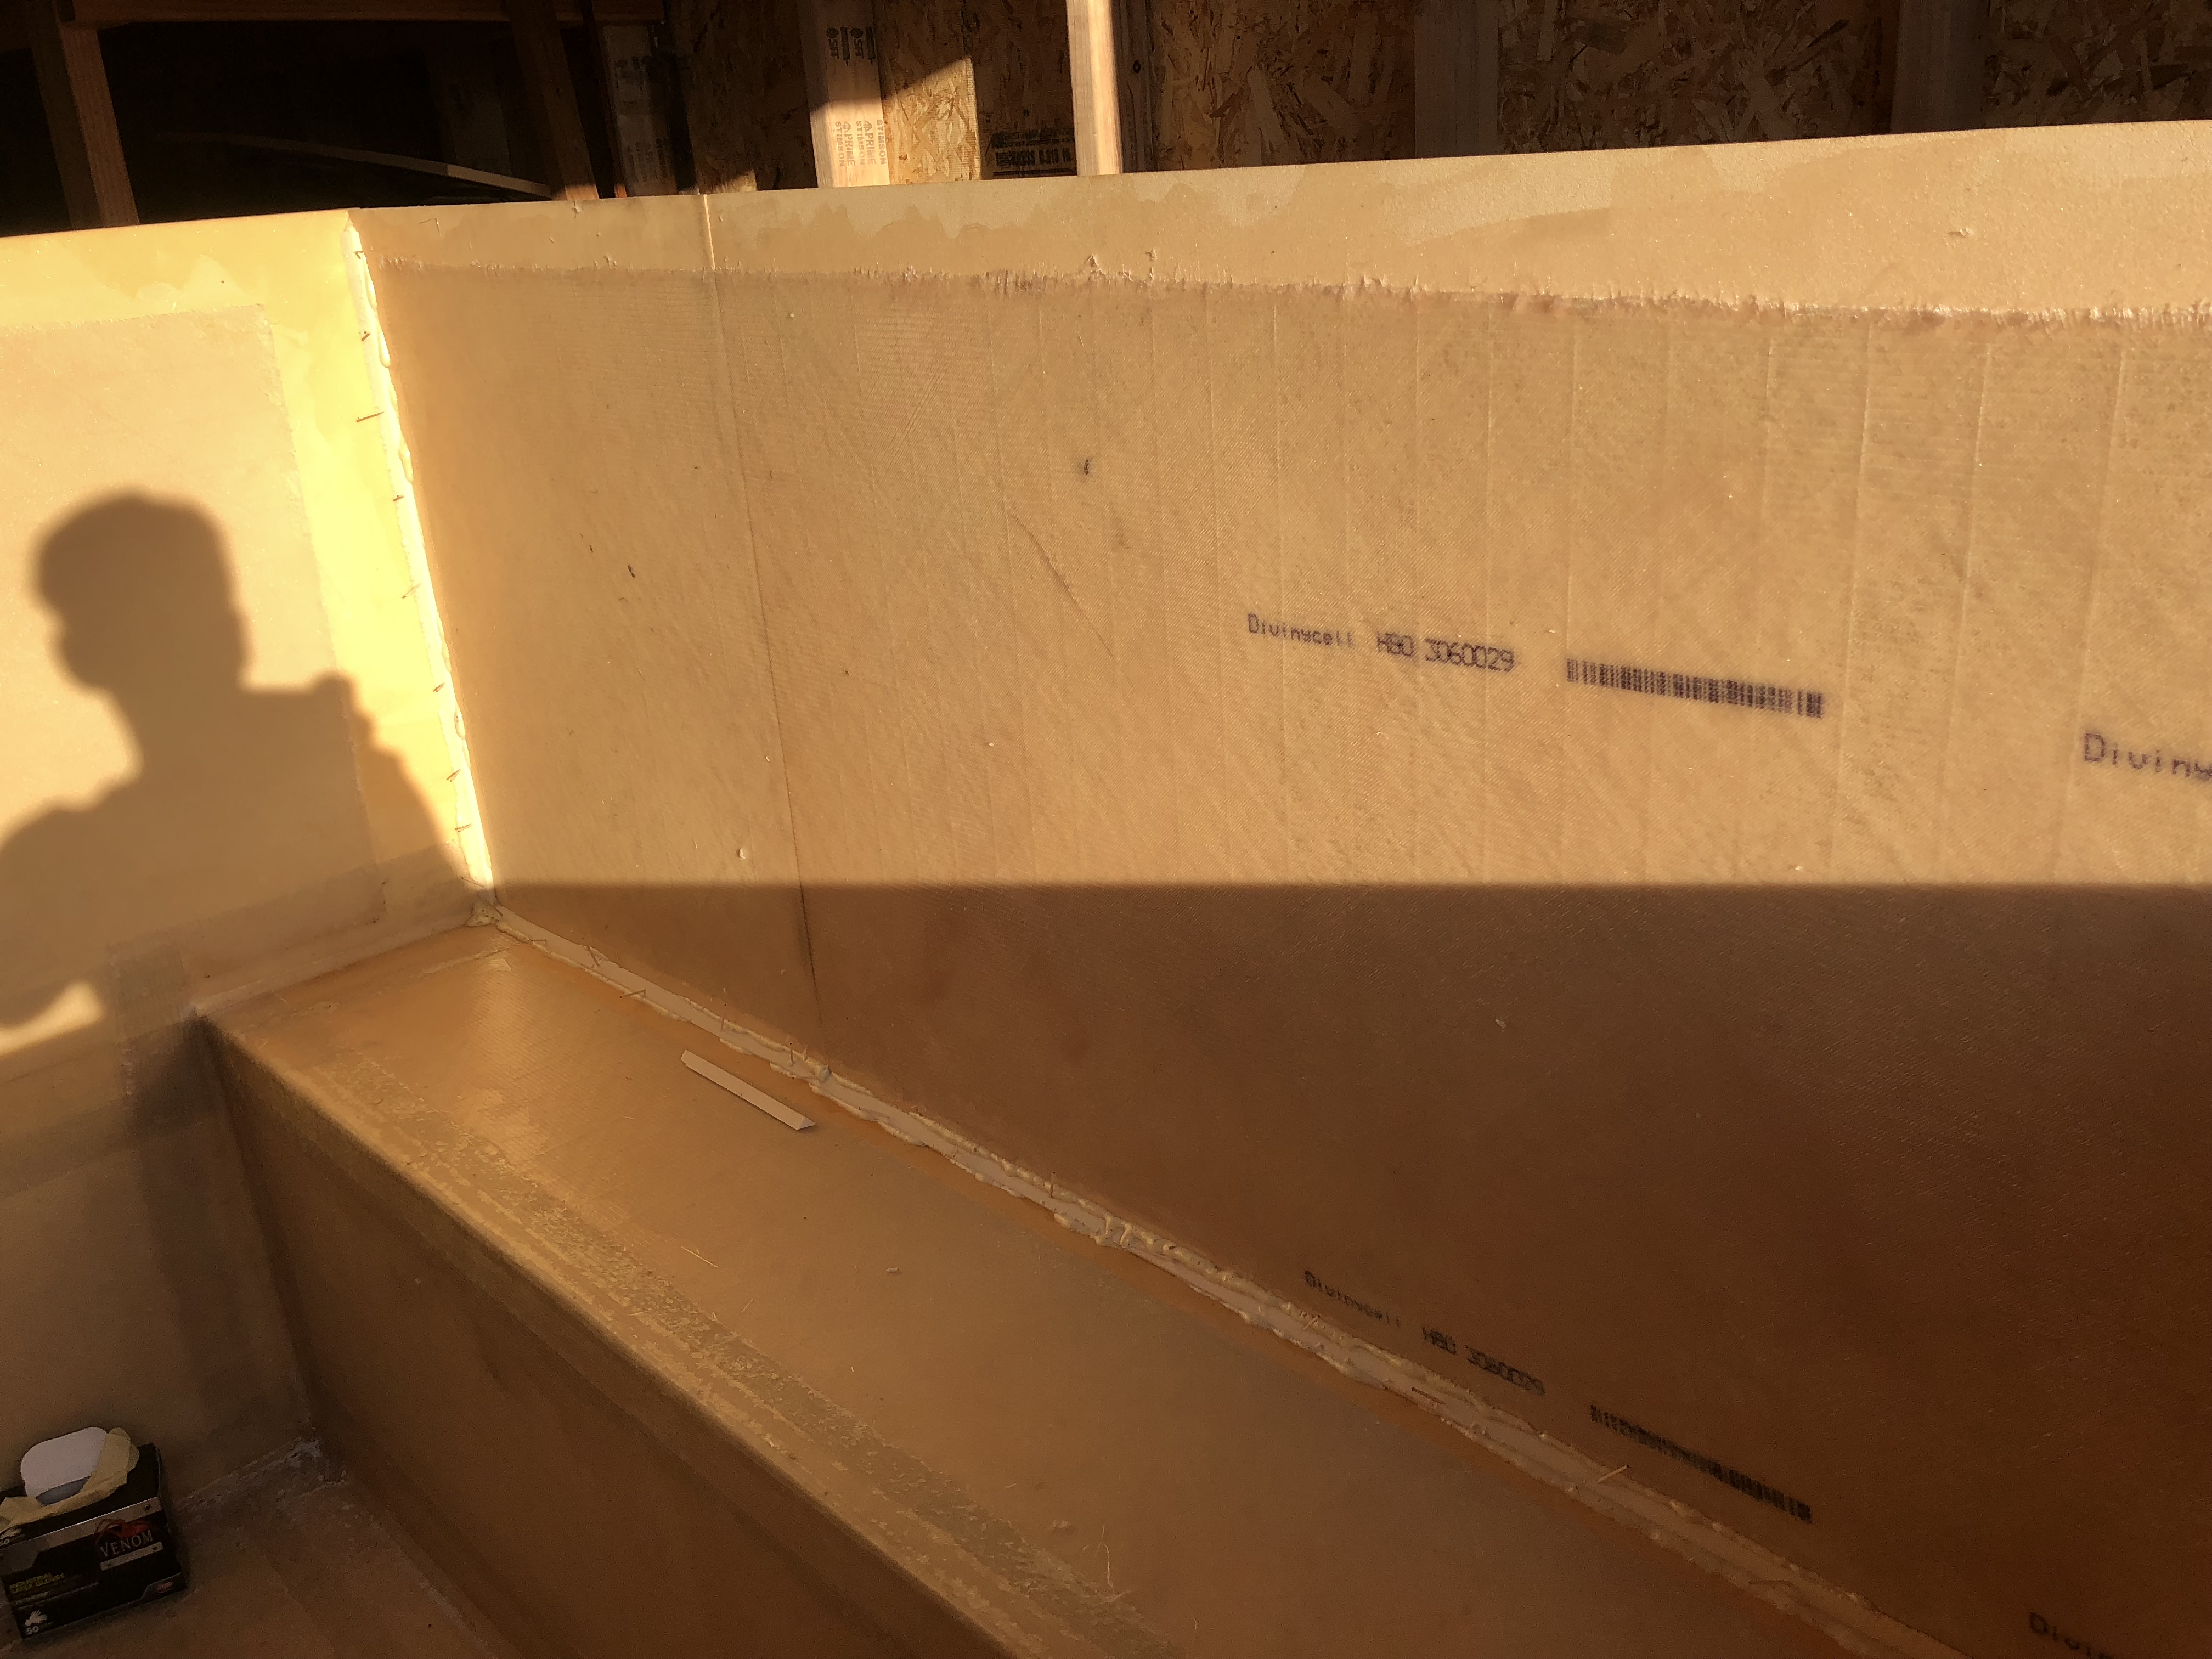
The corners definitely didn't wrap around all neat and pretty like I wanted and the vertical edges don't stay in place as much as I hoped they would. We got pockets of air at each corner and some other spots that didn't adhere quite right.
IMG_9500.jpg

IMG_9506.jpg

IMG_9508.jpg

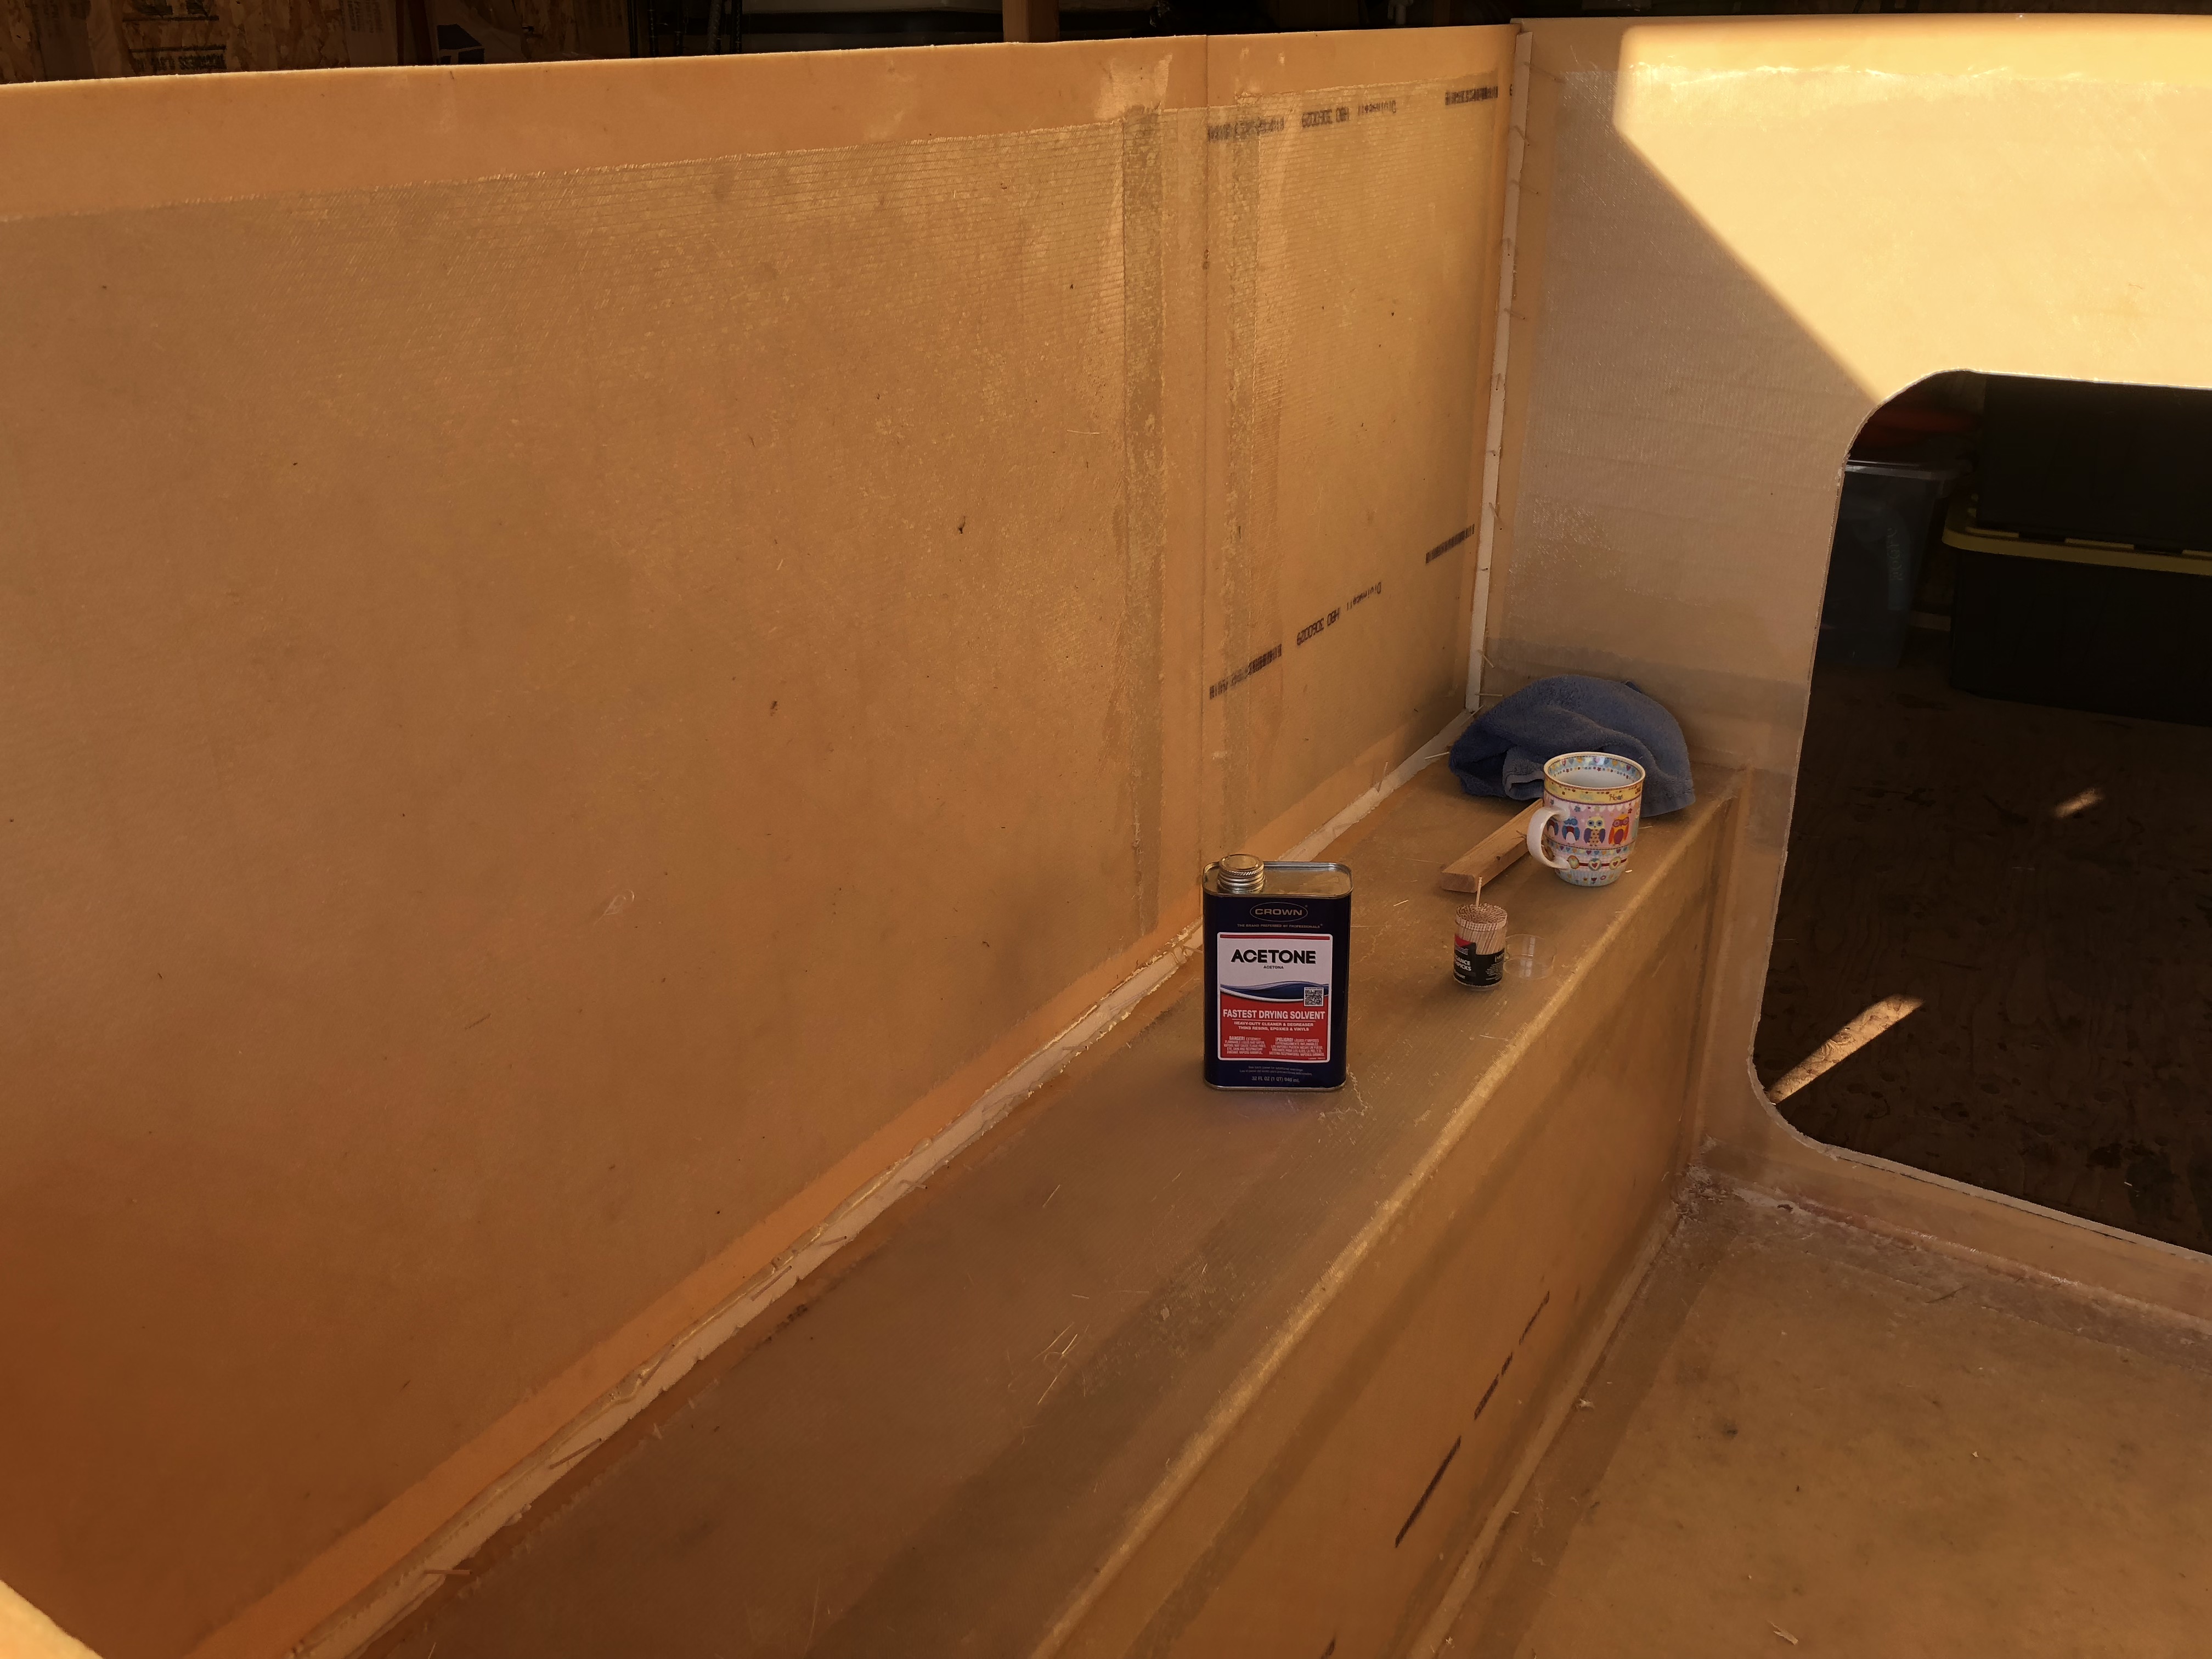
That was pretty disappointing, but we did the right thing and went ahead and cut out those air bubbles so we could fix the fiberglass correctly.
IMG_9510.jpg

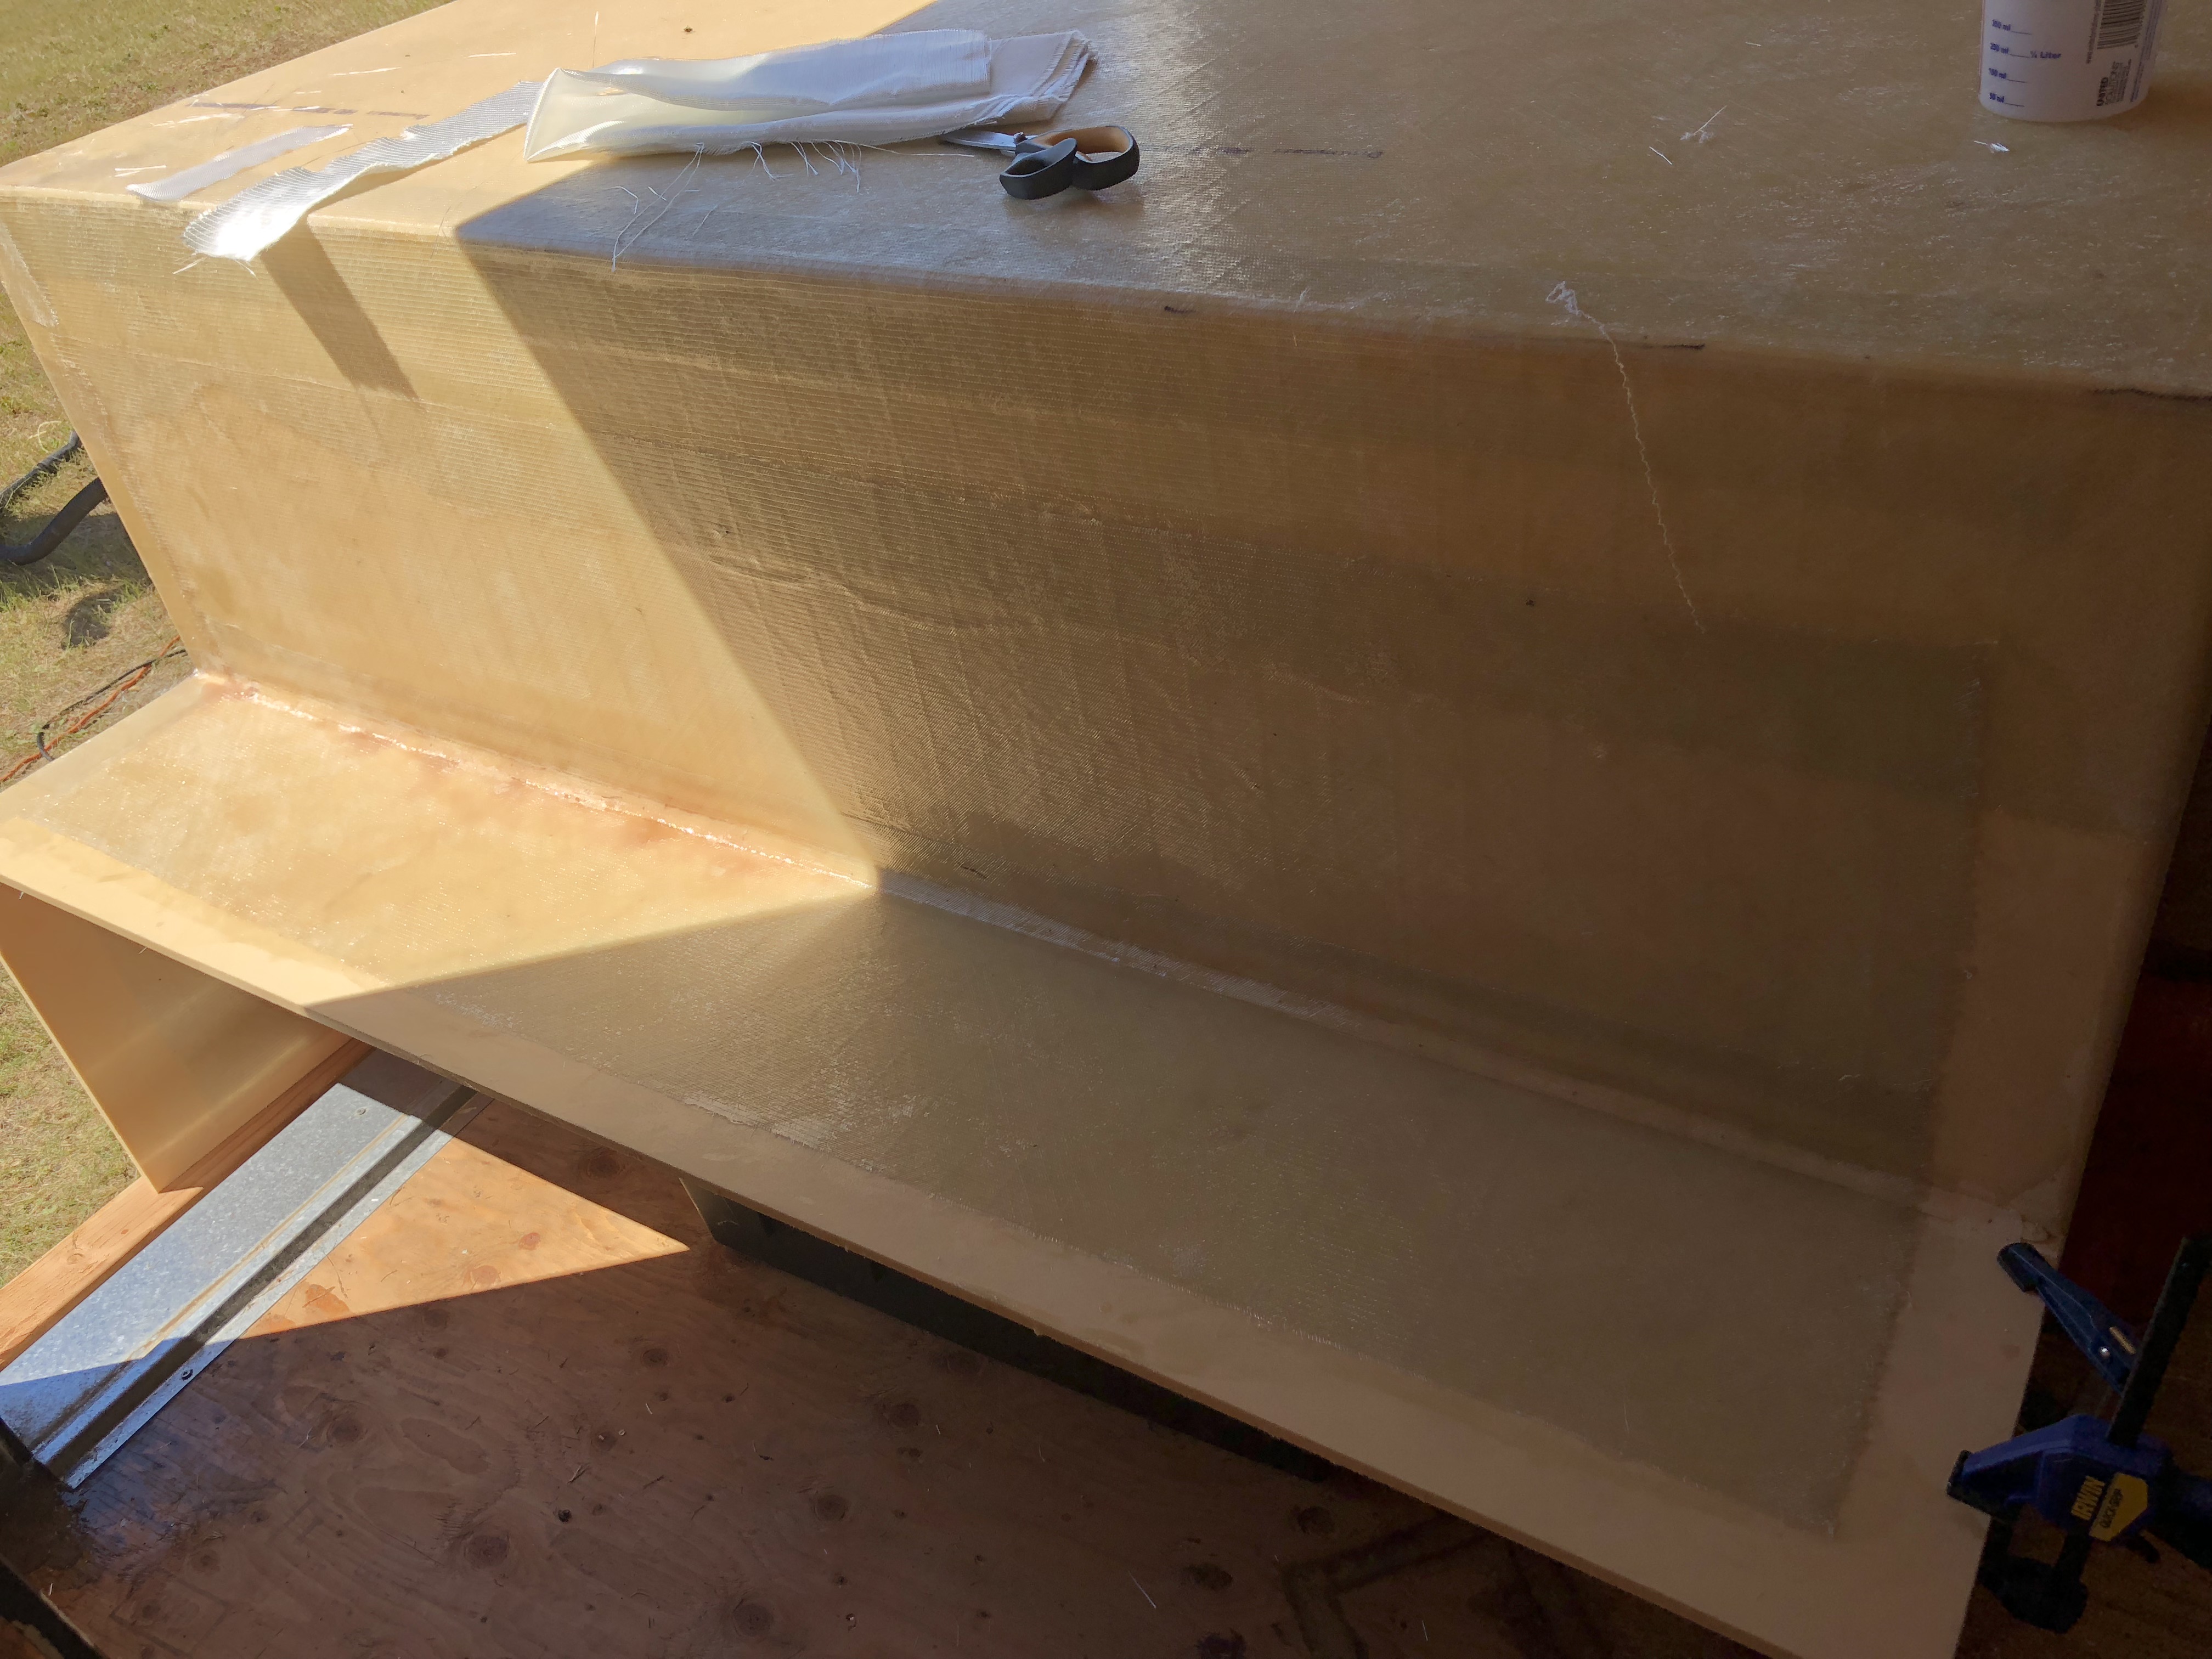
It didn't take too long before everything was fully set up and ready for more glass. Next up (in addition to some repairs) was the underside of each bedside piece. The goal was to get the complete bottom of the tub finished today.
IMG_9513.jpg

IMG_9512.jpg

IMG_9514.jpg

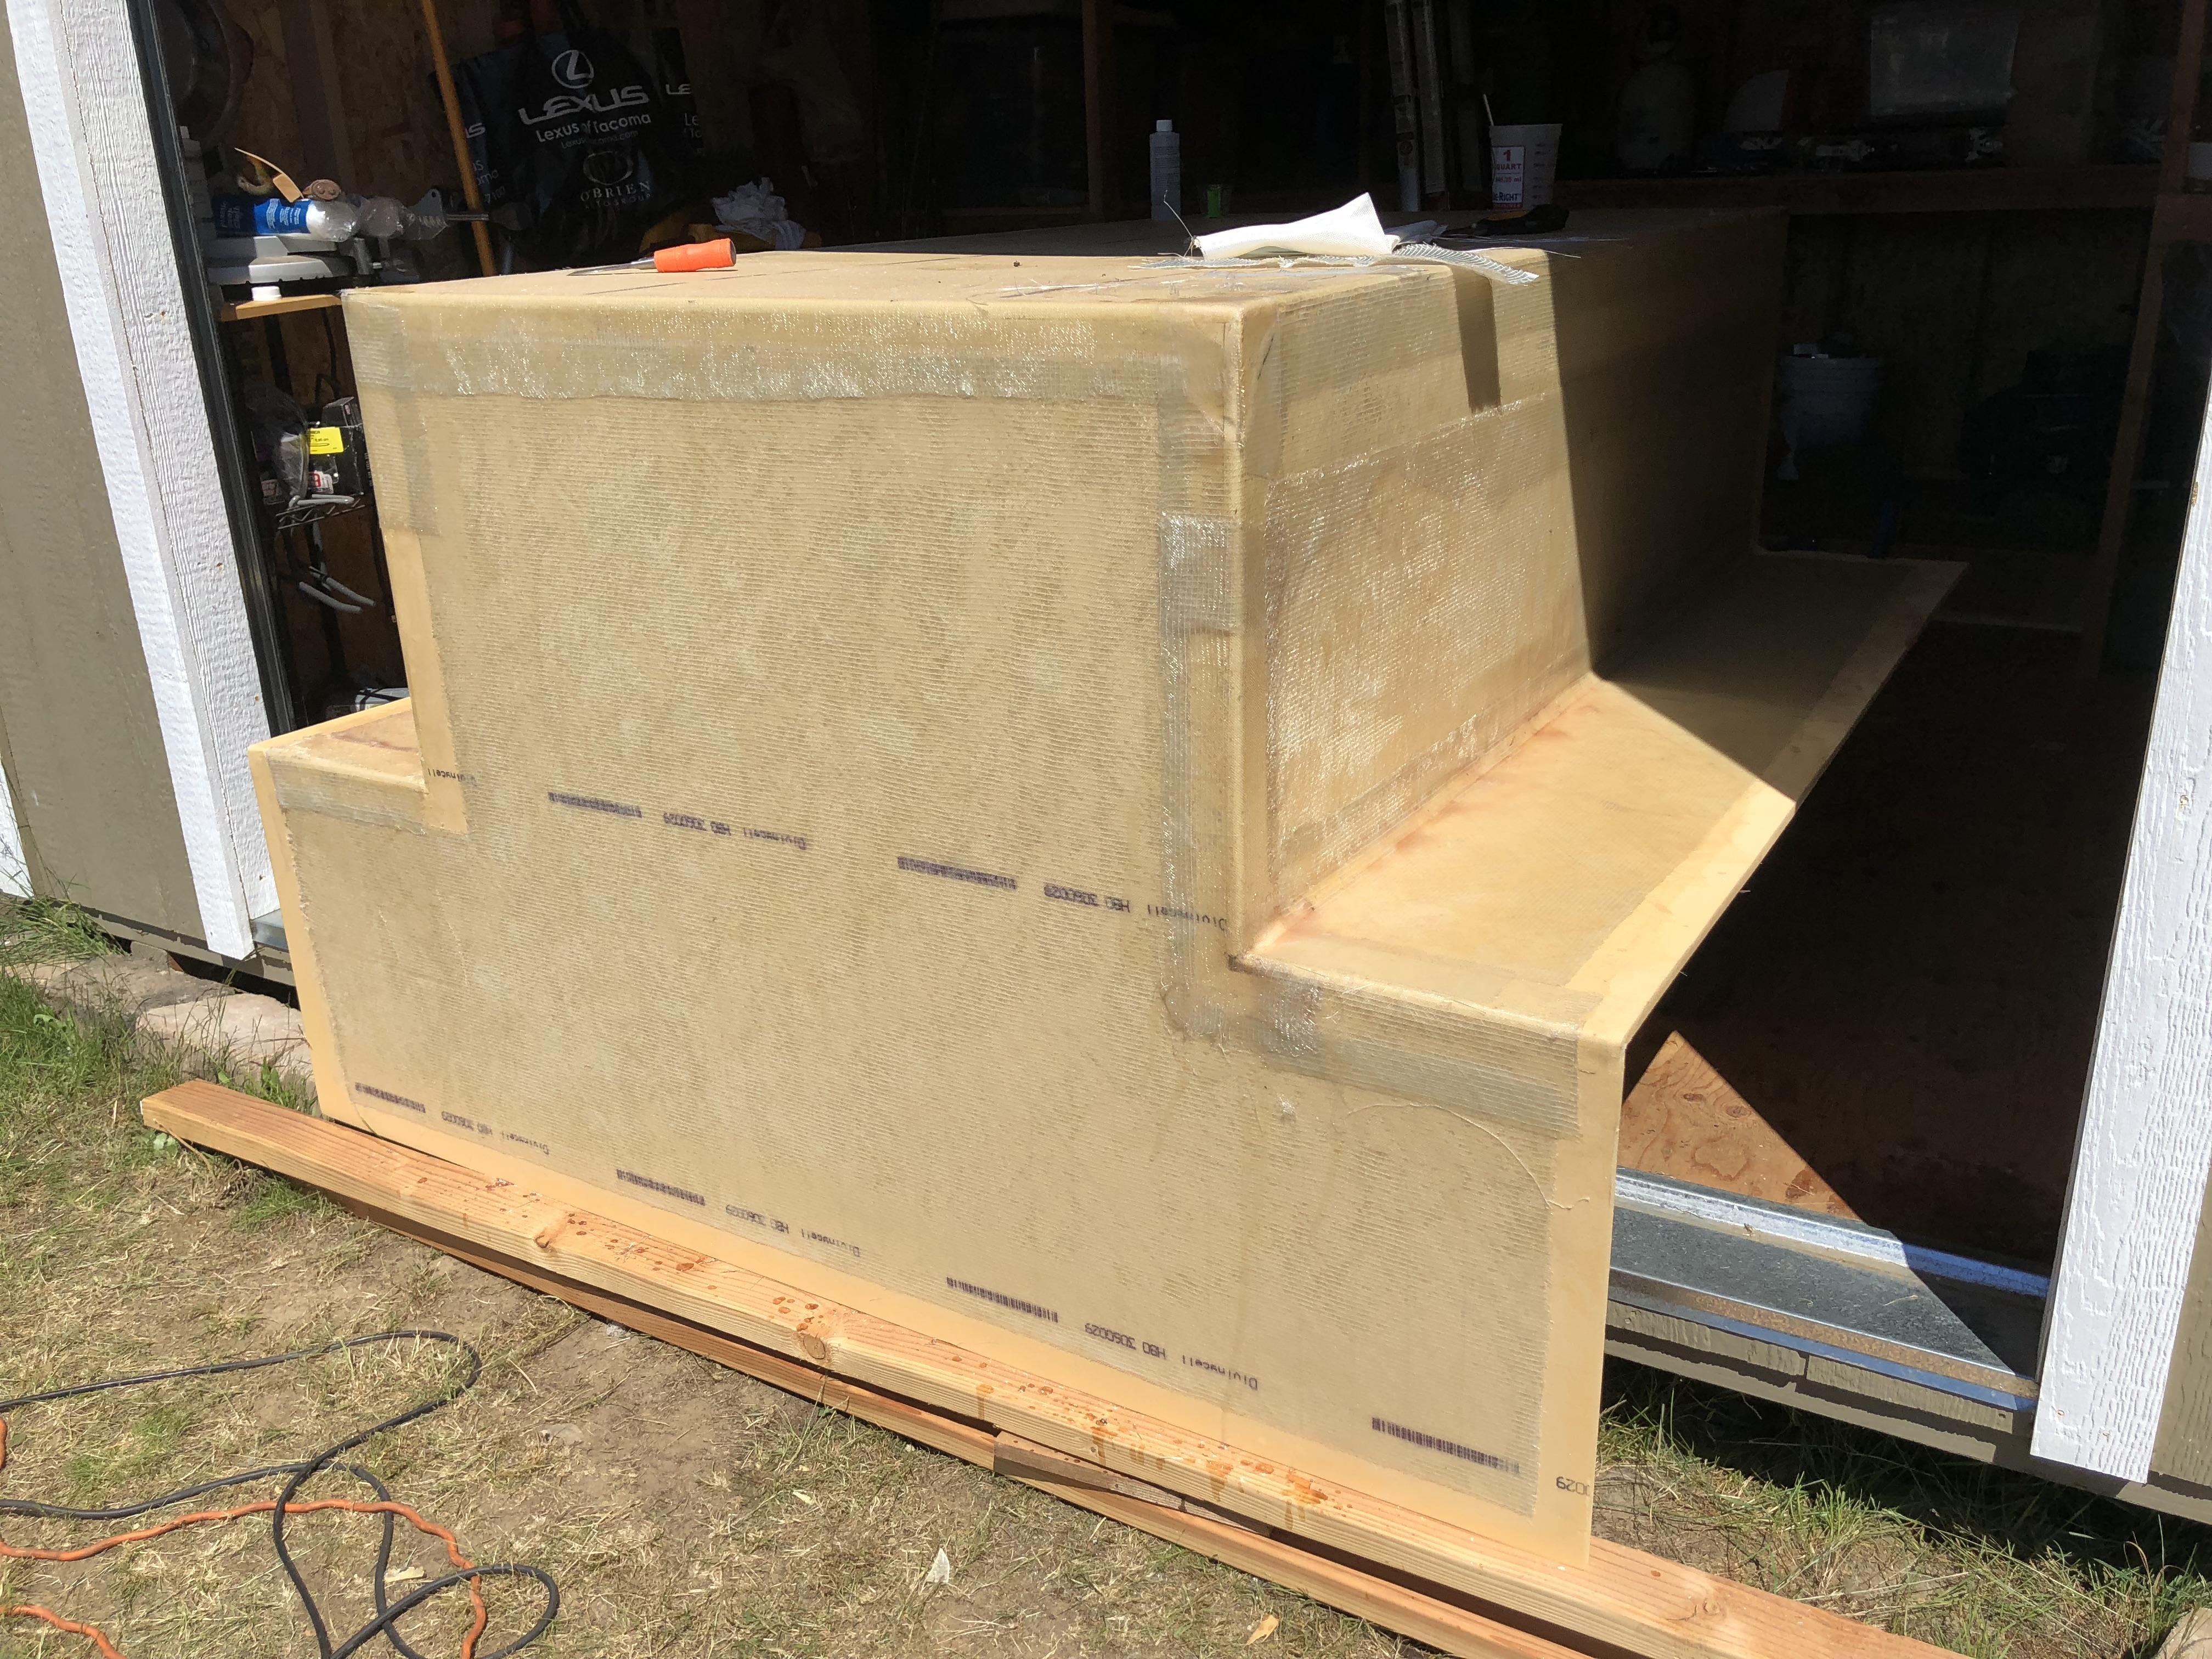
Well there it is! Those vertical pieces are a pain in the ass to soak with resin and roll into place. We started with the horizontal face and got that fully soaked in and rolled and then folded the vertical sheet over on top of it, poured resin on and spread it out as much as possible and then folded it back up to roll onto the foam. At this point the camper is starting to be an actual large bulky item and it now requires two people to move around. Glad I got the fullsize roll up door on the shed!
 

underkill

Active member
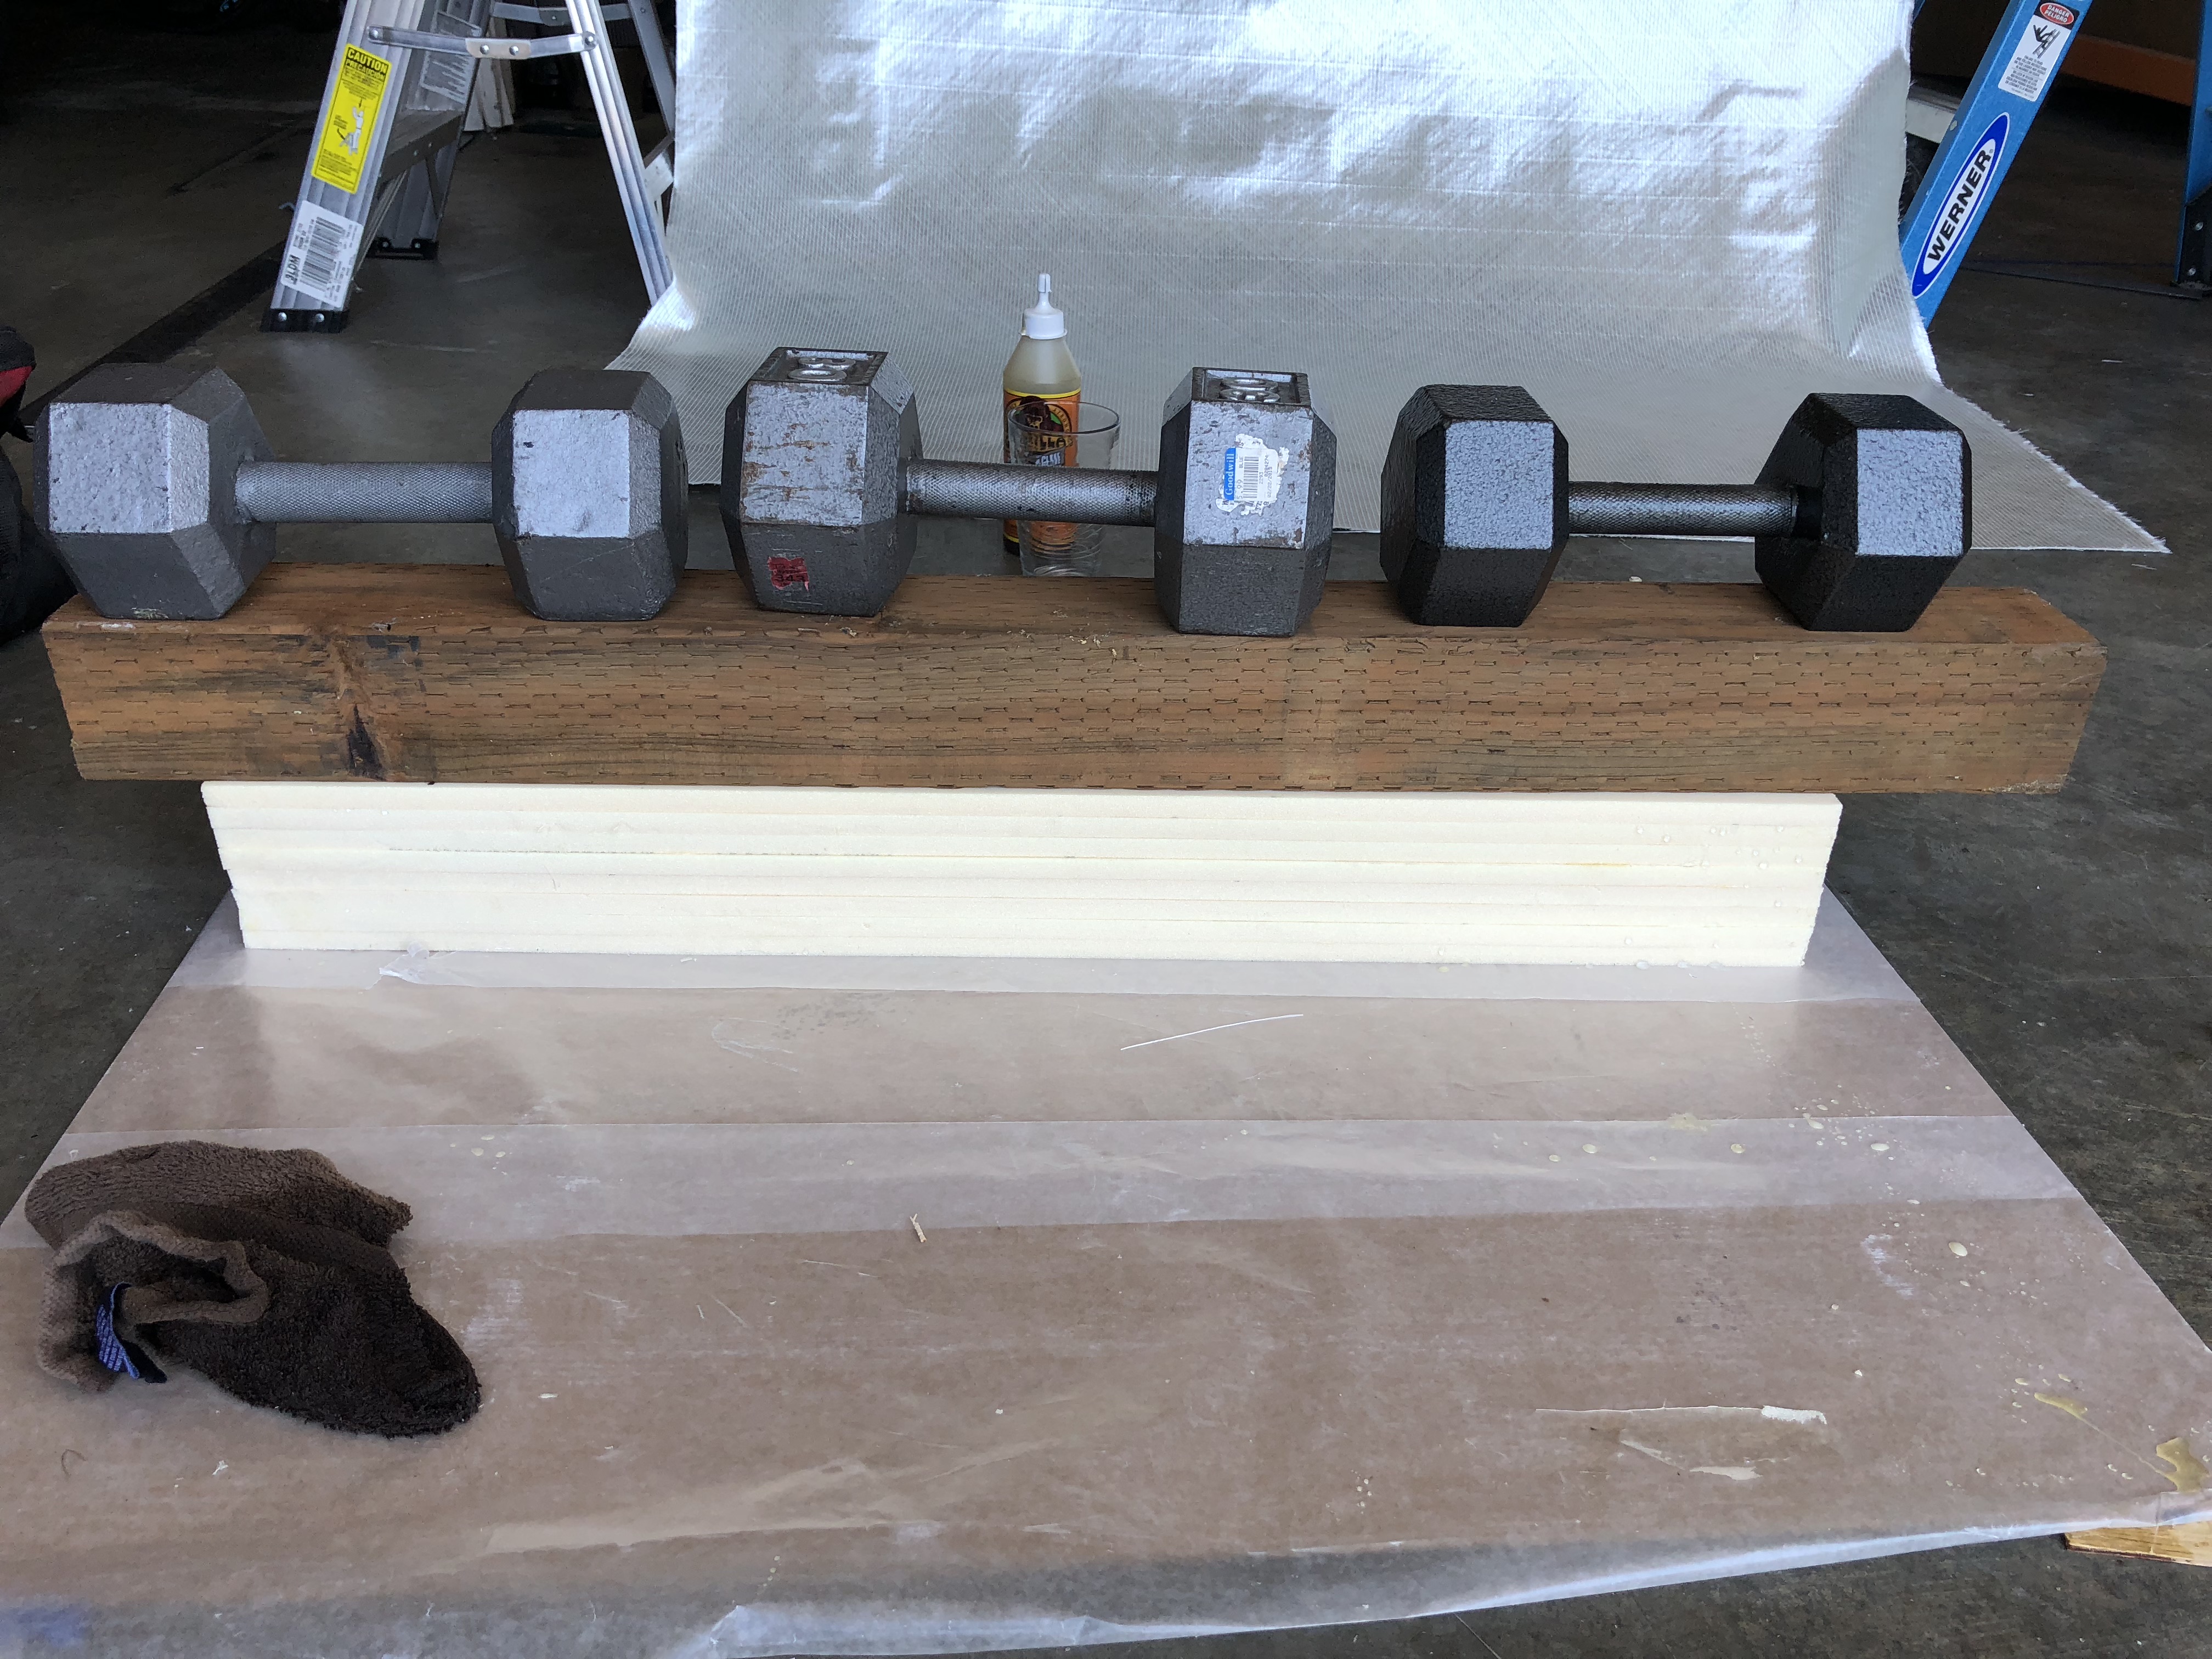
We've gone about as far as we can right now with the main part of the tub so it's time to start working on the sides and the actual cabover part. We thought about the joint between the shell and the cabover for a while because that will see a lot of stress while we're laying in it. The final decision was to laminate a beam out of pieces of foam. The beam will end up being a 4" radius.
IMG_9504.jpg

Looks like today is gonna be leg day since I used all my weights in the garage!
IMG_9505.jpg

We decided to do the main cabover sides as one piece so there wouldn't be a joint in the foam right where the main stress is going to be. They're forever known as the "oklahoma" pieces since that's what they ended up looking like.
IMG_9515.jpg

Another test fit just to see how cool it looks
IMG_9522.jpg

IMG_9523.jpg

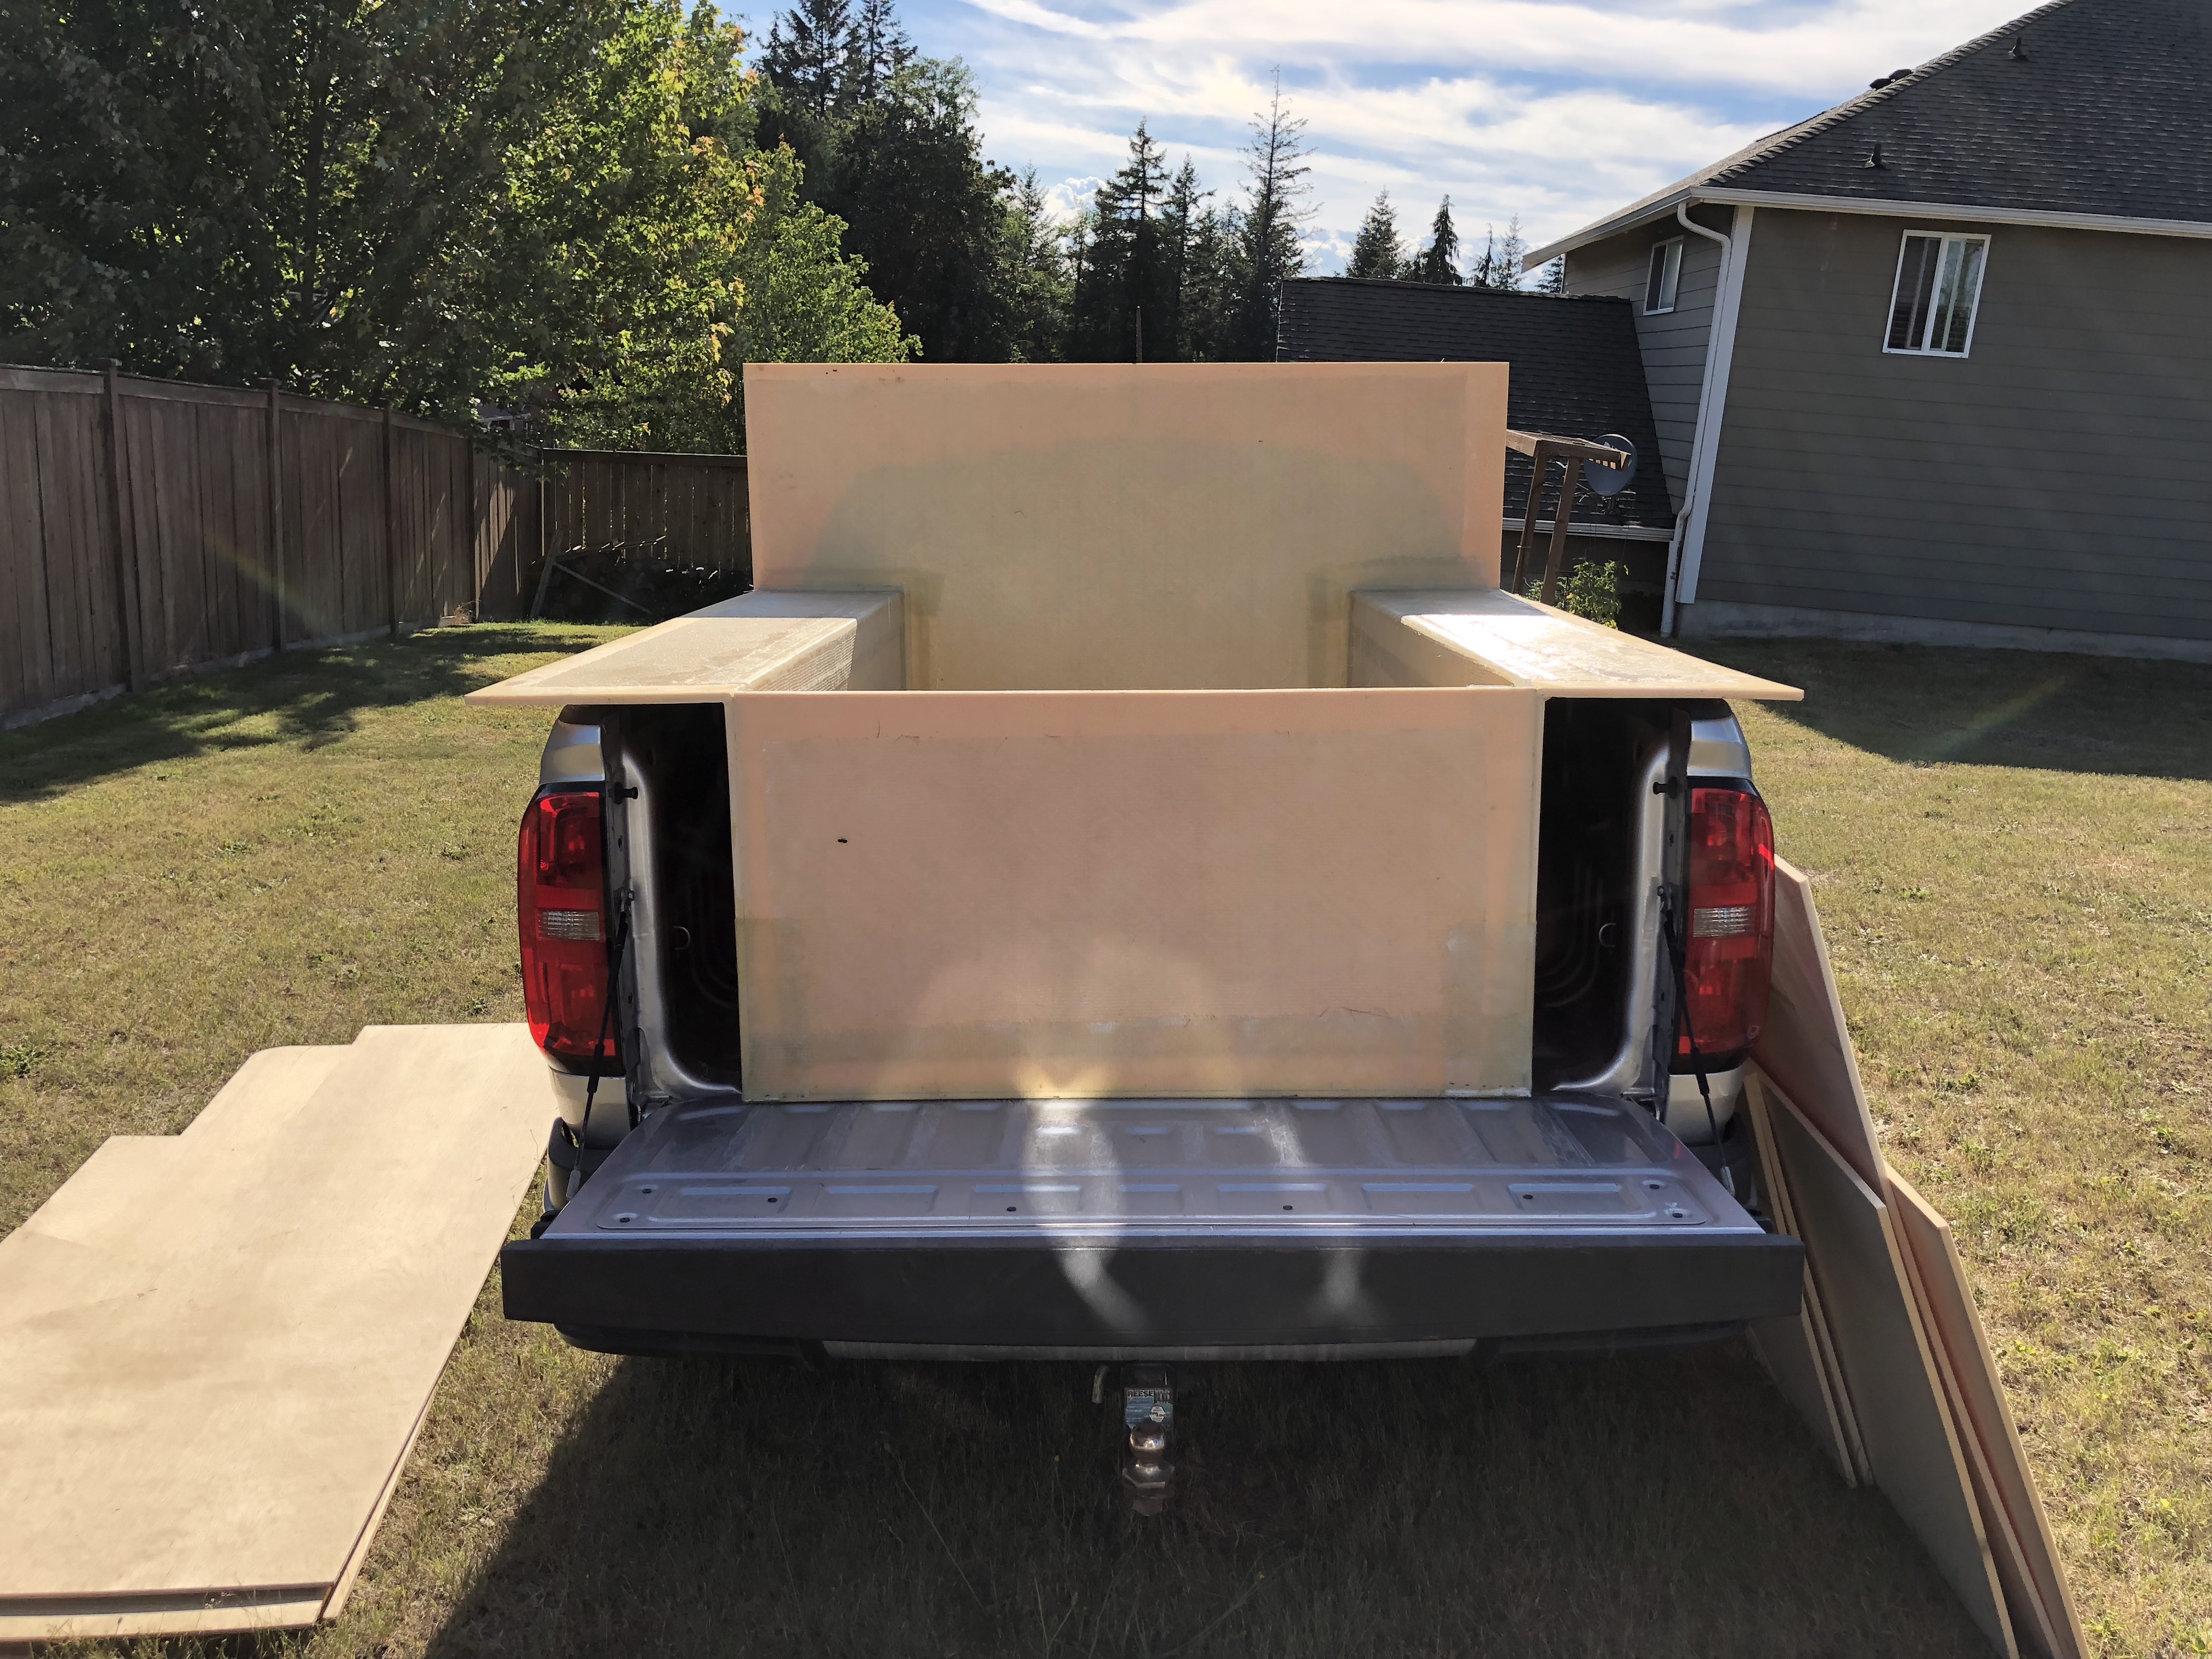
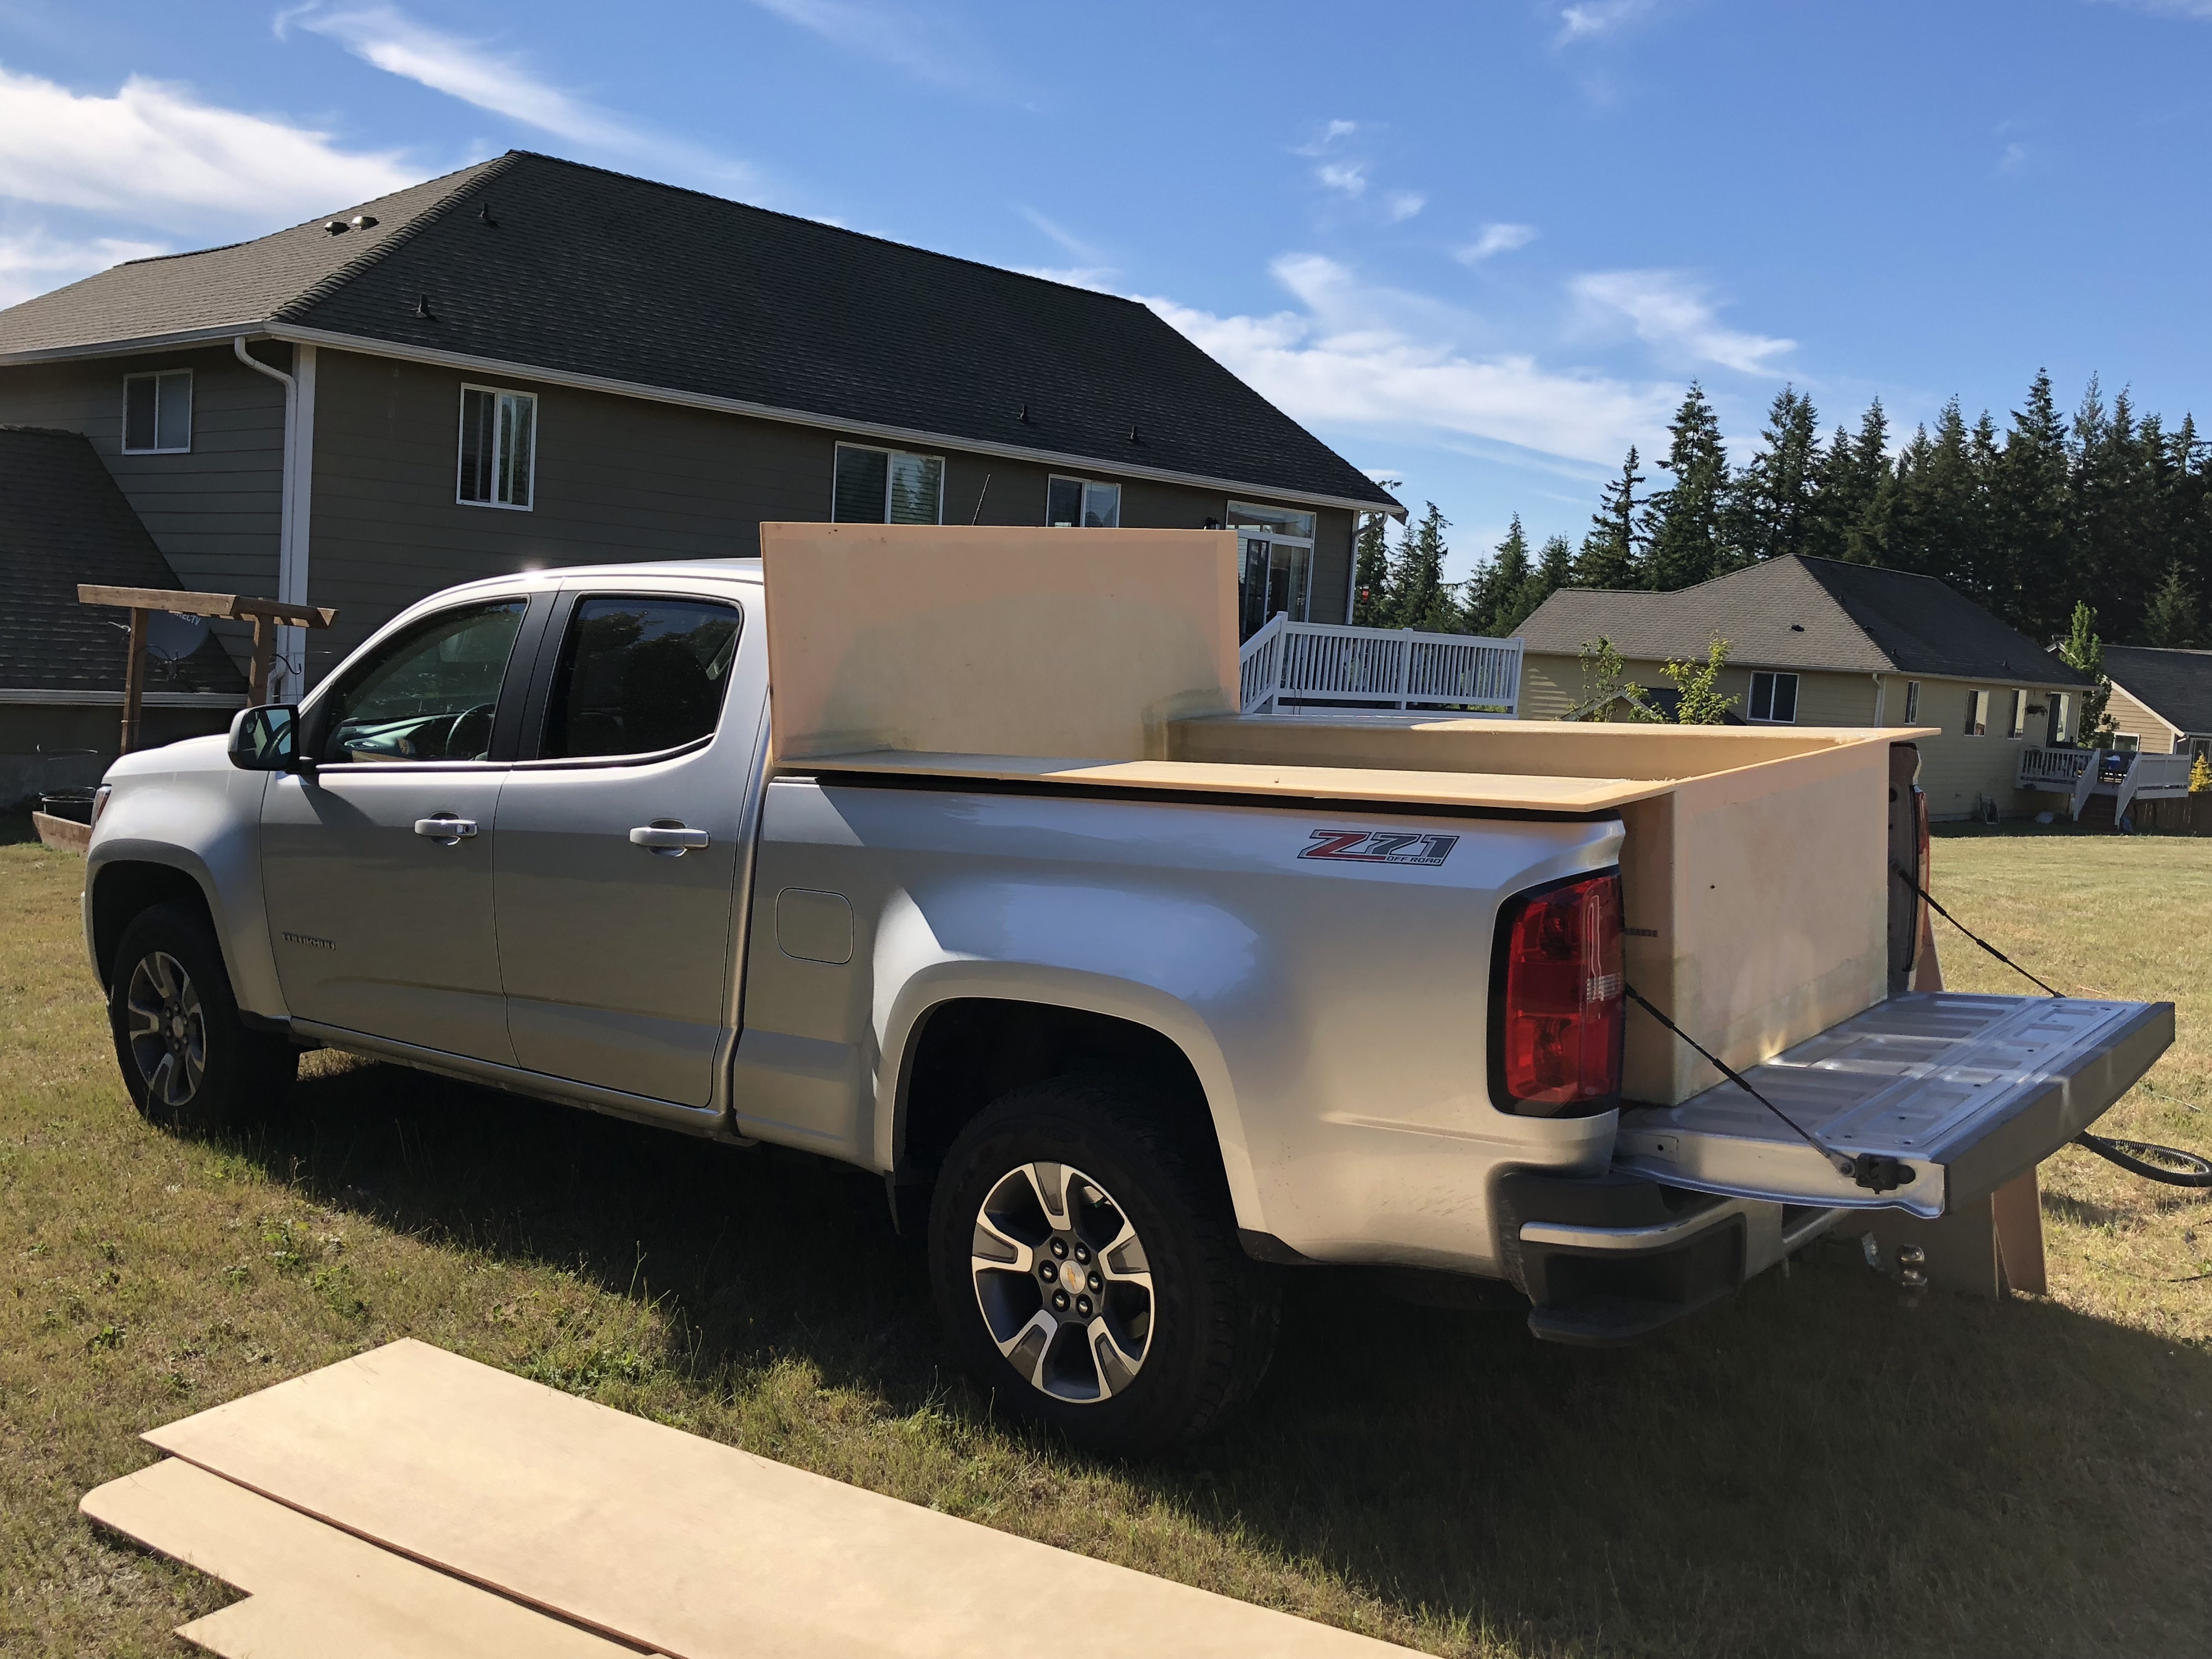
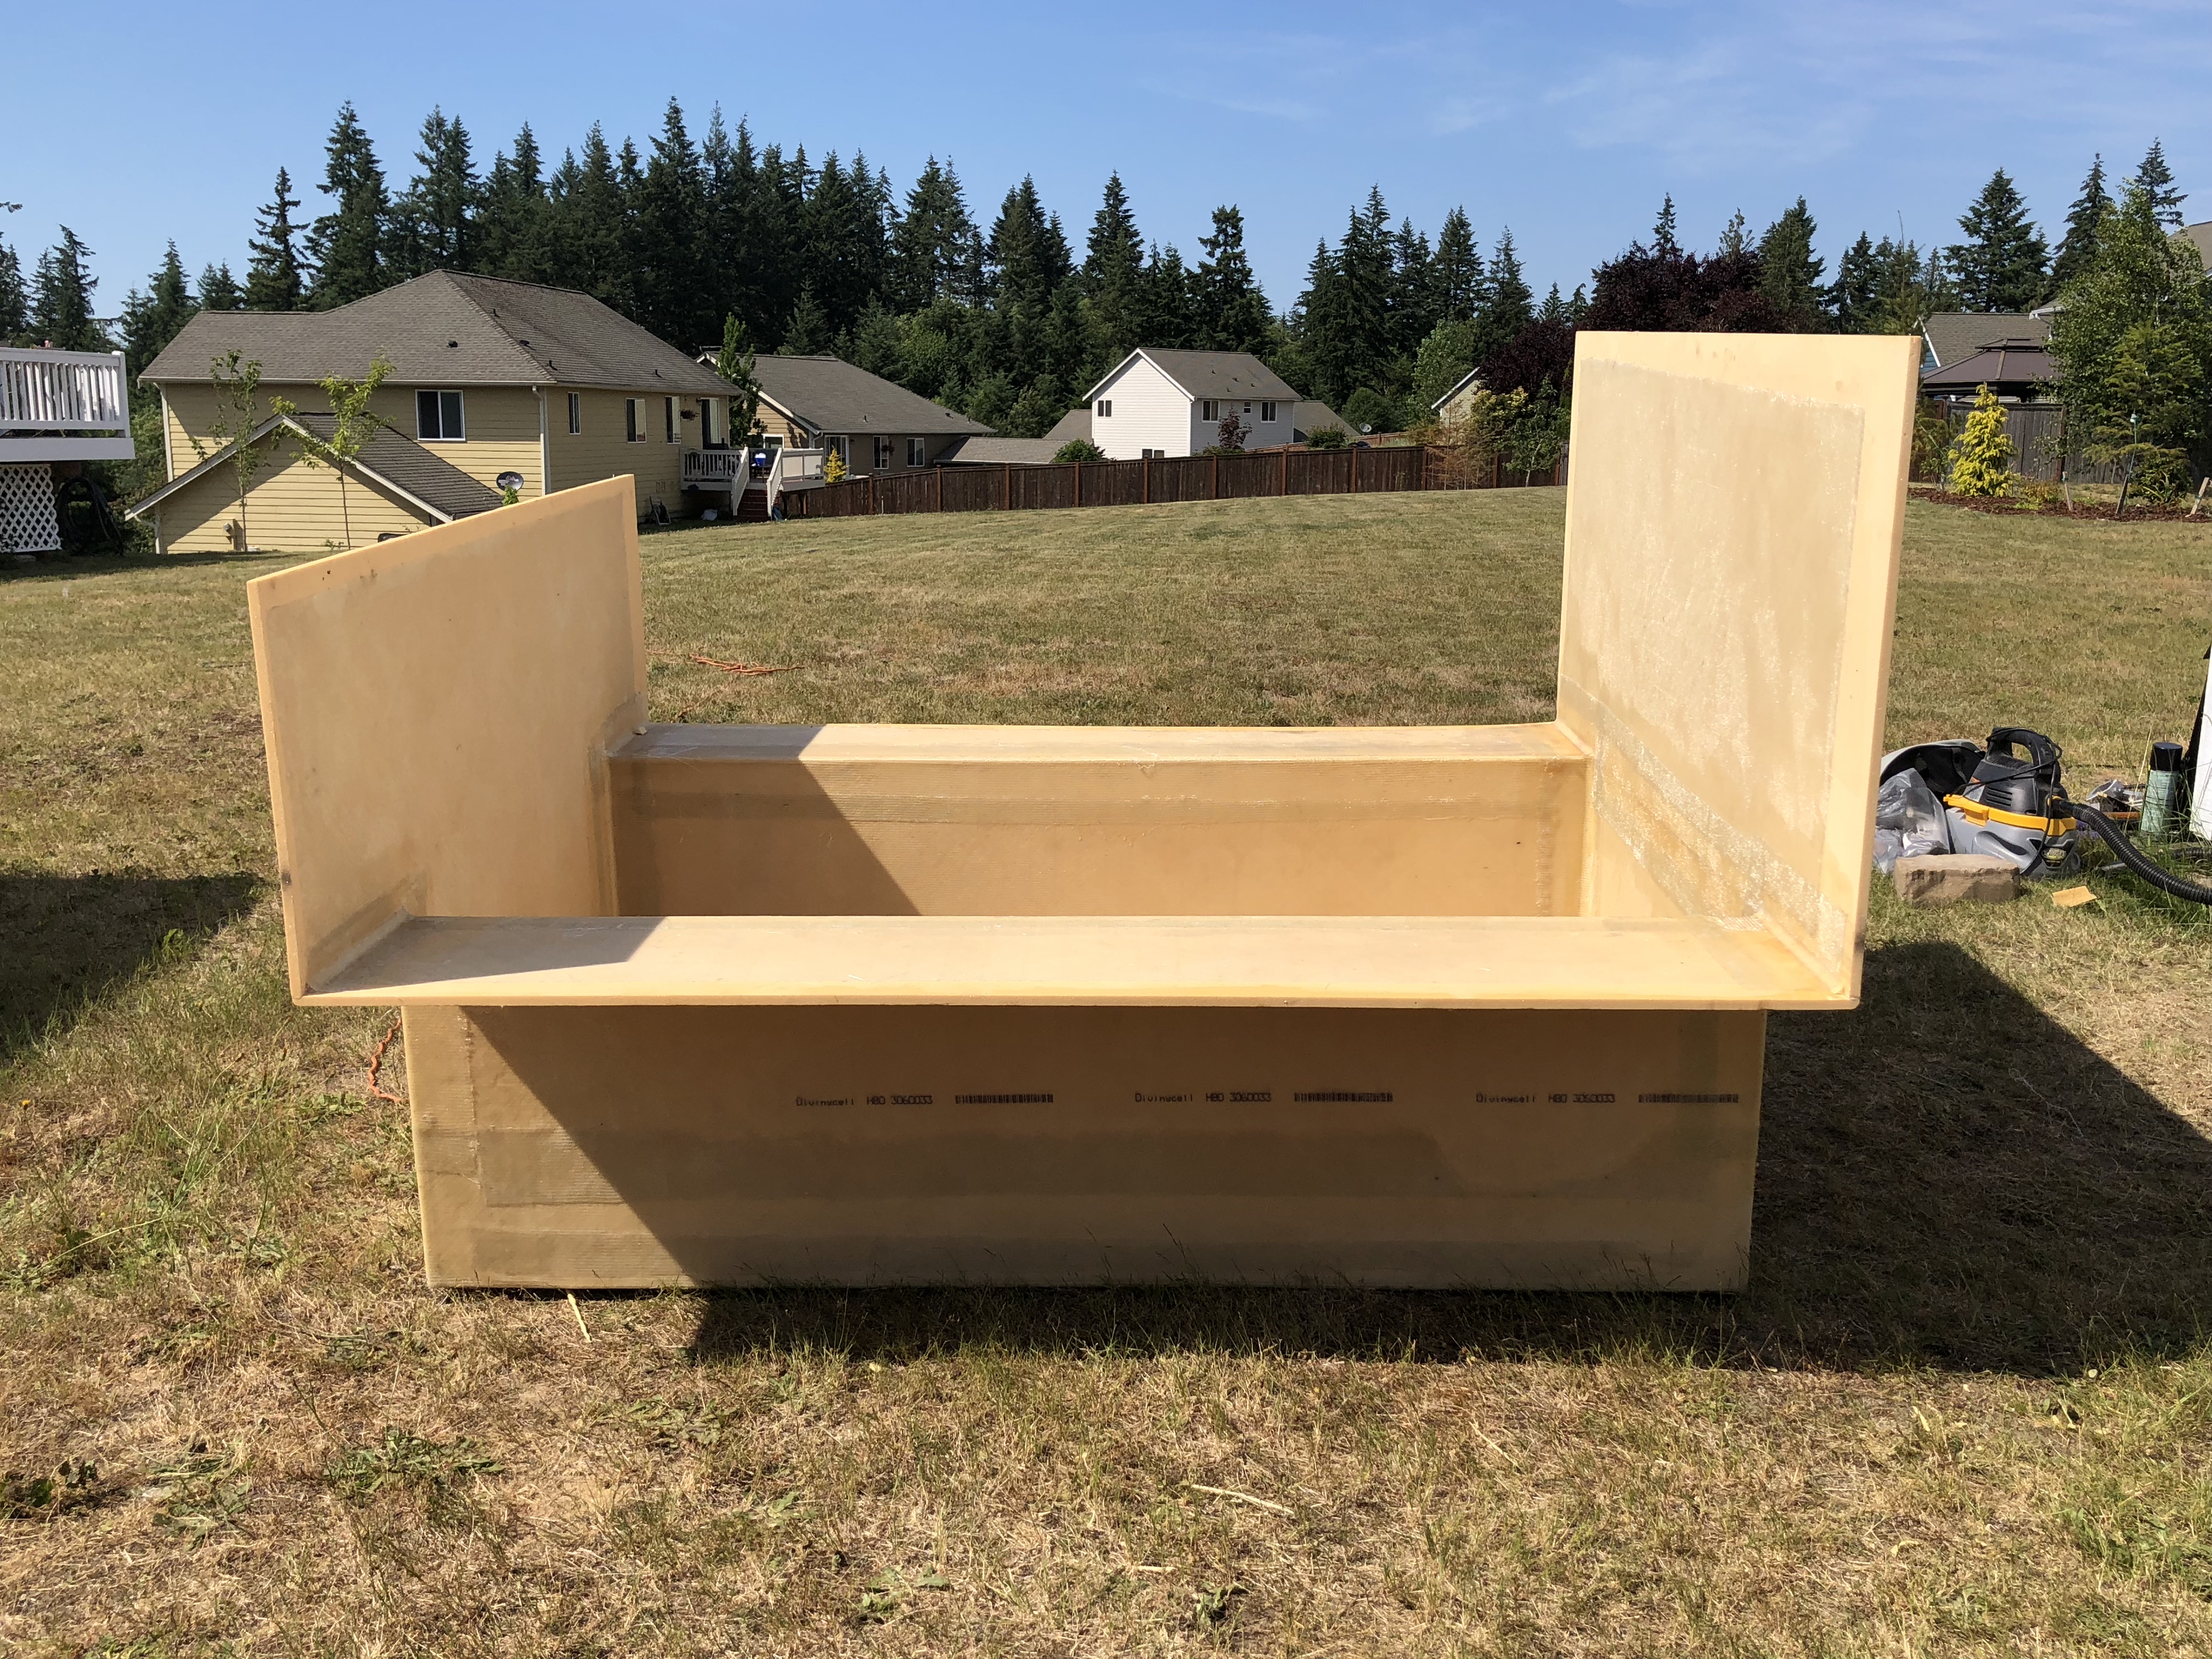
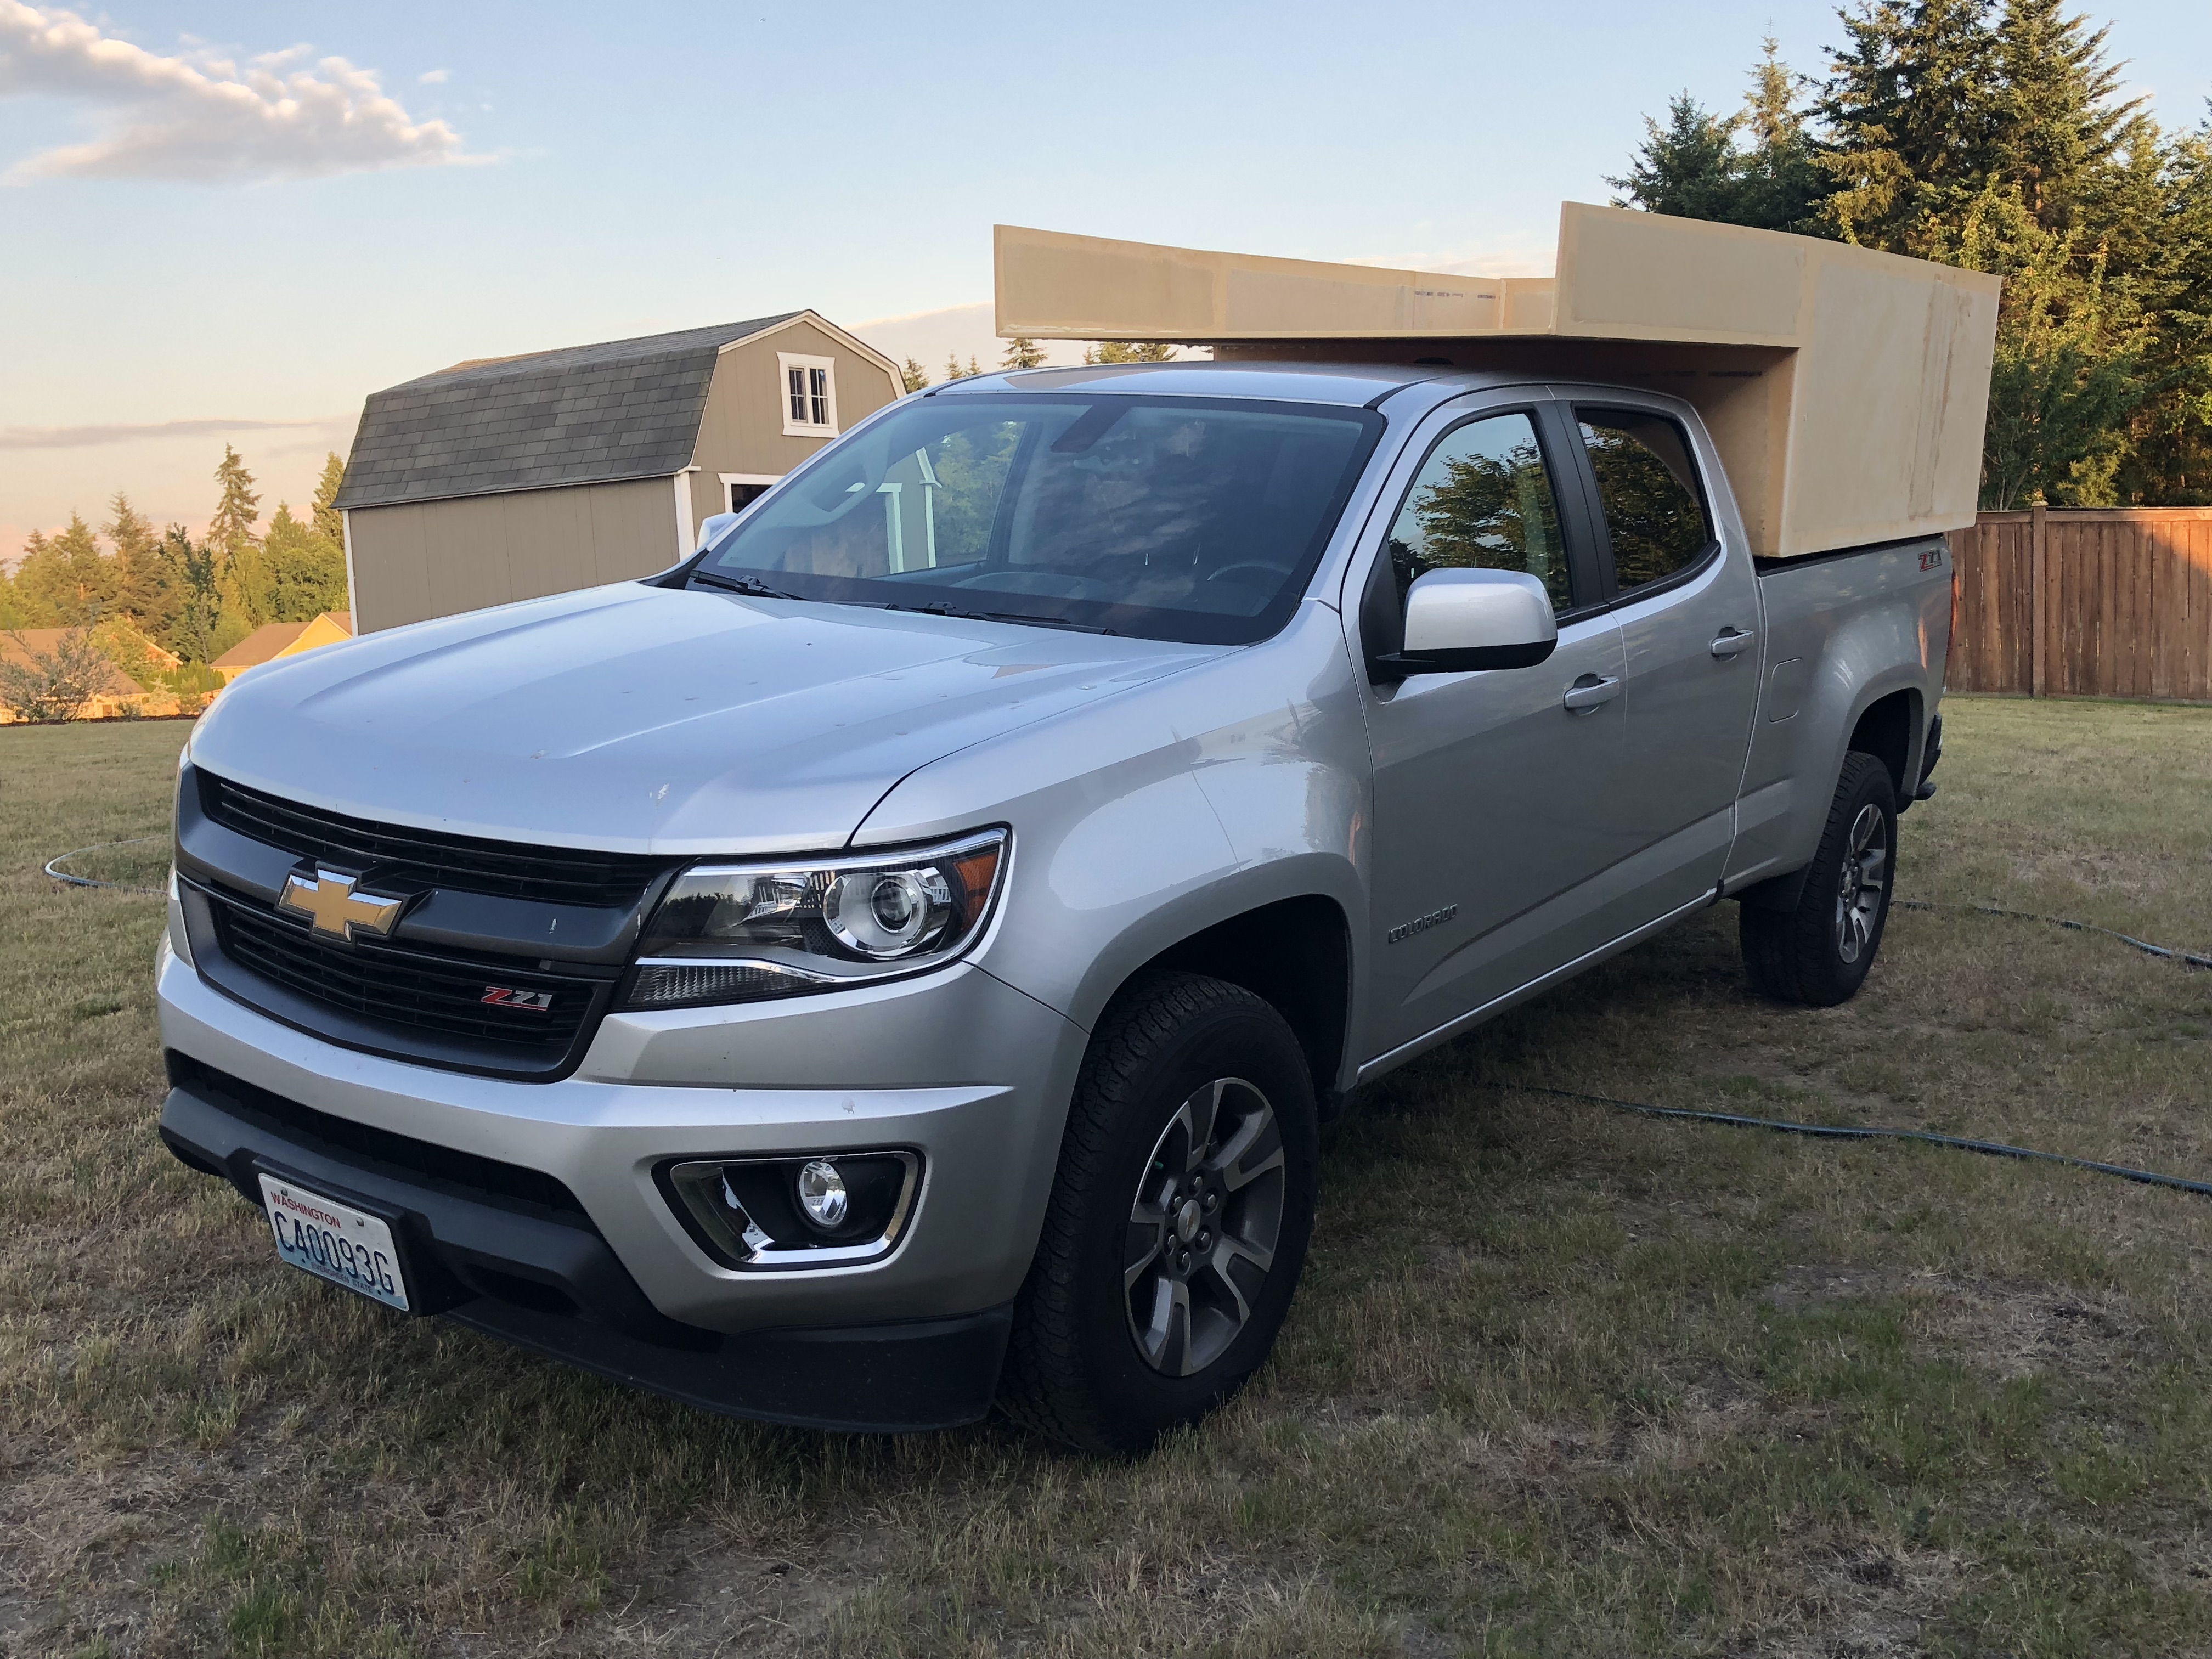
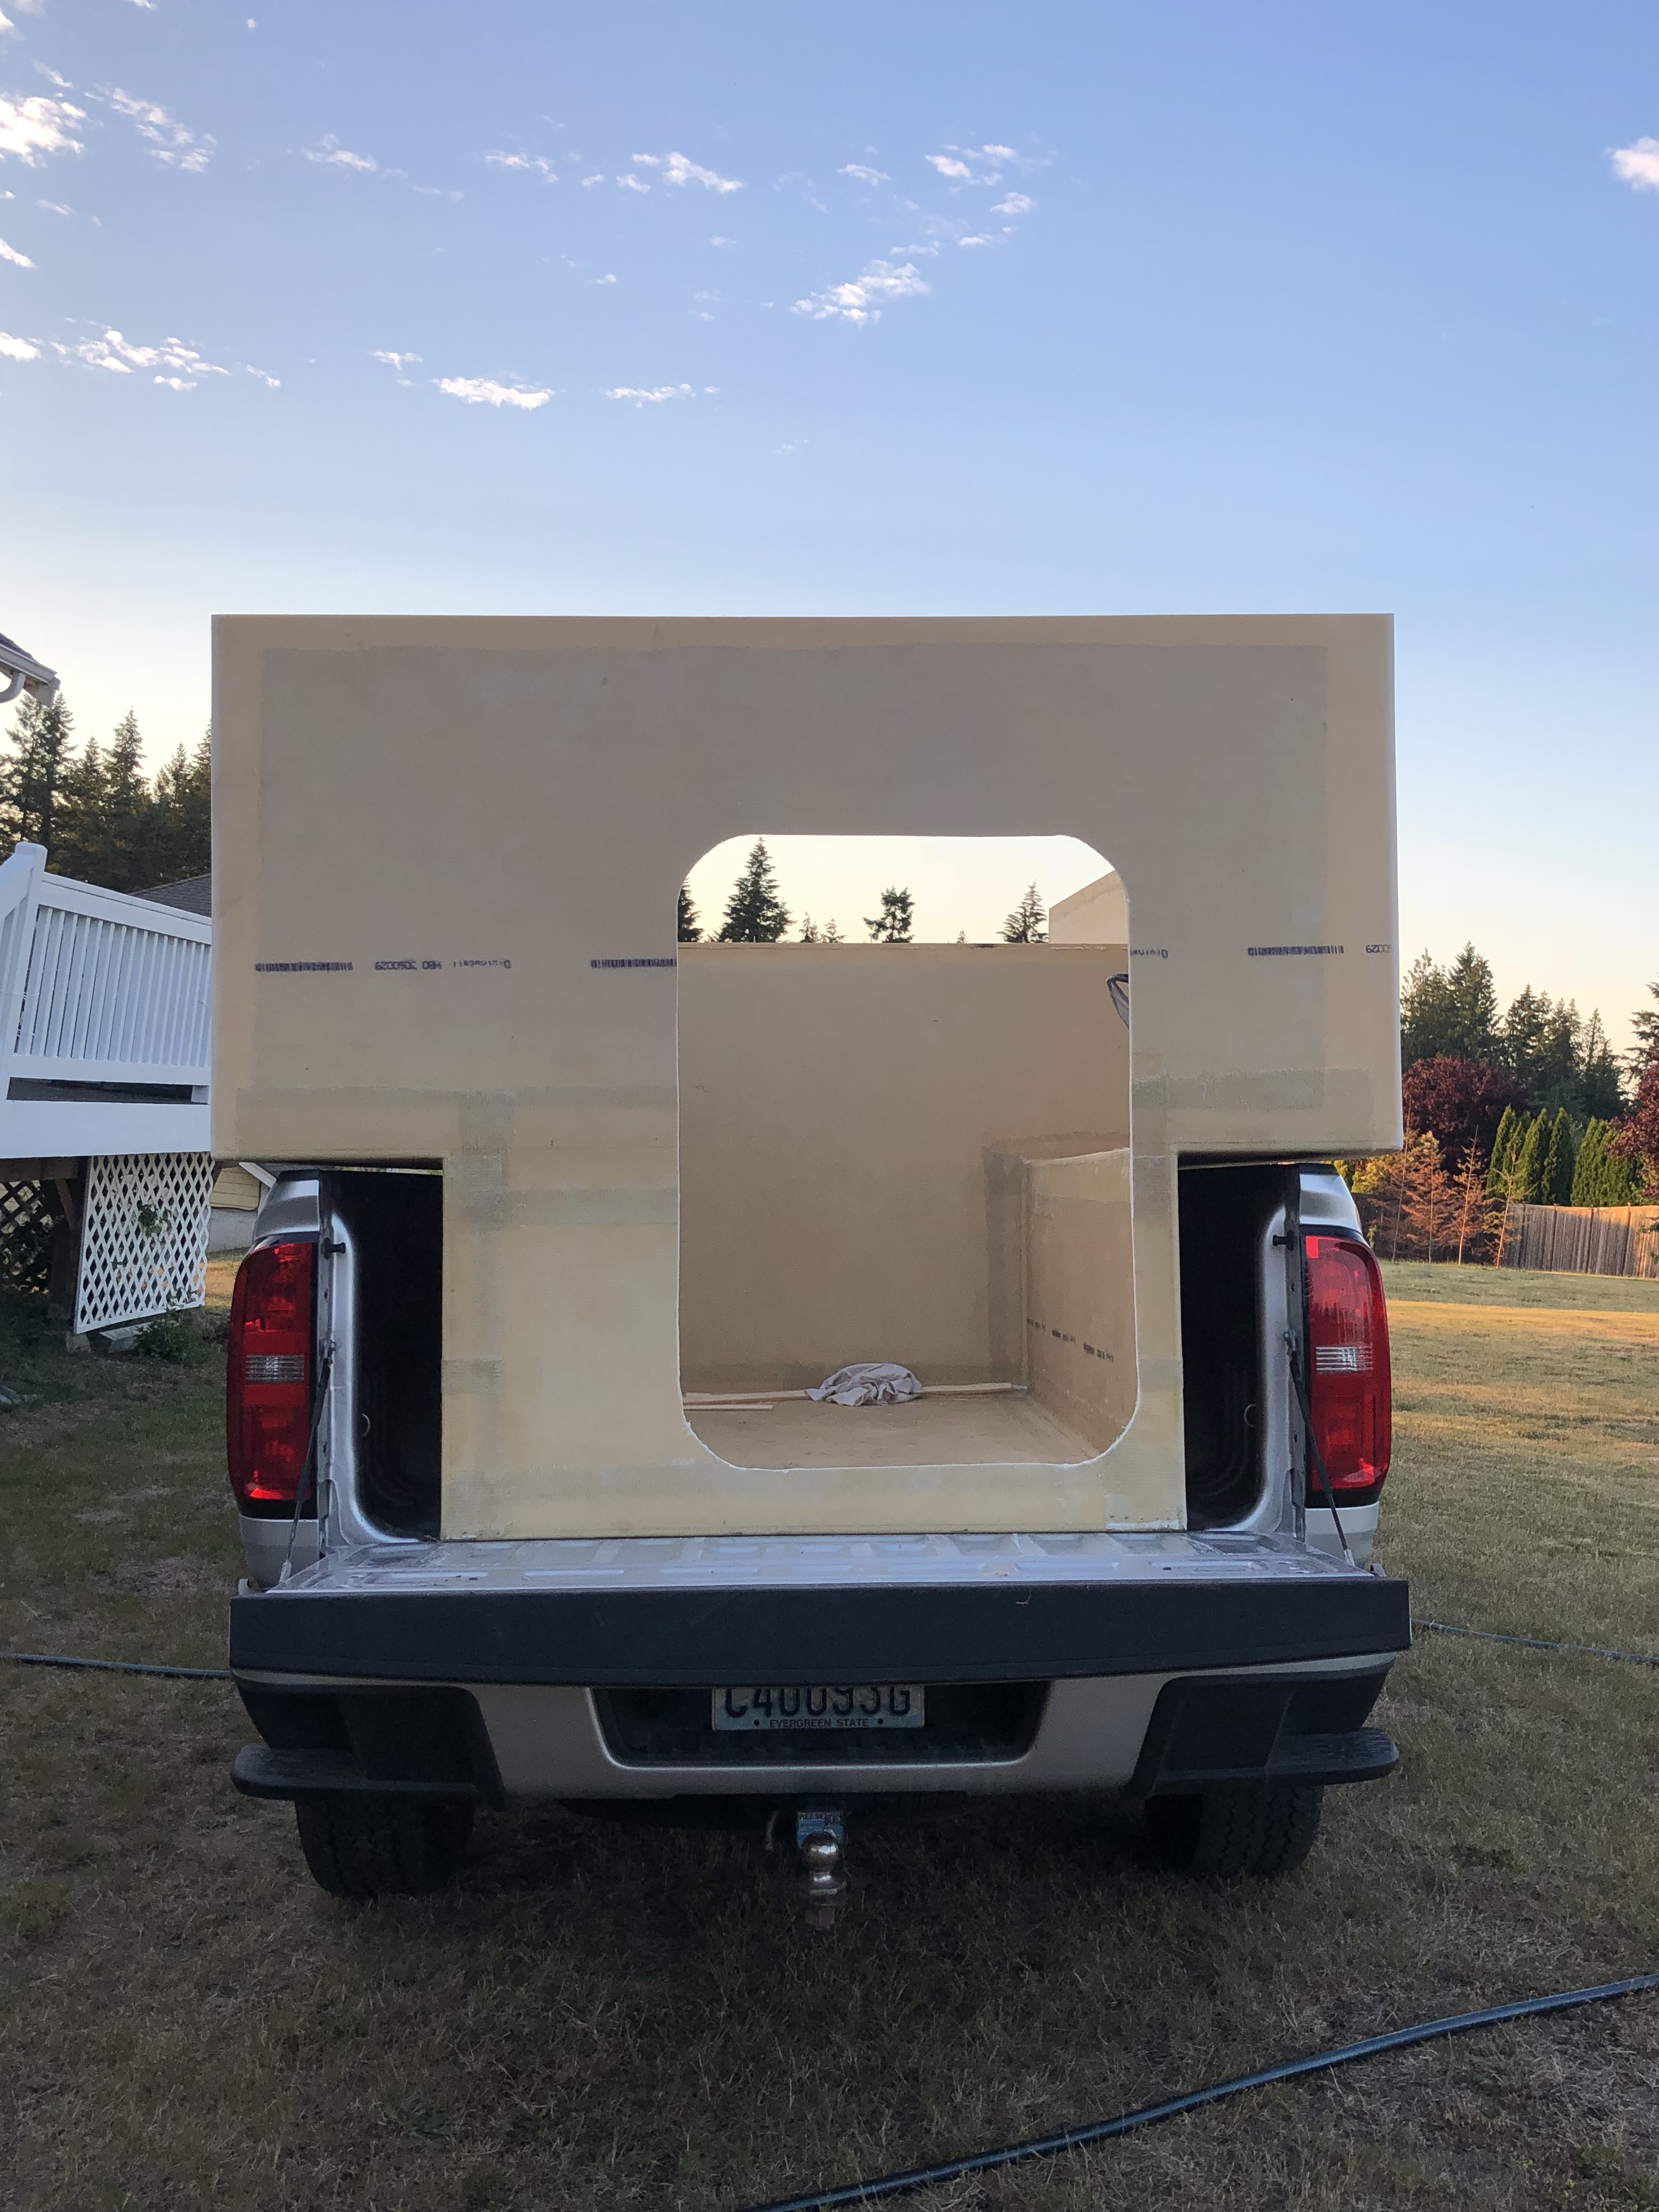
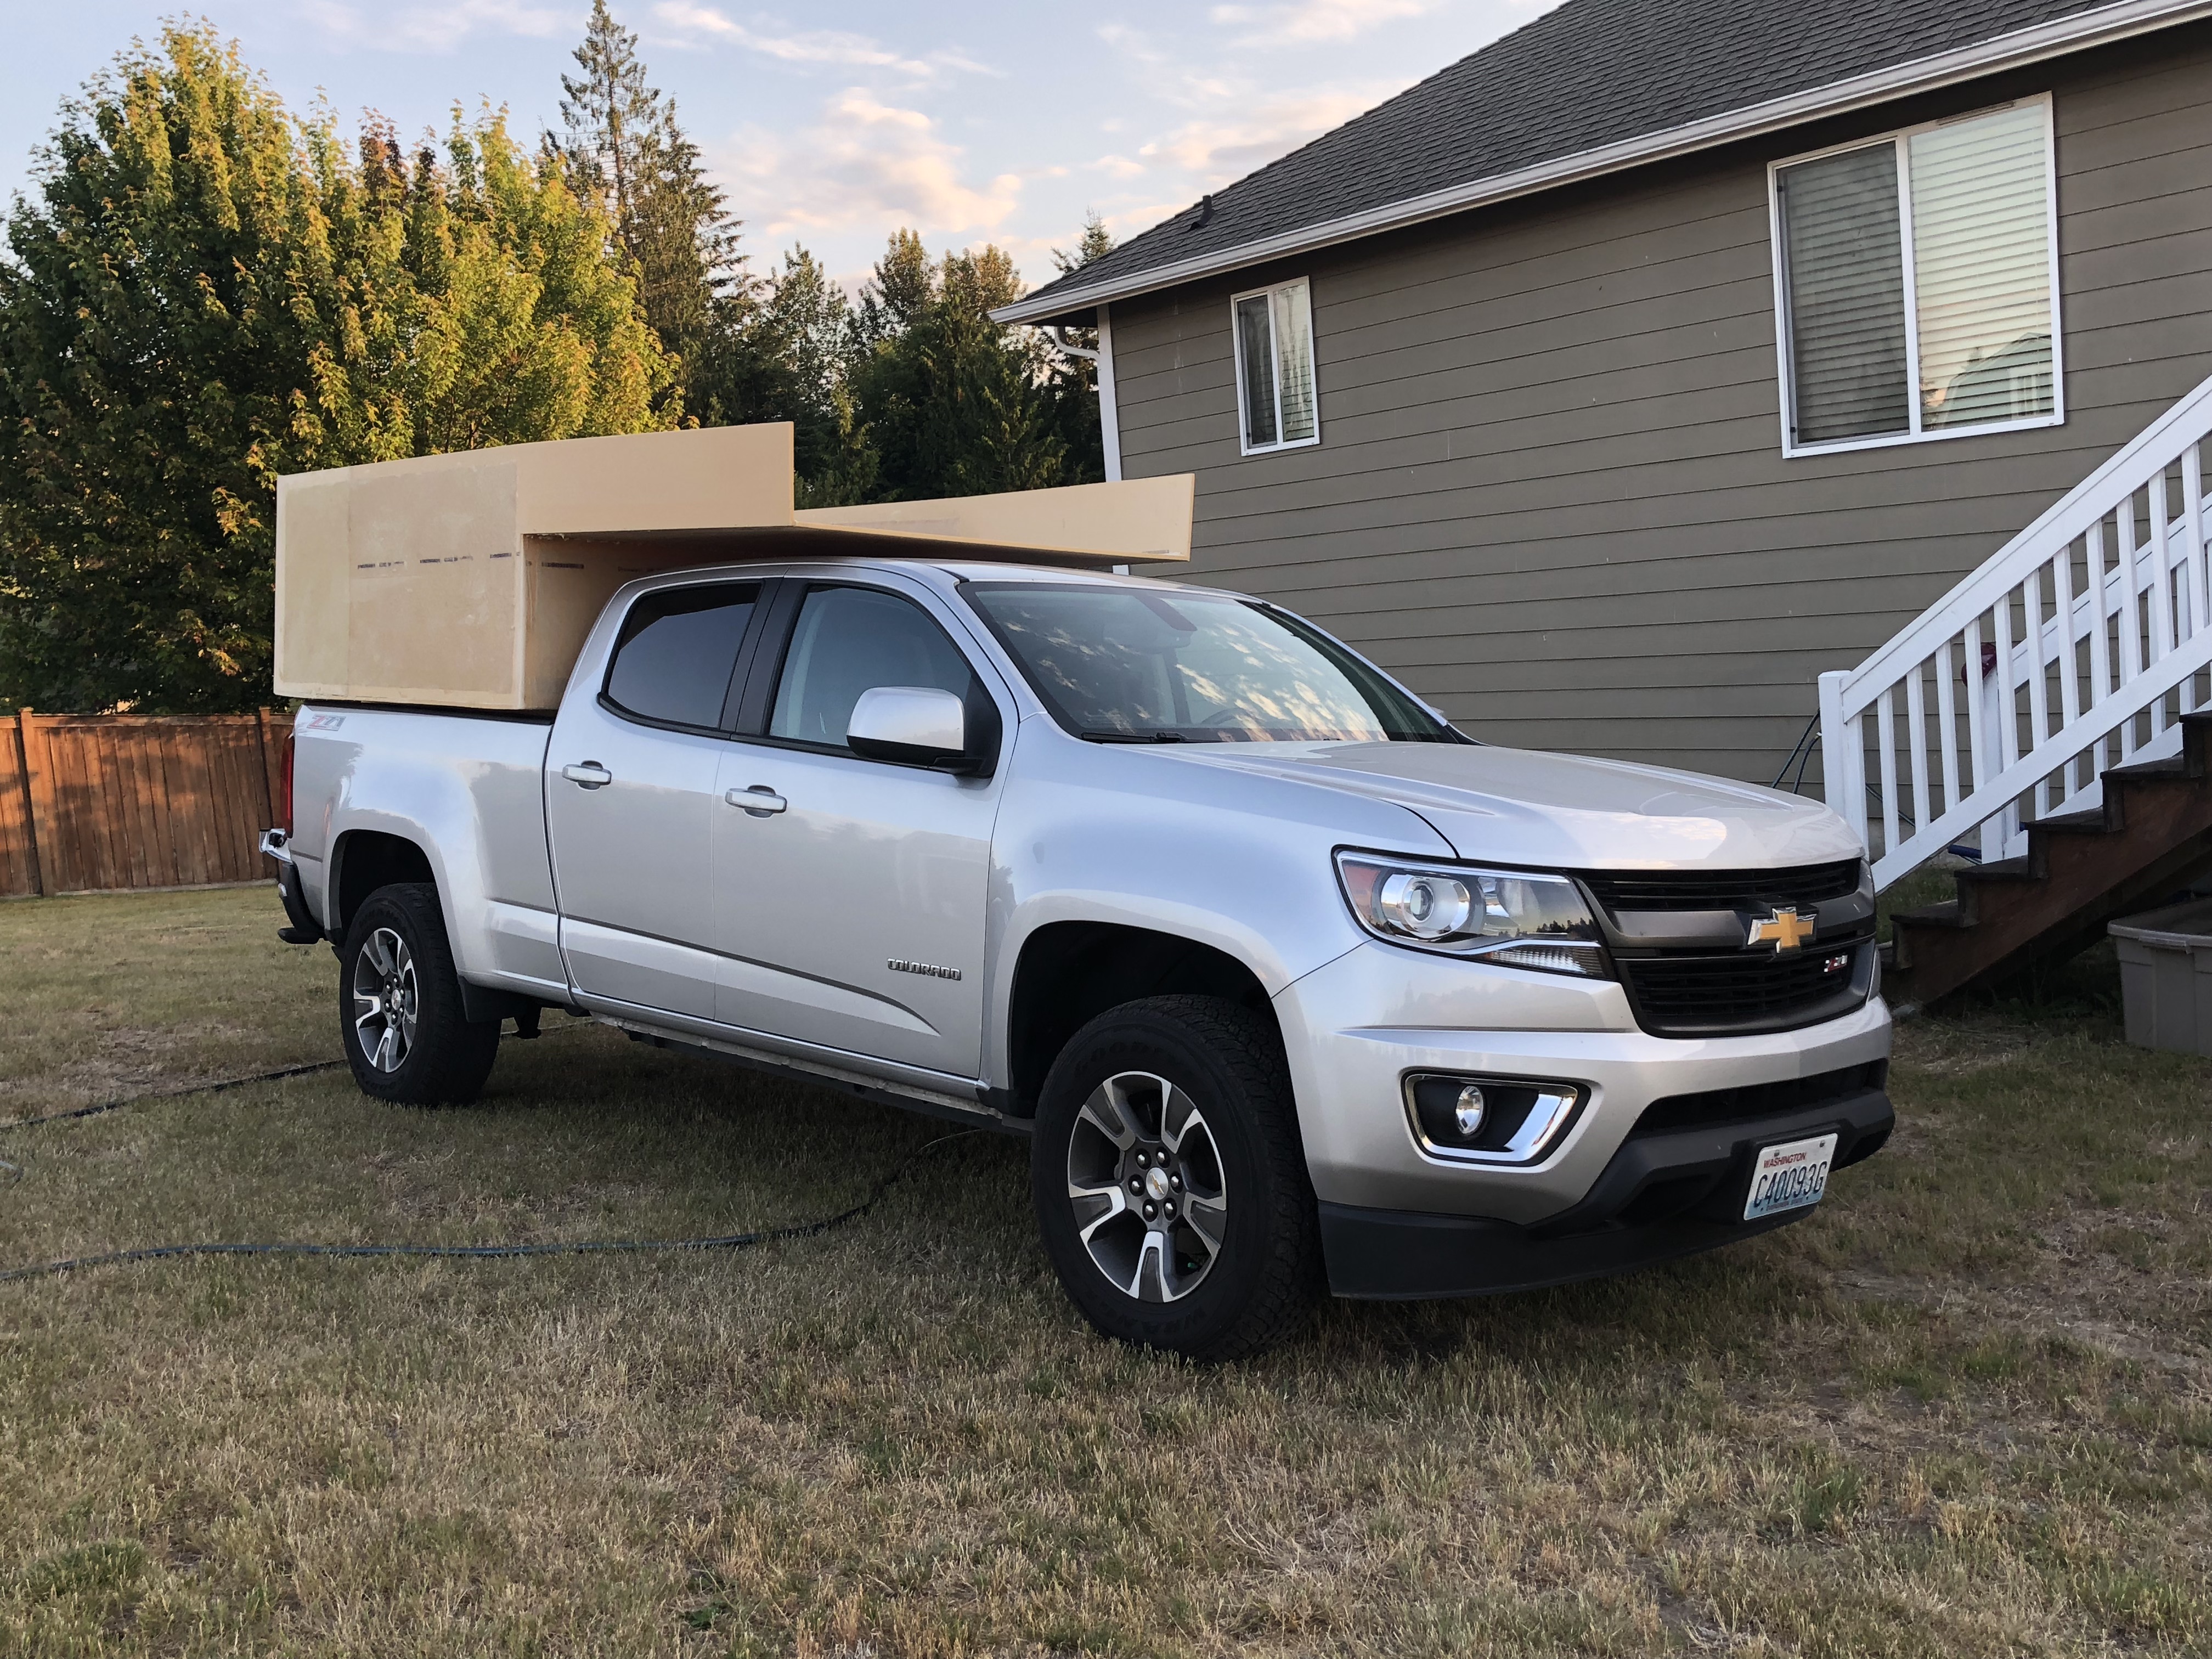
You can see how far it sticks out. I didn't want to be able to close the tailgate, but I also didn't want it to stick out past the bumper. It's pretty much even with the taillights.
IMG_9519.jpg

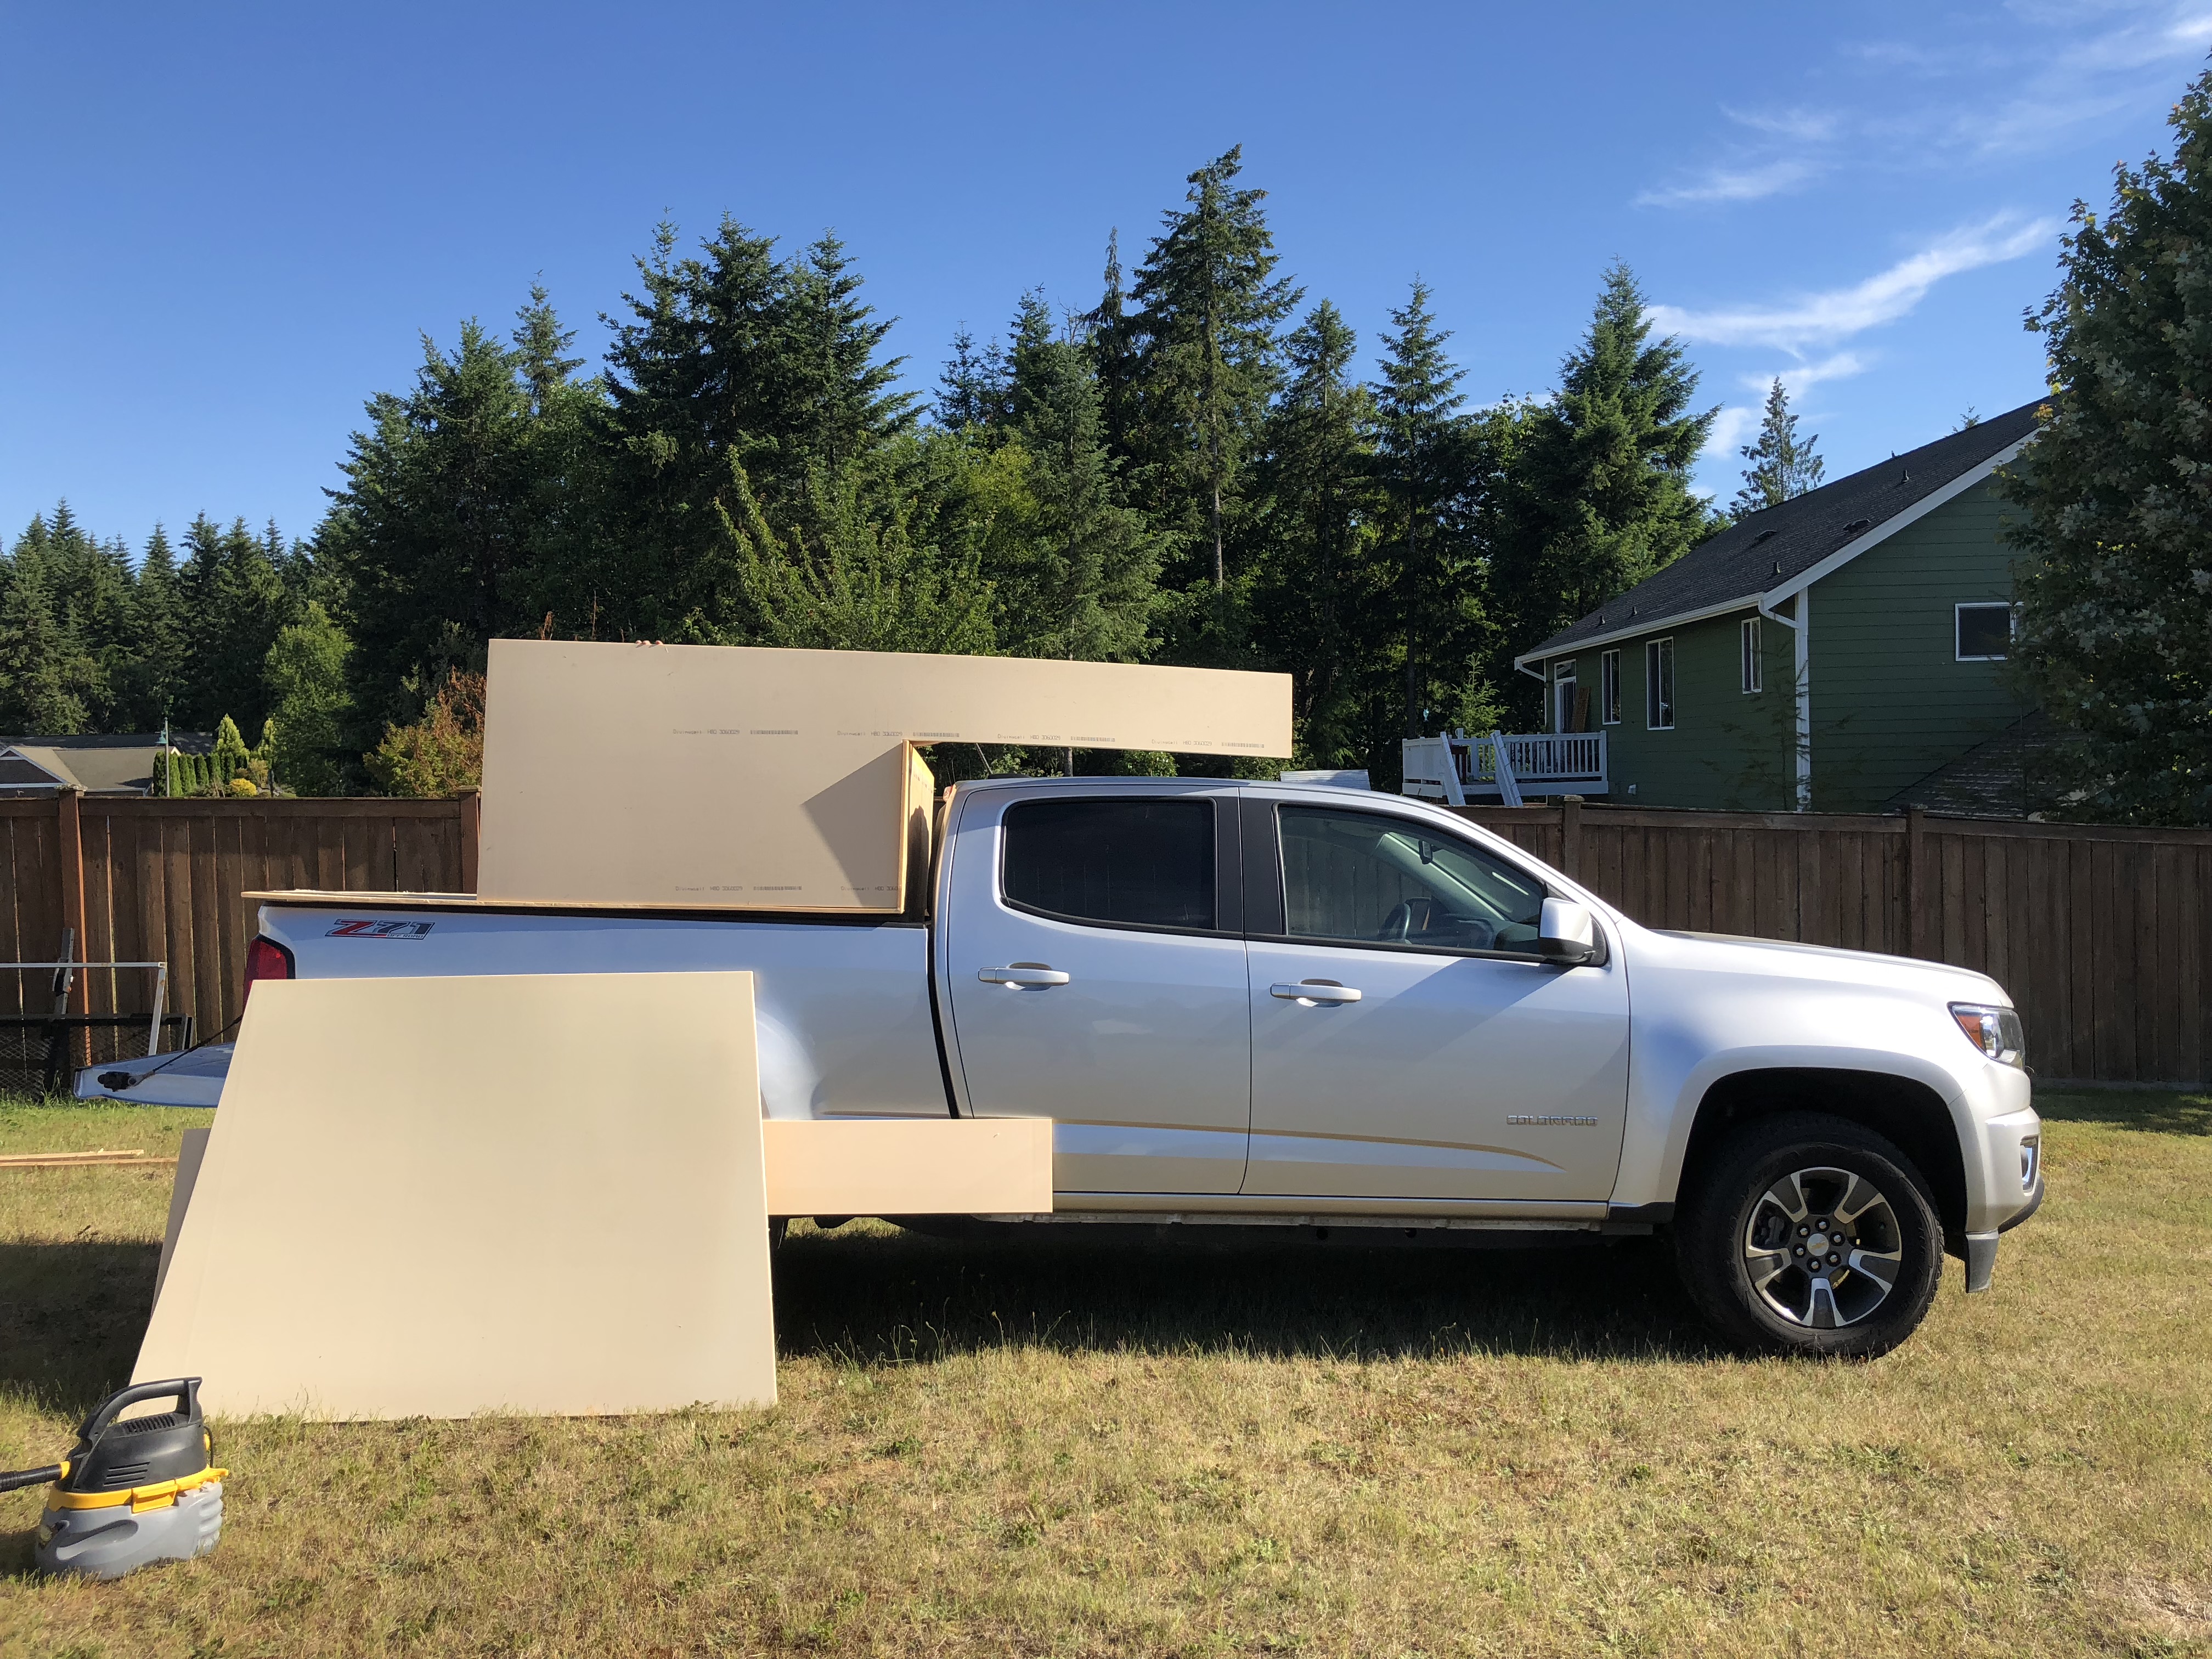
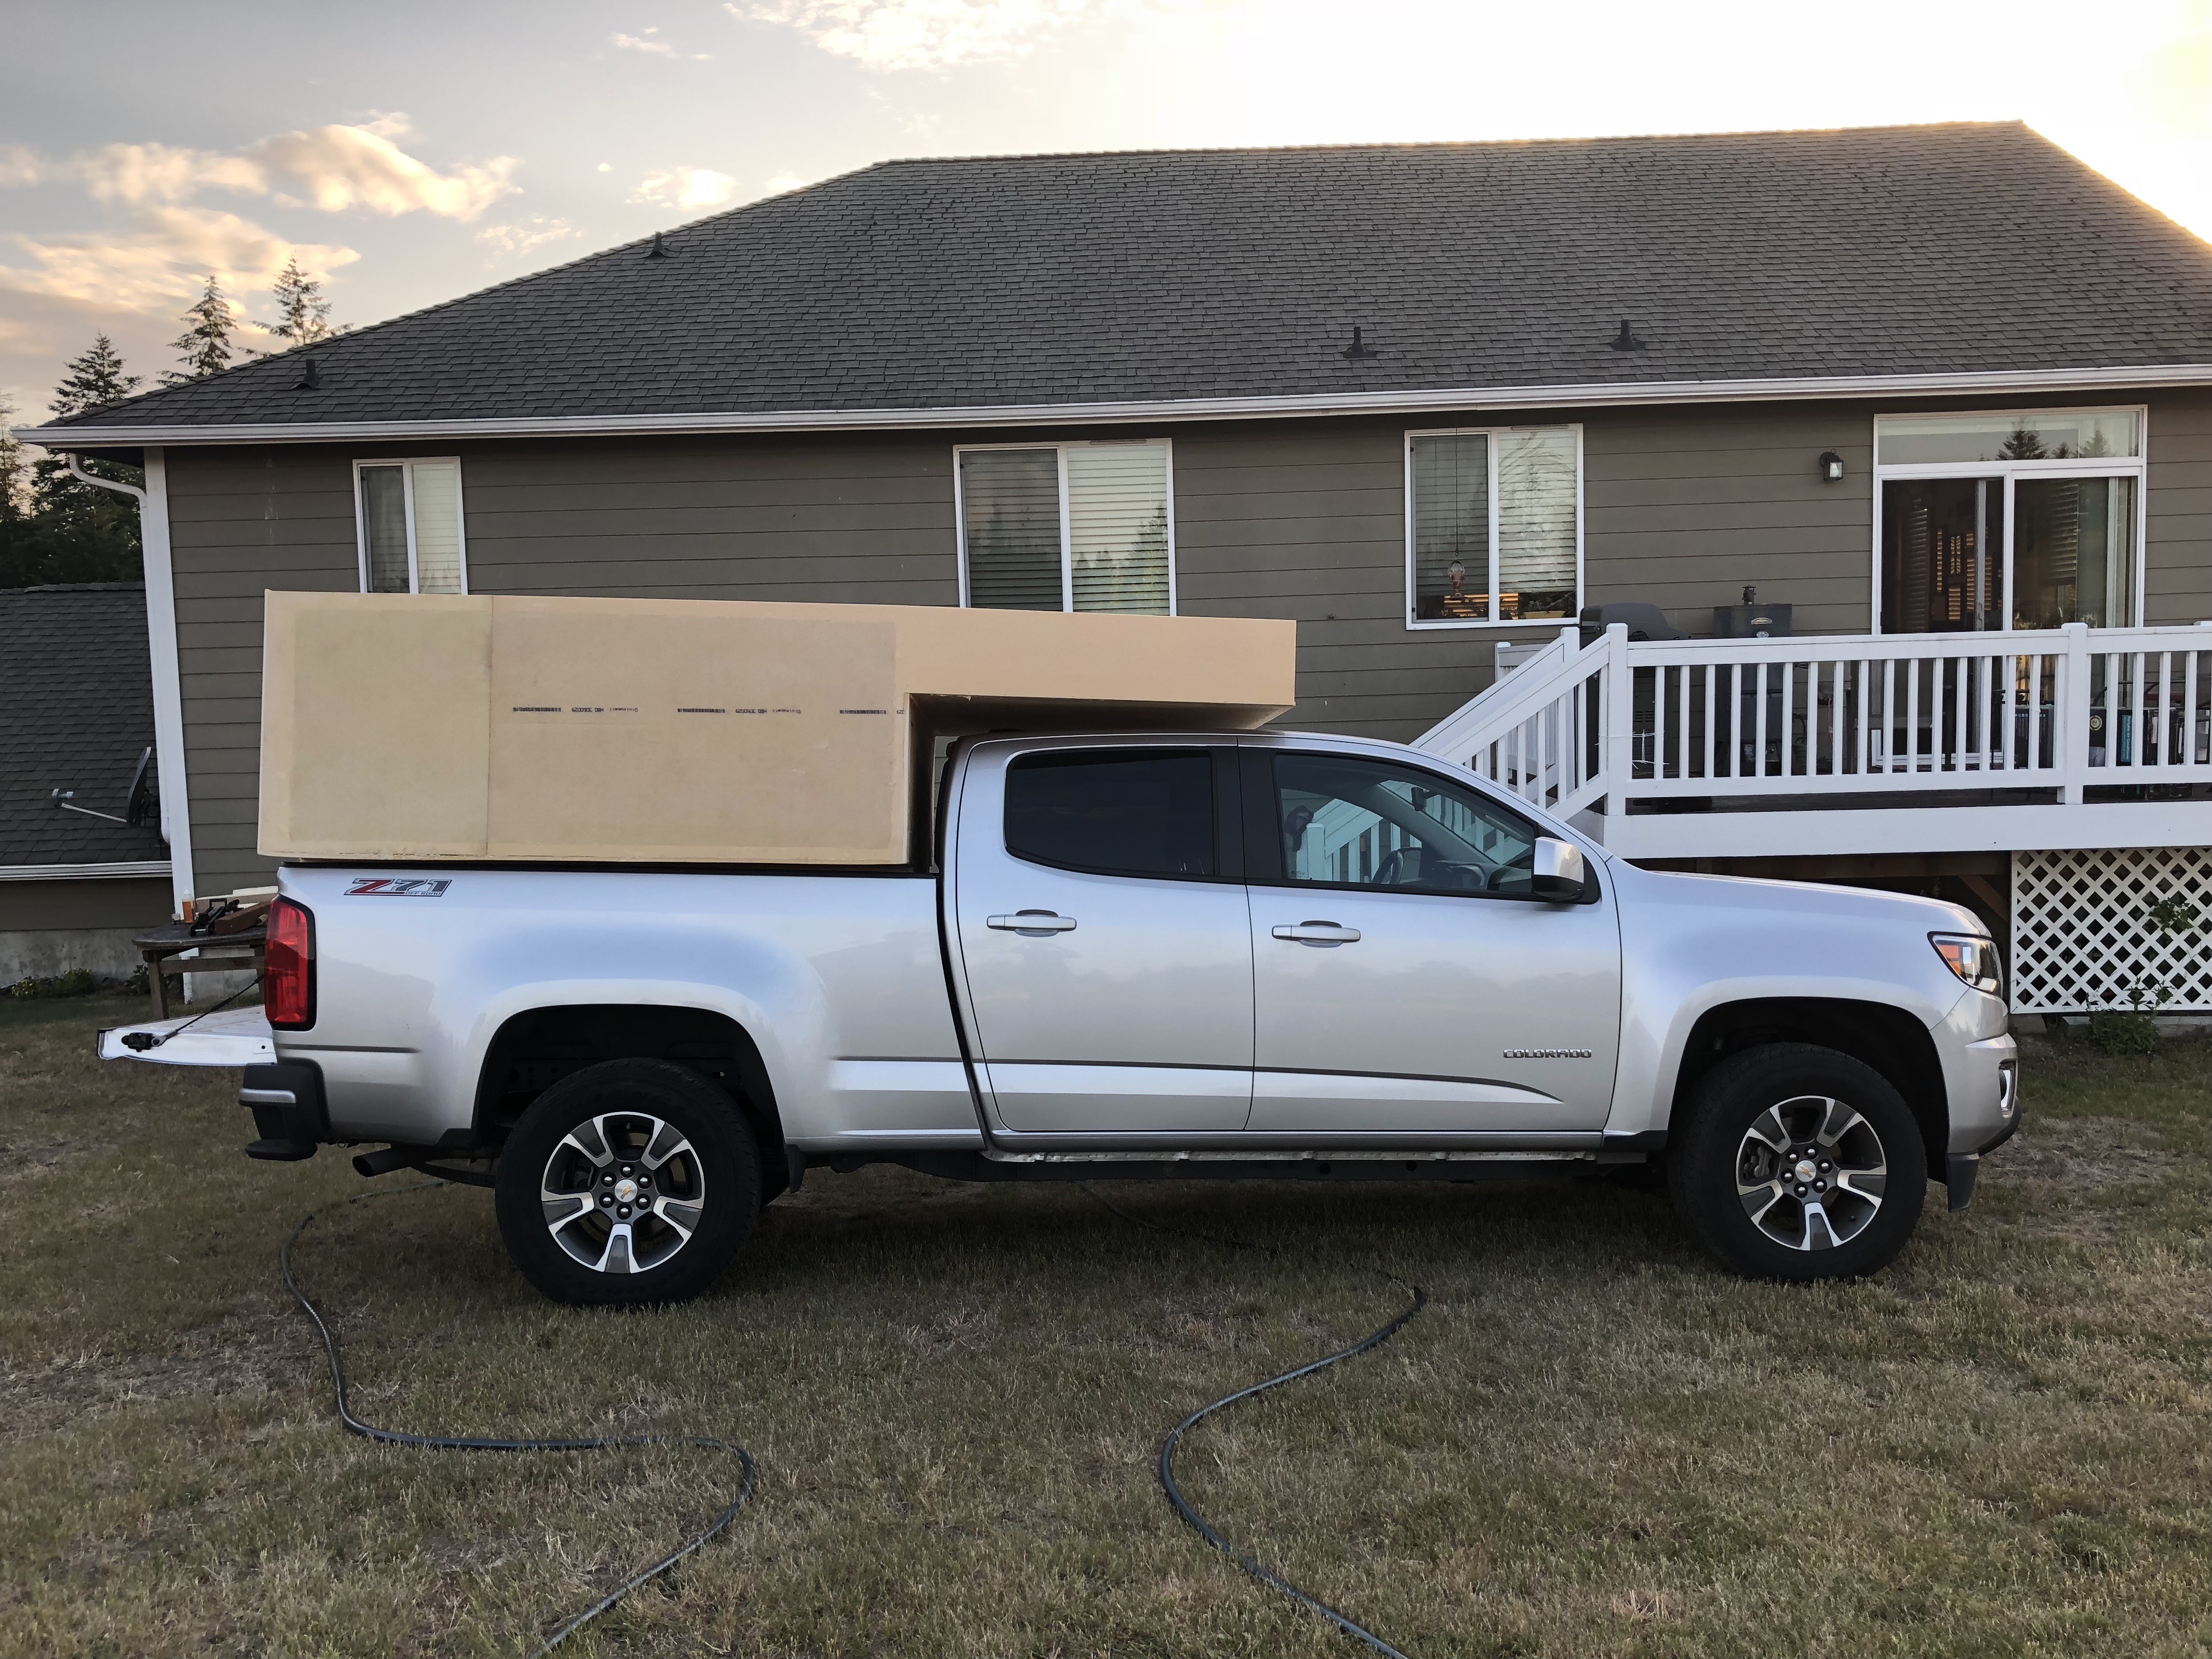
Another check to see how it looks. We didn't make the cabover very long over the roof of the truck, so there is going to be a slide out piece inside for the rest of the bed.
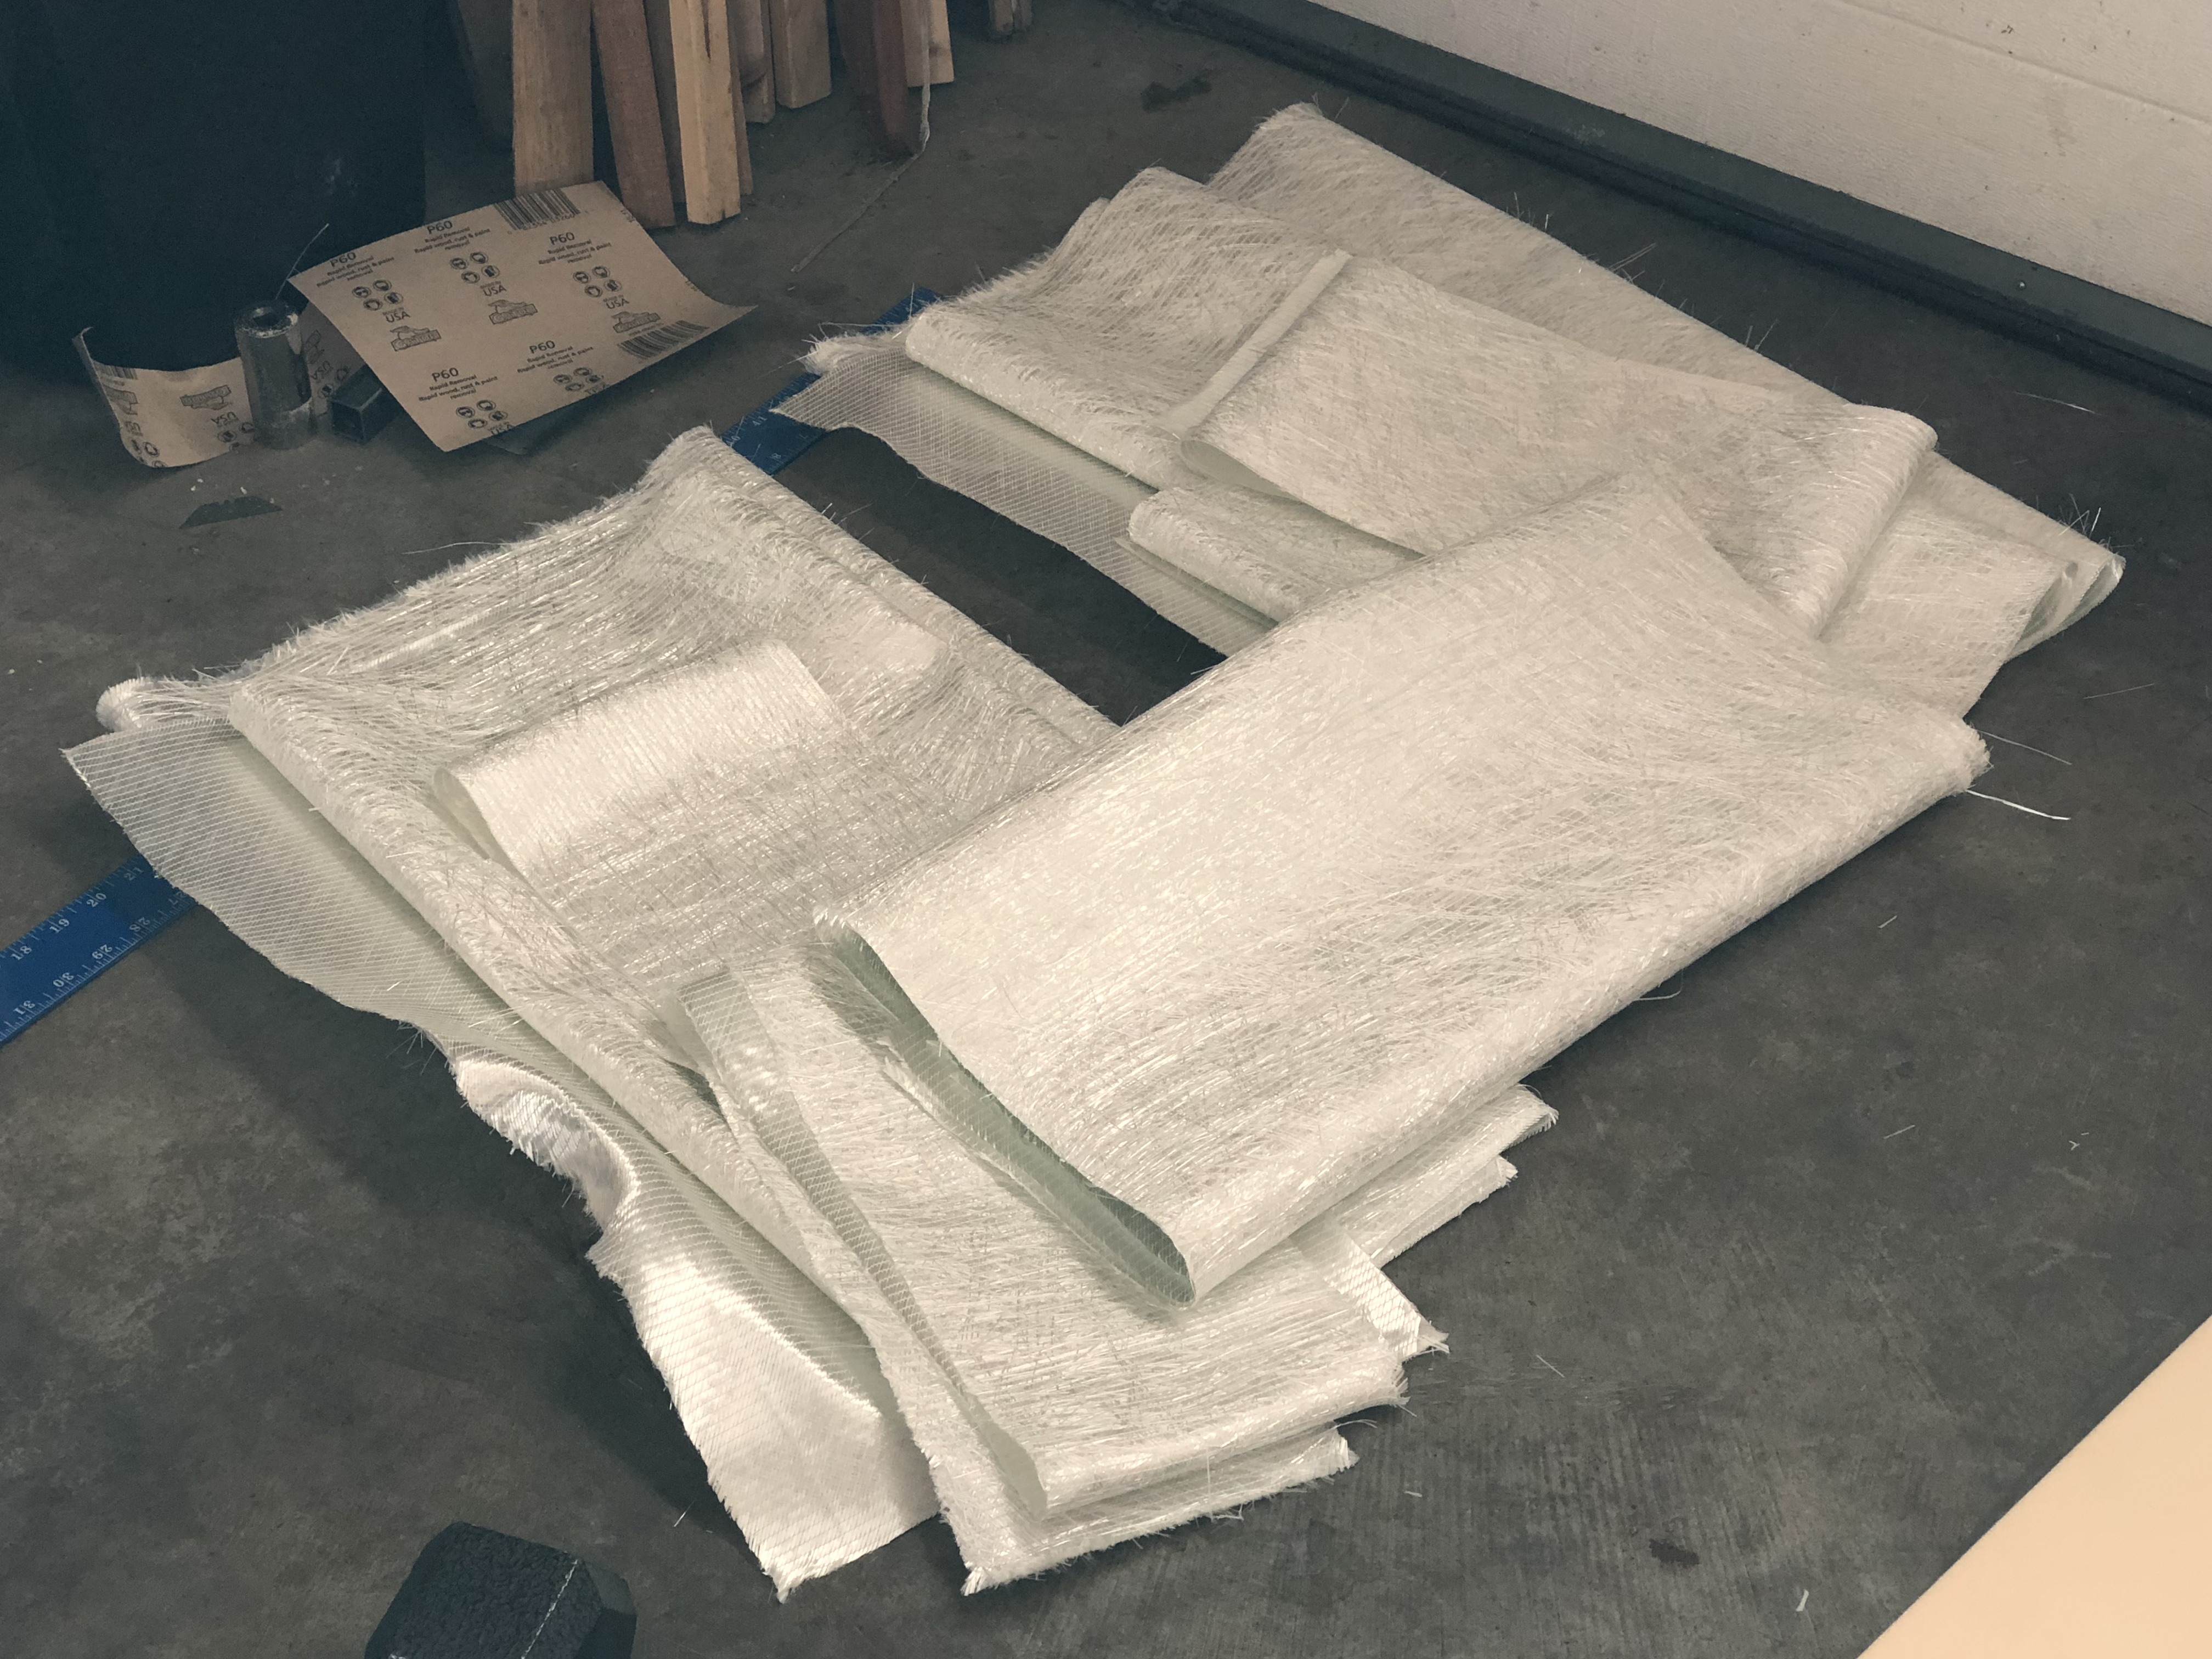
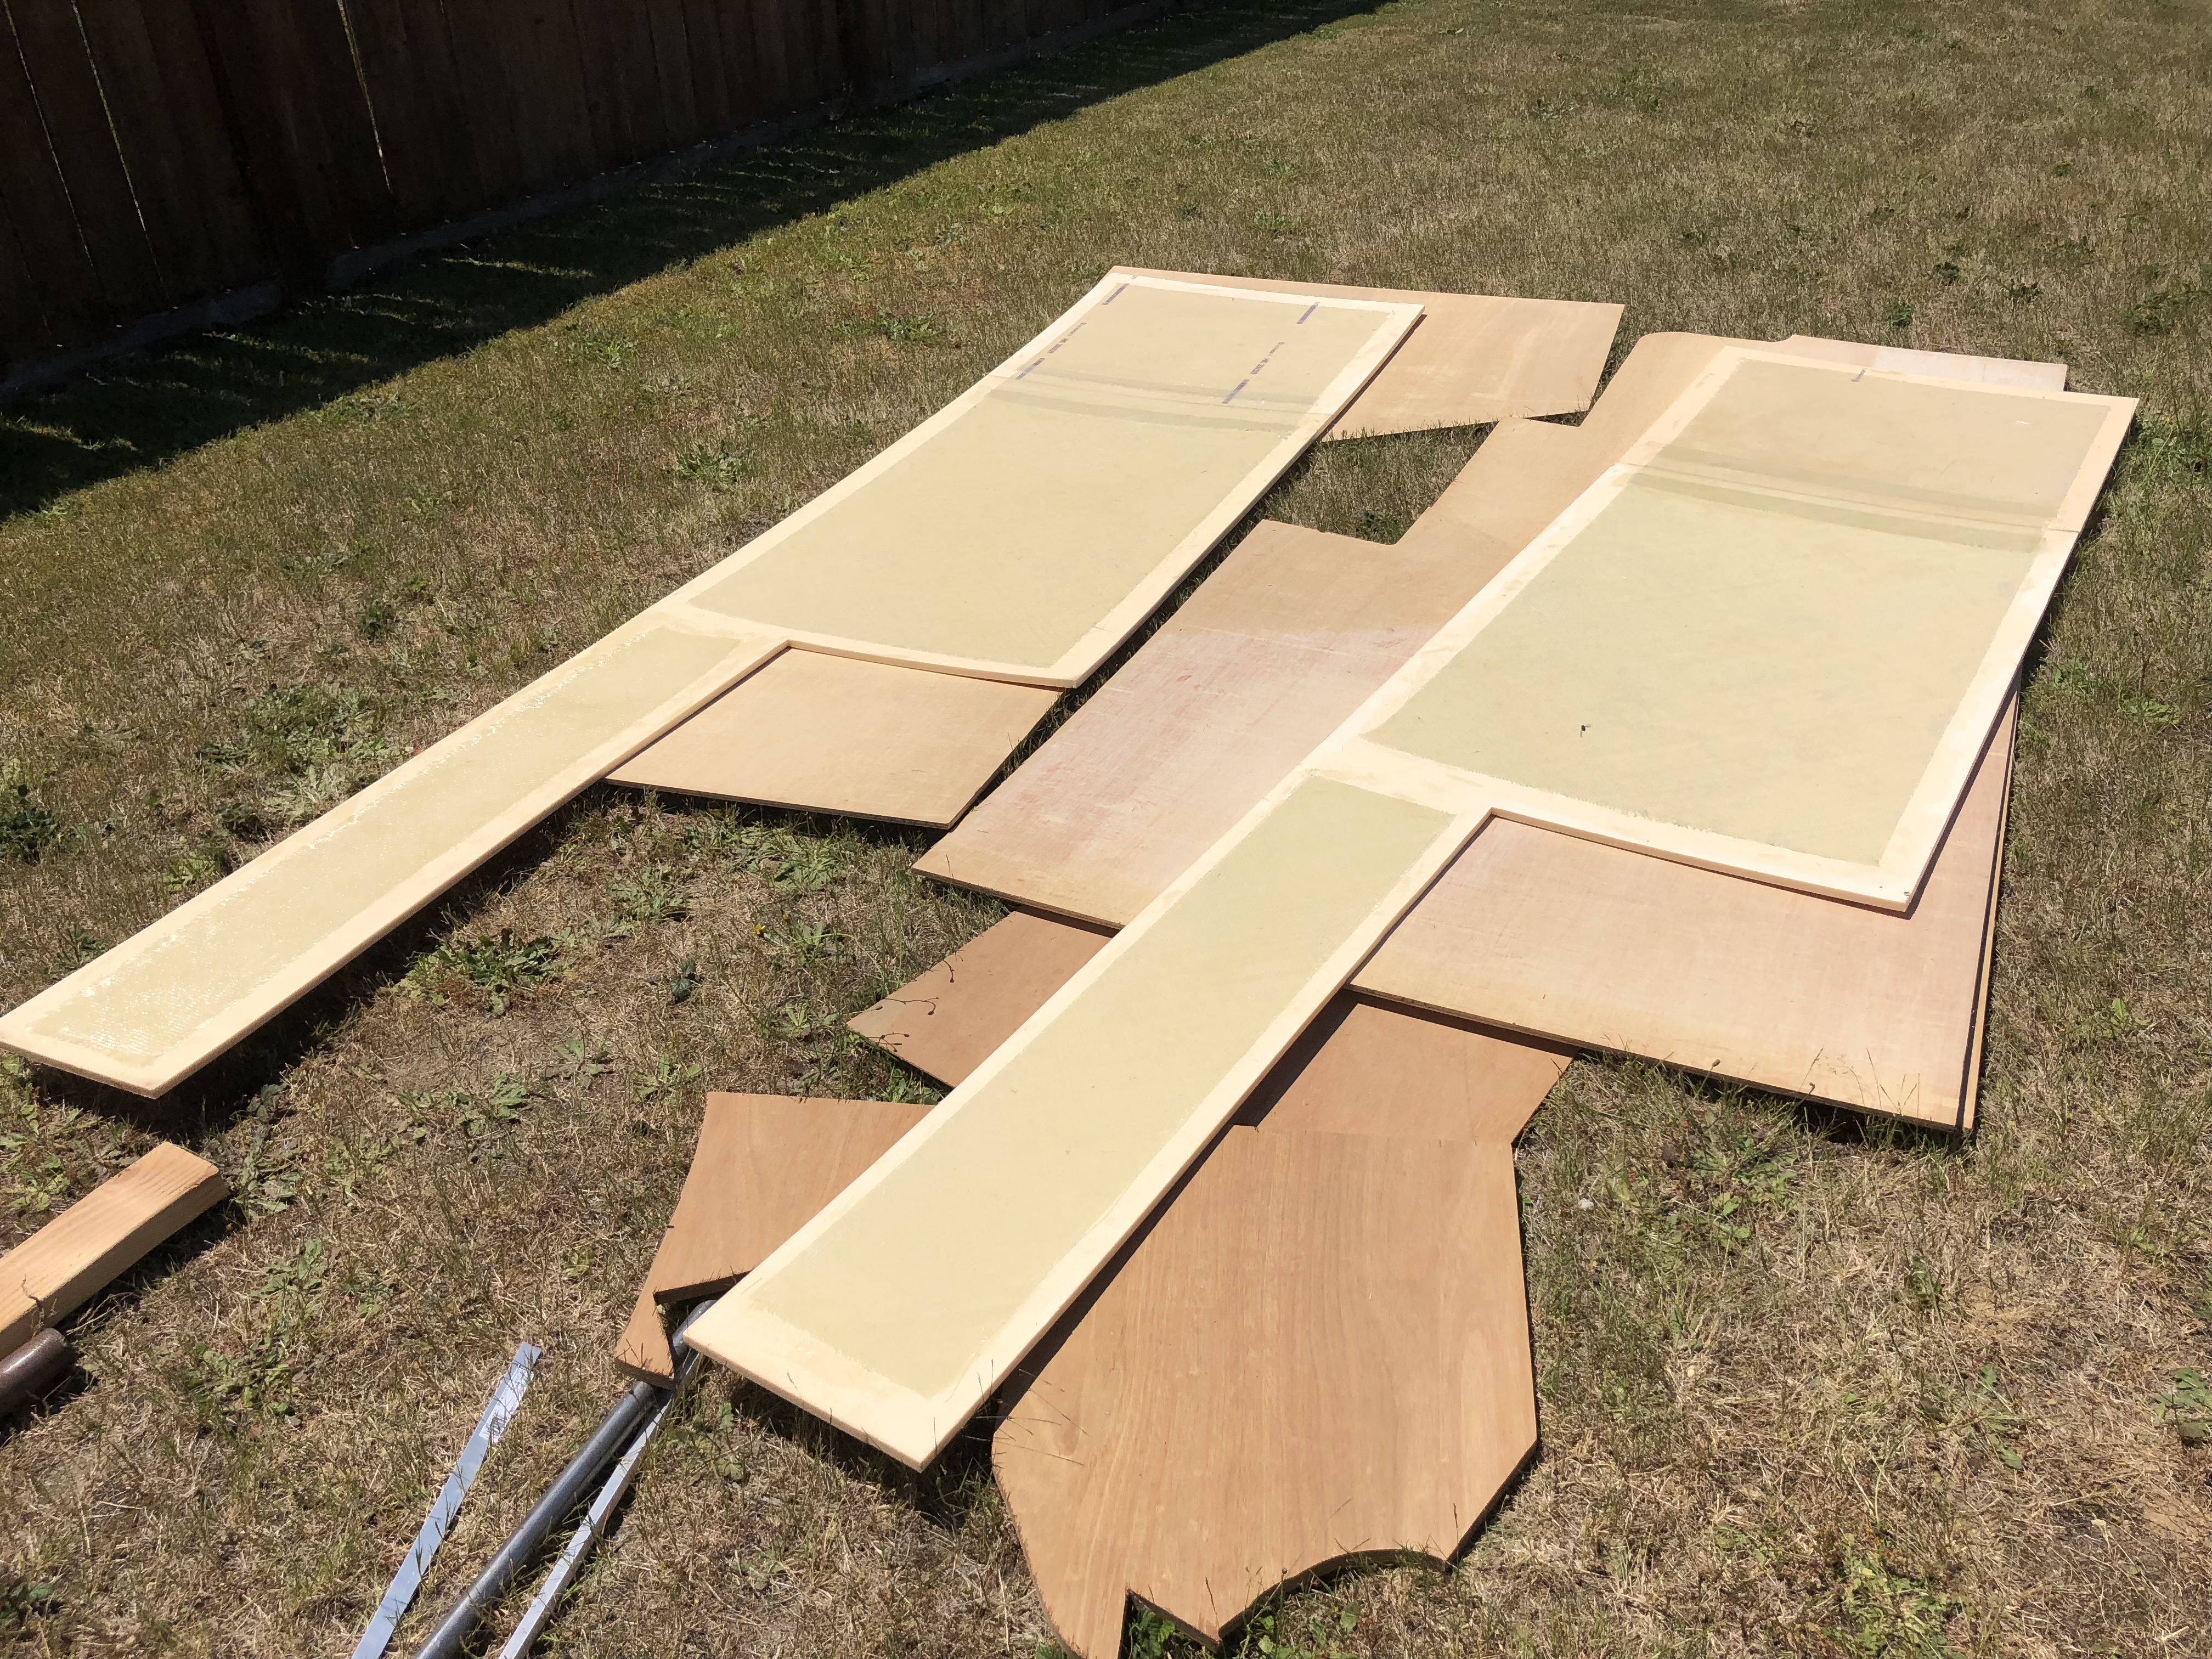
Here's our pile of precut fiberglass for tomorrow.
IMG_9526.jpg
 

underkill

Active member
Here's the result of that pile of fiberglass from yesterday's post.
IMG_9531.jpg

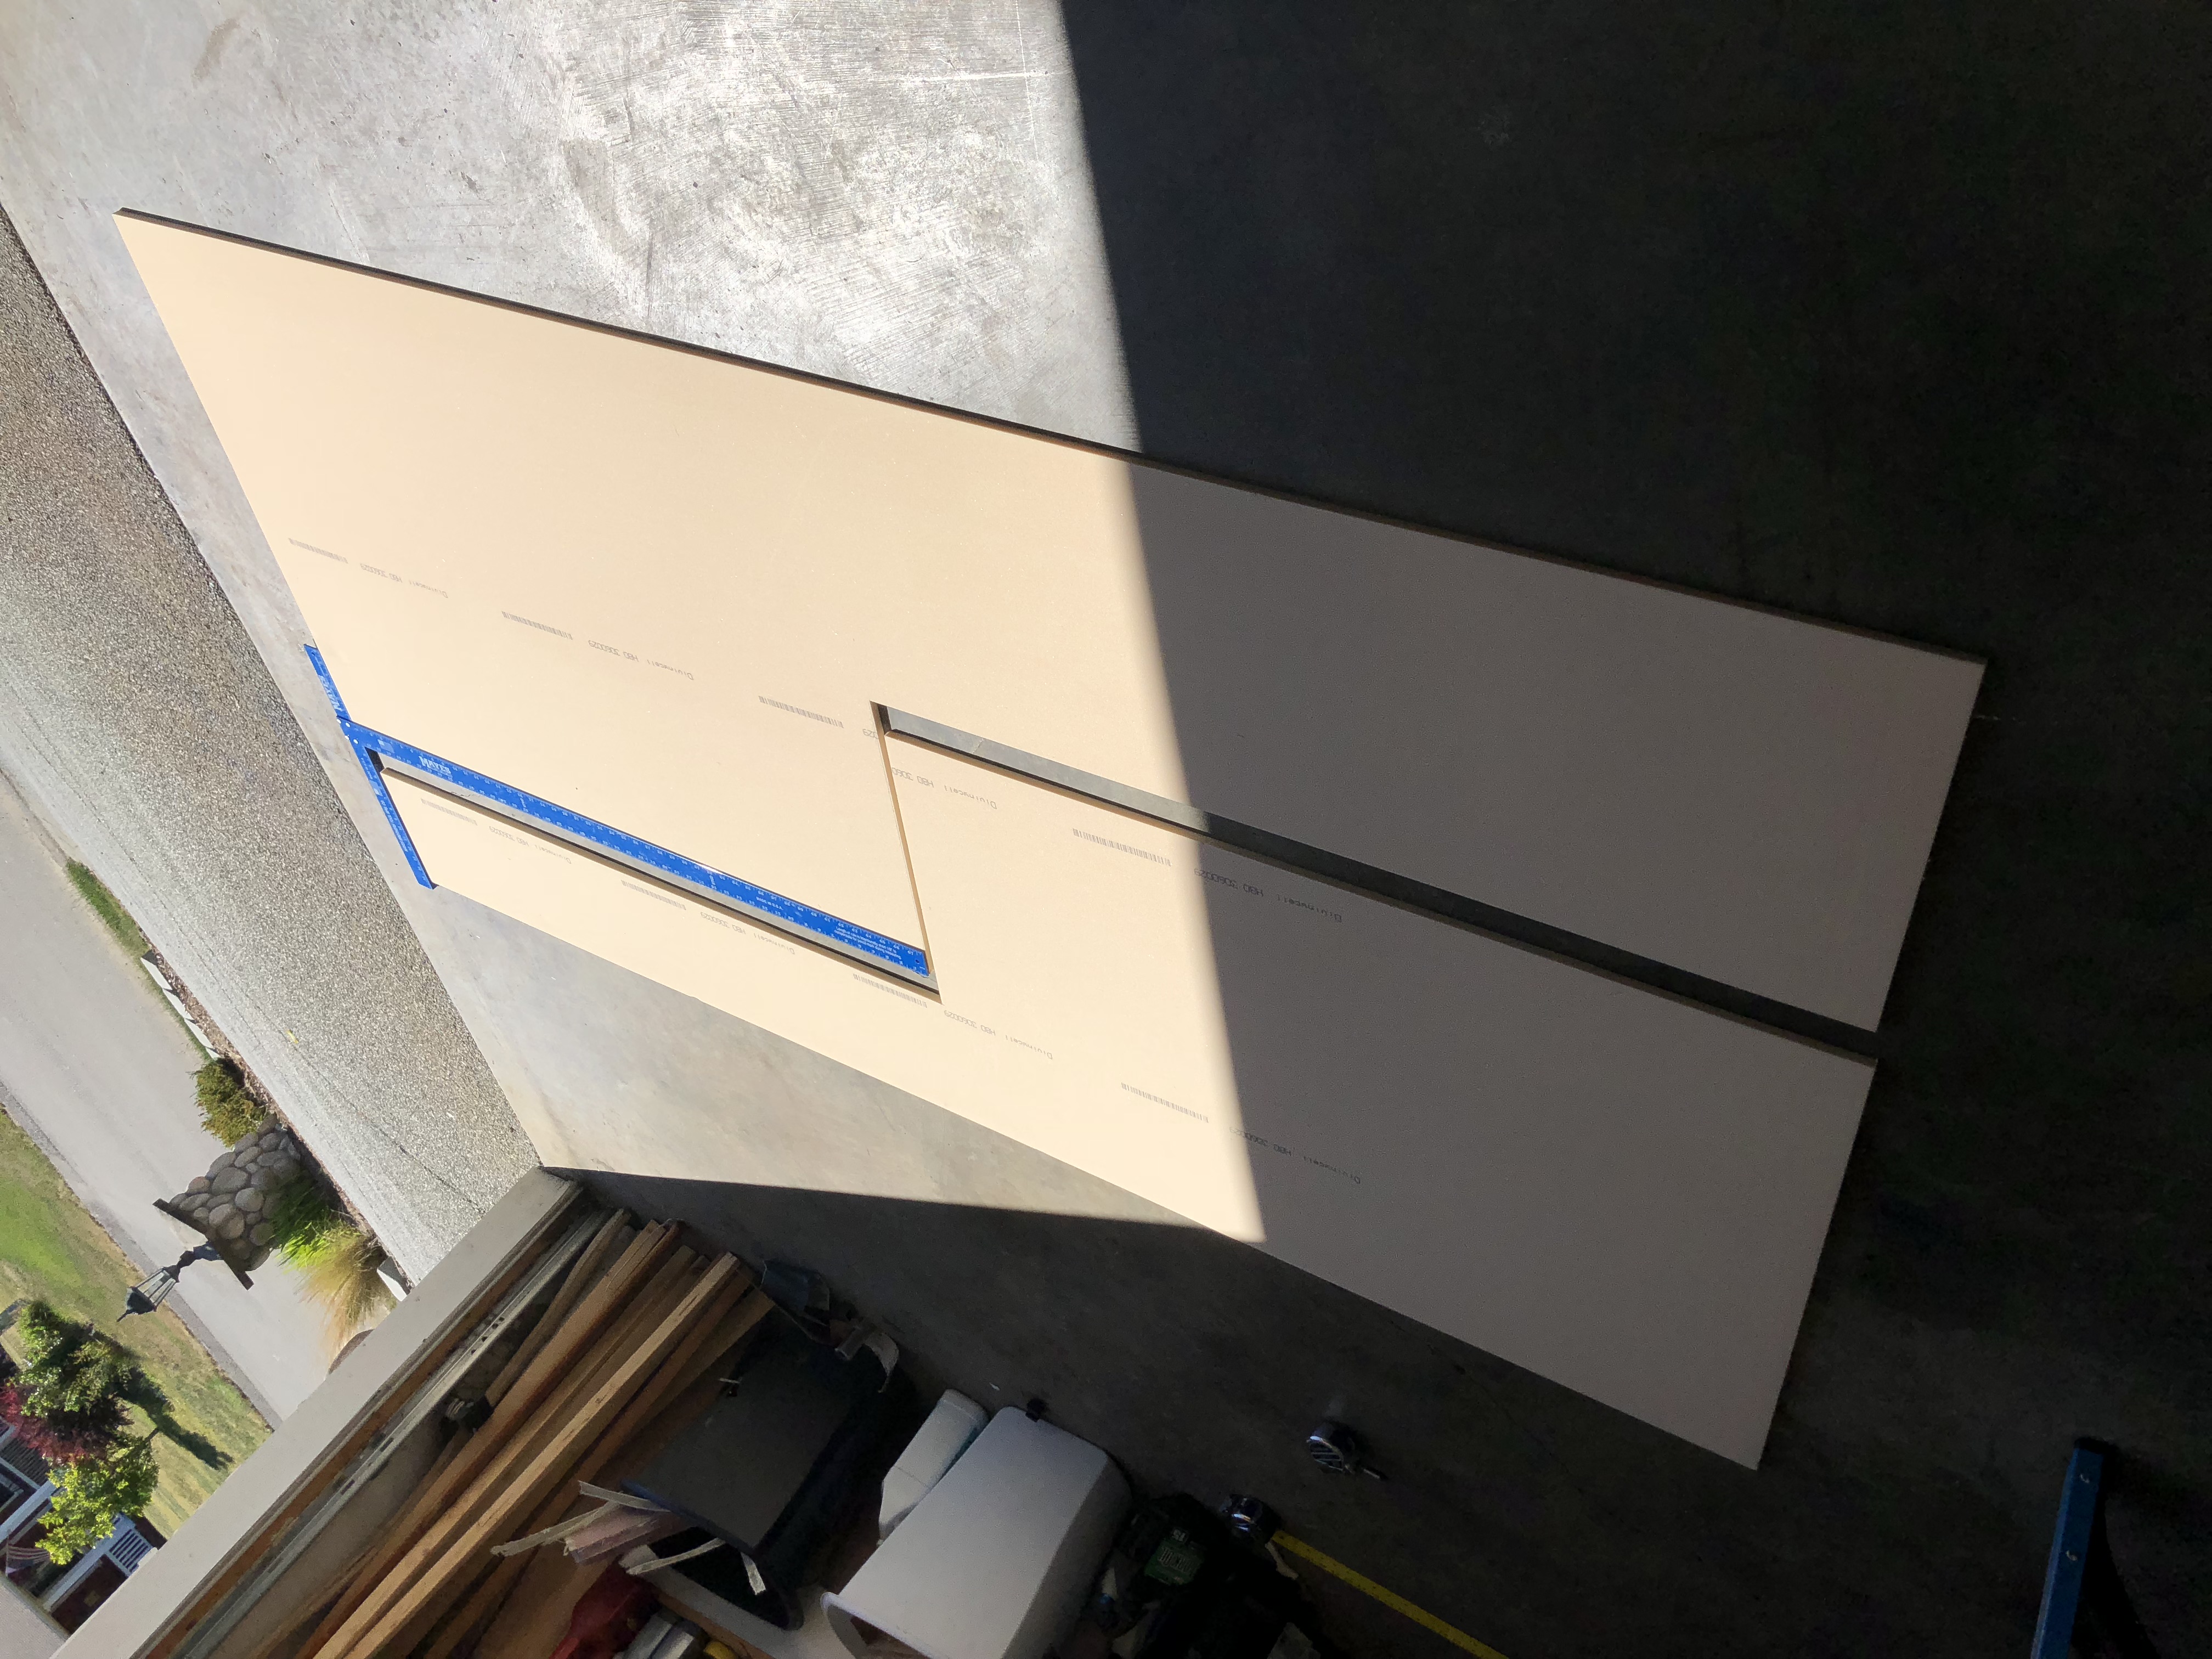
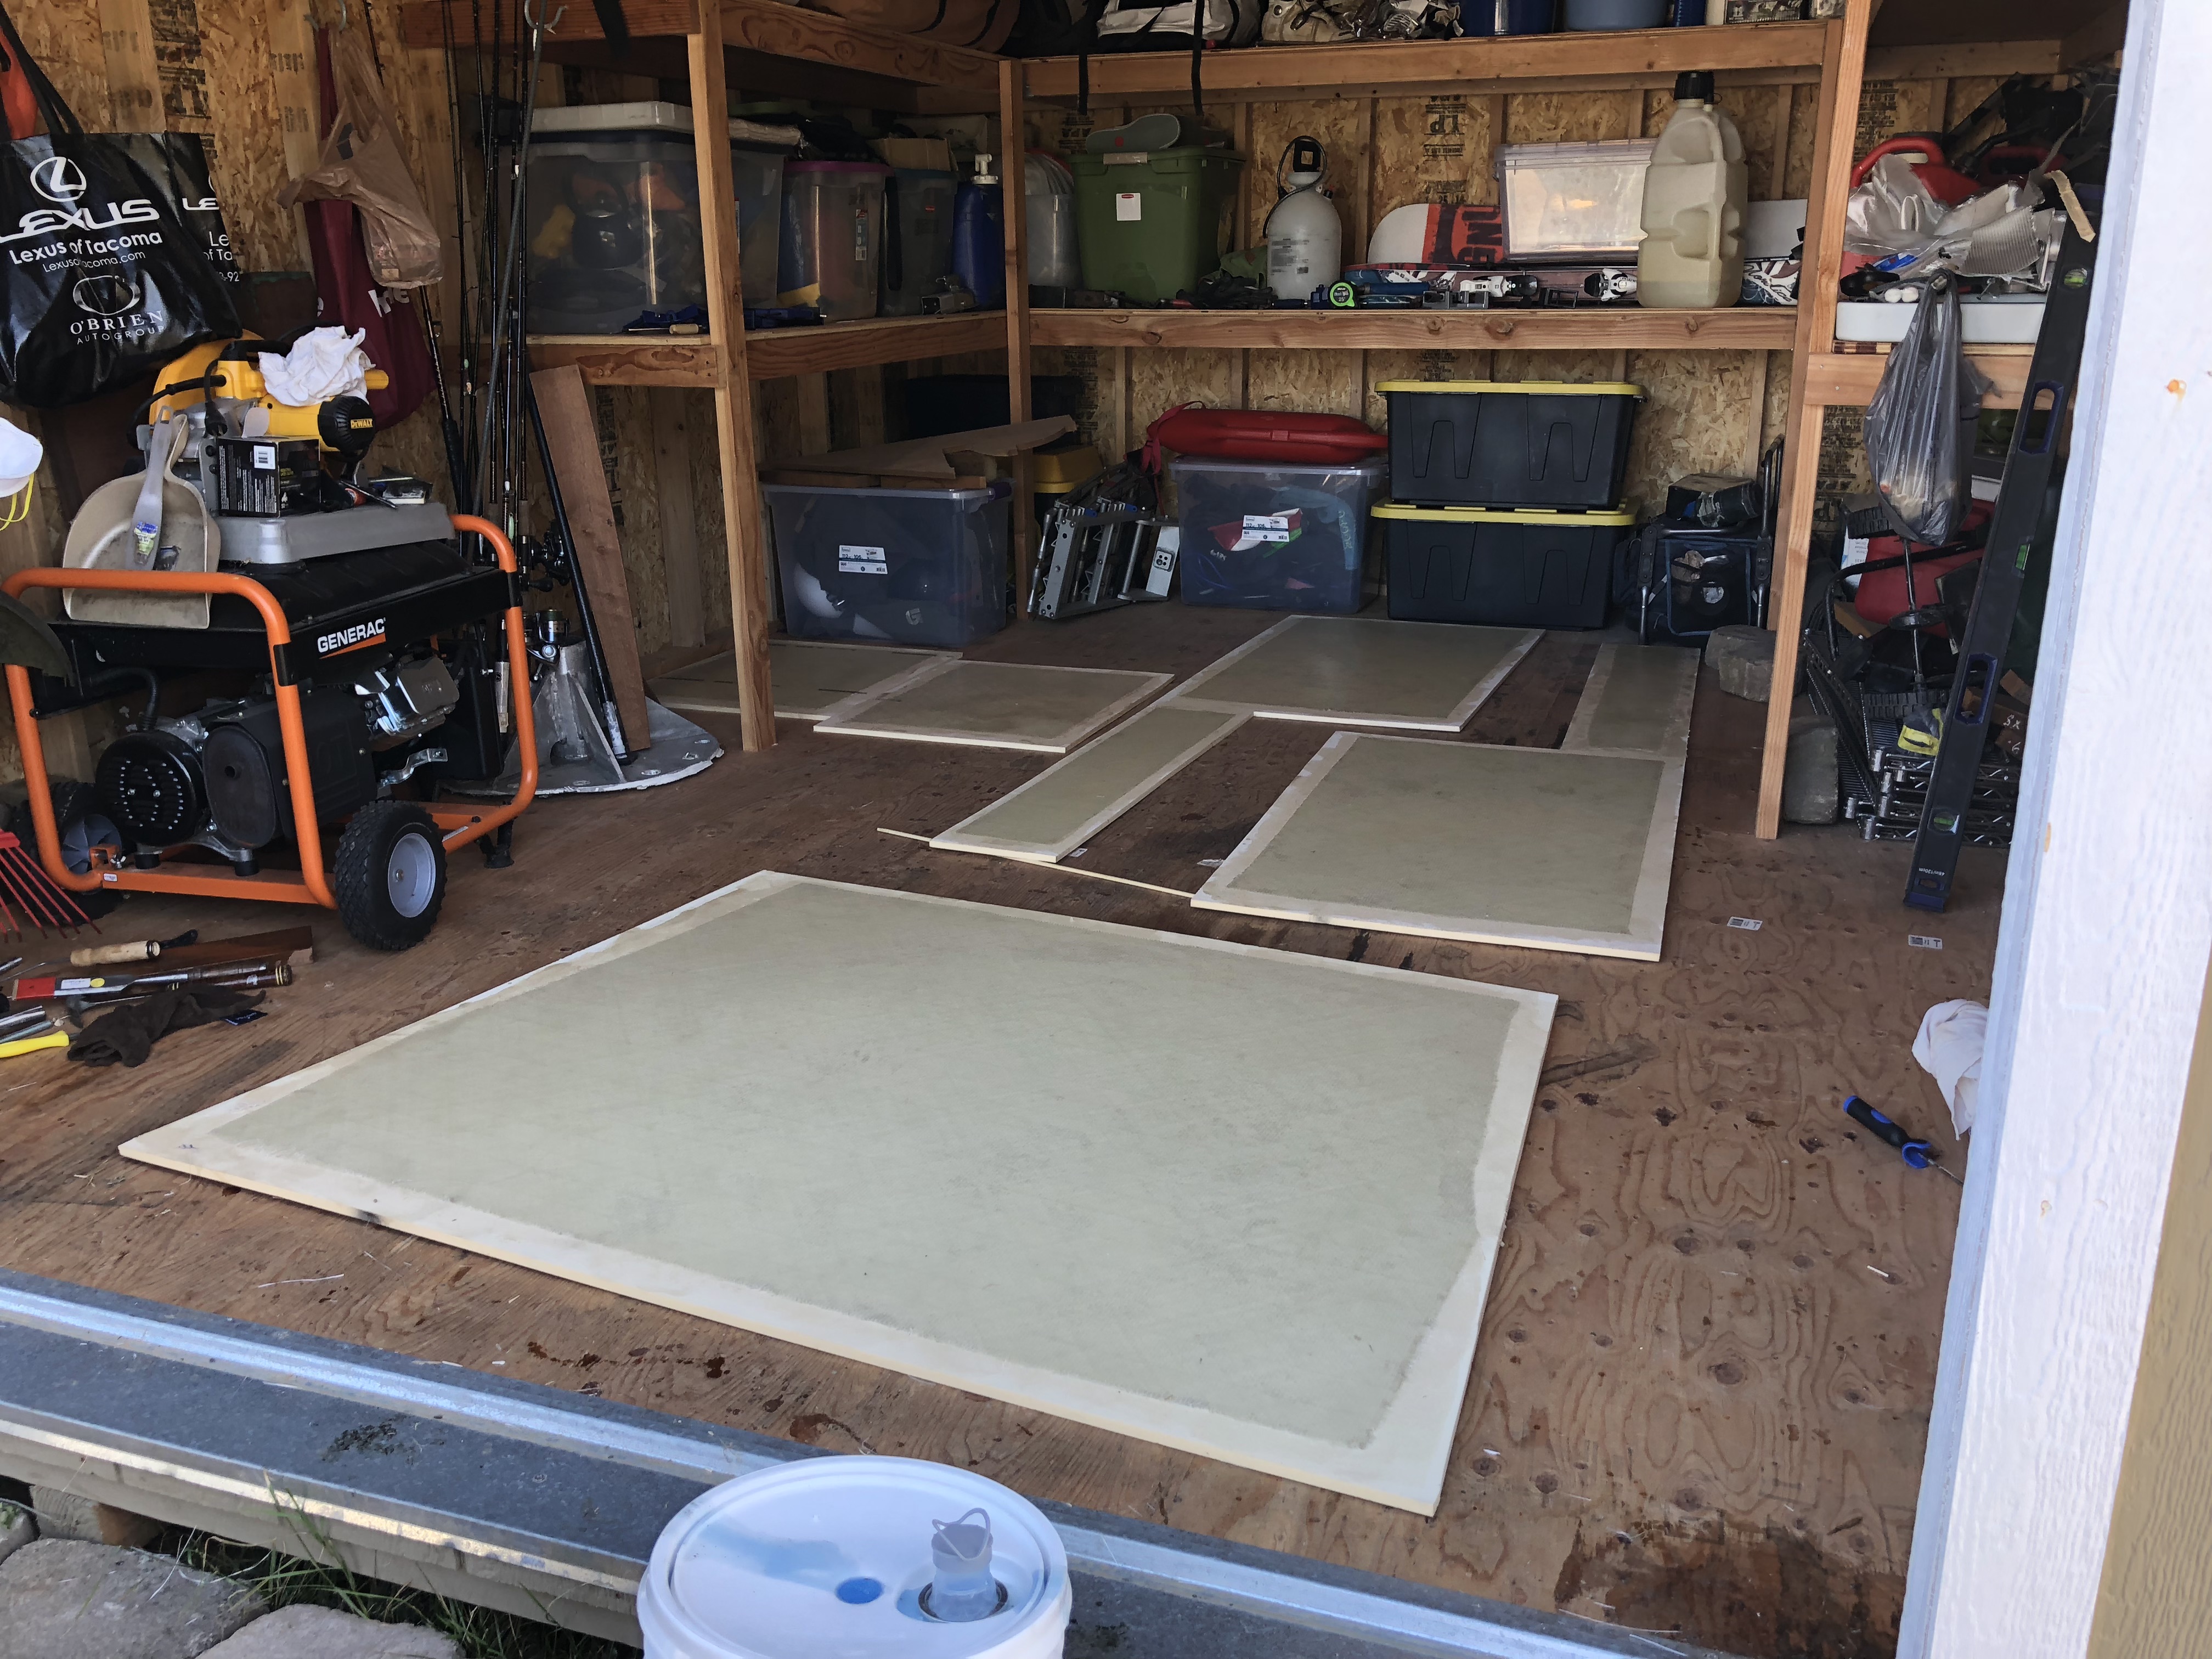
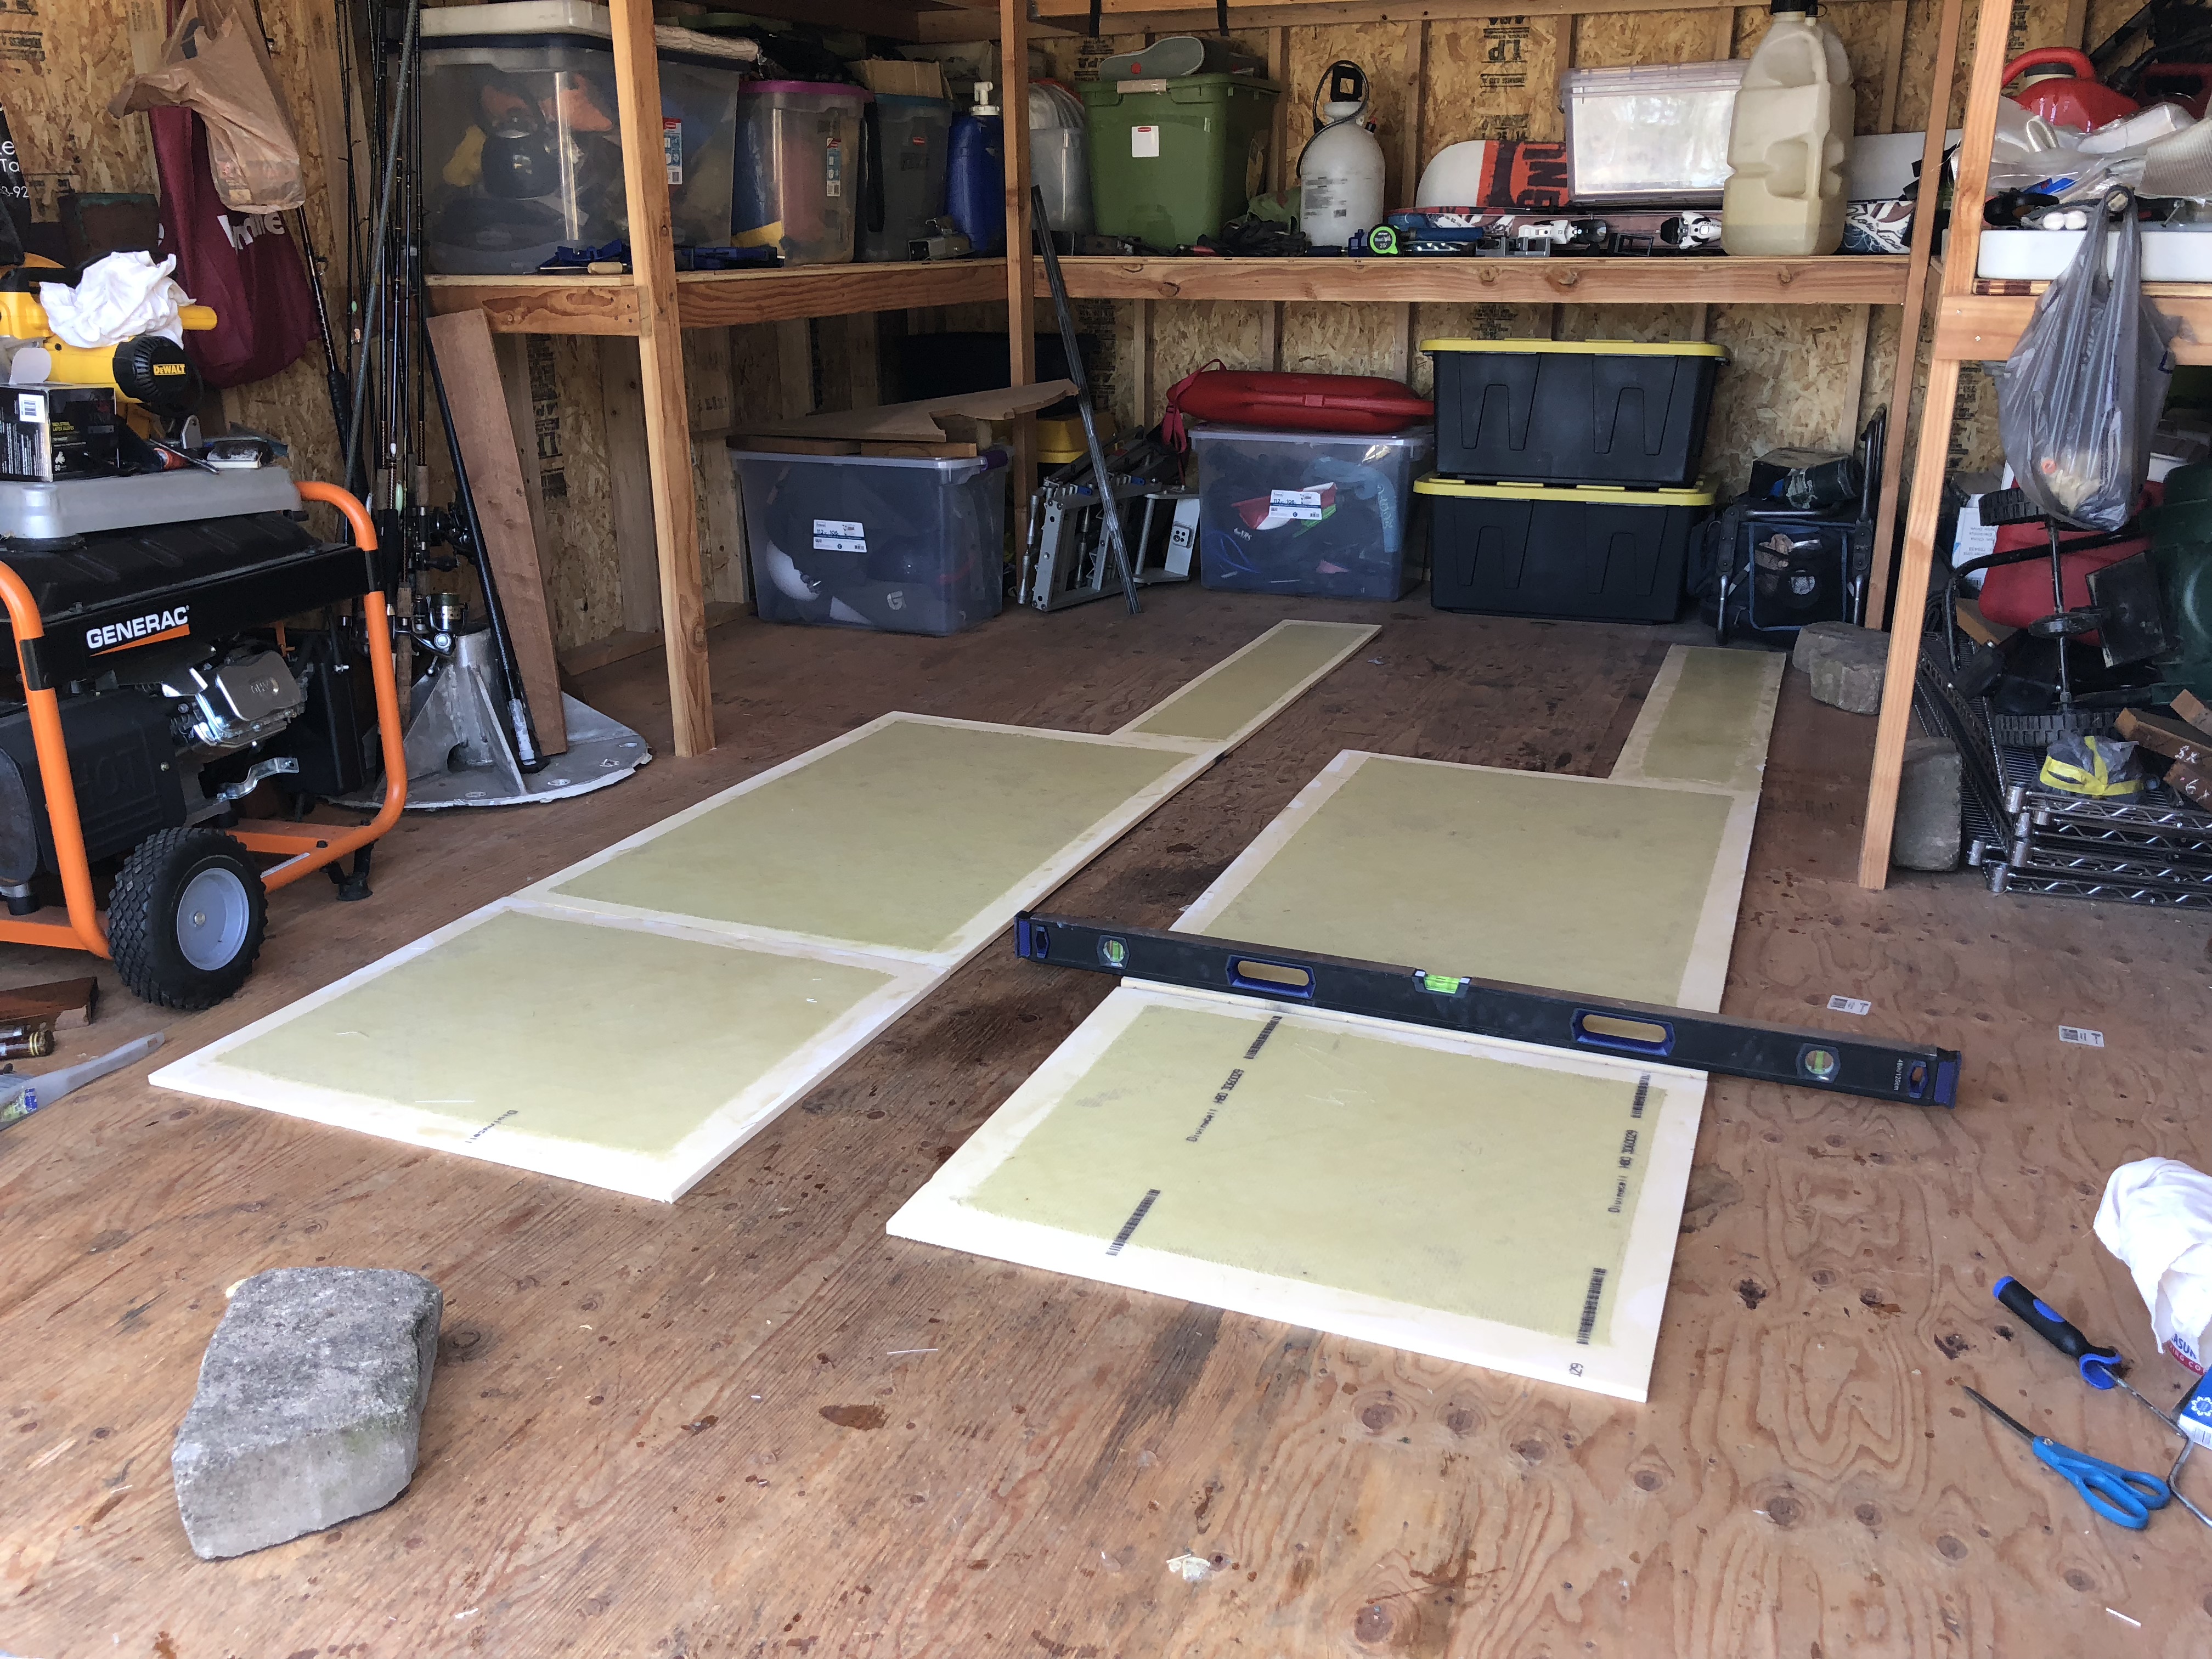
The two small pieces are to finish out the sides of the camper just behind the Oklahoma shaped pieces. The large piece is the cabover floor. We decided to have it angled inboard a few inches on each side, mostly because it will look a lot nicer than a giant box on top of the truck. The oklahoma pieces were laid up with glass in two sections so that the foam could still be bent to fit the contour that we wanted. After finishing the flat pieces, we moved on to some of the exterior joints.
IMG_9532.jpg

Since everything is so much easier to do when it's laid out flat, we decided to go ahead and glass the entire side bulkhead pieces together.
IMG_9533.jpg

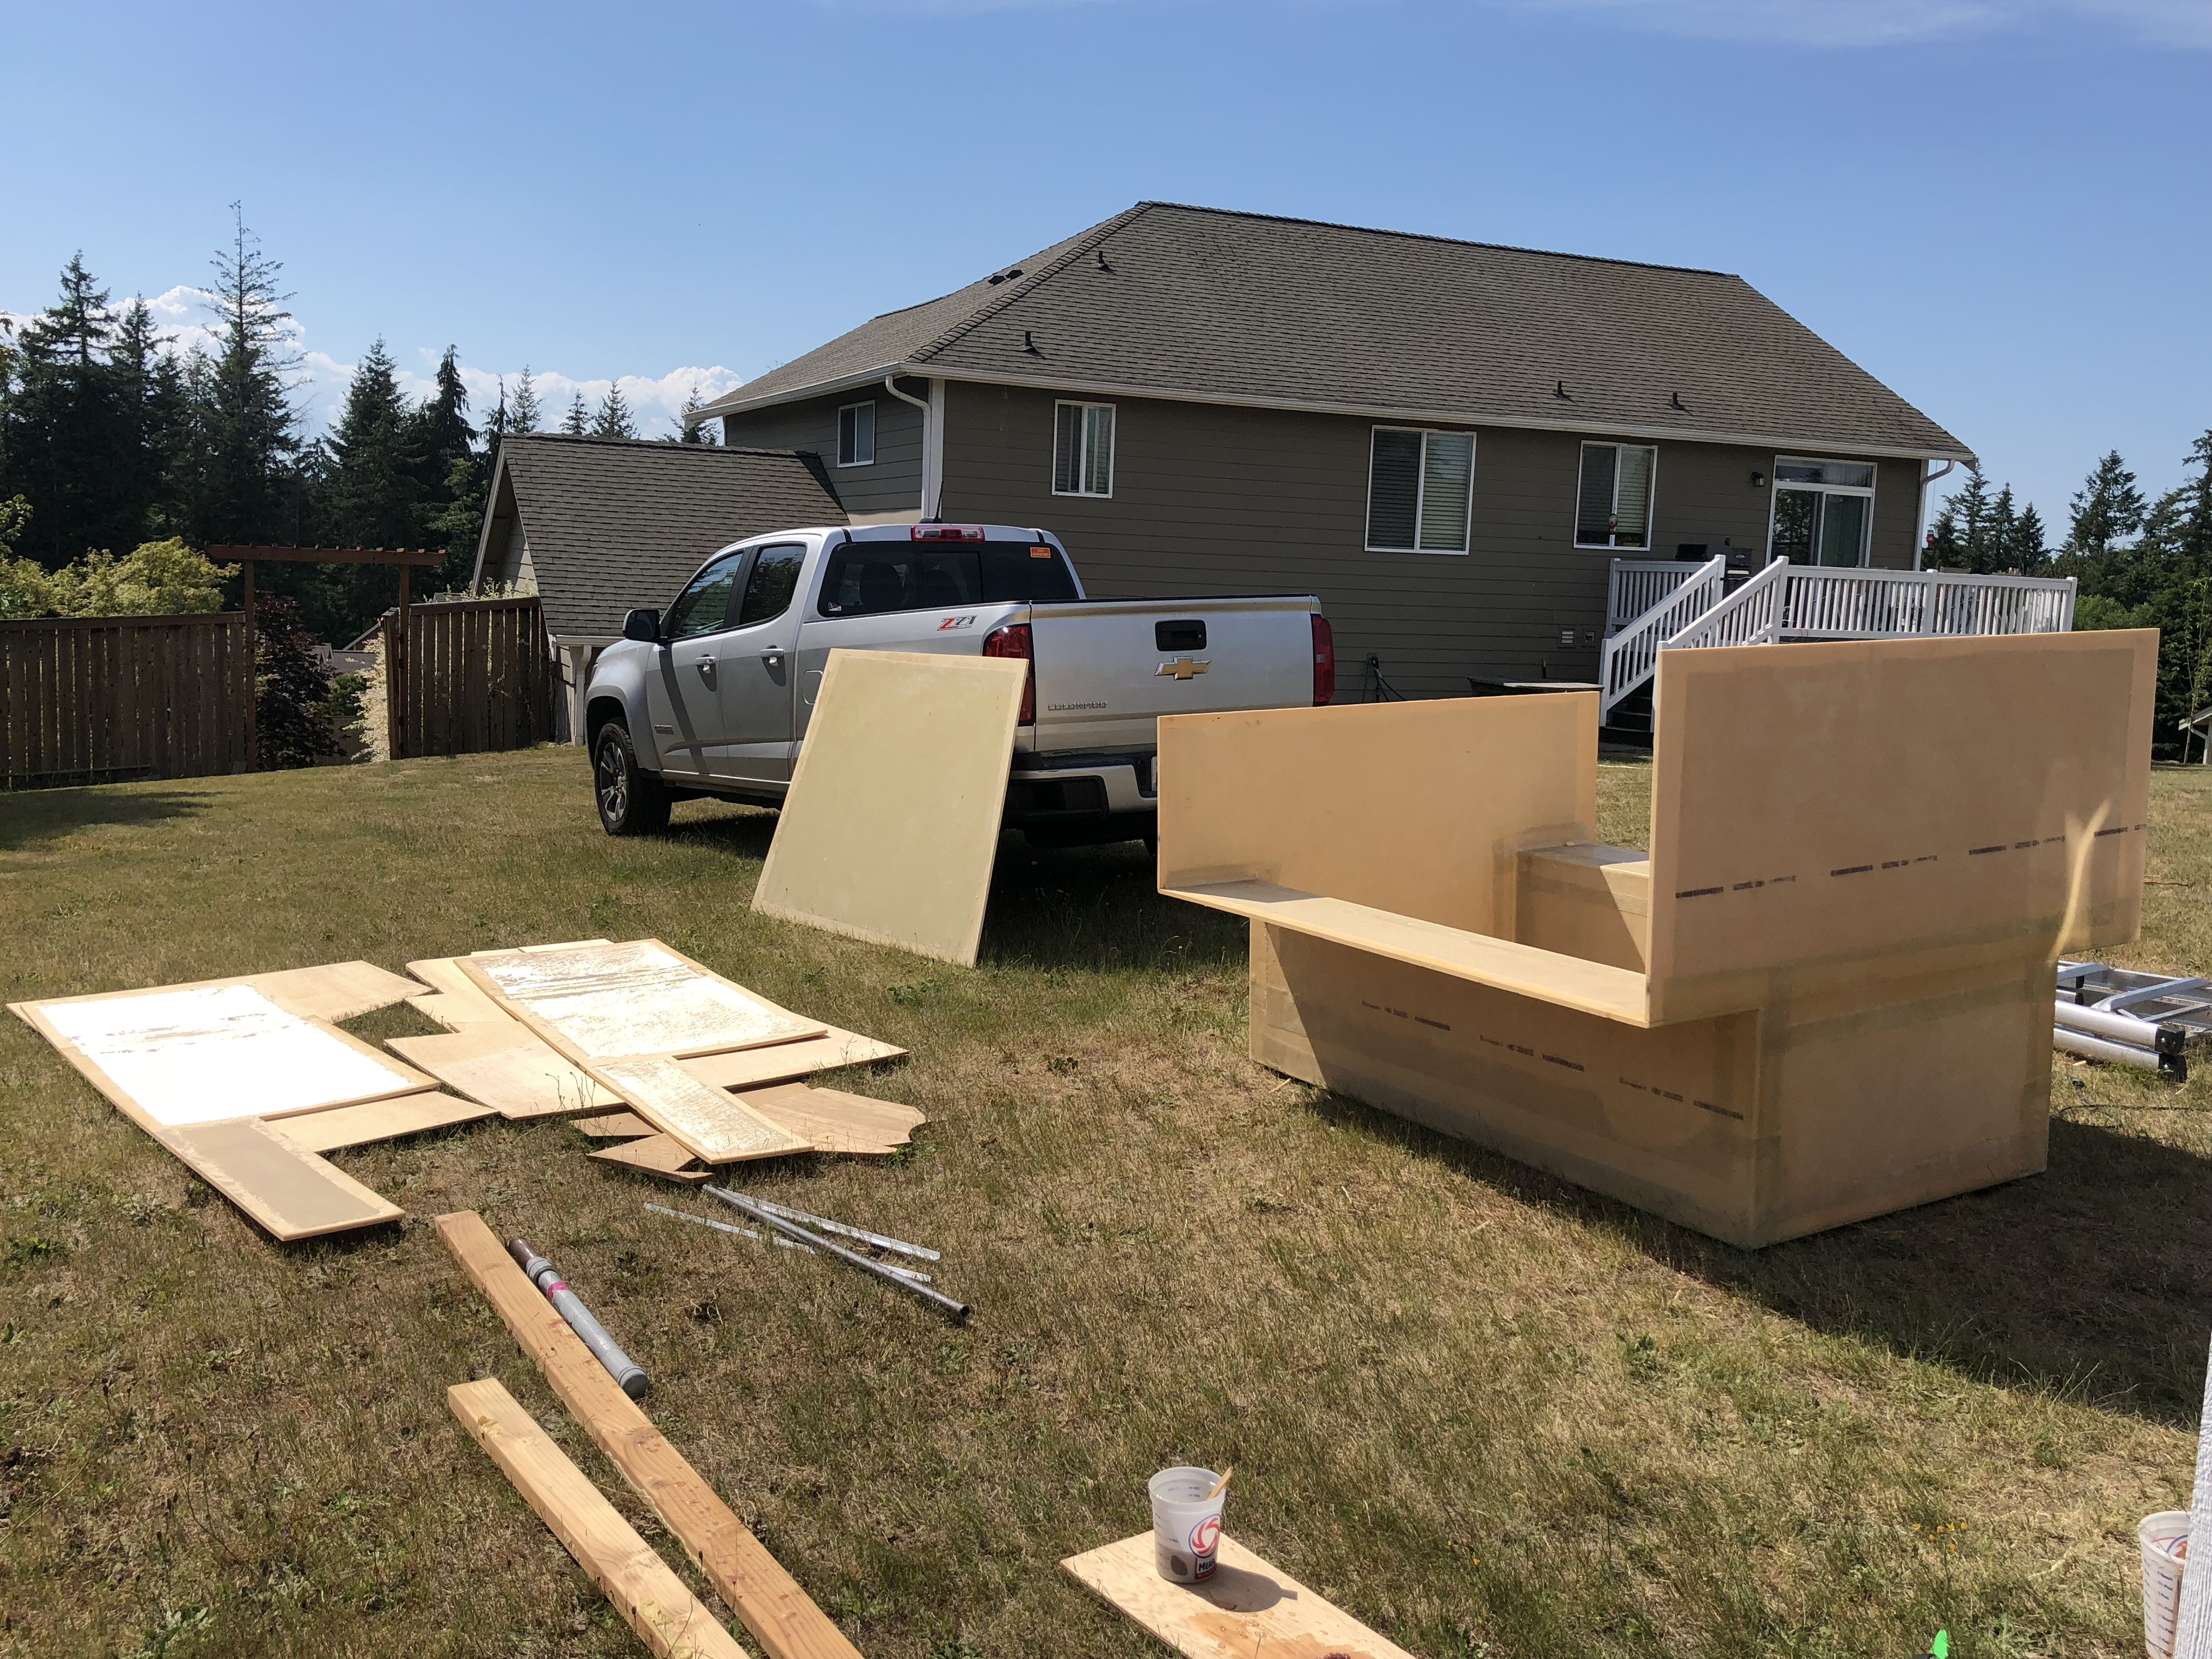
Drying in the yard while we get more snacks.
IMG_9546.jpg

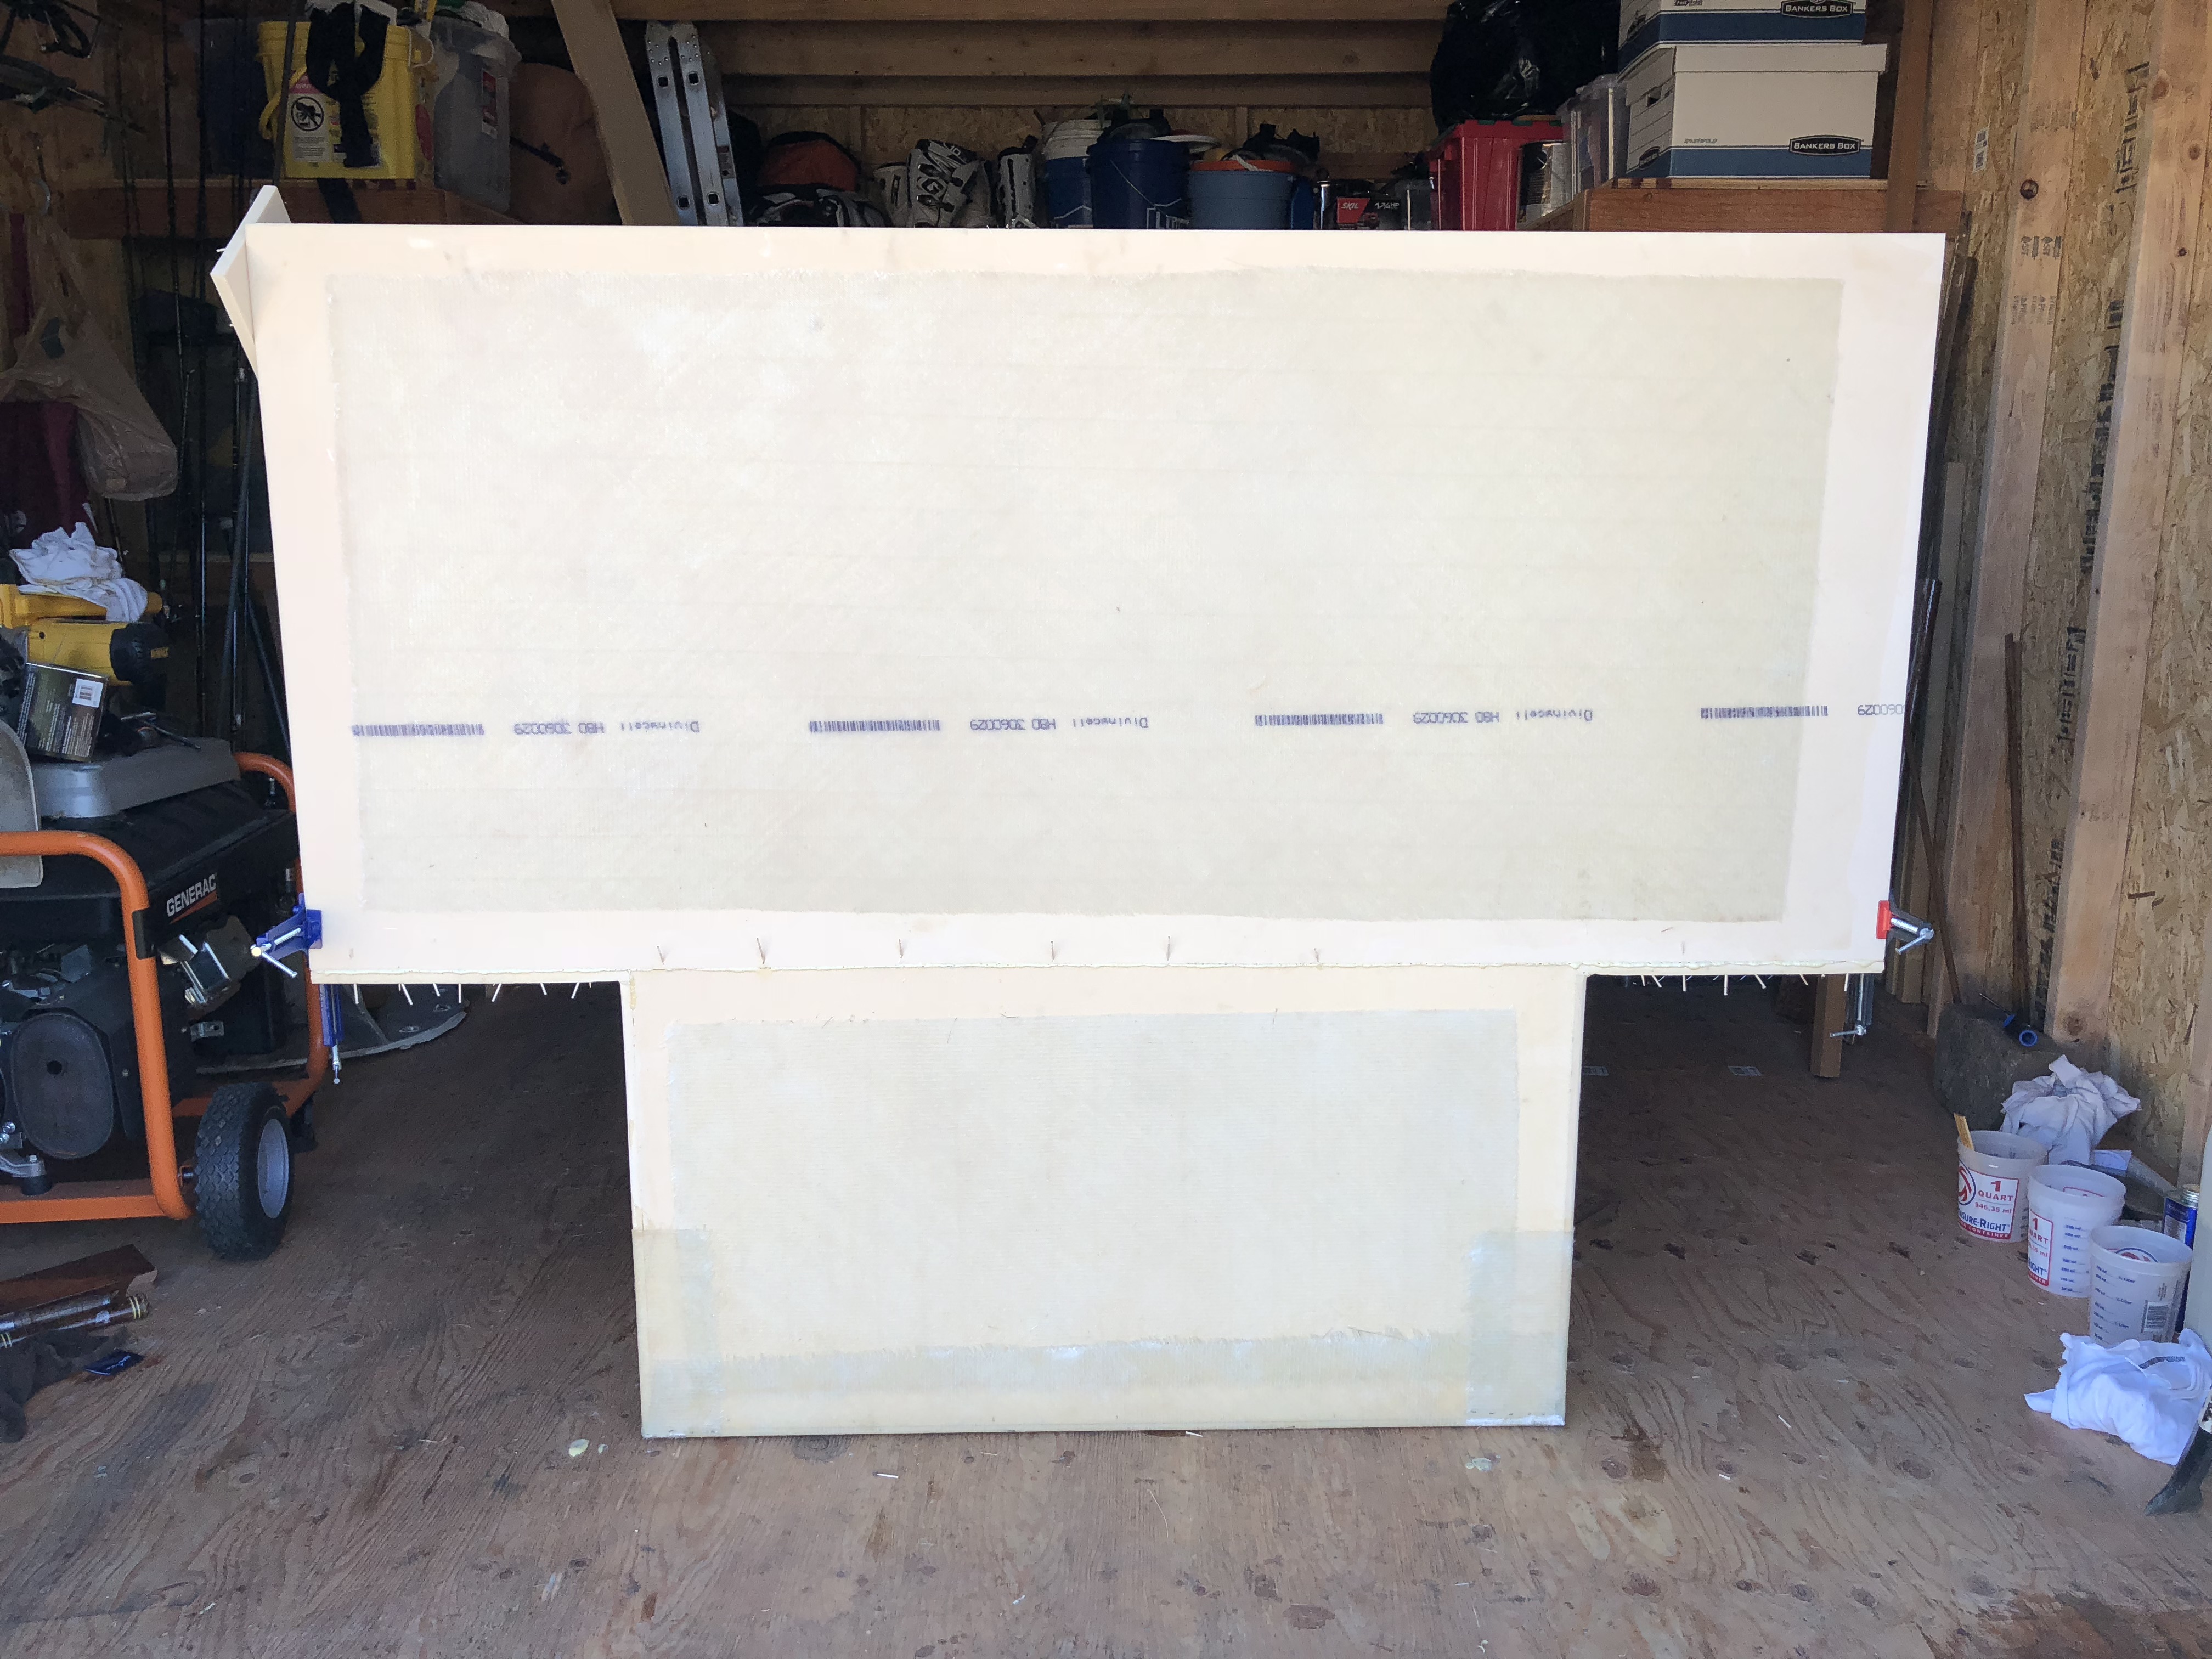
After waiting for all of the fiberglass to set up (the quick and easy part) we wanted to get all of the pieces glued into place so the glue could set up overnight and be ready for more work the next morning. We used every square and clamp that we own I think. Here's the complete aft bulkhead where the entry door will eventually go.
IMG_9528.jpg

I used so many toothpicks
IMG_9529.jpg

Outside in the sun drying and conveniently holding our precut pieces of fiberglass for the next step.
IMG_9534.jpg

We even got the joints glassed in!
IMG_9548.jpg

The yard is complete mayhem. The neighbors are starting to get curious as to what we're doing over here. ;)
IMG_9549.jpg

I'm really glad we decided to do this in the storage shed instead of the attached garage. The chemical smell can be pretty overwhelming sometimes.
 

underkill

Active member
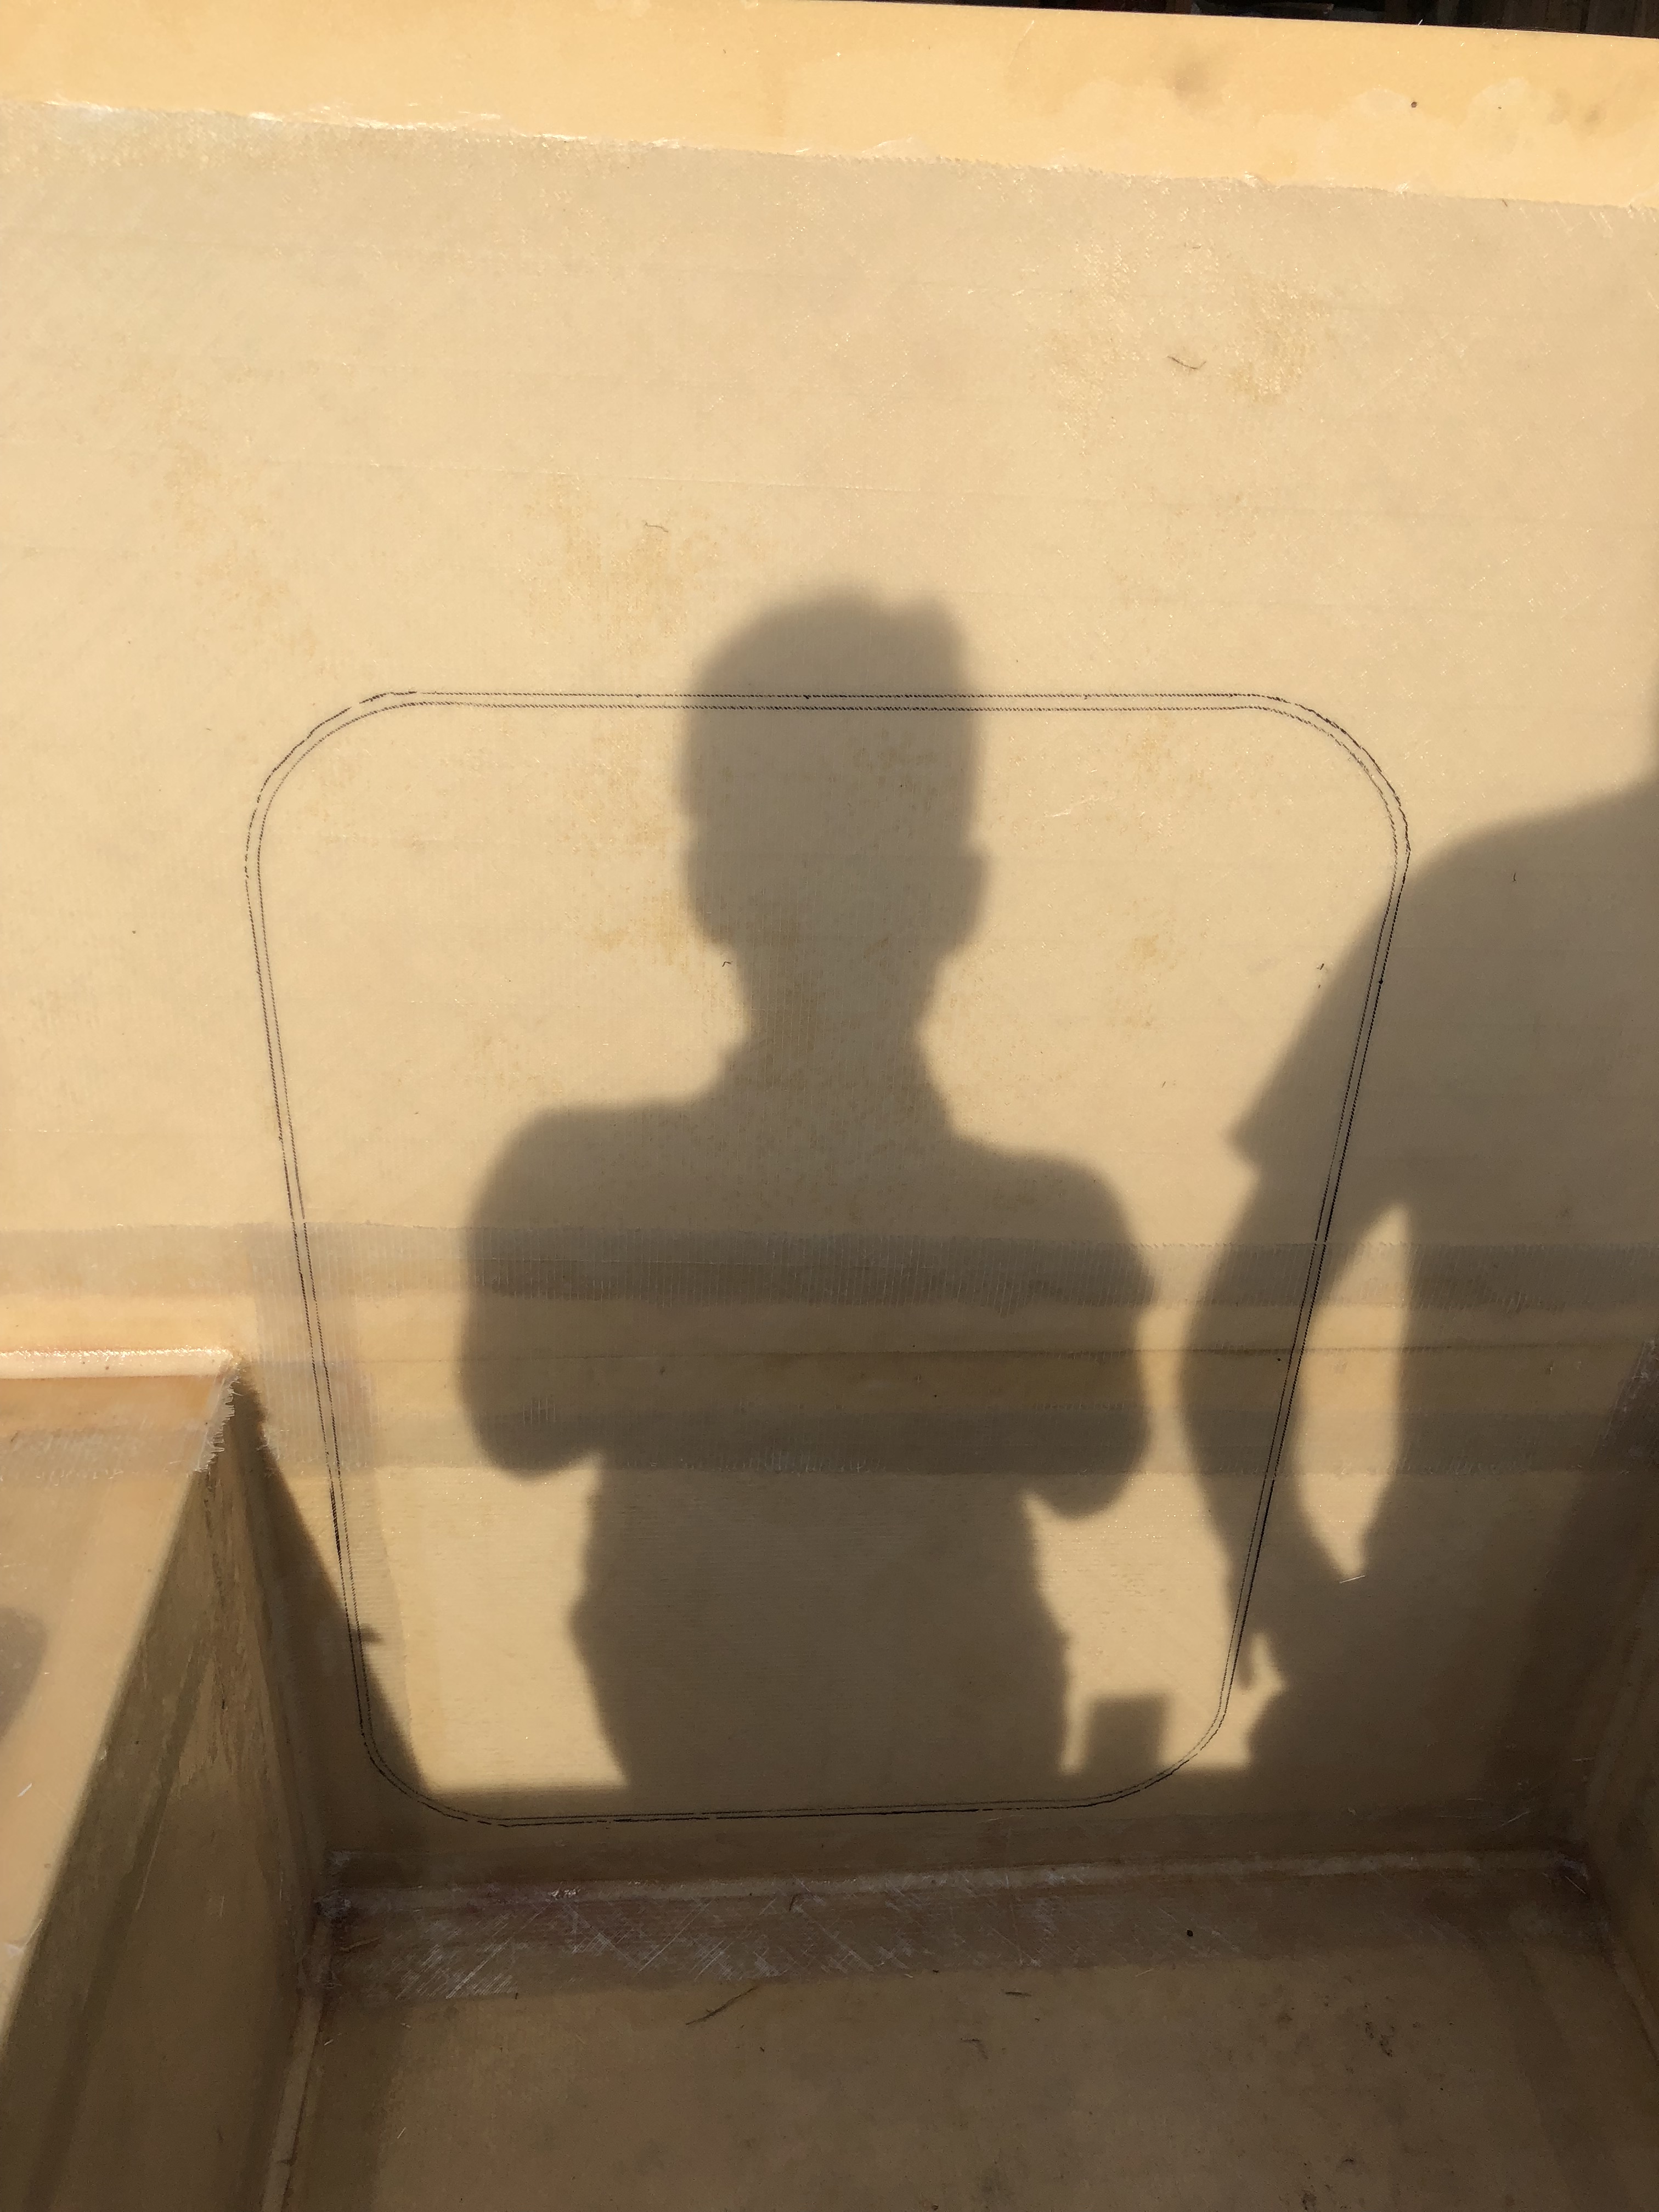
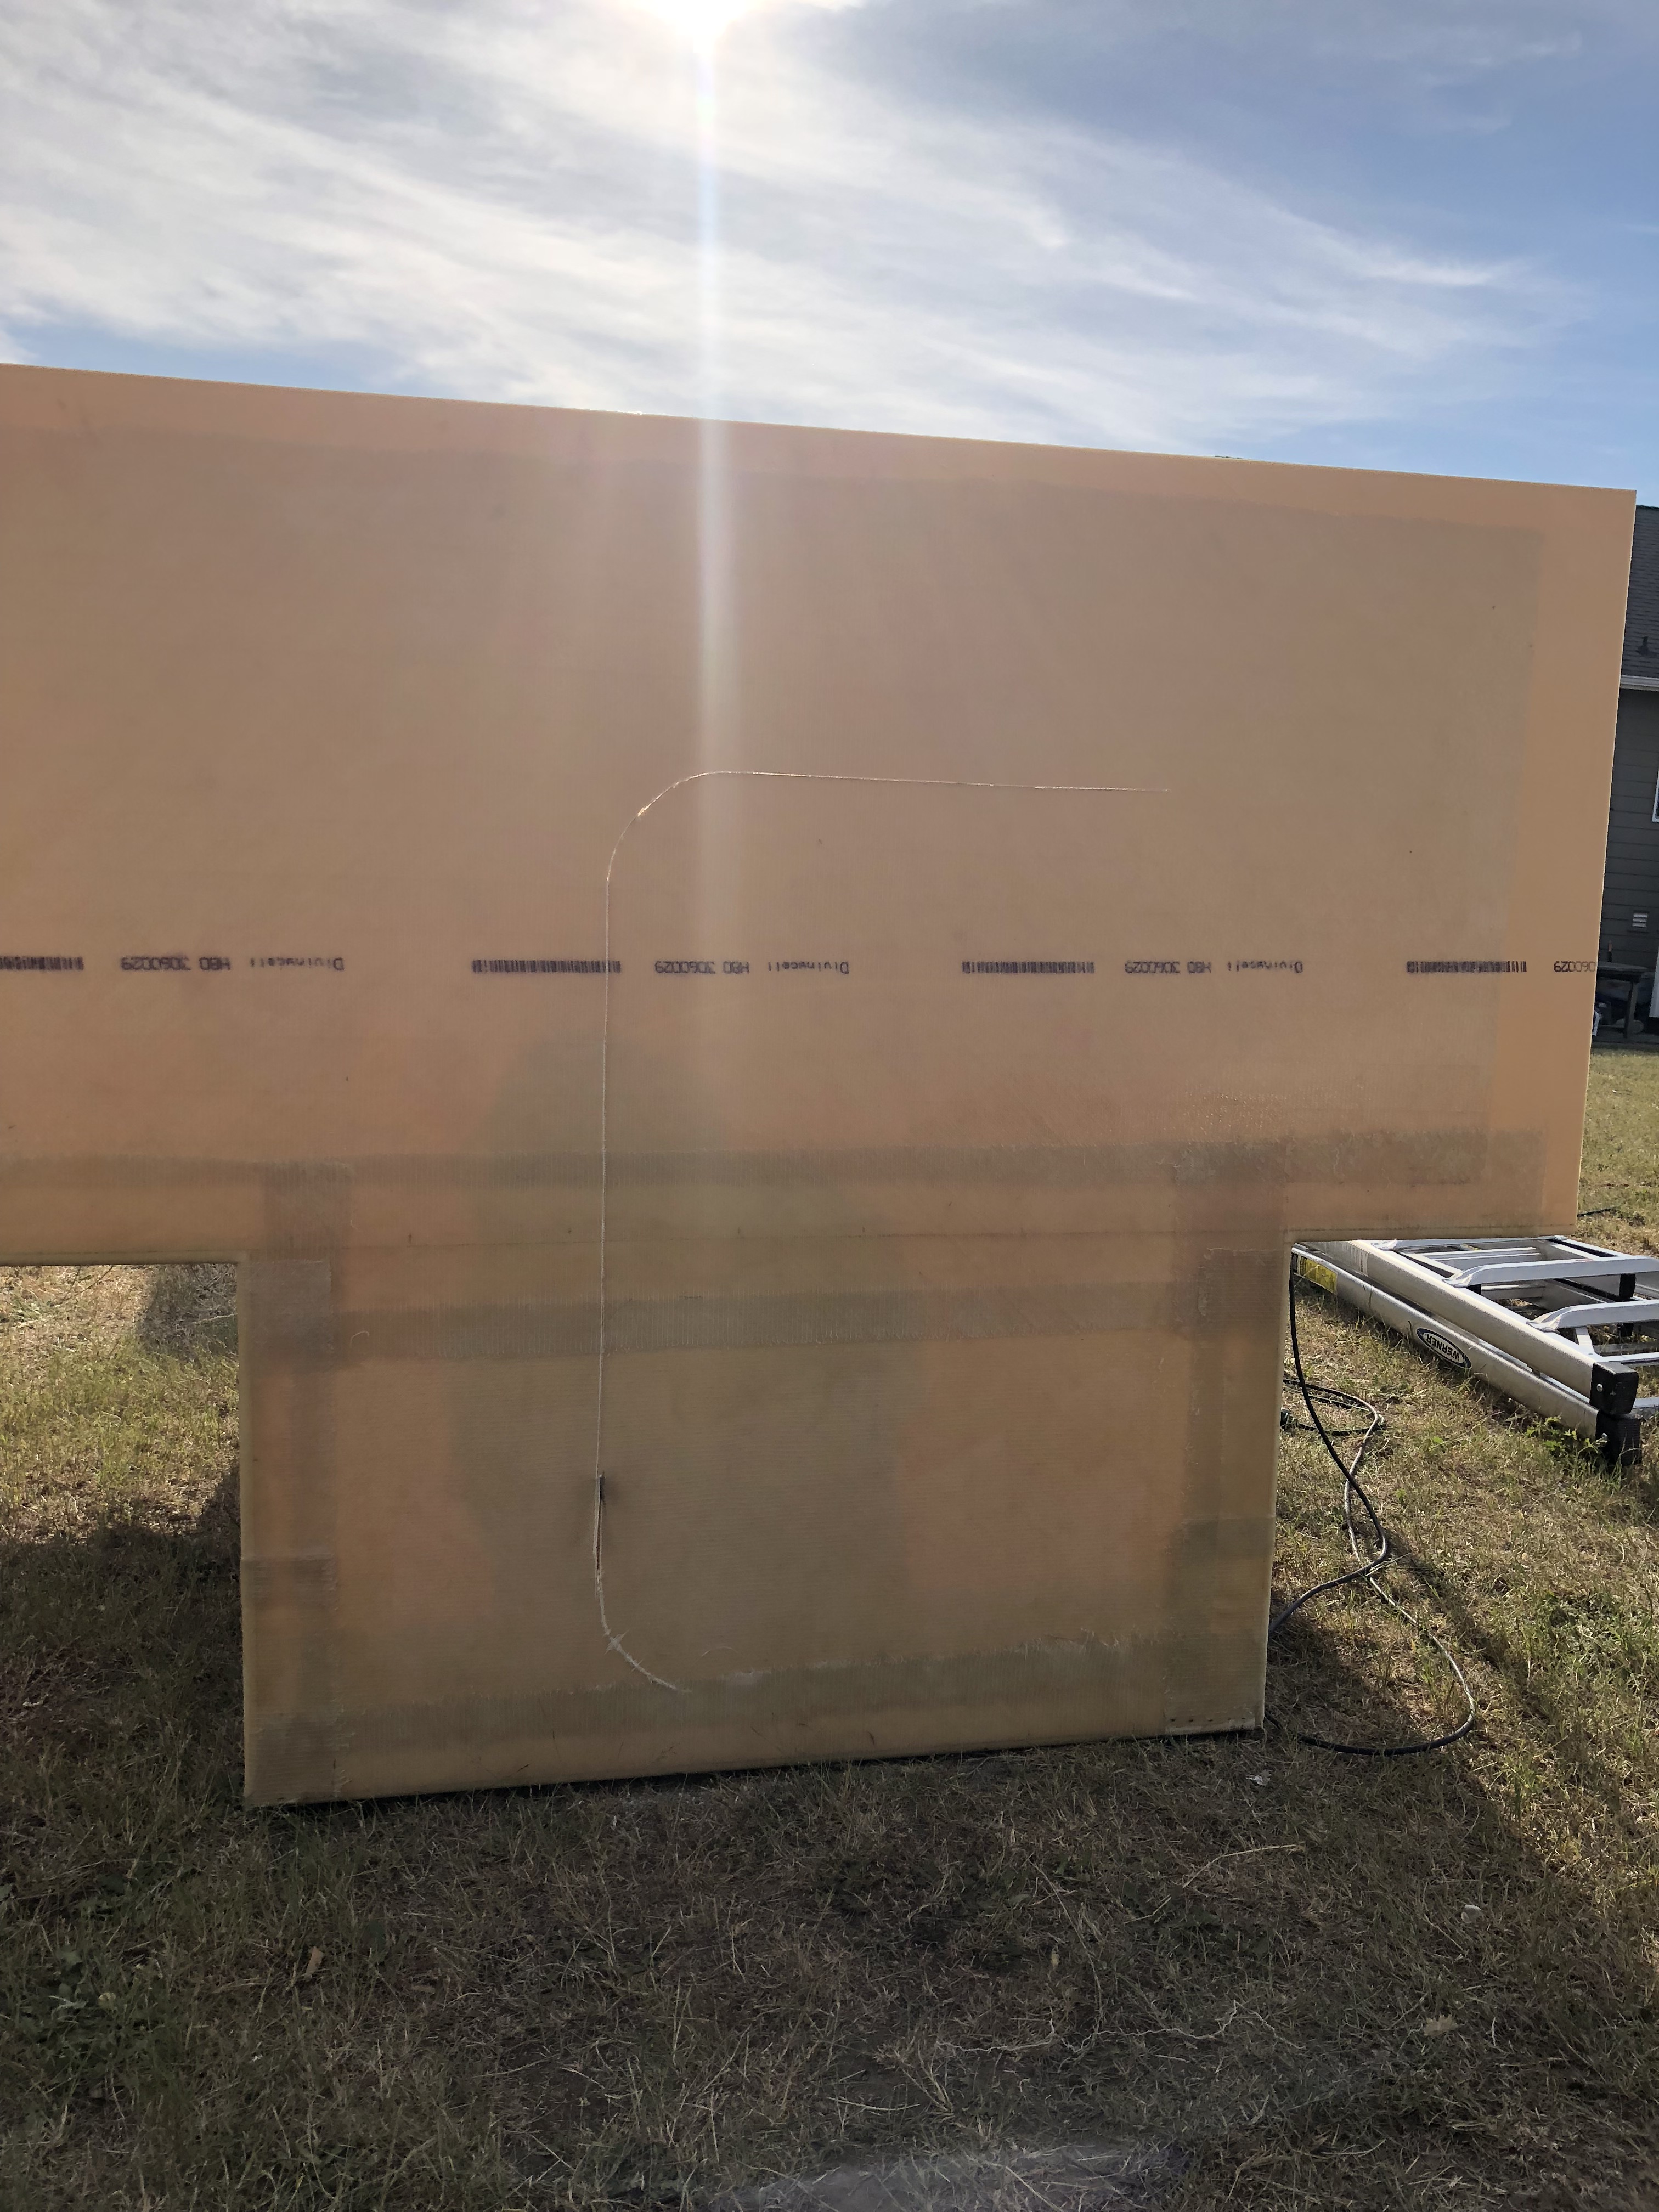
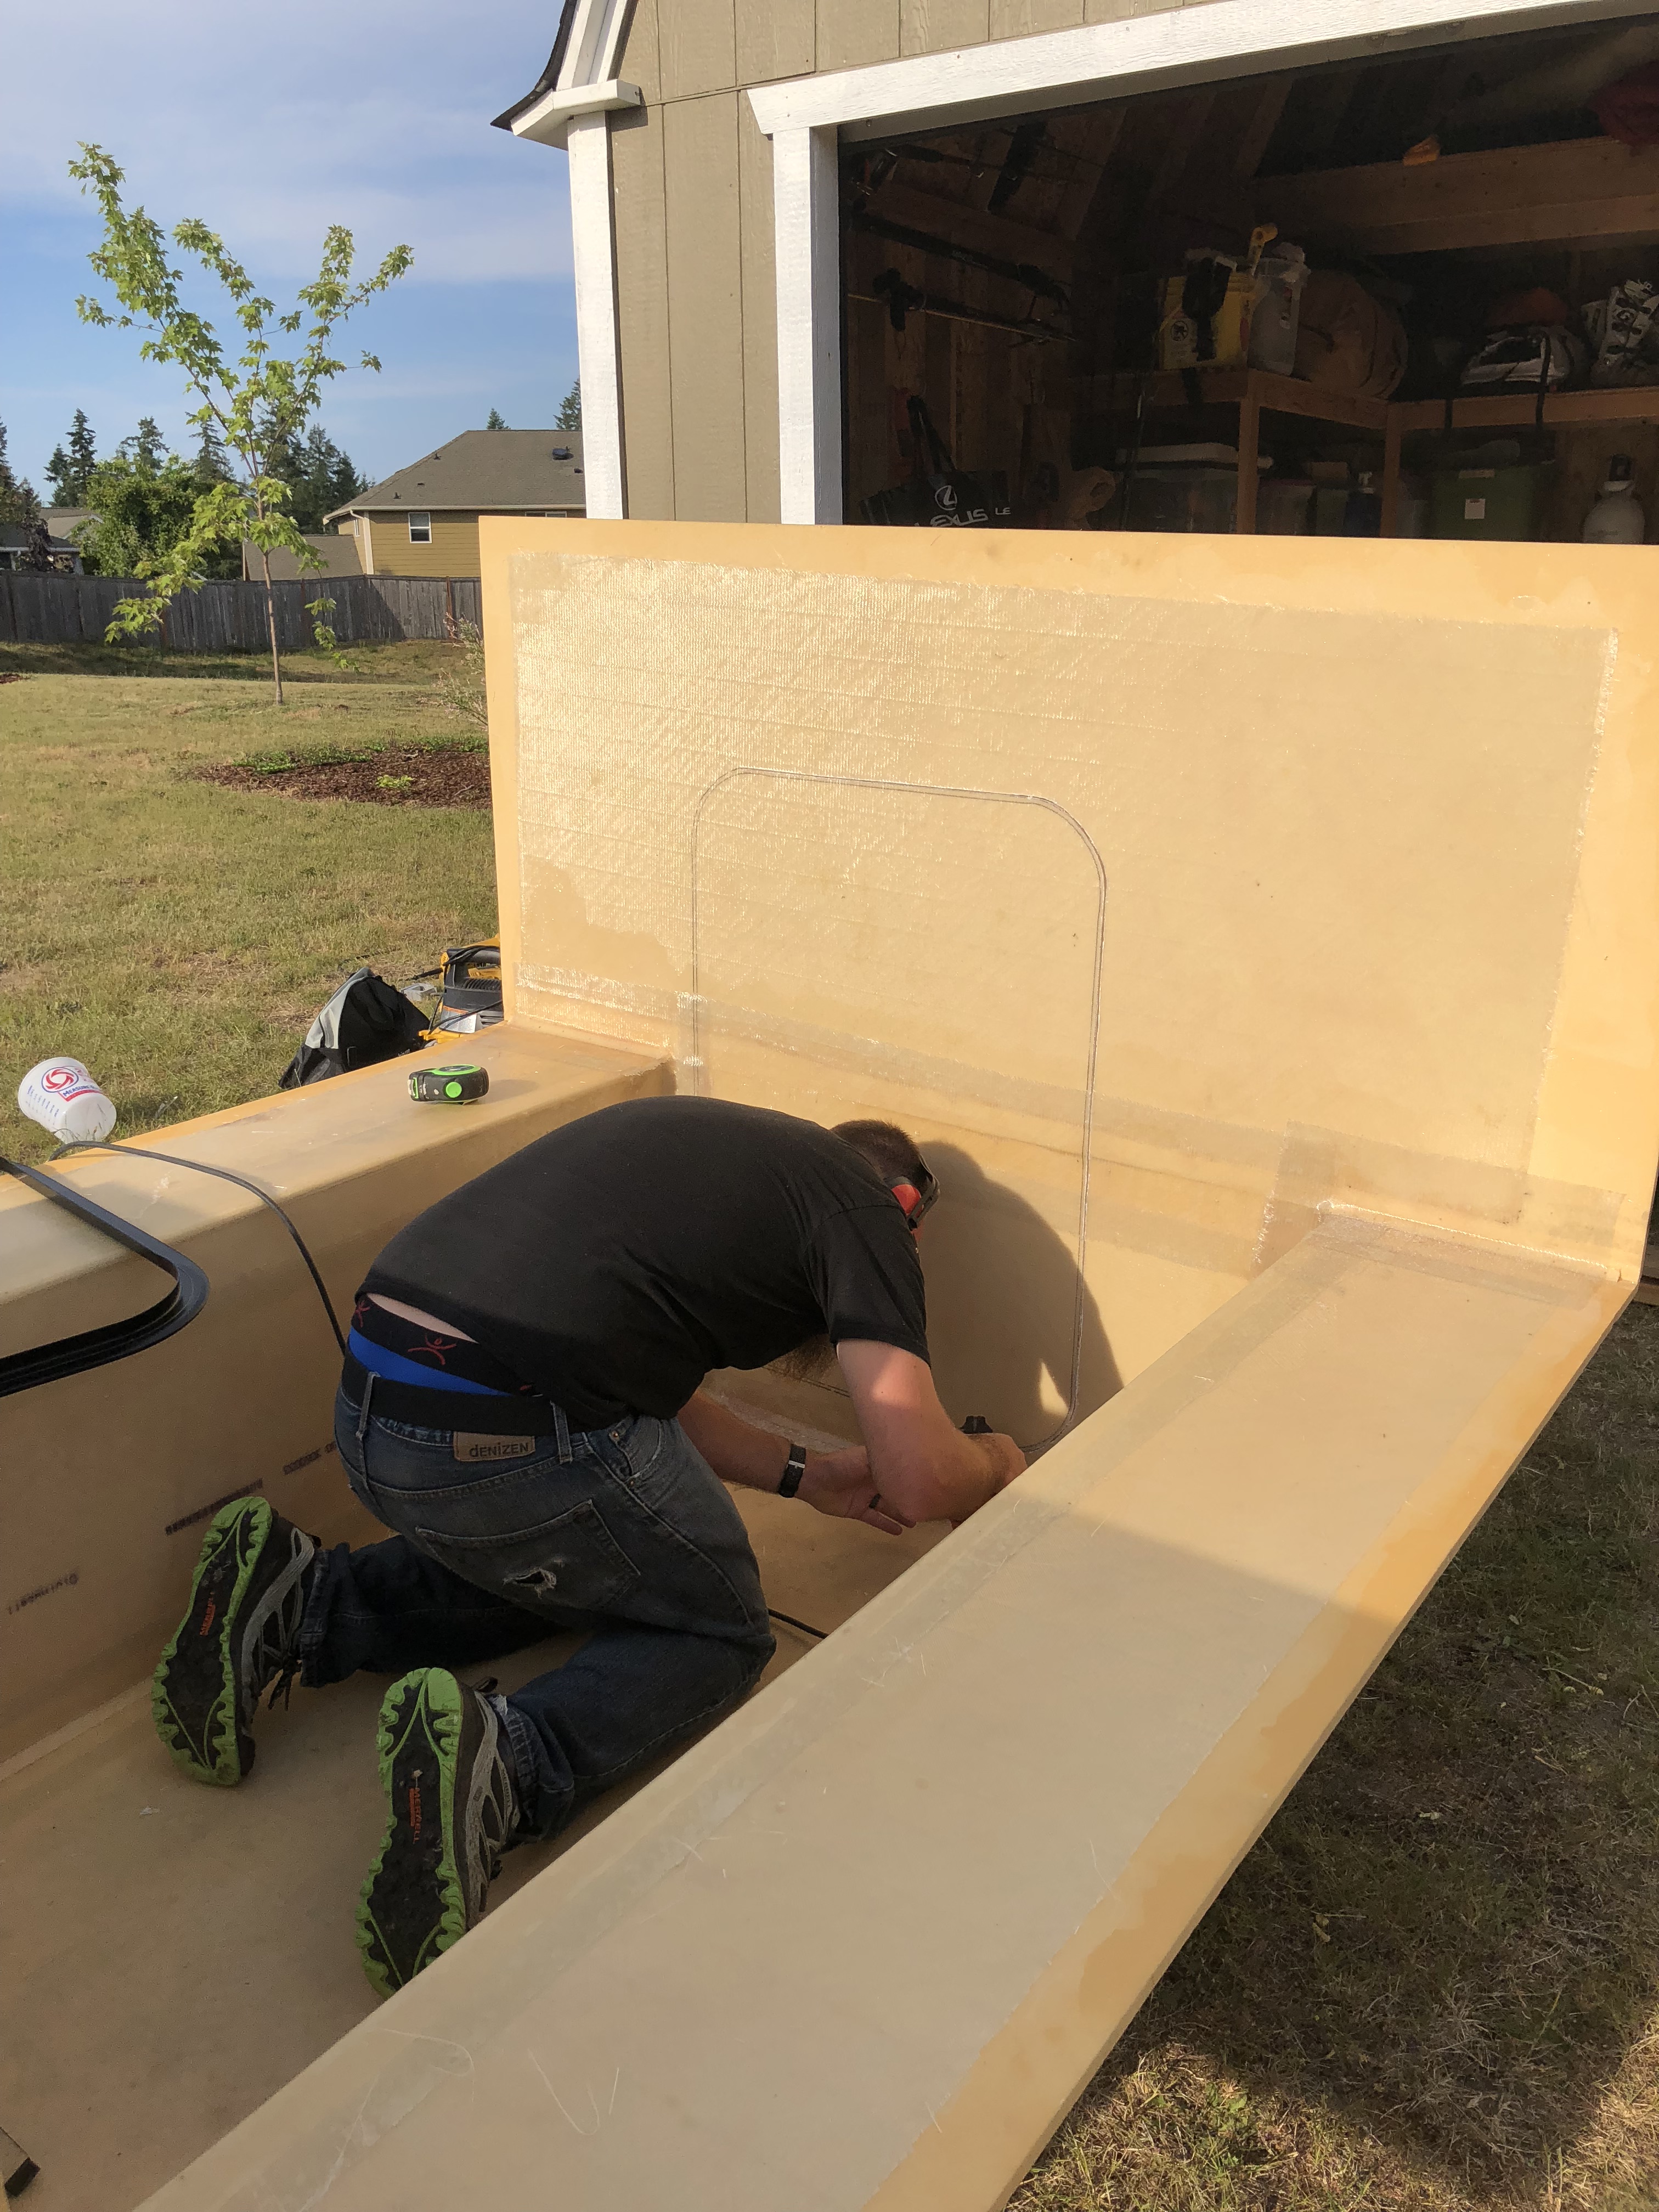
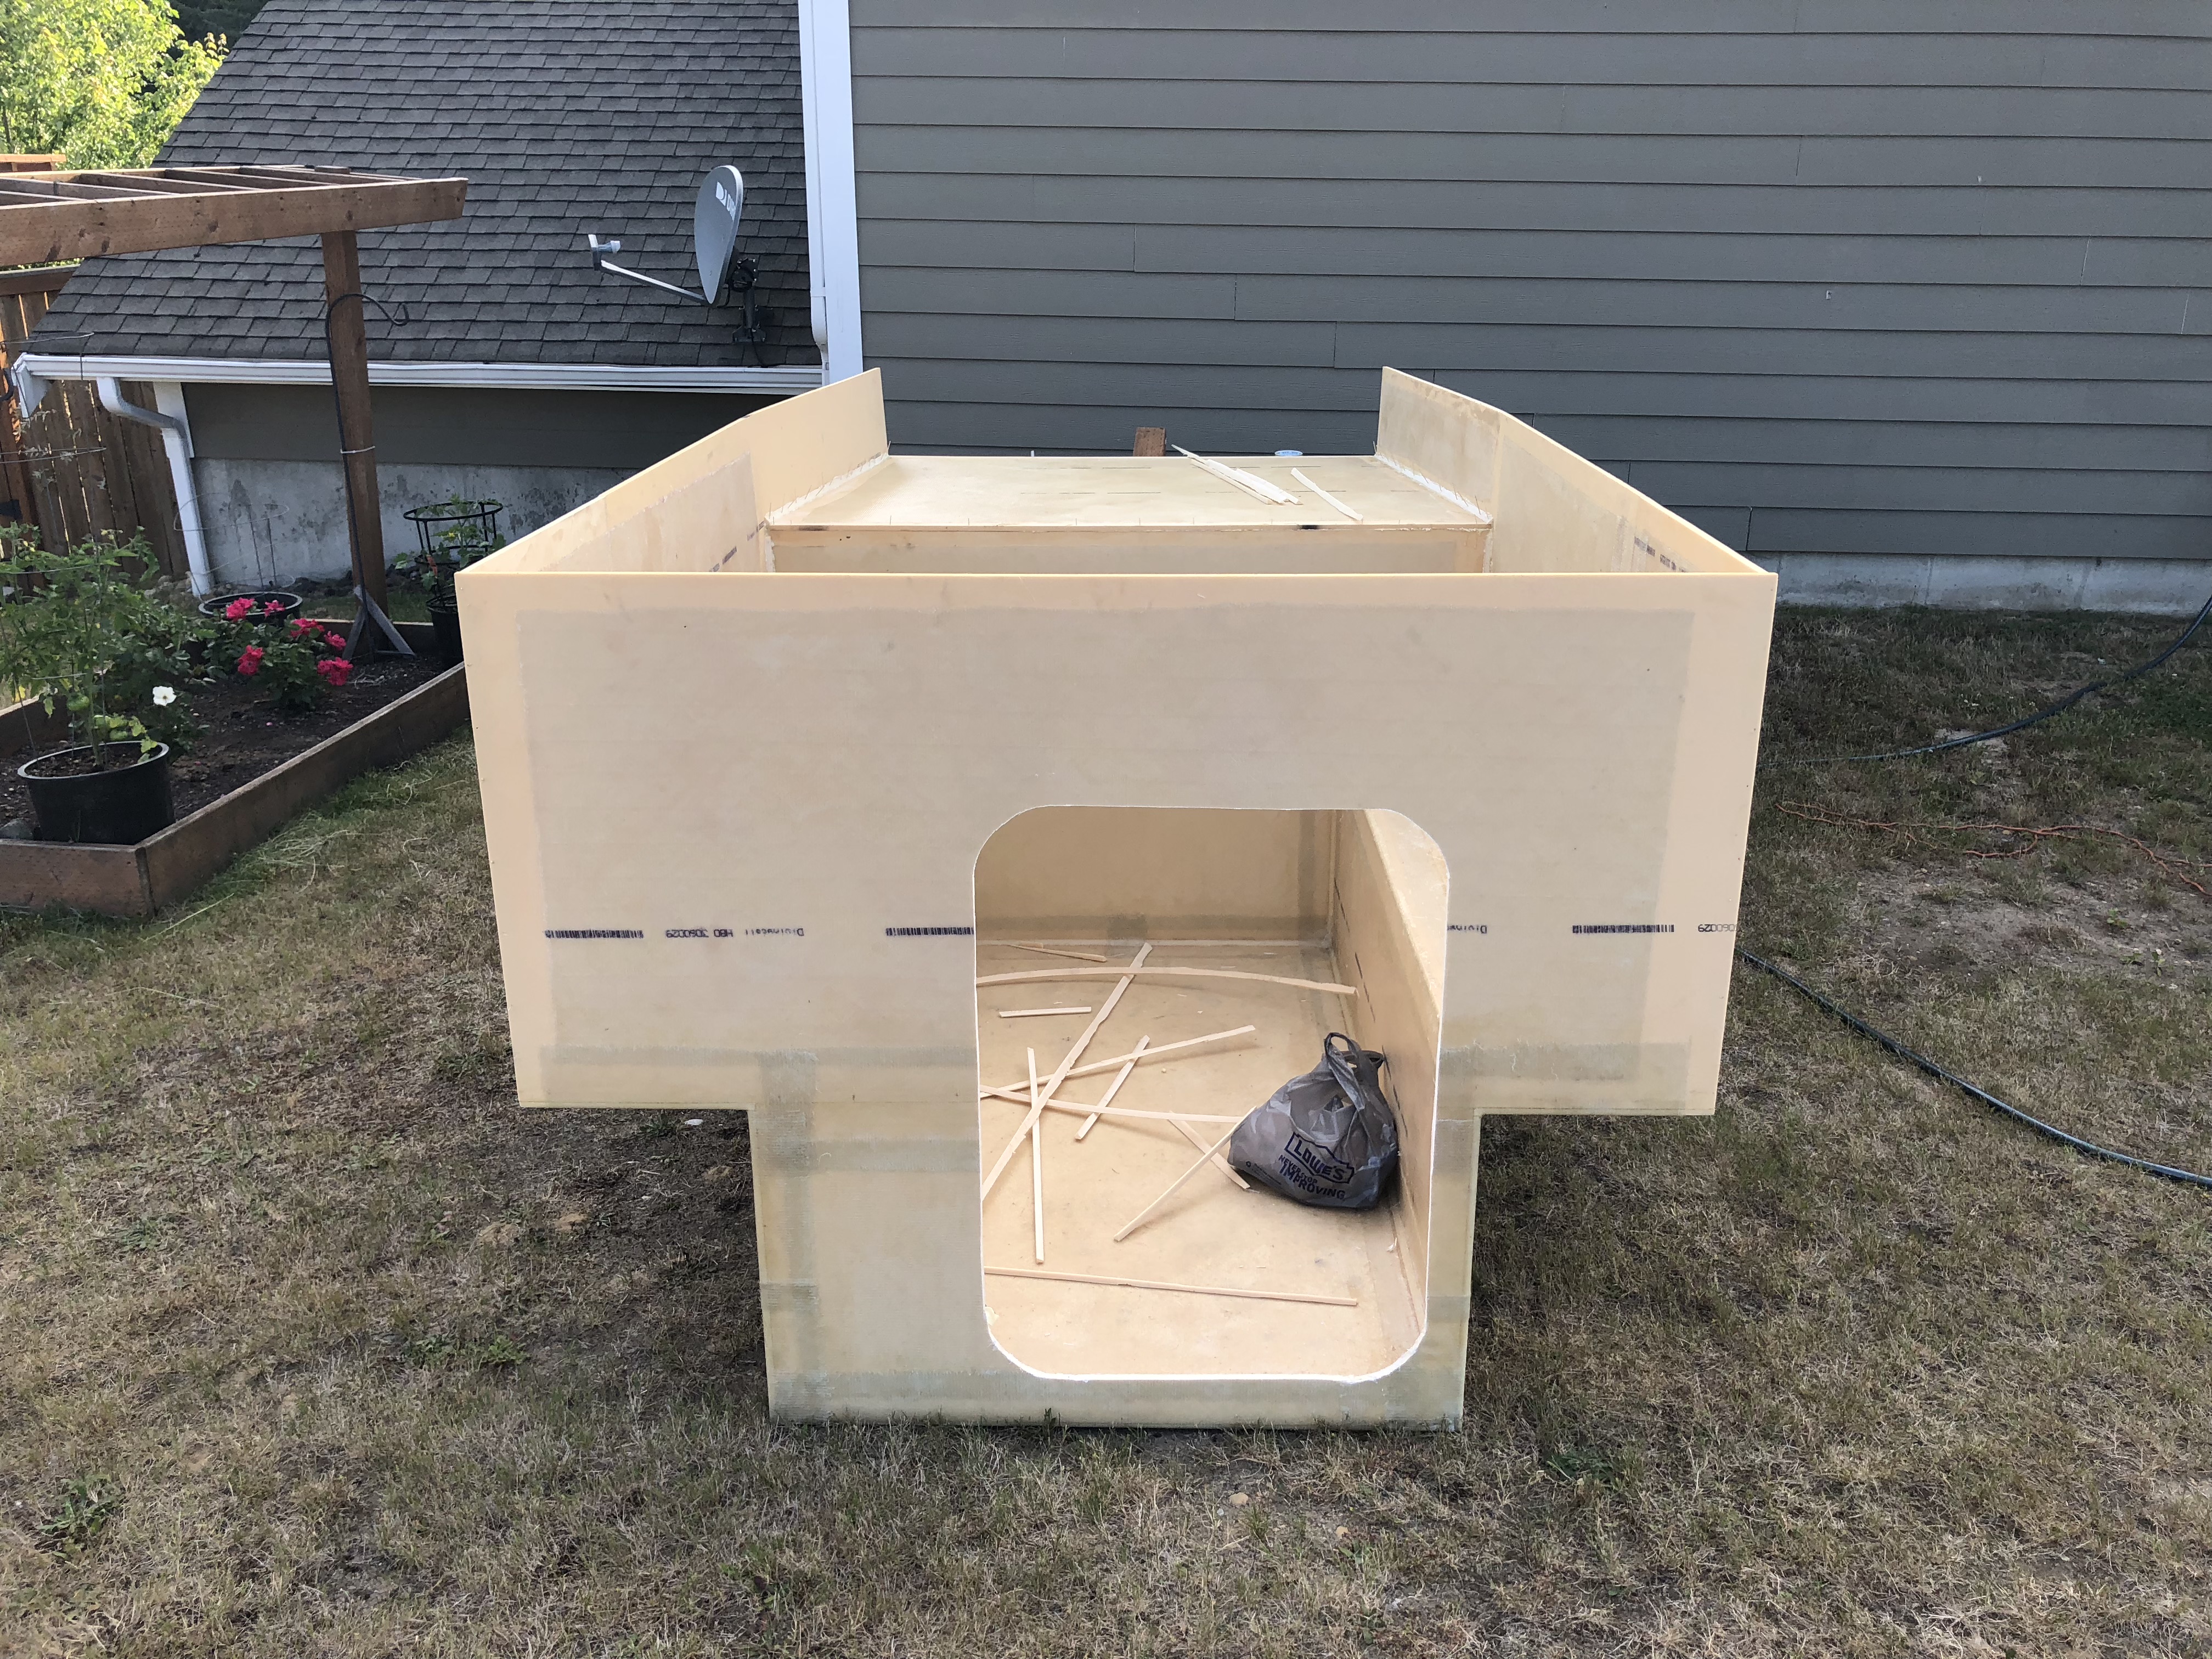
We started to realize that if we were going to be able to keep working on this thing, we're going to need to cut the hole for the door... We bought one of those premade "teardrop trailer" doors off of Ebay and luckily it came with a template.
IMG_9553.jpg

IMG_9554.jpg

IMG_9555.jpg

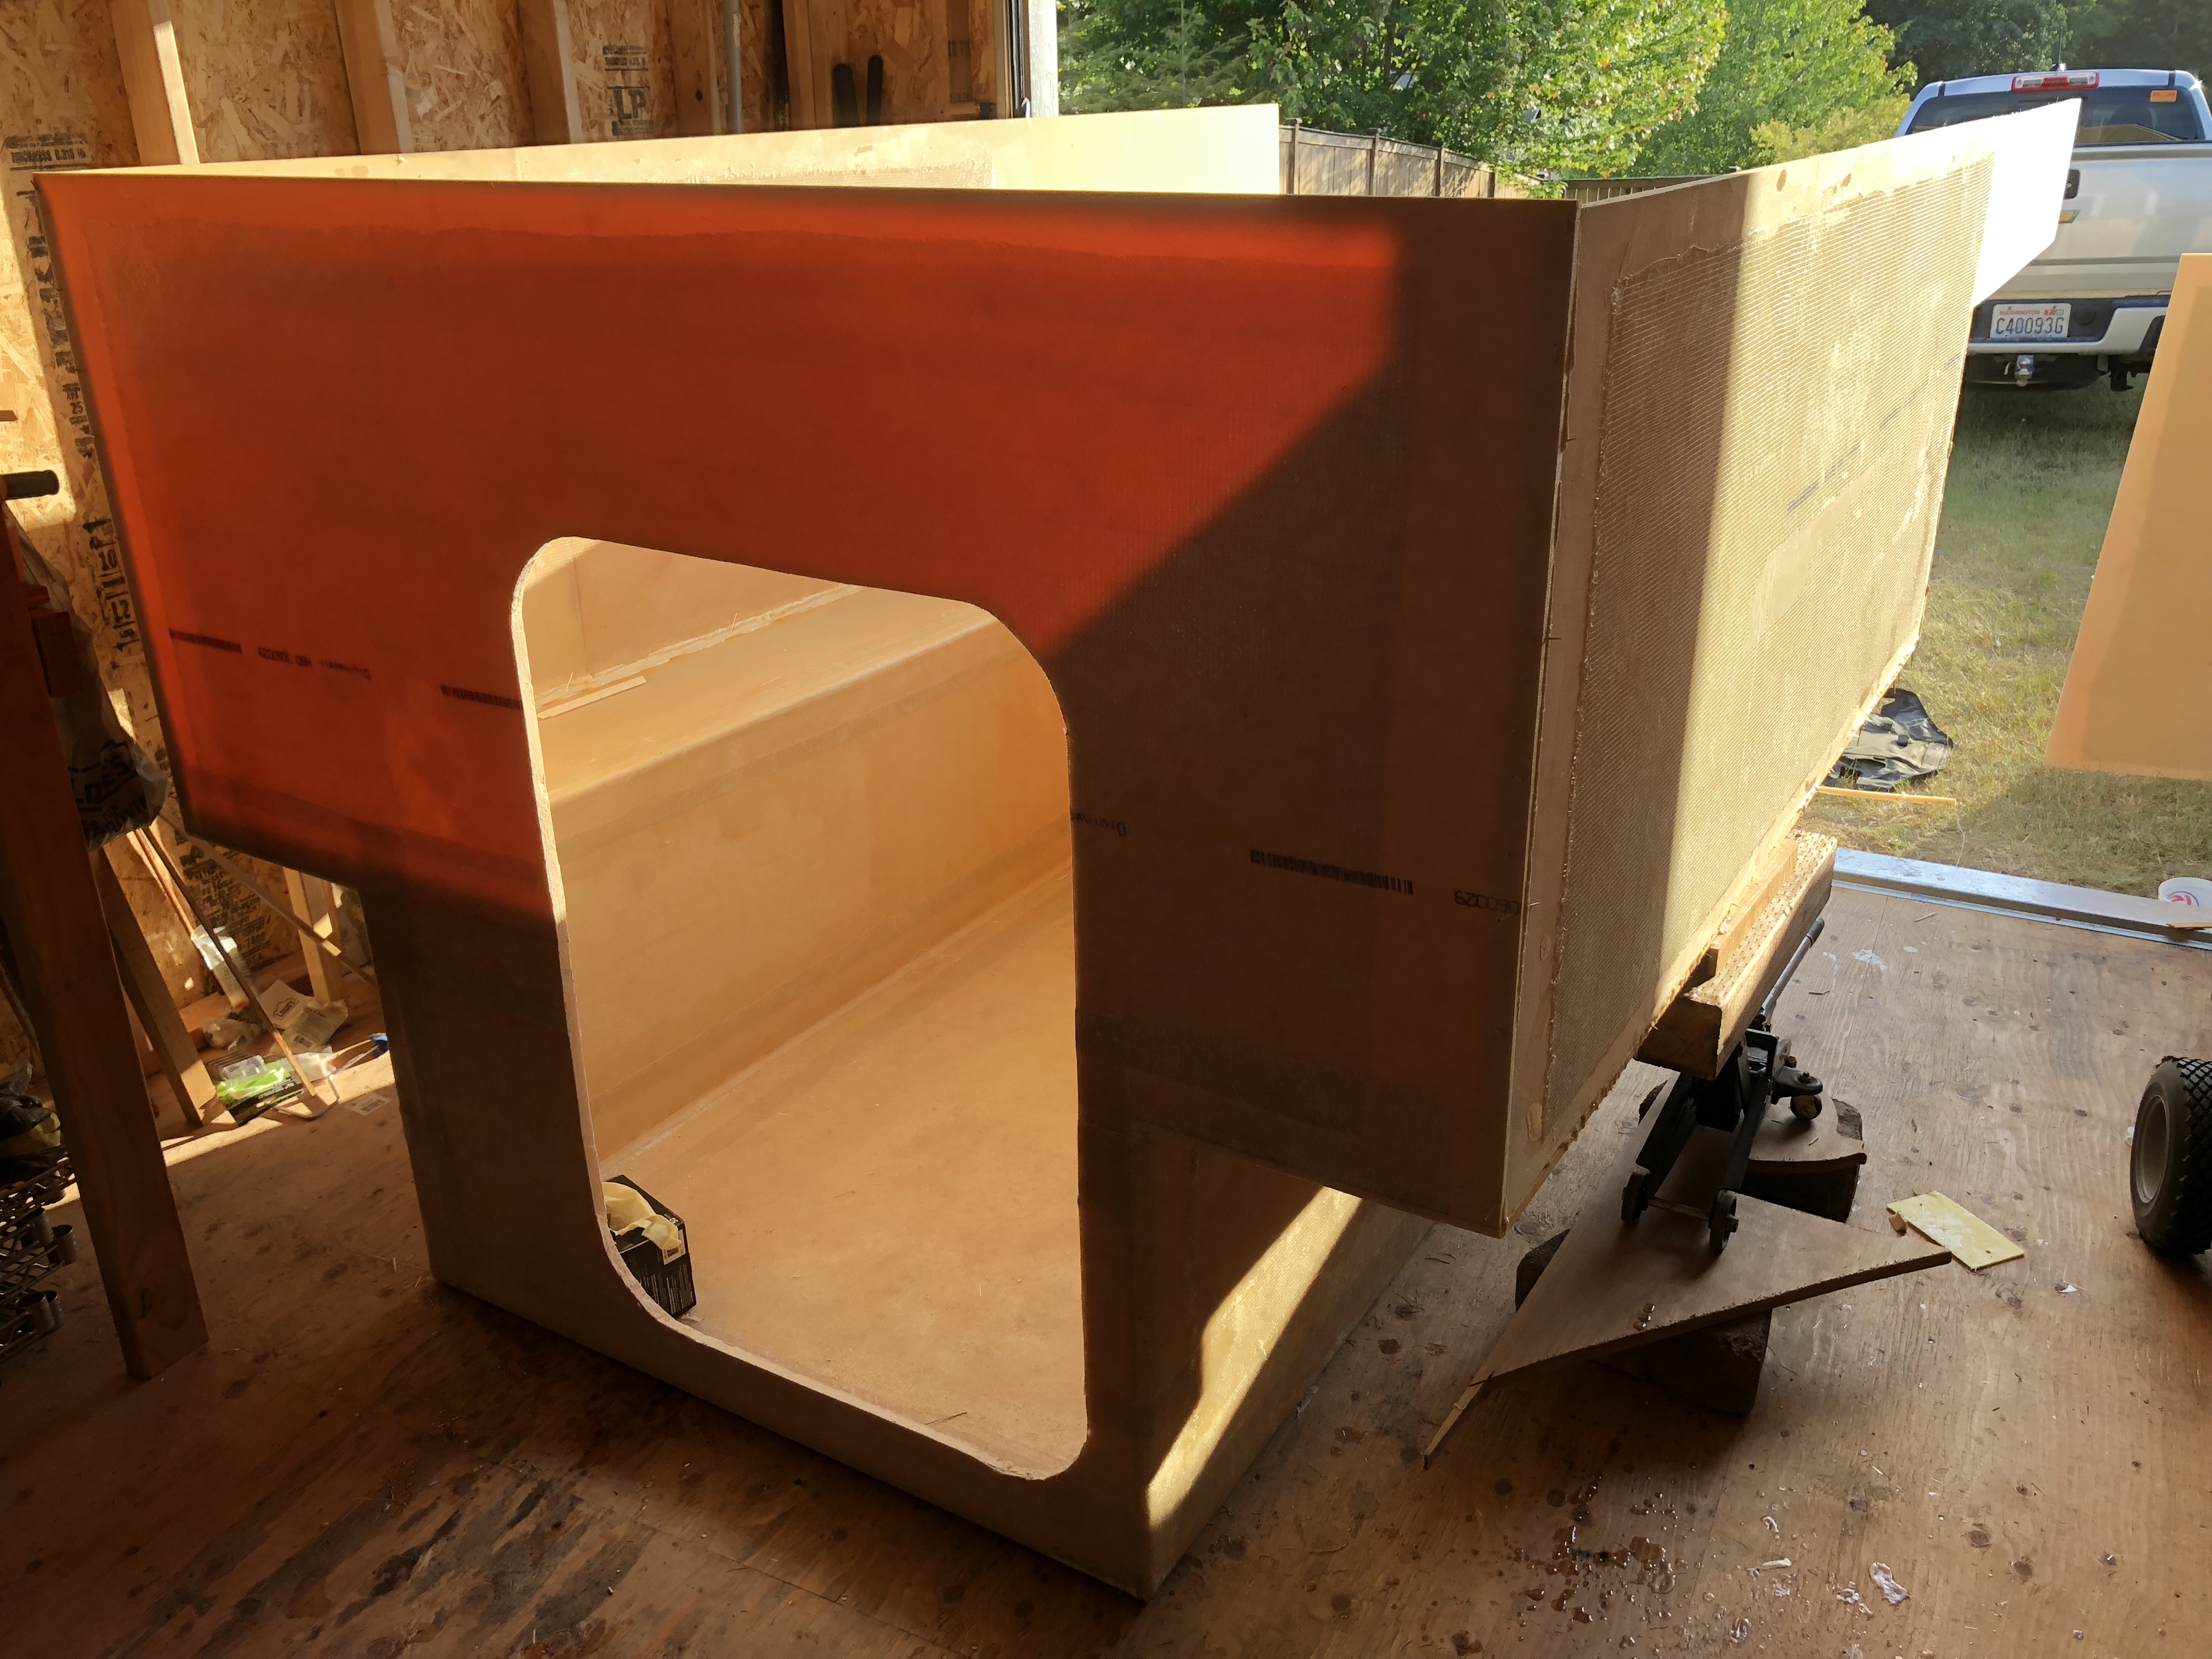
The door hole is cut!
IMG_9557.jpg

I have to admit that I got these photos out of order... I'm not sure if I did the side walls and just climbed into the tub somehow like a ninja or we cut the door and then did the walls... Either way, somehow there are walls and a door.
IMG_9558.jpg

Holding up the weight of the wall with whatever we could find. this part could have been a little better planned. ;)
IMG_9559.jpg

Hindsight: this was actually not as ghetto as it looks. The wall stayed square and tight for the final product and it doesn't look wavy.

I also went inside and put all of the gusset pieces in. It's easiest to do this at the same time the main panels get glued together, otherwise you have to sand it flat before the gussets get glued on. and I suppose it saves a step.
IMG_9560.jpg

SO MUCH glue and toothpicks.
IMG_9561.jpg

You guys probably noticed that I didn't center the door. We decided to offset it because the left side of the camper is the galley and because the entire camper is so narrow ("low profile") we needed the door moved so we would have ample counter space. Eventually we have a pretty sweet setup on the skinny right side of the camper. ;)
 

underkill

Active member
Now that the walls are done it's cabover time!
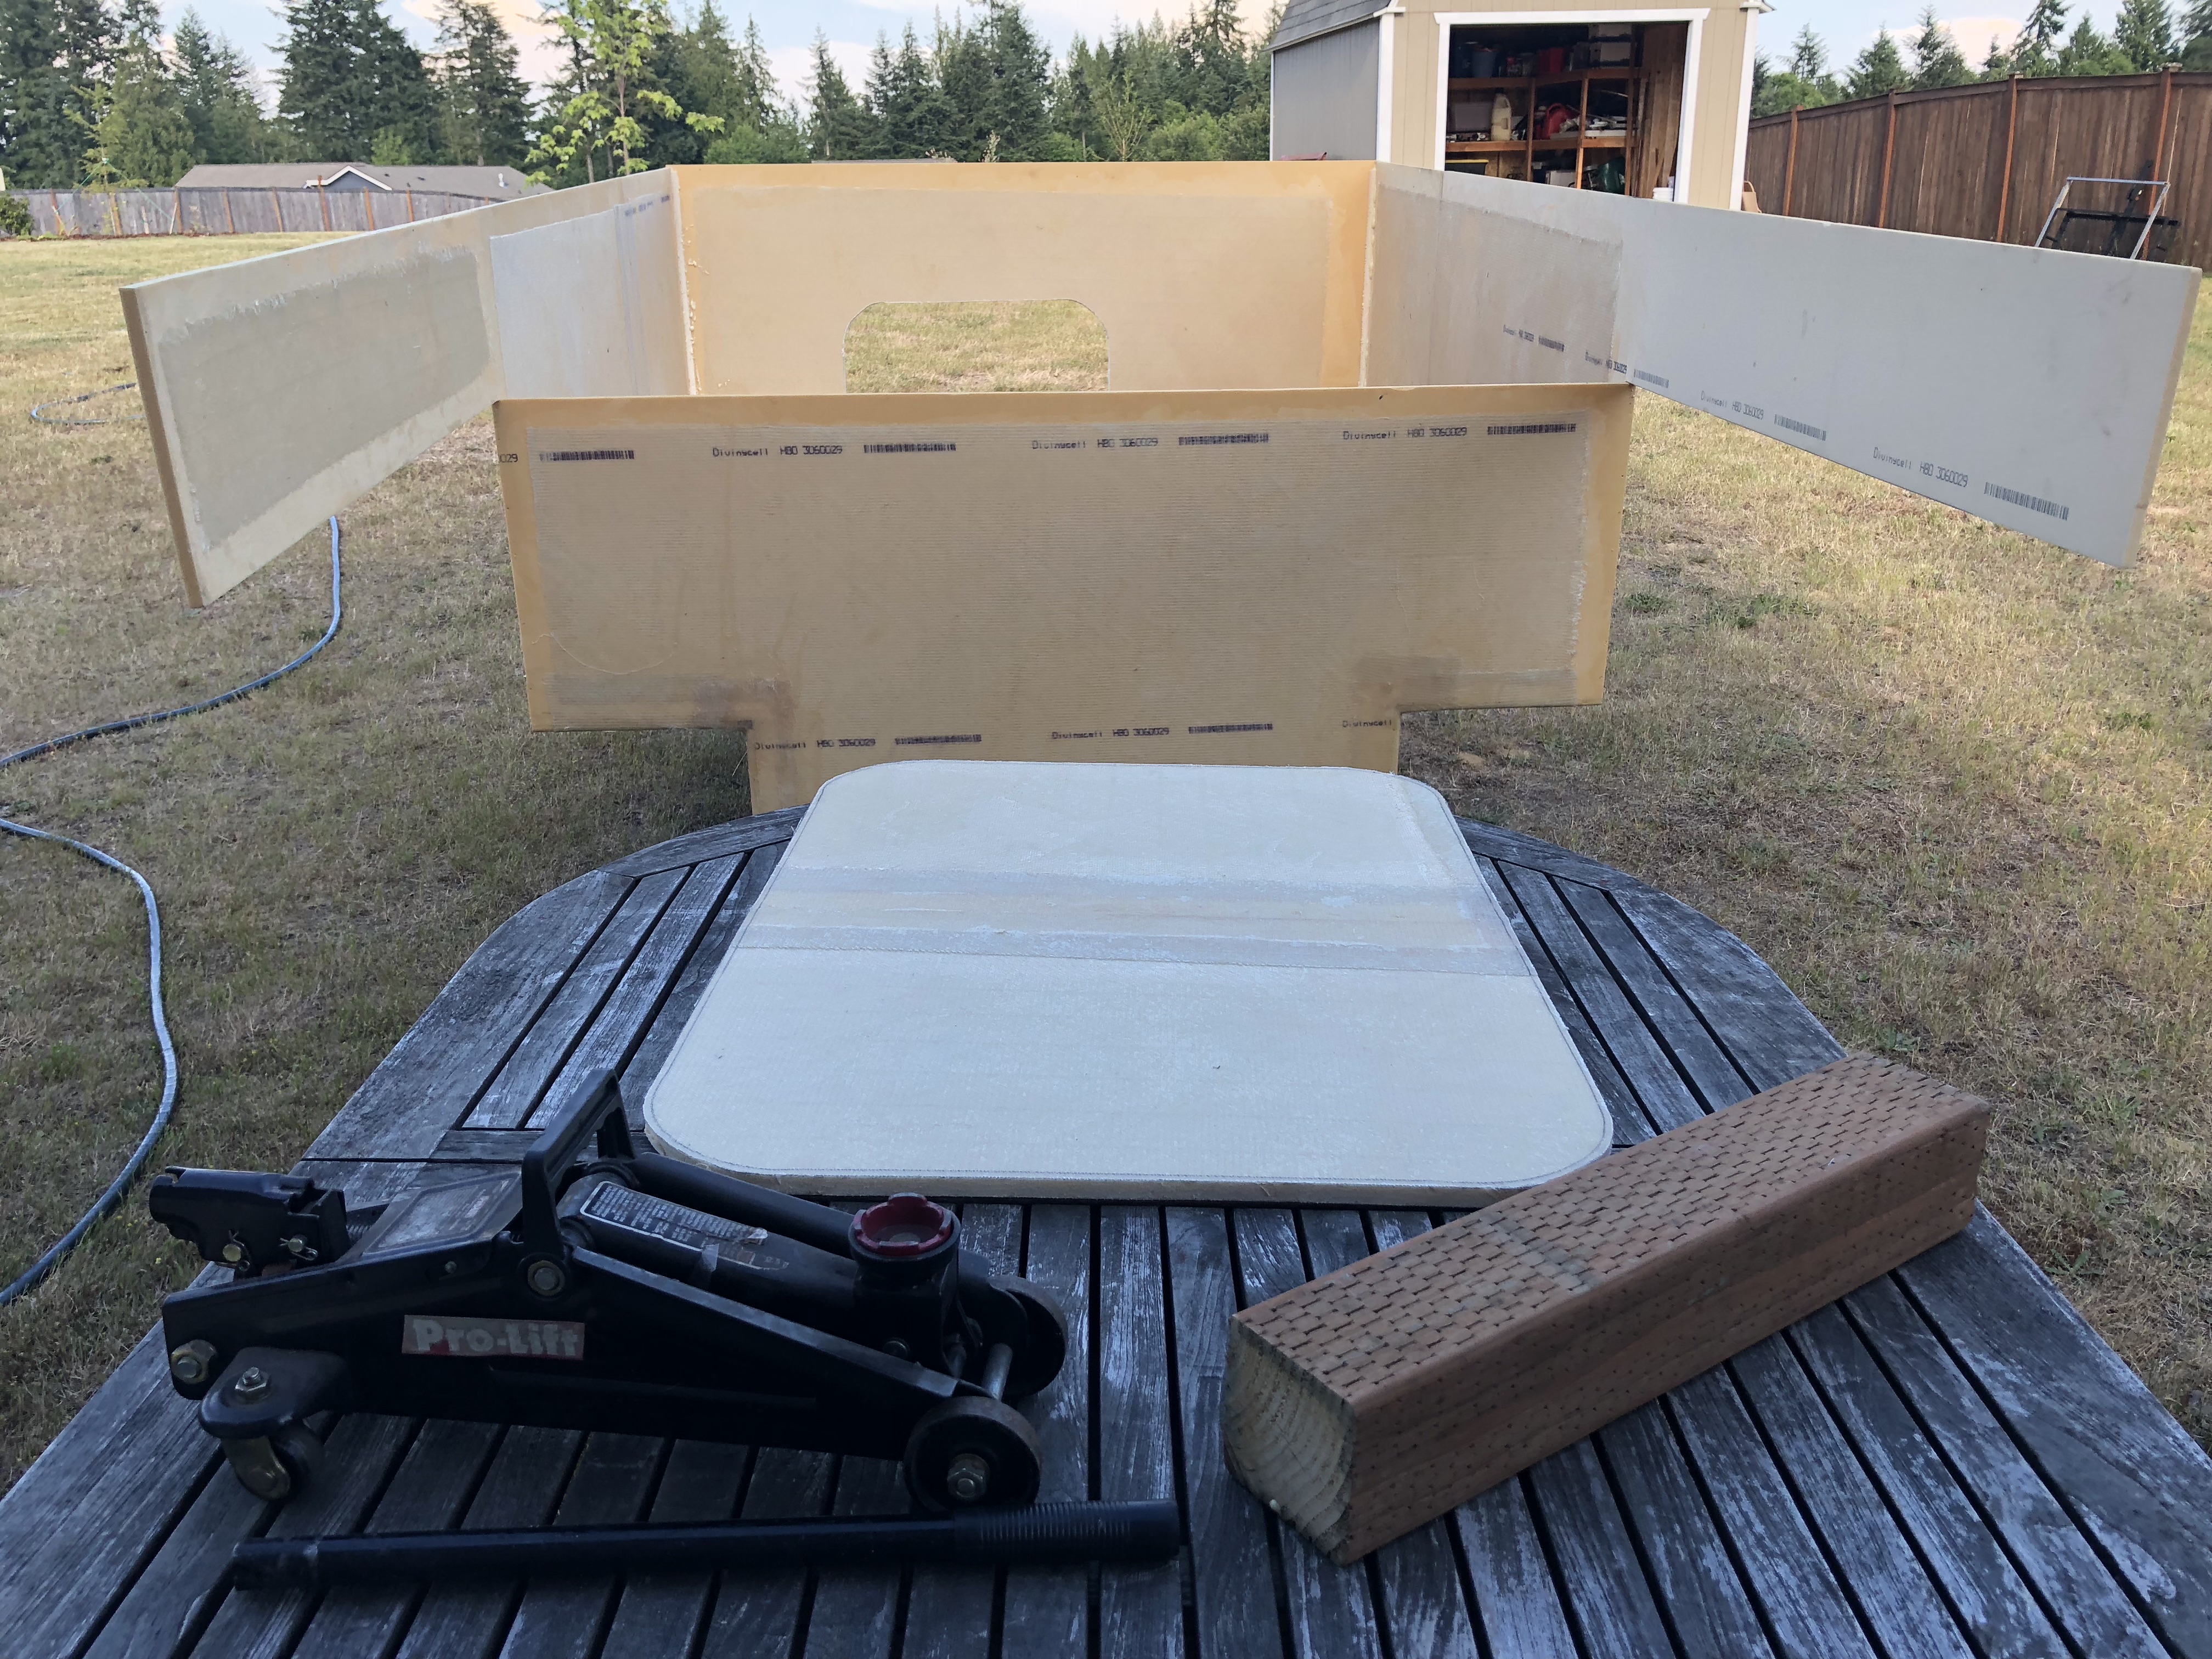
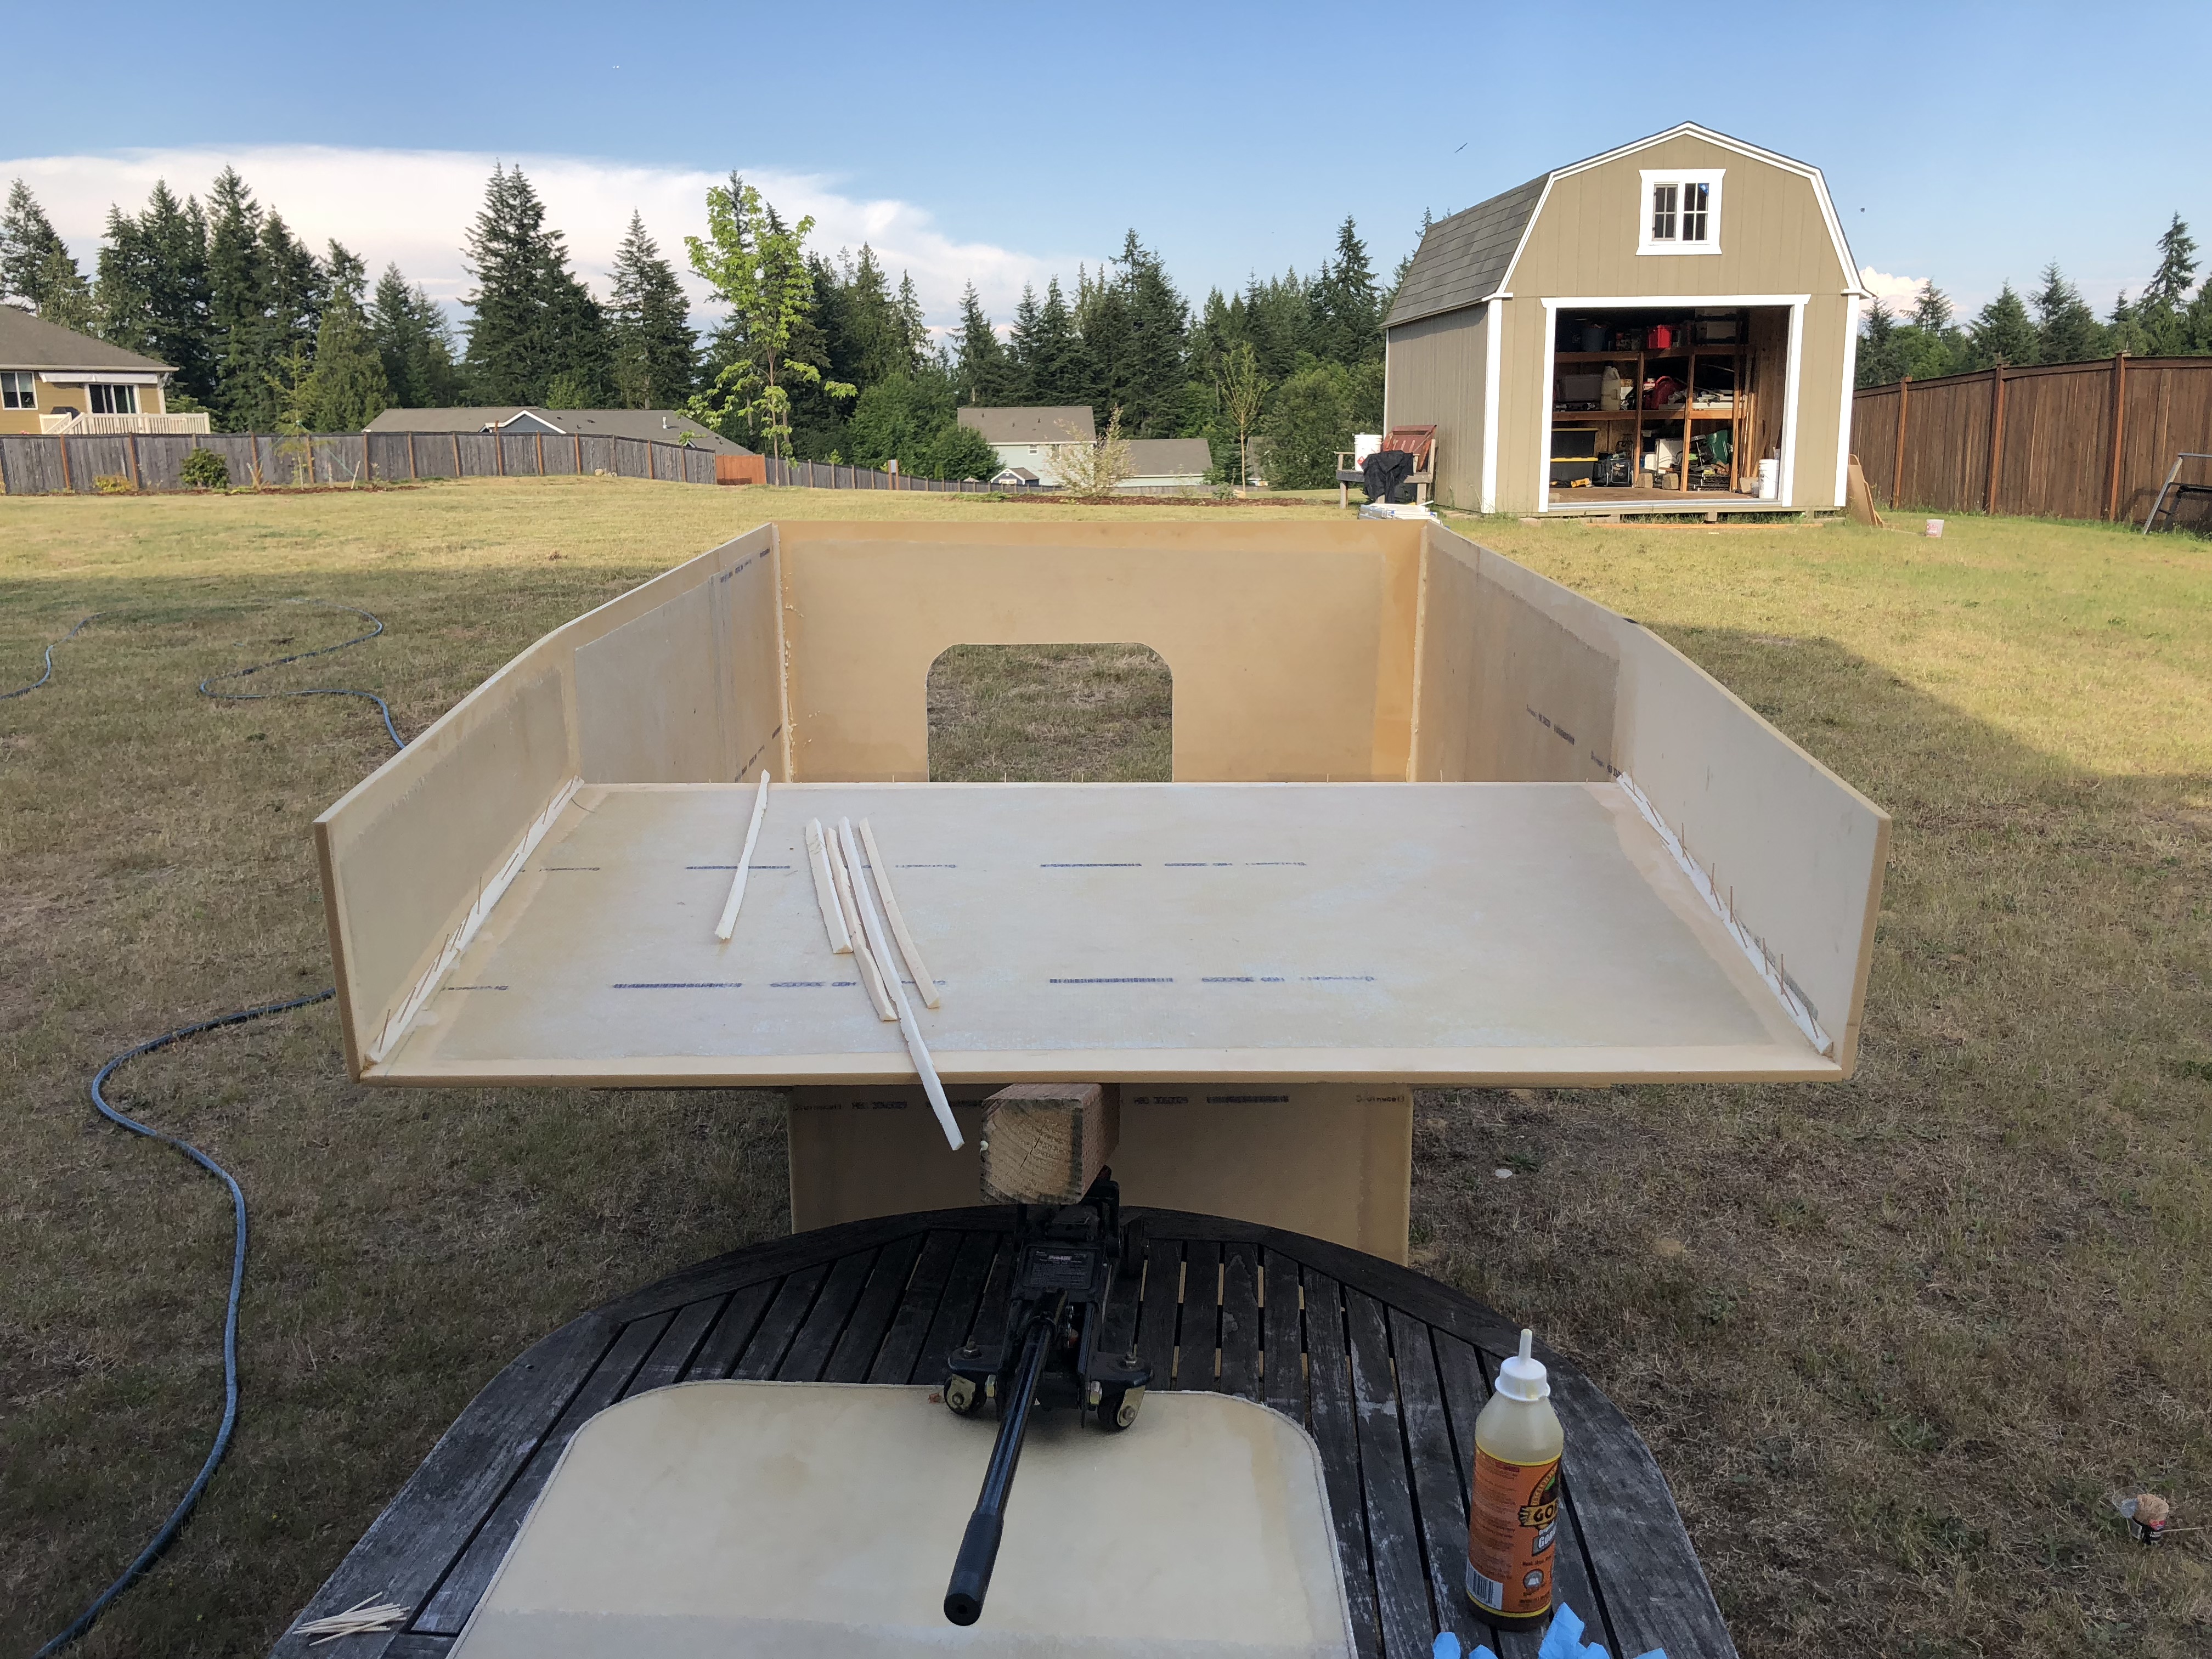
The floor jack, 4x4, and scrap foam are to jack up the cabover floor on top of that table and keep it from sagging!
IMG_9562.jpg

All ready to go with the glue and toothpicks!
IMG_9566.jpg

This shot shows the angle of the cabover part a little better. I'm glad we decided to angle the sides inboard like it. It should make it look sleeker and less boxy!
IMG_9567.jpg

So now that just gets to sit in the sun and bake for a while.

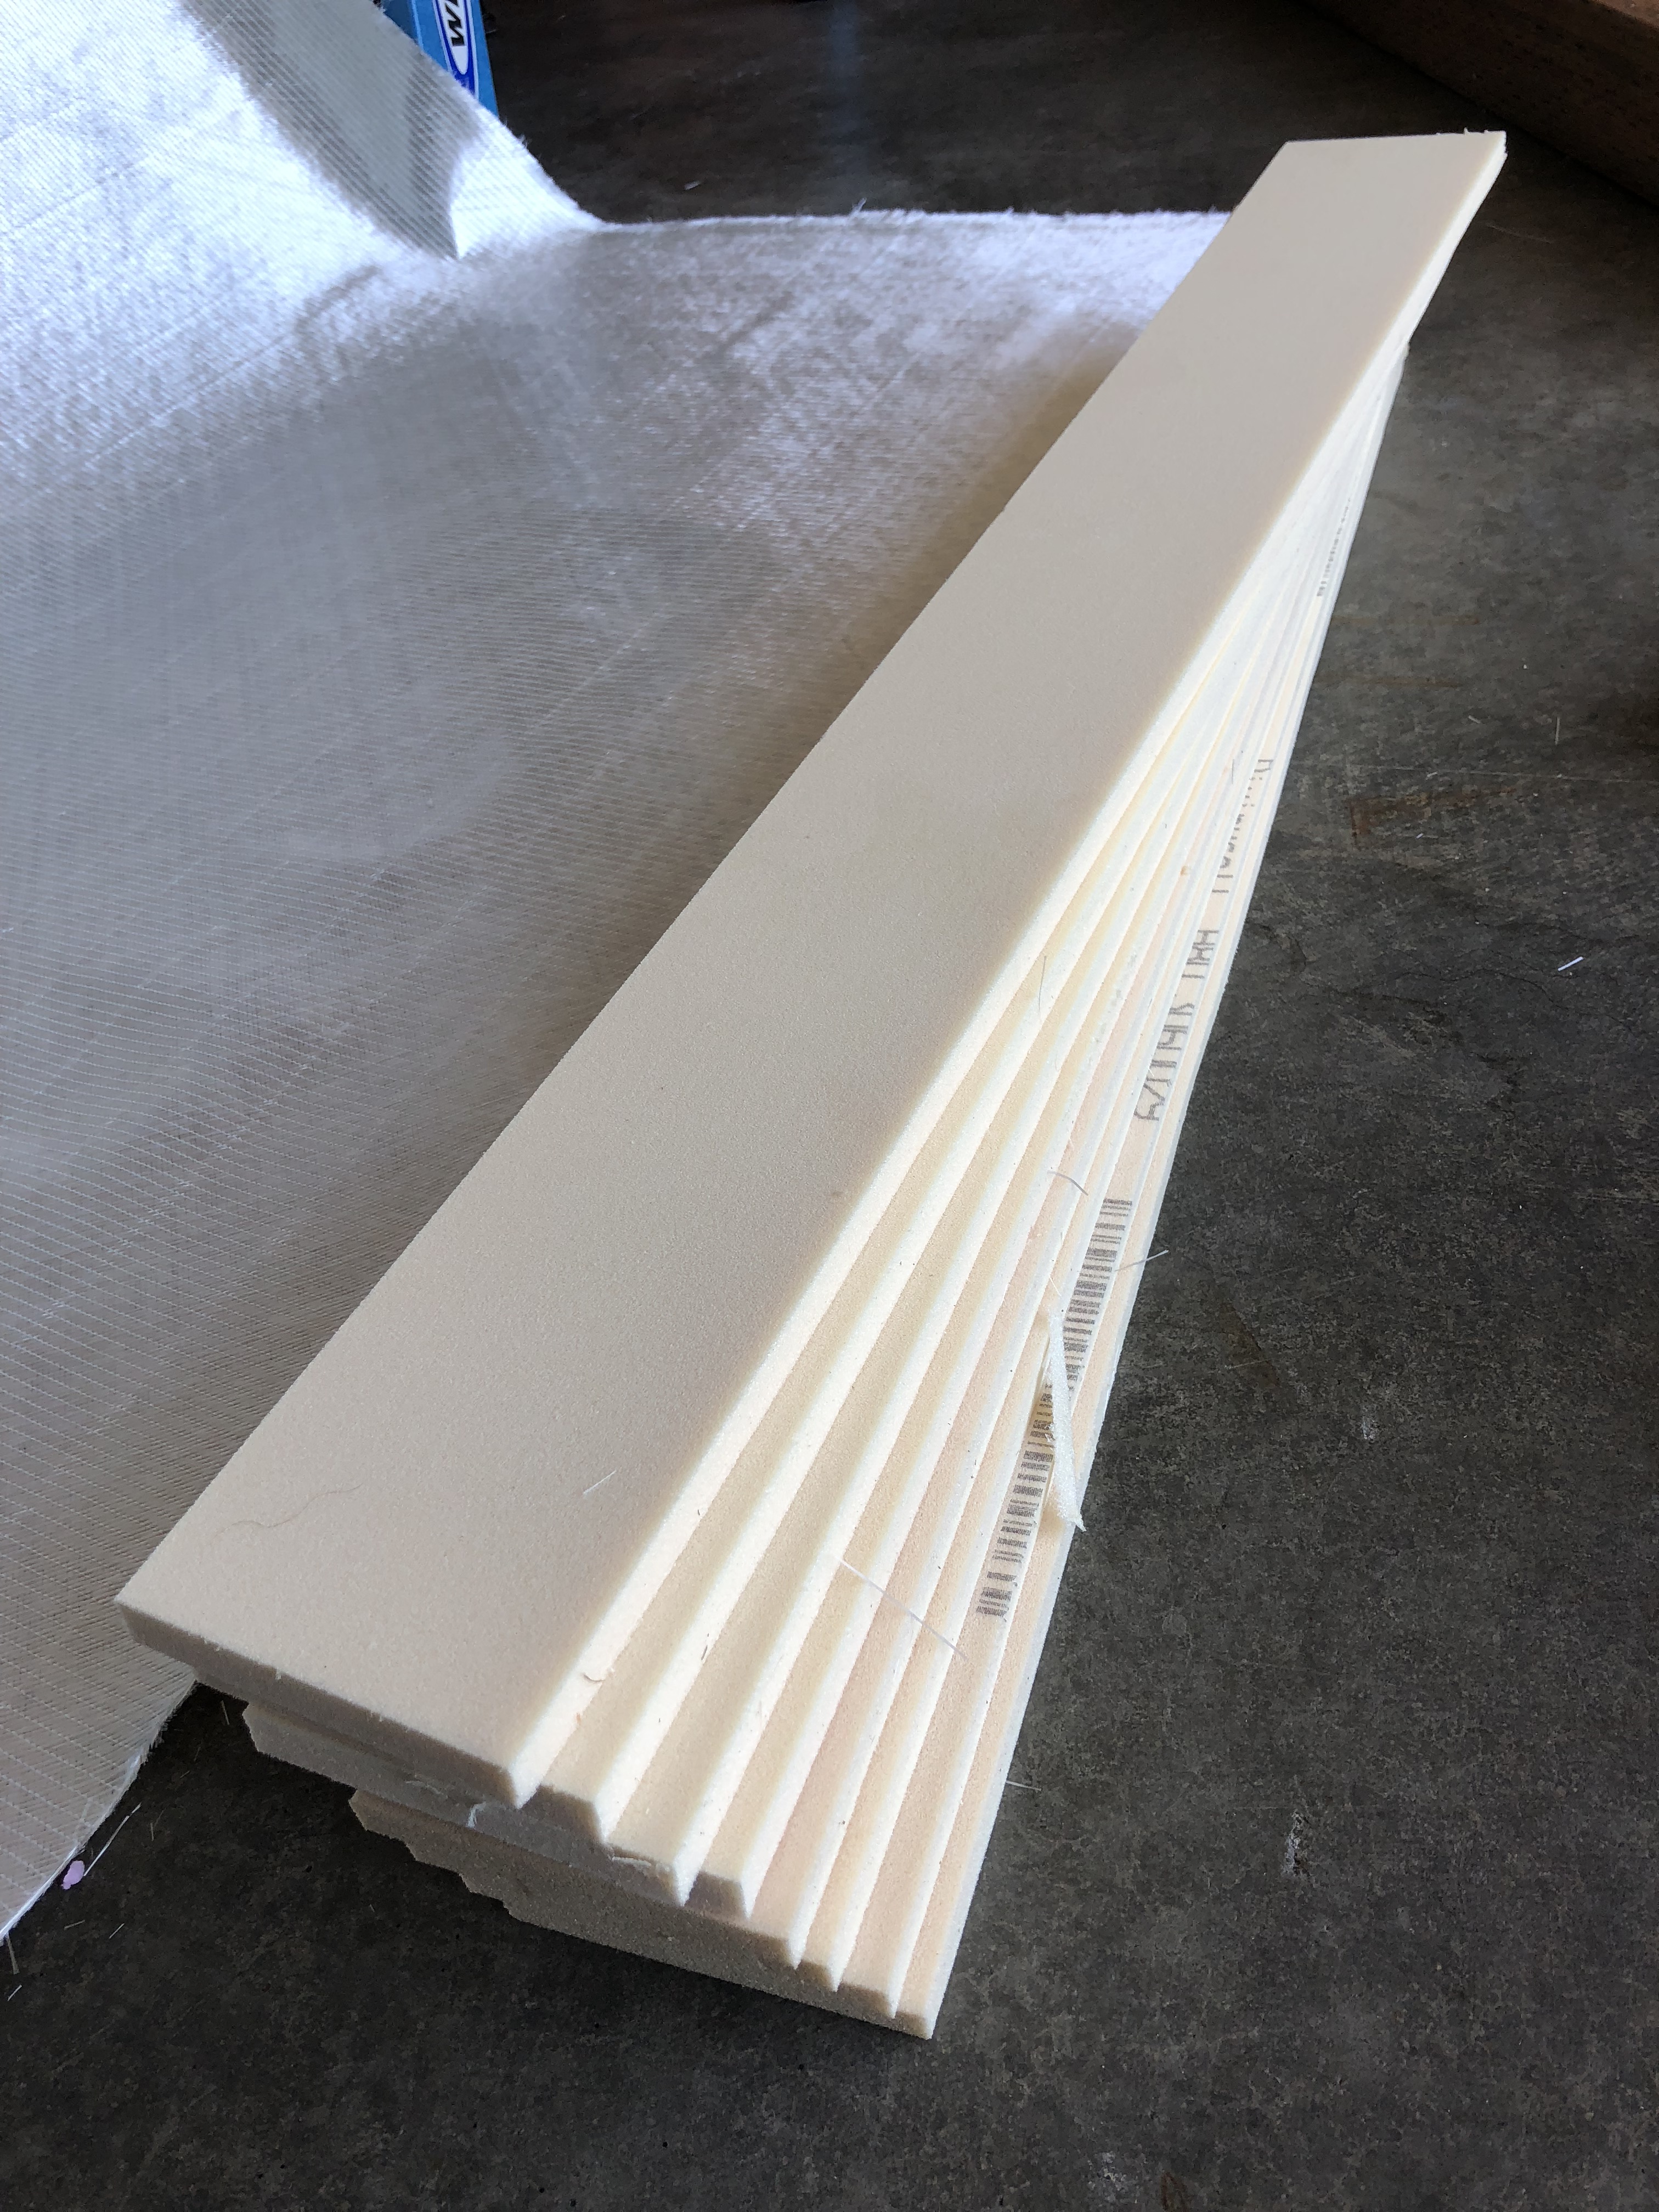
A few days ago we had laminated a few sheets of the foam together and let it dry, today we got the saw out and cut both of those squares lengthwise as a 45* angle. This should support the load!
IMG_9570.jpg

After every major step that we finish we get super excited and have to throw the camper in the back of the truck just to see how cool it looks. I dig it!
IMG_9571.jpg

IMG_9572.jpg

IMG_9575.jpg

IMG_9579.jpg
 

underkill

Active member
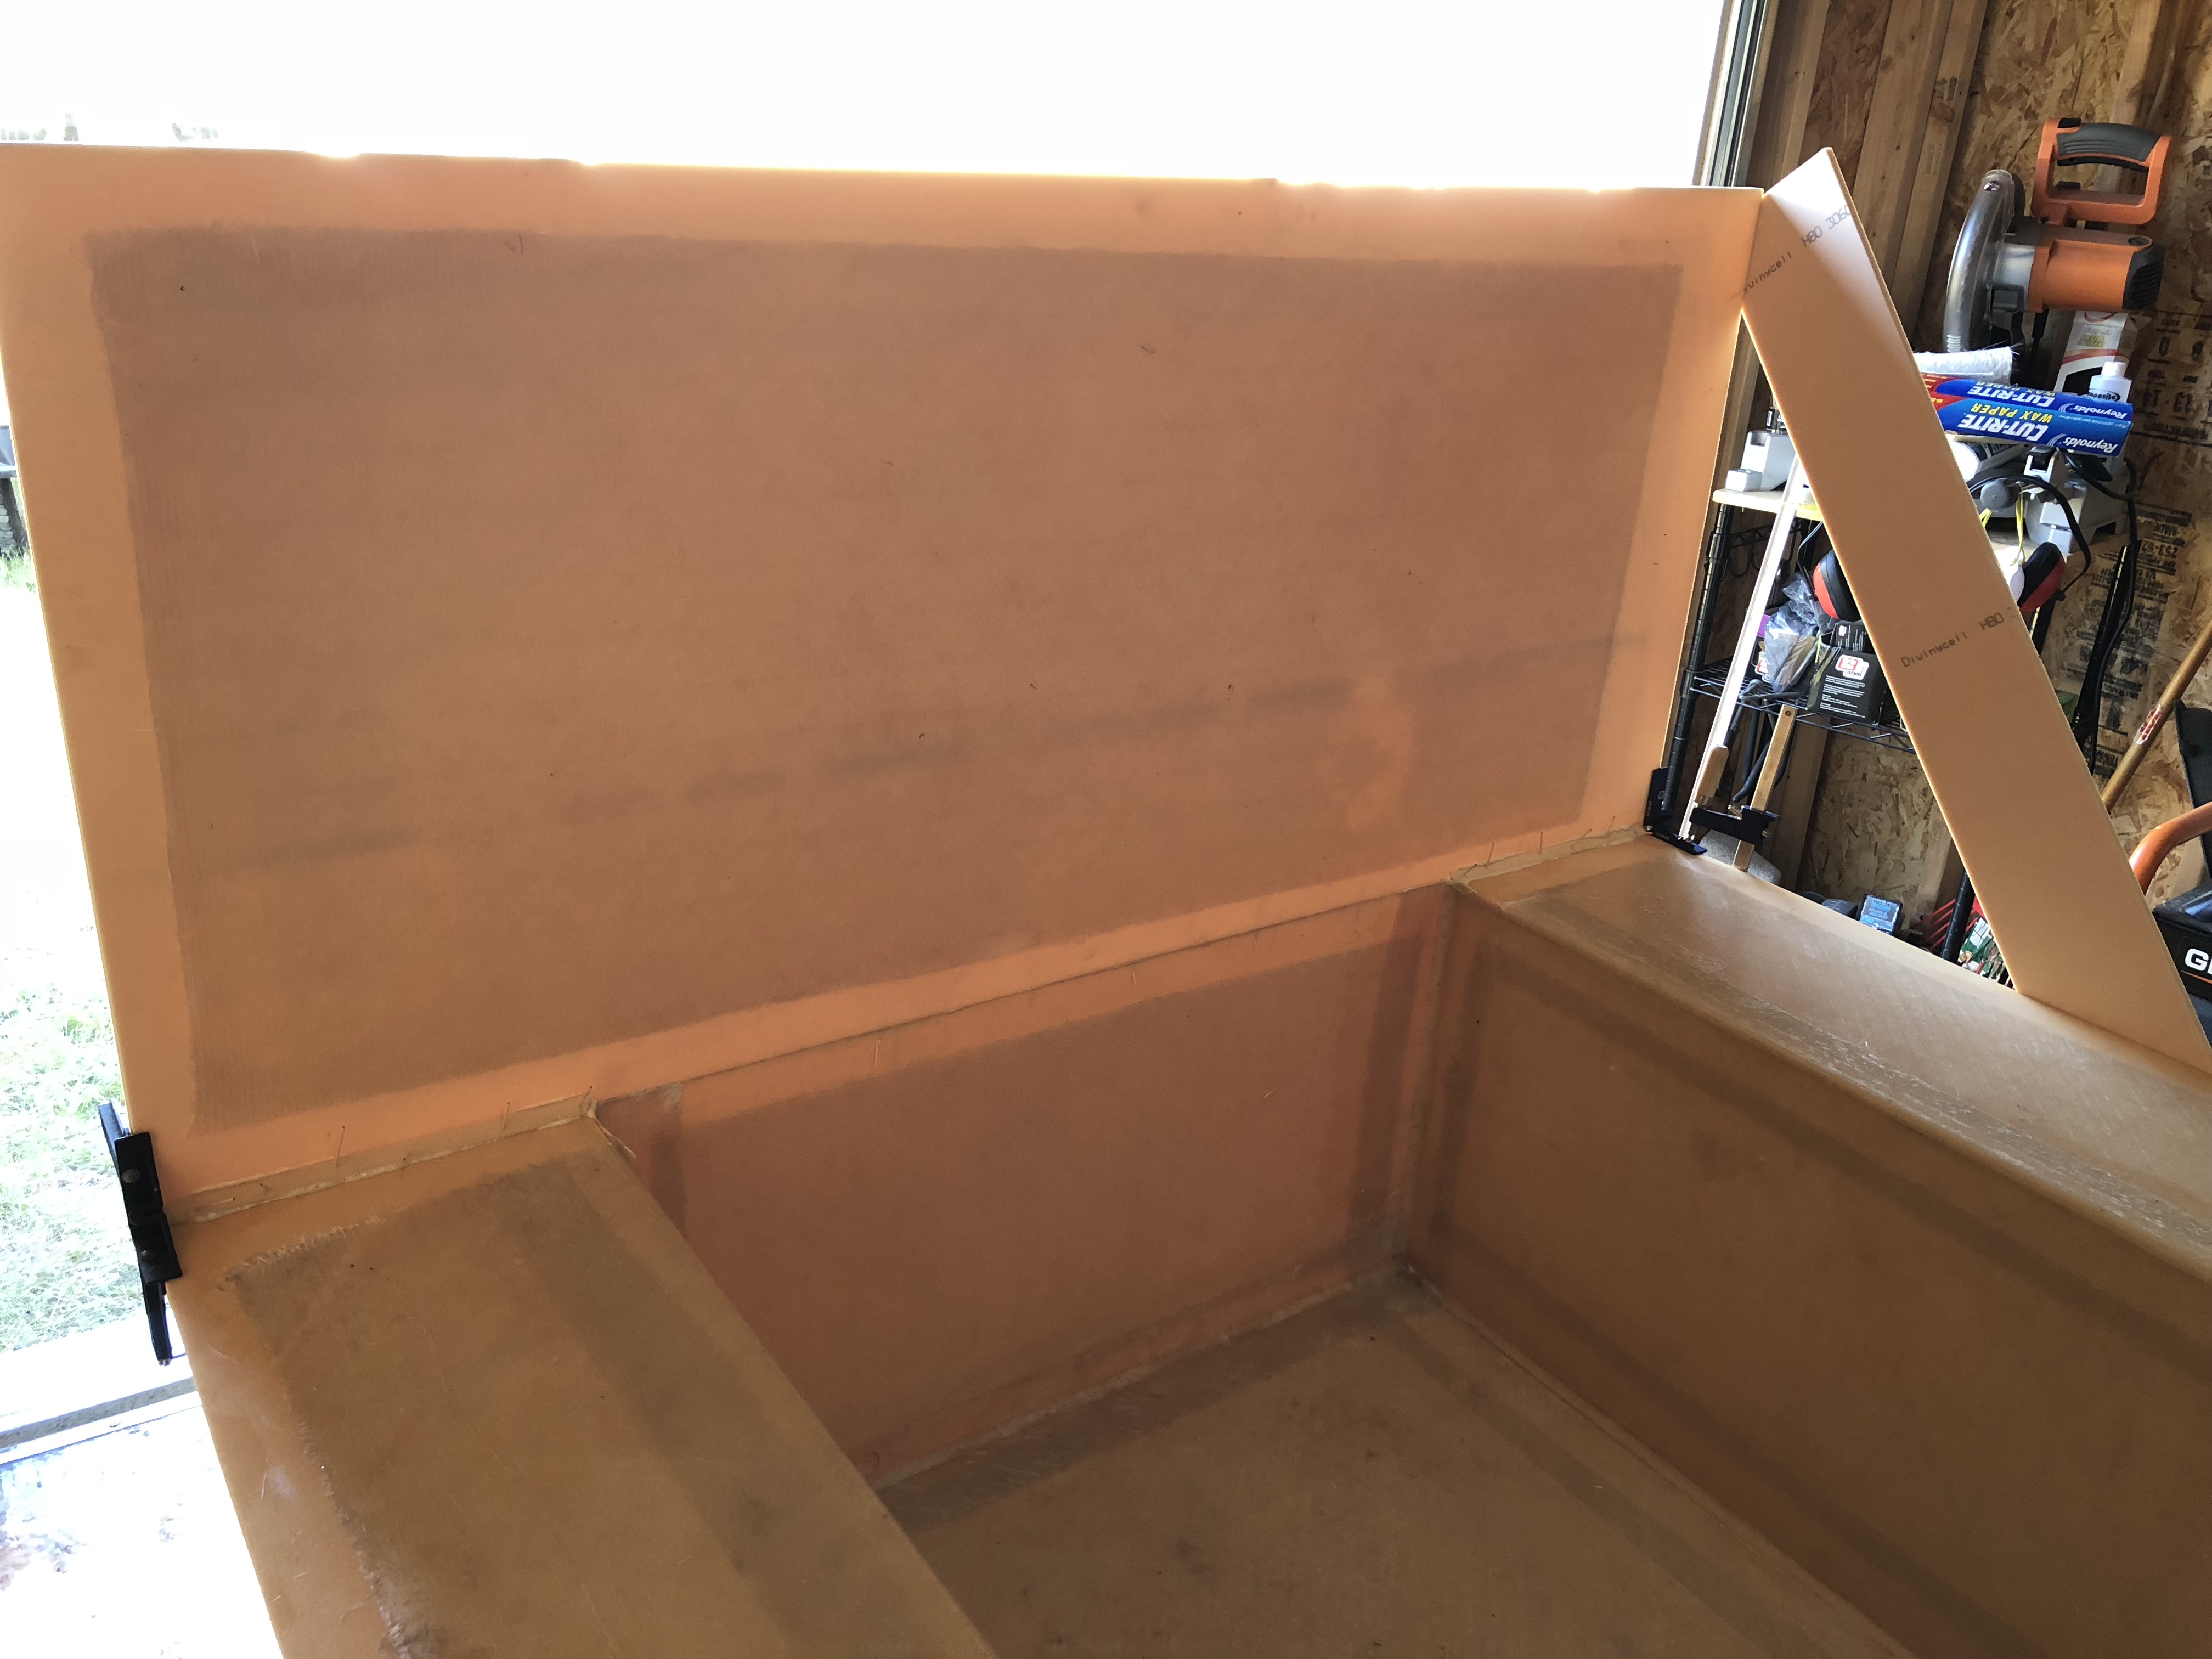
After all the excitement of test fitting the camper, this day was a little underwhelming. It was mostly spent sanding off excess glue and rounding off the edges for the fiberglass. This isn't a difficult process, but it is tedious and I'm not sure I have fingerprints left. What I found worked best for the inside radius was a piece of 1-1/2" round steel tubing with sandpaper wrapped around it. Perfect diameter but hard to get ahold of!

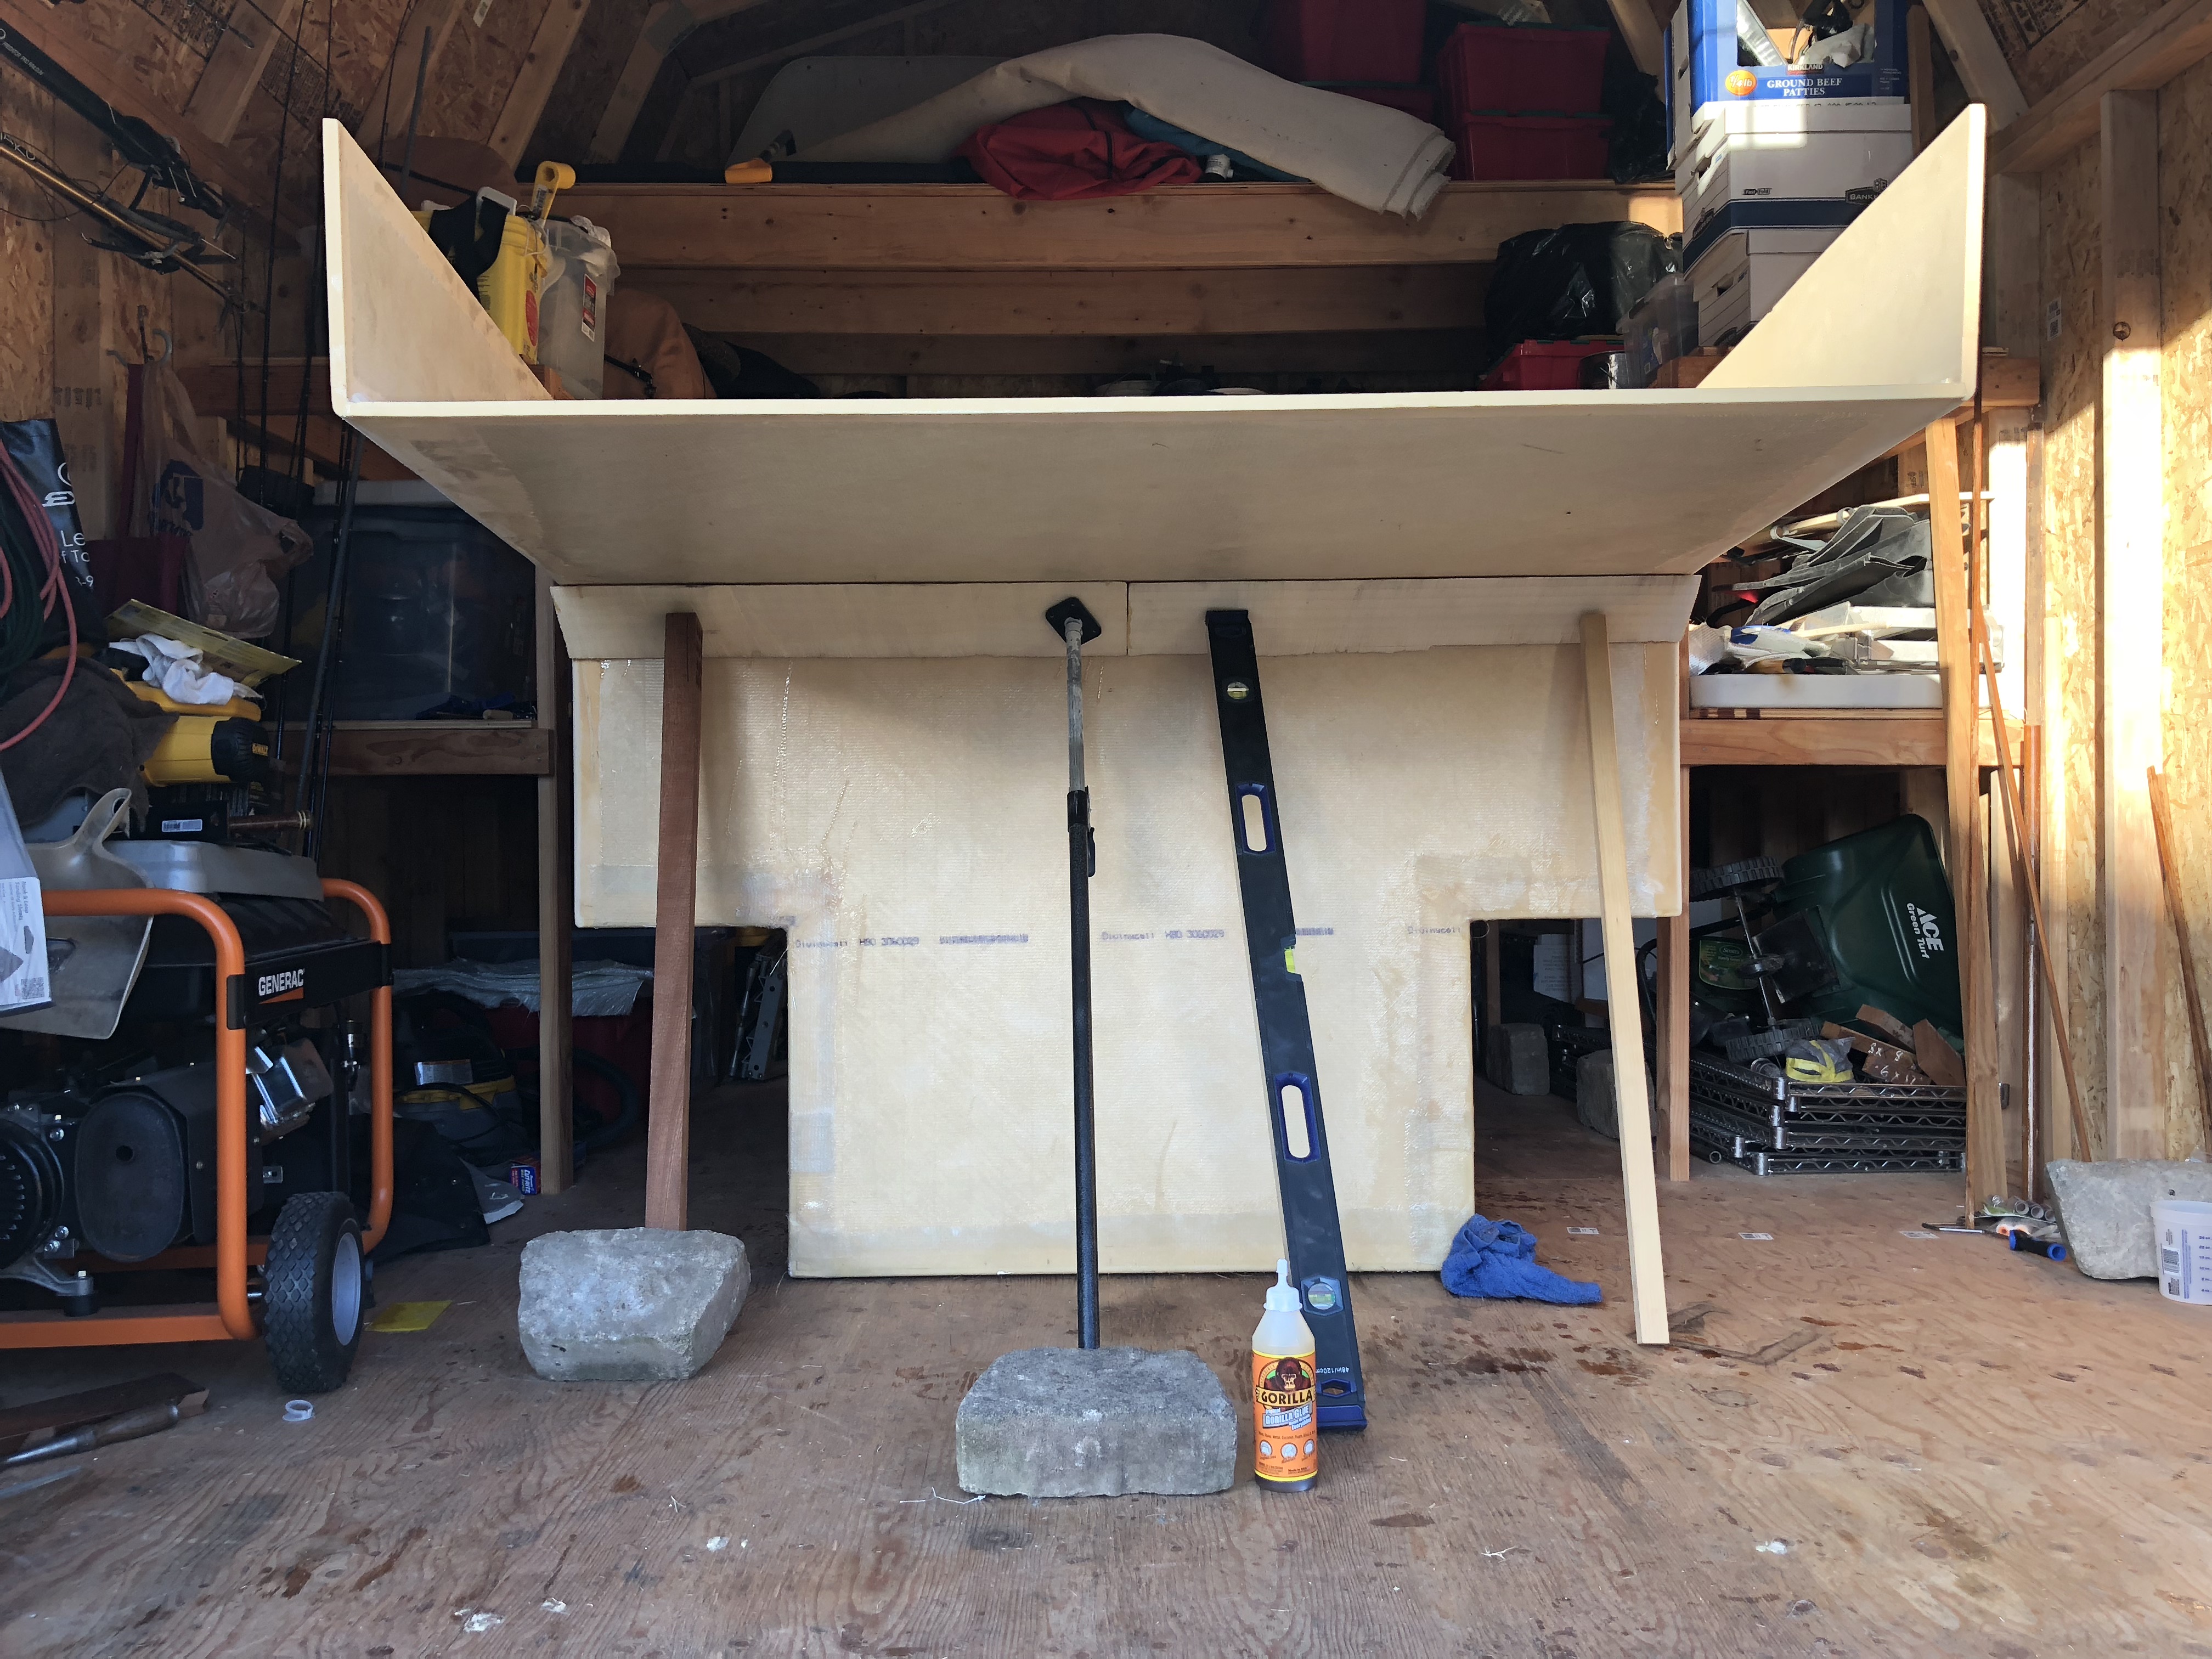
The only other noteworthy thing was that we finally got the support beam glued into place at the joint where the cabover meets the main shell.
IMG_9586.jpg

There's our good ole gorilla glue. (highly recommend for porous material!) and everything we could think of to support the beam from below while it dried.
 

Leonmac

New member
Hi Mate,
Just looking through your build log and you are doing a great job. I see you are using a woven cloth for your Fibre glass work. I have just spent way too Long (years) making molds for a FG body for a Sports Racing car I have built. I like you found the sharp corners were a nightmare to keep from lifting and getting air bubbles. The weave mat doesn't give very much and that makes it harder, have you tried "Chopped strand" mat? I have found the chopped strand will push into corners and around shaped parts where the weave mat doesn't. When I sell this car my next project is a Truck mounted camper so I'll be keeping an eye on your progress to get a few Idea's. Keep up the great work. Cheers Leon (from NZ)
 

ITTOG

Well-known member
Hi Mate,
Just looking through your build log and you are doing a great job. I see you are using a woven cloth for your Fibre glass work. I have just spent way too Long (years) making molds for a FG body for a Sports Racing car I have built. I like you found the sharp corners were a nightmare to keep from lifting and getting air bubbles. The weave mat doesn't give very much and that makes it harder, have you tried "Chopped strand" mat? I have found the chopped strand will push into corners and around shaped parts where the weave mat doesn't. When I sell this car my next project is a Truck mounted camper so I'll be keeping an eye on your progress to get a few Idea's. Keep up the great work. Cheers Leon (from NZ)
Keep in mind chopped mat is much weaker than weave. I would not use chop for this application, especially the cab over.

Sent from my Pixel XL using Tapatalk
 

rruff

Explorer
I like you found the sharp corners were a nightmare to keep from lifting and getting air bubbles. The weave mat doesn't give very much and that makes it harder, have you tried "Chopped strand" mat? I have found the chopped strand will push into corners and around shaped parts where the weave mat doesn't.

He's using woven cloth I think. Woven lightweight cloth is best for tighter edges; it conforms quite well. The thicker the strands the harder it is to get it to conform.
 

Leonmac

New member
Yeah I hear you. Are you going to put any kind of framing in or out side? or is it totally just the glass and foam. I see a lot of guys using alloy angle on the corners but if you don't need it it looks much nicer with the smooth finish. Cheers Leon
 

underkill

Active member
Hi Mate,
Just looking through your build log and you are doing a great job. I see you are using a woven cloth for your Fibre glass work. I have just spent way too Long (years) making molds for a FG body for a Sports Racing car I have built. I like you found the sharp corners were a nightmare to keep from lifting and getting air bubbles. The weave mat doesn't give very much and that makes it harder, have you tried "Chopped strand" mat? I have found the chopped strand will push into corners and around shaped parts where the weave mat doesn't. When I sell this car my next project is a Truck mounted camper so I'll be keeping an eye on your progress to get a few Idea's. Keep up the great work. Cheers Leon (from NZ)
We're using 1708, which has two sides essentially sewn together. One side is a thin chopped mat and the other side is the weave. The mat side goes against the foam which is why it's rarely visible in the photos. We chose this type mostly on the recommendations of the composite supply place we were working with. We had analyzed how many layers of what material would be needed, but never really found anything as most is geared towards either ultralight, or inch thick boat hulls. What I love about the 1708 is that you only need one layer to get the job done.

We eventually worked out our corner radius and bubble situation. I knew I would need a radius it was the "how much?" that bit us. ;)
 

Forum statistics

Threads
188,023
Messages
2,901,296
Members
229,352
Latest member
Baartmanusa
Top