You are using an out of date browser. It may not display this or other websites correctly.
You should upgrade or use an alternative browser.
You should upgrade or use an alternative browser.
Build - Fiberglass & Foam Truck Camper
- Thread starter underkill
- Start date
rruff
Explorer
We thought about high build, but figured that the fiberglass was still too textured and went straight to the filler. There's definitely a point of diminishing returns for the bodywork for us and we're pretty close to reaching it.
I concur! Don't waste time with too much finishing!
underkill
Active member
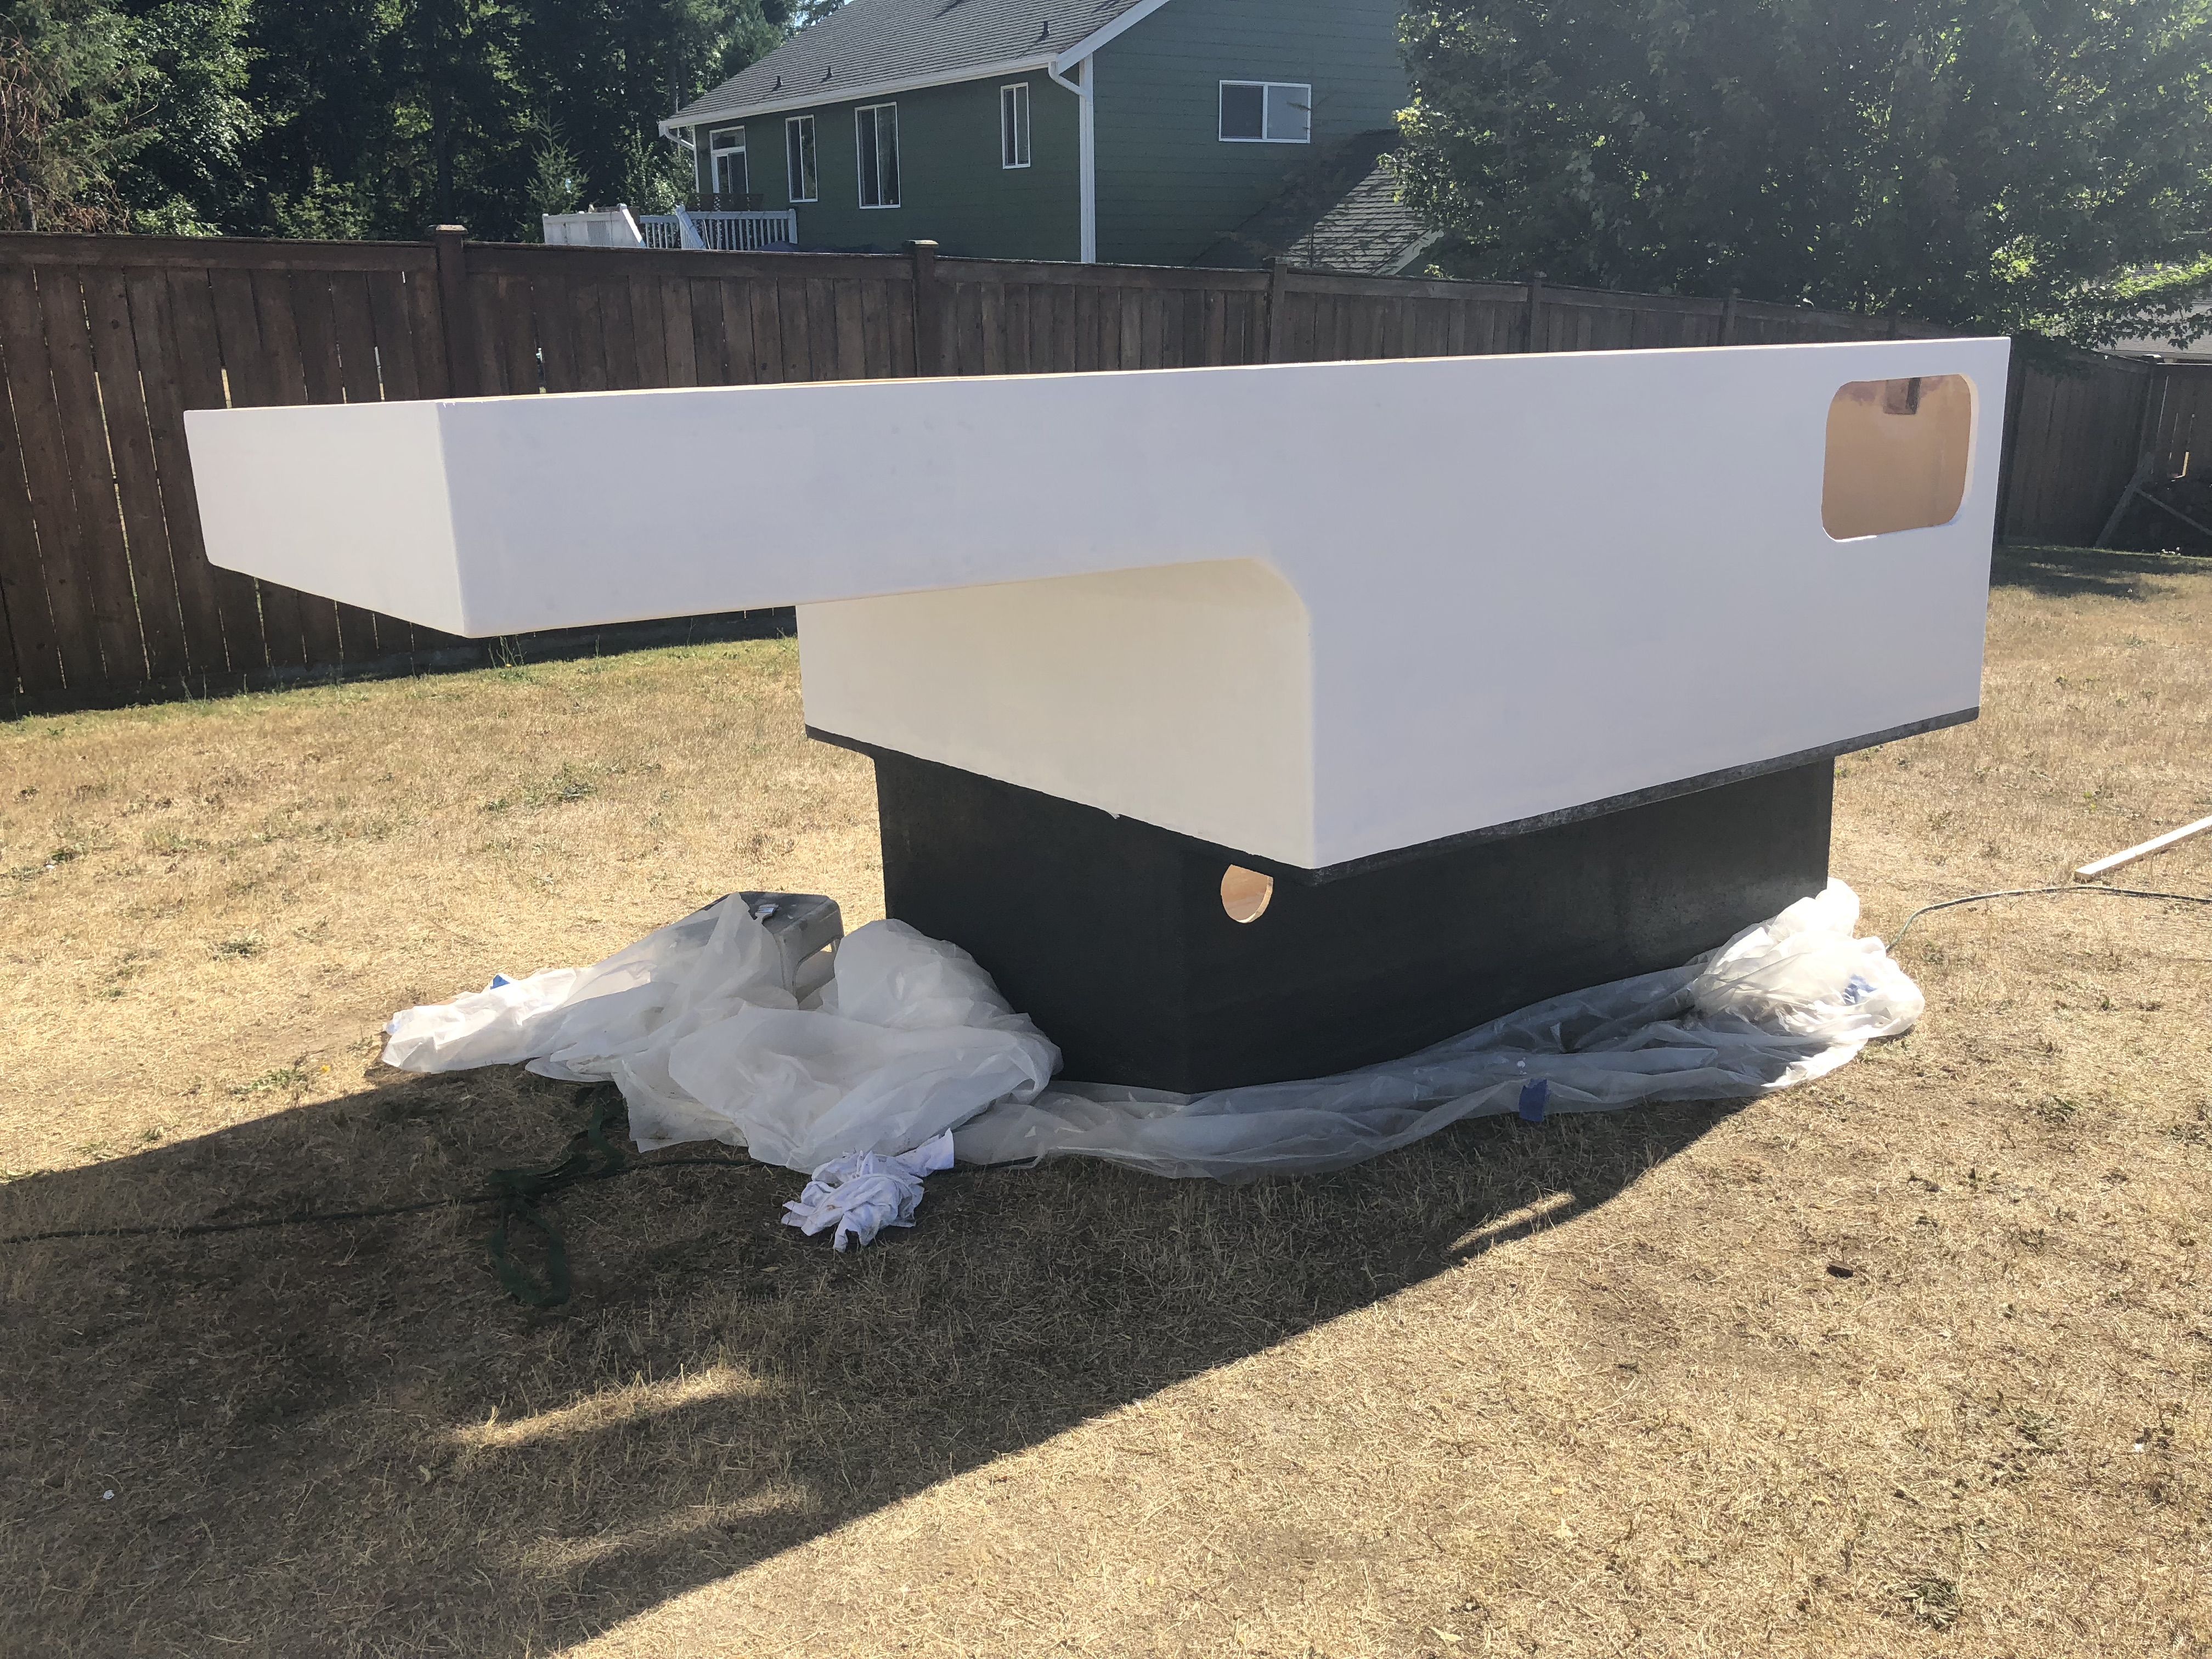
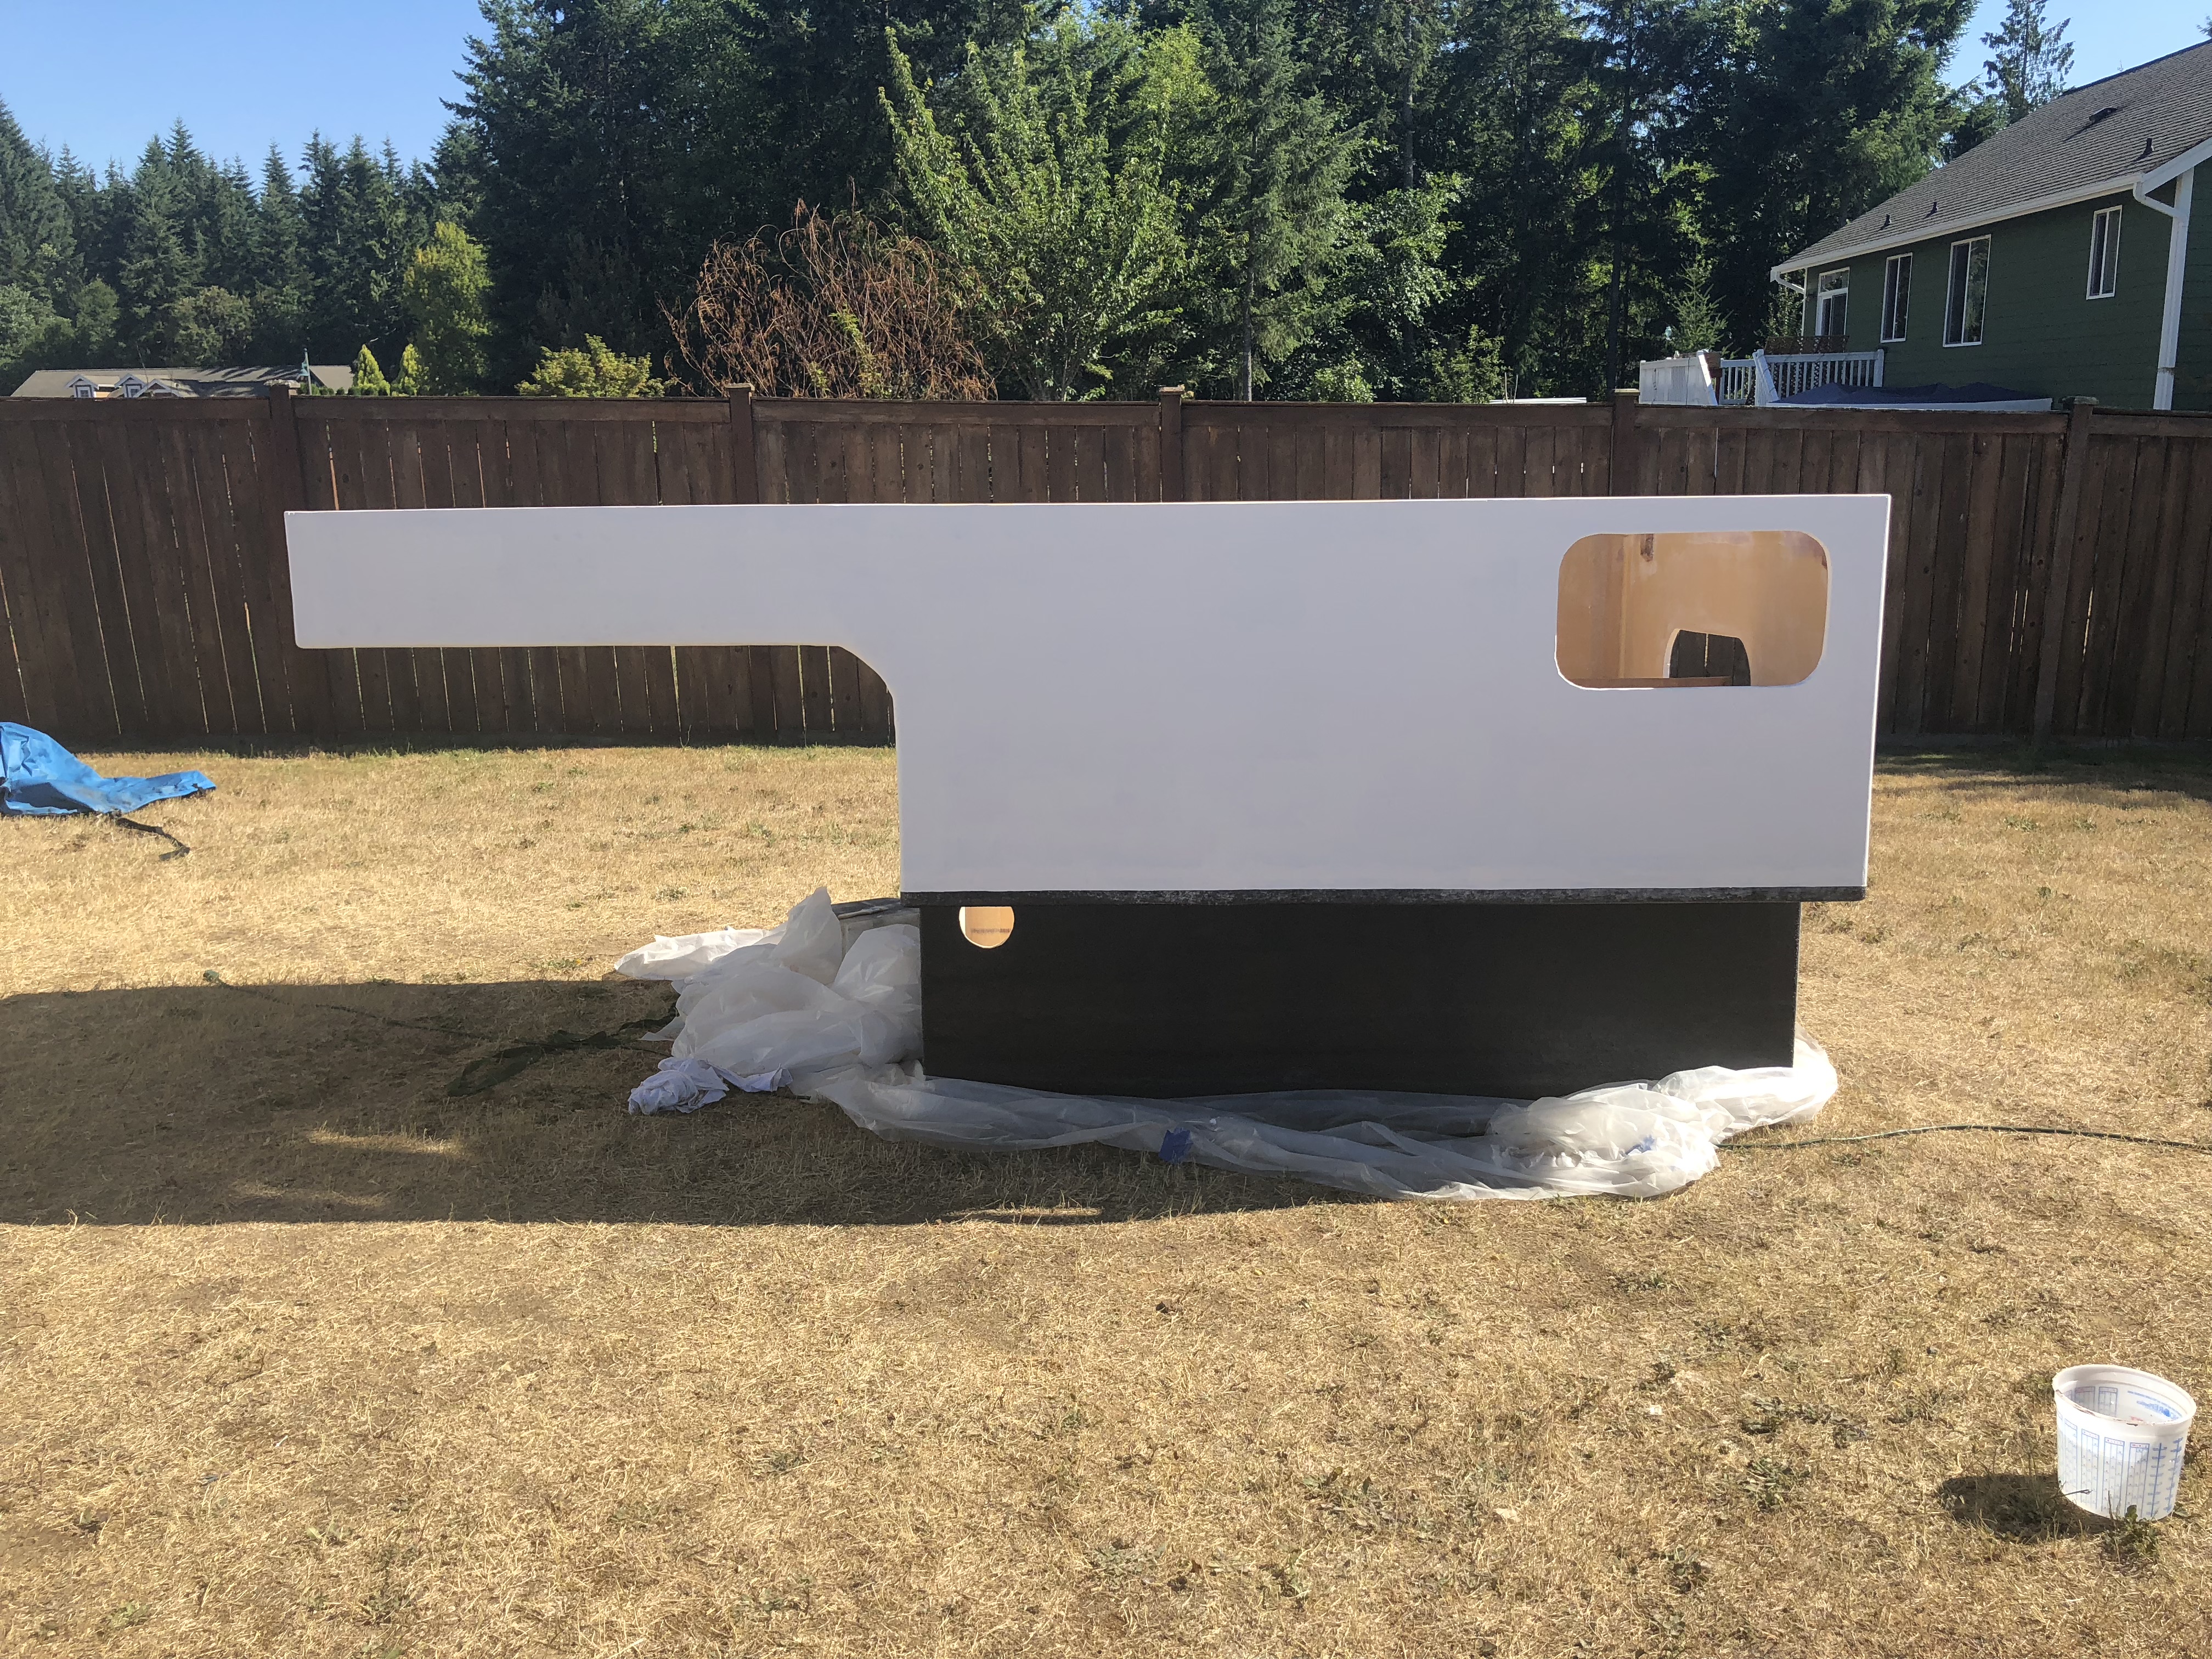
So I've had mixed results with spray cans. They're great for some things, but not what I wanted to use on something like the camper. I needed paint that would be easy to apply but also durable. We used a similar paint on our boat with great success so we settled on a one part polyurethane paint called Easypoxy that can be applied fairly thick and brushed on.
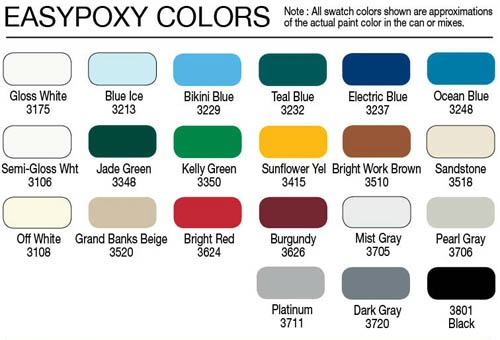
We debated color schemes for a long time. The truck is basic silver so most bright colors would look pretty stupid. Black and darker colors would get too hot and show a ton of dirt (not that that matters really) and I didn't want a boring white one. Eventually we settled on "Platinum" which would be a shade darker than the truck, but not too dark.
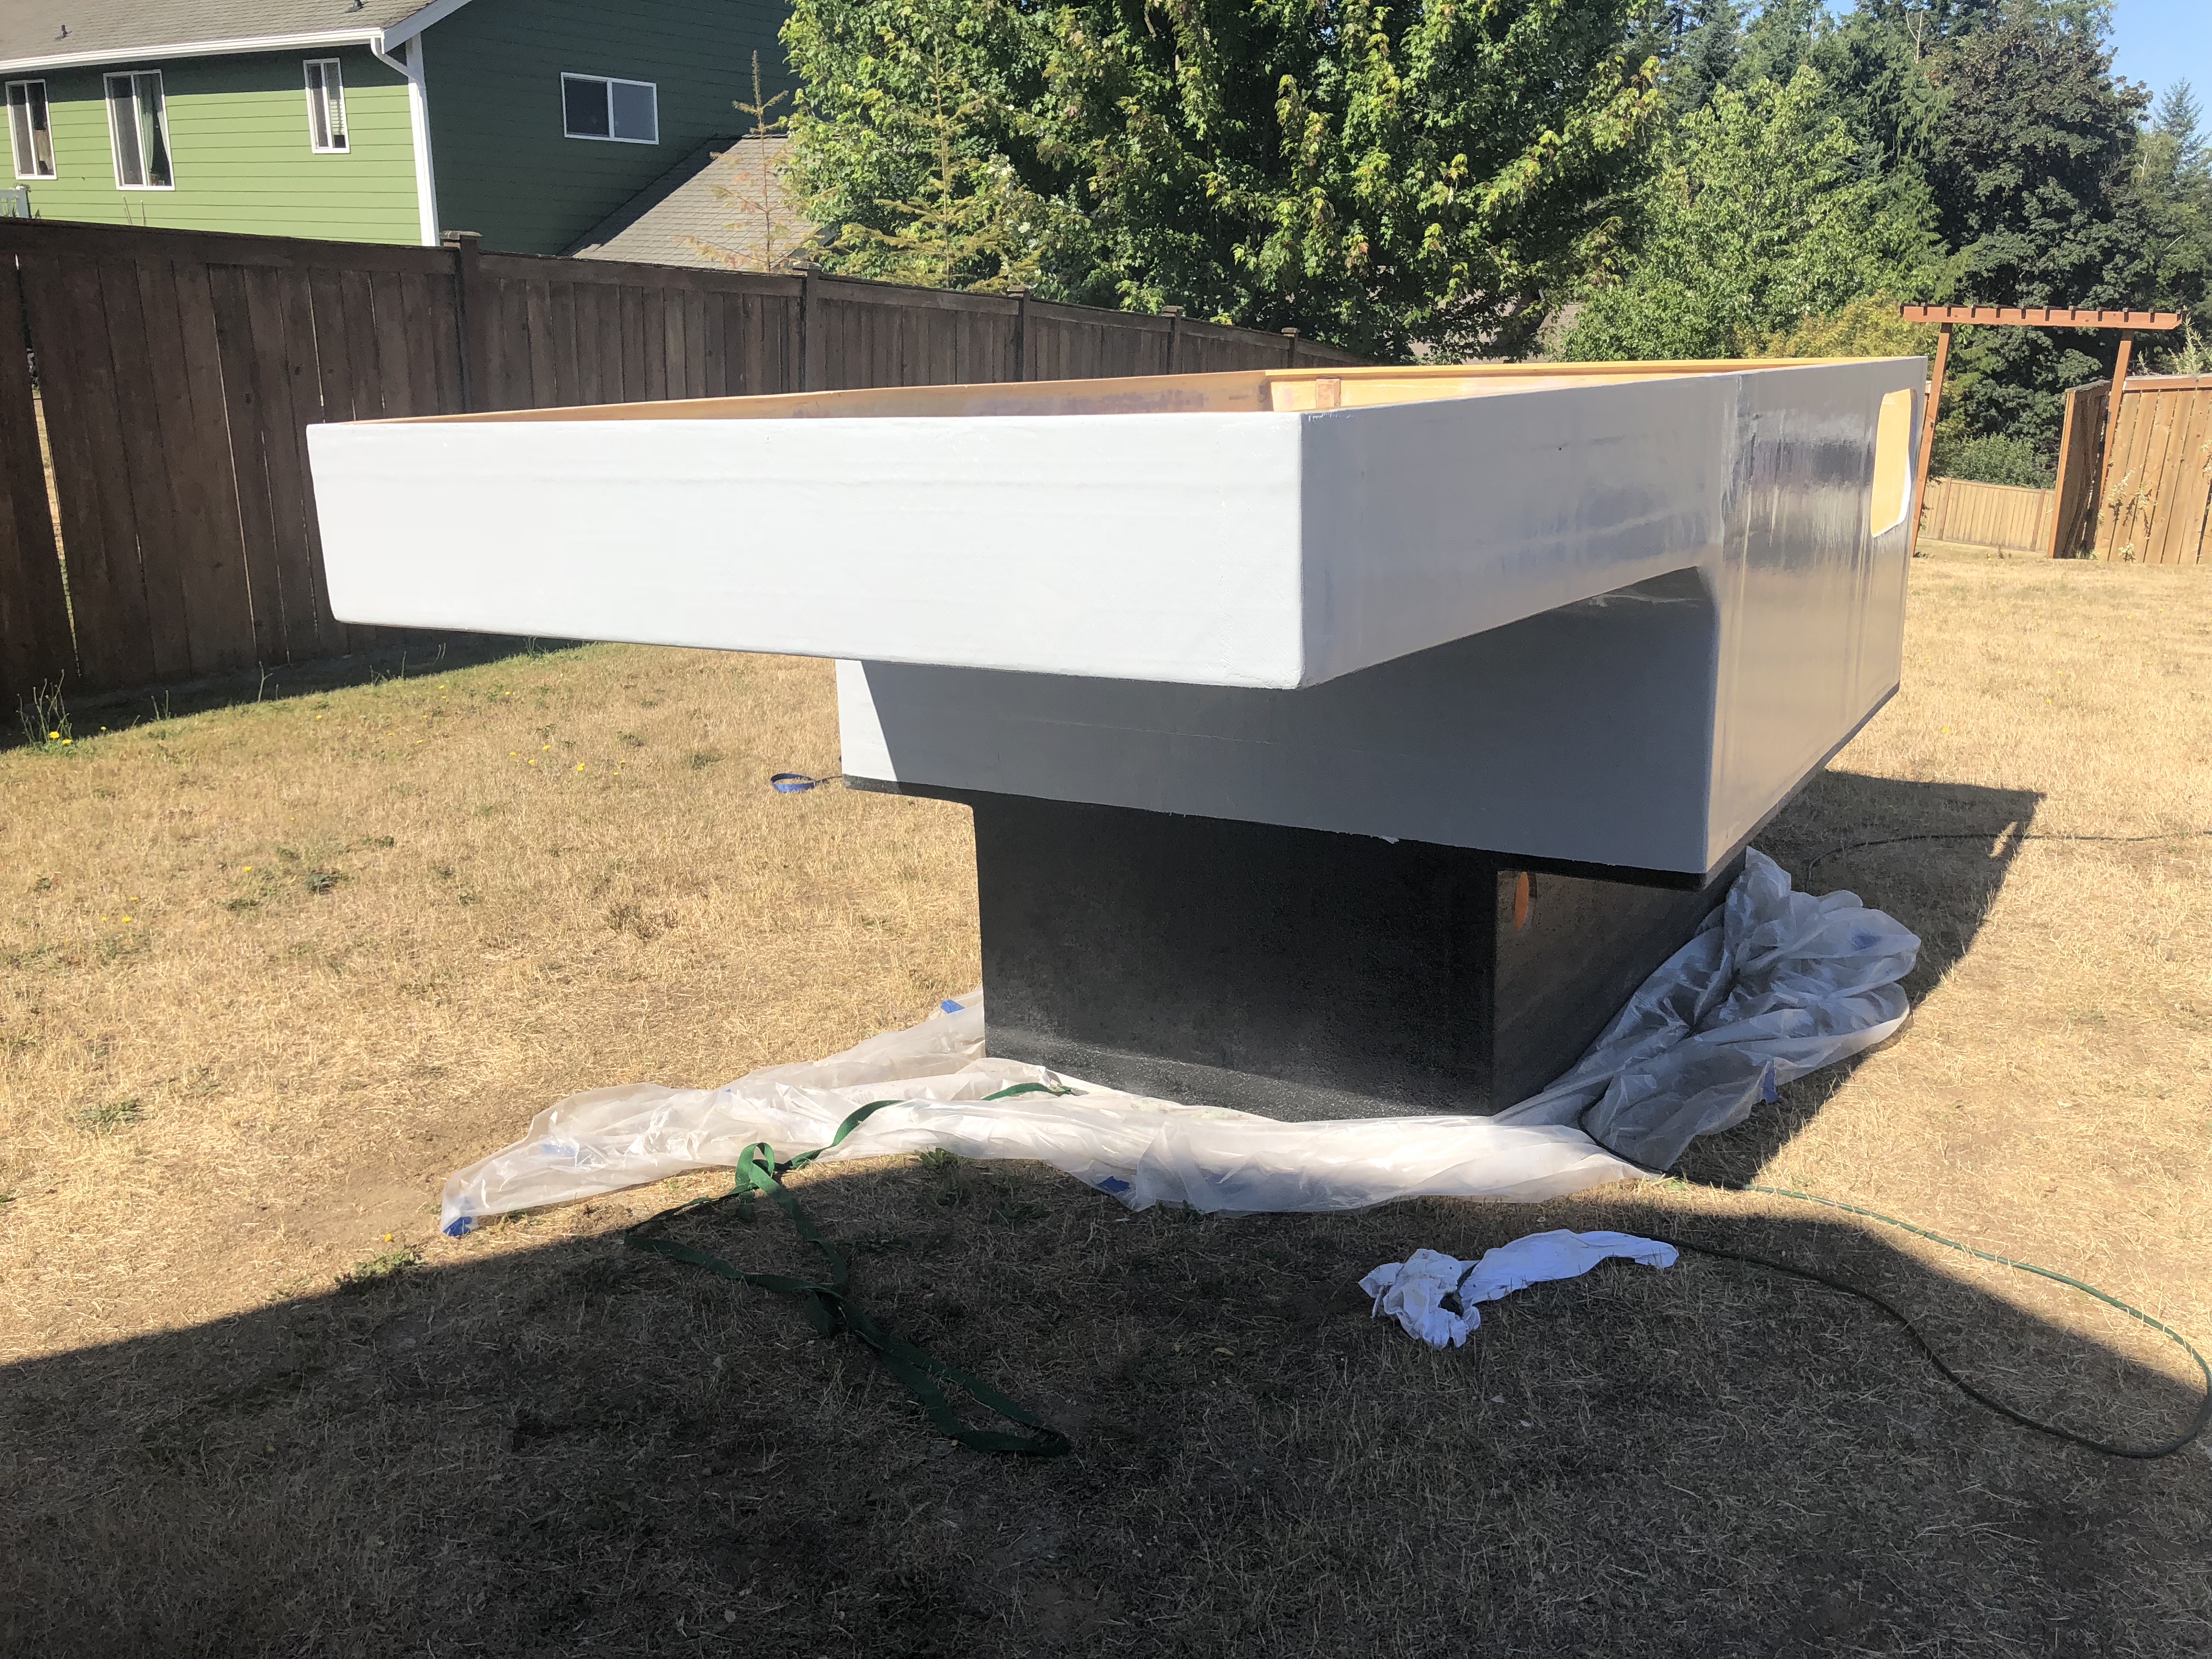
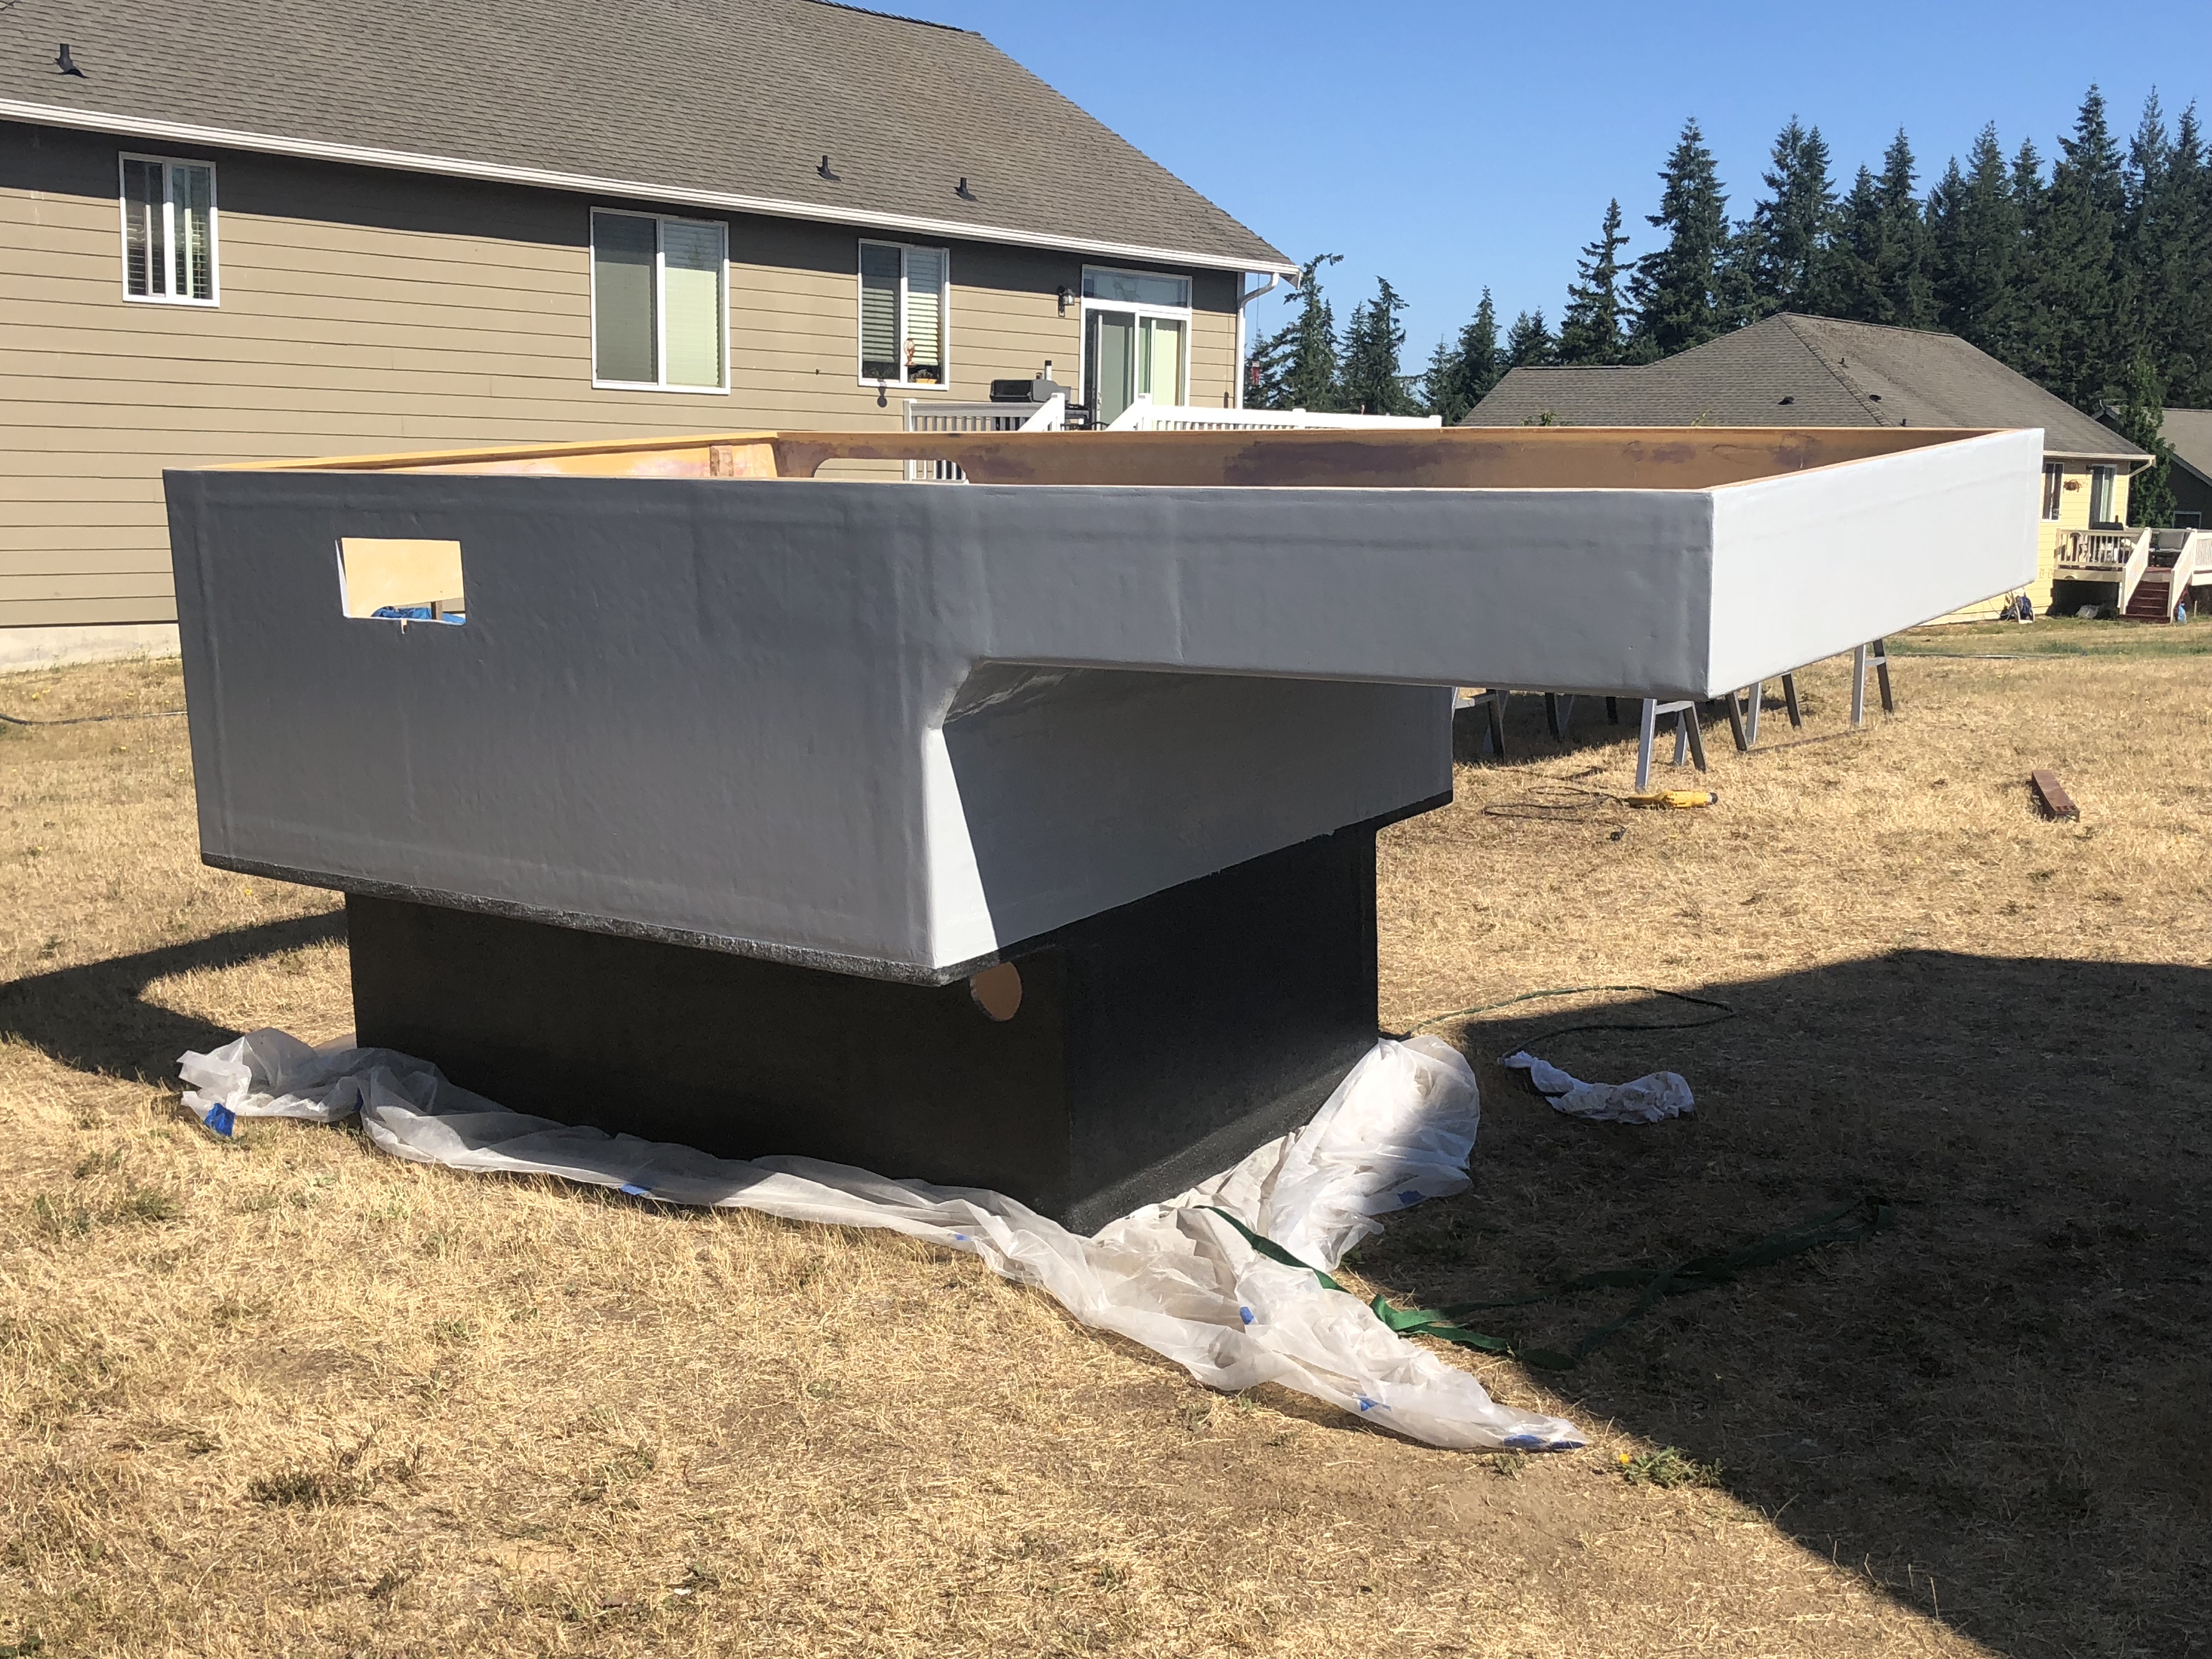
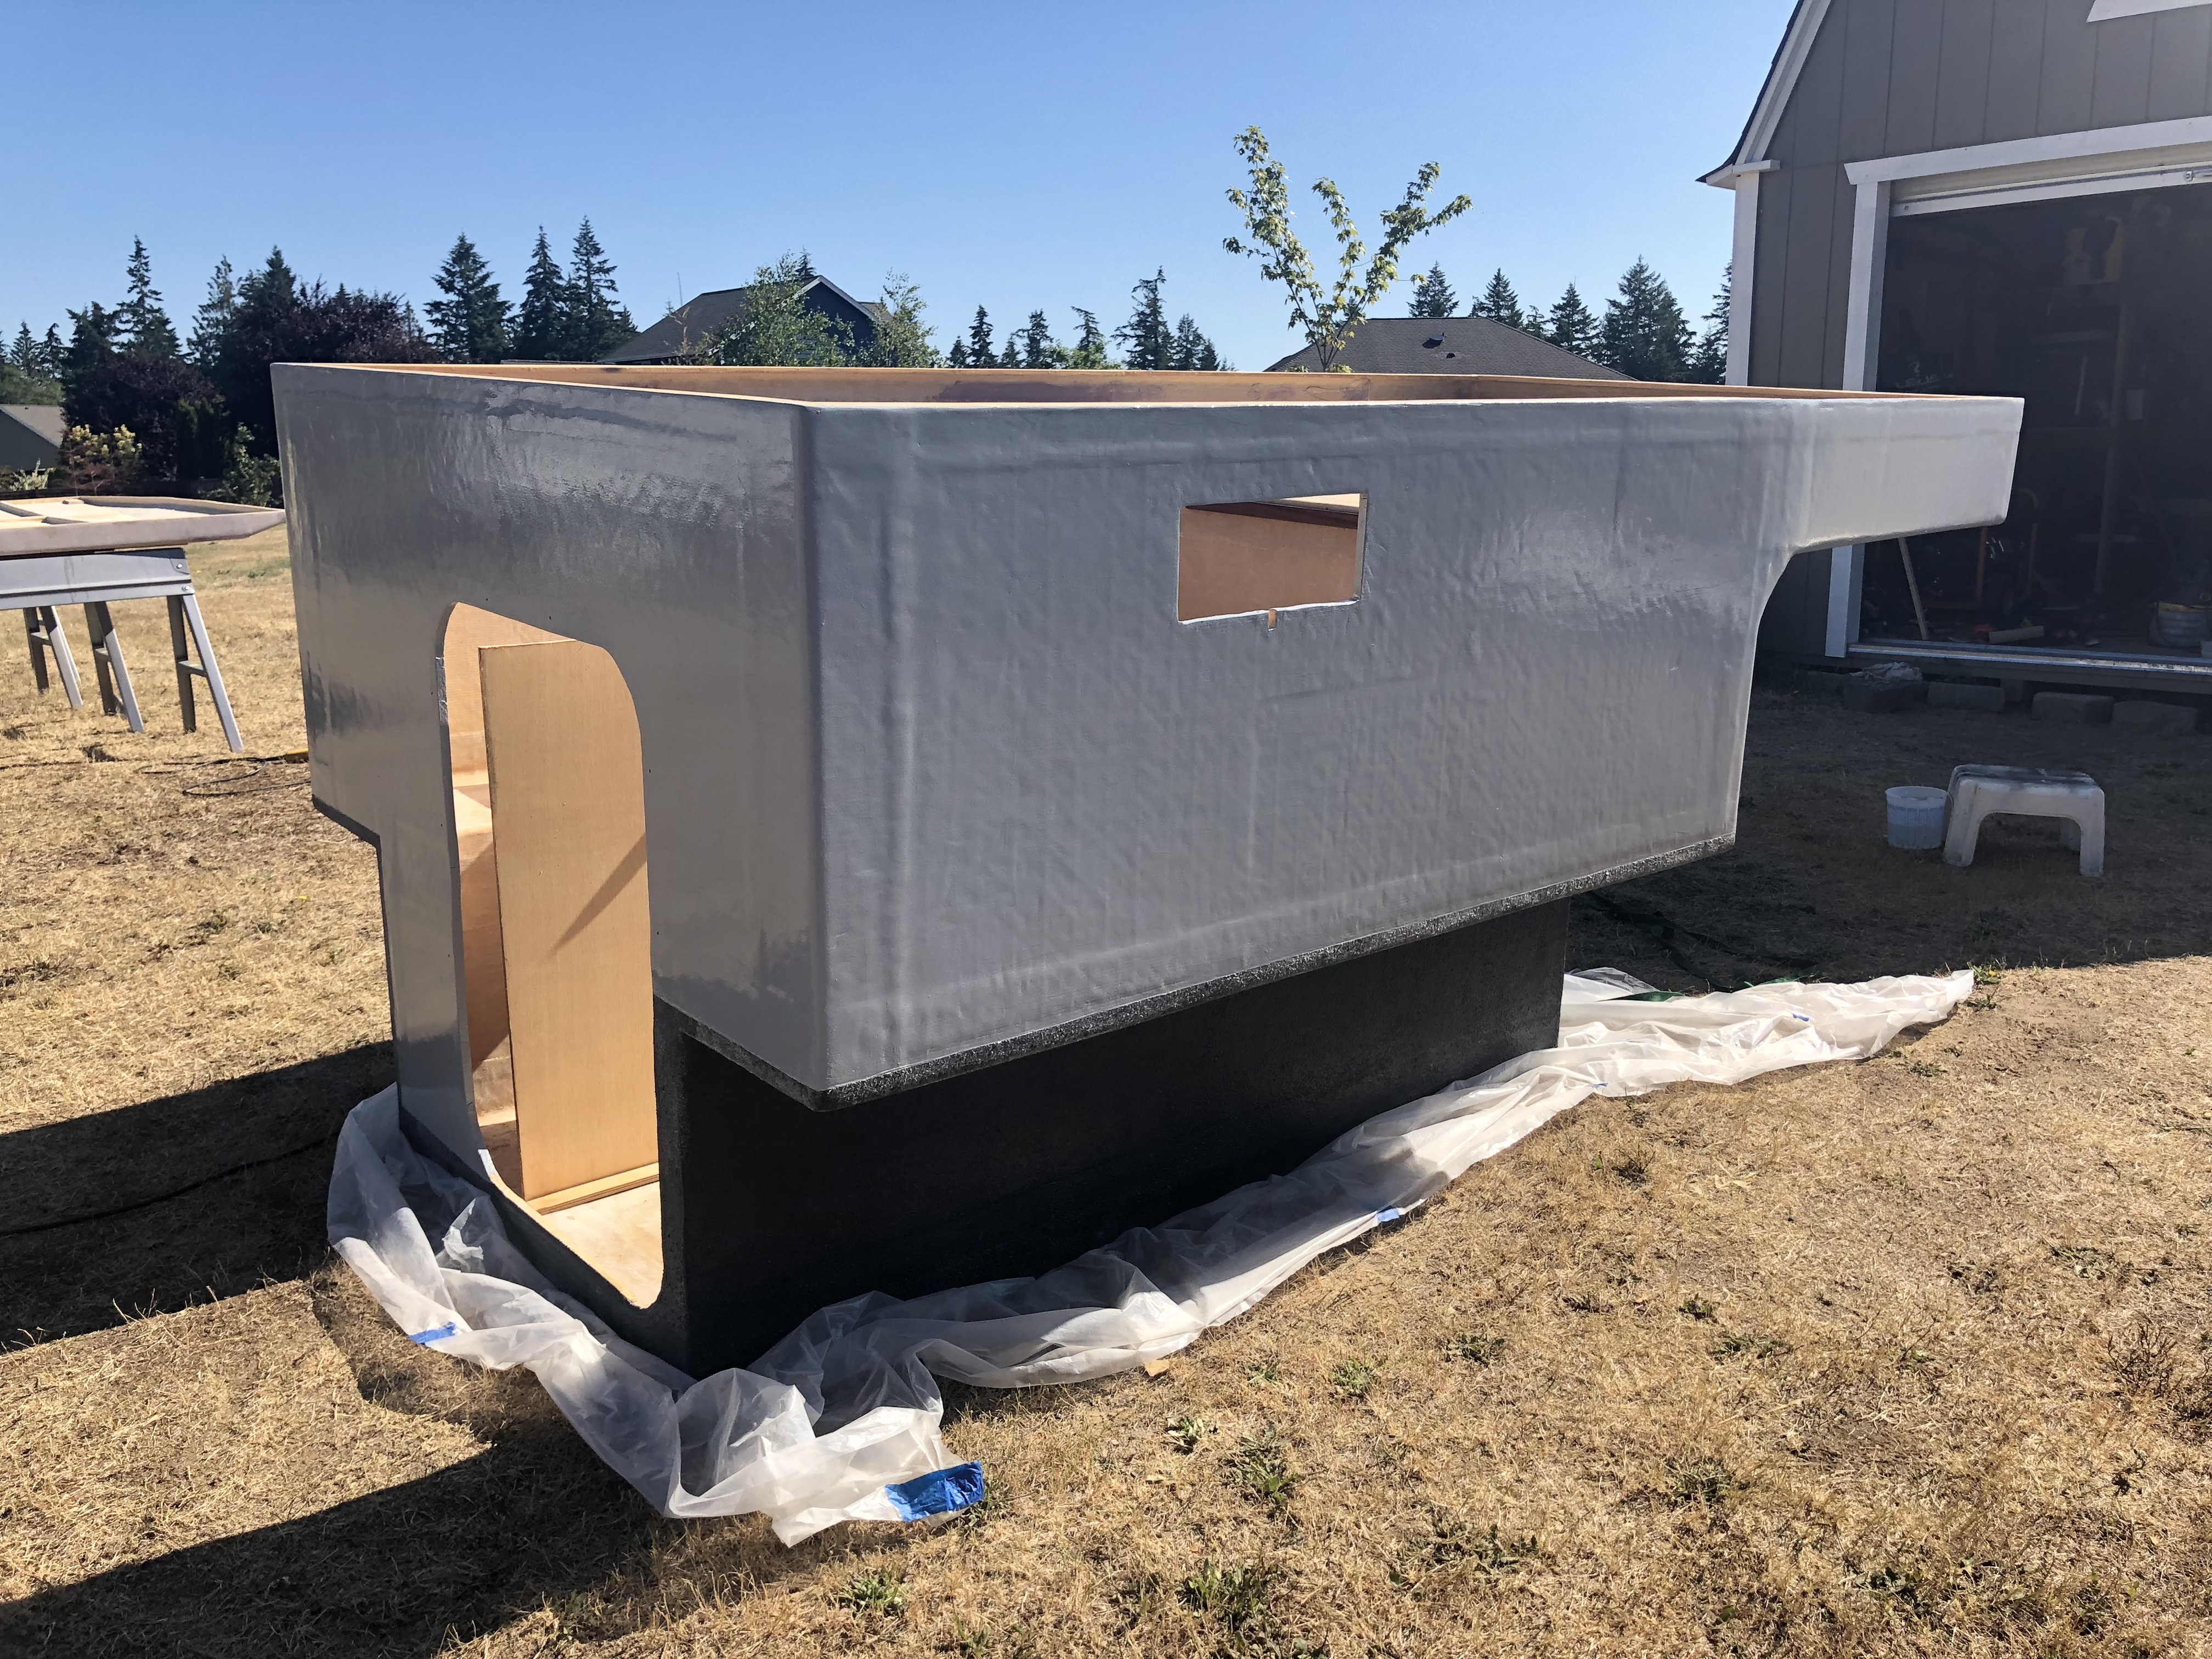
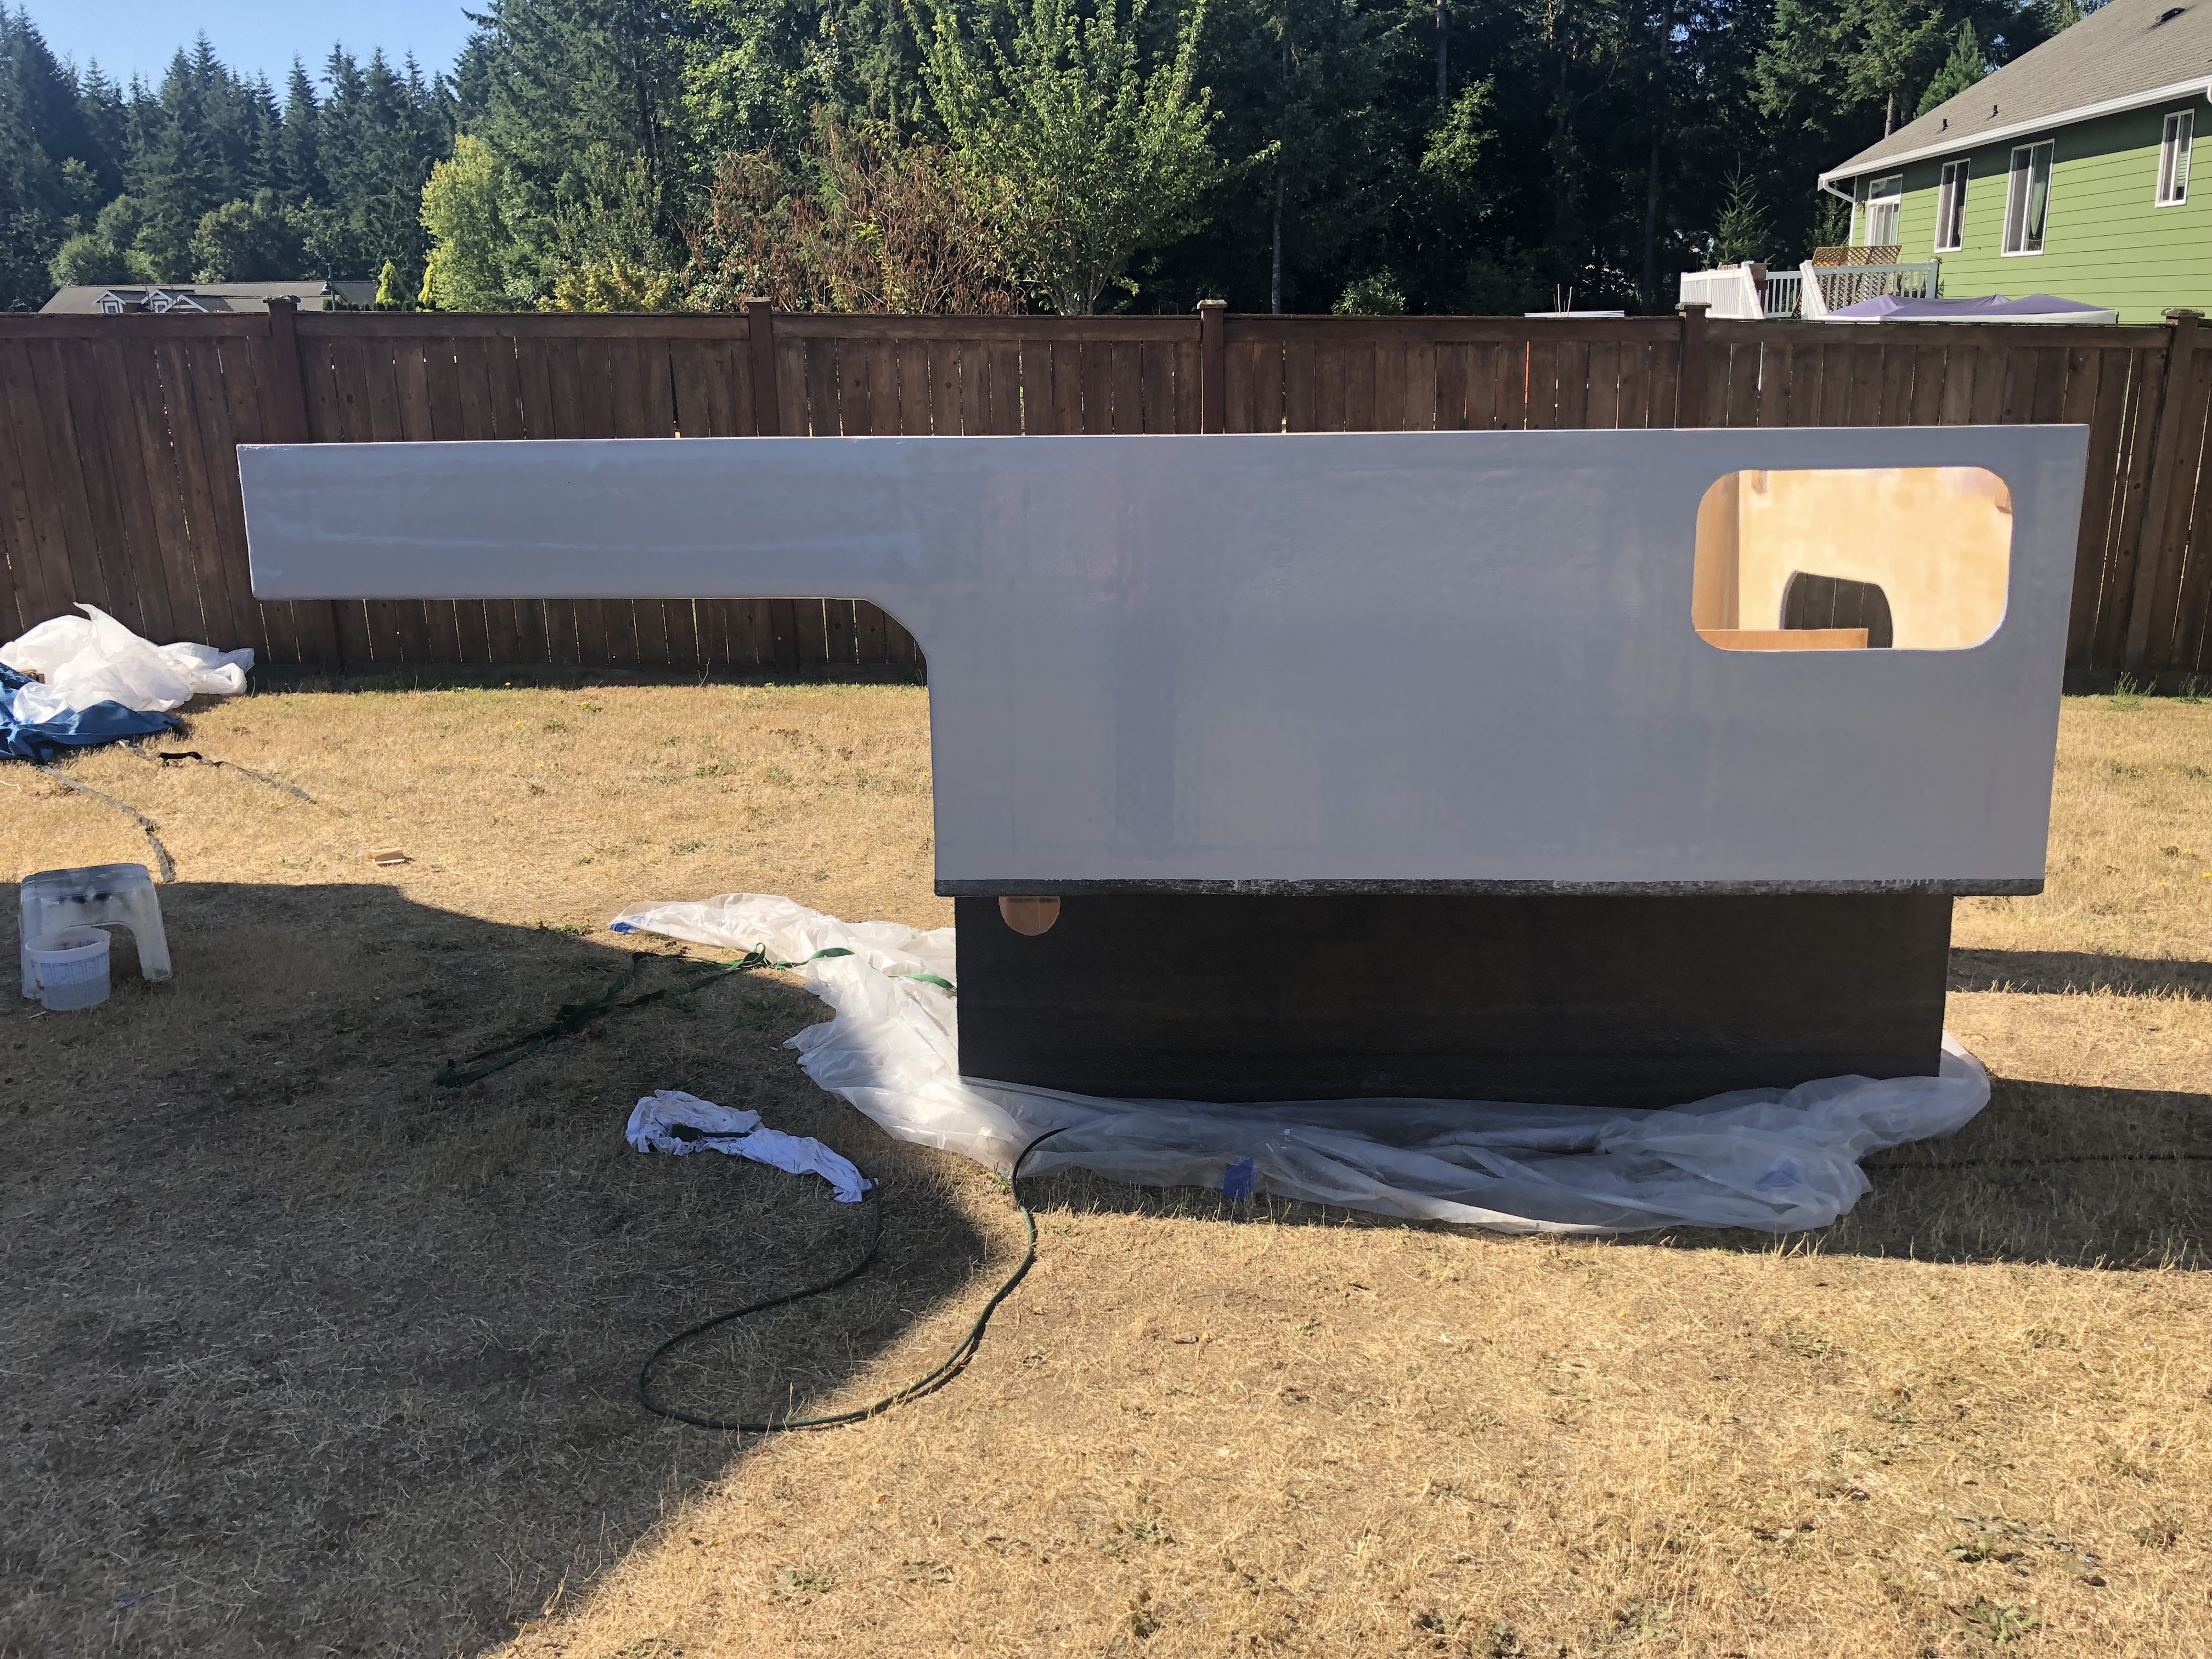
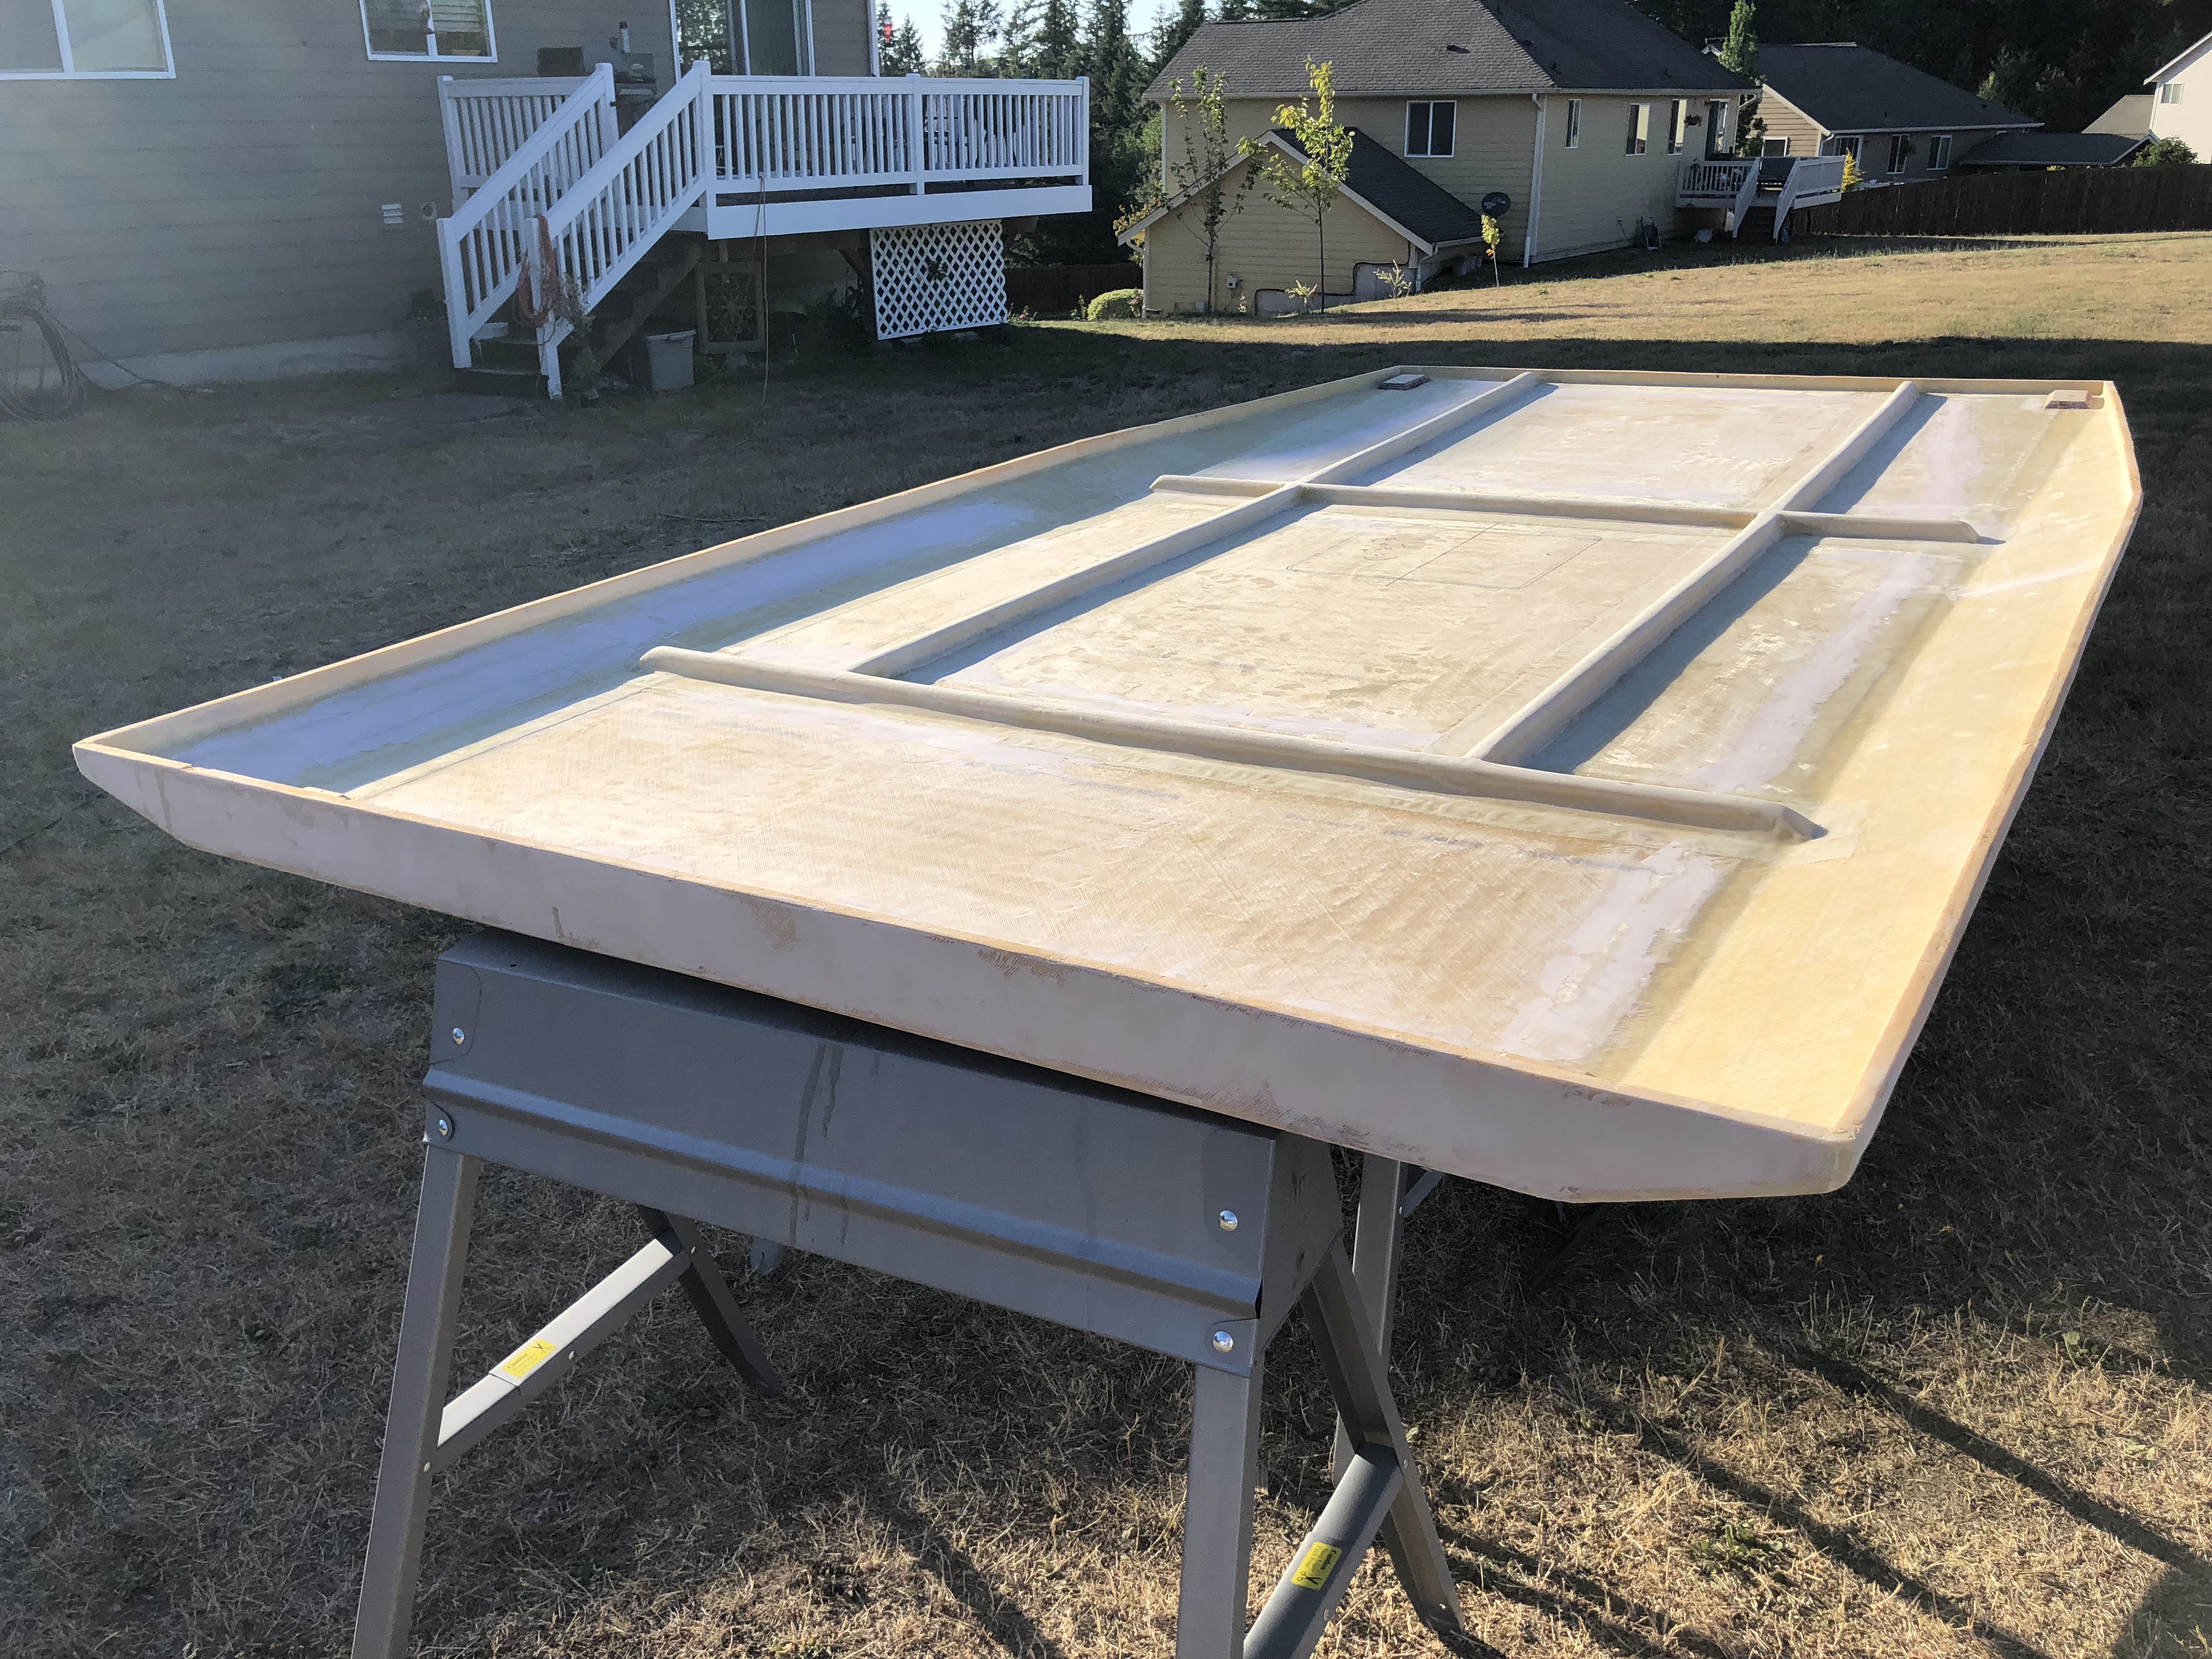
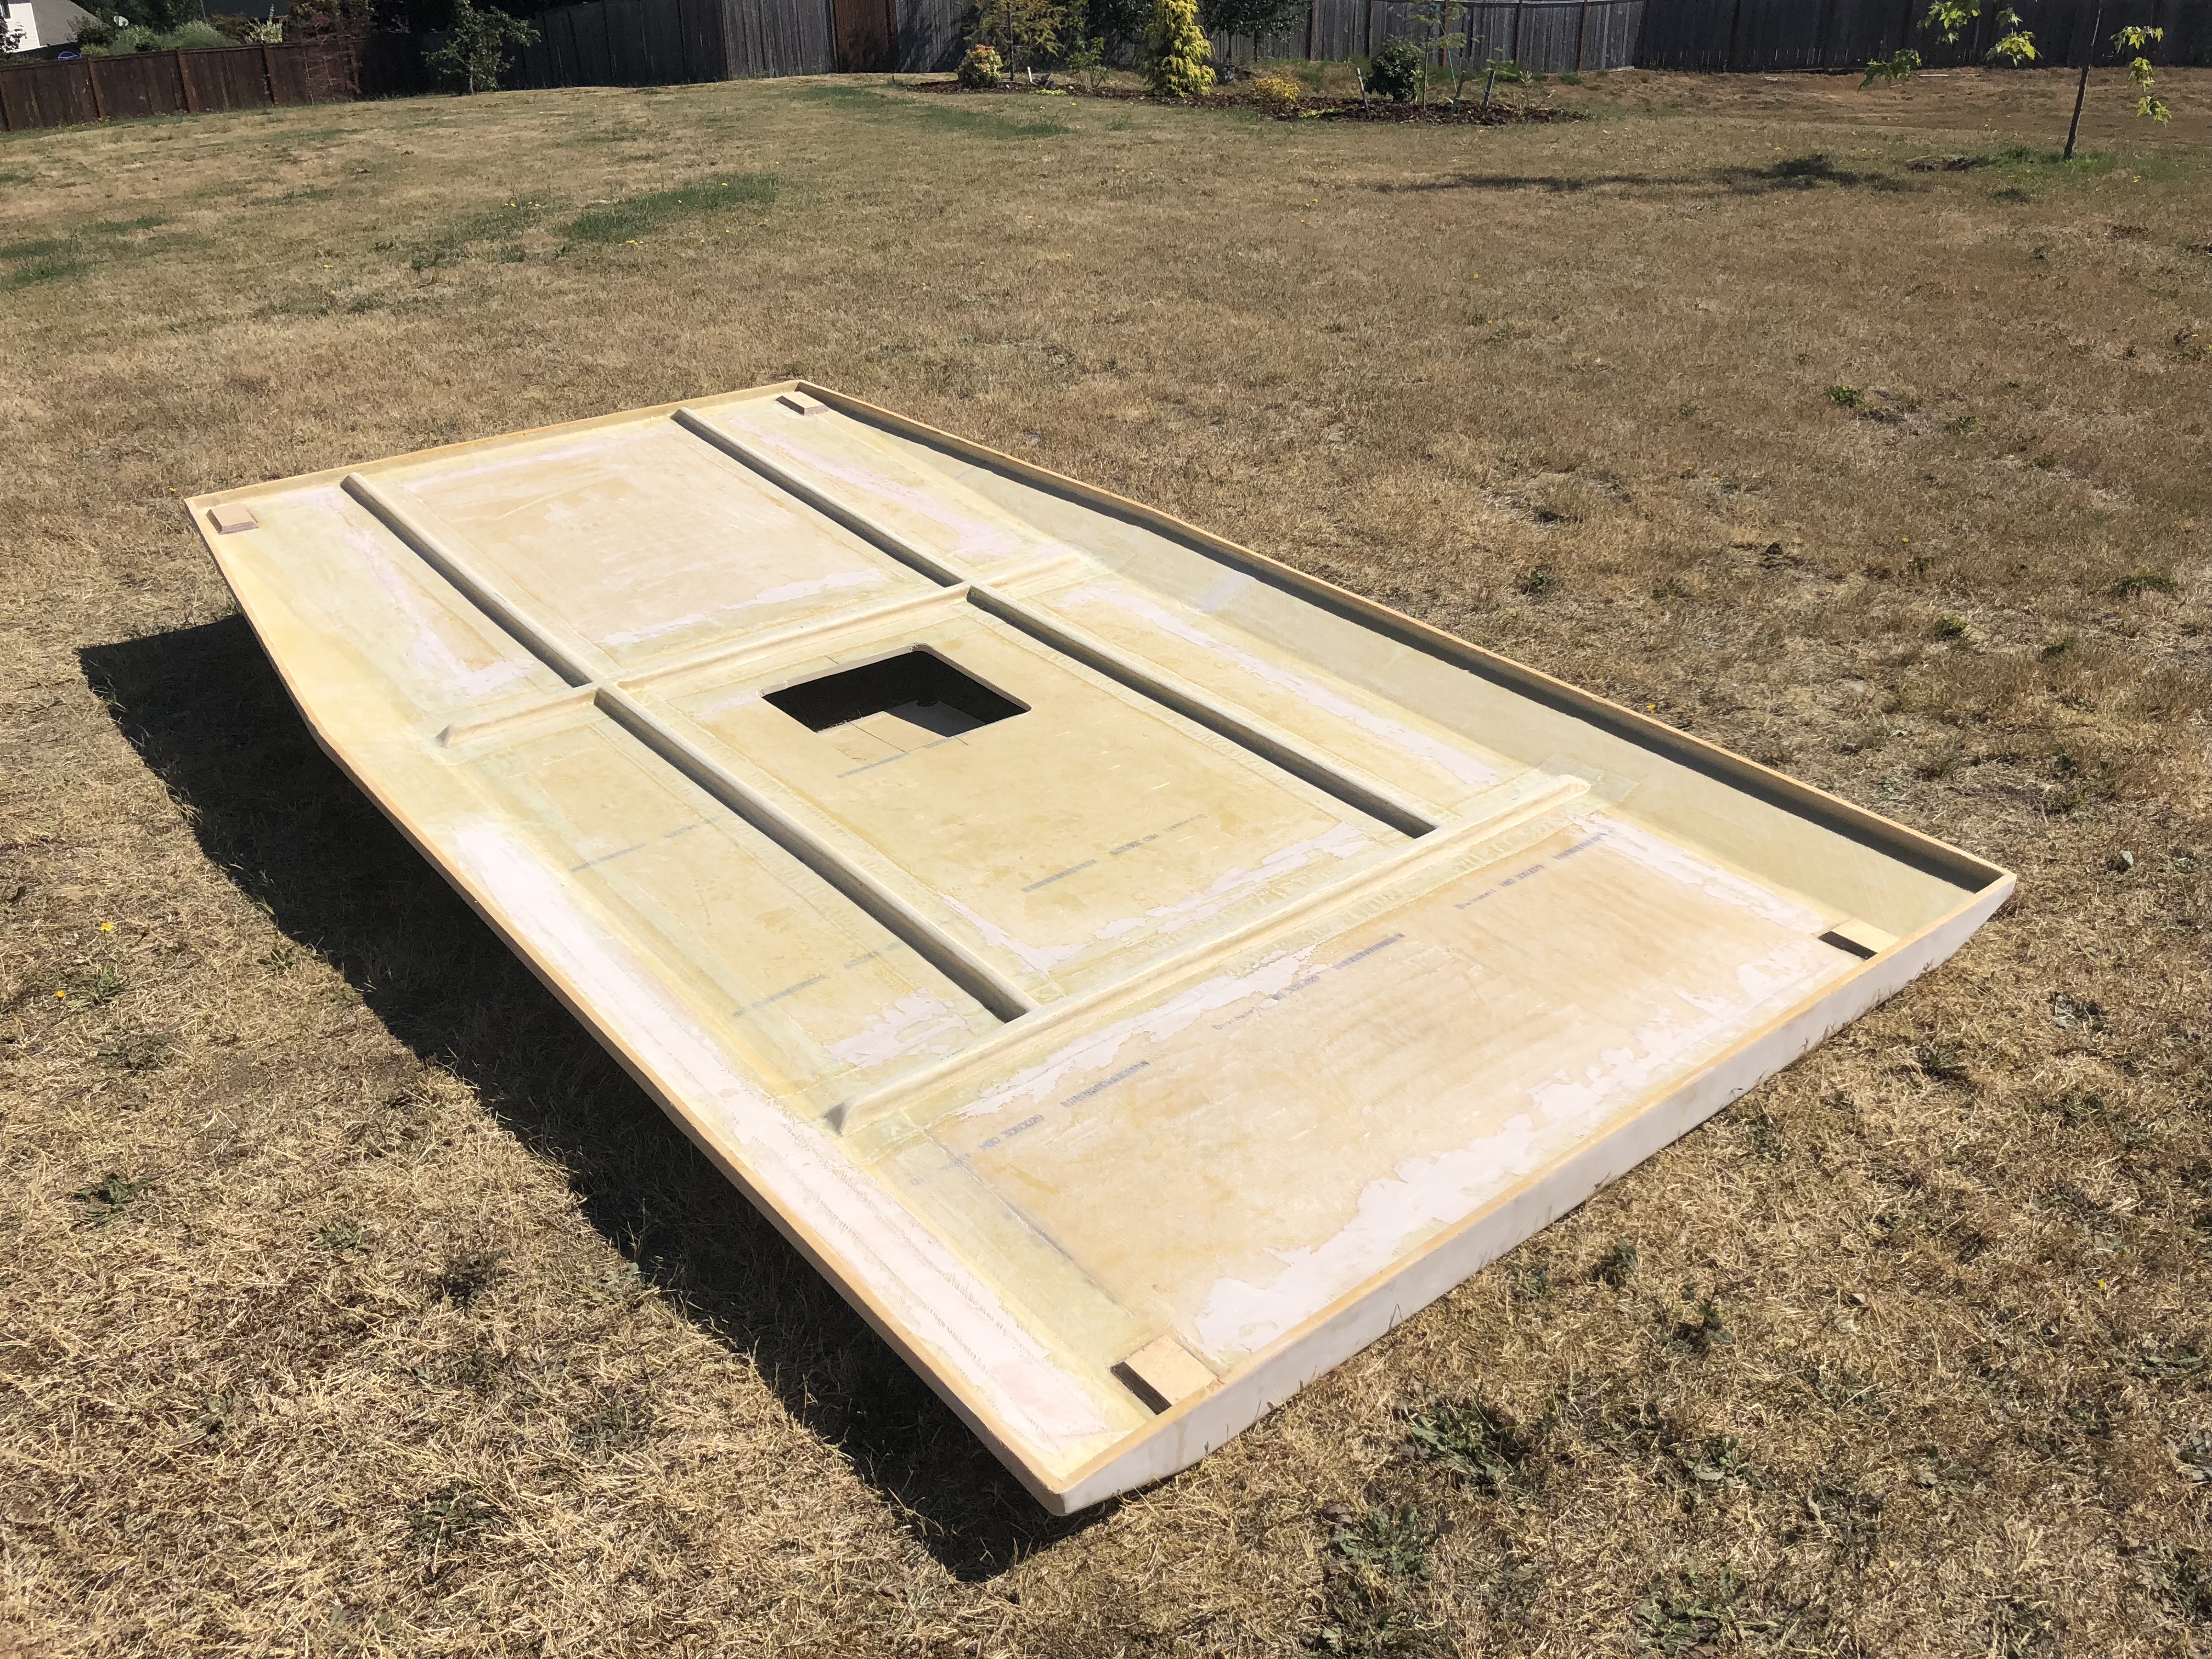
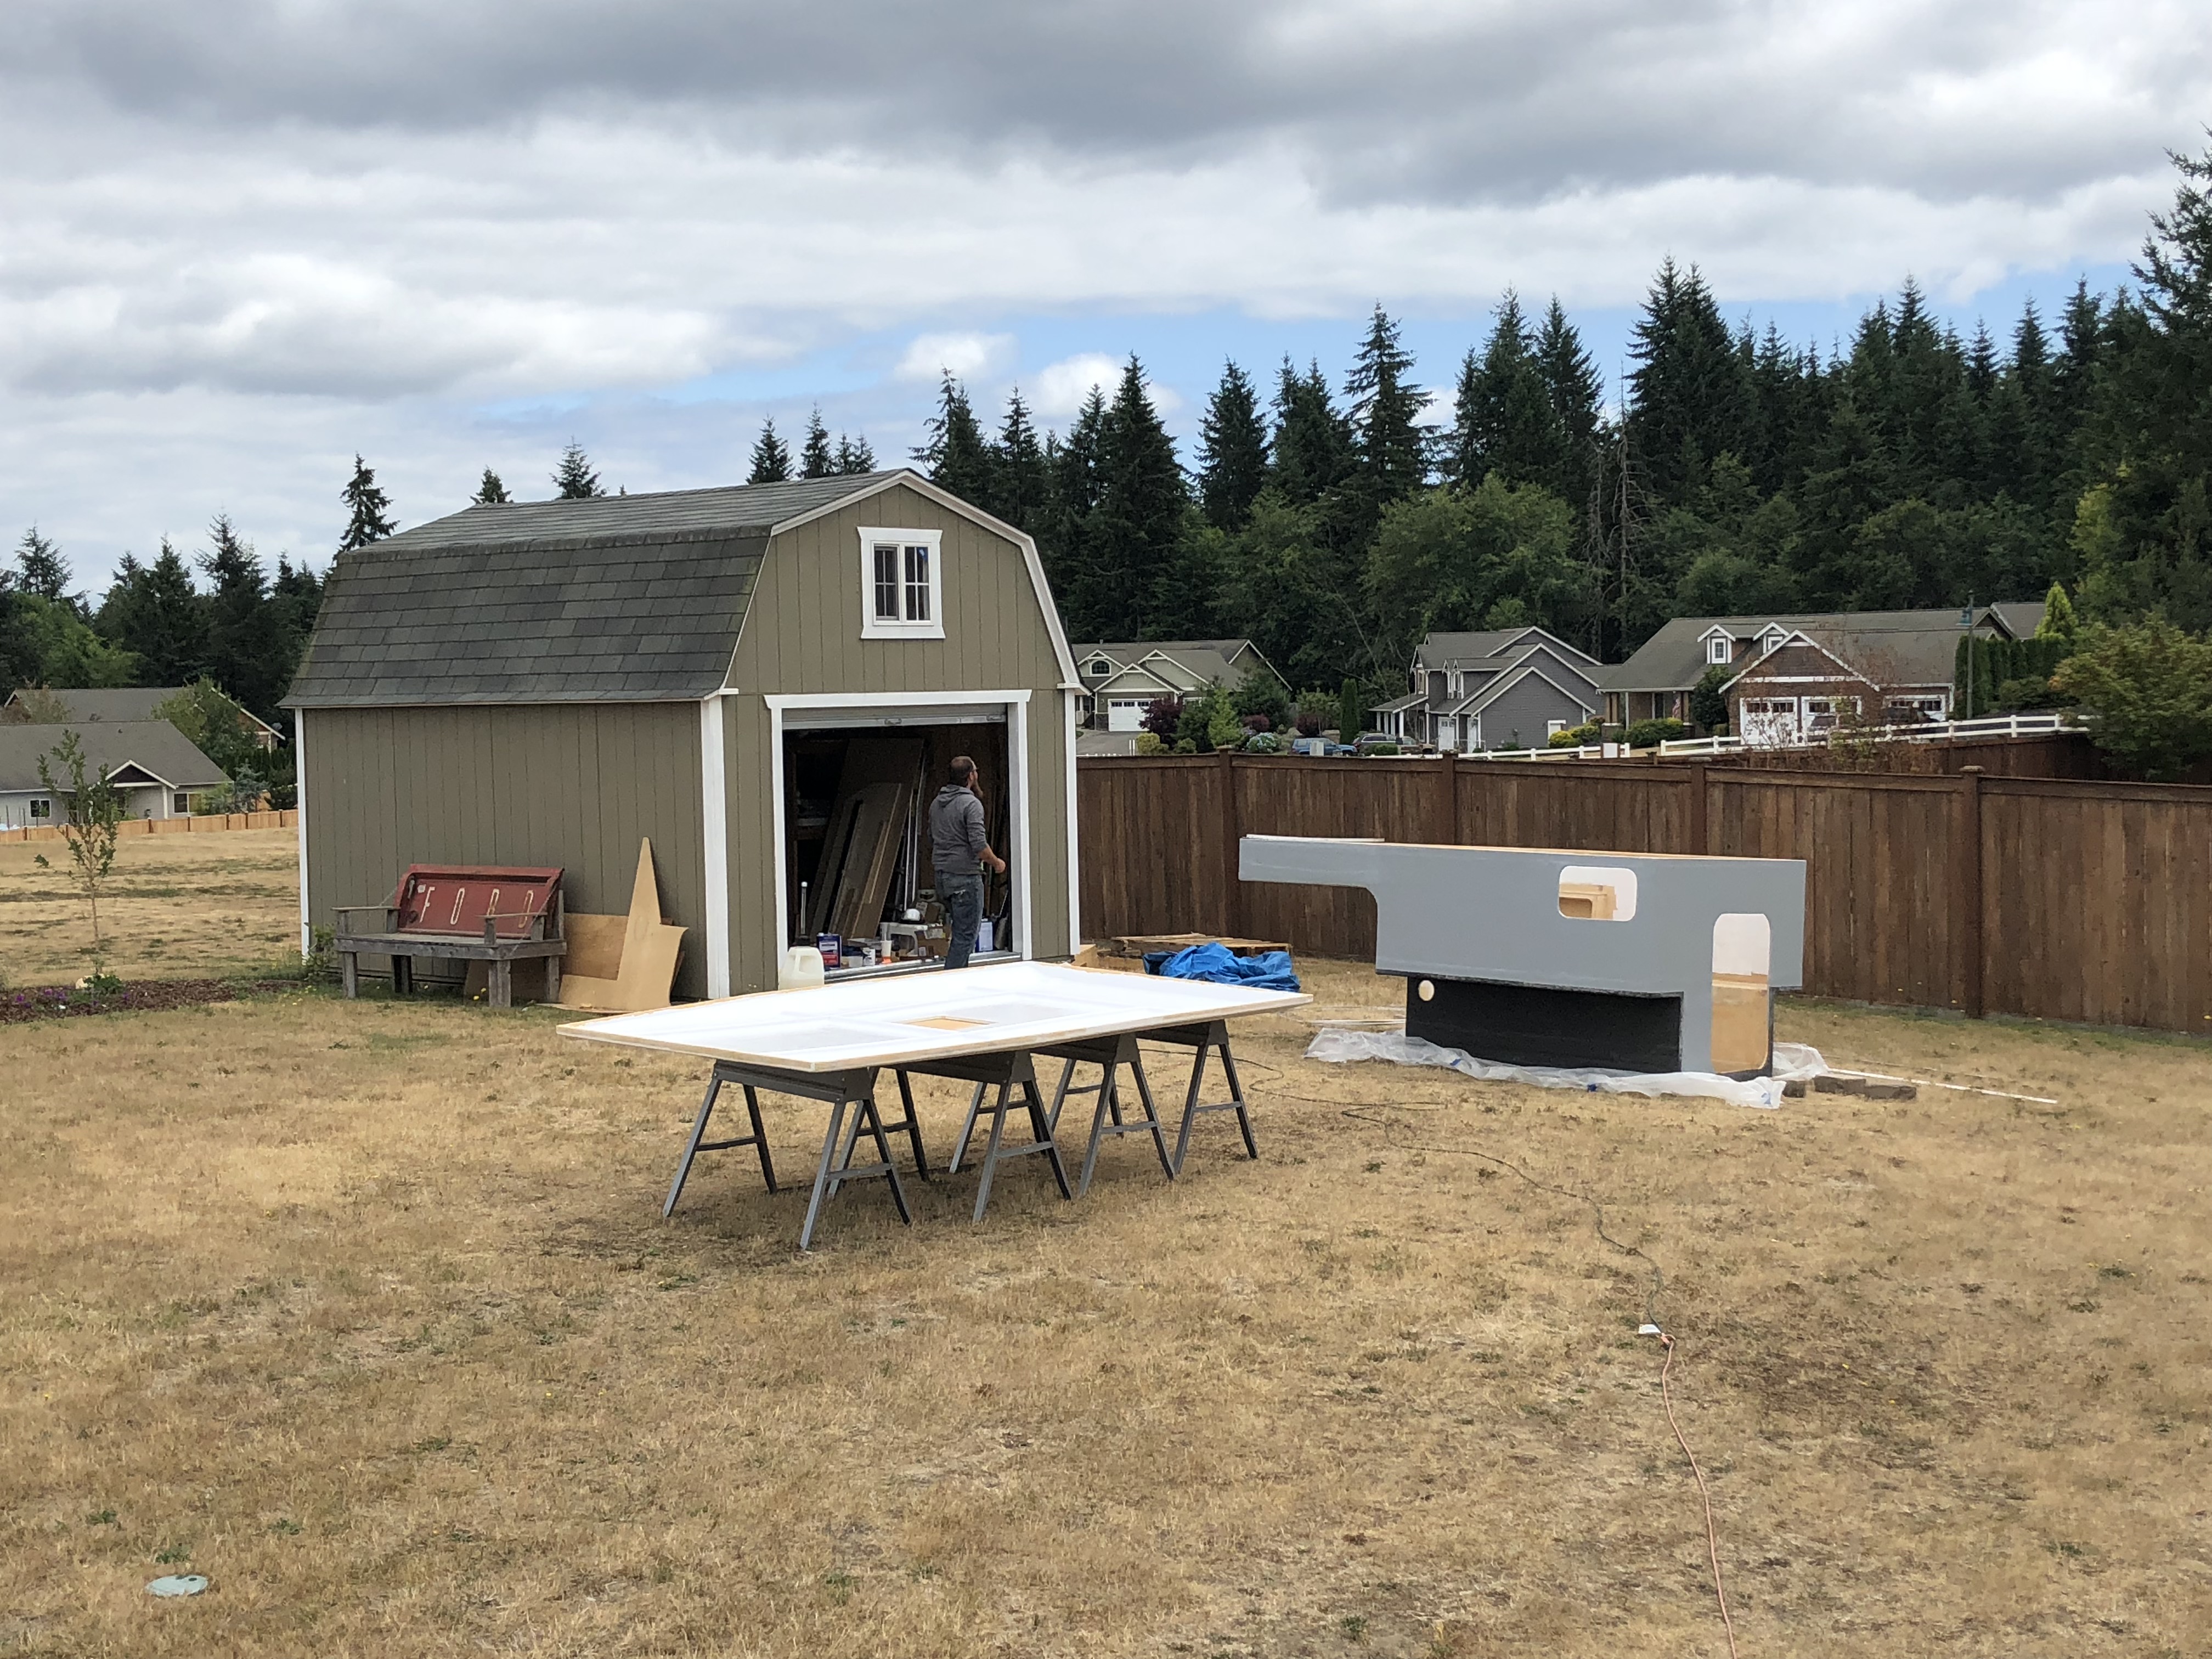
Prepping the fiberglass for paint was a time consuming pain in the ass. Now that it has a layer of paint on it, adding additional layers will be much easier. The color of the paint also doesn't show up real well because of how sunny it was that morning. I'll post more pictures later! I wanted to get the first coat of paint done before the sun really started beating down and making the paint dry too fast. Now that that's done and it's acceptable to use power tools, I cut the hole in the roof for the vent.
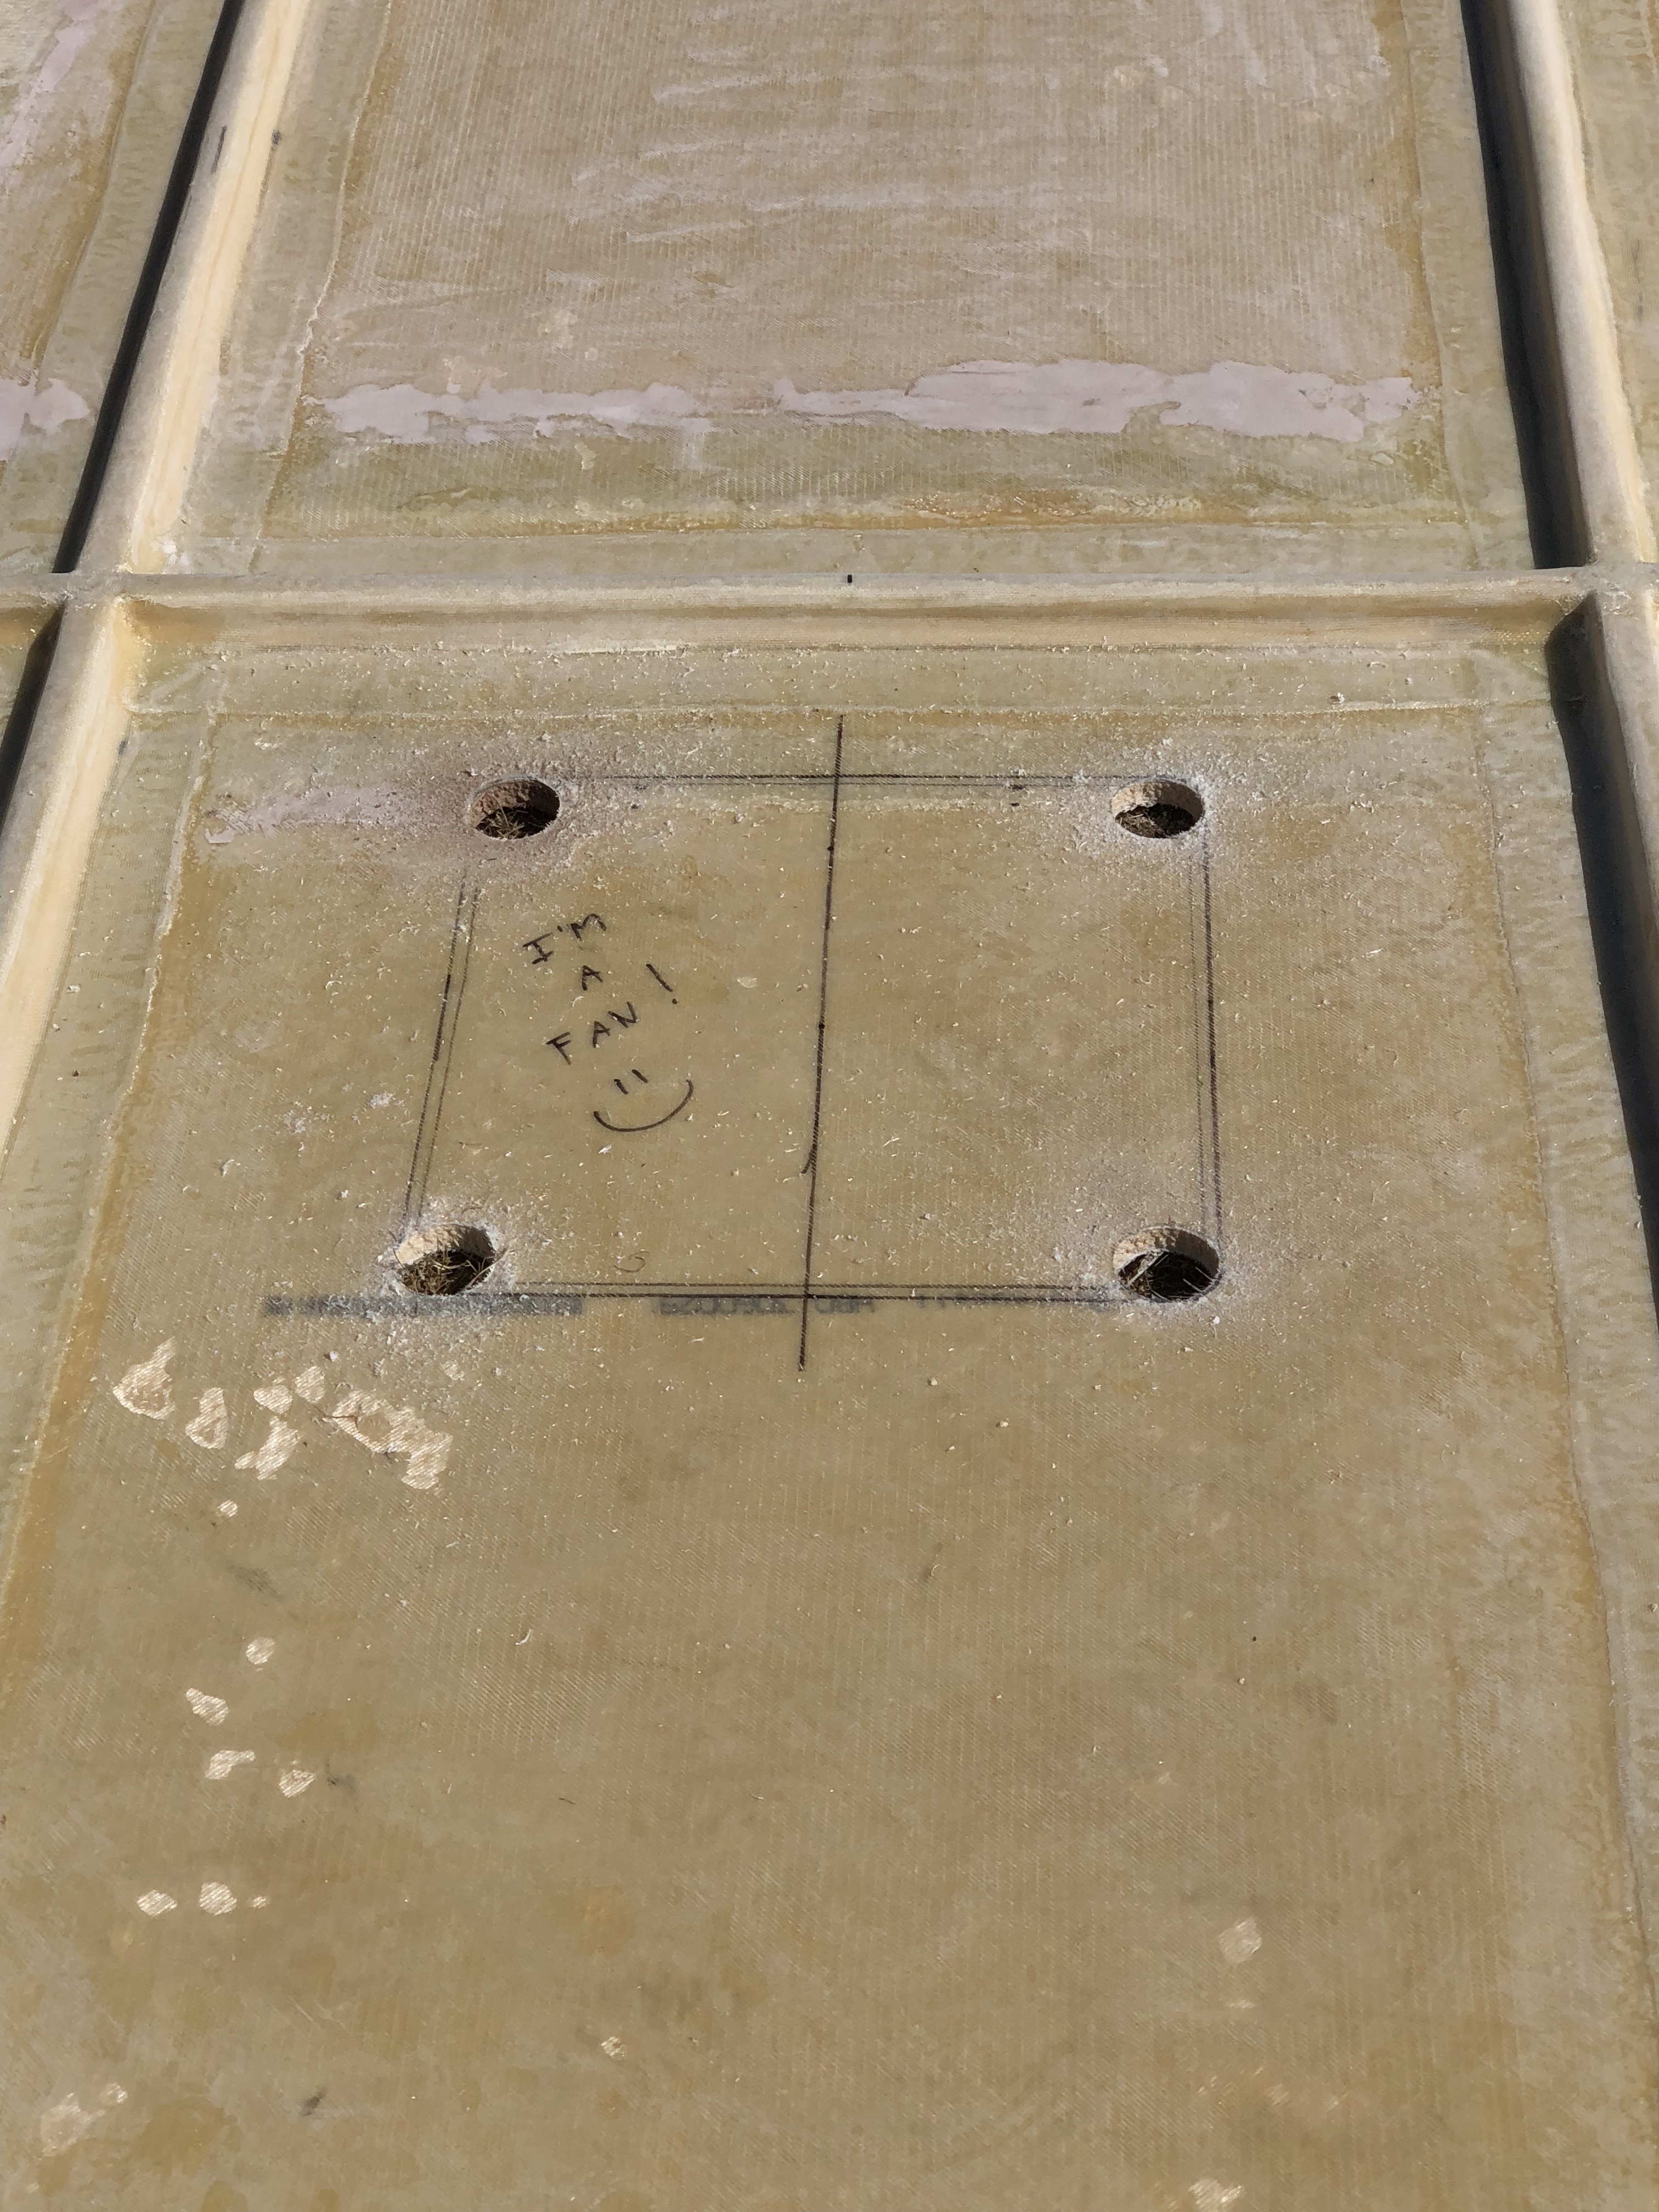
Lesson learned for the day? Remove the plywood from underneath the thing you're drilling a hole in... :/ Dangit.
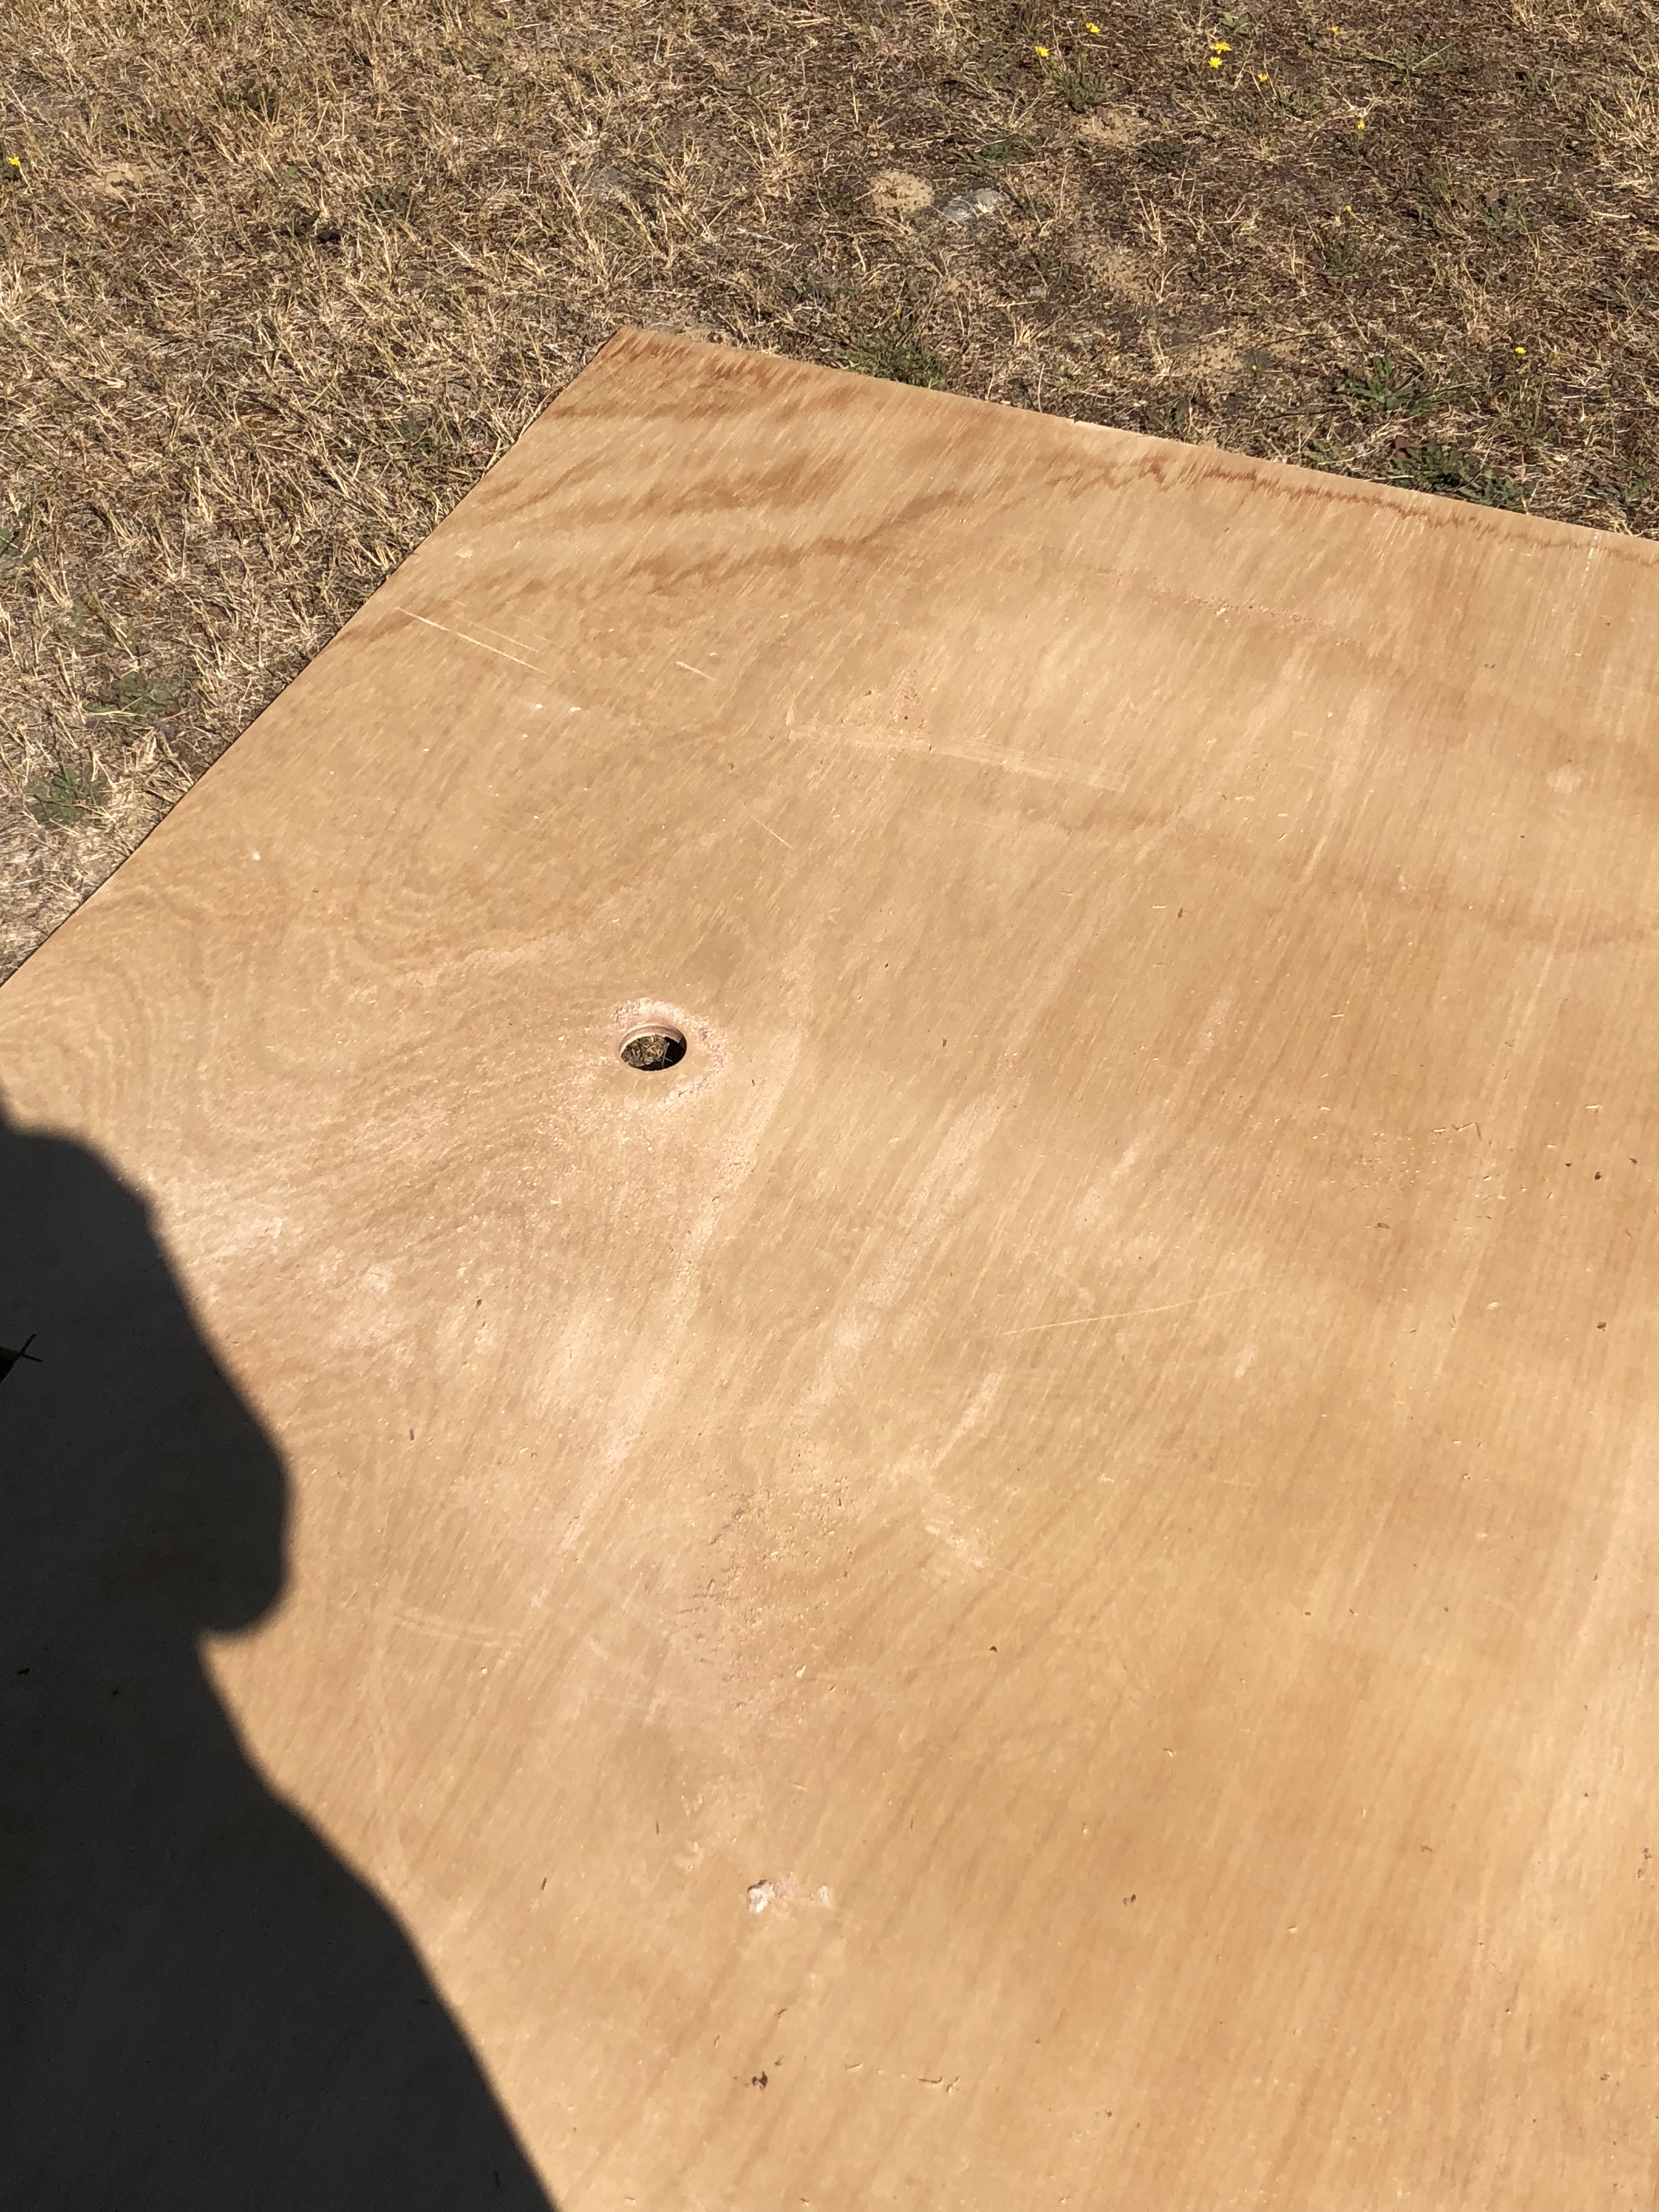
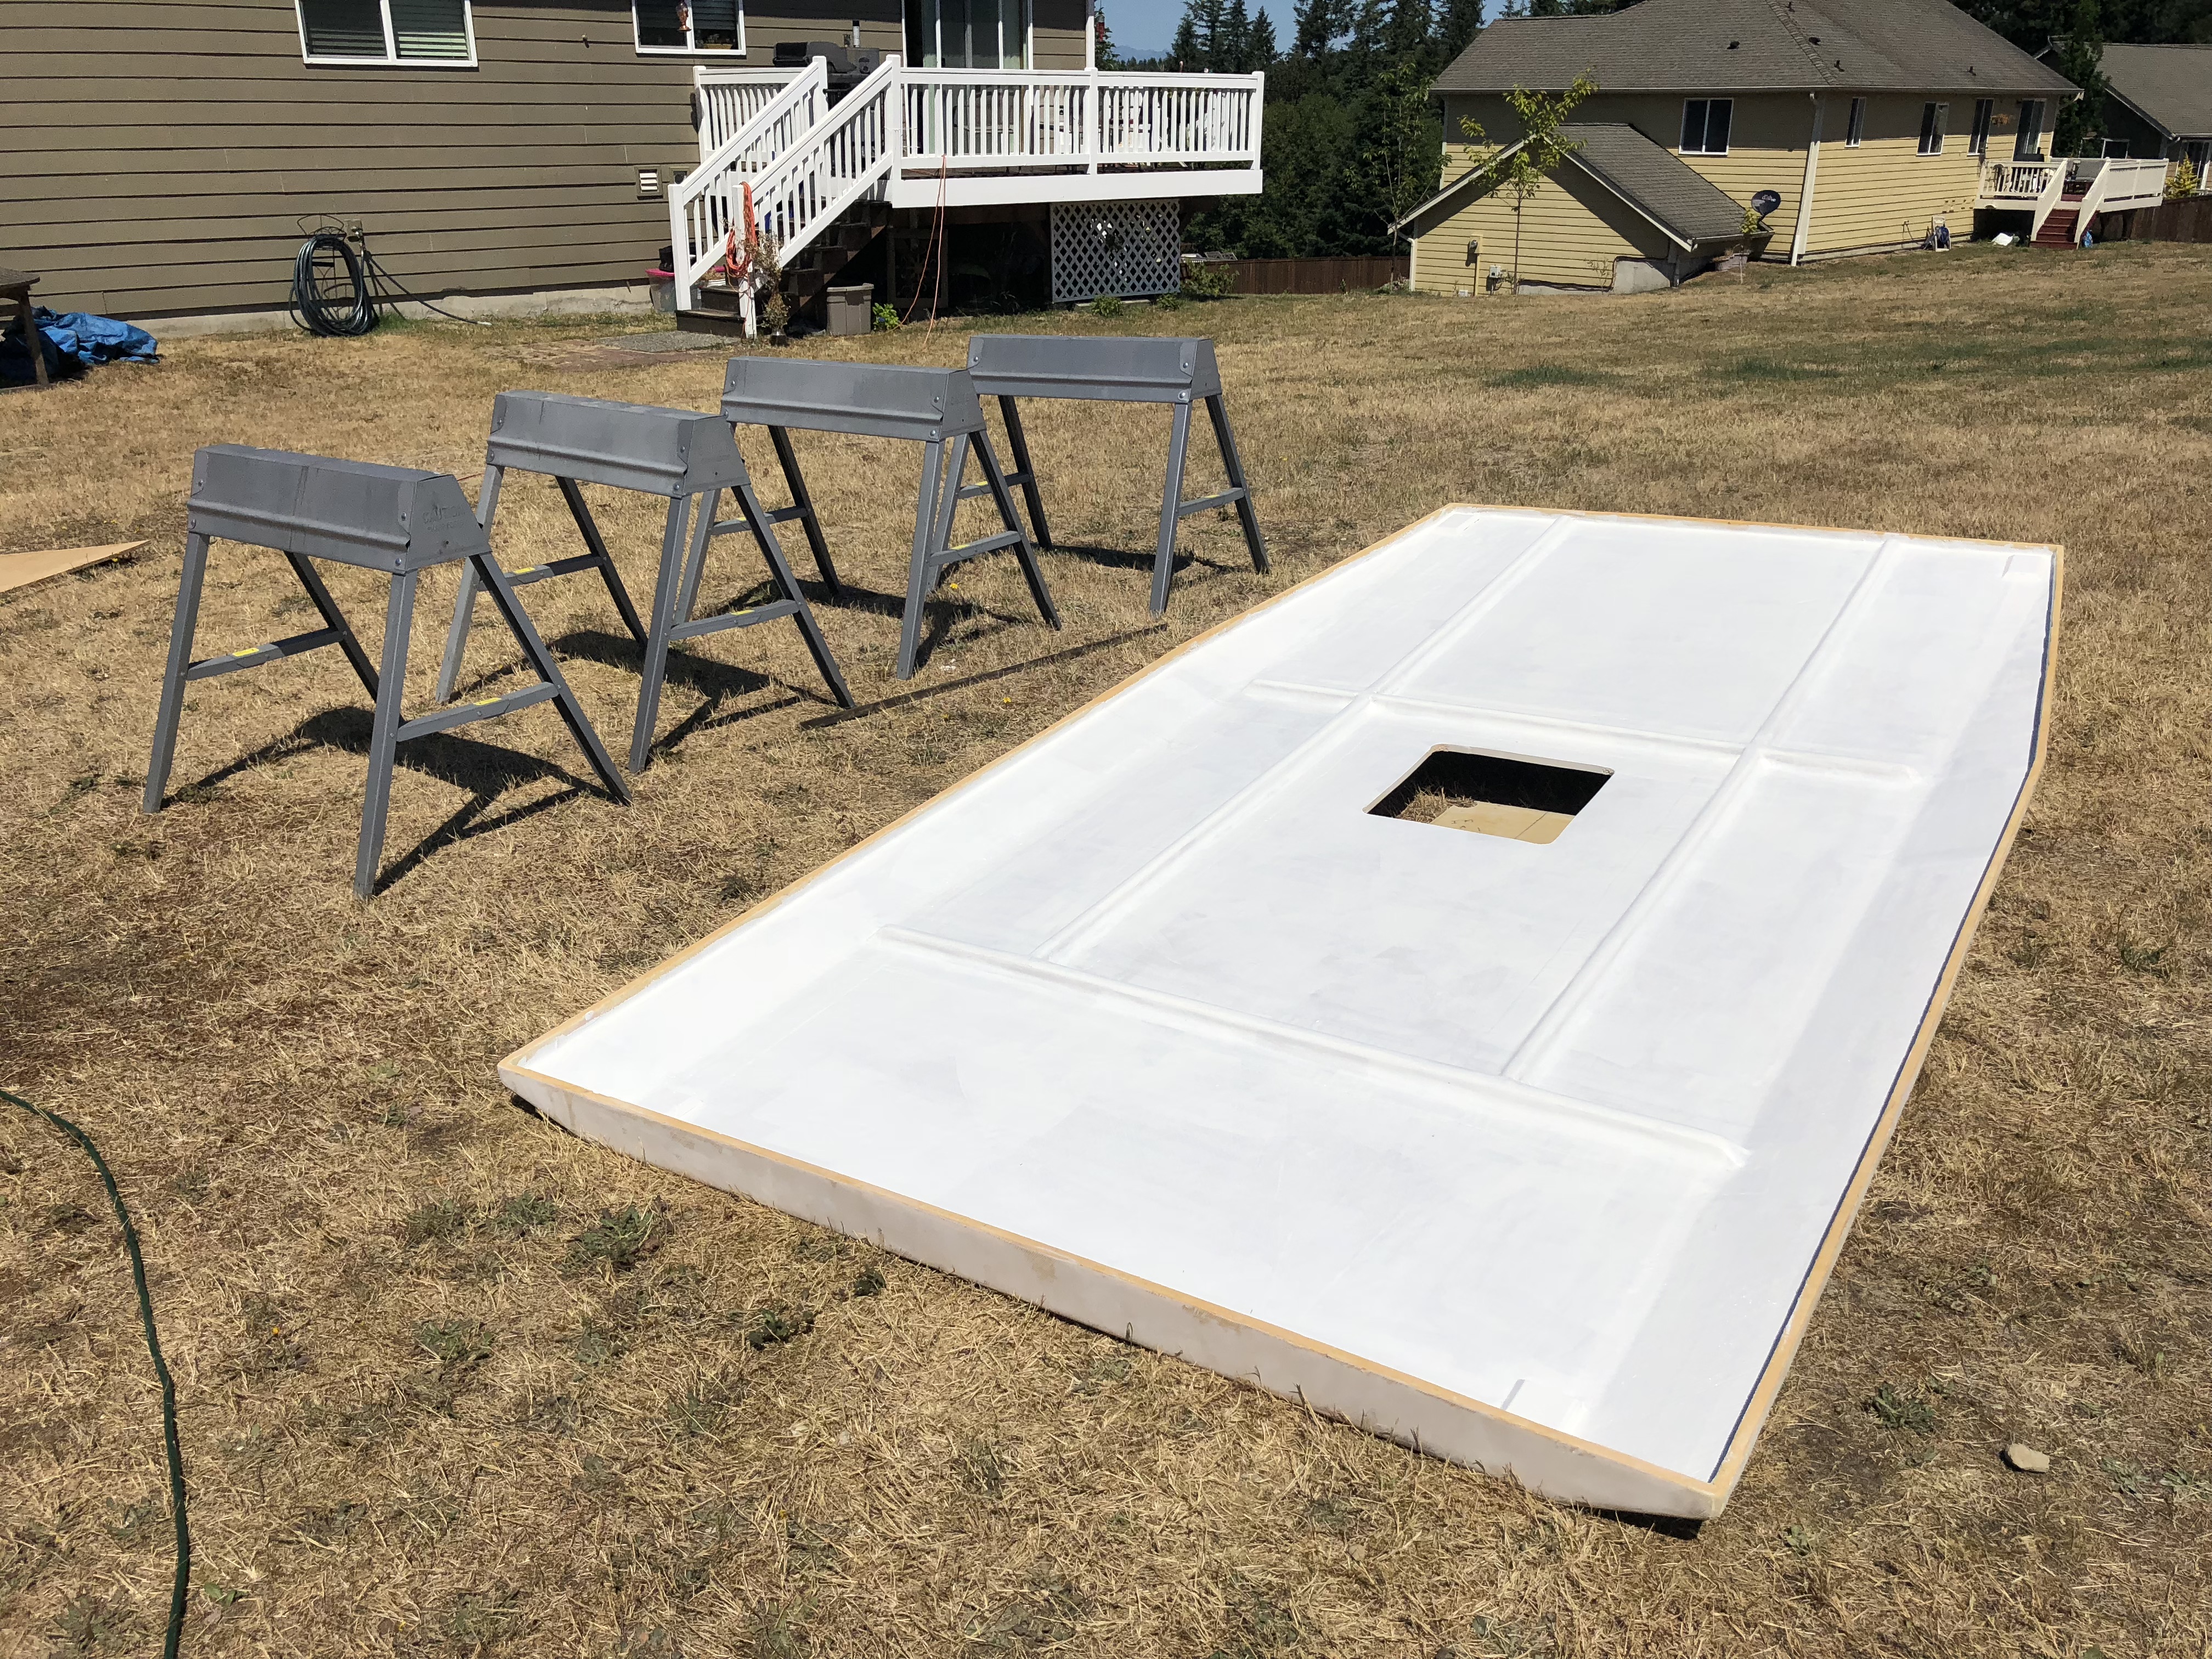
The interior of the camper is going to be bright day-glo super white! It will definitely need a few layers!

I know I keep talking about our old wooden boat, but it's relevant. We repainted the entire hull on that thing with glossy white paint, foam rollers, and a soft paintbrush using a technique called "roll and tip" where you roll on the paint with a roller and then the soft brush knocks down the bubbles and texture. If you do it right, the finish is almost as good as spraying. I have a lot of practice at this, but the texture of the fiberglass shows through still, so it doesn't look like one beautiful glossy painted structure. Ohwell. I didn't want to add 50lbs of body filler or deal with vacuum bagging the fiberglass. We'll paint some graphics on the side and no one will be able to tell!
We debated color schemes for a long time. The truck is basic silver so most bright colors would look pretty stupid. Black and darker colors would get too hot and show a ton of dirt (not that that matters really) and I didn't want a boring white one. Eventually we settled on "Platinum" which would be a shade darker than the truck, but not too dark.


Prepping the fiberglass for paint was a time consuming pain in the ass. Now that it has a layer of paint on it, adding additional layers will be much easier. The color of the paint also doesn't show up real well because of how sunny it was that morning. I'll post more pictures later! I wanted to get the first coat of paint done before the sun really started beating down and making the paint dry too fast. Now that that's done and it's acceptable to use power tools, I cut the hole in the roof for the vent.

Lesson learned for the day? Remove the plywood from underneath the thing you're drilling a hole in... :/ Dangit.


The interior of the camper is going to be bright day-glo super white! It will definitely need a few layers!


I know I keep talking about our old wooden boat, but it's relevant. We repainted the entire hull on that thing with glossy white paint, foam rollers, and a soft paintbrush using a technique called "roll and tip" where you roll on the paint with a roller and then the soft brush knocks down the bubbles and texture. If you do it right, the finish is almost as good as spraying. I have a lot of practice at this, but the texture of the fiberglass shows through still, so it doesn't look like one beautiful glossy painted structure. Ohwell. I didn't want to add 50lbs of body filler or deal with vacuum bagging the fiberglass. We'll paint some graphics on the side and no one will be able to tell!
underkill
Active member
I'm super motivated to get the inside all painted, but don't want to paint any areas that will eventually get fiberglass. That means that I need to really nail down the interior design and get more pieces cut and placed before I can really move forward.
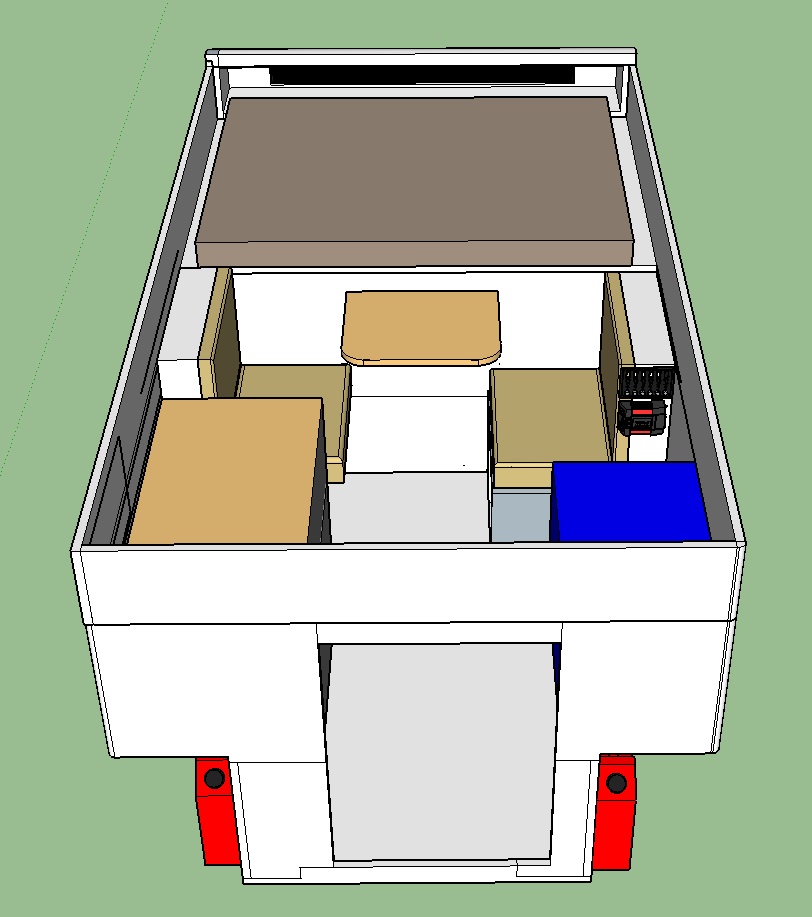
We're getting pretty close to how that 3d model looks! Jason cut the pieces for the dinette backs, so it was time to glue and screw the pieces together so we can install them in the camper.
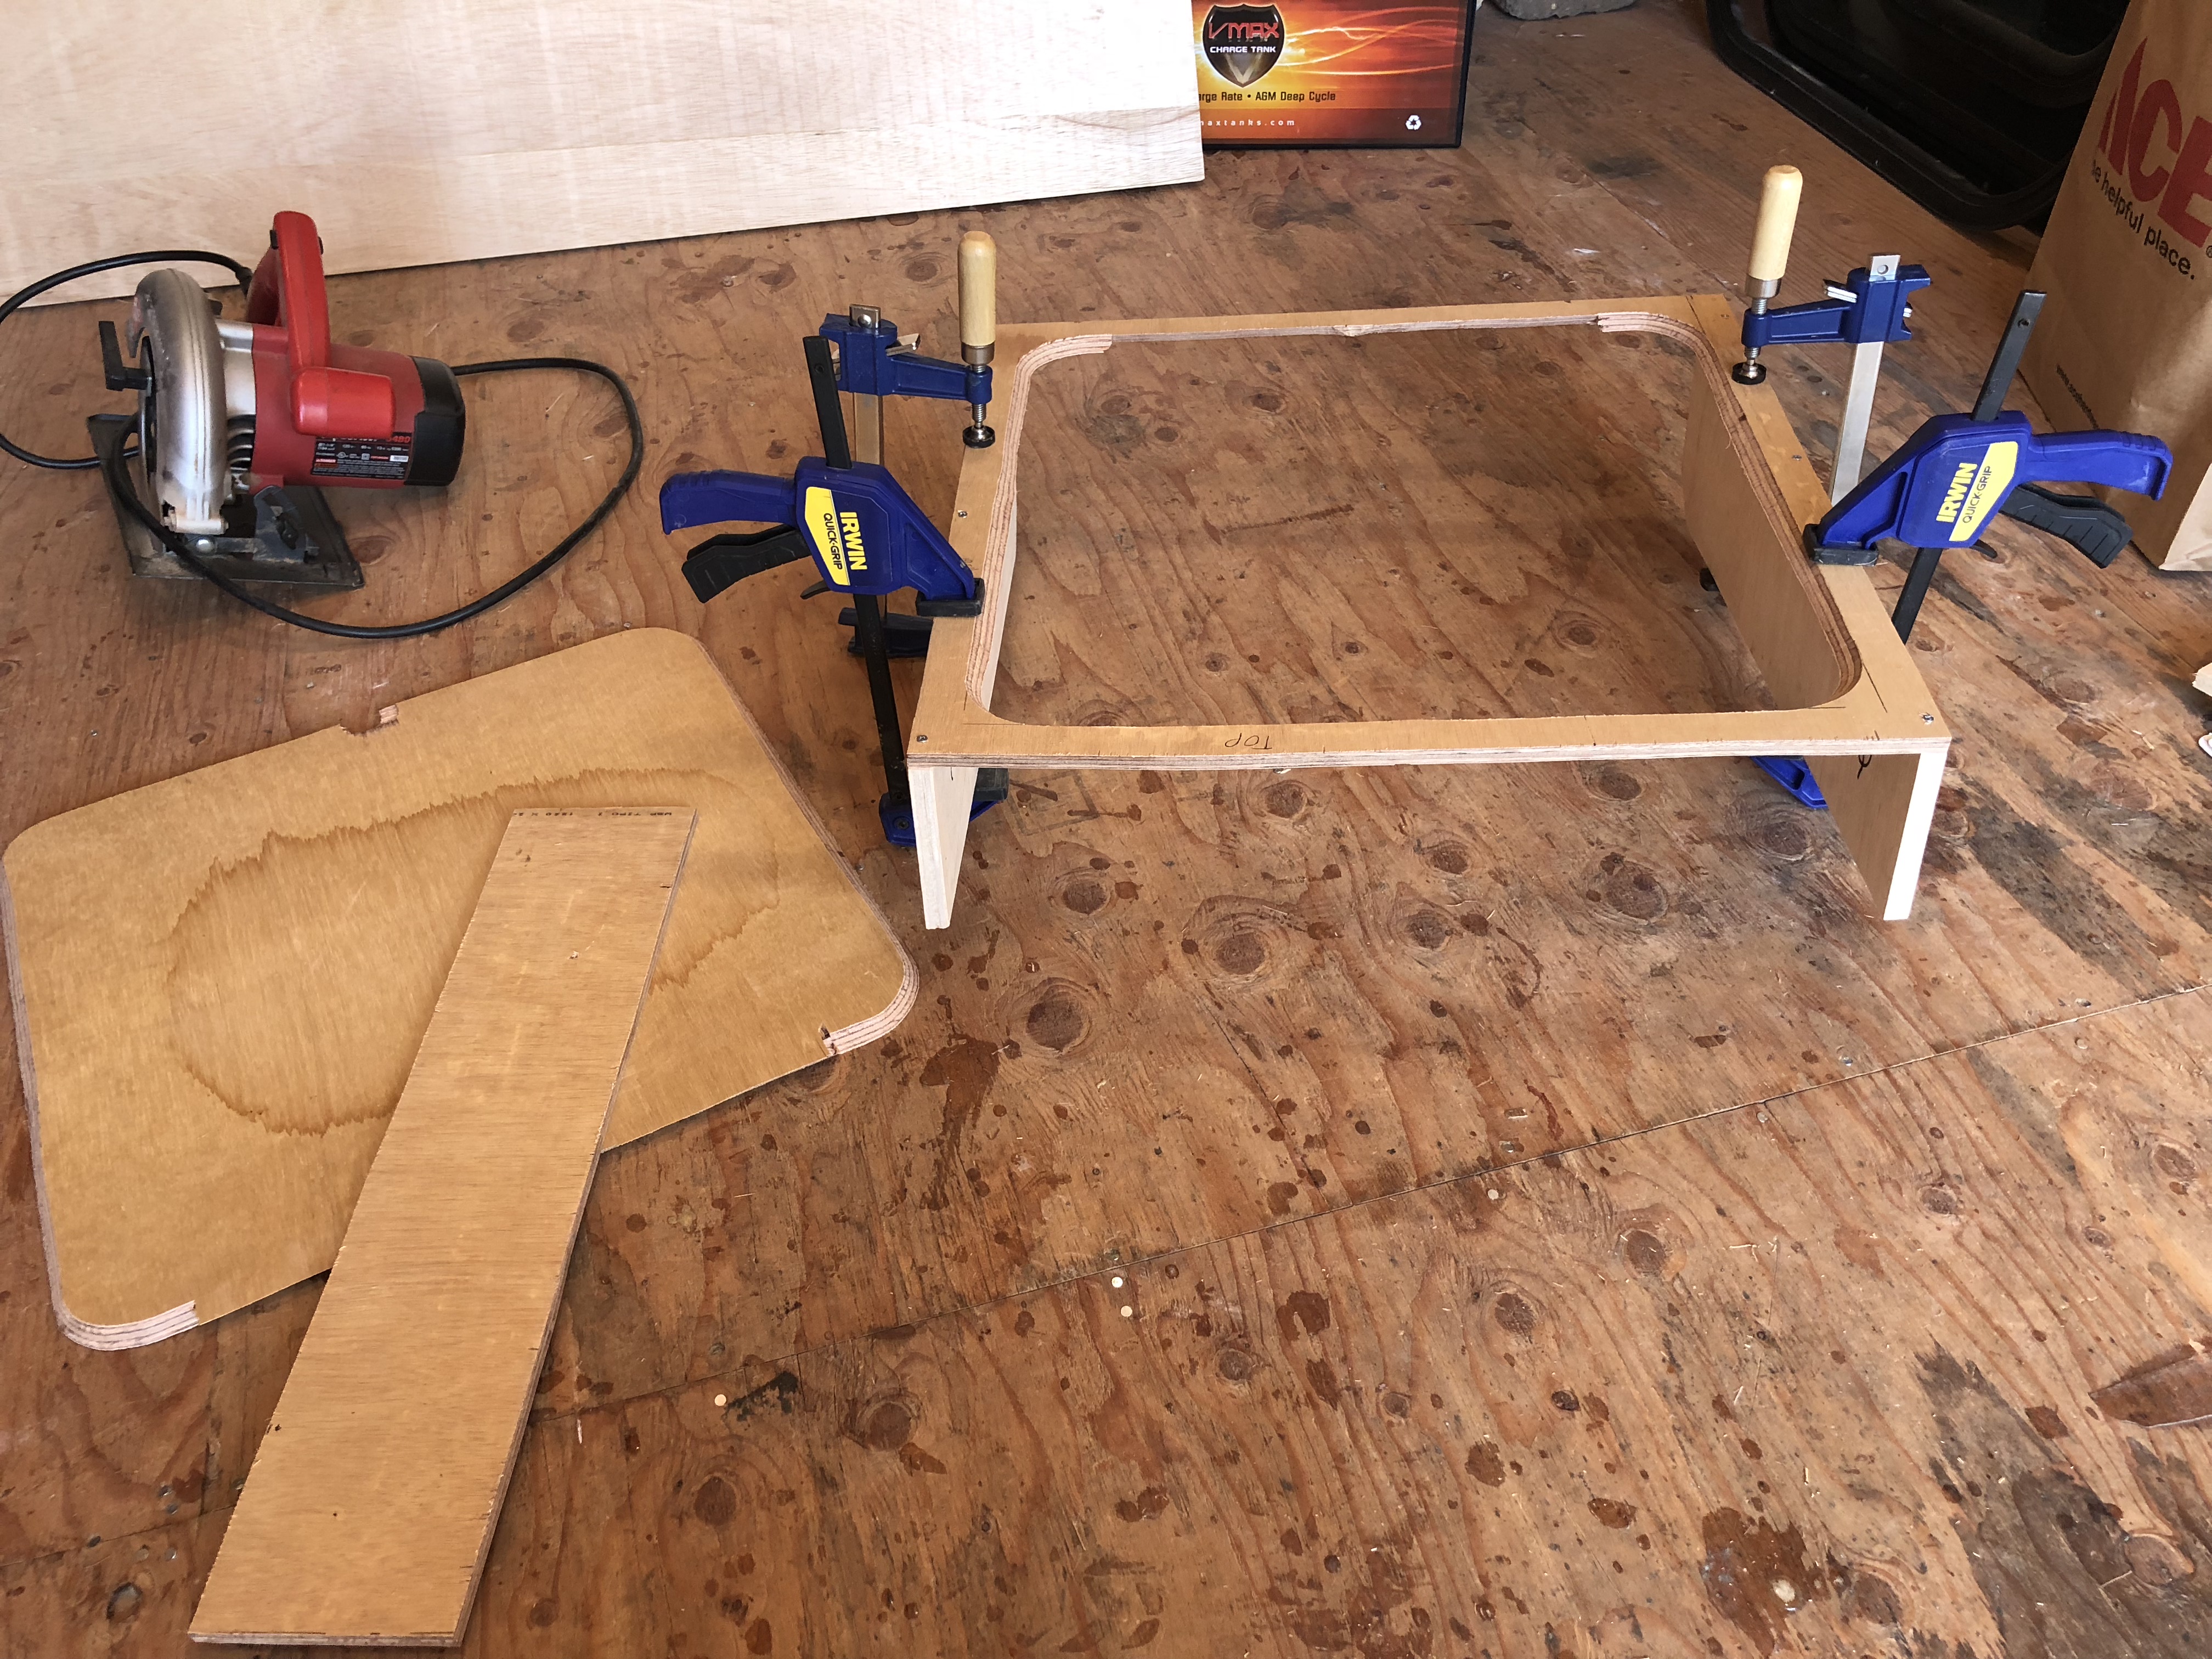
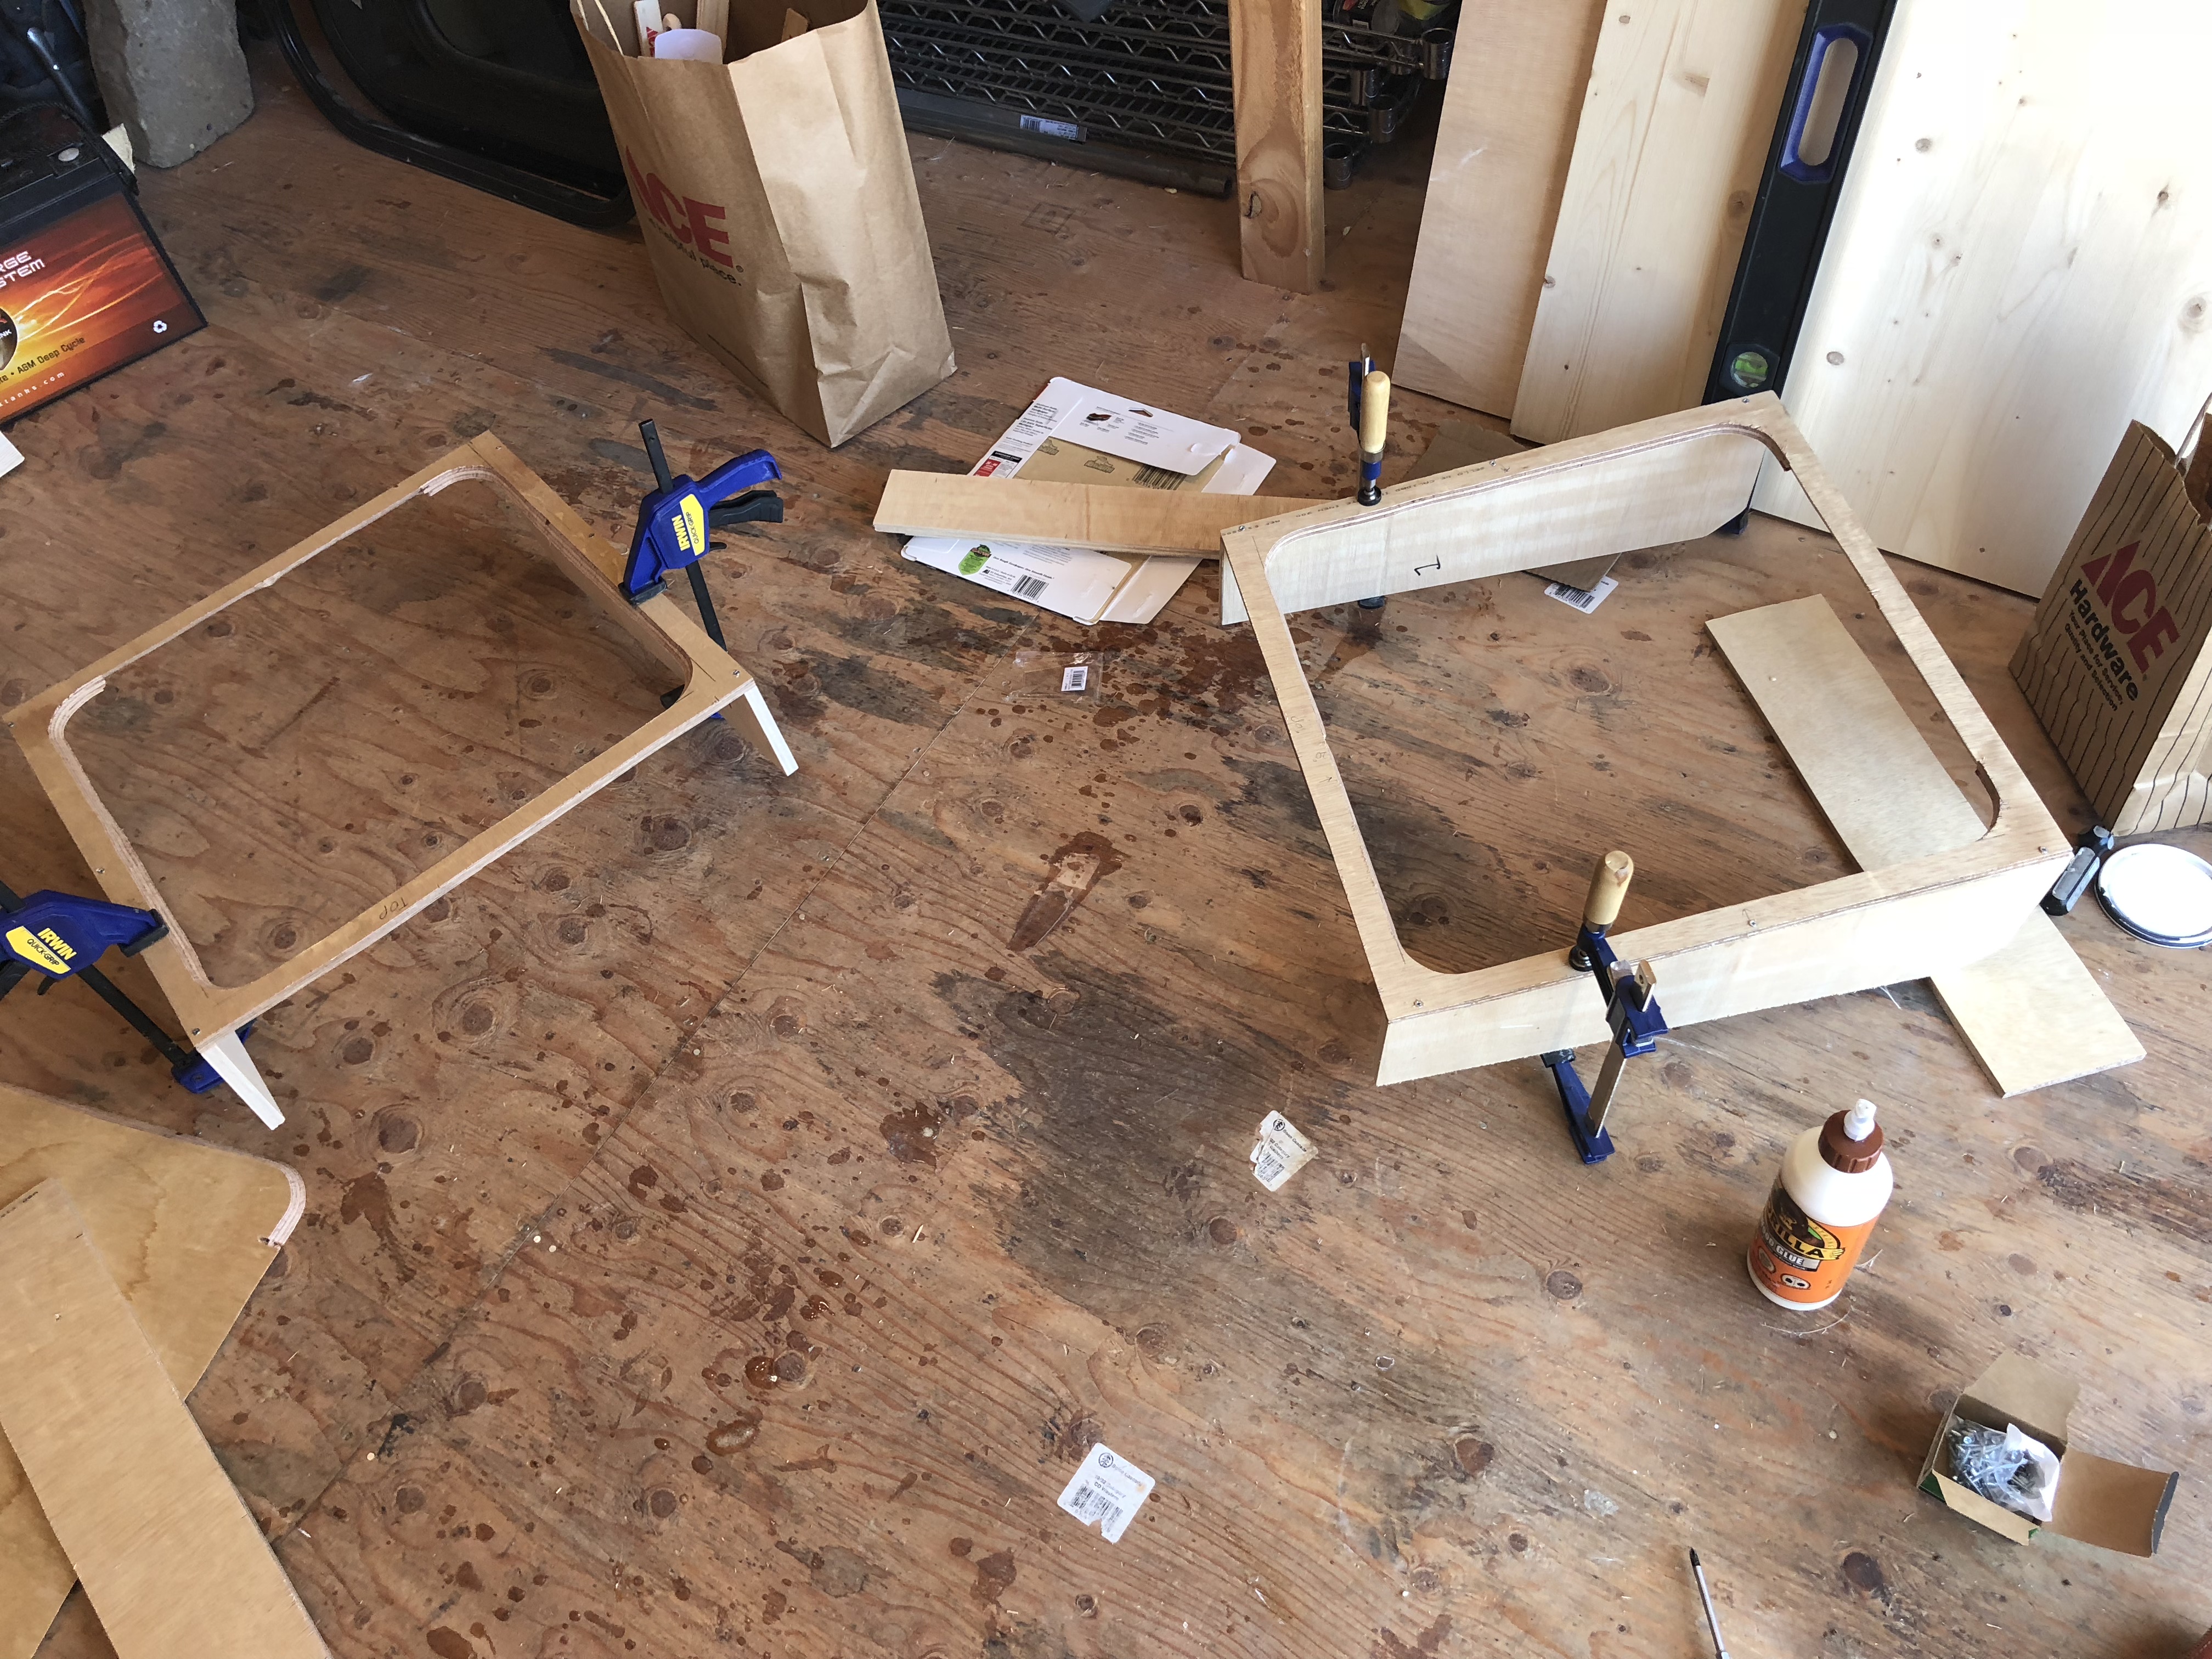
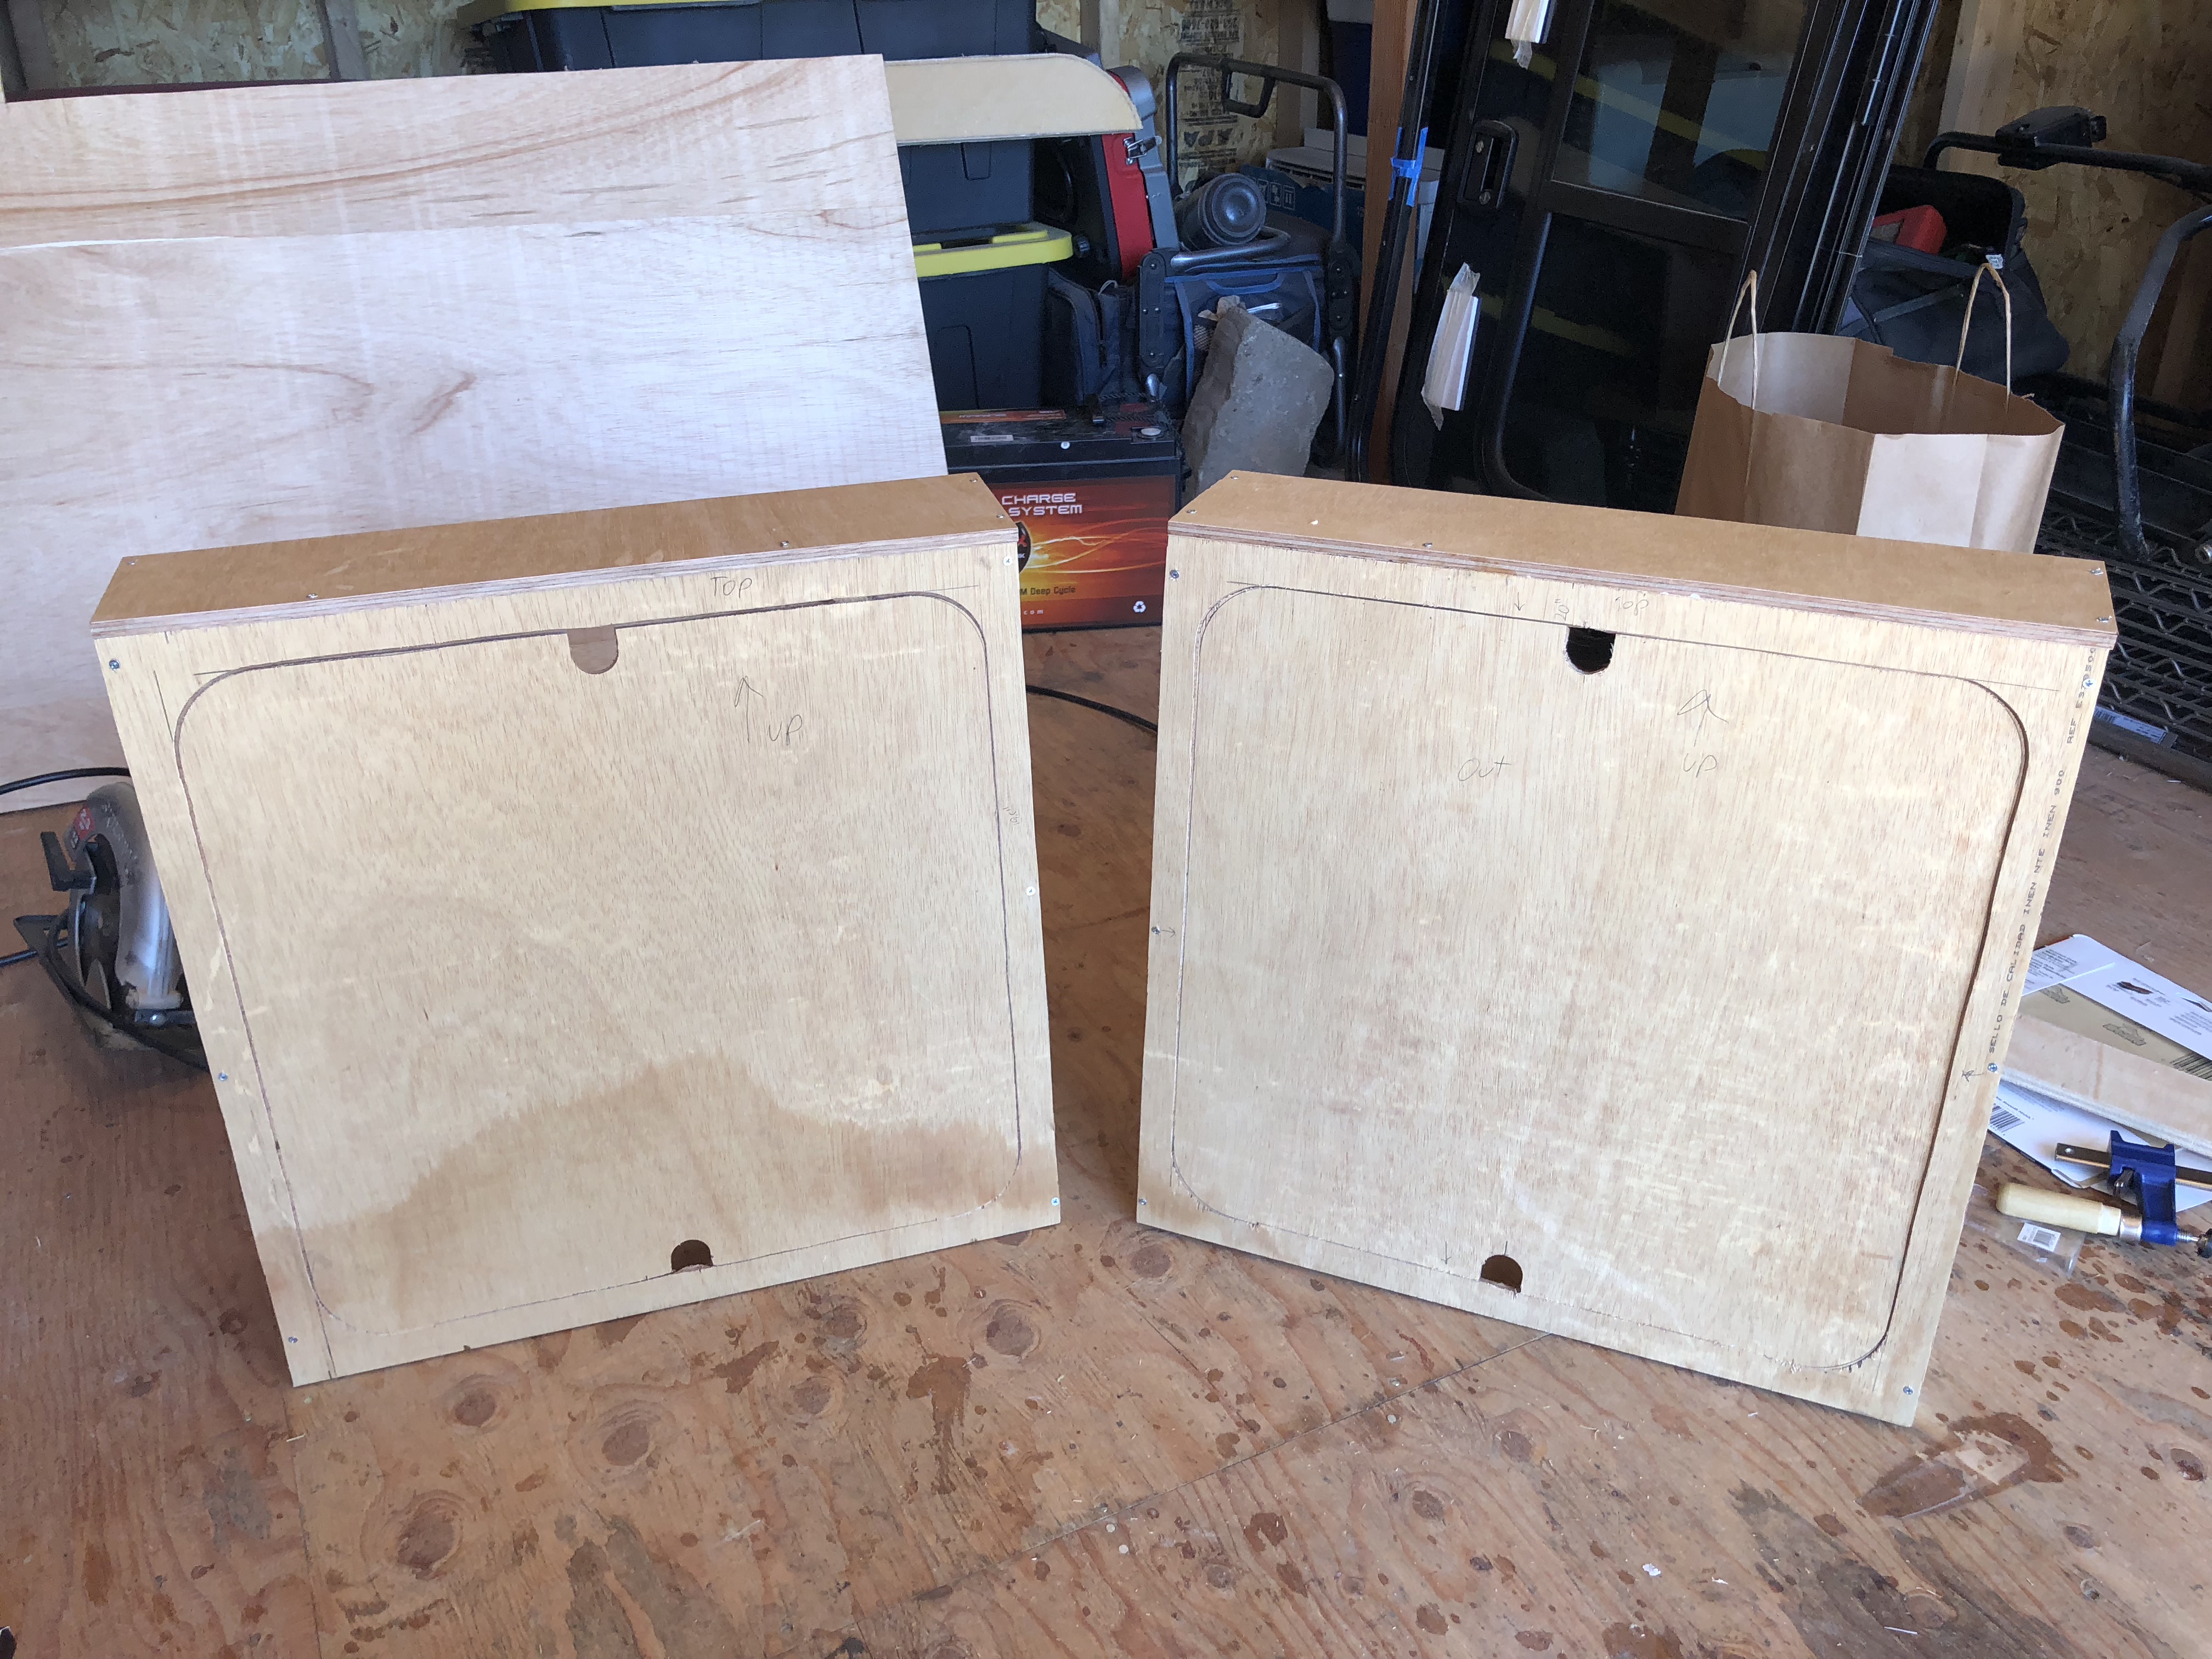
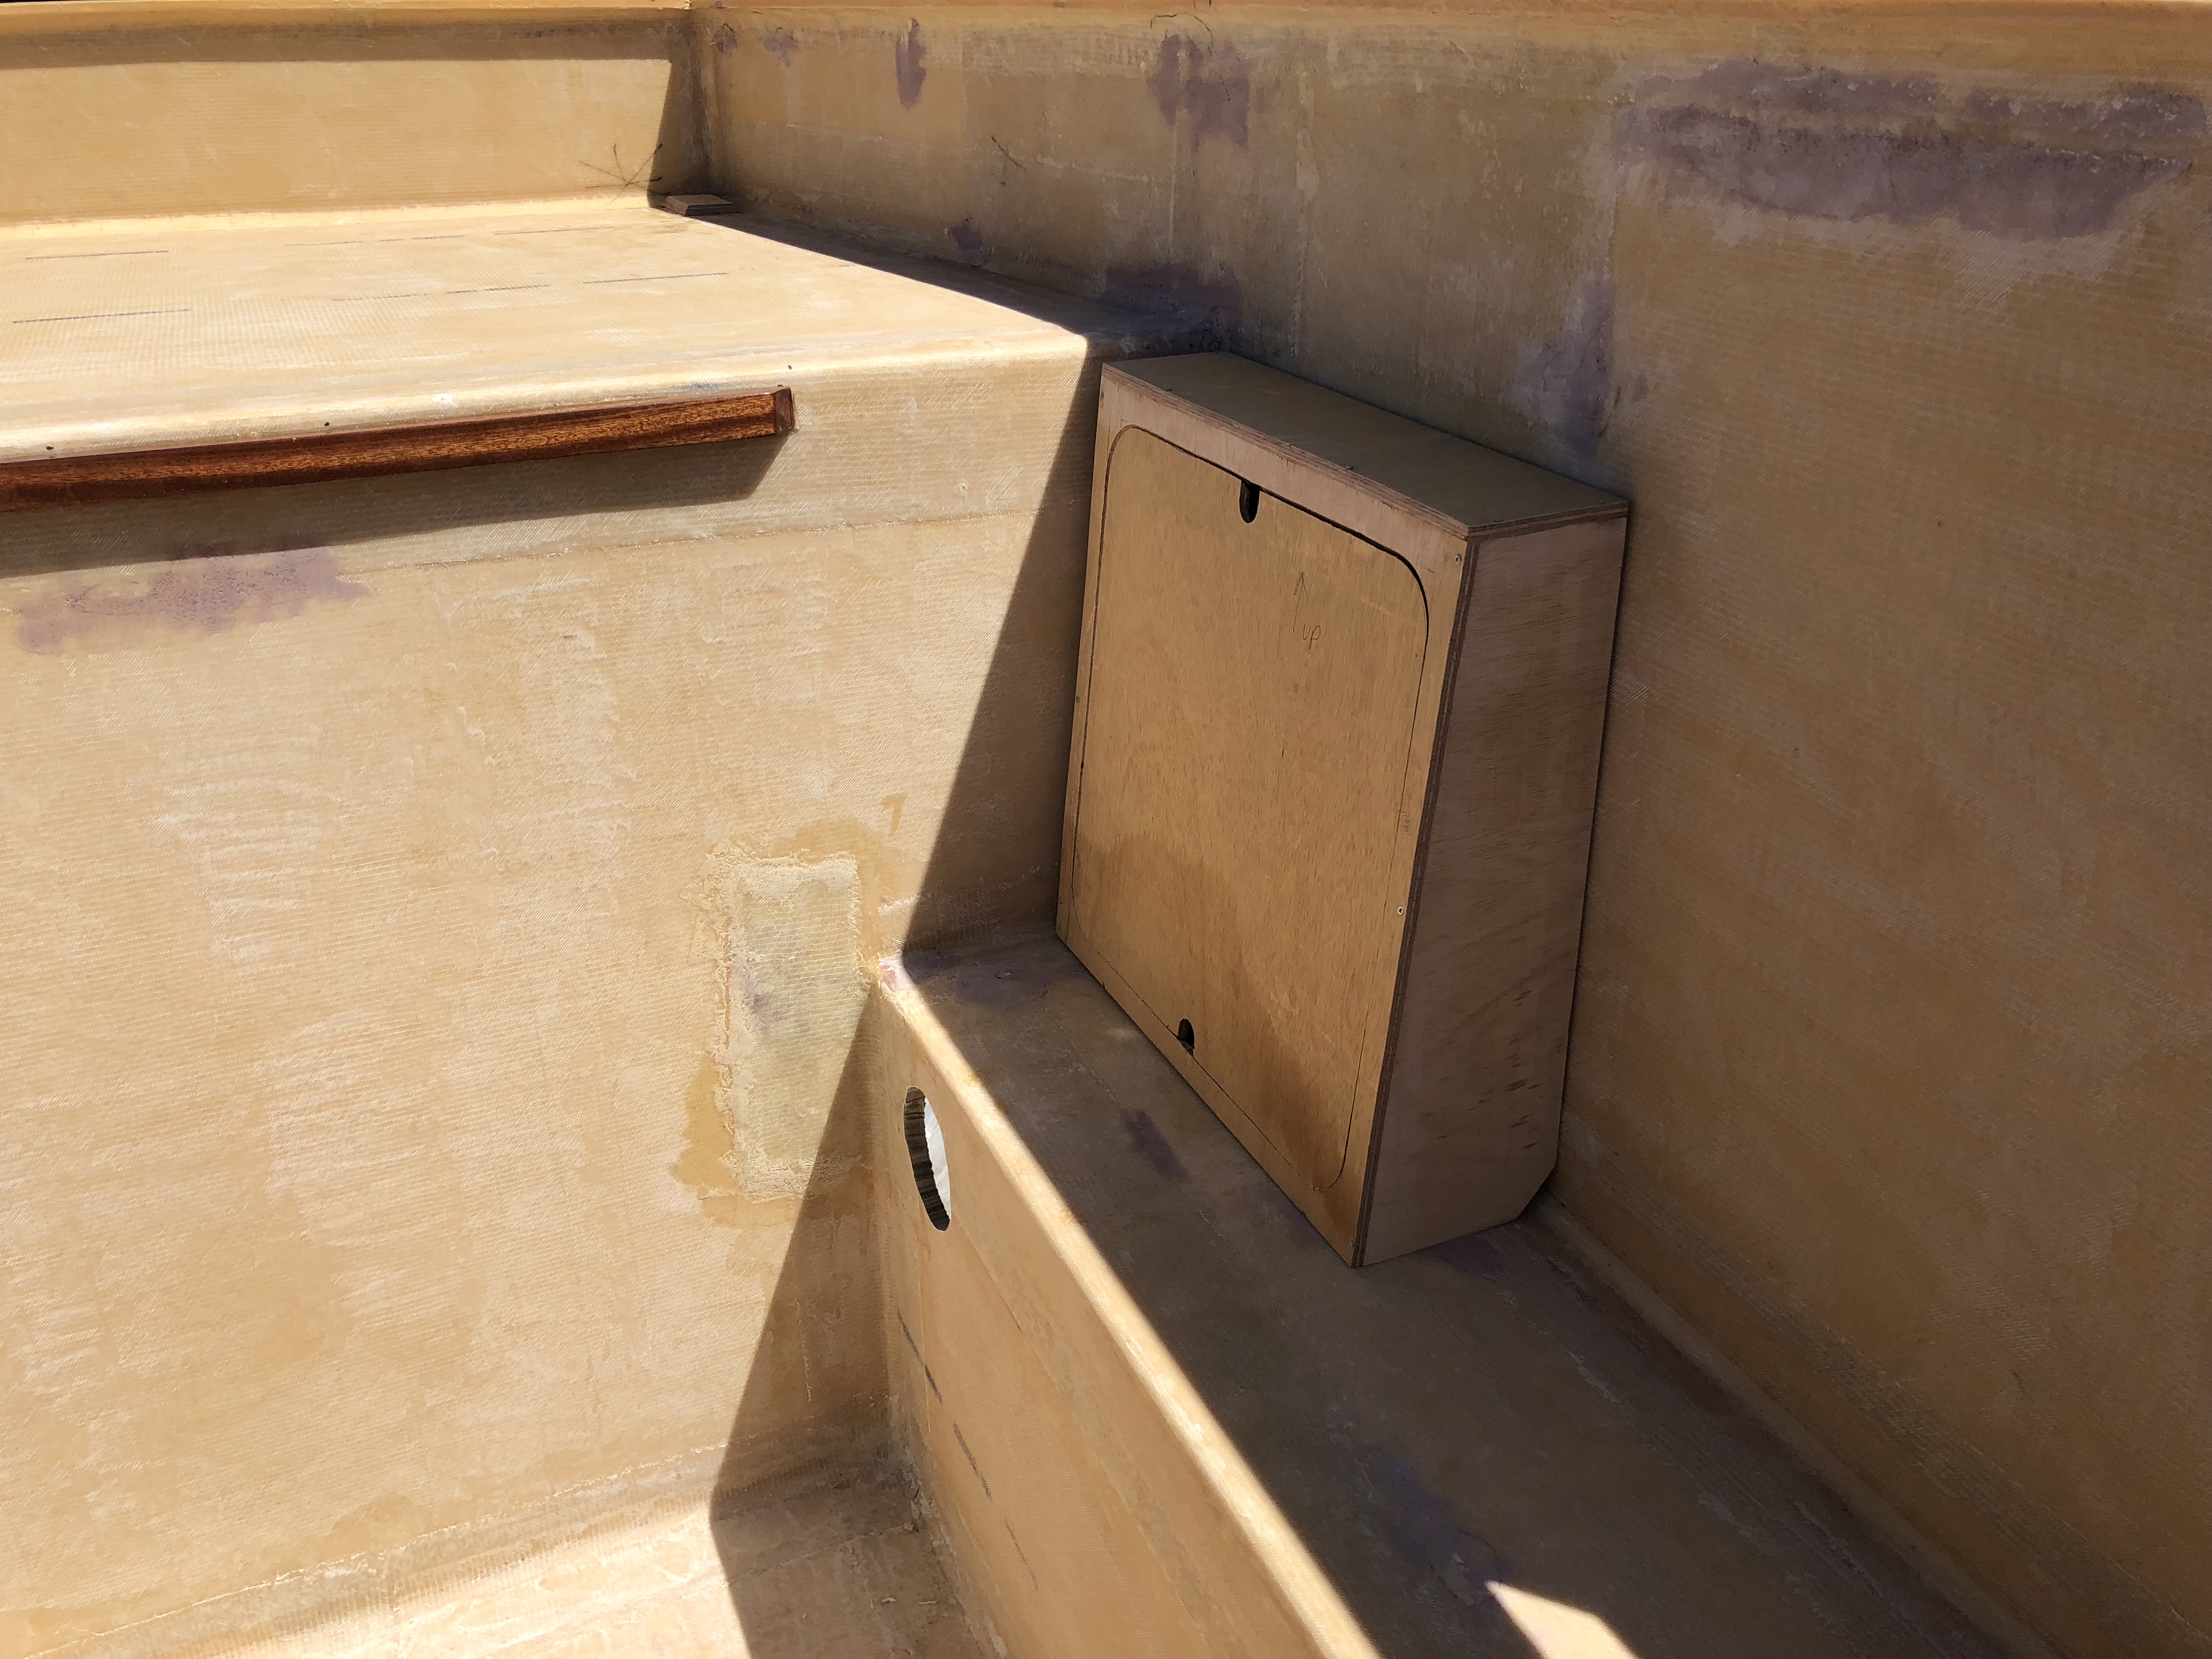
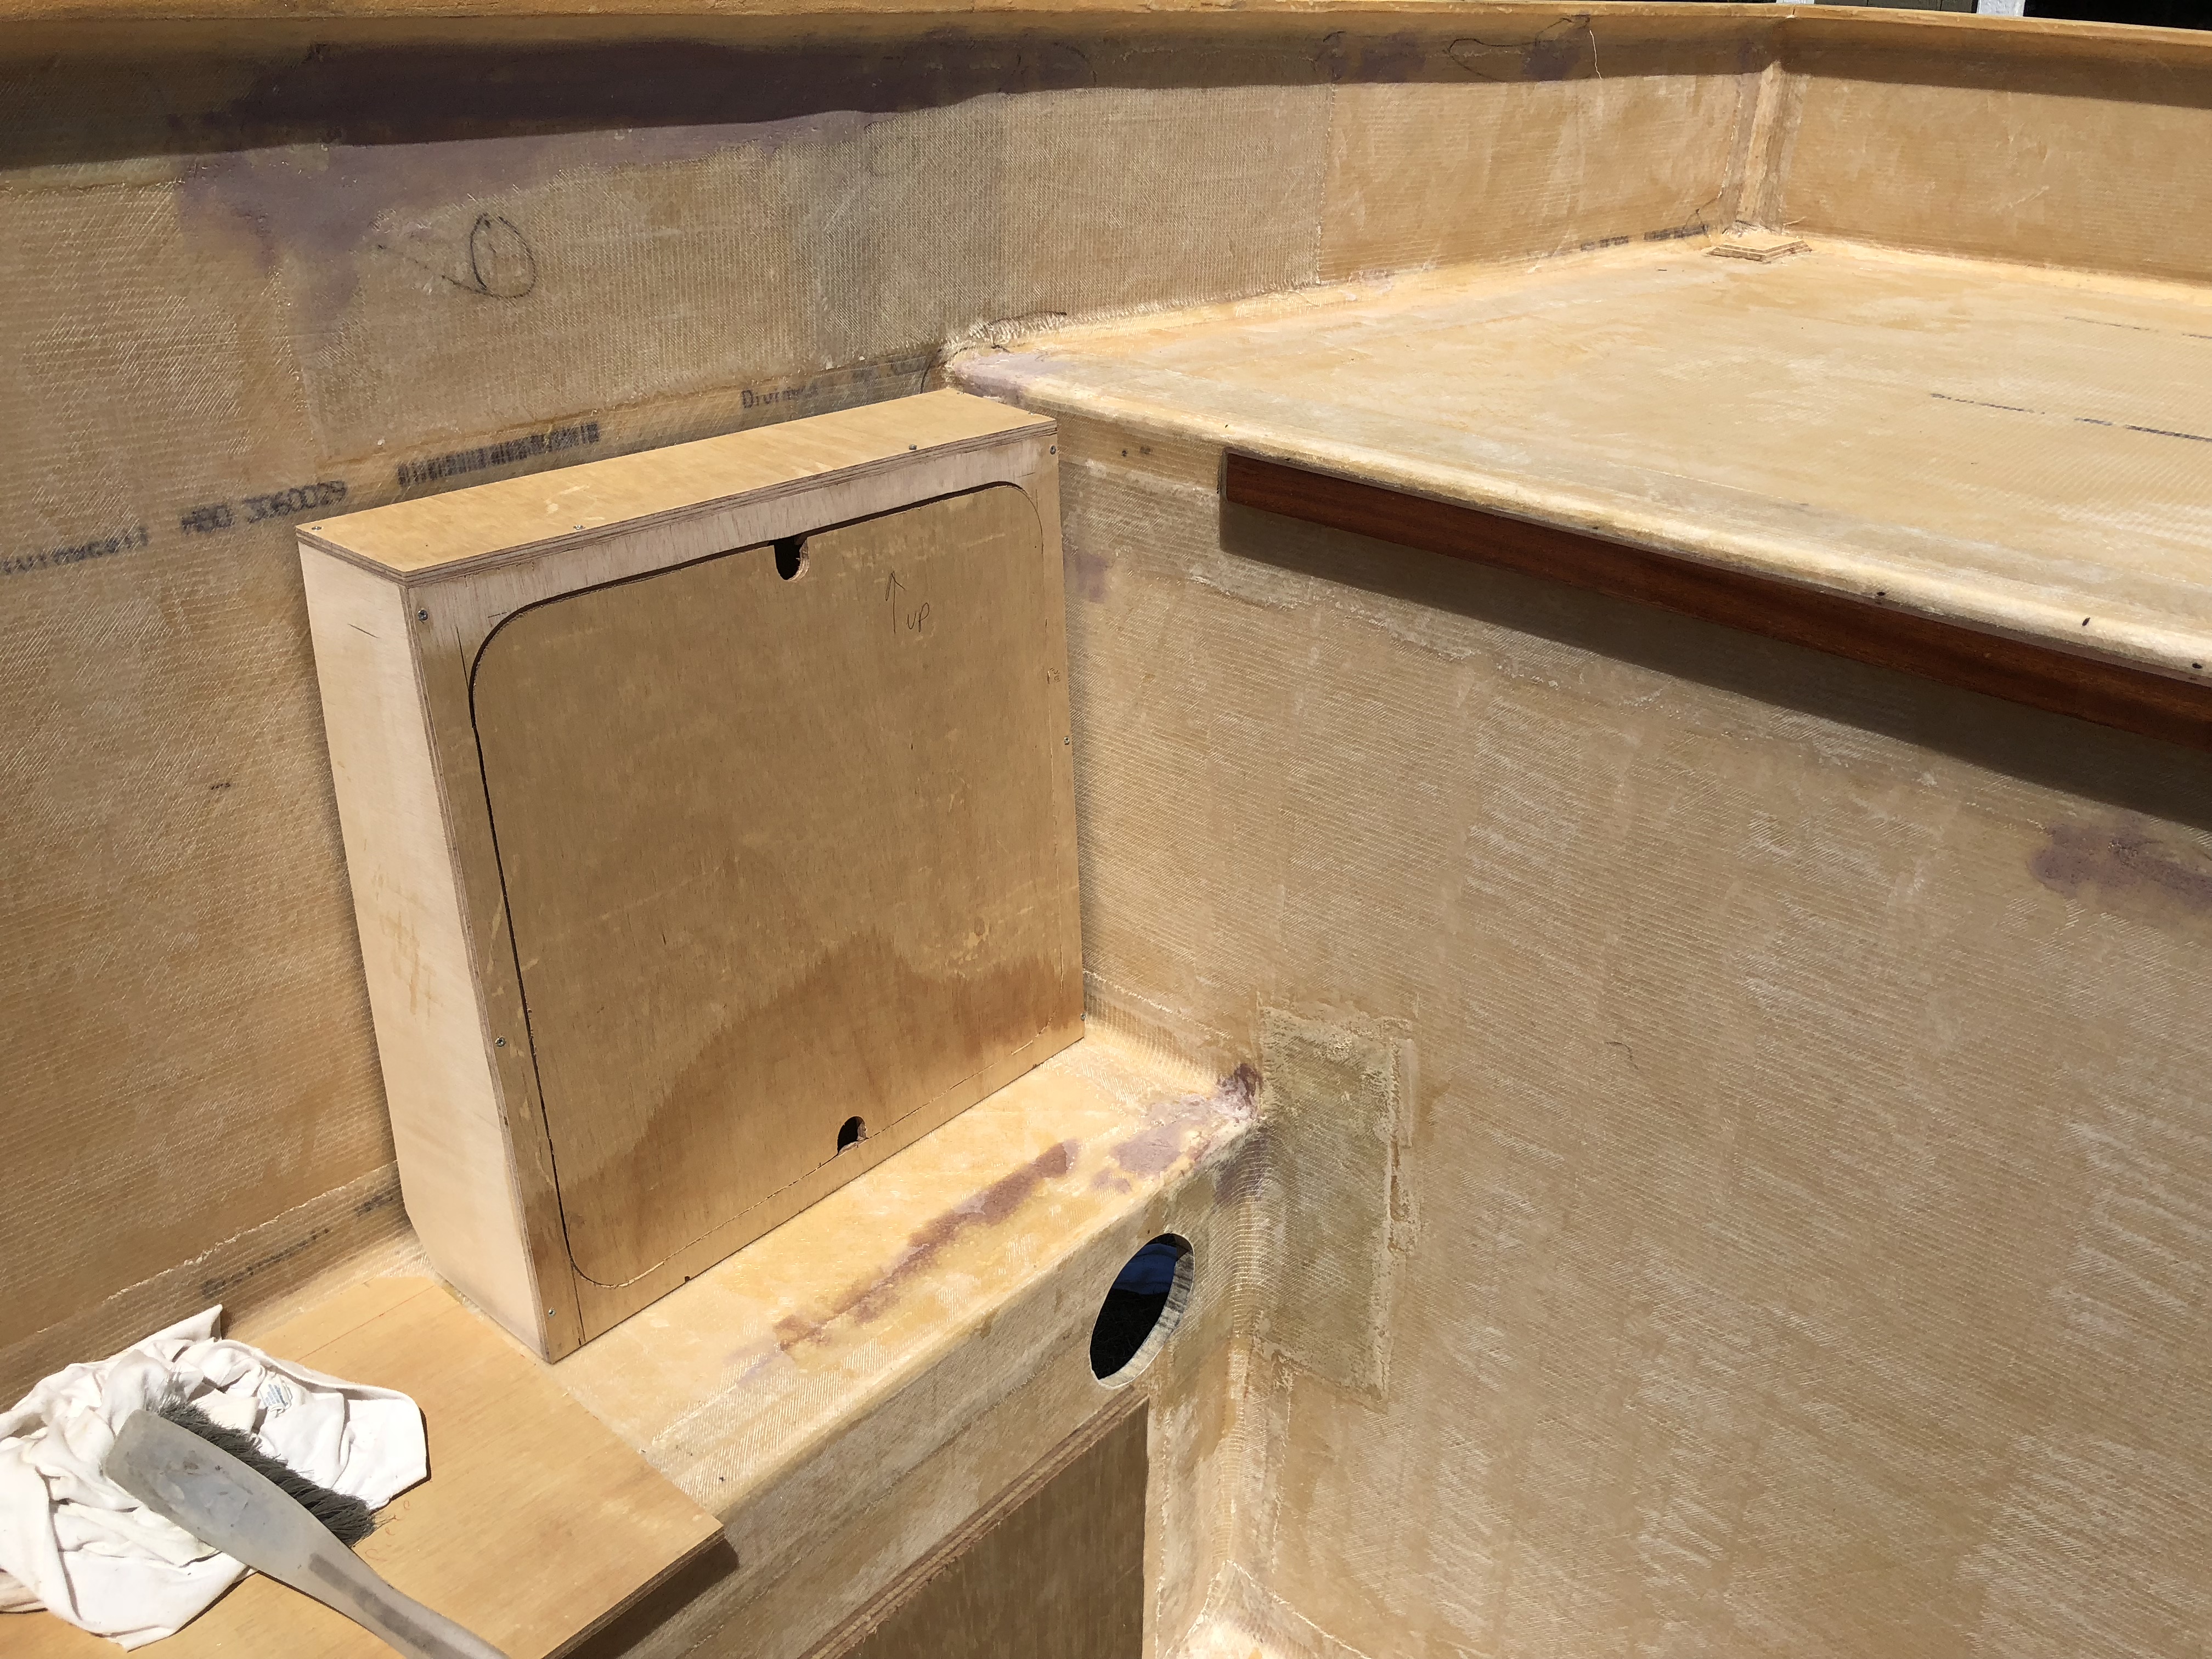
The seats turned out really nice! Although I forgot about the little foam pieces I put in so the glass would make the curve... so I have to round out a lot of the edges so the seats will fit flush against the fiberglass.
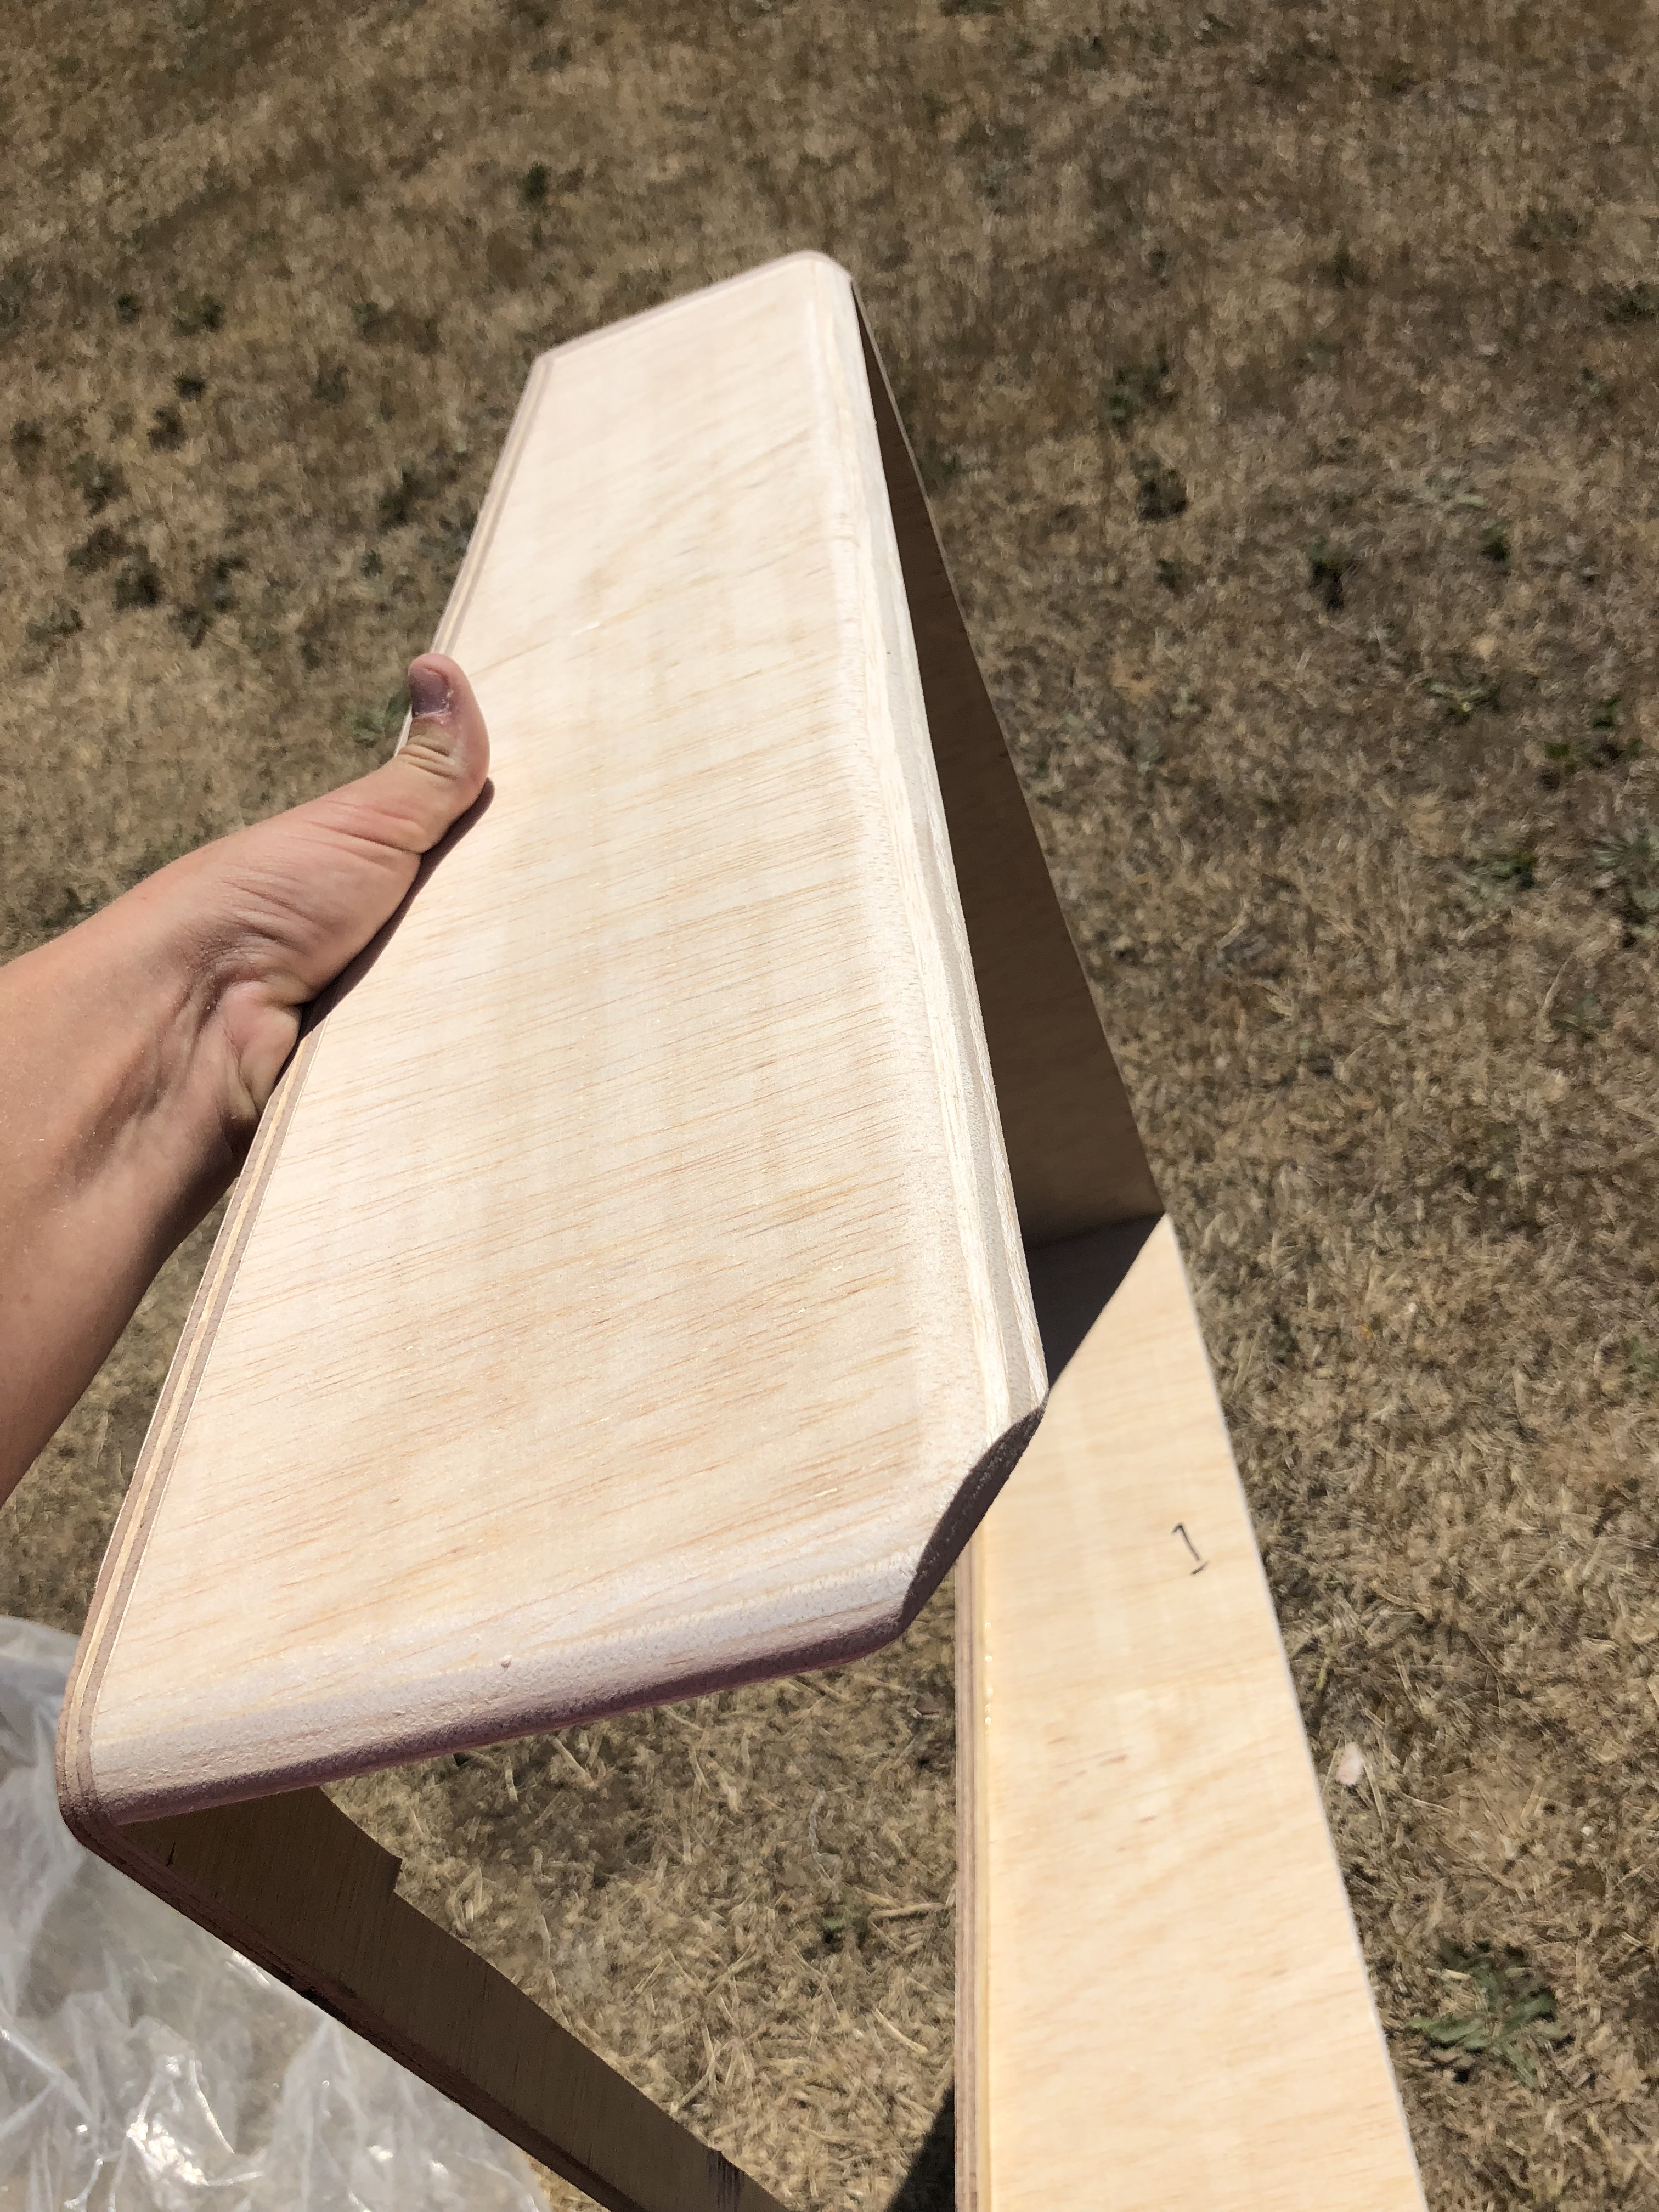
Now that both sides fit perfectly in the camper, I filled the back with gorilla glue and wedged everything in place for the glue to dry!
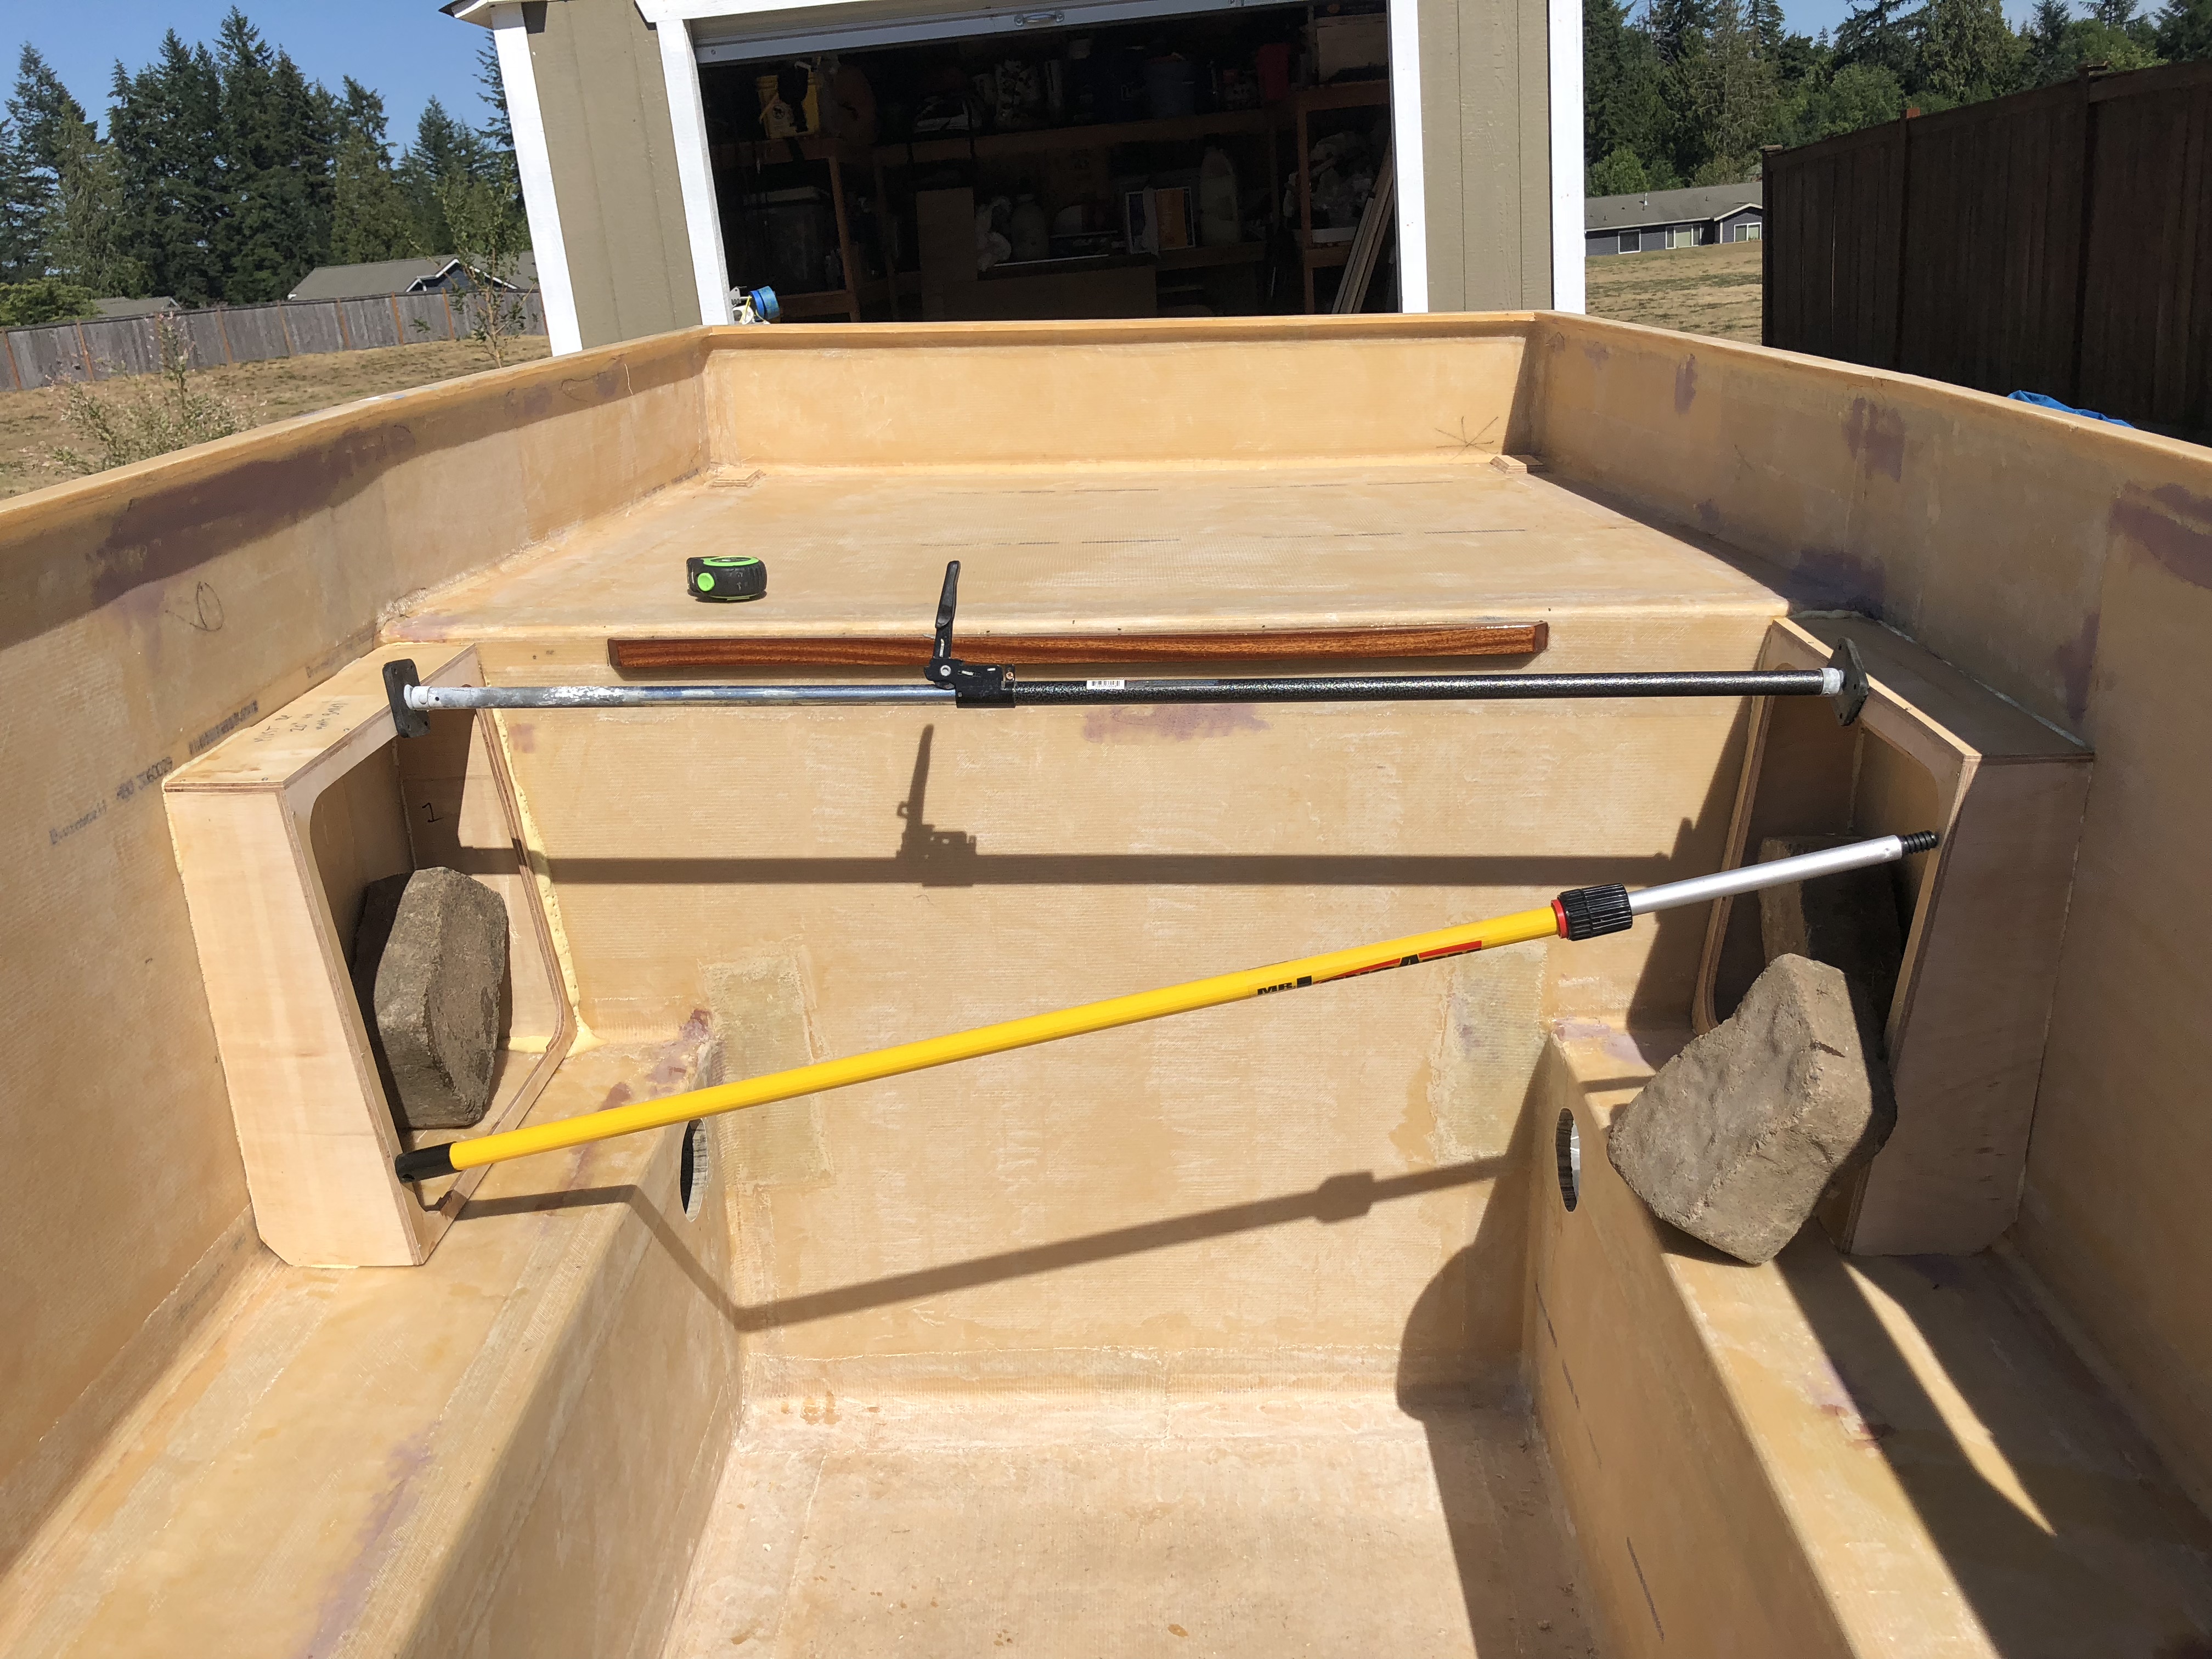

We're getting pretty close to how that 3d model looks! Jason cut the pieces for the dinette backs, so it was time to glue and screw the pieces together so we can install them in the camper.


The seats turned out really nice! Although I forgot about the little foam pieces I put in so the glass would make the curve... so I have to round out a lot of the edges so the seats will fit flush against the fiberglass.

Now that both sides fit perfectly in the camper, I filled the back with gorilla glue and wedged everything in place for the glue to dry!

underkill
Active member
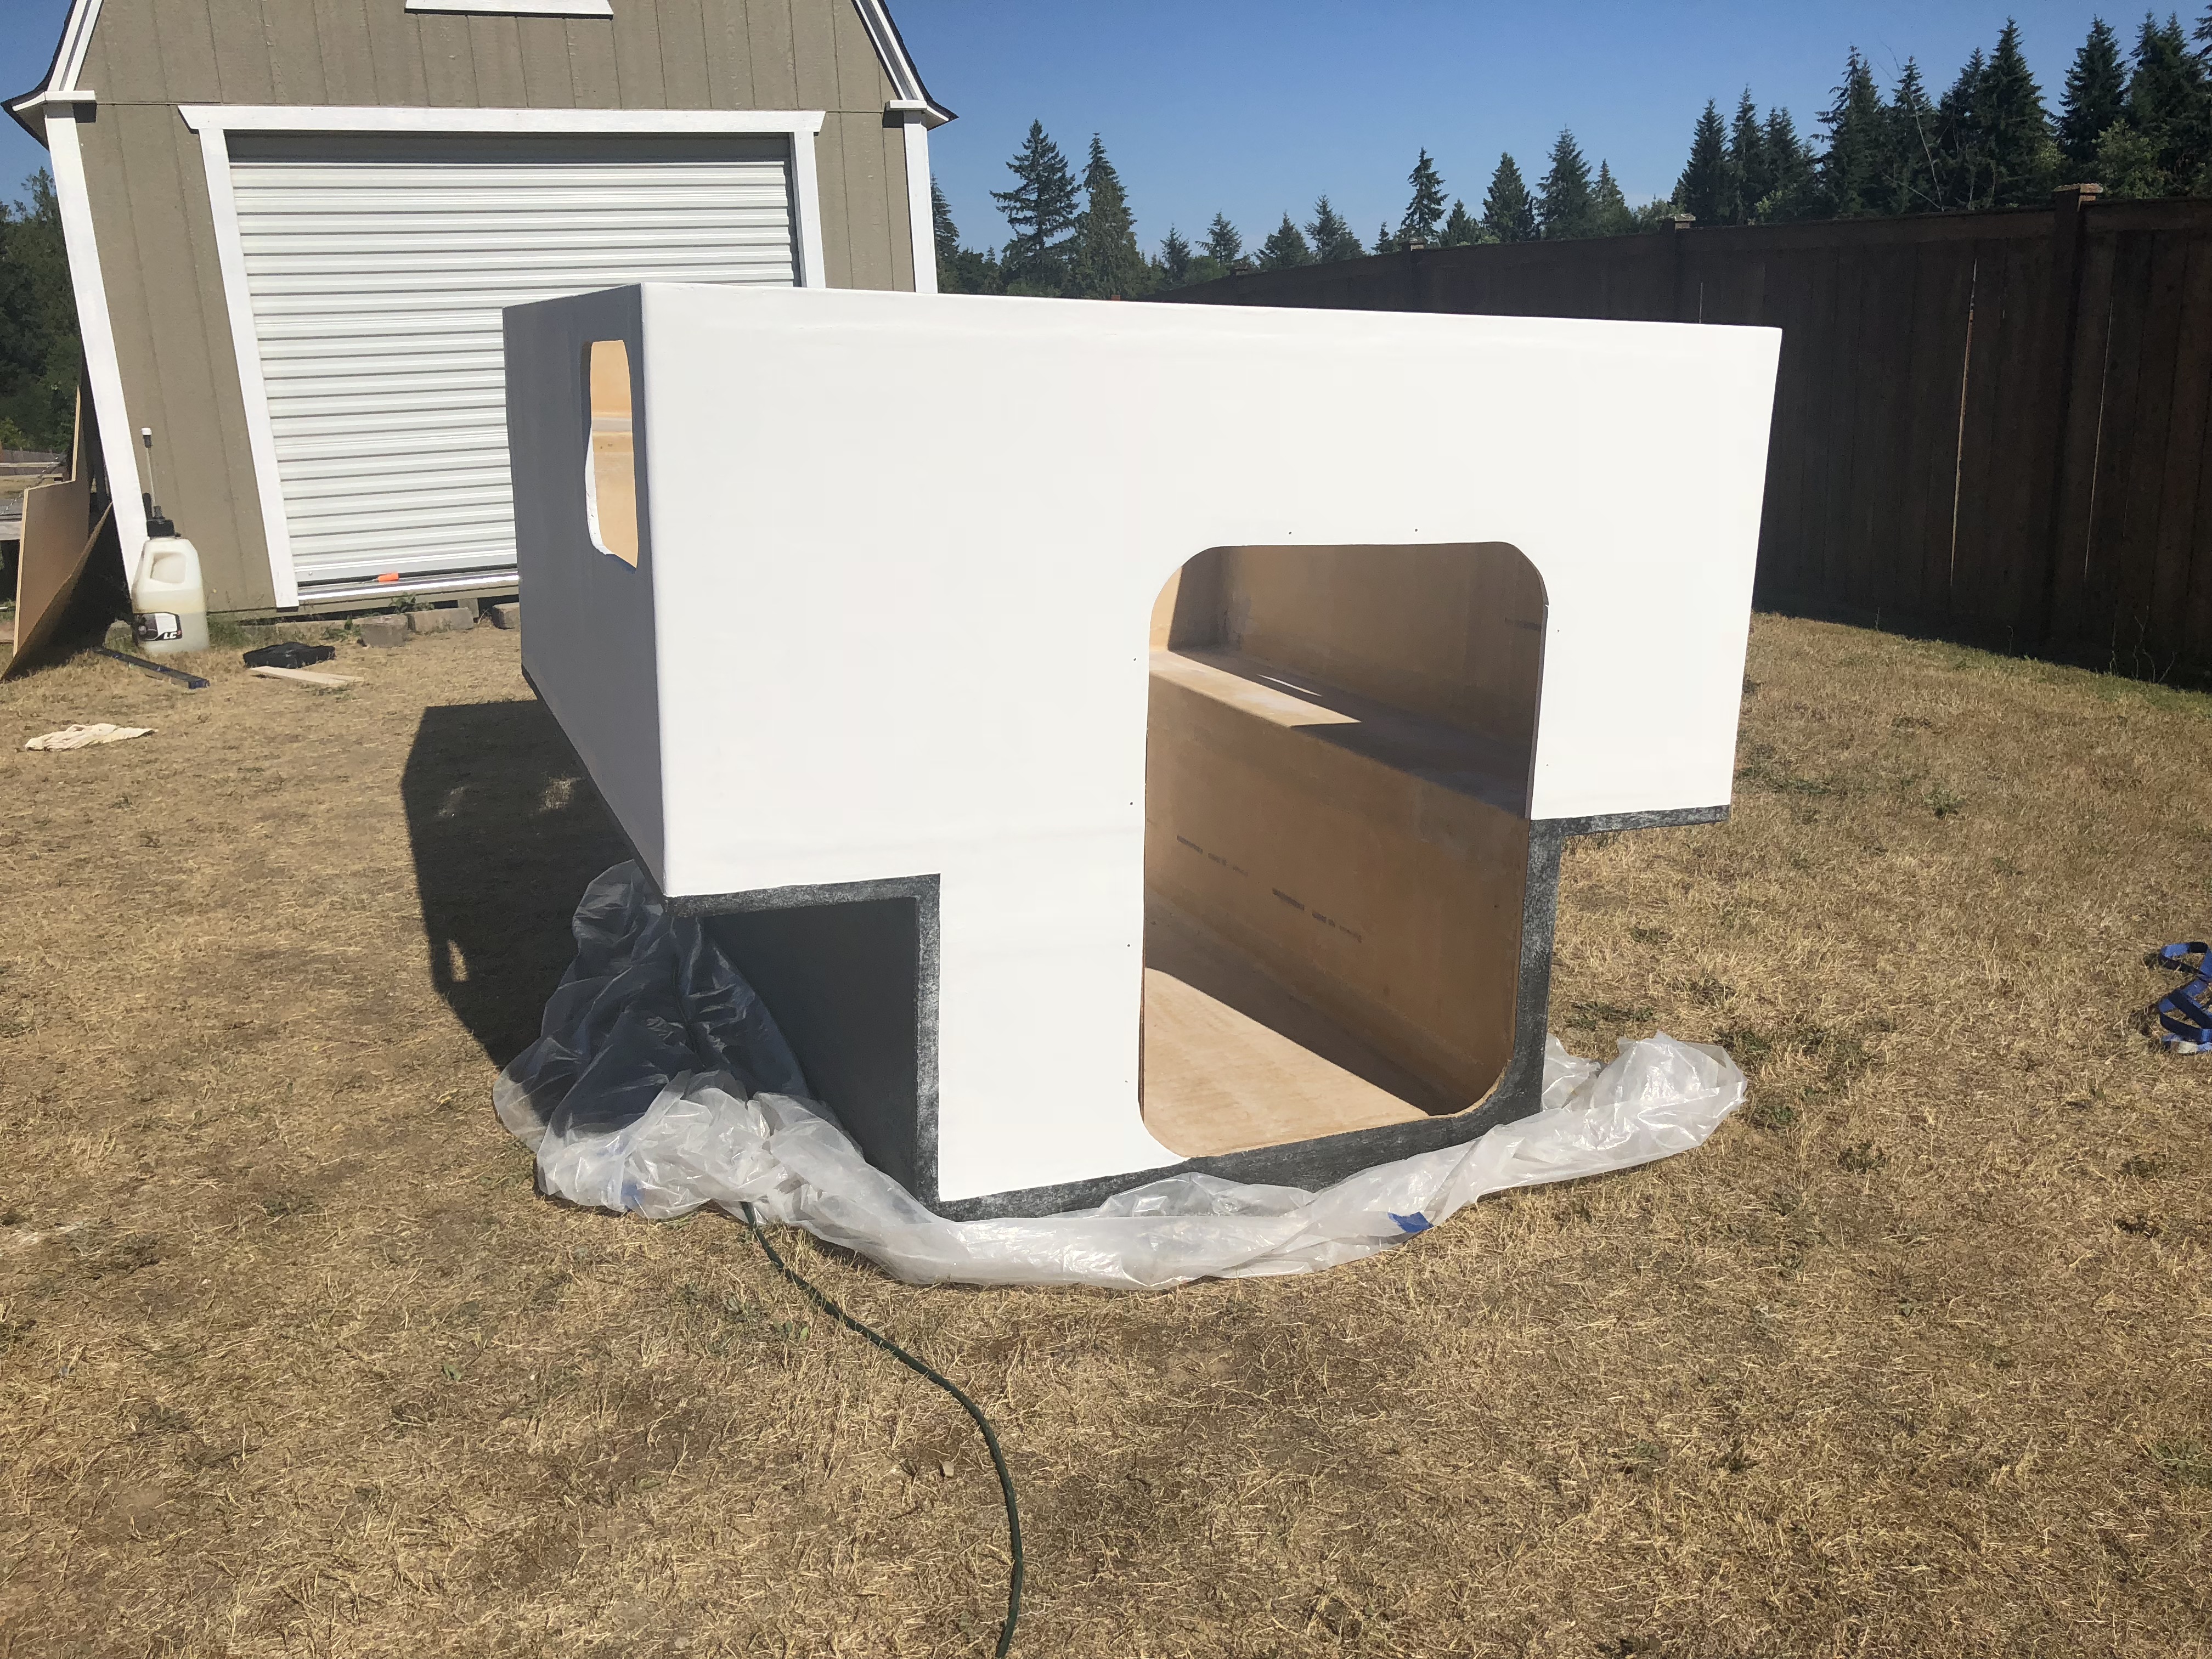
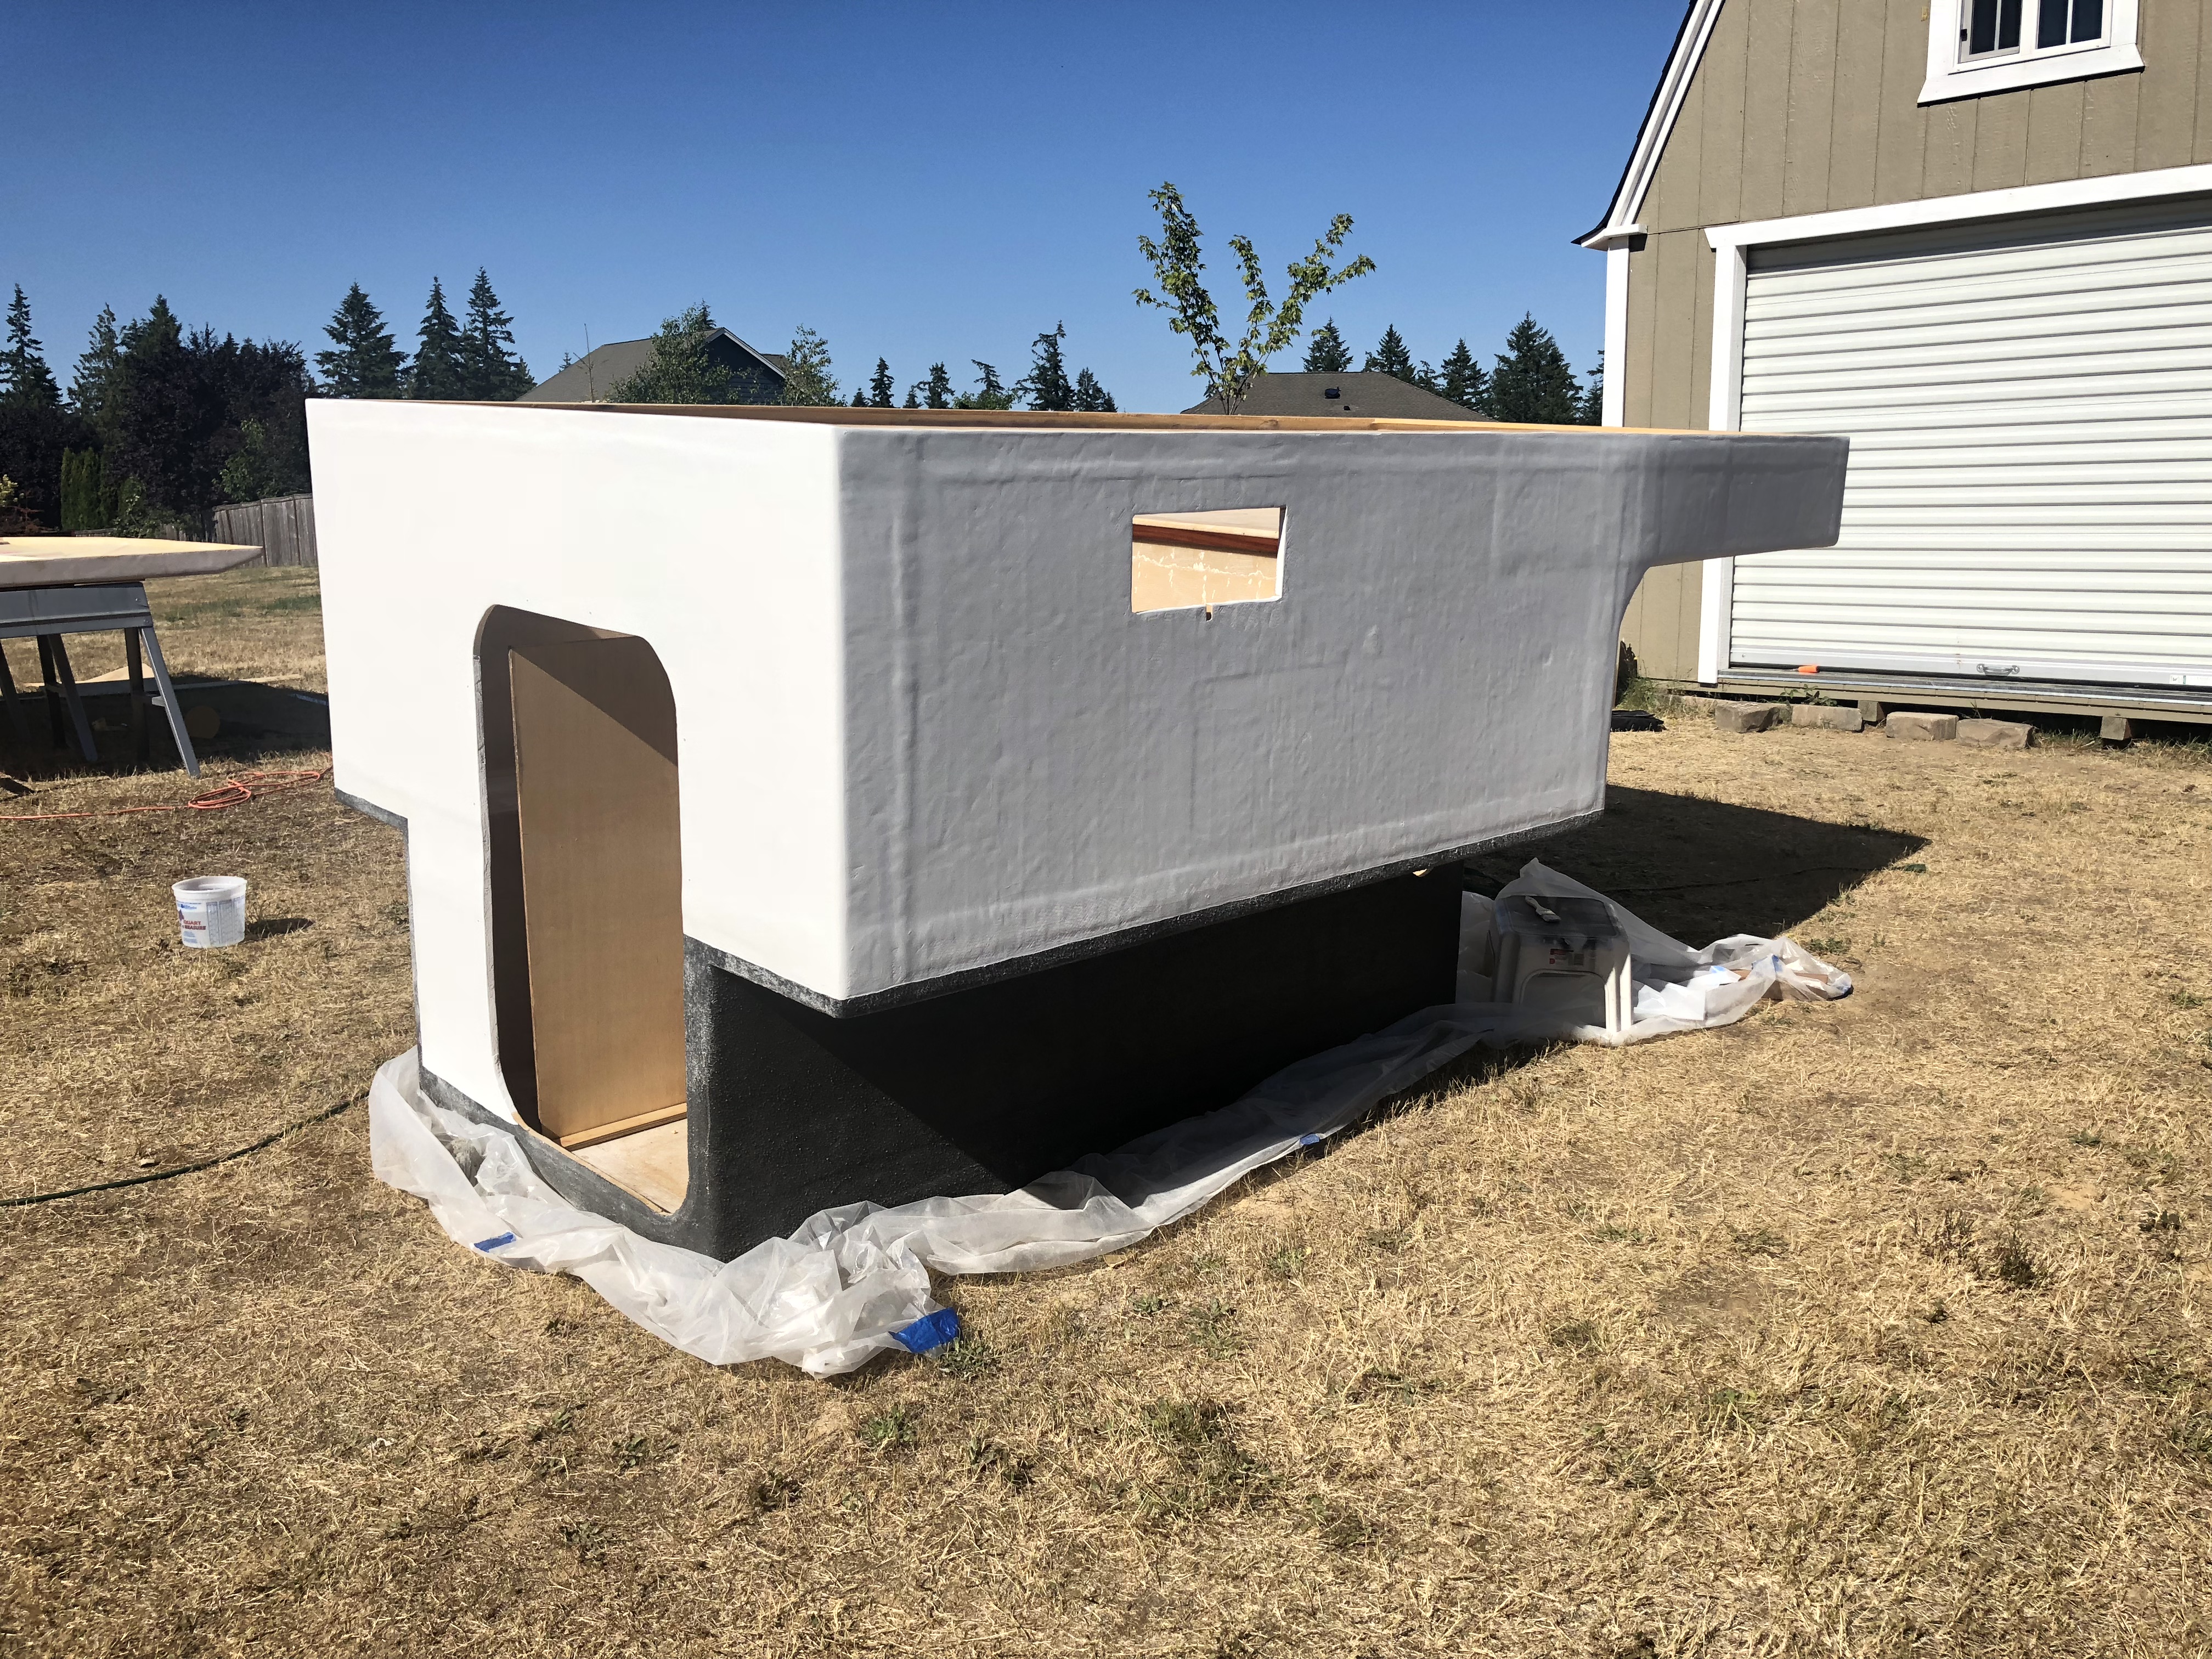
Painted outside in the heat for a solid hour and a half..
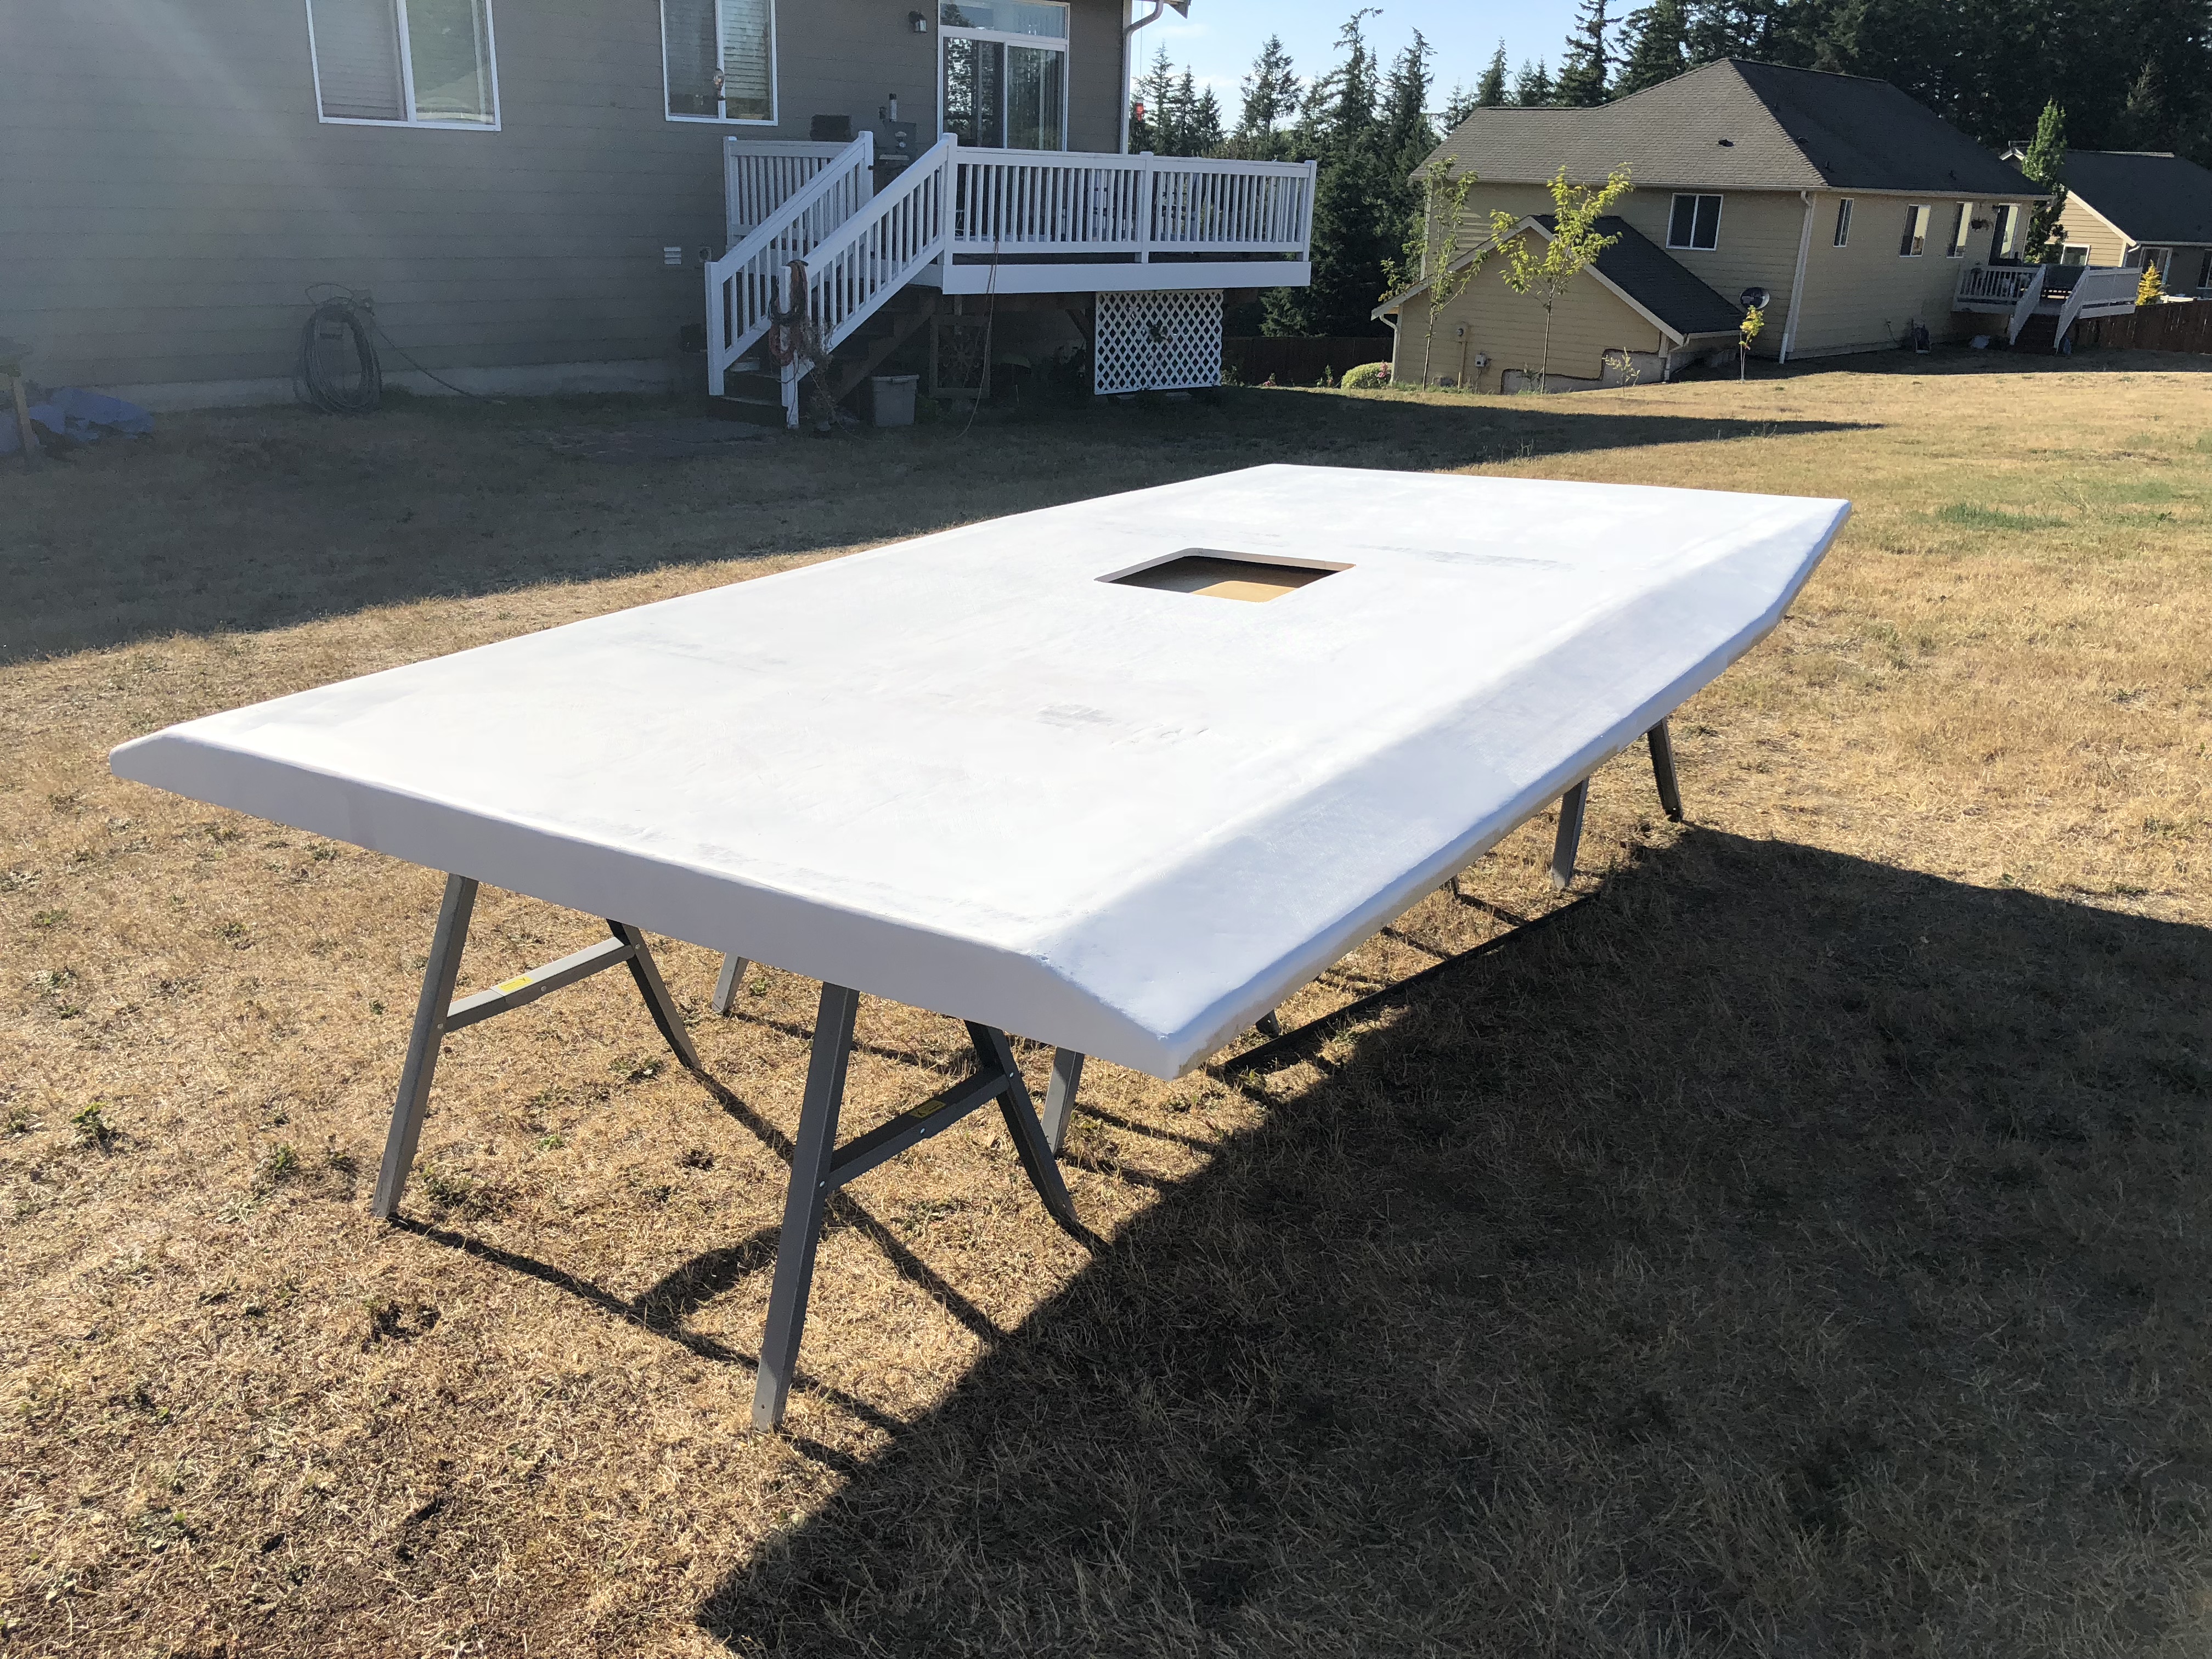
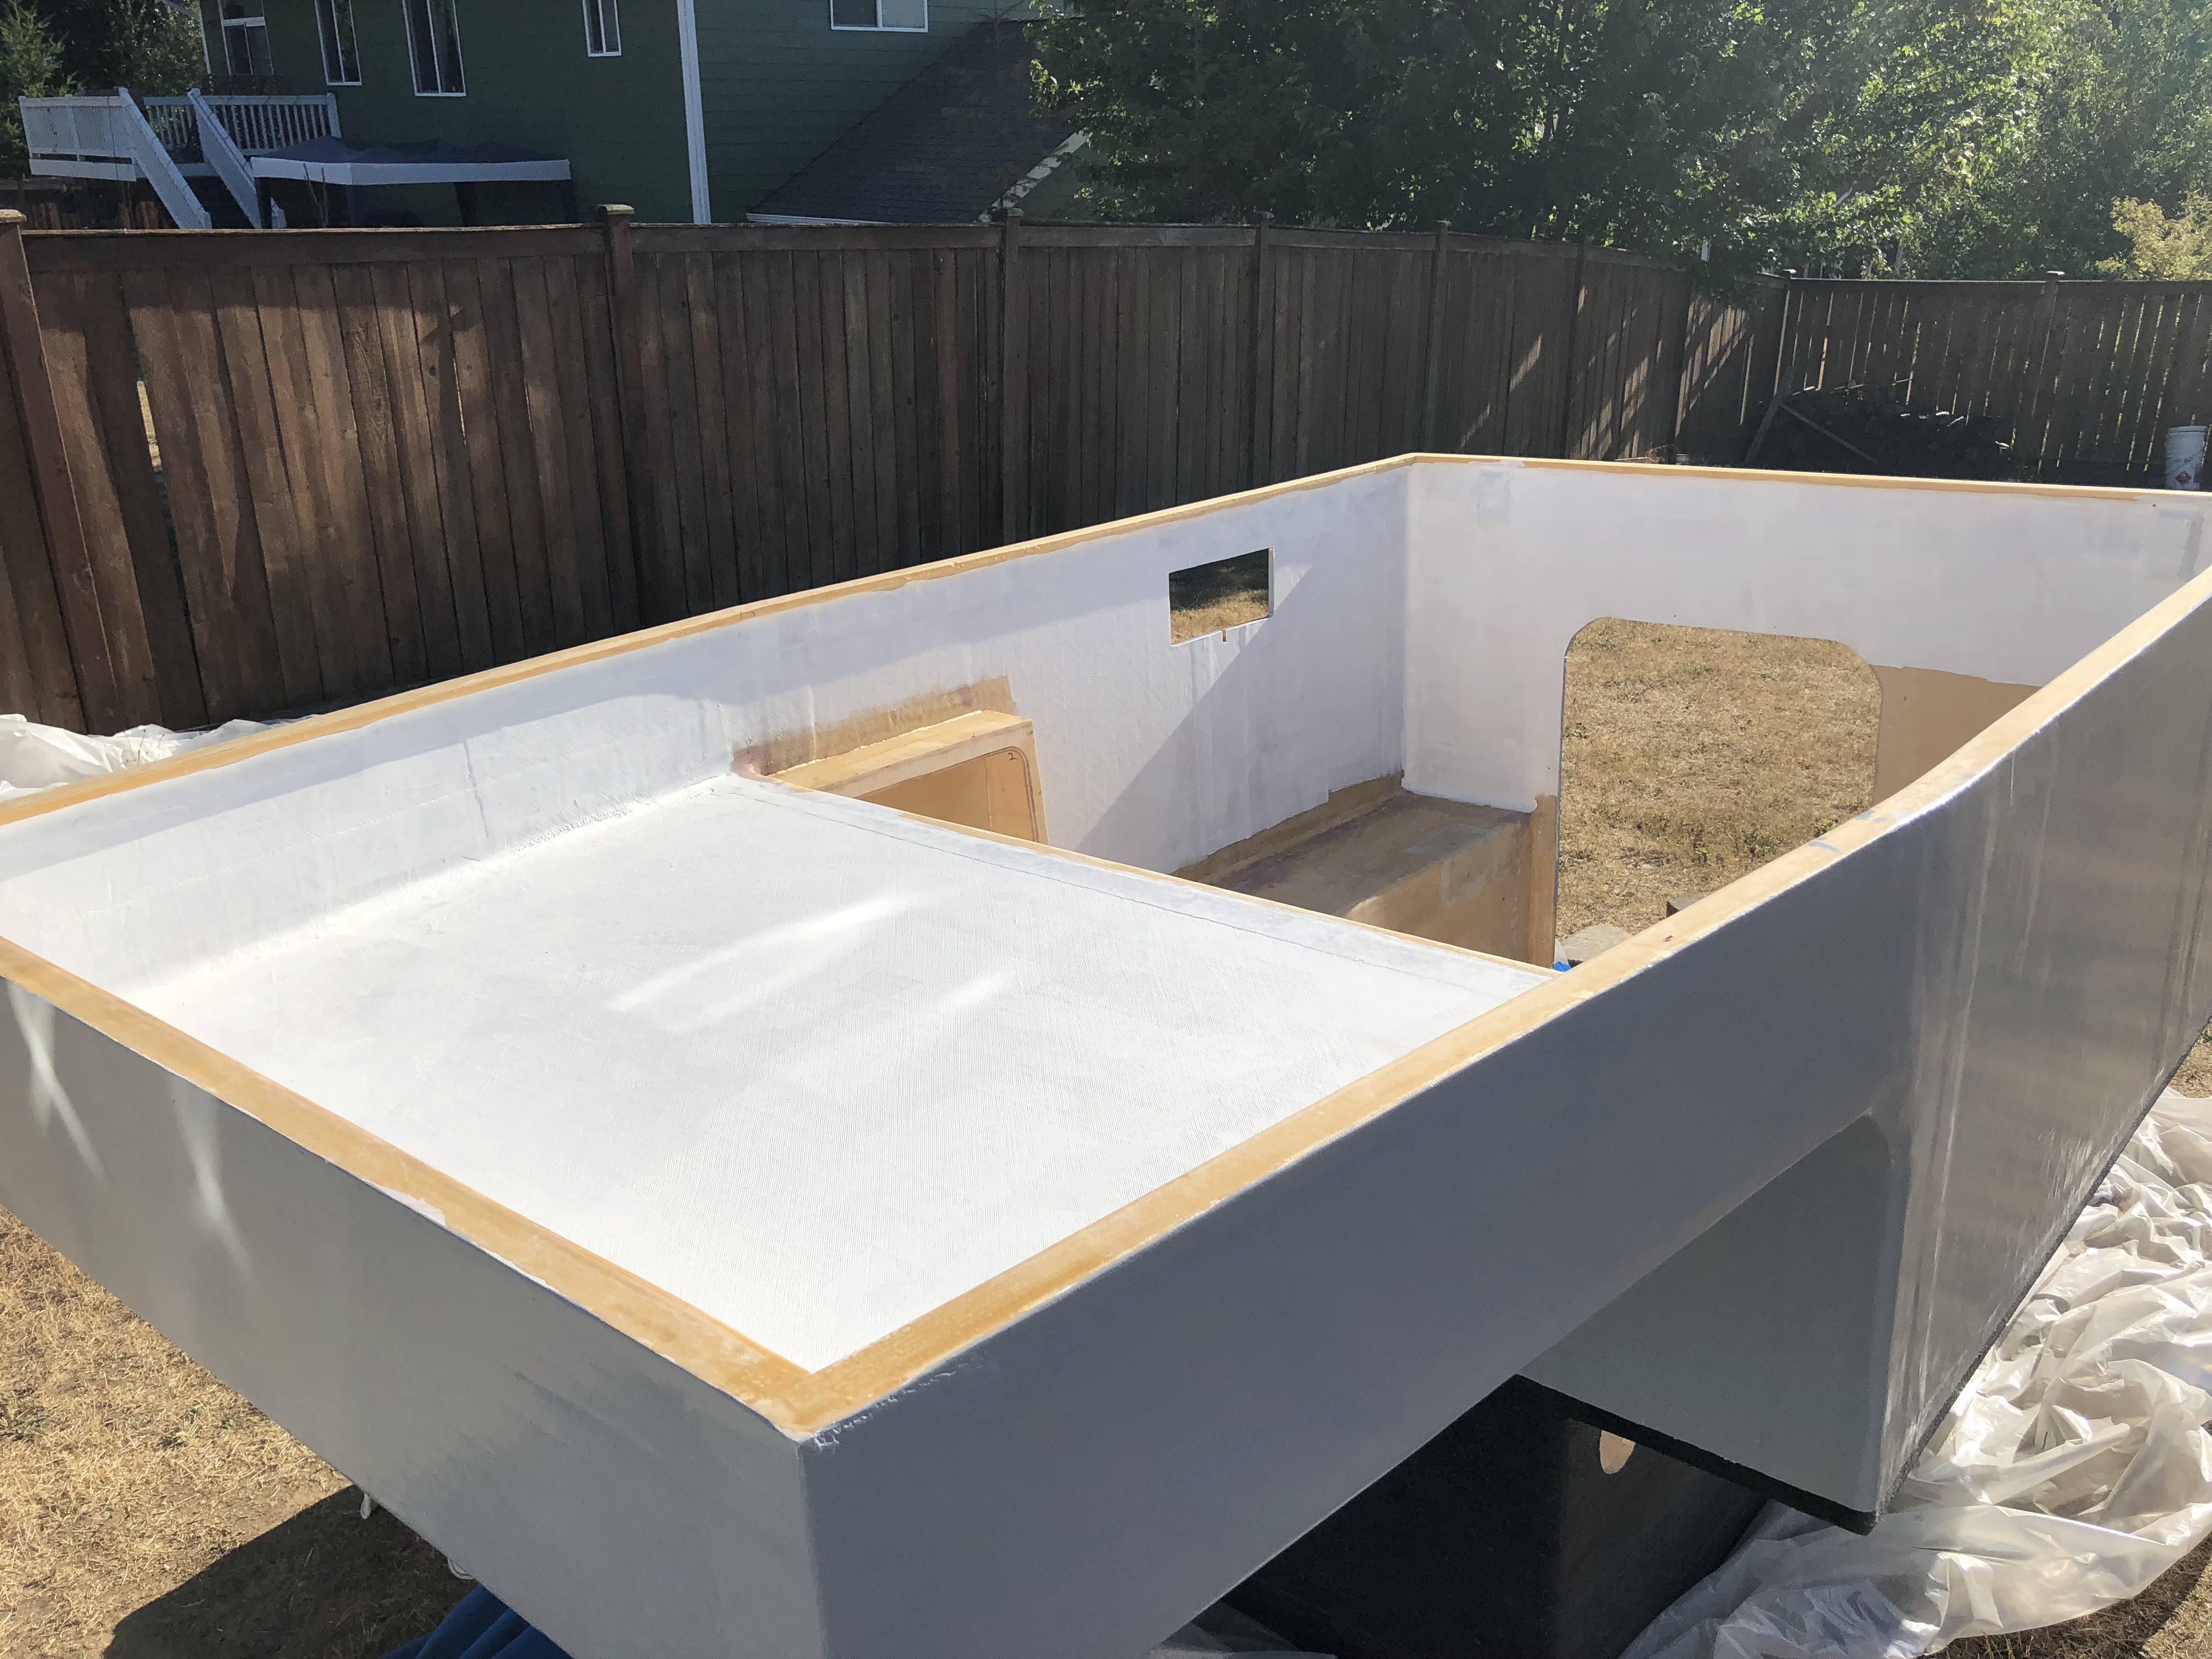
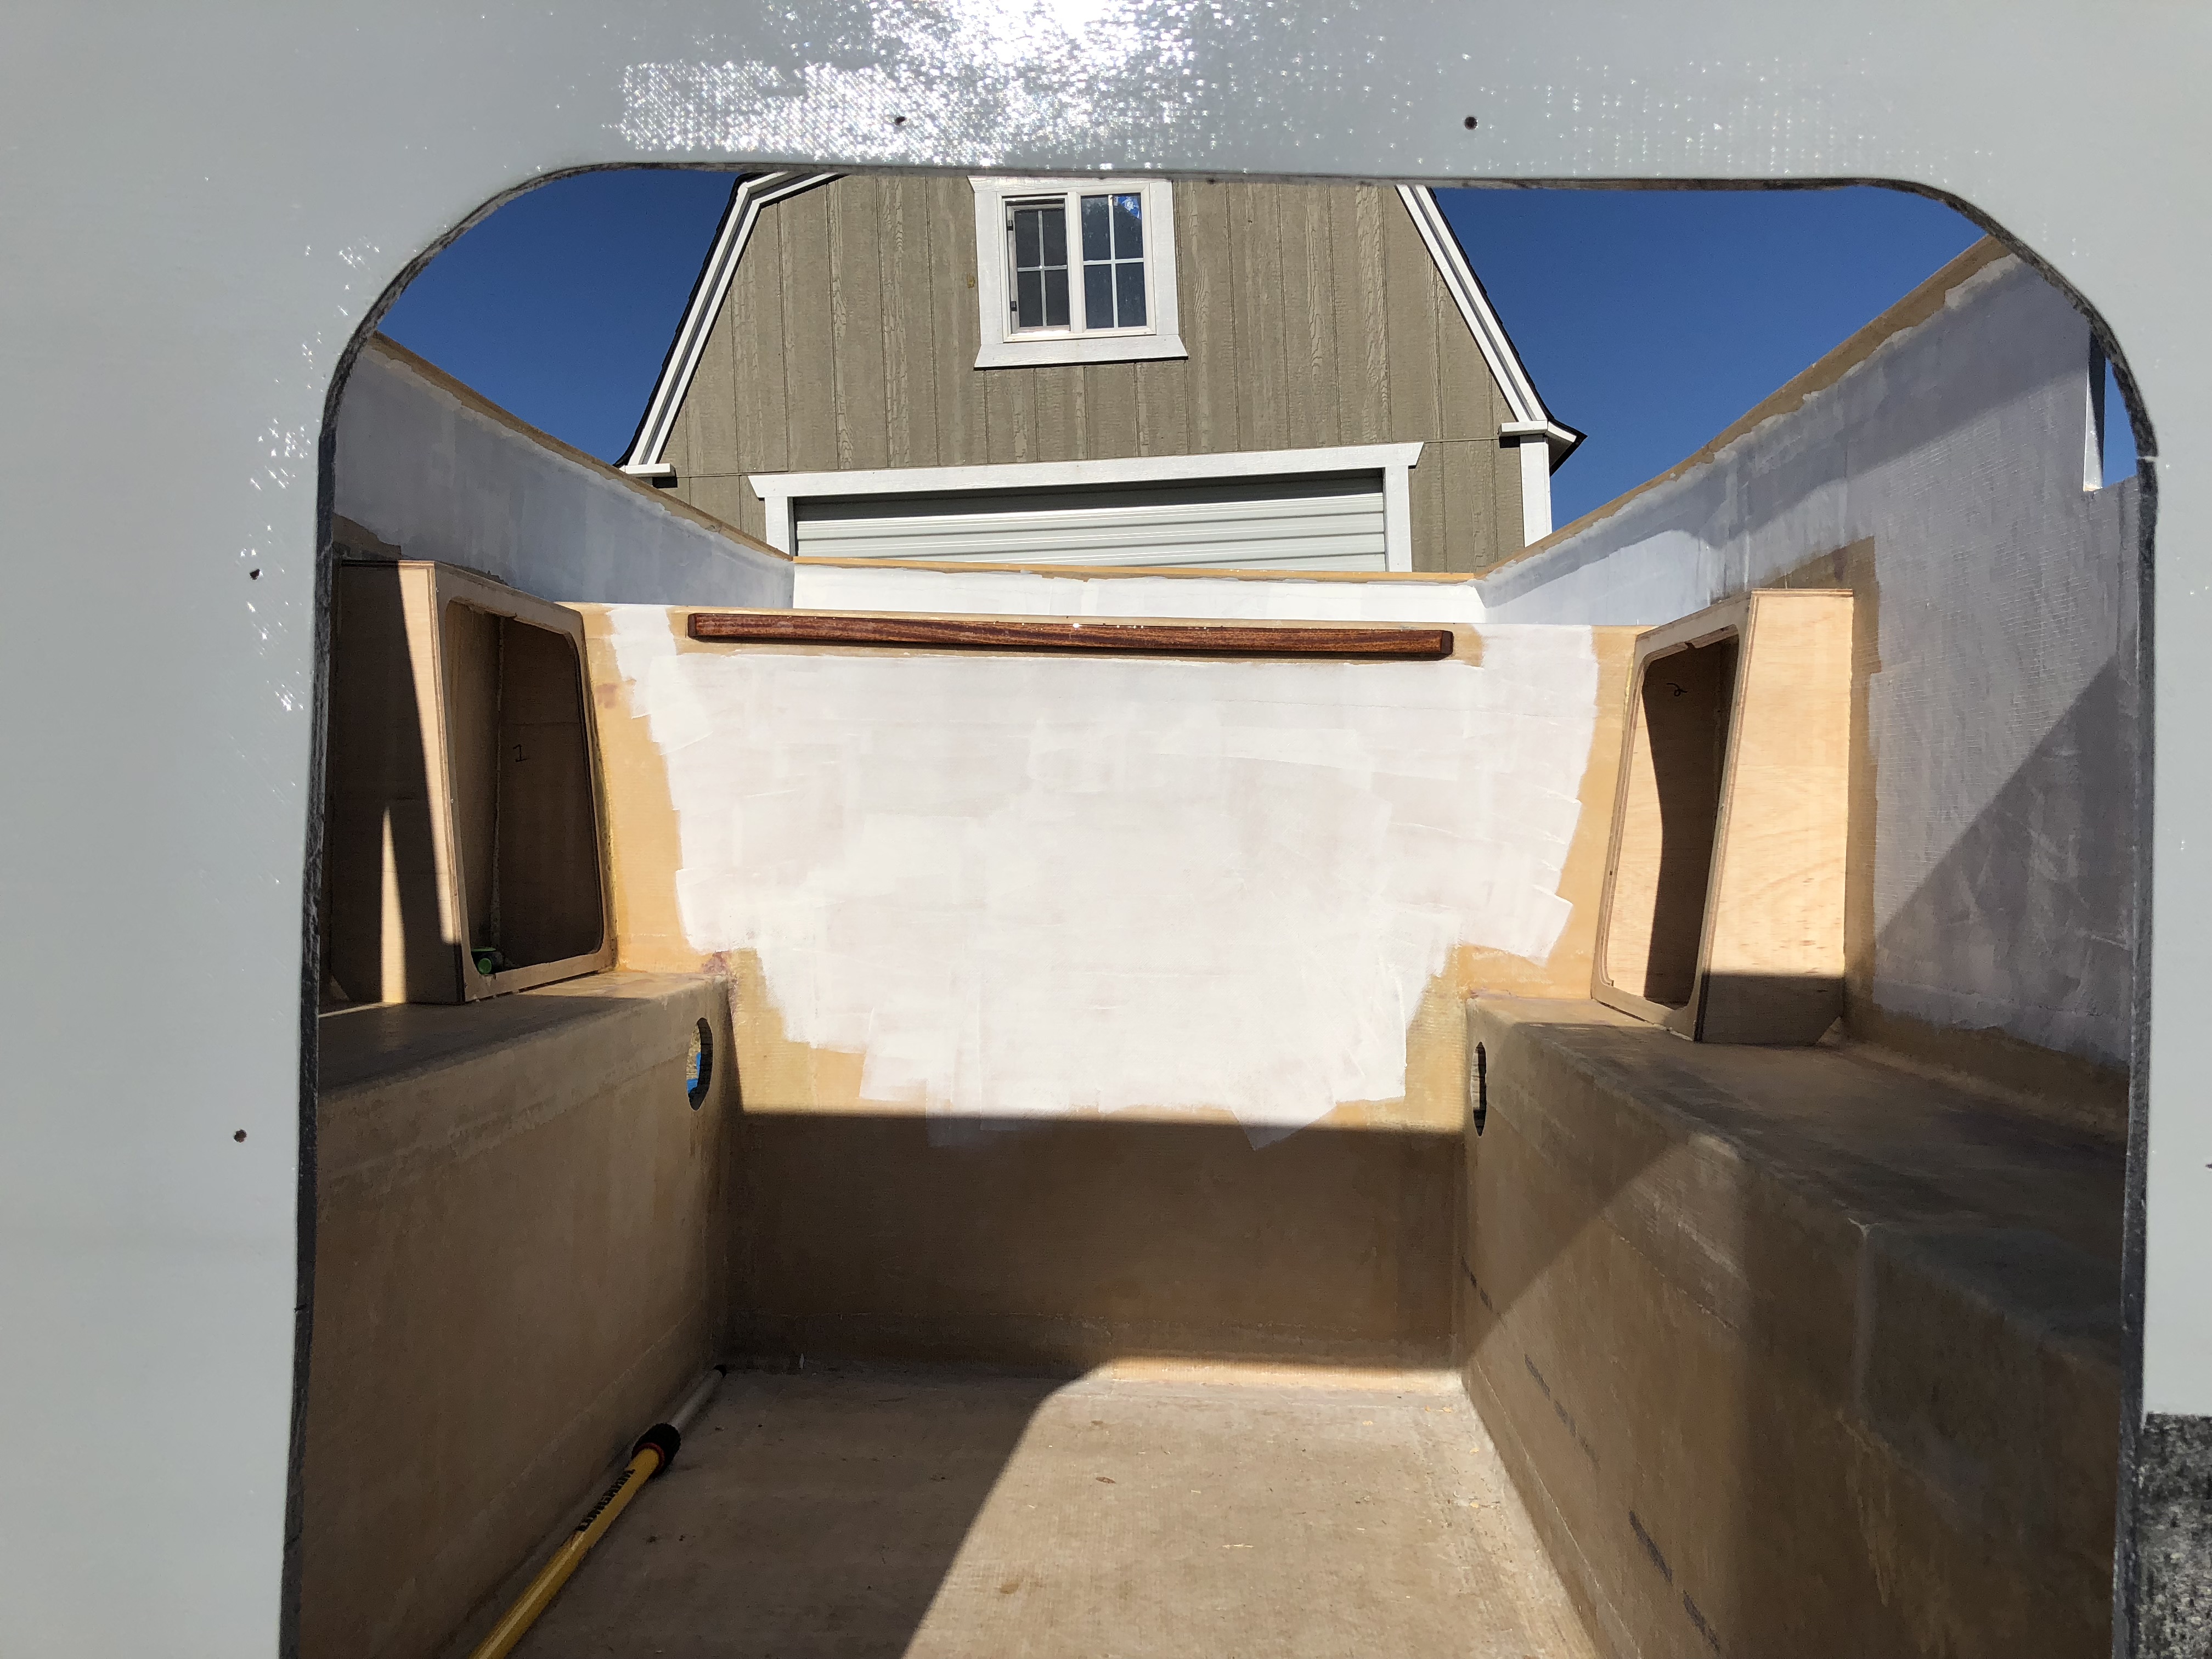
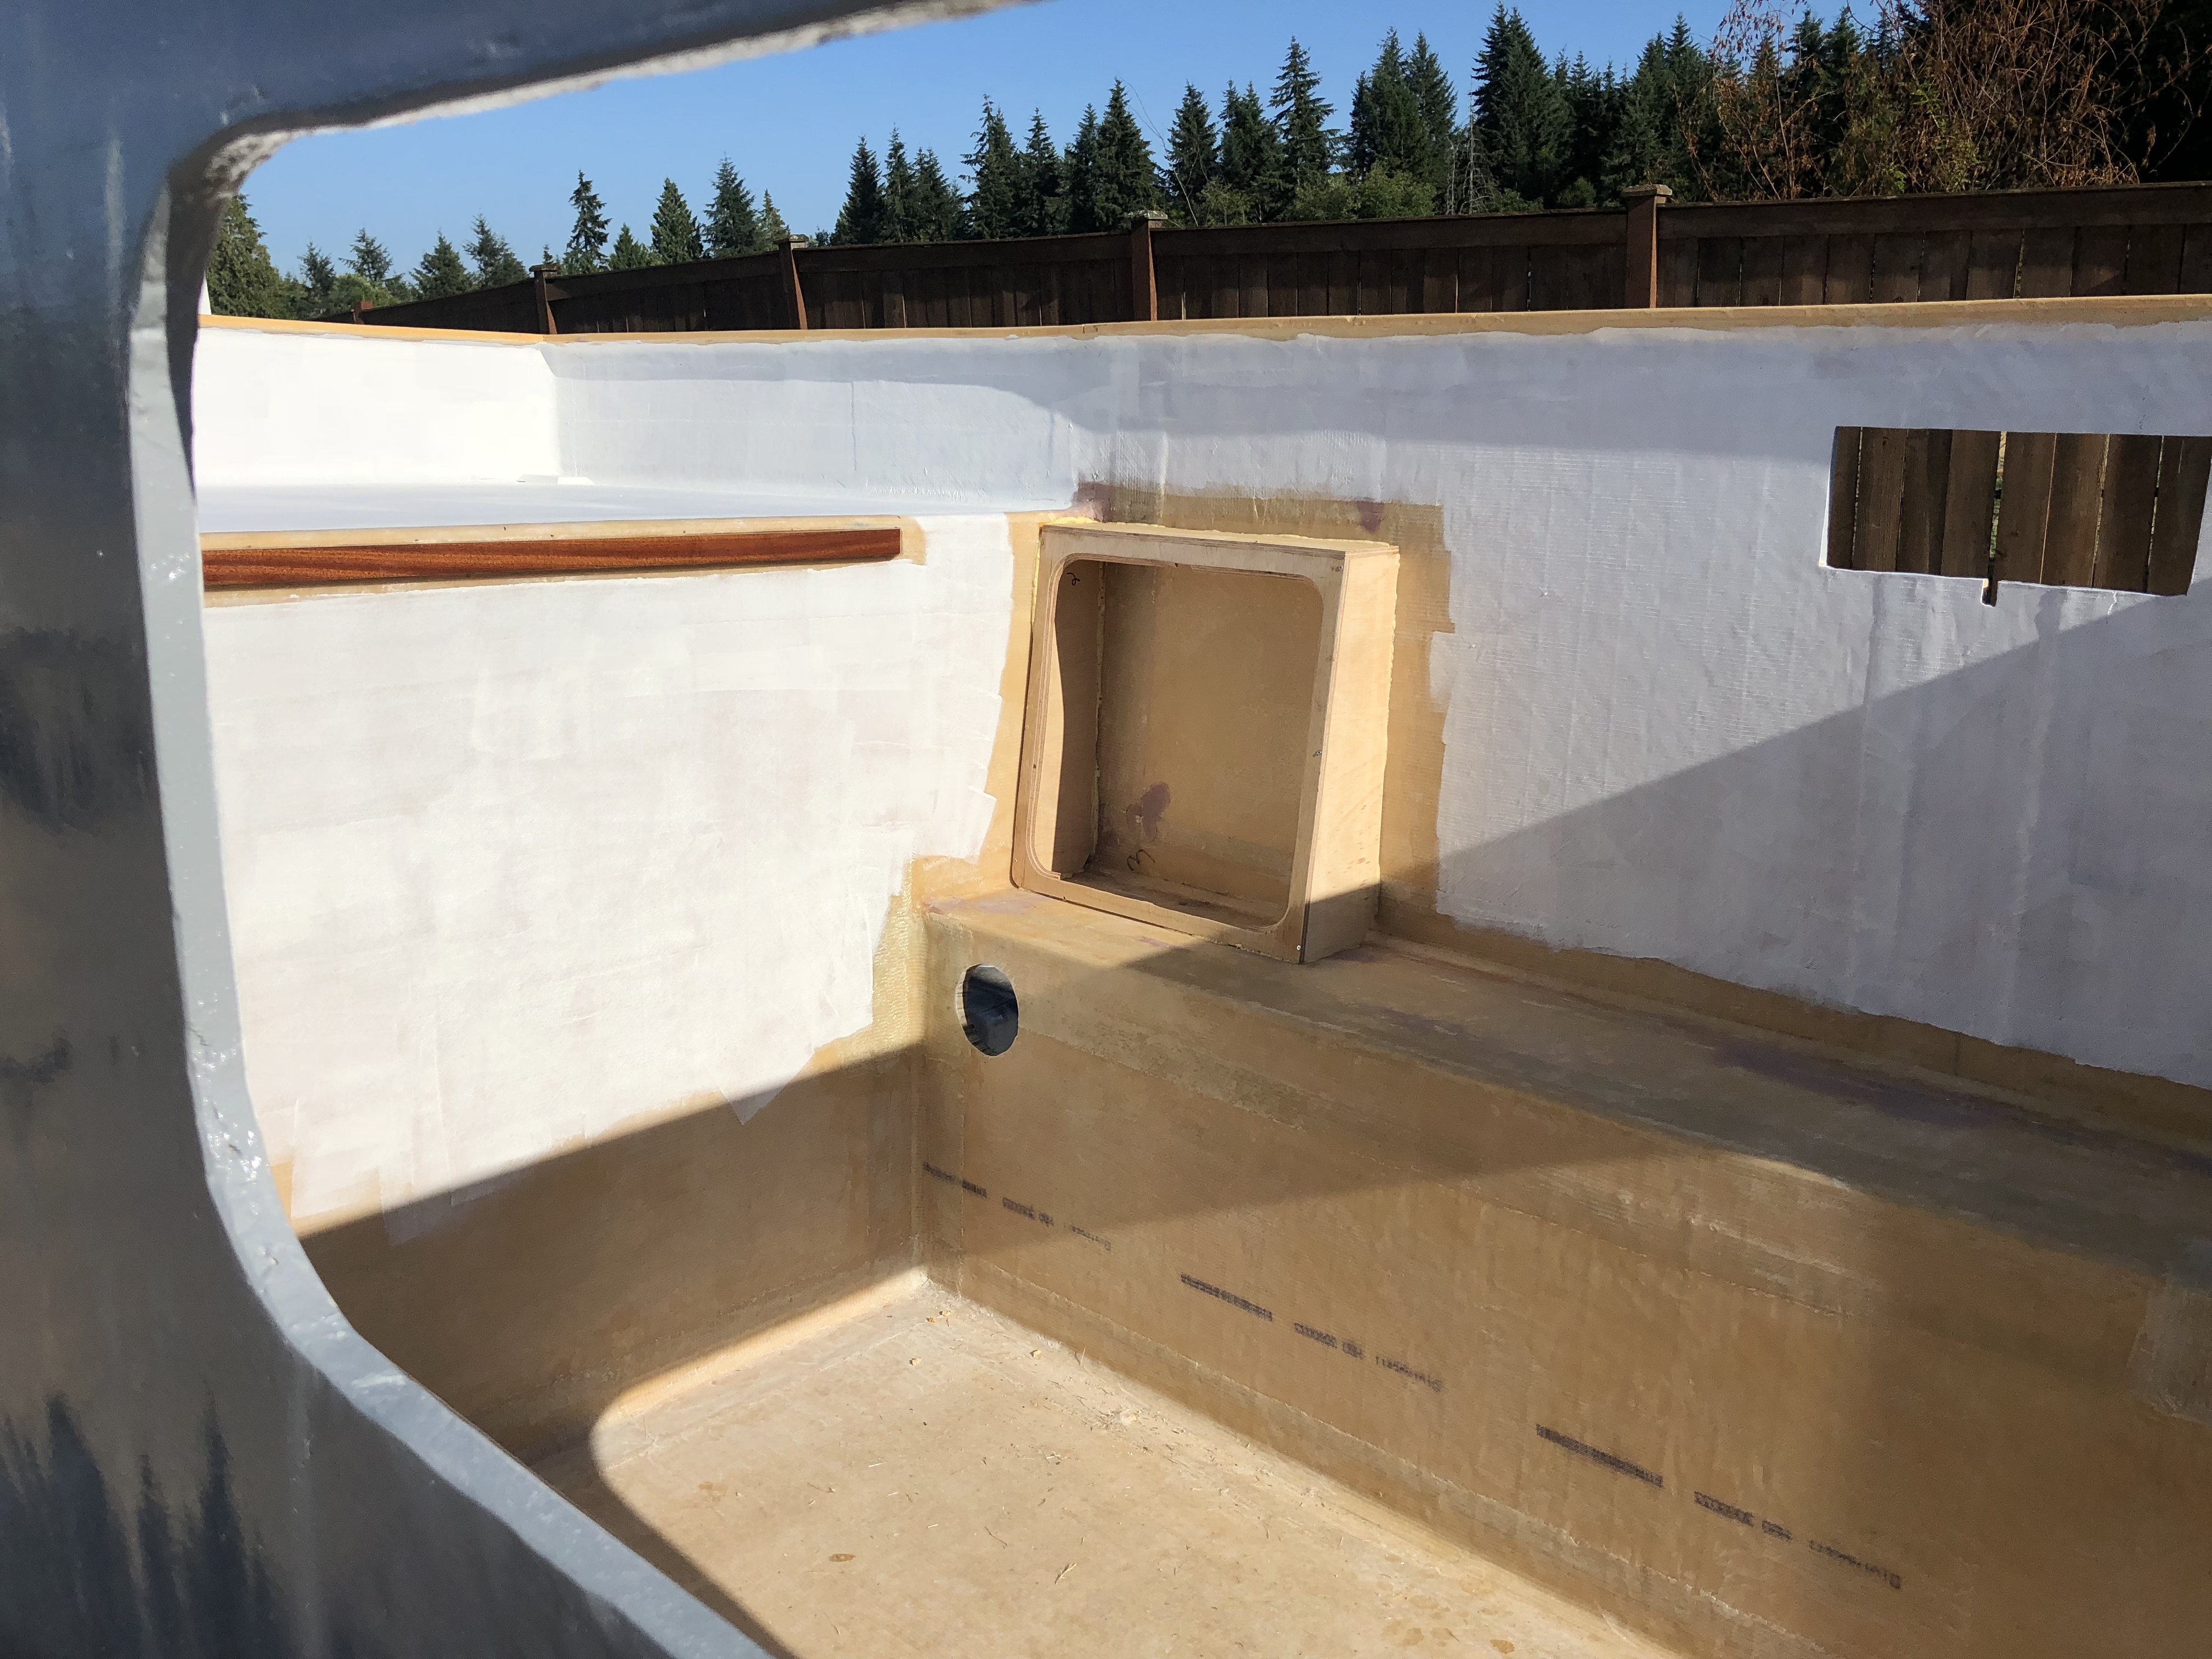
Definitely recommend white primer if you're going to do white paint. It's pretty much necessary to cover up the orange tinted fiberglass and foam. I wish I could have painted more, but I have to finish the install for the galley and the rest of the permanent stuff before I can finish painting the rest.


Definitely recommend white primer if you're going to do white paint. It's pretty much necessary to cover up the orange tinted fiberglass and foam. I wish I could have painted more, but I have to finish the install for the galley and the rest of the permanent stuff before I can finish painting the rest.
verdesard0g
Search and Rescue first responder
Painted in the heat in Washington?......I painted here in the Verde Valley AZ, was 104*
underkill
Active member
The roof is in primer and set on top of the camper! Looks pretty nifty! I'm still trying to decide if I want to paint the roof the same color as the shell or leave it white like the Toyota FJ's...
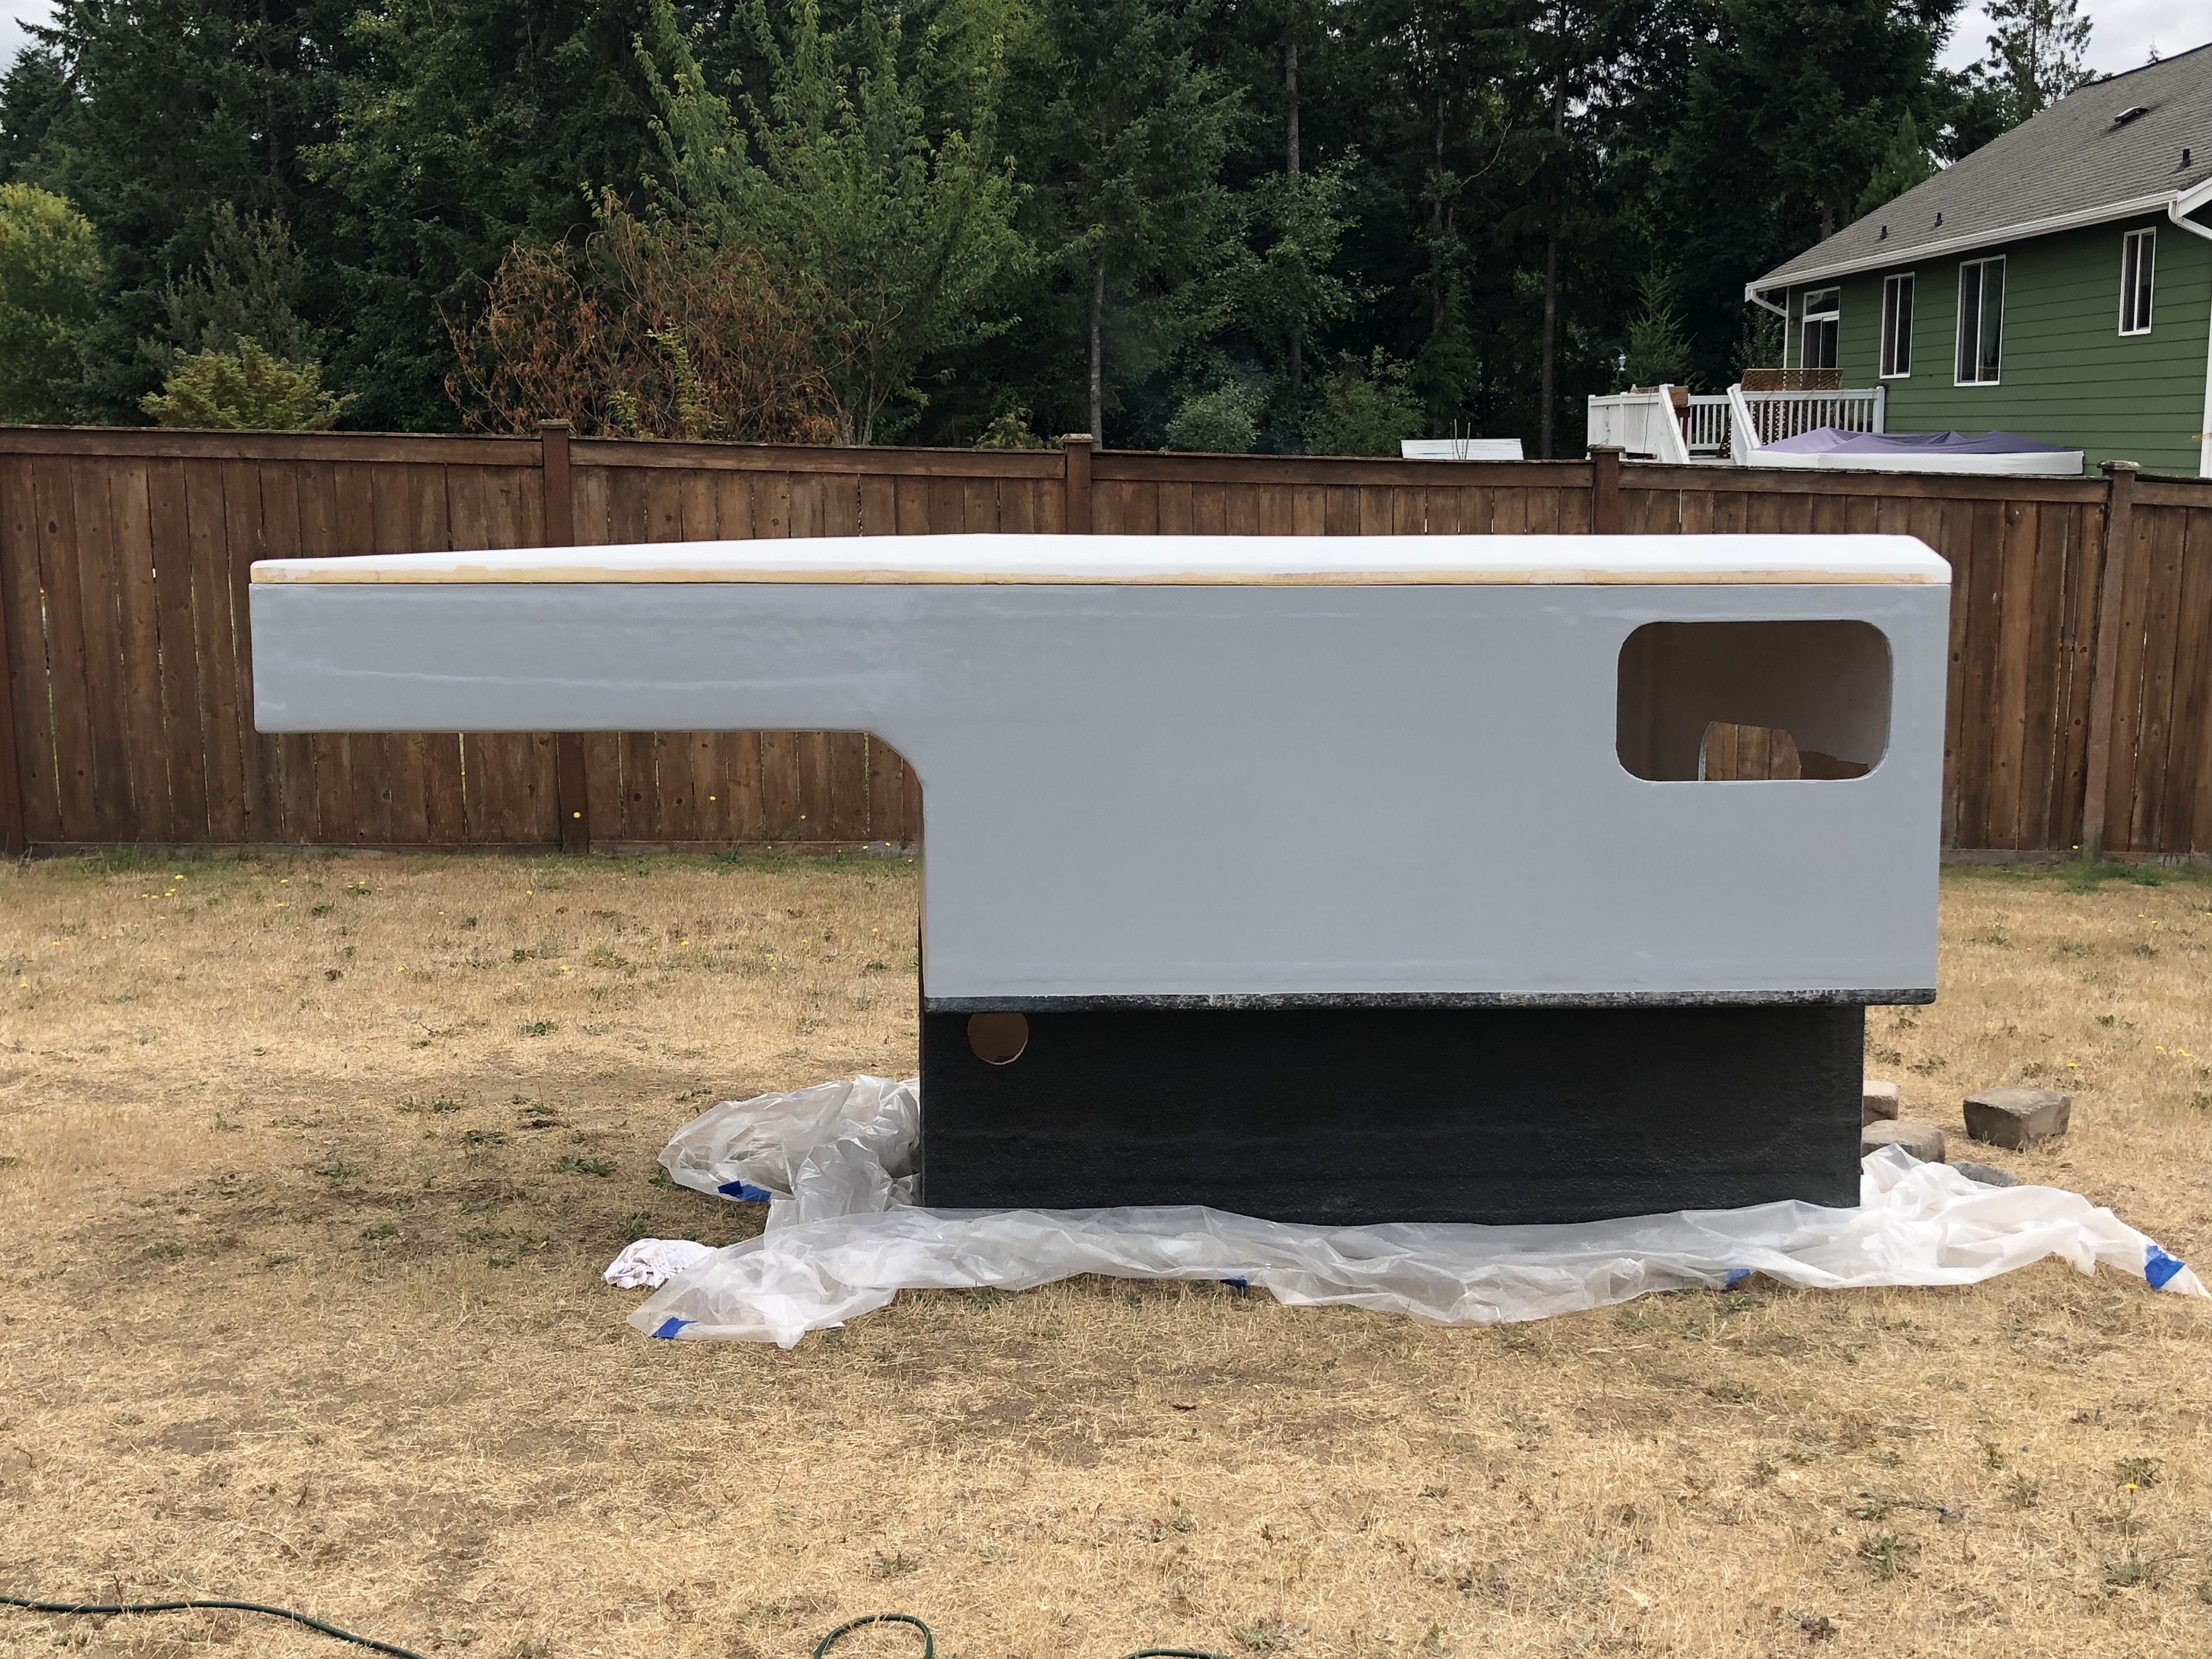
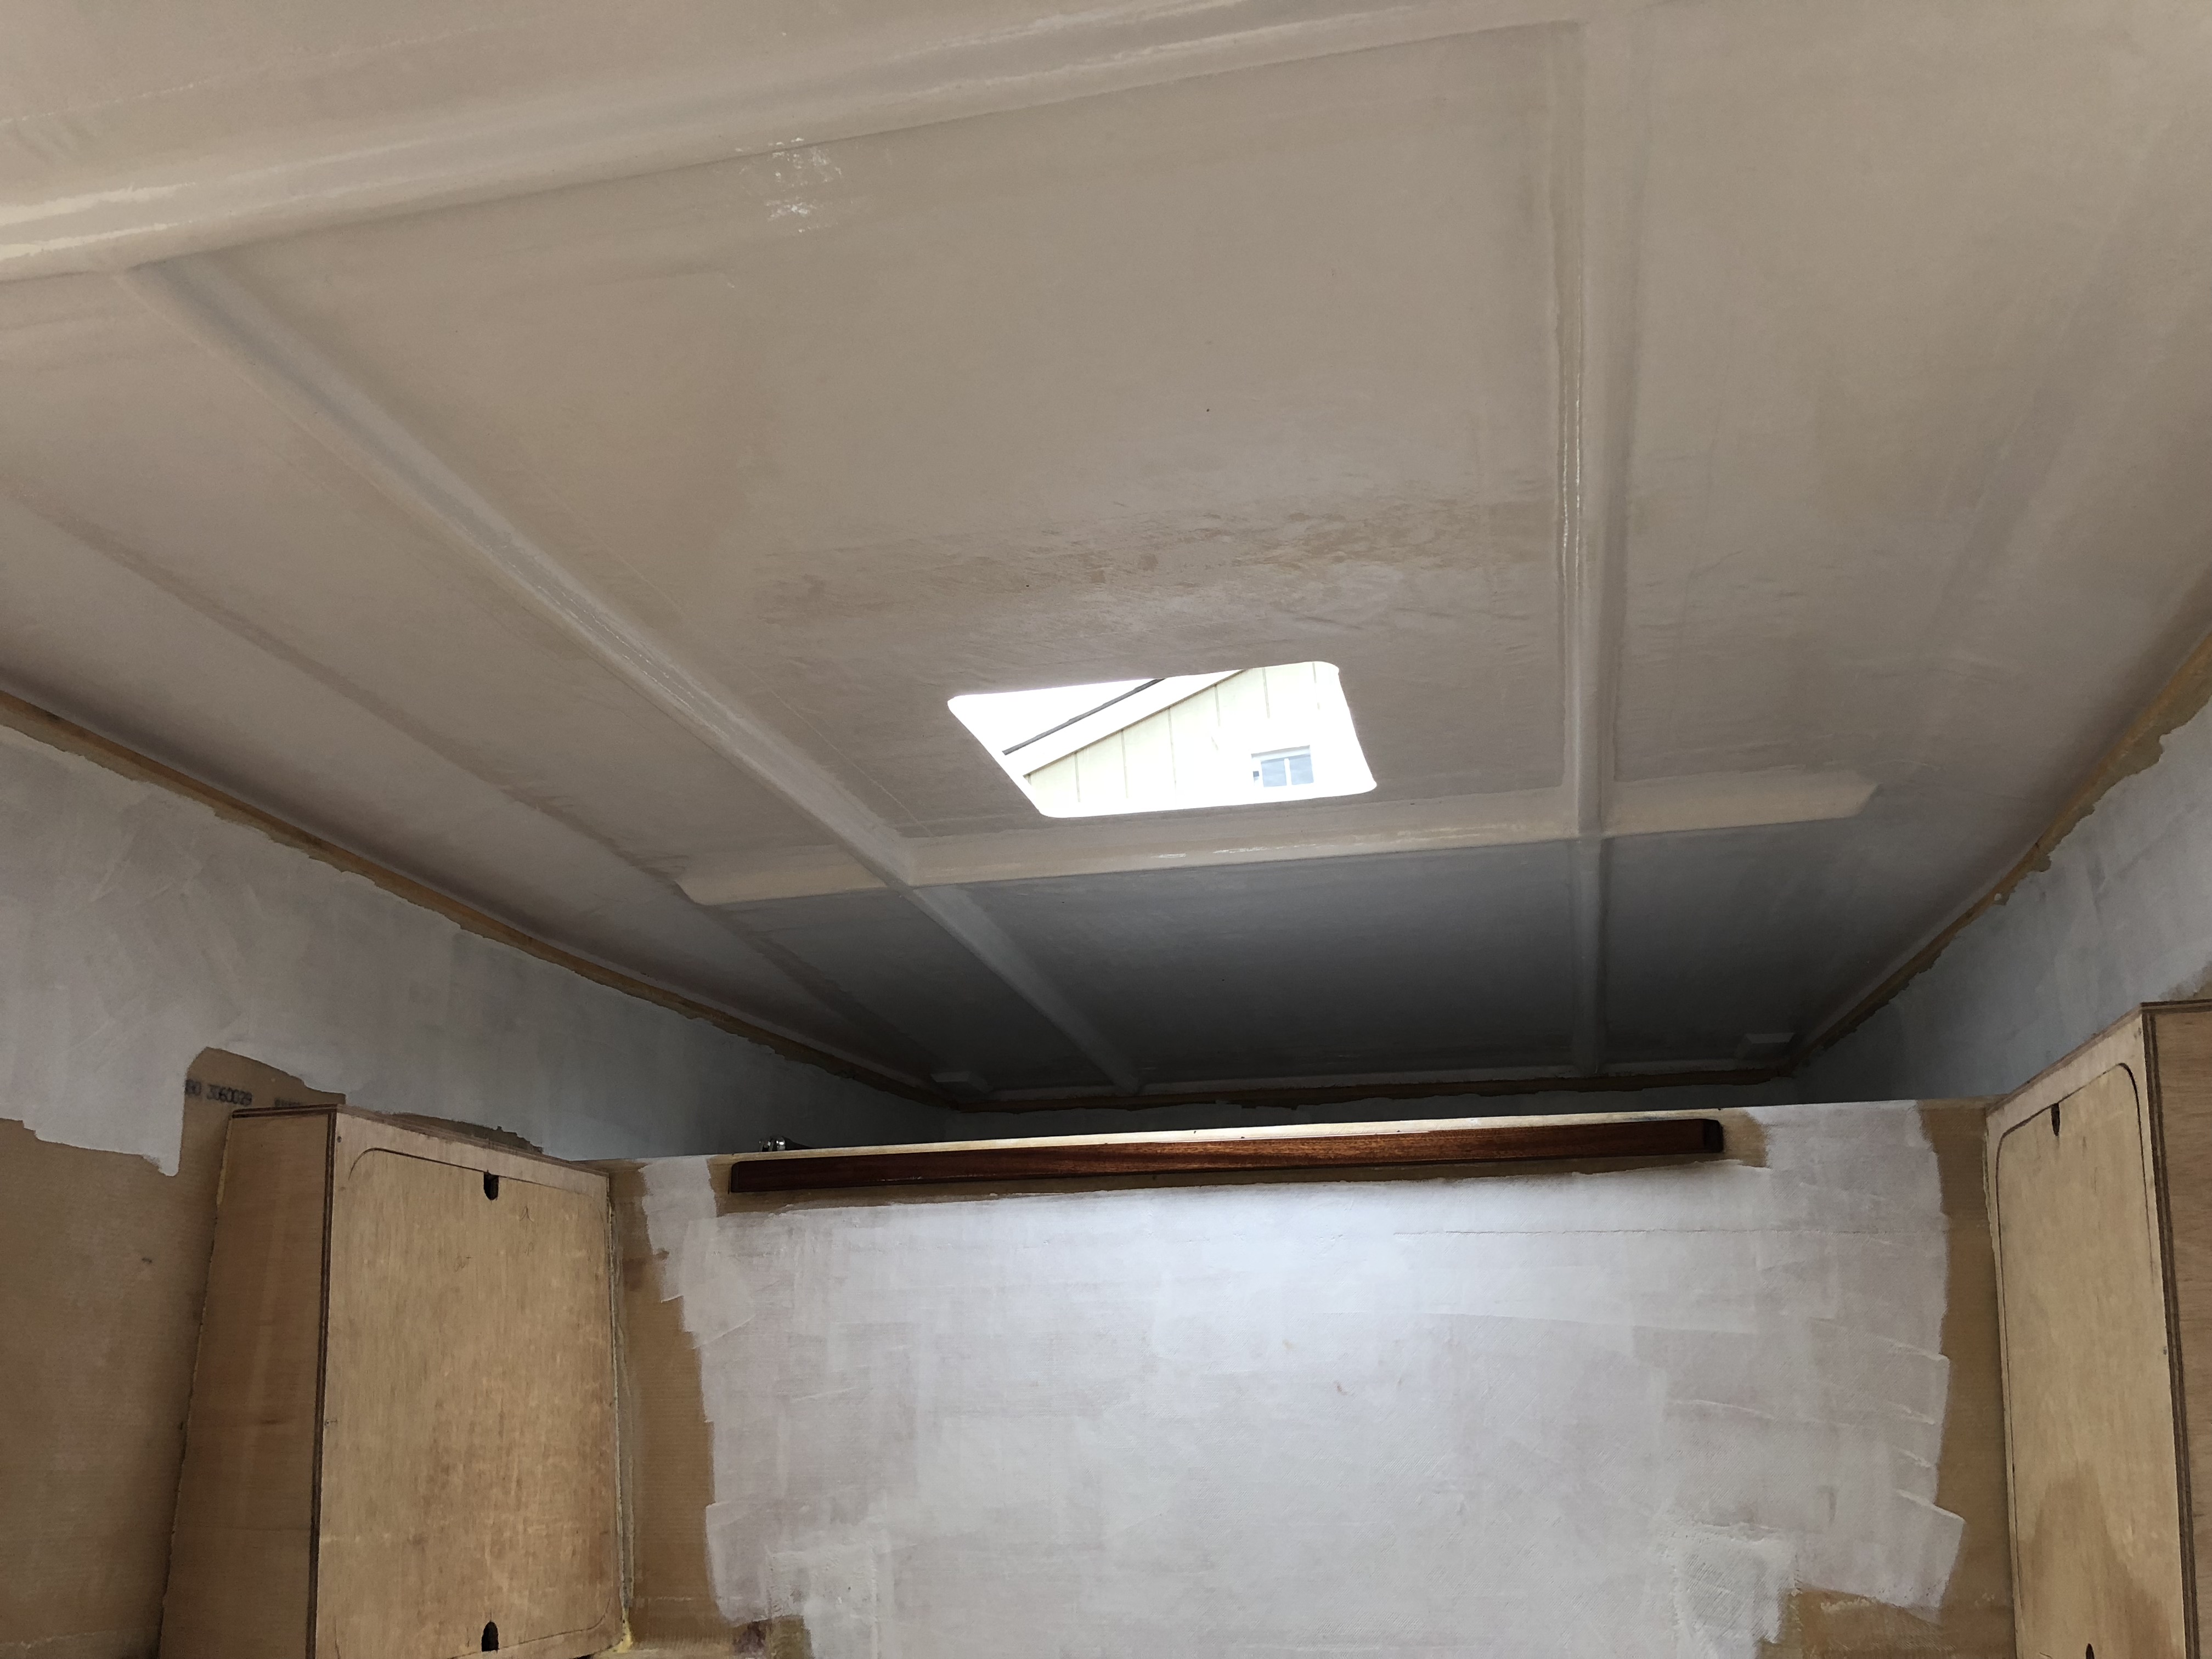
I finished up the blinding white paint on the inside of the roof. You can't look directly at it in the sun...it's ridiculous.
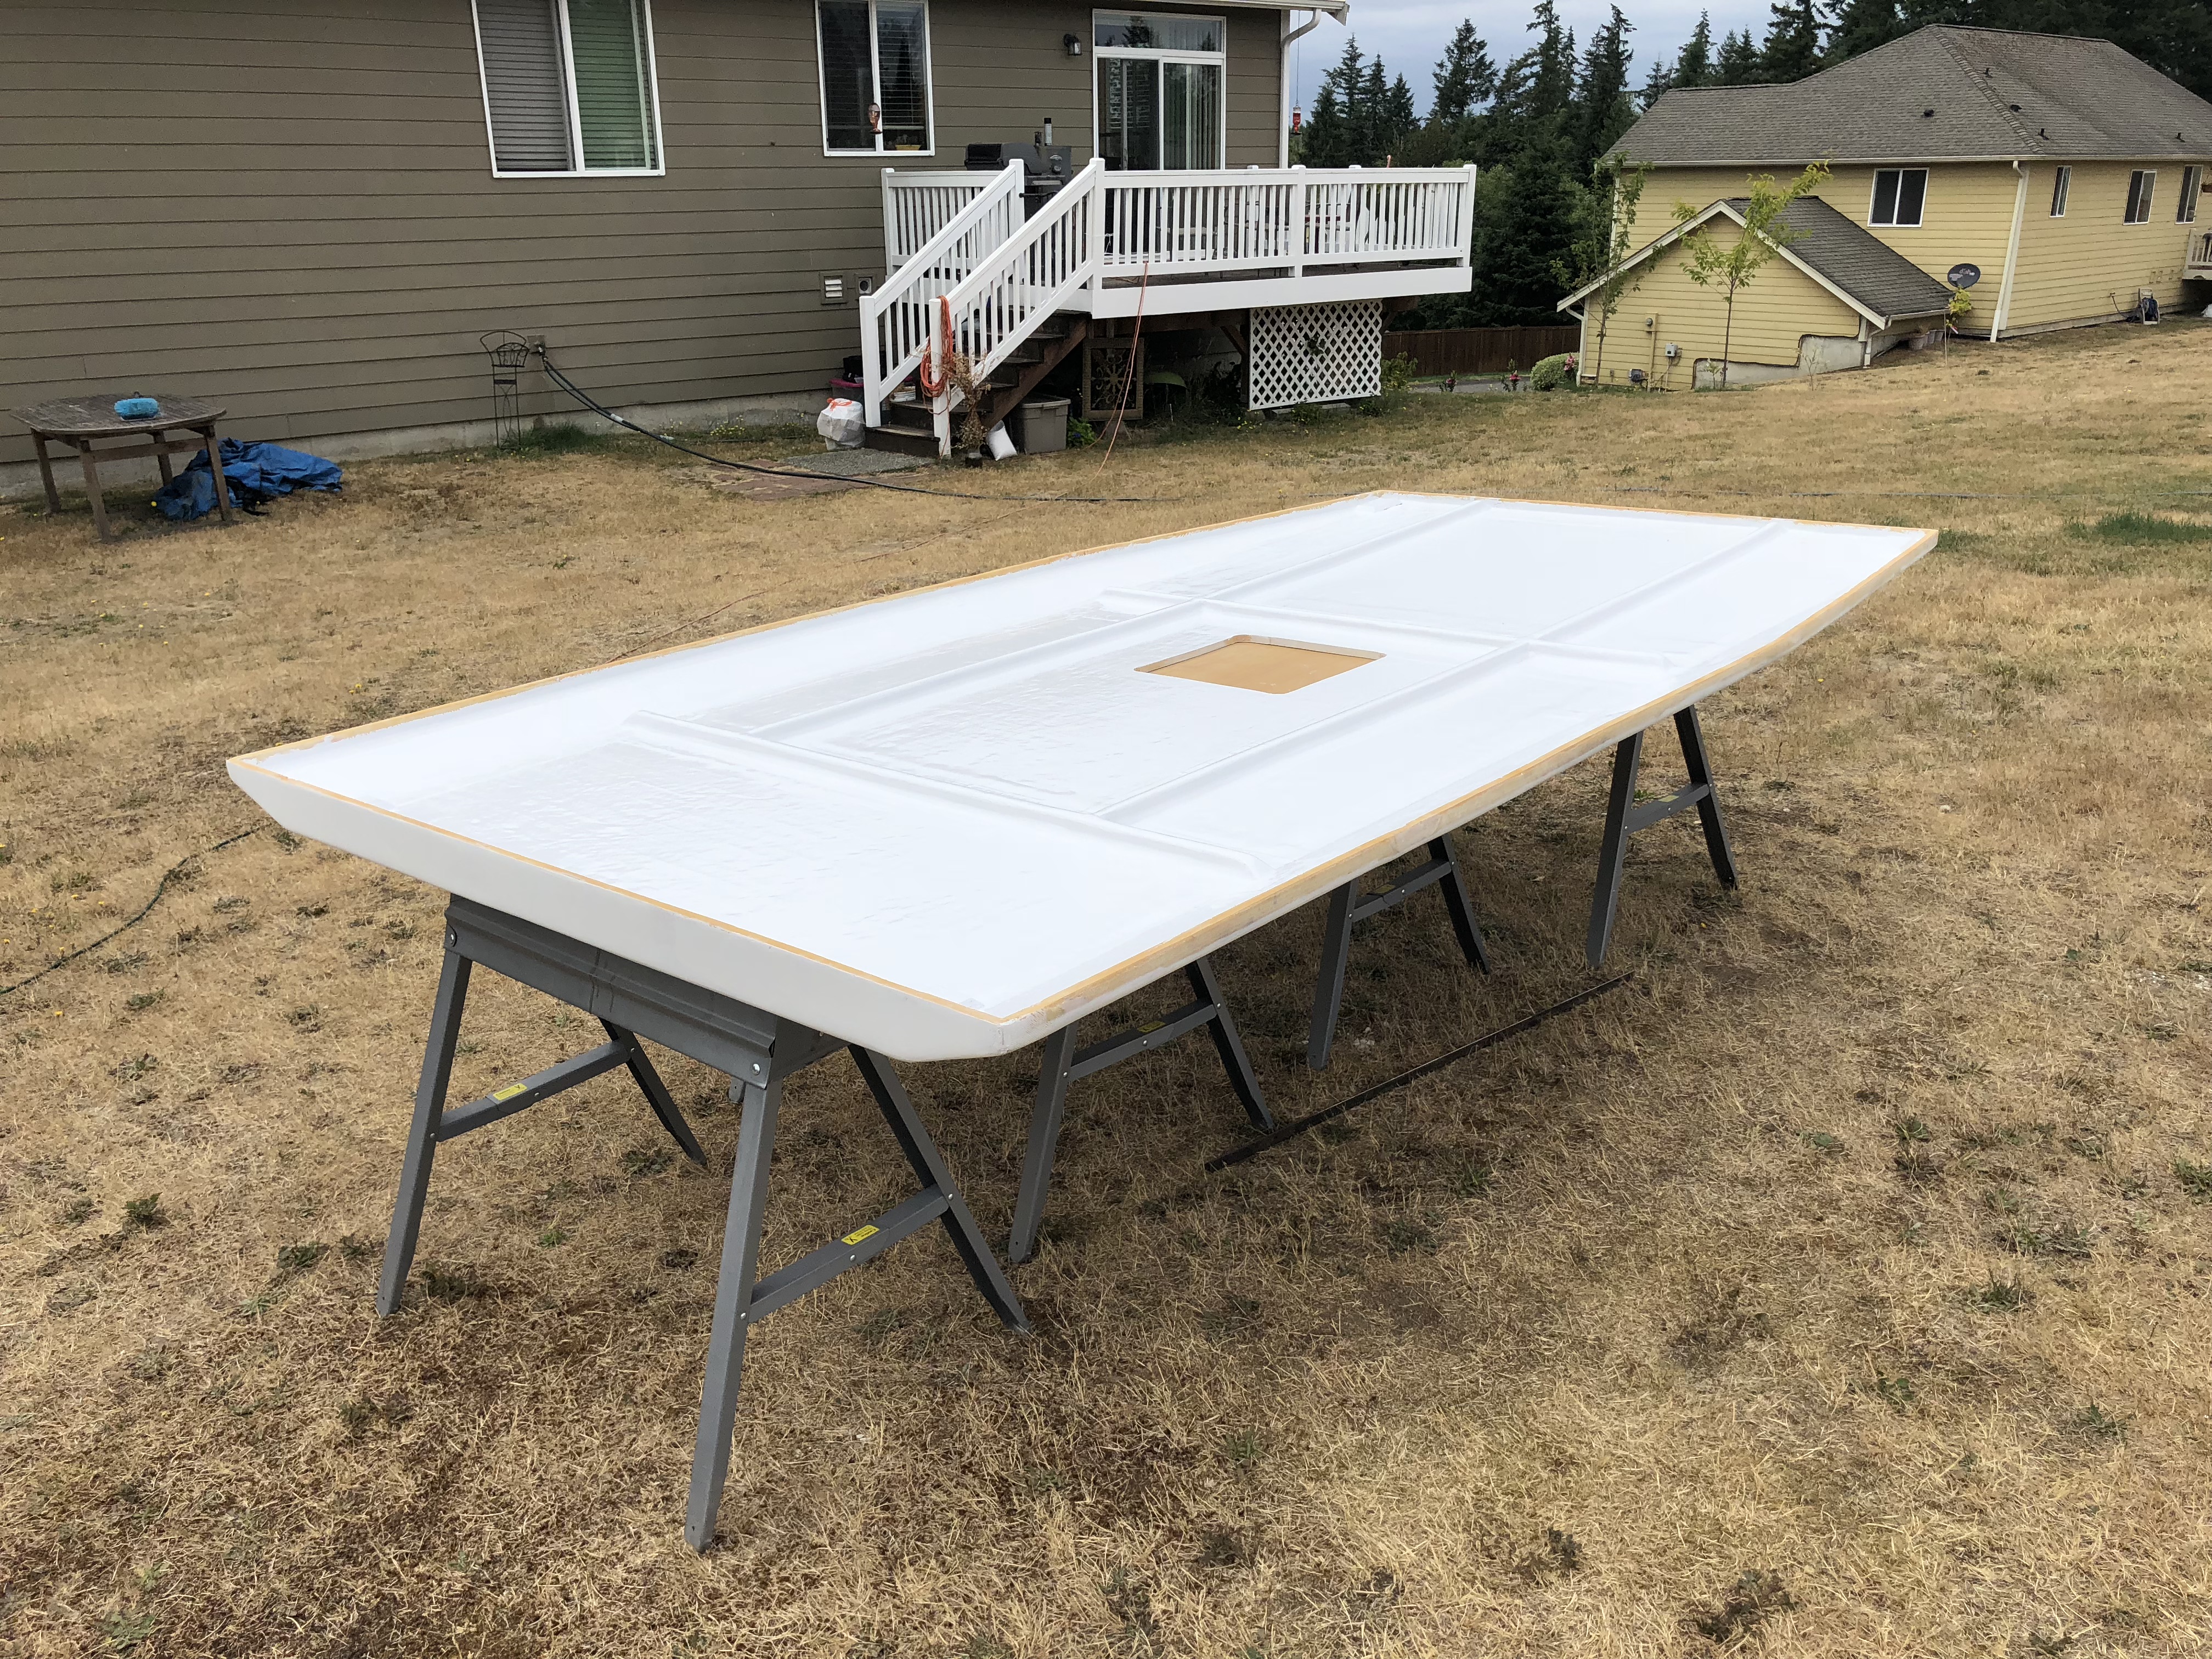
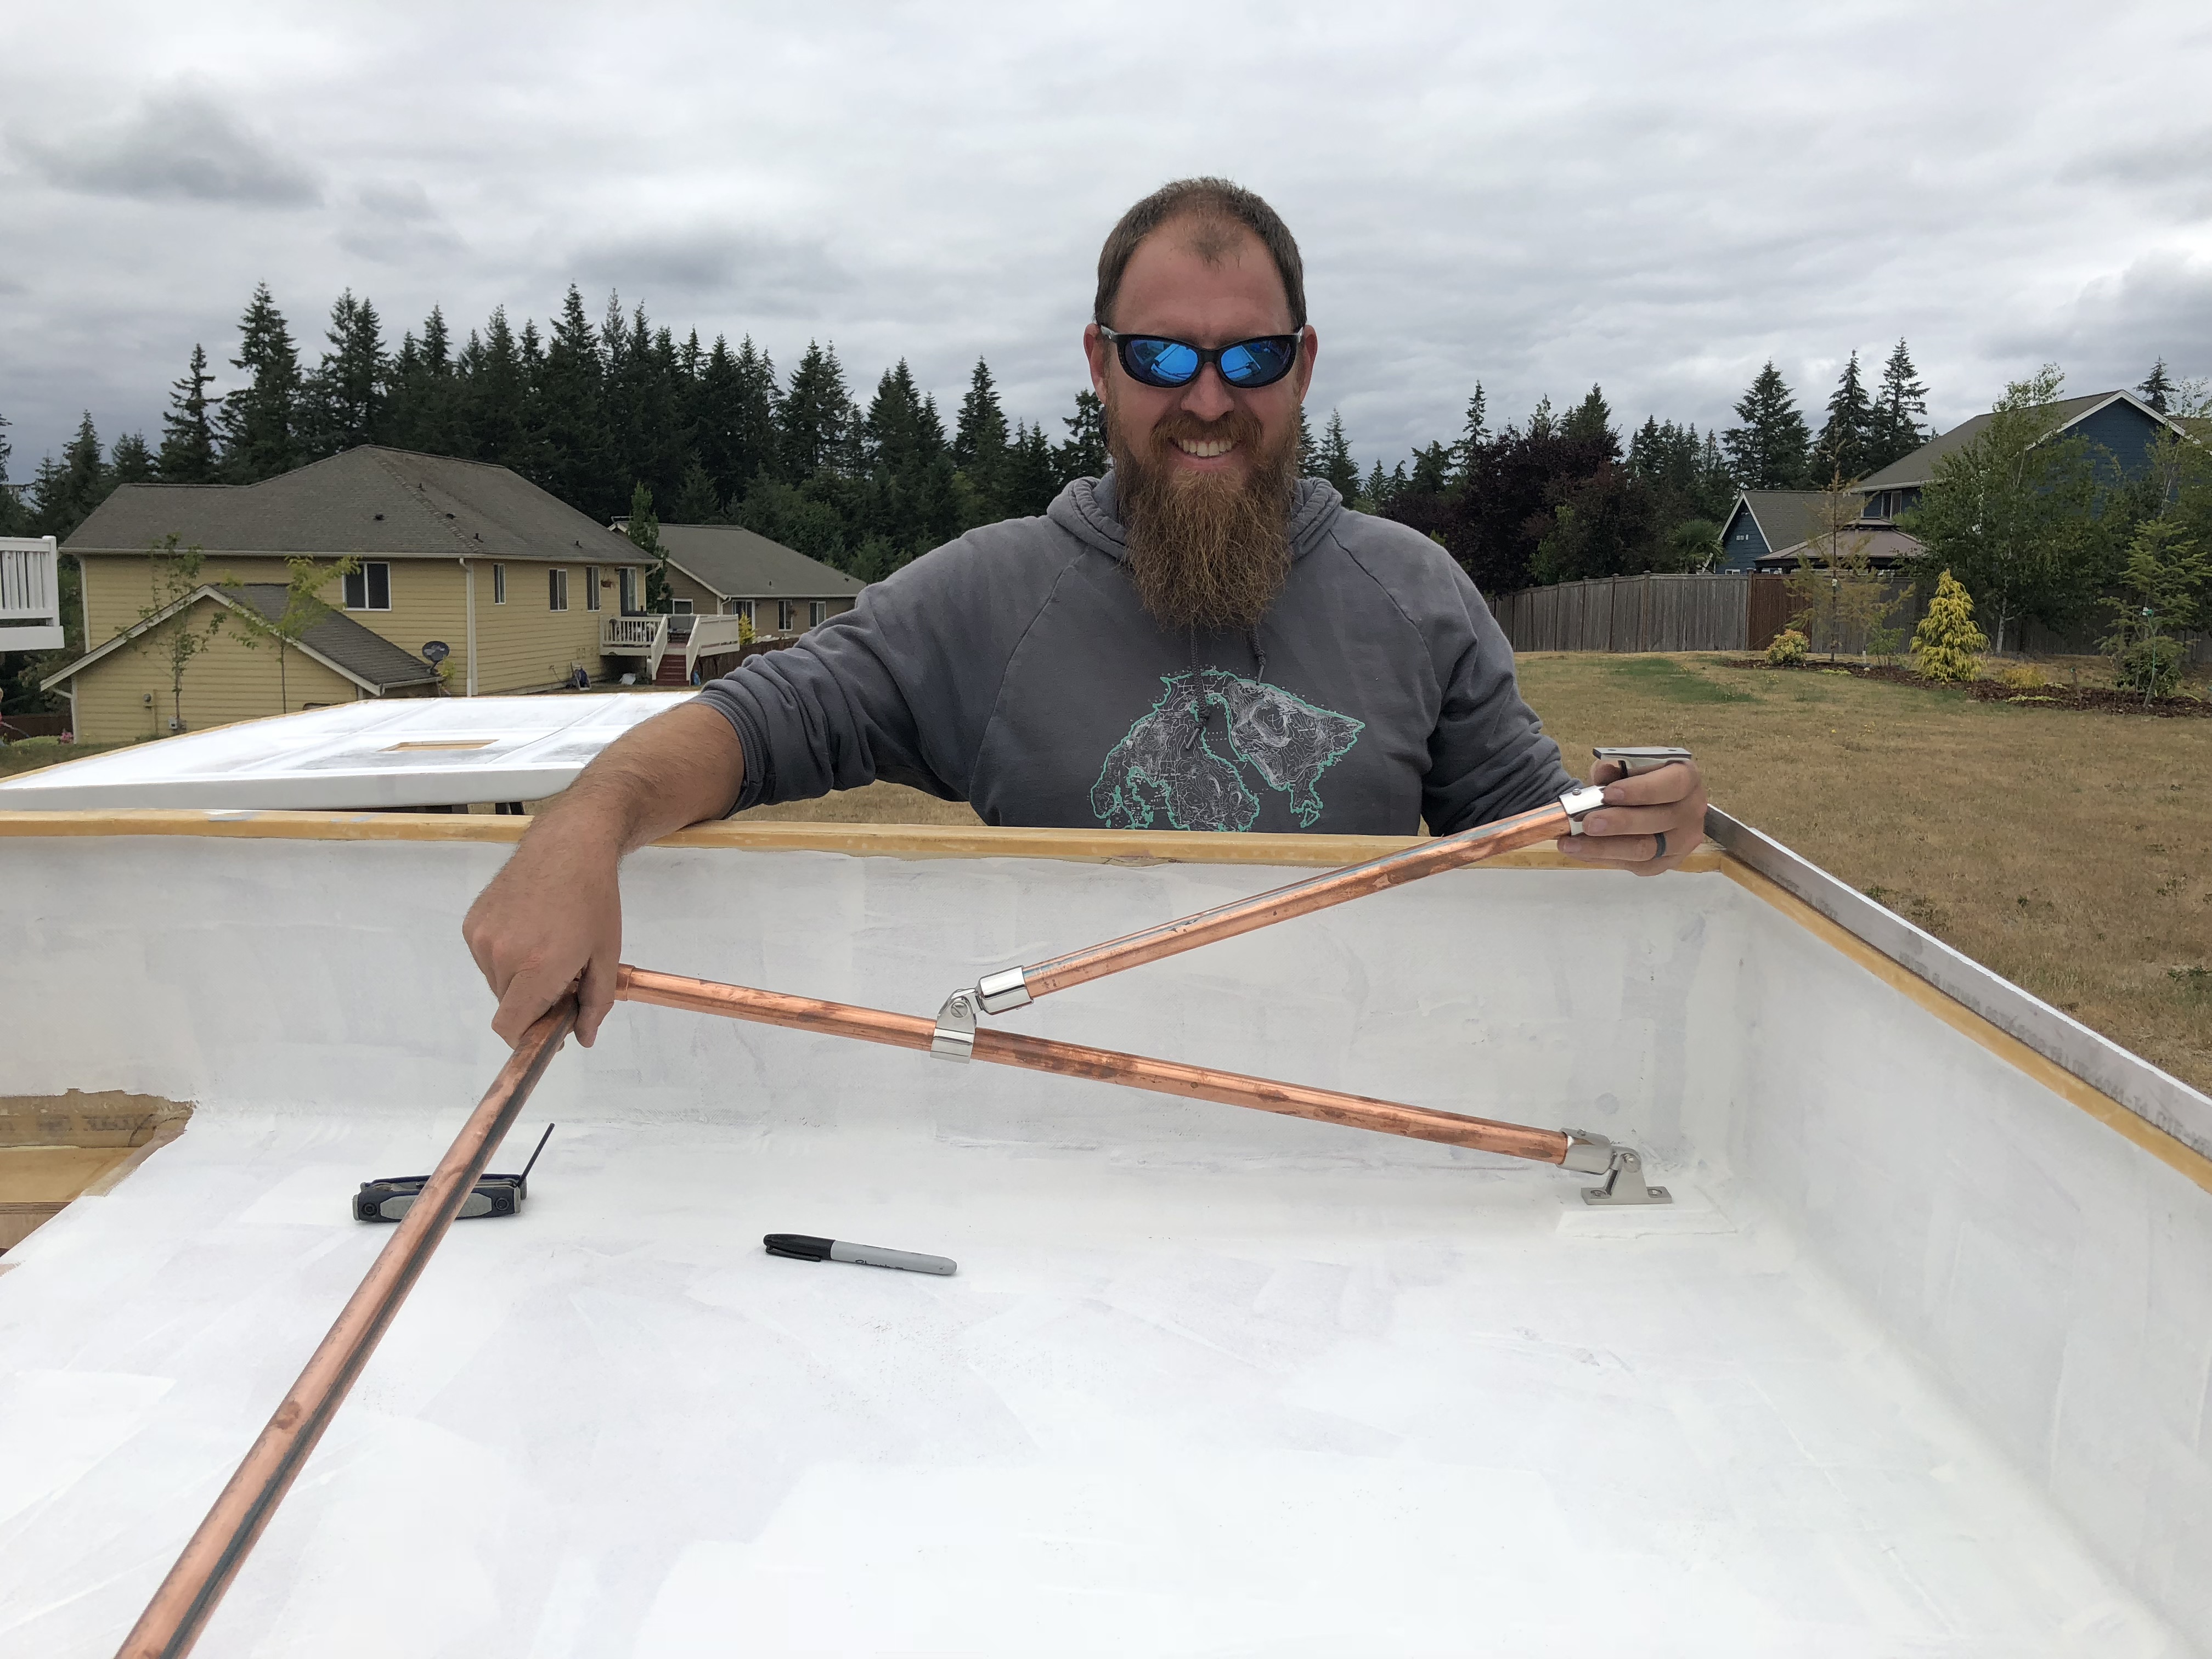
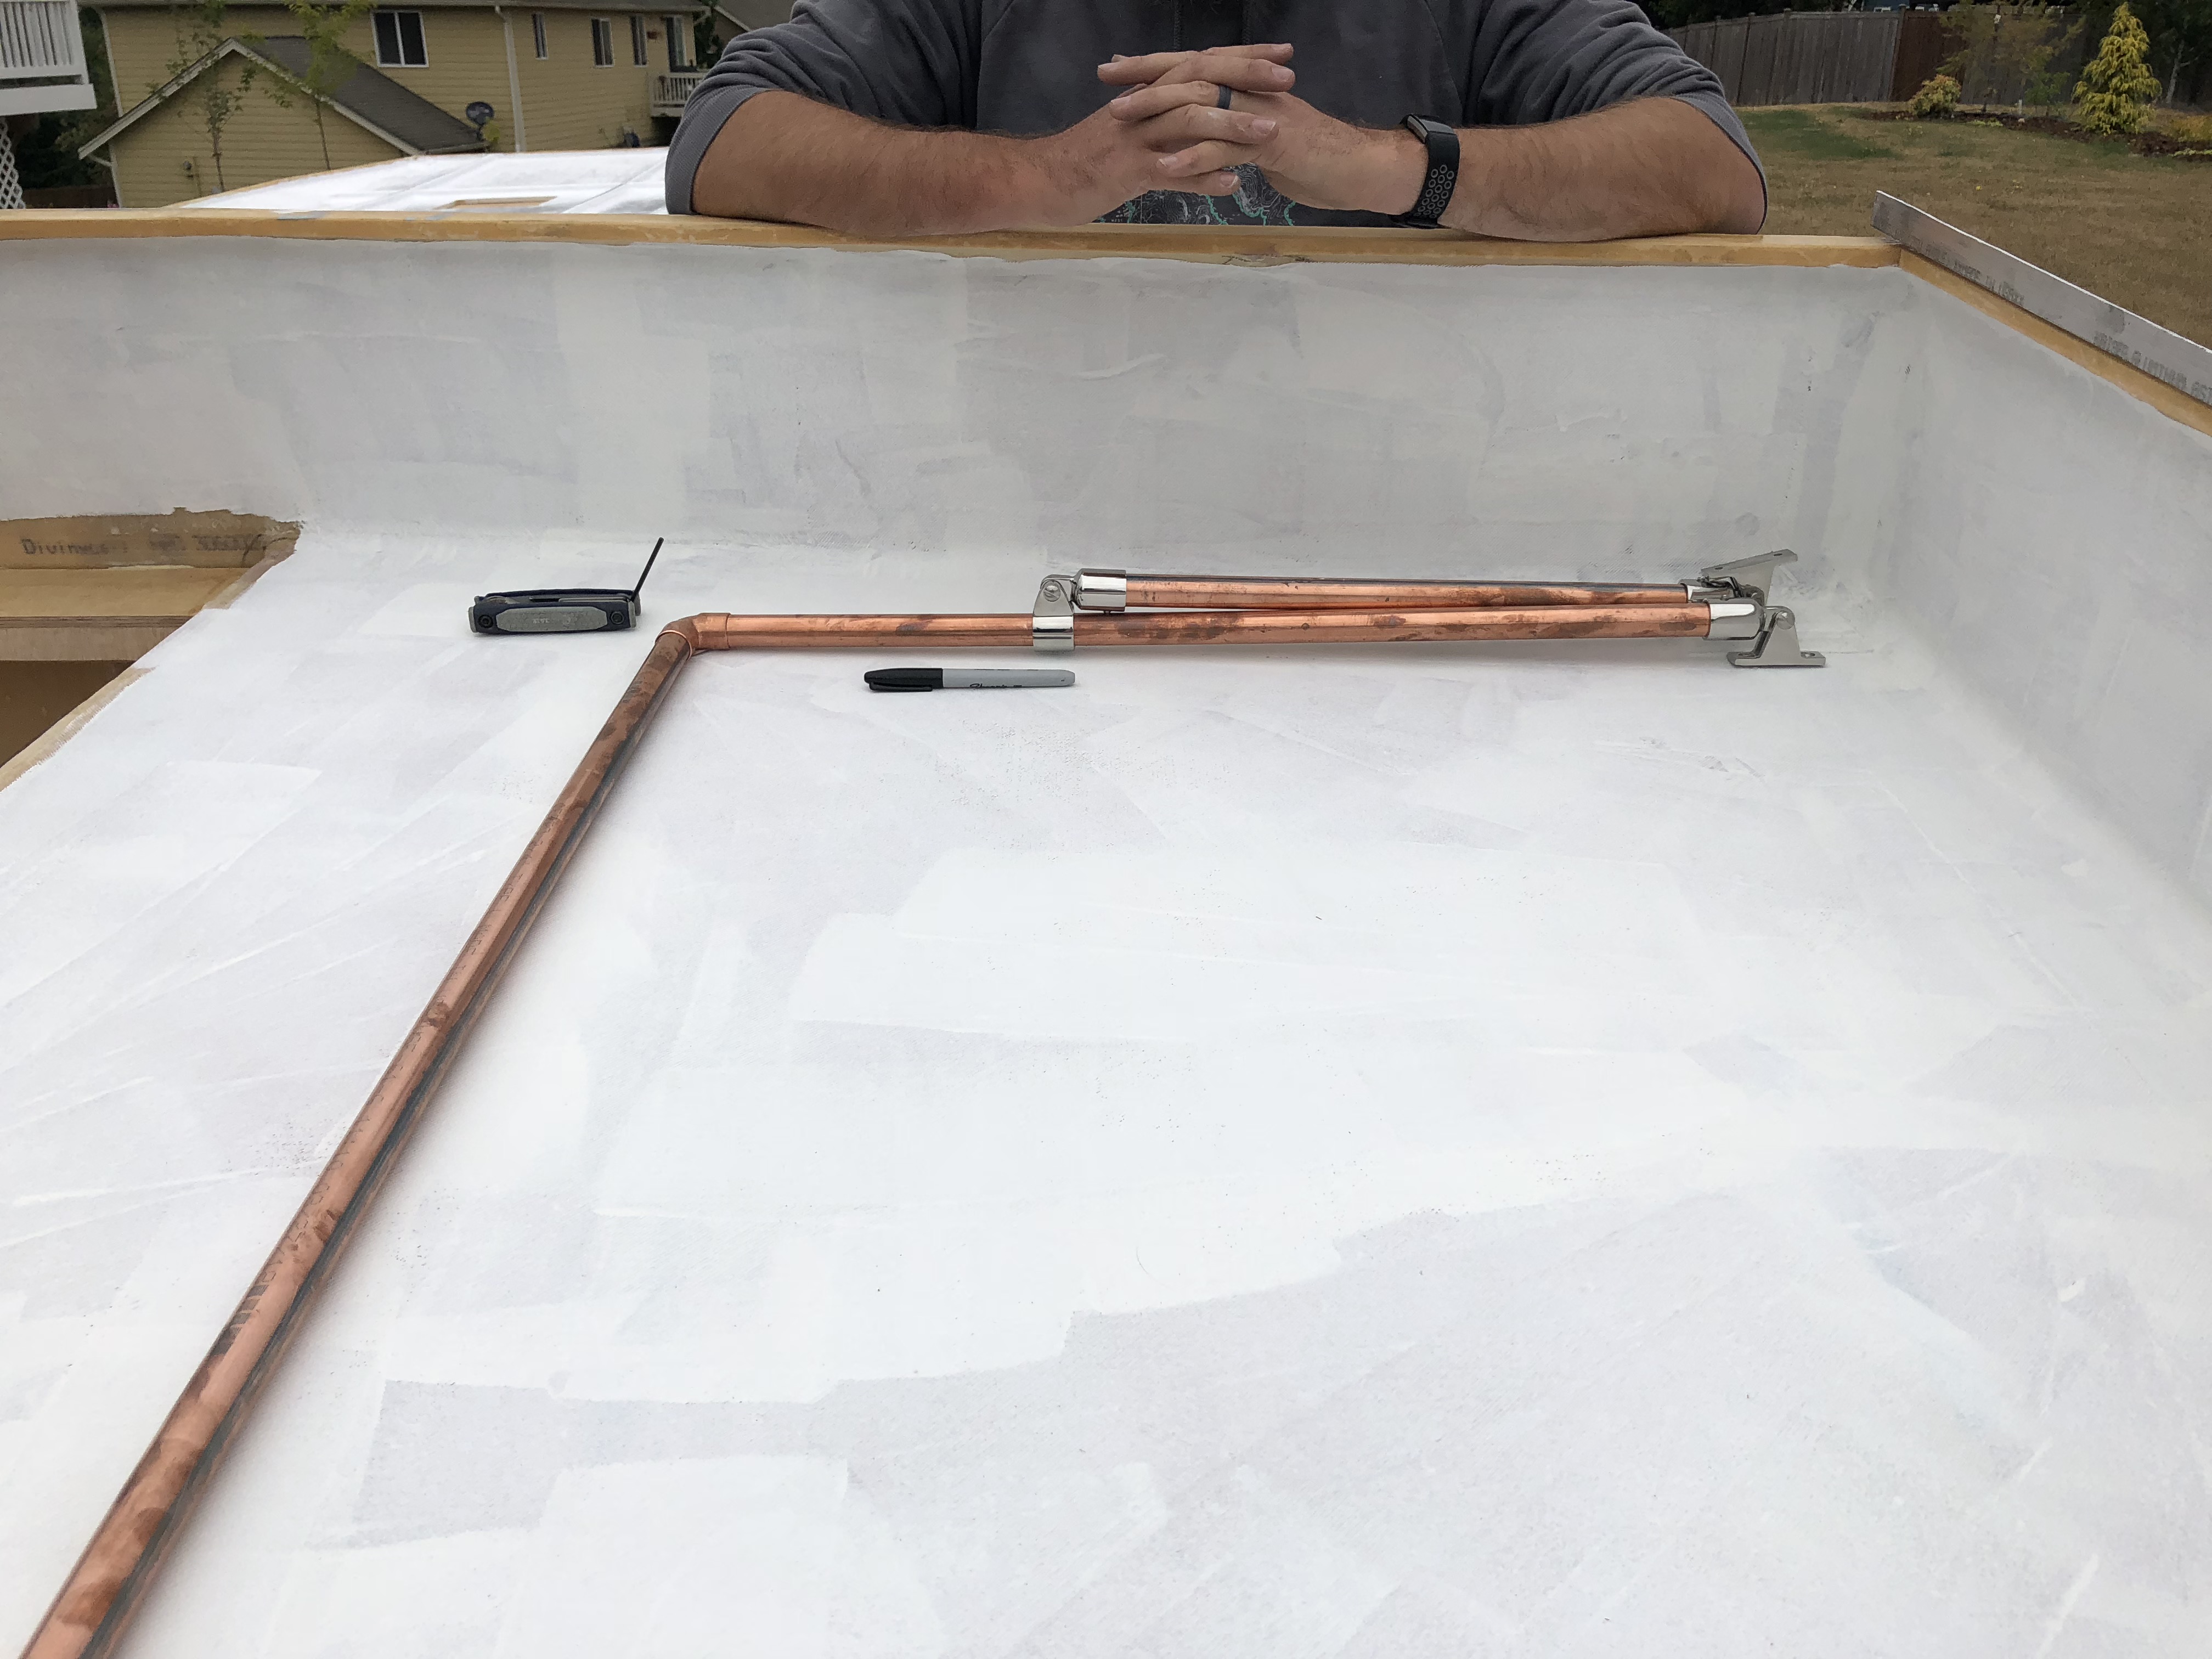
So now that a lot of the camper is painted, it's time to work on finally connecting the roof to the shell! A few posts ago I had pictures of the pretty chrome boat bimini hardware that we bought for the lift mechanisms. I wasn't totally on board with this because they were kind of expensive and it seemed unnecessary... but it looks awesome and they're really nice pieces! I'm glad that we went this way. Might as well do it right, yaknow? Anyway, the hardware we bought was listed as 7/8". I deal with piping all day long at work and realized that a 3/4" copper tube would slide right into that. It was pretty much a perfect fit, they'll be strong enough, and it looks amazing!
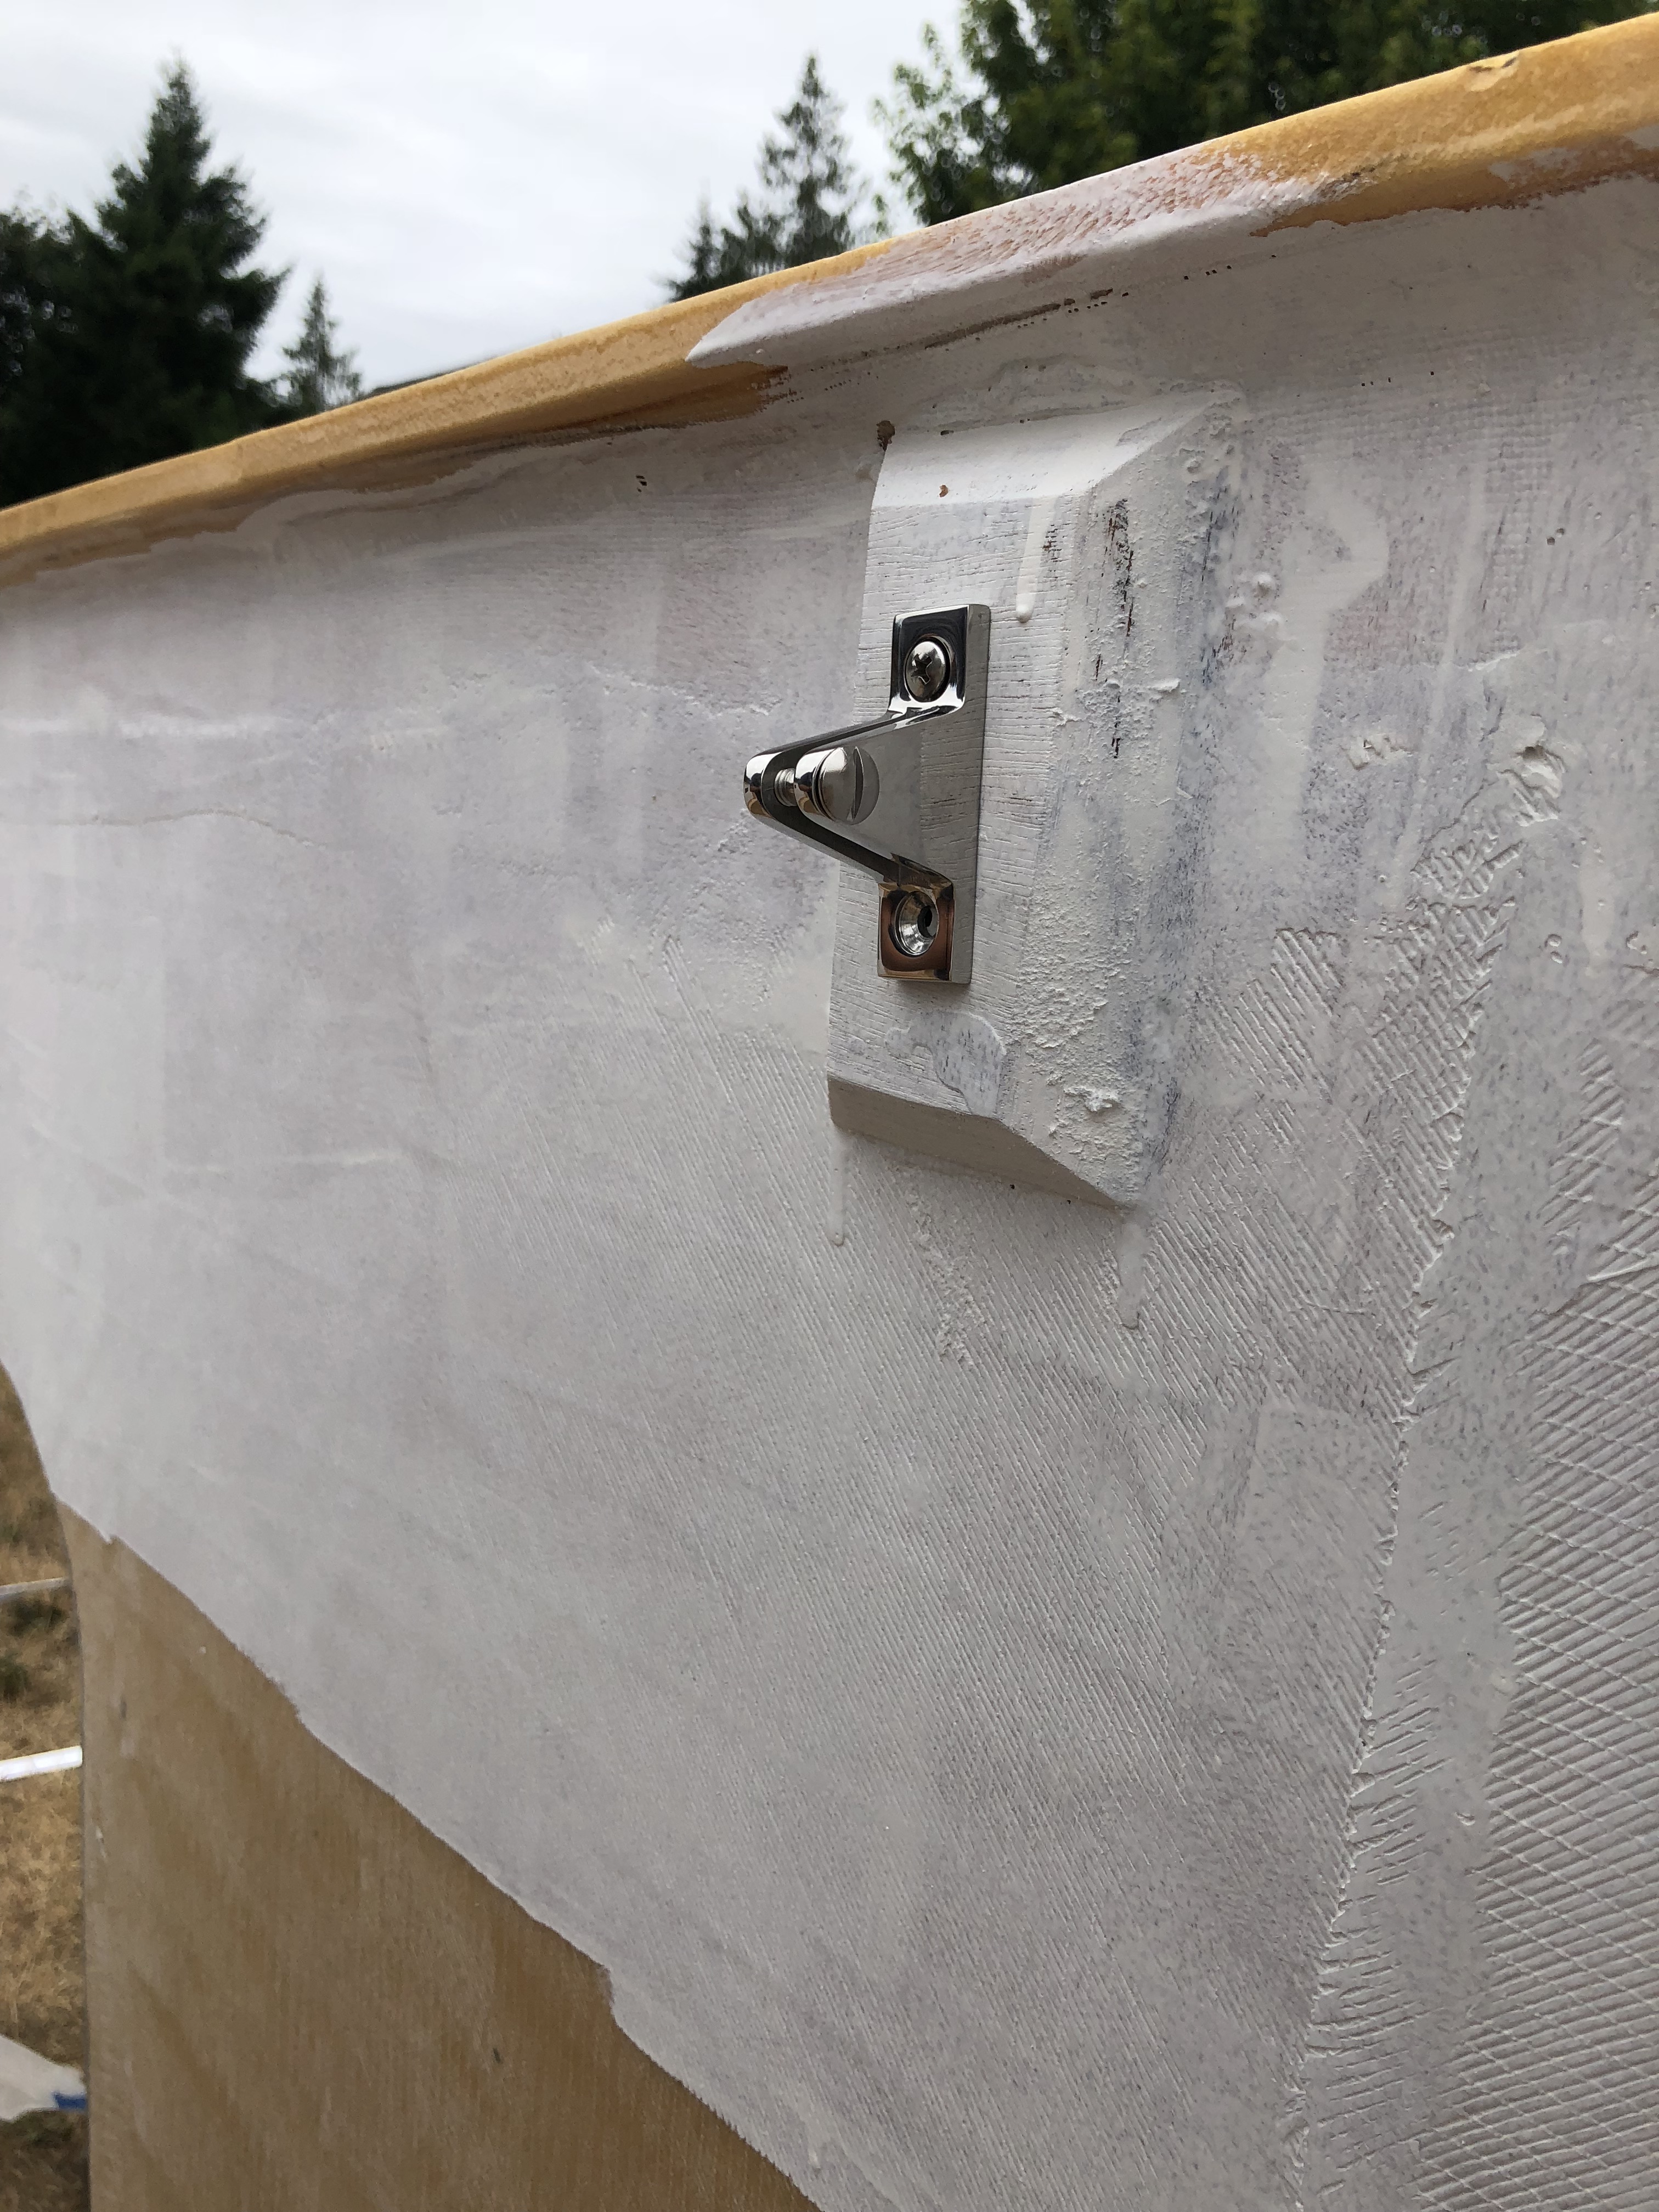
Stainless screws went right into the marine plywood to hold the hardware in place.
This is what it's going to look like popped up! We have a TON of headroom.
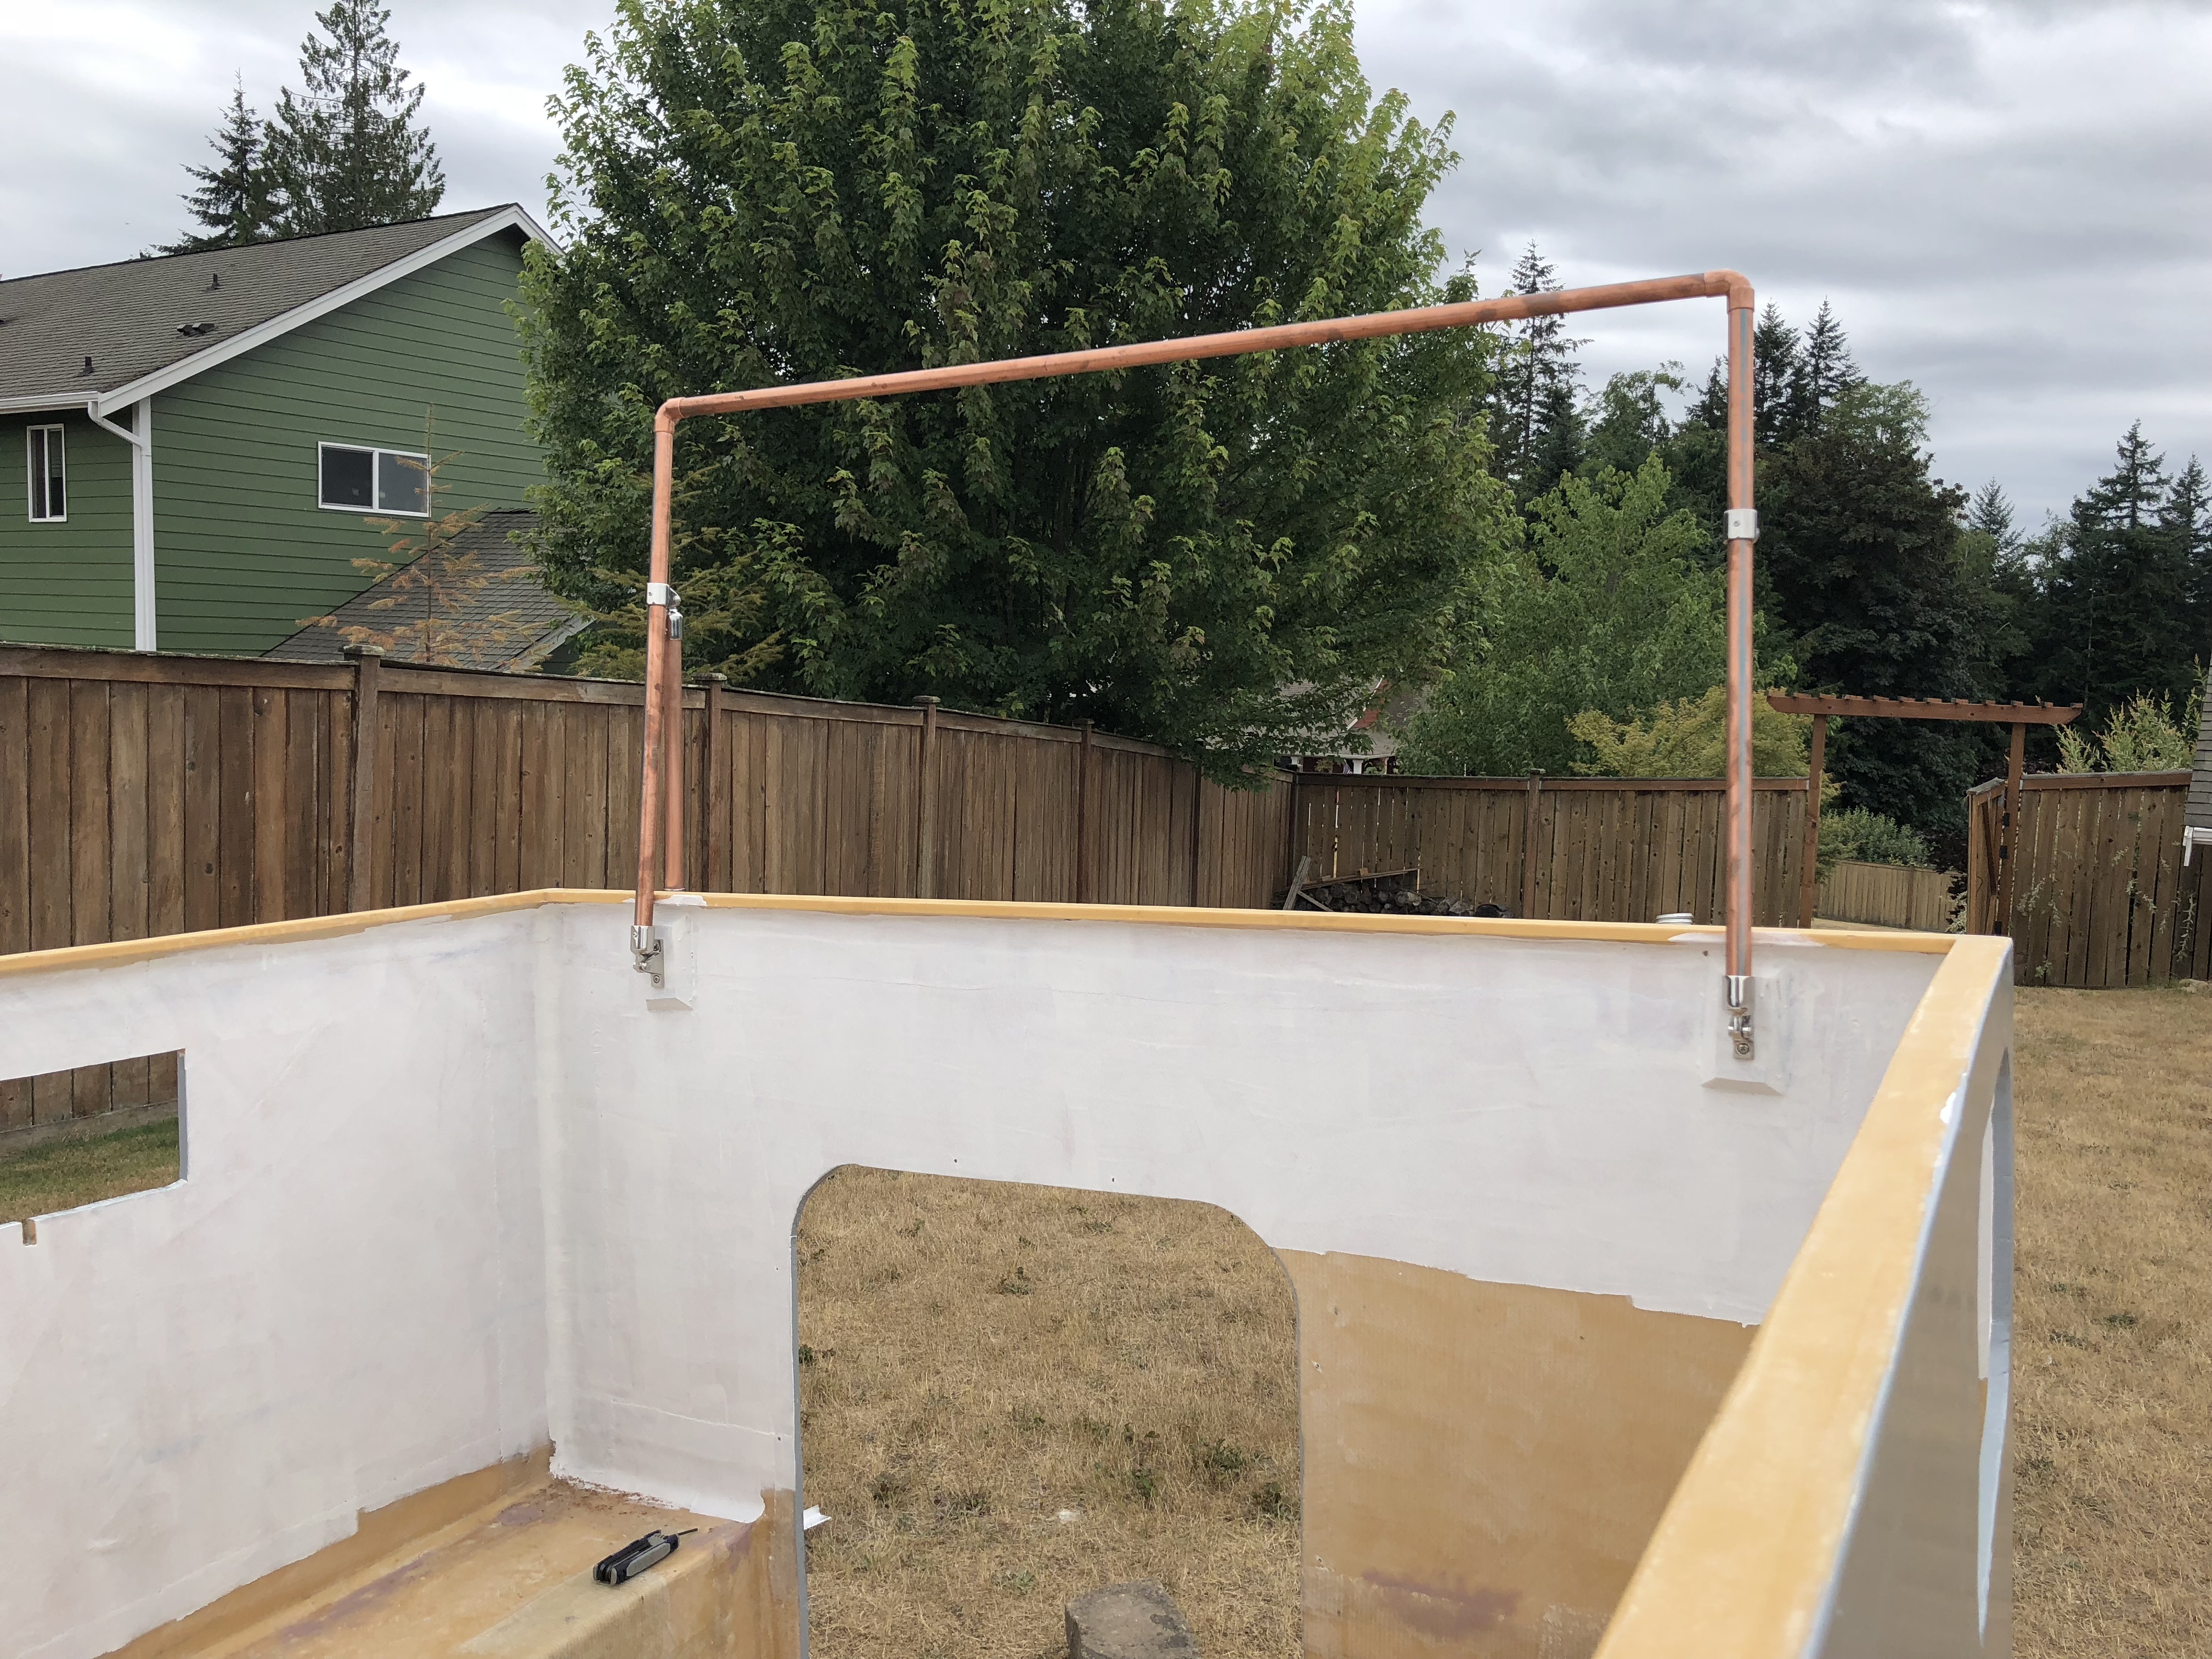
That's that for now. We had been debating for a while now the best way to put a gasket between the two halves so that water can't get in. We wanted a piece of angle pointing up vertically on the shell so water can't just run in through the canvas seam.
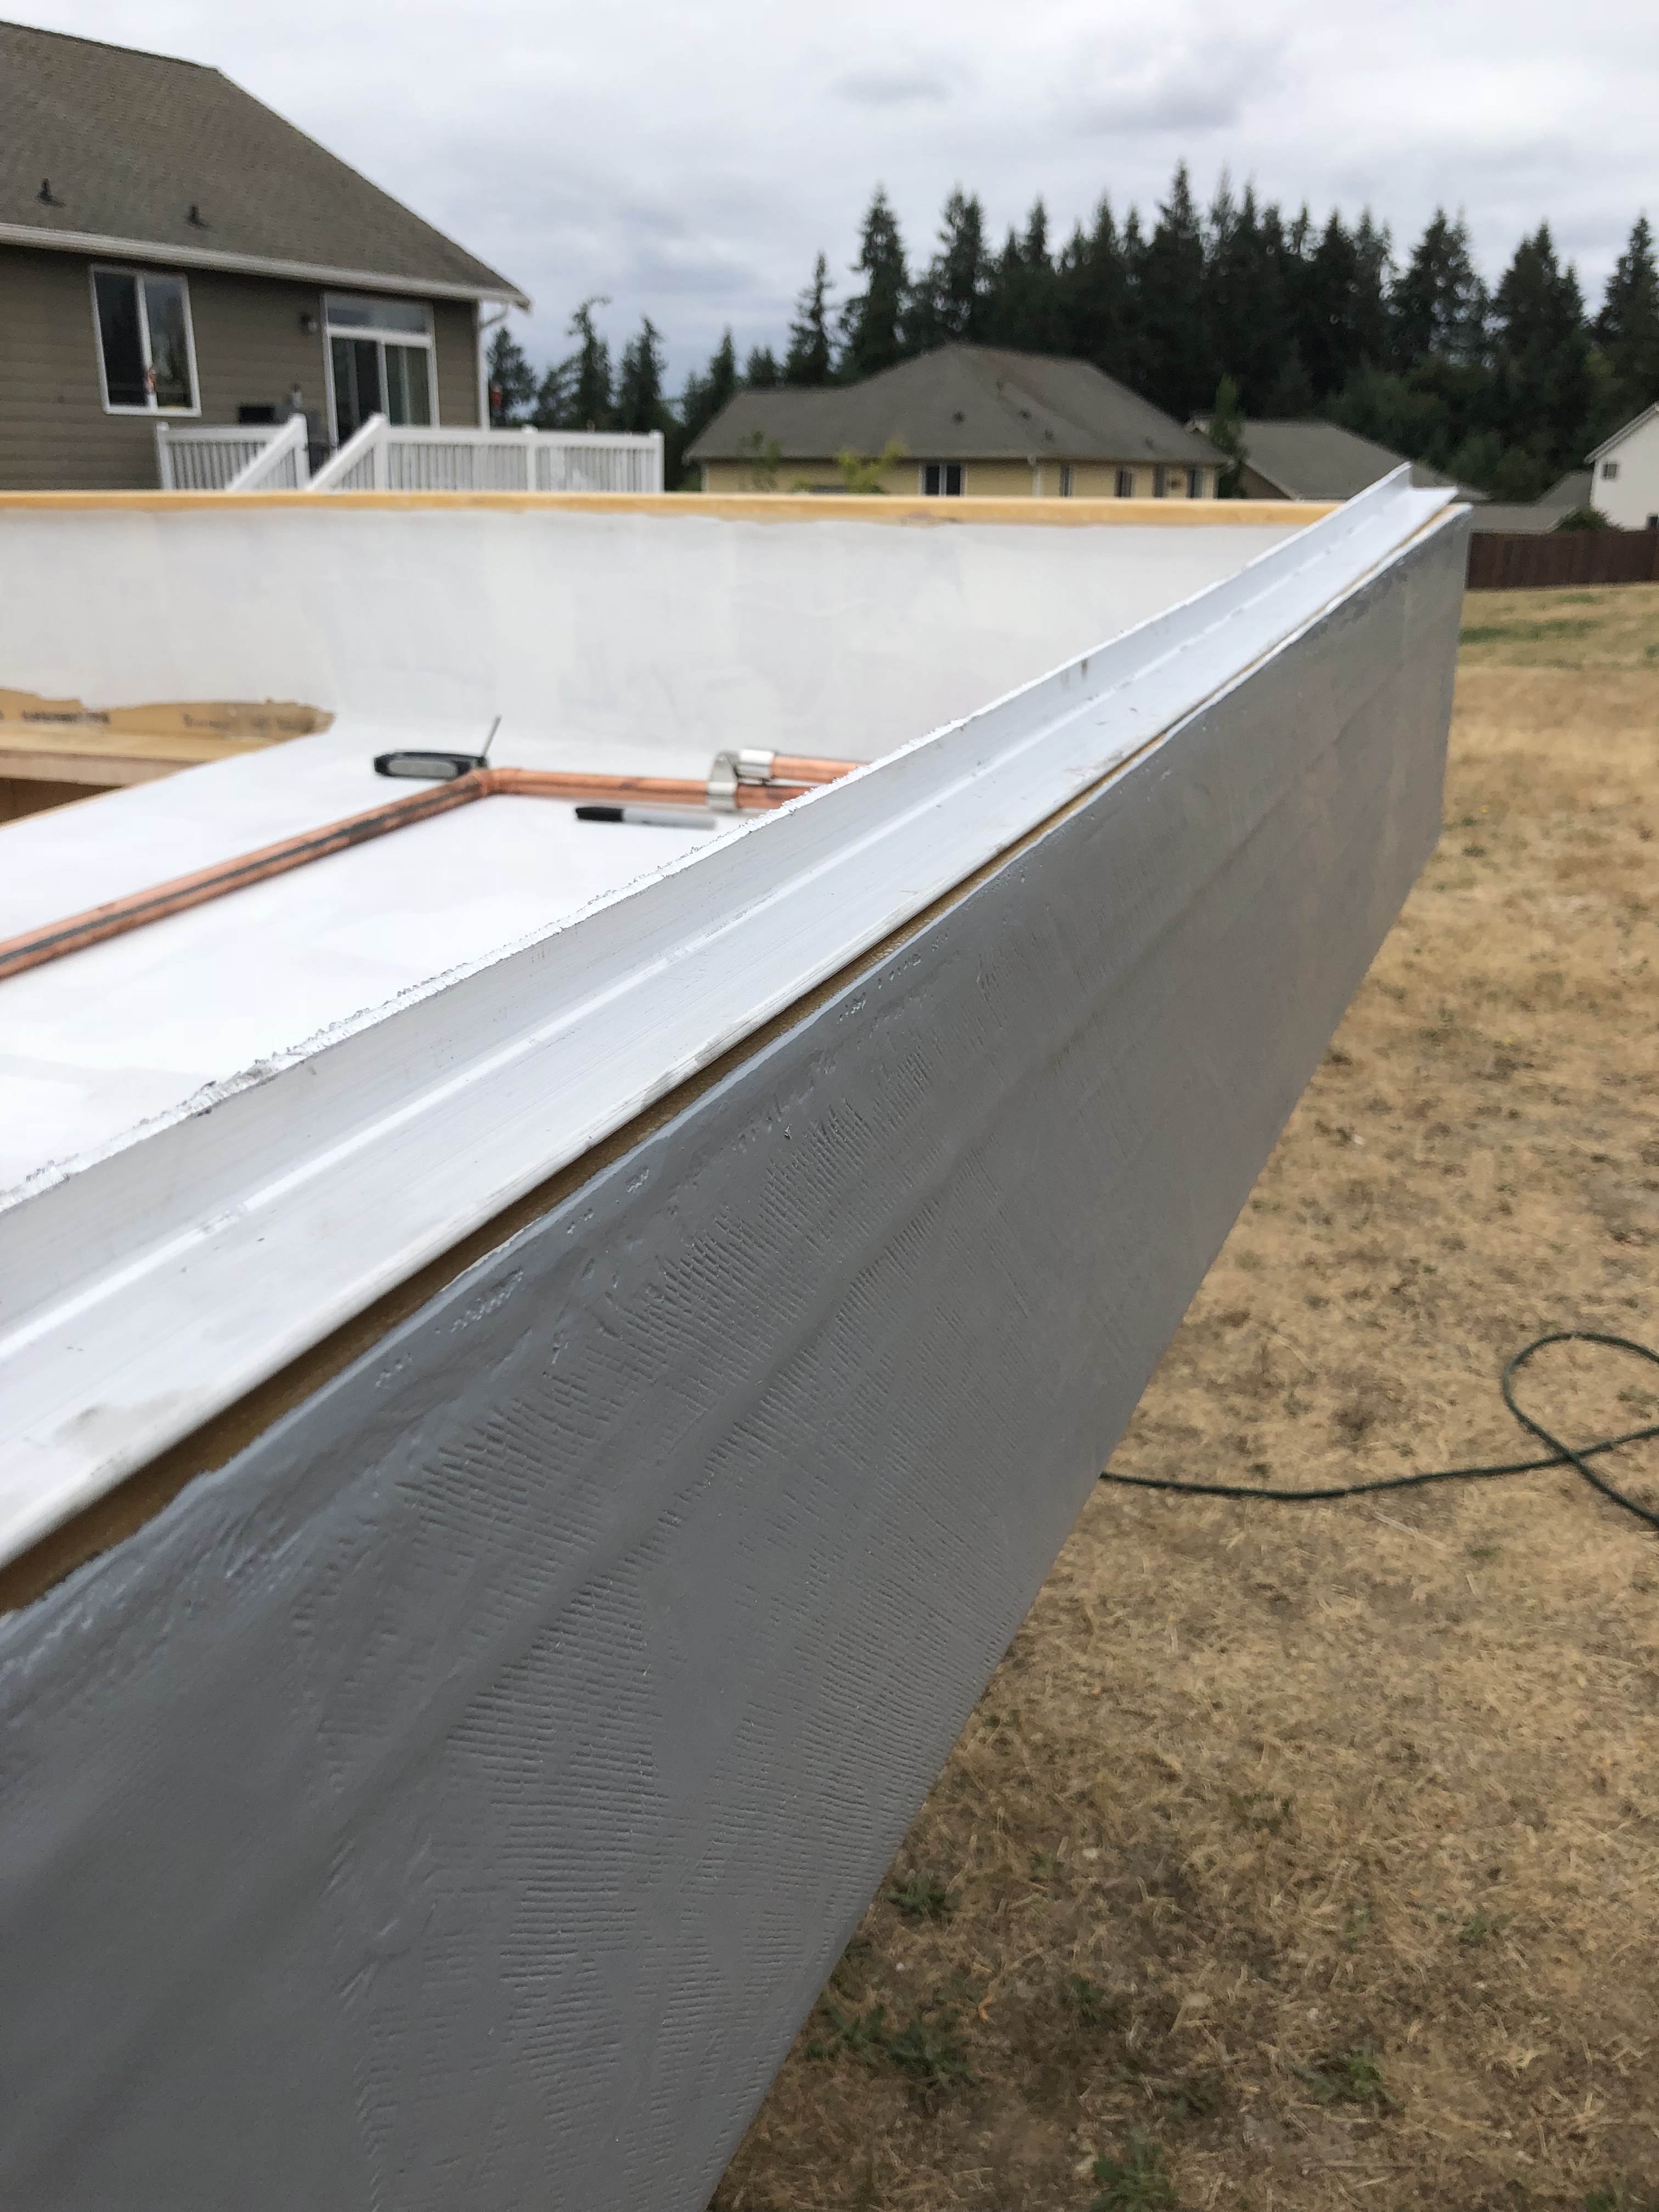

I finished up the blinding white paint on the inside of the roof. You can't look directly at it in the sun...it's ridiculous.


So now that a lot of the camper is painted, it's time to work on finally connecting the roof to the shell! A few posts ago I had pictures of the pretty chrome boat bimini hardware that we bought for the lift mechanisms. I wasn't totally on board with this because they were kind of expensive and it seemed unnecessary... but it looks awesome and they're really nice pieces! I'm glad that we went this way. Might as well do it right, yaknow? Anyway, the hardware we bought was listed as 7/8". I deal with piping all day long at work and realized that a 3/4" copper tube would slide right into that. It was pretty much a perfect fit, they'll be strong enough, and it looks amazing!


Stainless screws went right into the marine plywood to hold the hardware in place.

This is what it's going to look like popped up! We have a TON of headroom.

That's that for now. We had been debating for a while now the best way to put a gasket between the two halves so that water can't get in. We wanted a piece of angle pointing up vertically on the shell so water can't just run in through the canvas seam.

underkill
Active member
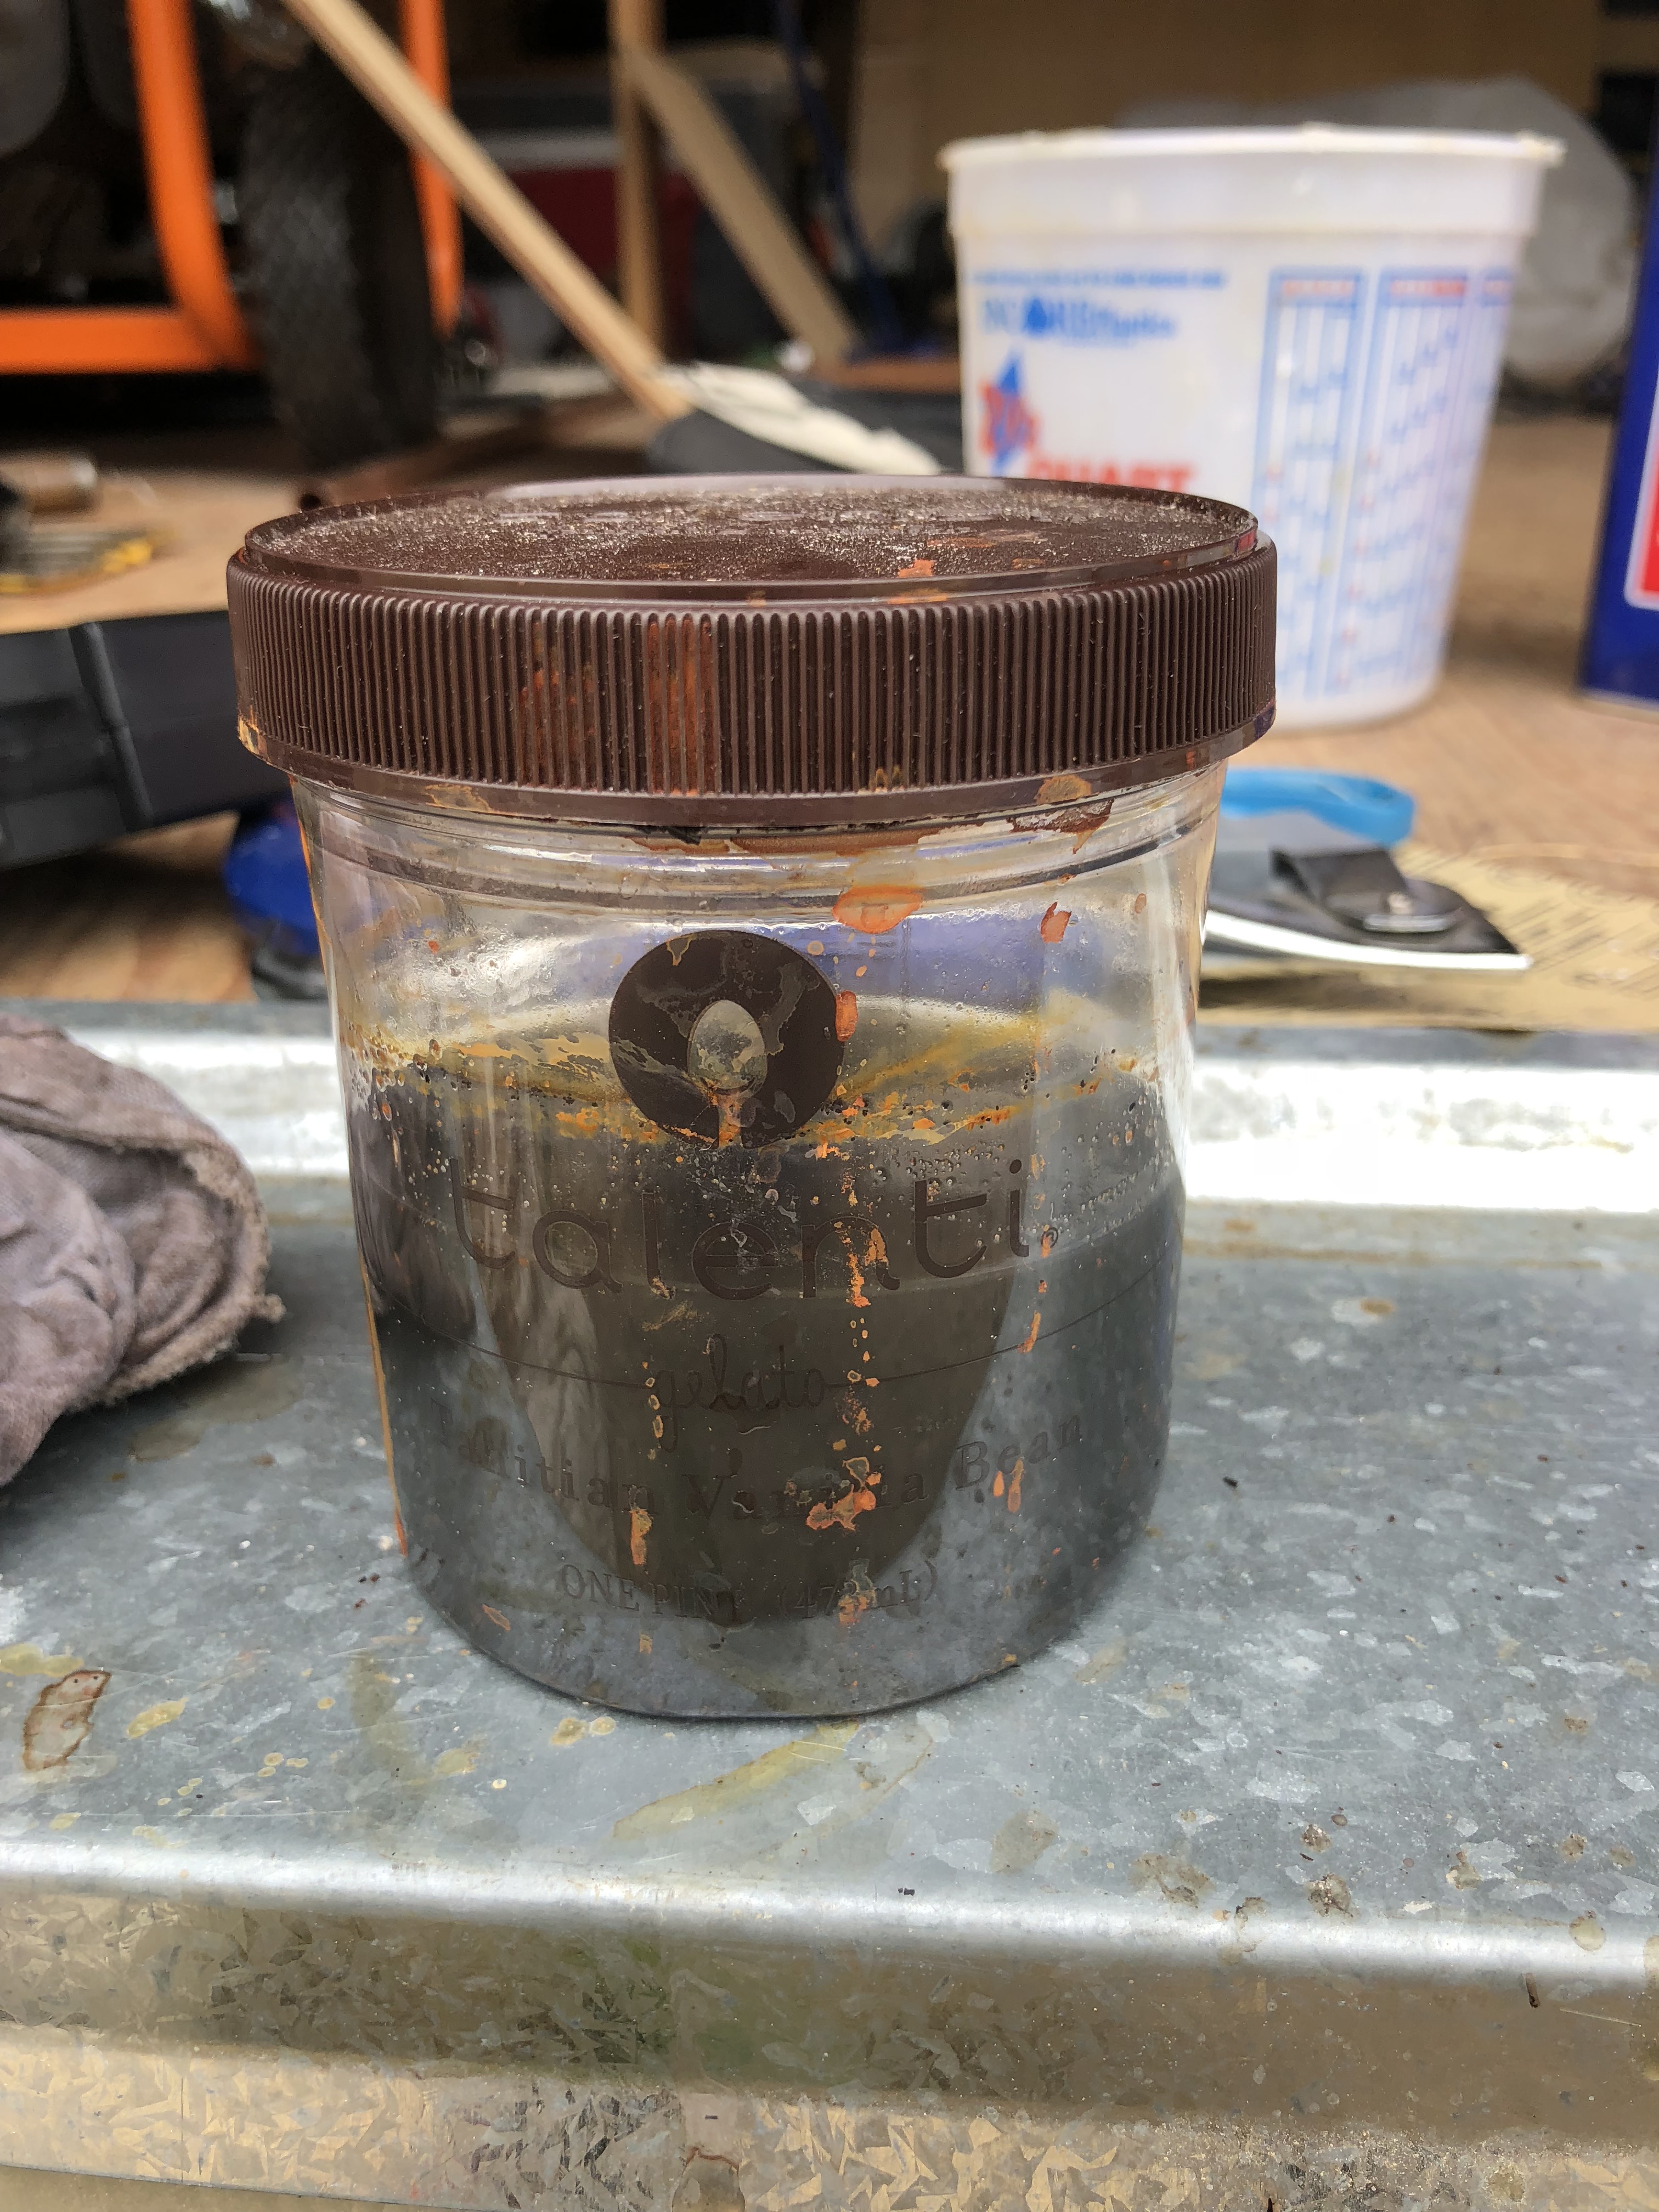
Here's an update on the finishing of the galley countertop and table! I followed a Pinterest craft recipe (first mistake) of mixing steel wool and vinegar to make my own stain to make wood look greyed out and weathered. Yes, the container is from a tub of gelato, and yes it's absolutely disgusting looking.
Time to roll with it! I hit the other sides of the counter and table with my wood burning torch.
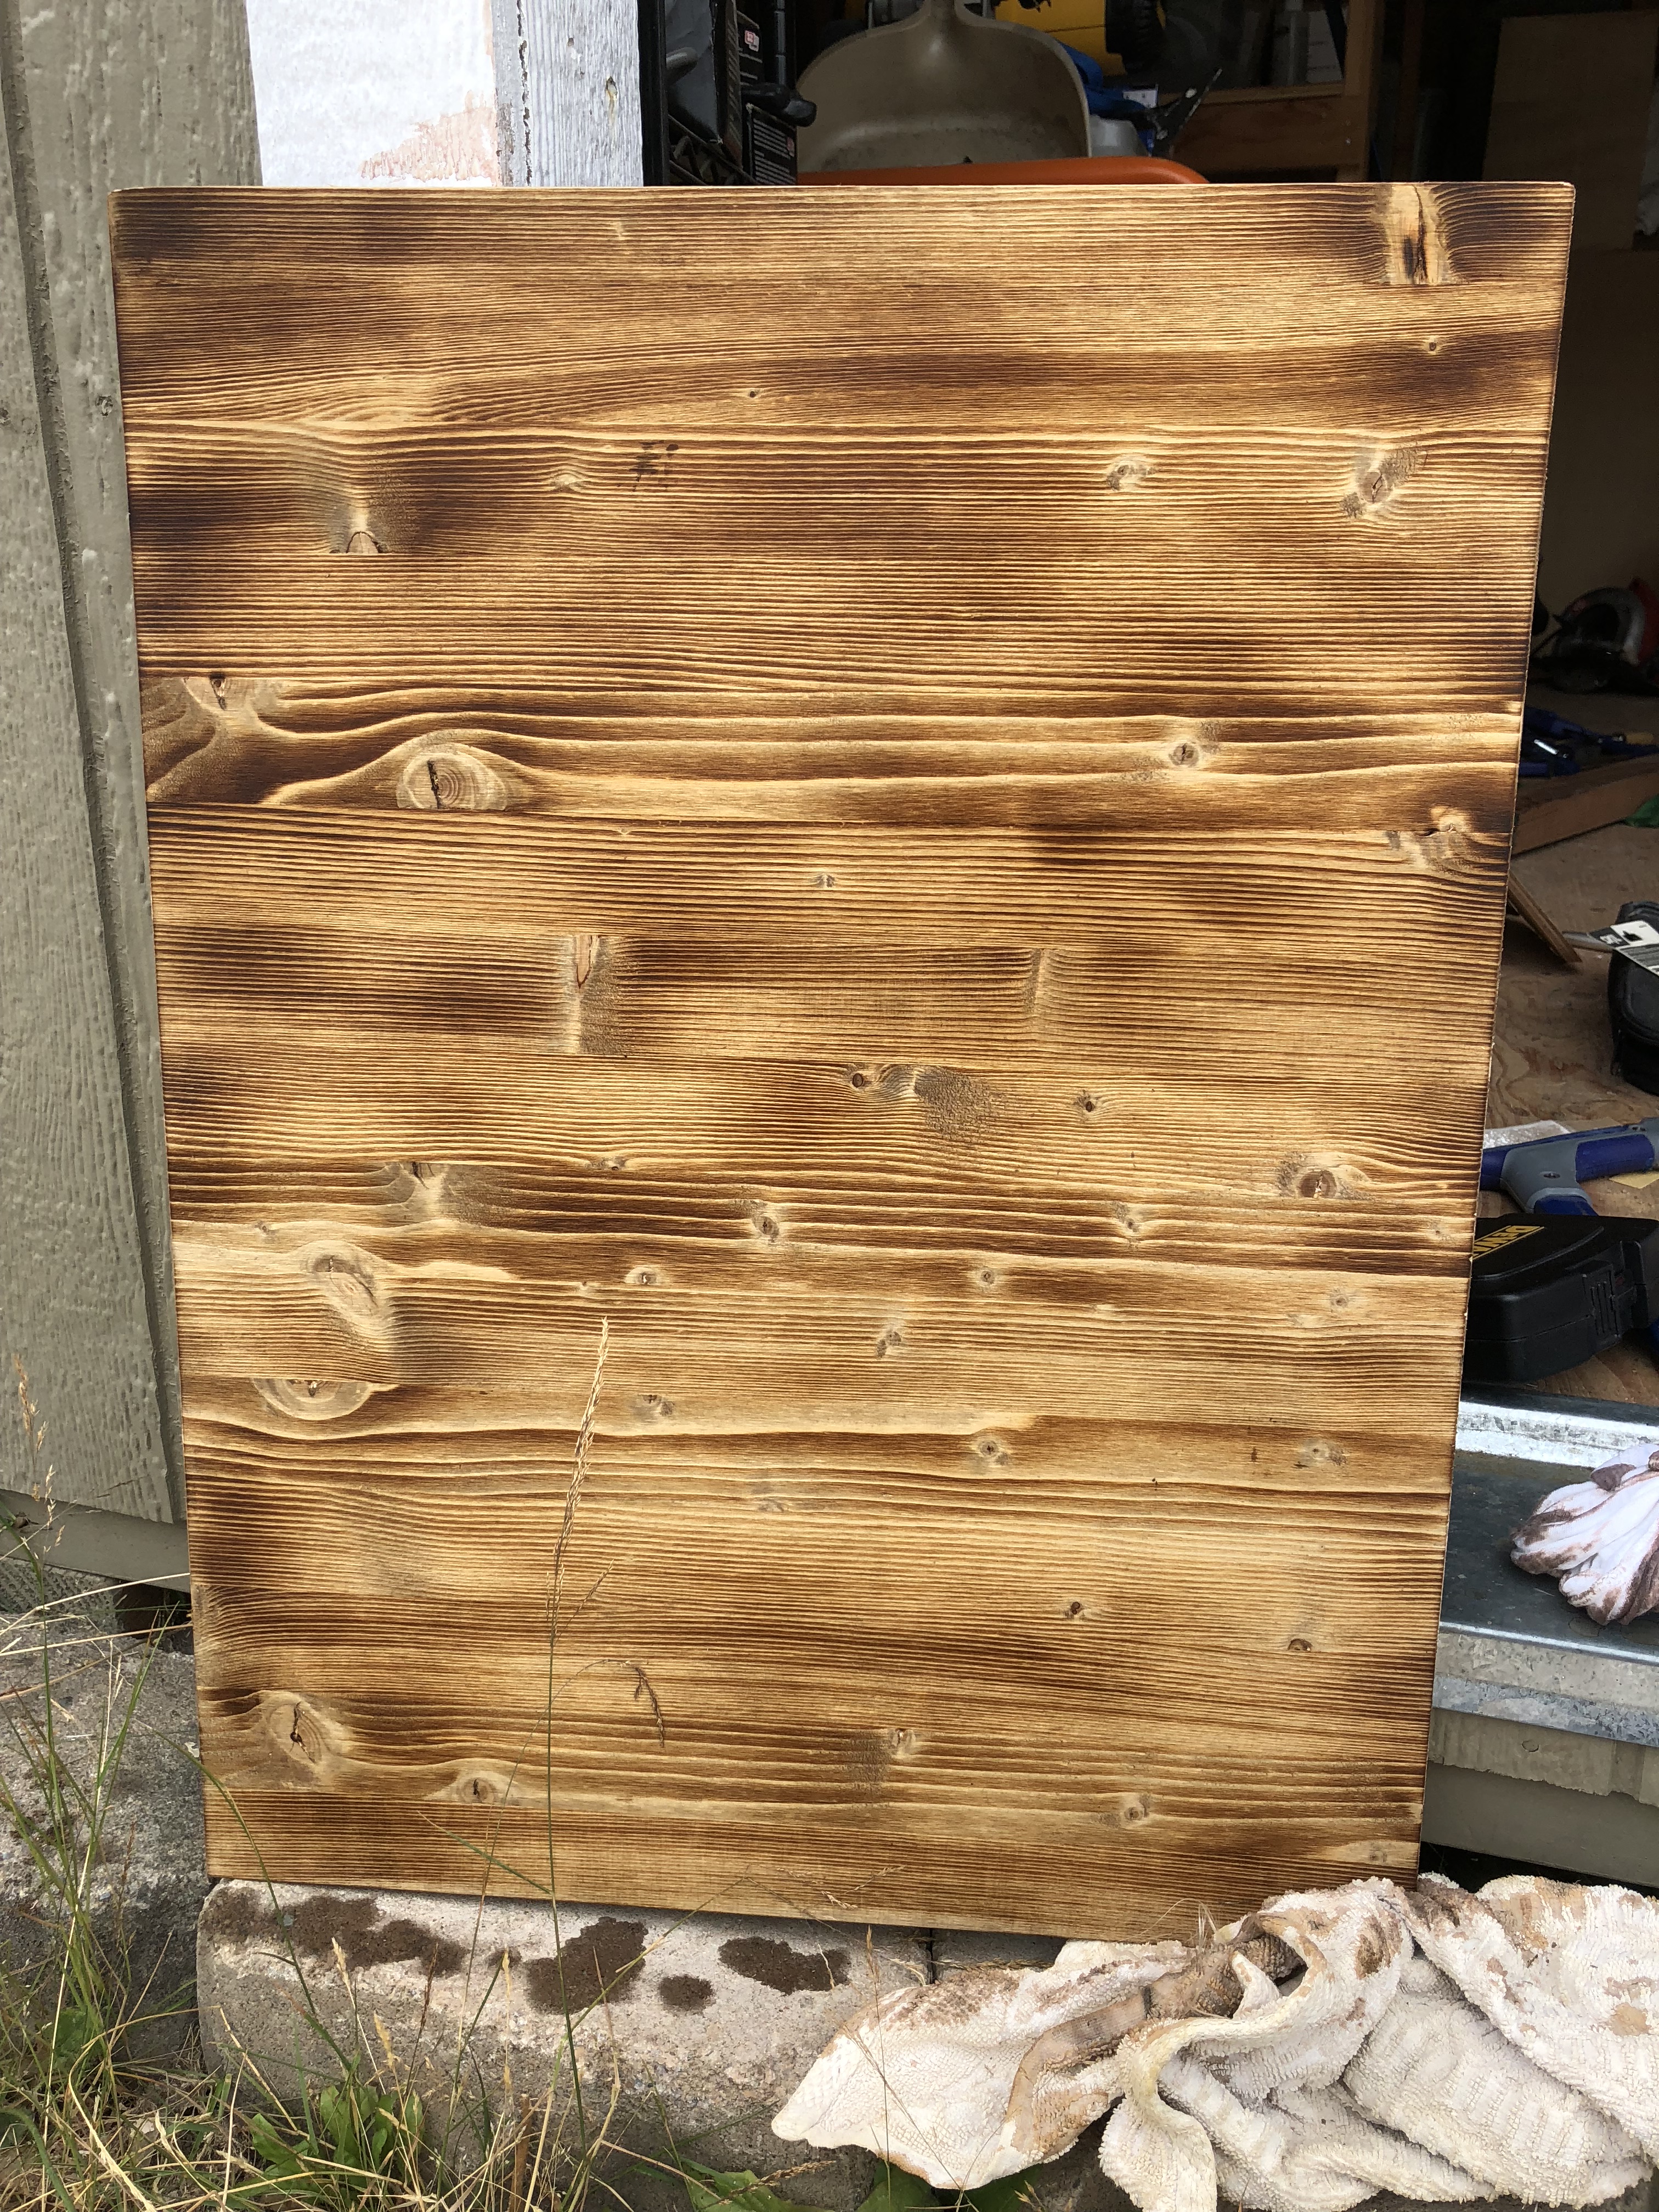
Now everything matches and we're ready for the stain! I applied it with a shop towel because I was not honestly prepared for this part of the task. It went on like dirty dish water and didn't immediately appear to be doing anything at all. Not surprised that it failed... most of my experiments do, but I turned my back for 5 minutes and it turned into this:
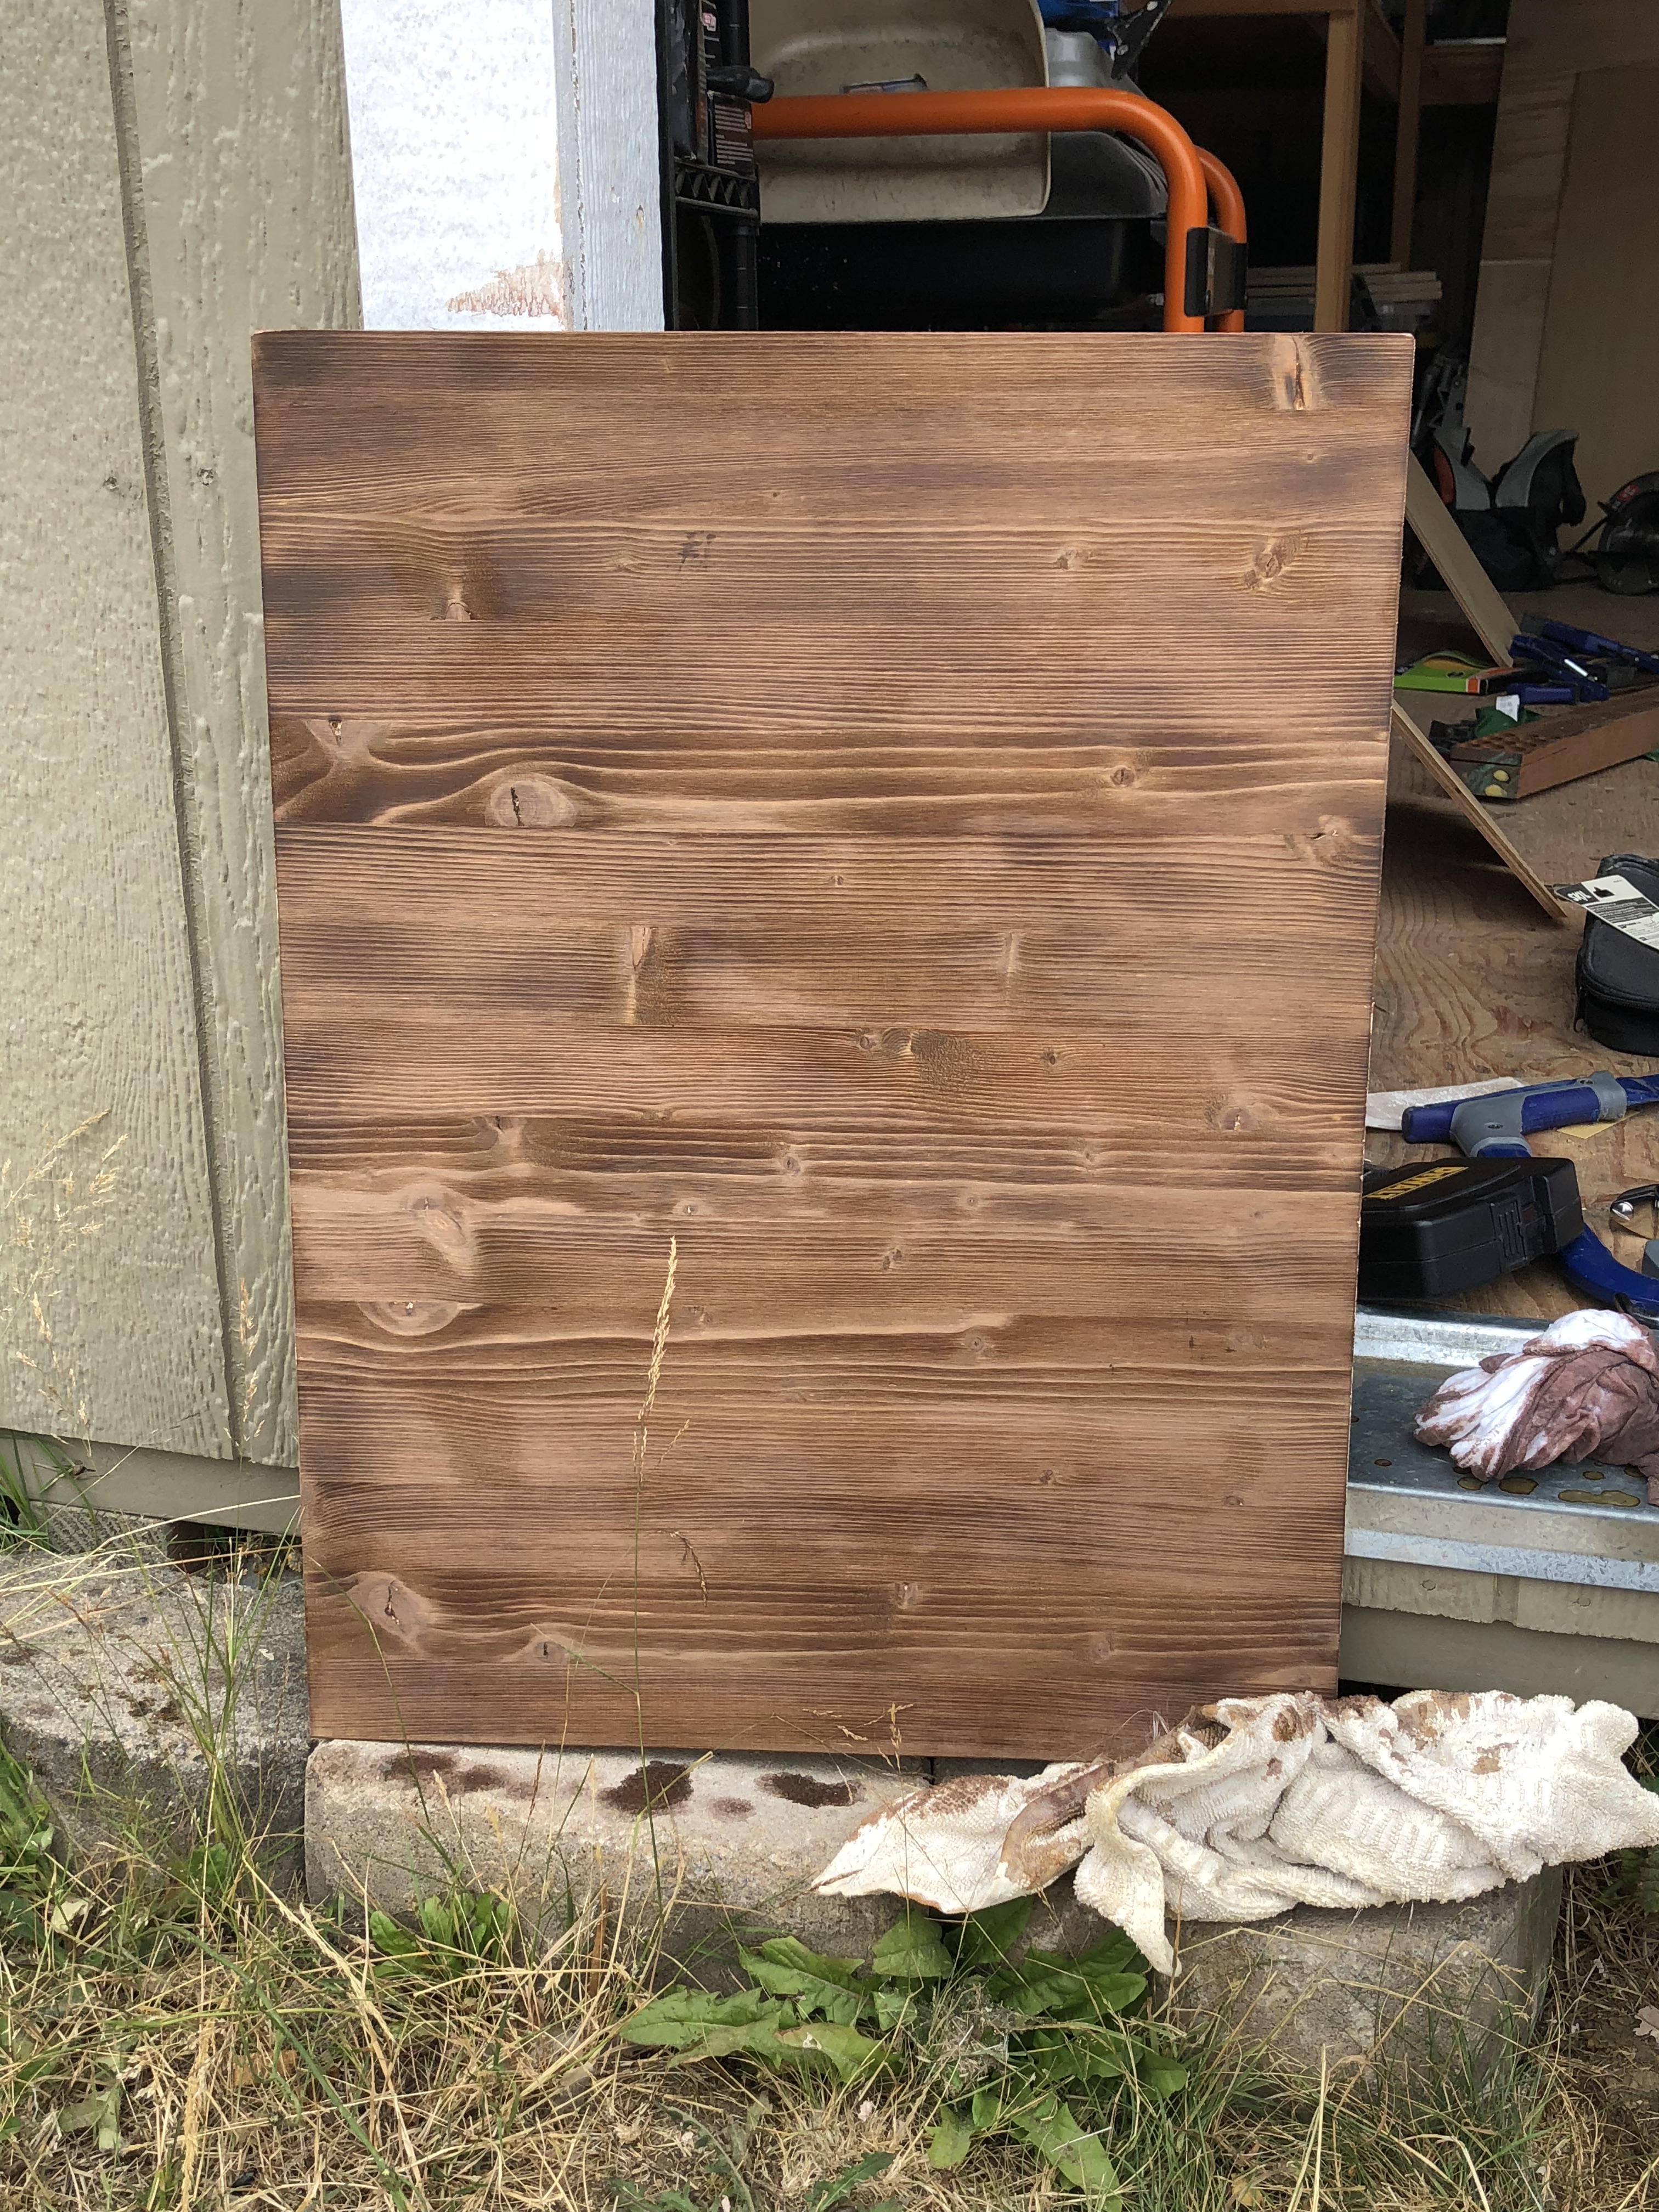
That's much darker! It's almost purple...
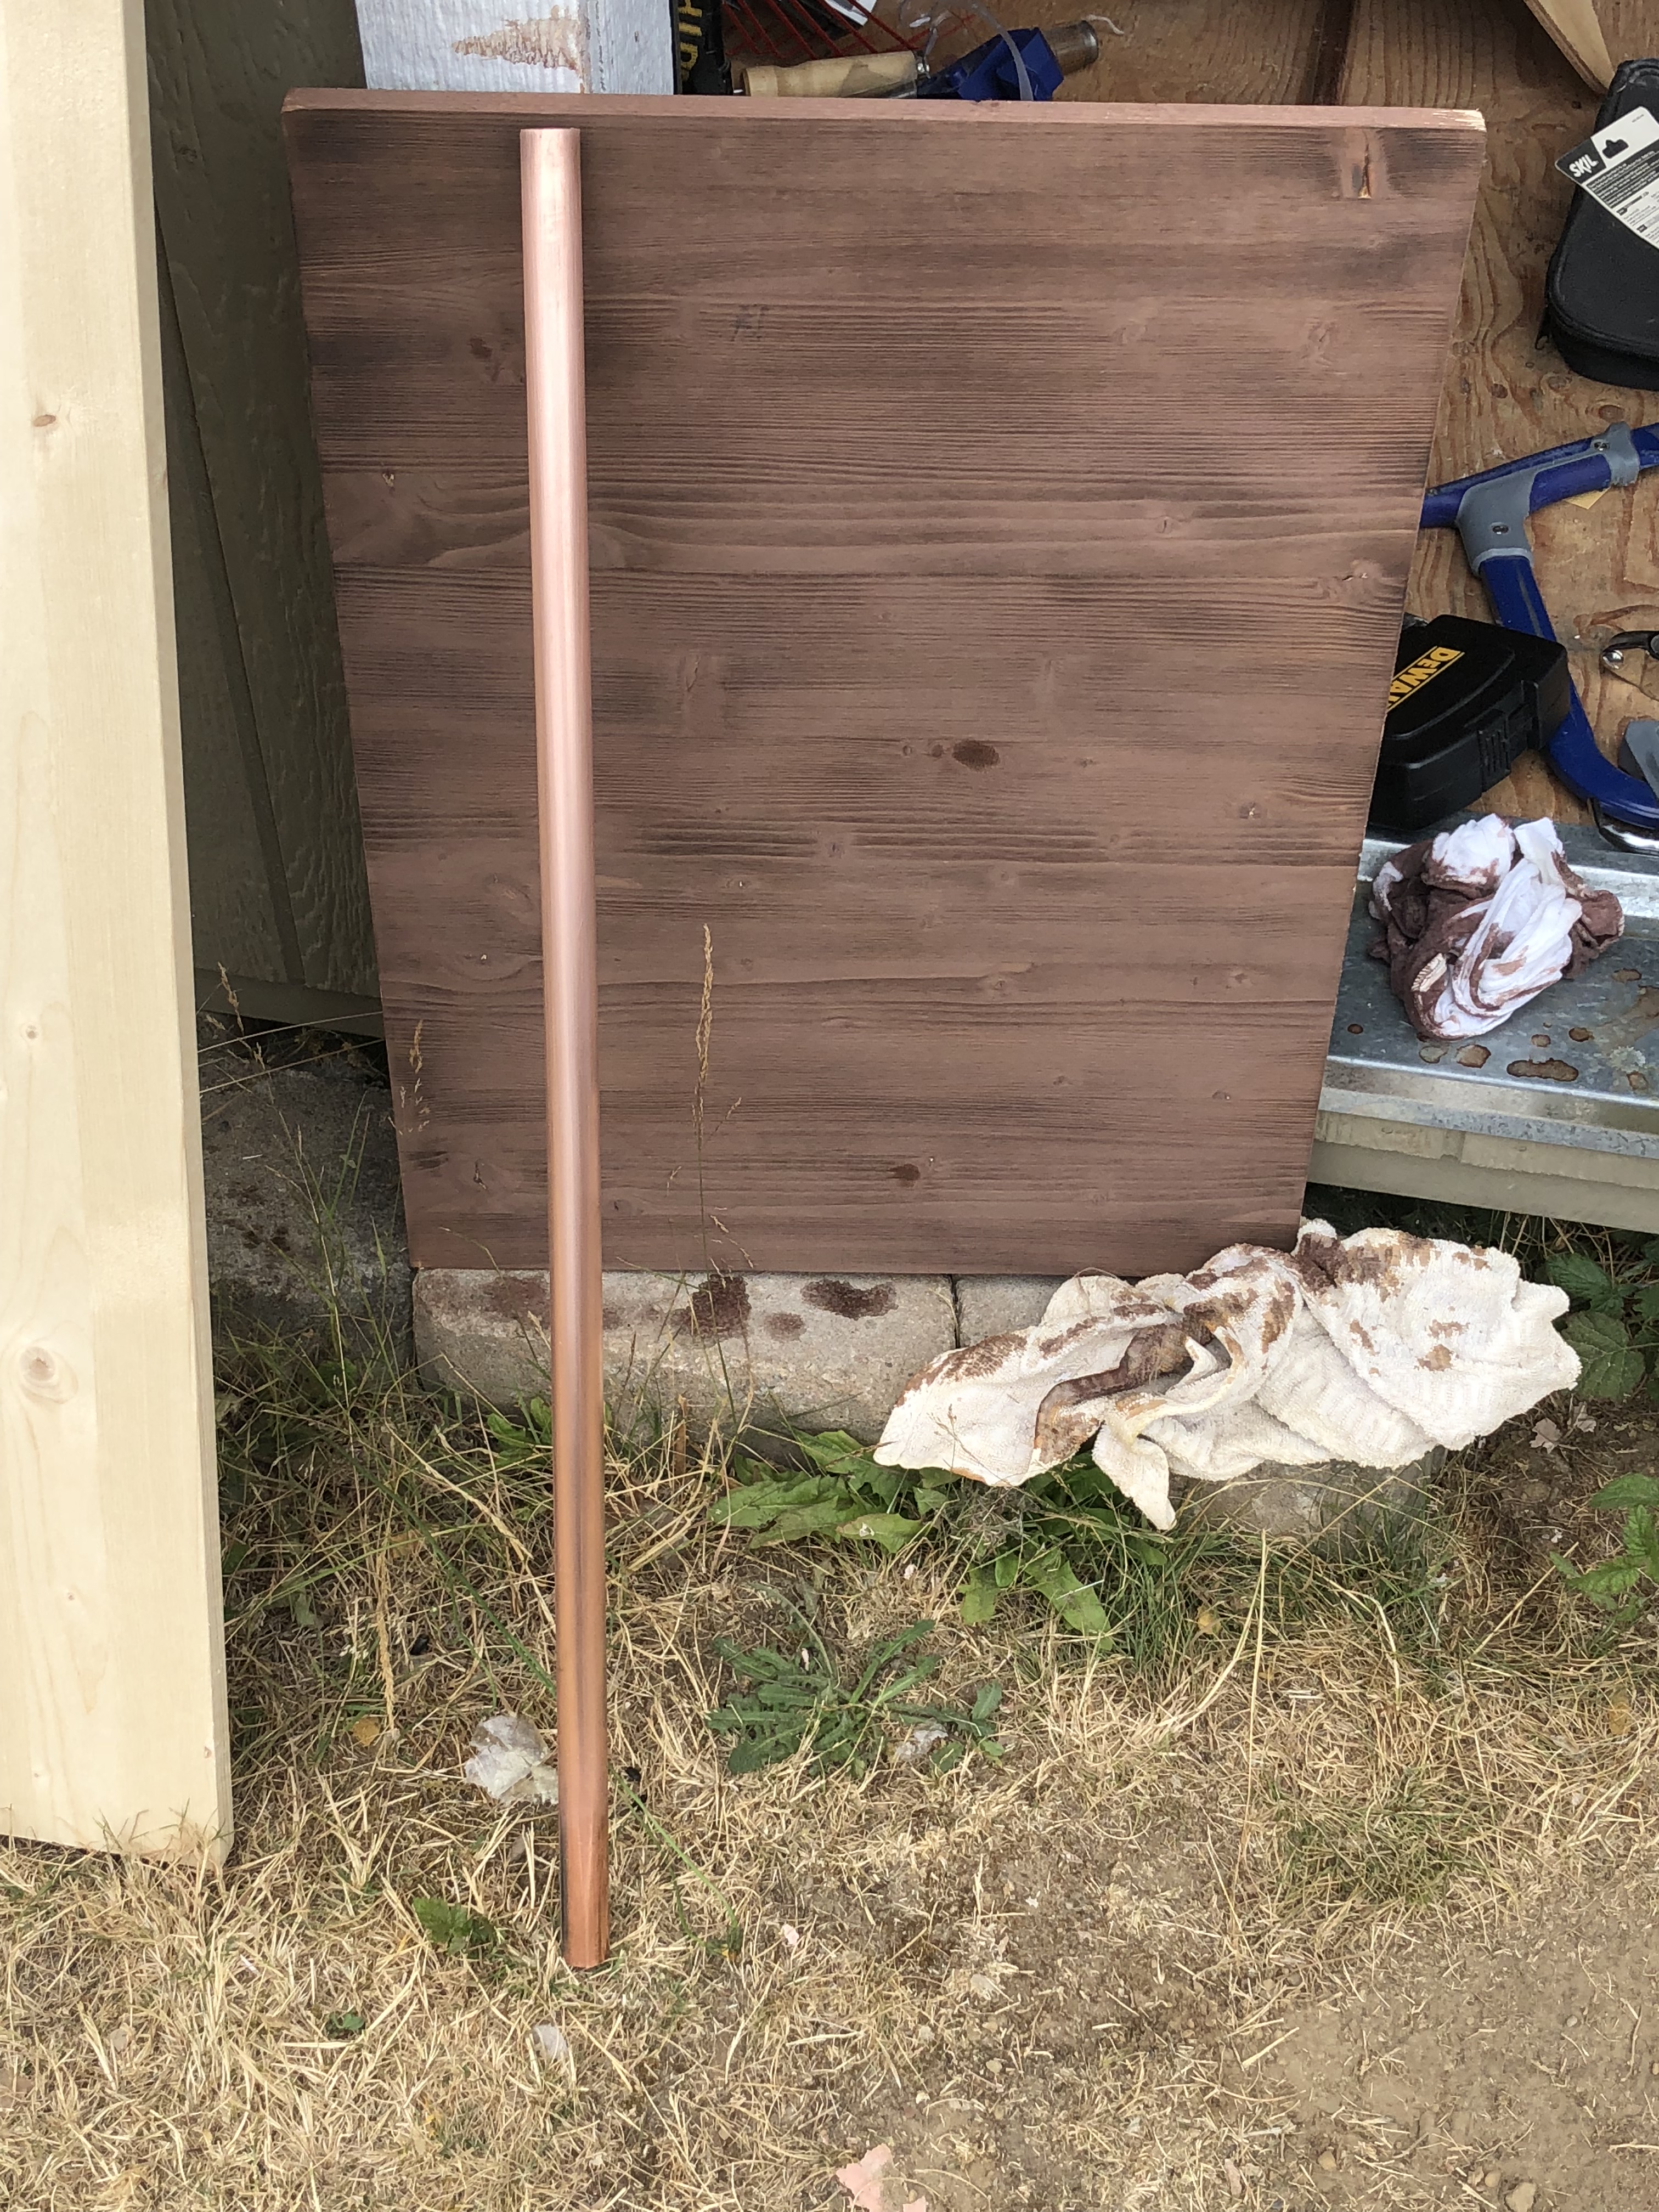
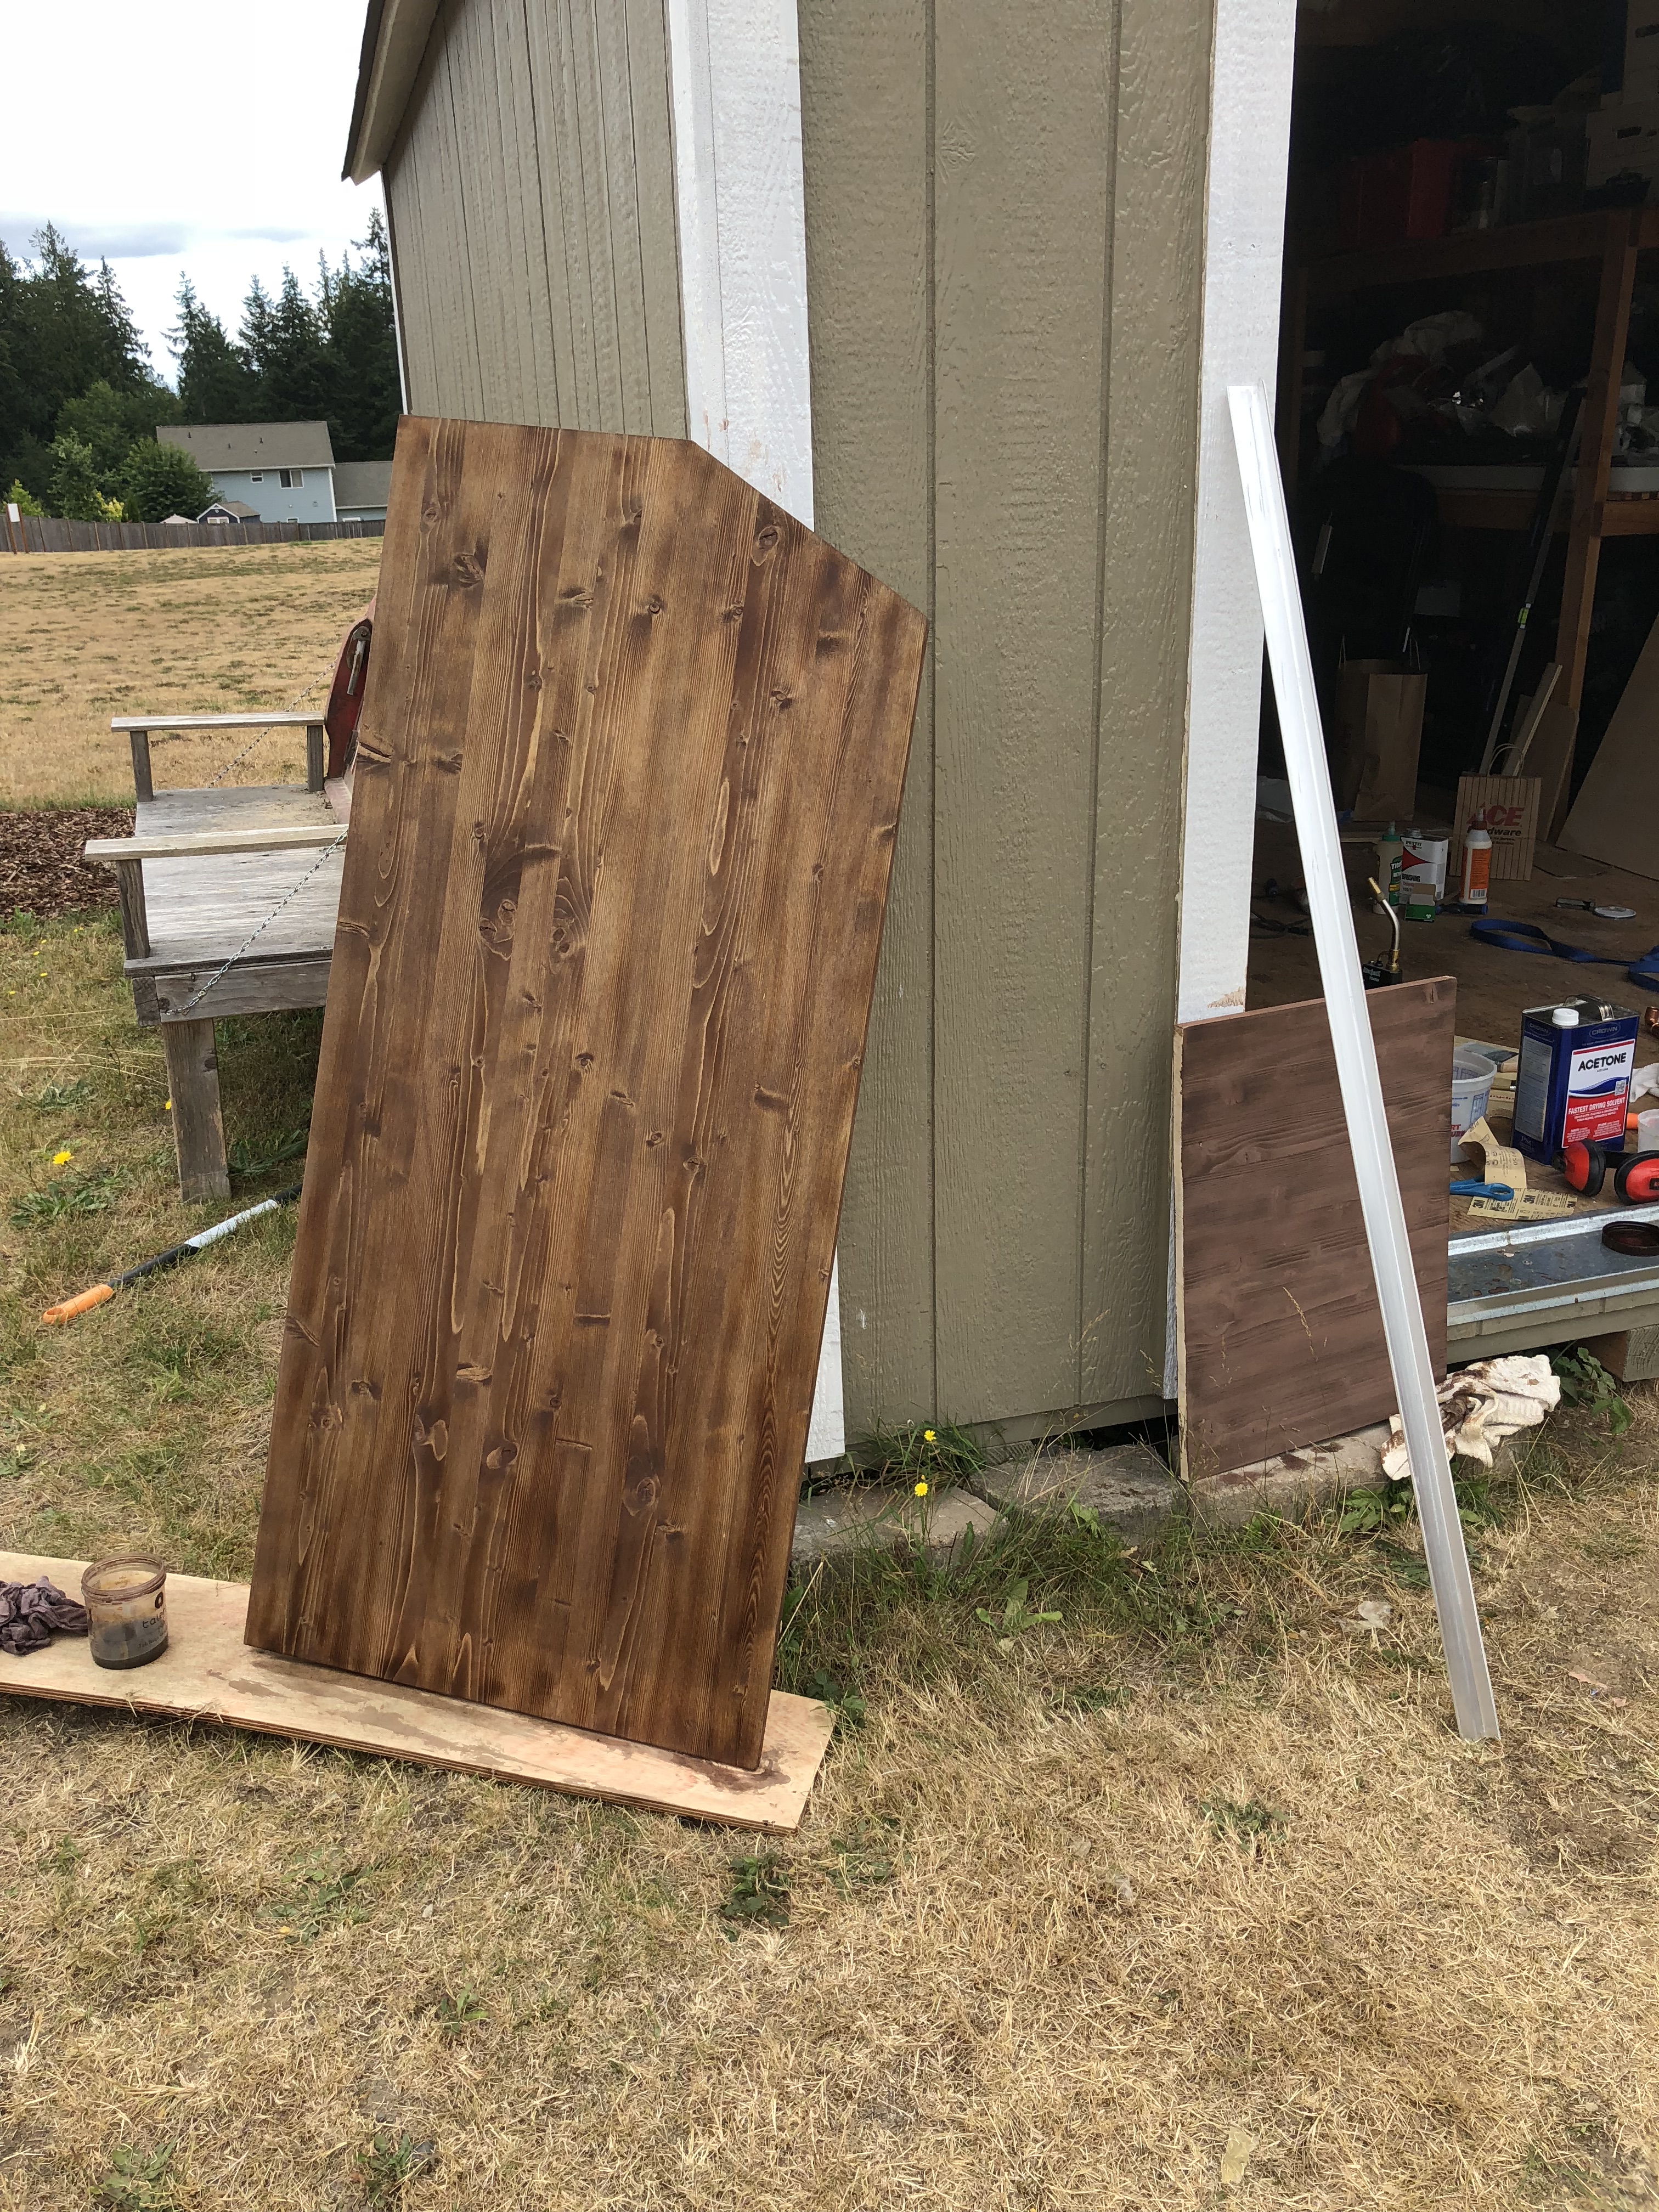
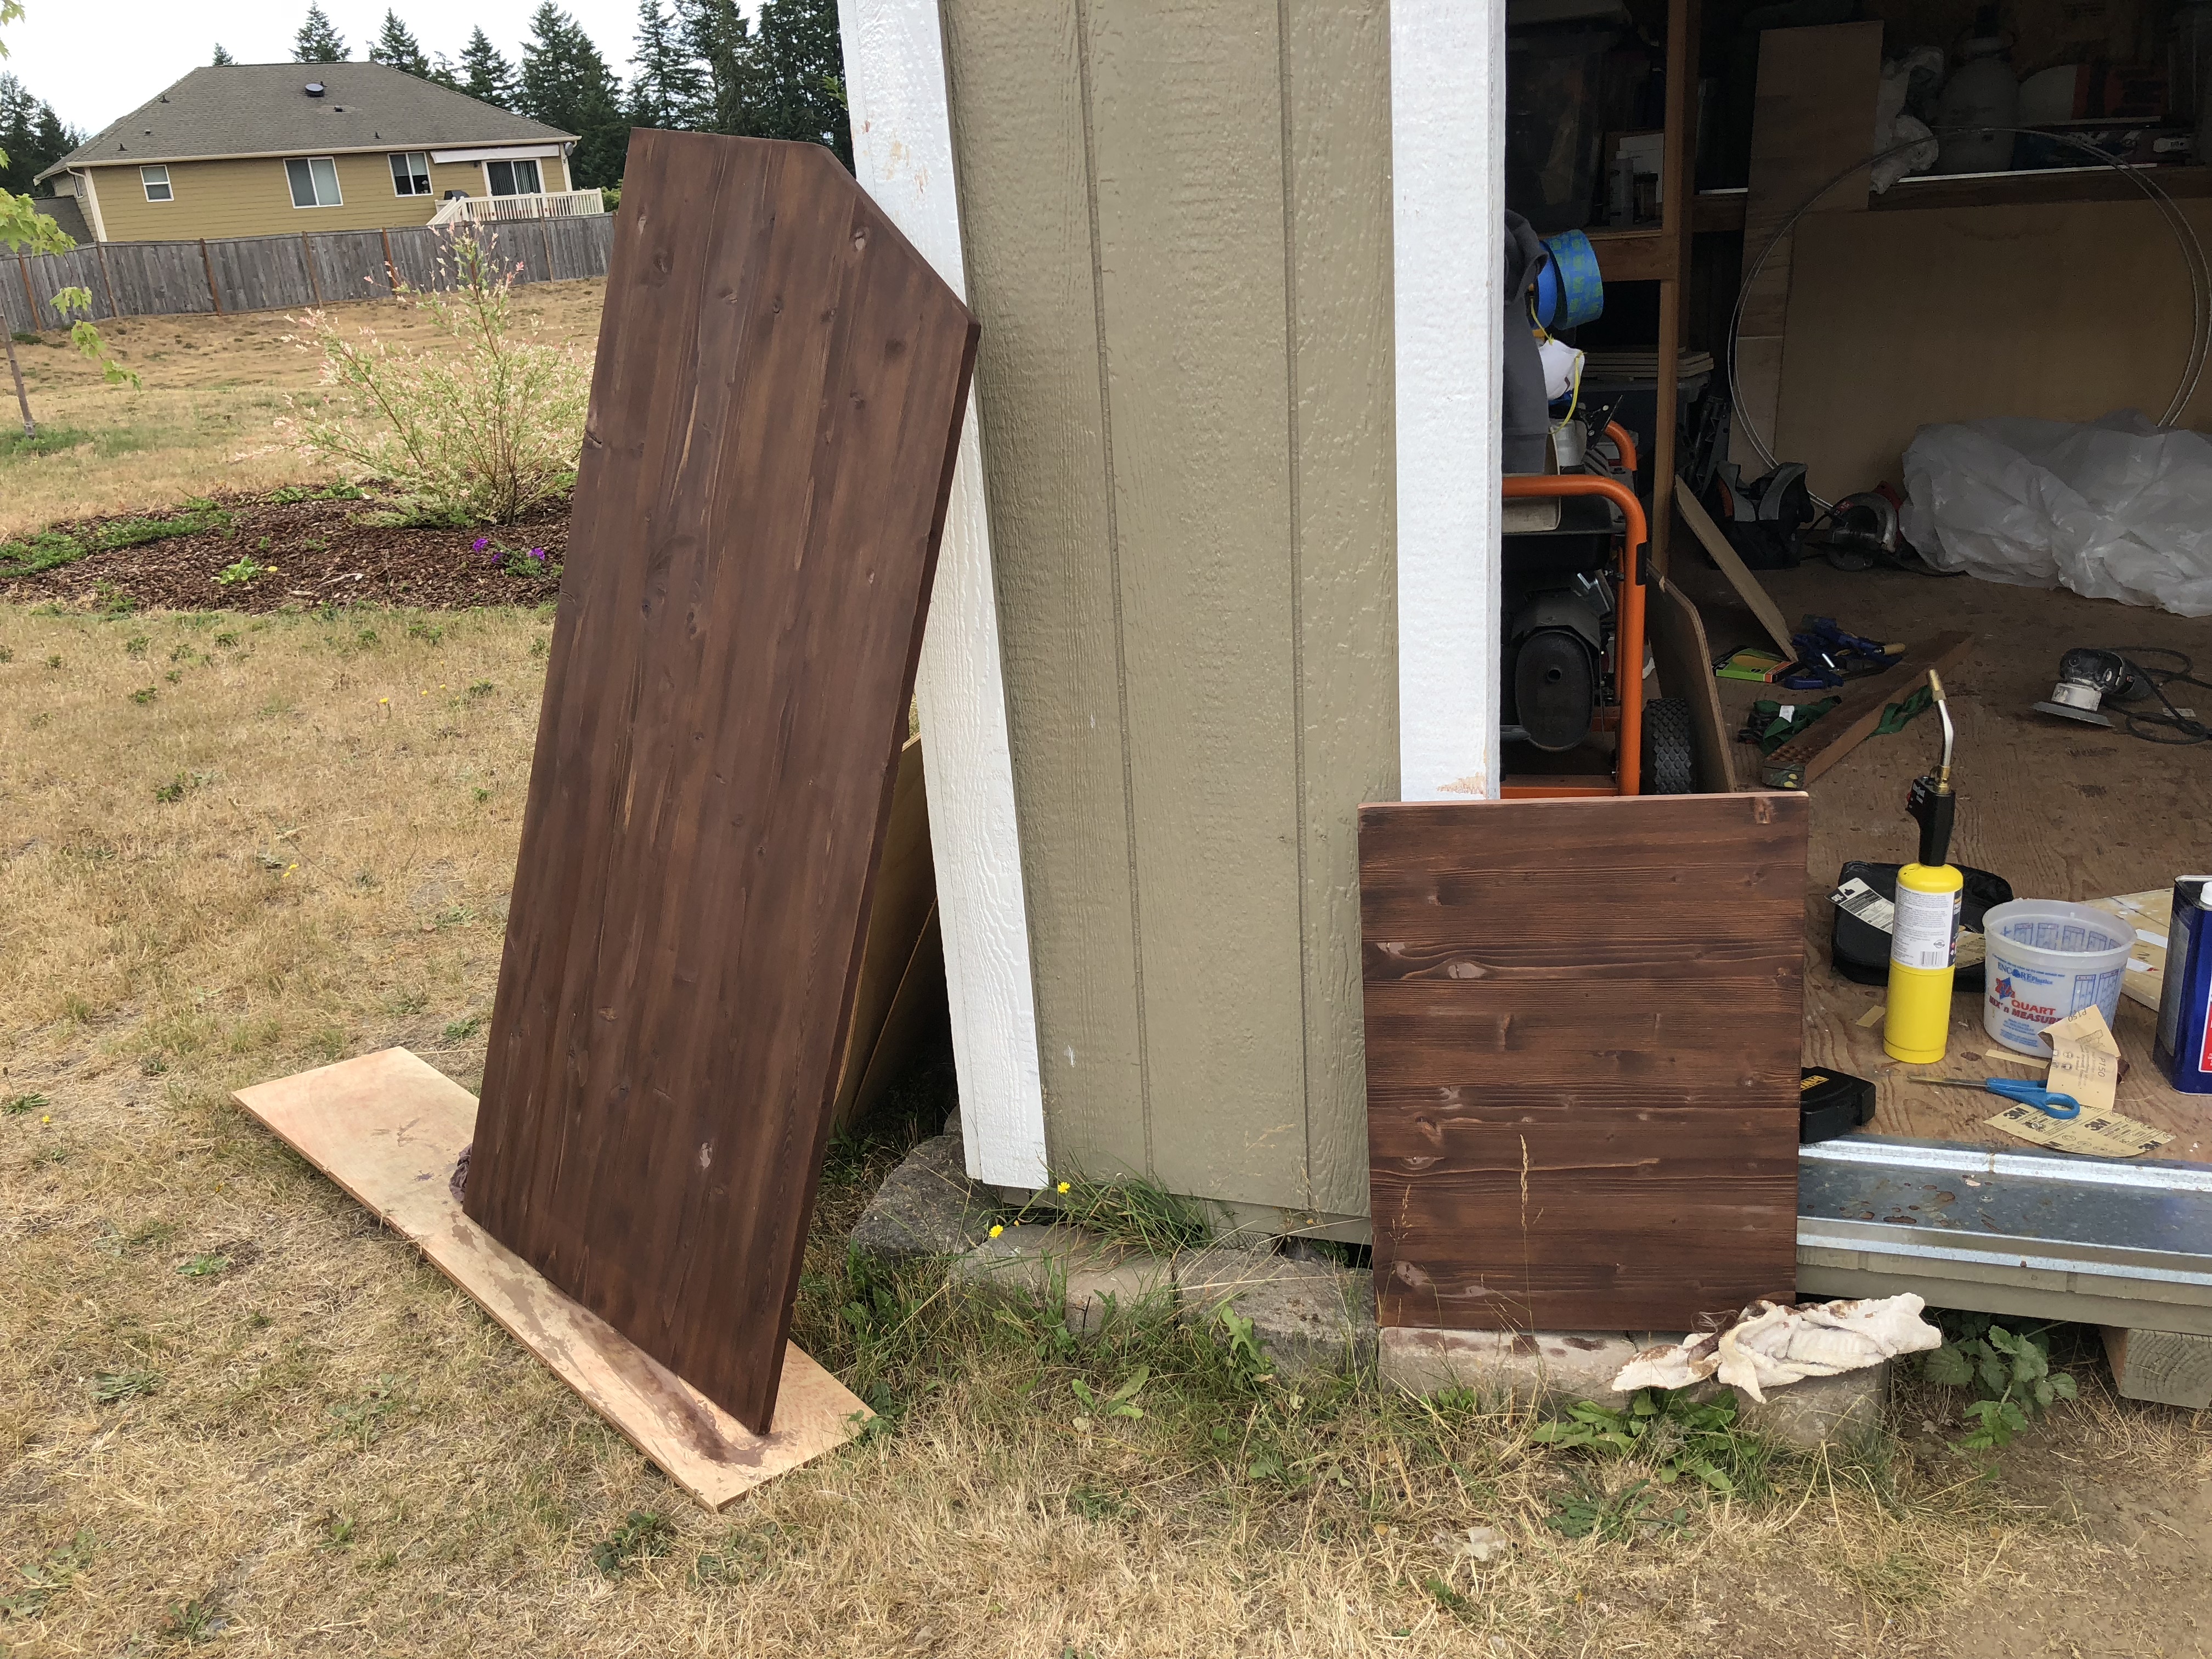
After a second coat the wood was much darker, an awkward purple hue, and smelled like vinegar. Awesome.
The white interior did a lot to brighten things up inside!

Time to roll with it! I hit the other sides of the counter and table with my wood burning torch.

Now everything matches and we're ready for the stain! I applied it with a shop towel because I was not honestly prepared for this part of the task. It went on like dirty dish water and didn't immediately appear to be doing anything at all. Not surprised that it failed... most of my experiments do, but I turned my back for 5 minutes and it turned into this:

That's much darker! It's almost purple...


After a second coat the wood was much darker, an awkward purple hue, and smelled like vinegar. Awesome.

The white interior did a lot to brighten things up inside!

underkill
Active member
It's really time to get the roof mounted permanently so we dont have to keep picking it up off of the shell every time we need to work inside (which is often...). It's not super heavy, but it is very awkward to move around. We bought some angled aluminum to epoxy around the perimeter of the roof instead of trying to wrap fiberglass around, which wouldn't have worked very well. As an added bonus the aluminum would also finish off the edges that are the last remaining sharp shards of raw fiberglass.


We use a LOT of clamps!

The pictures made it look really easy, but it took a few hours for the epoxy to cure in between each side so it took literally all day. After all the sides were dry, I knocked down the rough spots and edges with some sandpaper, masked the aluminum with tape, and then touched up the paint all the way around the perimeter. Then we can flip it back over and do the final prep and paint and the roof will be done!


We use a LOT of clamps!

The pictures made it look really easy, but it took a few hours for the epoxy to cure in between each side so it took literally all day. After all the sides were dry, I knocked down the rough spots and edges with some sandpaper, masked the aluminum with tape, and then touched up the paint all the way around the perimeter. Then we can flip it back over and do the final prep and paint and the roof will be done!
underkill
Active member
I had quite a bit of downtime while waiting for the epoxy to cure on the roof section so I decided to work on the water tank. One of the things we didn't like about our previous water setup was that every time we wanted to get water or wash dishes we had to dig out some sort of heavy water container. It was always just another layer of annoyance, especially when it was cold overnight and the water was almost frozen. We definitely wanted some sort of water inside the camper to a faucet so we didn't have to leave the camper to make breakfast and do dishes. Realistically the camper is too small for a shower or anything. I thought about adding an outdoor shower at a later date, but that still hasn't happened. I also thought about an actual electric water pump, but ended up deciding we really didn't have room for it and didn't want to deal with having it rely on electrical power. We're going to have some sort of manual water pump, but I'm still doing research on what we actually want and what we have room for. More to come on that! I also planned the location for the water tank before actually building the camper. I wanted the weight of the water as low as possible, but didn't leave myself enough room that I could actually buy a tank that someone makes... I found one but it was prohibitively expensive. The solution we came up with was a water bladder instead of a solid tank. It's super lightweight and the exact size that I wanted!

The only critical dimension we have right now is to leave enough room for the battery. It's large, heavy, and expensive.

Since the bedrails on the Colorado are so tall, the height of the shell to go over them is equally tall and honestly not super comfortable to sit on. We're going to build a box on the floor for the water tank that will bring the deck height up a little bit for more comfort while sitting at the dinette. I definitely checked this is Jason who is your standard 6' tall man. I'm short, so I don't get to choose dimensions. To start the box we glued some wood to the forward edge of the camper shell so the platform would have something to attach to.

Next we made the divider bulkhead and glued it in place. Aft of this is going to be the galley cabinets!

Obviously, there's not a lot of actual "seat" room currently in front of the dinette seat backs. We're going to essentially make an extension that's the same width as the current seats and glue those in as well, leaving an access hole in the top that will be removable so we can get to the water tank.

Still needs some trimming, but that looks a lot better!

Now that the roof and the interior are both drying, we moved on to something else! It was time to glue the fittings onto the copper tubing for the roof lift! For once, JB weld gets used for its actual purpose. I suppose if you have provisions for actual soldering you could do that instead, but we didn't. We used nails in the shed floor as a jig to keep it all square.

We finally got the roof flipped over and some body filler applied. It will be ready to sand and finish tomorrow!


The only critical dimension we have right now is to leave enough room for the battery. It's large, heavy, and expensive.

Since the bedrails on the Colorado are so tall, the height of the shell to go over them is equally tall and honestly not super comfortable to sit on. We're going to build a box on the floor for the water tank that will bring the deck height up a little bit for more comfort while sitting at the dinette. I definitely checked this is Jason who is your standard 6' tall man. I'm short, so I don't get to choose dimensions.

Next we made the divider bulkhead and glued it in place. Aft of this is going to be the galley cabinets!

Obviously, there's not a lot of actual "seat" room currently in front of the dinette seat backs. We're going to essentially make an extension that's the same width as the current seats and glue those in as well, leaving an access hole in the top that will be removable so we can get to the water tank.

Still needs some trimming, but that looks a lot better!

Now that the roof and the interior are both drying, we moved on to something else! It was time to glue the fittings onto the copper tubing for the roof lift! For once, JB weld gets used for its actual purpose. I suppose if you have provisions for actual soldering you could do that instead, but we didn't. We used nails in the shed floor as a jig to keep it all square.

We finally got the roof flipped over and some body filler applied. It will be ready to sand and finish tomorrow!

45Kevin
Adventurer
I am unsure about using copper tube in a structural capacity. Especially the crap that home depot sells.
Maybe bite the bullet and buy some 6061 pipe from MMC?
I tend to agree. Once you have the fan installed and 300W of solar, that's a bit of weight.Add on snow if you do winter stuff, I'd be leary of the copper.
Awesome build BTW.
It depends on the alloy, but copper may work harden and crack at the bends.
I saw elbow fitting in the photos. Not bends.
Similar threads
- Replies
- 25
- Views
- 2K
- Replies
- 2
- Views
- 860
- Replies
- 7
- Views
- 854
- Replies
- 28
- Views
- 4K
- Replies
- 10
- Views
- 798

