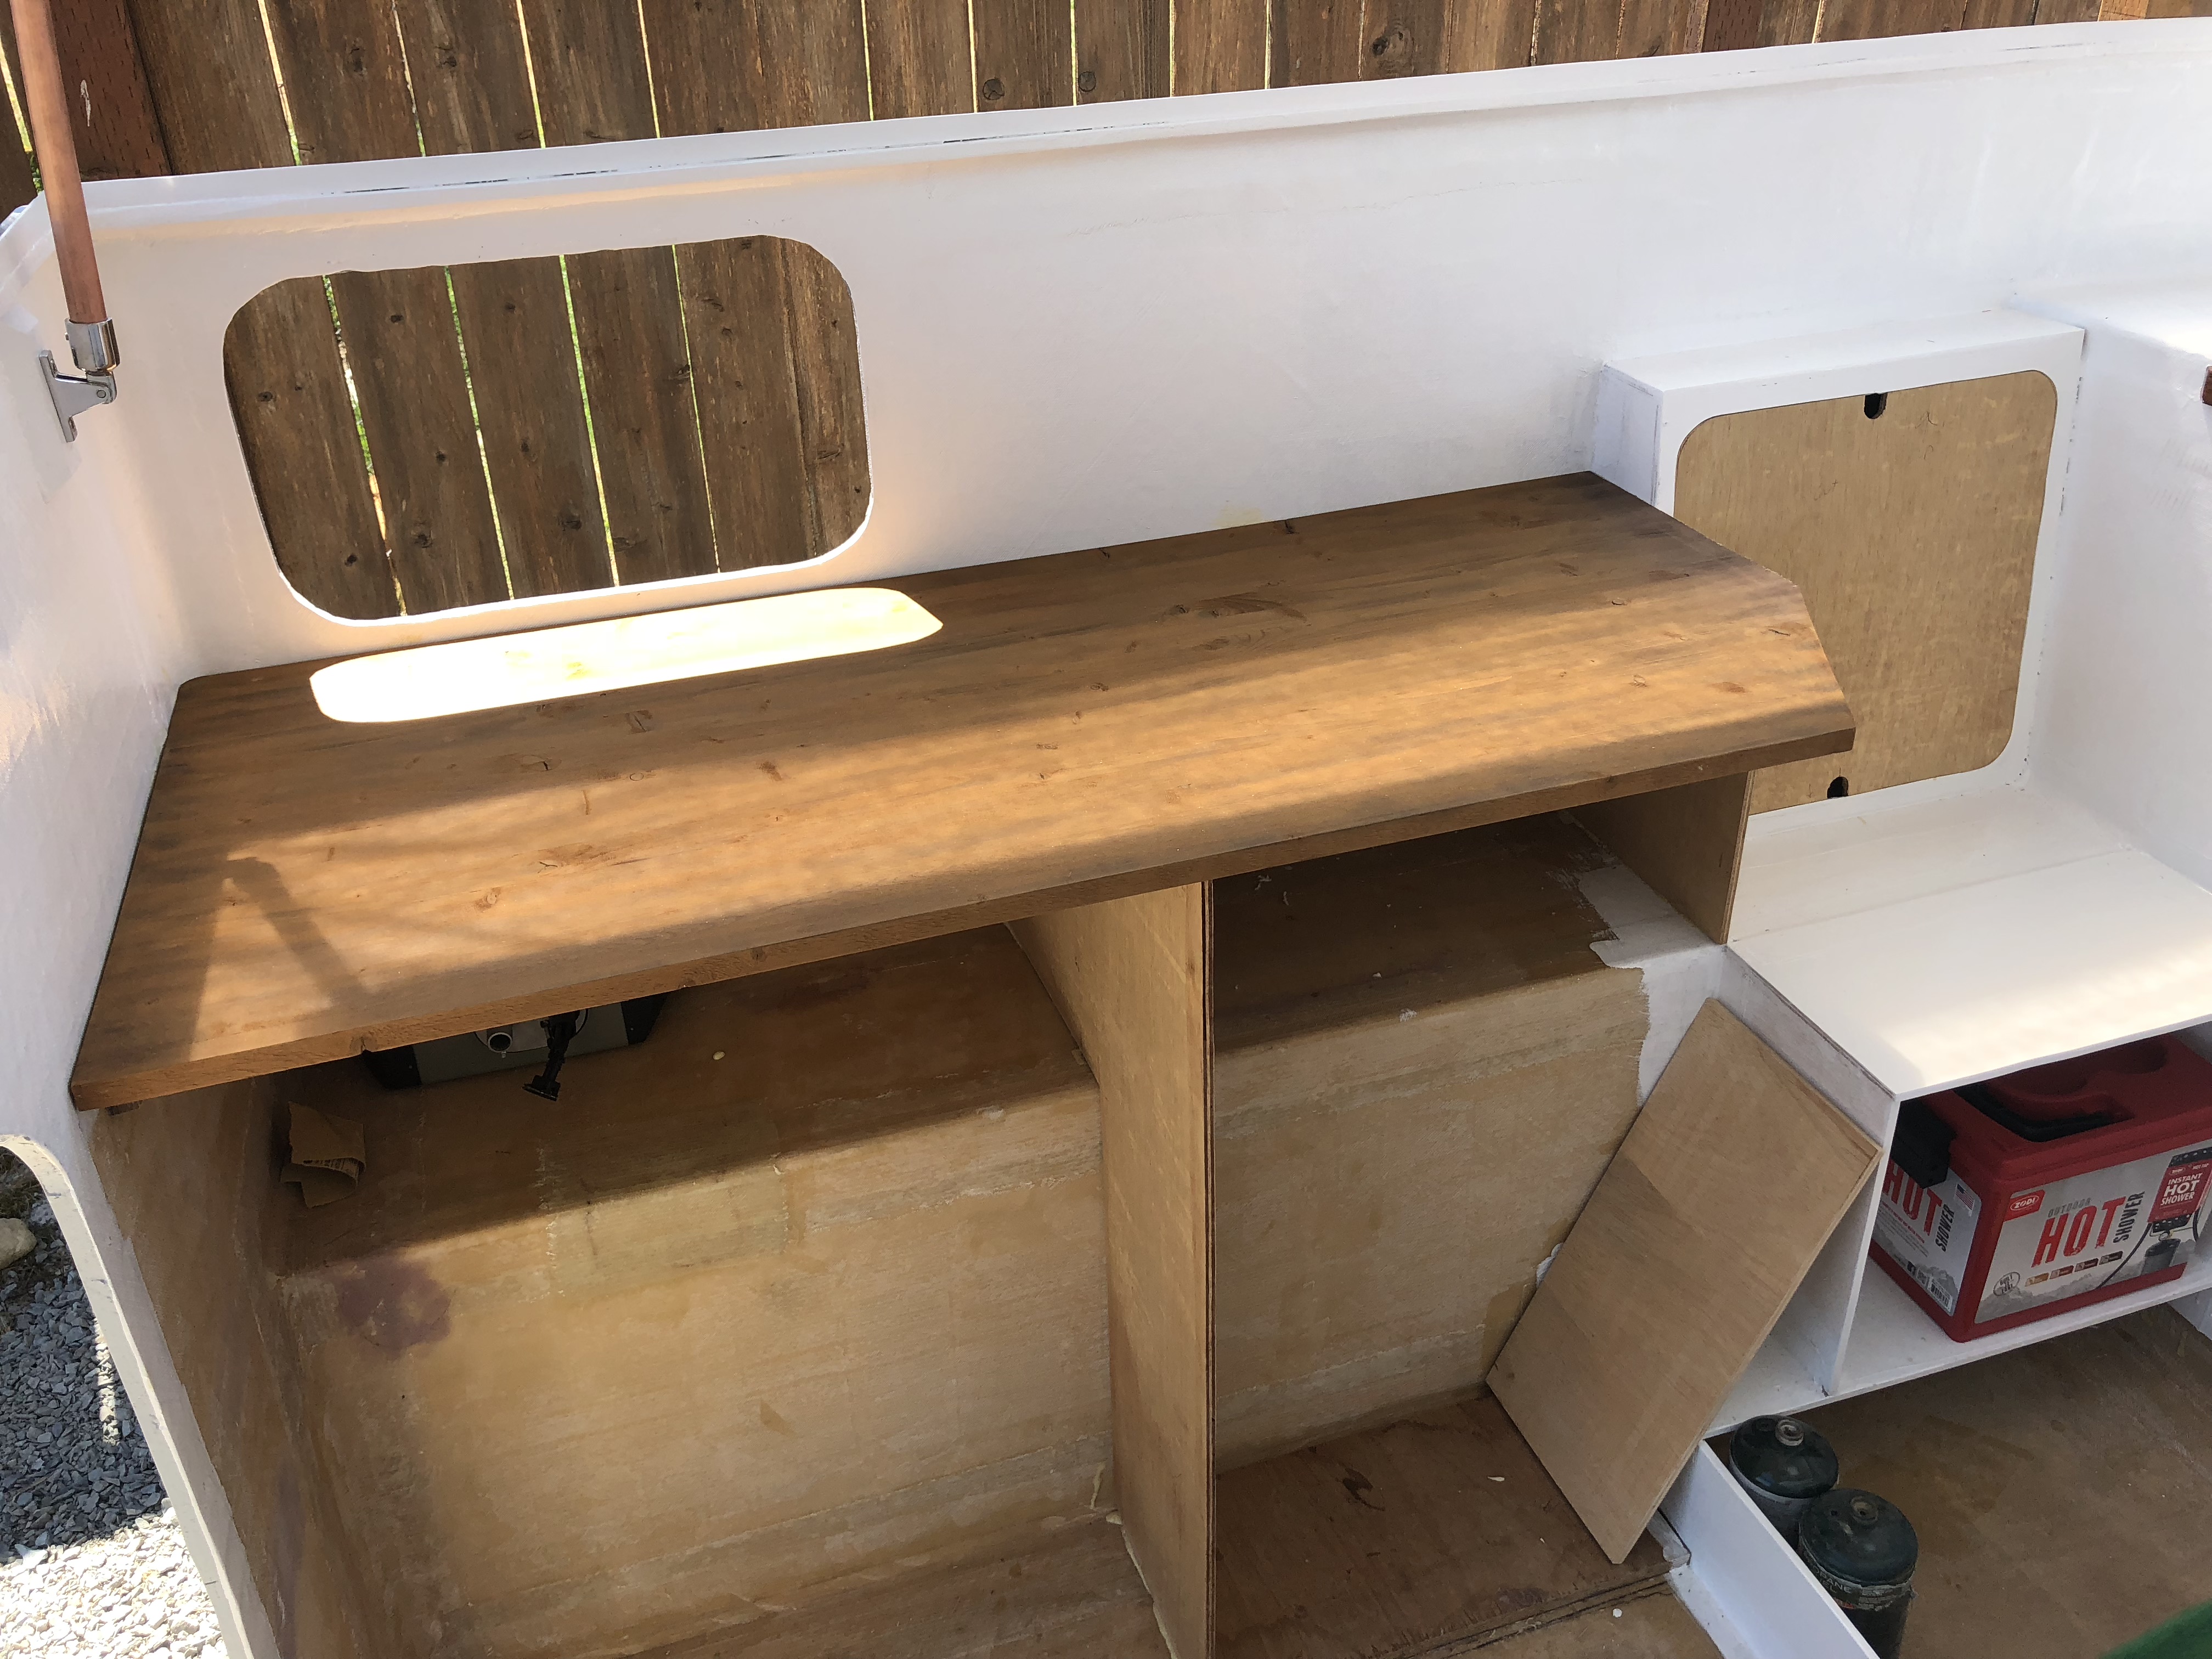
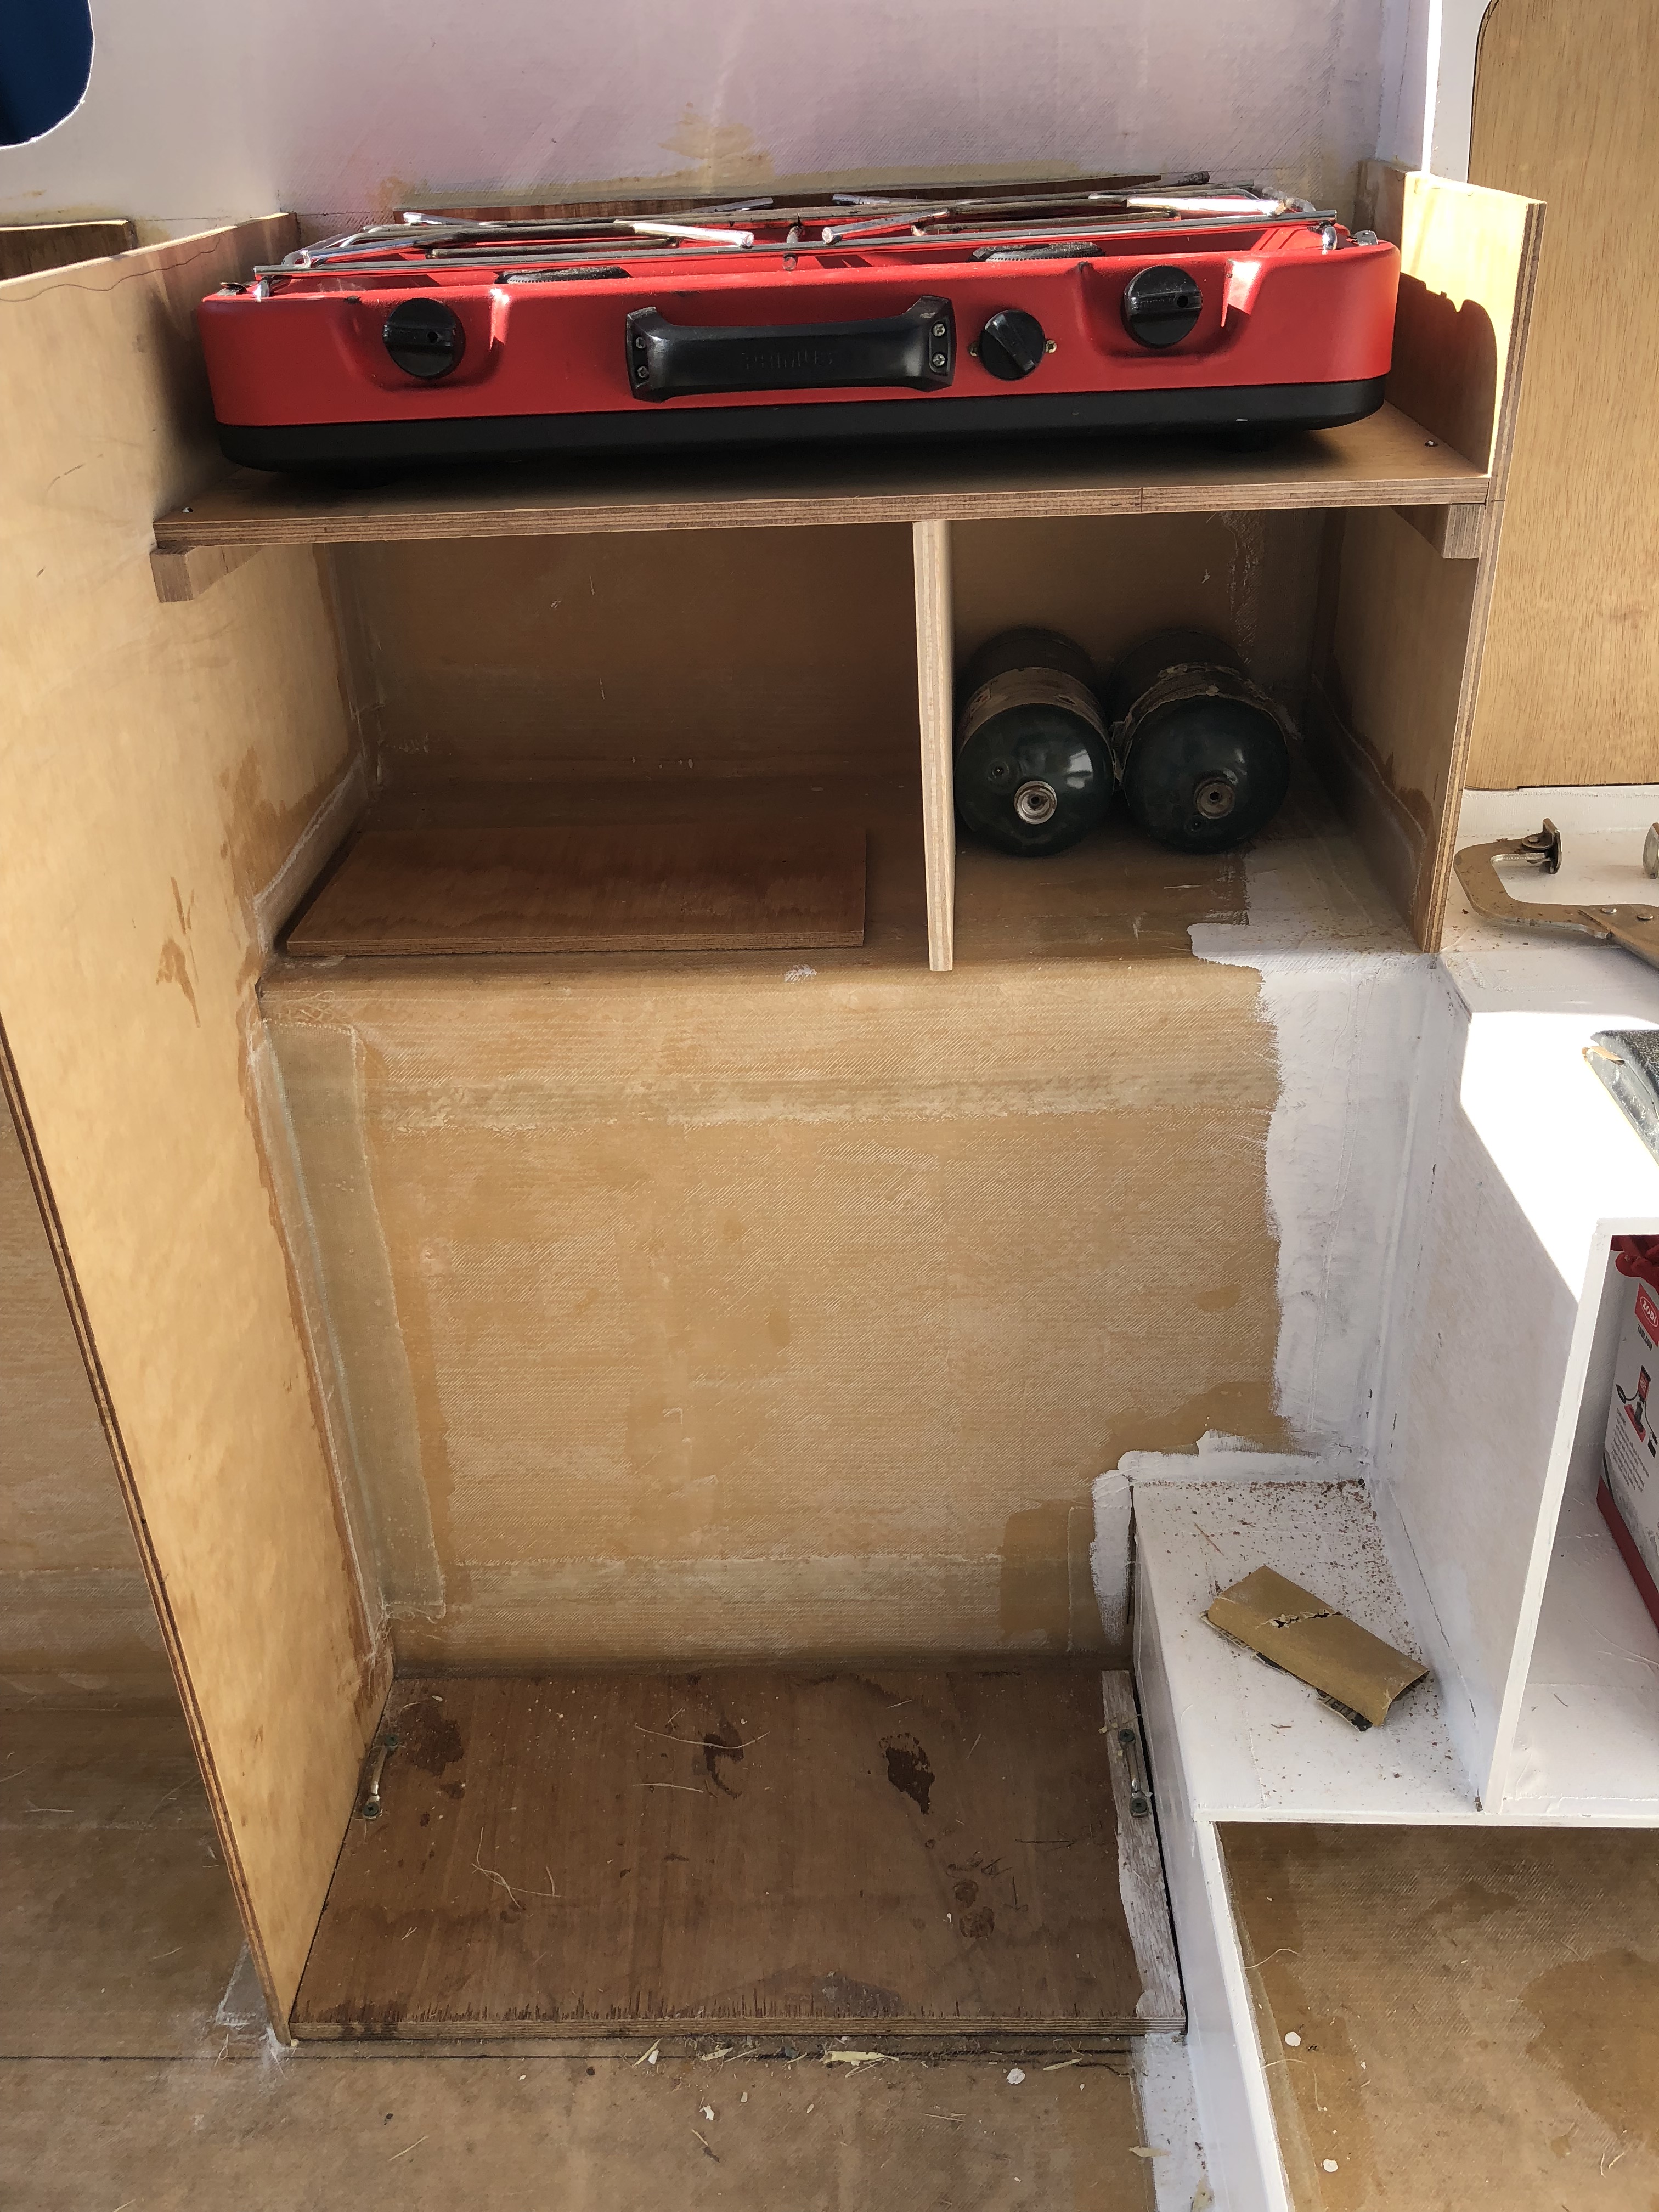
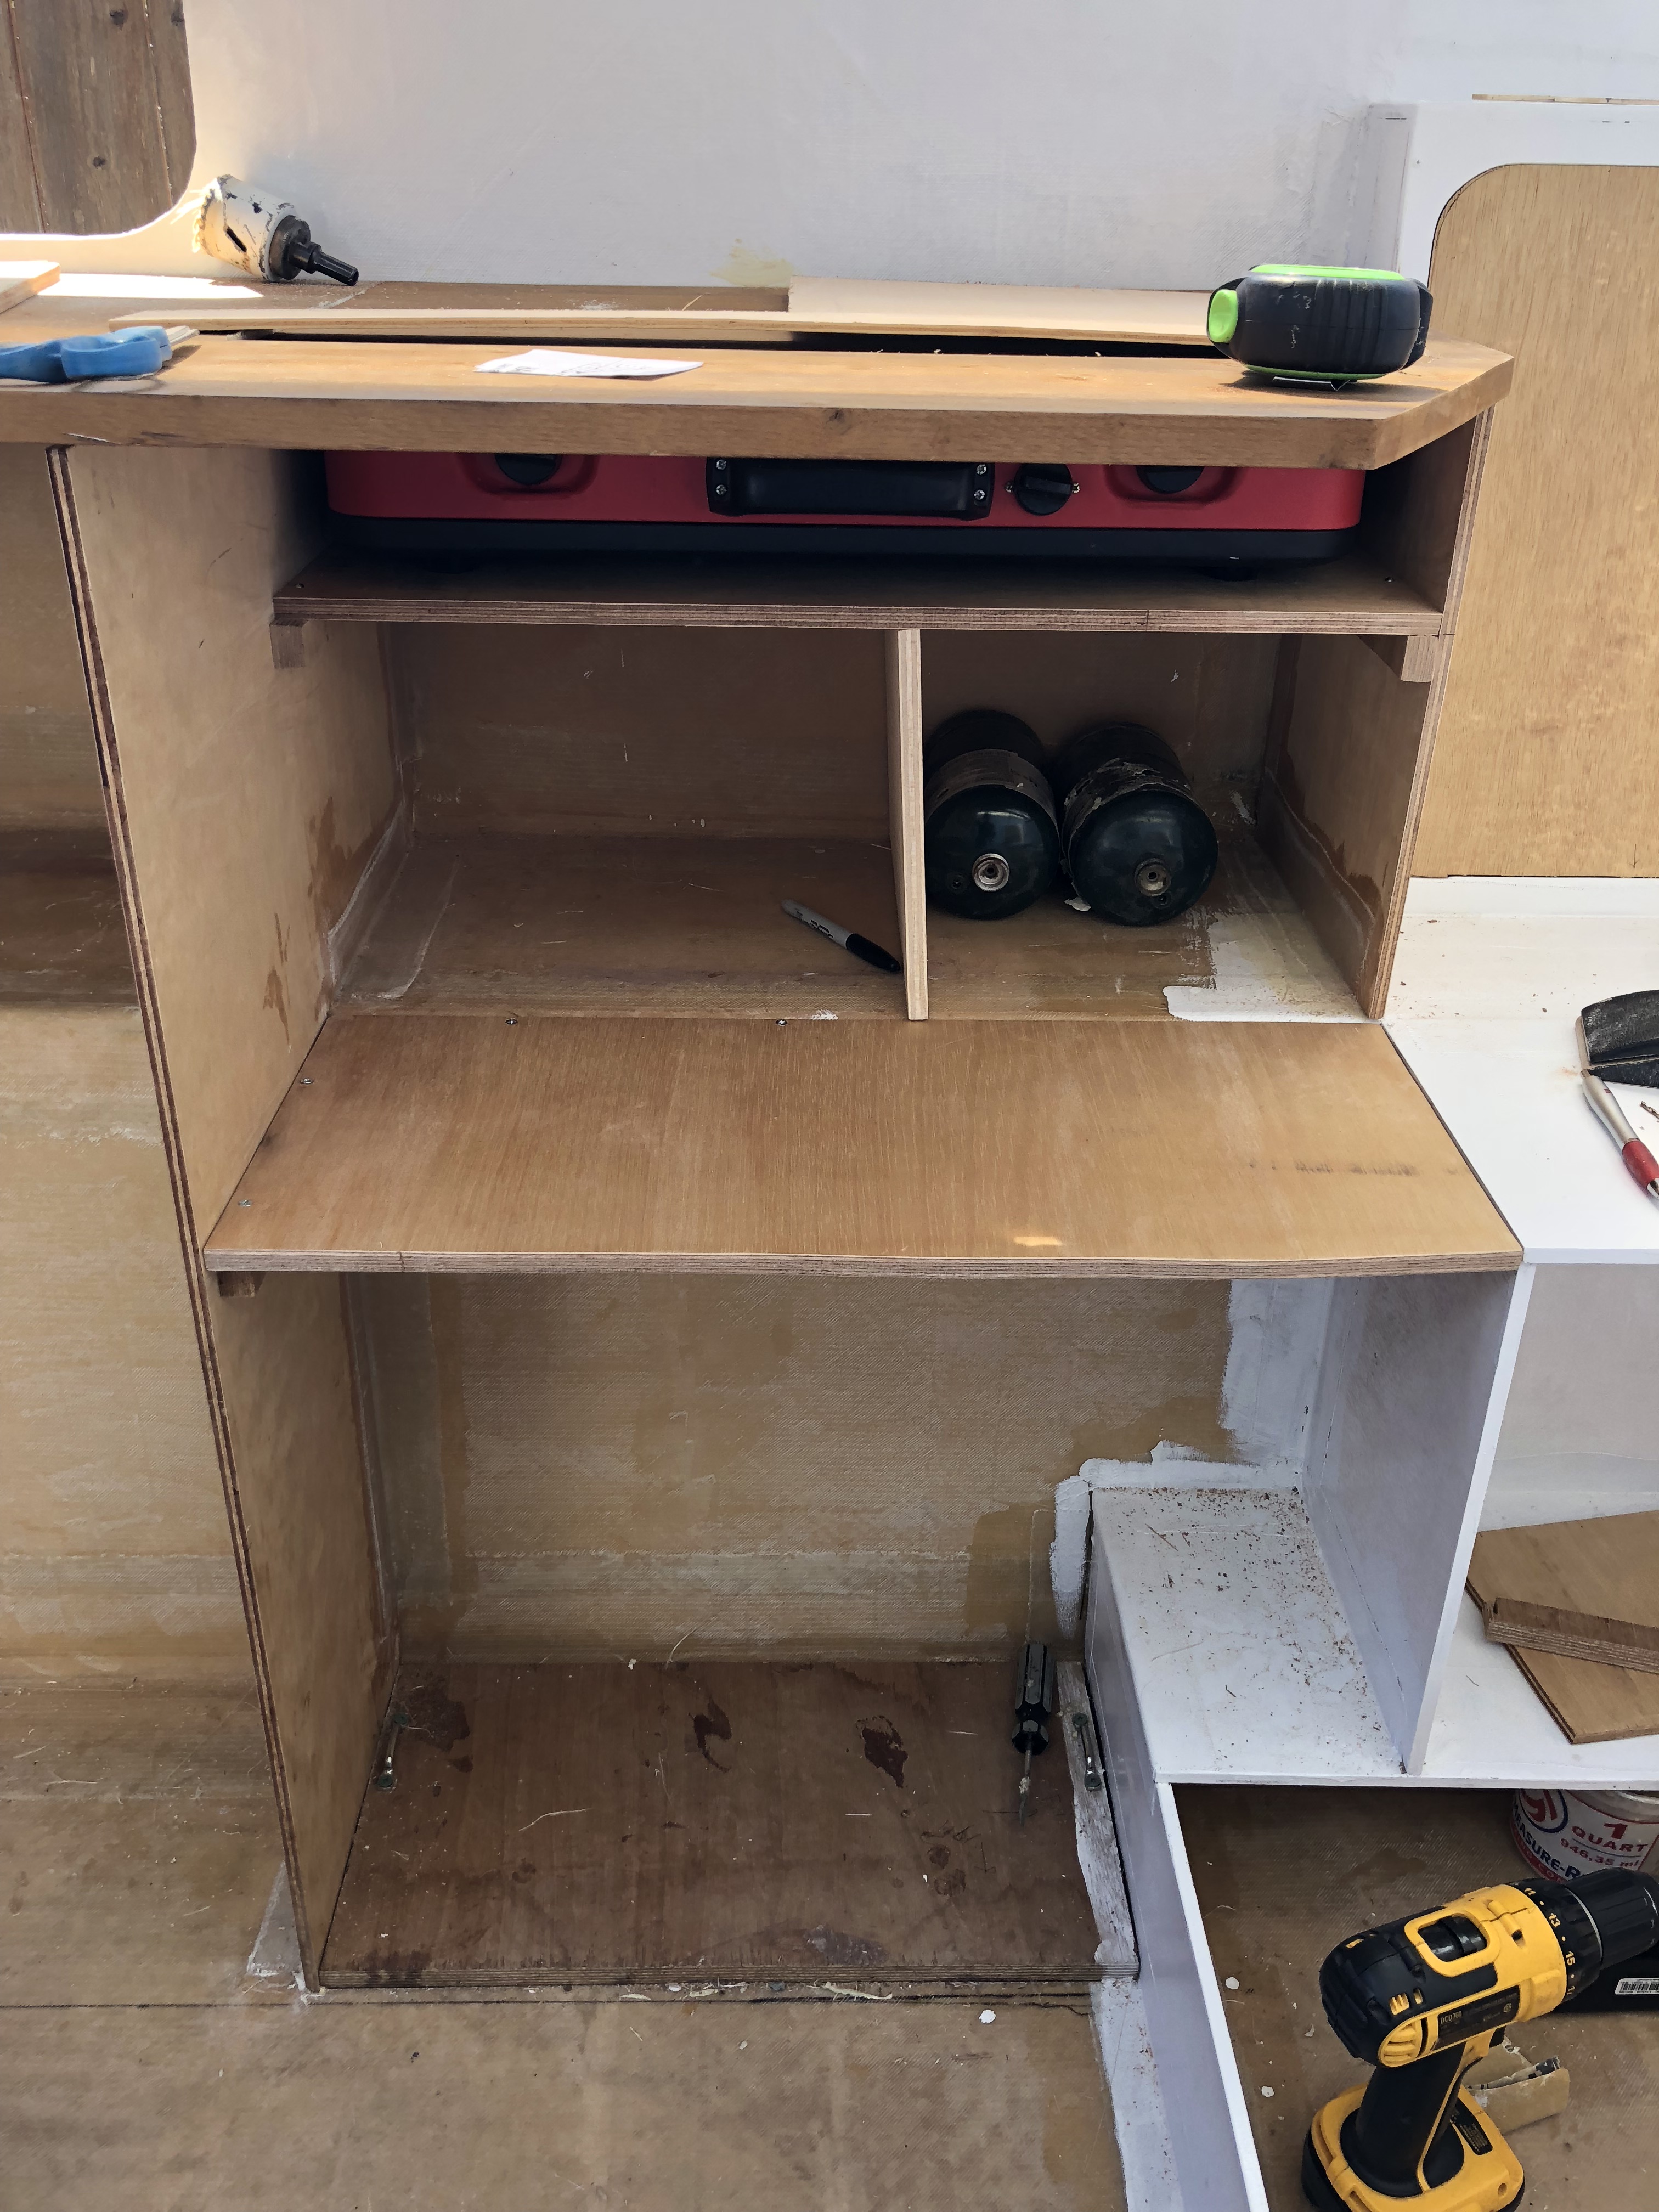
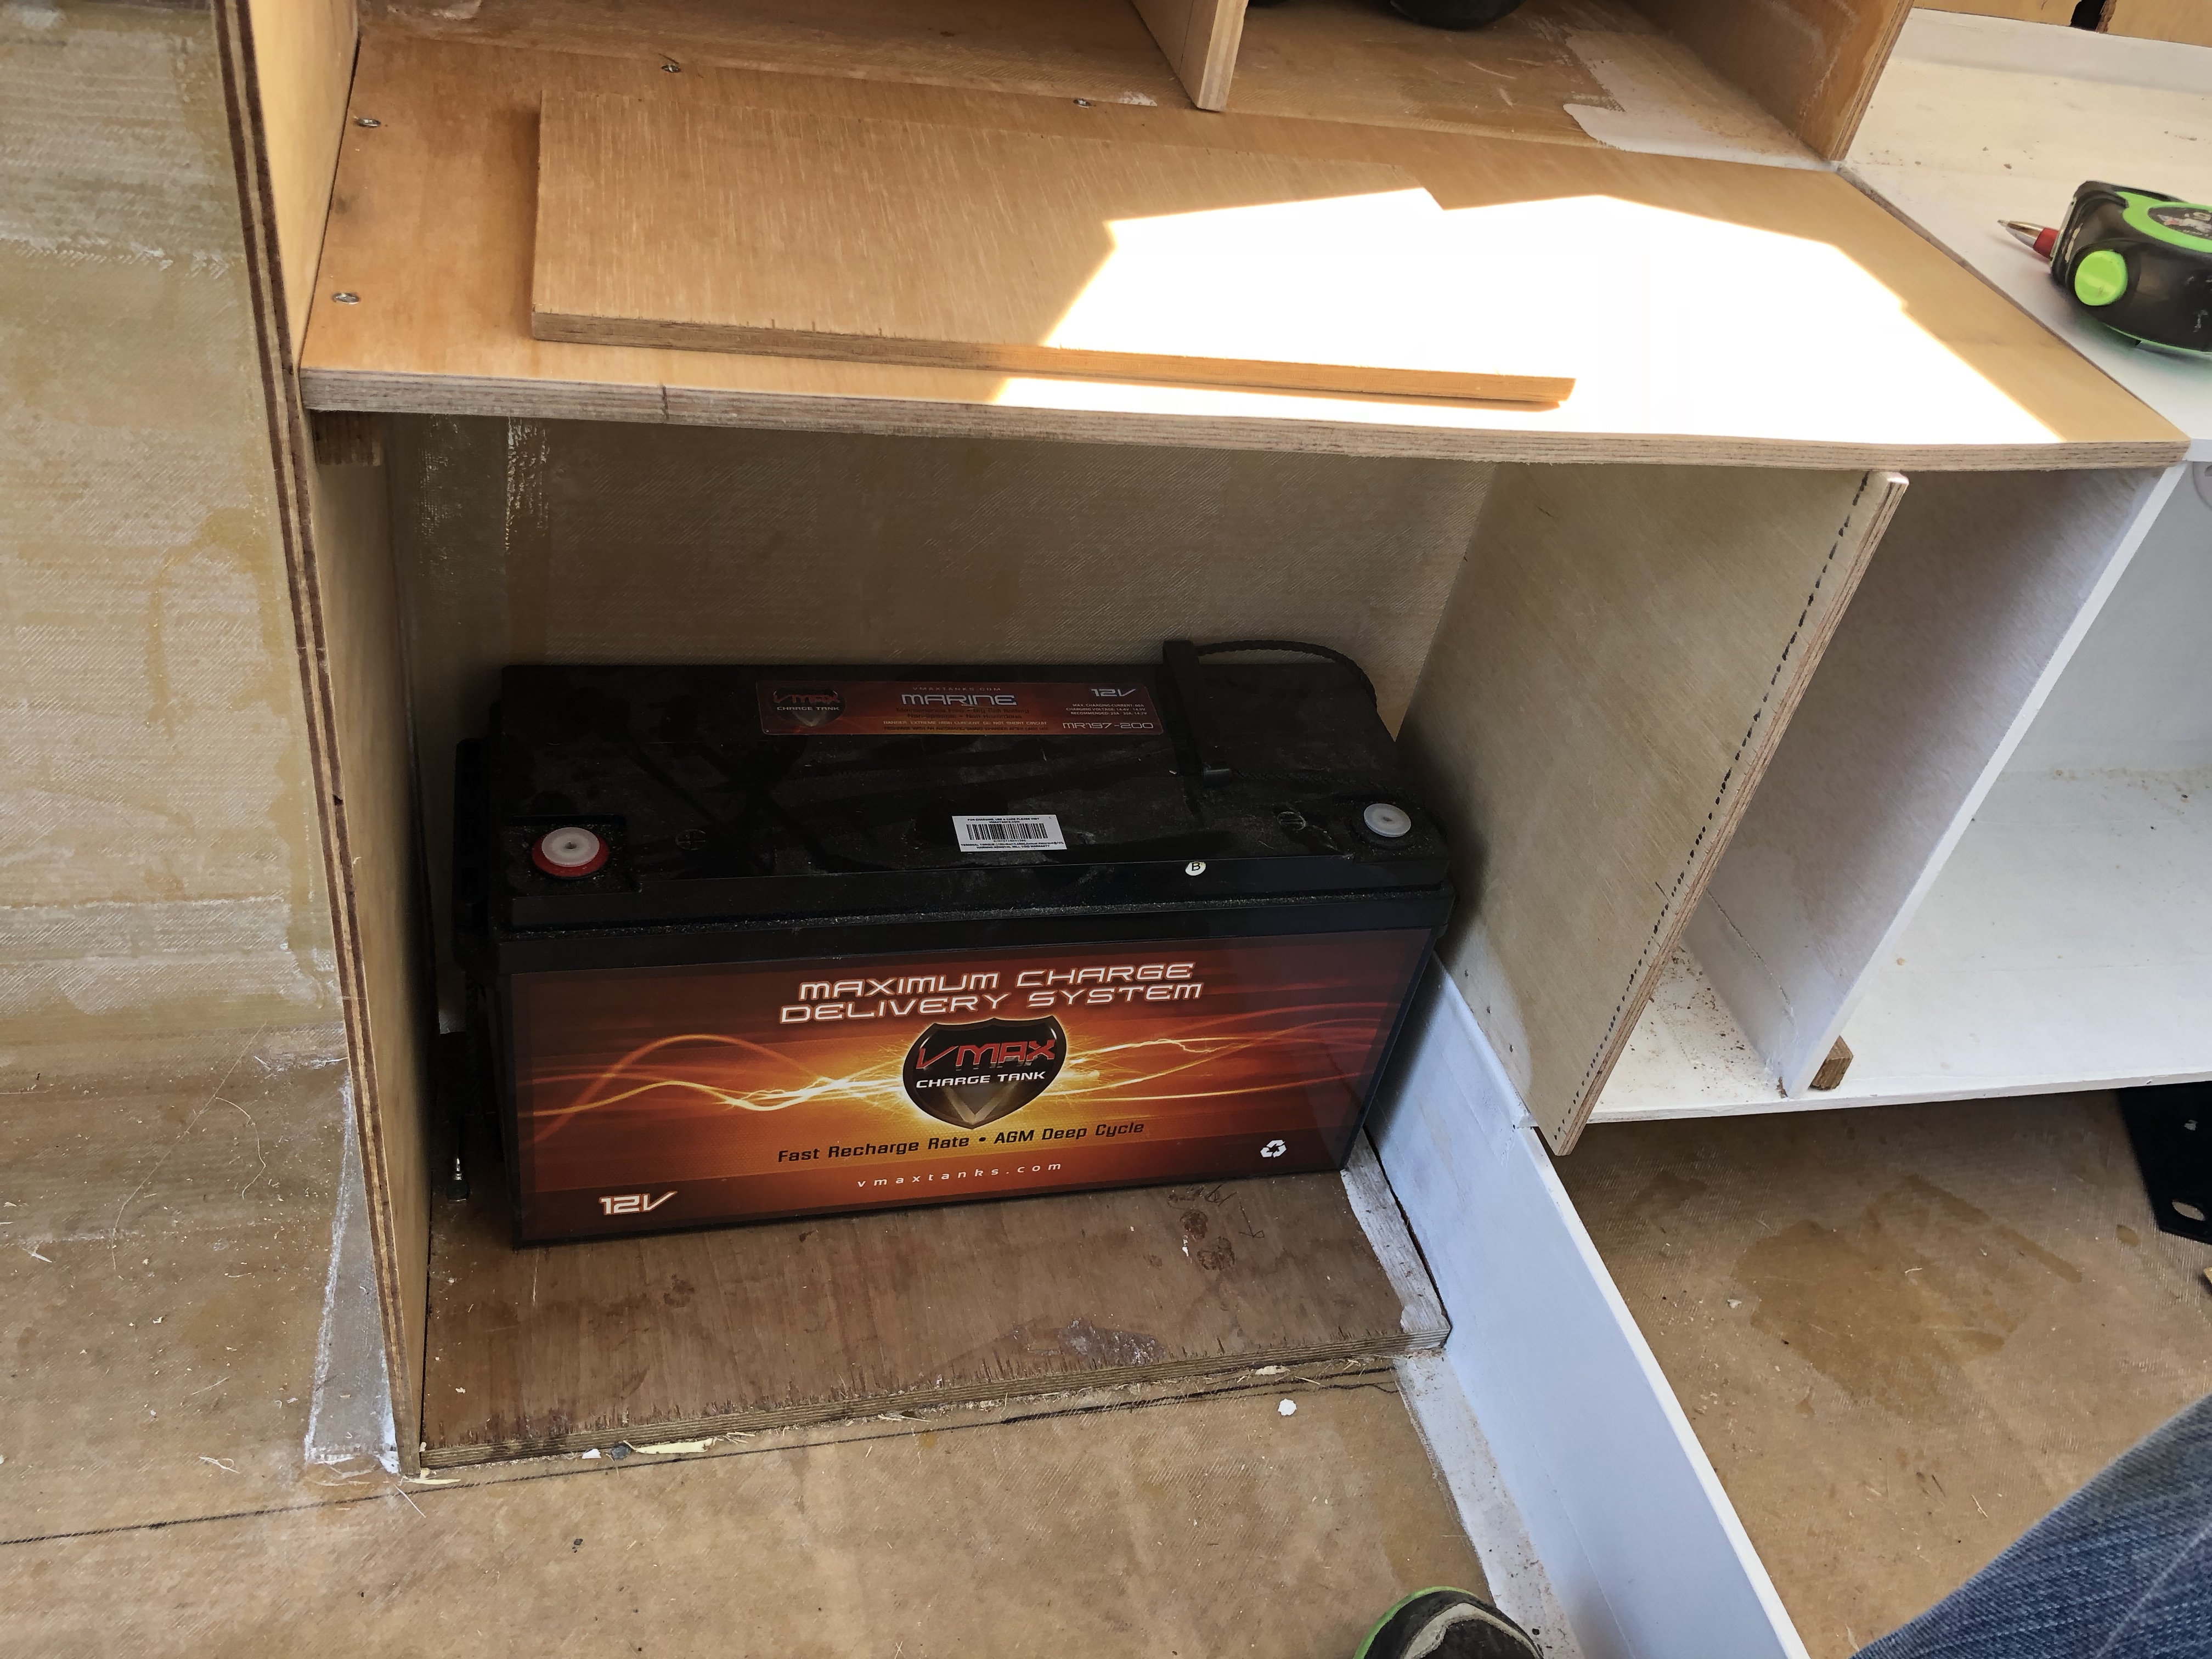
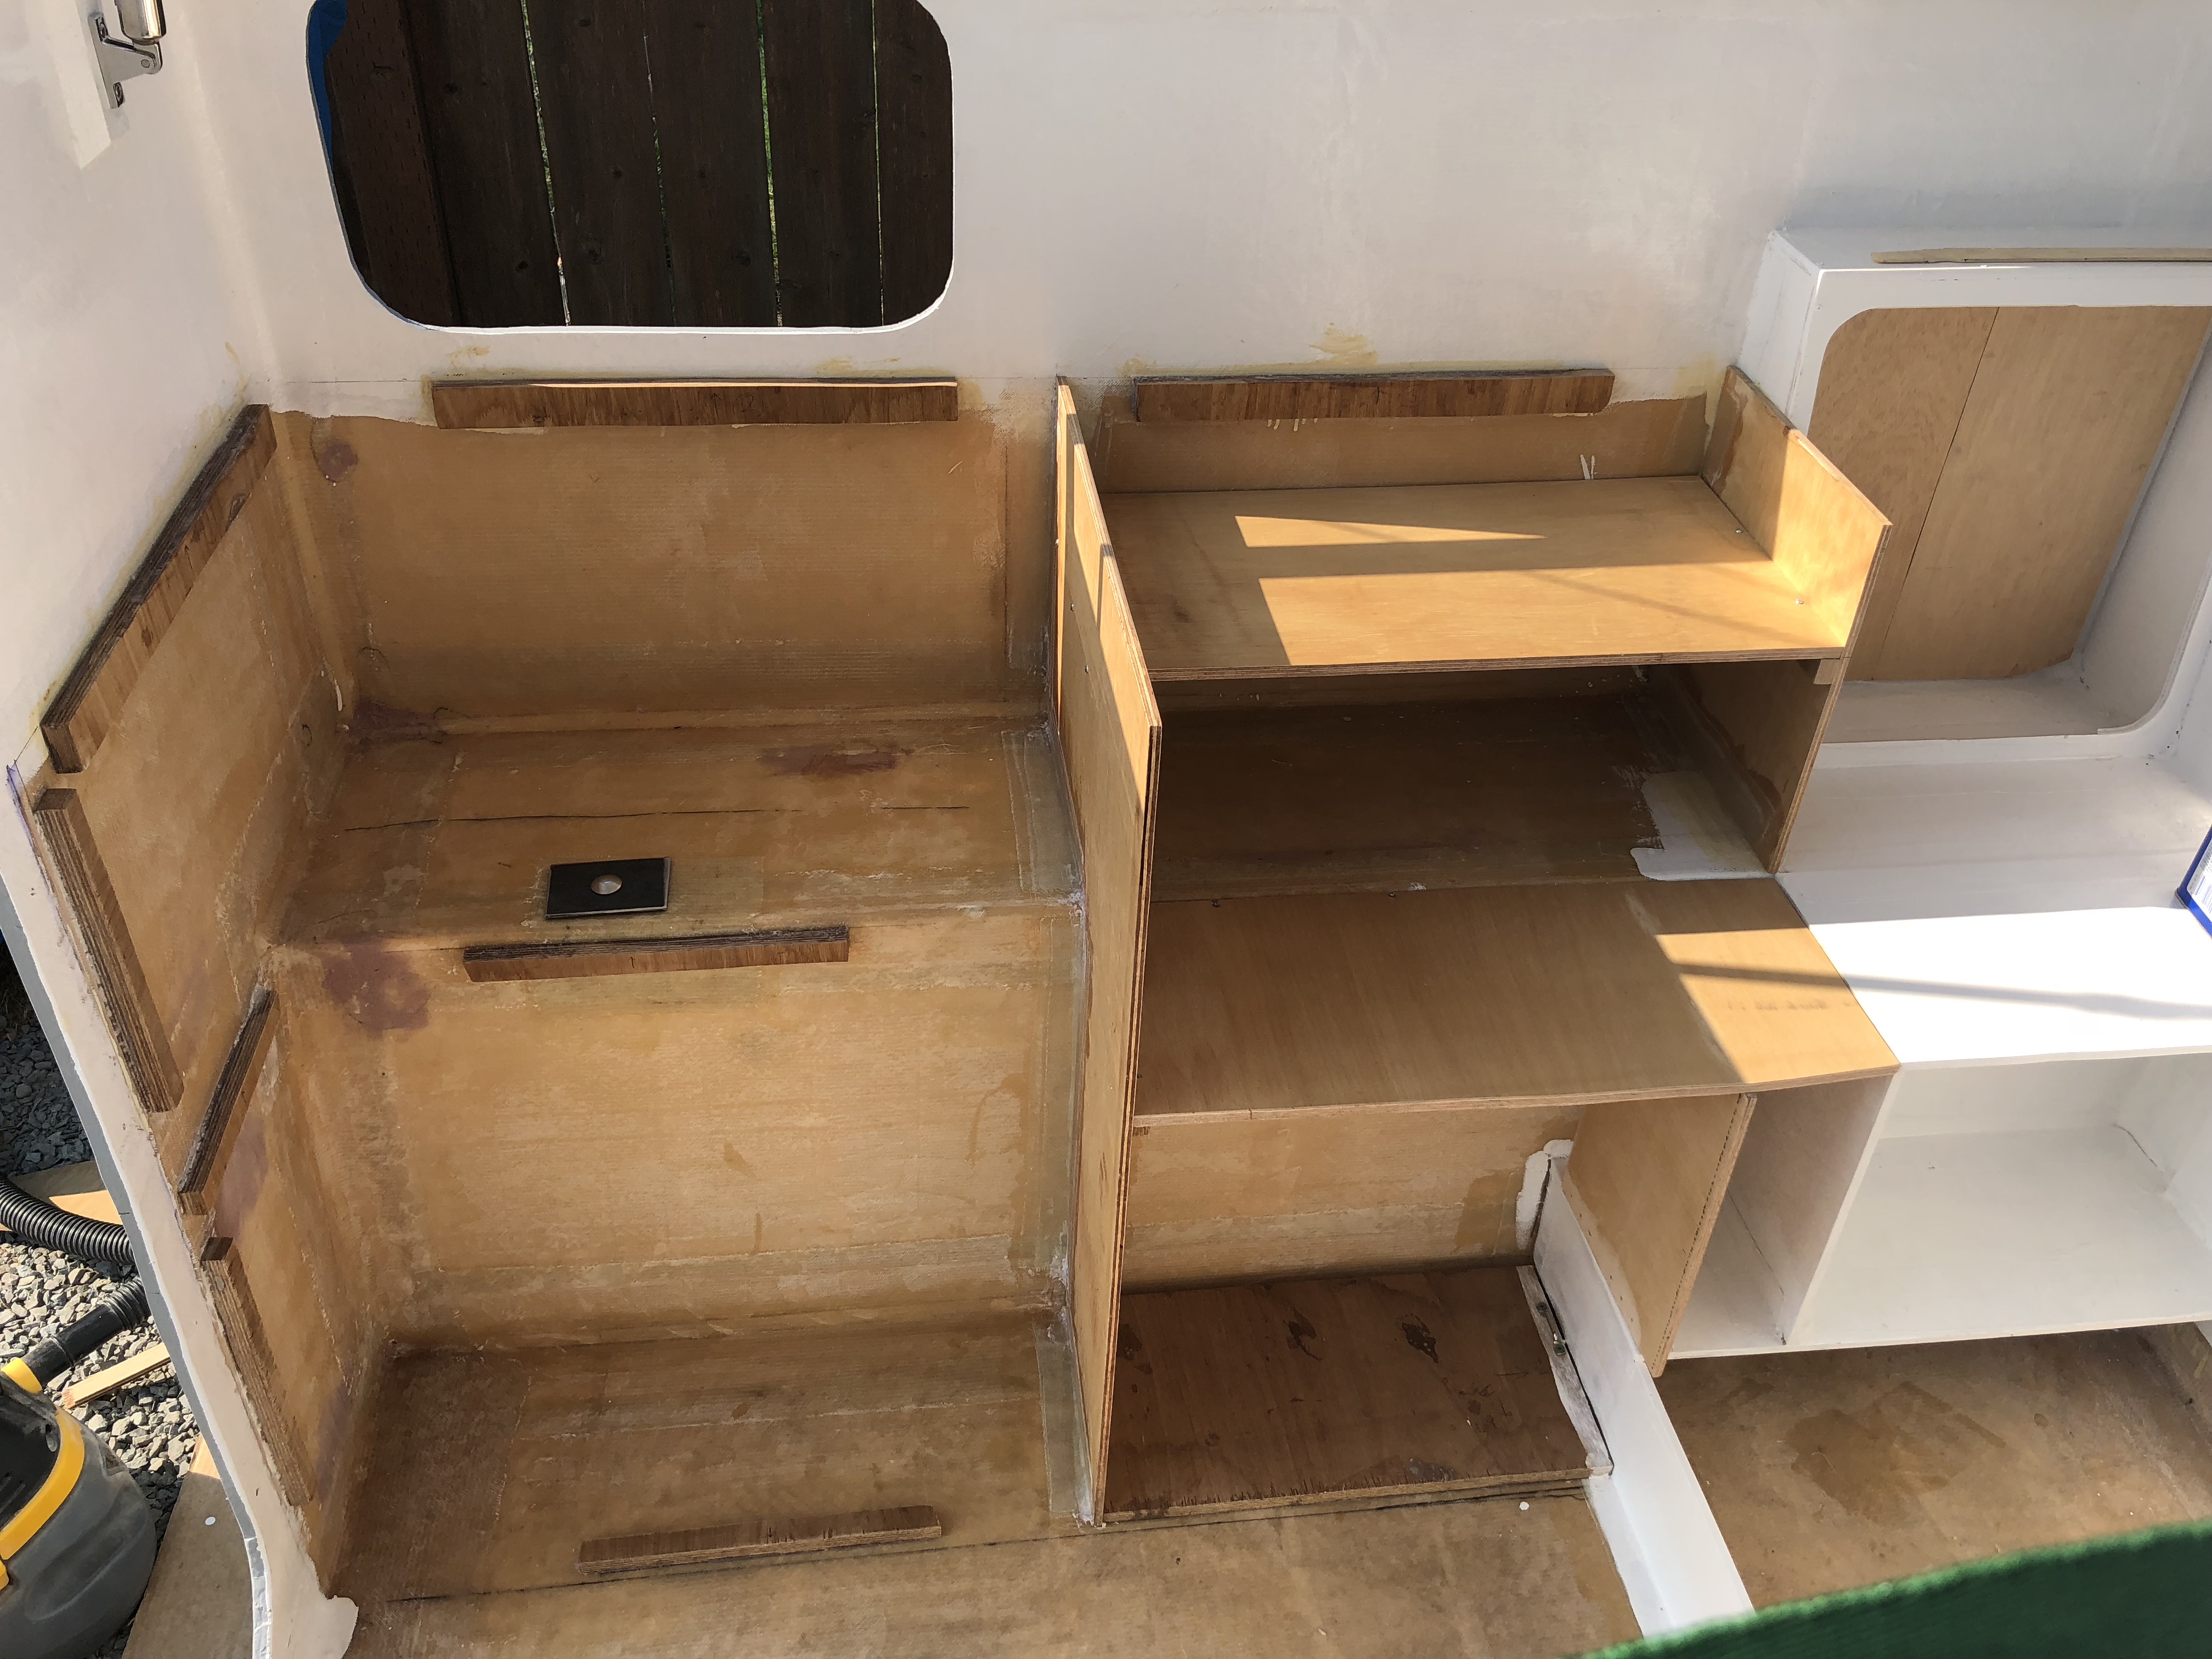
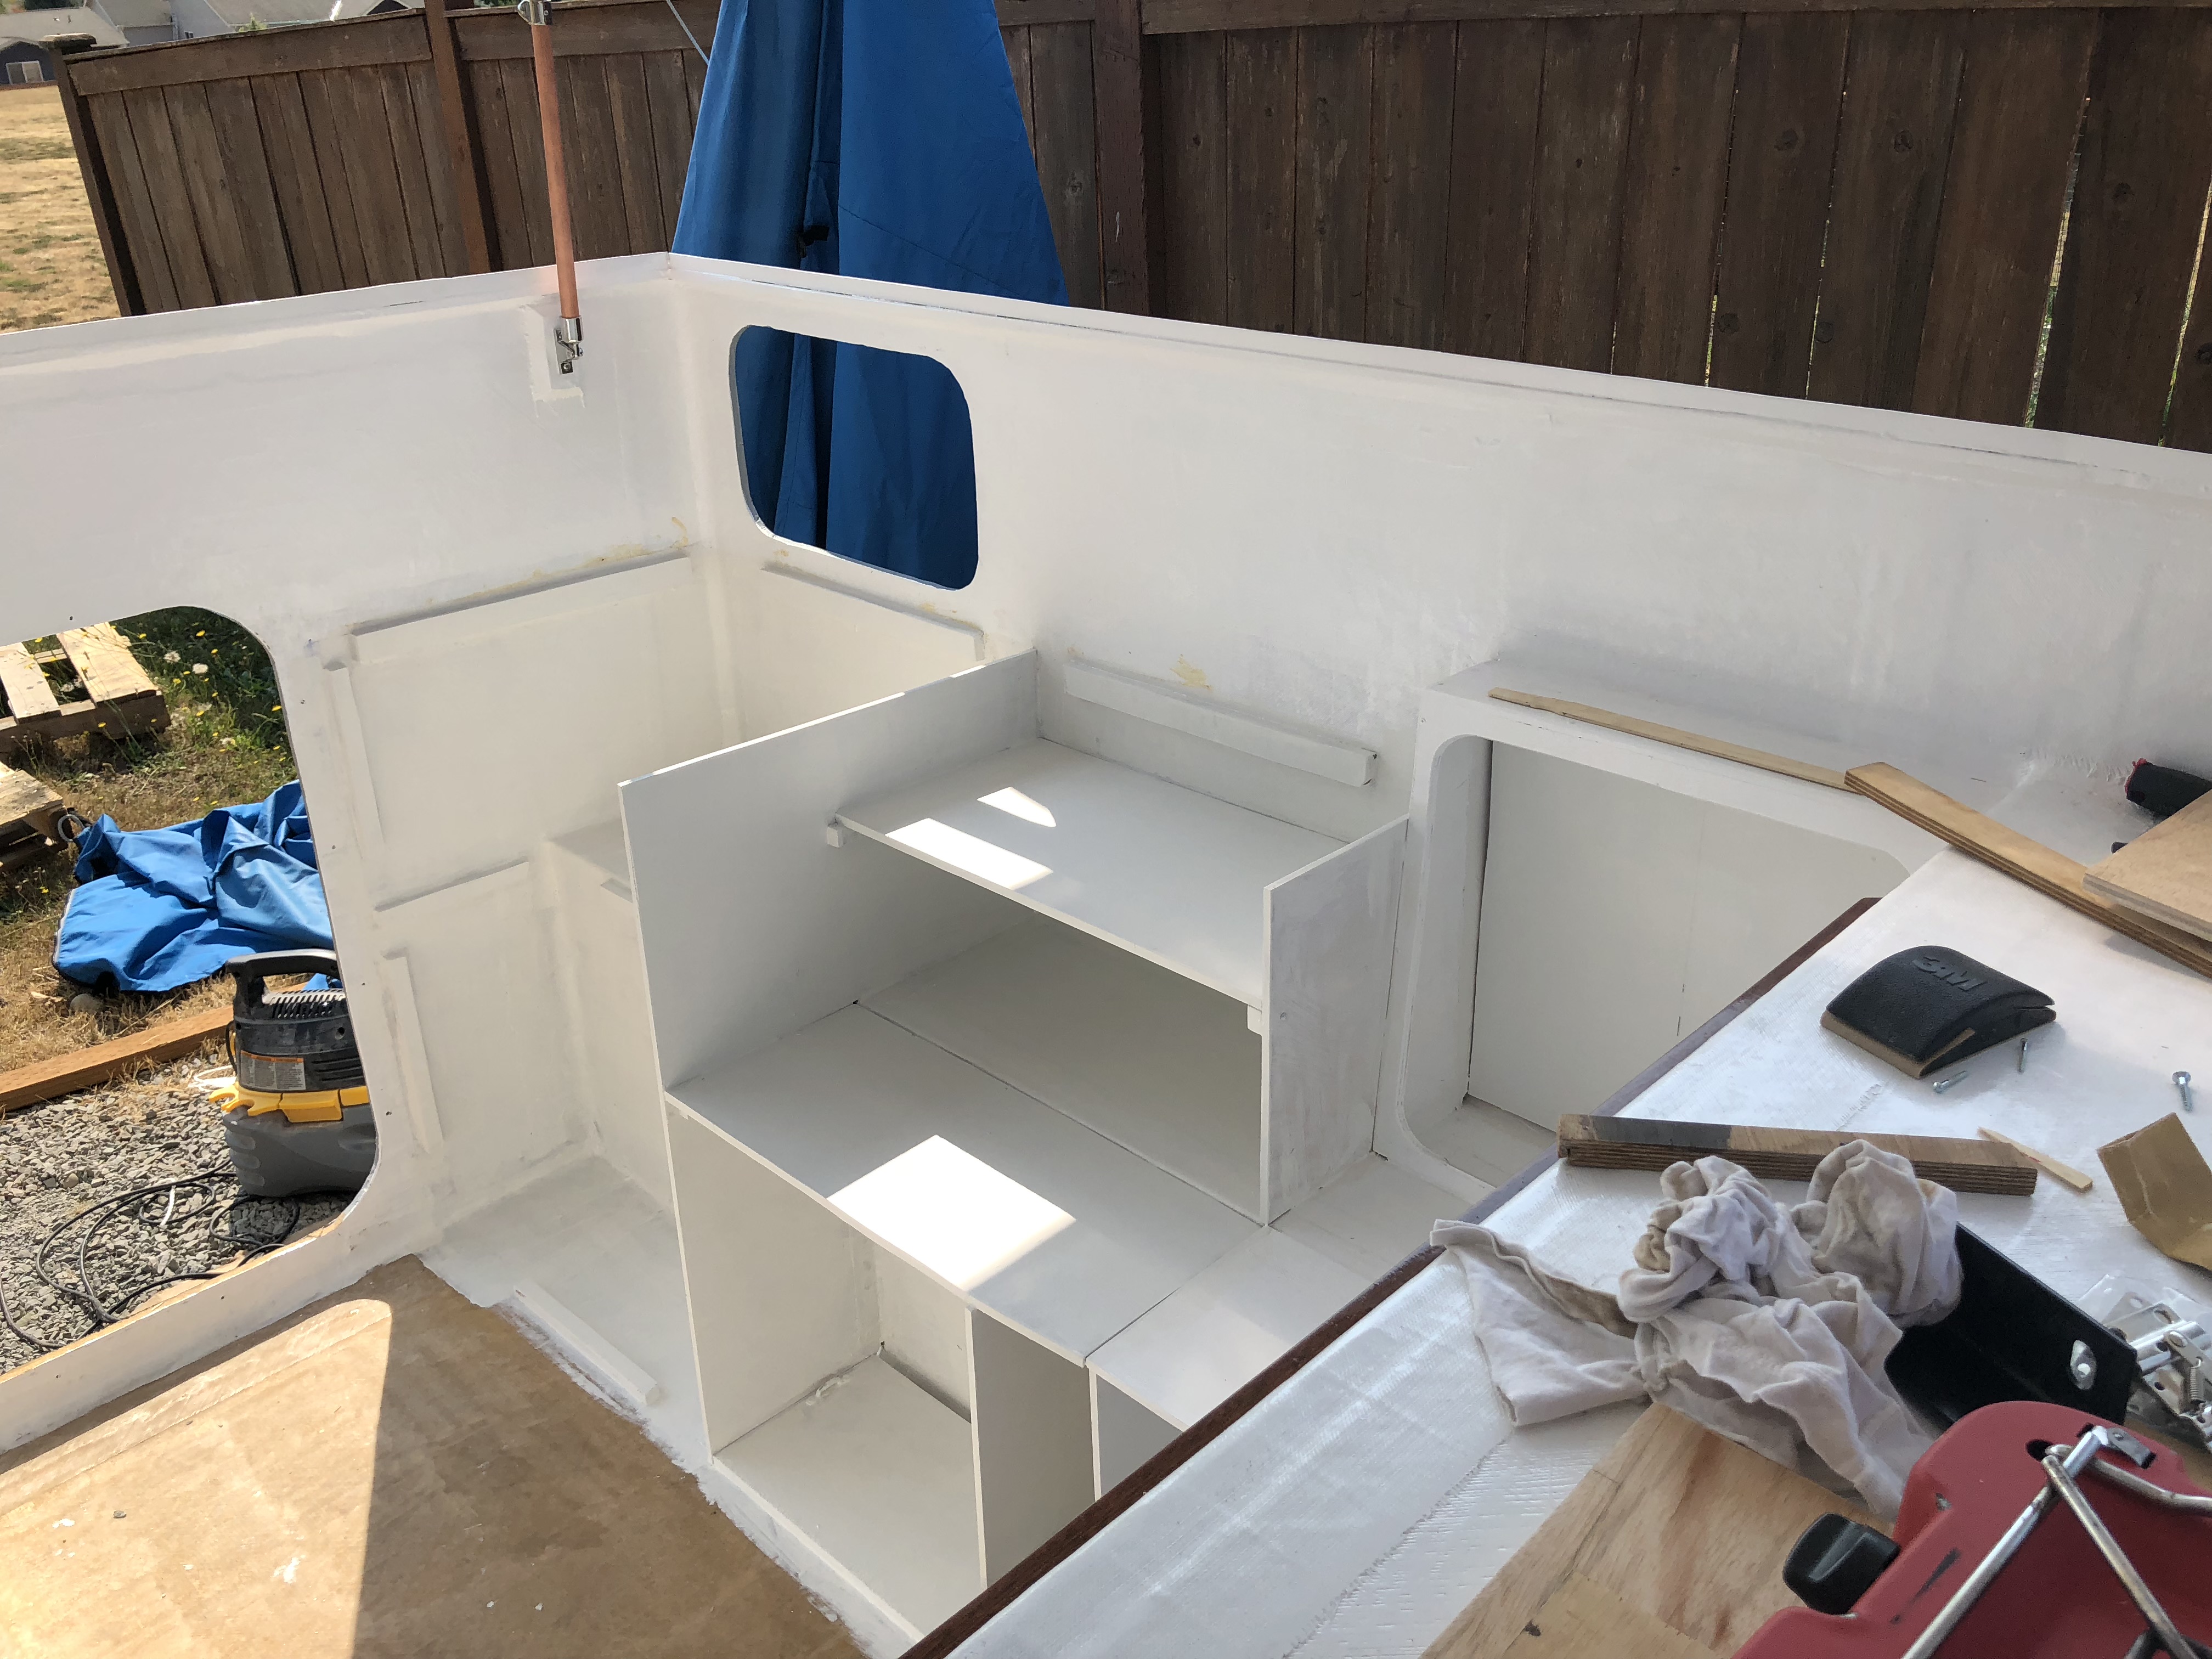
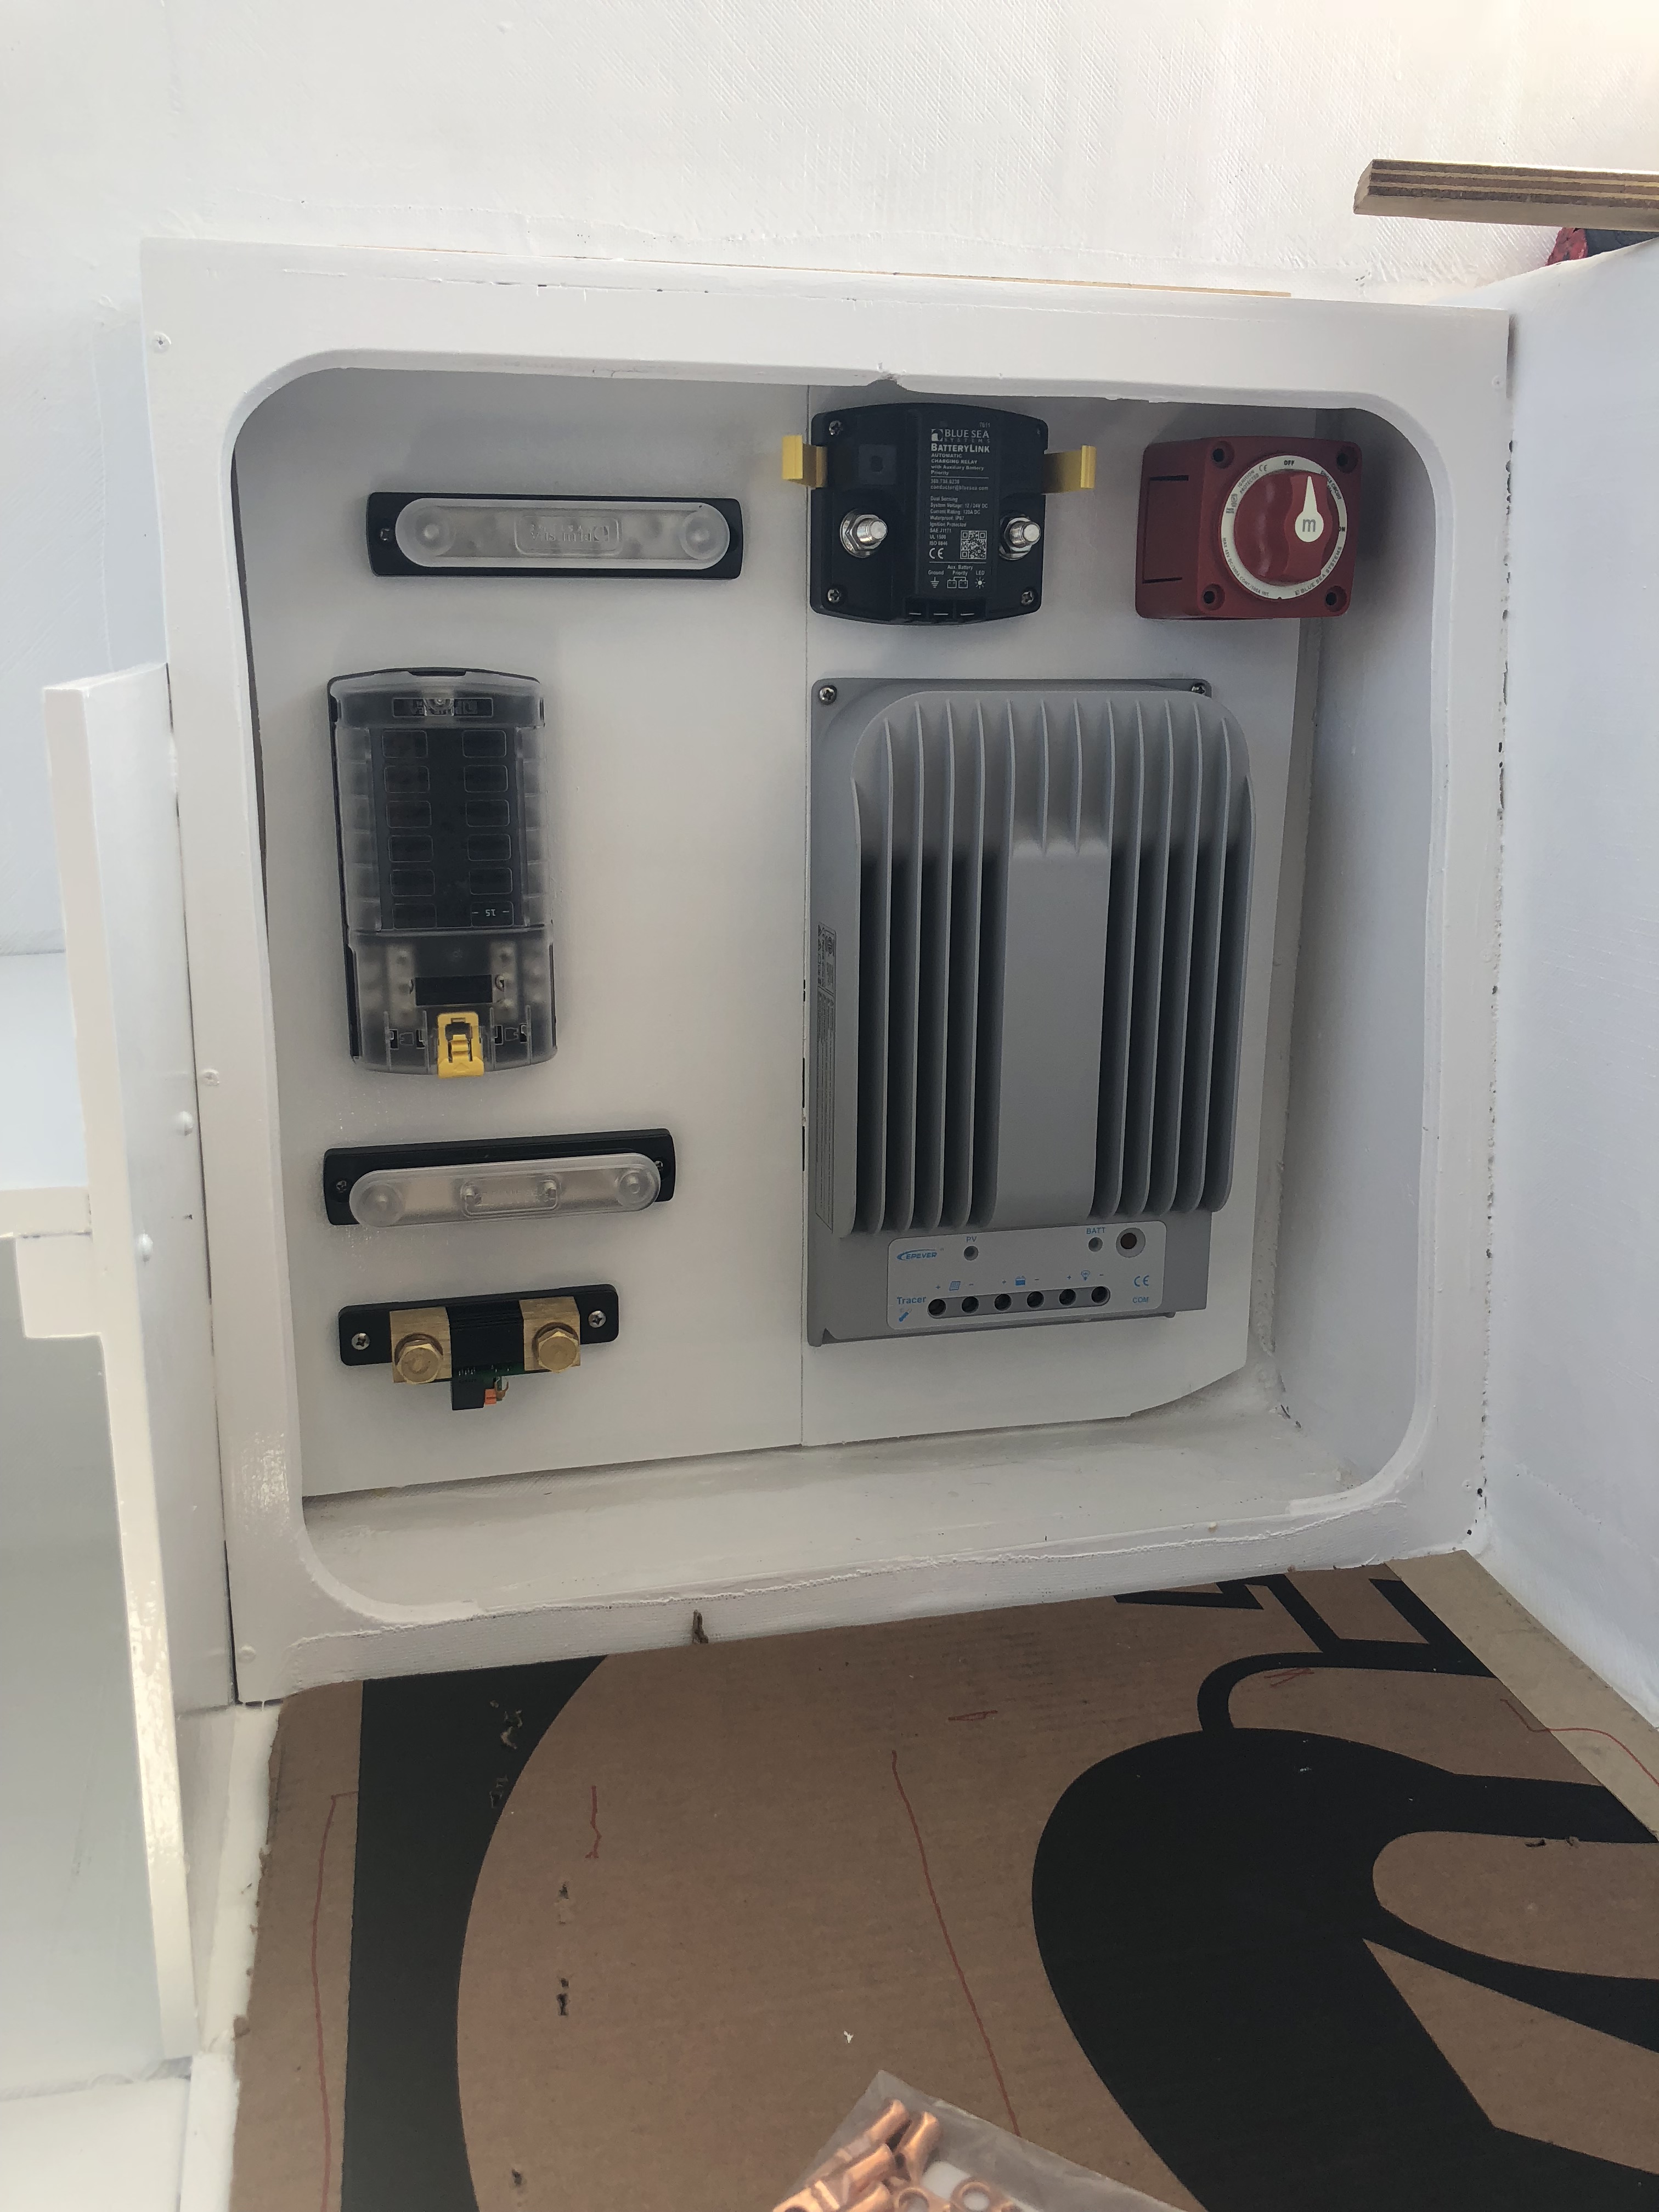
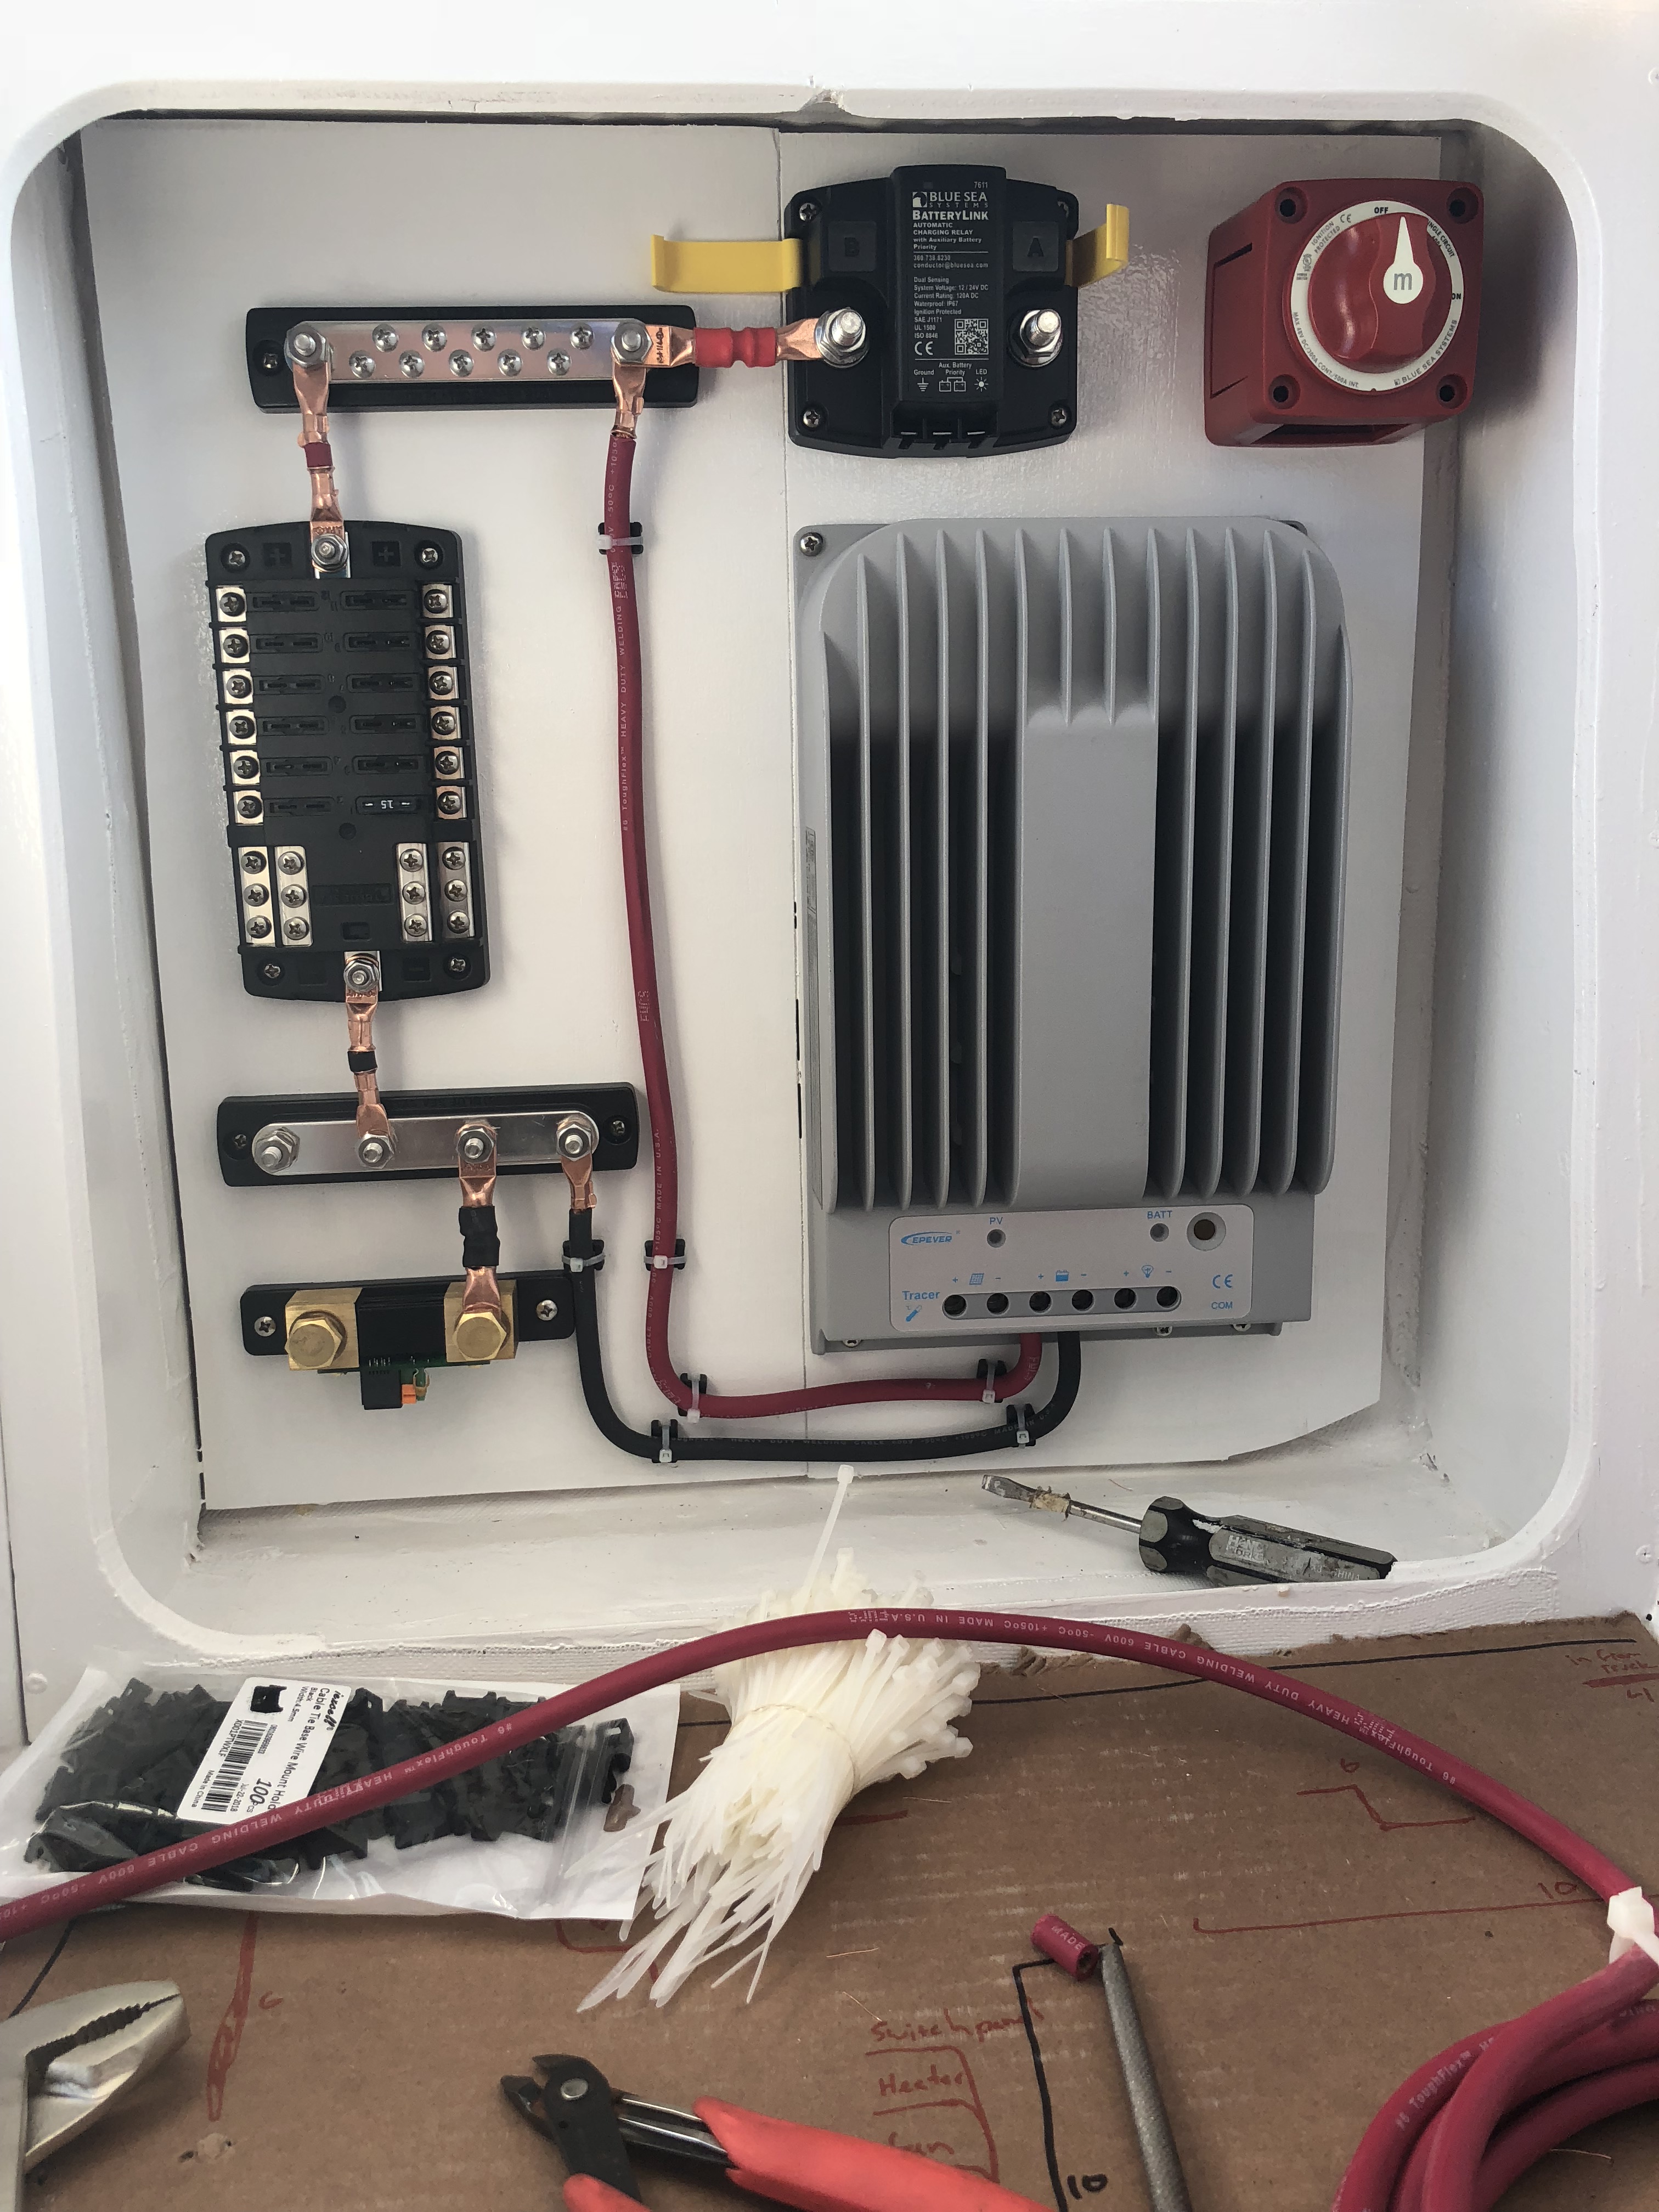
I *had* to order a new sewing machine to be able to sew the canvas, but it's taking forever to get here, so we're moving on to the galley cabinets that we've been procrastinating on! We wanted as much storage in here as possible after years of living out of tubs in the bed of the truck. Everything needs a place to be! I had a rough layout in mind already. We had a nice 2 burner camp stove that I was going to cannibalize and install, so it was going to go on the forward end of the counter because I didn't want someone to be cooking right where people would be going in and out by the door. That left the back part for counter space and the sink. I wanted as much usable counter space as possible, so my plan was to put the sink as far back as I thought I could while still having enough room to actually use it. Then I took into account the size of the battery being mounted to the floor and that pretty much set where my main divider bulkhead was going to go. Still using my trusty landscaping rocks. I also glued in Jason's electrical panel piece.
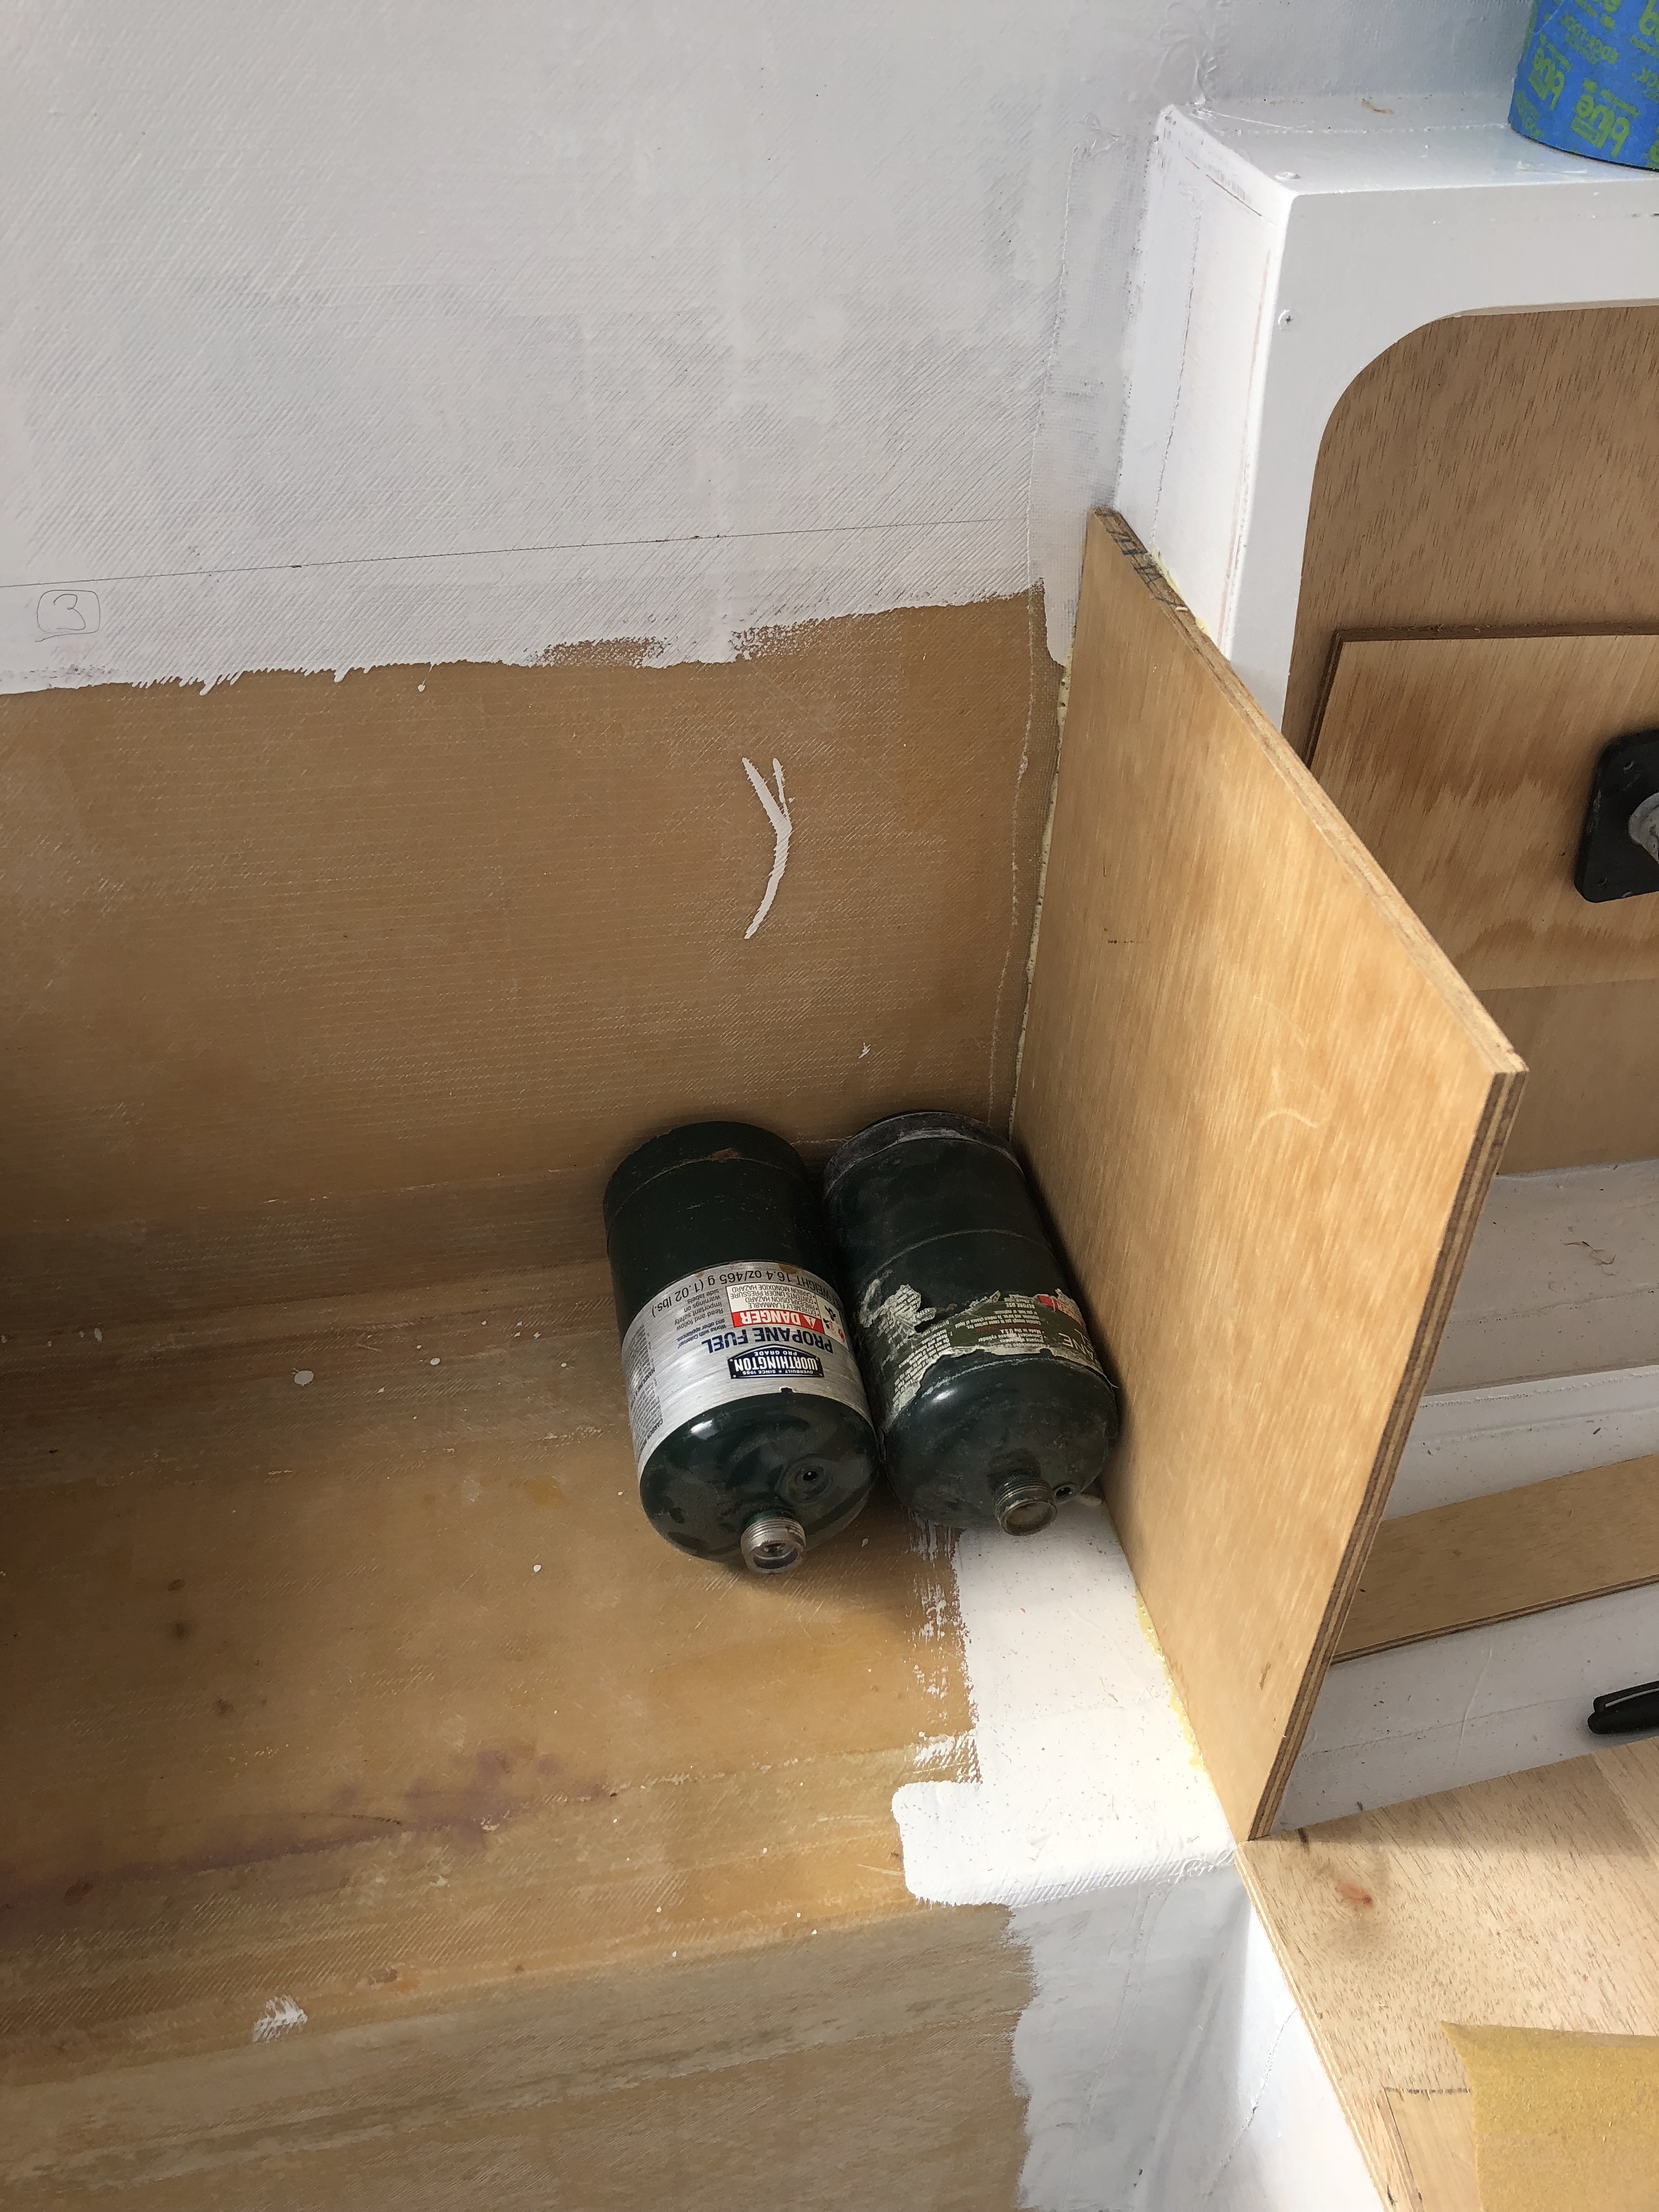
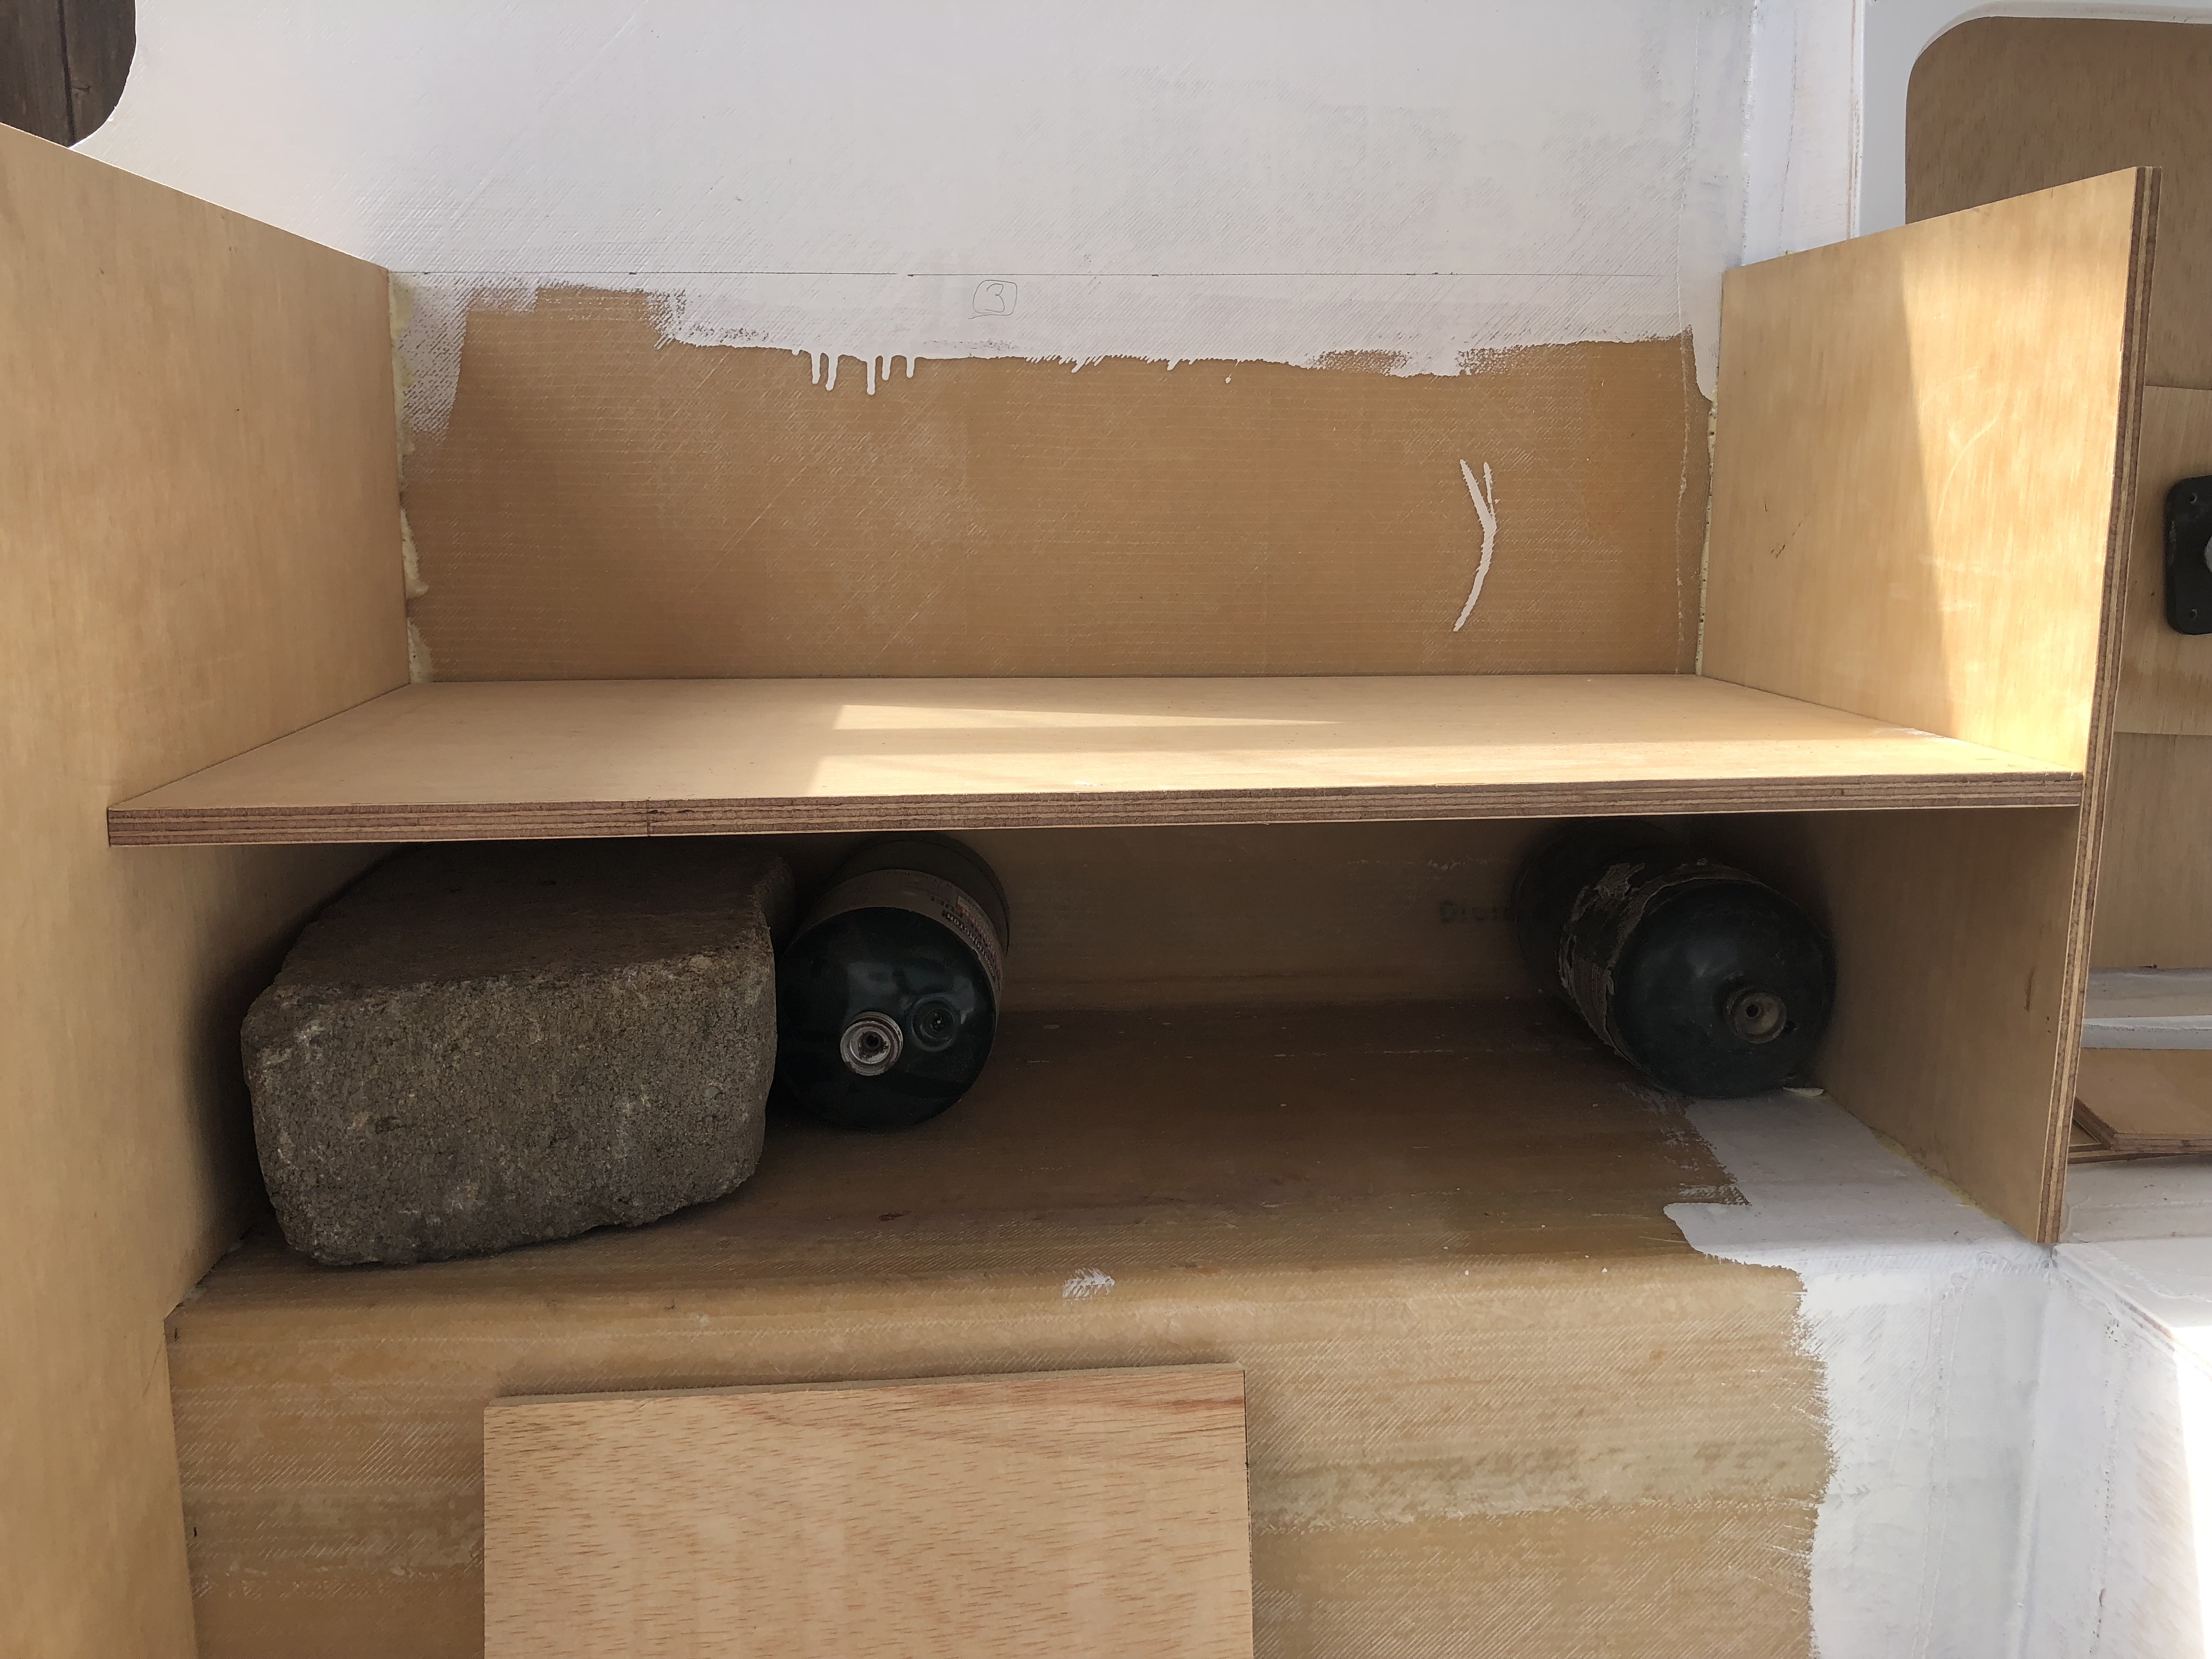
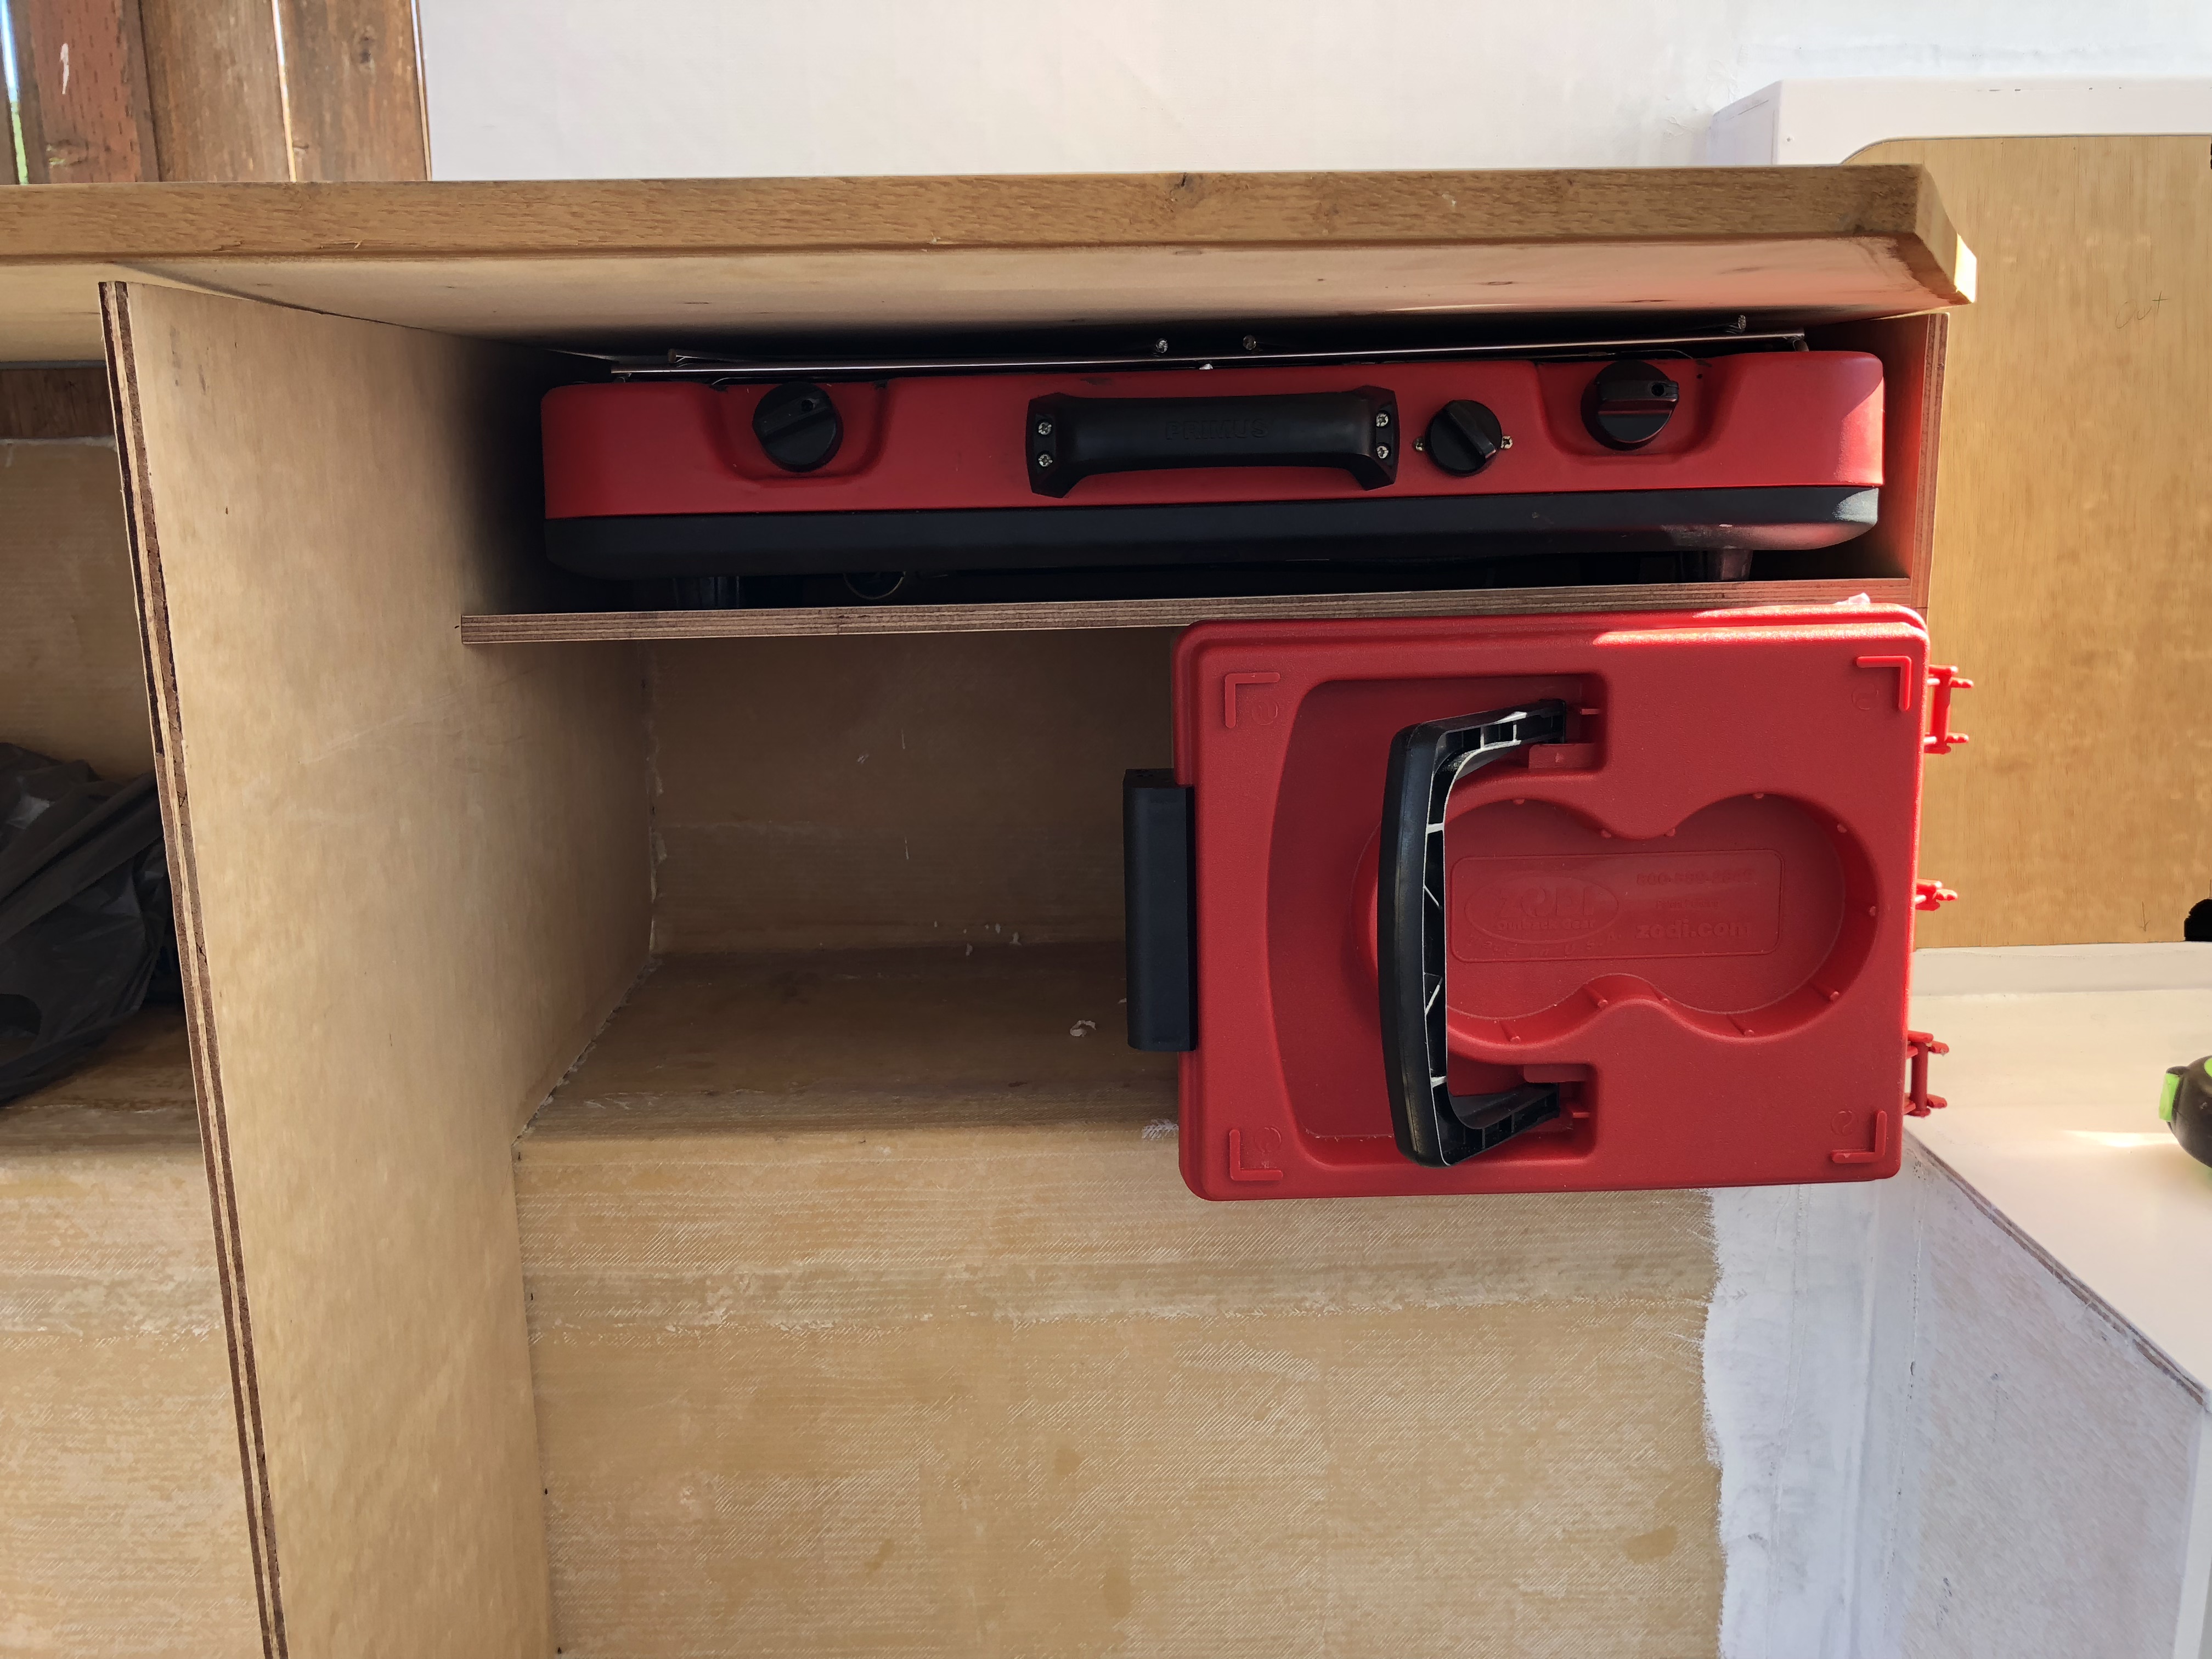
We didn't have enough room for a big propane tank. The only thing running propane is our little camp stove, so my plan was to create a little propane "locker" underneath the stove to store a few of those green bottles.
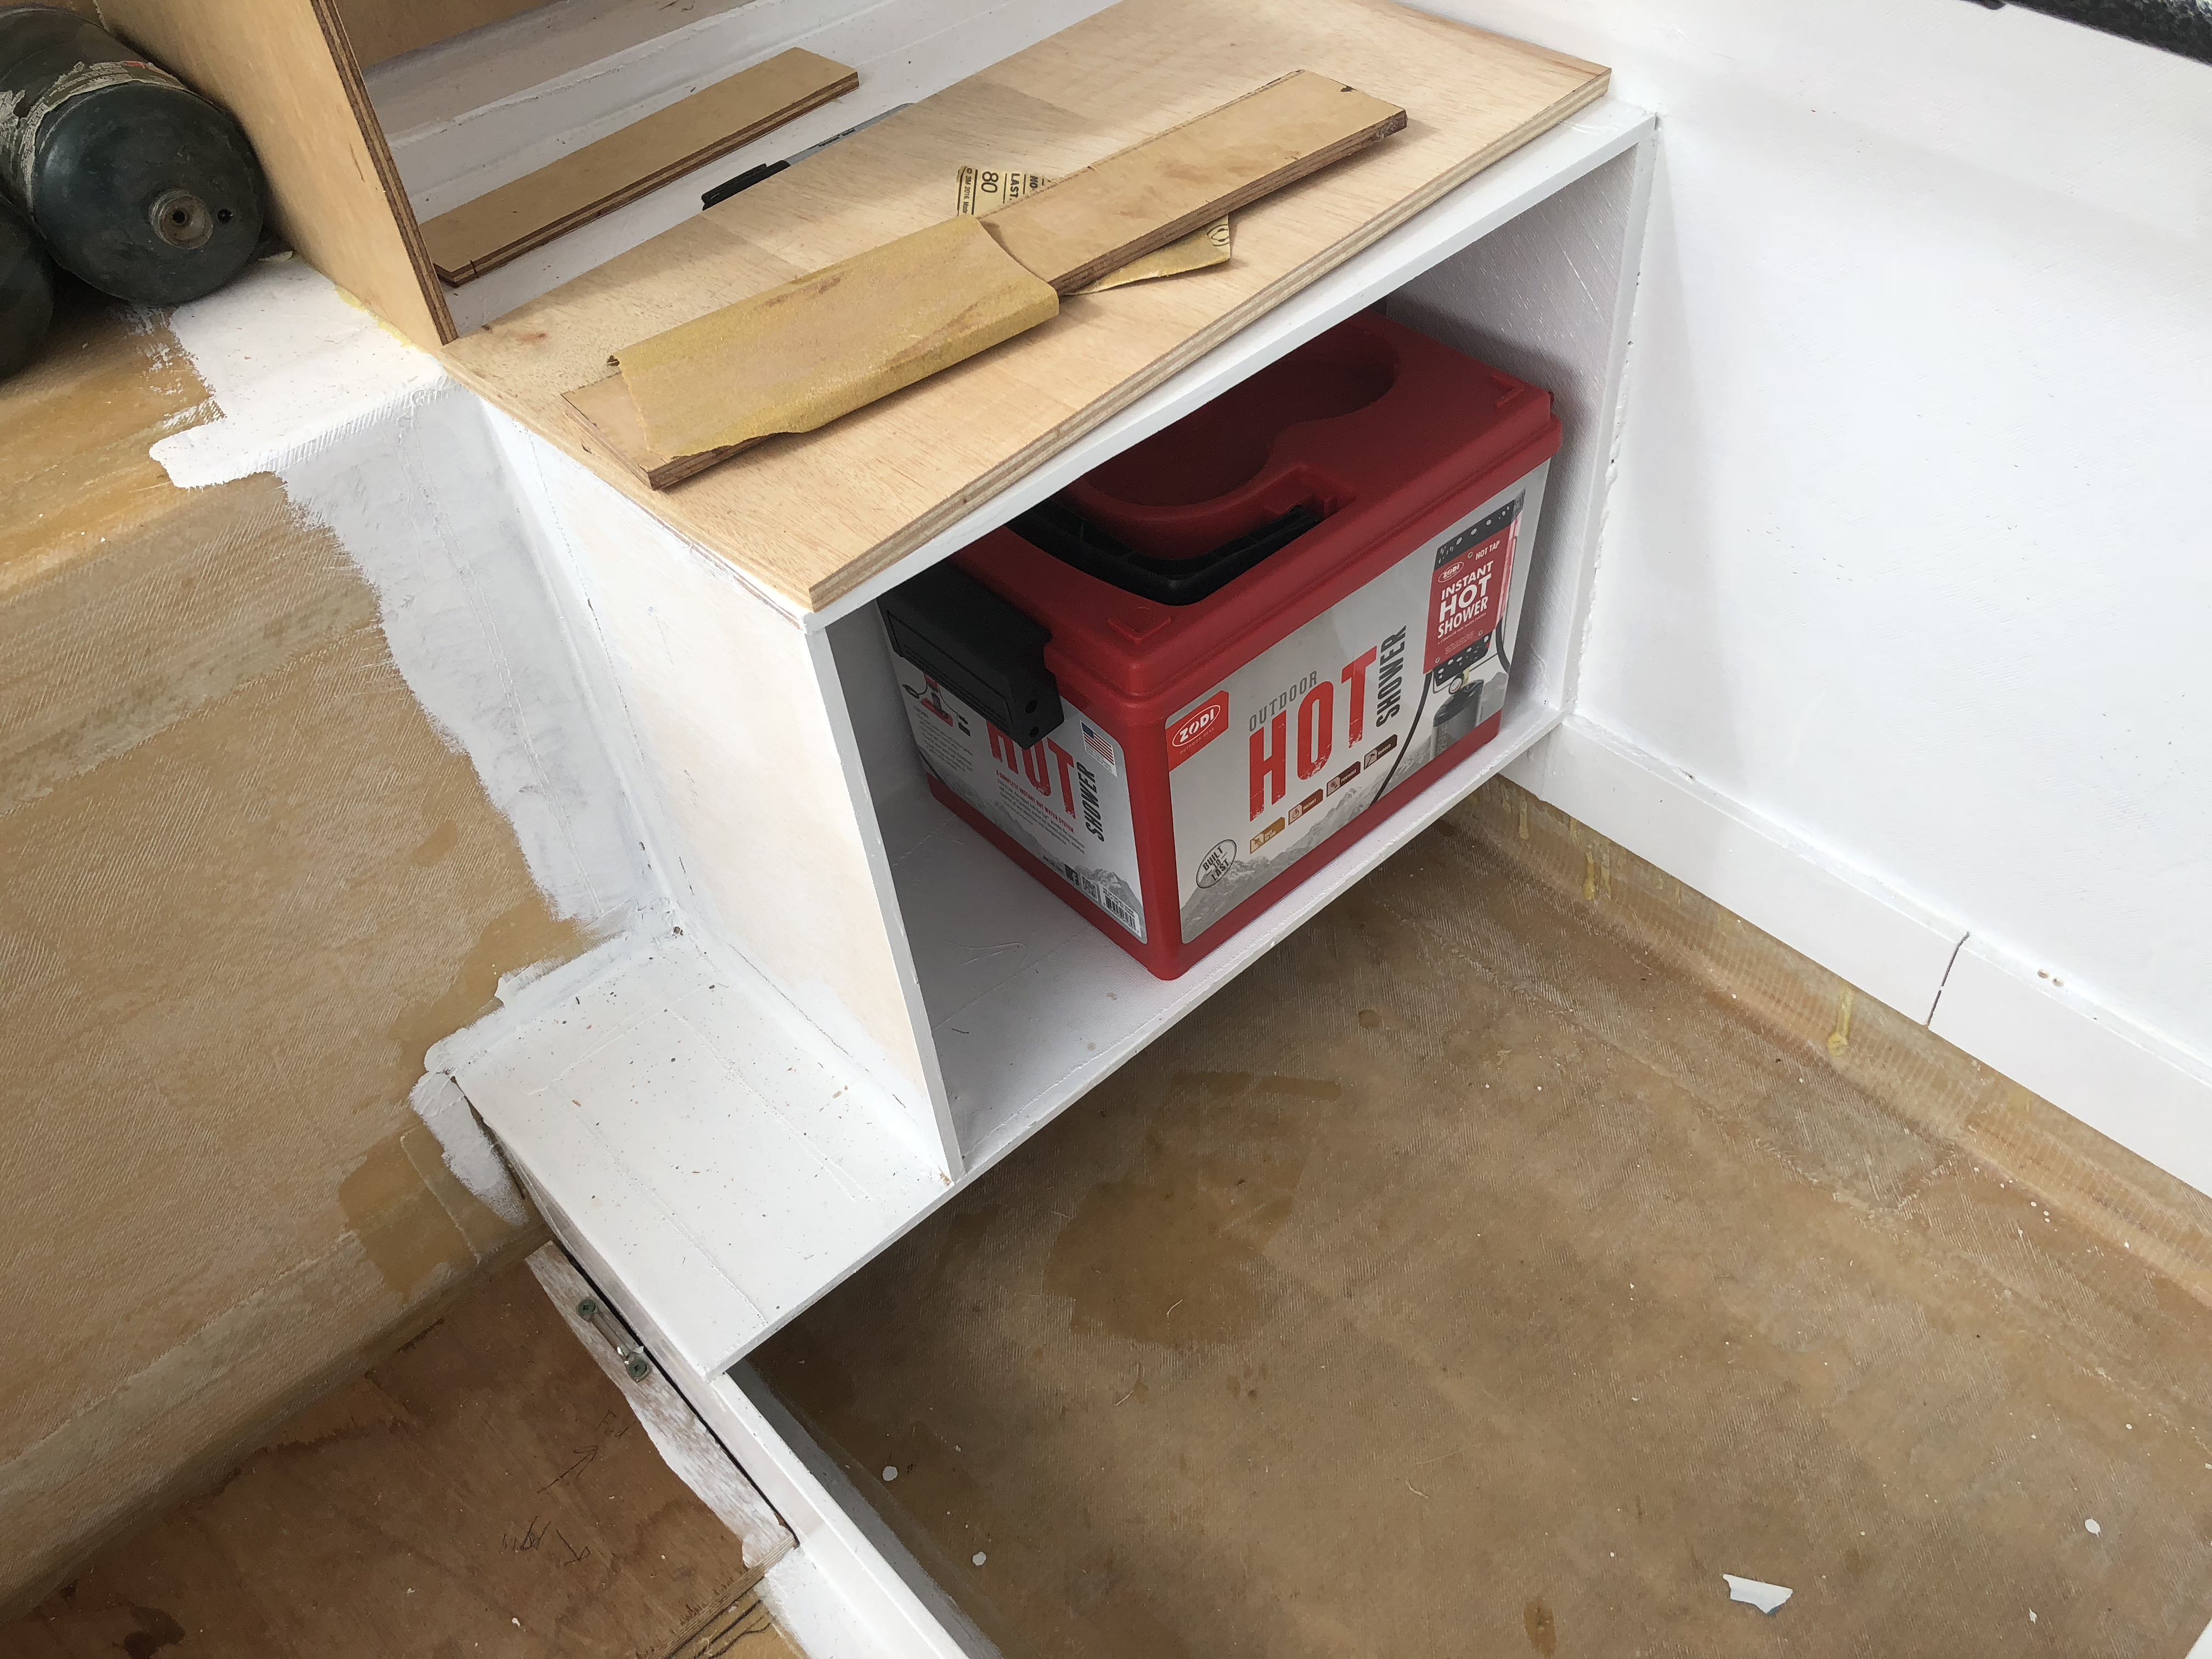
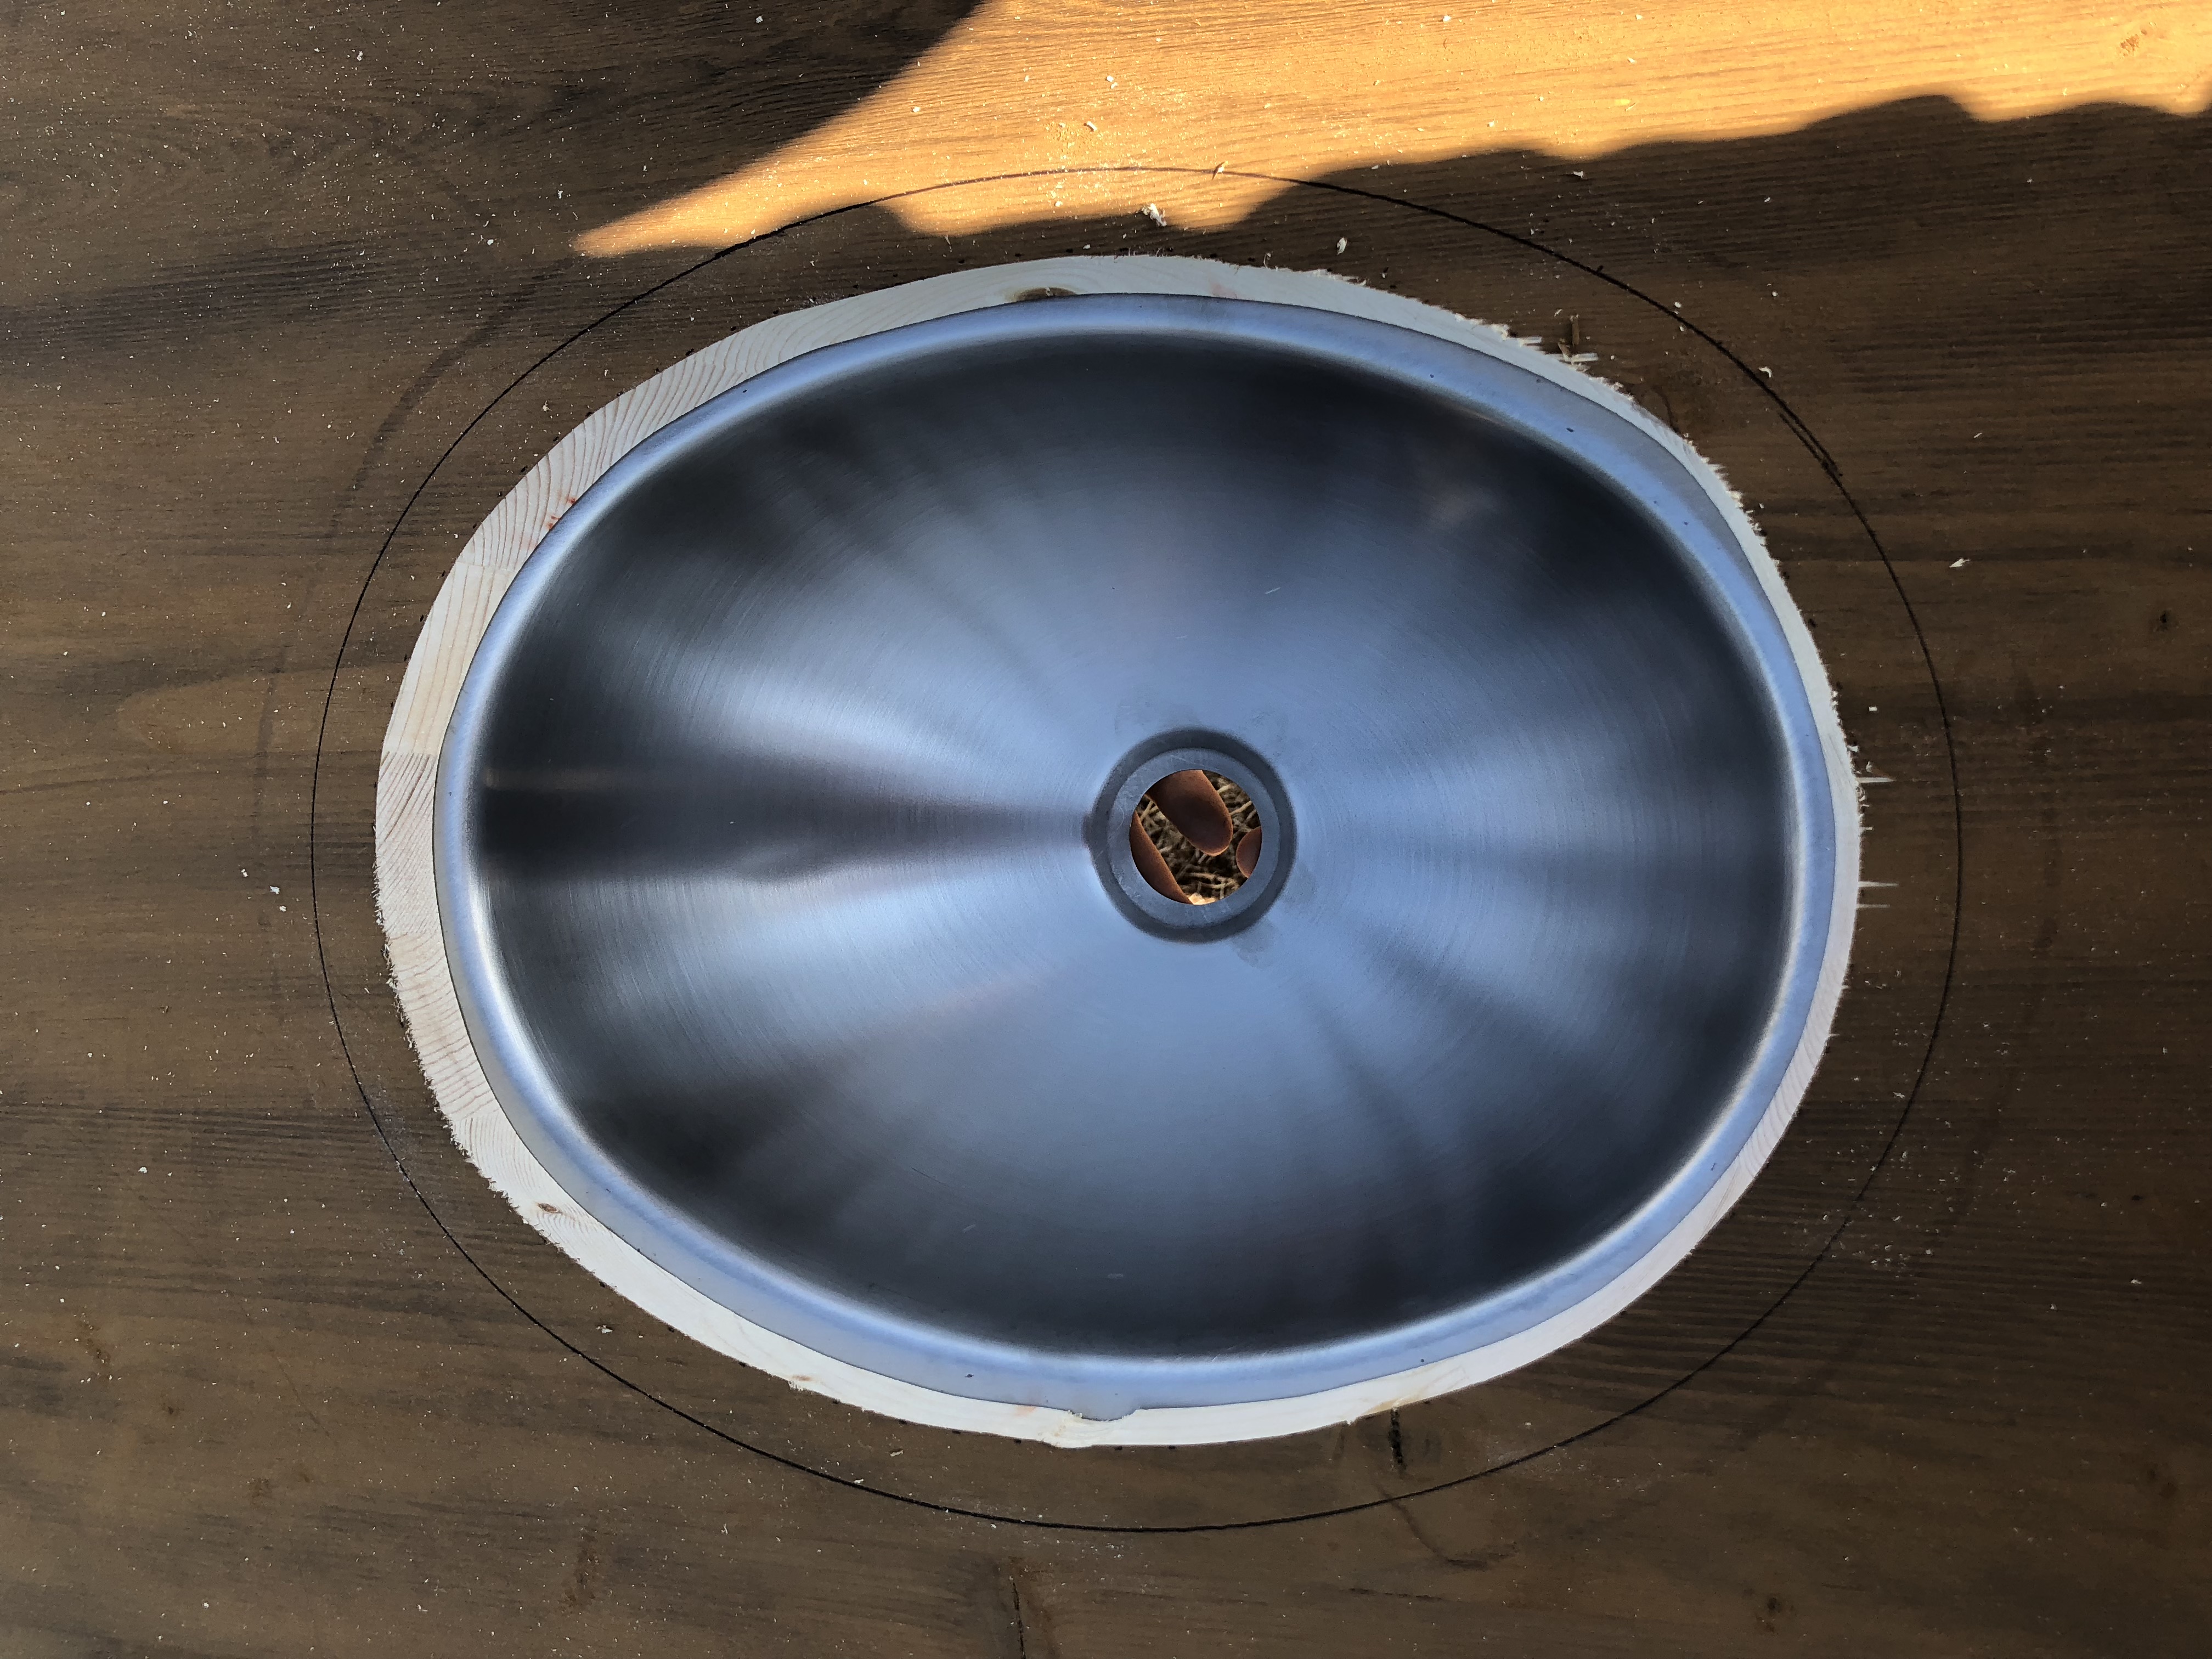
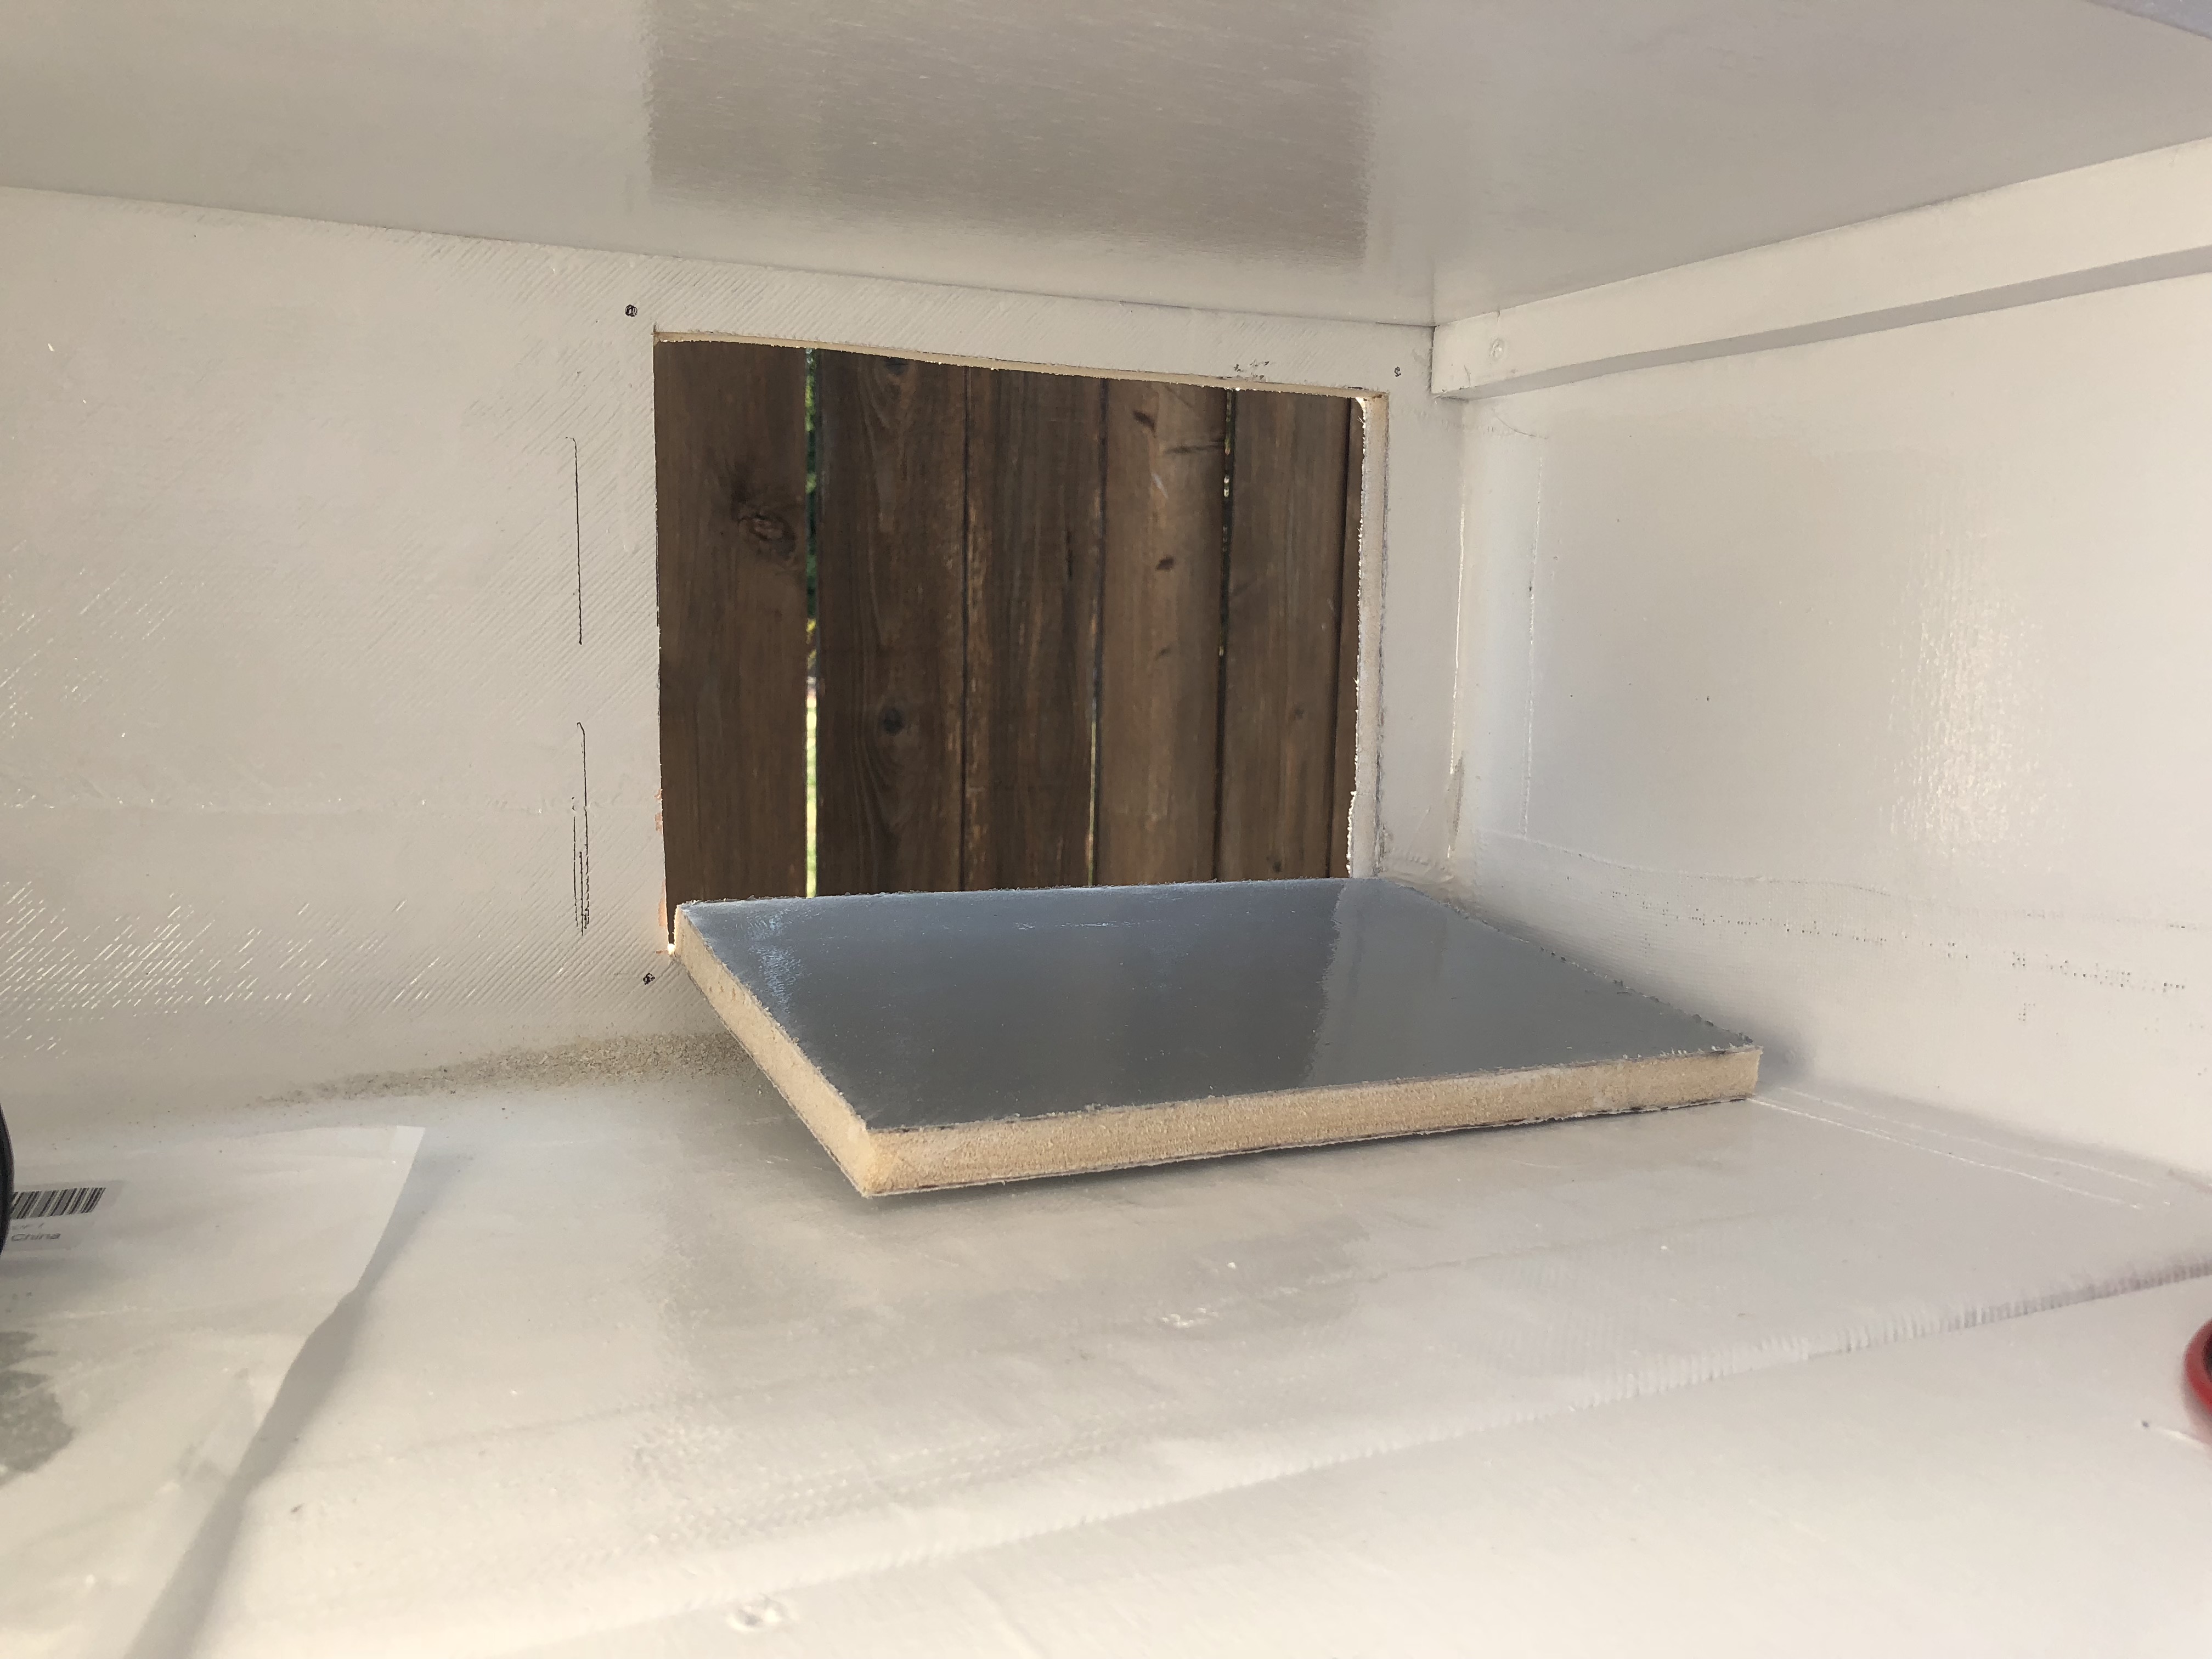
Our little camp shower will go here if we choose to bring it along.
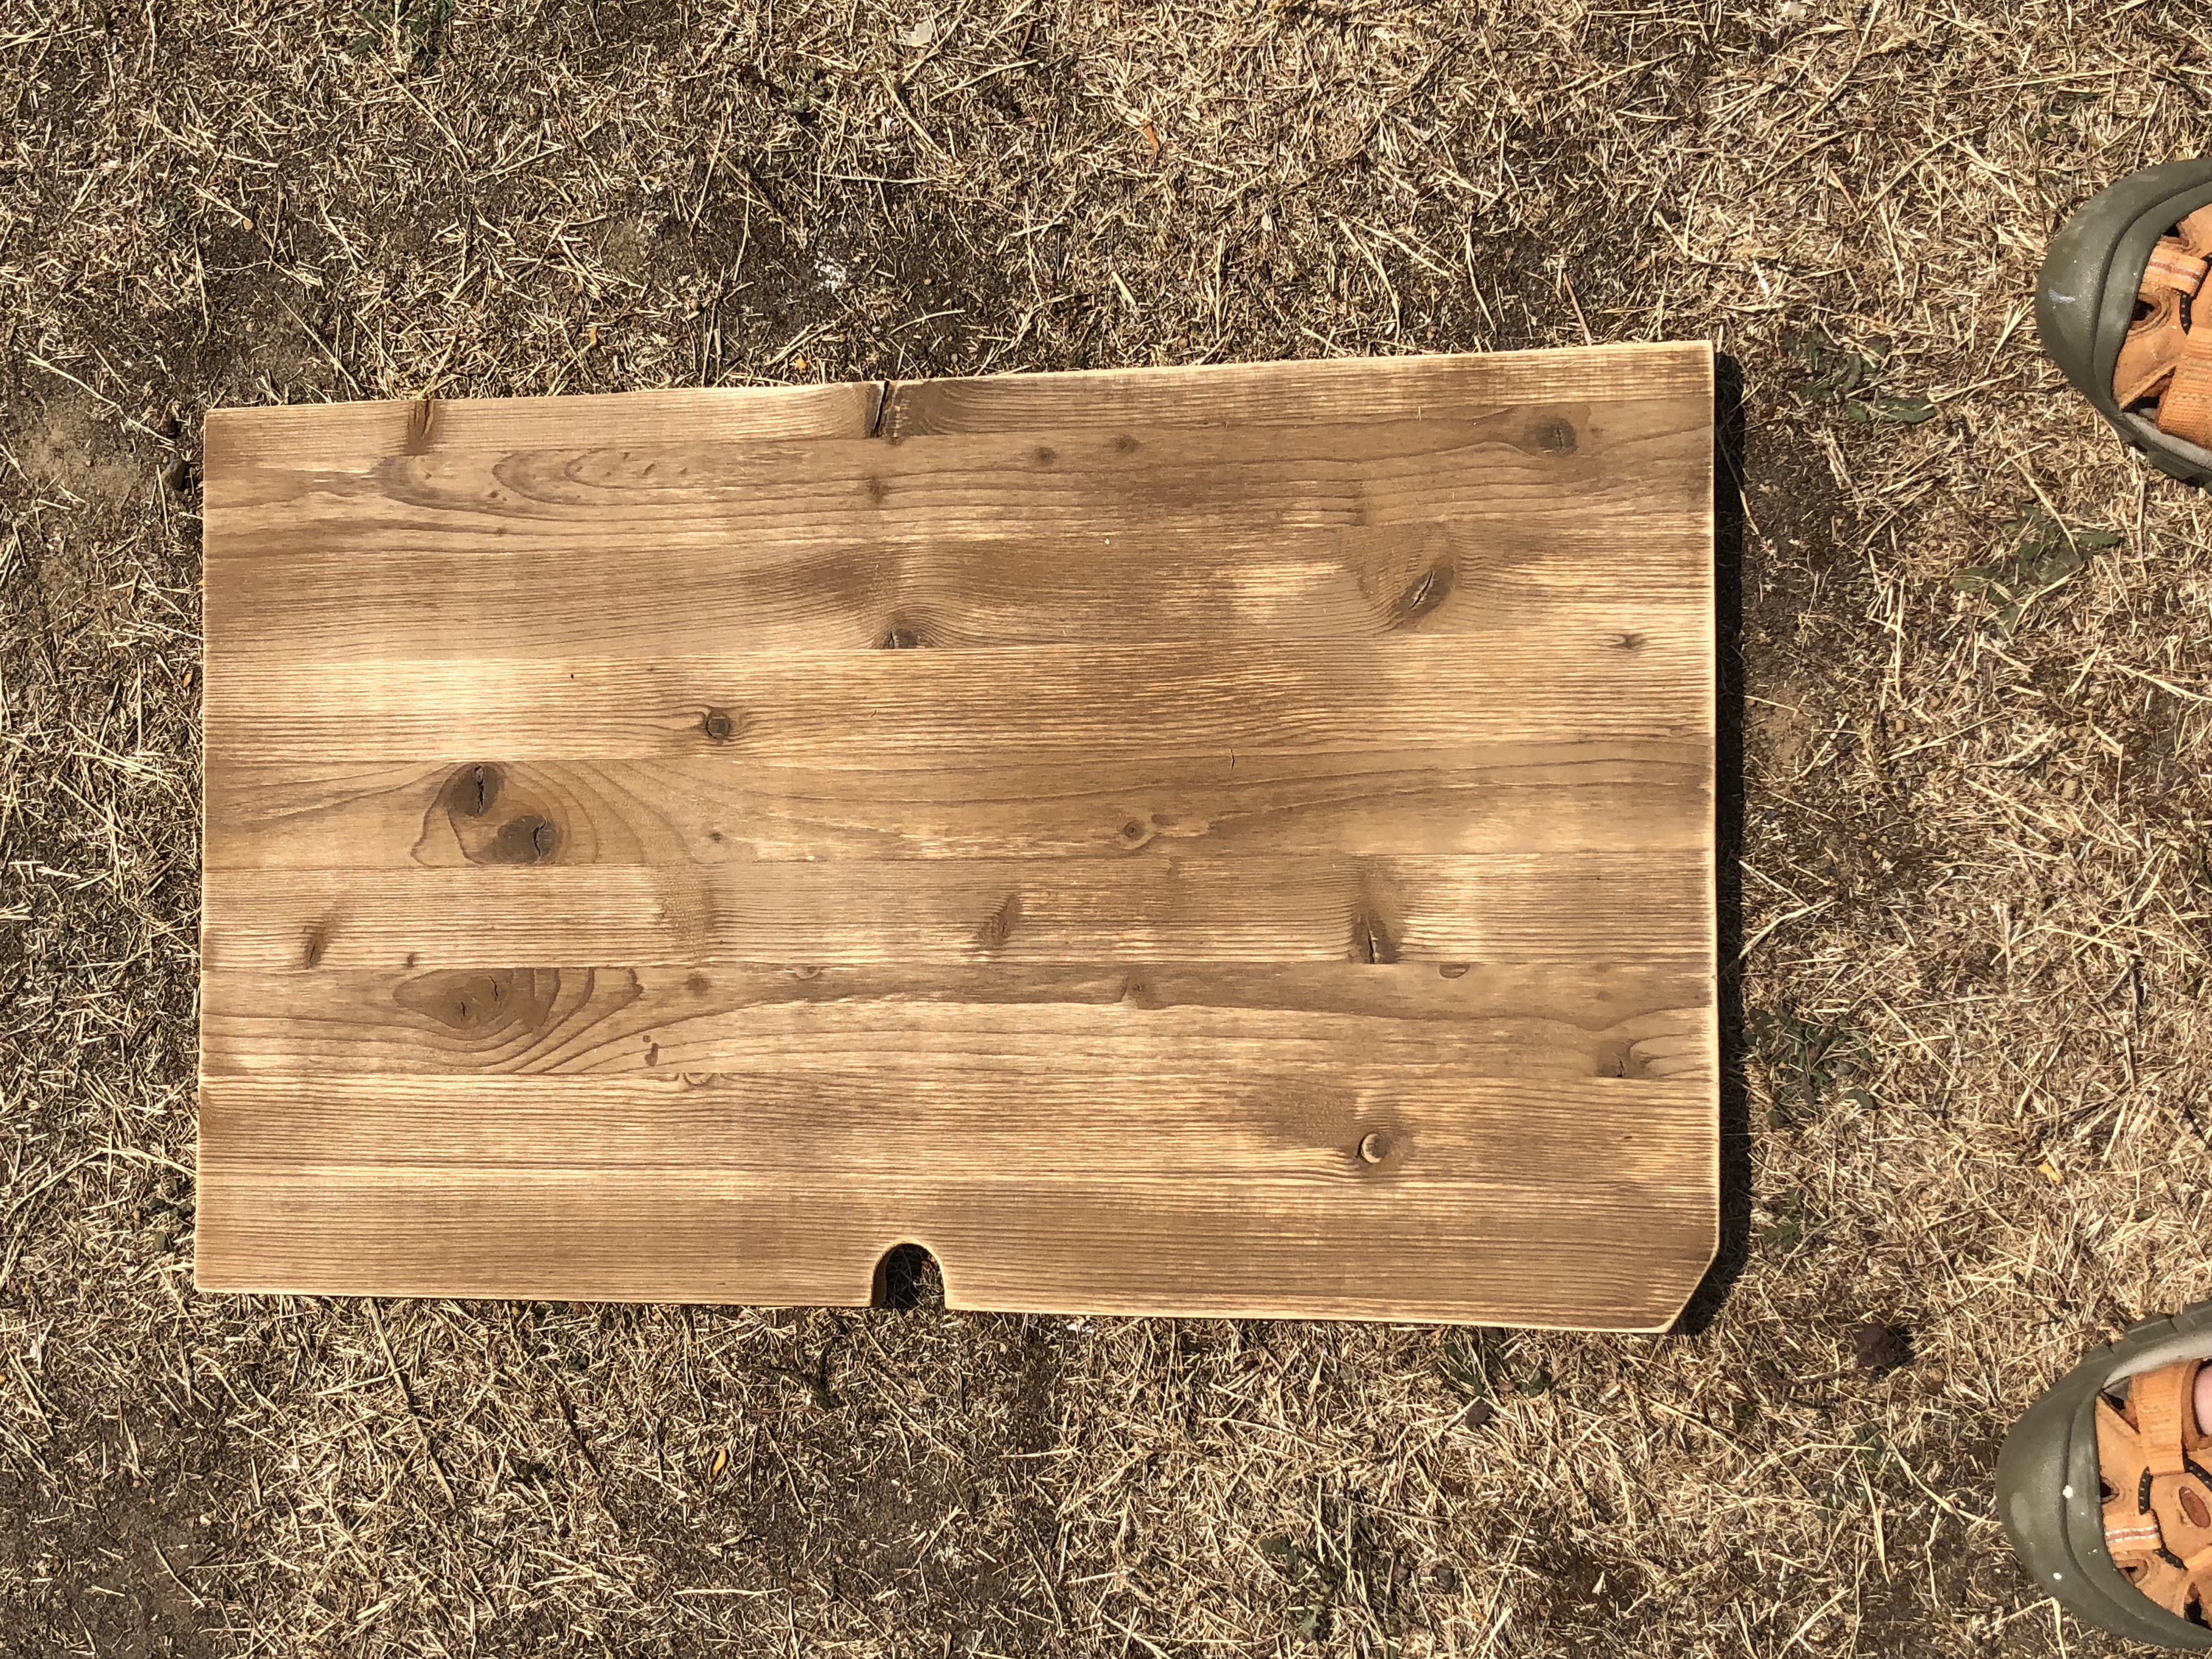
After the glue set up I measured for the platform that the stove would set on and got that cut out.
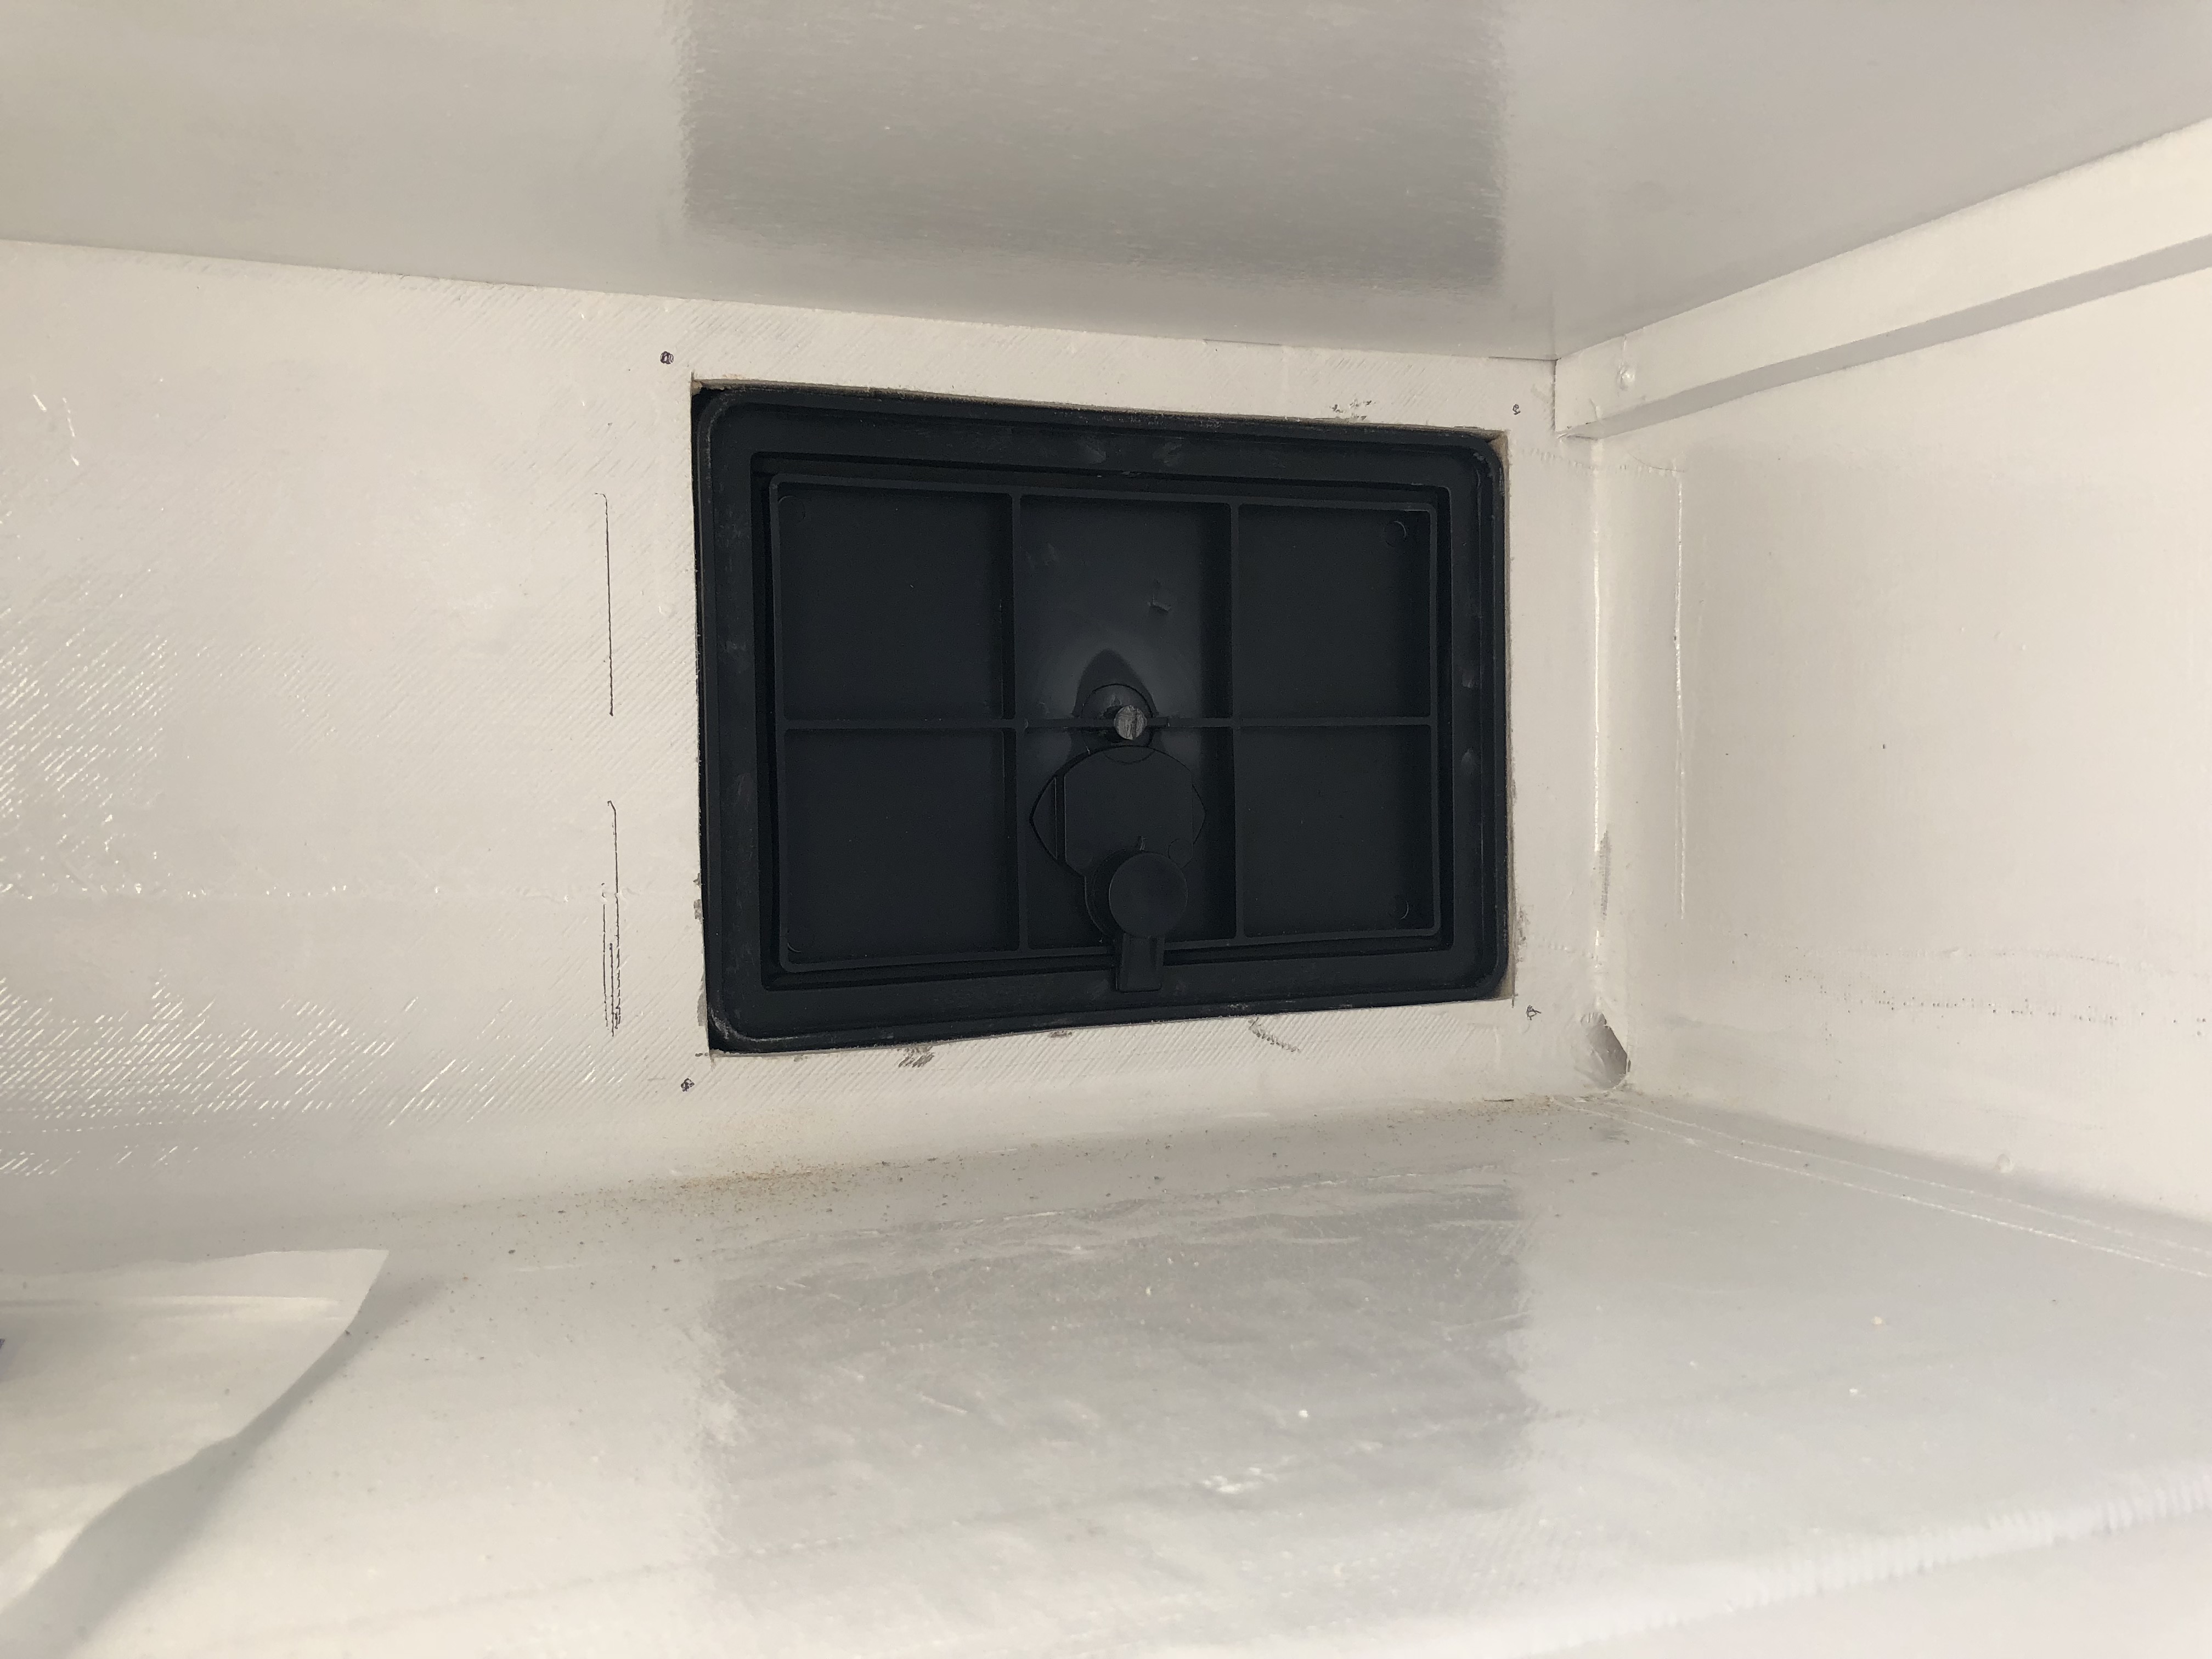
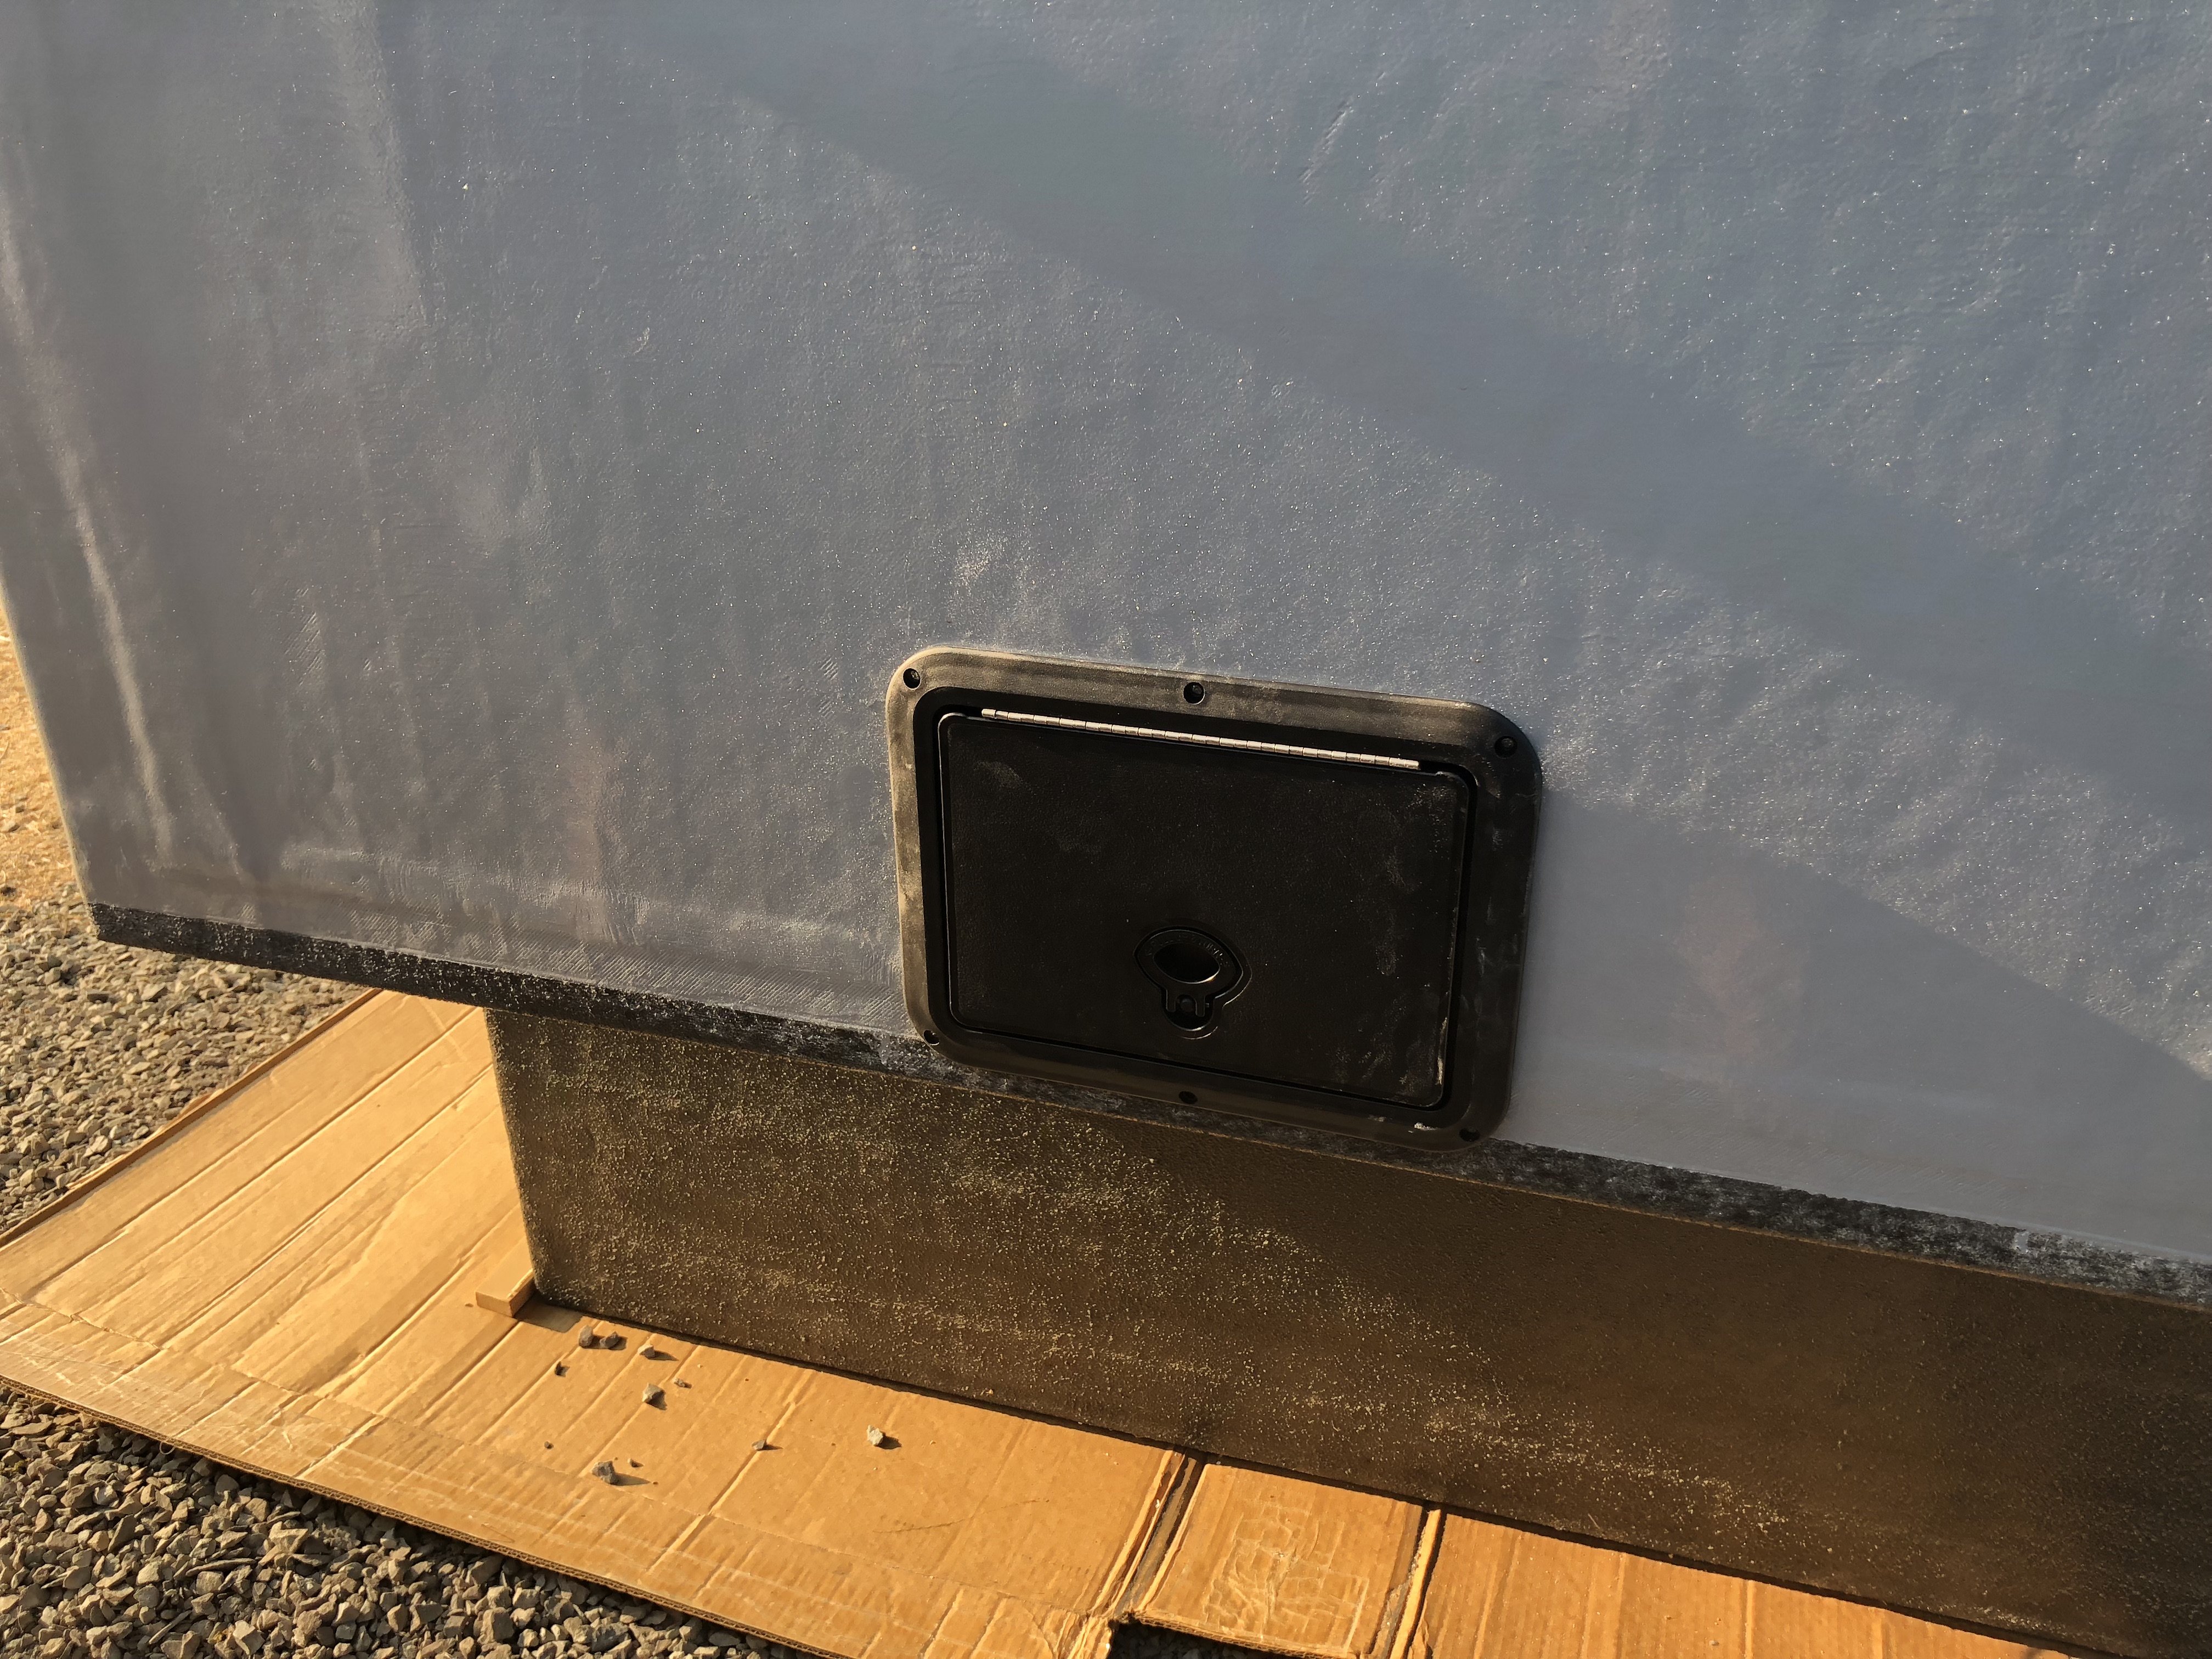
Going to go here!
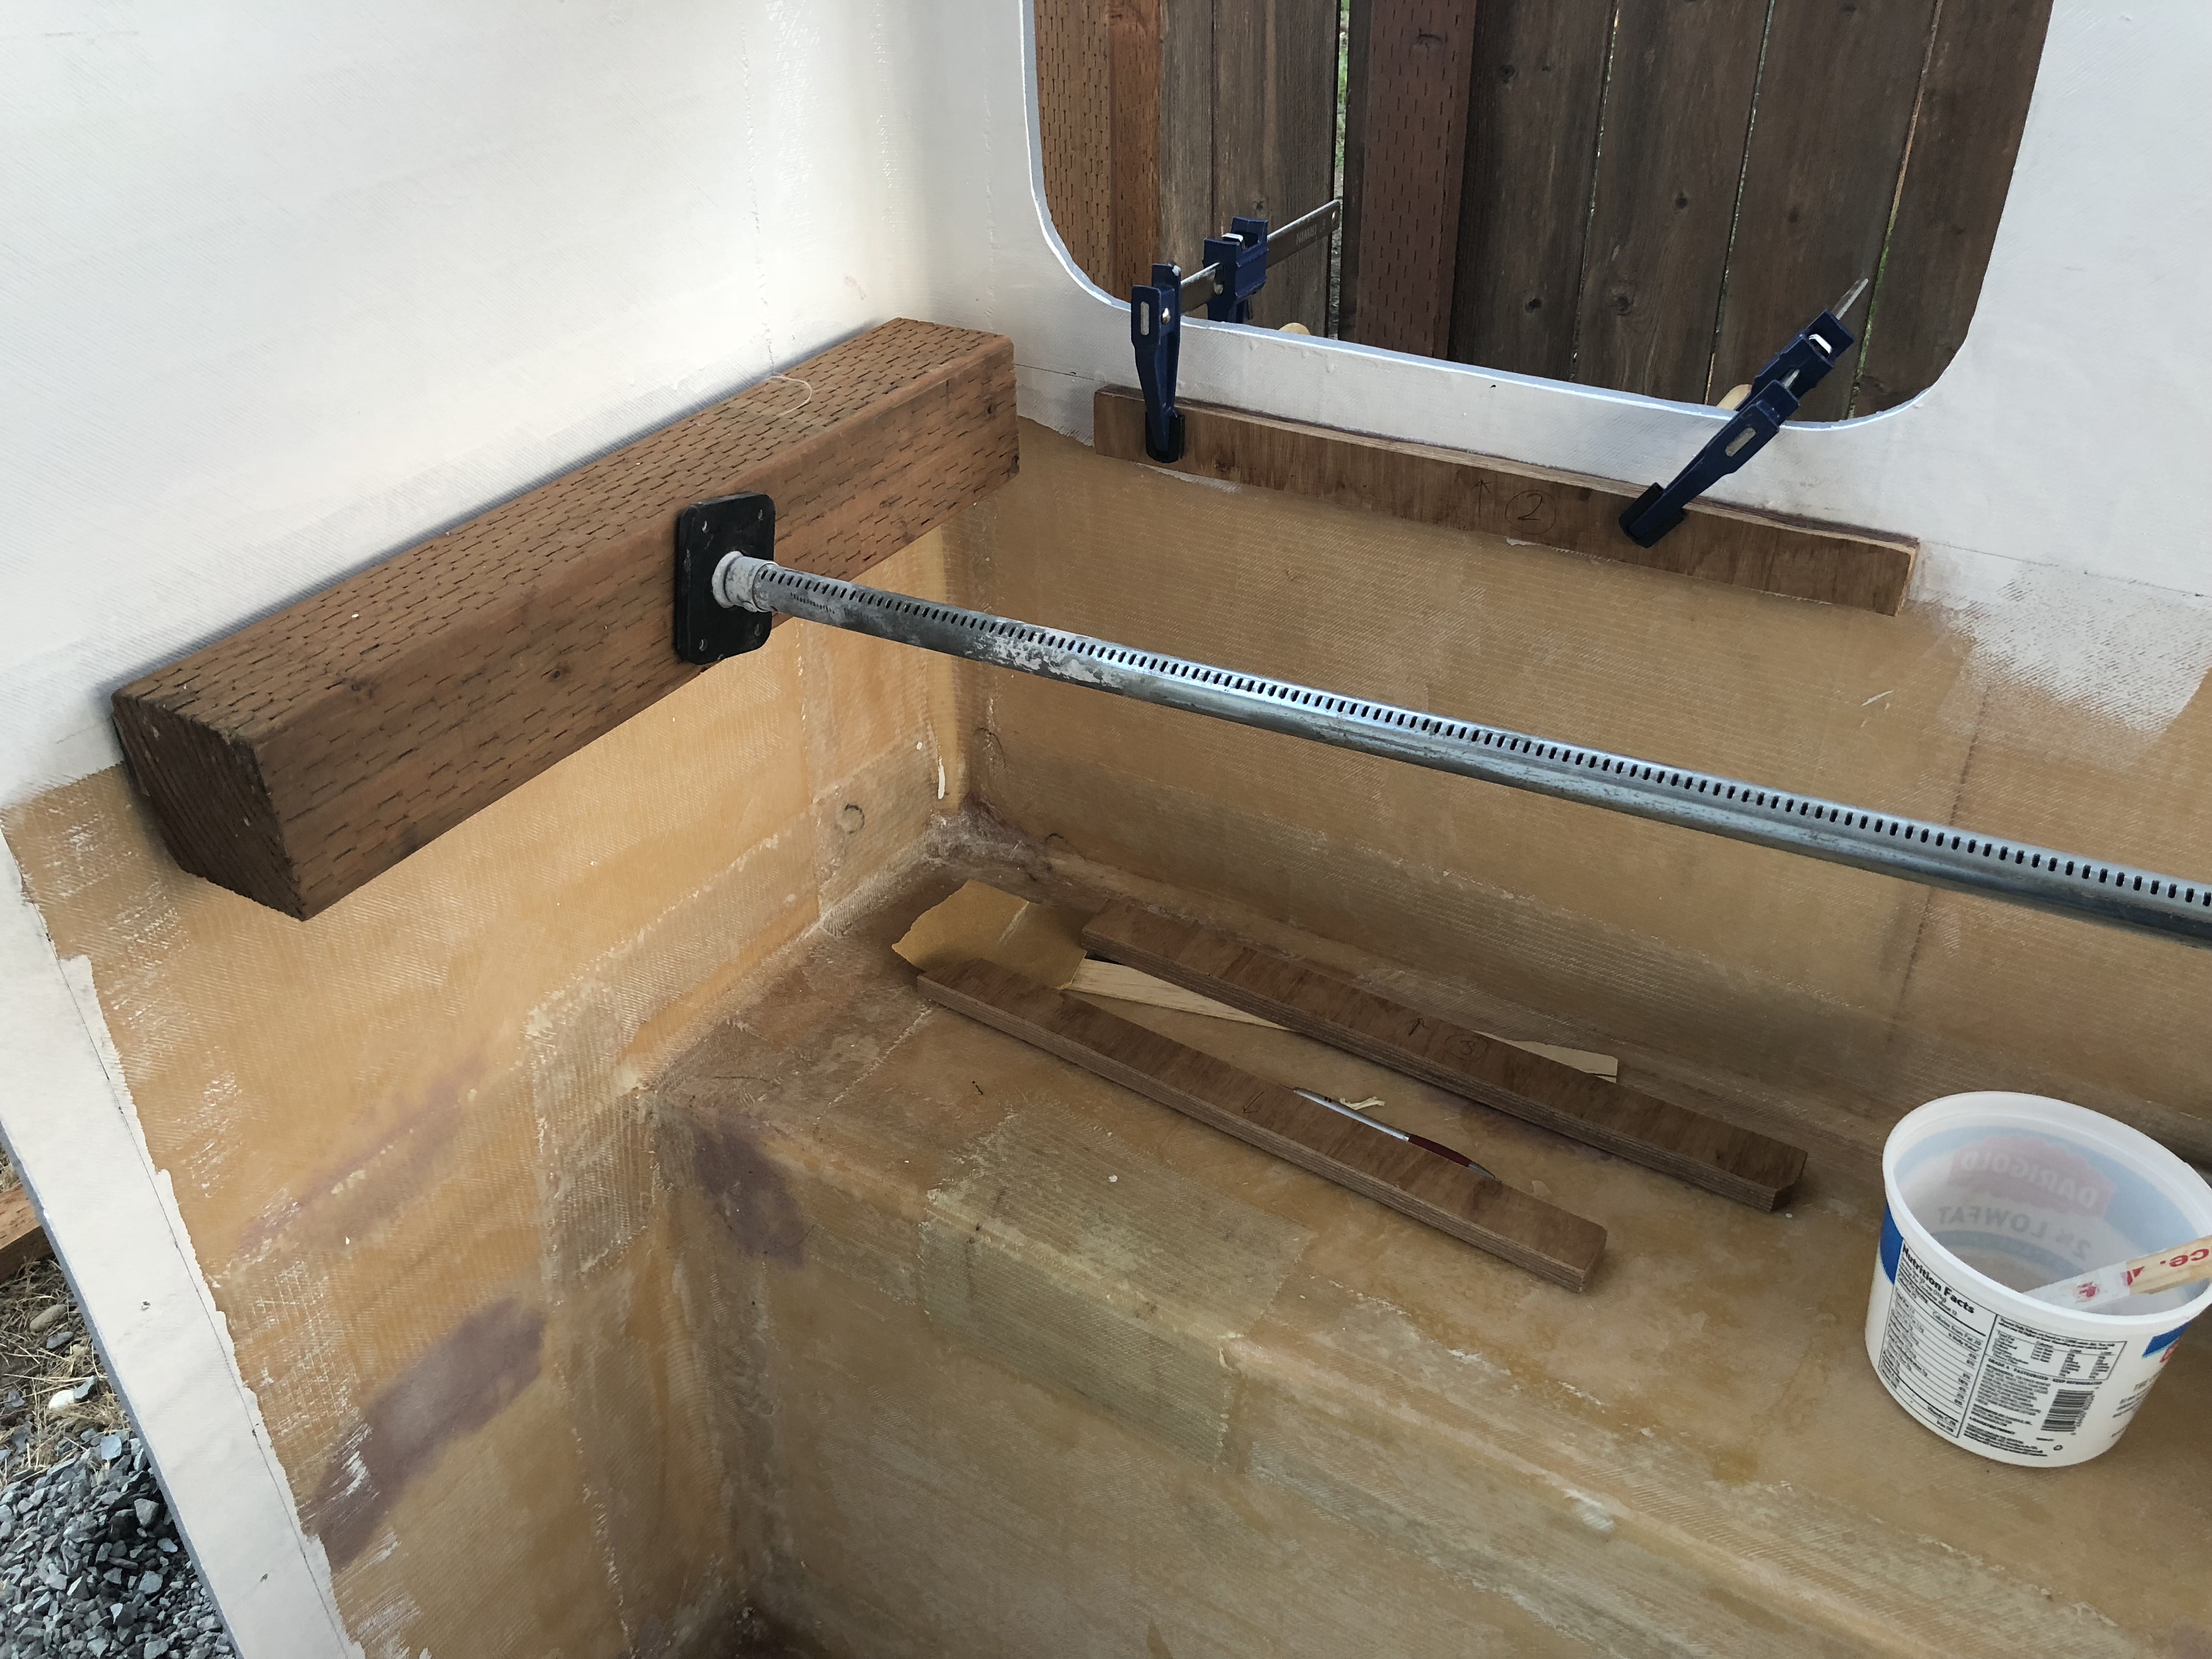
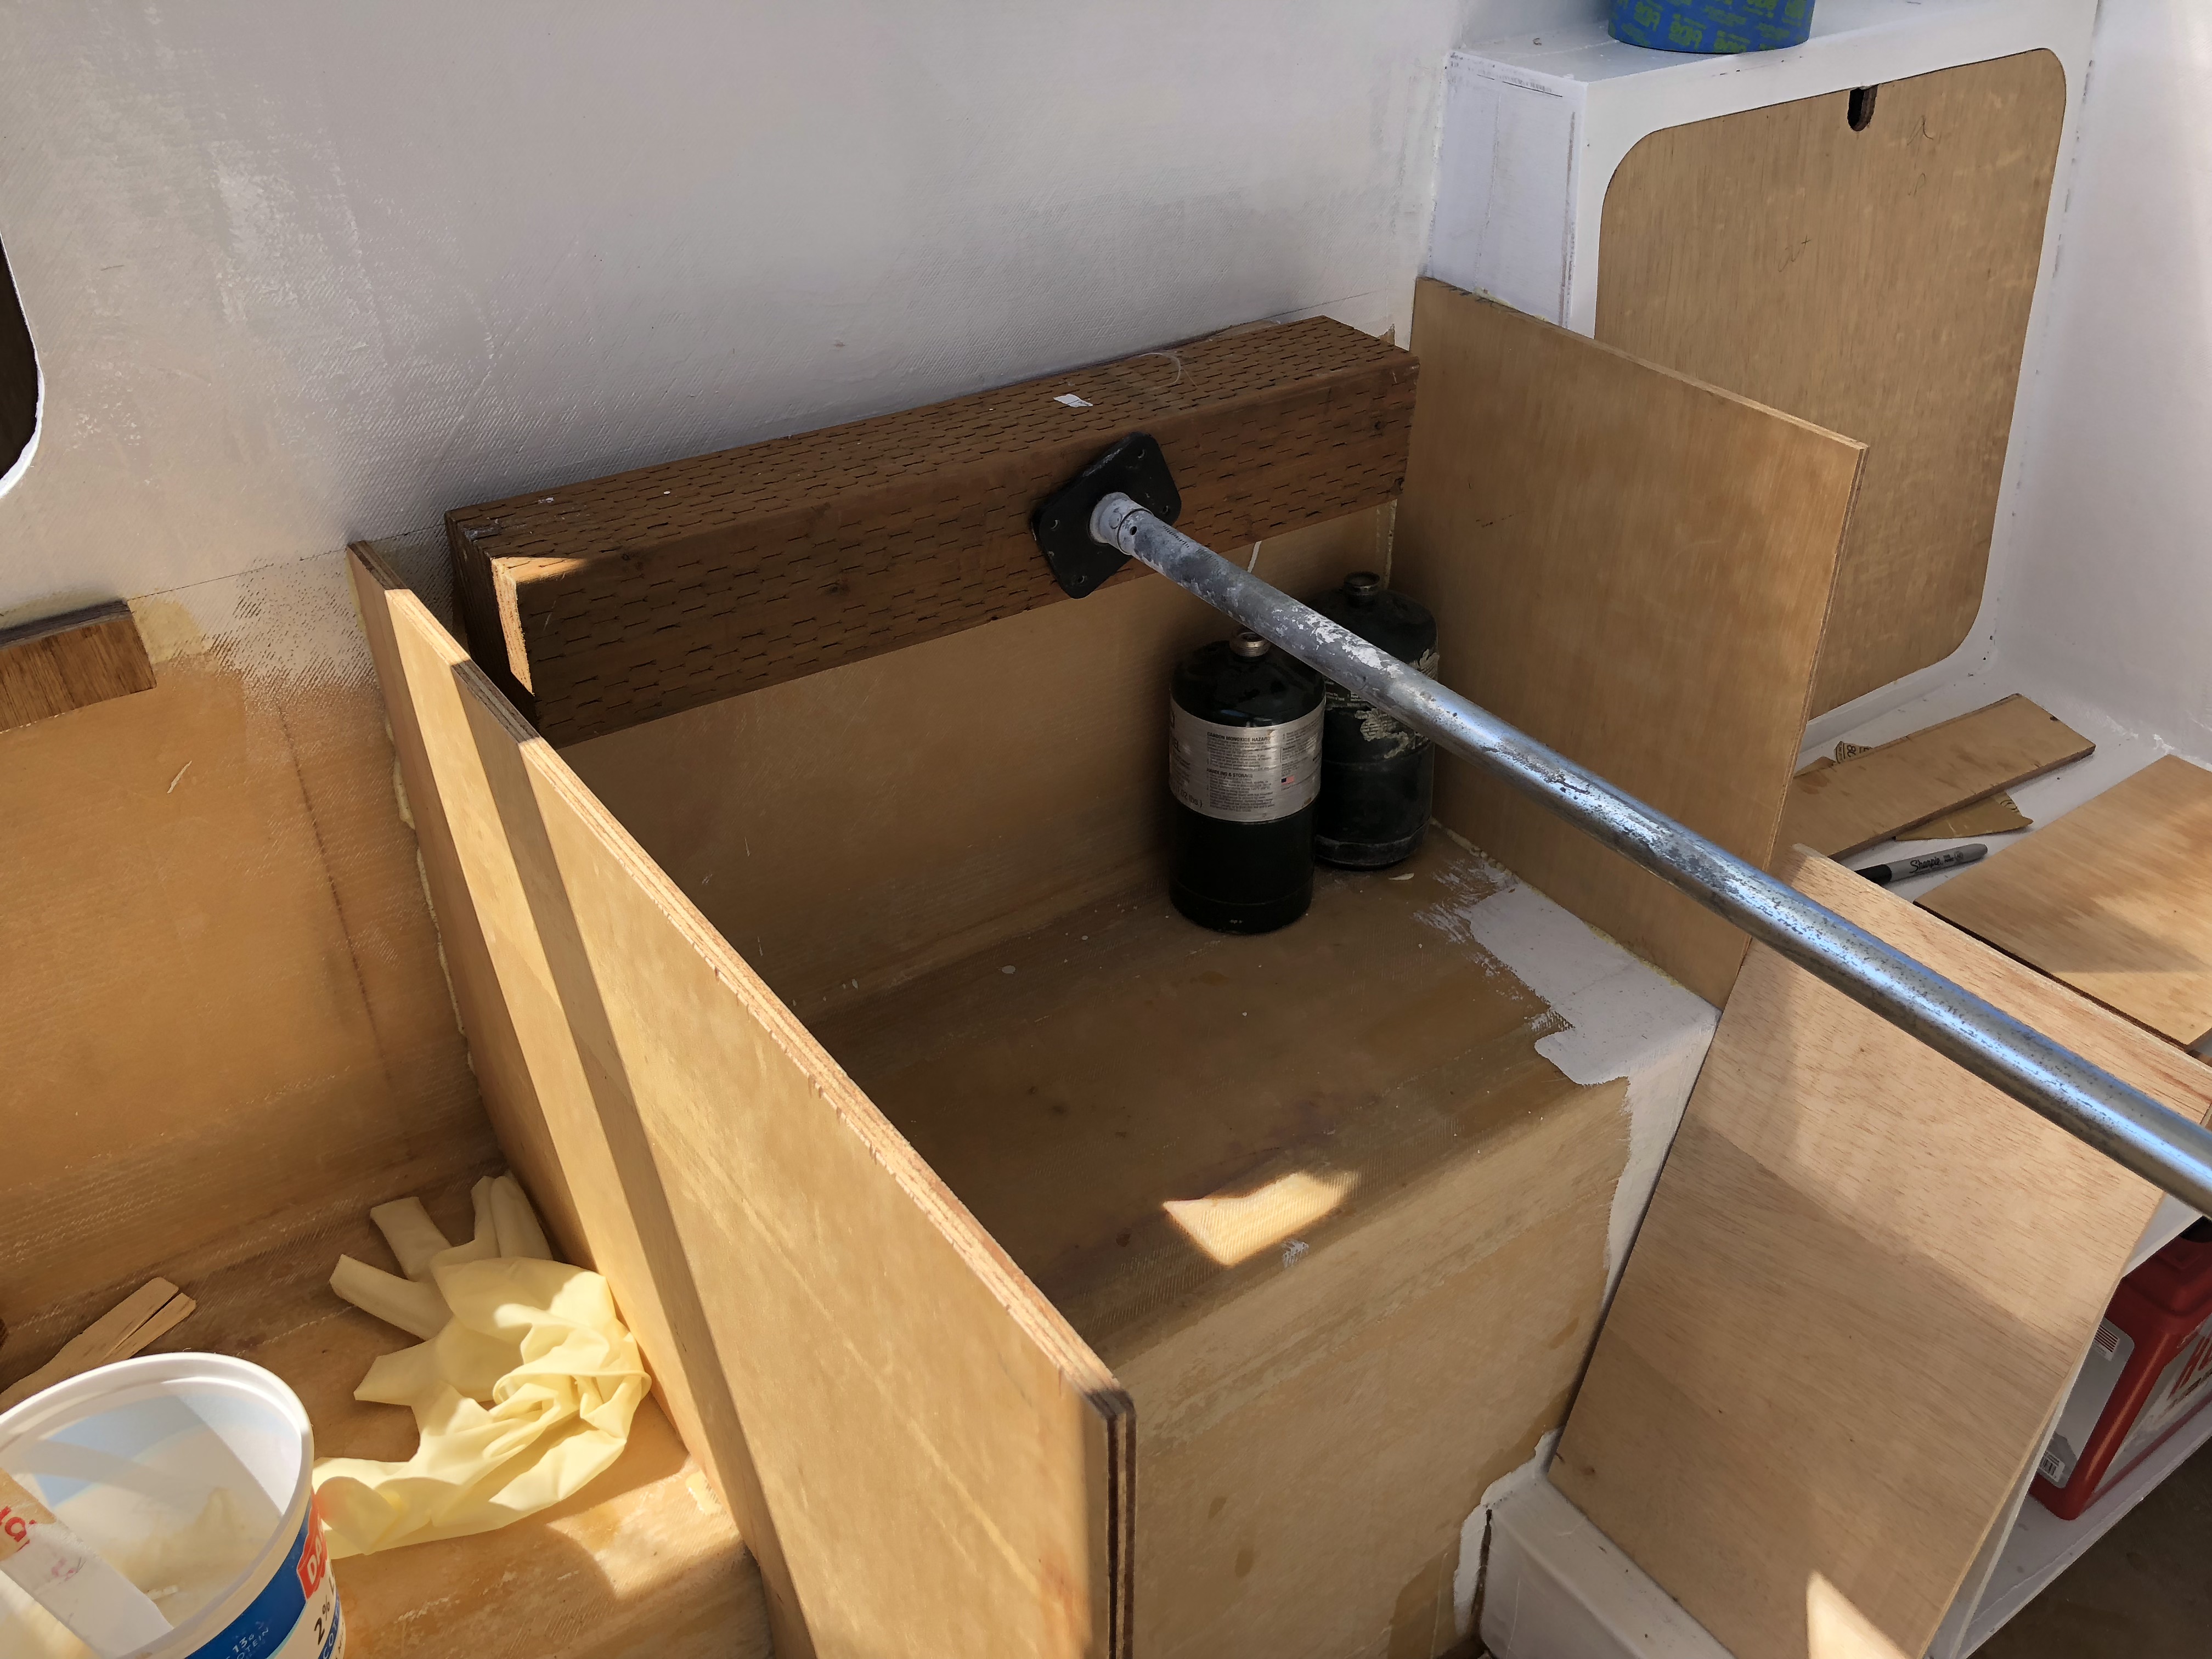
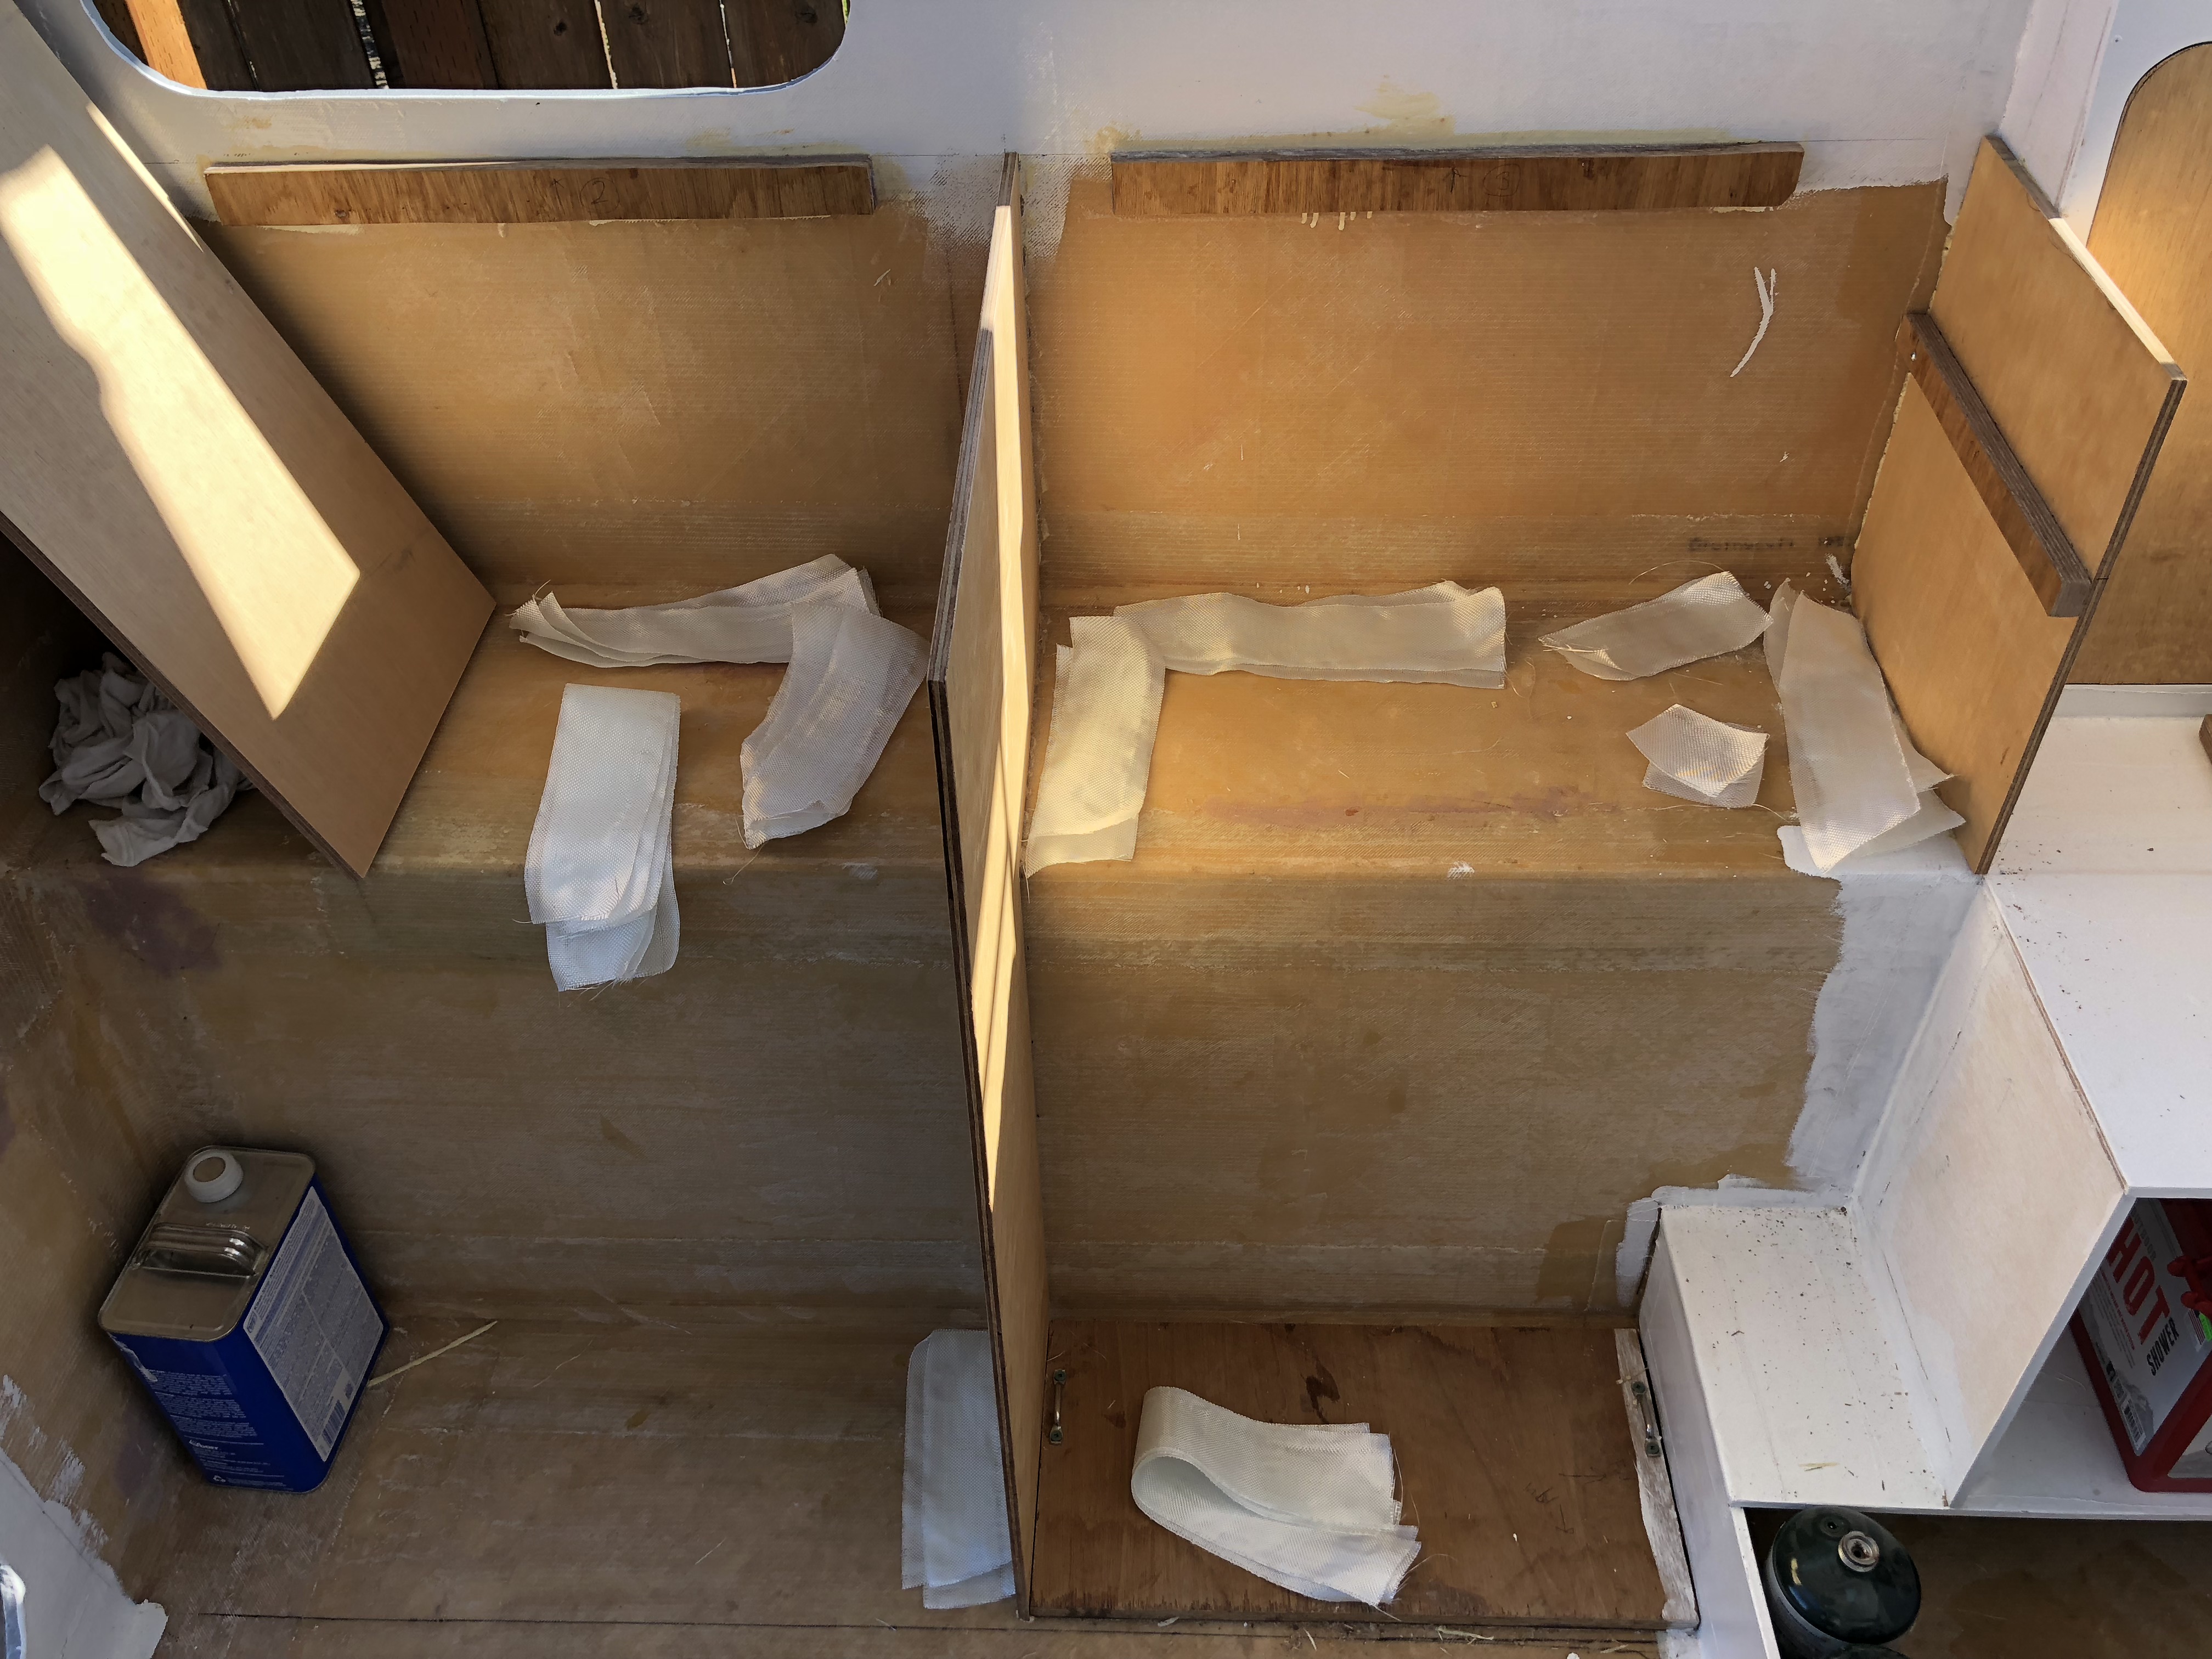
Need to glue in one more support board
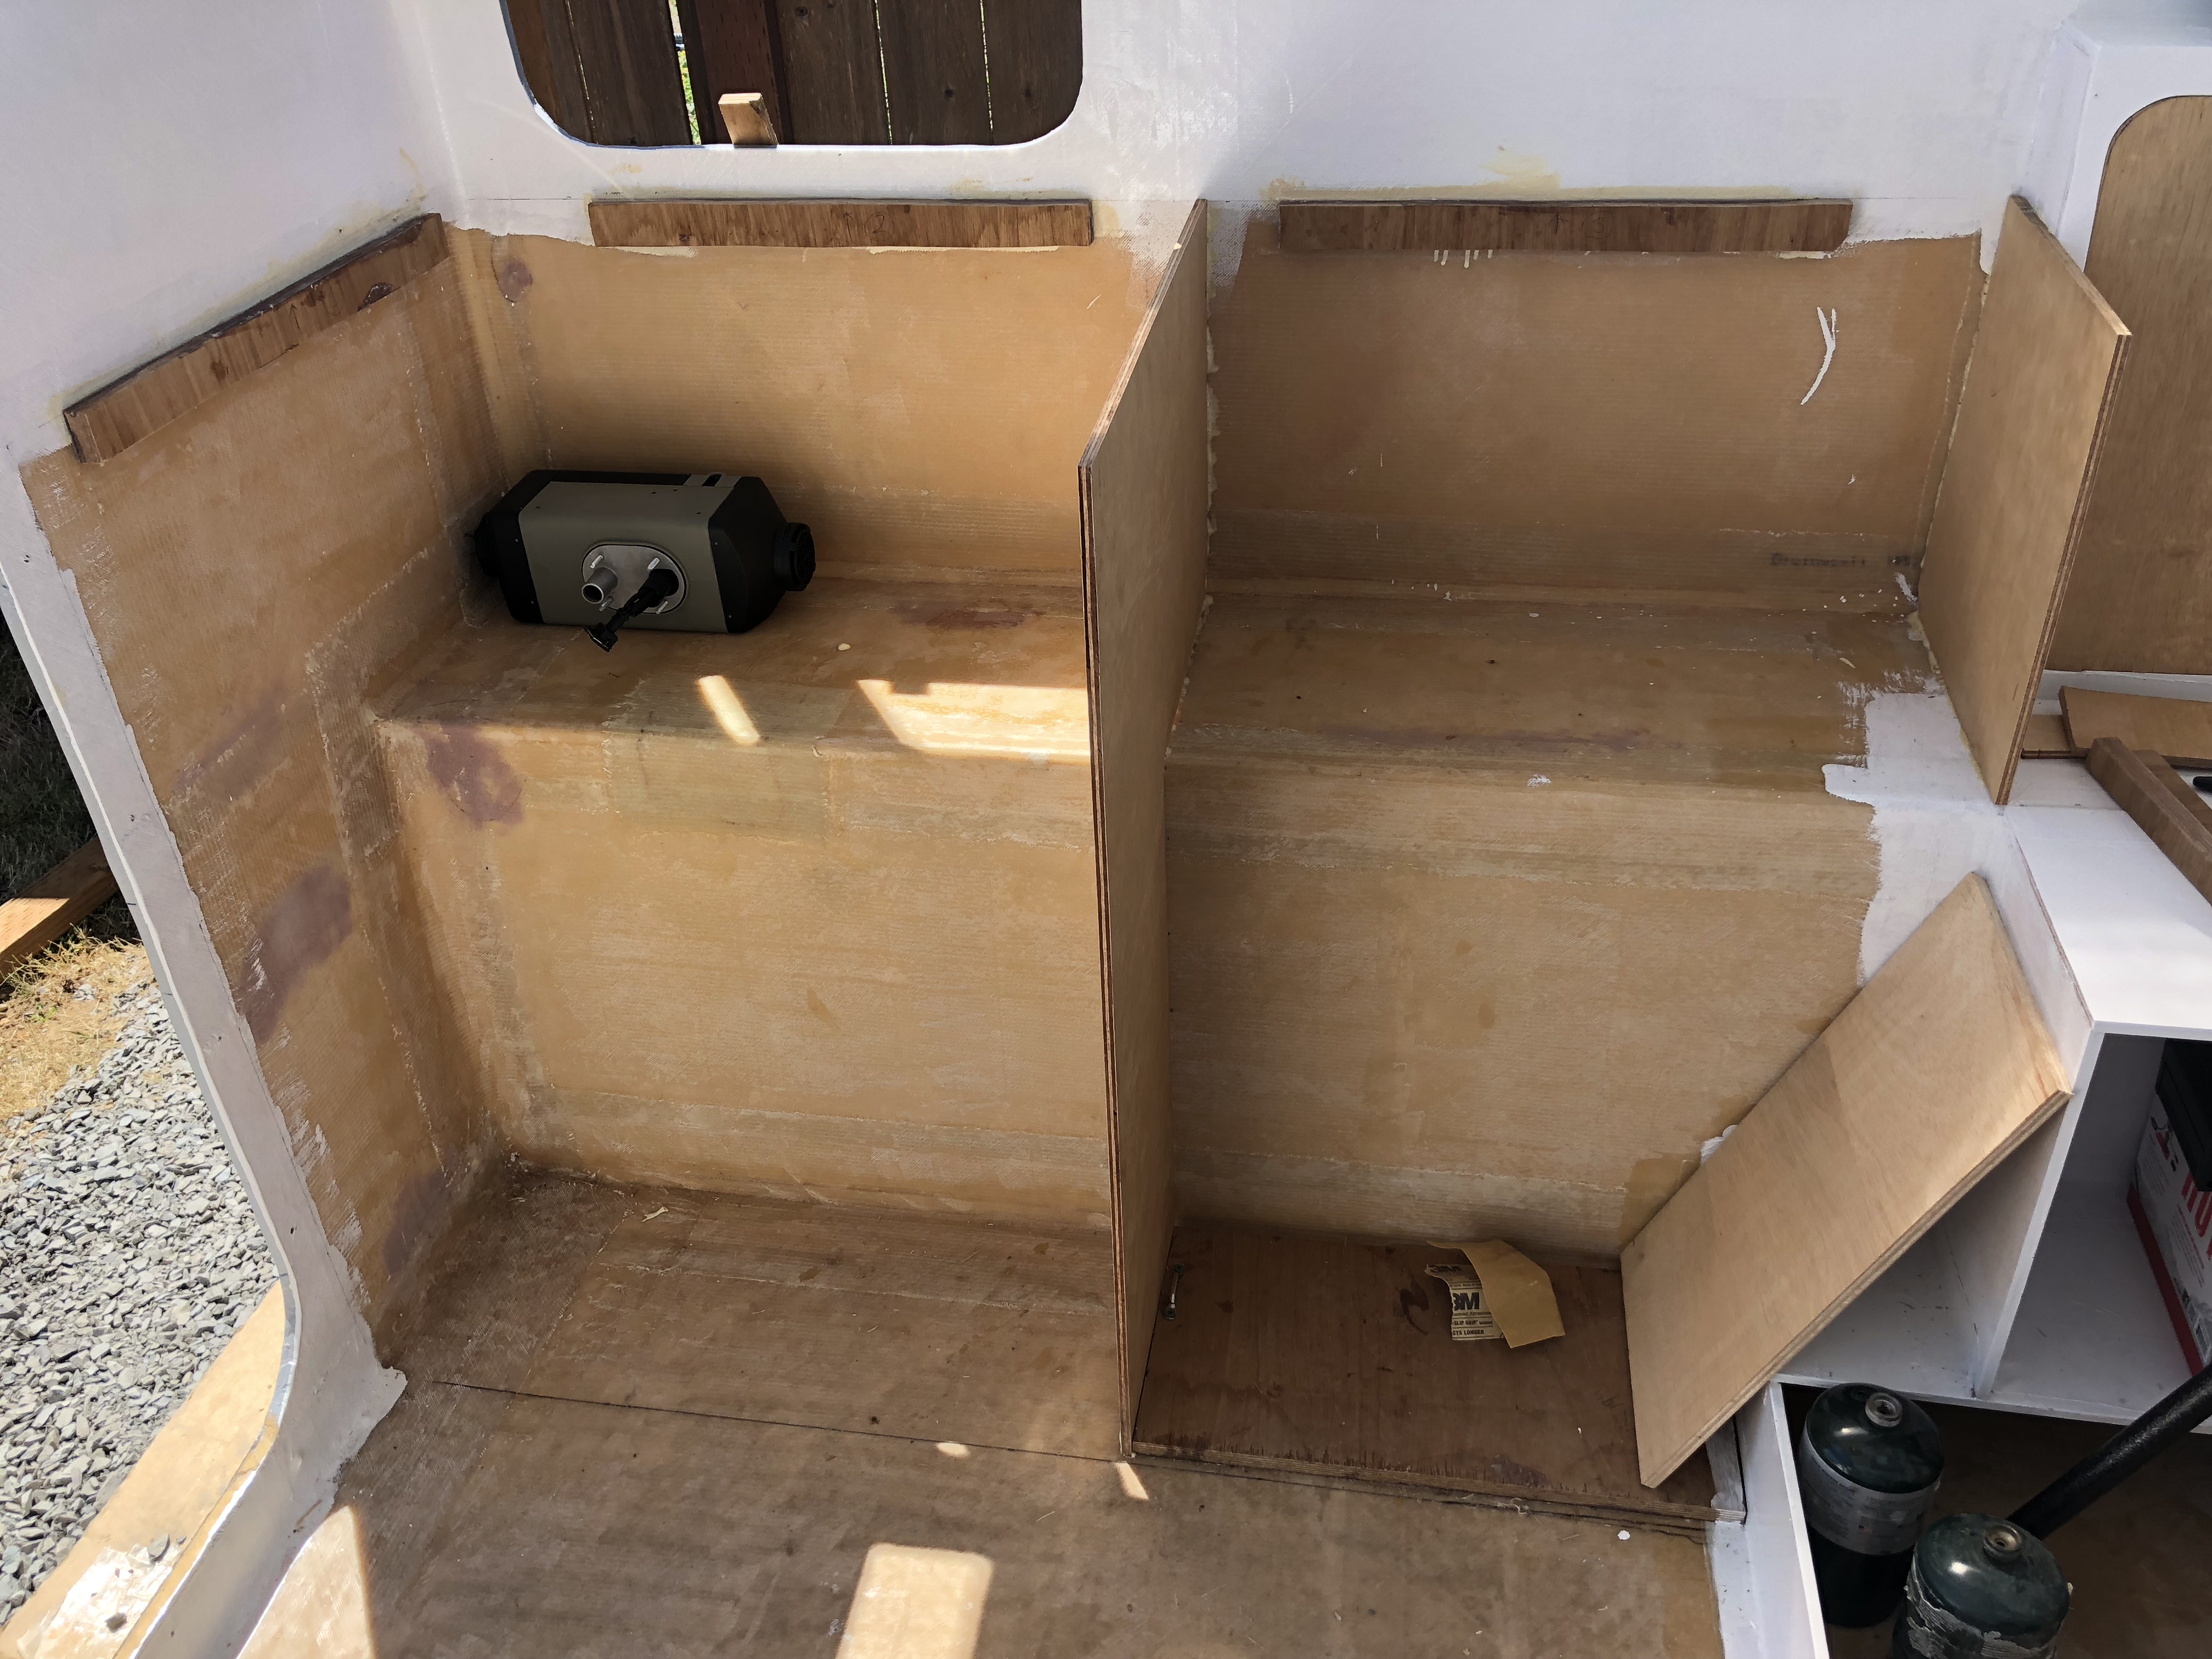
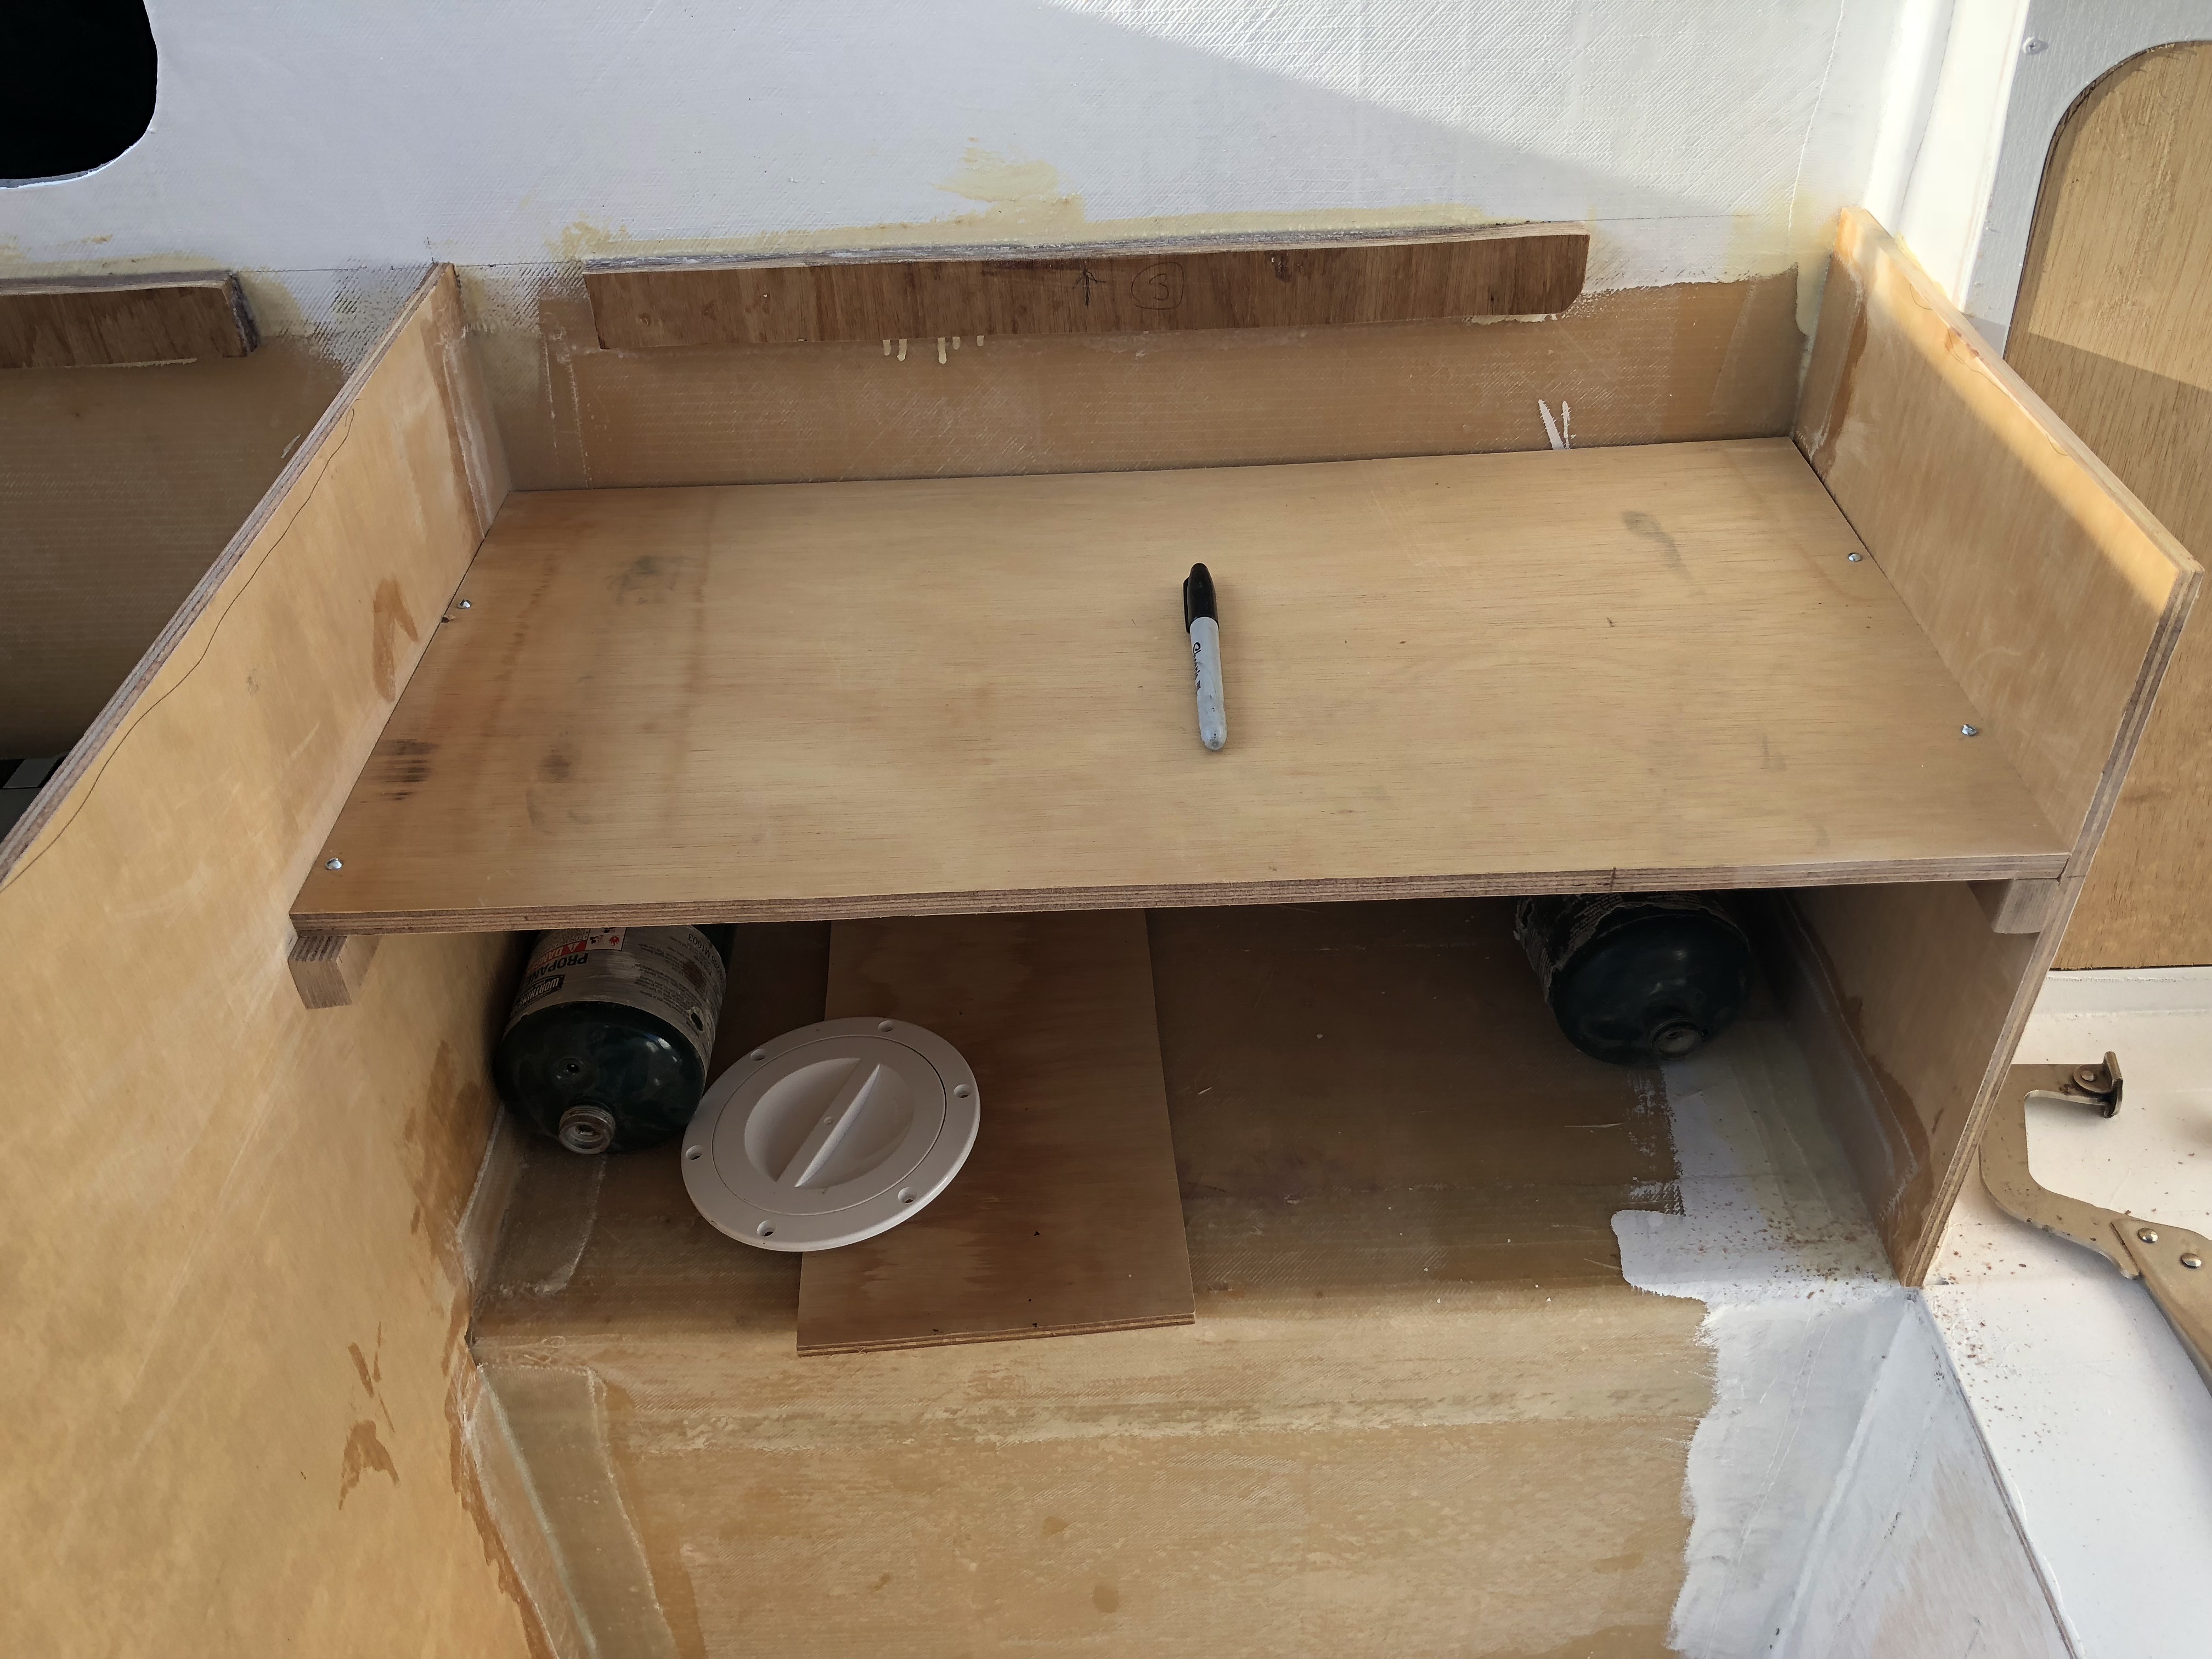
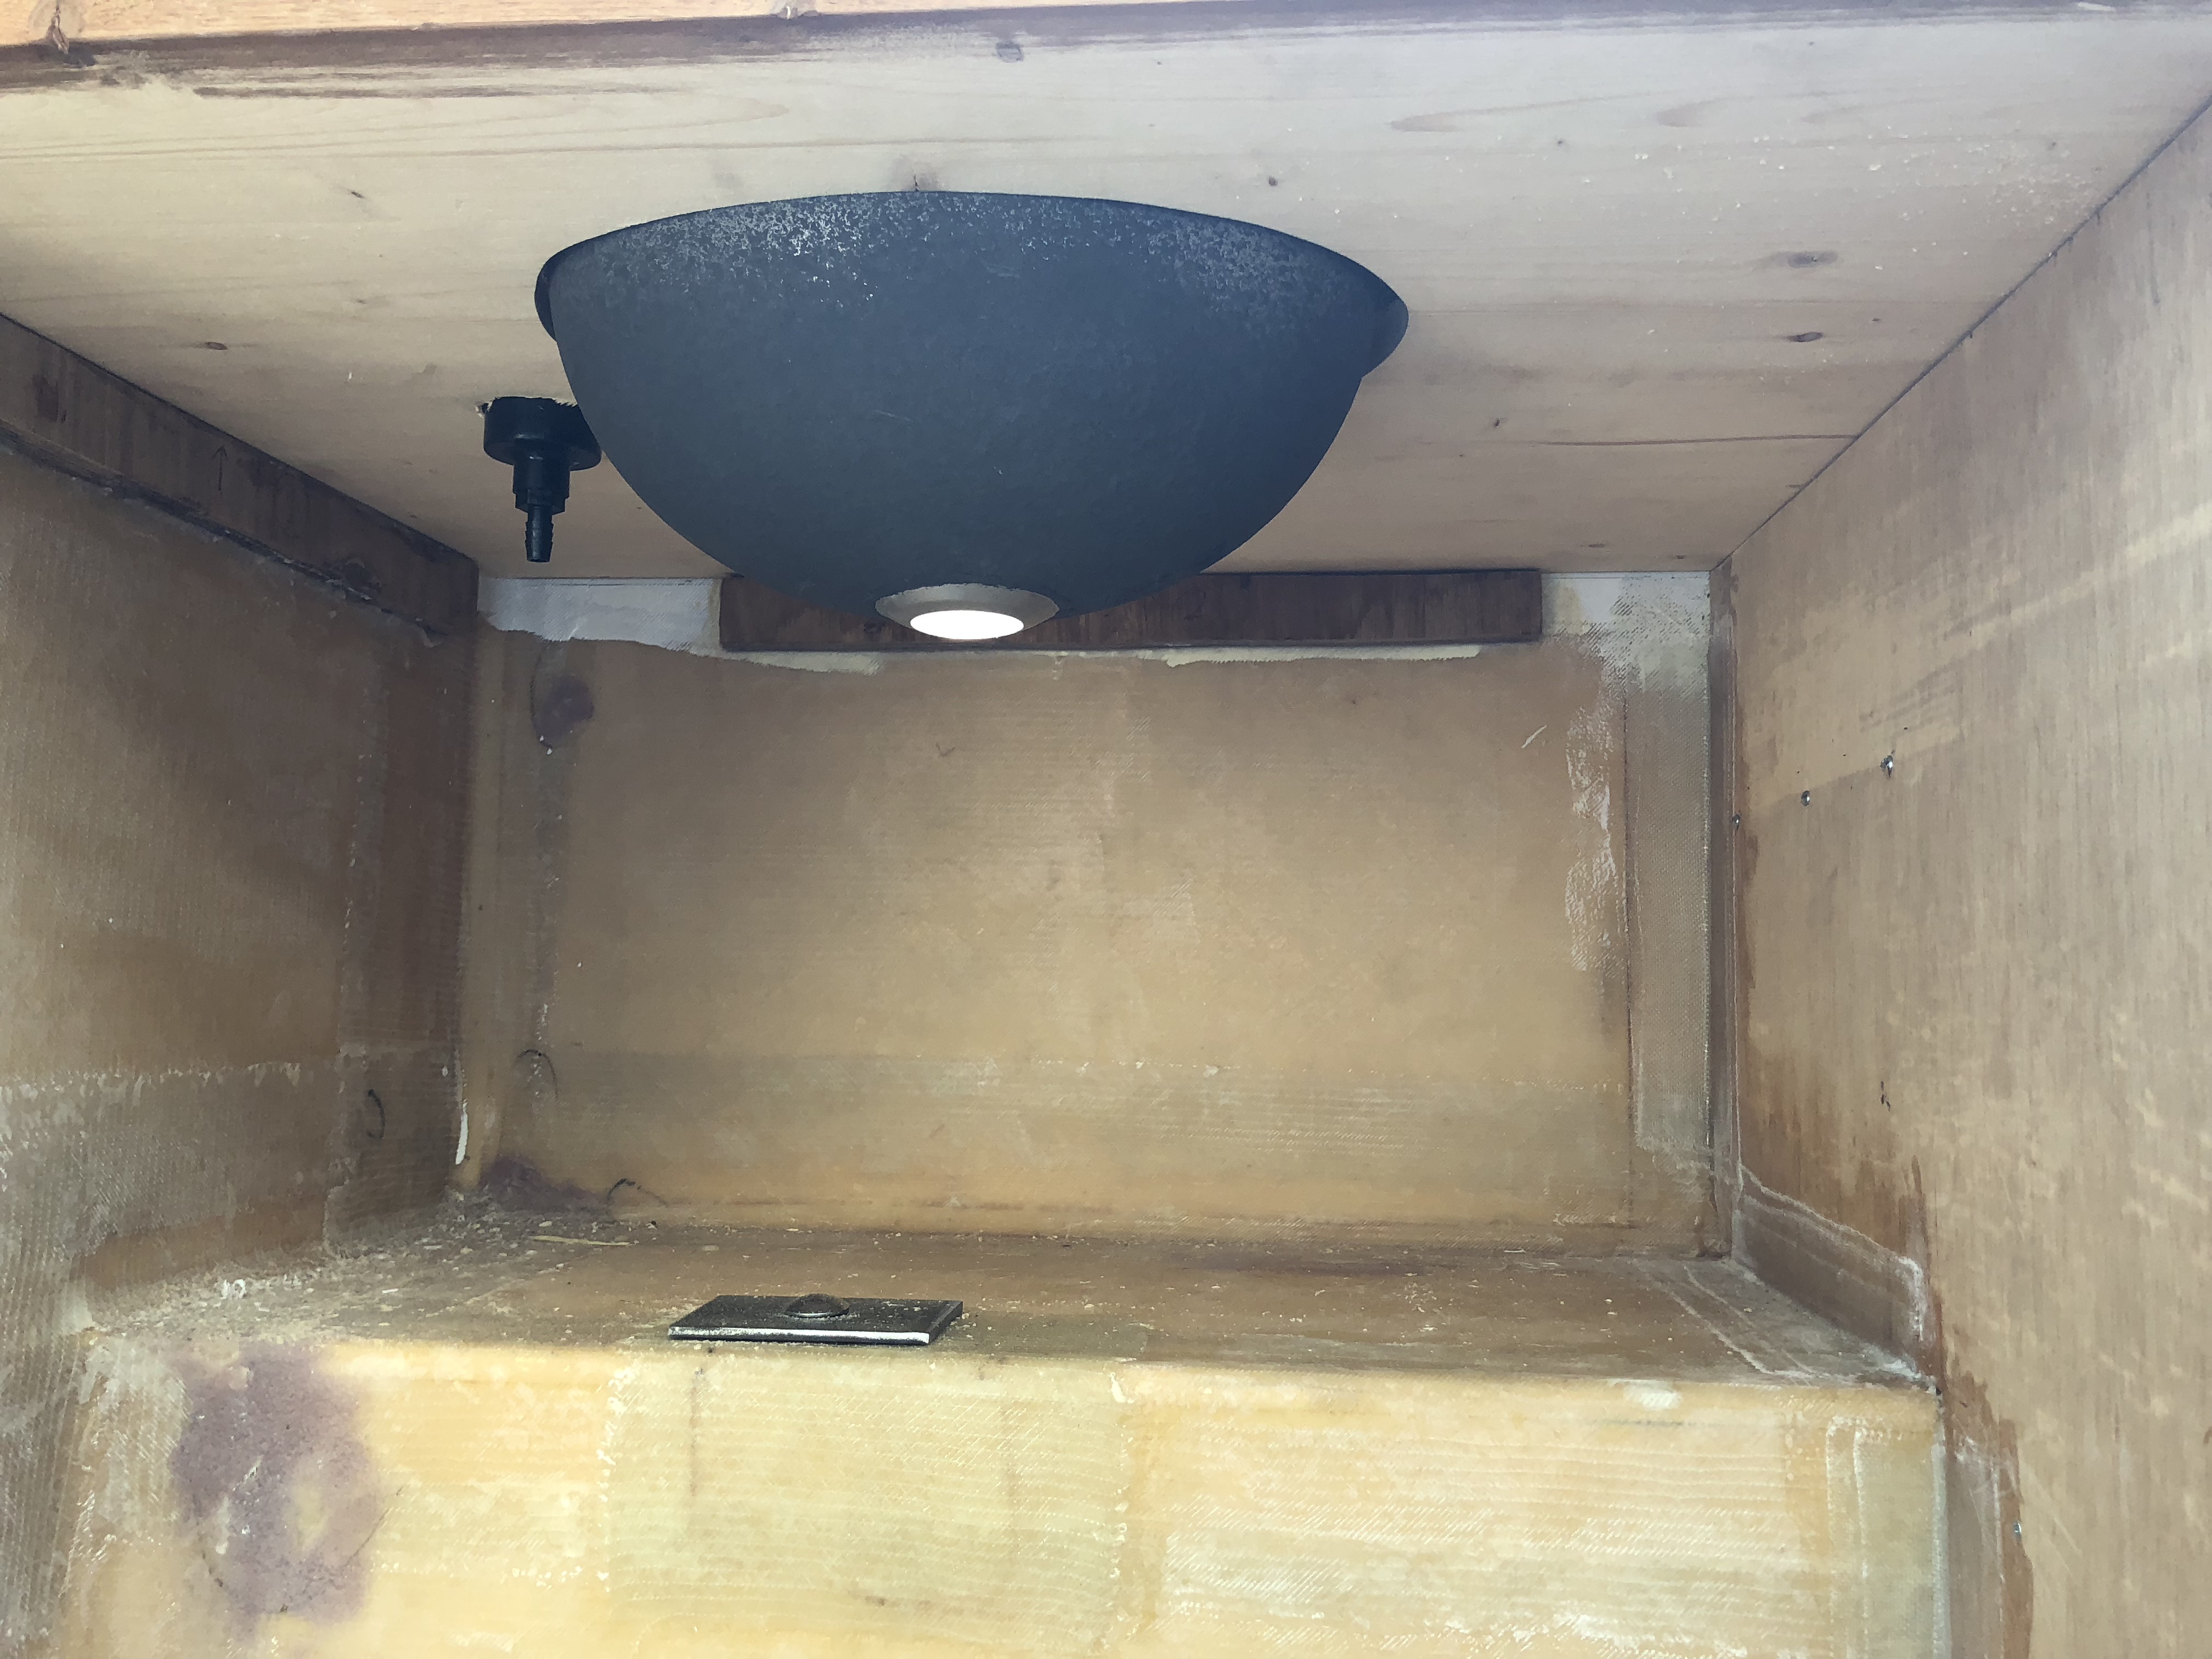
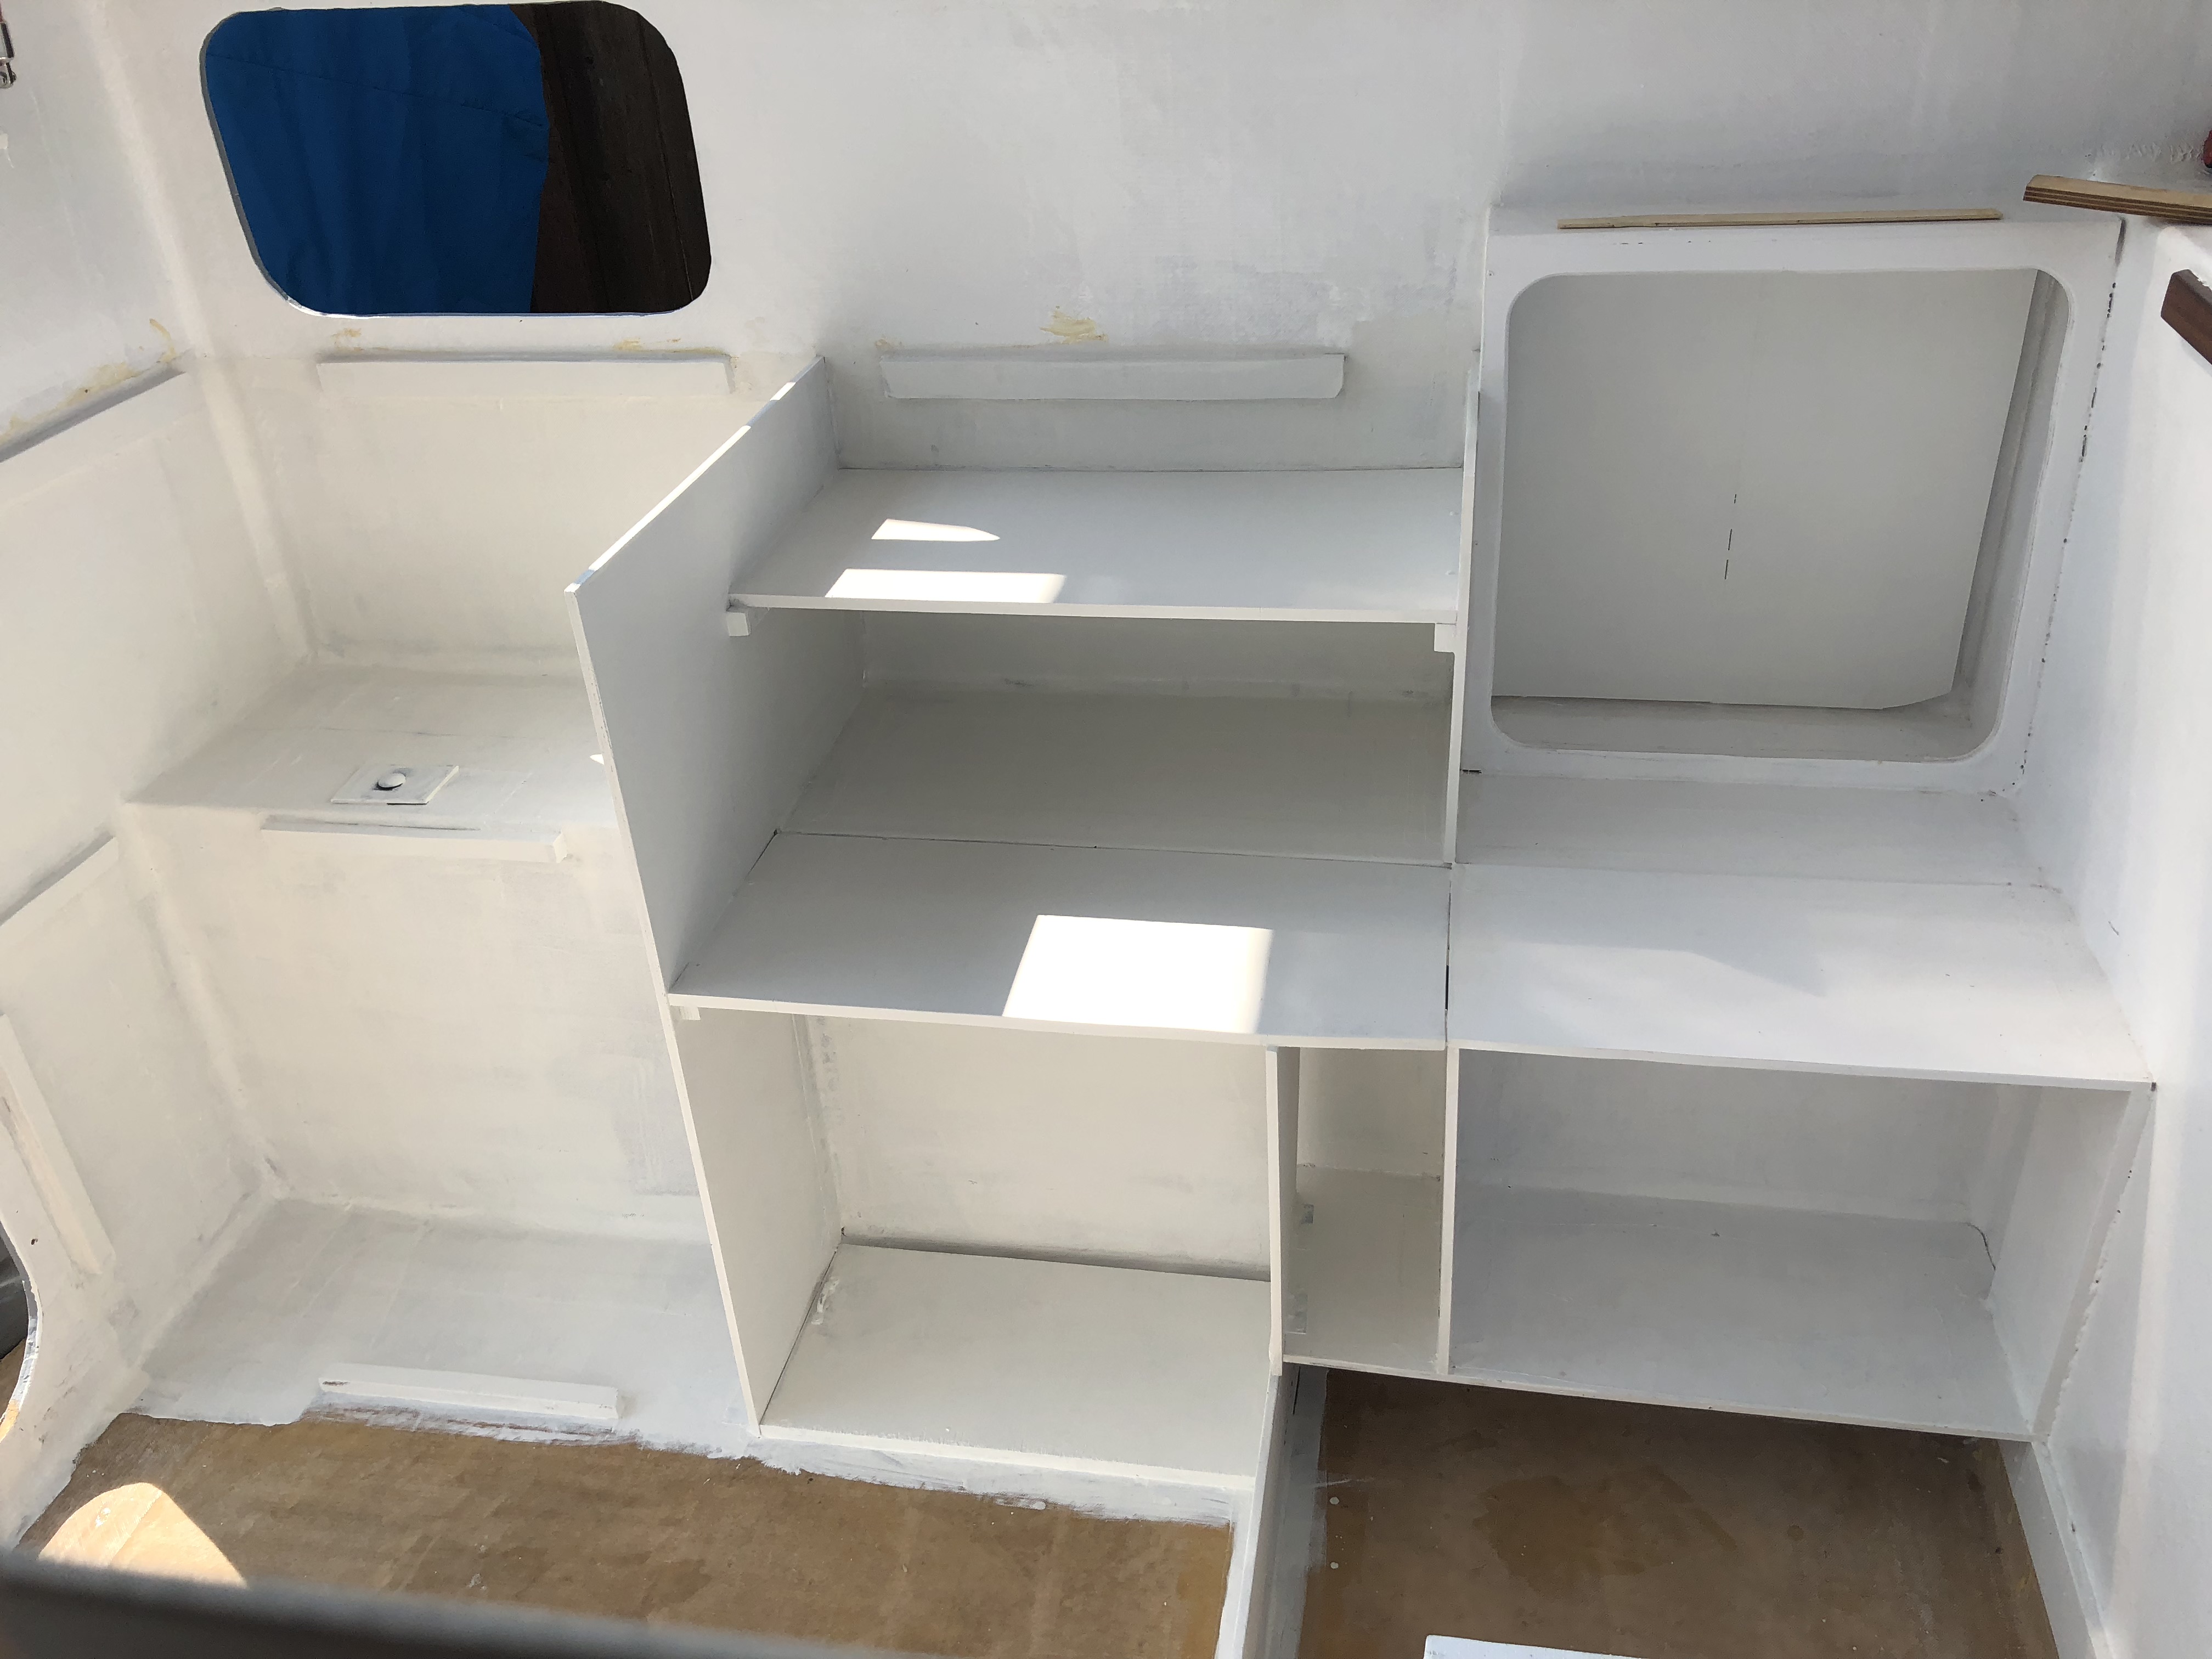
The heater is sitting in the back corner for scale! It's so tiny! Also note all of the pieces of wood glued to the bulkhead. The countertop will sit on those and the support boards in the middle.
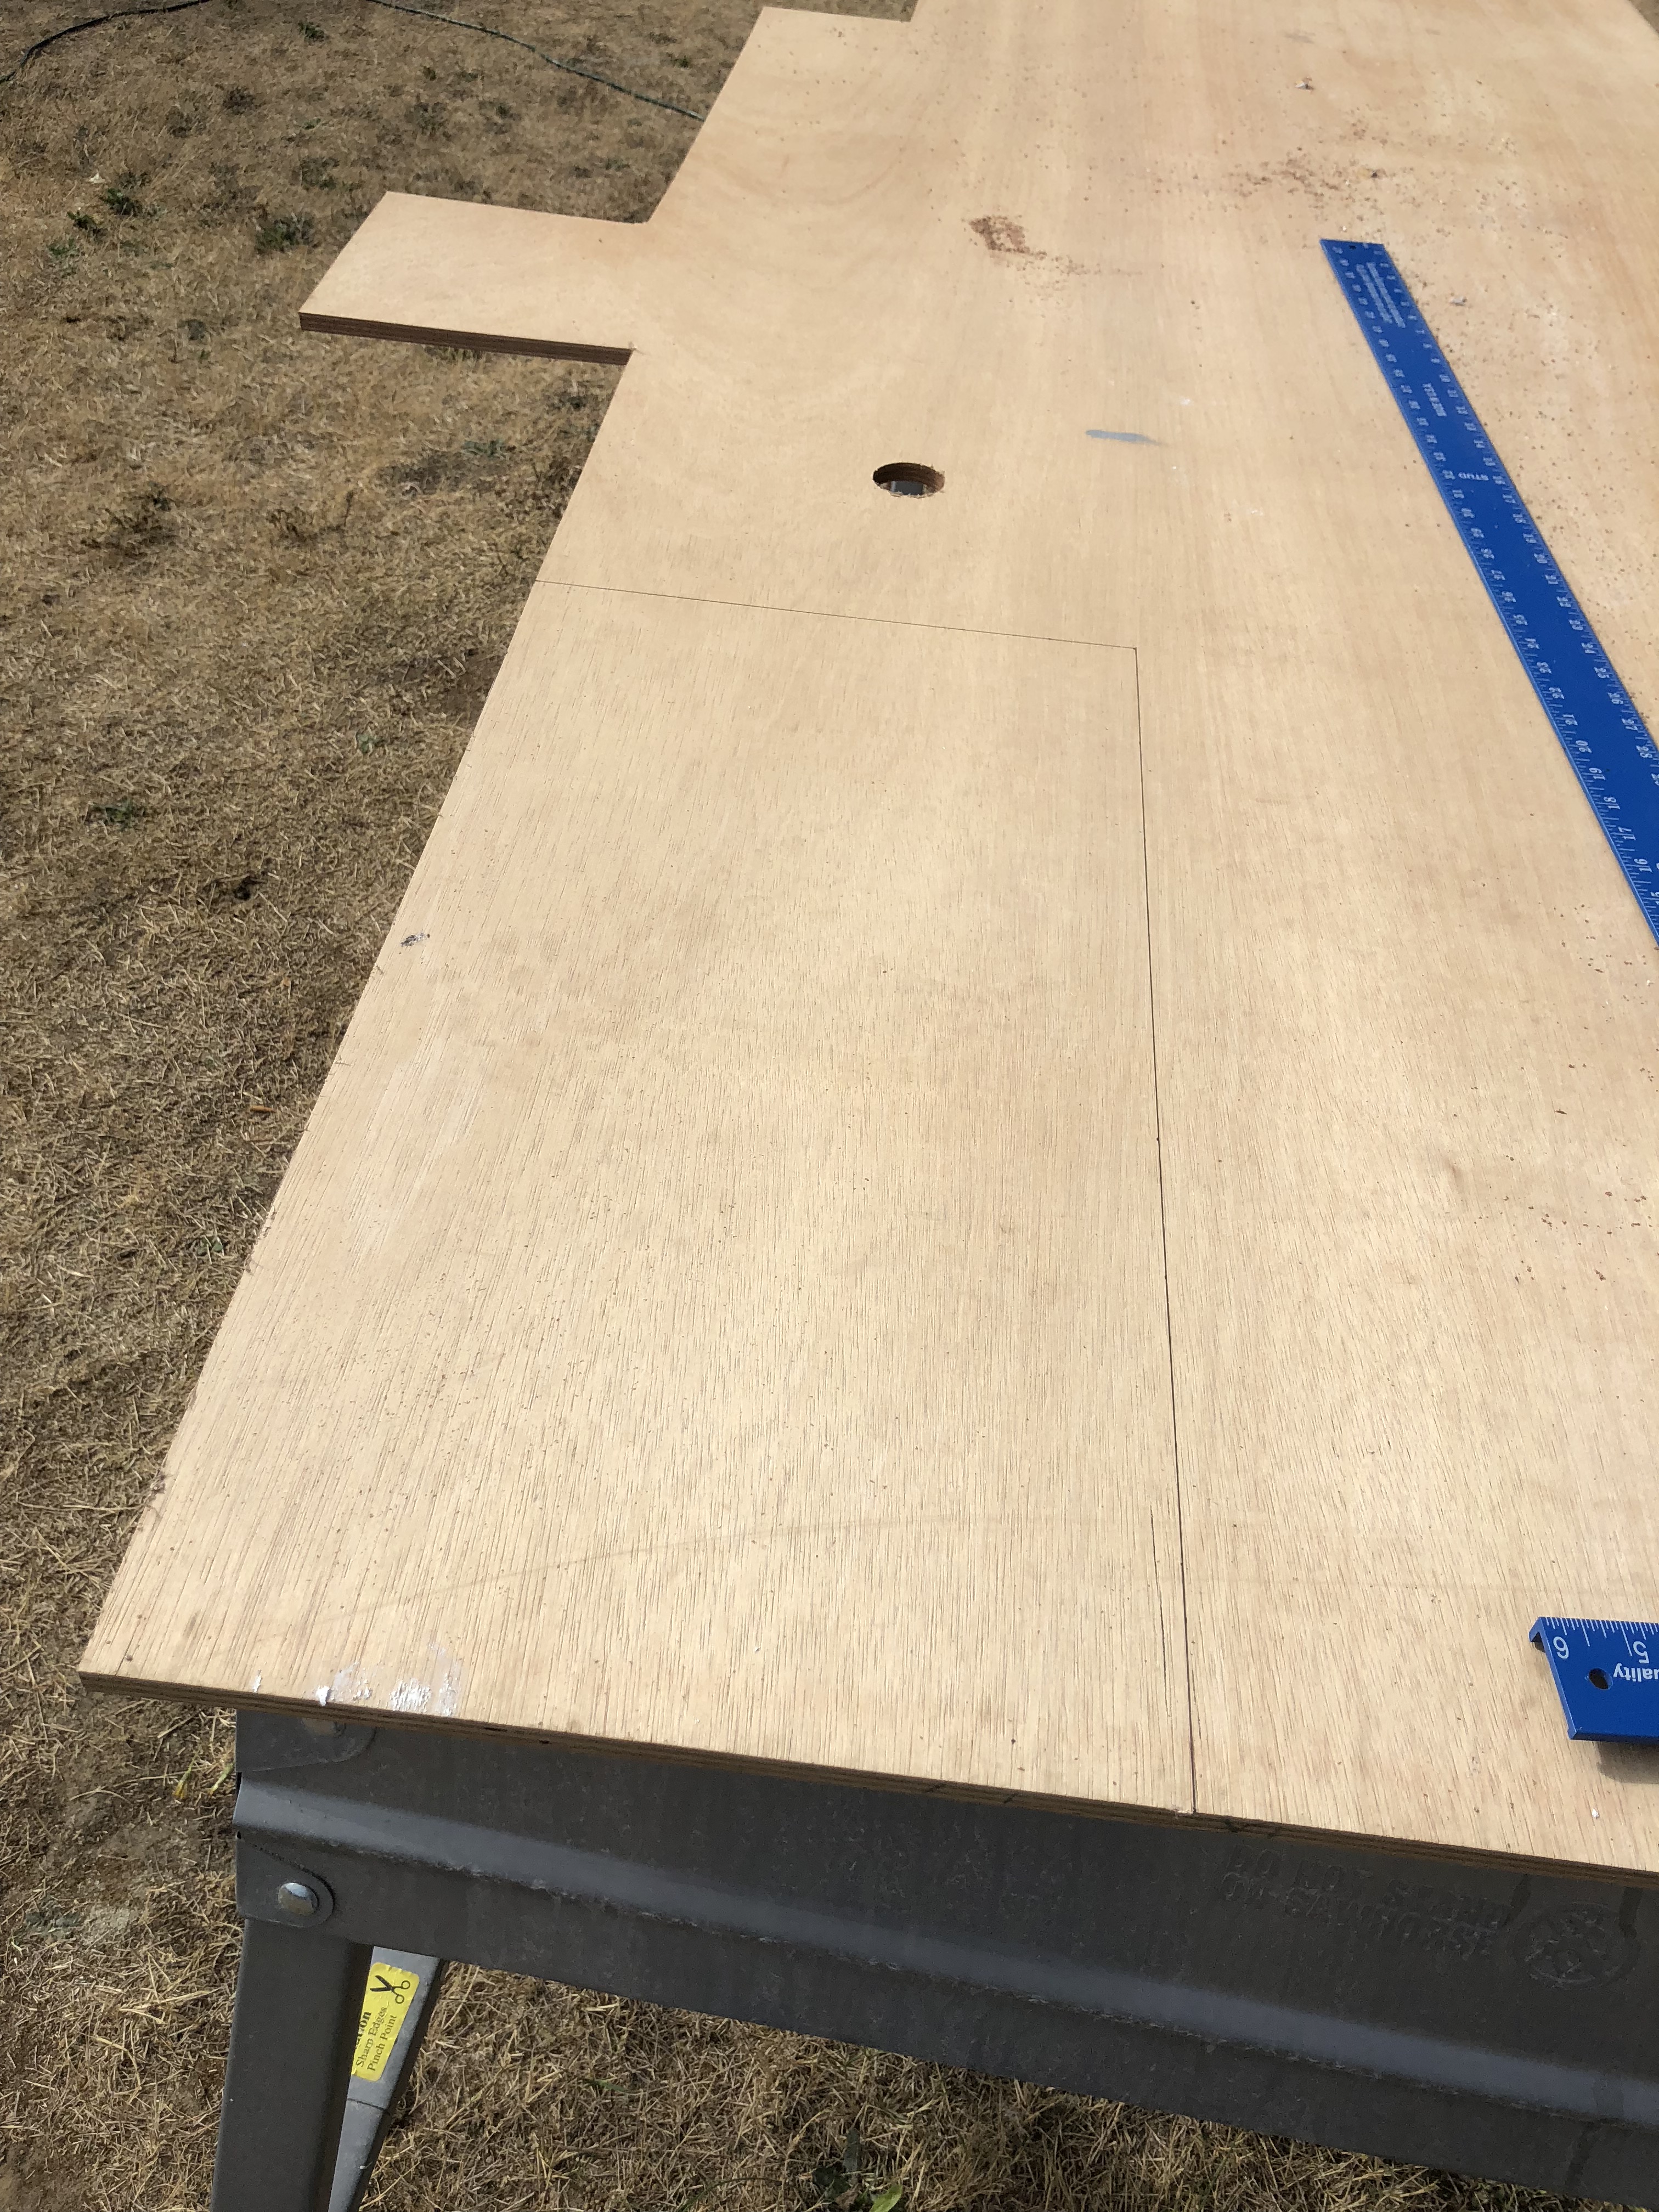
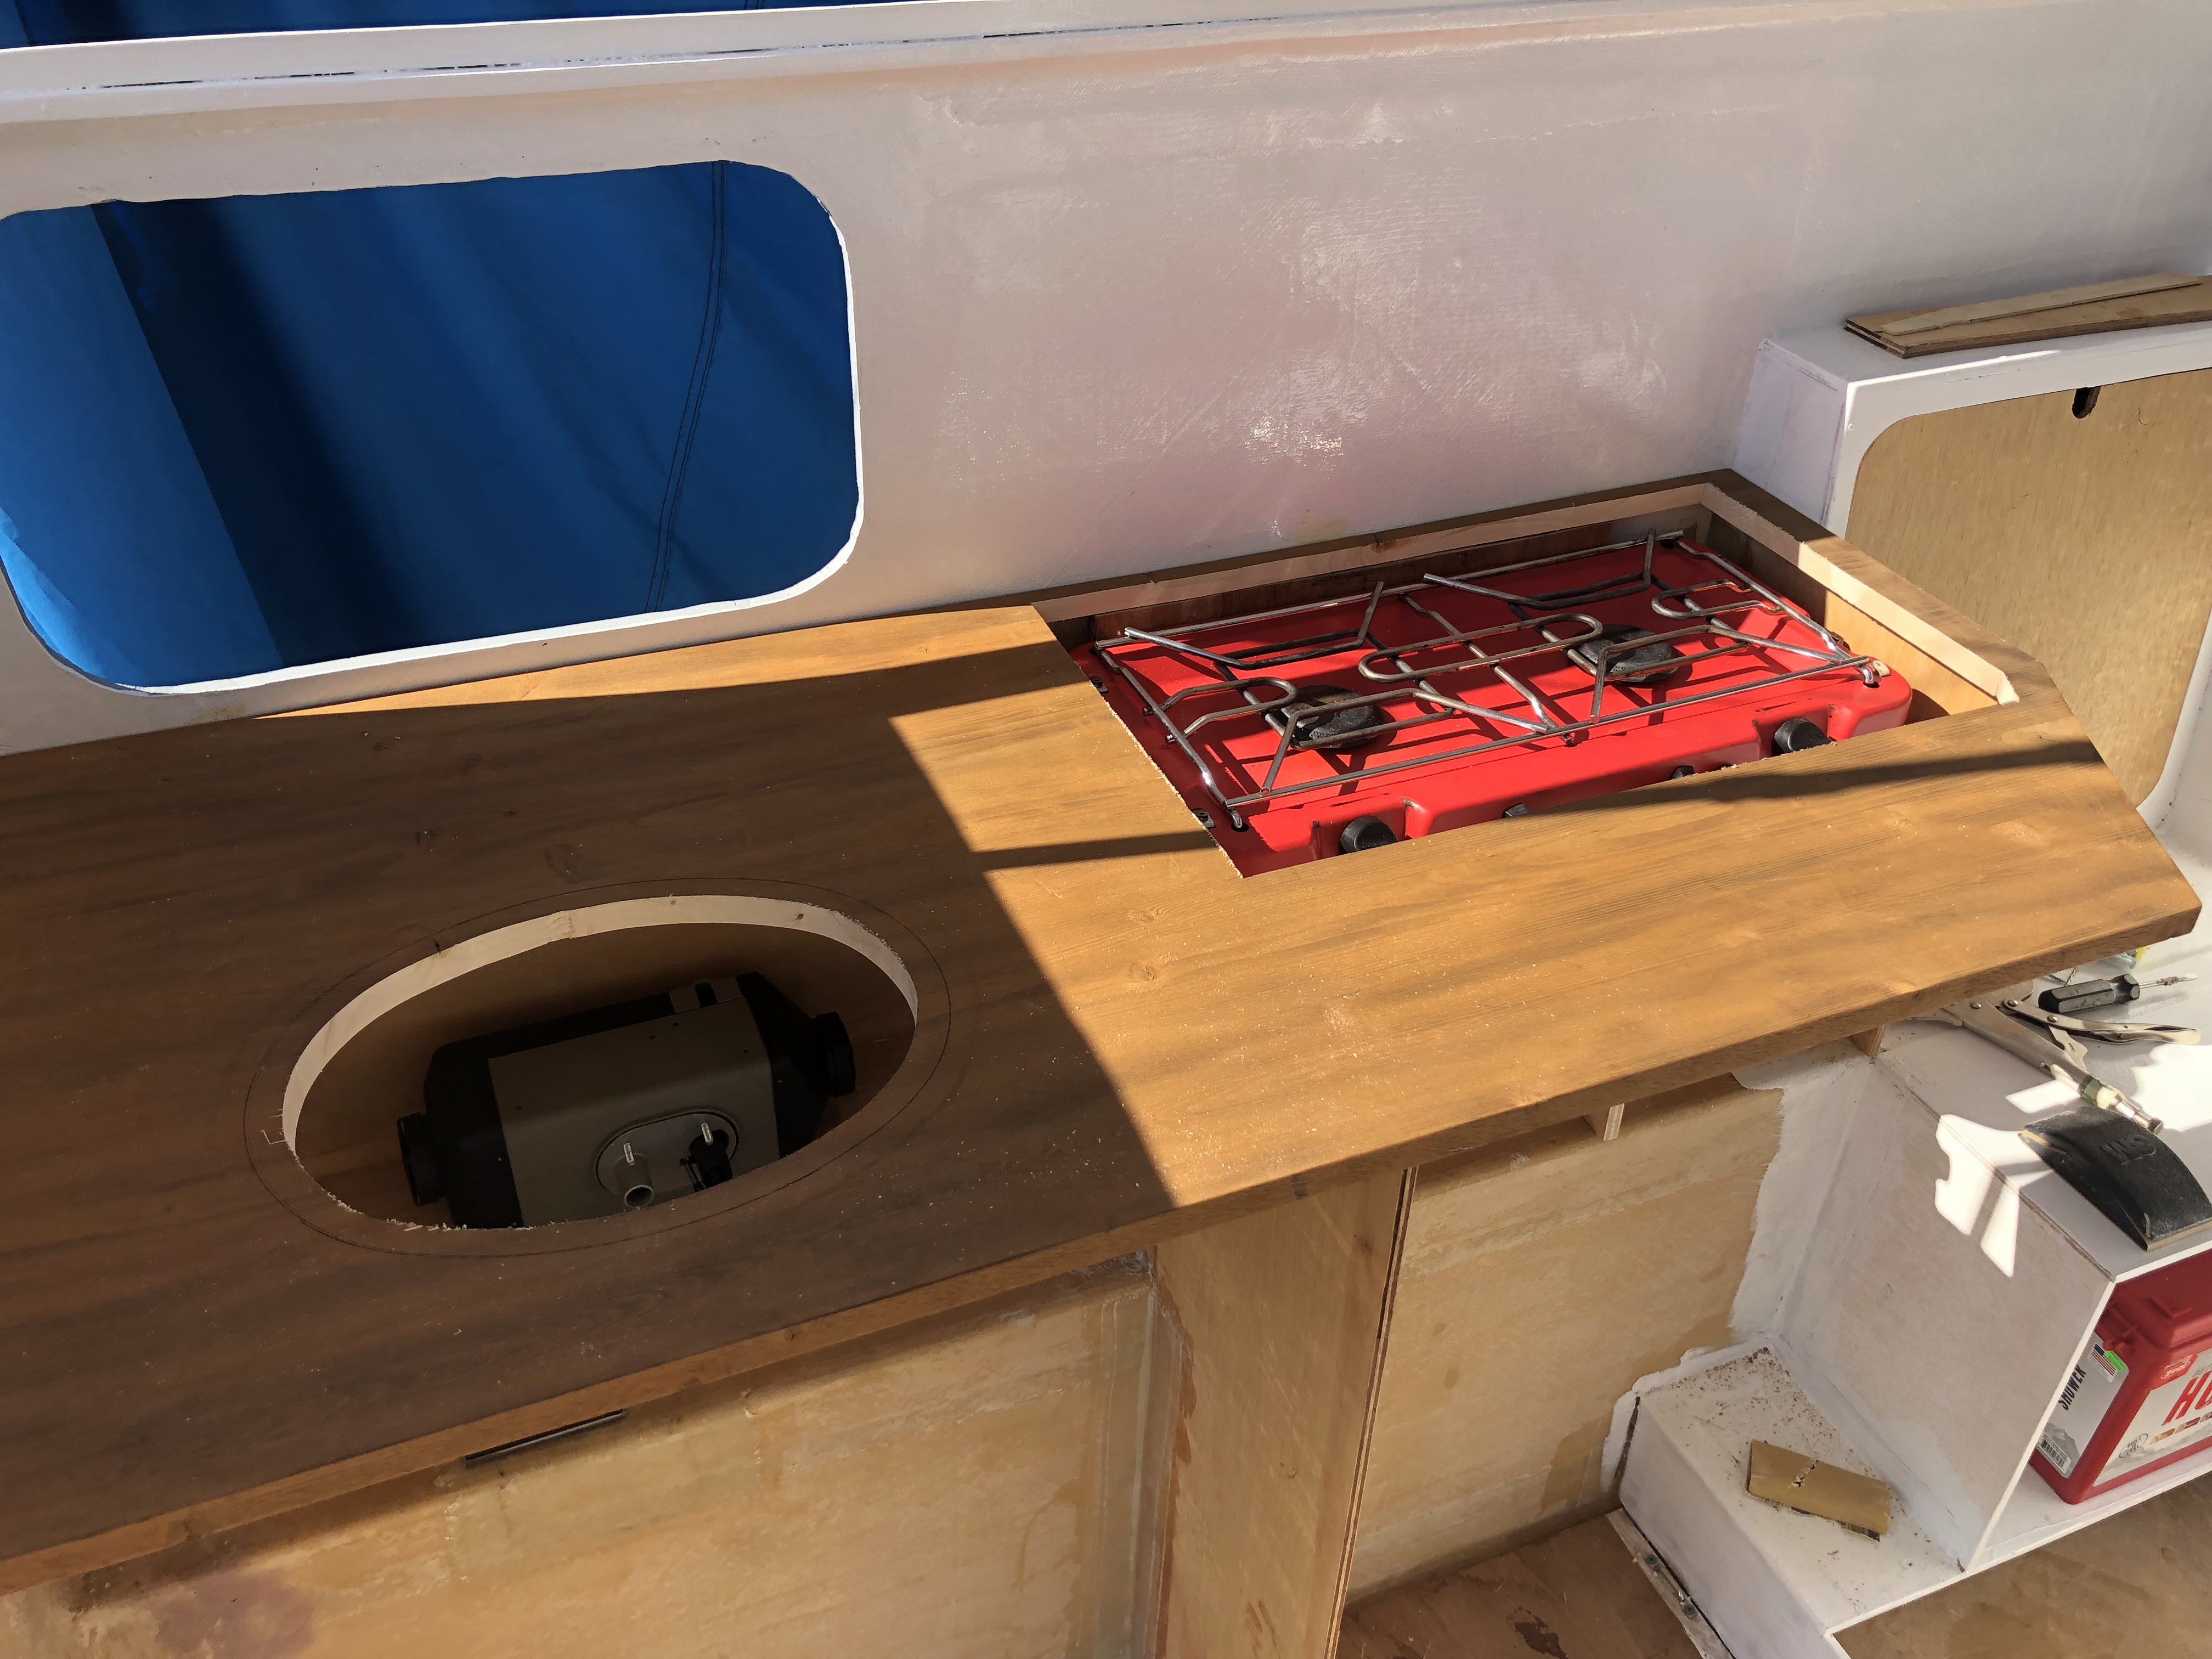
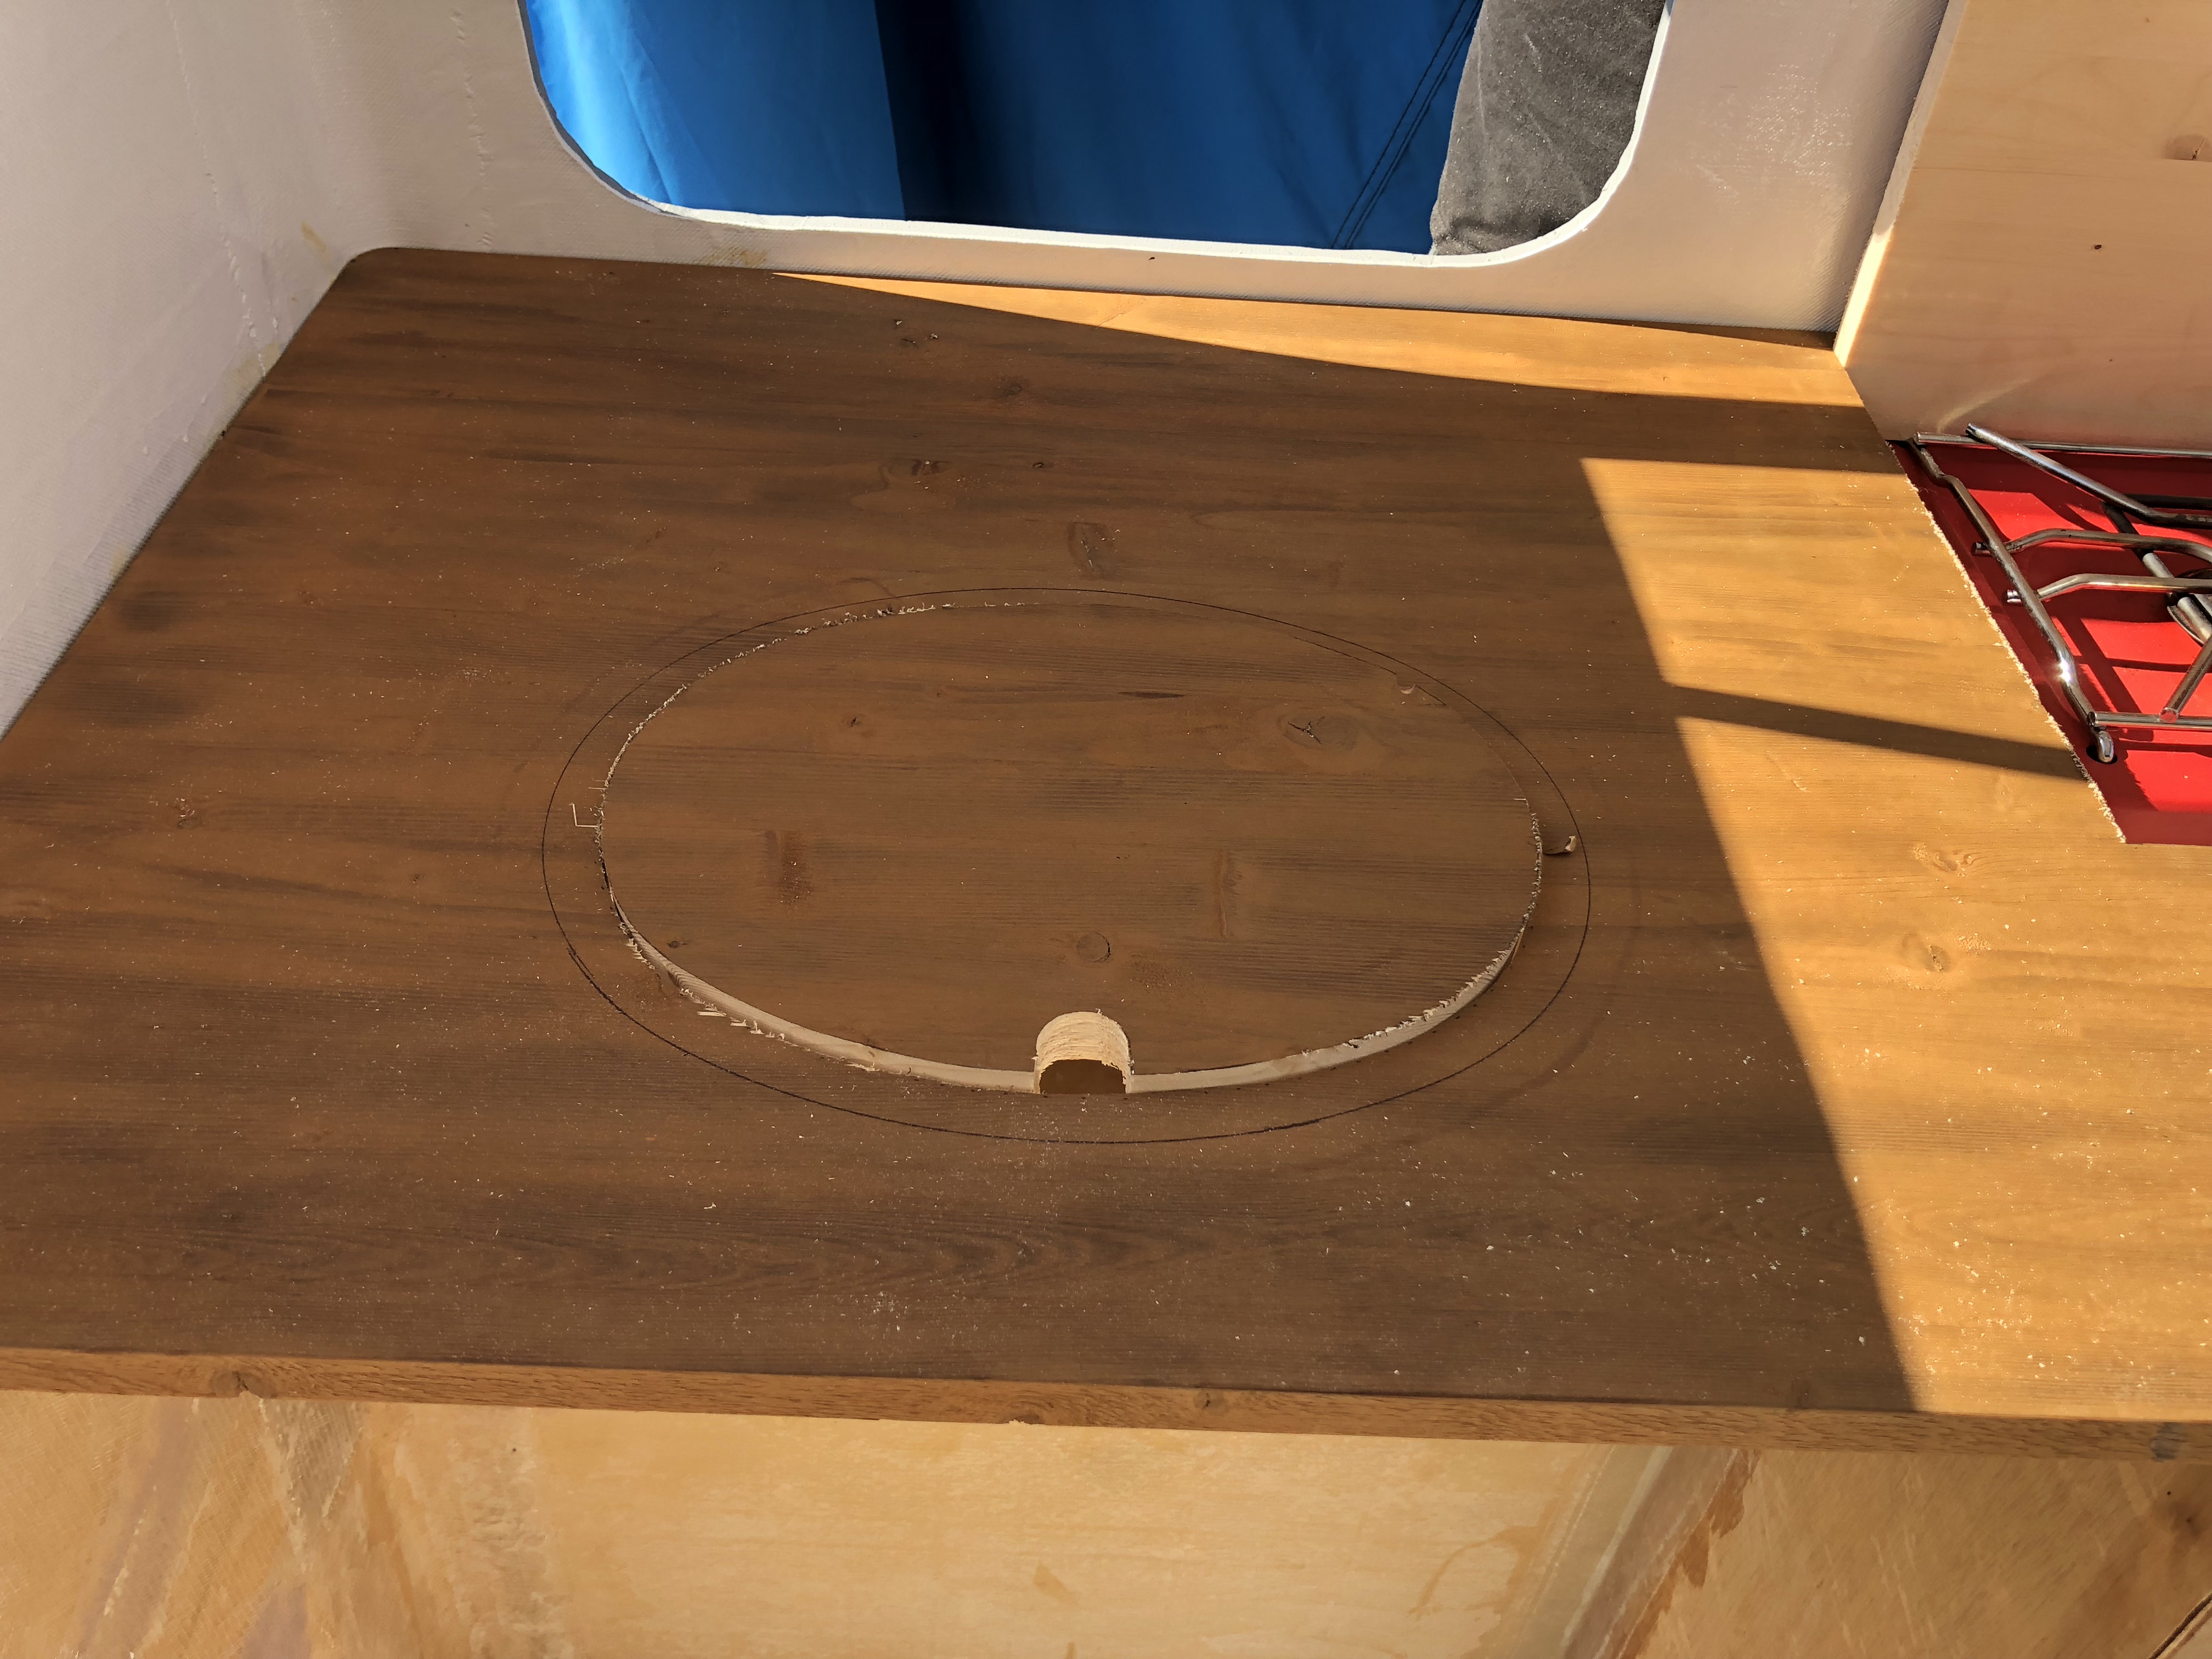
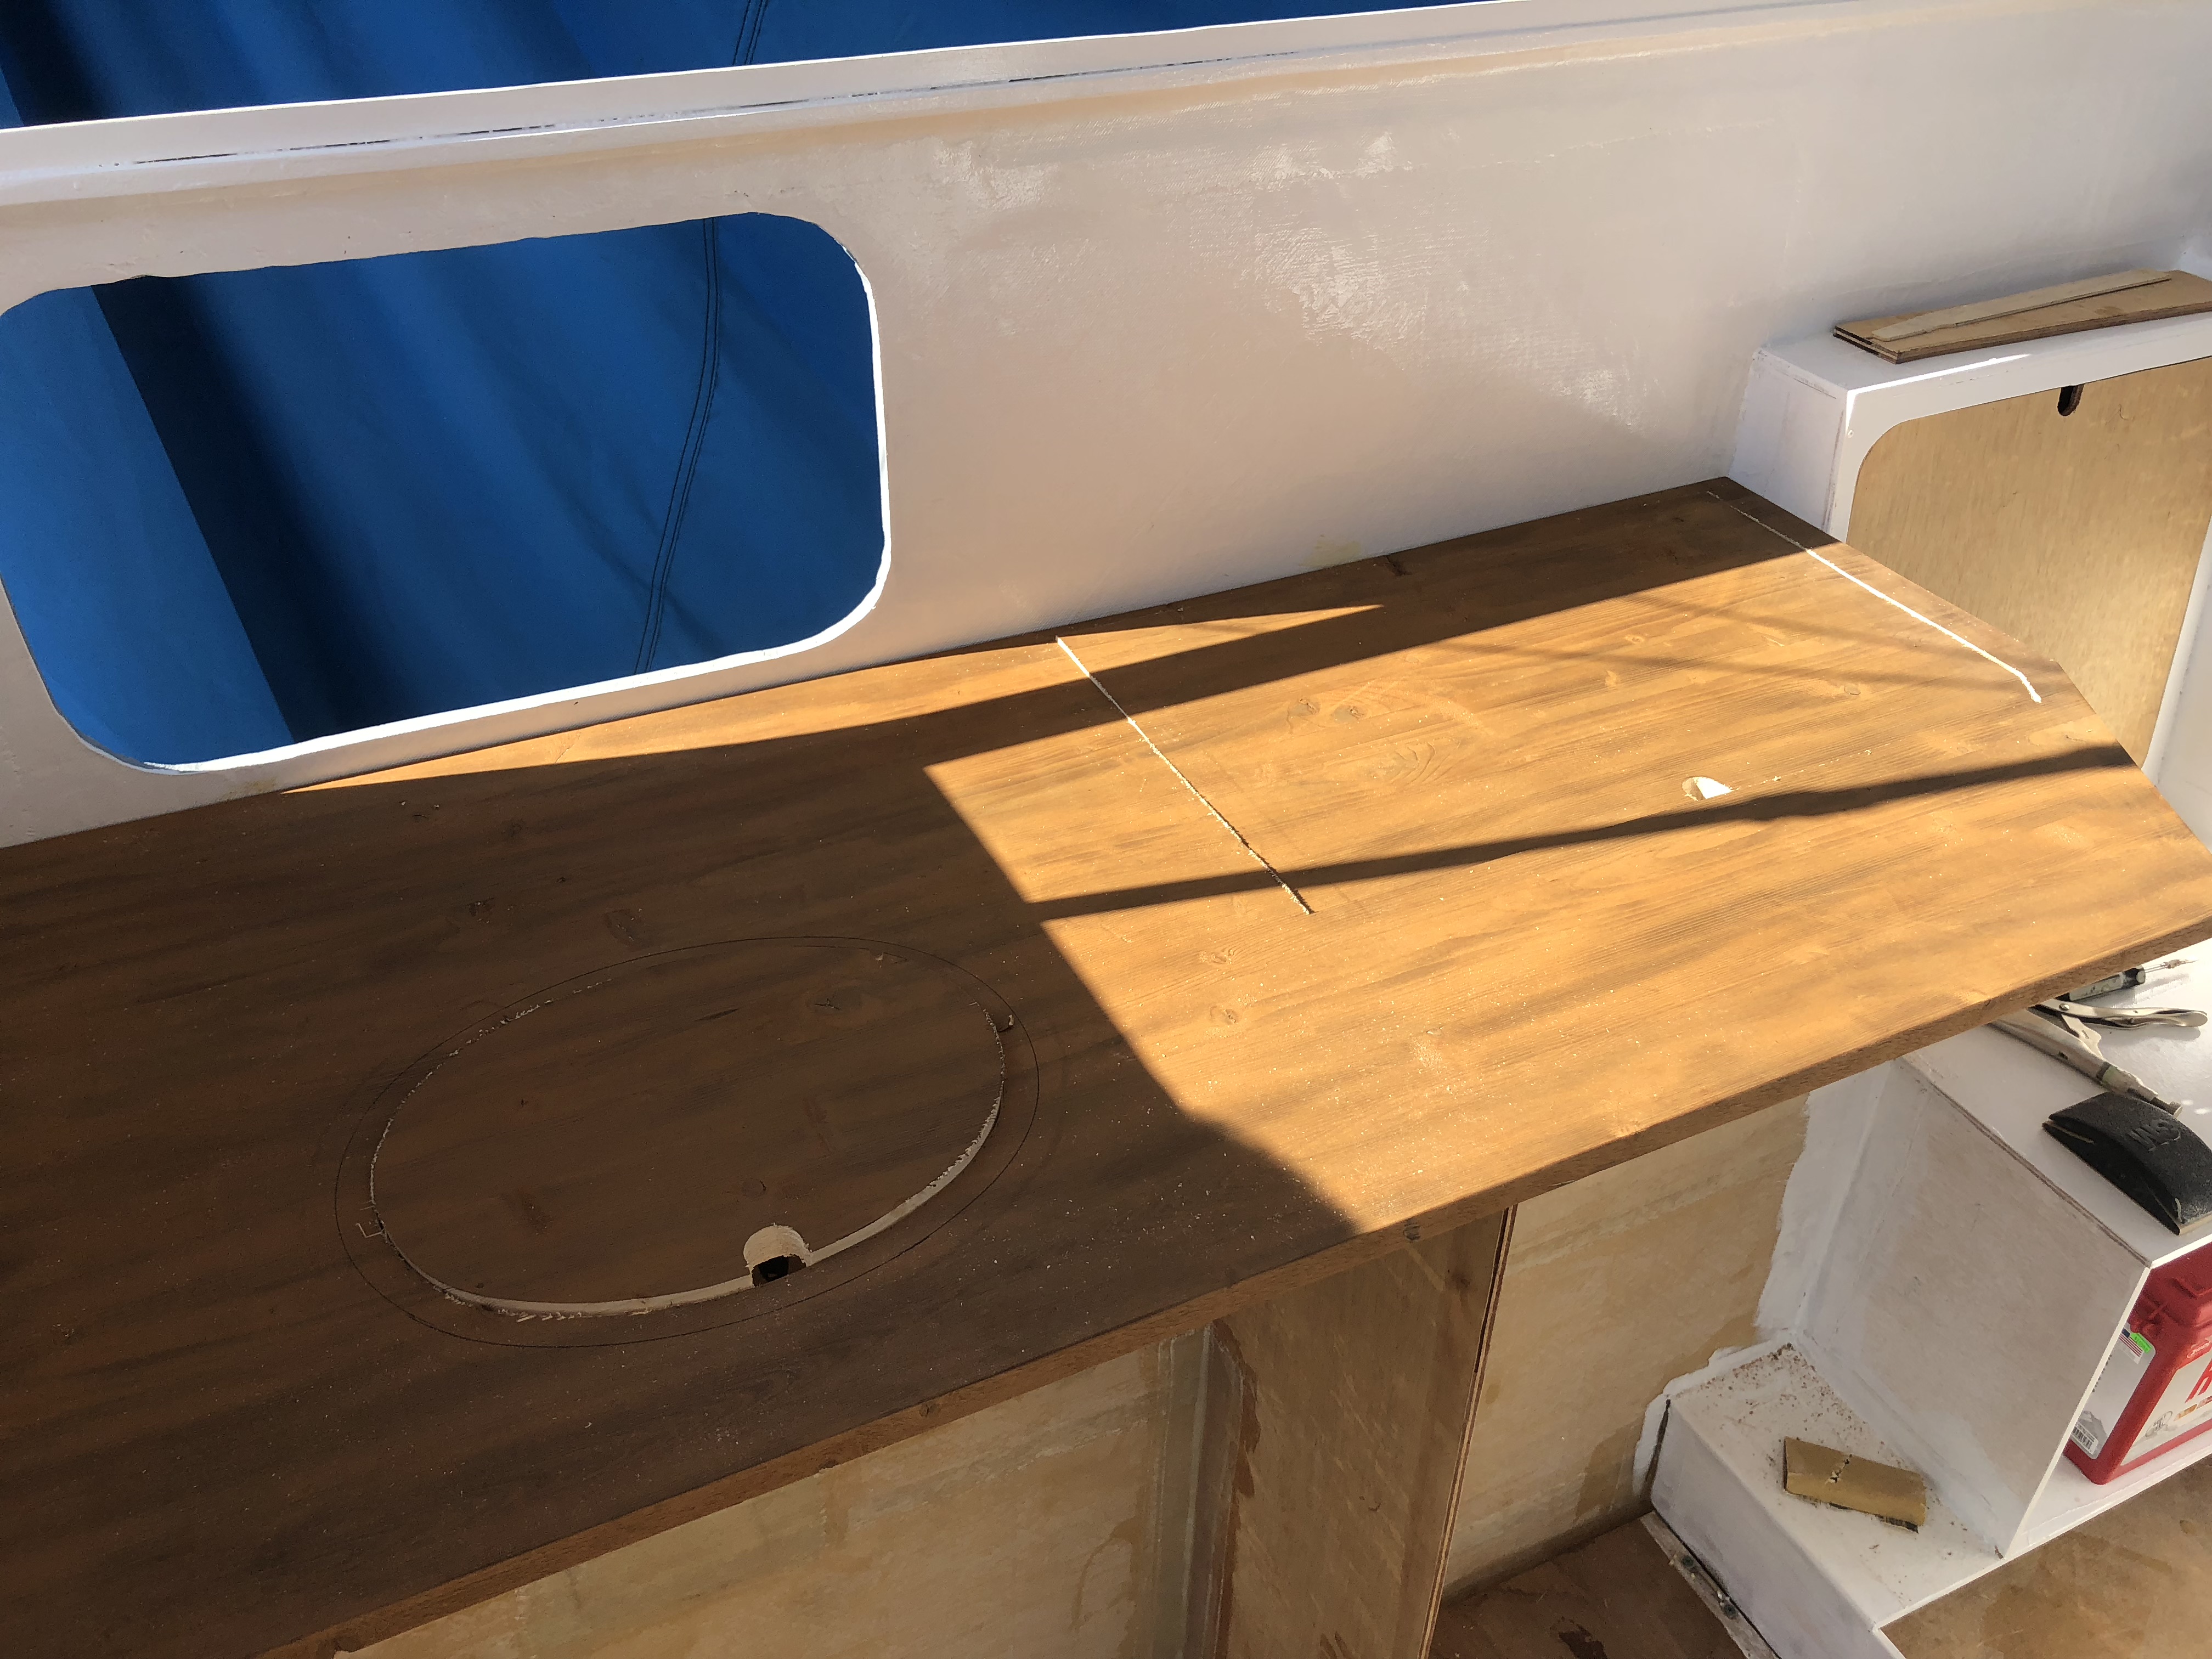
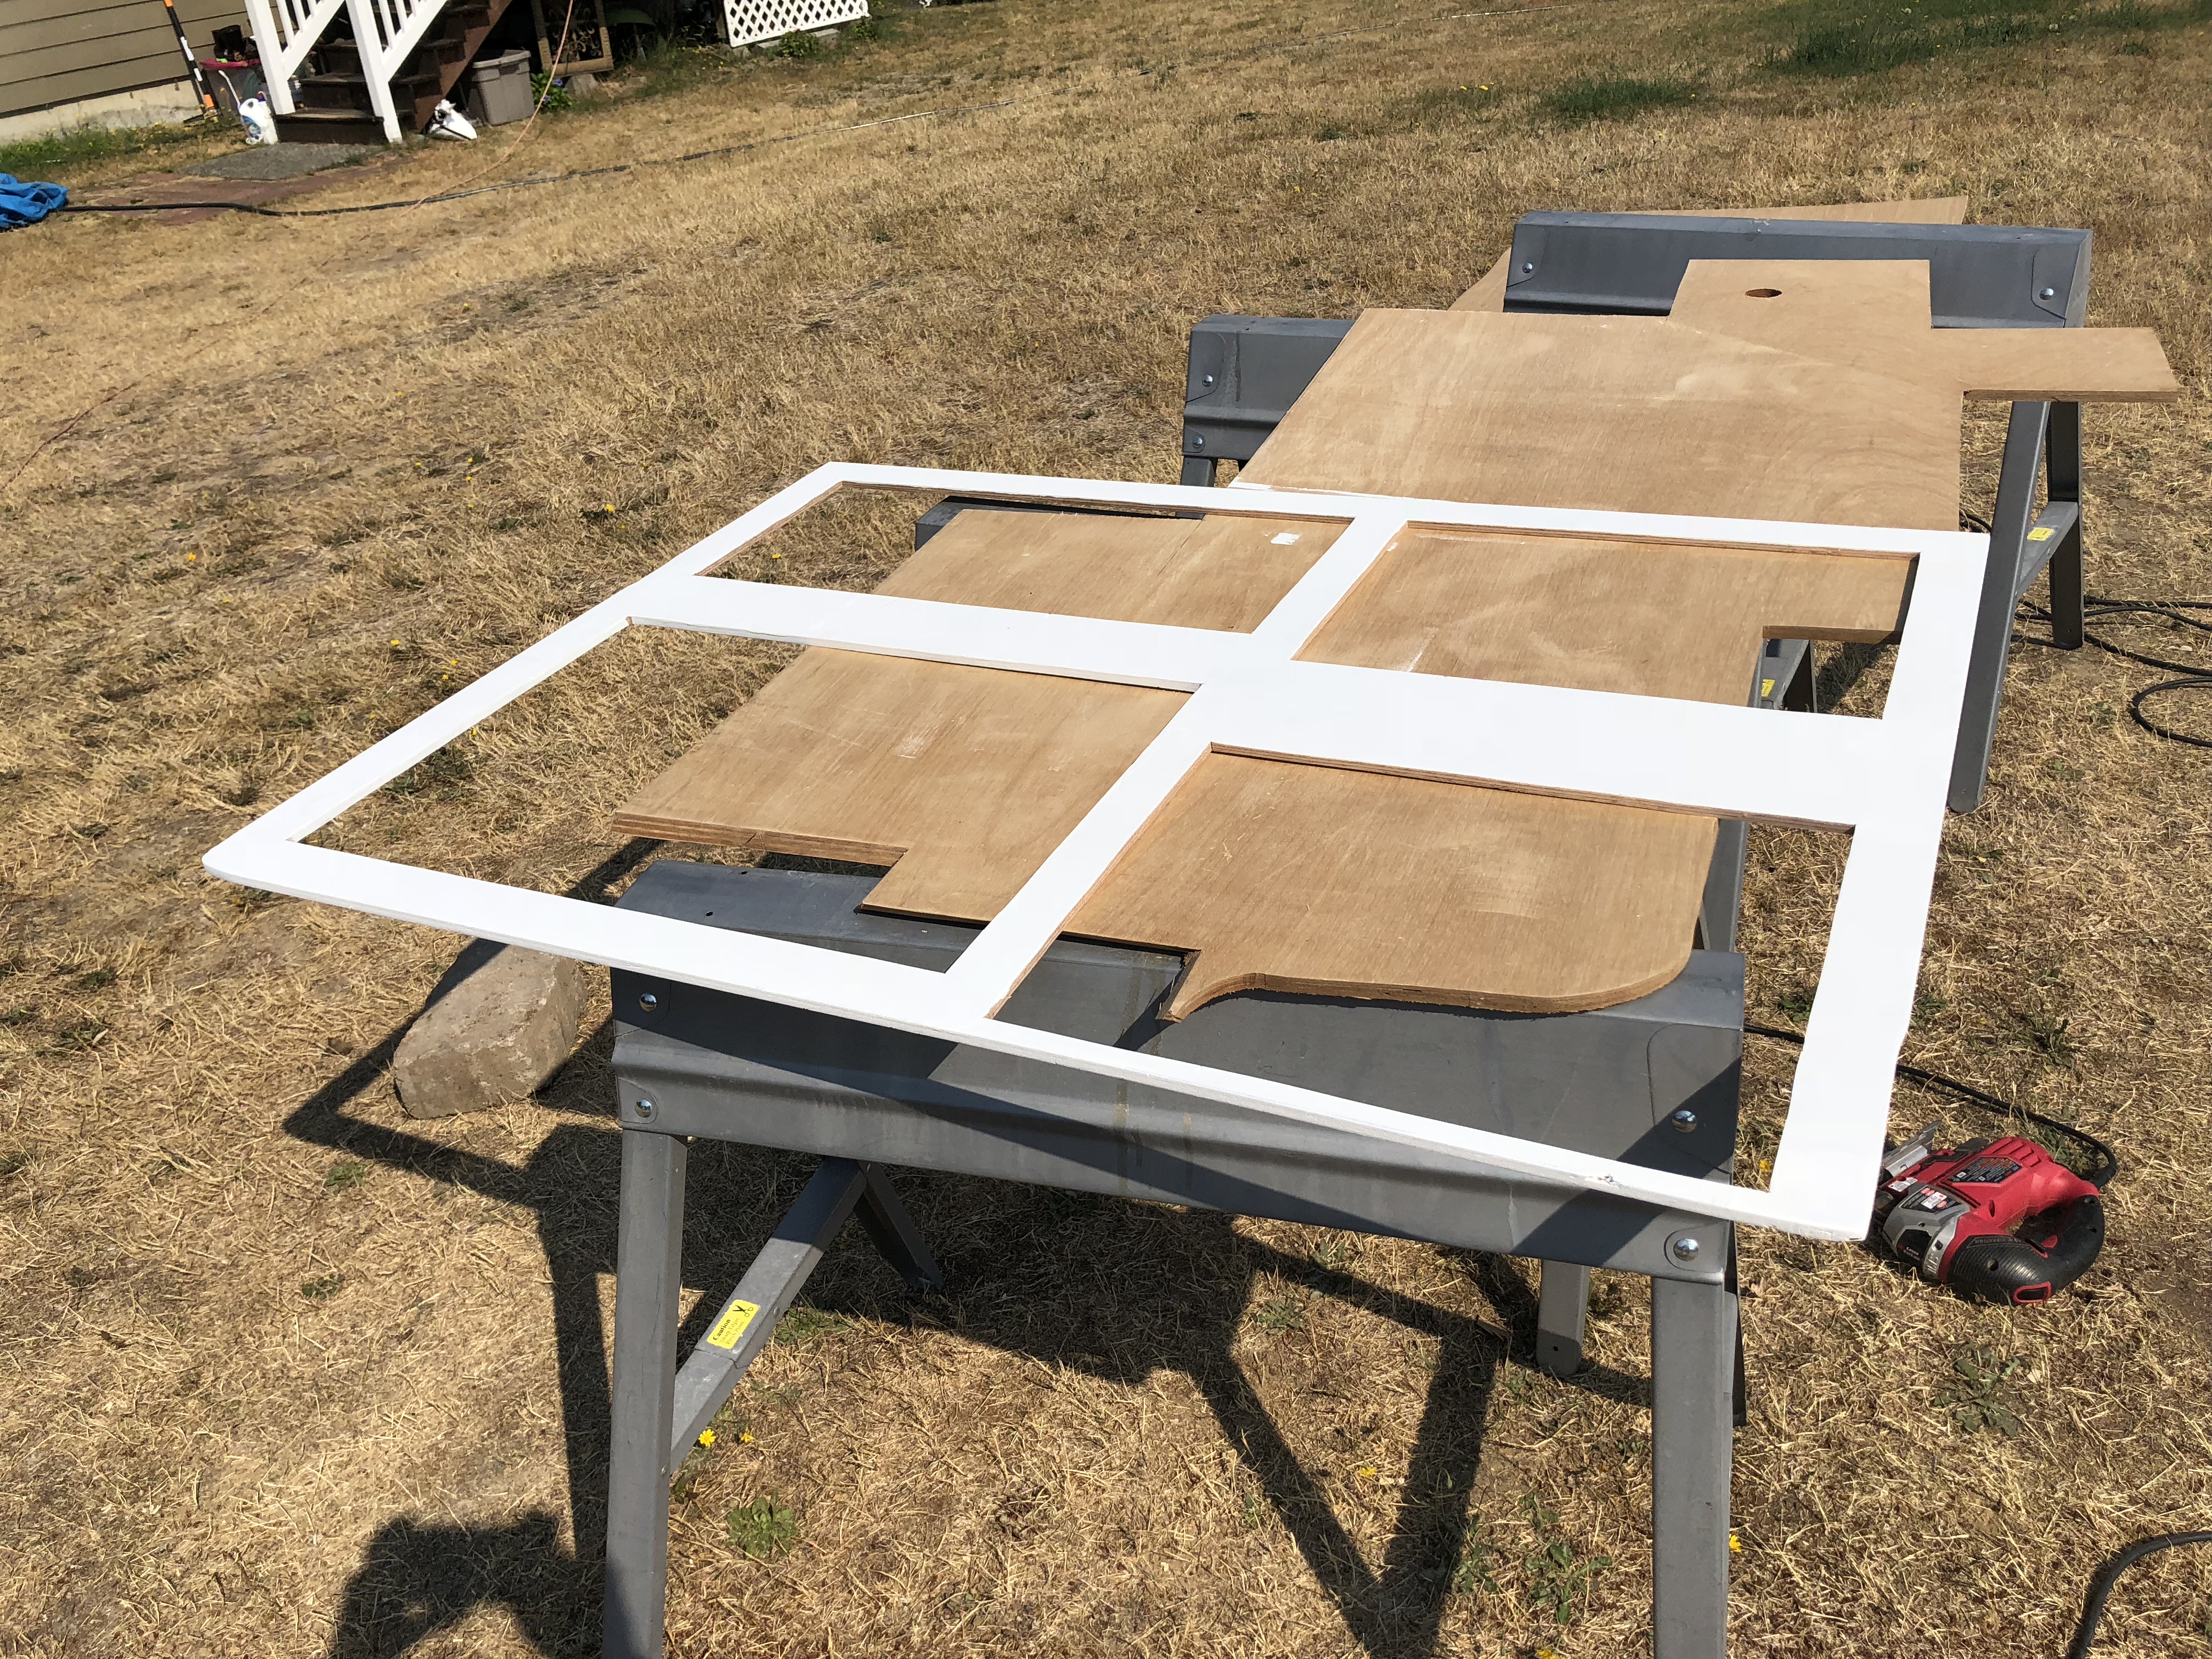
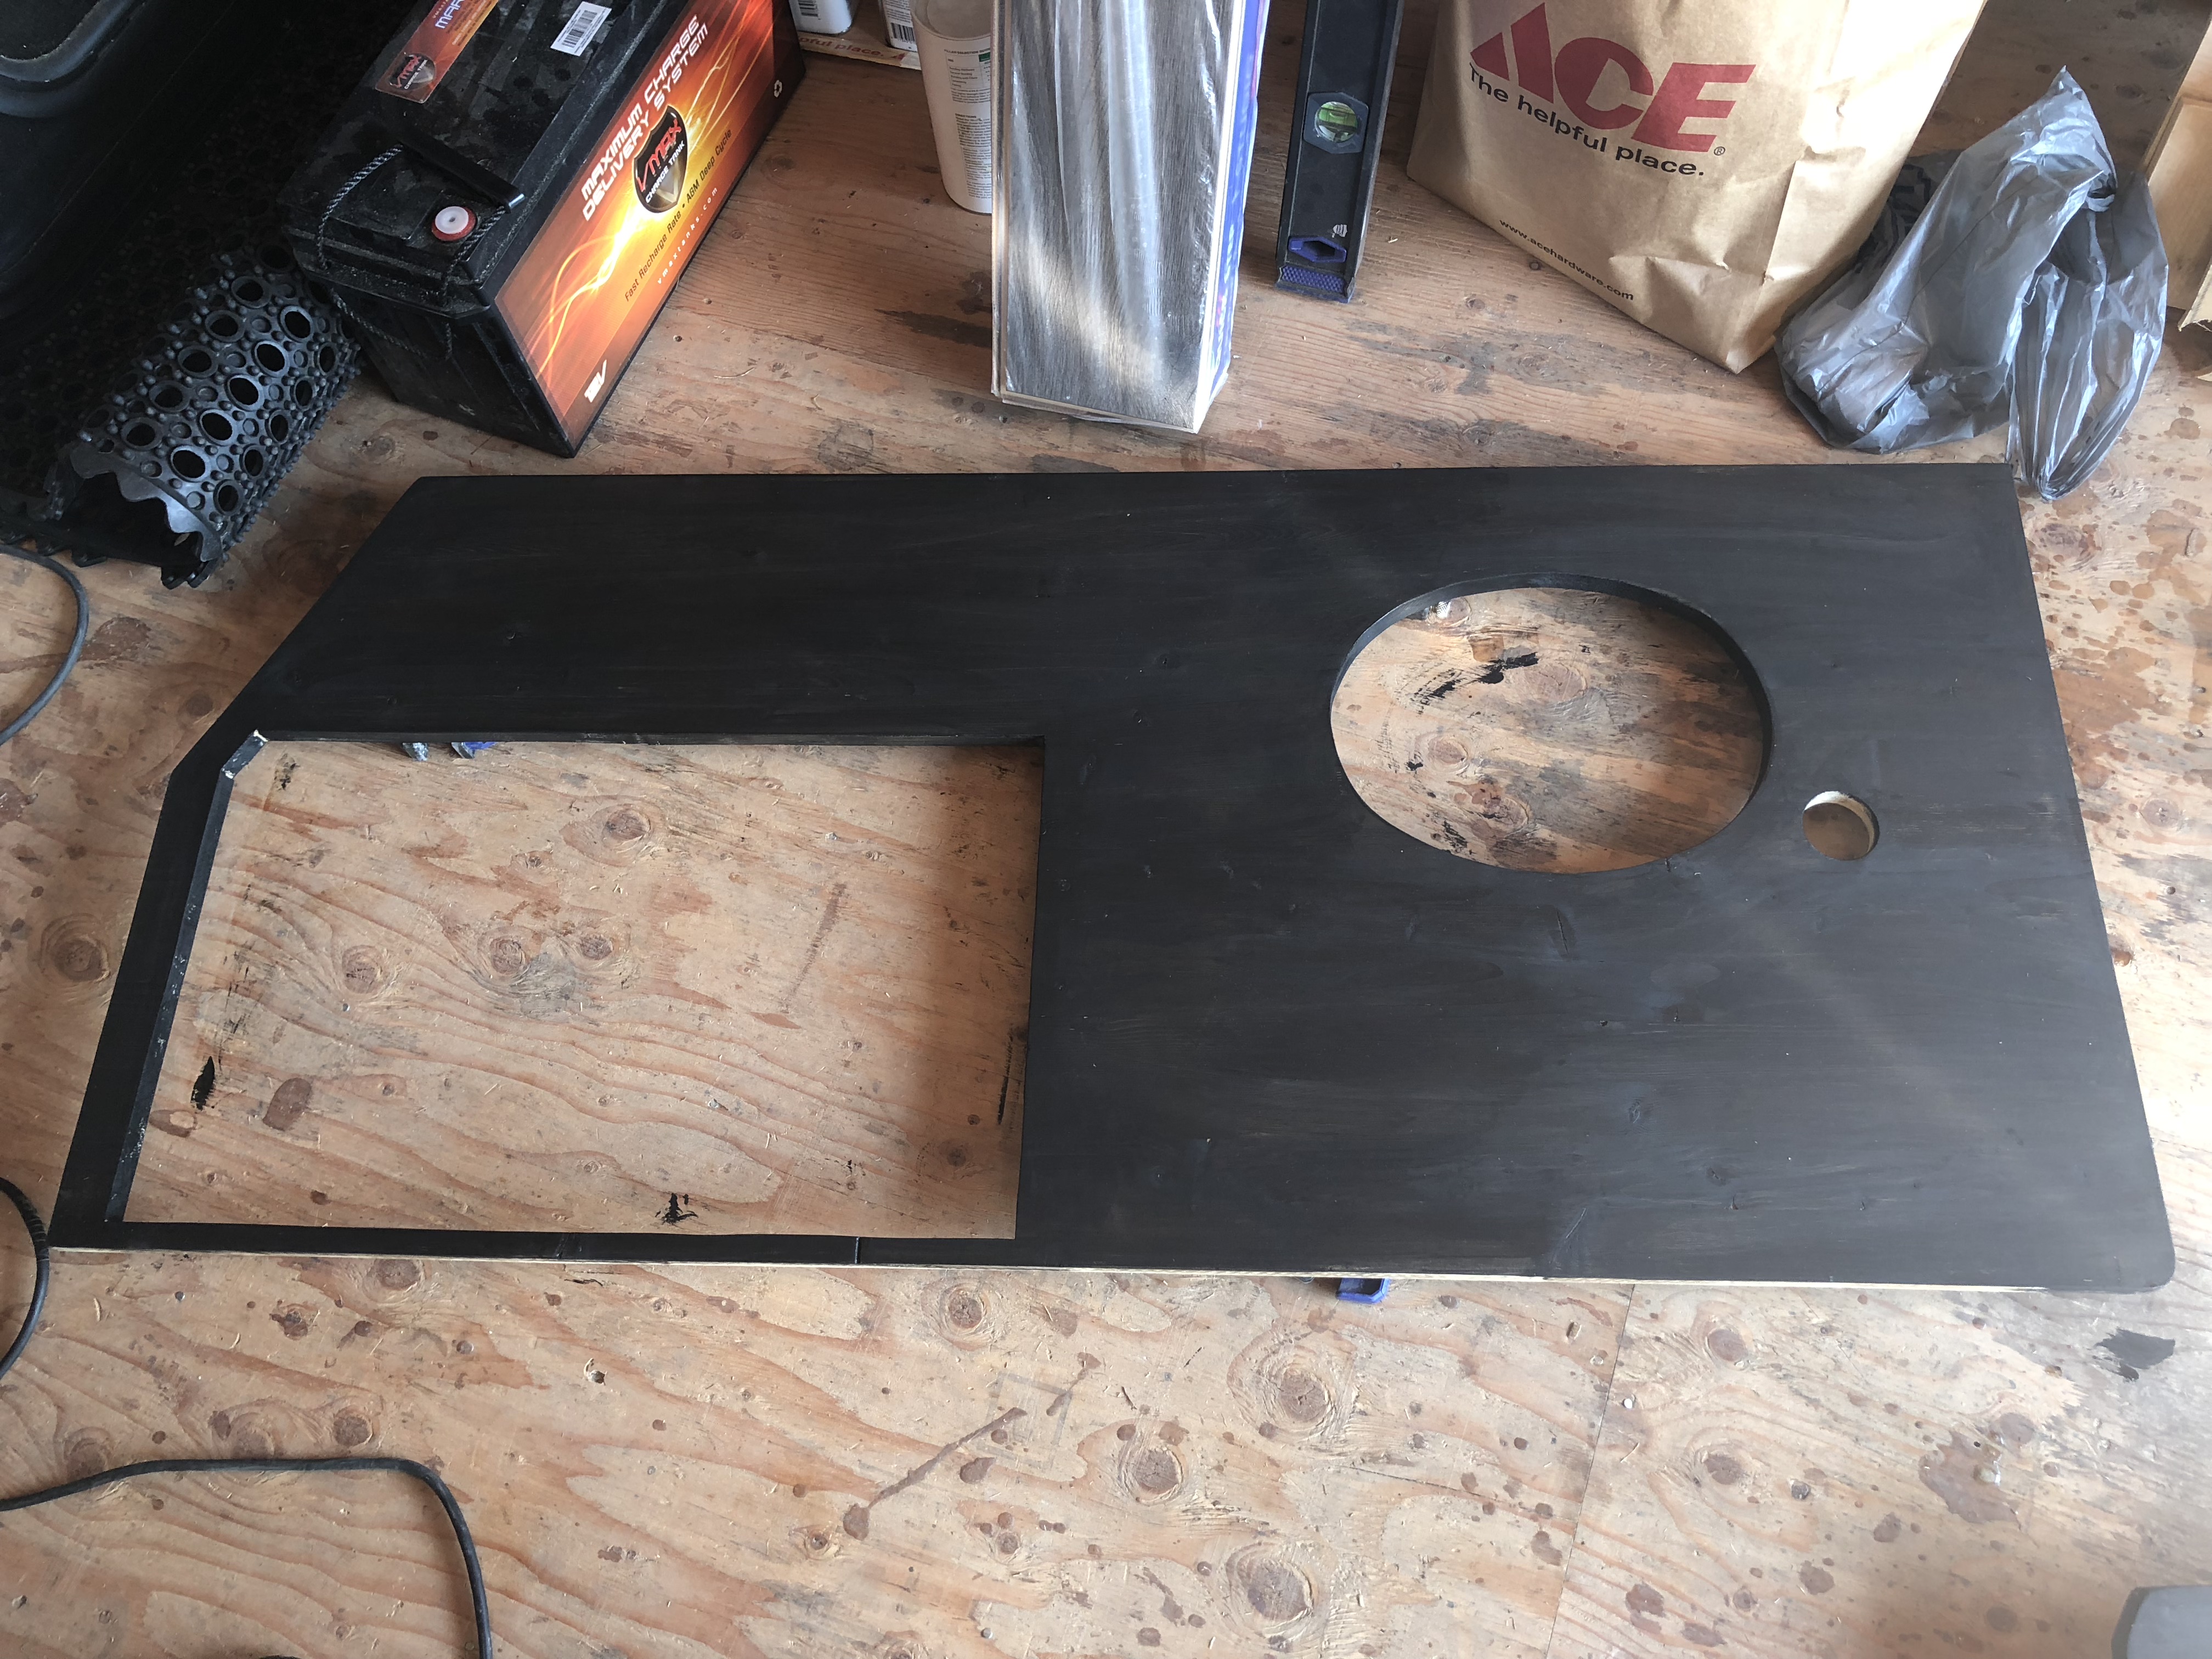
We did a test fit with the countertop. It fit pretty well after some minor trimming! Unfortunately I hate the color. I wanted a more modern looking greyed out color.. this is like chocolate mousse or saddle leather.
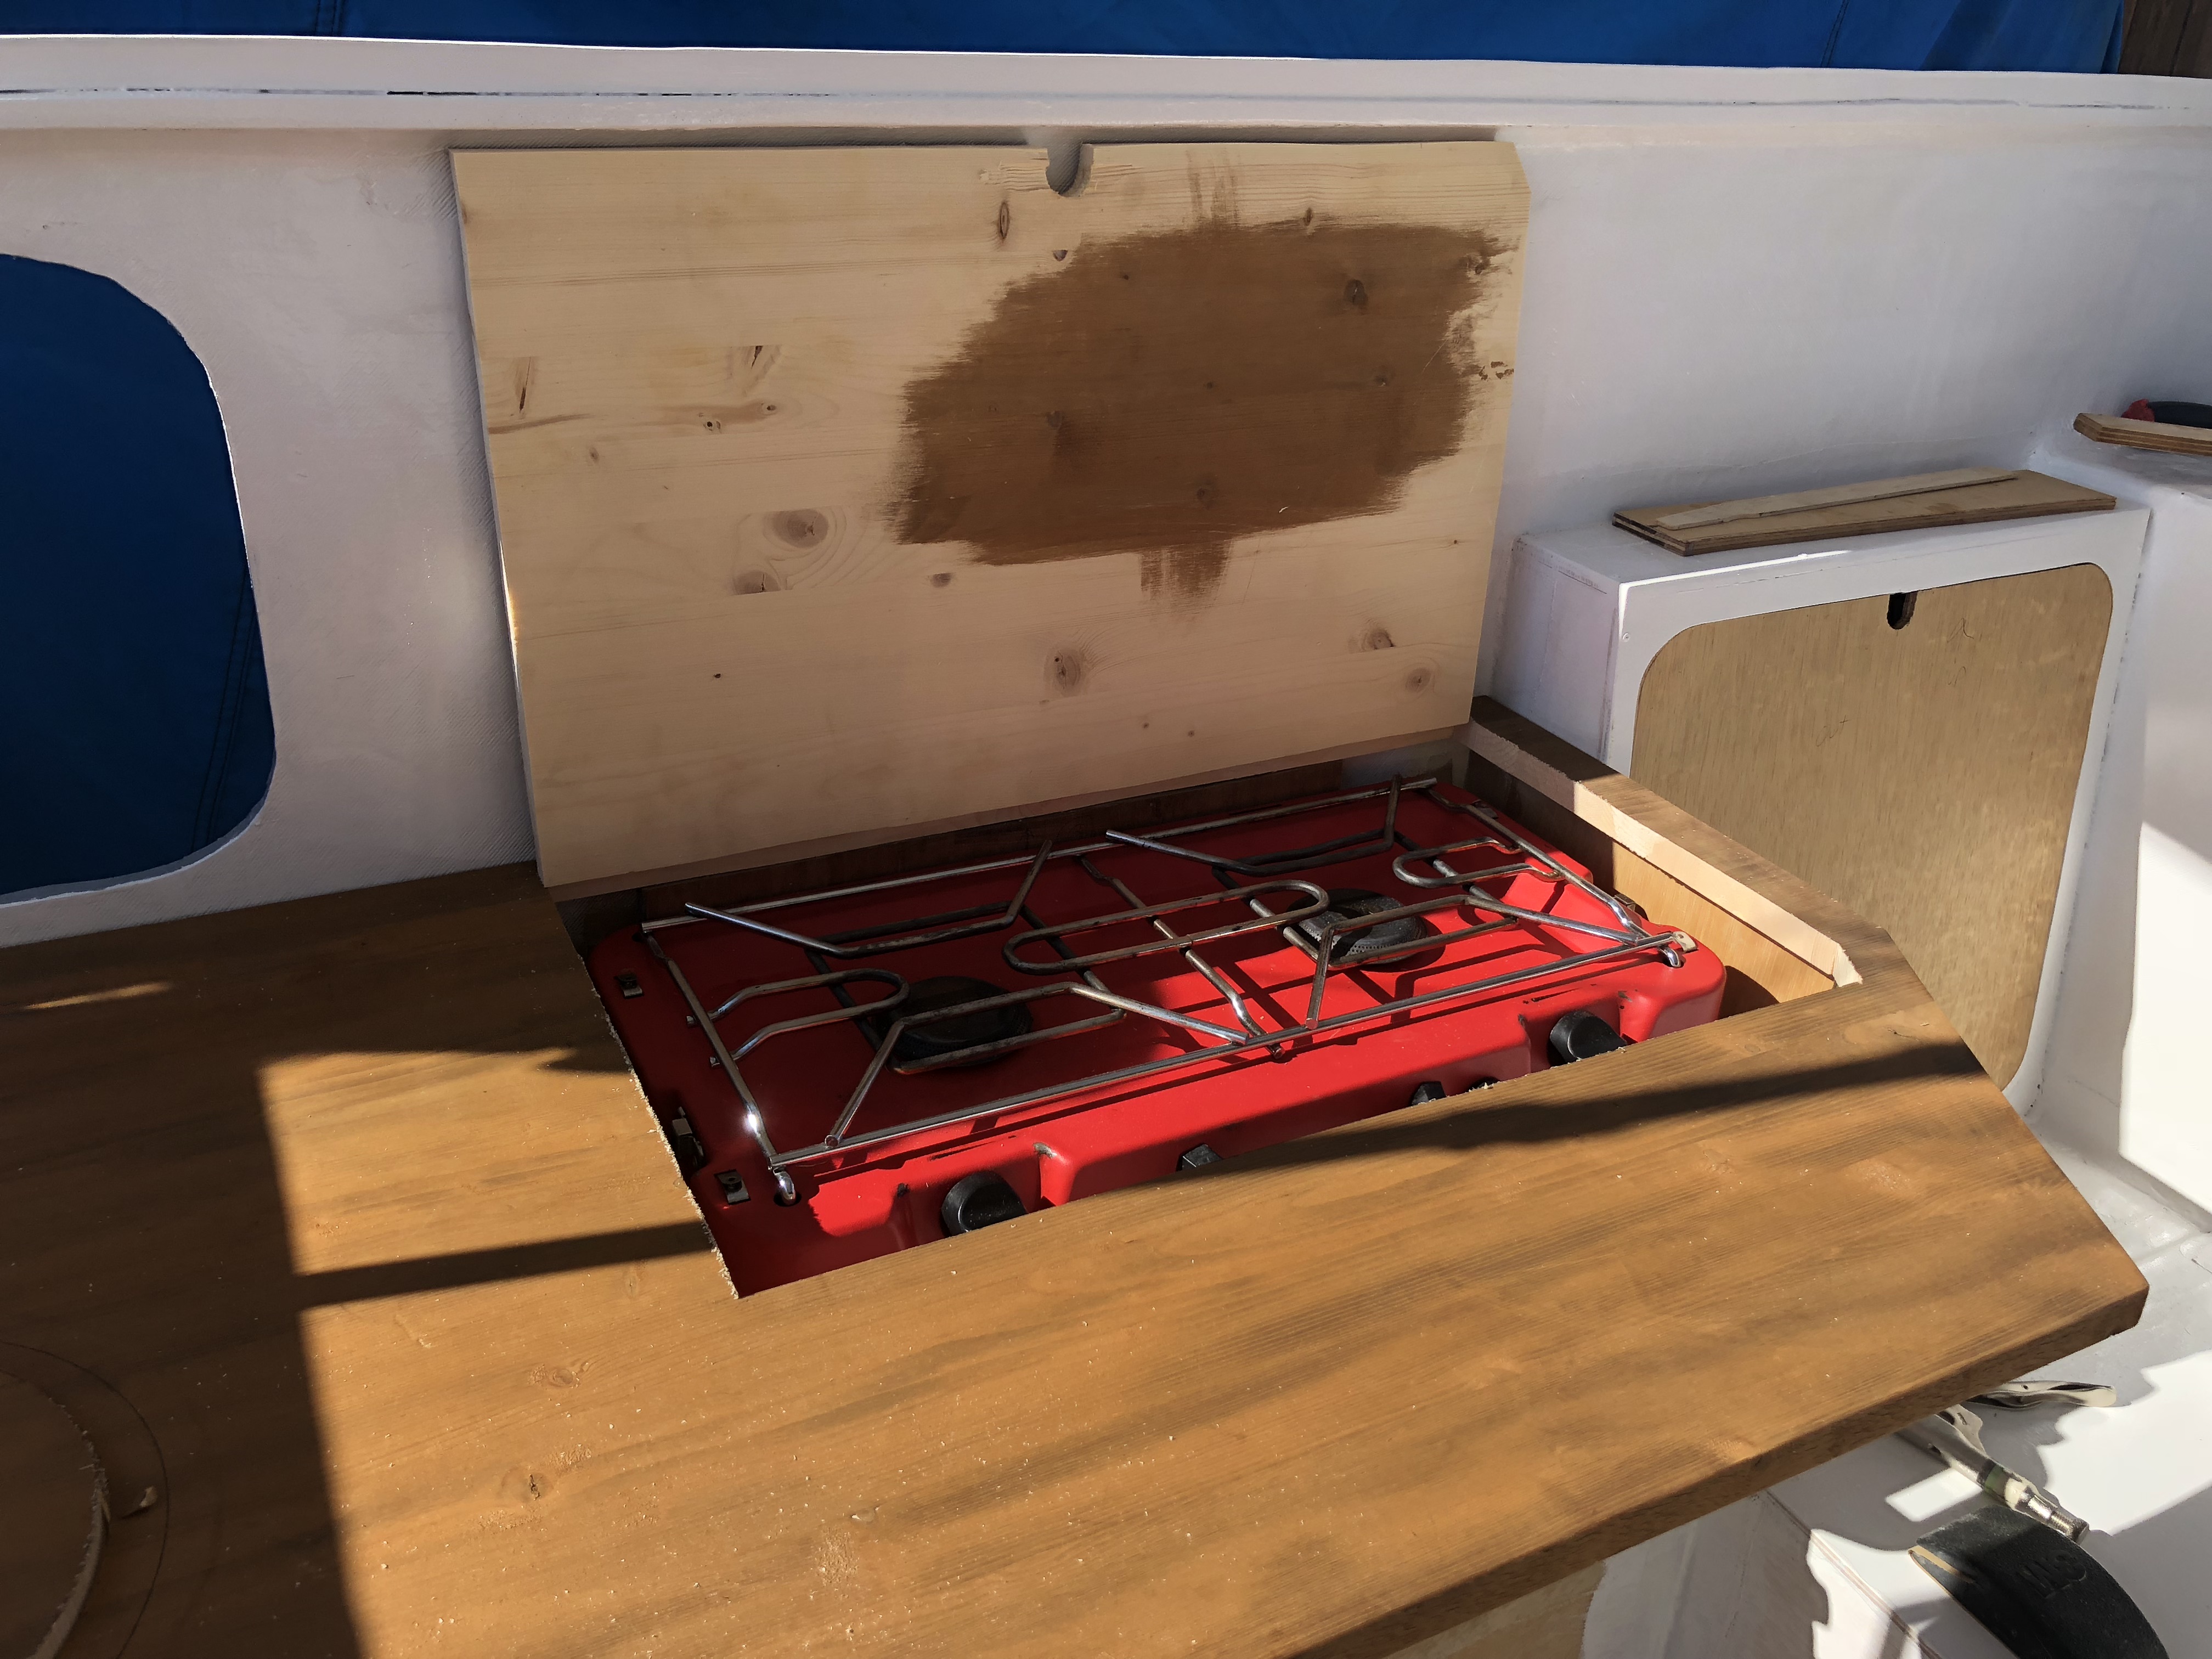
We're going to have a door in the countertop that opens to get to the stove!
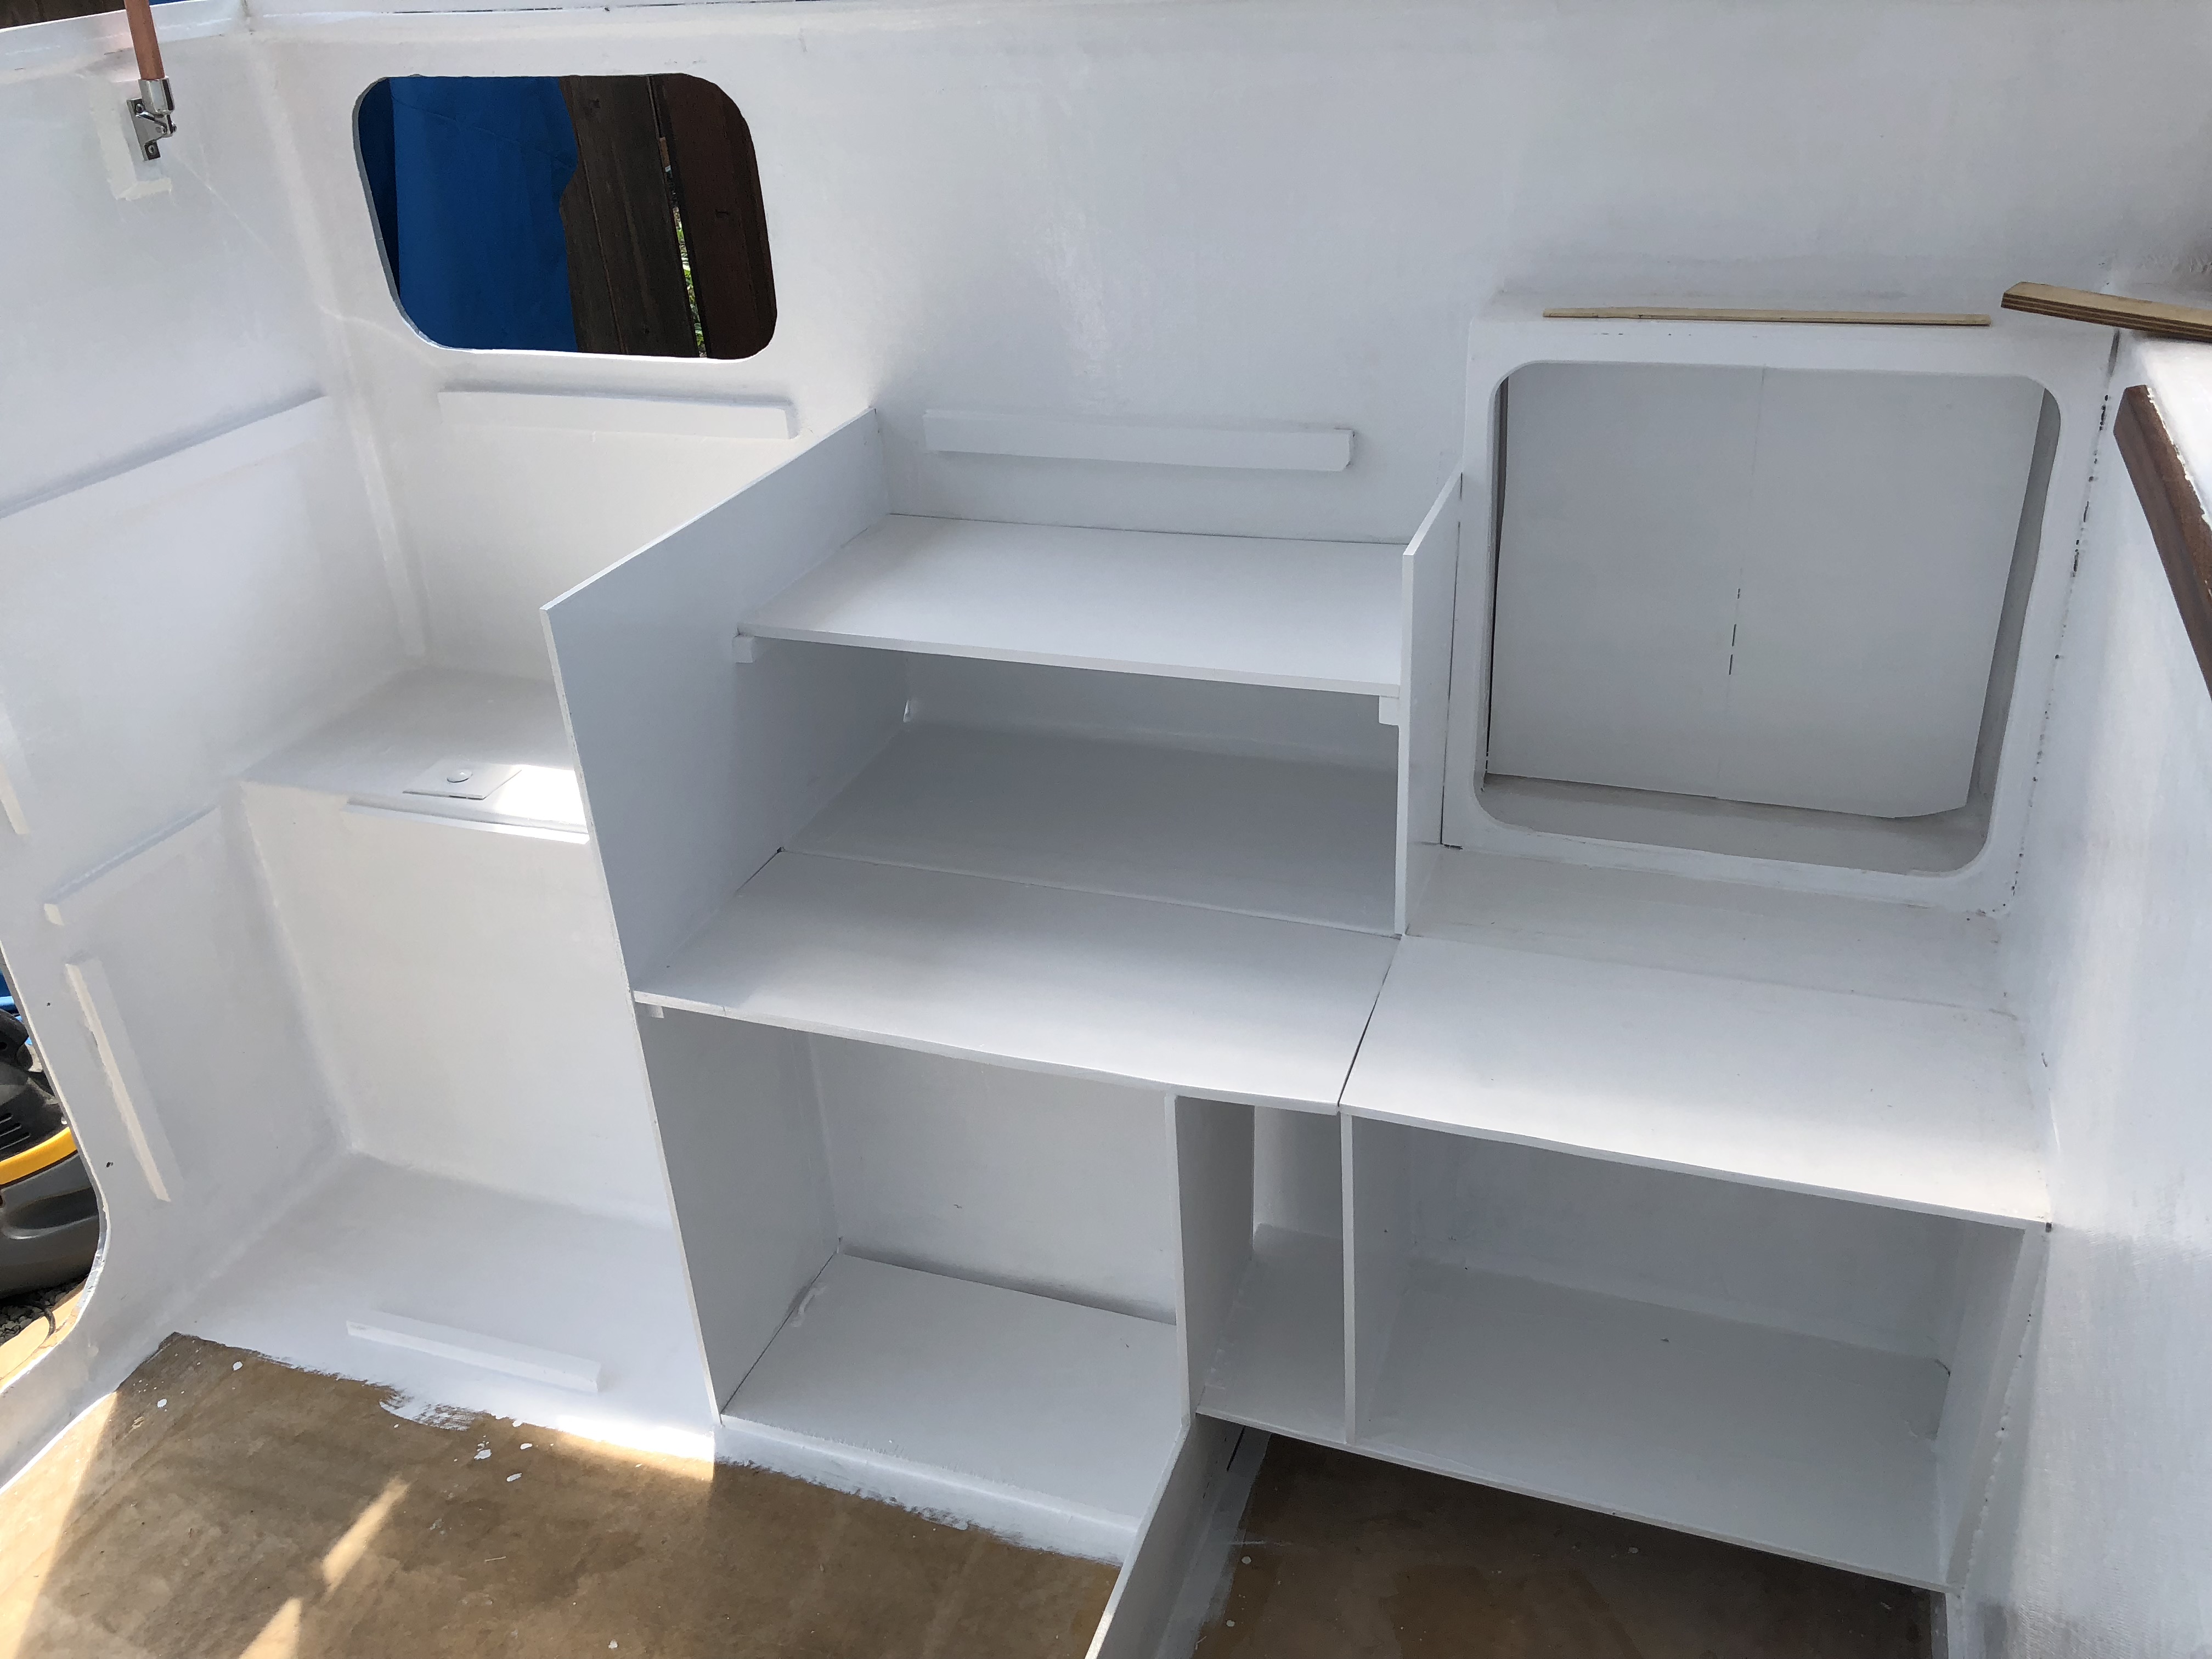
Now it's time to glass all of this stuff in place... cue more of the 6oz tape! (I love that stuff!) Everything is getting 3 layers.
DONE!
While we were waiting for the fiberglass to set up, we cut the filler piece for the floor over the water tank.
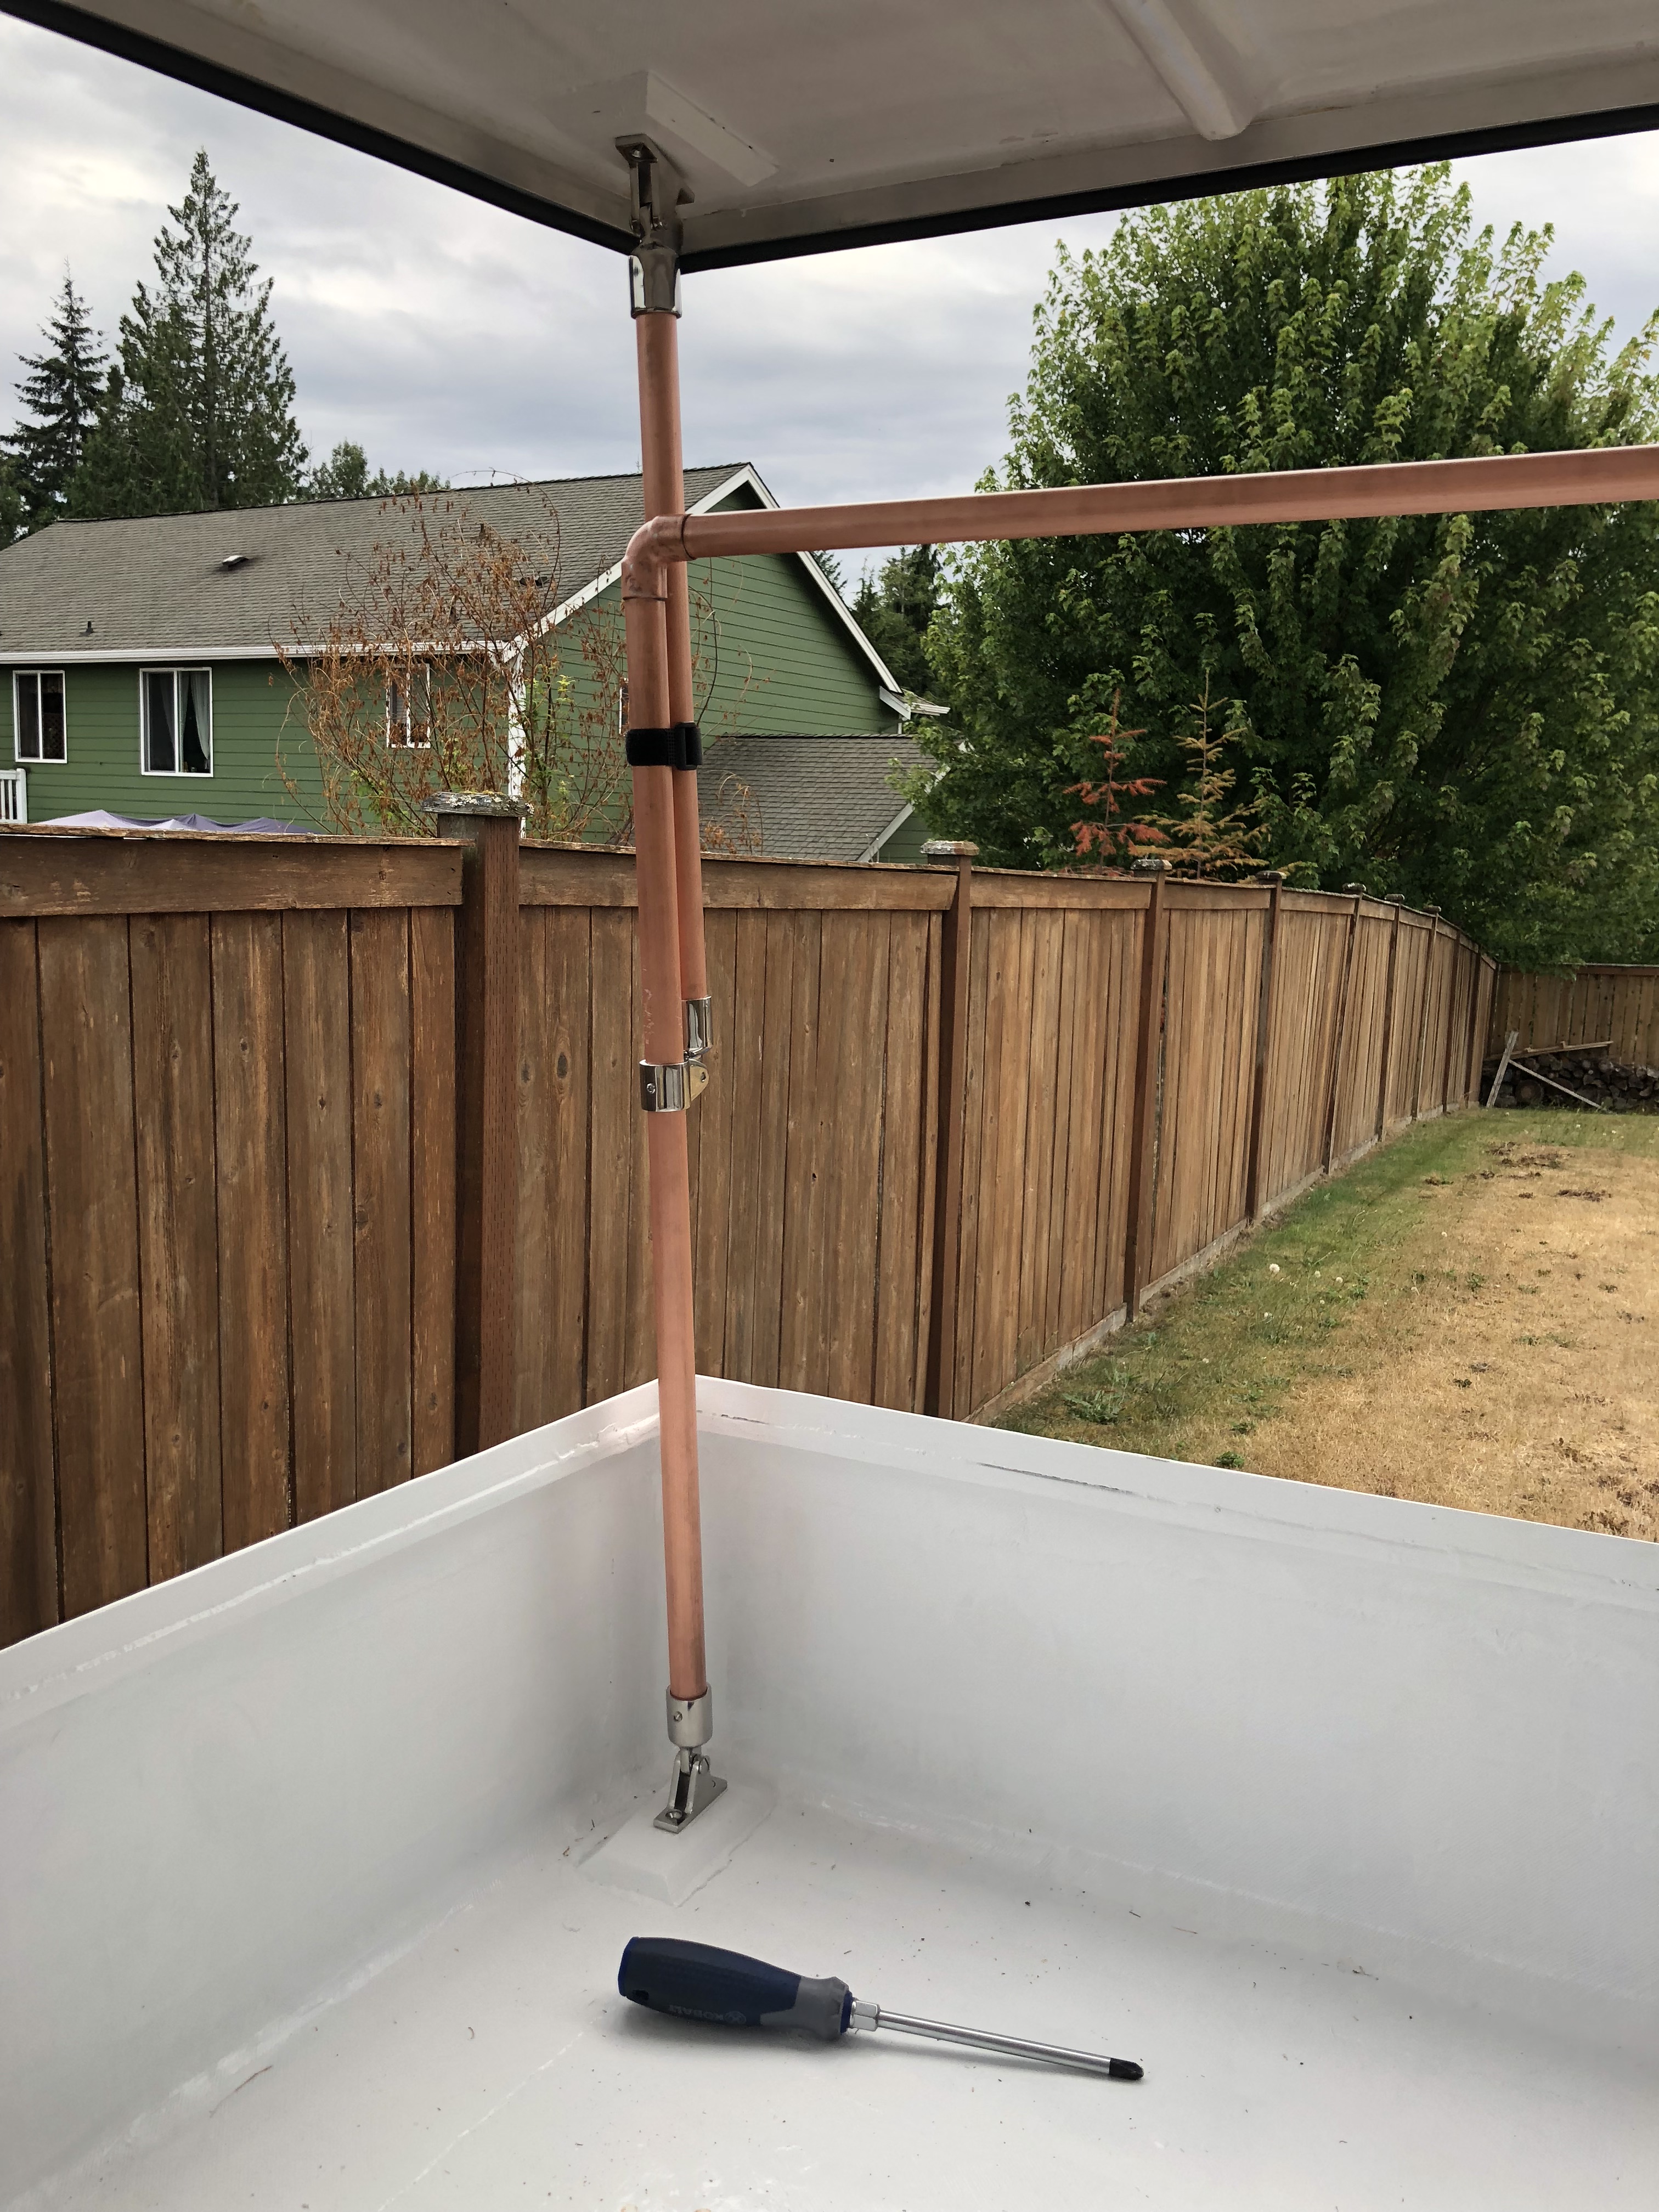
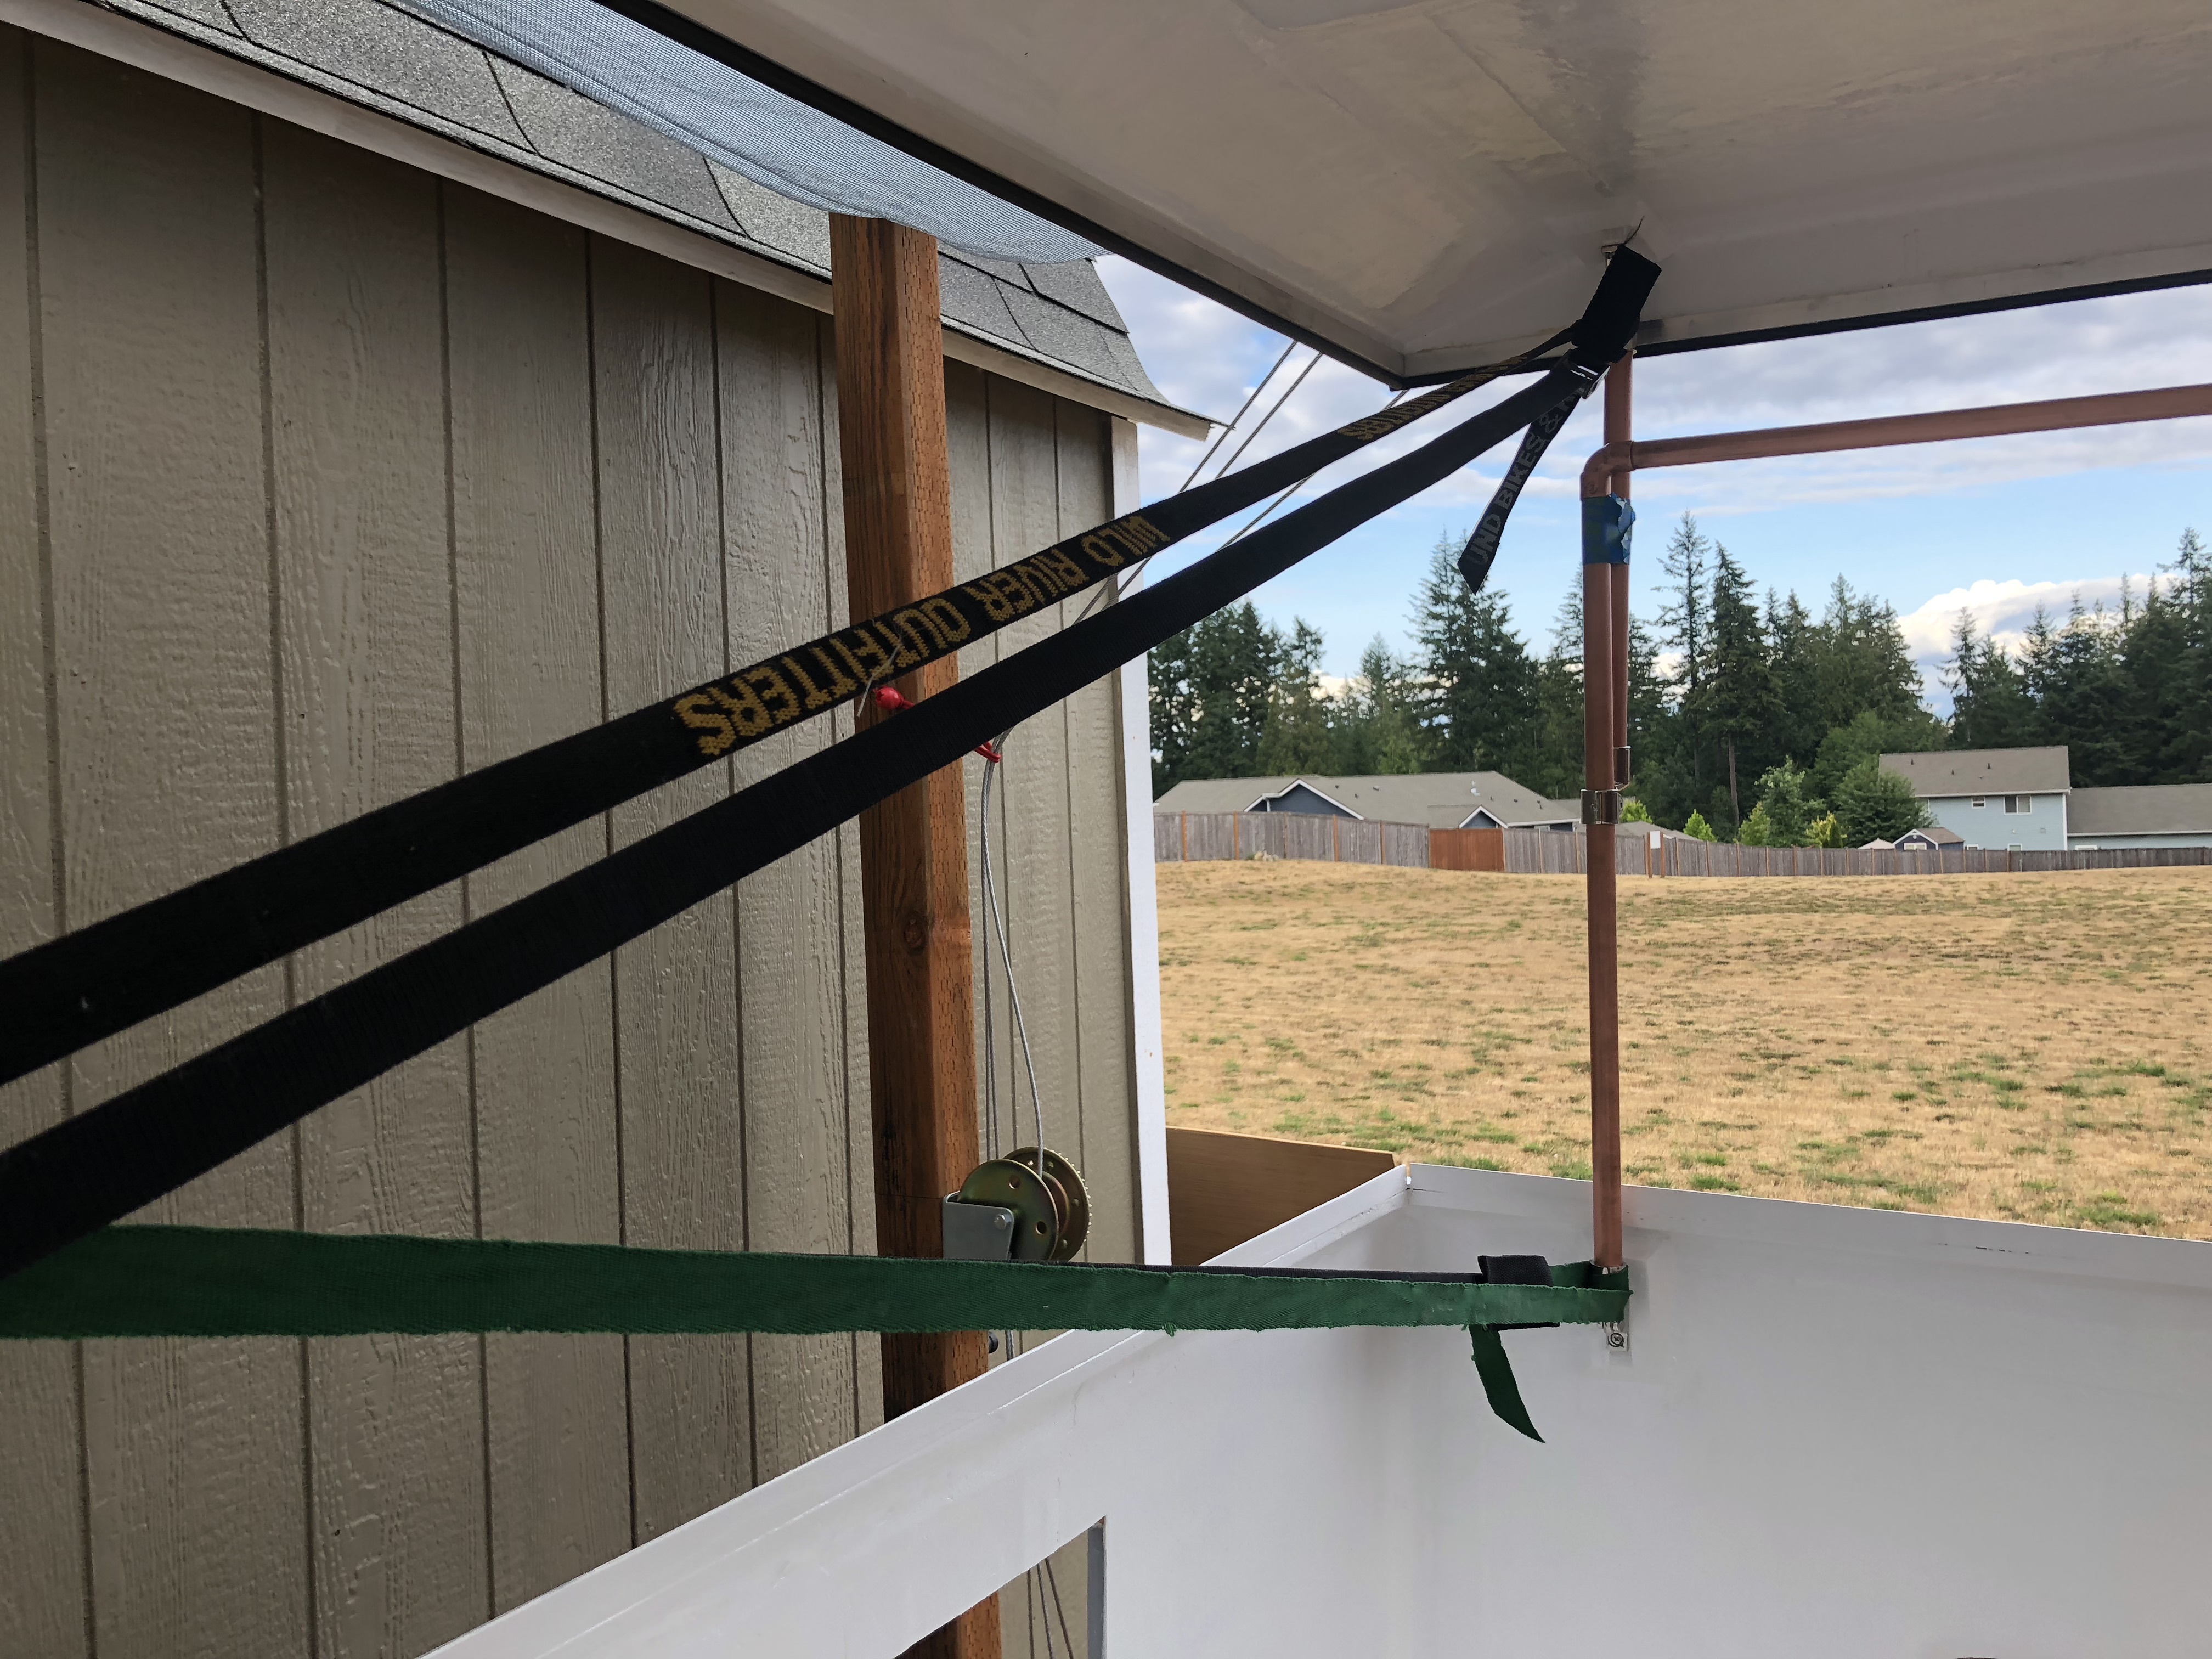
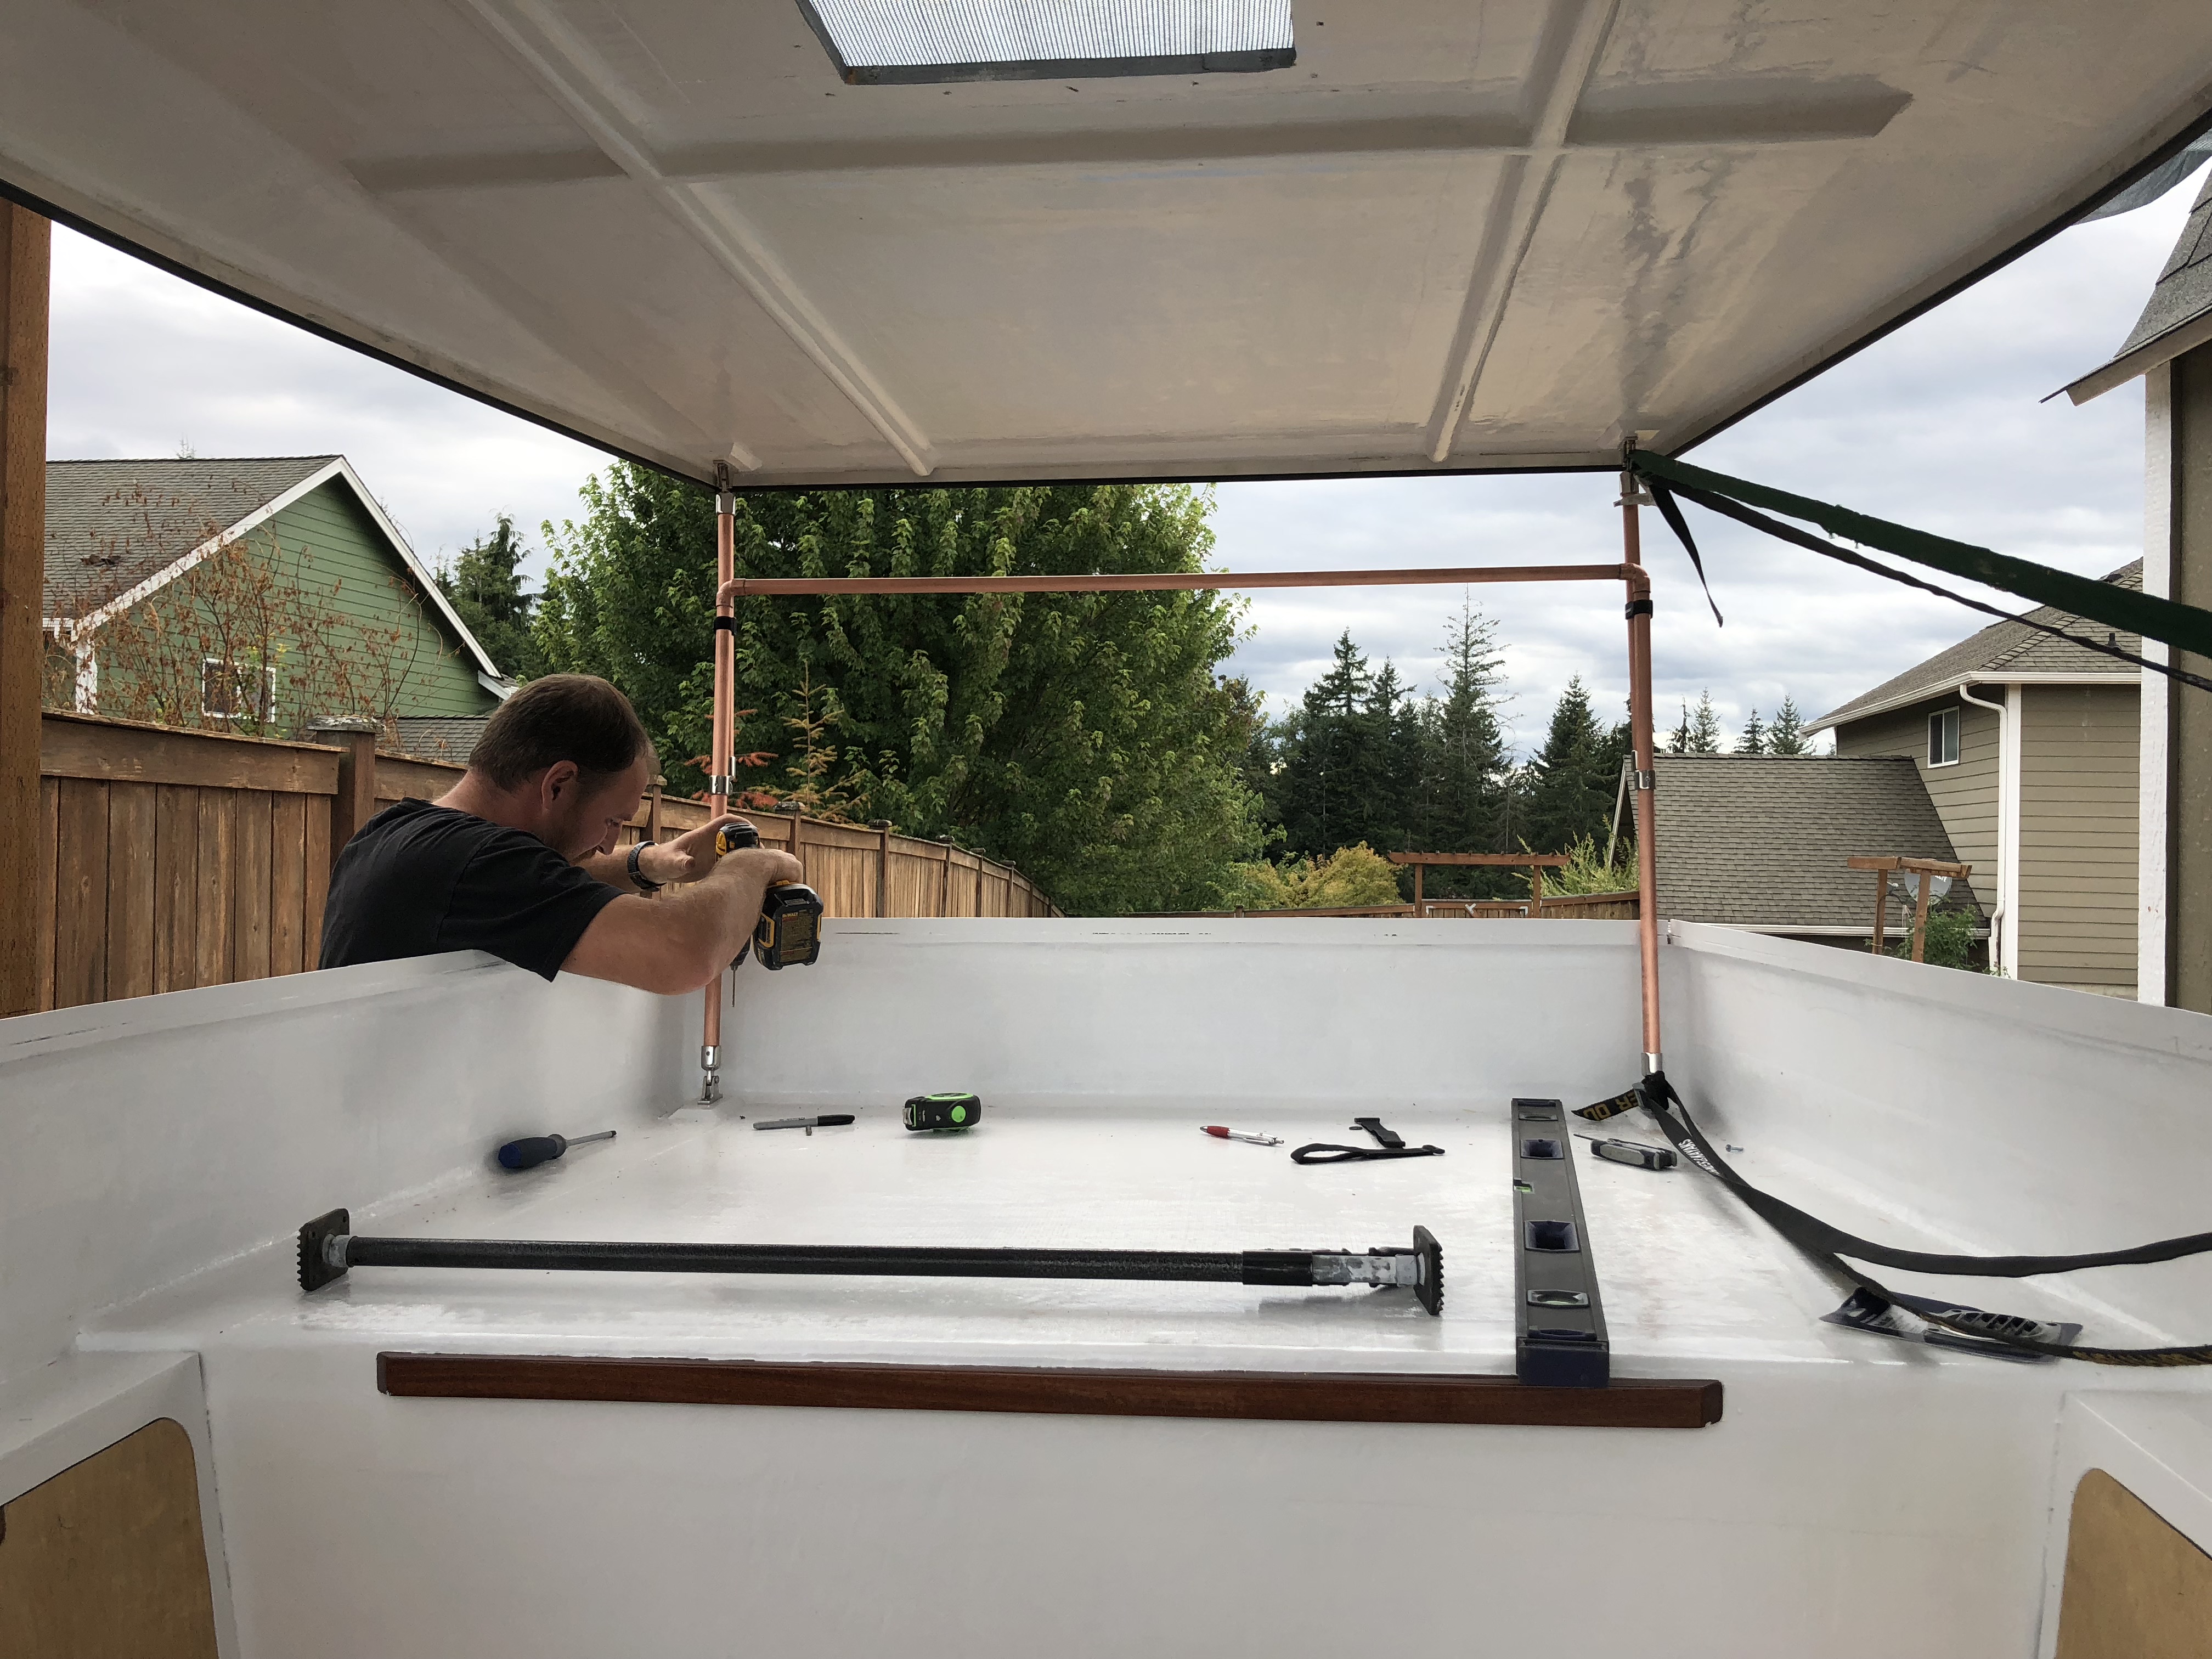
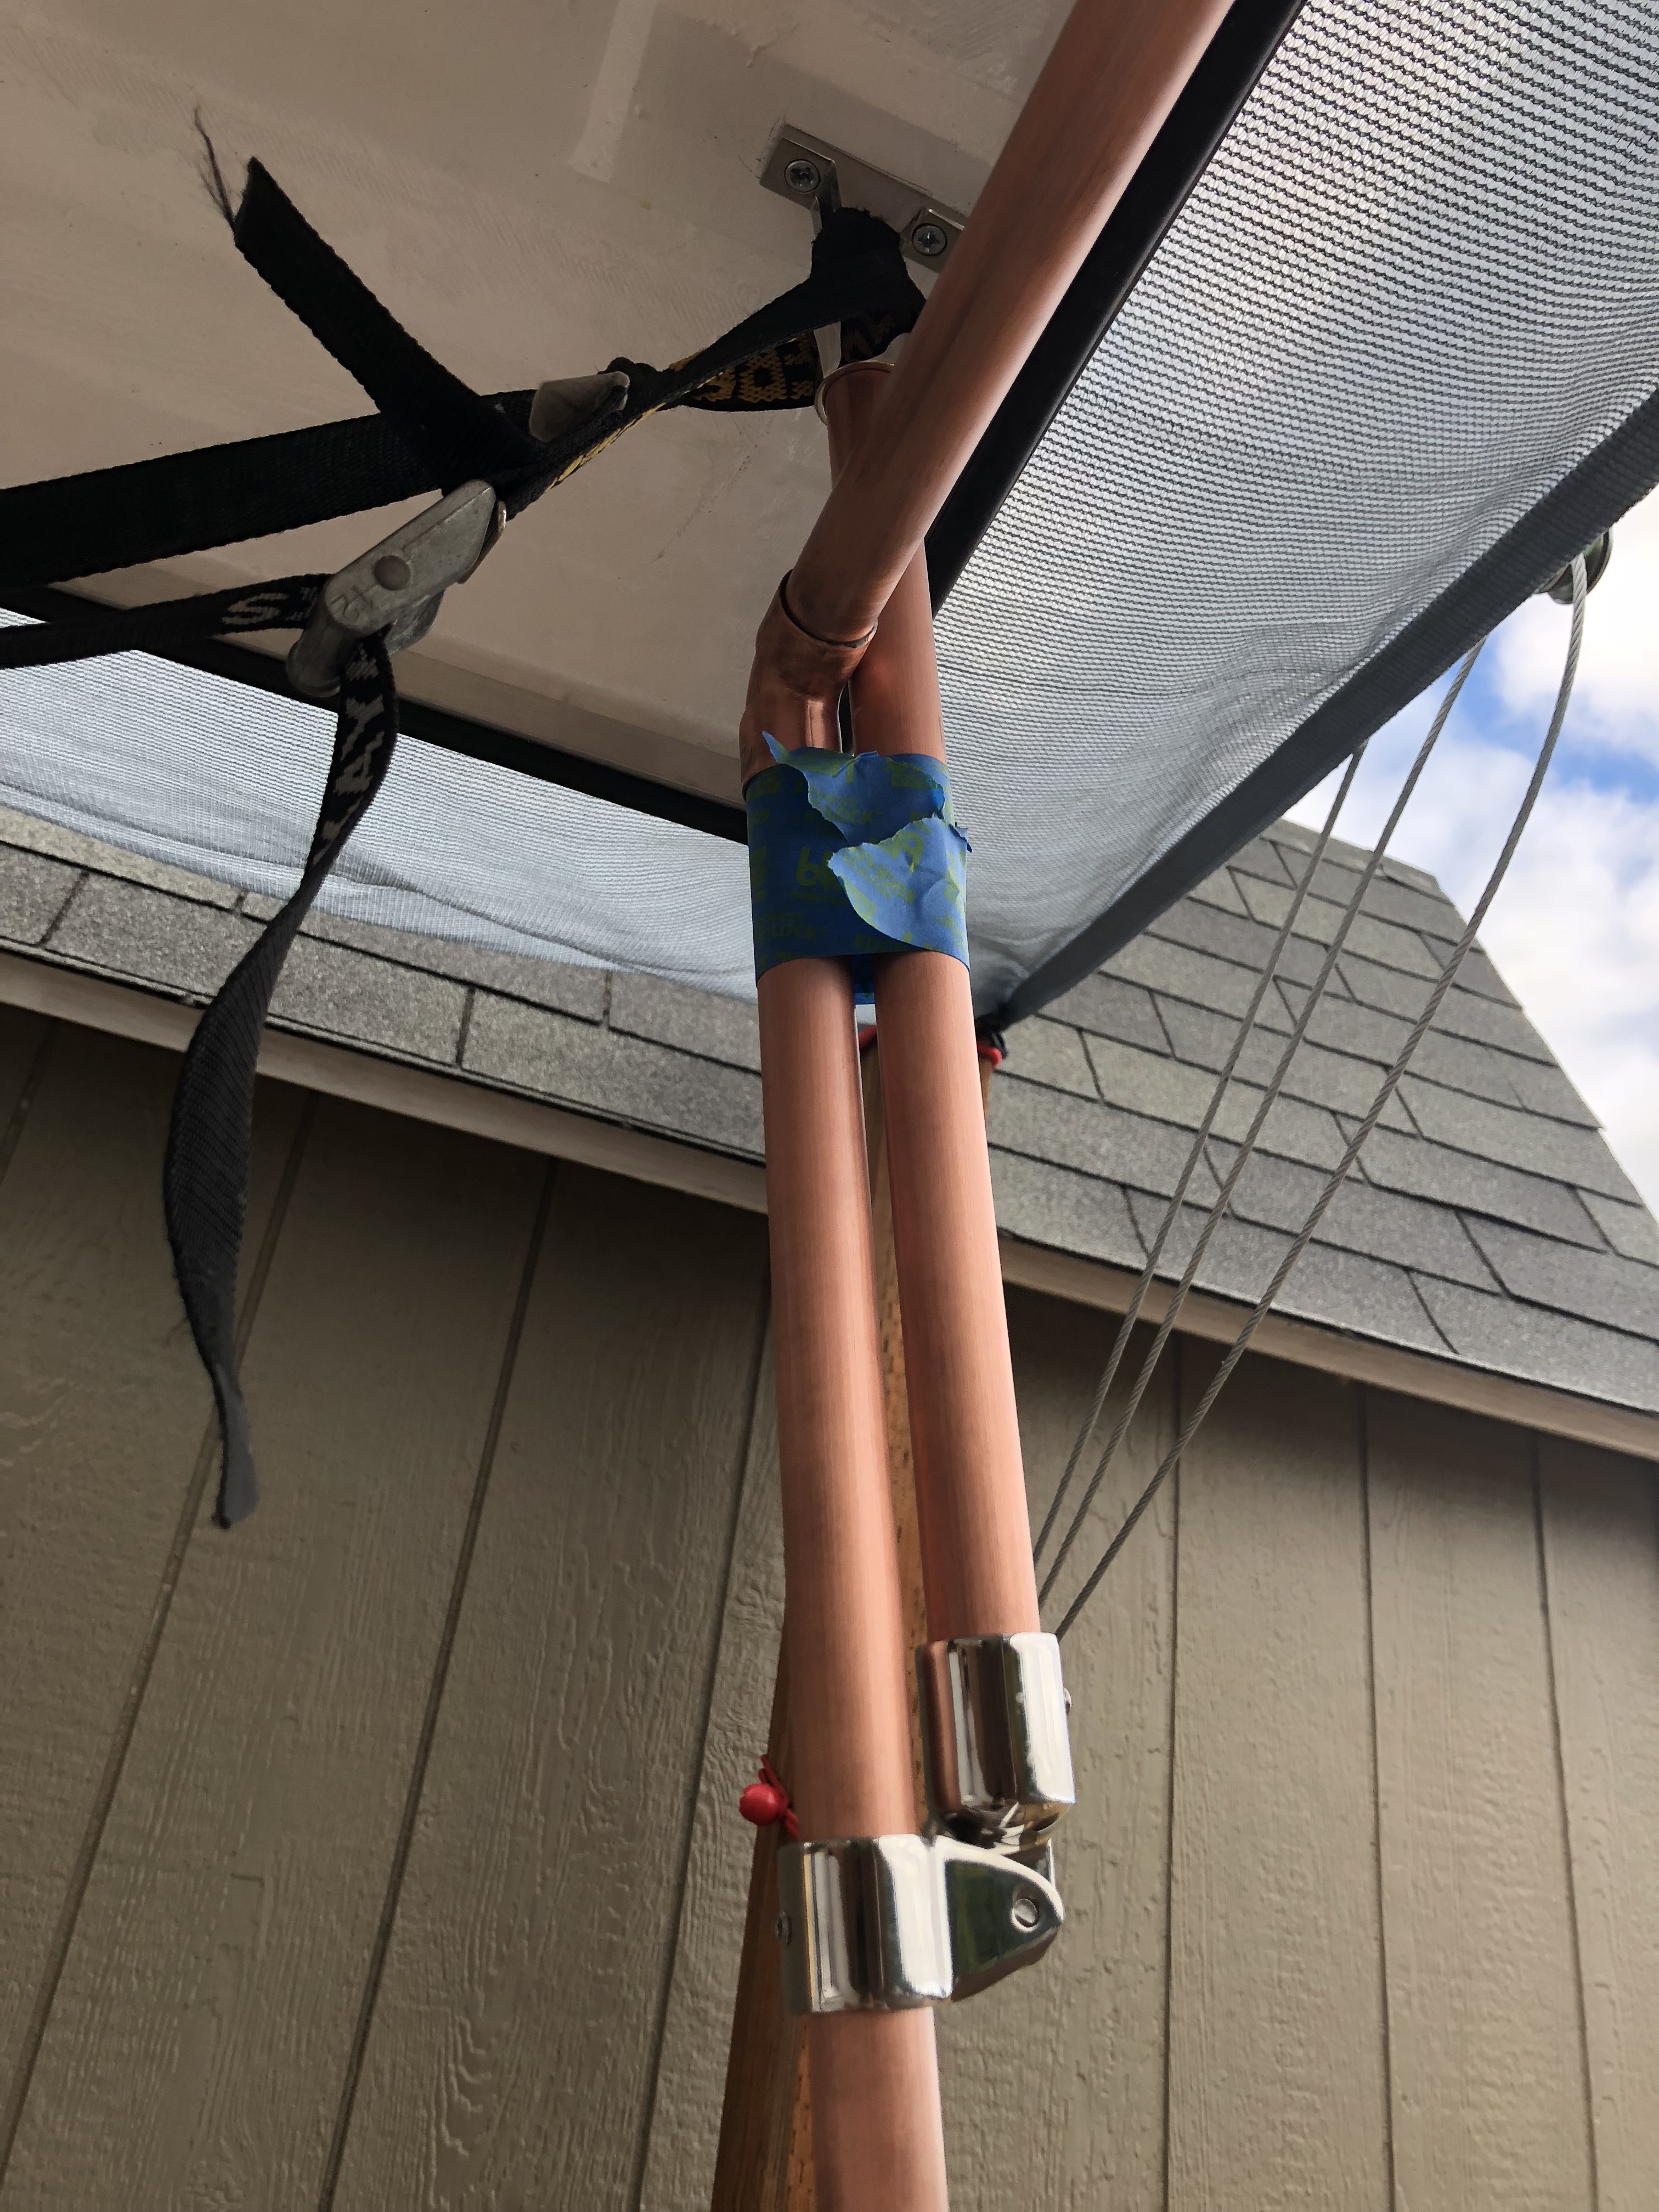
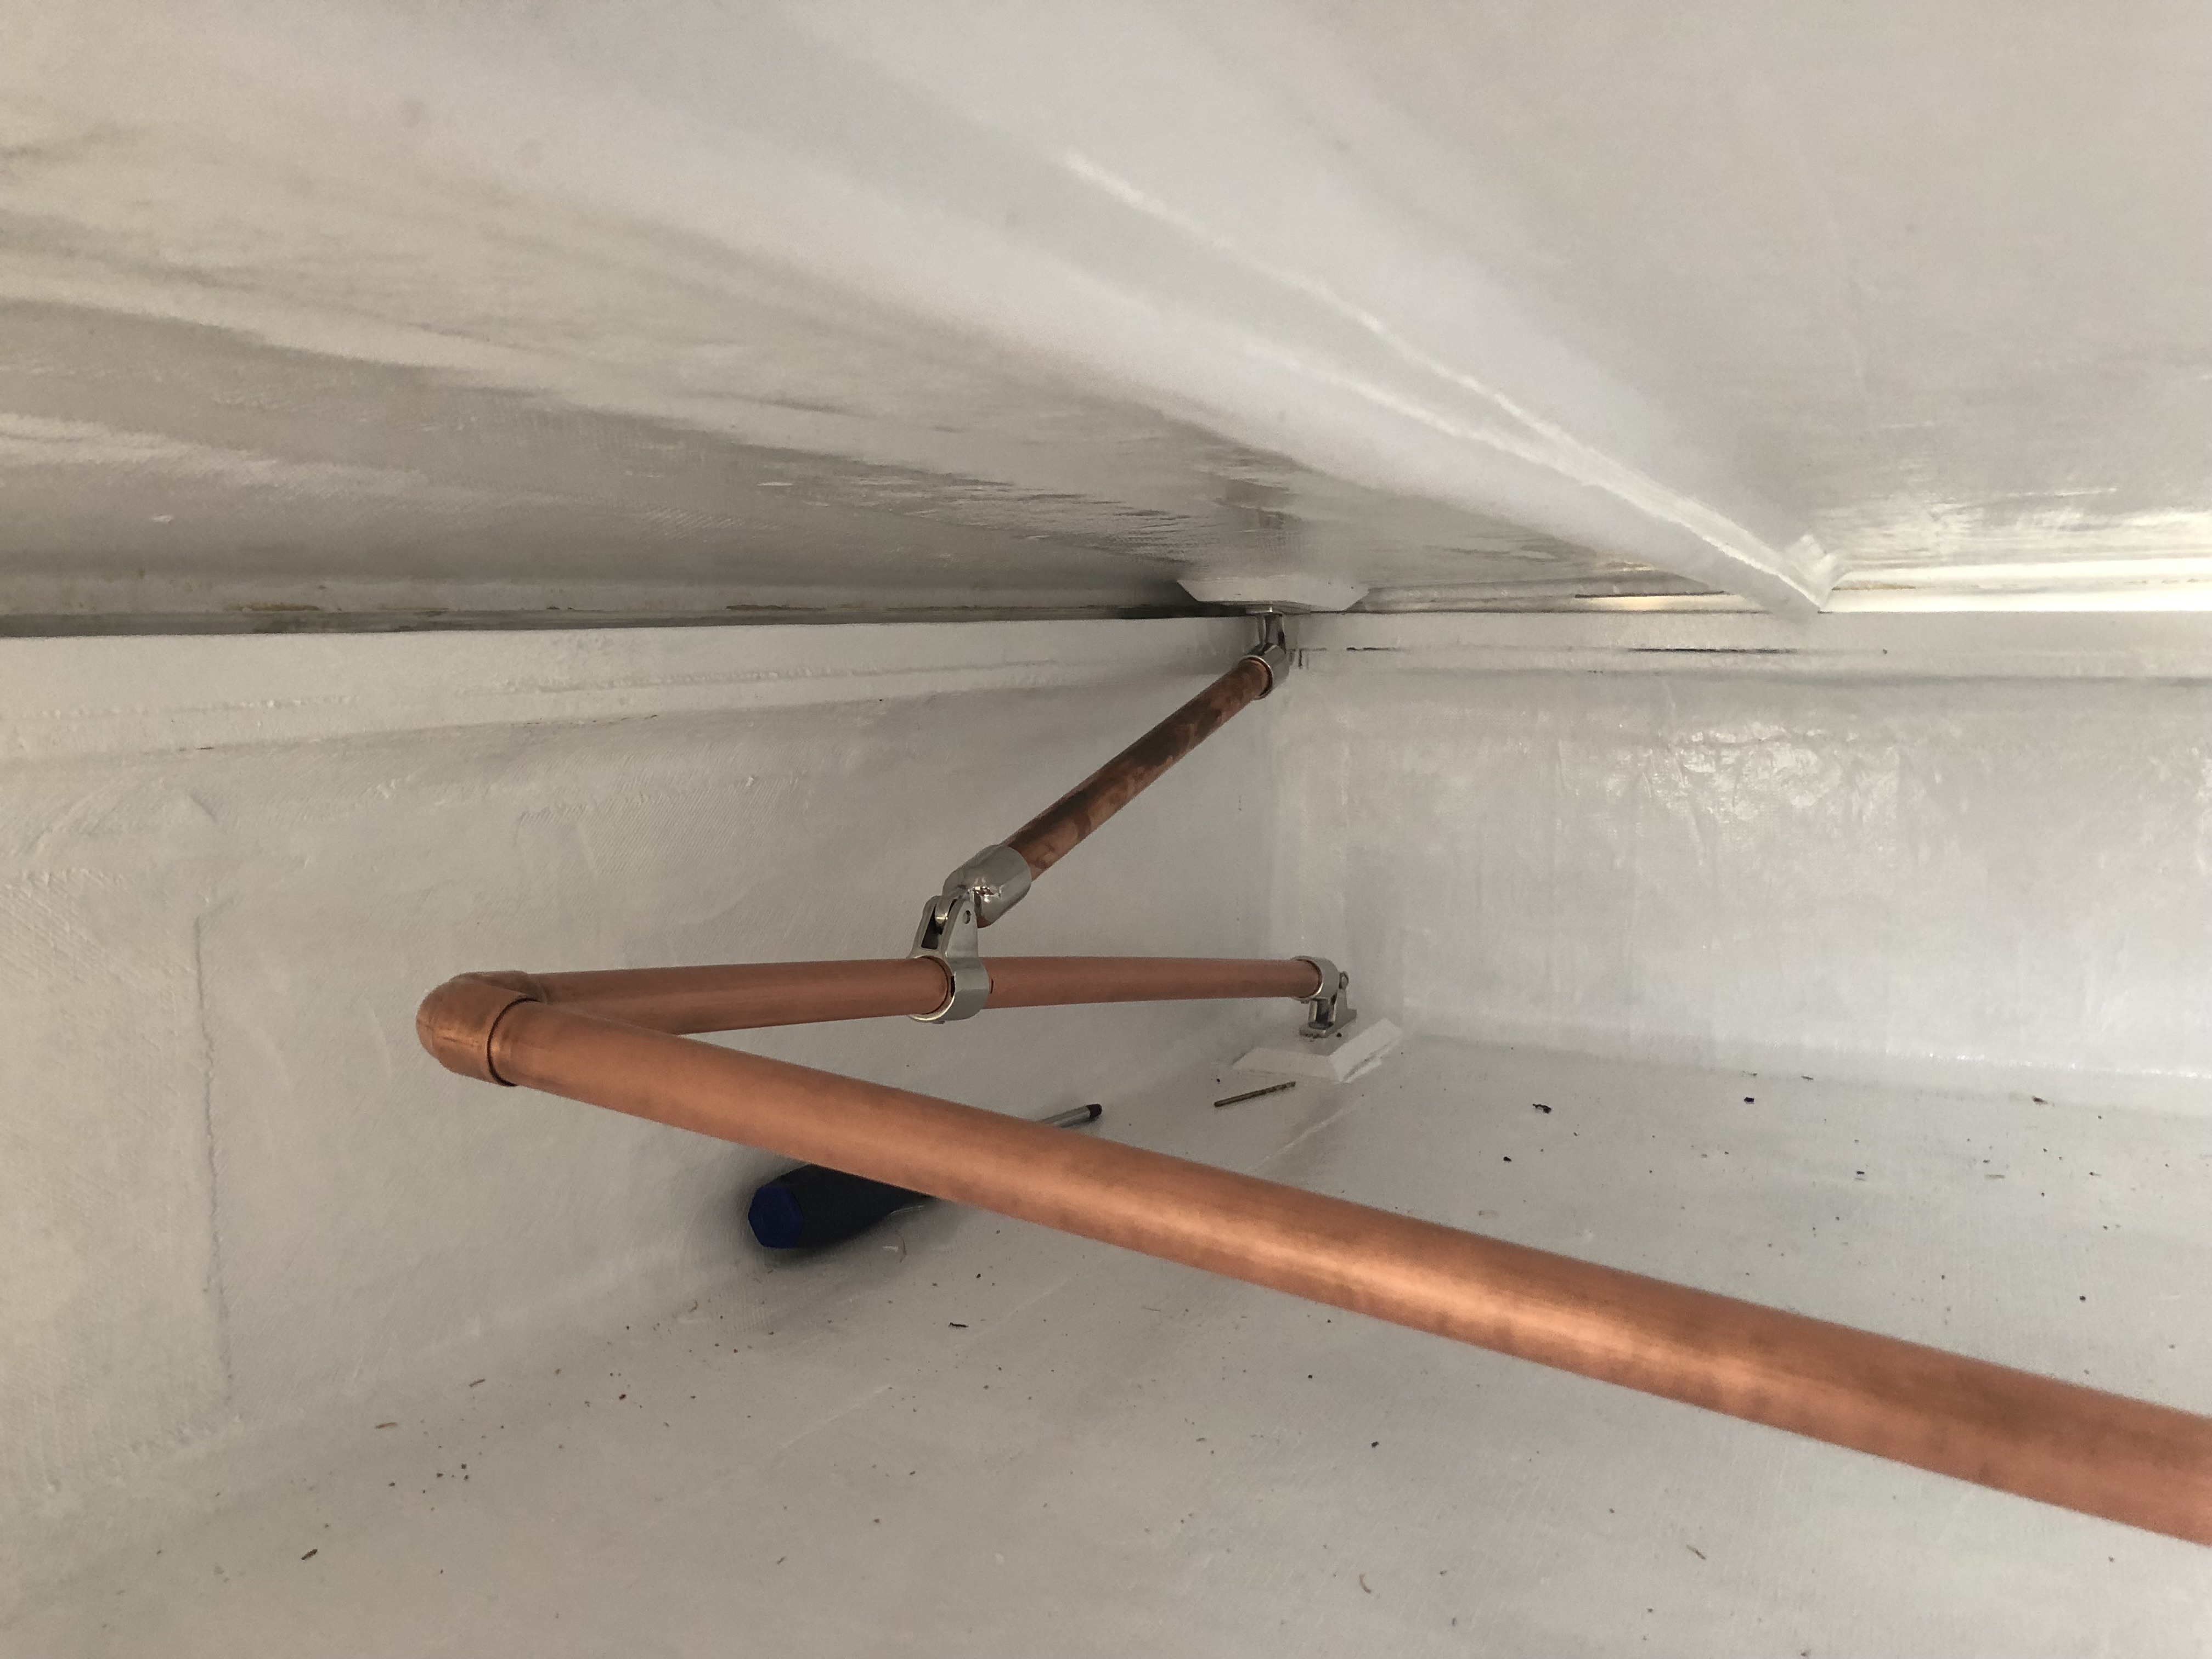
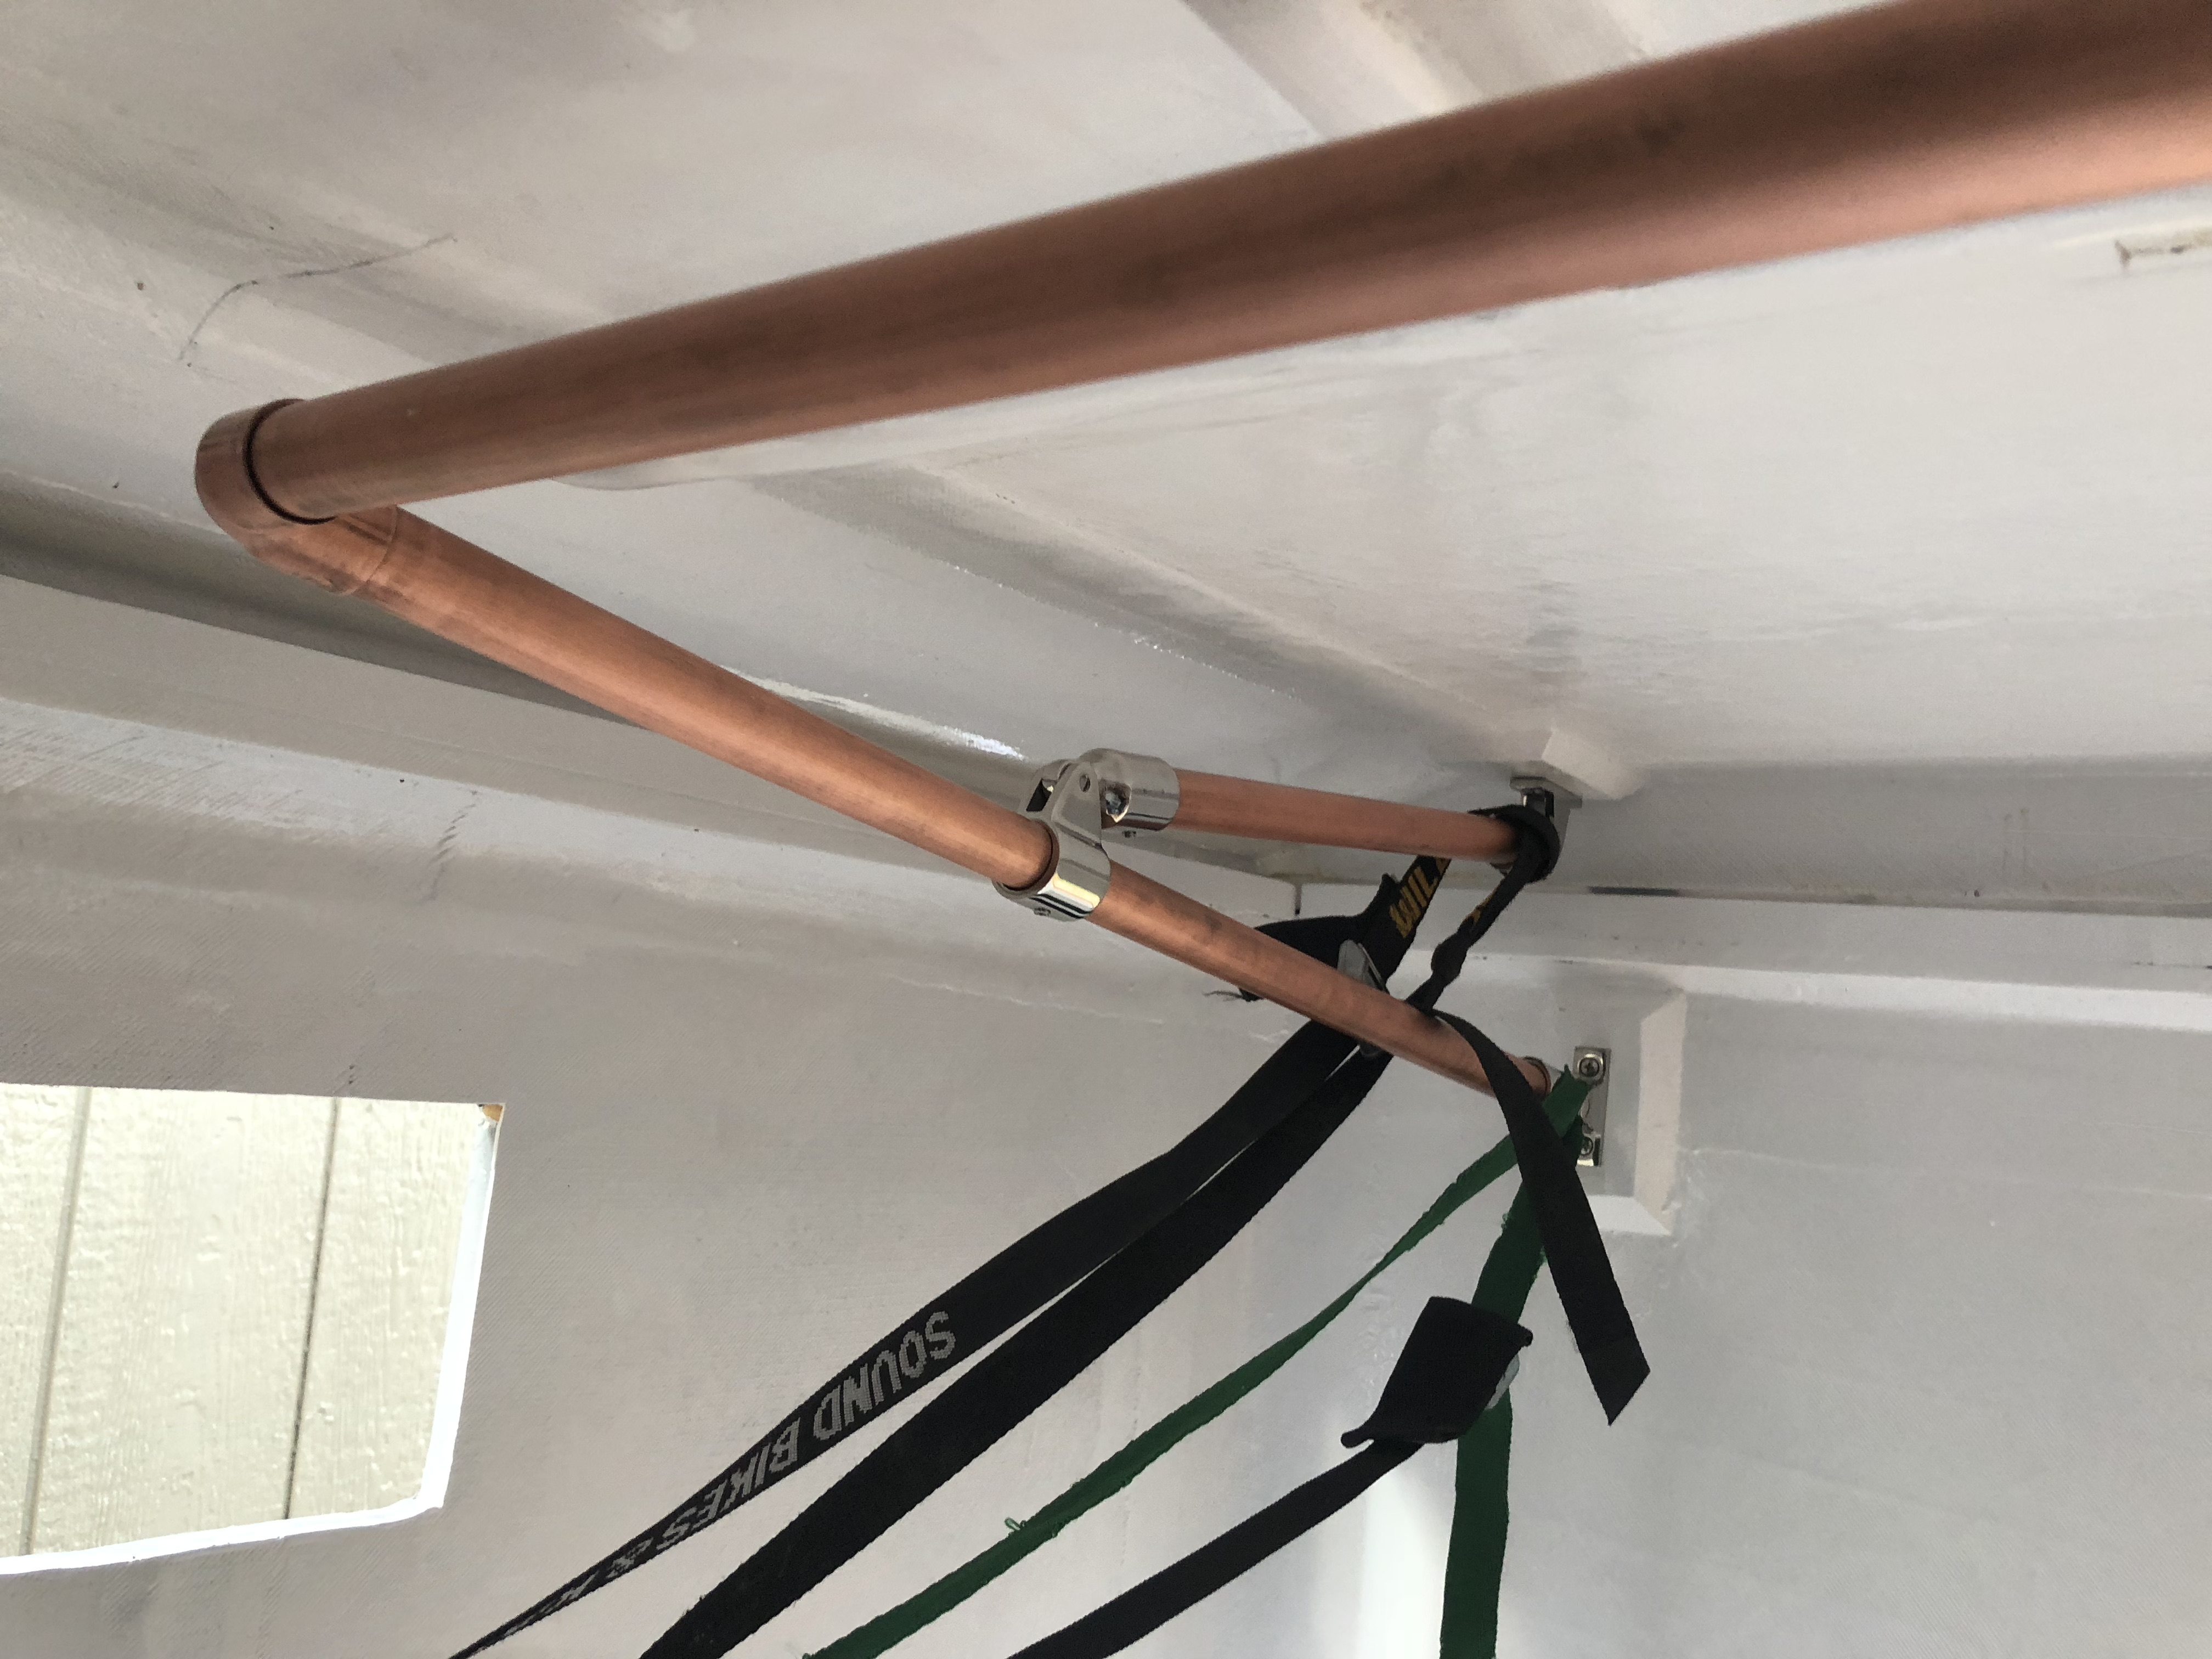
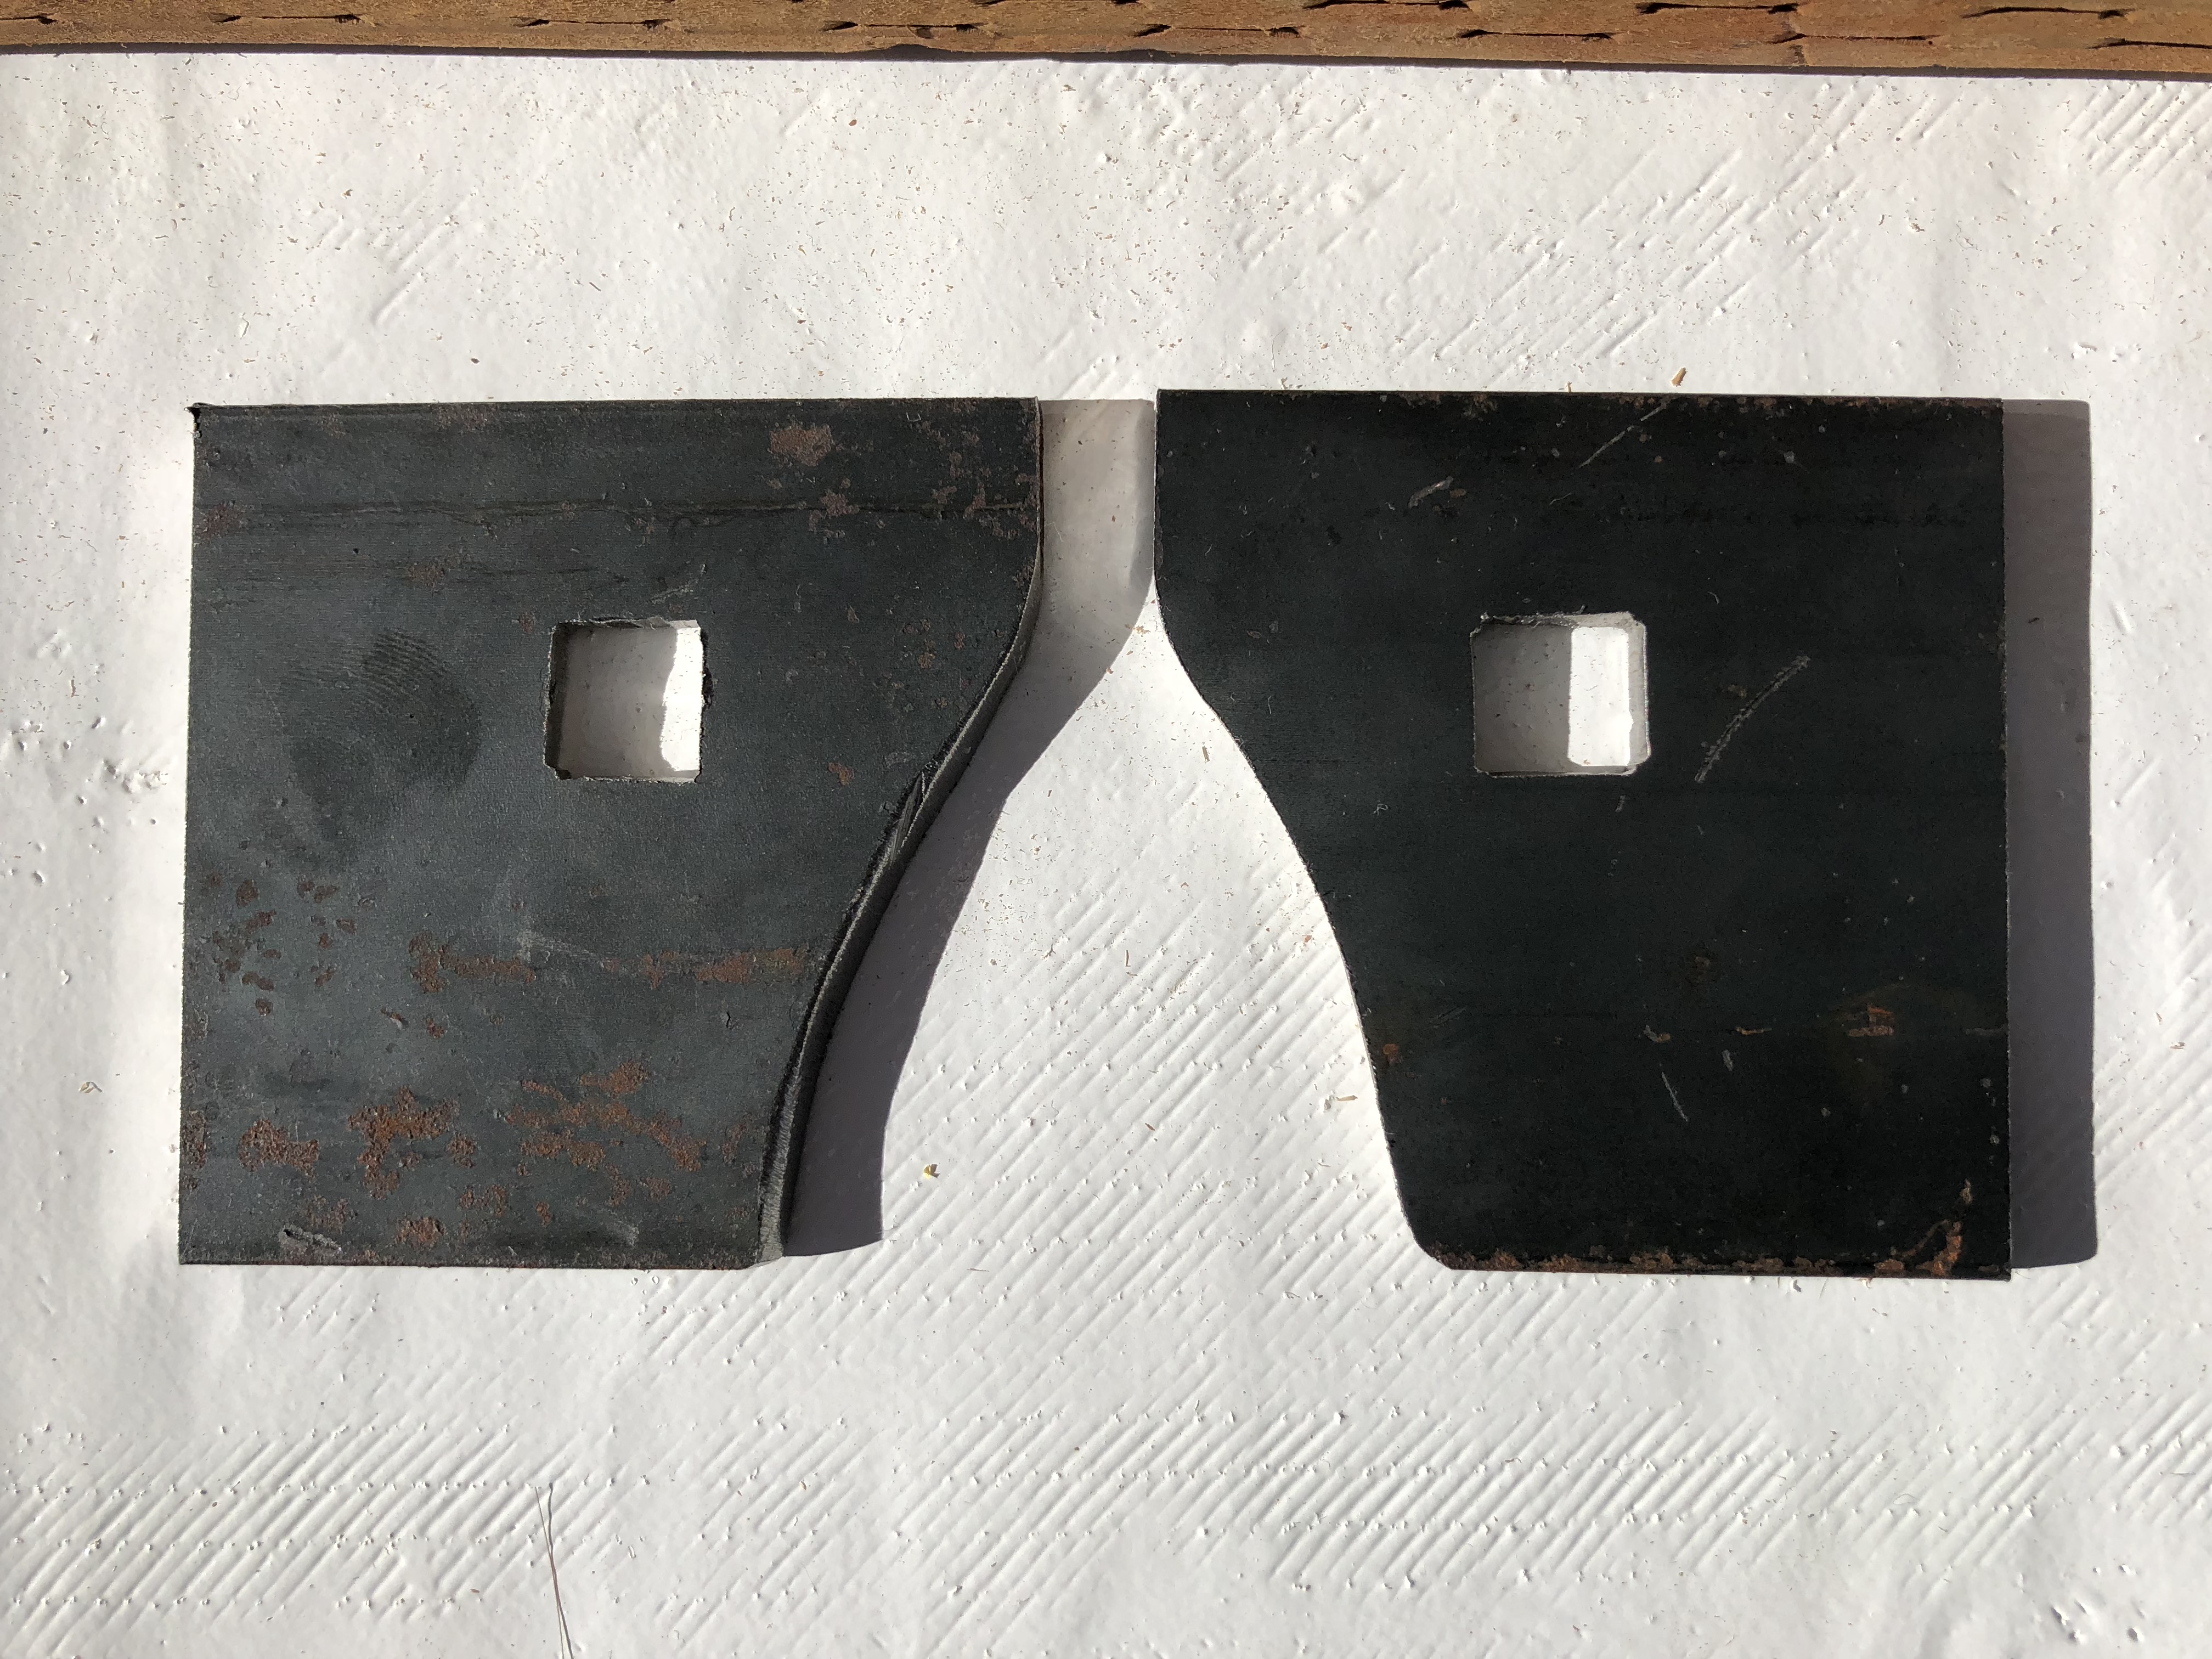
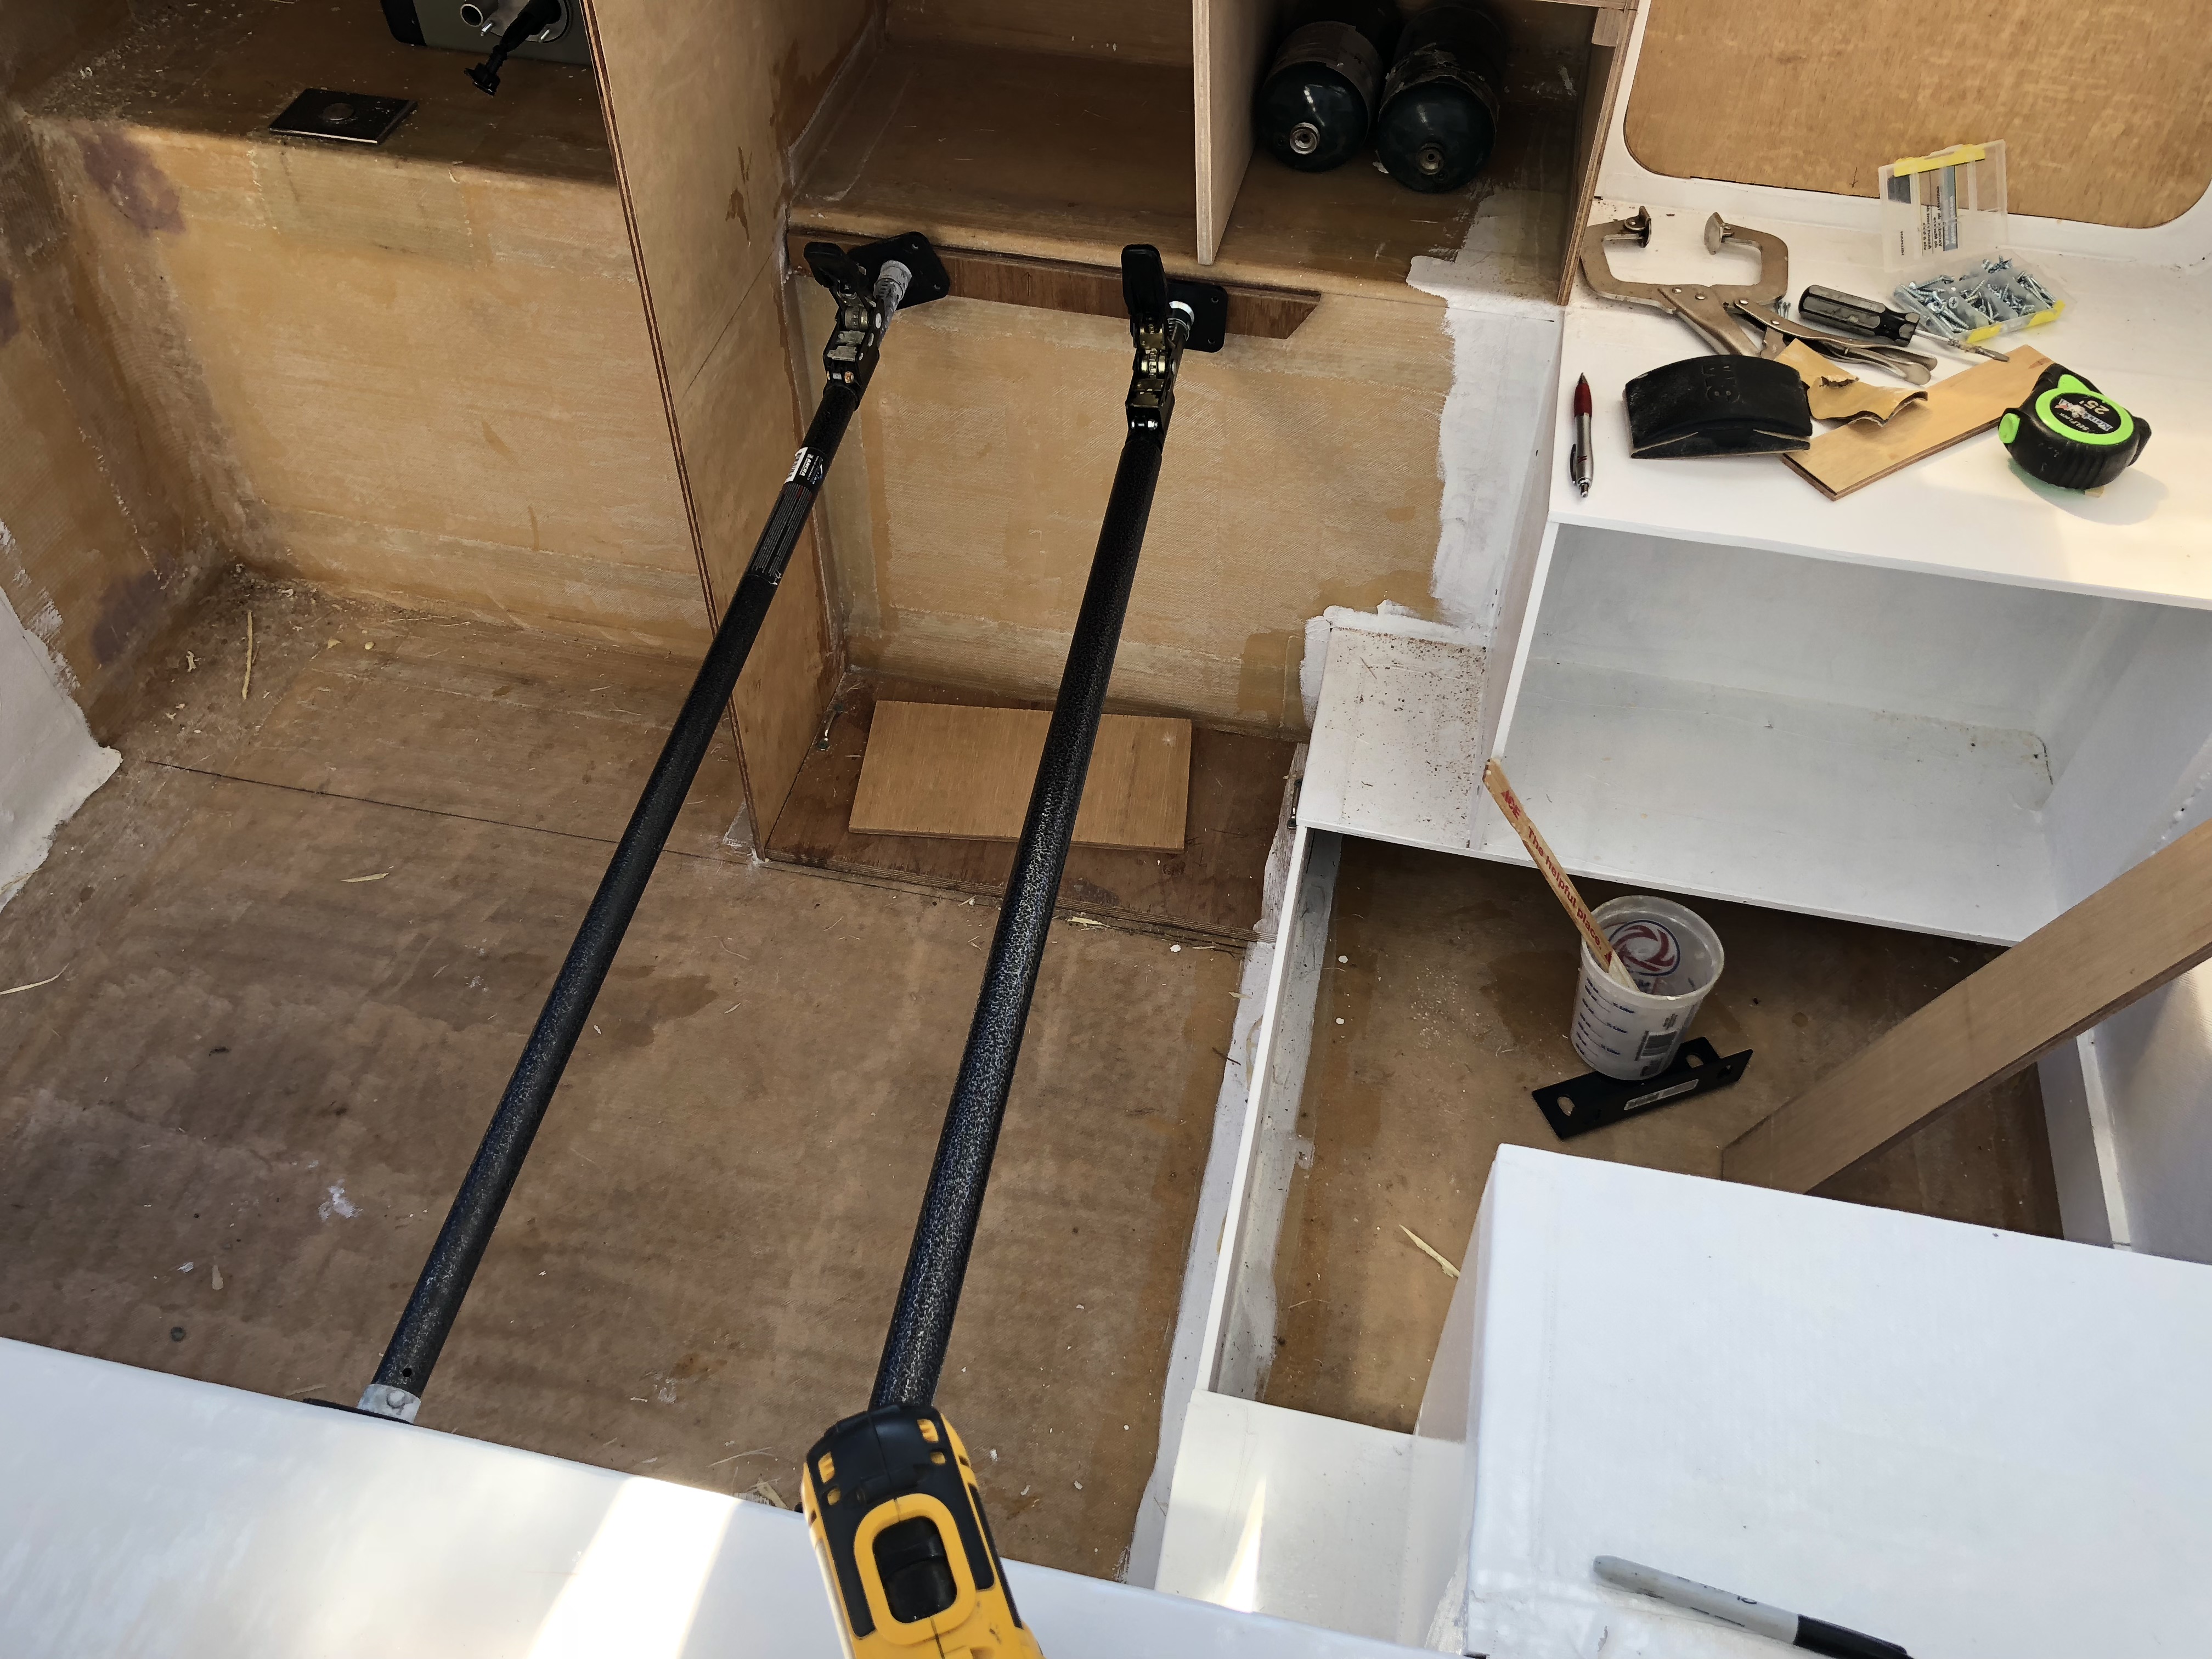
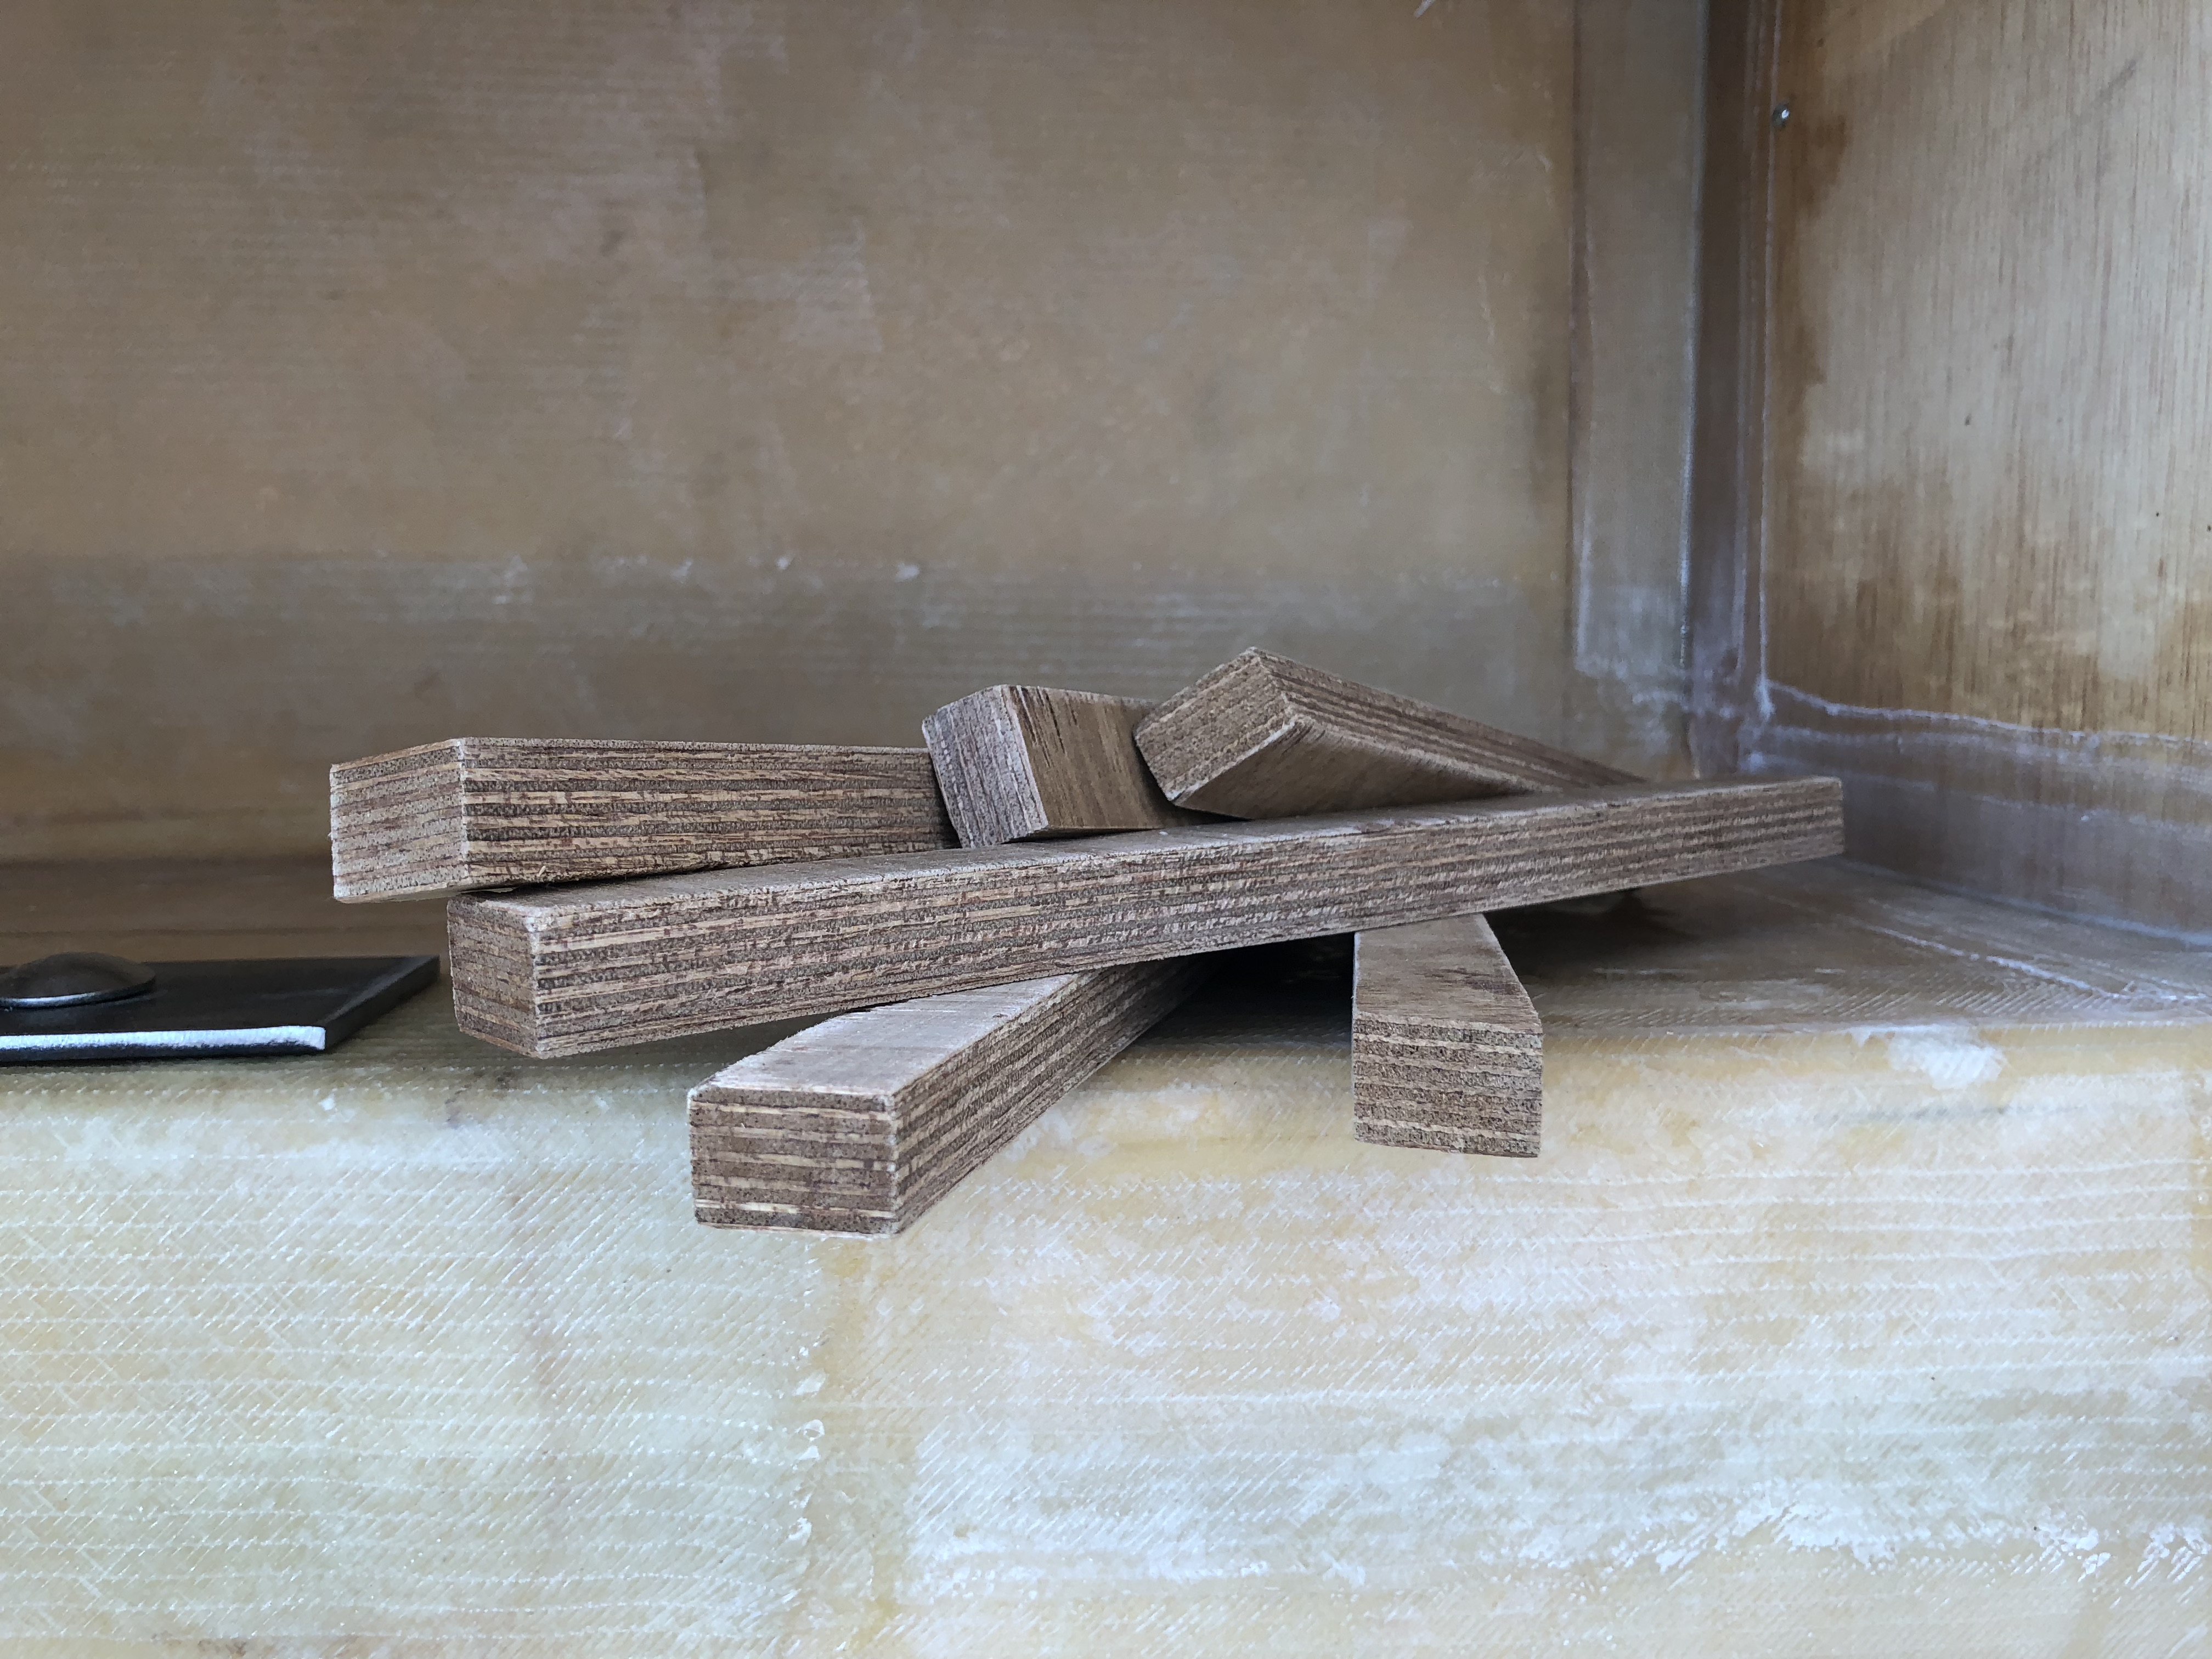
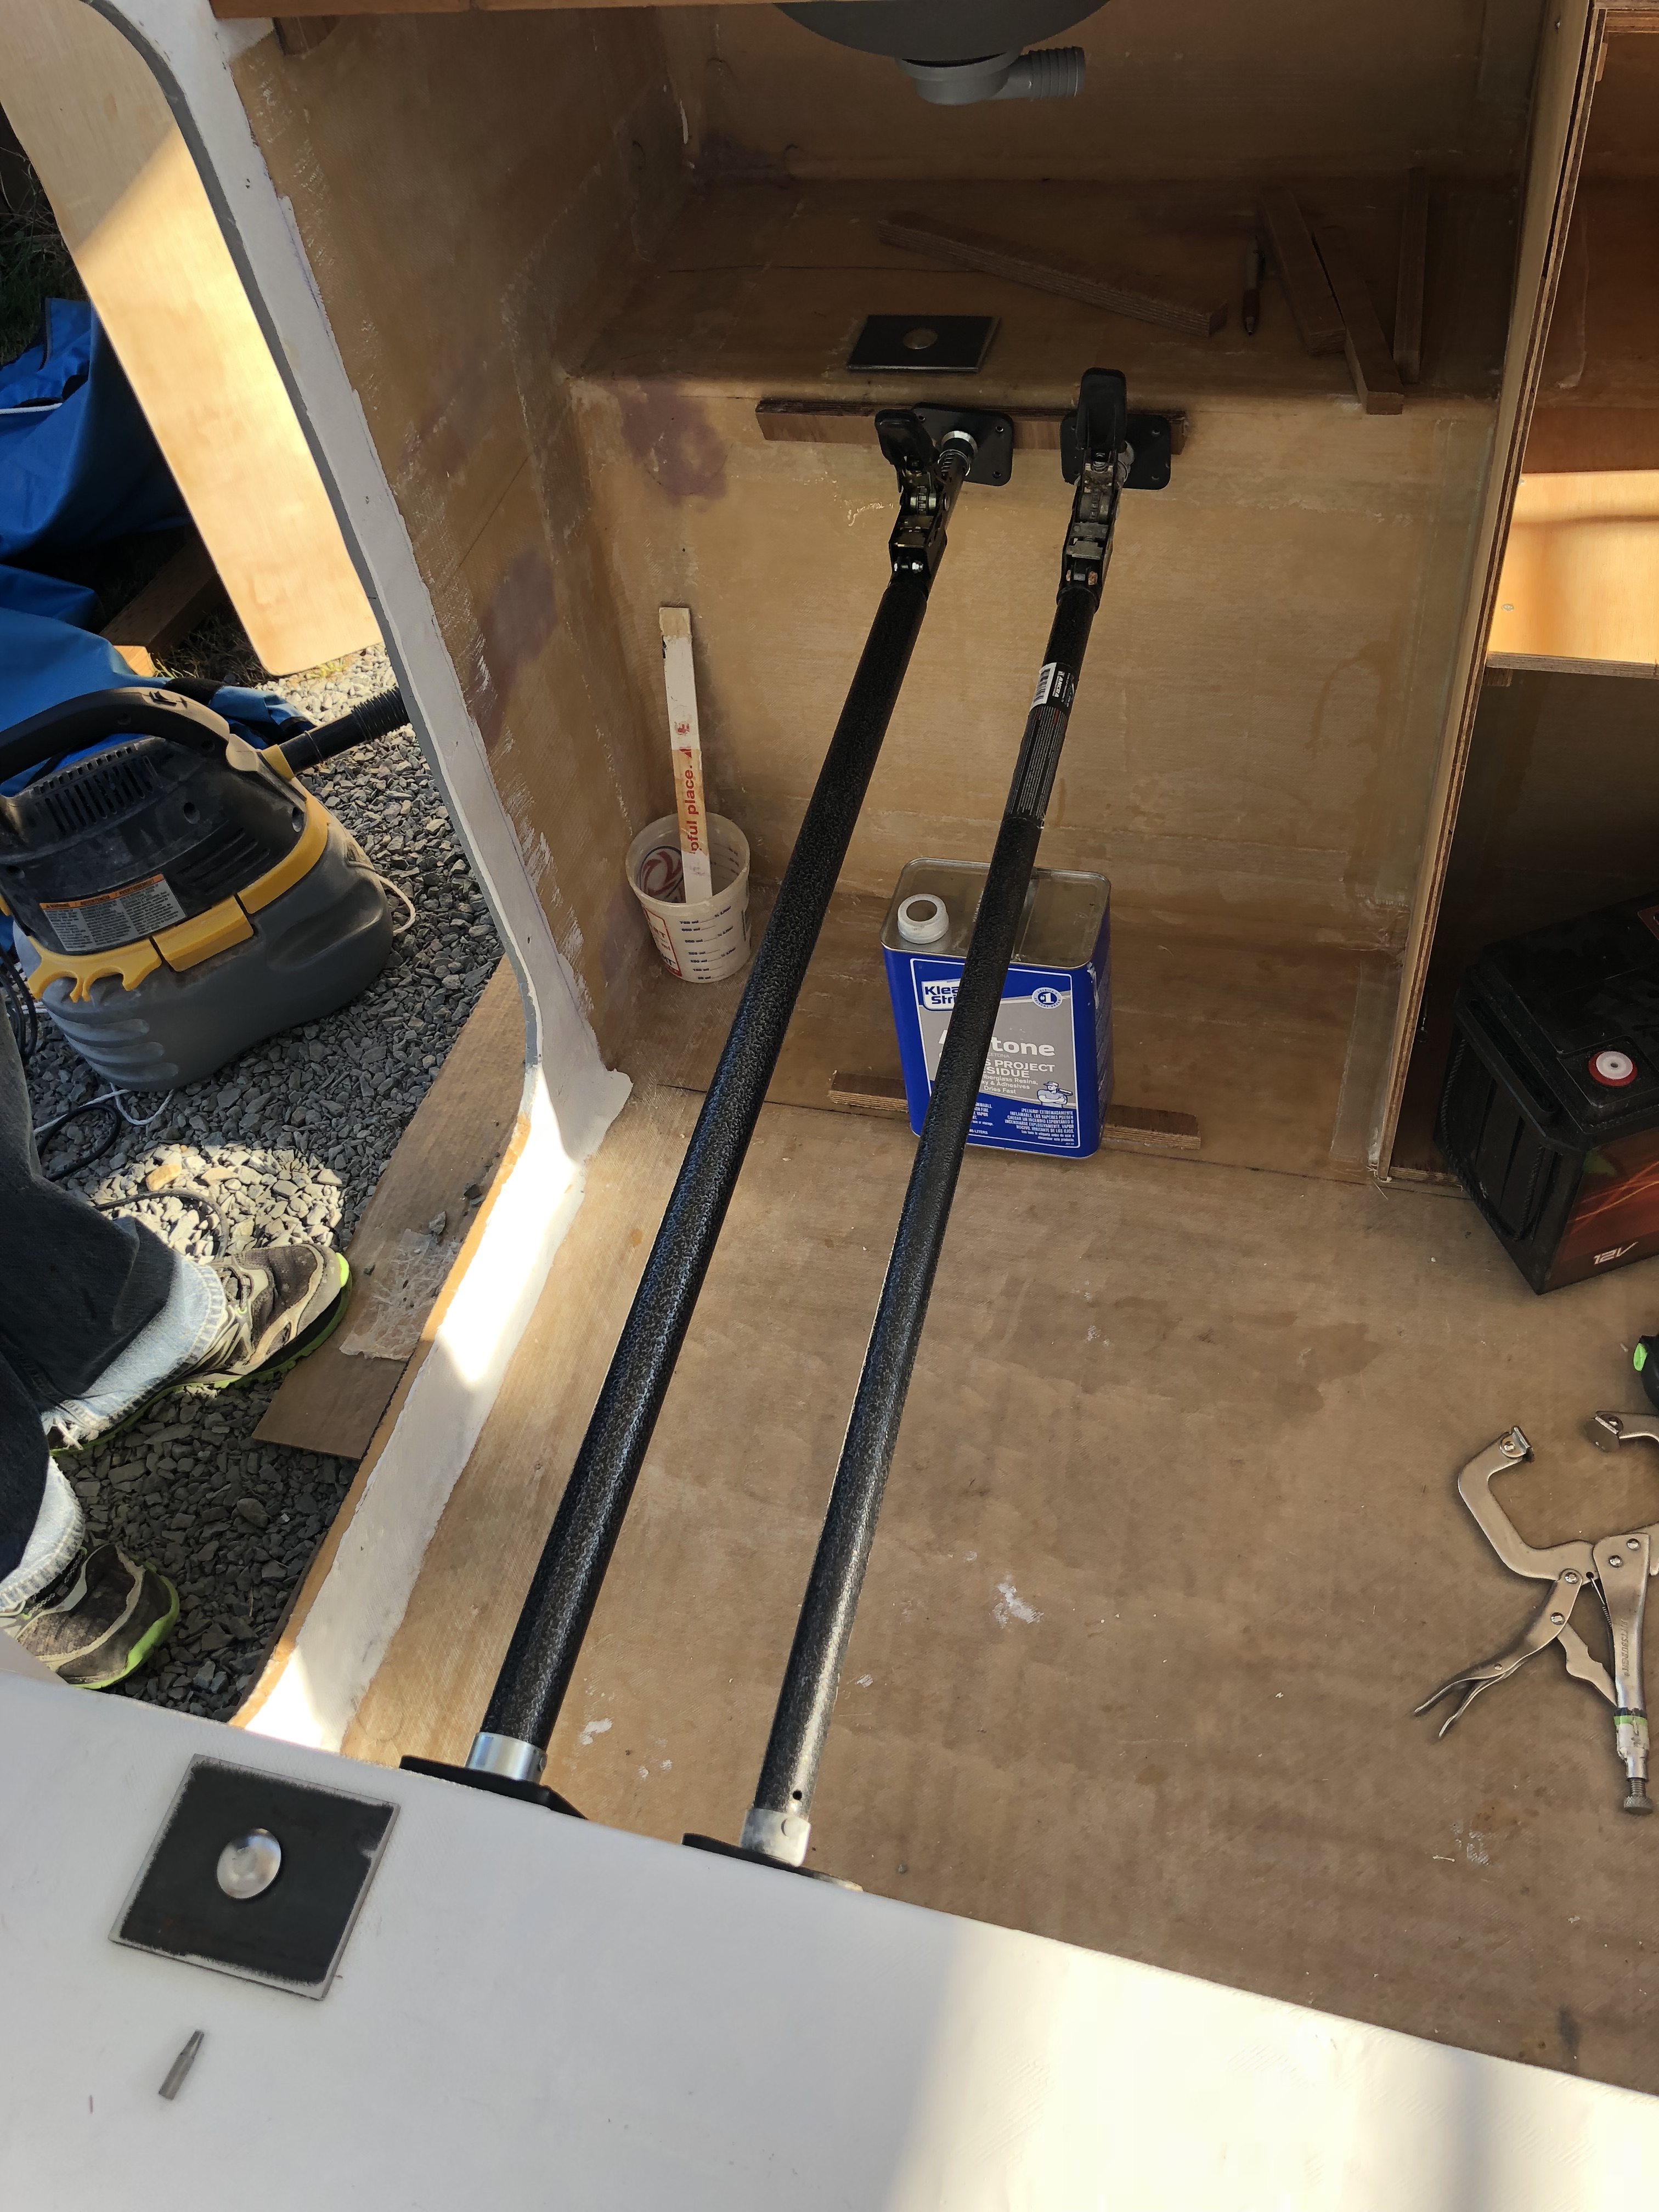
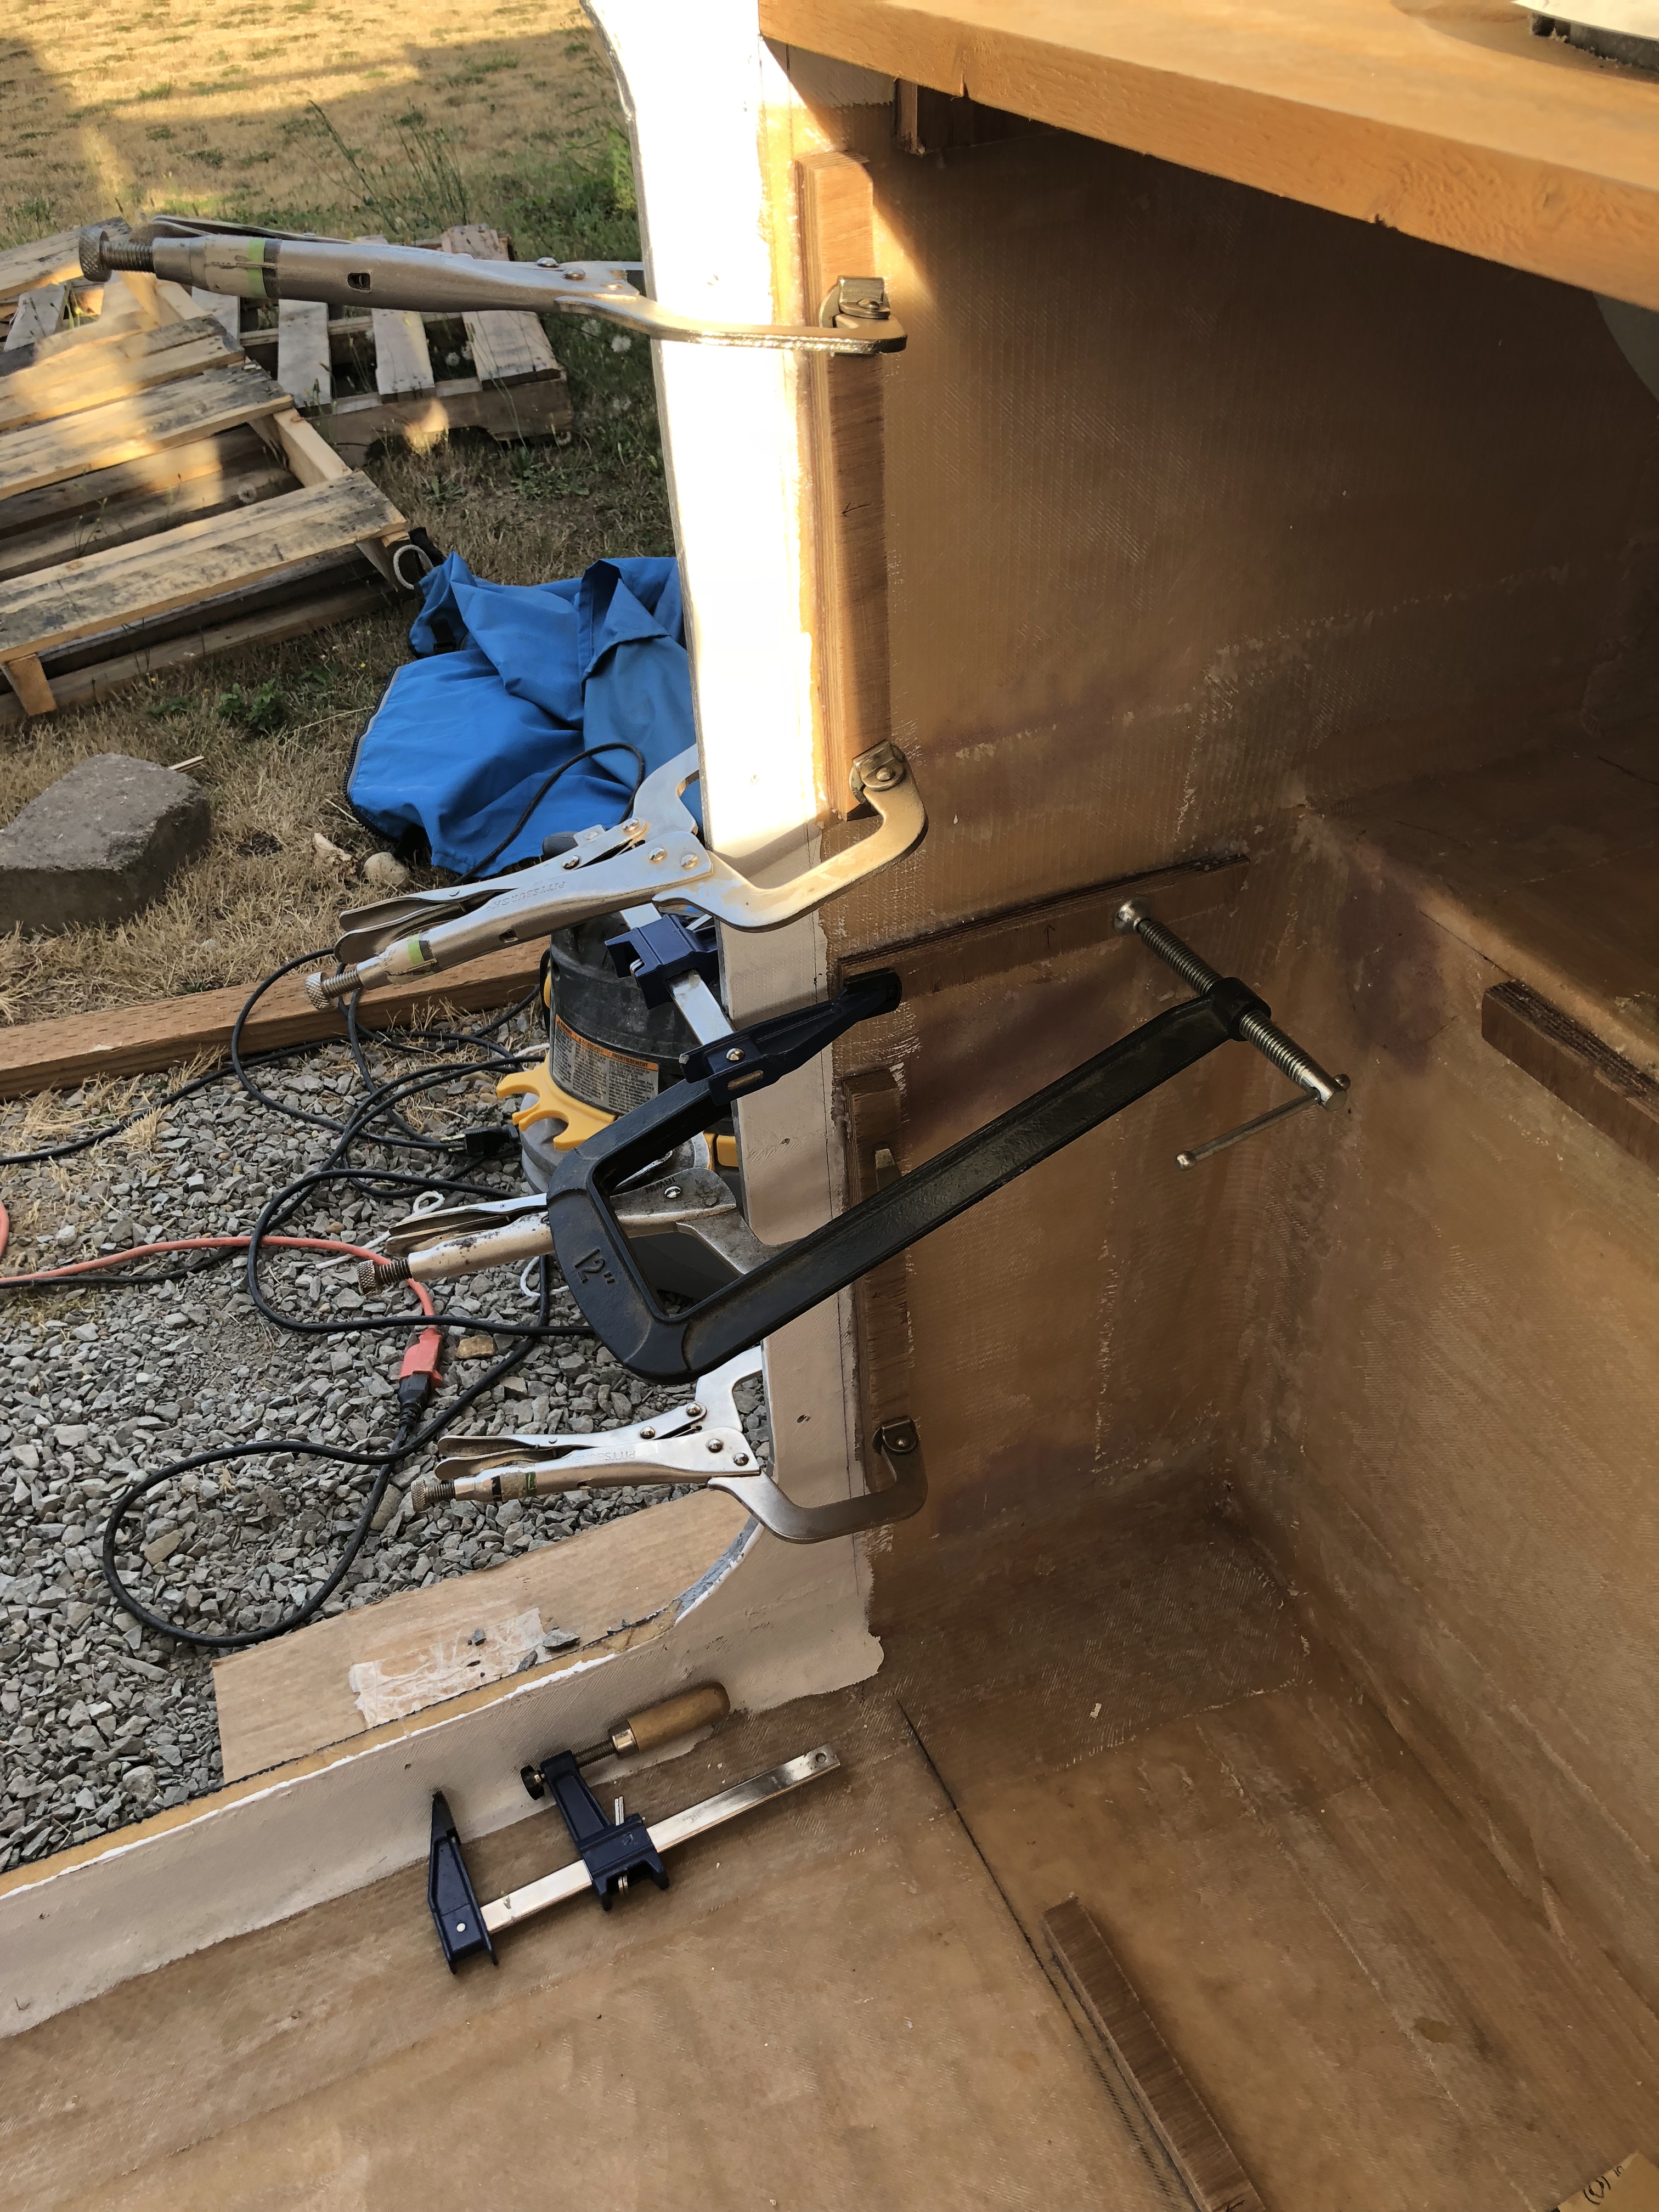
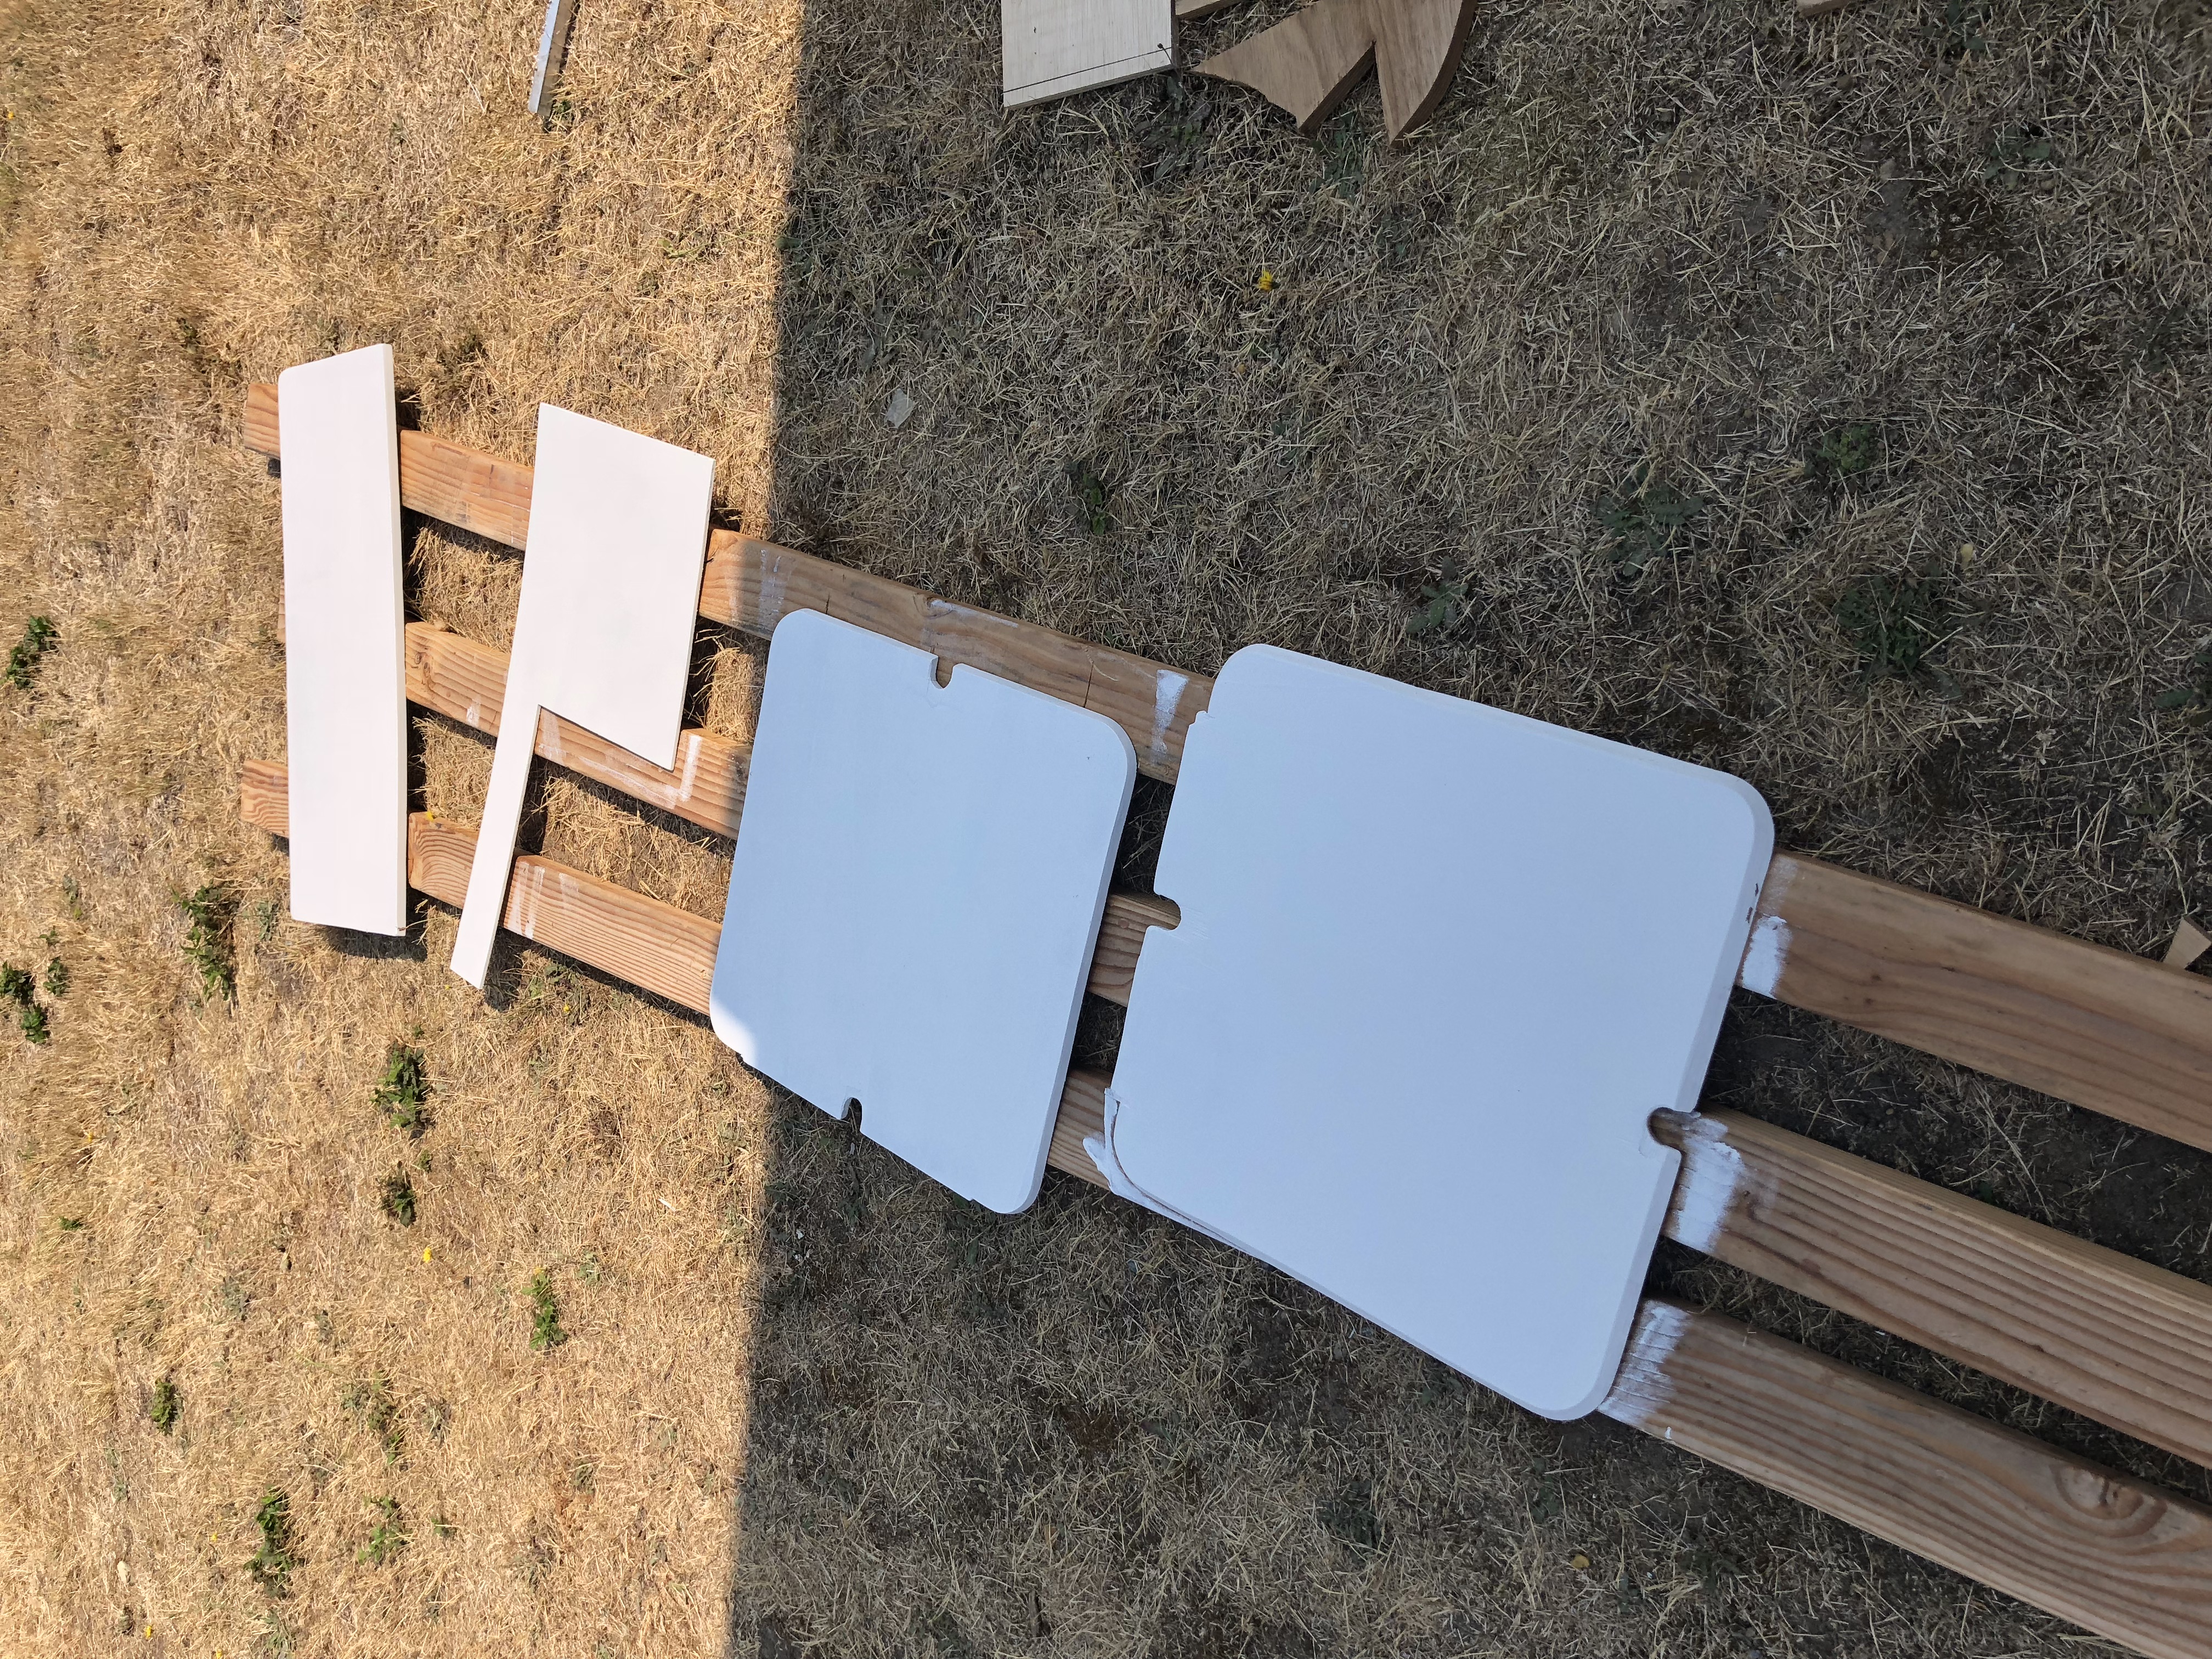
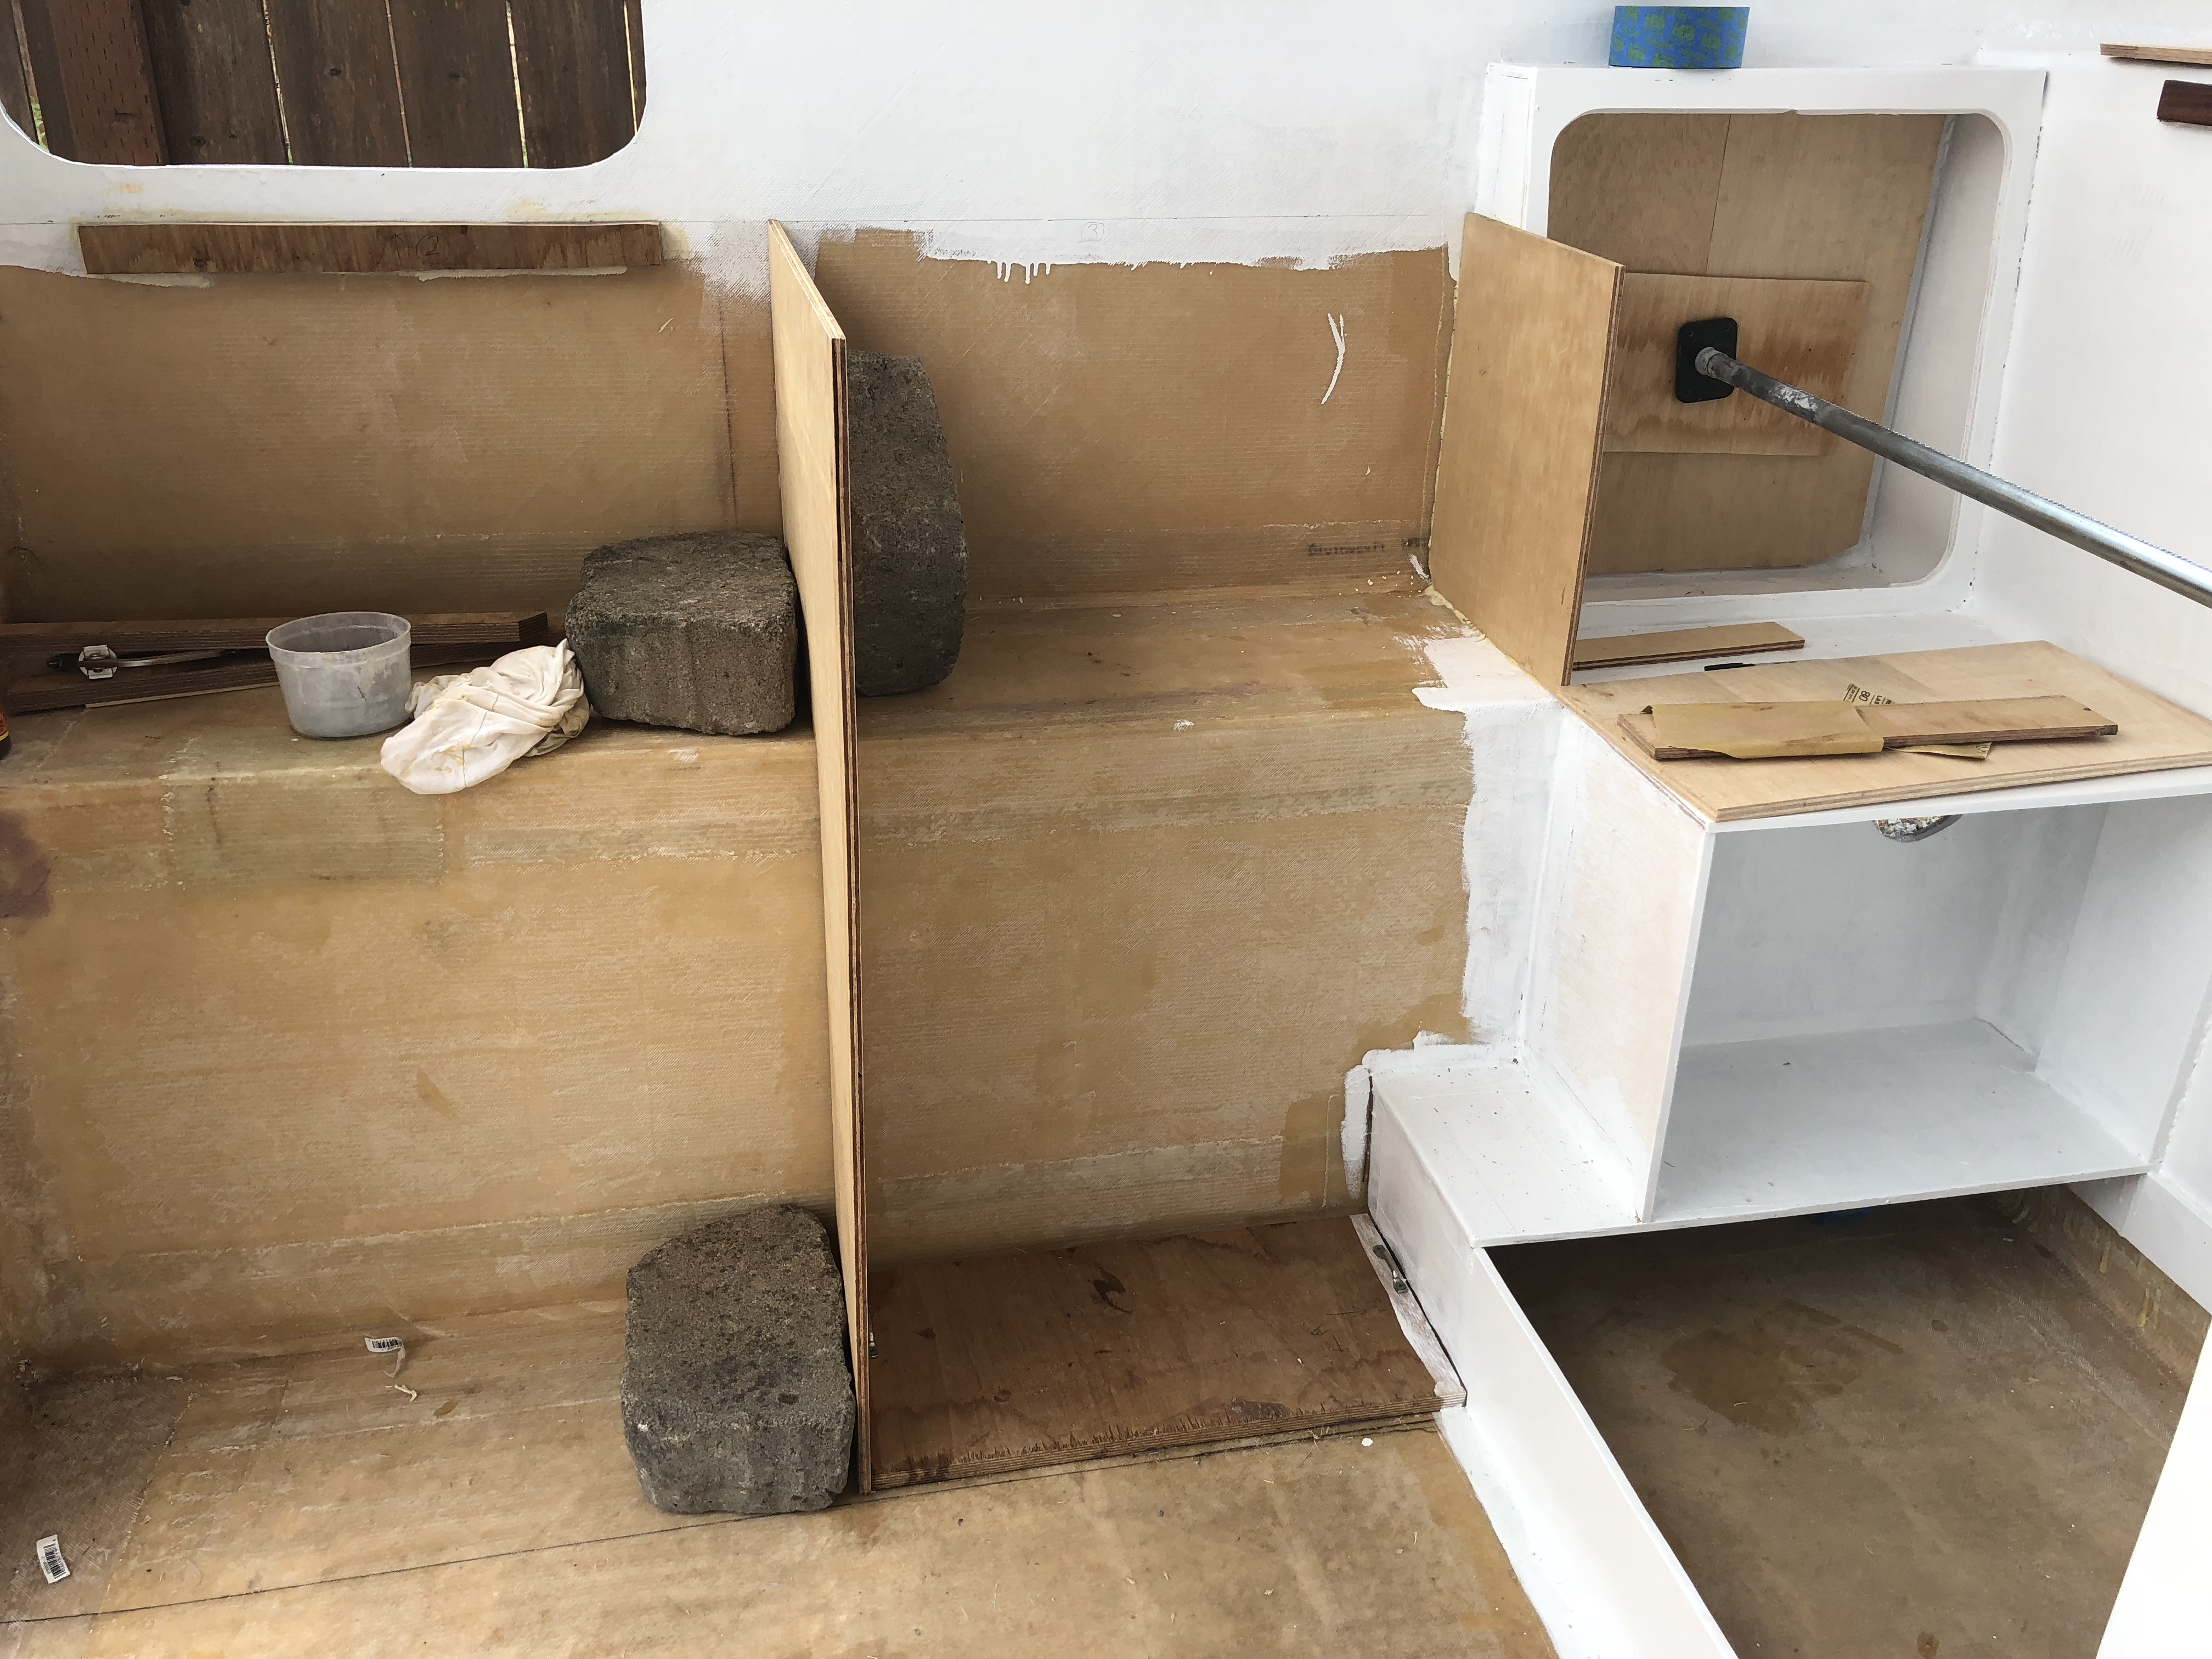
While I was busy doing something useful, Jason made the backing plates for the forward tie downs. They had to be radiused to clear the access holes. Square holes and everything! We're getting fancy!
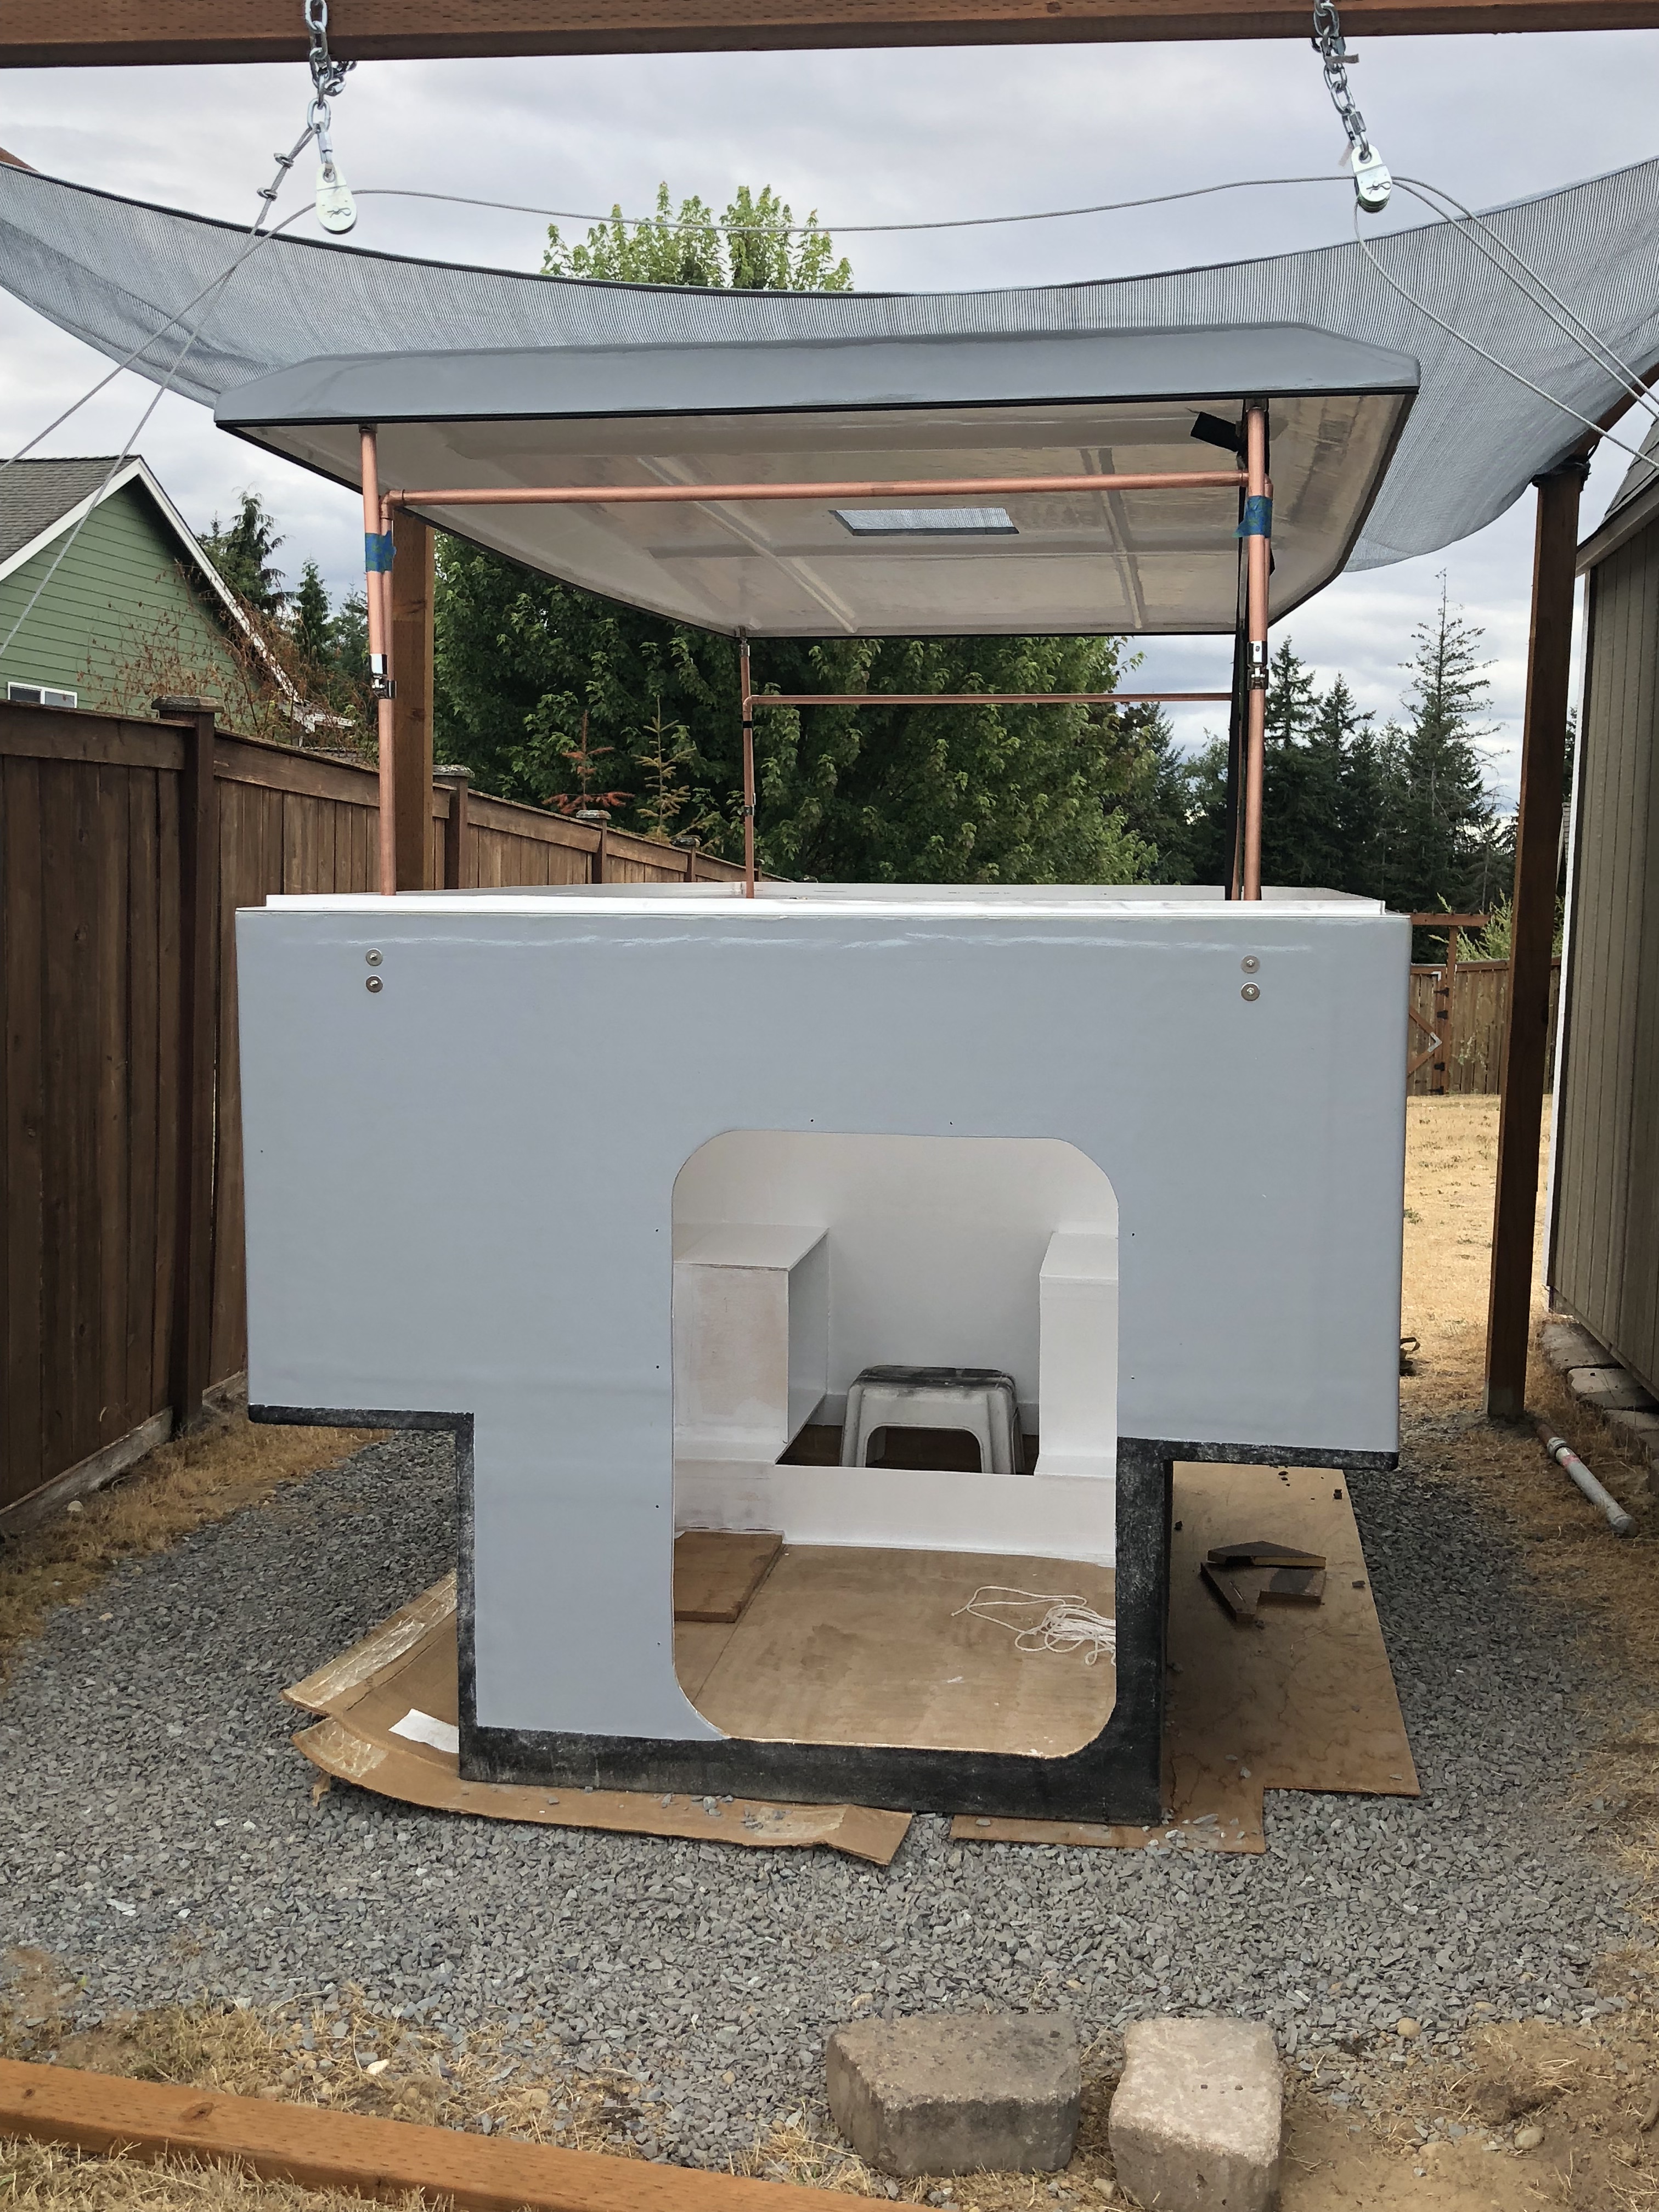
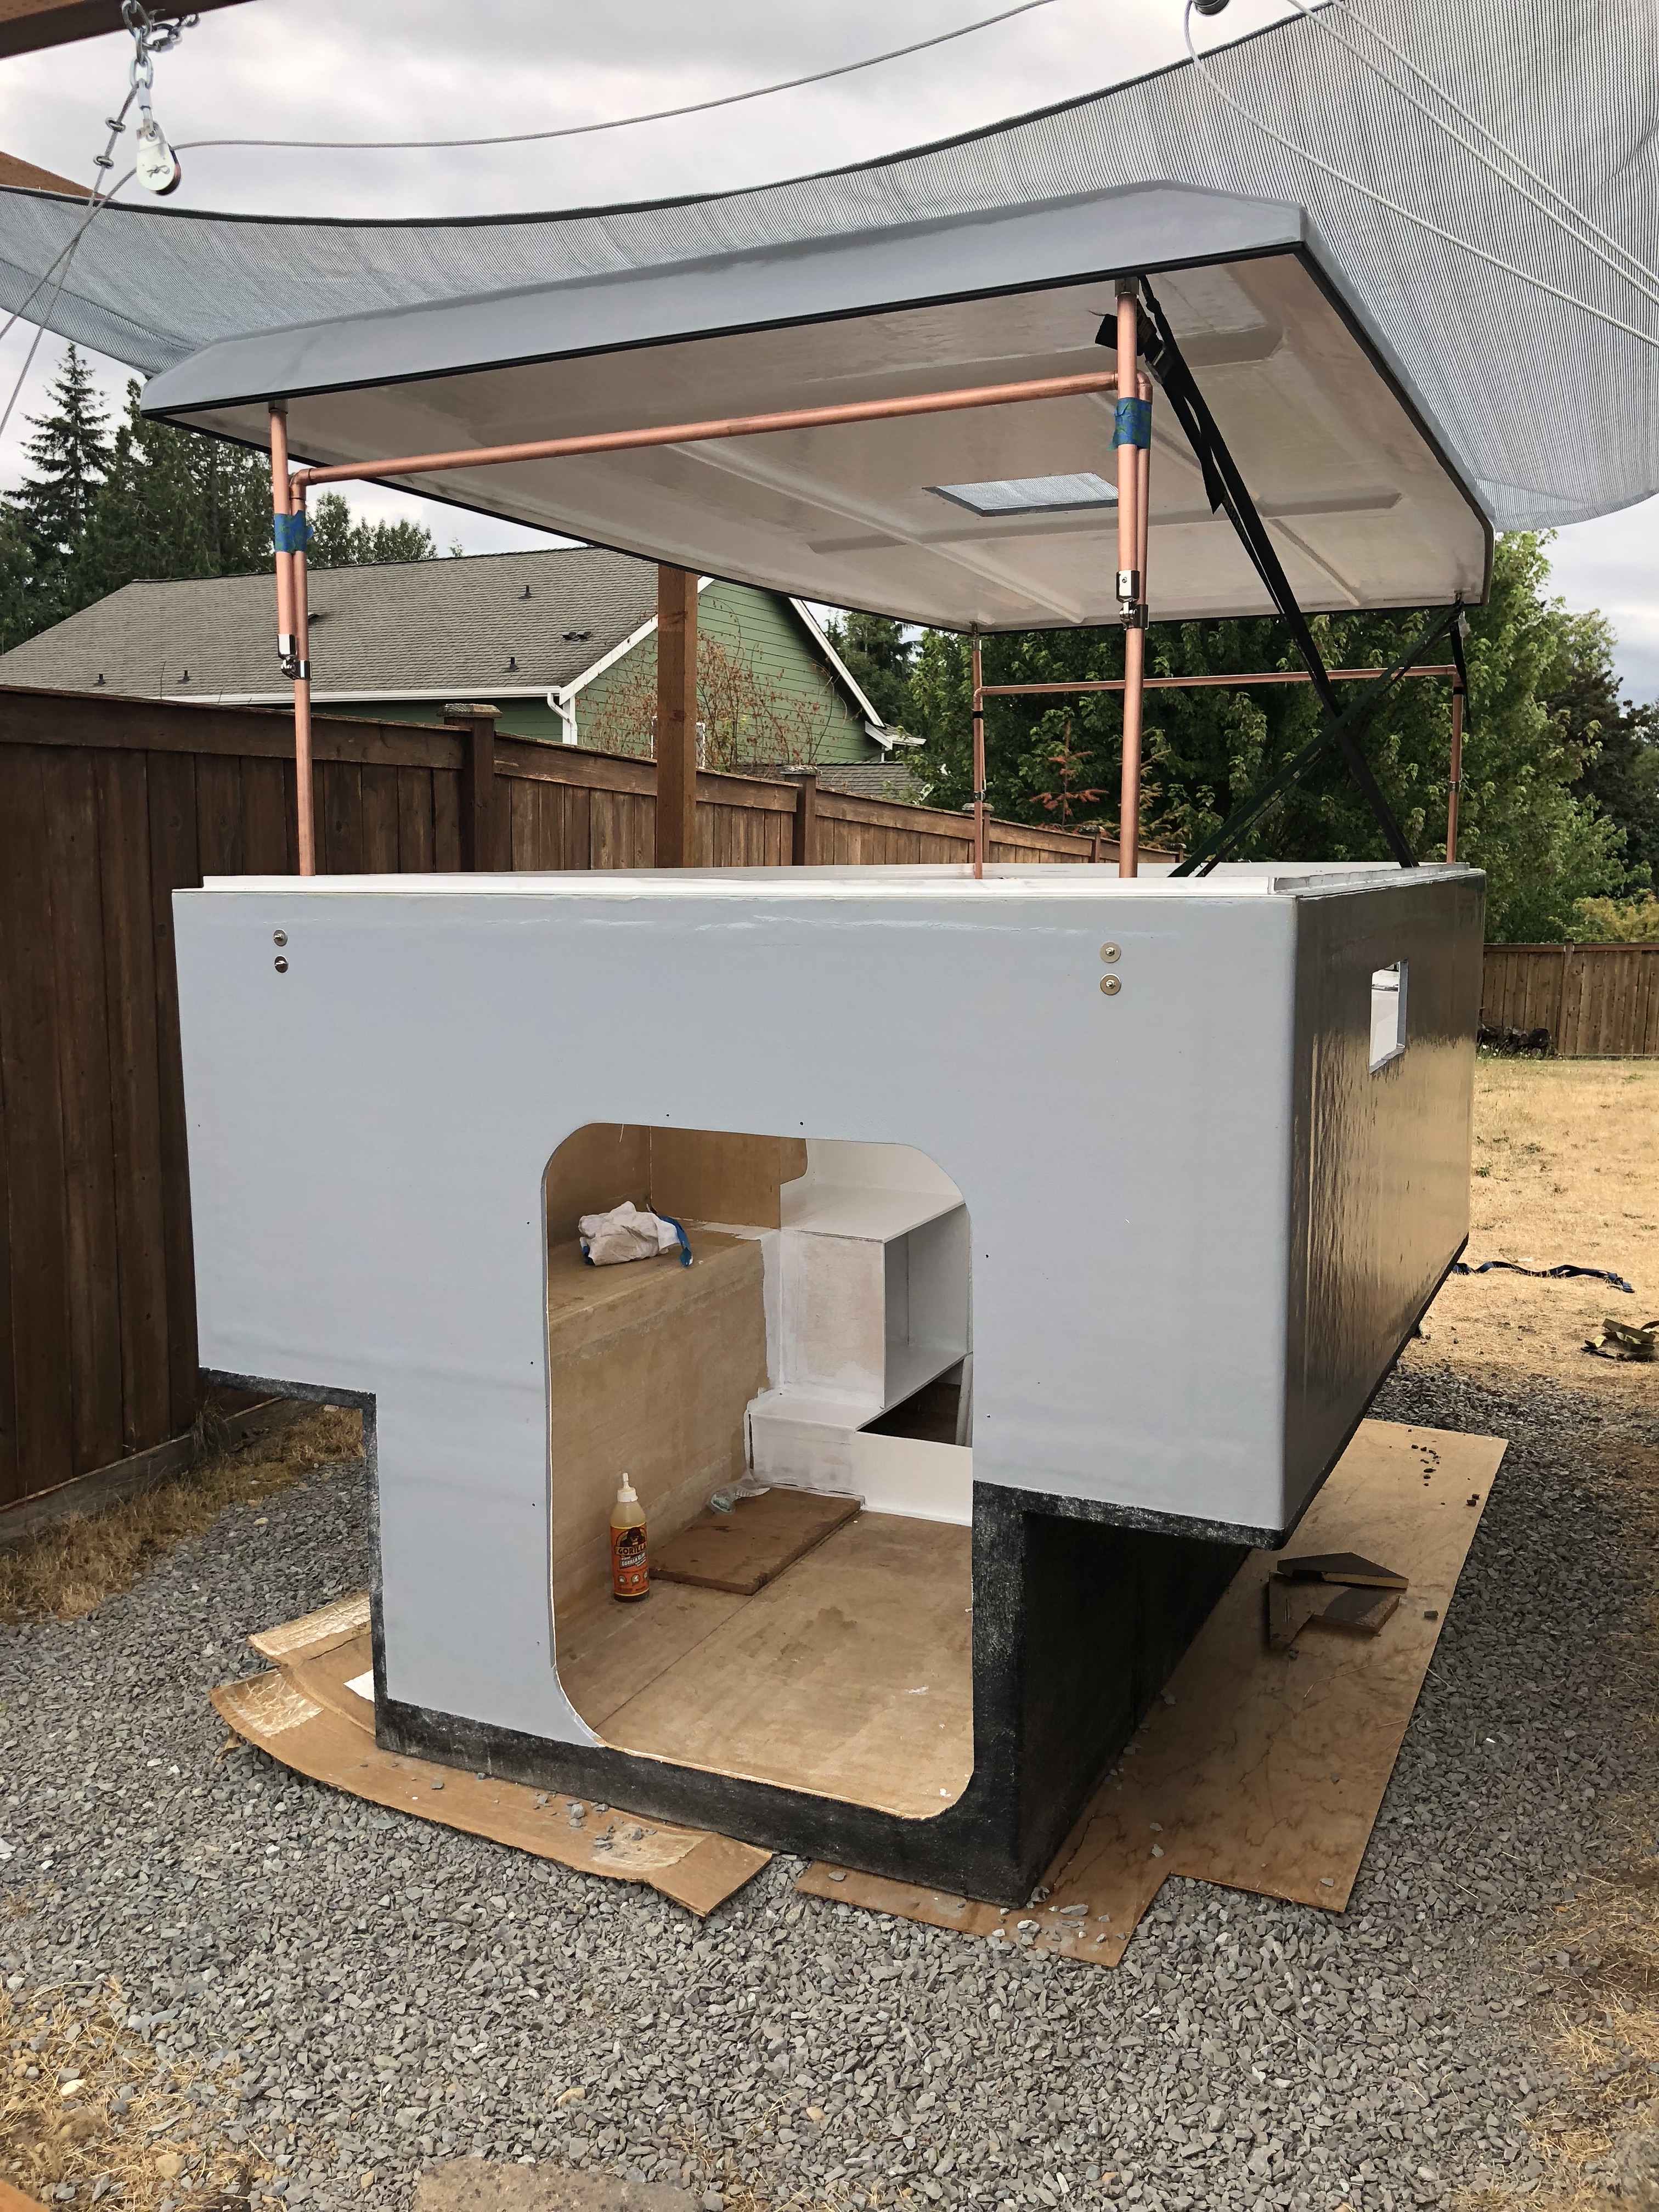
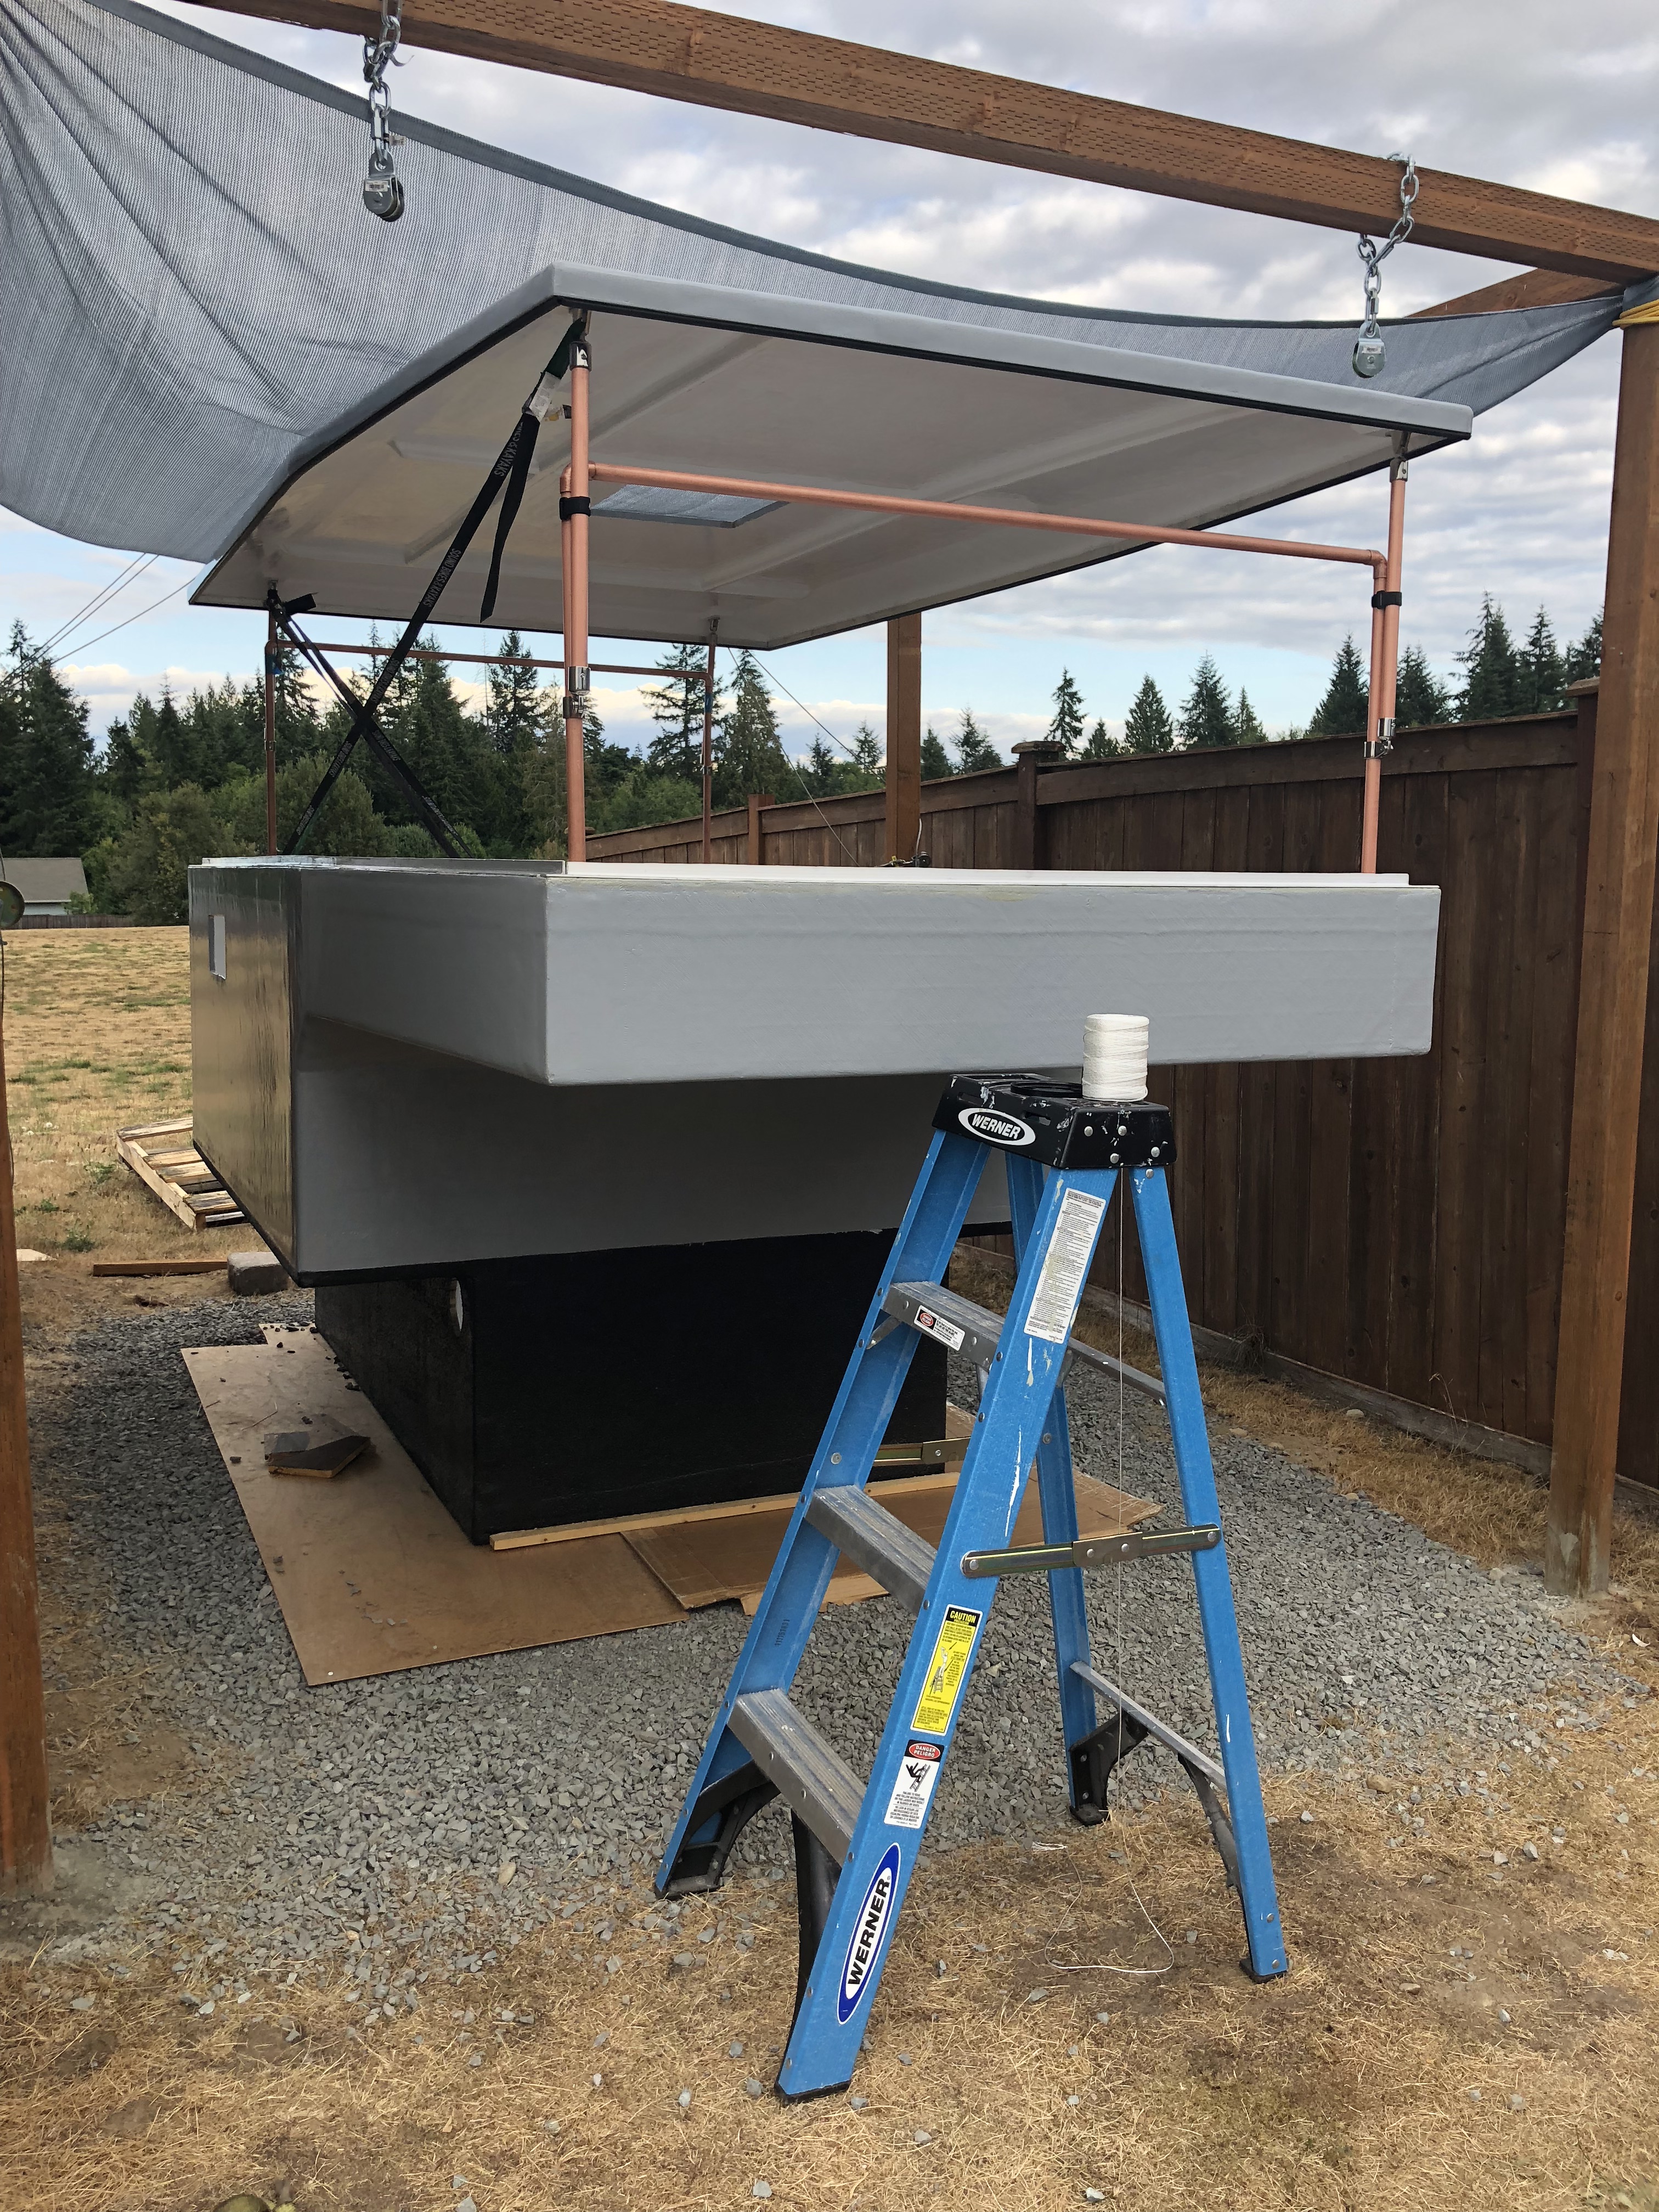
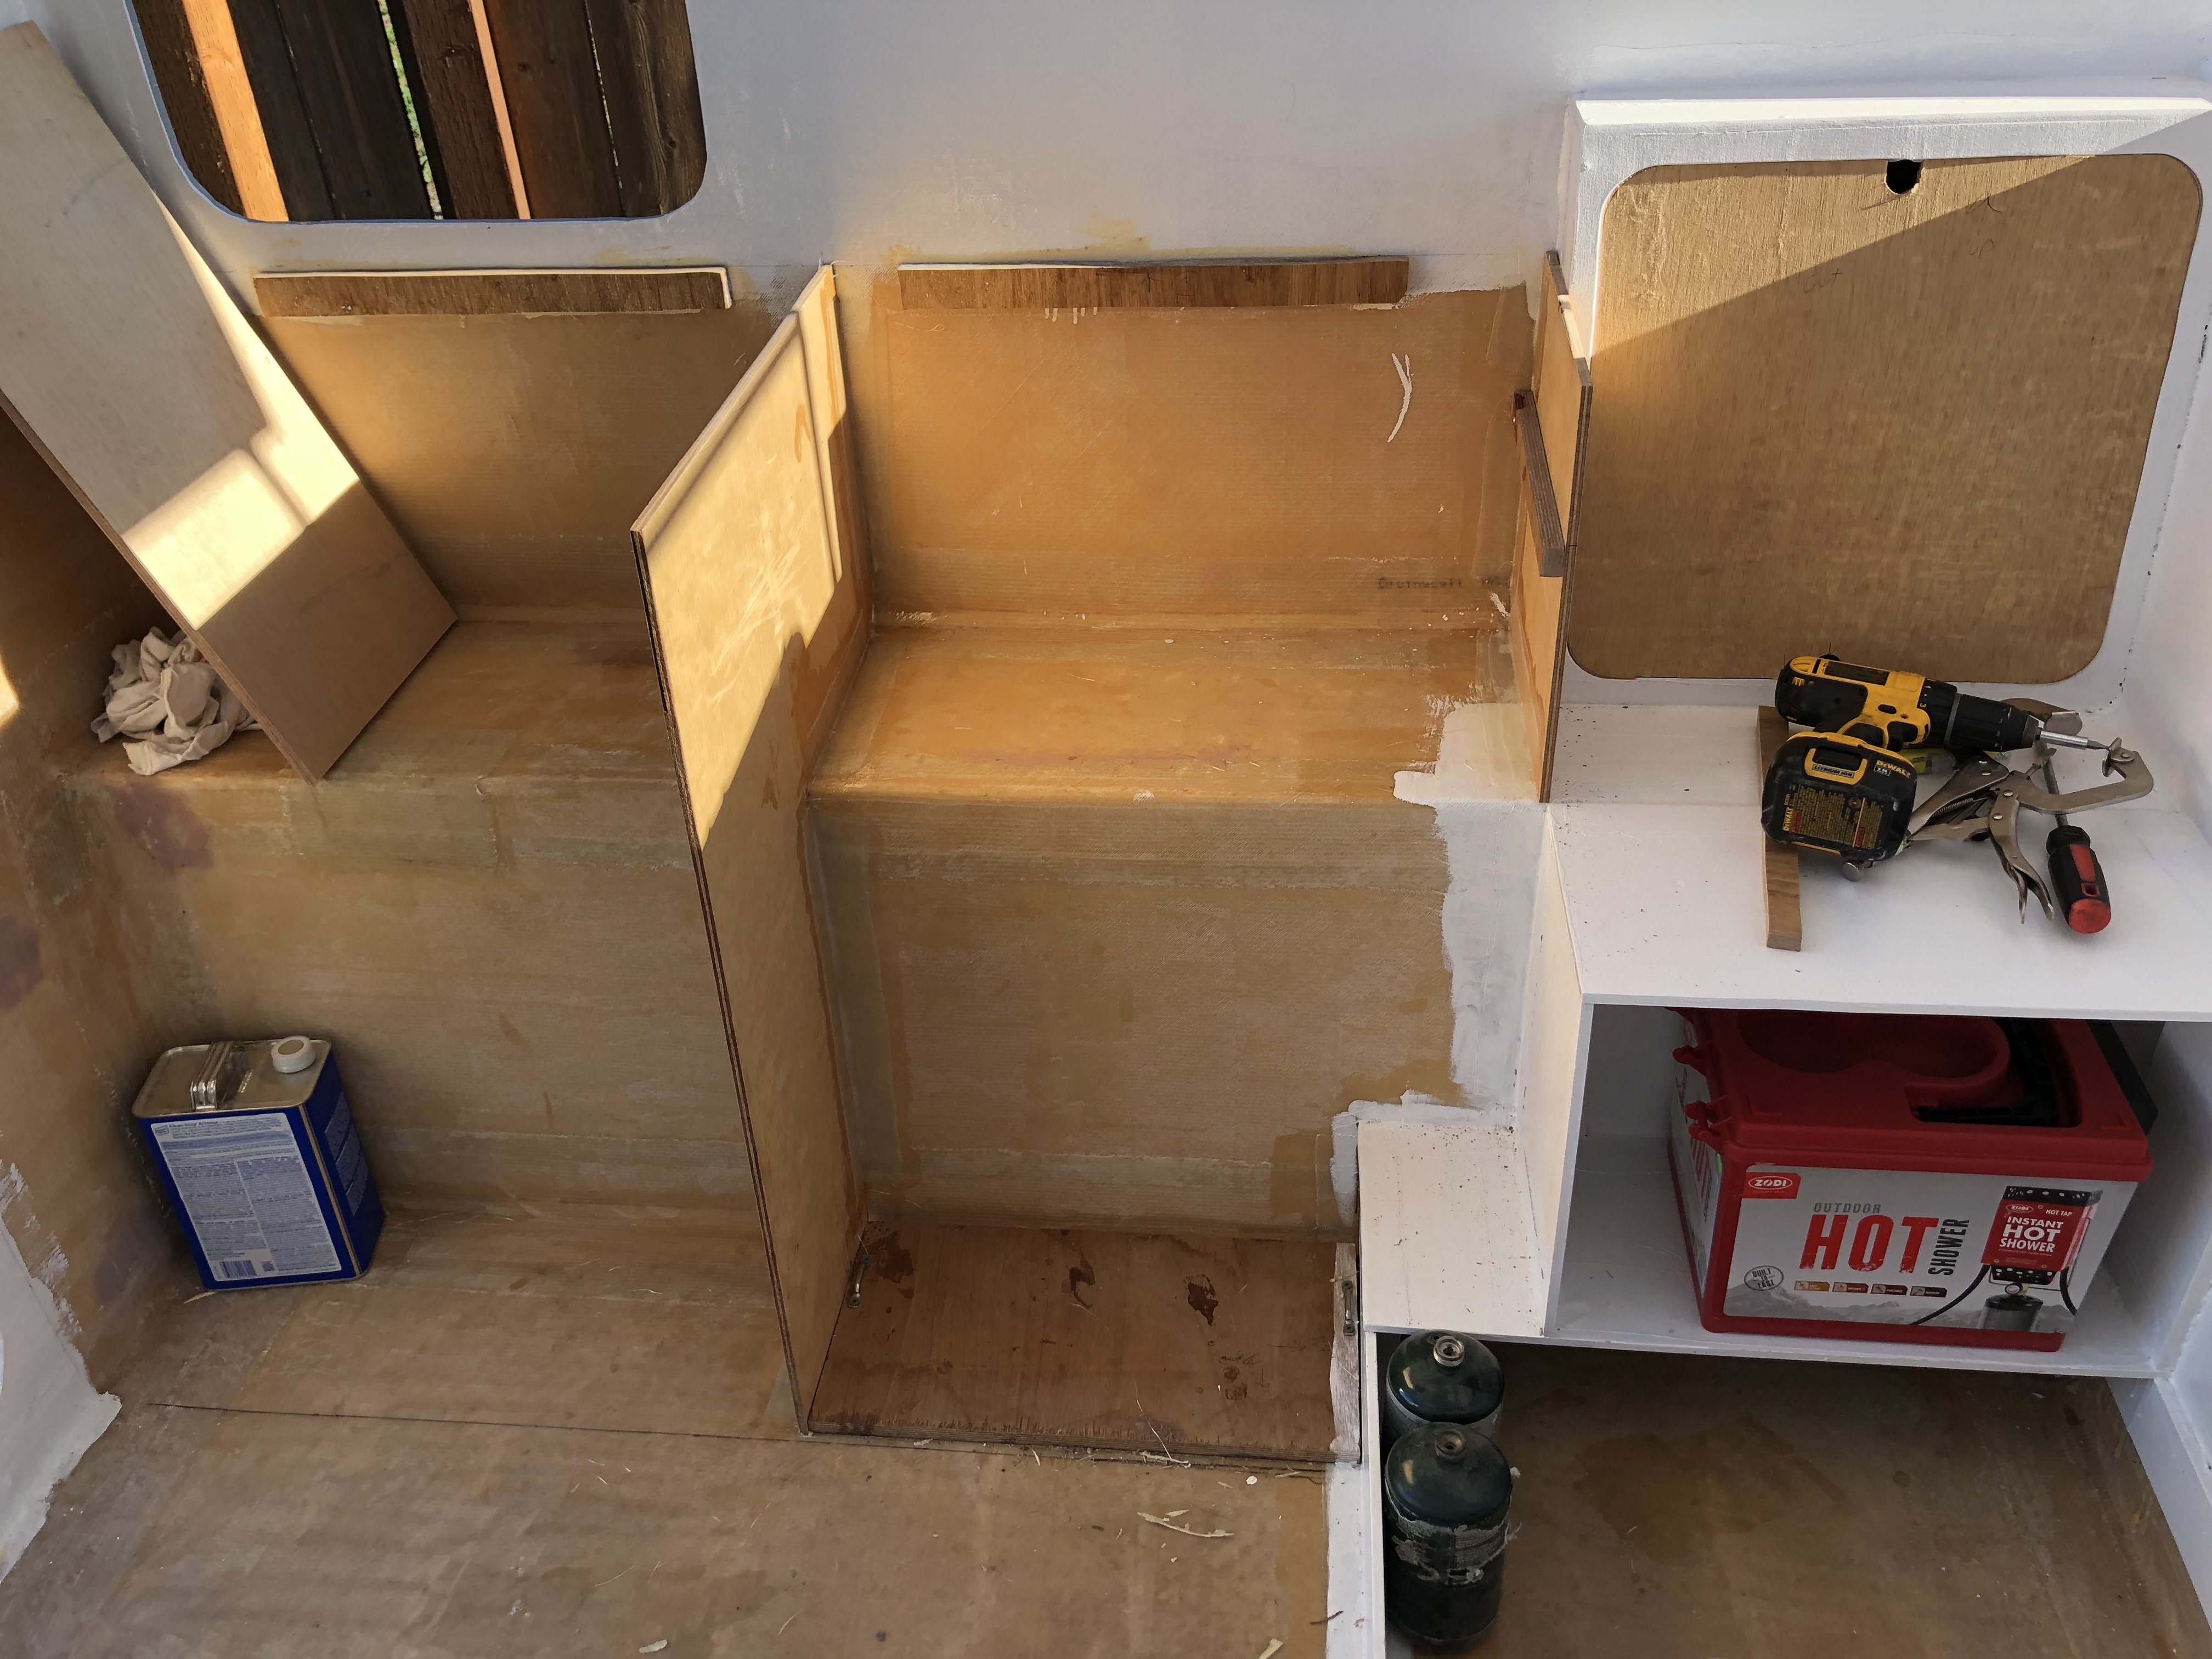
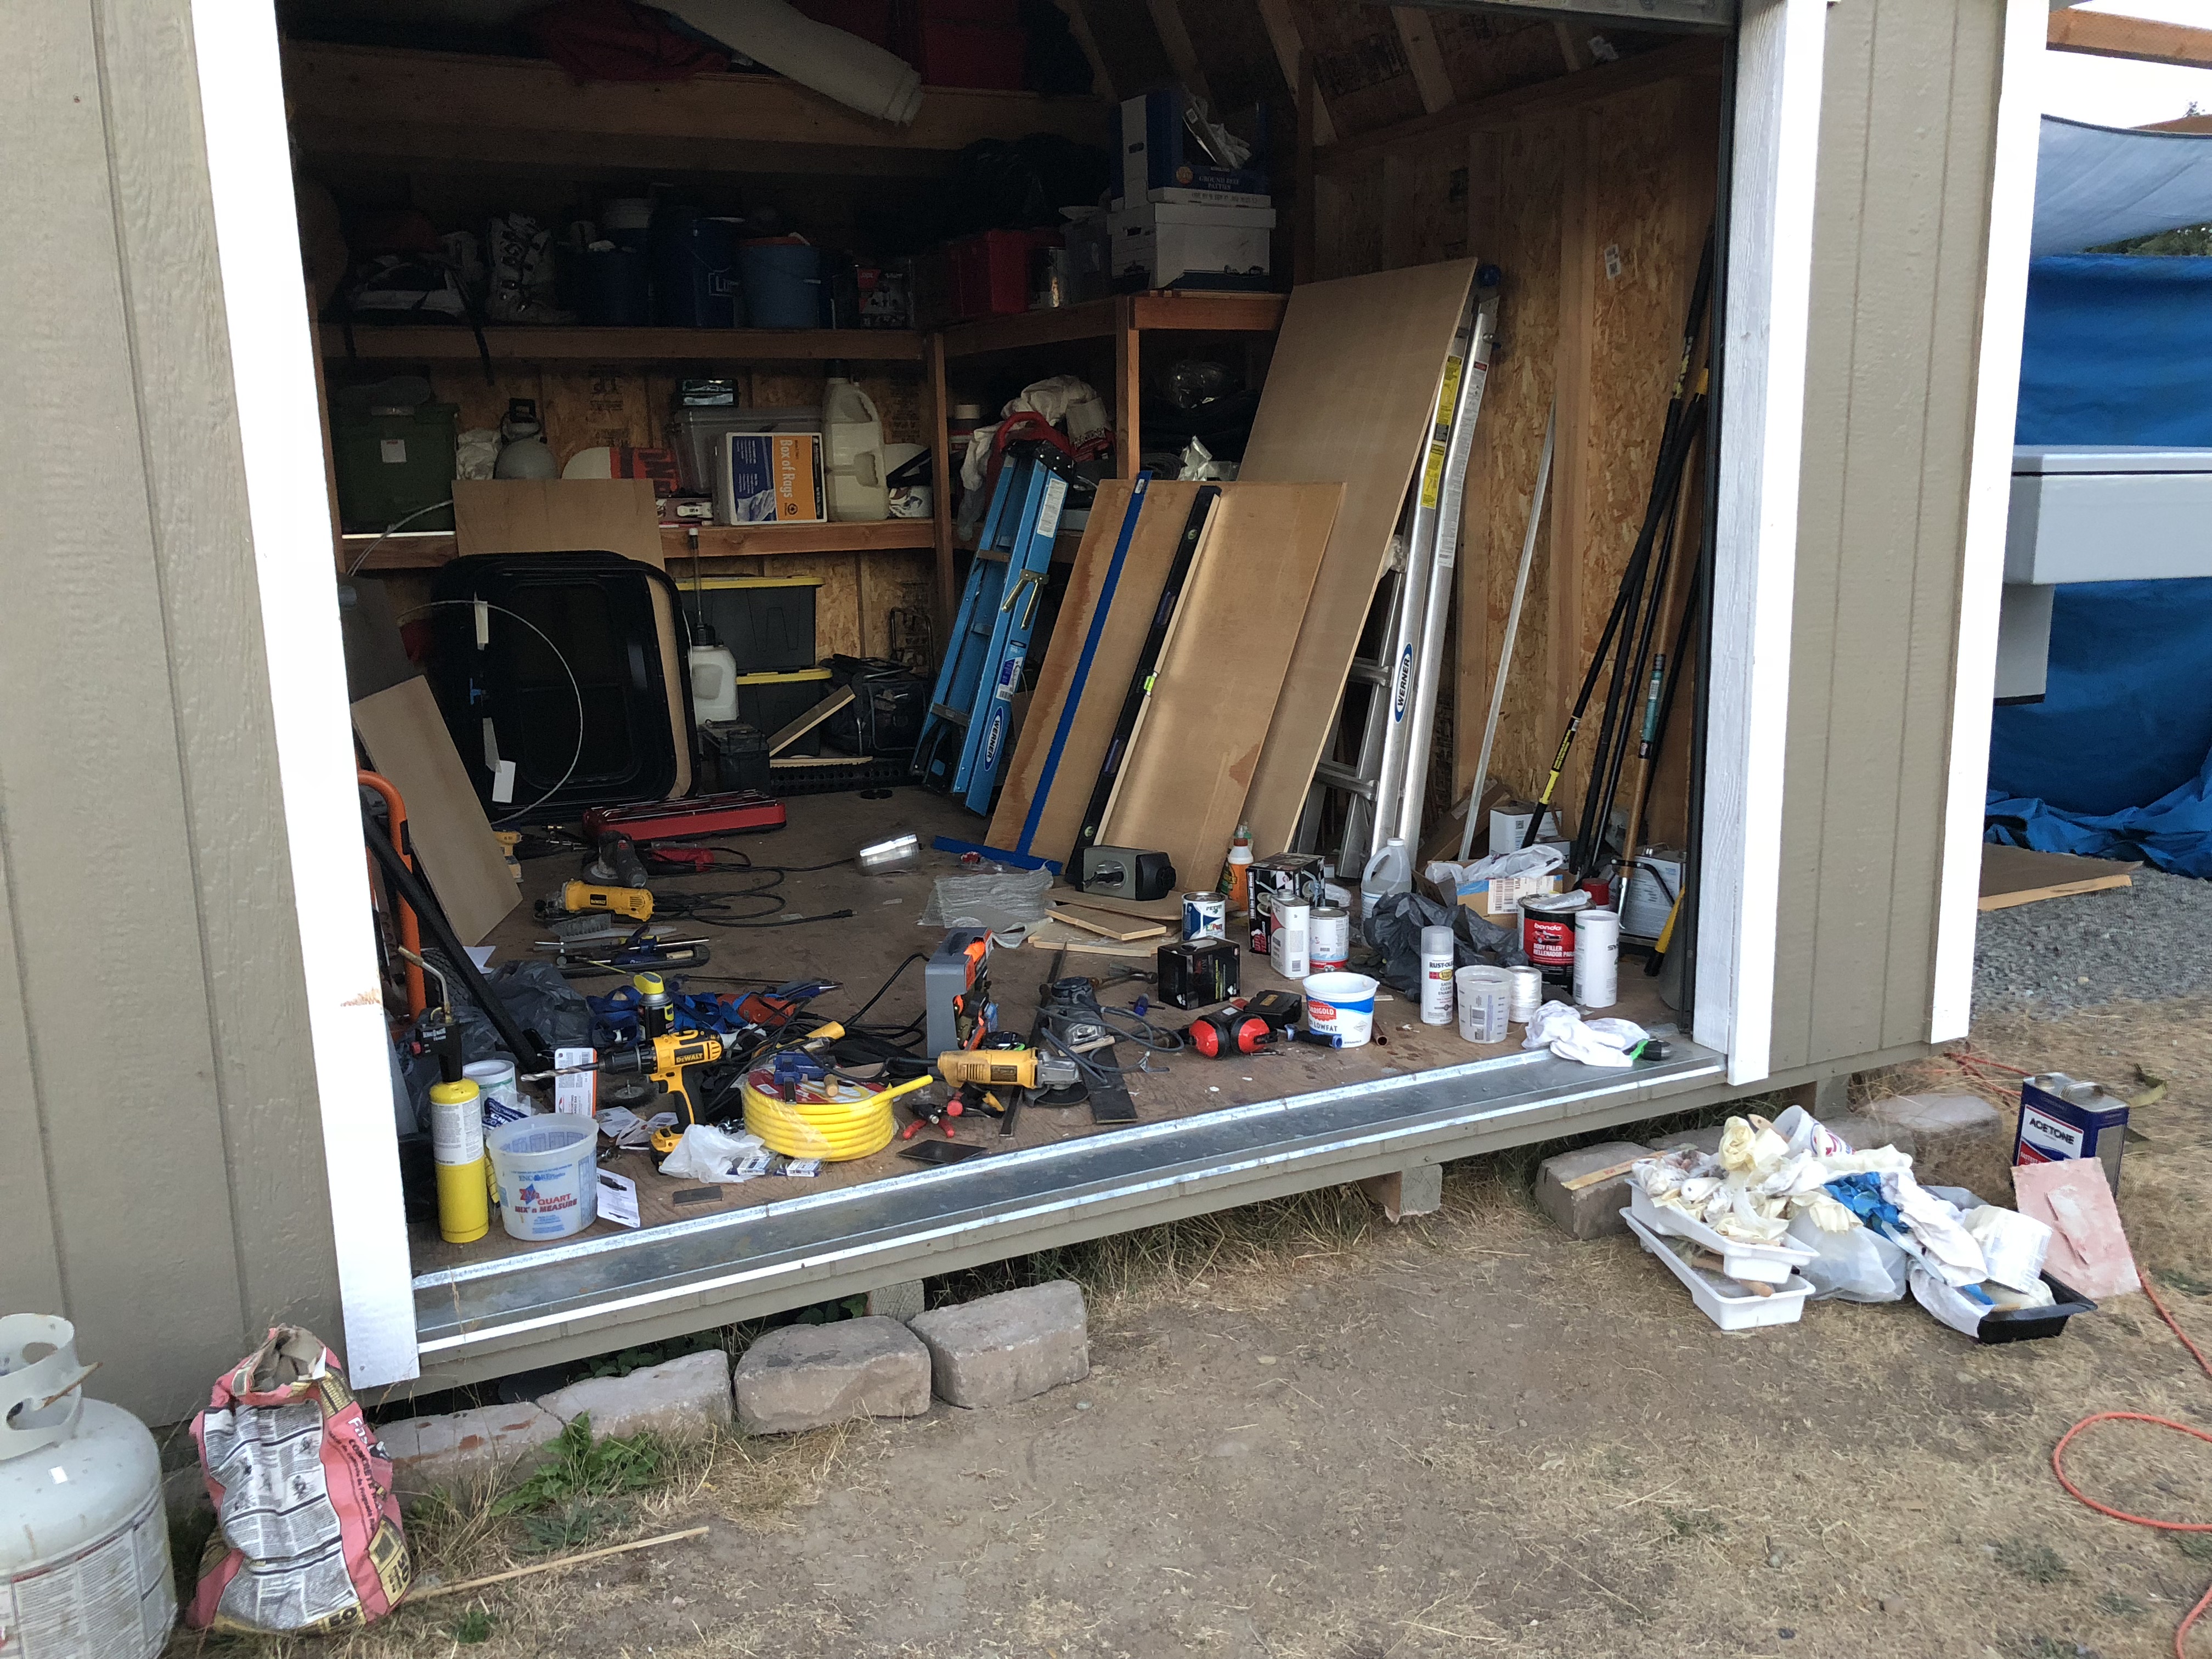
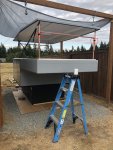
We started this project with a totally clean shed.... now it looks like Lowe's barfed in there...
")
")