rayra
Expedition Leader
crossposted from my vehicle build topic
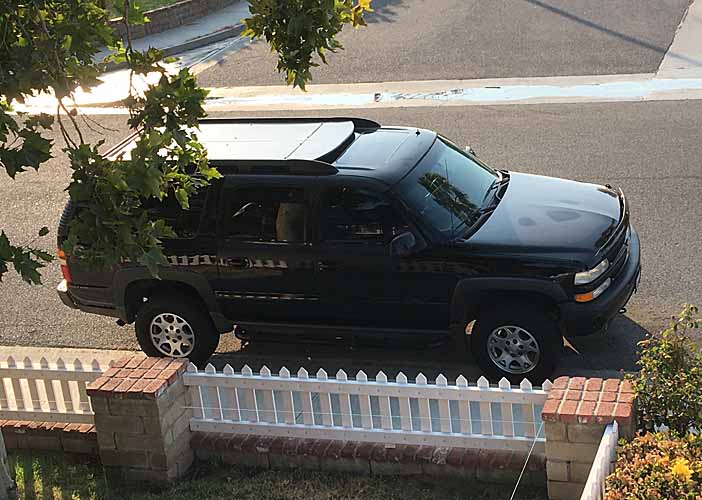
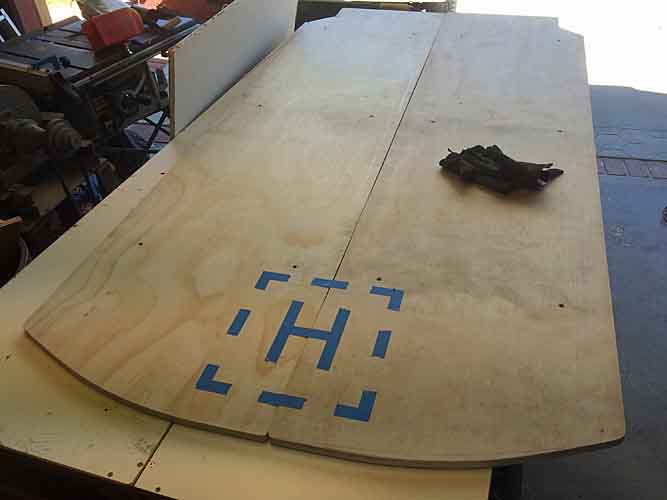
Today I started construction of the MkII Roof Deck. Still going with the 2 longitudinal halves, 'back boards', but for now with no handhold holes.
I am considering slightly notching their edges, so ropes or flat webbing could be tied around the boards and cinched to form handholds. The notches would keep the ropes / straps from slipping along the board.
I've chopped 1-1/4" off the tail end to preclude any interference with the factory Z71 rack's rear airfoil.
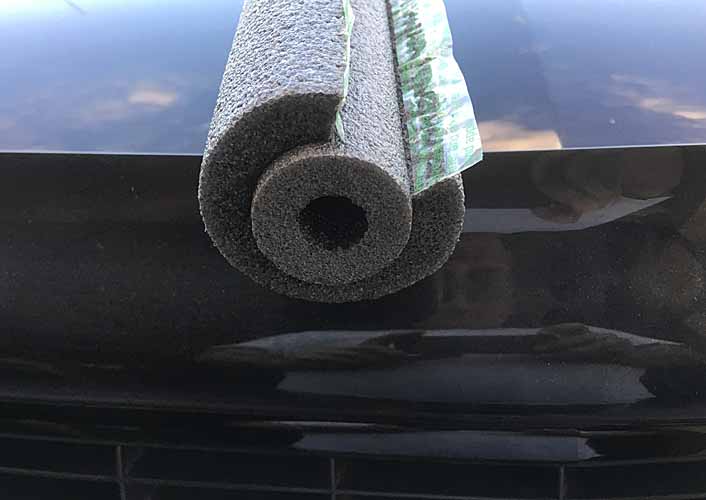
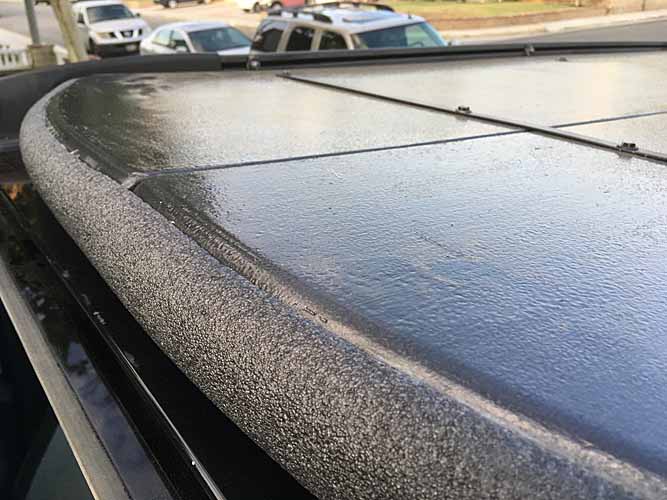
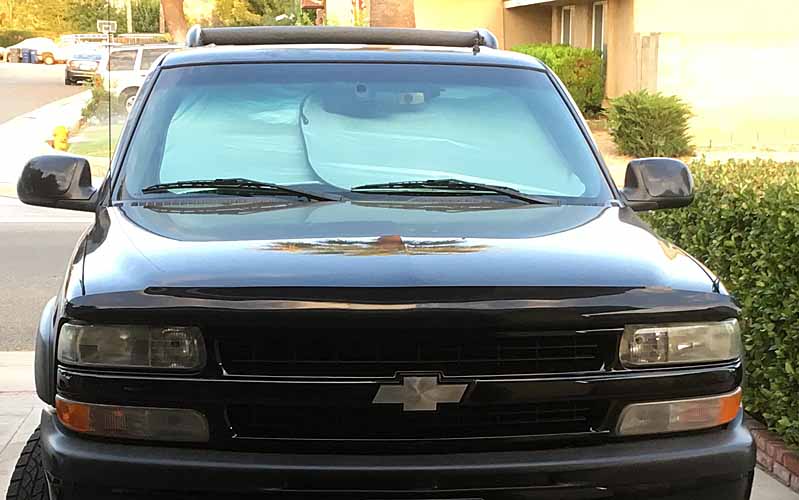
I've also extended the nose area quite a bit. +3" forward on the outer edges, right up to where the inner side of the rack side rail nose caps cruve inward. And +5" forward on the centerline. And changed the curvature of the front end to broaden / blunt the curve, put more material forward of the roof luggage rail ends, so I can better block the front gap with pipe foam insulation.
I also put a more pronounced slope on the leading edge.
I've also elected to go from 4 cross braces to 3, to change the layout to work better with my intended rooftop solar panel install. I'm fabricating new more rigid cross braces out of 3/4" square tubing.
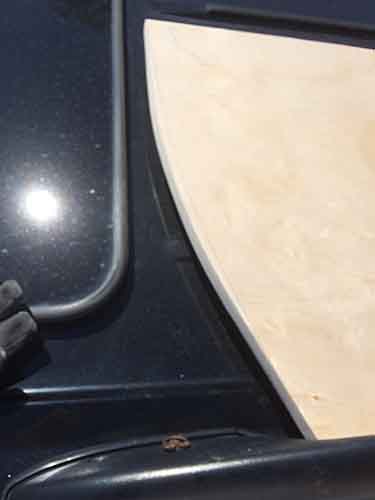
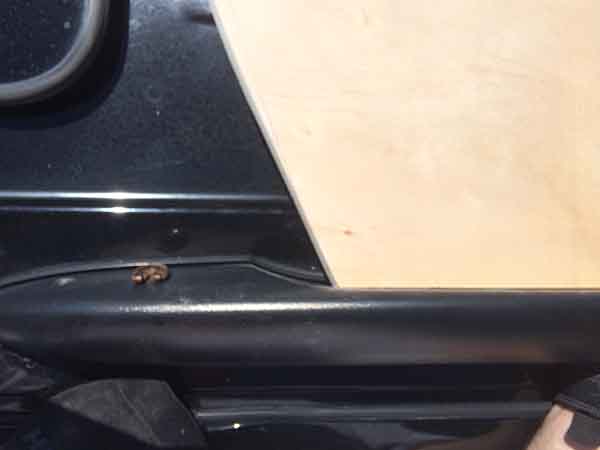
Couple early fitment checks on the first piece. These are both the driver side front end. The front of the deck will now be less than 2" from the sunroof opening.
Here's a sneak peek of a coming attraction
The folding solar panel kit JUST fits the width of the deck / roof rack inner dimension. As it it was designed to do so. I intend to install a sort of picture frame mounting bracket, with a C-channel to trap the leading edge of the panel. And that C will have a sloped fairing to the front. The rear will be a sort of split C, with a piano hinge. You insert the panel into the front C-channel, set the trailing edge down and swing the rear bracket shut and use a pair of flush hood locks to latch the panel into place. Rubber gasketing to make a rattle-proof grip on the panel kit.
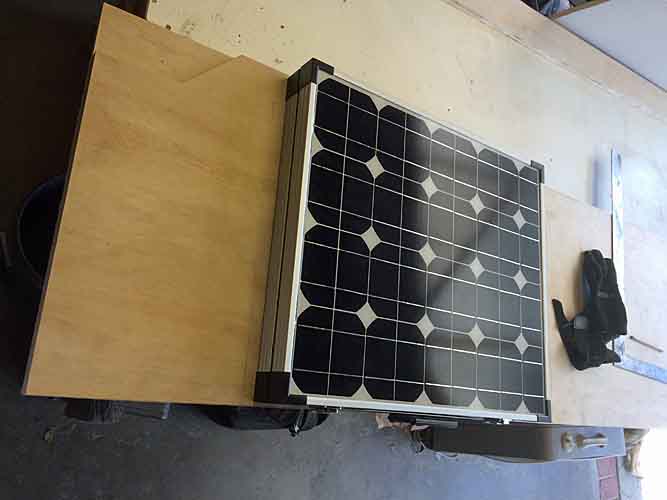
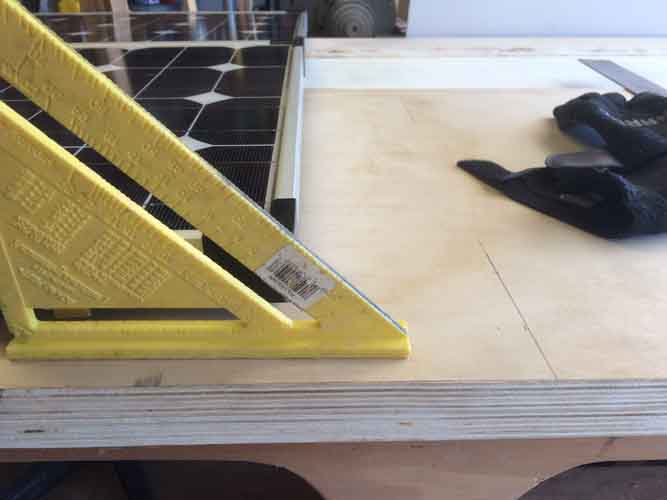
The pencil mark on the preceding pic is where the central brace will be. Ensuring the solar panel mounting frame will clear it.
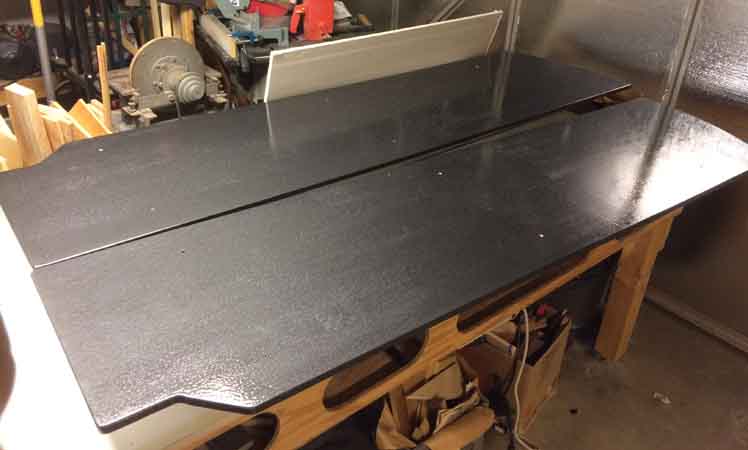
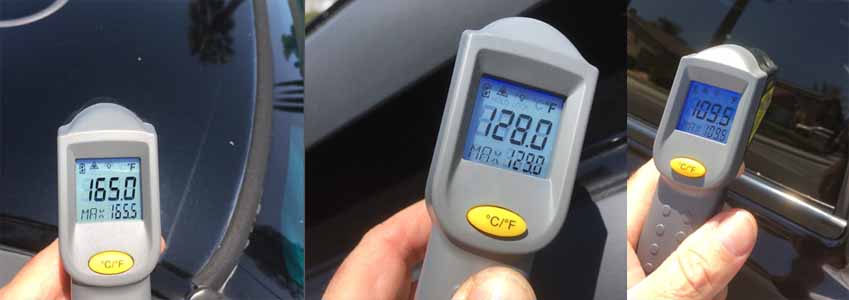
I'm going with the same 'hammered finish black'. It held up very well in Socal heat and brutal sun. That is until I started going to a drive thru car wash. It lost it's gloss after 4-5 washes.
Hopefully the solid design and blocking the front end will eliminate the drone / moan at my preferred cruising speed.
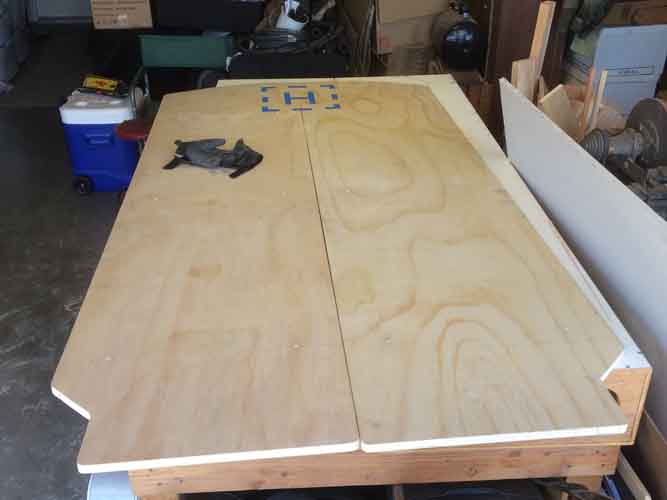
Top side has been primed, priming the underside tonight, hoping to start paint tomorrow, after shaping the tubular steel cross braces.
12,203
Today I started construction of the MkII Roof Deck. Still going with the 2 longitudinal halves, 'back boards', but for now with no handhold holes.
I am considering slightly notching their edges, so ropes or flat webbing could be tied around the boards and cinched to form handholds. The notches would keep the ropes / straps from slipping along the board.
I've chopped 1-1/4" off the tail end to preclude any interference with the factory Z71 rack's rear airfoil.
I've also extended the nose area quite a bit. +3" forward on the outer edges, right up to where the inner side of the rack side rail nose caps cruve inward. And +5" forward on the centerline. And changed the curvature of the front end to broaden / blunt the curve, put more material forward of the roof luggage rail ends, so I can better block the front gap with pipe foam insulation.
I also put a more pronounced slope on the leading edge.
I've also elected to go from 4 cross braces to 3, to change the layout to work better with my intended rooftop solar panel install. I'm fabricating new more rigid cross braces out of 3/4" square tubing.
Couple early fitment checks on the first piece. These are both the driver side front end. The front of the deck will now be less than 2" from the sunroof opening.


Here's a sneak peek of a coming attraction

The folding solar panel kit JUST fits the width of the deck / roof rack inner dimension. As it it was designed to do so. I intend to install a sort of picture frame mounting bracket, with a C-channel to trap the leading edge of the panel. And that C will have a sloped fairing to the front. The rear will be a sort of split C, with a piano hinge. You insert the panel into the front C-channel, set the trailing edge down and swing the rear bracket shut and use a pair of flush hood locks to latch the panel into place. Rubber gasketing to make a rattle-proof grip on the panel kit.


The pencil mark on the preceding pic is where the central brace will be. Ensuring the solar panel mounting frame will clear it.
I'm going with the same 'hammered finish black'. It held up very well in Socal heat and brutal sun. That is until I started going to a drive thru car wash. It lost it's gloss after 4-5 washes.
Hopefully the solid design and blocking the front end will eliminate the drone / moan at my preferred cruising speed.

Top side has been primed, priming the underside tonight, hoping to start paint tomorrow, after shaping the tubular steel cross braces.
12,203

