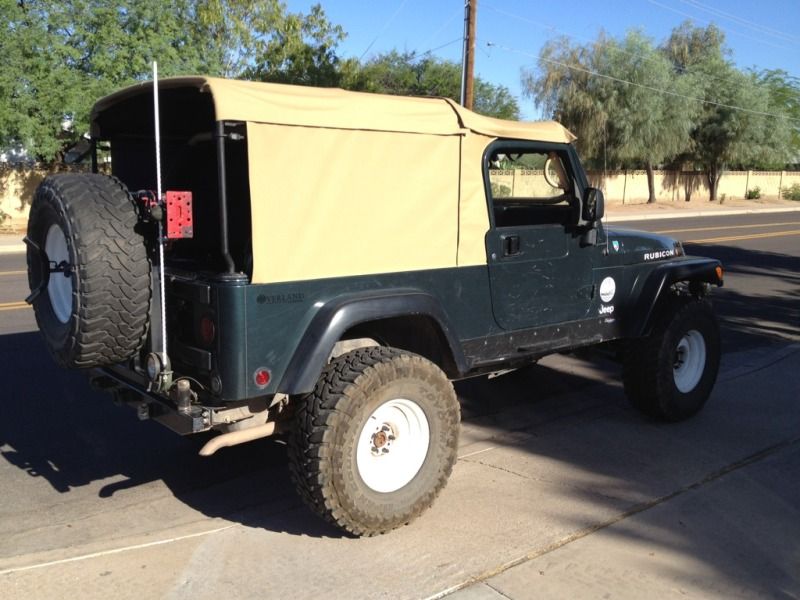
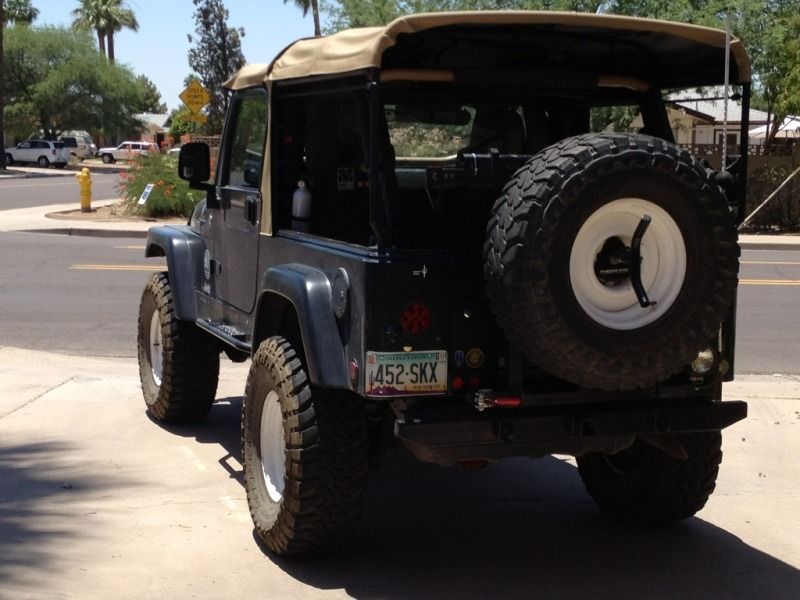
Building custom soft top for the LJ

squint

Adventurer
A part of me, after driving the jeep around in the current configuration, now wants zip-off sides. The more rational side is warning me of unforseen issues and more delays resulting from increased complexity in design, for instance leakage, etc.
What do you think? I definitely don't need more delays, but zip off sides would be really nice.
Regardless, I still plan to have zippers in the far rear corners so that the entire sides and back are able to be rolled up as an option instead of just the windows.
 

Jim K in PA

Adventurer
I decided not to stretch my LJ, so no custom top is forthcoming. :( In fact, I have been using the hard top for the last 18 months, as my original top has shrunken too much to be used anymore. Lately I have been spending most of my spare time and $$ just keeping the thing driveable. North of 110k things start to fail with alarming frequency . . . at least on my '05.

Zip out sides, with the option of just unzipping the ends and rolling them up, is a big + in my opinion. The stock top side windows are zip out, so if you baffle the zippers like the stock top, you shouldn't have any leakage issues. Of course, every feature or option added increases complexity.
 

squint

Adventurer
Zip out sides, with the option of just unzipping the ends and rolling them up, is a big + in my opinion. The stock top side windows are zip out, so if you baffle the zippers like the stock top, you shouldn't have any leakage issues. Of course, every feature or option added increases complexity.

Agreed.
There is a reason that the factory top has the curved zippers, but for me, that is not an option since I don't want this to look anything like the "sagging tents" that certain manufacturers put out. Digesting some of those options over the next few days should help me come to my senses. If anyone else has any comments or suggestions, feel free to post.
 

jscherb

Expedition Leader
Squint,
I used three straight zippers on each side curtain. One at the front to secure the side to the door surround, one at the back to secure the side and rear curtains together, and one along the top to secure the side curtain to the roof. My roof is a hardtop of course, but the idea is the same, on mine a narrow zipper strip is attached to the underside of the roof with an aluminum retainer strip, and this is what the side curtain zips to. There is also a narrow zipper strip attached to the back of the door surround in the same way.

There are flaps over all the zippers. The flap for the front zipper is attached to the zipper strip that's on the back of the door surround. The flap for the top zipper is attached to the top zipper strip. The rear zipper strip is attached to the side curtain, and flaps back over the rear curtain. The vertical flaps face the rear so they don't act as "scoops" to pick up rain.

The bottom of the side curtains has a plastic strip sewn in the hem, it goes under the factory soft top retainer lip just like the factory side curtains do. For the rear I made a tailgate bar similar to the factory bar.

This design has proven completely watertight.

And BTW I would definitely make the side curtains with the ability to remove them.

I'd be happy to help you with any details you need.

Jeff

Sailcloth5.jpg
 

squint

Adventurer
That is fairly similar to the way the zipper works which bisects the bikini top with the flap and I must say, it does work well as you pointed out. As mentioned, the sides zipping completely off was not part of the original design although I must admit I had been kicking around ideas for the back to separate completely off because of the curve, but asthetics come into play there as well. The additon of the zipper and flap to the sides (at the top) could also have some negative results such as a bulkier top in terms of material which can be a bit unattractive (possibly) and harder to store. In regards to the tailgate bar/seal I have an interesting idea which should work (in theory). I will be testing that once I arrive at that point. Too bad you live so far away. I think we could make a great team.
 

squint

Adventurer
Thanks and glad you like it.:)

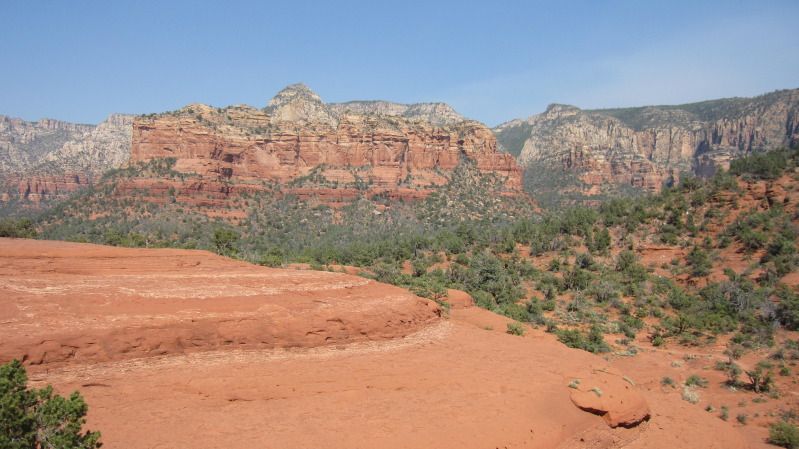
Sorry, nothing new to report until tomorrow. For the time being, here are some pics of our two day trip up north:

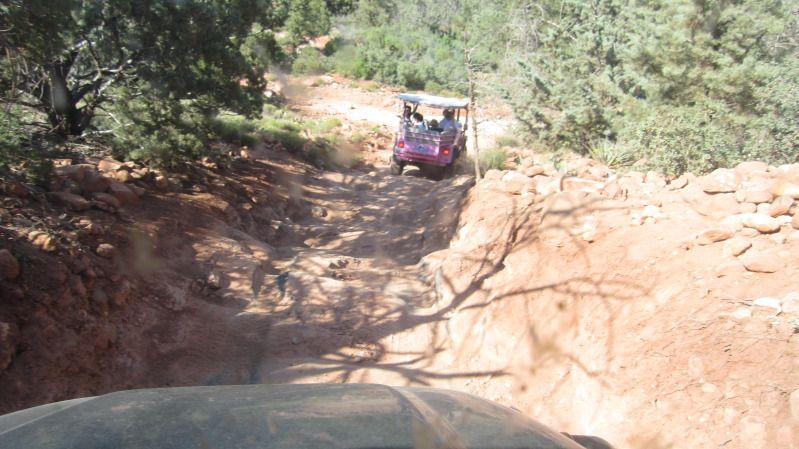
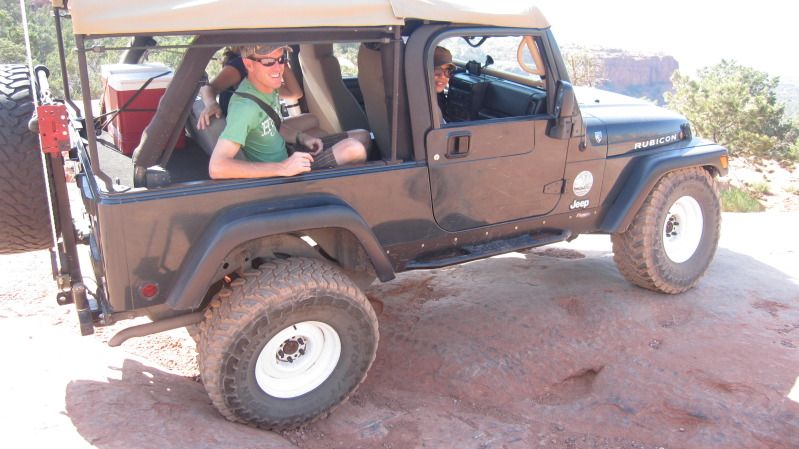
We met some old friends from the east coast in Sedona and of course, we threw in a Jeep tour of the famous Broken Arrow Trail. :D
The occupants of the Pink Jeep tours were also taking pictures of us while we negotiated Devil's Staircase.

IMG_4144-1.jpg

IMG_4140.jpg

IMG_4132.jpg


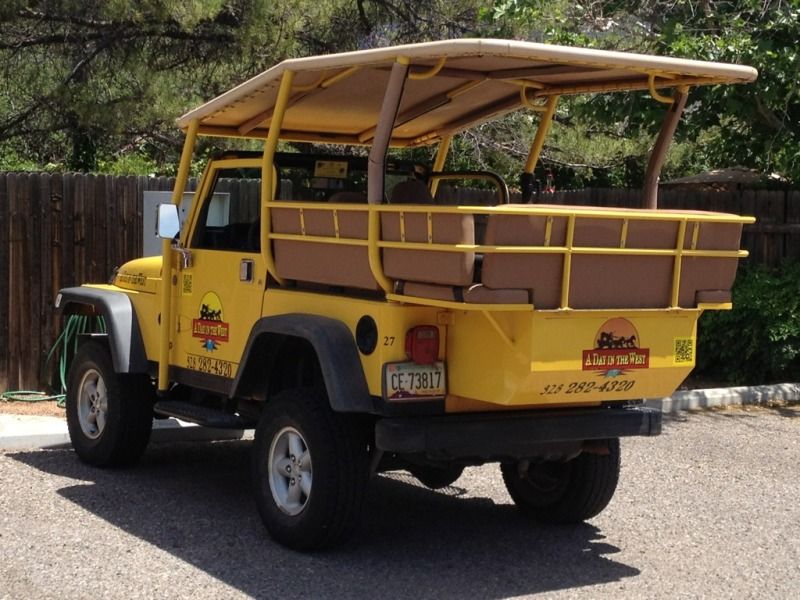
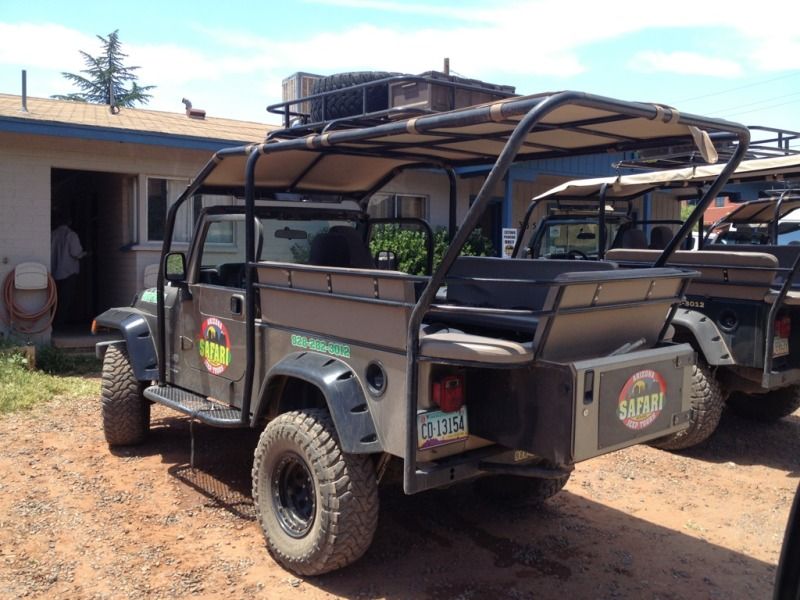
Various interesting Jeeps, hummers and ATVs throttled by as we meandered through Sedona. I snapped a few pics of the outfitted Jeeps for the offroad tours.
2487ec10.jpg

8e753723.jpg


The nice little B&B that took us in:
IMG_4154.jpg

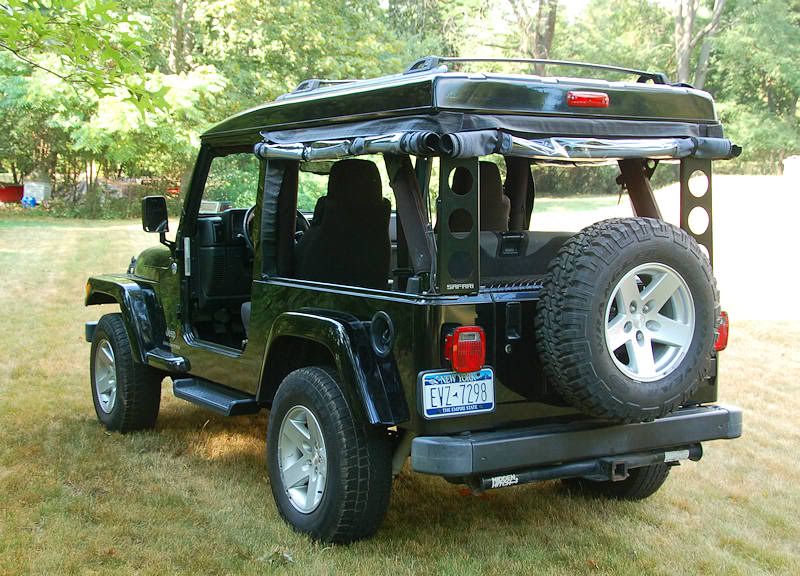
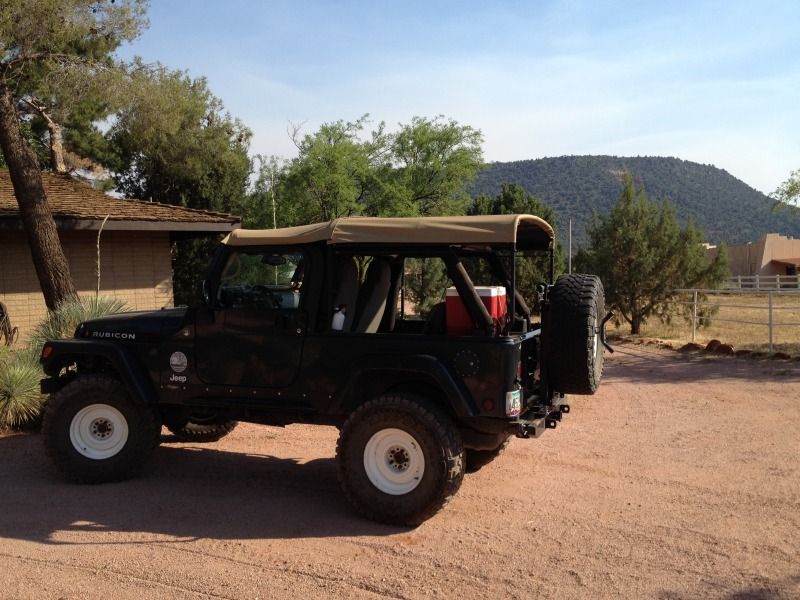
And one more shot of the top before I take it down and move forward with the sides:
1189.jpg


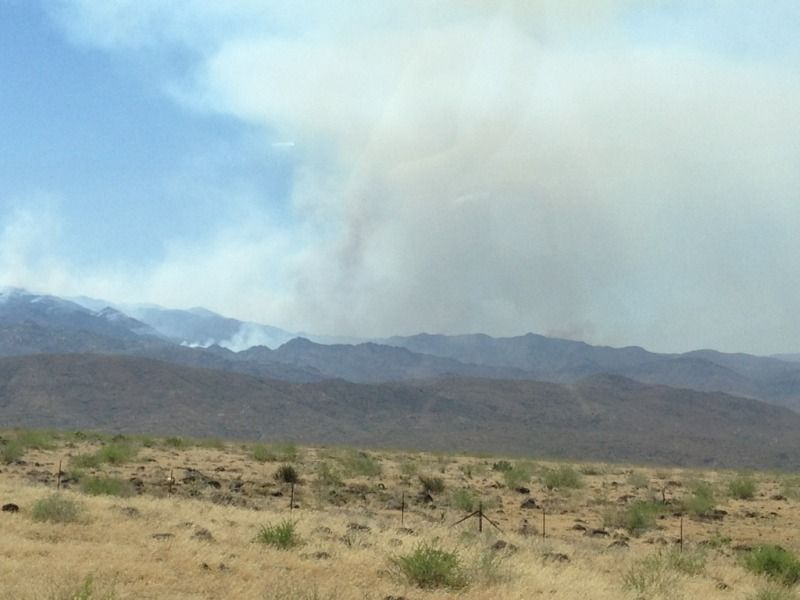
The Gladiator fire hazed the sky as it burned out of control, visible on the west side of Black Canyon Freeway near Crown King.
It was a sad sight, especially after witnessing the beginning of the fire on the Sunflower Mine trail last weekend, which is a personal favorite of mine.
dac2bcdf.jpg


On the way back, we saw many outfitted vehicles migrating their way towards Flagstaff where the Overland Expo would be held on Friday and over the weekend.
I caught a glimpse of Wil from Sierra Expeditions flying by in his heavily modified Toyota Landcruiser, trailer in tow. Nice guy- we have chatted a few times with him over the last year and he just moved their showroom/shop within a mile of my house.

I was pleased since the top proved strong and sturdy in the heavy winds on the mountain highway roads.
 
Last edited:

squint

Adventurer
After careful consideration, I have decided to make everything zip off. This does complicate things but it can definitely be accomplished, making for a much more versatile top, overall. Thanks for your input on that.

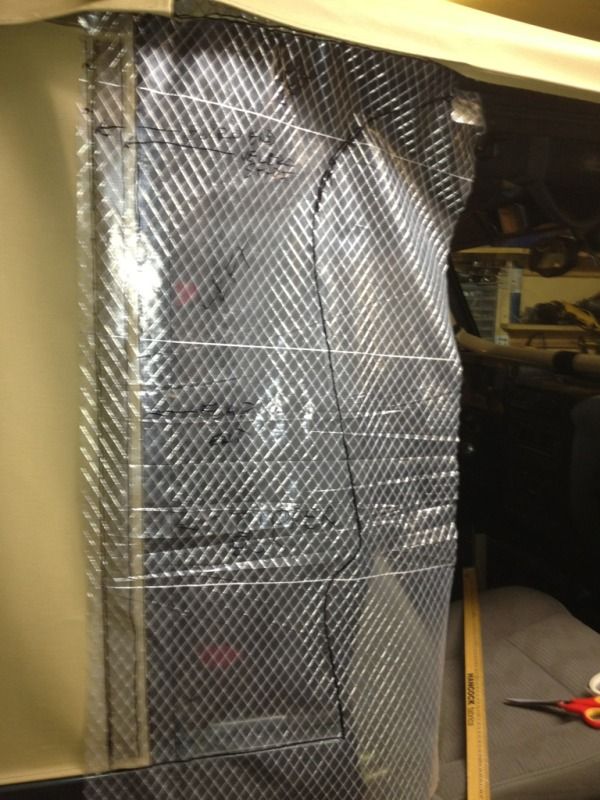
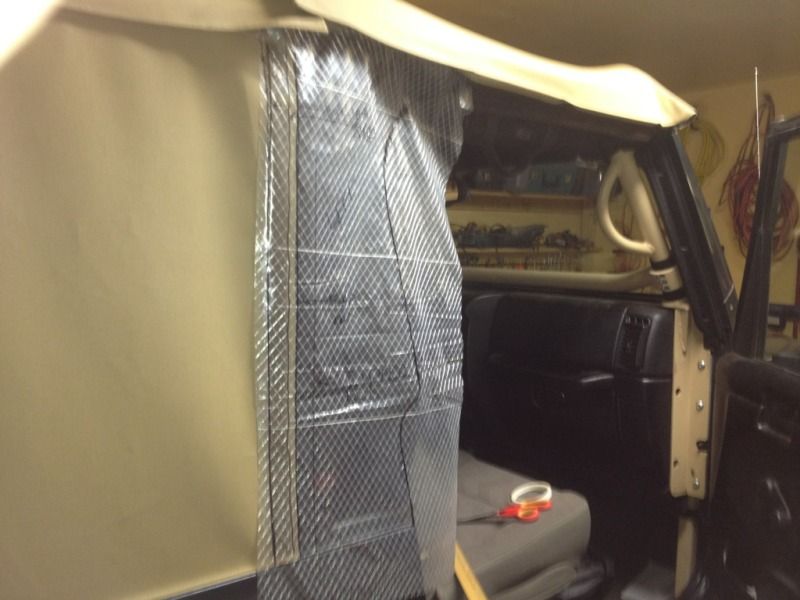
I knew from the start that the door surrounds pieces would require special attention. The overall shape of the top is a square with the vertical hardware being exactly at 90 degrees with the body of the vehicle. This means that the soft top must taper into the door surrounds which are slightly slanted in, towards the interior. In other words, the doors are not straight up and down- they slant inward as you follow them upwards. For reference, if you look at the Toyota 70 series troopie, they have a hard top which does something very similar. This can throw off traditional measurements so we have to turn to using patterns with a special reinforced plastic and basting tape (sticky on both sides).
Here is what it looks like during the patterning process:
f6a779a2.jpg

b7ccea78.jpg


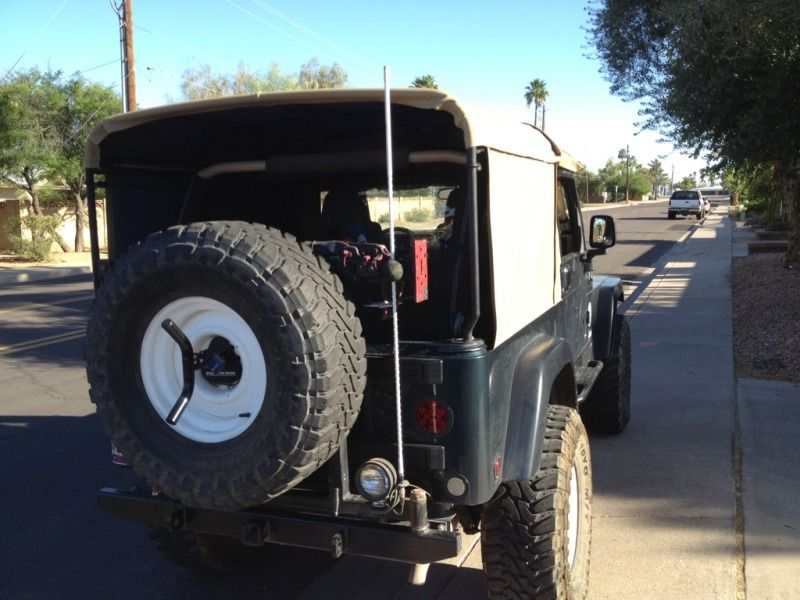
And this is how it stands. Zippers are already attached on one side of the sailcloth material, but need to be sewn into the adjoining sides, therefore,everything is being held on with Velcro for the time being. I drove it to work this morning to see how it reacts to a moderate wind and it did just fine. I did, however, get some very quizzical looks on the way, mainly from built Toyota and Jeep owners.
It looks a tad odd without the windows to be sure, but those are saved for last.
7c6c86a7.jpg

b64e6ece.jpg


Zippers should go on shortly. I also need to order some materials to finish the project.

For the back, I have something interesting planned which I am hoping will work.
 
Last edited:

deadbeat son

Explorer
Looks great as is! Even without the side windows, I think that top will look fantastic once the corners and rear panel are created and installed.

Nice work!
 

Jim K in PA

Adventurer
Looking good squint. I like the solid side panels! It would be nice to incorporate a "curtain" panel on the inside of the windows to prevent "prying eyes" from checking out what you have stowed. Are you planning on using tinted or clear windows?
 

squint

Adventurer
Looking good squint. I like the solid side panels! It would be nice to incorporate a "curtain" panel on the inside of the windows to prevent "prying eyes" from checking out what you have stowed. Are you planning on using tinted or clear windows?
Thanks Jim. I couldn't agree more. I wouldn't want someone slicing open the top because they saw something they liked inside (which would not be necessary, but criminals can be destructive and dumb.) I definitely plan to incorporate a "curtain" before we embark on our 9 day trip through Colorado in August. I lived in Breckenridge many years ago and plan to take the wife and dog over Mosquito pass and to various fishing spots such as Wheeler lake. I will be making a simple holder/container to accomodate the fishing poles in under the soft top. I absolutely love Colorado. After all my adventures into foreign countries over the years, I still think of it as one of the top most beautiful places in the world.
I had a very difficult time deciding between clear or smoked windows, but in the end I decided to go with clear, knowing the "curtains" could be utilized when needed. When sewing in the top of the windows, A simple velcro strip will be sewn to the backside of the sailcloth. This way, it can be added when needed but will not cause more bulk than necessary when rolling up the sides.
 
Last edited:

squint

Adventurer
Since I am waiting on some final materials to complete this project and they will not arrive until next week, I will just leave you with a few last images to show the section behind the the door surrounds. As mentioned, the b pillar bows are exactly parallel with the body so that piece actually curves outward as you follow it upward from the door. Seen here, it turned out exactly as I imagined. Velcro will be attached to the tubing behind it so that it does little flapping in the wind.
9d25a448.jpg

I will post another pic from the side view in a few minutes.
 

Forum statistics

Threads
188,296
Messages
2,905,088
Members
229,959
Latest member
bdpkauai
Top