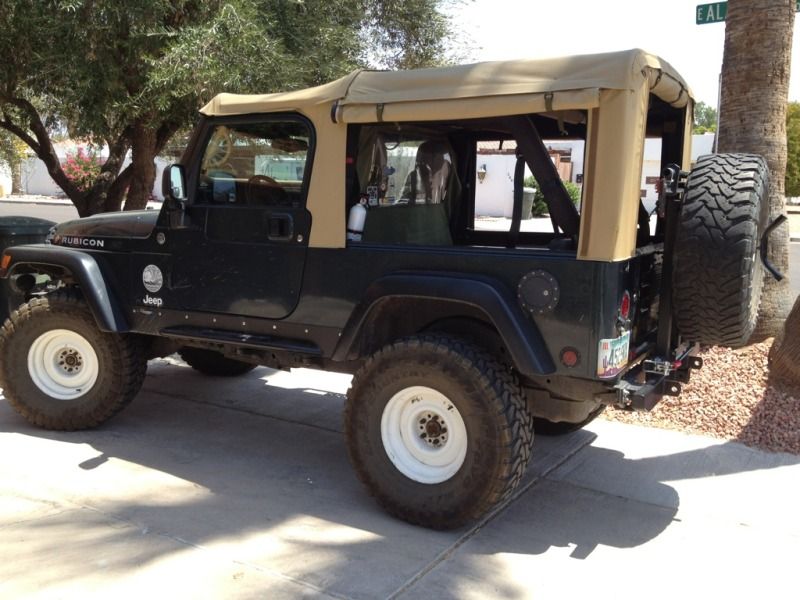
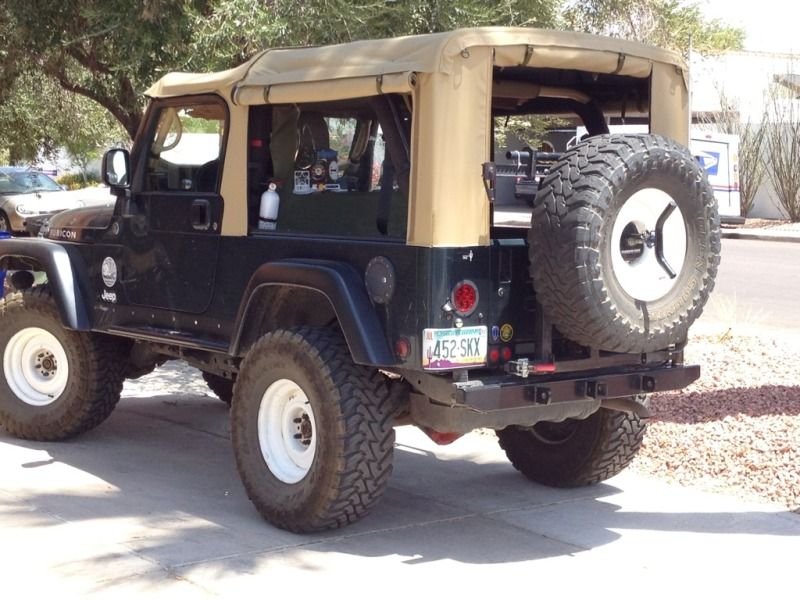
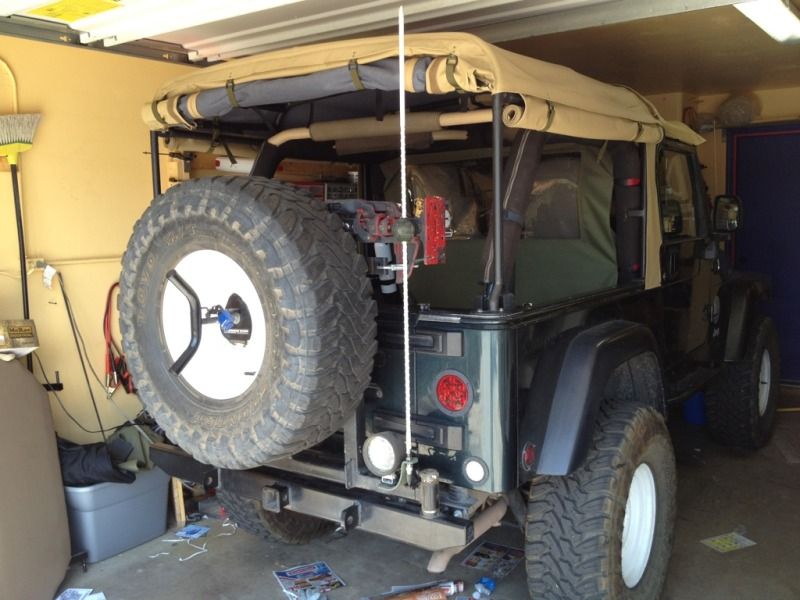
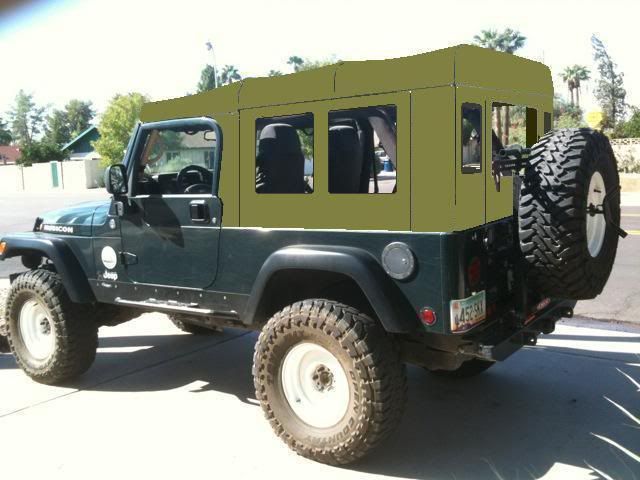
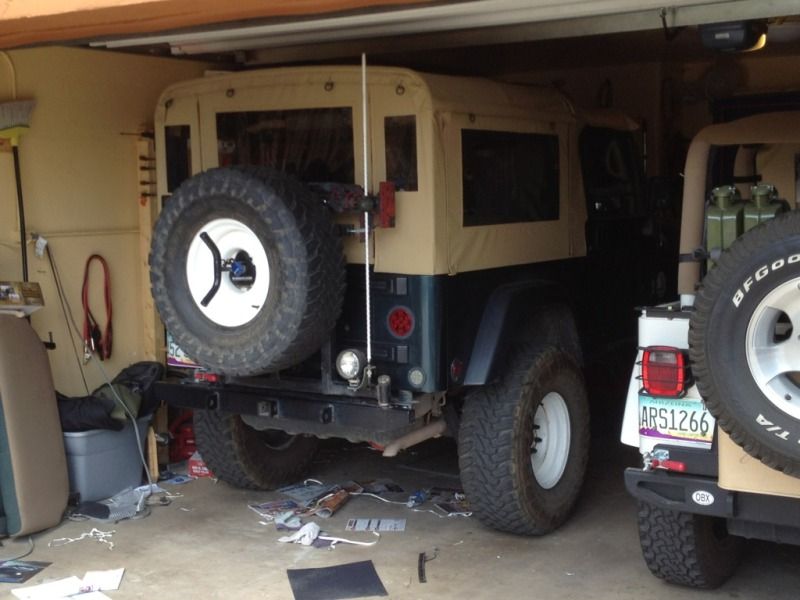
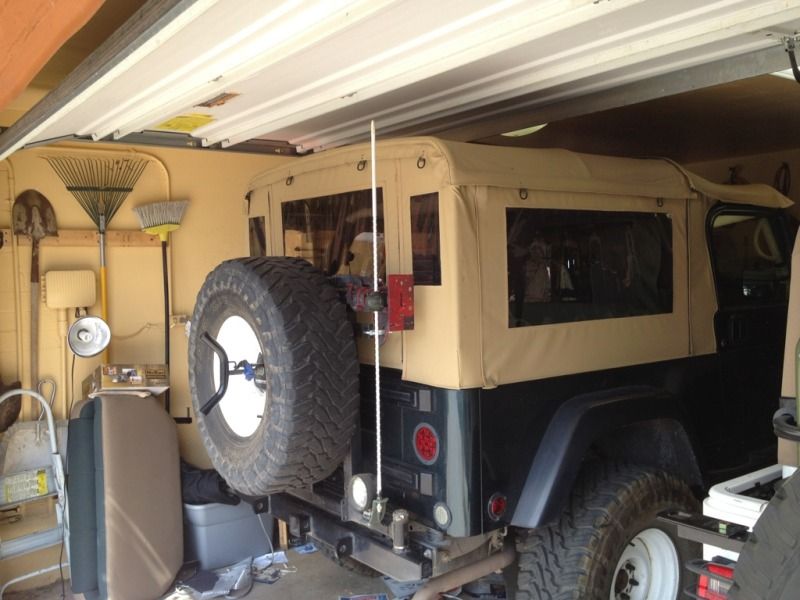
Building custom soft top for the LJ

squint

Adventurer
Jeff, your top looks absolutely beautiful. I really want to see one in person some day. The Jeep community deserves such options :)
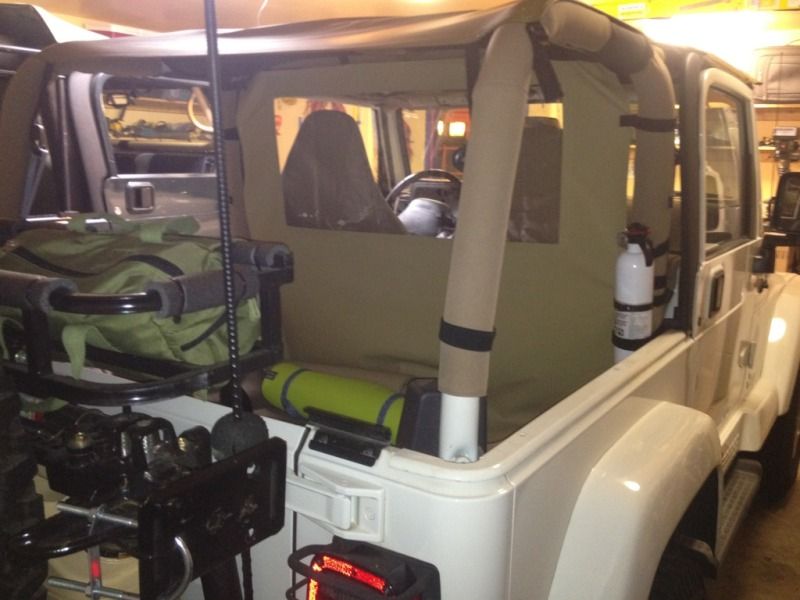
On the window corners, I agree, they are difficult but there are a few techniques for accomplishing a flat surface or at least getting very close. The big manufacturers just use heat and glue and obviously, I don't have access to that equipment, nor is that the look I am going for. There are 90 degree binder attachments out there that make curves less difficult, which helps flatten the window but it will not totally solve the problem. Using a straight binding like your top is the best way to go but, again, provides a slightly different look than I am going for. If the choice ends up being right angles, I will probably sew and tuck in the fabric as on my wife's wind jammer- this might even be the easiest option of all.
02fc8f5b.jpg

There is also bias binding which stretches a bit (although not as much as you would hope), and after experimenting, the thinner window plastic is more of a challenge than sewing around thicker plastic, for instance 40 gauge. The thinner plastic (30 gauge and under) hangs much straighter and is much clearer. The OEM manufacturer of Jeep tops uses 40 Gauge, which is more durable but has it's short comings as mentioned above. Decisions... I think I will keep experimenting with the small rear windows until it looks just right, then I will move forward with the rest. Part of the joy of this project is forcing myself to think up new ideas to create the desired result.
 
Last edited:

irish1371

Adventurer
ya know I really need a new top for my LJ and have been sitting on hold for you to finish this up so YOU can start mass producing :) I'll take one in black please
 

squint

Adventurer
ya know I really need a new top for my LJ and have been sitting on hold for you to finish this up so YOU can start mass producing :) I'll take one in black please

I have a factory top for sale :coffeedrink:
 
Last edited:

Jim K in PA

Adventurer
Looking good Squint. :26_7_2: I think the square cornered windows will look fine, but this is a subjective point. I really like the way your top is mimicing the old Series LR tops, and the roll up sides with square windows will continue that look.

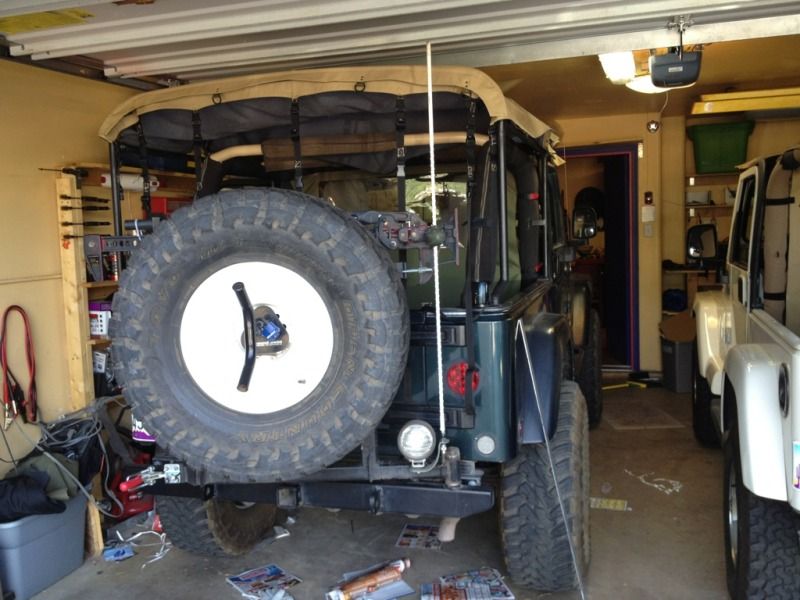
I think I see it in the picture, but are you using the OEM cross bar at the rear tail gate? Are you going to incorporate some sort of rain flap above where the gate contacts the rear panel? I know out there in Dryland you don't have to worry about water intrusion too much, but I do. :)
 

squint

Adventurer
Looking good Squint. :26_7_2: I think the square cornered windows will look fine, but this is a subjective point. I really like the way your top is mimicing the old Series LR tops, and the roll up sides with square windows will continue that look.

I think I see it in the picture, but are you using the OEM cross bar at the rear tail gate? Are you going to incorporate some sort of rain flap above where the gate contacts the rear panel? I know out there in Dryland you don't have to worry about water intrusion too much, but I do. :)

Good question Jim... I had a design- a new tailgate bar which involved awning c channel and the male side (piping) along with two types of weather seal, however one part was missing, which would have been special order. Even then, it was difficult to be sure of a perfect fit once it arrived. Since moving forward was a priority, the OEM tailgate bar was reduced so that lays only 1" or so past the rear door on each side, and then grinded/sanded/polished at the ends. The new tailgate bar would sit about 3/16ths higher than the original, therefore the stock tailgate bar was fastened 3/16th higher than the original with the intention of replacing it with the new design in the future without having to lengthen the rear window. Right now, it is hermetically sealed, even though it may not appear that way. With the new design, a slide on weather strip (not glue-on) would be slipped over the top of the tailgate to push against the bar (hence, the material is shorter there so that it does not "catch" on the weather seal in the future). Lengthening the bottom of the sailcloth in front of that weather stripping/tailgate bar is definitely a possibility. What is not visible are the the brackets. When cutting/bending them, I used heavy gauge sheet metal (the same size as the factory brackets) however since the factory tops most likely use a bending process which retains strength, theirs is does not bend. As a result, bending it by hand has already caused it to bend up by about 1/4 inch. A long L bracket is already constructed that will be riveted on the weak side resulting in a bracket that is both twice as thick and stronger than the stock bracket. This is part of the reason why you can see more weather stripping there than intended. Once that bracket is reinforced, I may add some webbing at the bottom, but for now, it does keep out the rain since the weather stripping has some "give".
 
Last edited:

squint

Adventurer
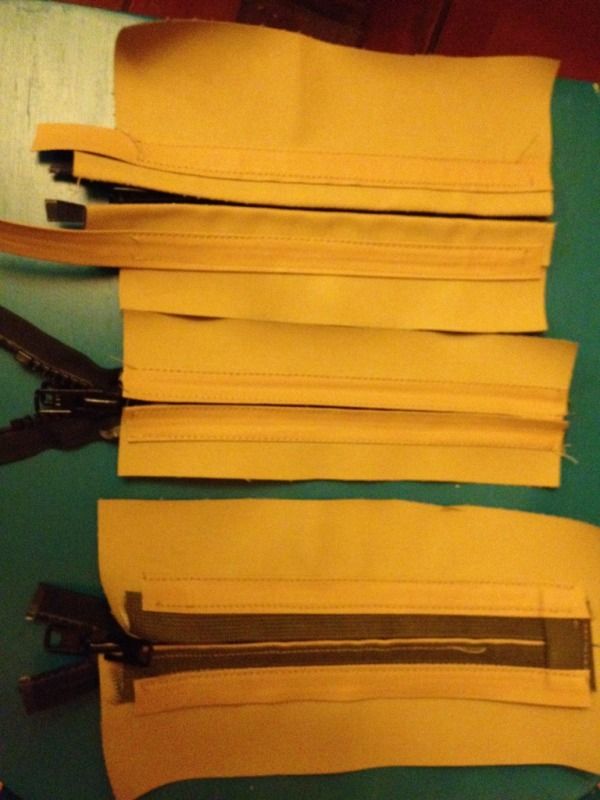
Playing around with some zipper ideas for the rear... I don't think a flap will be needed because the rear gets the least amount of rain when driving. I tried soaking the zippers below under the spray nozzel at the kitchen sink for a while and after a couple of minutes a tiny seep came through the zipper but that was only after I opened it and sprayed directly on the zipper itself. I can always add a flap on the inside later if necessary.

ac016475.jpg
 

squint

Adventurer
Replied :)
With regards to rolling up the rear window and for that matter, rolling up the entire rear and quarter panels as a whole, taking into account the thickness of the material surrounding the zipper is crucial. In the pic above the center zipper was selected both for the aforementioned reason as well as for looks, however, just as a backup to possible seepage, the addition of some binding to the back side of the zipper (which will look exactly like the front) should keep everything dry in the dampest of conditions.
 

squint

Adventurer
Did a huge amount of work this week, although you can't see most of it...
Pulled the whole top off.
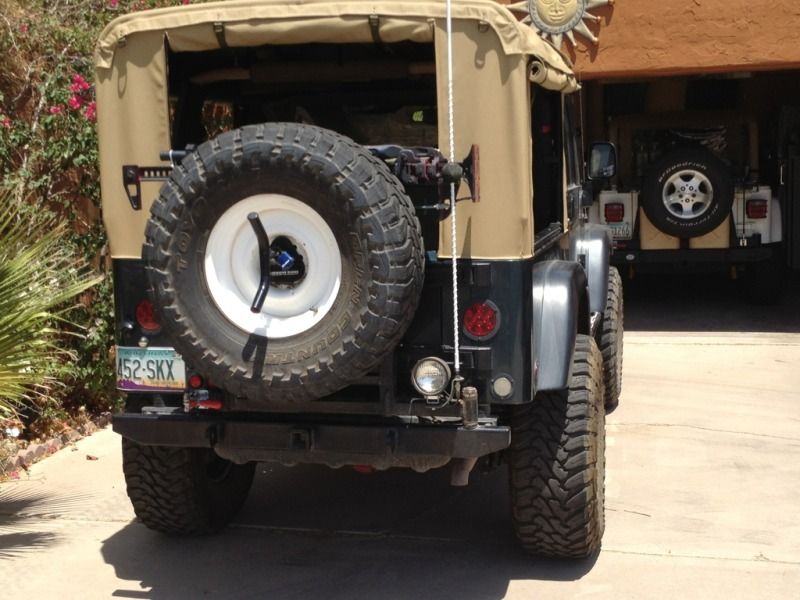
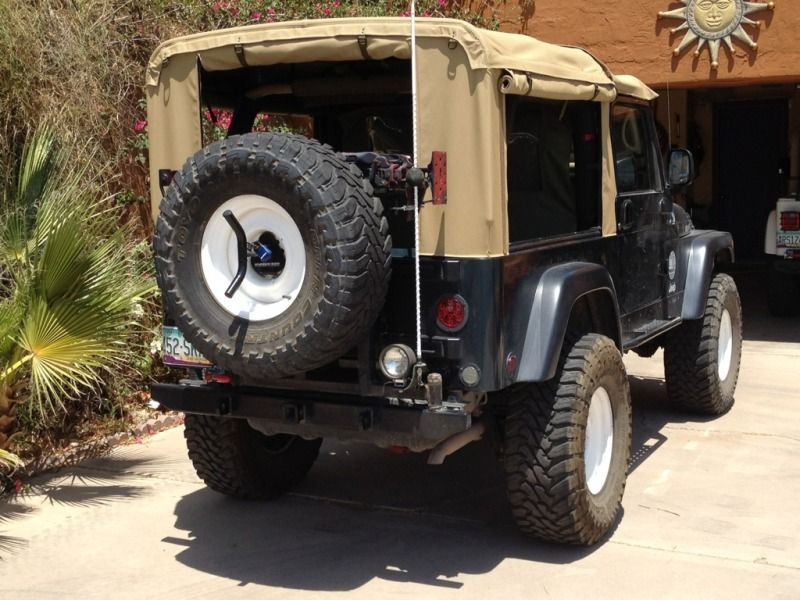
Added flaps above rear quarter panels, heat sealed all zipper ends and straps, added hanger straps and buckels, added two rear zippers, sewed an extra seem to secure rear velcro strap, etc....
b78bd99c.jpg


An exciting moment- I was able to roll up the windows. :ylsmoke:

34251526.jpg


81b6b86d.jpg


272be226.jpg


4dbefdb8.jpg


And of course, the entire rear can be rolled up or zipped off:
I probably could have done a better job, but it is hot out there!
b2f1cc71.jpg
 

jscherb

Expedition Leader
I did my divider between the two windows a little further back - it's at the back of the rear seat, kind of dividing the seating space from the cargo space, and with the front of the two windows wider, the back seat passengers get a full view.

SoftSides12-1.jpg
 

jeepdreamer

Expedition Leader
Lookin' Super sexy there Squint! Love this top! My humble opinion on the side windows would be just one big one. Seems like it would be less likely to create an minor blind spot and it would be one less series of stitches (second window=x2) that one would have to worry about wearing out or coming unsealed. Plus its less stitching for you! :)
 

squint

Adventurer
Looking good Jeff. I bet you can't wait for that colorado photo trip. :smiley_drive:

One window seemed the better choice. Adding a window to the back like the Safari soft sides was not an option because of the rear quarter panel zippers/velcro although I do like the look.

I did reach another major milestone today.. The windows are in! I did end up going with webbing for trim, however I ran out so I will need to order more on monday. What do you think?

I still have to attach the vertical zippers on the sides which should help smooth out some wrinkles and I may have to add some type of additional faster to the top rear quarter panels.
 

Forum statistics

Threads
188,298
Messages
2,905,141
Members
229,959
Latest member
bdpkauai
Top