Building, Driving and Adventuring the MTN4RNR

MTN4RNR

Adventurer
LED bar install 3 of 3


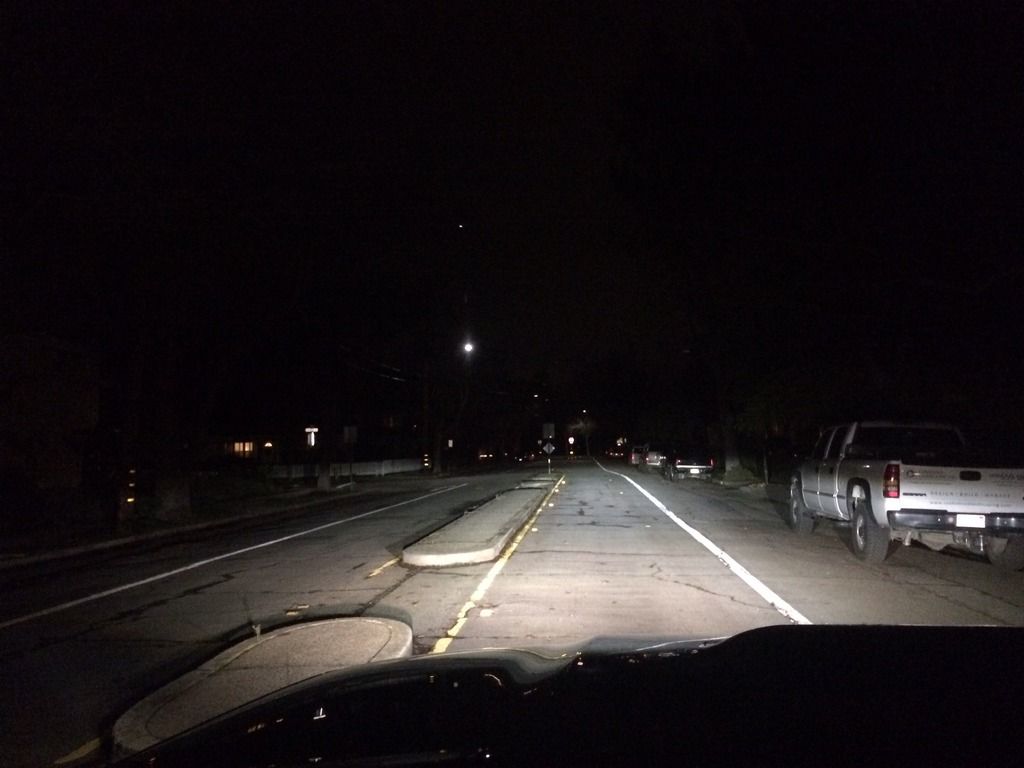
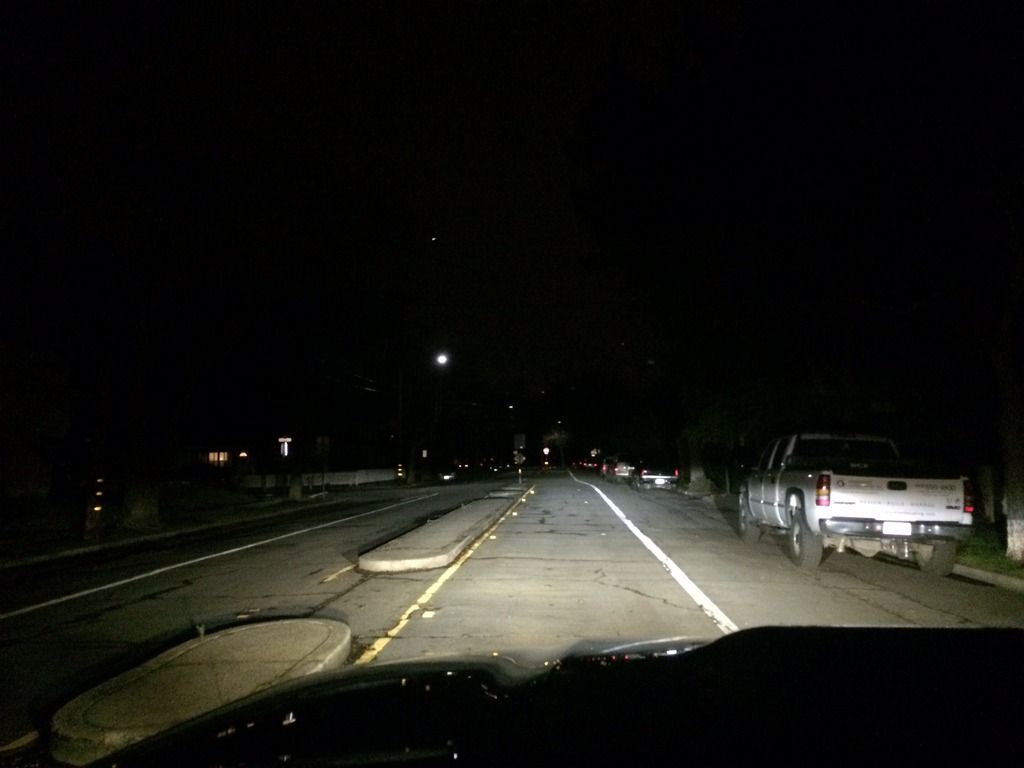
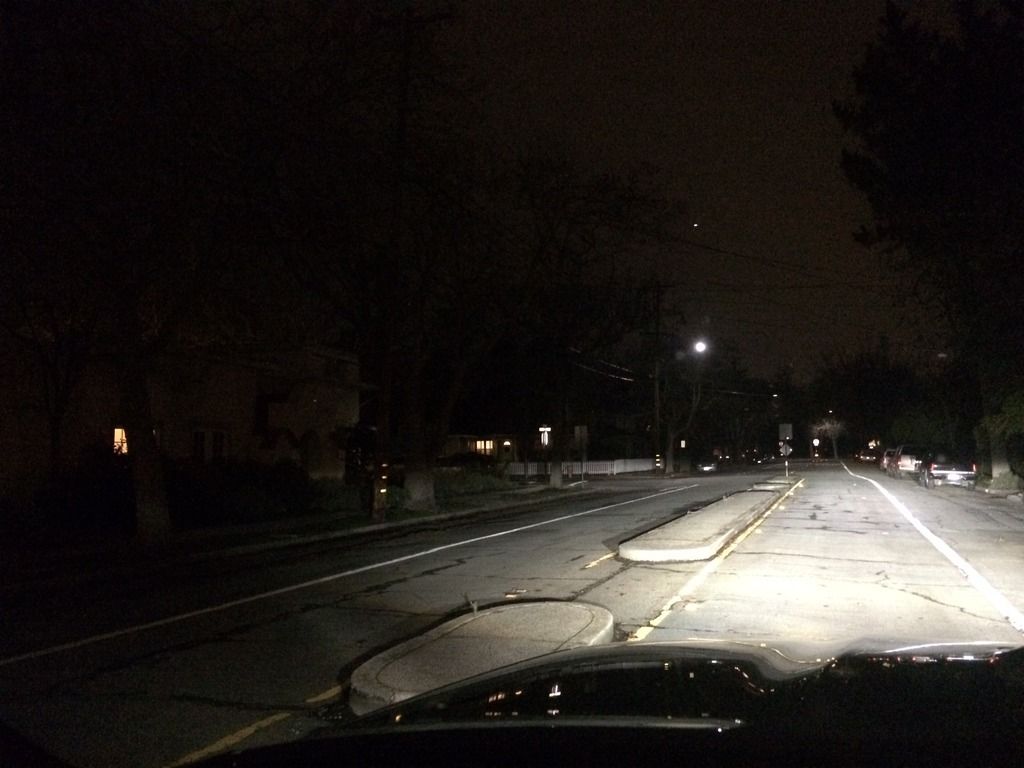
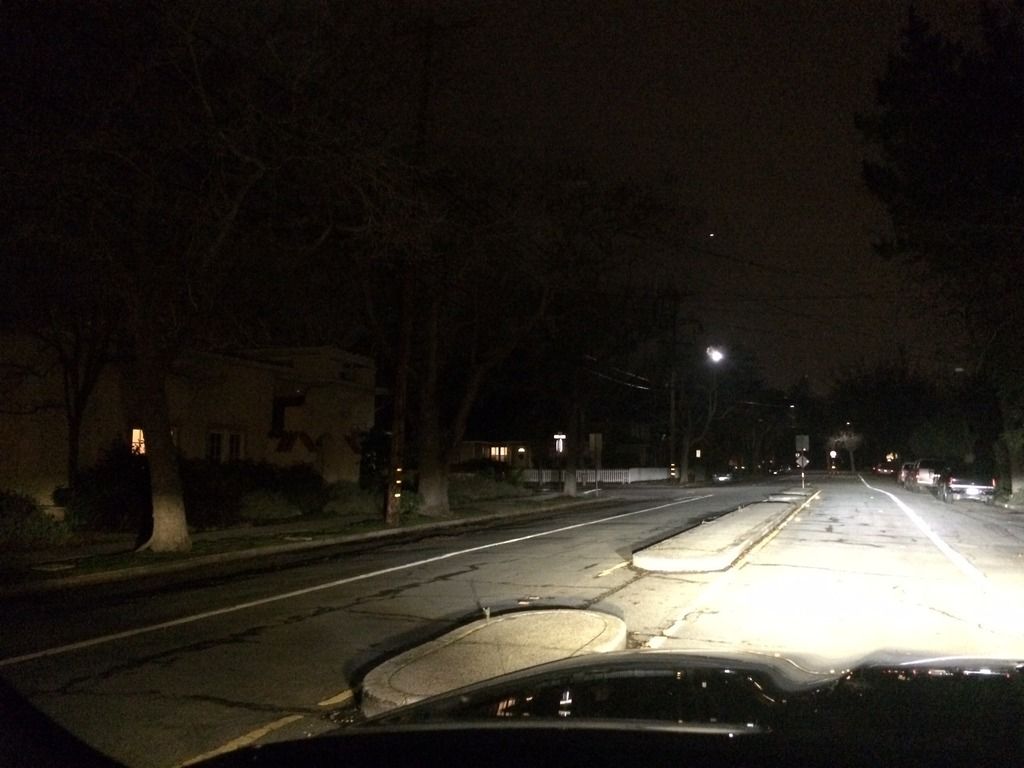
Now for some comparisons.
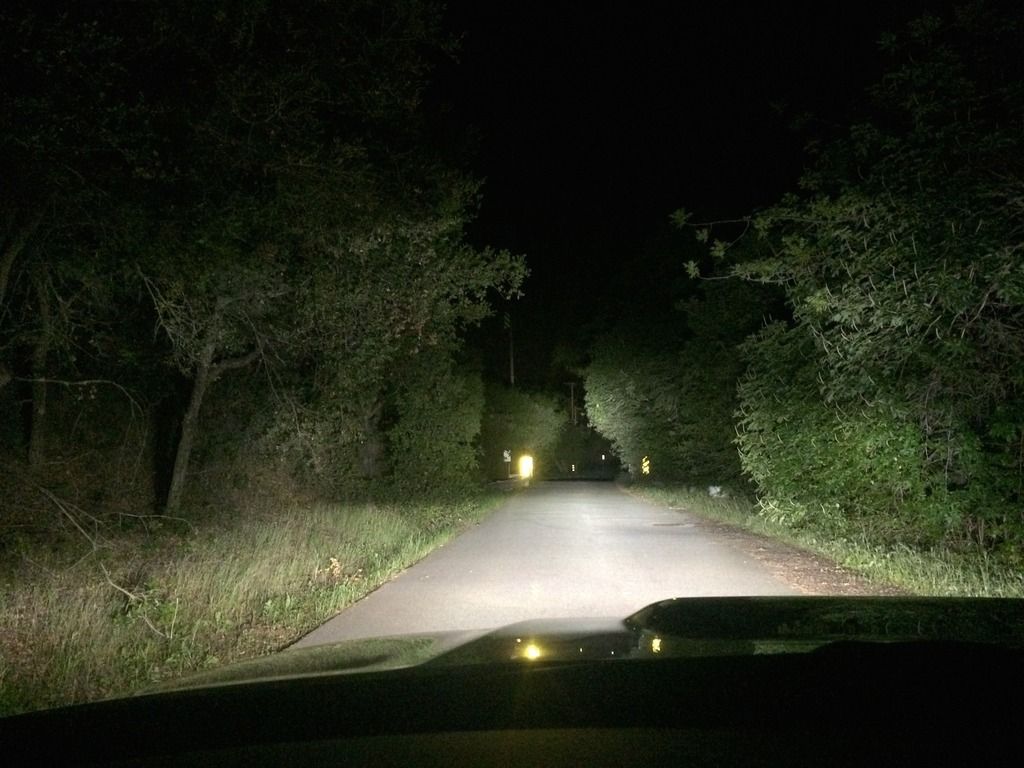
Low beam HID's and LED fogs.
IMG_6400_zpscwtbwqko.jpg

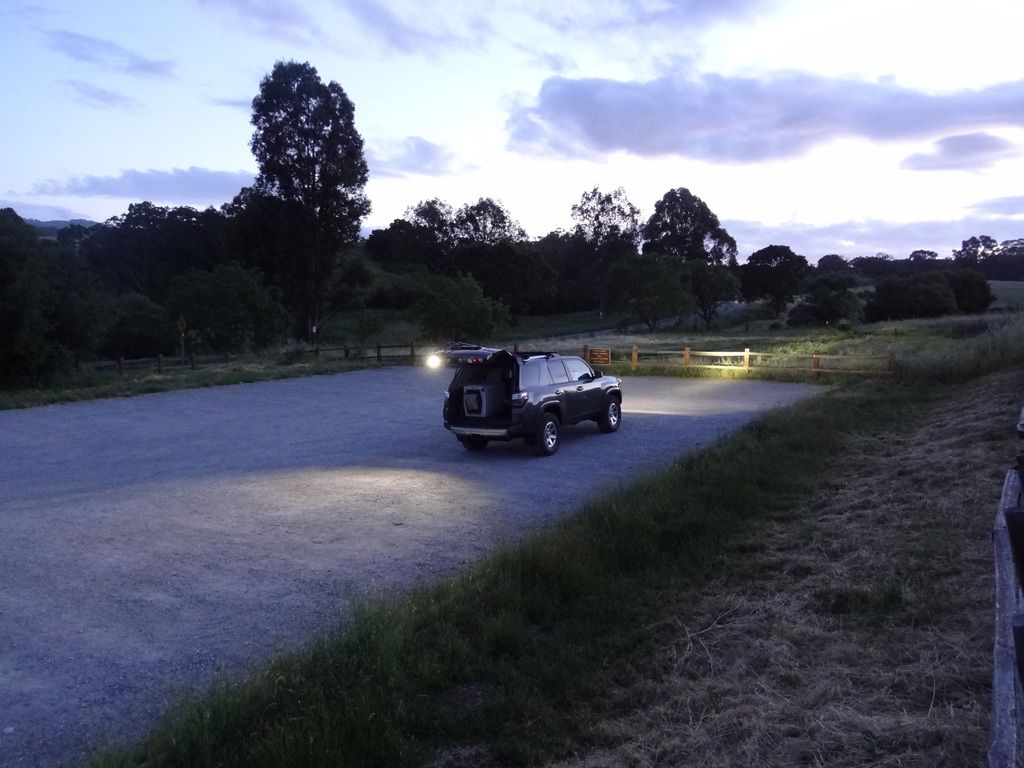
Low beam HID's, fogs and the S8 LED bar.
IMG_6401_zpsrqub351y.jpg

Definitely a drastic improvement, and exactly what I was looking for.

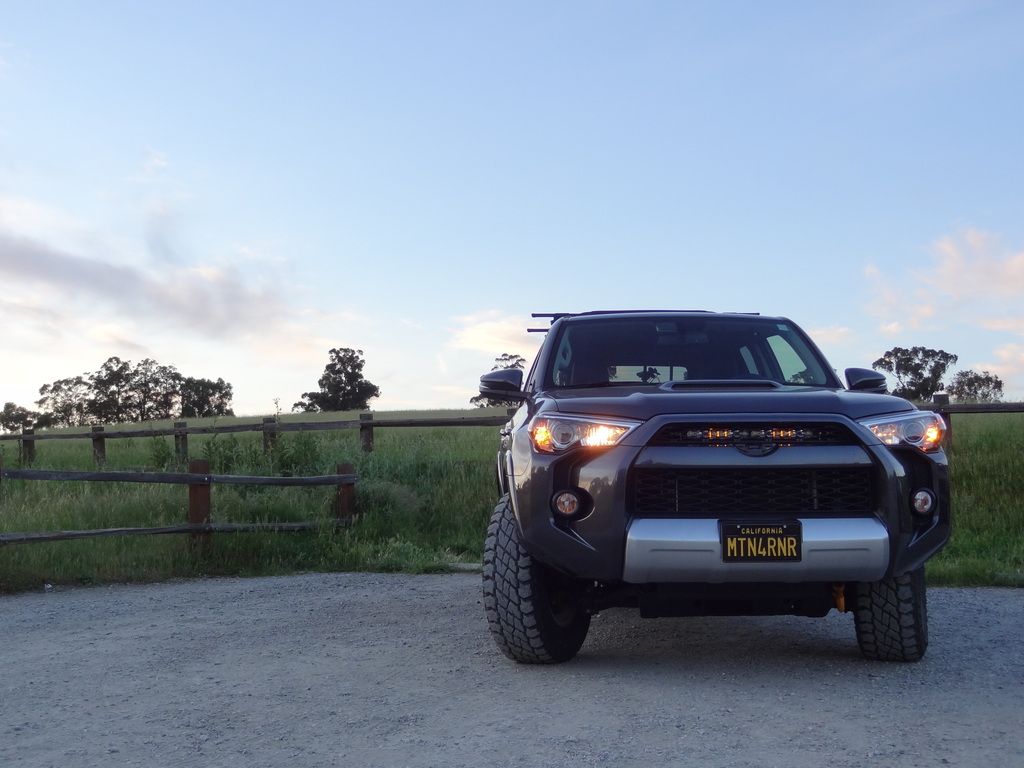
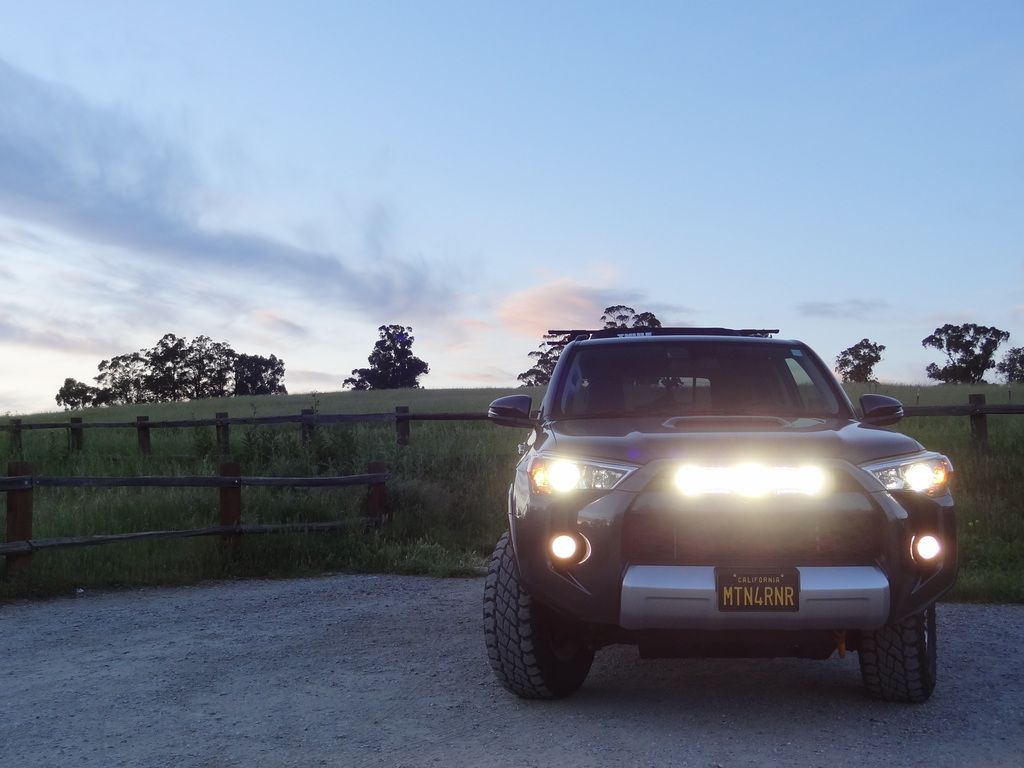
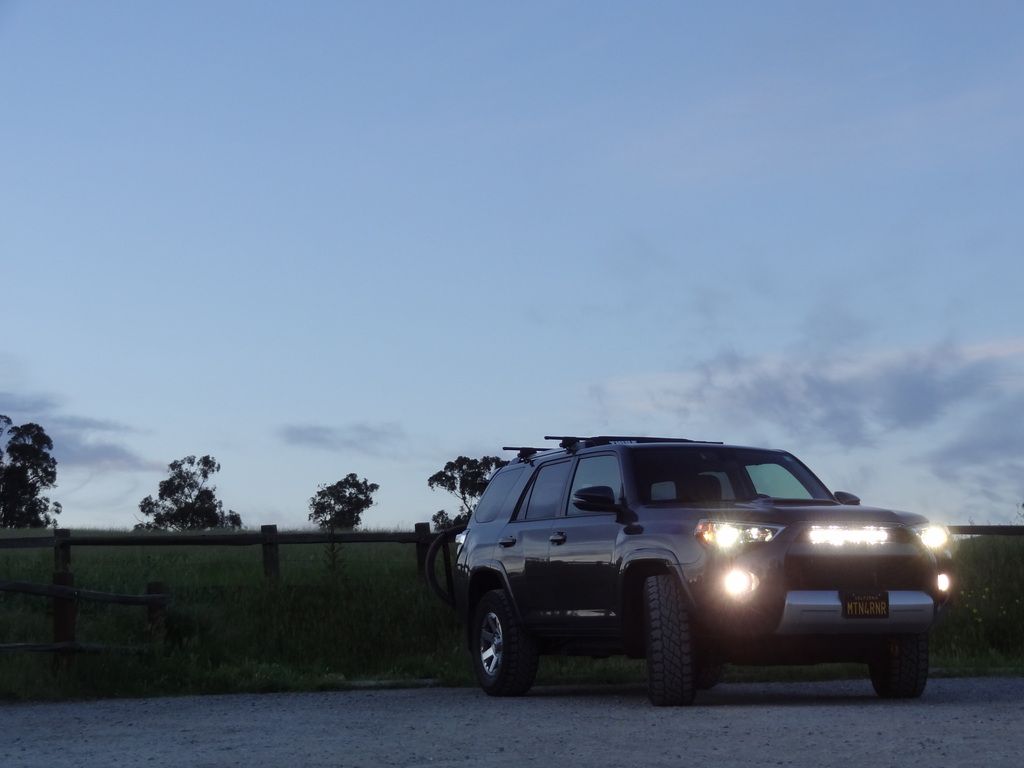
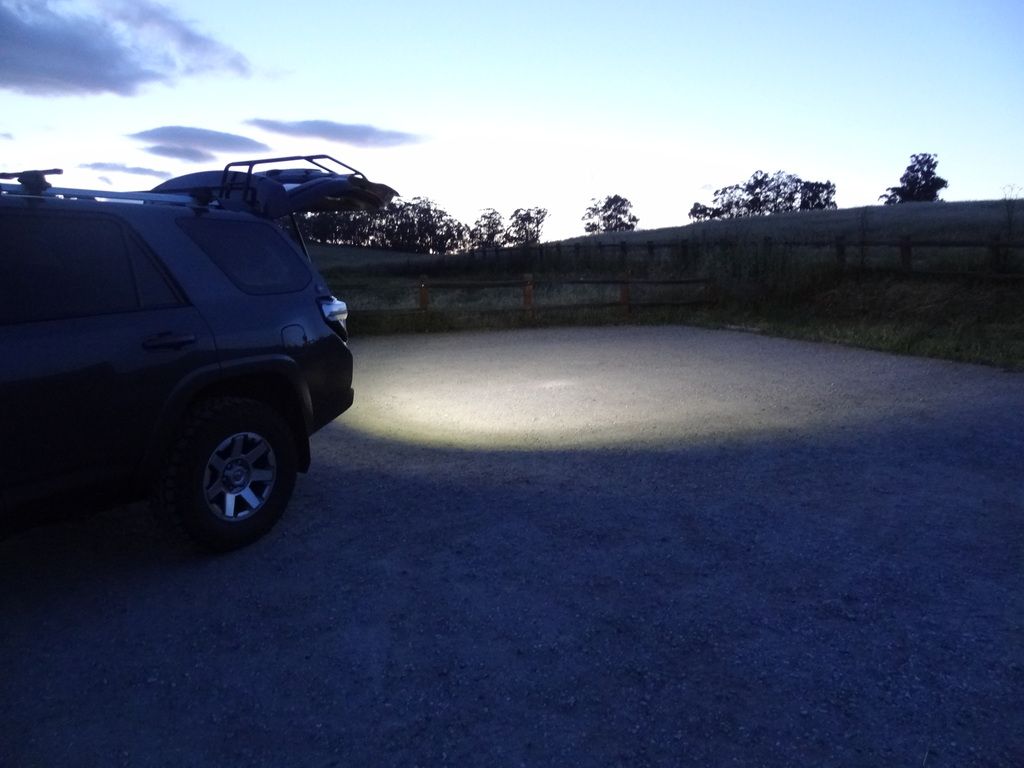
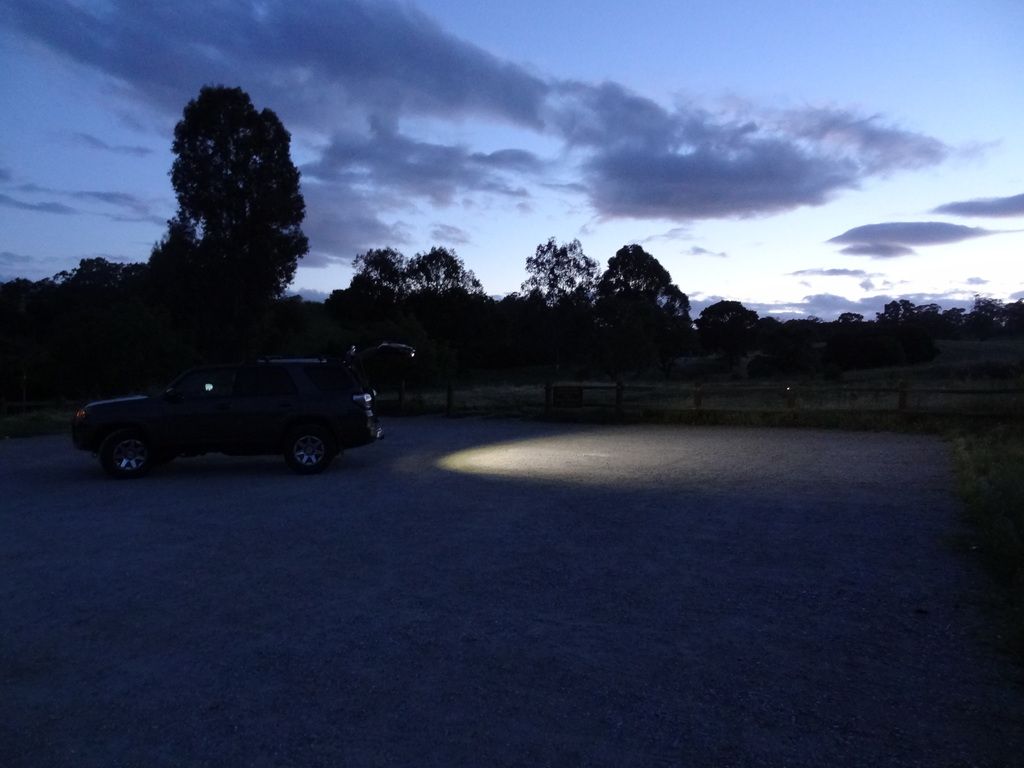
Some head on shots.
DSC09142_zps5gsmpnf2.jpg

DSC09154_zpstrd4bdm2.jpg

DSC09159_zpsmon8gwj7.jpg


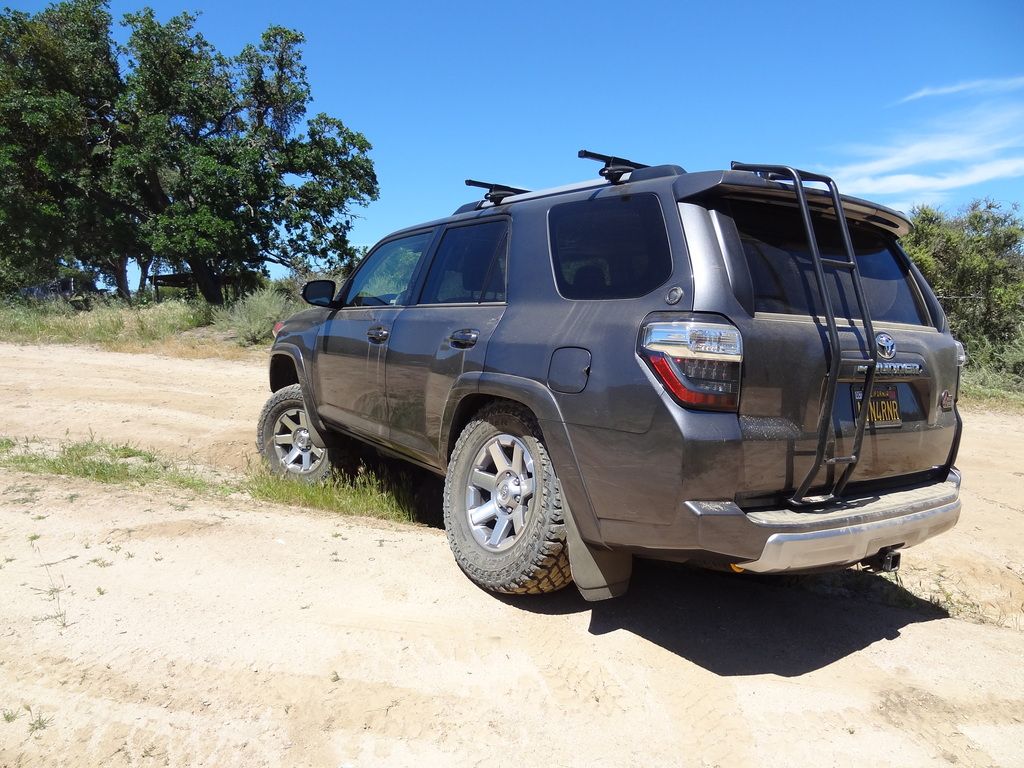
I am very pleased with the performance of the 20” S8. It accomplished exactly what I was looking to do, without drawing too much attention to it. Nick at Apollo Optics went above and beyond to make sure that I got what I needed to get the job done. Now all I need to add is the TRD Pro garnish to finish the job, but that can wait until the right opportunity comes along. This definitely won't be the last Baja Designs light that goes on the 4Runner. Maybe a set of Amber Squadrons in the fog light position.... Hmmmm...

More to come…​
 
Last edited:

MTN4RNR

Adventurer
A day at Hollister Hills SVRA - 1 of 2

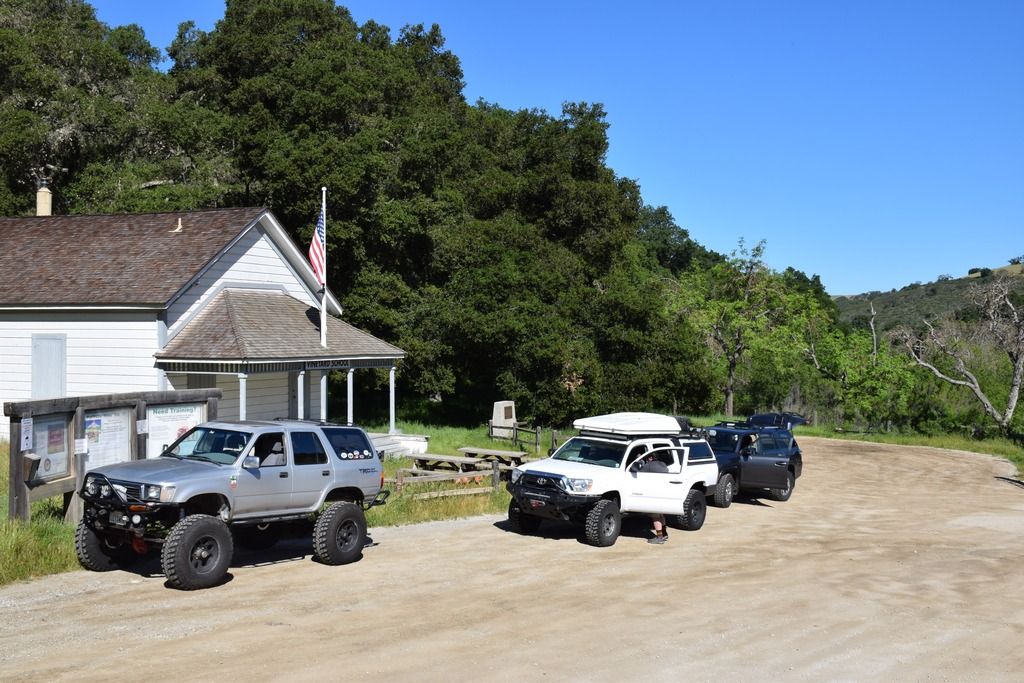
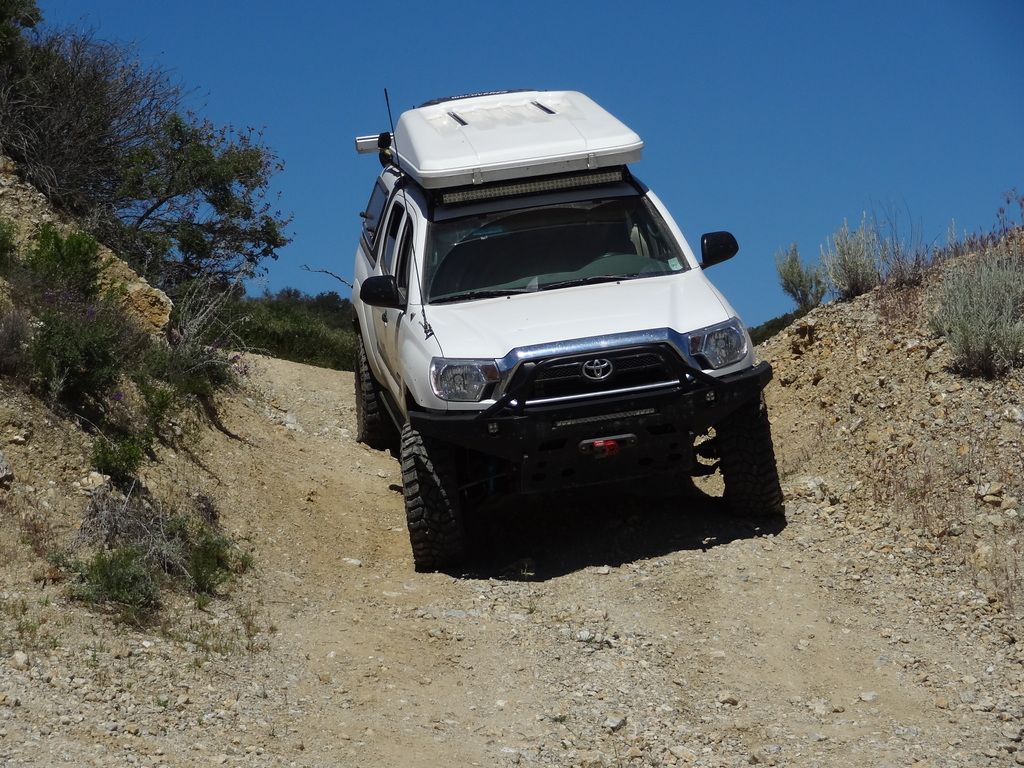
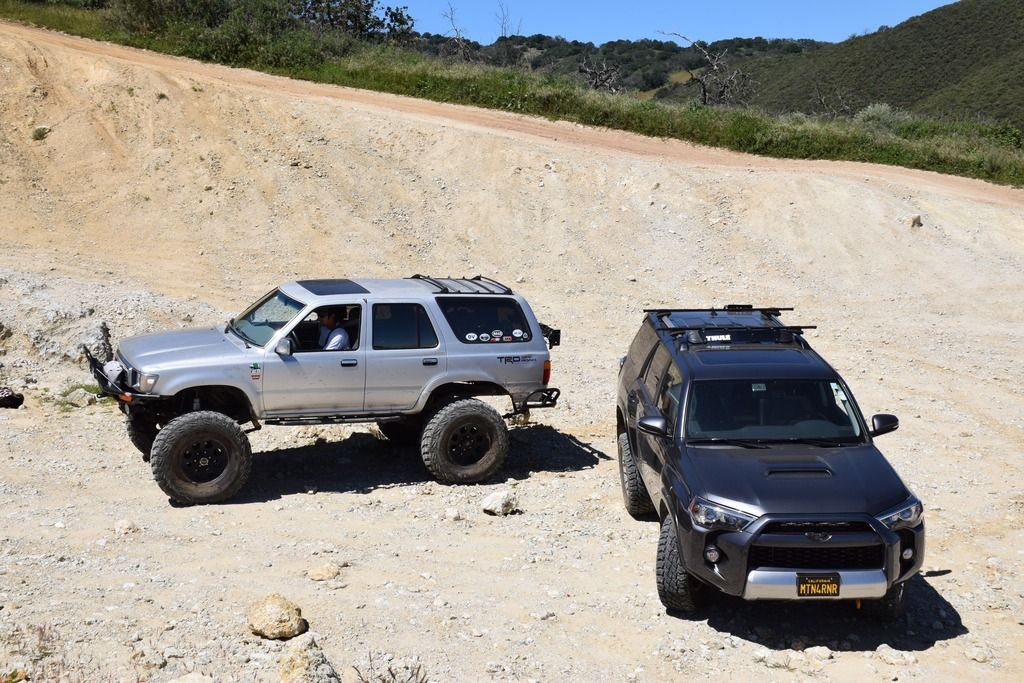
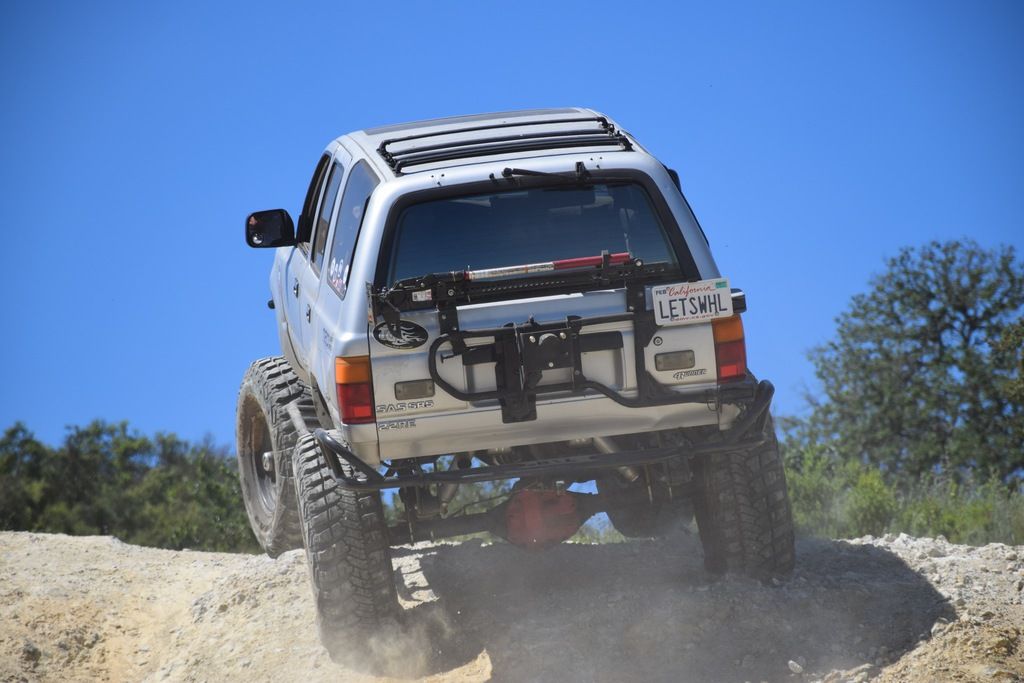
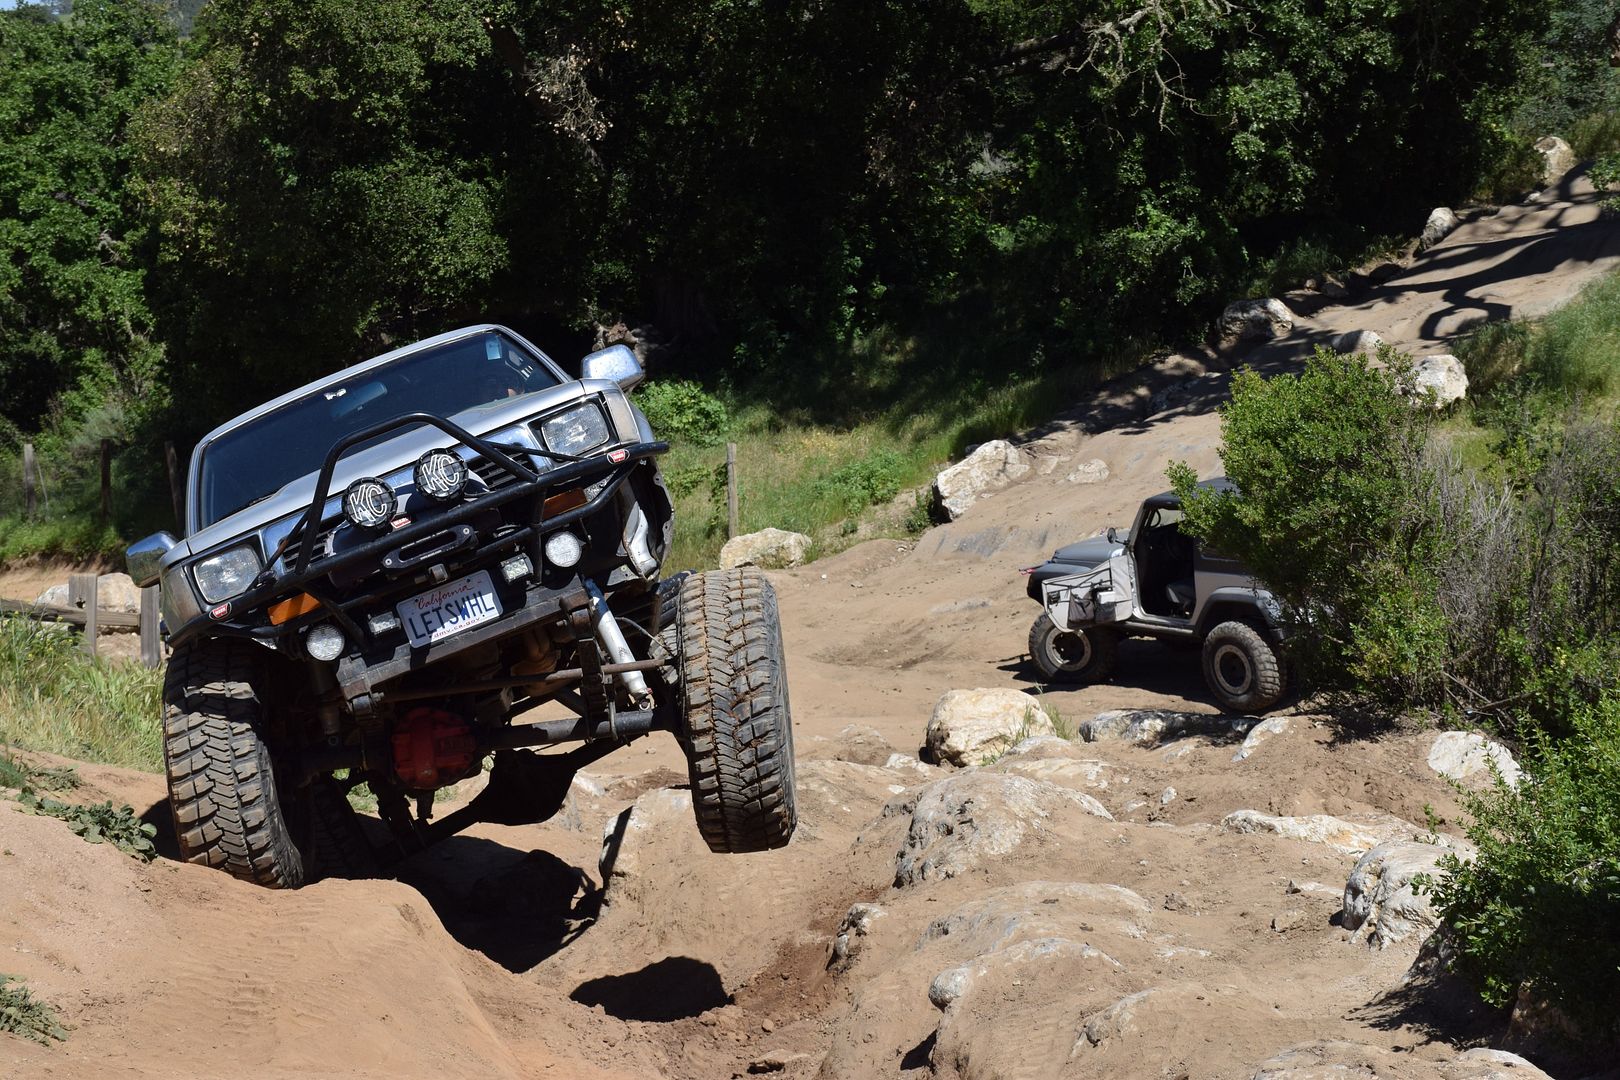
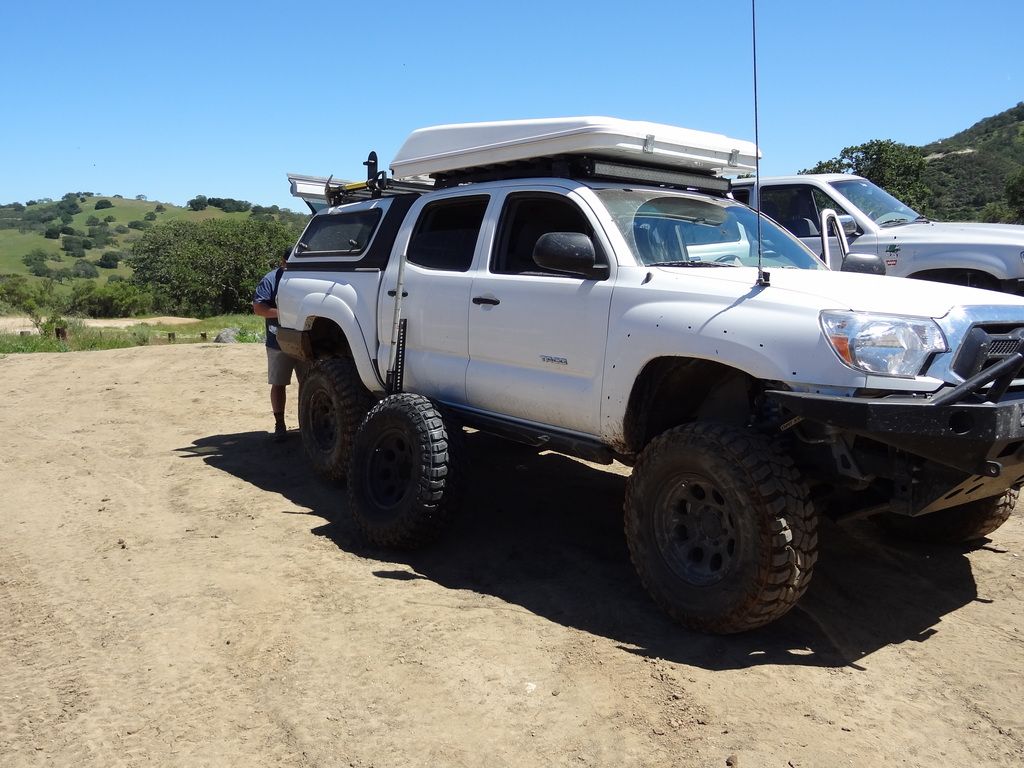
This weekend I went with v_man and jAndyMendo to Hollister Hills SVRA in Hollister, CA. We wanted to have a fun day to cruise the trails, and see what our rigs were capable of. v_man has his very well built 1990 4Runner, and jAndyMendo with his 2014 Tacoma TRD OR. Both with sliders, lifts and bigger tires than my 4Runner, along with a whole lot more. But we were all in it for the same reason, a fun day on the dirt.

Air down at the gate.
DSC_0002_zpskzicsmto.jpg


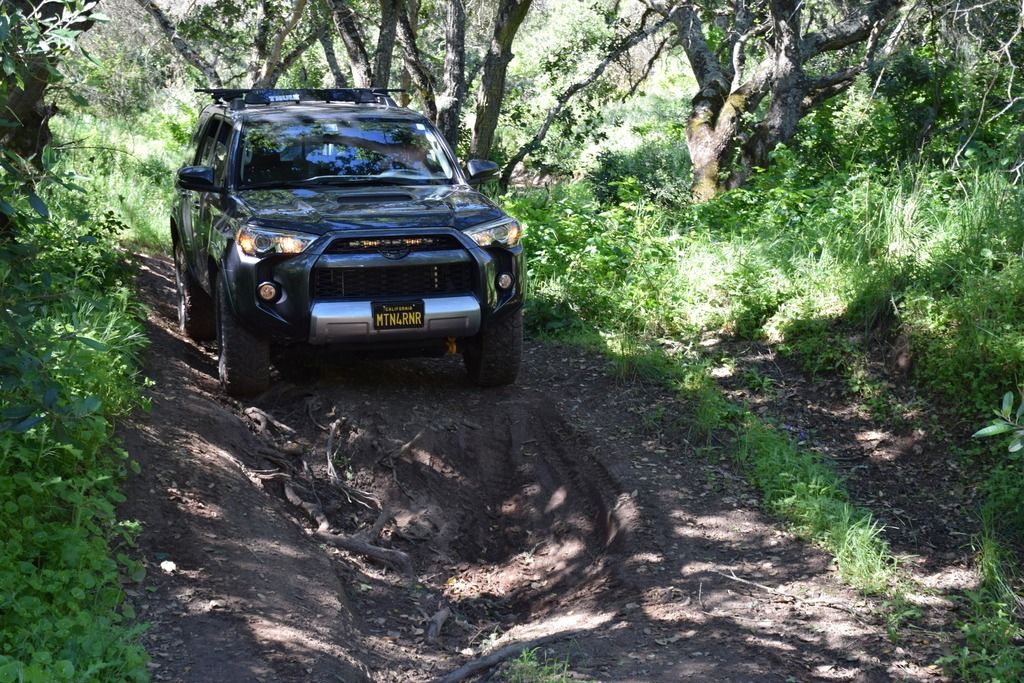
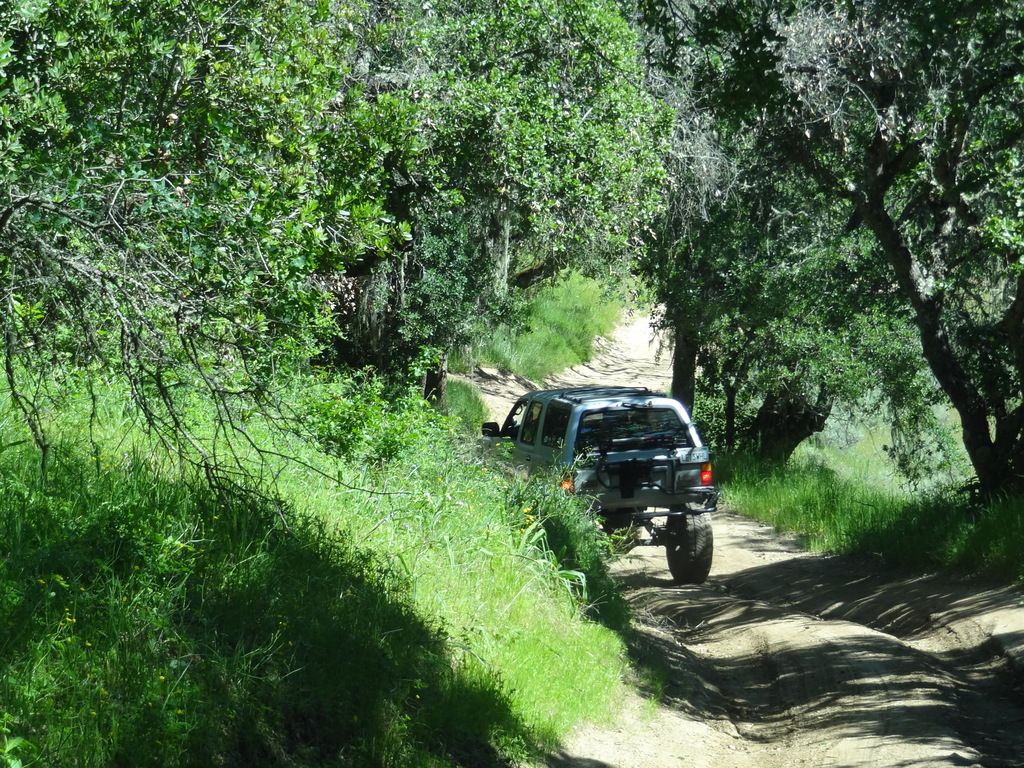
We started the Bonanza Gulch trail that led us to the south property line.
DSC_0005_zpsn3secxo7.jpg

DSC09282_zpsqvwvv5nn.jpg


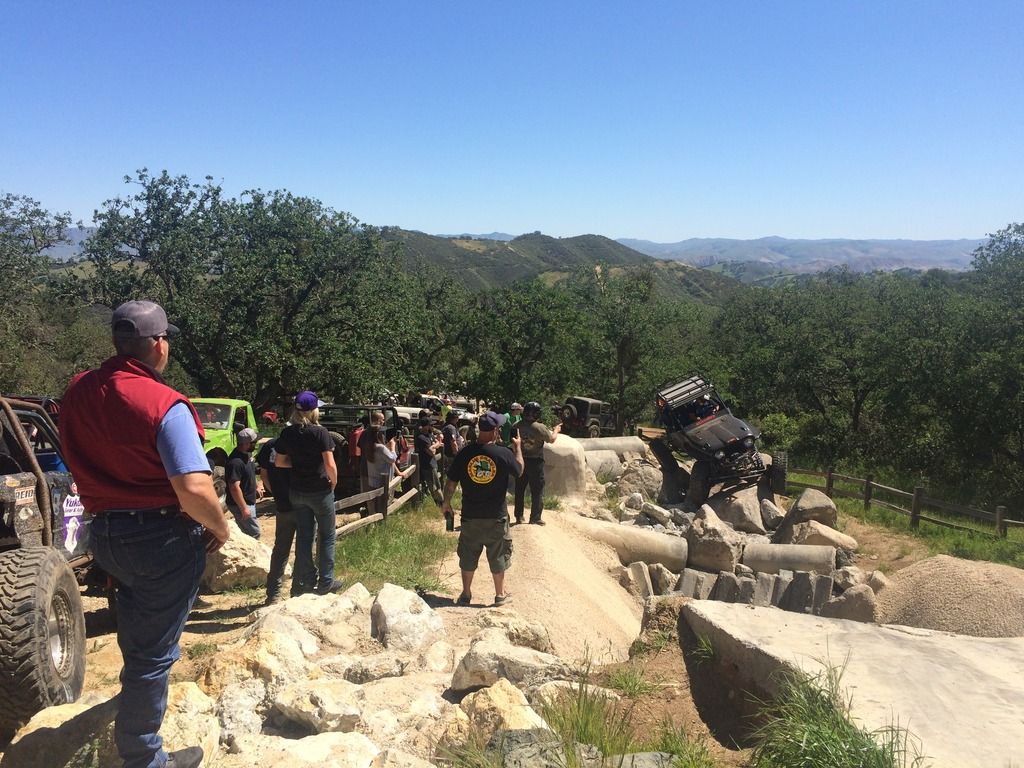
We then hit the top of the McCrayZ obstacle course and stopped to watch a number of OR specific vehicles tackle the course.
IMG_6506_zpsyyngopnm.jpg


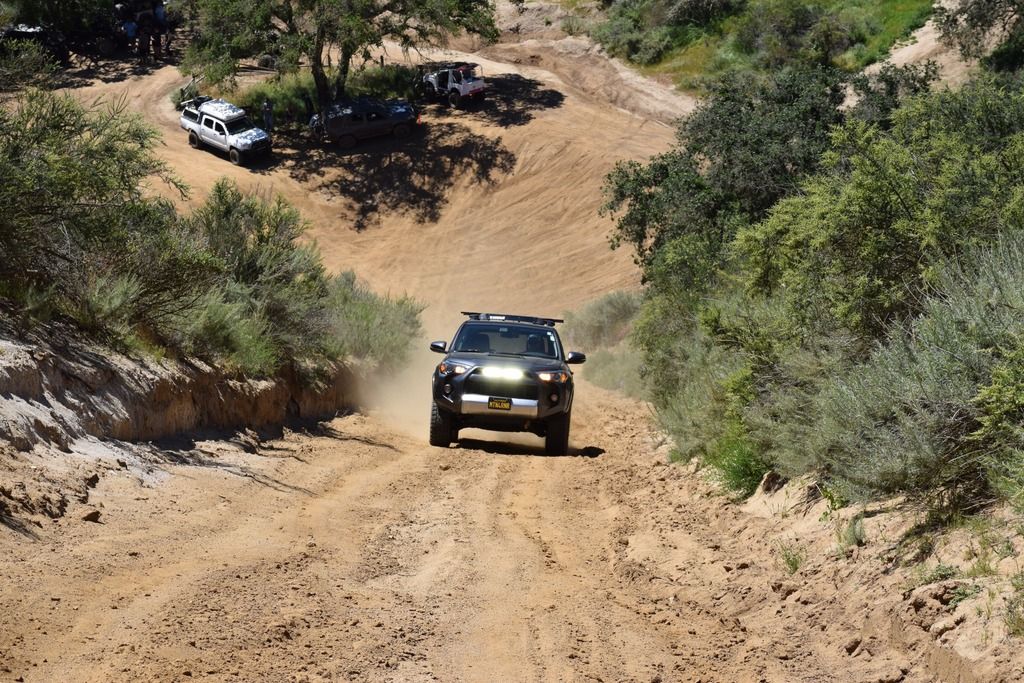
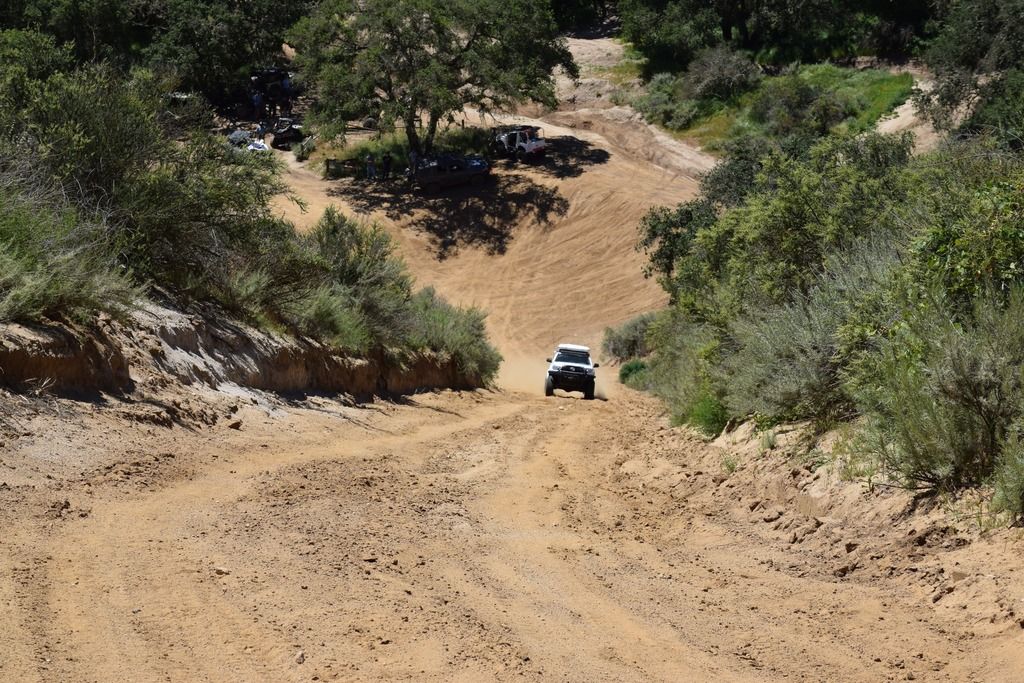
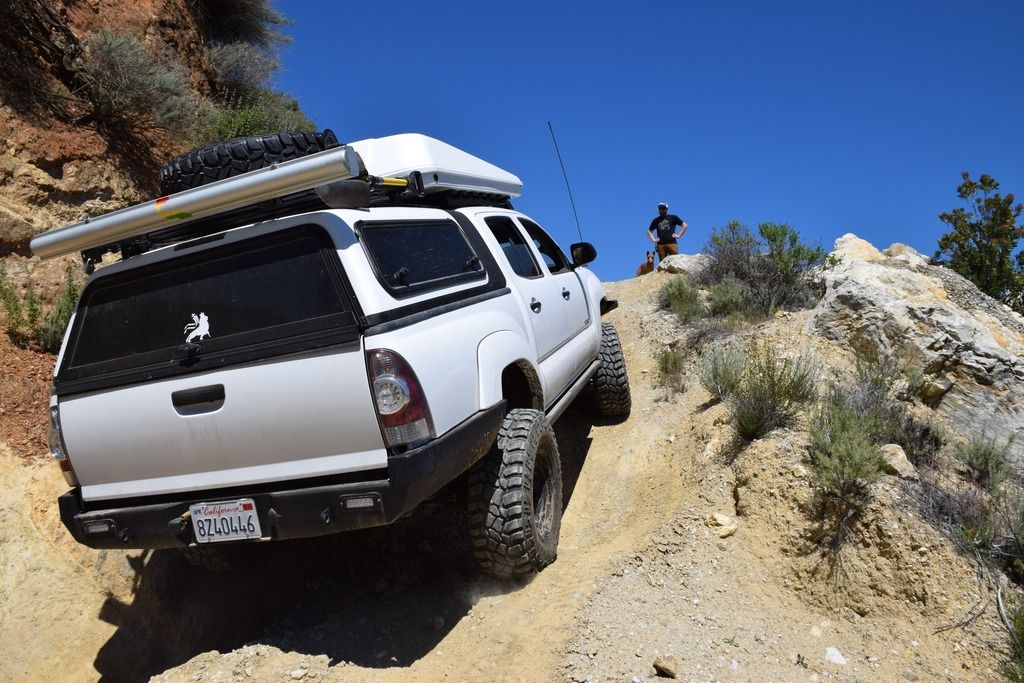
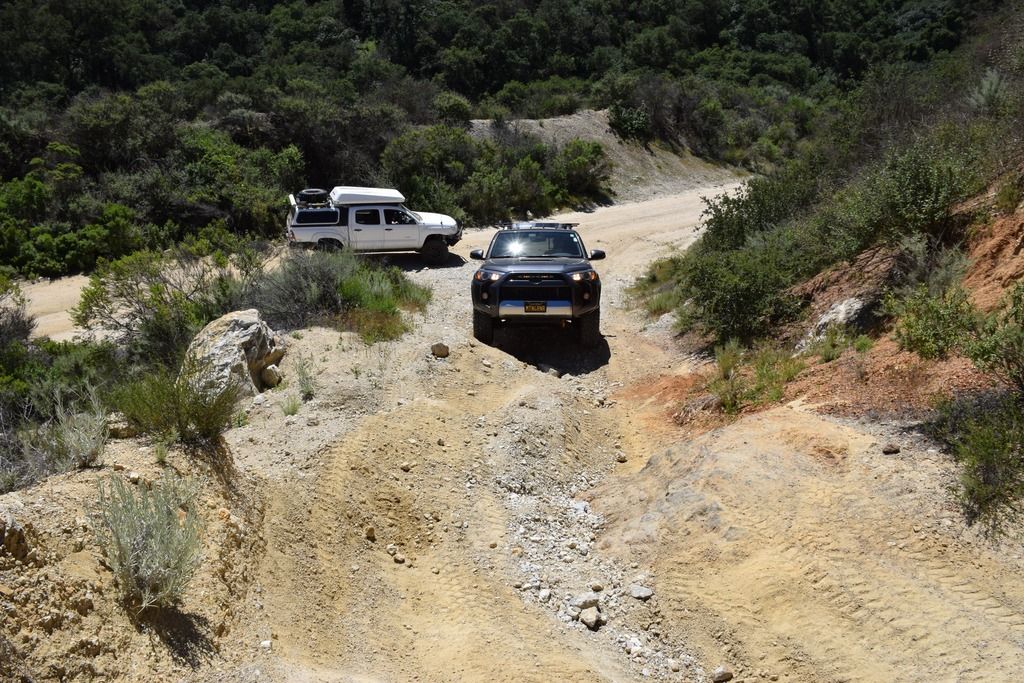
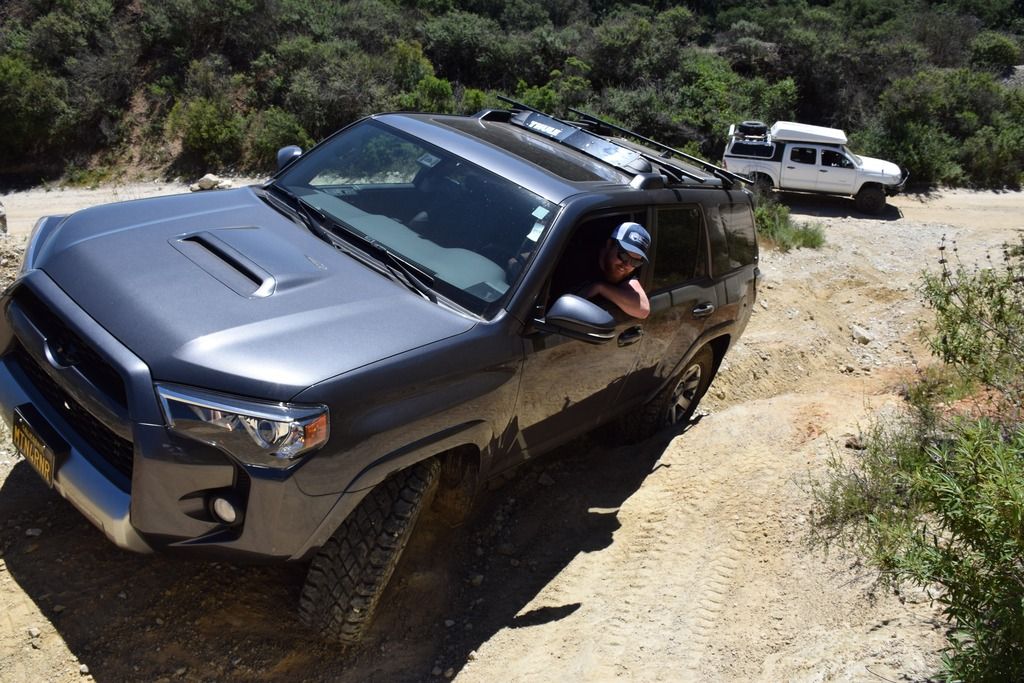
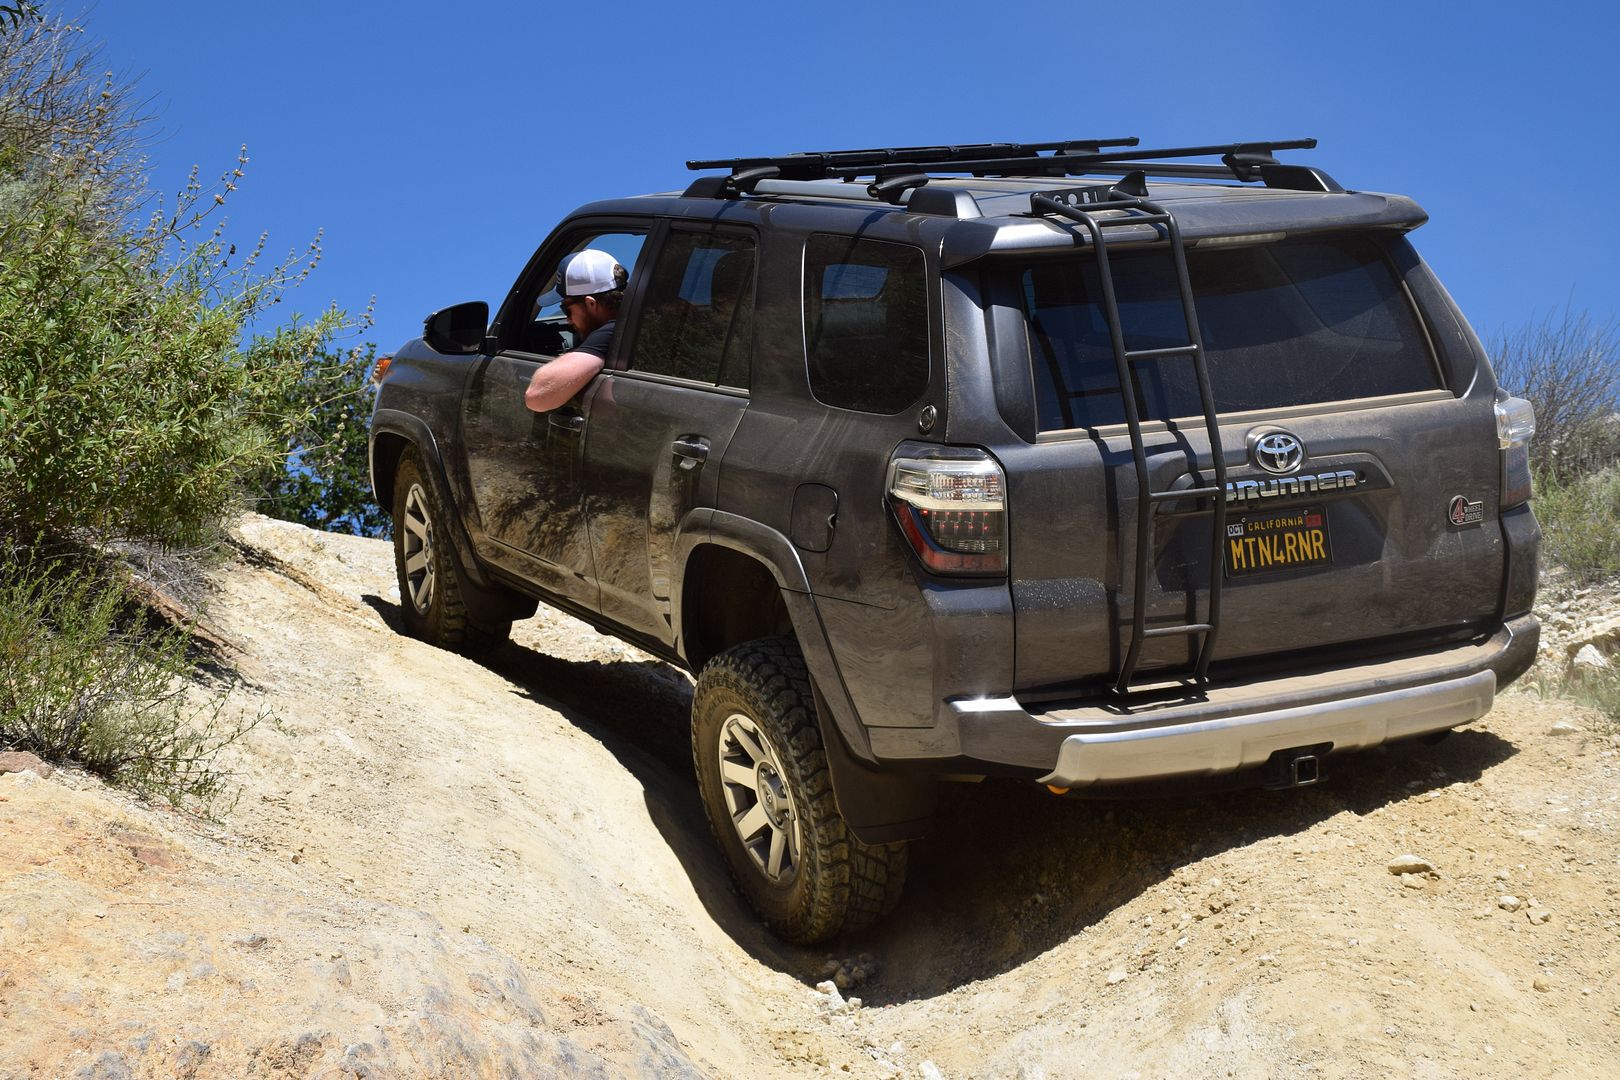
After a bit of cringing, cheering, and observing, we headed on down the trail and wound up at the base of Truck Hill. v_man headed up first to check for ruts or washouts at the top at my request. He radioed that all was good and to head uphill! For any that have been it's impressively steep, but we didn't have any problems.

Because light bar...
DSC_0011_zpsozecojta.jpg

DSC_0014_zpsqo7aofqo.jpg


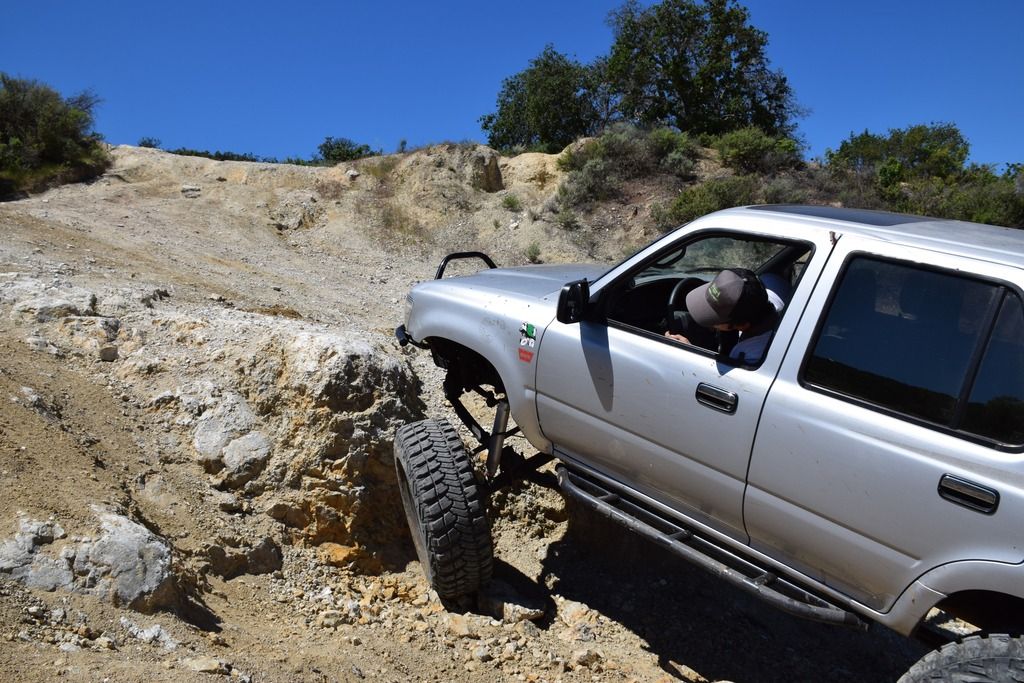
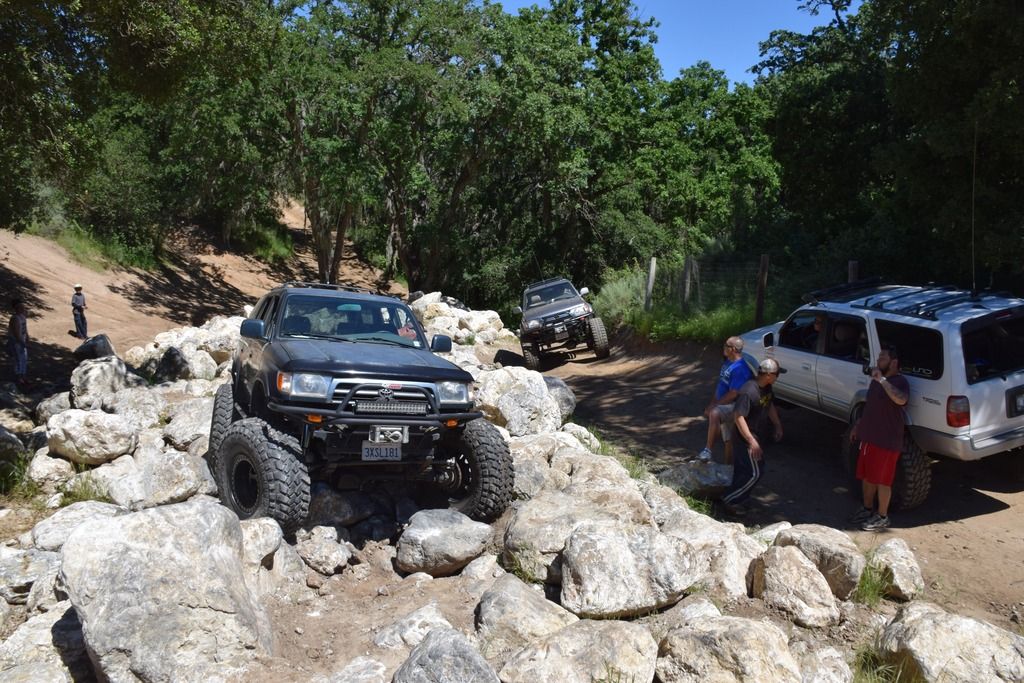
From Truck Hill we moved along the West Trail to a quarry area where we had some fun on rocks. The other two were making quick work of the rocks in the area. I definitely found the stock skids a few times, although the damage was kept to scrapes and dents. Lesson learned in this area: a lift will help, and sliders are definitely a good thing to have. And a good spotter
DSC09298_zpsvquxaylb.jpg
DSC09299_zpsjgmv6t7x.jpg

DSC_0026_zpss2munwnh.jpg

DSC_0019_zpsjj0hmokm.jpg
DSC_0020_zpsfrpdxfsi.jpg

DSC_0024_zpsb84spzth.jpg

DSC09285_zps3lfduy5k.jpg


v_man then showed us what big tires can do
DSC_0031_zpsfdy88jbc.jpg

DSC_0050_zpsomurbged.jpg

DSC_0047_zps8til72go.jpg

DSC_0062_zps20sjvyu1.jpg


See part 2 of 2 below
 
Last edited:

MTN4RNR

Adventurer
A day at Hollister Hills SVRA - 2 of 2


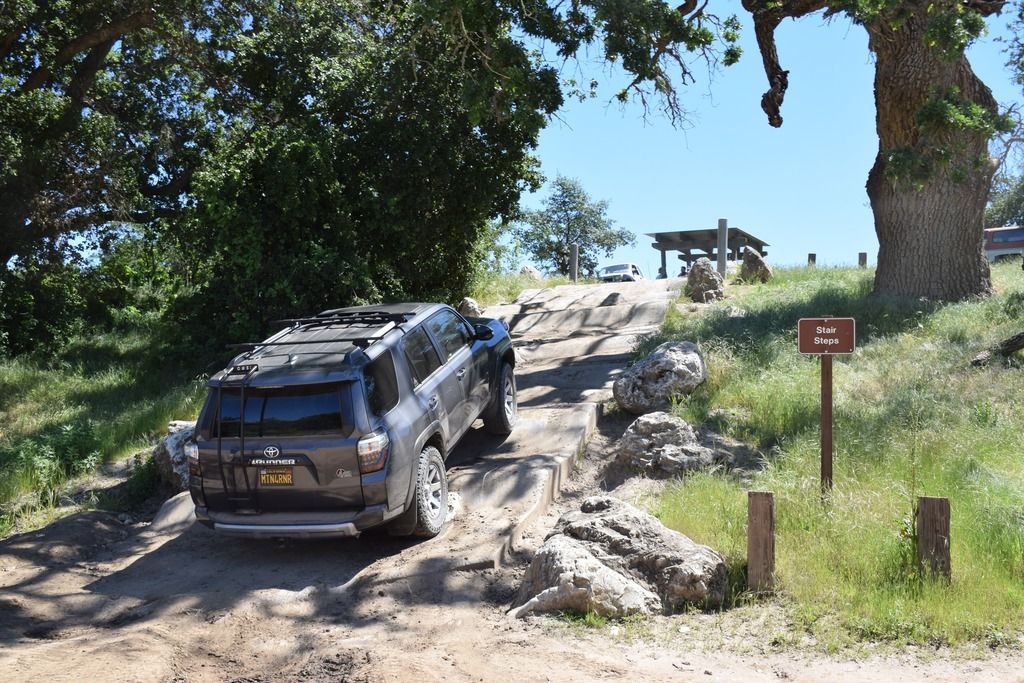
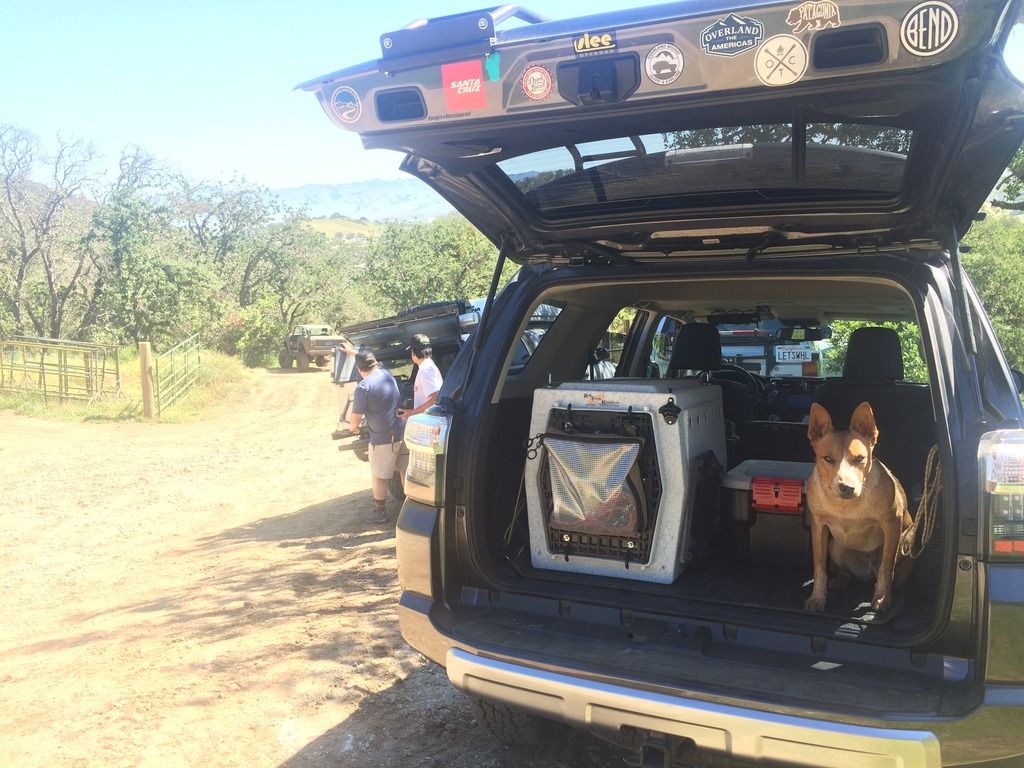
We then moved on to the obstacle course area where v_man found some rocks, a rock found Andy's valve stem, I made a lot of noise learning the concrete steps, we found a group of 3rd gens with bigger tires than v_man, and dog had no idea how to not slide around both in and out of the kennel!
DSC_0099_zps8vkmkmaa.jpg

DSC09290_zps3voxqrpw.jpg

DSC_0067_zpsh47abyom.jpg

DSC_0085_zpsbqaznwqh.jpg

image_zpsdttn8yc9.jpeg


The Coopers stuffed in a fun wash out
DSC09287_zpslcvbukip.jpg


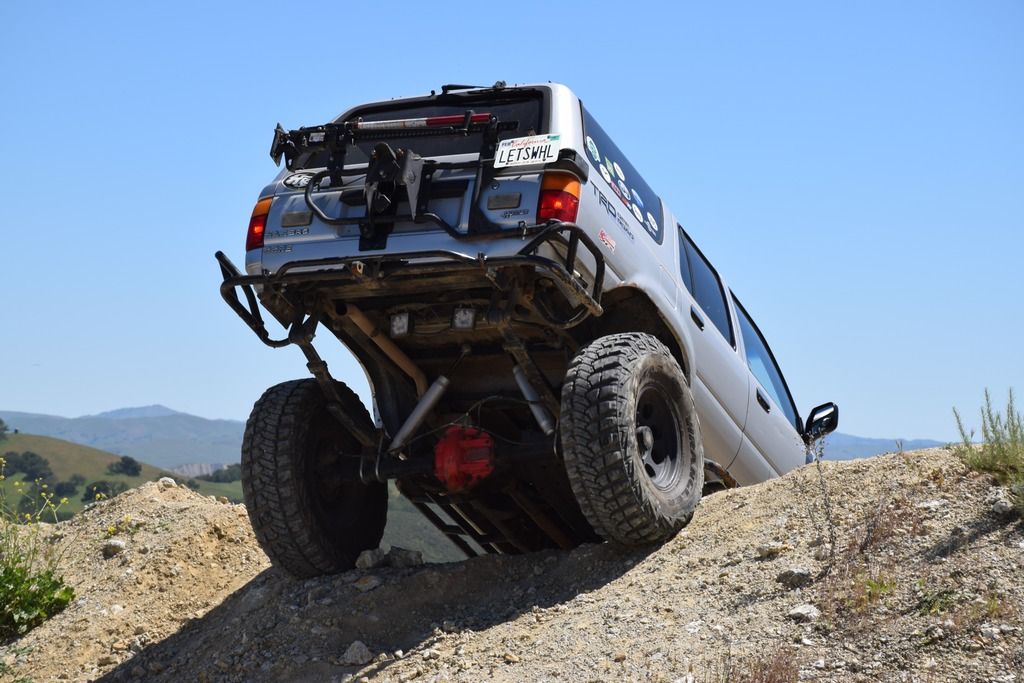
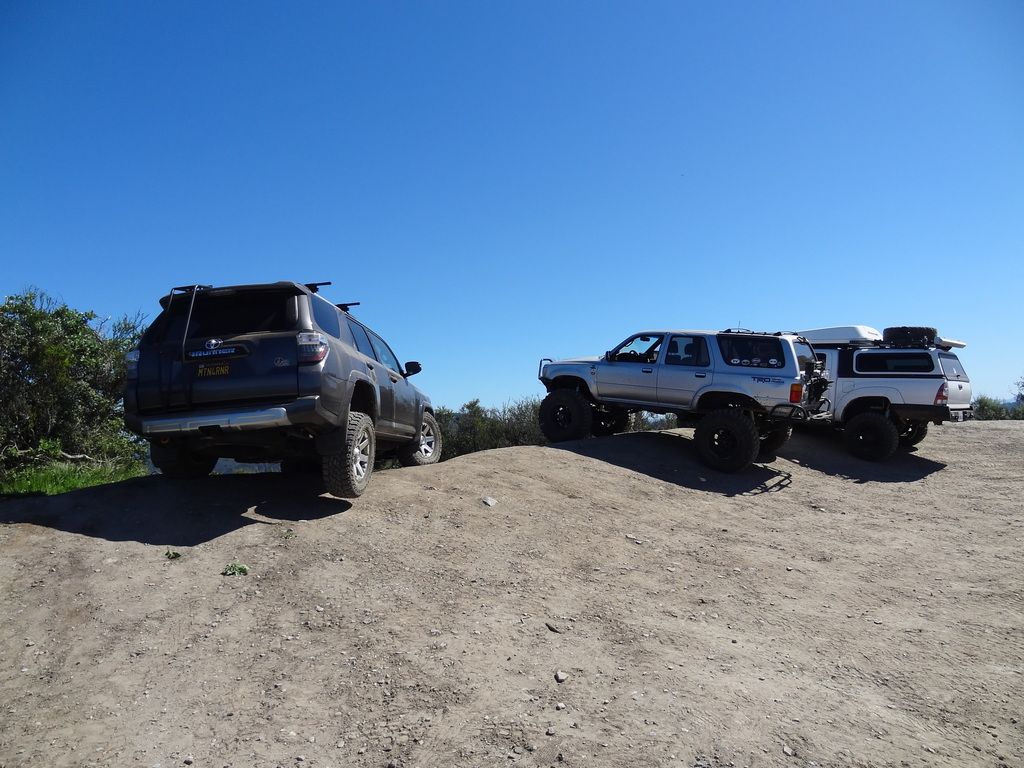
Then up to Hector Heights Overlook. I feel the need to cock a wheel in the air to compensate for my lack of lift...
DSC09301_zps7un4e7mt.jpg


Then, trailed down to another hill, drove to the top, and then to the exit. We loaded up, aired up and headed home.
DSC09304_zpsl7yvmlzs.jpg


It was a great day of driving, observing, and learning. I can clearly see where having a lift, along with a good set of sliders (and skids eventually) will greatly improve the already awesome capabilities of my 4Runner. Getting to know what I can and can't reasonably do on the trail is a great thing to know. Also, knowing where I can both improve on my driving skills and add on to the 4Runner will go a long way for me in the near future.

More to come...​
 
Last edited:

Colonal Angus

Adventurer
Man!! Great pics and killer runner. Truck Hill looks incredibly steep in that first pic! On steep ascents and descents, I always pucker and feel like I'm going to tumble. I'll stay tuned..
 

MTN4RNR

Adventurer
Man!! Great pics and killer runner. Truck Hill looks incredibly steep in that first pic! On steep ascents and descents, I always pucker and feel like I'm going to tumble. I'll stay tuned..

Thank you! It has been a fun build so far, with no end in sight haha. But it will be a slow build as the next additions are a bit more expensive, but none the less, I will update the build as I do things and go places :wings:

That hill is called Truck Hill and its quite a steep ascent. 4L, 2nd gear, and 3500 RPM all the way to the top without any fuss, sliding or swaying. I was very impressed, I felt like I was in a space ship launching hahaha. But to my benefit it had rained earlier on in the week, and the hill had recently been graded. Mid-summer with no rain, not sure I would attempt the hill because it's usually 6" of moon dust on 12" deep ruts the whole way up. I am definitely learning to know when enough is enough, and when the risk isn't worth the reward
 
Last edited:

MTN4RNR

Adventurer
Beautiful T4R! I really like the sleek, hidden design of the light bar...nice work.

Thank you, man! With all of the "I have a 50" light bar on my windshield, look at me" examples on the road nowadays, I am trying to incorporate functional lighting a bit more discreetly on the build because I like many others have a thing for lighting, and lots of lumens :jumping: but I don't like the over done look that I see consistently on social media and around the Bay Area. Thanks for the comment!
 

MTN4RNR

Adventurer
The "who needs a hand hold" ... mod

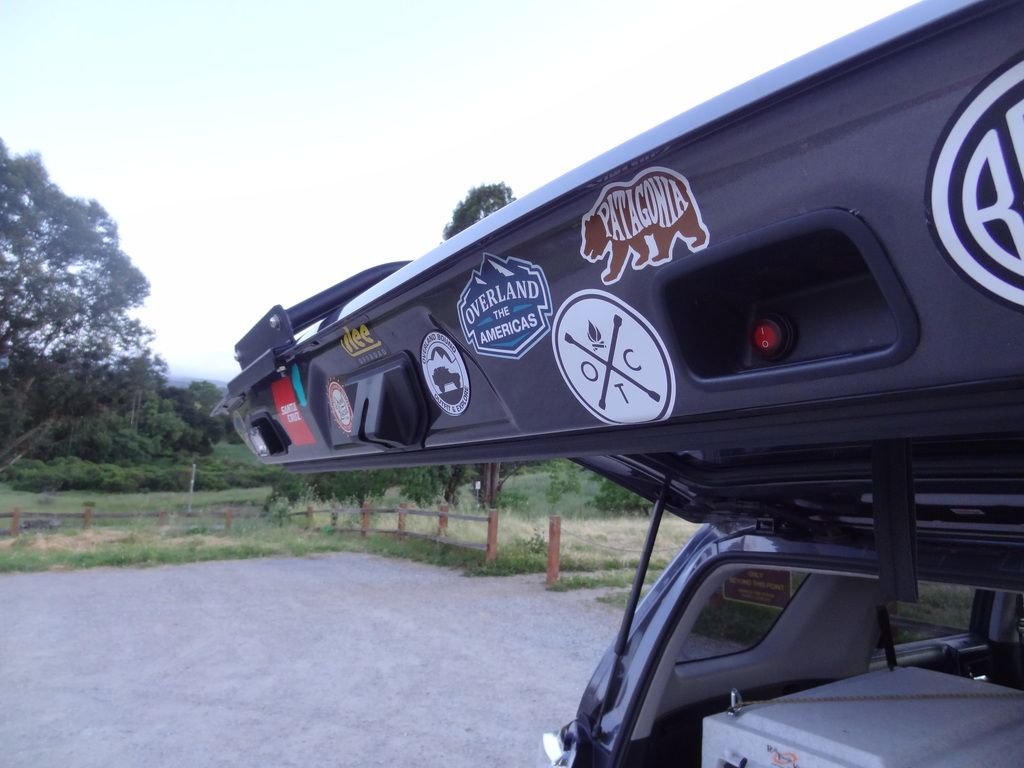
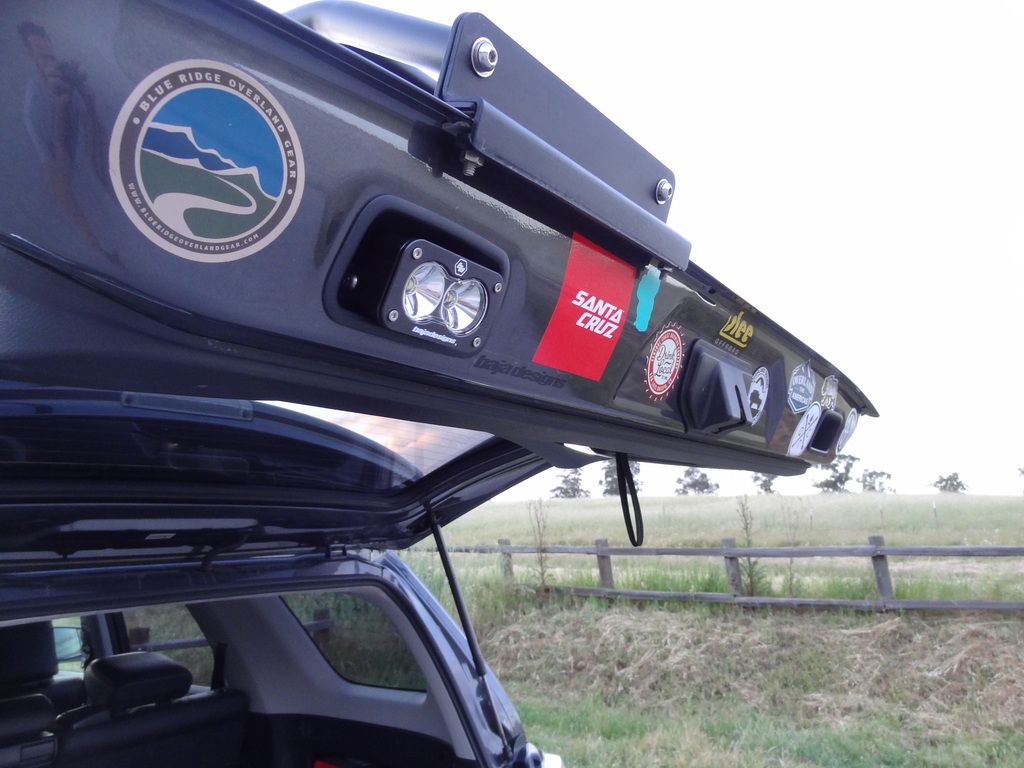
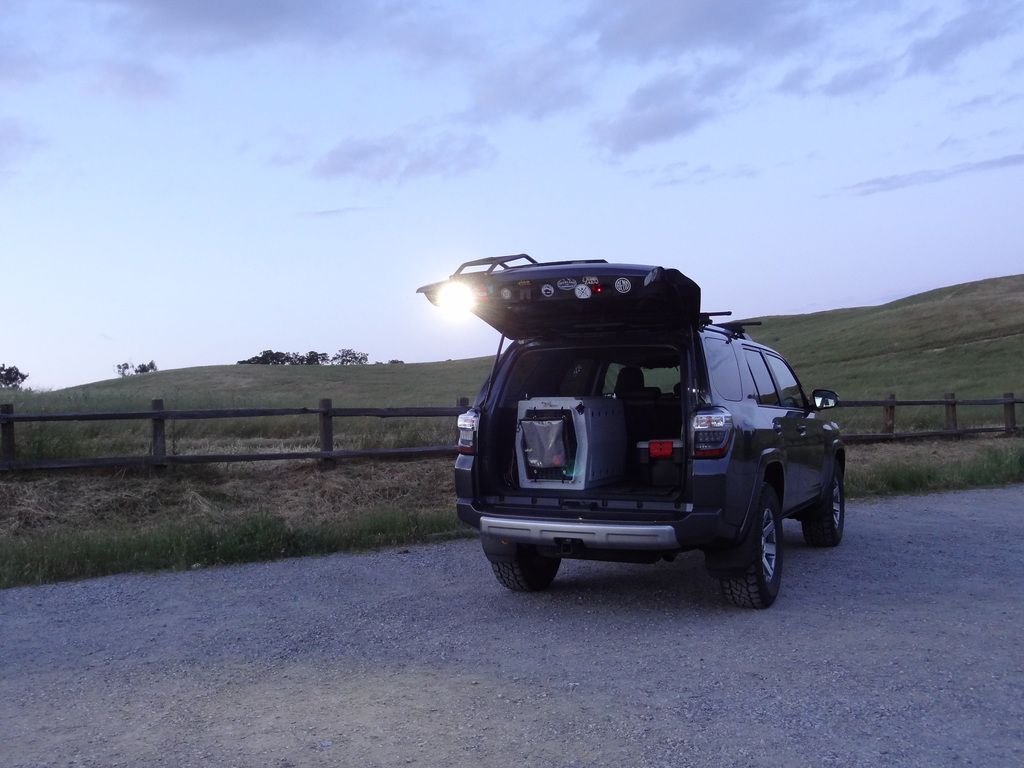
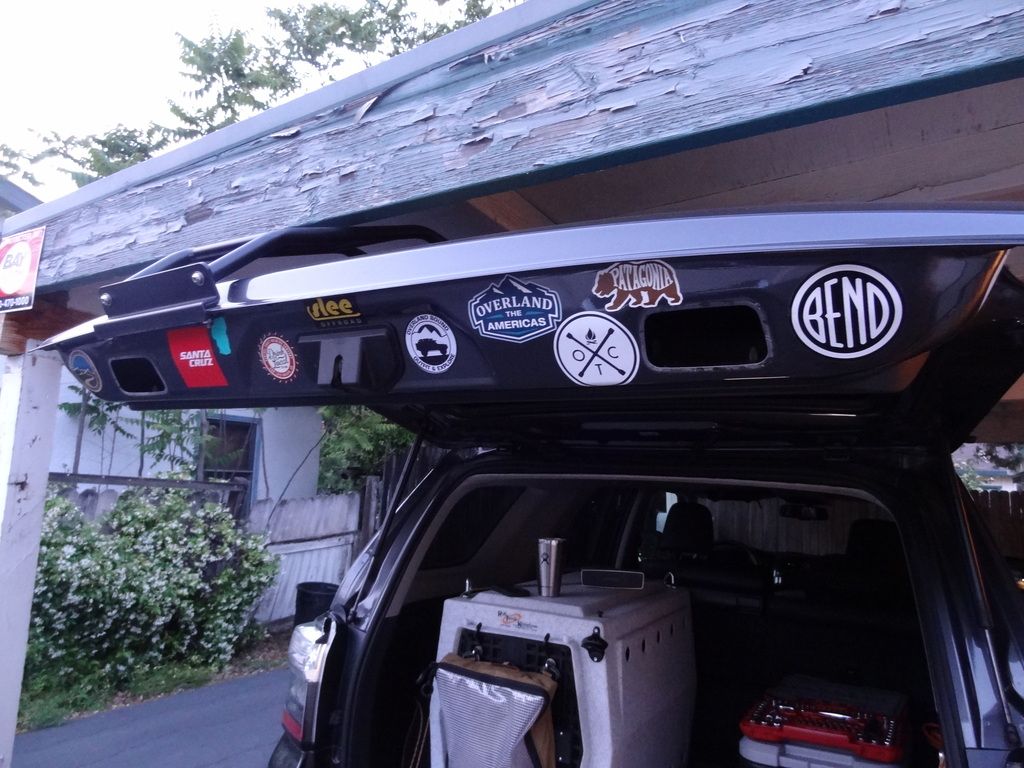
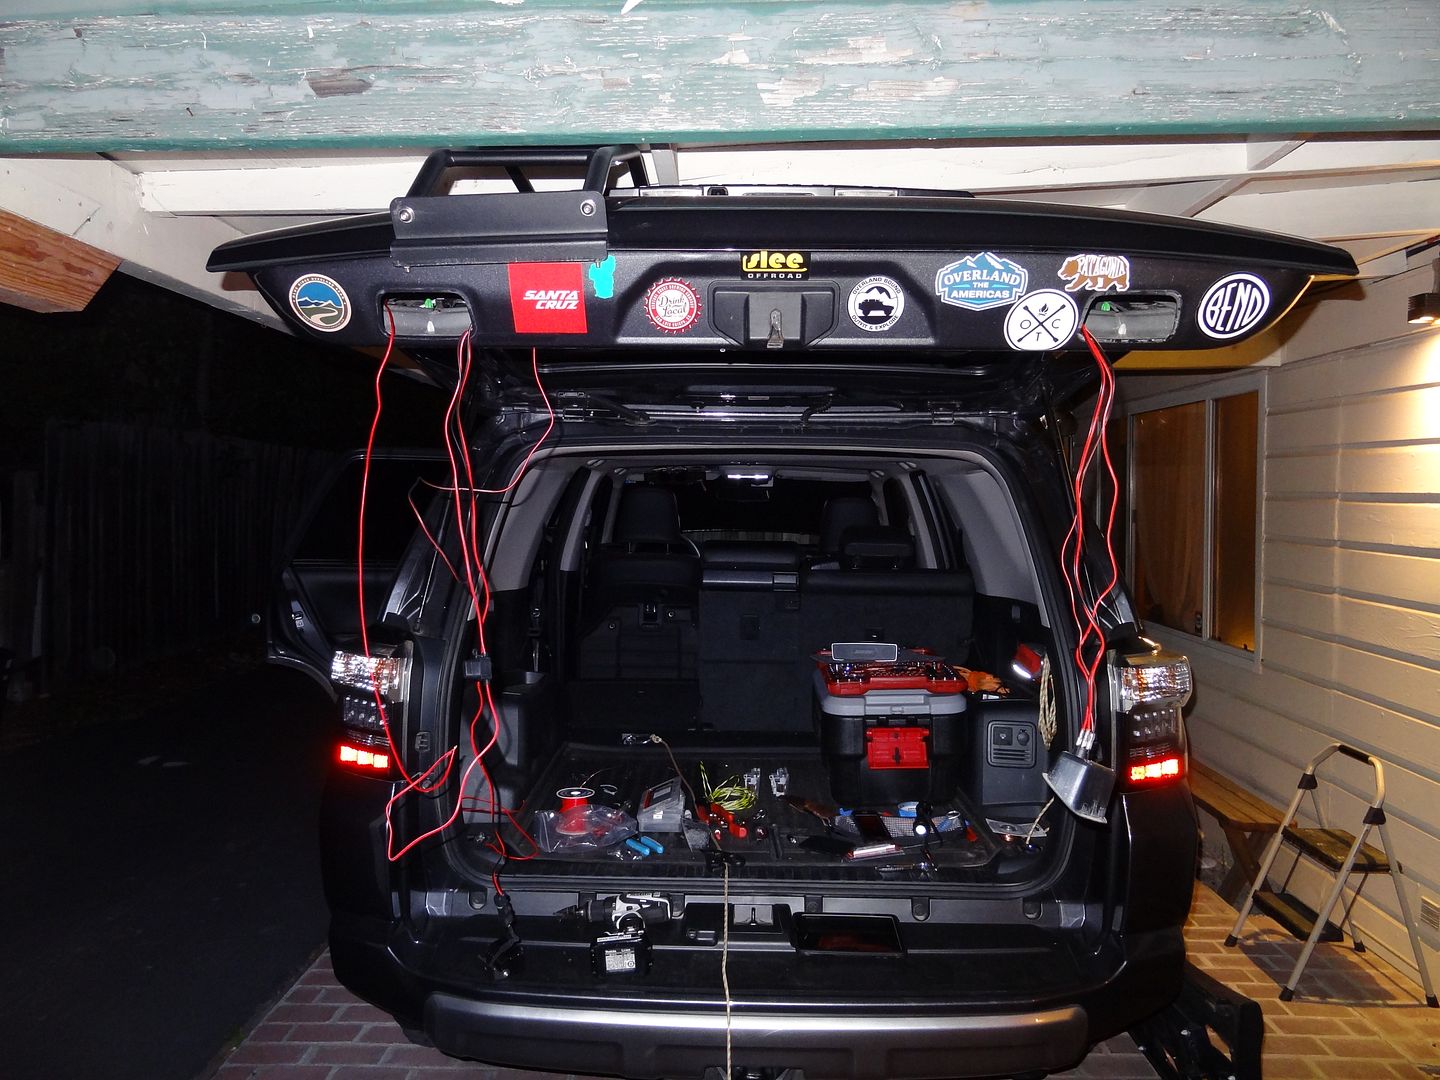
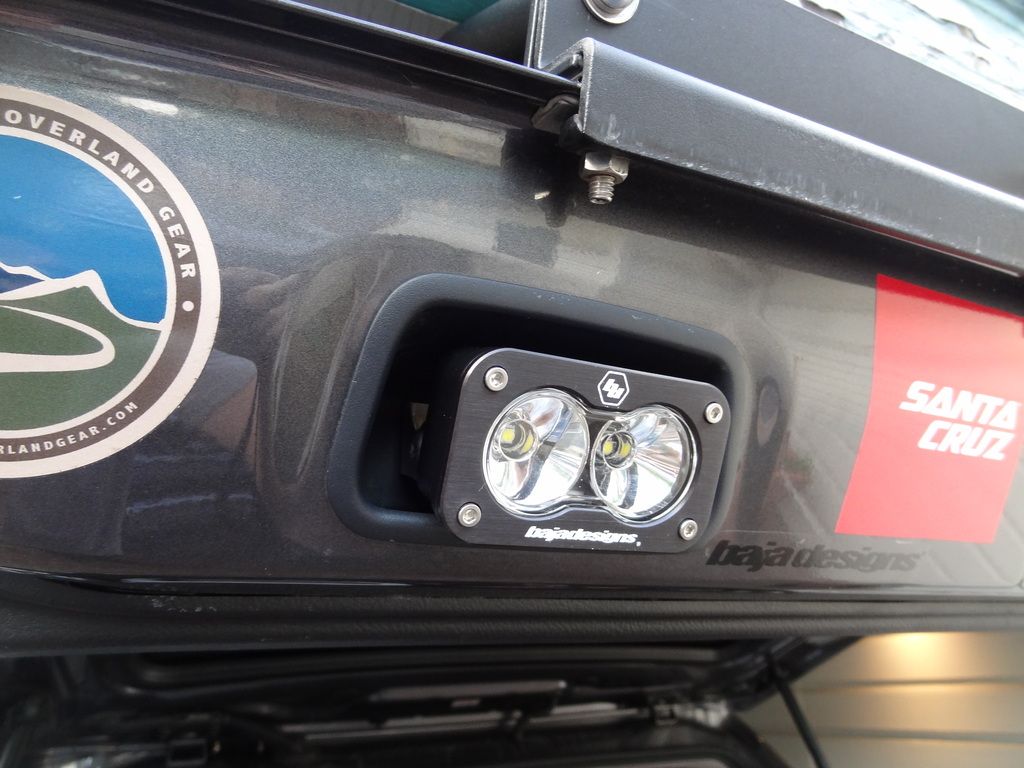
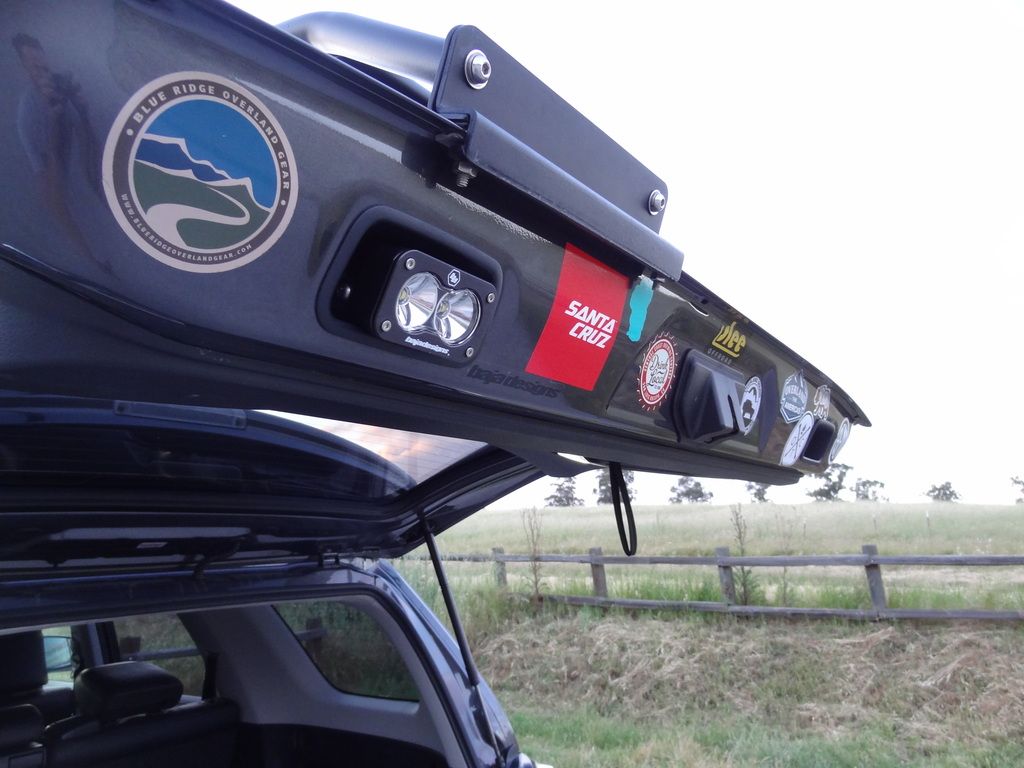
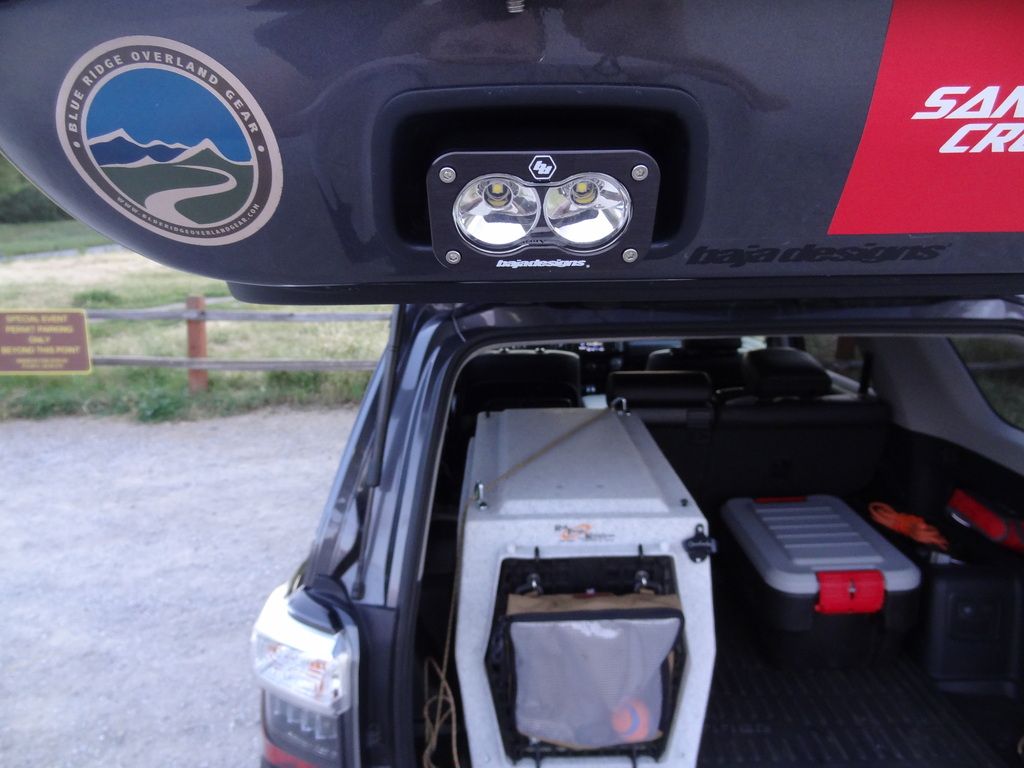
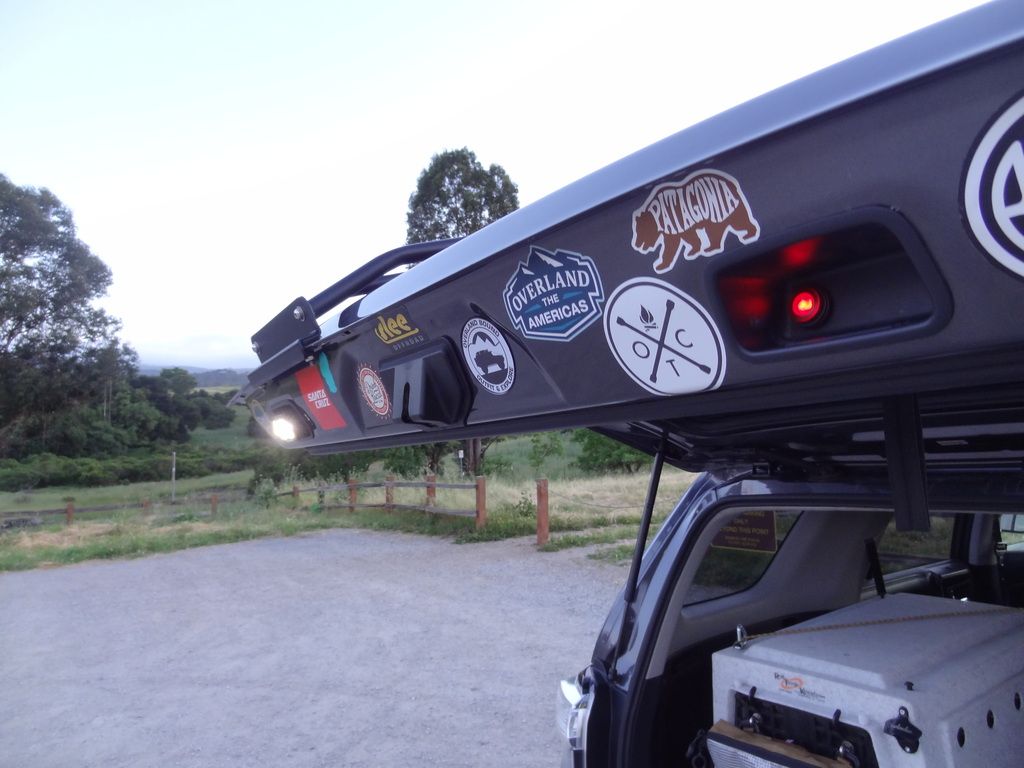
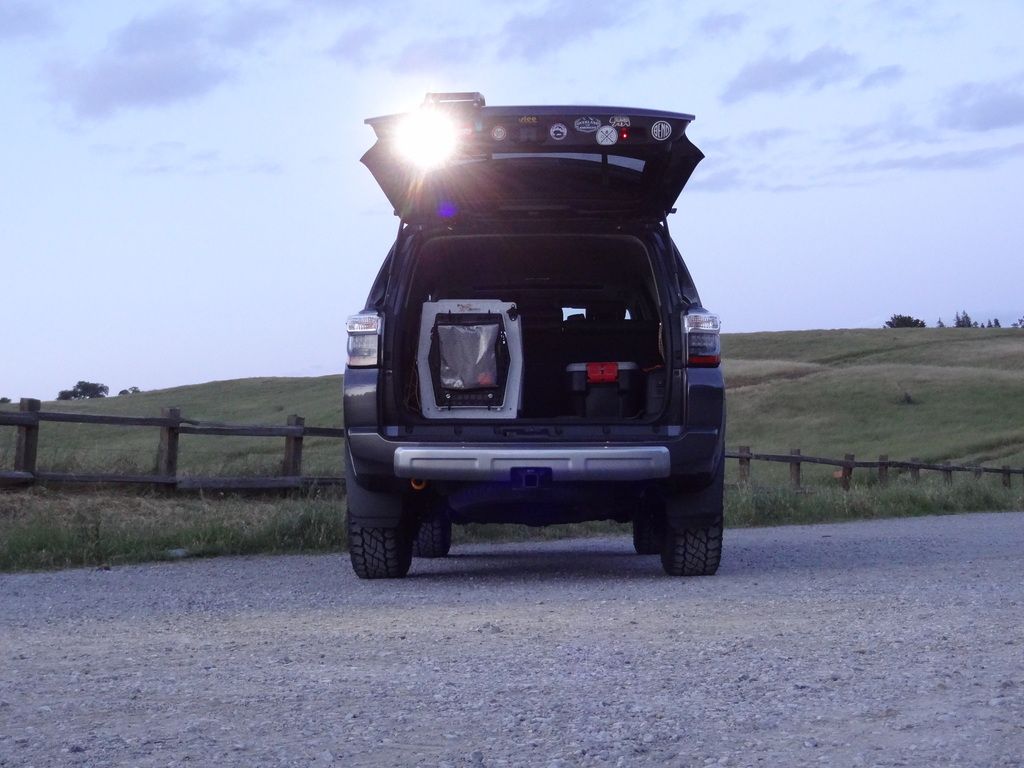
Seems many people have rear facing lights on their roof racks, which are great for lighting pretty much everything behind you... Unless you have the hatch open. To solve this, I installed a Baja Designs S2 Pro LED light in the driver side hand hold of the hatch. I will post a full install write up as soon as I can, but for now, here are some photos. The flood pattern works great, and the light output is ridiculously awesome. Just in time for camping this weekend
:wings:

DSC09385_zpsbczn5ytn.jpg

DSC09378_zpsq7daef4o.jpg

DSC09386_zpsktlq3jwc.jpg


More to come...
 

MTN4RNR

Adventurer
The "who needs a hand hold" ... mod 1 of 3

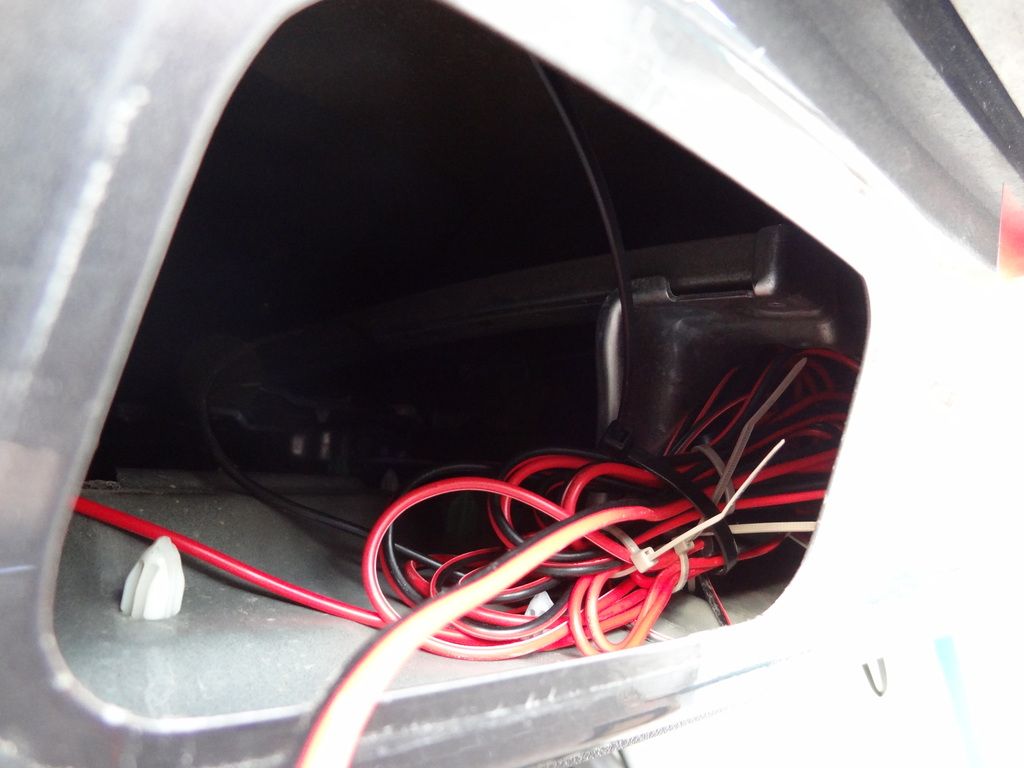
Seems many people have rear facing lights on their roof racks, which are great for lighting pretty much everything behind you... Unless you have the hatch open. To solve this, I installed a Baja Designs S2 Pro LED light in the driver side hand hold of the hatch. I first took a look at the specs, and made a paper model of the light to test the theory, and knowing that it was very close, I ordered the light to find out first hand. Considering that the light would be used to illuminate a large area I ordered the flood pattern lens and it works great. The light output is ridiculously awesome. Thankfully, this was a short install and I get it finished just in time for camping this weekend! The S2 does not require a relay, so all I had to do was run a hot wire from the battery to the hatch, and then modify both plastic hand hold pieces to make the light and the switch fit.

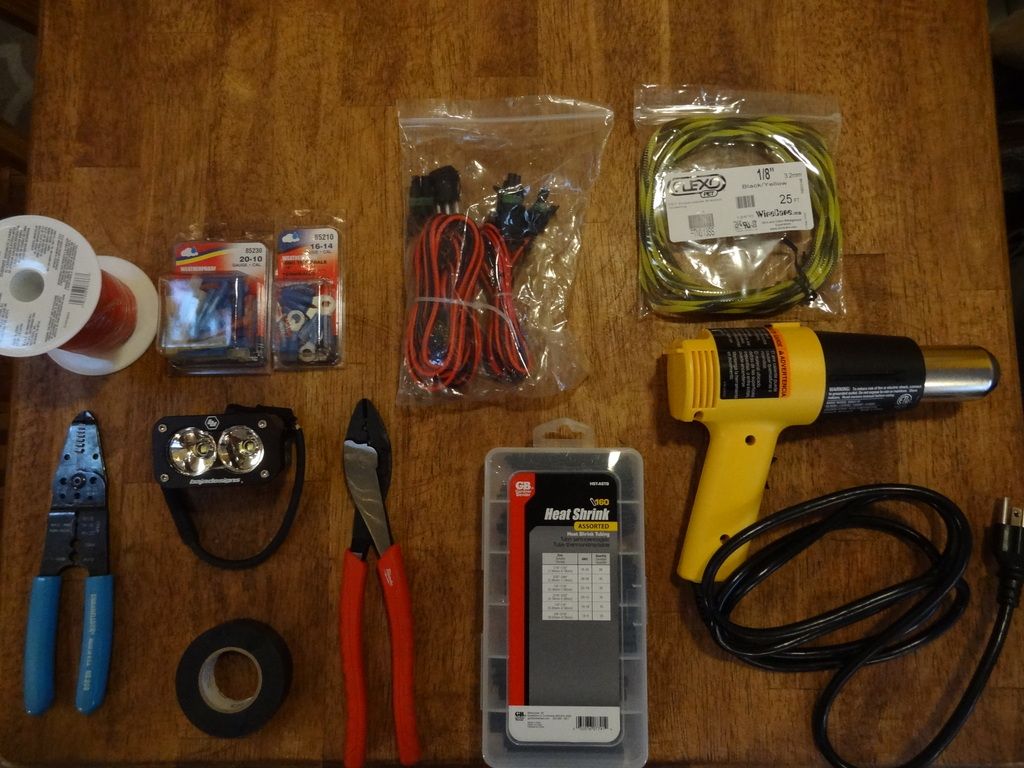
Parts used:
DSC09305_zpsil9hmwgf.jpg

- Baja Designs S2 Pro Flood/work LED light
- Wiring harness from Baja Designs [/URL]
- Drill of choice
- Milwaukee #9 step drill bit
- Stainless Steel mounting hardware
- Flexo PET wire sheathing
- Shrink wrap
- Heat gun
- Weather resistant butt connectors
- Dielectric grease
- 16 ga. wire
- Electrical tape
- Wire coat hanger
- Standard paint can opener
- 16” thin copper wire
- Zip ties
-Uinta Brewing Detour DIPA

Install:
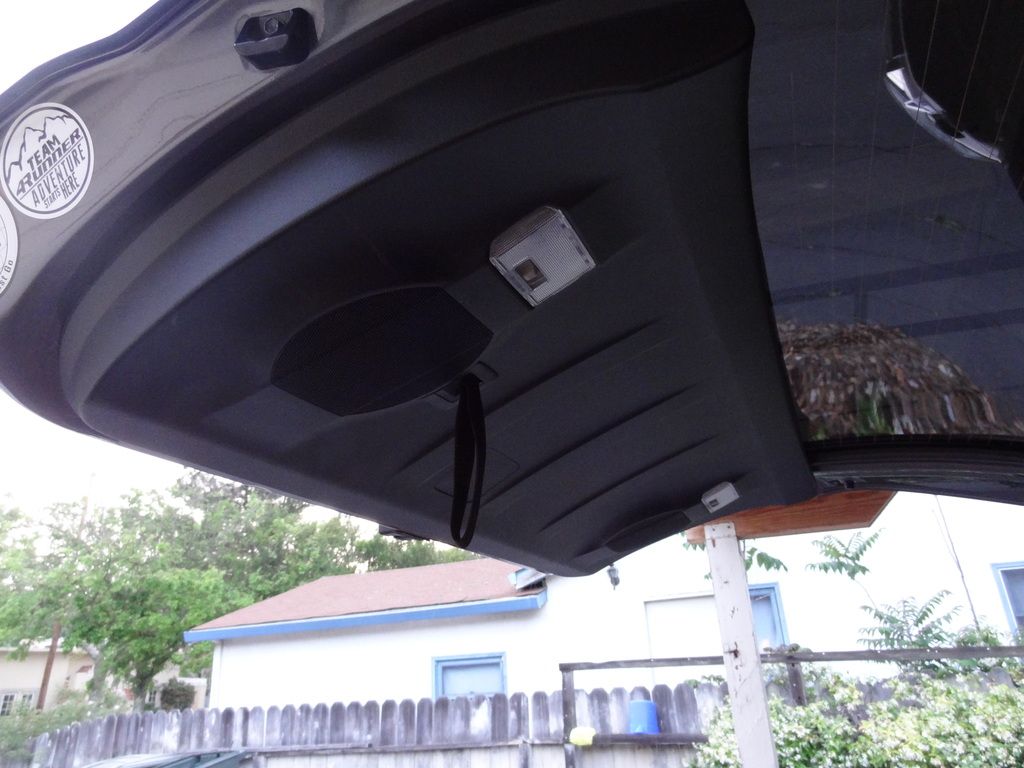
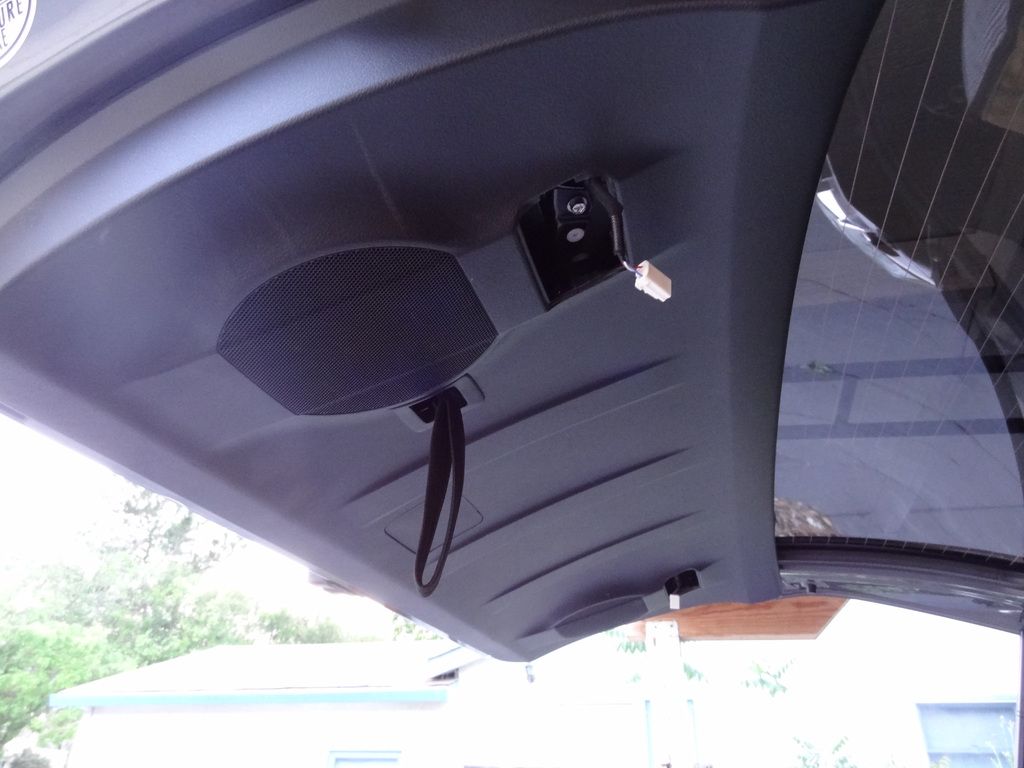
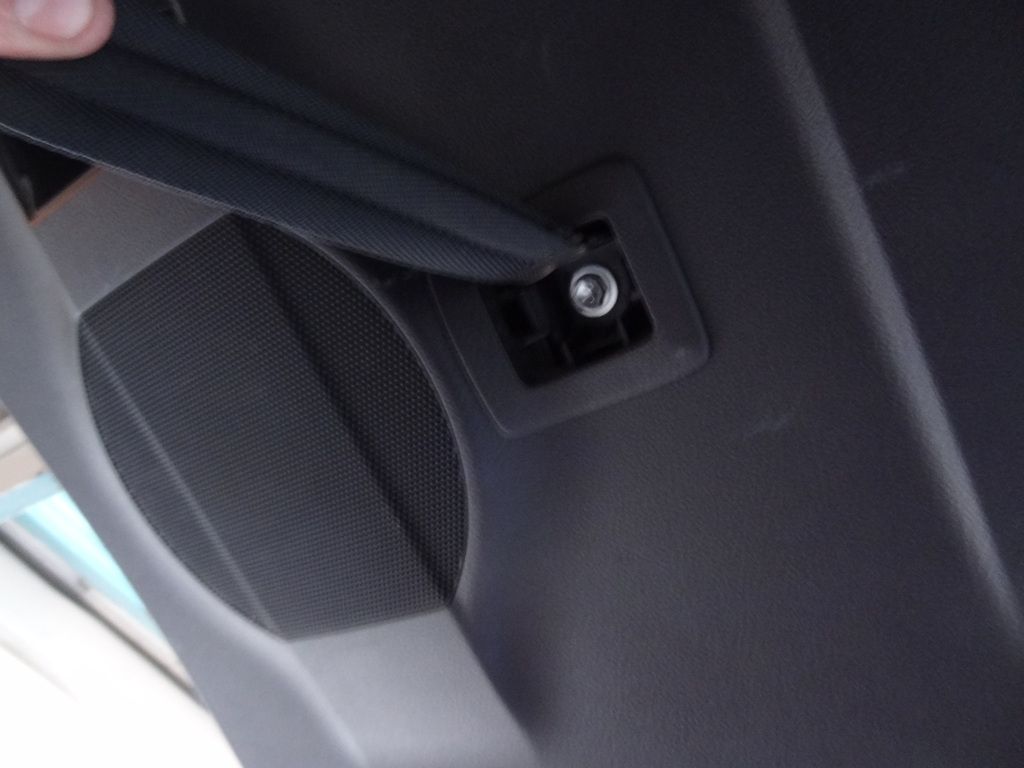
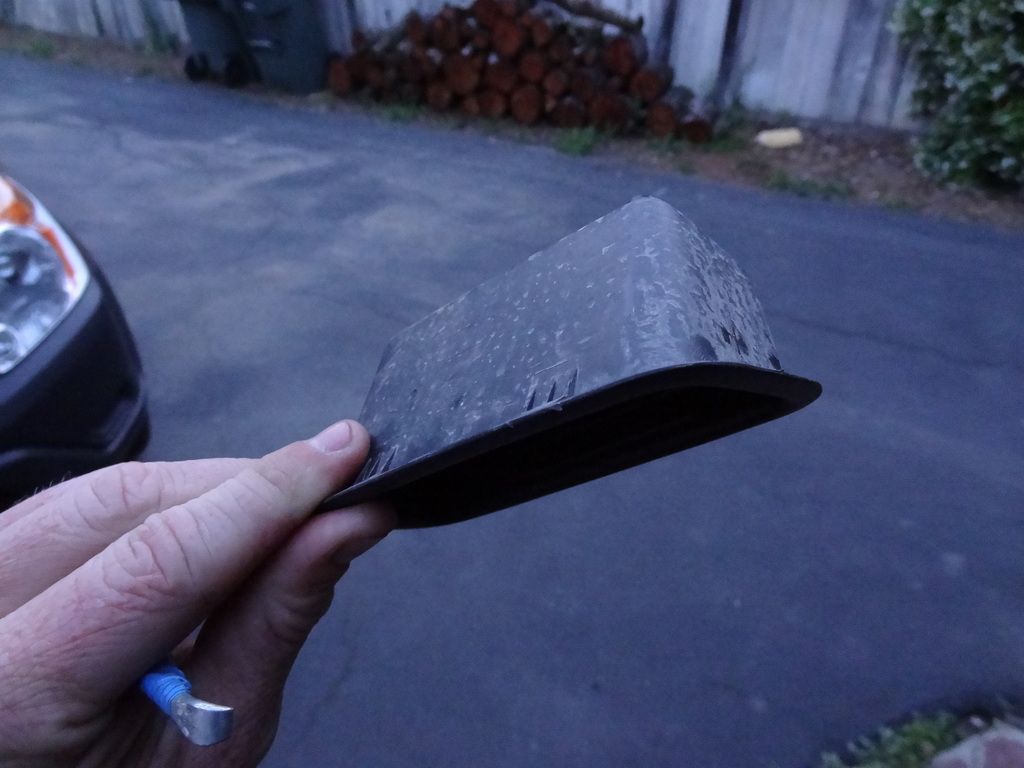
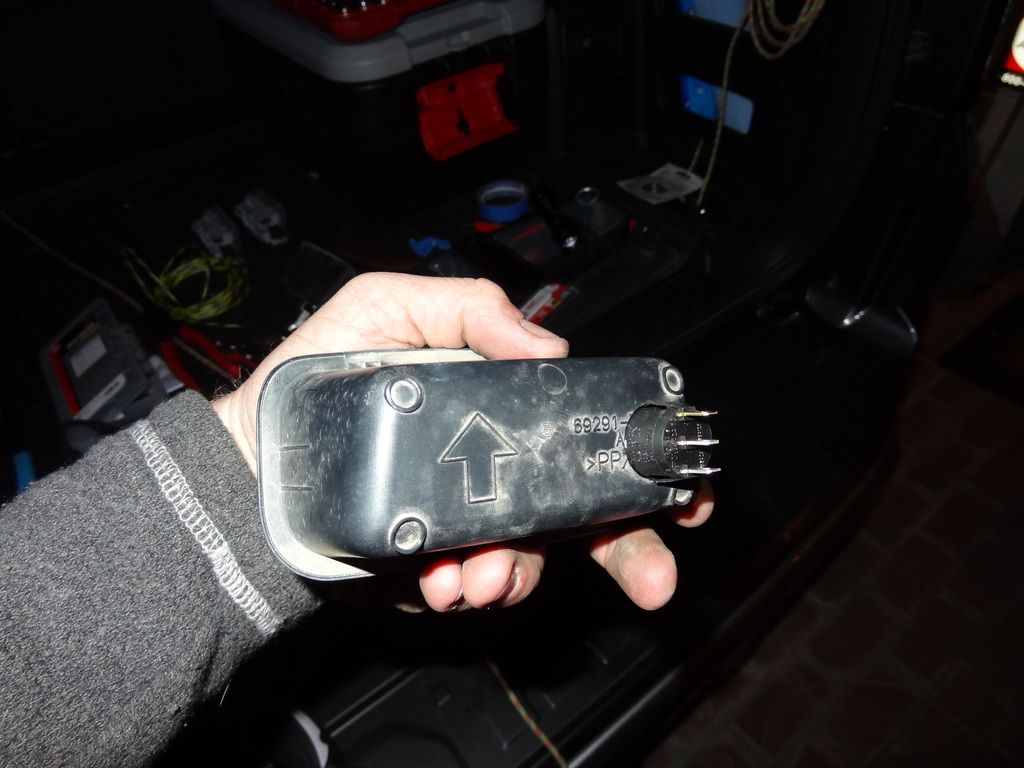
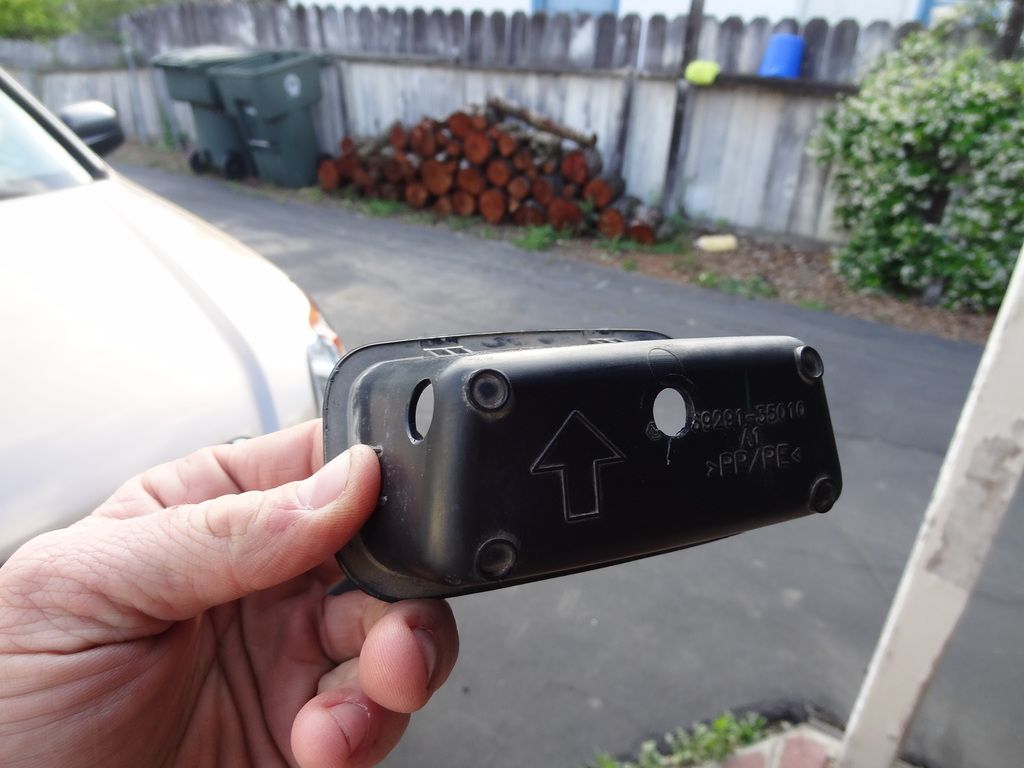
Start by removing the interior hatch cover. Start with removing the lights, then the center knock out, then the pull strap. Then remove the plastic hand holds on the outside of the hatch. I found the perfect tool to remove these is a standard paint can opener. Insert at the top, then lever up to pop the plastic hand hold out of the hatch.
DSC09309_zpslc6ior6p.jpg

DSC09310_zpsiuqsj0ph.jpg

DSC09311_zpsdgfkwbsl.jpg

DSC09312_zpsfeknkums.jpg


Here is the piece (1 of 2) that will house the light and the switch on opposite sides of the hatch.
DSC09314_zpsb93a37kf.jpg


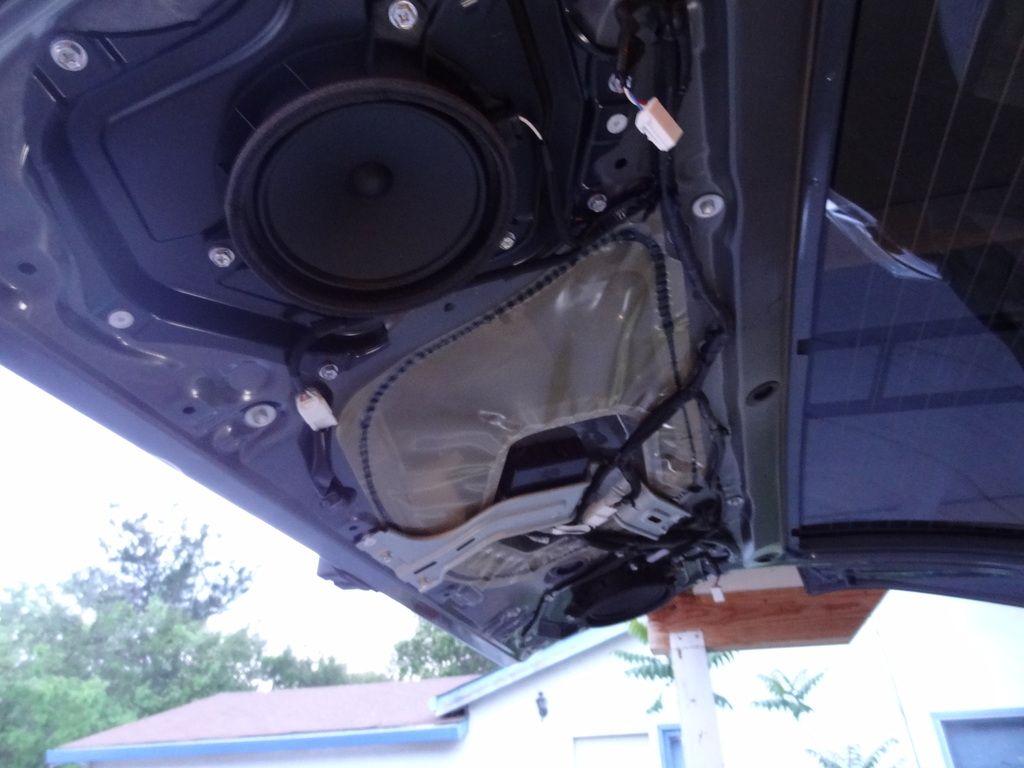
Remove the interior hatch panel by using the center “punch out” hole to pull down on the panel, releasing it from it's plastic clips. The interior window seal at the top requires you to rotate the hatch panel down, and then push towards the interior of the car to release it from the hatch.
DSC09315_zpss87i9gm0.jpg


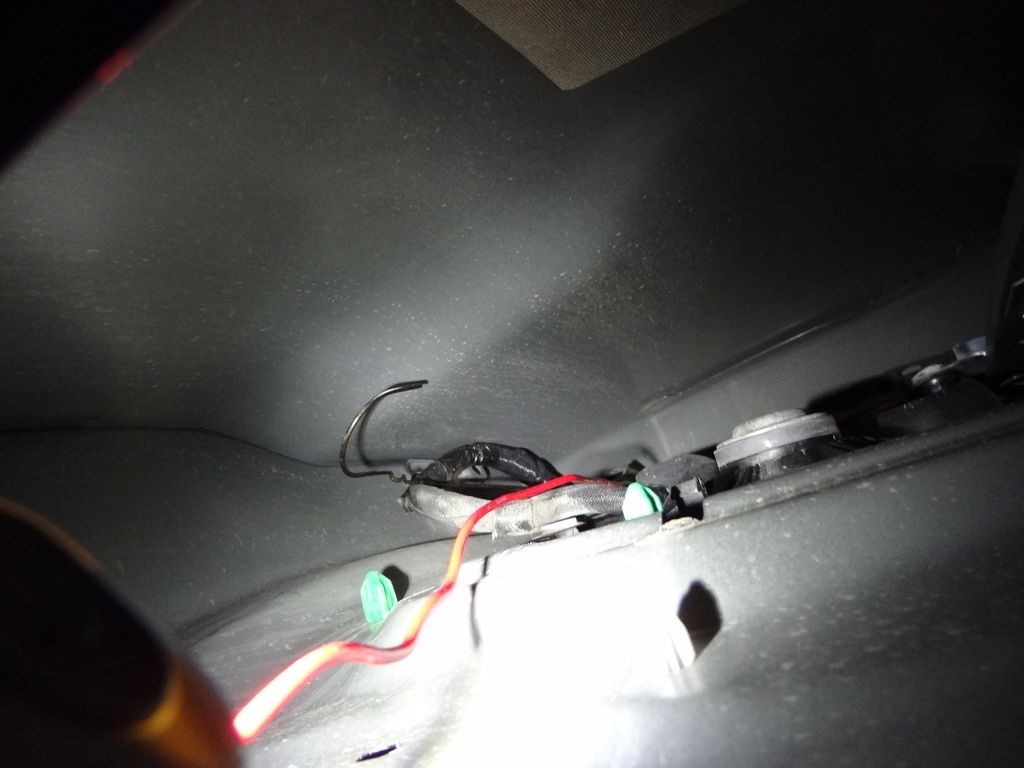
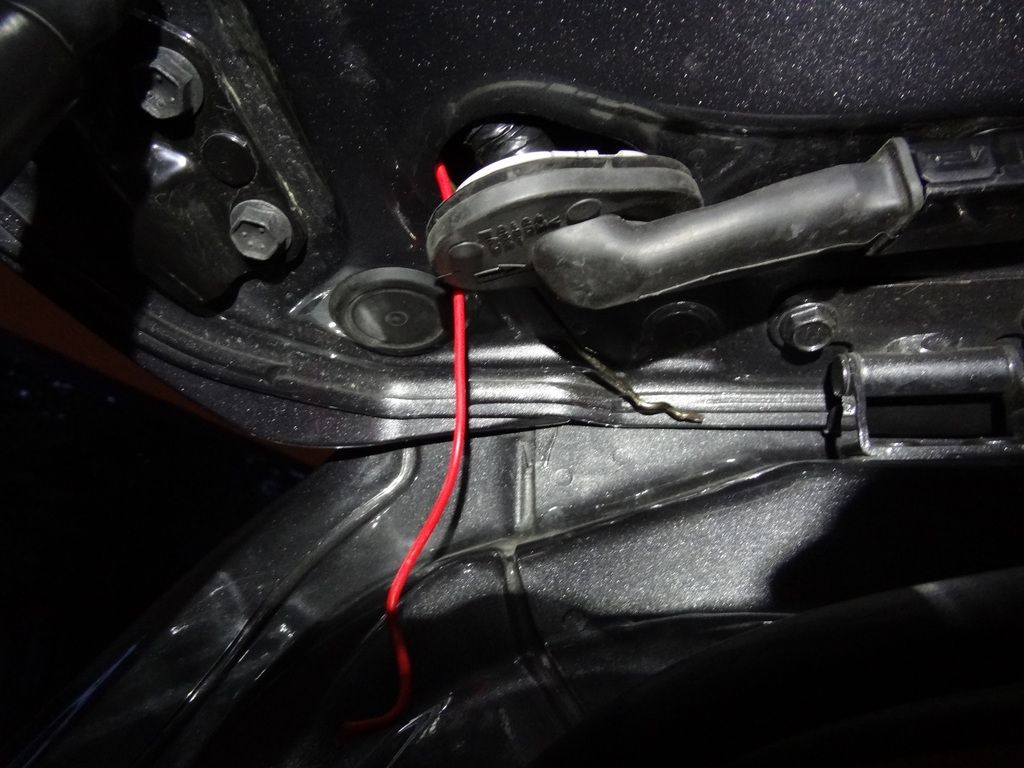
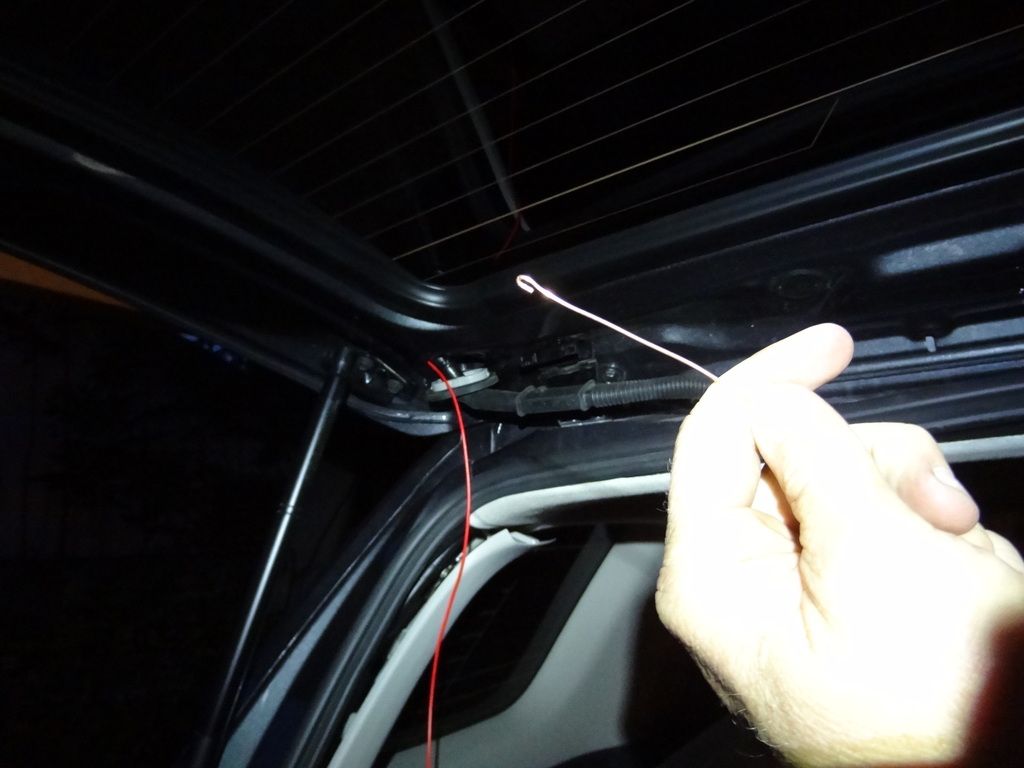
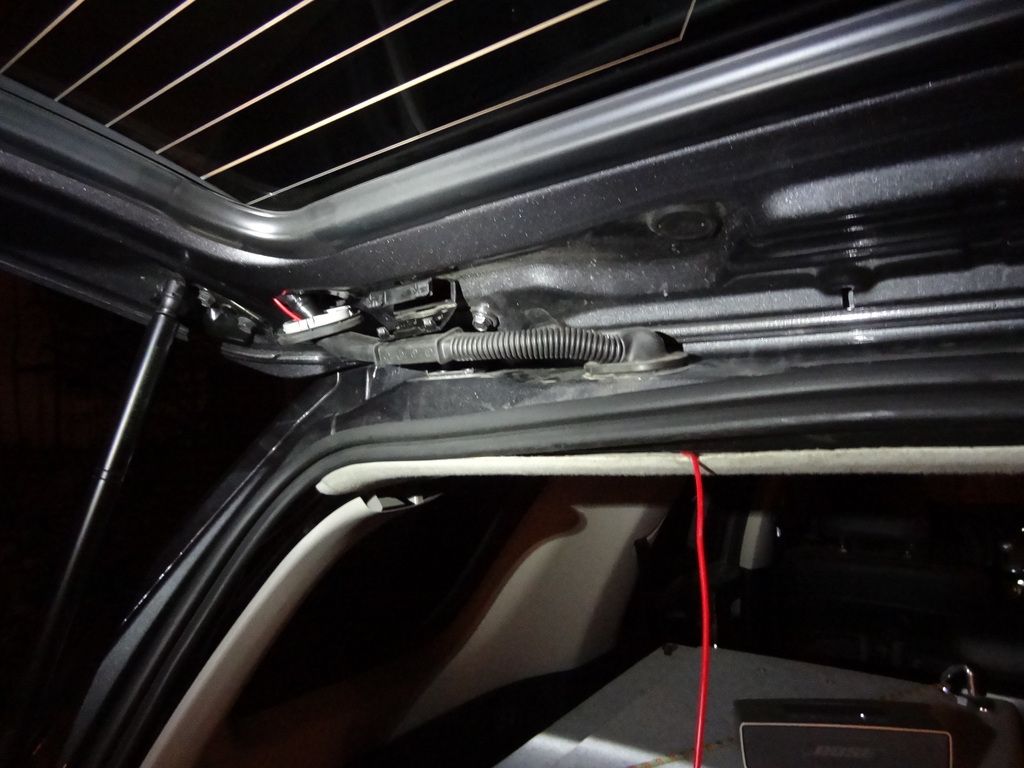
I started running the hot wire from the back because I had more clearance to go through the rubber “grommet” that connects the hatch to the main body of the car unless I wanted to drop the whole head liner out, which I didn't want to do. I started by pulling the grommet out of the hatch so that the hole was open. I then fed the wire from the hand hold hole up to the top of the hatch using a straightened wire coat hanger to allow me to push it through. Once the wire/hanger was visible, I pulled it through the top of the hatch.
DSC09319_zpsslimobm2.jpg

DSC09318_zpssofiibha.jpg

DSC09316_zpsoqqwinhw.jpg


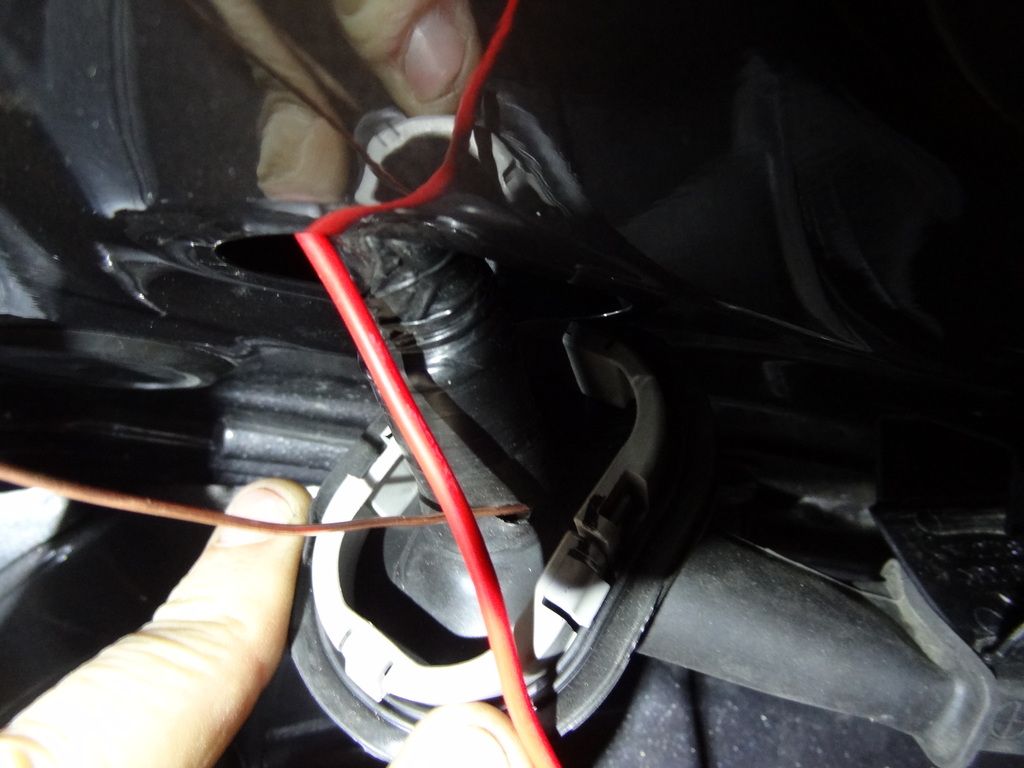
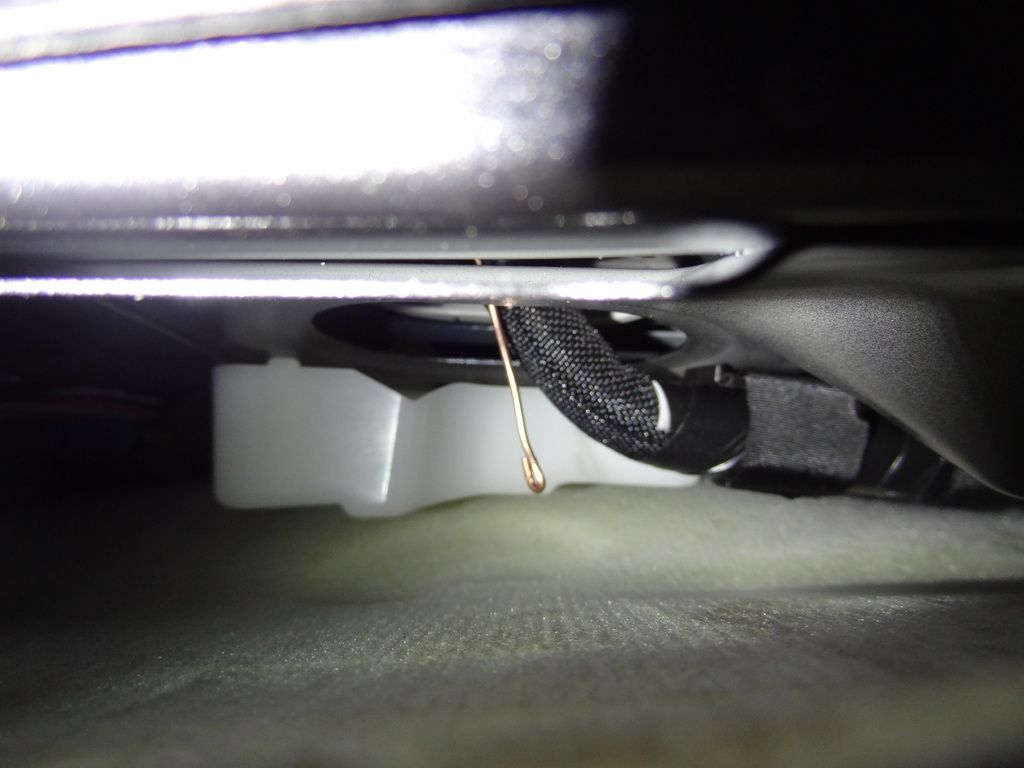
I then poked a small hole in the rubber grommet, just big enough to fit a small copper wire through as a pull wire. The copper wire was thin enough to get through, but sturdy enough to allow it to be pushed through the grommet. I looped the end to keep it from hanging up on any wiring or the grommet itself.
DSC09321_zpszrq9rw4w.jpg

DSC09322_zpsh8pj53yv.jpg

[note the tight clearance for the headliner below]
DSC09324_zpscjewvgp4.jpg


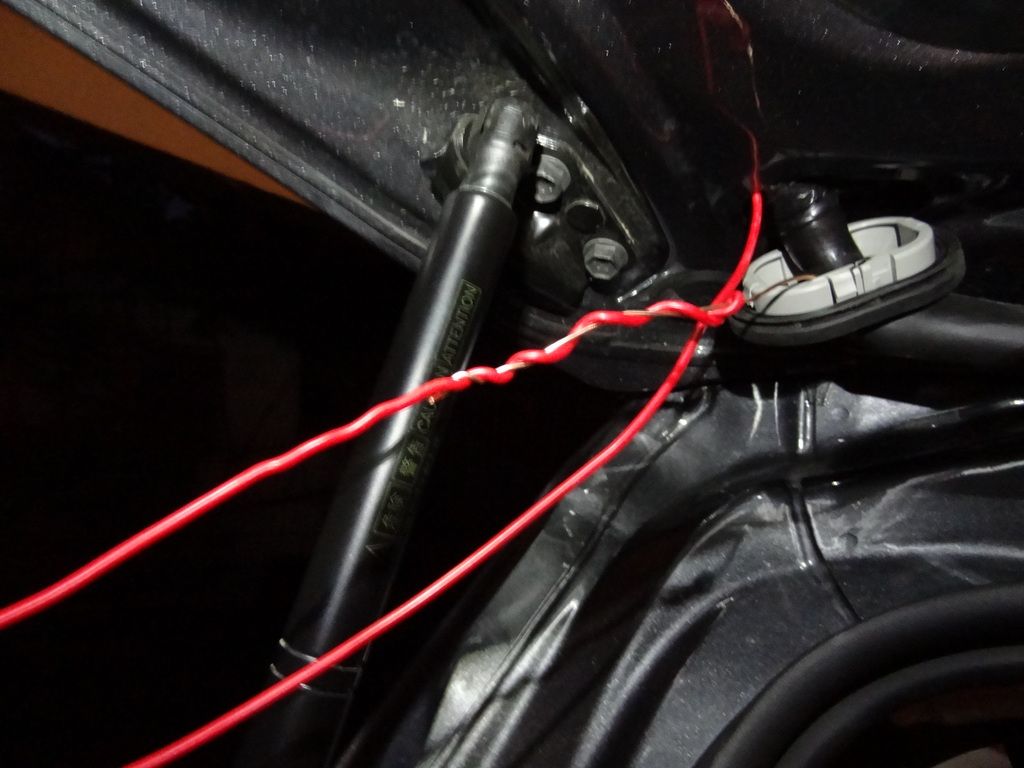
Once through, I wrapped the hot wire around the copper wire and pulled it through.
DSC09326_zpsmqx2u0yk.jpg

DSC09328_zpsszl37kpf.jpg


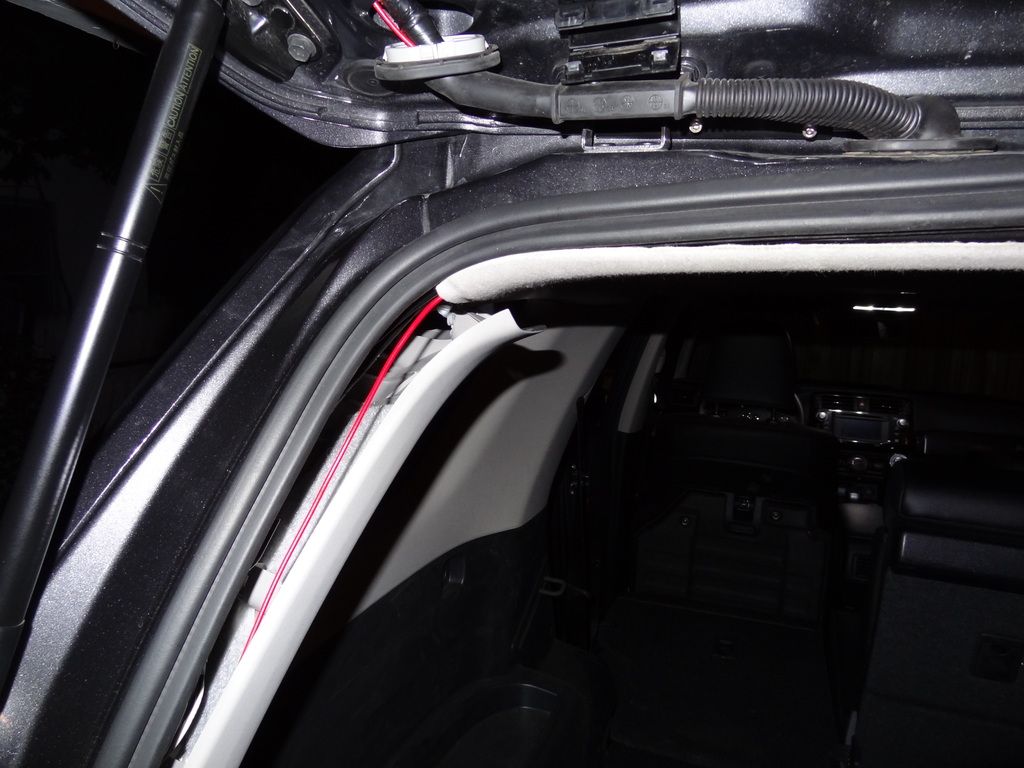
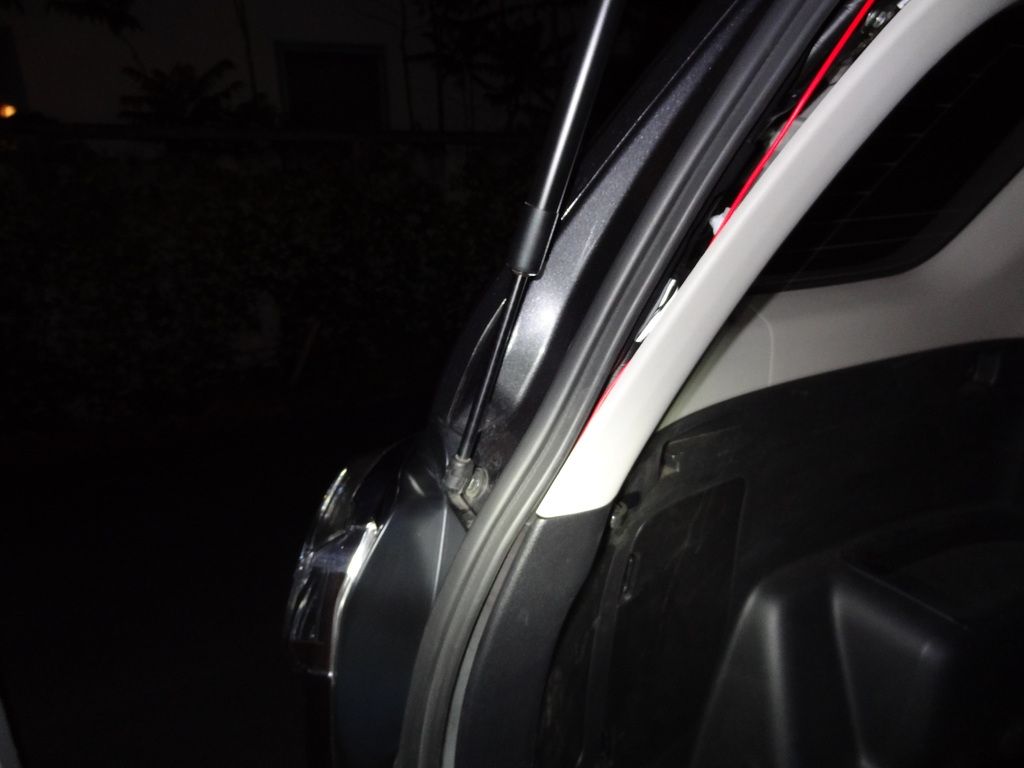
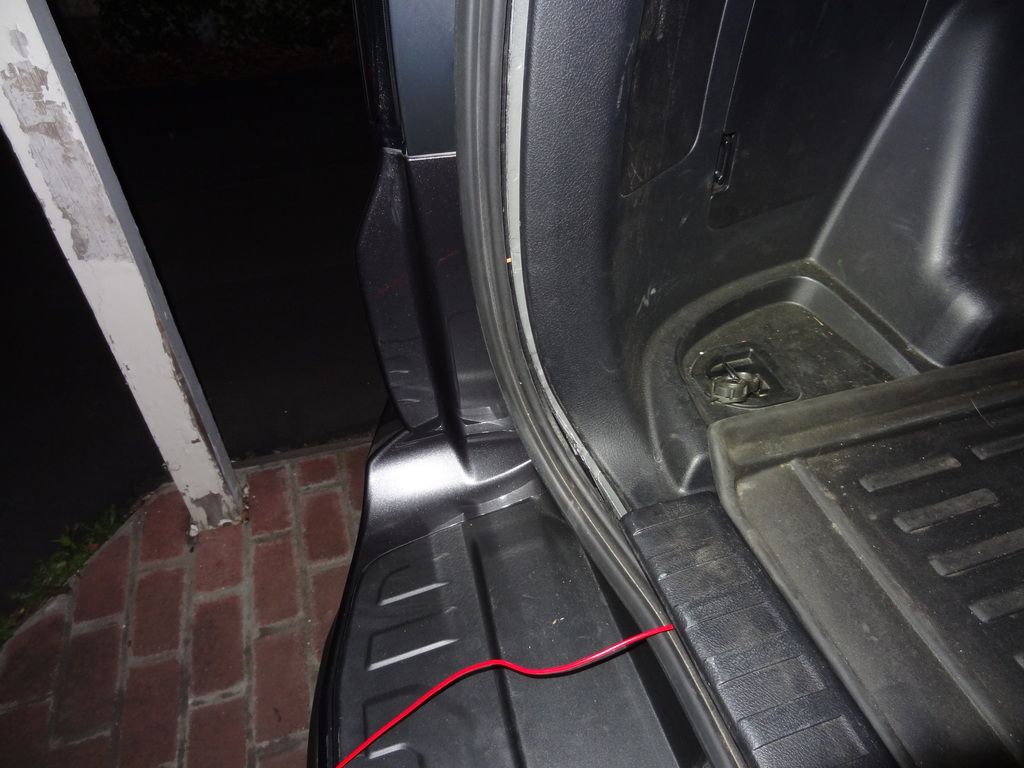
I then pulled enough wiring through the hatch/grommet to get me to the front of the vehicle, and started my way forwards. First, I pulled the weather stripping for the rear door off, and routed the wire down the driver's side of the rear hatch area to the floor.
DSC09333_zpscnyl6c9m.jpg

DSC09331_zpsaxsbywrr.jpg

DSC09329_zpszd3s4w6u.jpg


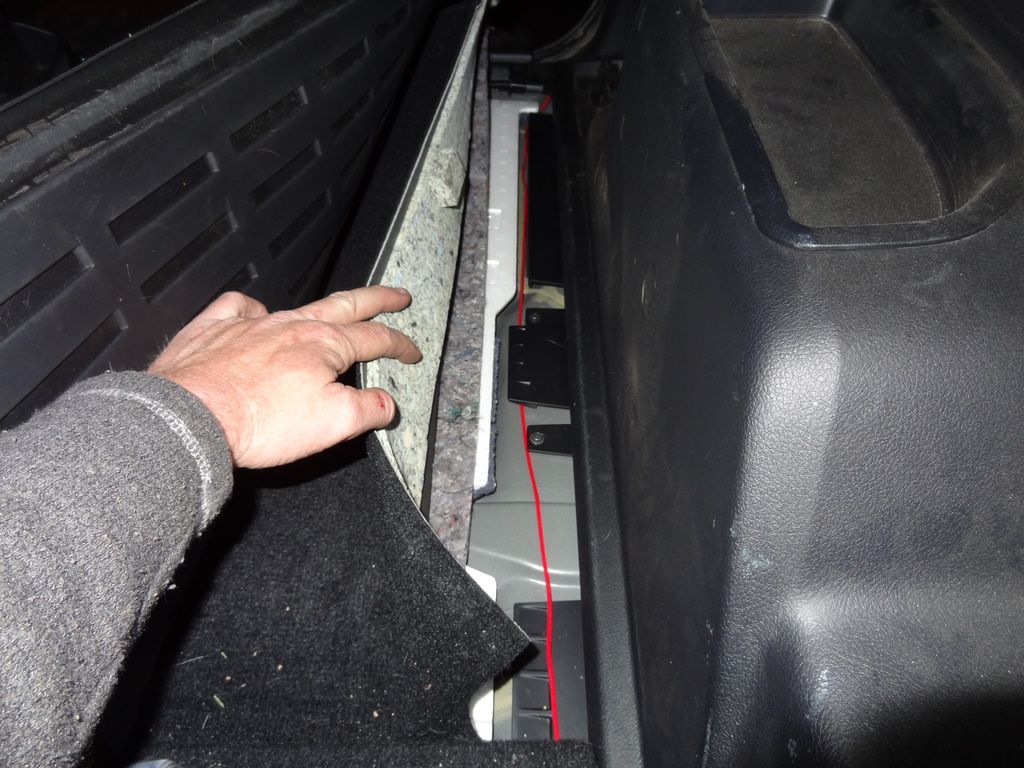
Then, up under the floor mat in the cargo area to the back seat.
DSC09341_zpsm365tkte.jpg


See 2 of 3 below
 

MTN4RNR

Adventurer
The "who needs a hand hold" ... mod 2 of 3

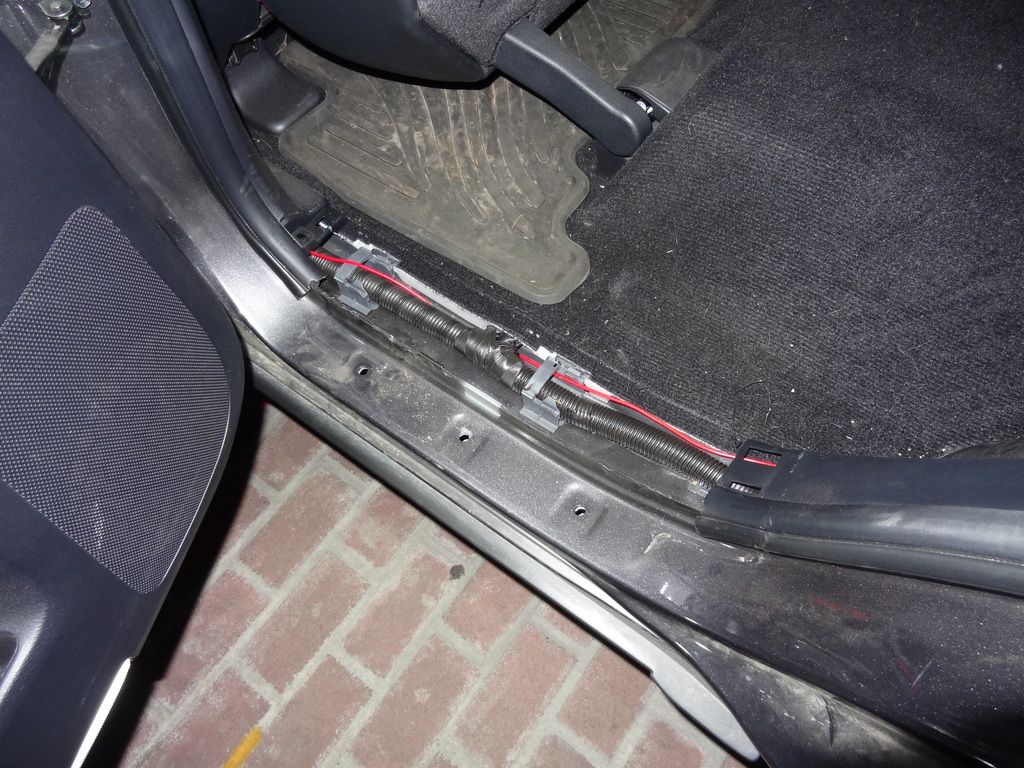
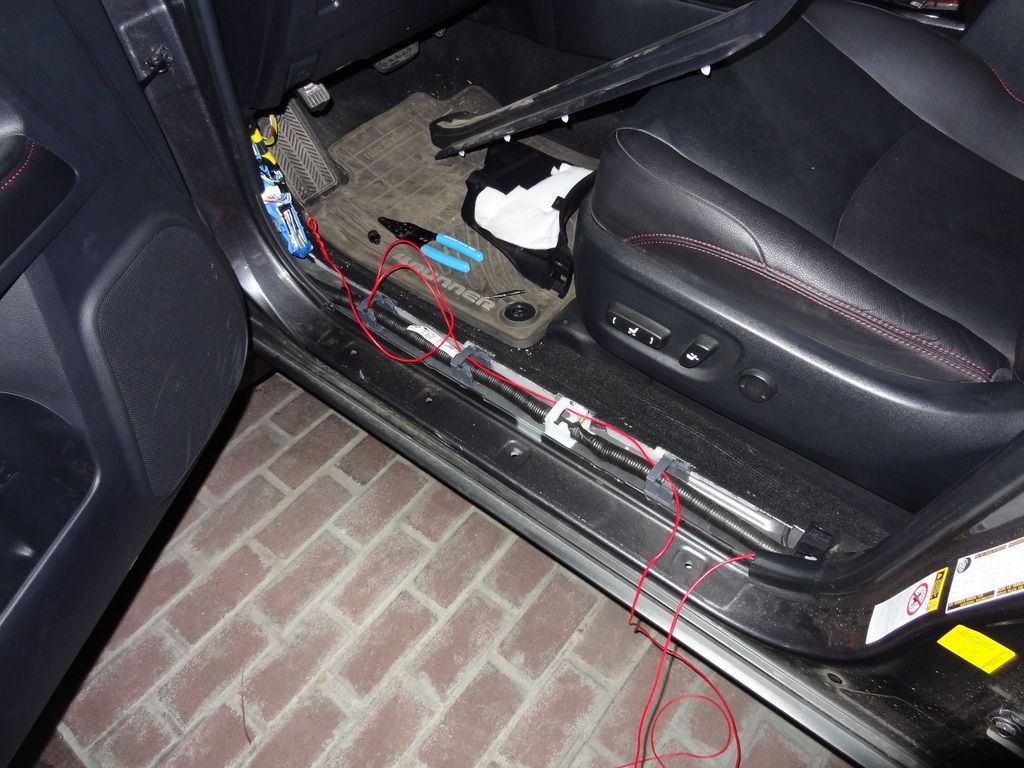
Under the driver's side door trim.
DSC09335_zpsd9ewbinw.jpg

DSC09337_zpsxufksu7r.jpg


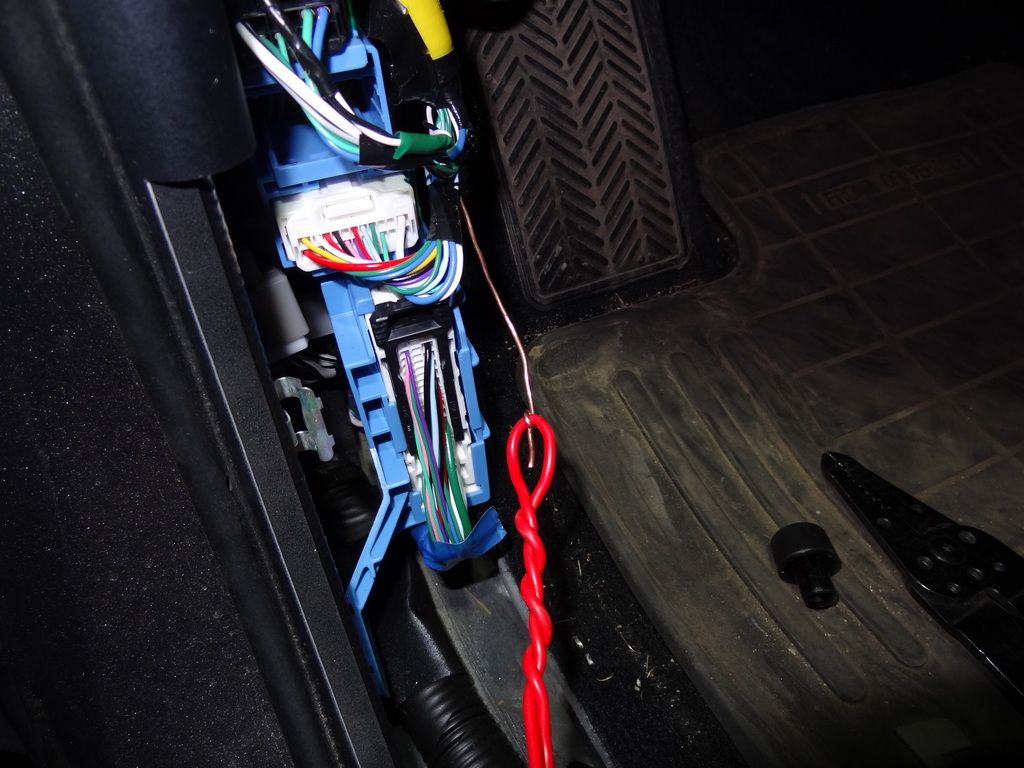
And through the firewall grommet I used for the grille light bar install using the same copper pull wire technique.
DSC09339_zpsg8pervzu.jpg


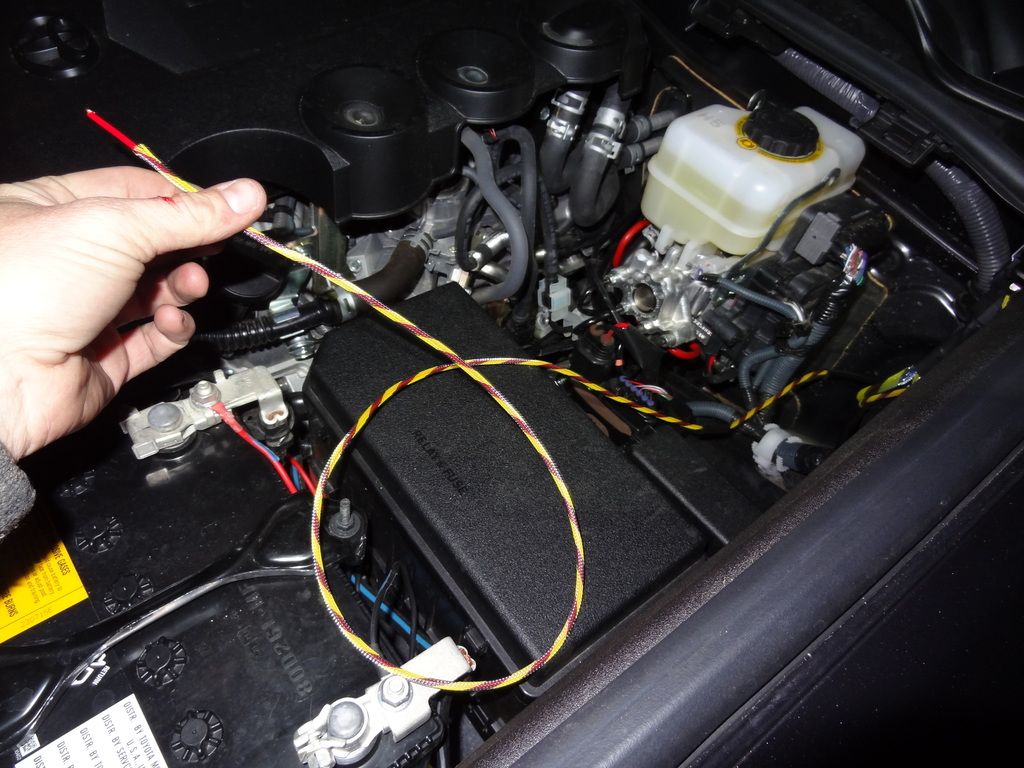
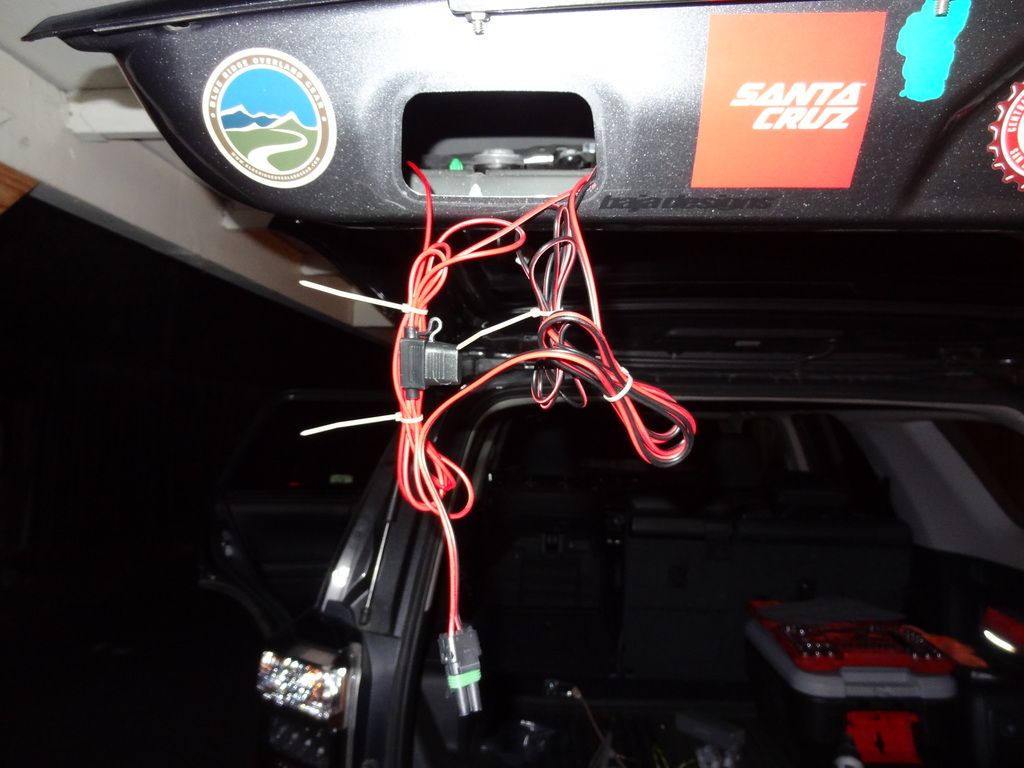
Once in the engine bay, I pulled enough wiring through plus 12” to reach the battery. I then cut and installed the same Flexo wrap used in the other light bar install over the wire to protect it in the engine bay. Shrink wrap on both sides, and a water tight battery connector on the end.
DSC09342_zpsnqsxcs2m.jpg


I then pulled the slack 12” back through the firewall so the Flexo extended from the driver footwell into the engine bay. I tucked all wires away, reinstalled all paneling and wrapped up that portion of the install. I left the wire disconnected from the battery for obvious reasons.

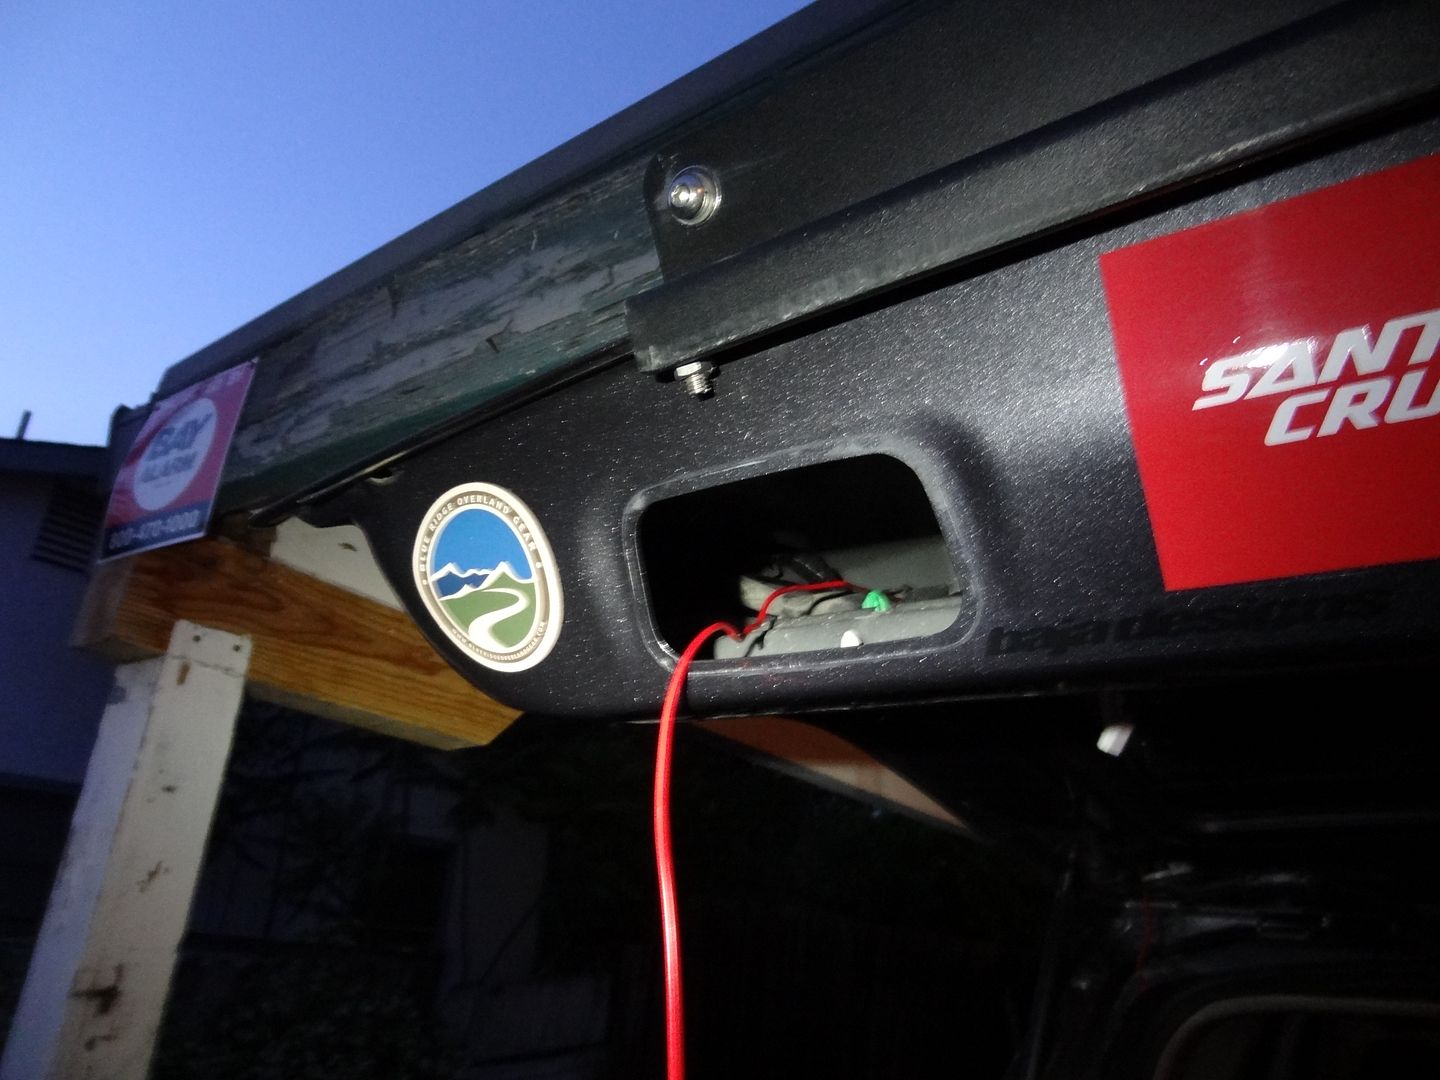
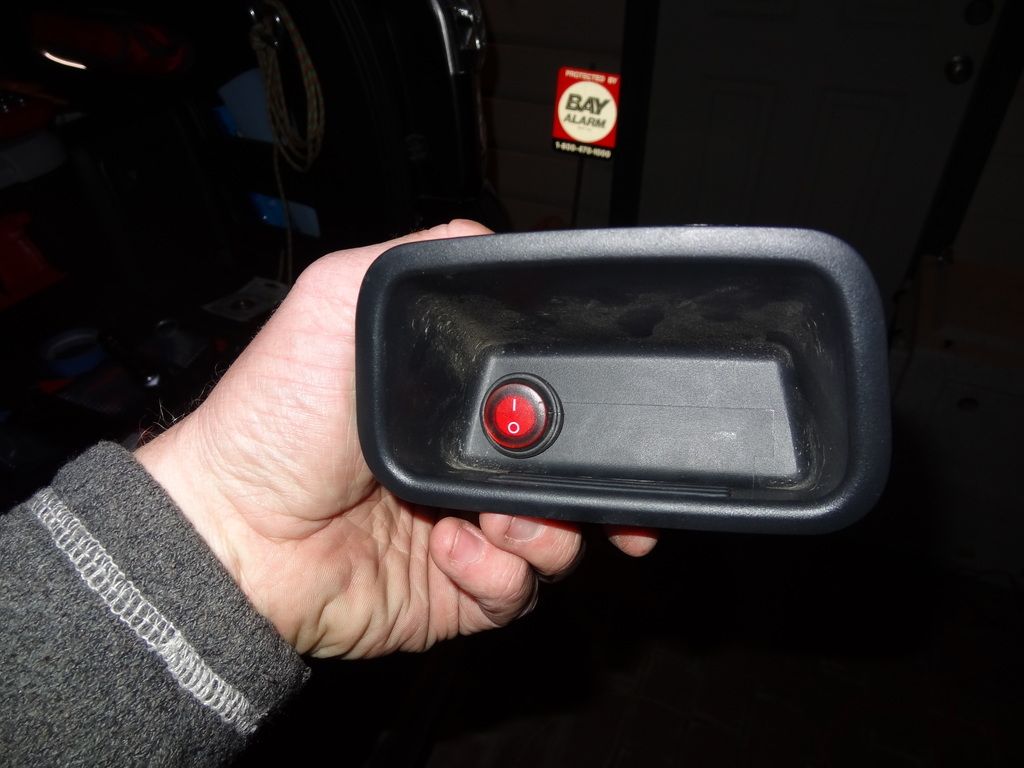
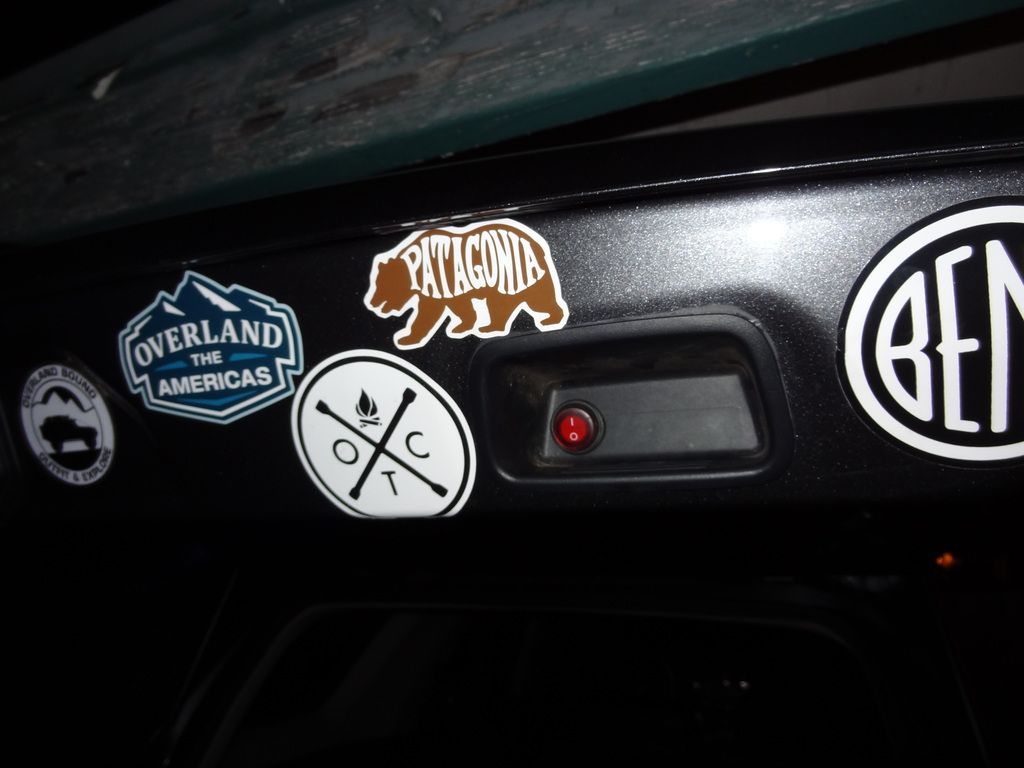
At the back of the hatch, I started by installing the switch on the passenger side hand hold using a step drill to create the hole for the round weather resistant switch.
DSC09344_zpssmufnfjt.jpg

DSC09345_zpsk1jg4reu.jpg


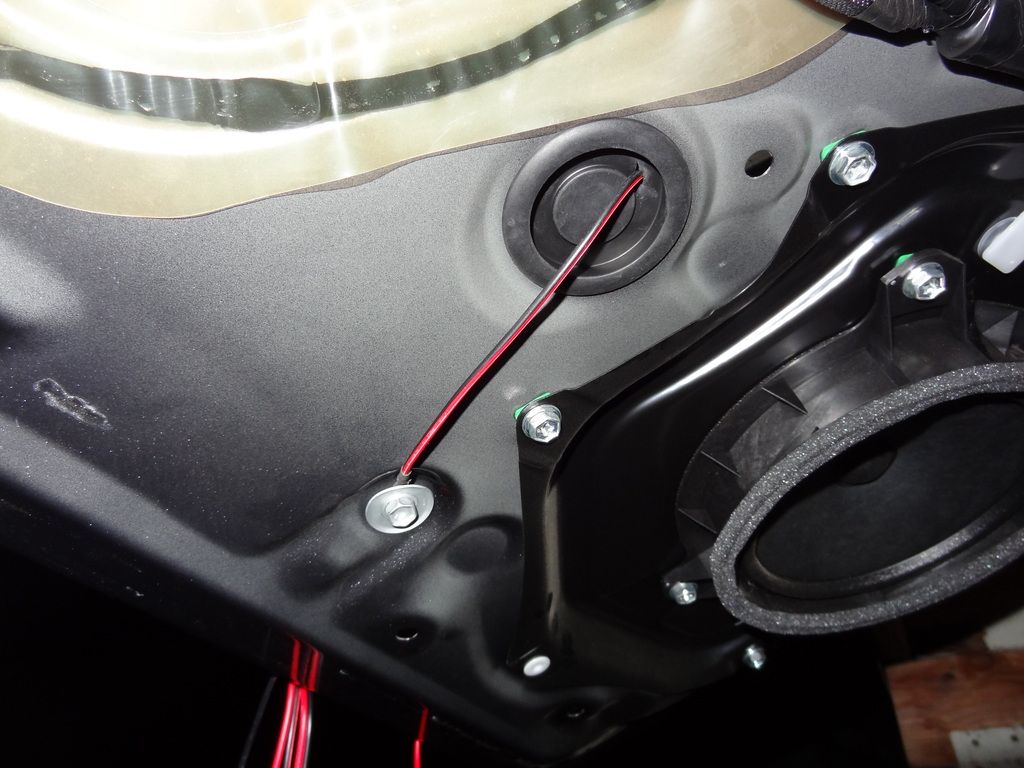
I then took the wiring harness through both holes, attached the hot wire from the battery to the positive wire on the harness, and routed the negative wire from the harness through a factory grommet and onto a factory hatch bolt.
DSC09348_zpssekbx98y.jpg

DSC09350_zps93rpz4l3.jpg


Hooked up the switch wires as it came, and reinstalled the hand hold on the passenger side, with the switch.
DSC09351_zpsk9y035pw.jpg


Pulled the slack out of the wiring harness and used zip ties to clean everything up.
DSC09352_zpscoaiqkuy.jpg


[Daytime!]

I then used the step drill to hone out the mounting hole for the light, and the hole for the light wire to come inside the hatch.
DSC09360_zpsgnhoo1rh.jpg


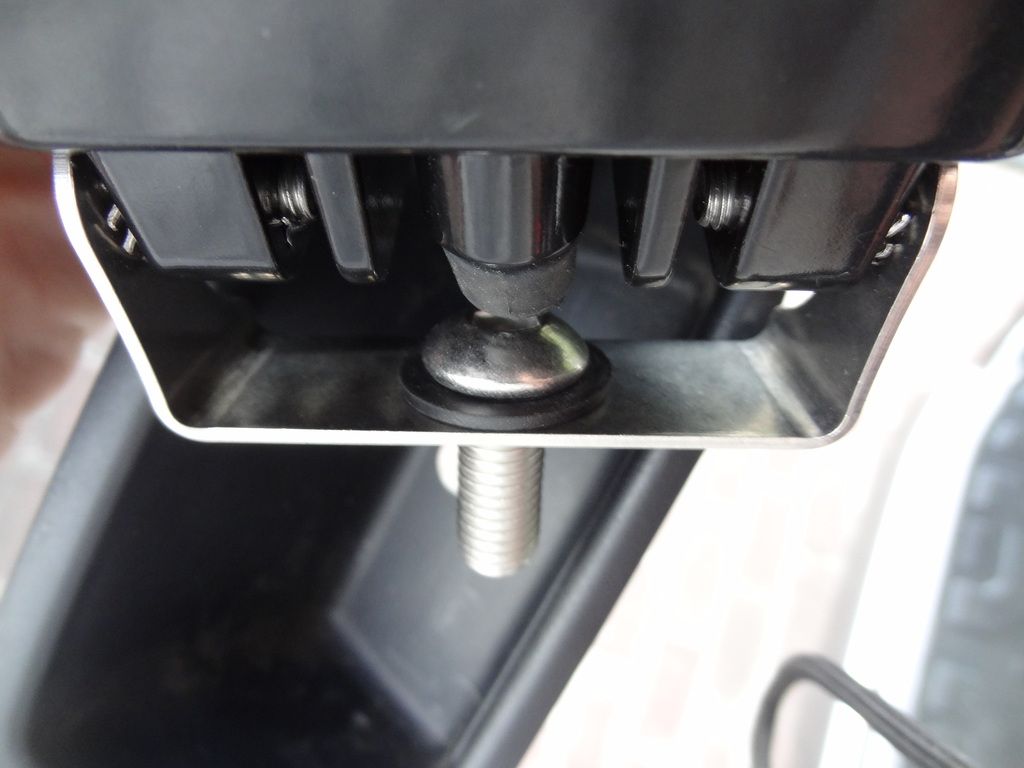
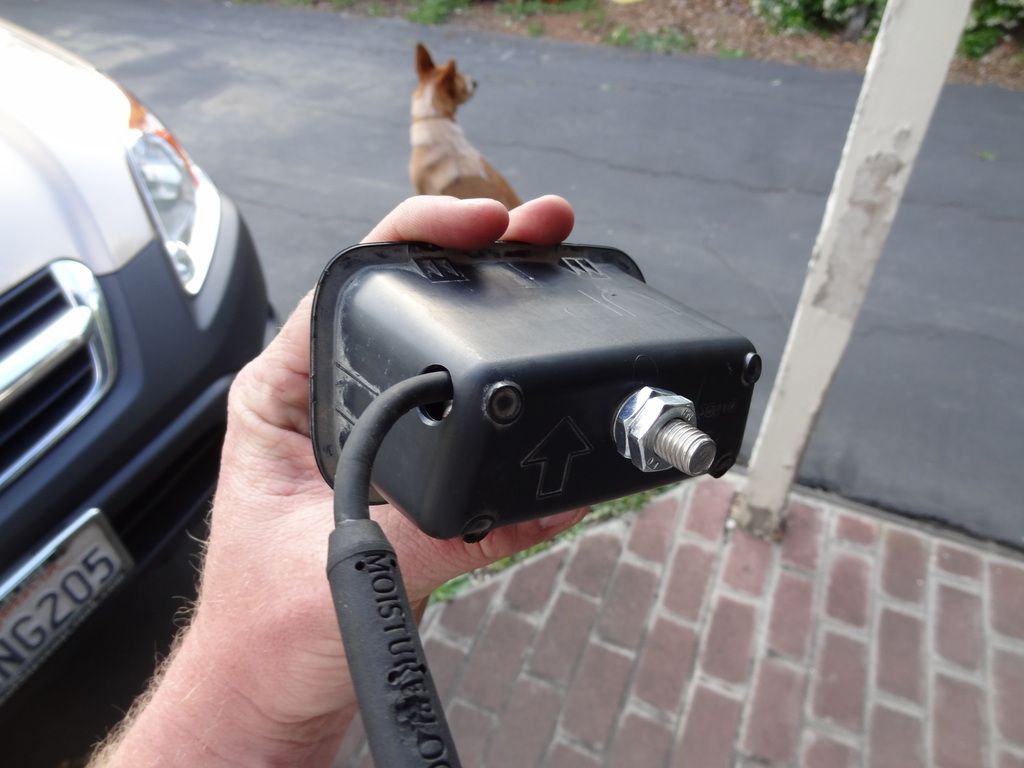
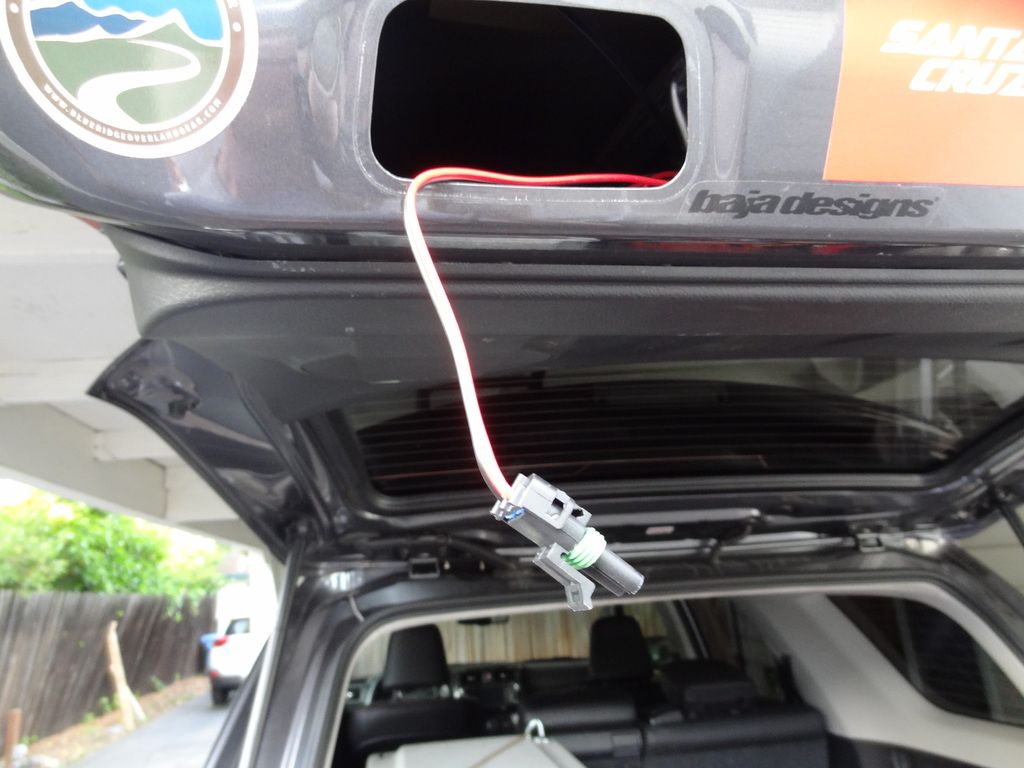
Because I wasn't going to be able to secure the bolt inside the hand hold due to the light blocking it once in place, I used a rubber washer to allow the bolt to have enough traction to allow me to tighten without causing the bolt to simply spin. For this reason, I also opt'd away from the supplied nylon lock nut and favored a jam nut set up because it would put less rotational force on the bolt (eliminating spin and allowing it to tighten). To get the light wire through the hole I dirlled, I removed the provided deutsch connector, fed through and reinstalled it.
DSC09362_zpsfgkb8e0p.jpg

DSC09363_zpsohkiifap.jpg


I zip tied all bound wires to a support inside the hatch to eliminate any rattling or clatter from the hatch.
DSC09365_zpsbwauv1l3.jpg

DSC09366_zpsudwp3ctx.jpg


Plugged it in, and reinstalled the hand hold with the light into the hatch!
DSC09367_zpsjijtiwx7.jpg


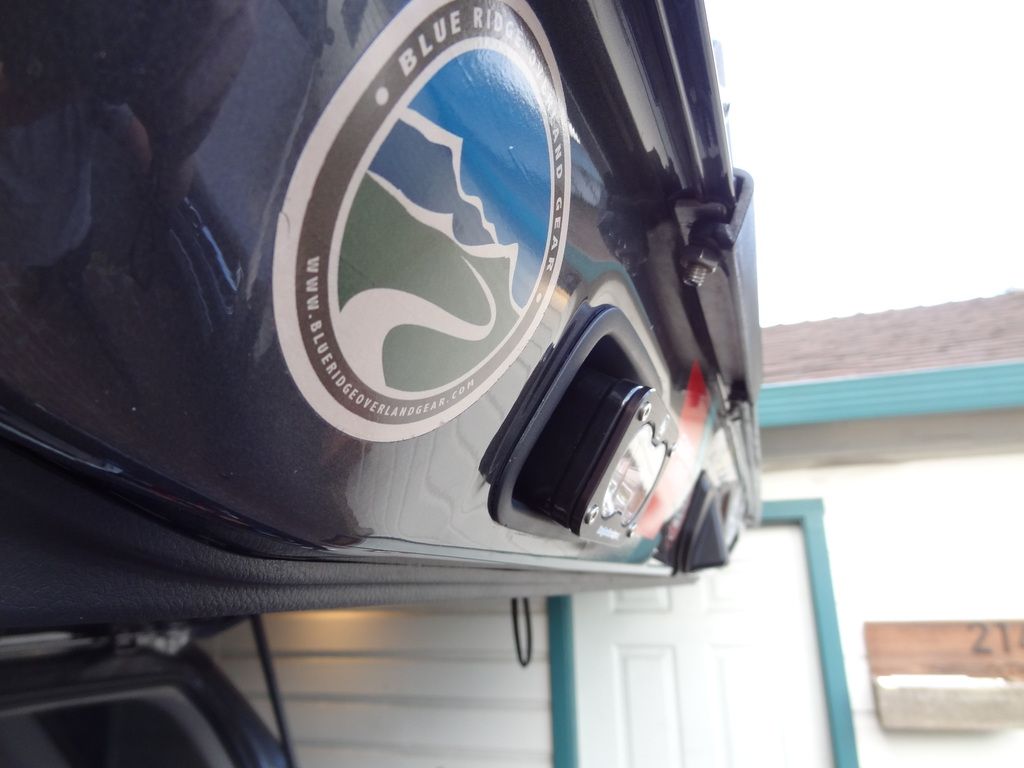
It does stick out of the hand hold because of the mounting bracket, but it clears the bumper when the hatch is shut, and that was all I needed!
DSC09369_zps0srutuia.jpg


See 3 of 3 below
 

MTN4RNR

Adventurer
The "who needs a hand hold" ... mod 3 of 3

Now for some installed photos.

DSC09377_zpsu0pyepcx.jpg

DSC09379_zpsw0b1axio.jpg


Switch lights when on.
DSC09383_zpse50mdjfl.jpg


DSC09387_zpsy8thcalp.jpg


S8 in the grille, S2 in the hatch.
DSC09402_zpsynppy9e3.jpg


DSC09412_zps6scwvqxi.jpg

DSC09415_zpsbvfjhwcn.jpg


Impressions
I am very pleased with the outcome of the light installation. It covers all of the requirements for my install, and the light output is awesome. This is the perfect addition to the 4Runner for anyone who spends time behind the truck at night, working, camping, or whatever. The quality of the Baja Designs light is top notch and it puts out a lot of light for it's compact size, and in the right place with the work/flood lens. I finished this just in time for a dispersed camping trip, and will post updated photos when I come back!

More to come…​
 

Outwardbound

Observer
Do you need an HID kit to uprade the FOGs?

I wanted to upgrade the stock halogen bulbs to an LED bulb following the HID upgrade from Xenon Depot. After working with Steve from Xenon Depot, I ended up with the Philips Yellow LED Fog Bulb. Although I wanted initially to match the color of the HID’s better with the white version of the bulbs, I had to remember that while matching lights look cool, fog lights are a functional tool when driving in adverse conditions as they help to cut through whatever is in front of you. The yellower lens helps to provide the best light temperature to cut through the debris on the road to light up road markers and lane lines.​

Parts Used:
-Yellow Philips LED fog lights from Xenon Depot
-Lagunitas IPA

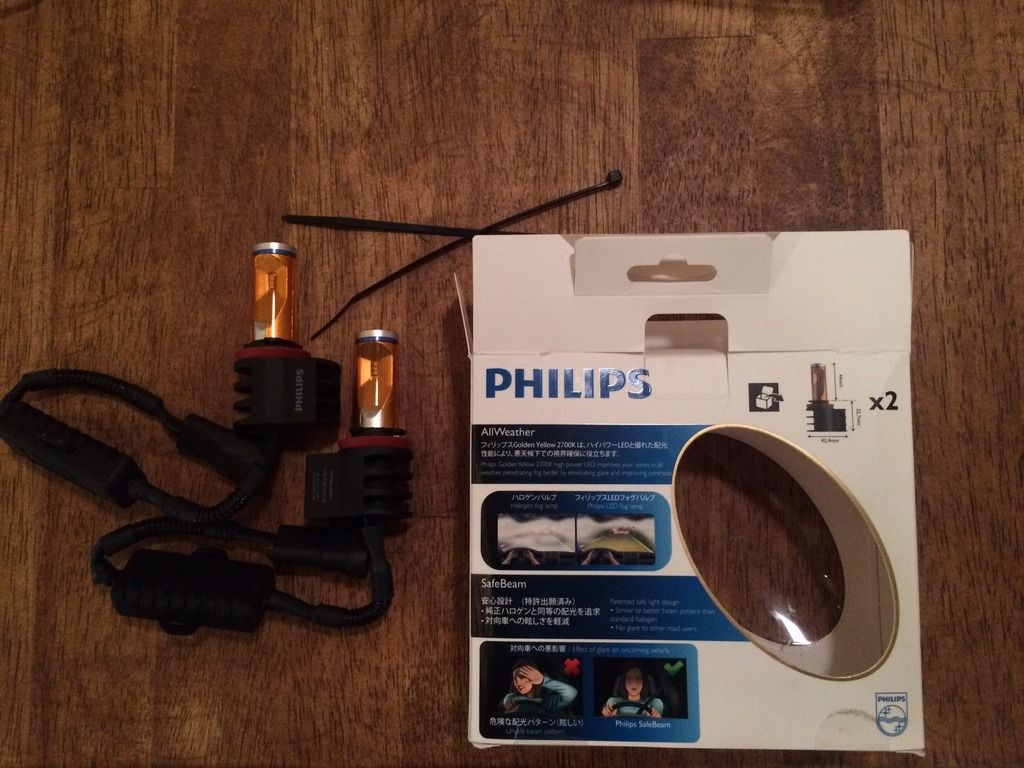
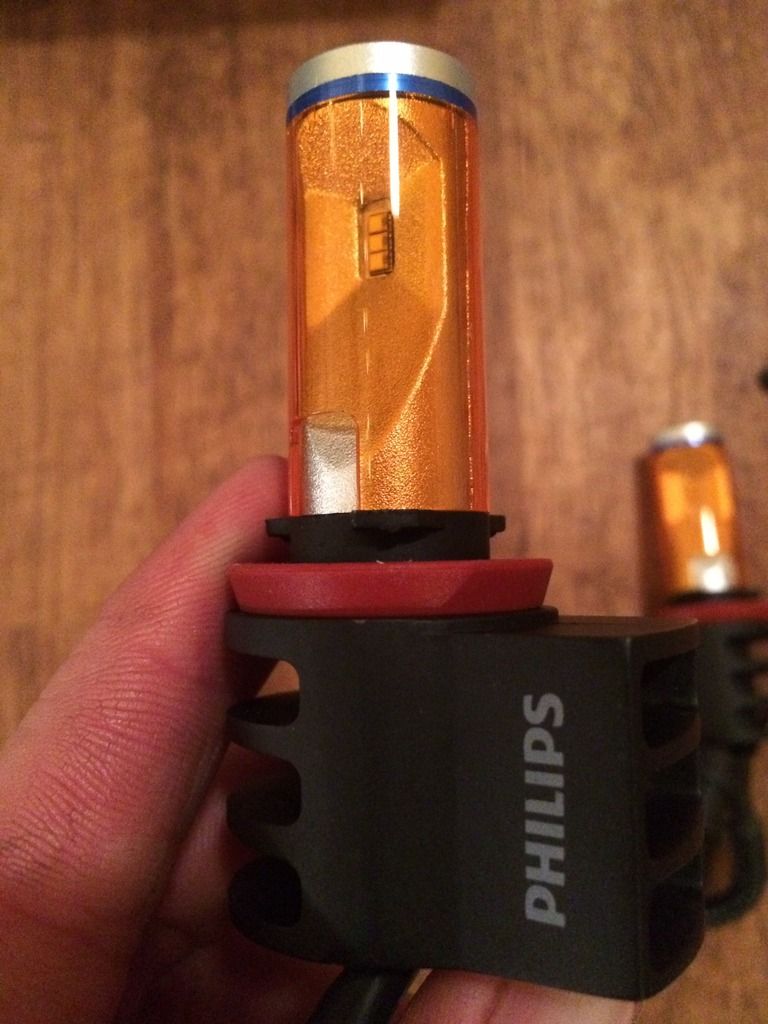
Lights out of the box
image_zpslwsotohk.jpeg


Yellow plastic film over the diodes. The bulb has a nice heavy feel to it and seems to be made with quality in mind.
image_zpsvbv6r3yp.jpeg


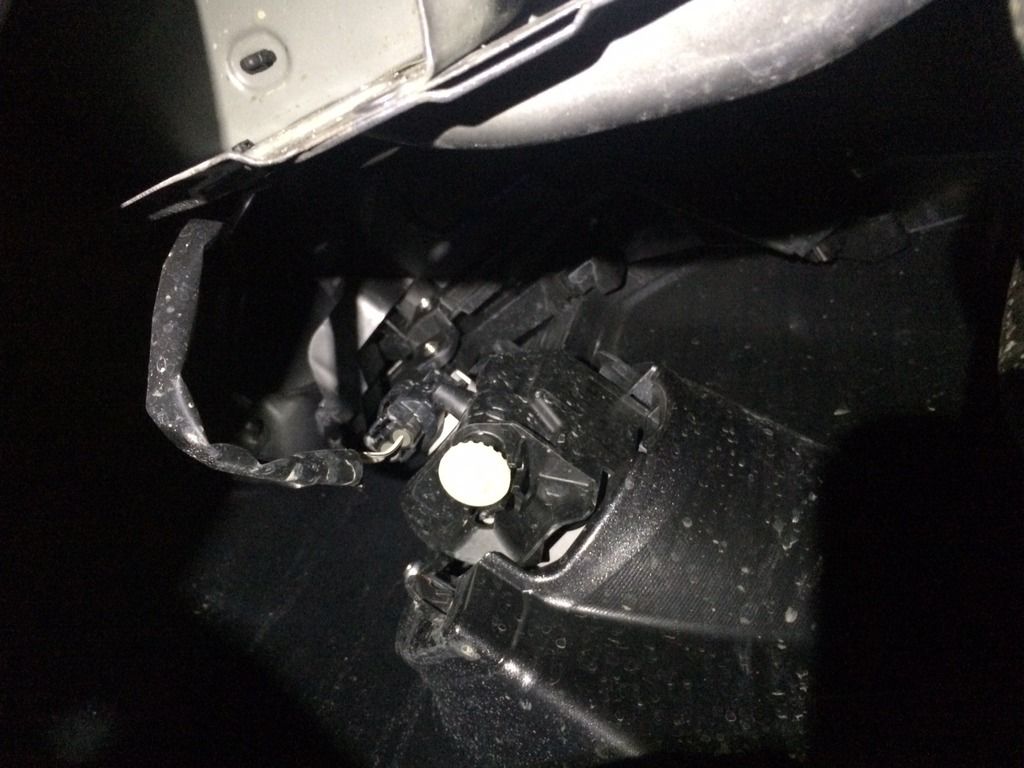
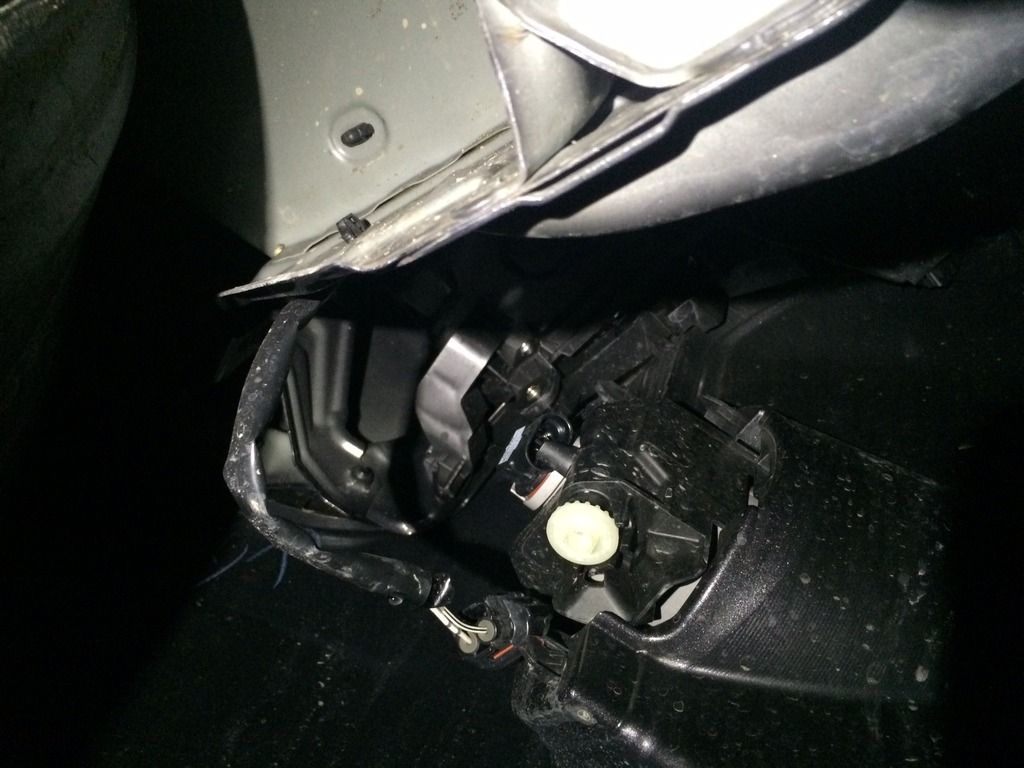
Driver’s side

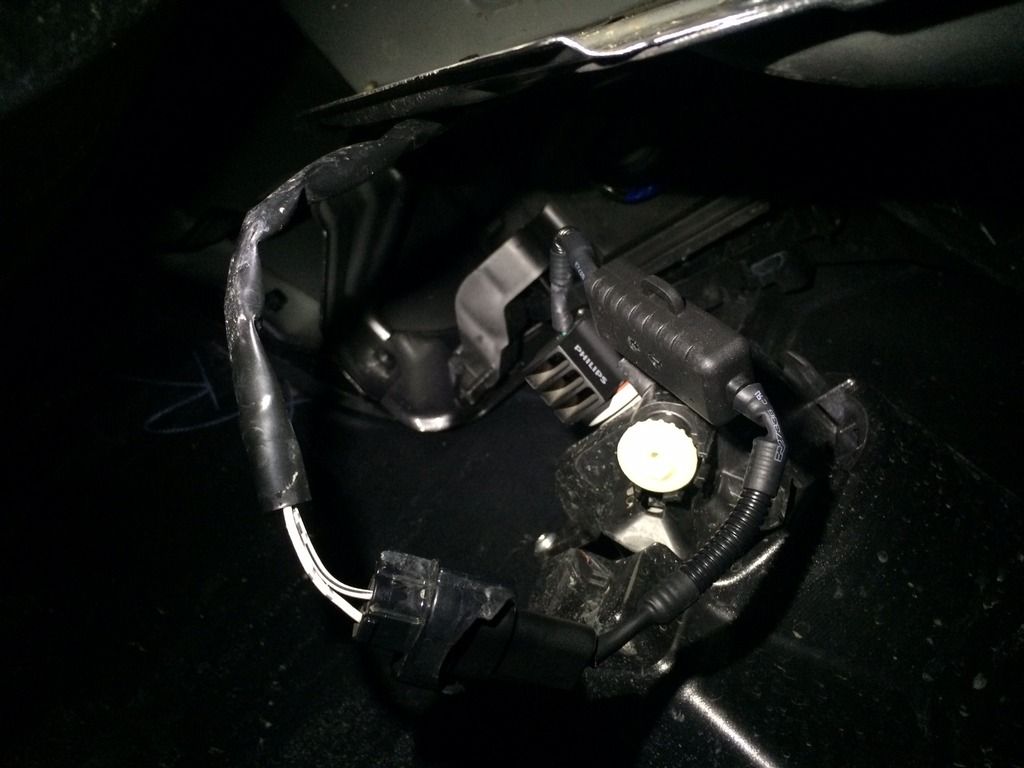
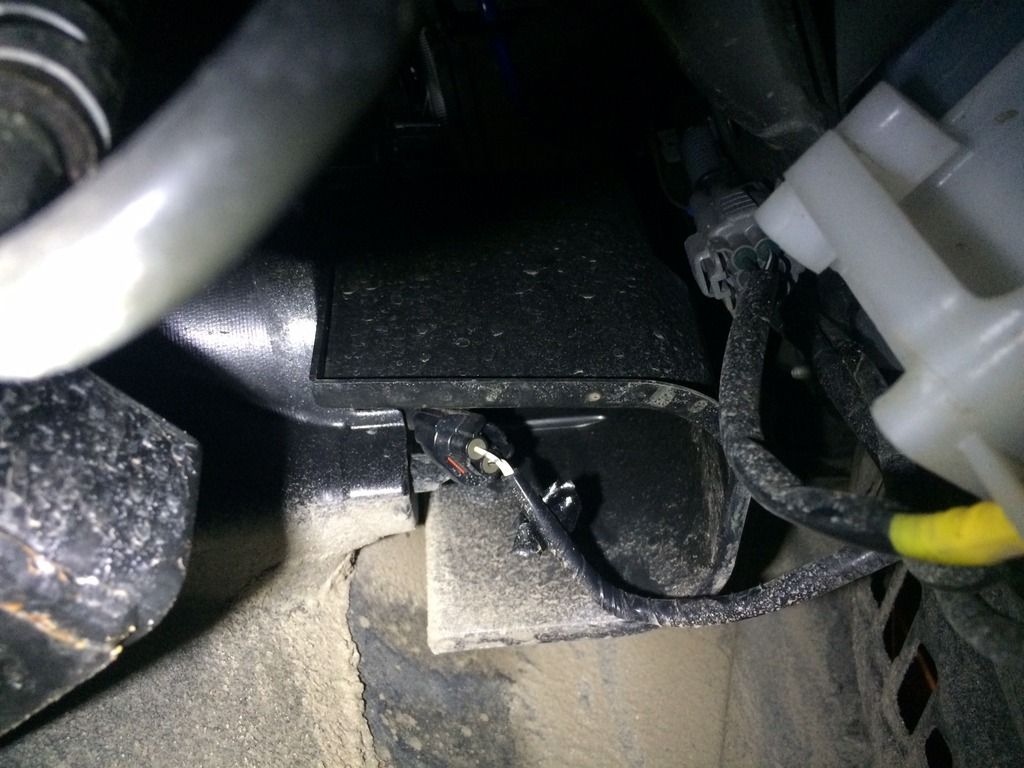
Fog lamp from below. In order to remove the bulb, you need to unplug the harness from the bulb to clear the plastic “stopper” piece on the housing. Turns counter clock-wise to remove
image_zps2krseeje.jpeg

Harness un-hooked to clear the bulb.
image_zpslhzkb3vw.jpeg

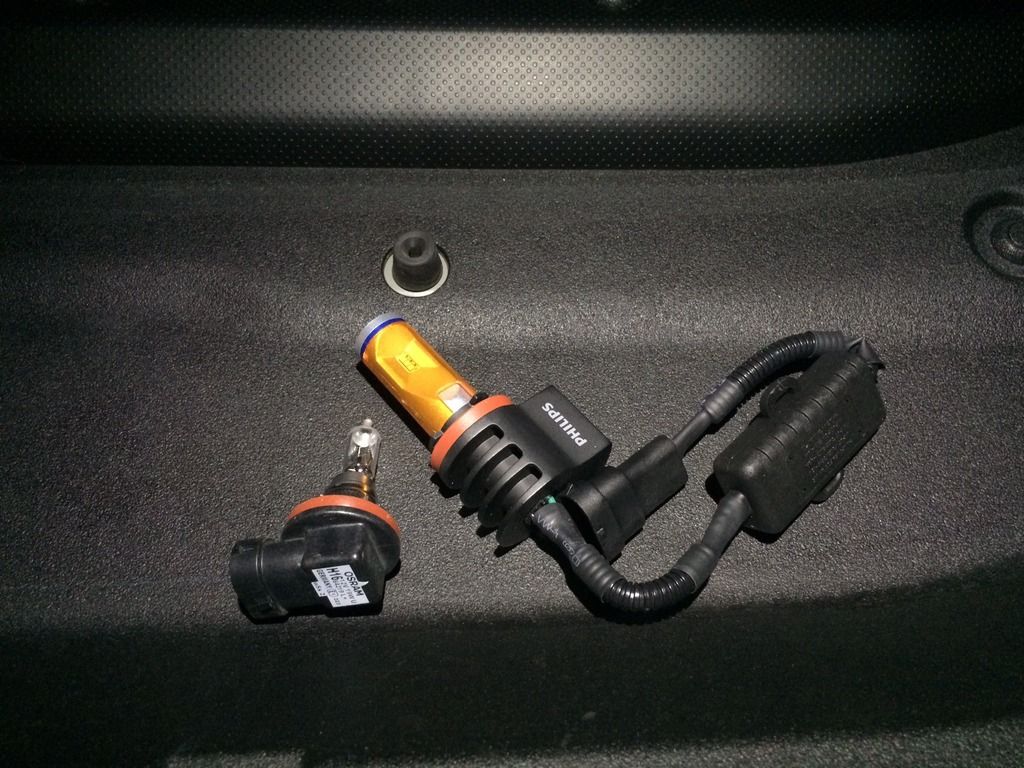
Old vs. new. The new bulb is larger, but will fit. You will need to come in as straight as possible to make it work well. The bulb is very well designed in that it clears the plastic “stopper” perfectly.
image_zpsaiutsz9a.jpeg

New LED installed. I used the supplied zip tie to tie the wires to the sheet metal in the top of the photo.
image_zpsj39imhrb.jpeg
DONE

Passenger’s side

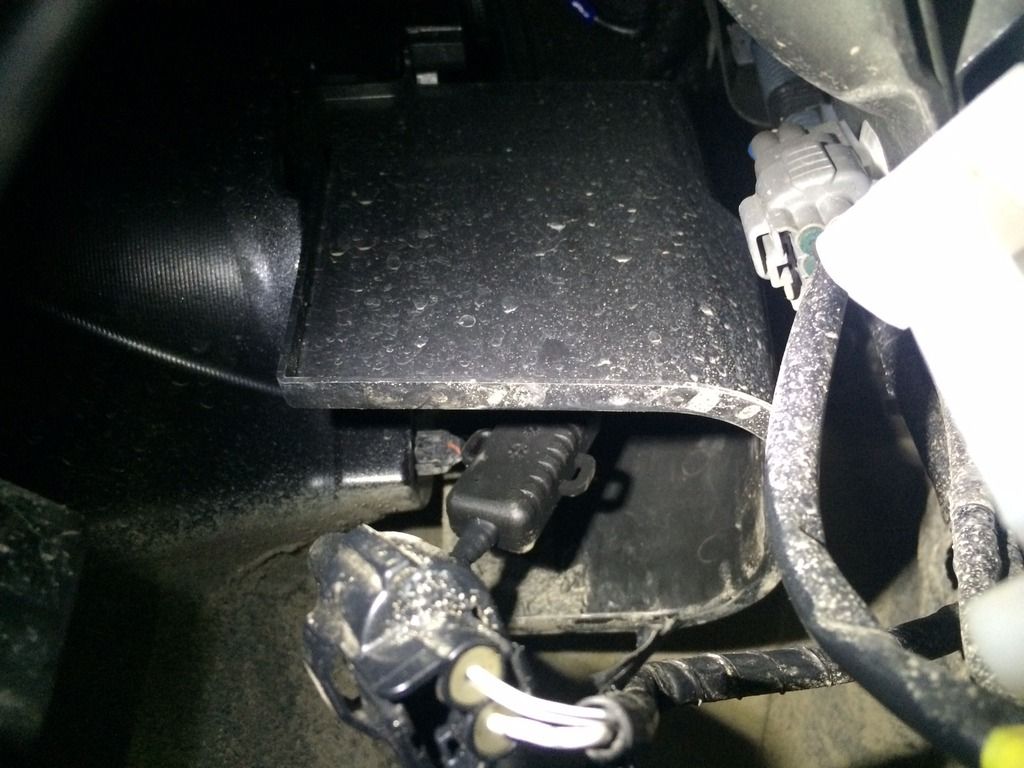
The passenger’s side has a plastic shroud surrounding the bulb. Same process, unclip the harness, turn the bulb counter clock-wise, remove.
image_zpsh56417ni.jpeg

New LED installed. The trick with getting this one in, because the bulb is larger, and the shroud is on, is to hold the outer part of the bulb, the metal base, between two fingers at a 90º angle. Hold it so the heat dissipator is facing down. Reach up and get the tip of the bulb into the housing hole. Then you can adjust to twist the bulb into the appropriate position. The bulb will line up at the 4 o’clock position, and will lock in in the 8 o’clock position. Patience is your friend with this one. I used the supplied zip tie to secure the wire to the stock washer fluid hose shown on the right of the photo.
image_zpsxhkxvnp9.jpeg

DONE

Before and After
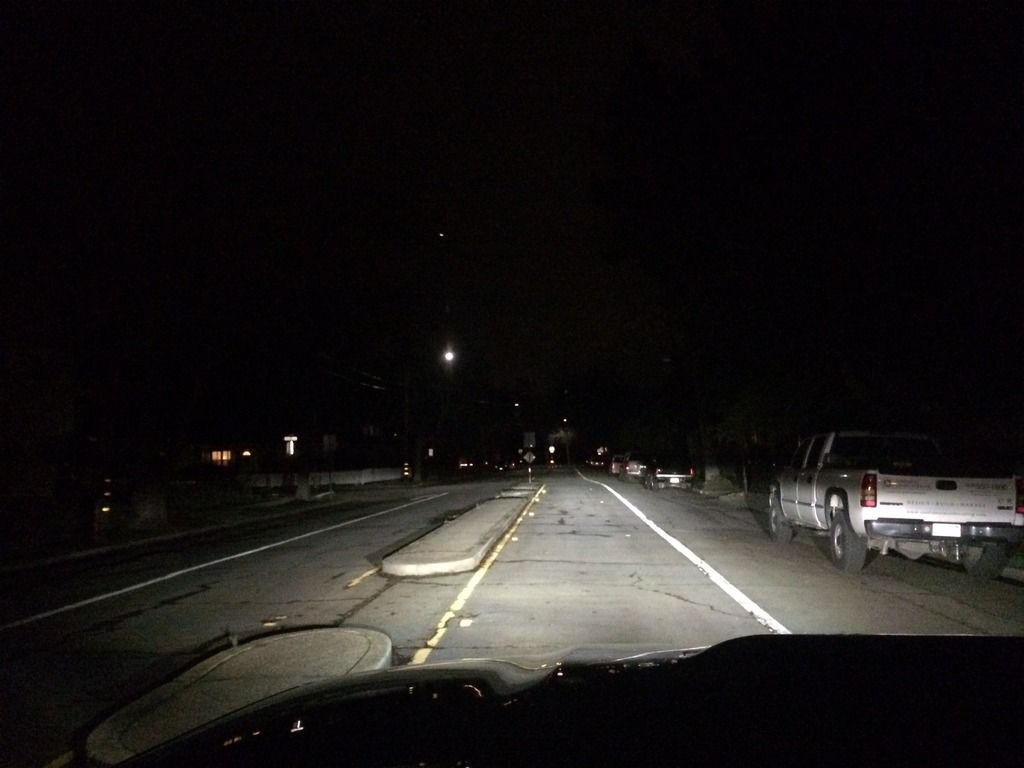
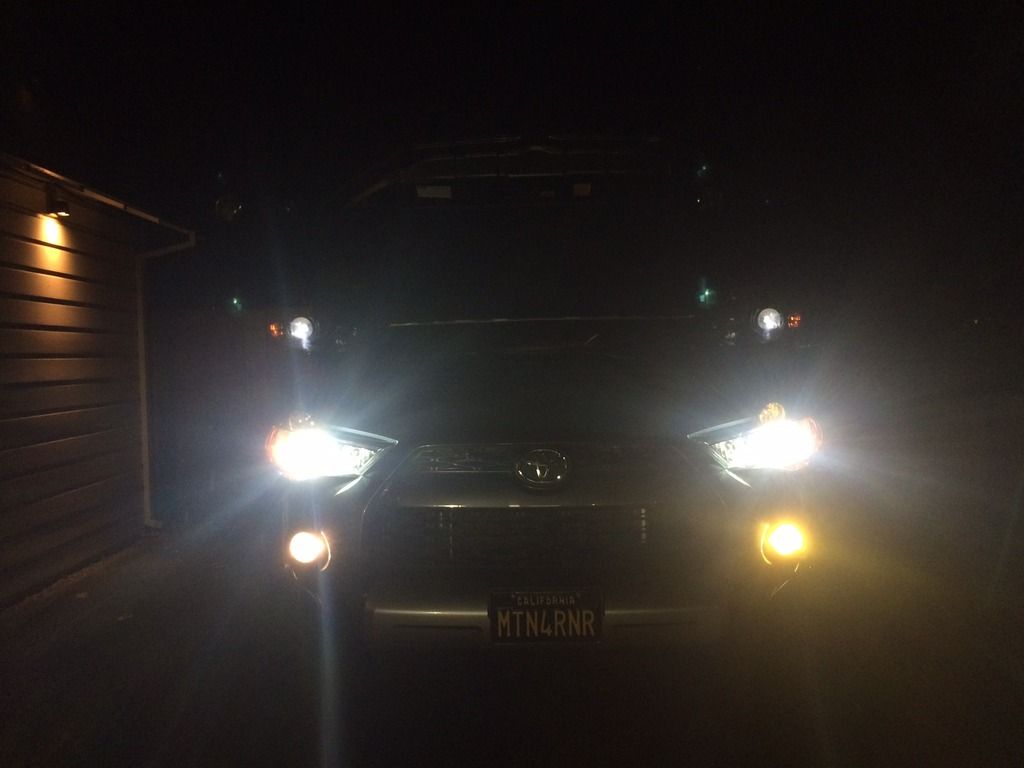
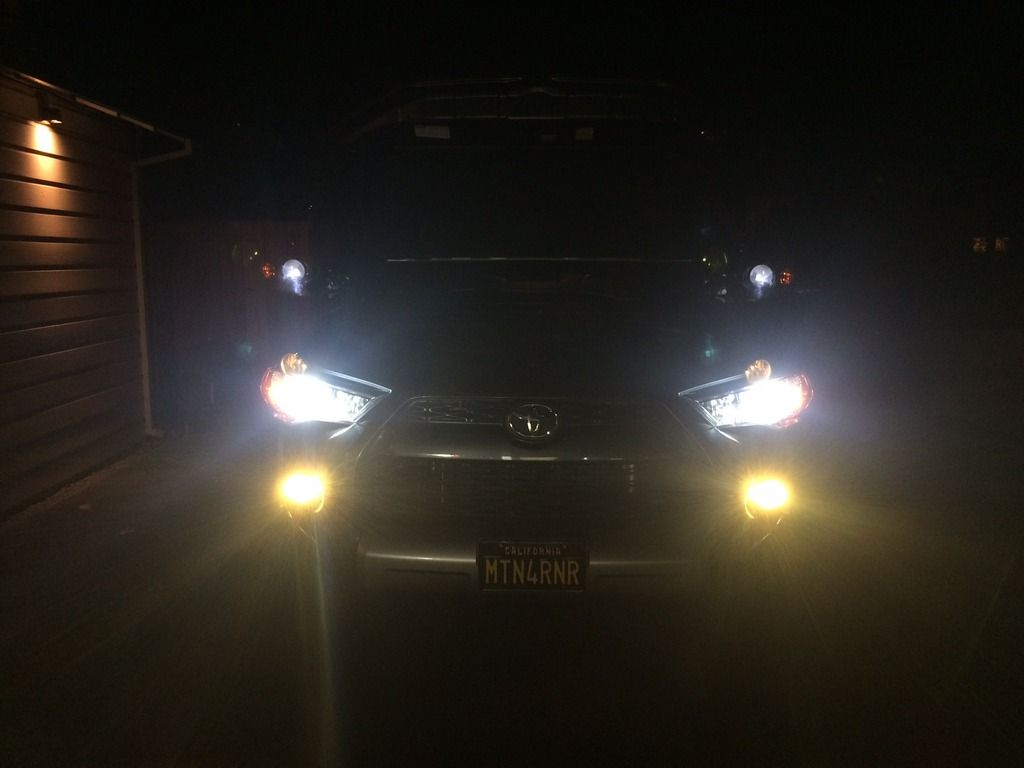
Low beam HIDs
image_zps33sw6nc2.jpeg

Low beam HID’s with stock fogs
image_zps9altluun.jpeg

Low beam HID’s with Philips Yellow LEDs
image_zpsqqgonlsl.jpeg

Here’s a really nice change though. The side visibility from the new fogs is greatly increased.

Low beam HIDs
image_zpsrxhrf6sg.jpeg

Low beam HID’s with Philips Yellow LEDs
image_zpsmowyjvwf.jpeg

Left fog stock. Right fog Philips Yellow LED
image_zpsm9d6hjww.jpeg

Left and right fogs Philips Yellow LEDs
image_zpspsomtfnm.jpeg


Impressions
I installed them last week and spent some time in the mountains over the weekend to test them out. In the rain and snow I encountered, the new bulbs put out enough light to make lane markers and the road easier to see. Much better than not having them on, and still better than the stock halogens. I will say that they are not as yellow as some of the guys running the yellow film on the stock fogs, but I think that the light delivered is better than a more pure yellow light. Function over form. I am pleased with the improved output of the stock fog housings with the upgraded LEDs. If I end up wanting or needing more light, I can add an amber LED light behind the lower grill for when visibility is very low.

Thanks to Steve at Xenon Depot for the product assistance.

More to come…
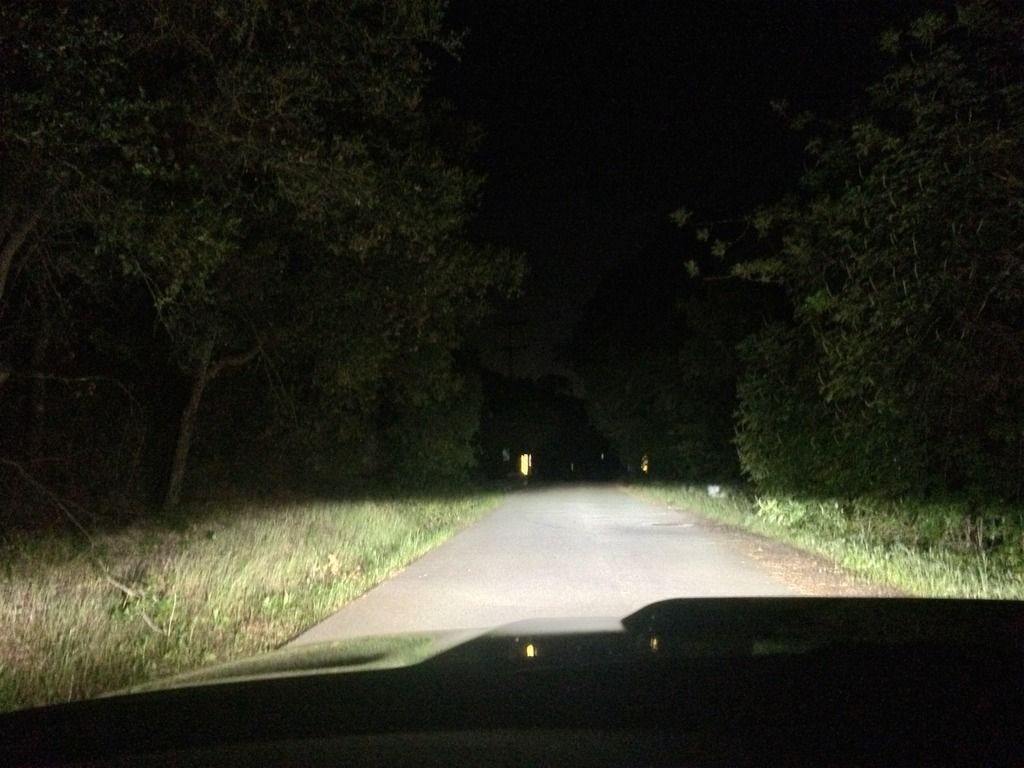


Great thread. I've read it before but always like to go back and reference great builds when upgrading my own truck; I see you on T4R a lot too.

Question, for the LED fogs, do you have to have done the HID upgrade to run the fogs? I noticed a different harness on the LED fogs. Wondering if this will work without doing an HID upgrade.

Thanks.
 

Forum statistics

Threads
188,470
Messages
2,905,514
Members
230,428
Latest member
jacob_lashell
Top