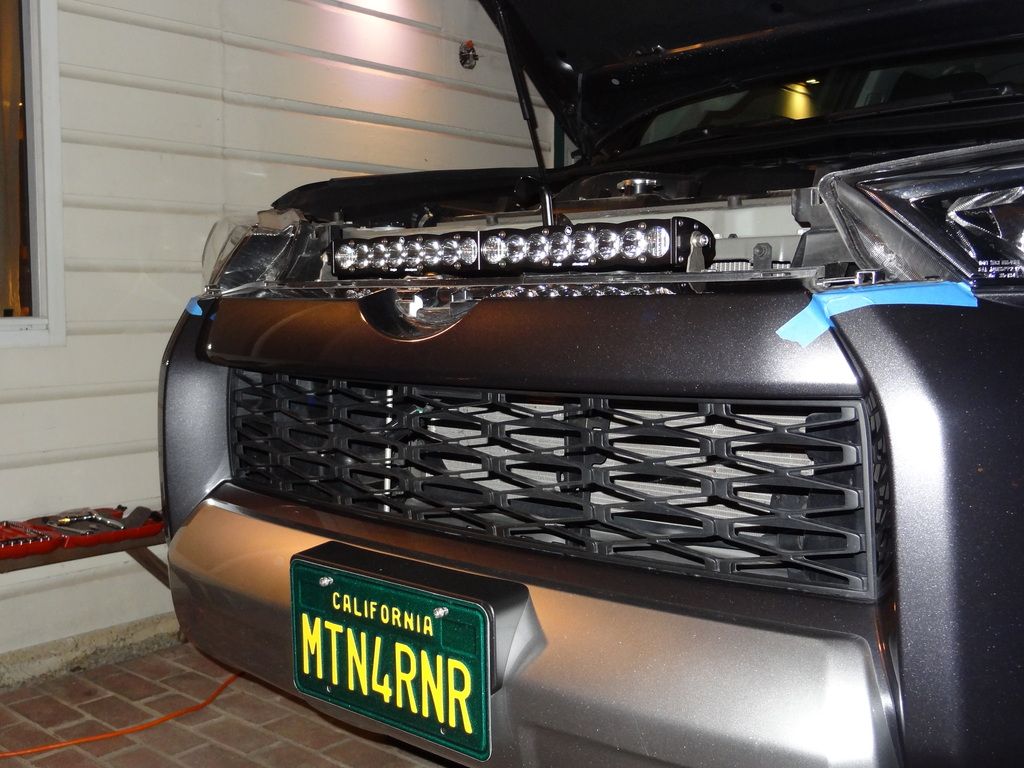
I have been wanting to add some extra fire power to the lighting arsenal of the 4Runner for a while. After the HID install, I found that the stock halogen high beams didn’t really match the low beam output, or color. And I no longer had the function of being able to ‘flash’ my high beams to be able to signal to other drivers because unless the low beams were on, flashing the stock high beams would cause the HID ballasts to flash as well, which is not good for long term reliability. So, aftermarket light bar it was. I decided on the S8 light bar from Baja Designs because their design is fantastic. Serviceable and exchangeable lenses, great light dispersion with the combo/driving lens, low beam matching 5k light output, and the separately wired amber back-lighting. I wanted a single row, because I wanted to keep it less noticeable. I decided on the upper grille because I wanted to keep it in-line with the headlights, not to block the radiator, and to have the back-lit feature be in the ‘marker light’ position. I bought the LED bar through
Apollo Optics .
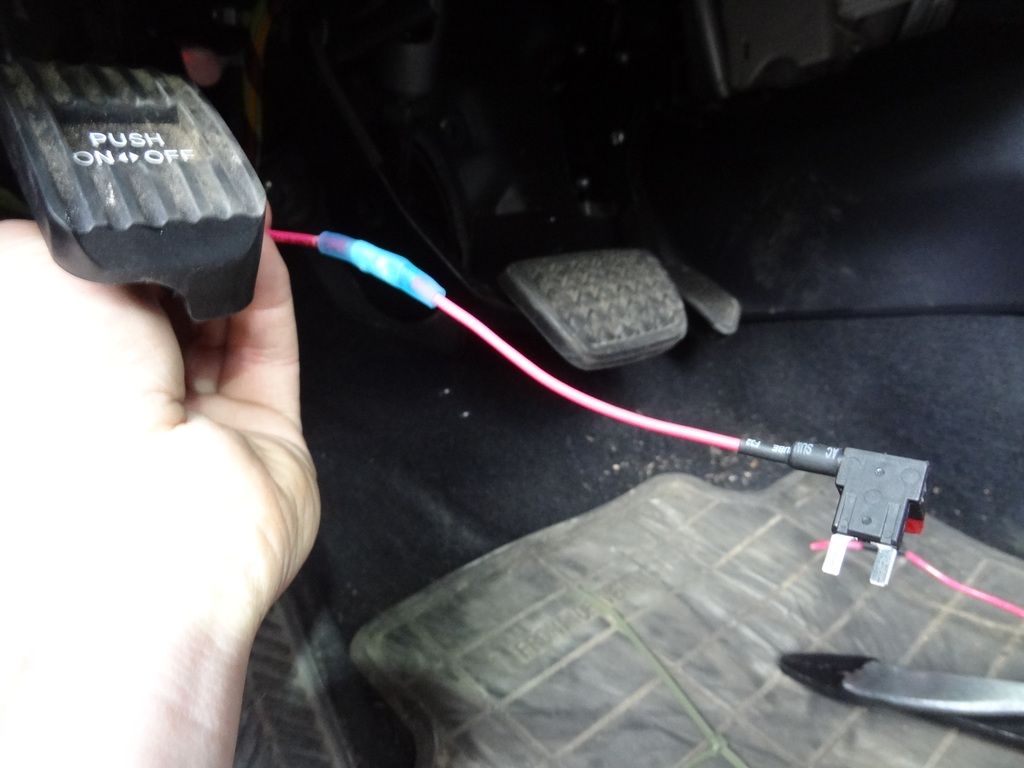
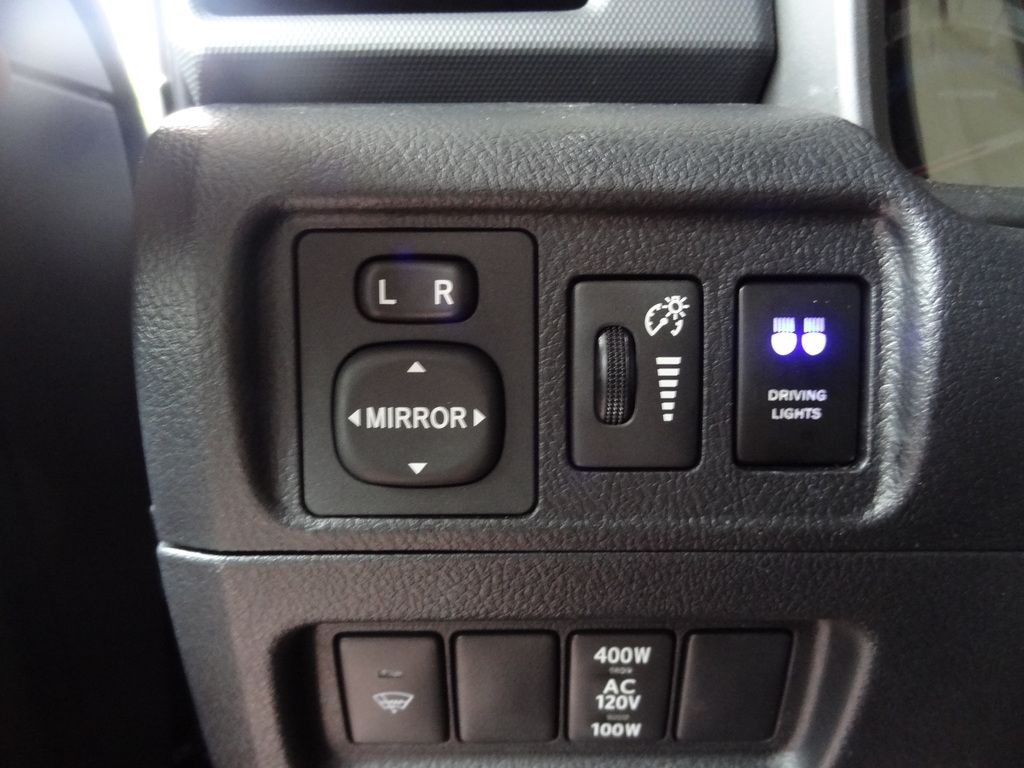
Switching is controlled by an OEM style switch for now until I add a few more accessories, then I will switch to a consolidated platform (likely a Switch-Pro). Without further delay...
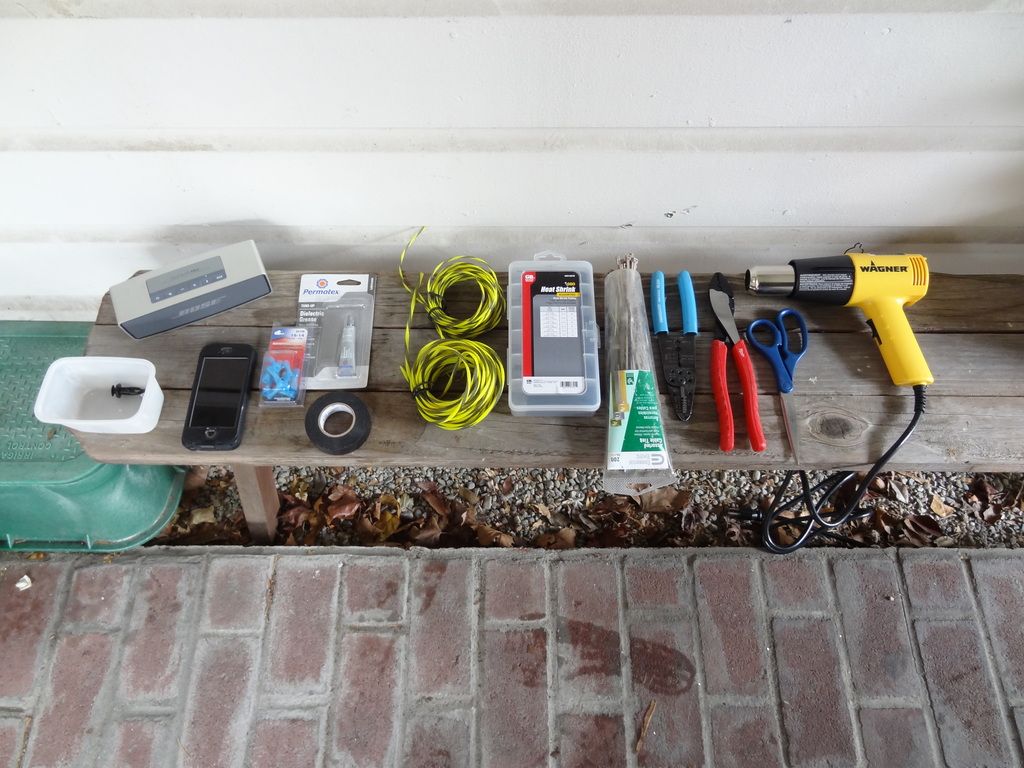
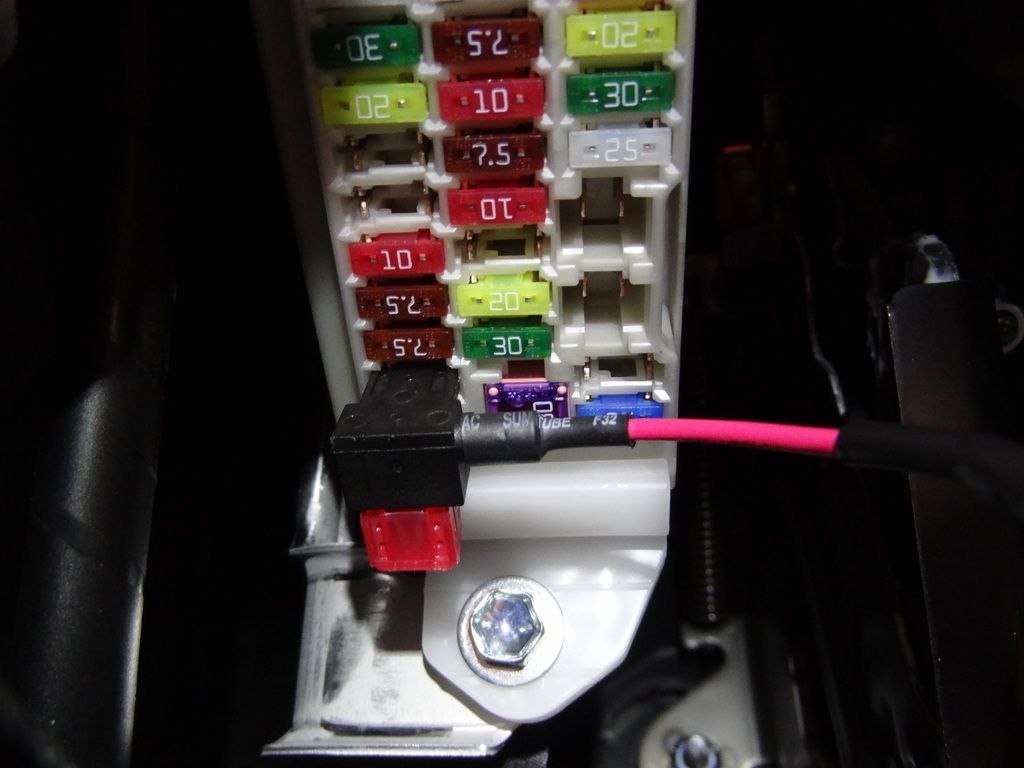
- 14 ga. wire
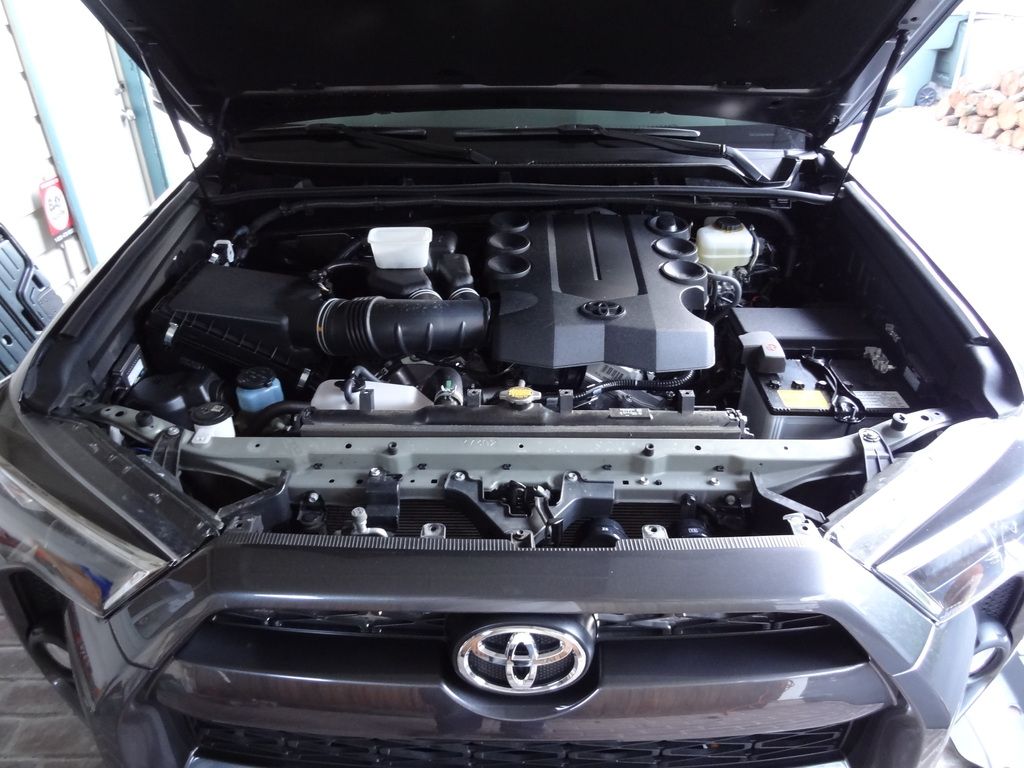
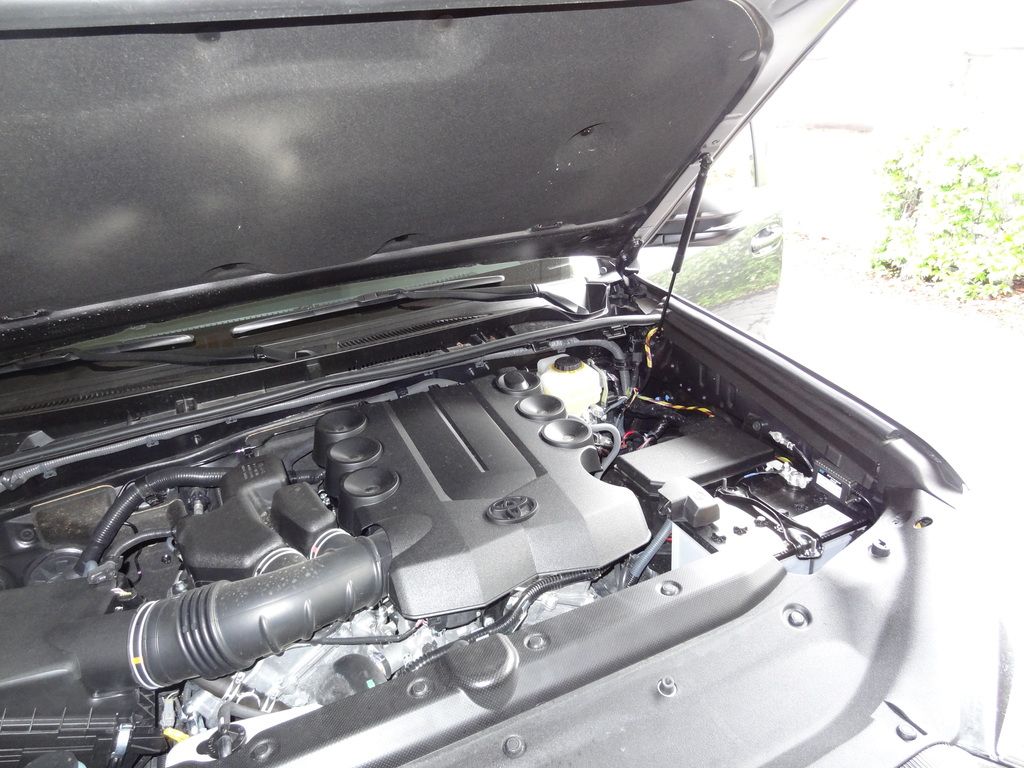
Remove front access cover.
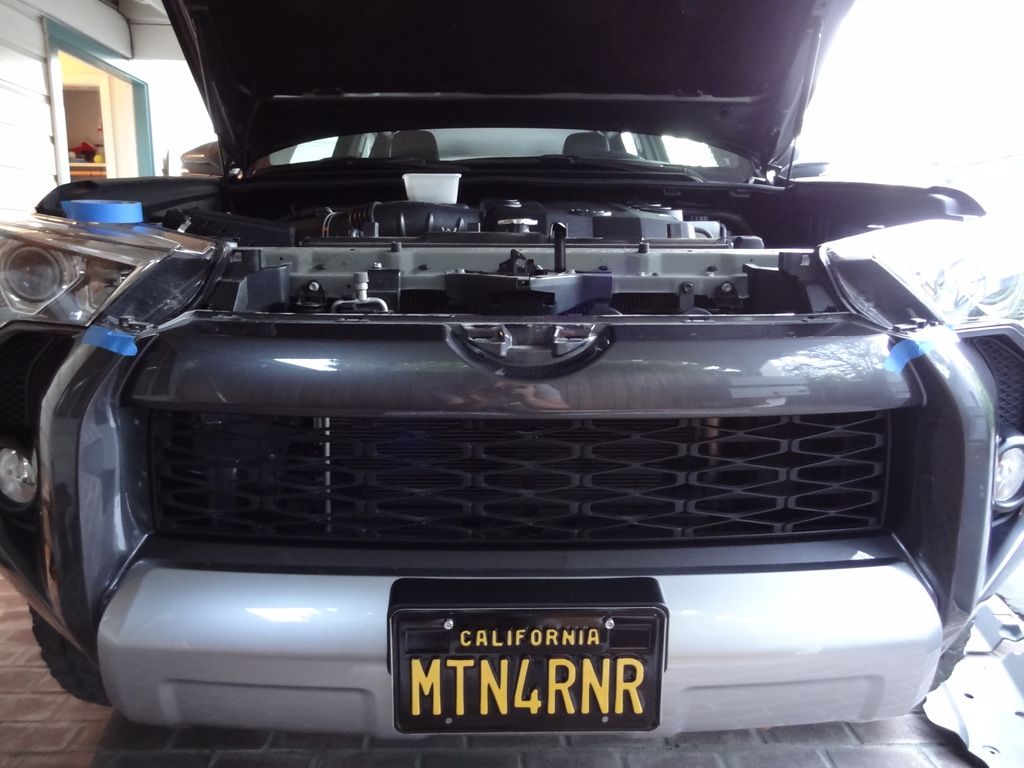
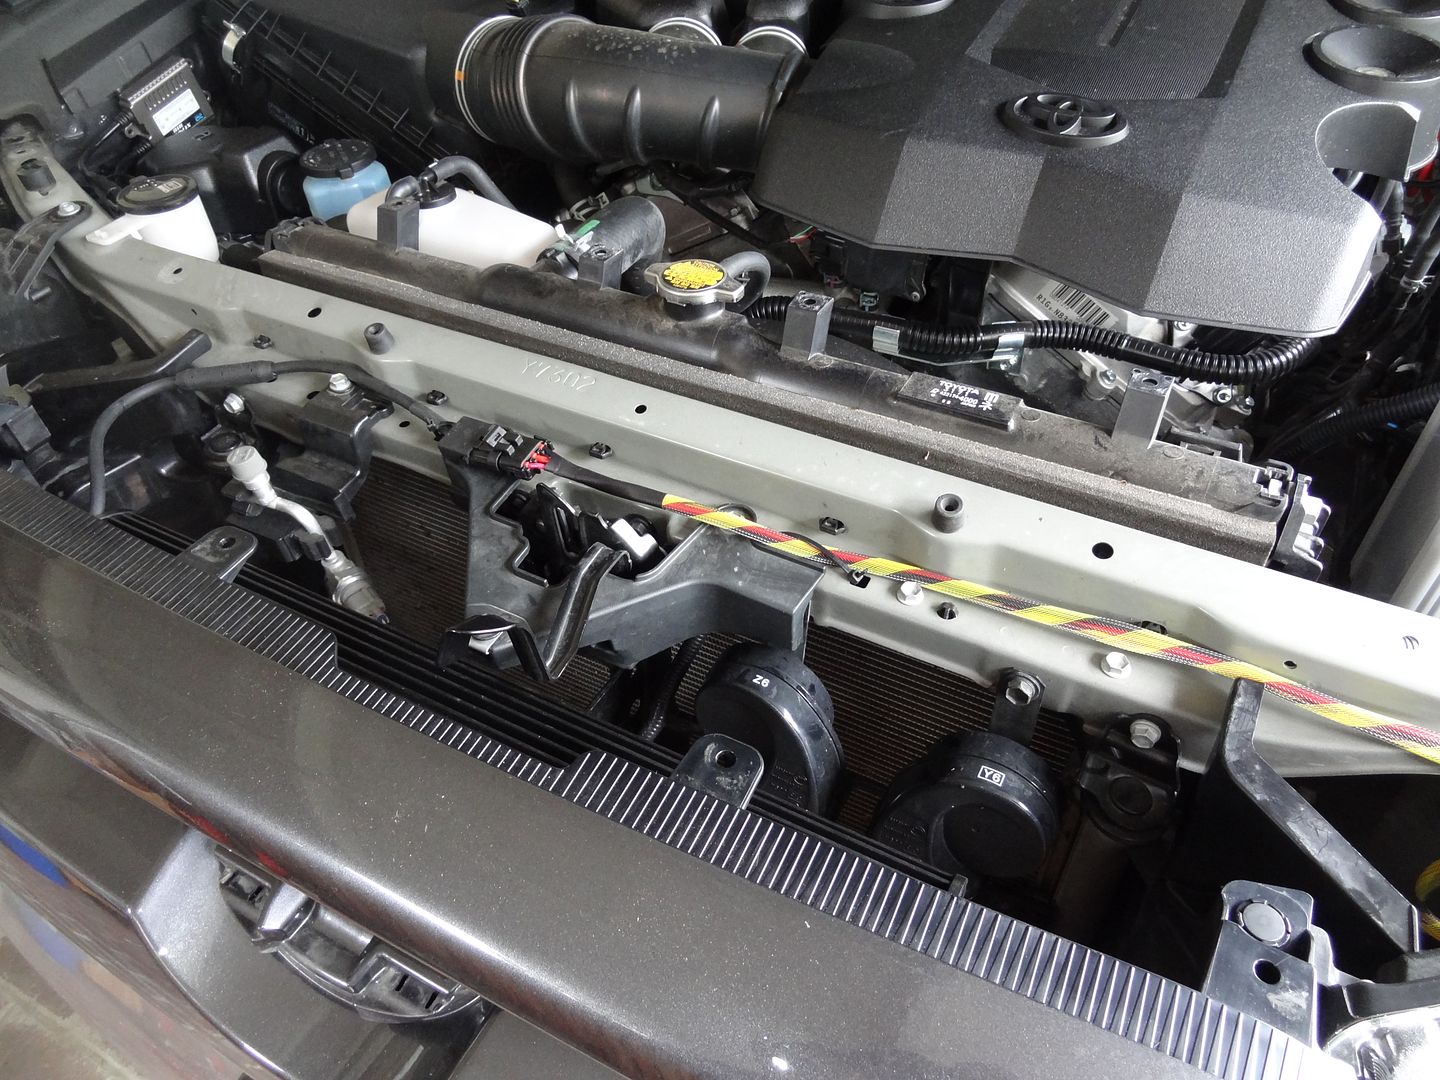
Remove upper grille and bezel. Remove 2 upper plastic clips and pull outwards.
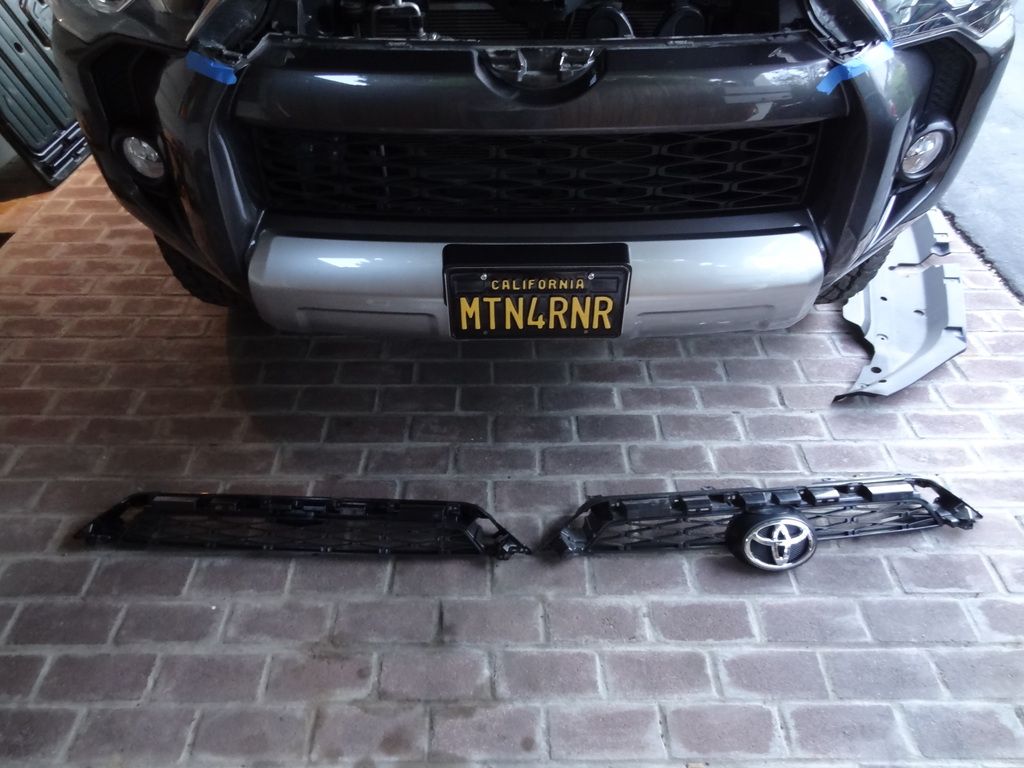
TRD Pro grille vs. Trail/SR5 grille
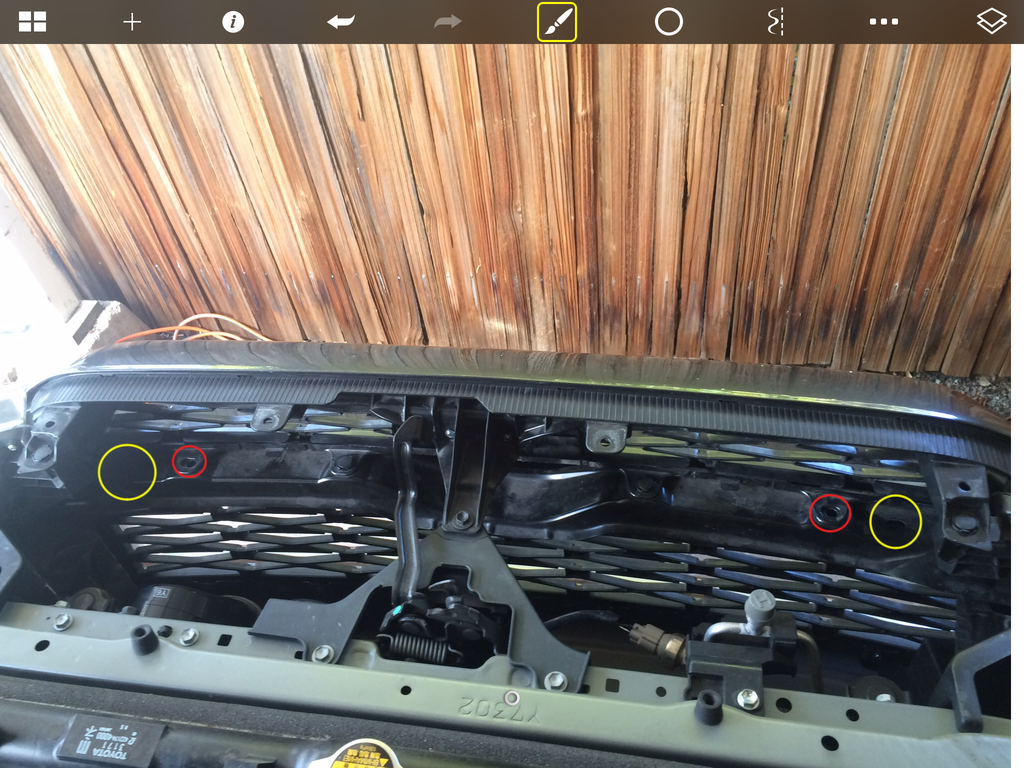
Locate 2 existing stock holes (red) that will line up with brackets provided by Baja. Yellow holes noted
could fit a set of the S2 lights from Baja based on measurements, but this is unconfirmed.
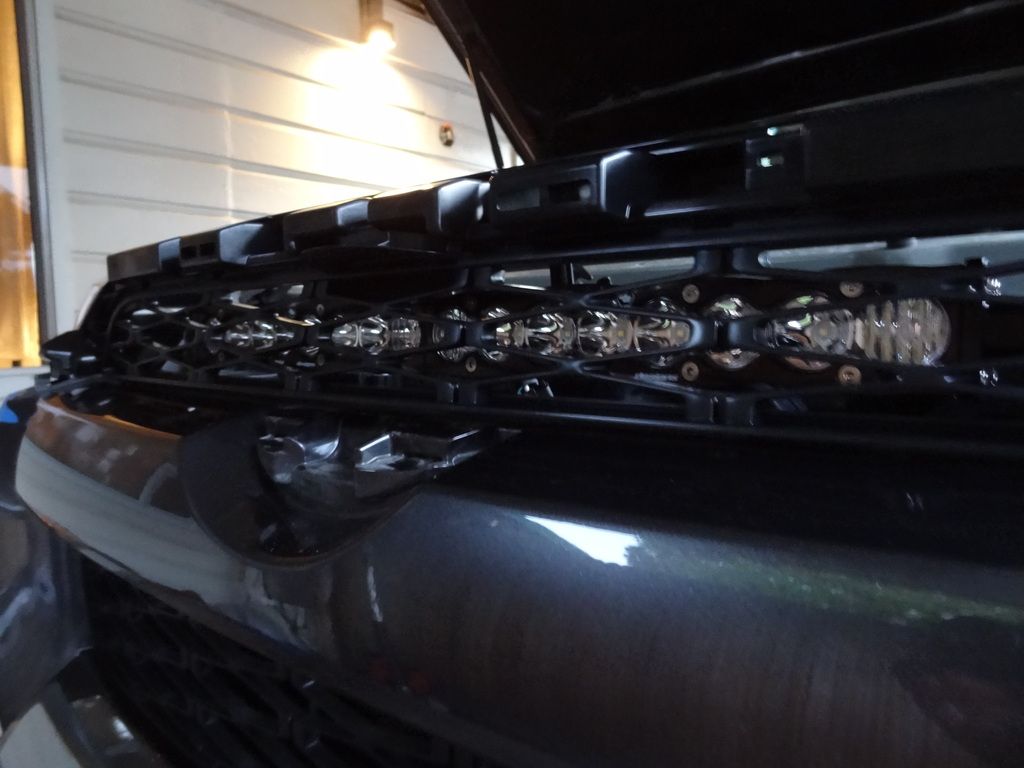
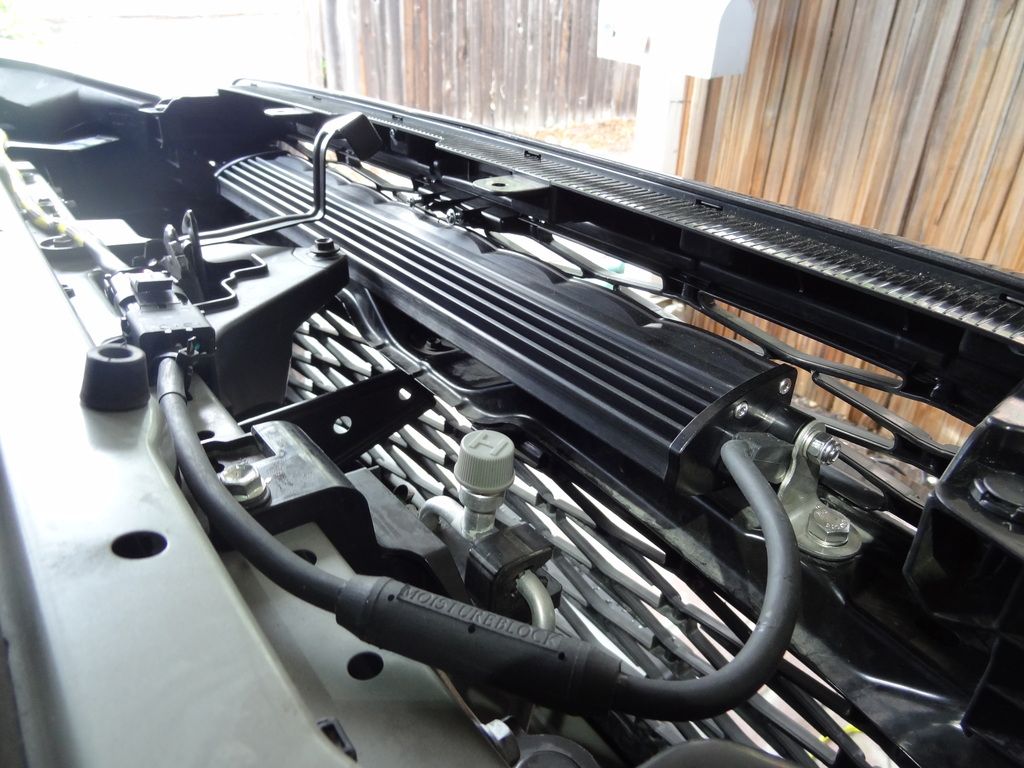
Mock up placement for new LED bar using the stock holes.
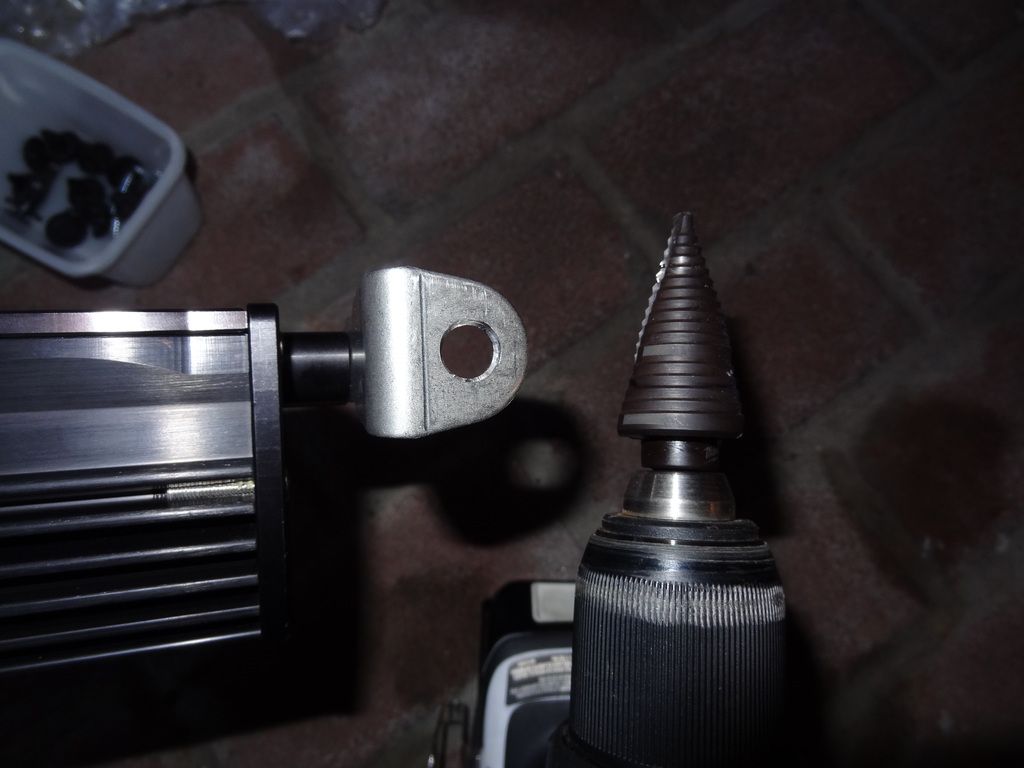
Use a step drill to widen the mounting brackets by approximately ¼” per side, and also the holes on the grille support by approximately ⅛” per side. I didn’t measure these, but I would drill and test fit until I could get the bolts to fit through.
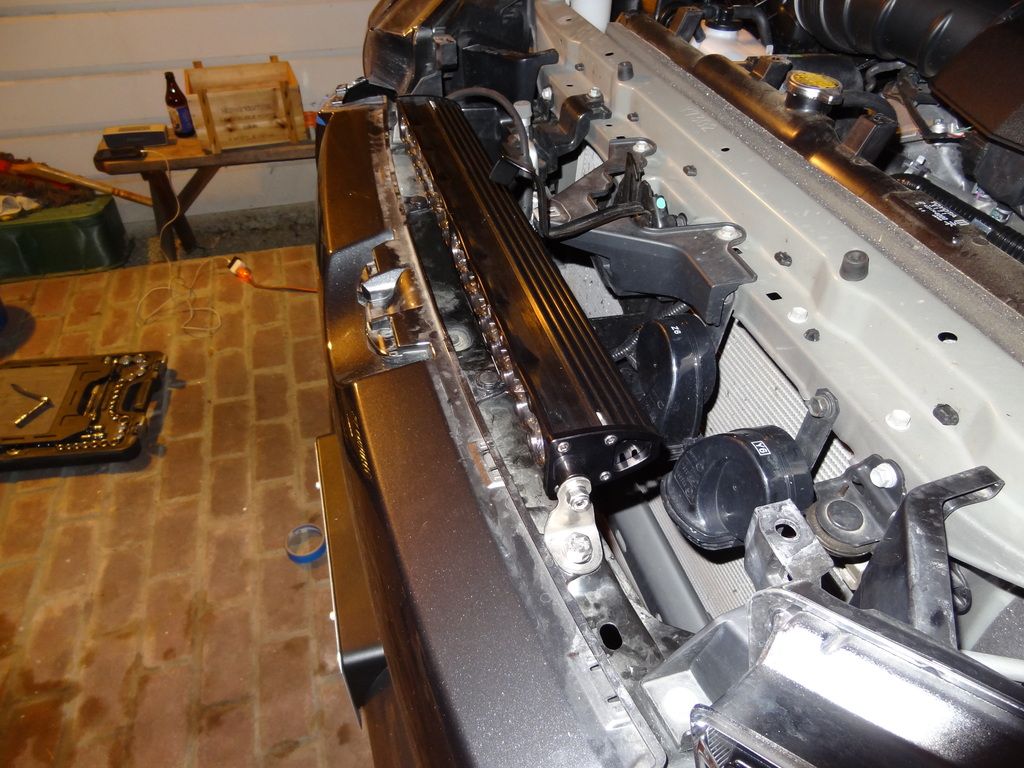
LED bar mocked up and bolted in.
LED bar removed, grille mocked up.
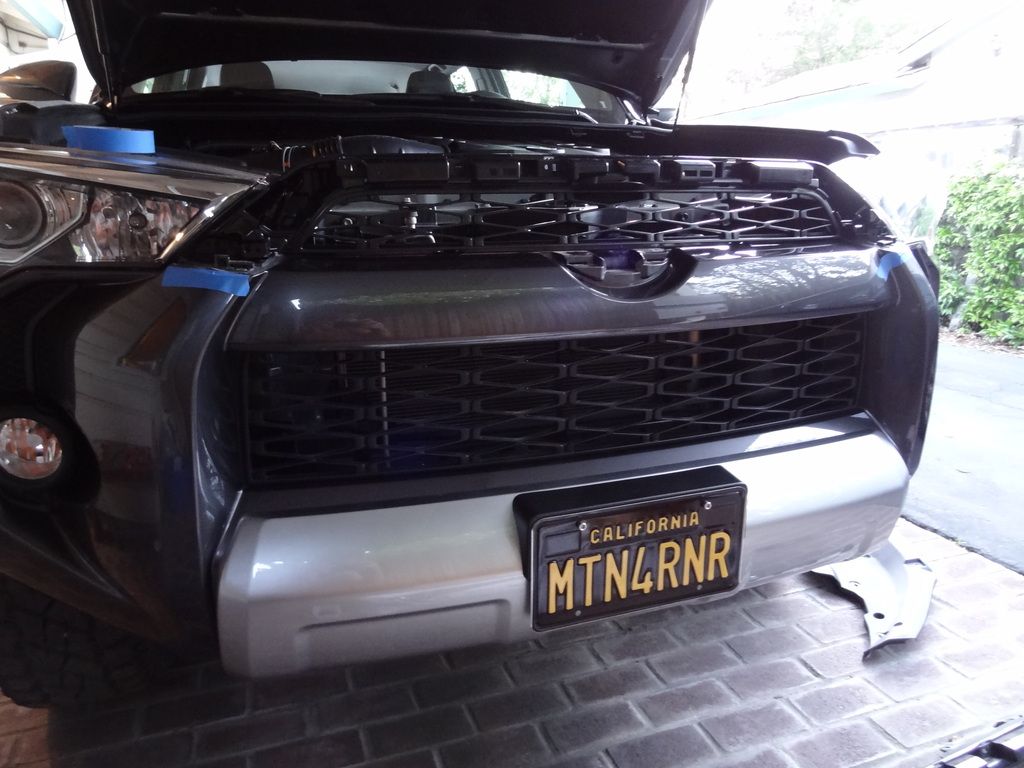
LED bar installed with grille in place.
I left the painted bezel off until the install was finalized to reduce any chance of scratching or damaging it.
Bring in the wiring team…
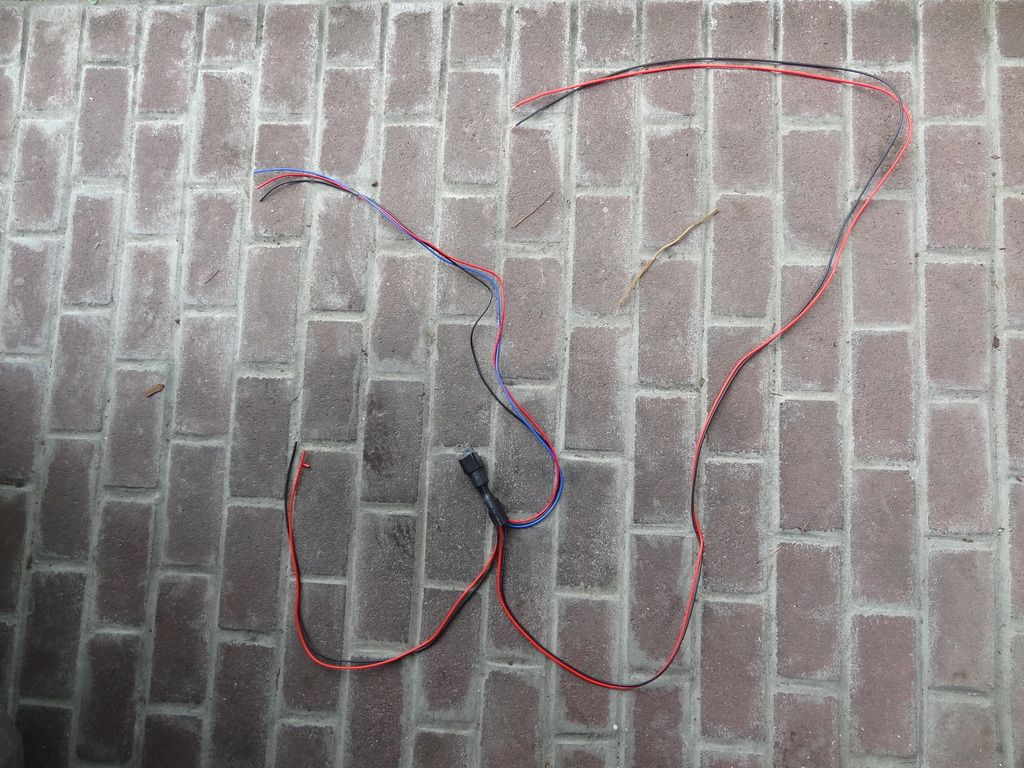
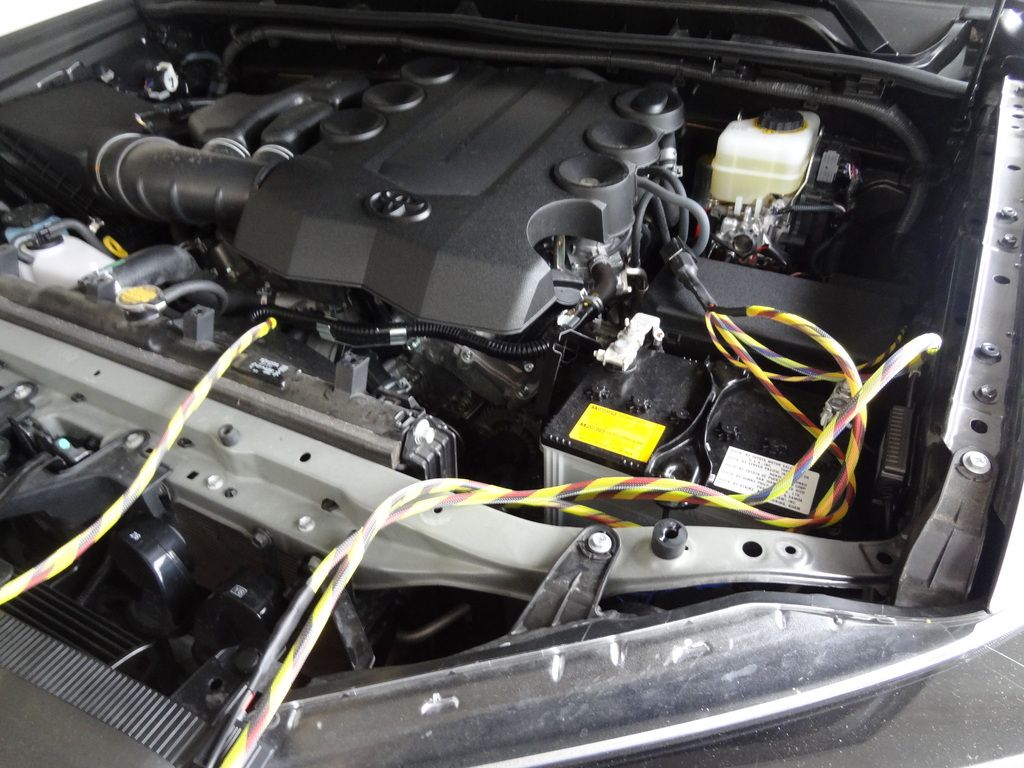
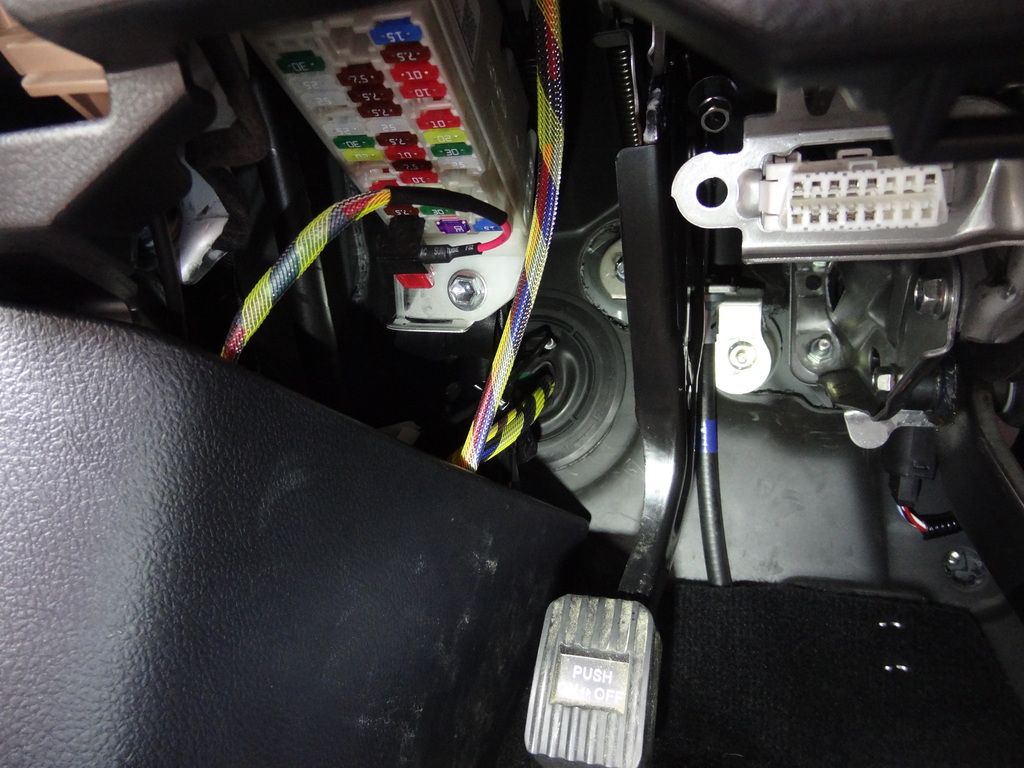
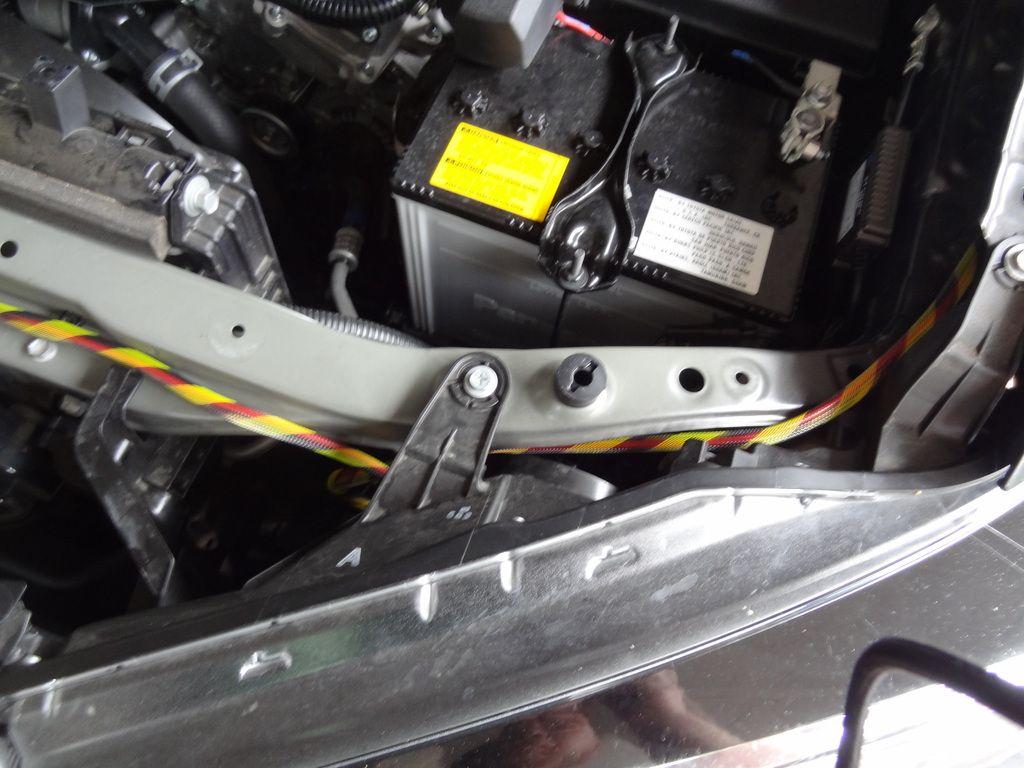
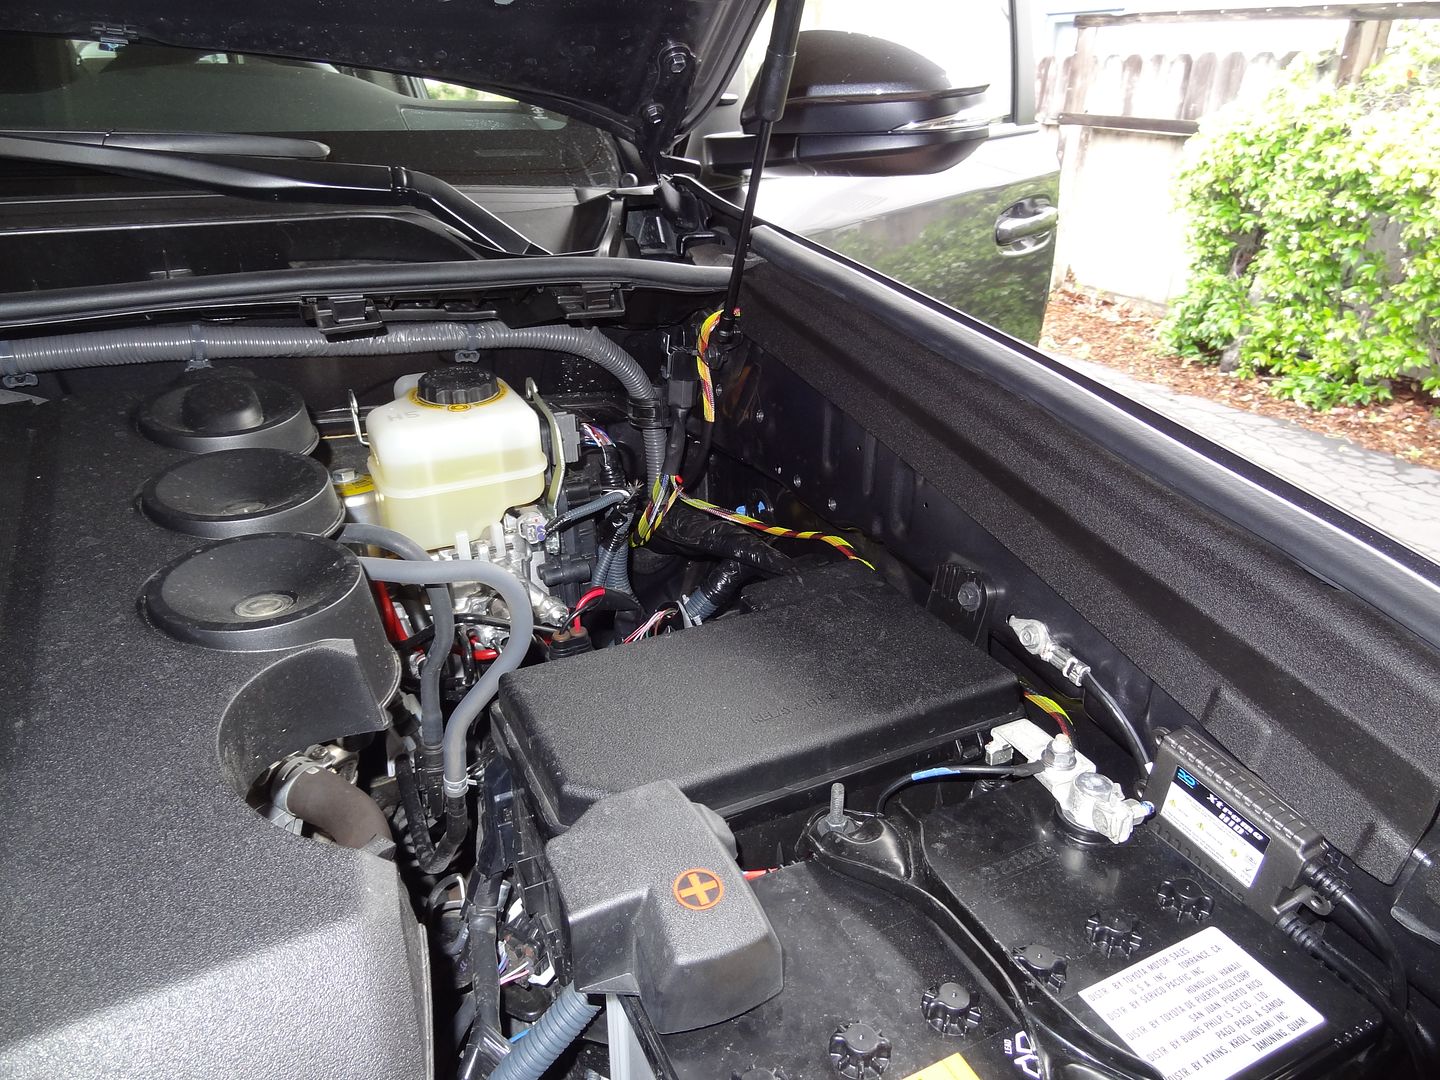
I laid out the wiring harness as I planned on installing it and cut everything to length. I poked a hole in the existing firewall grommet and fed the unsheathed wire through to take a measurement first, then pulled it out and cut. Harness laid out.
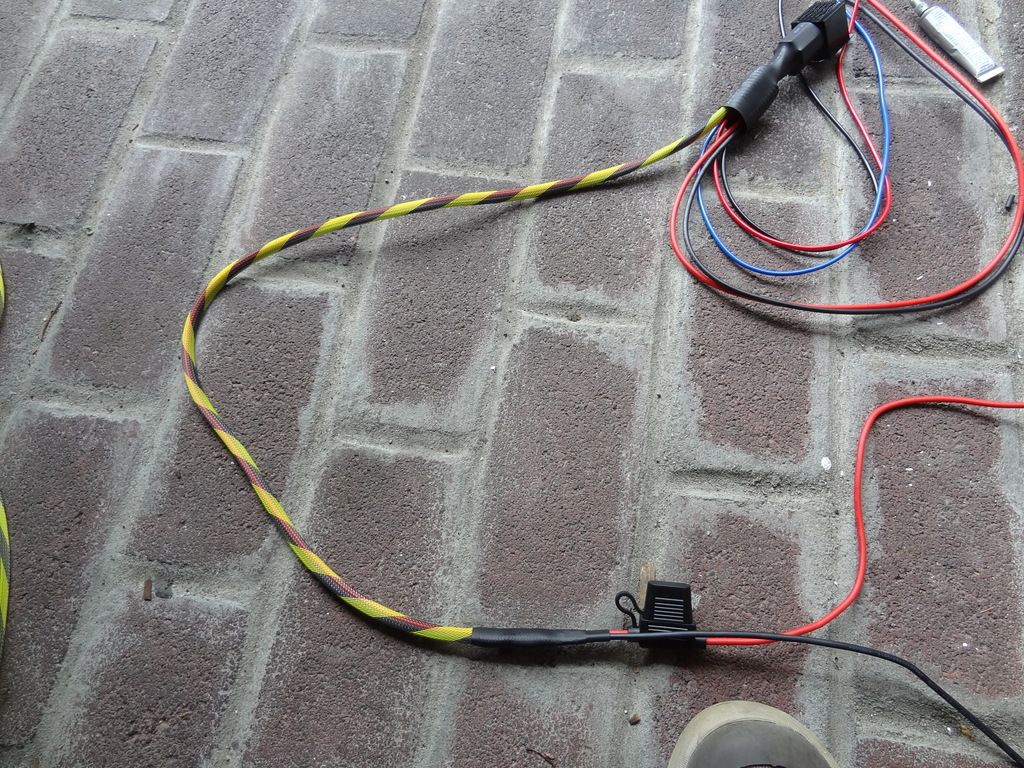
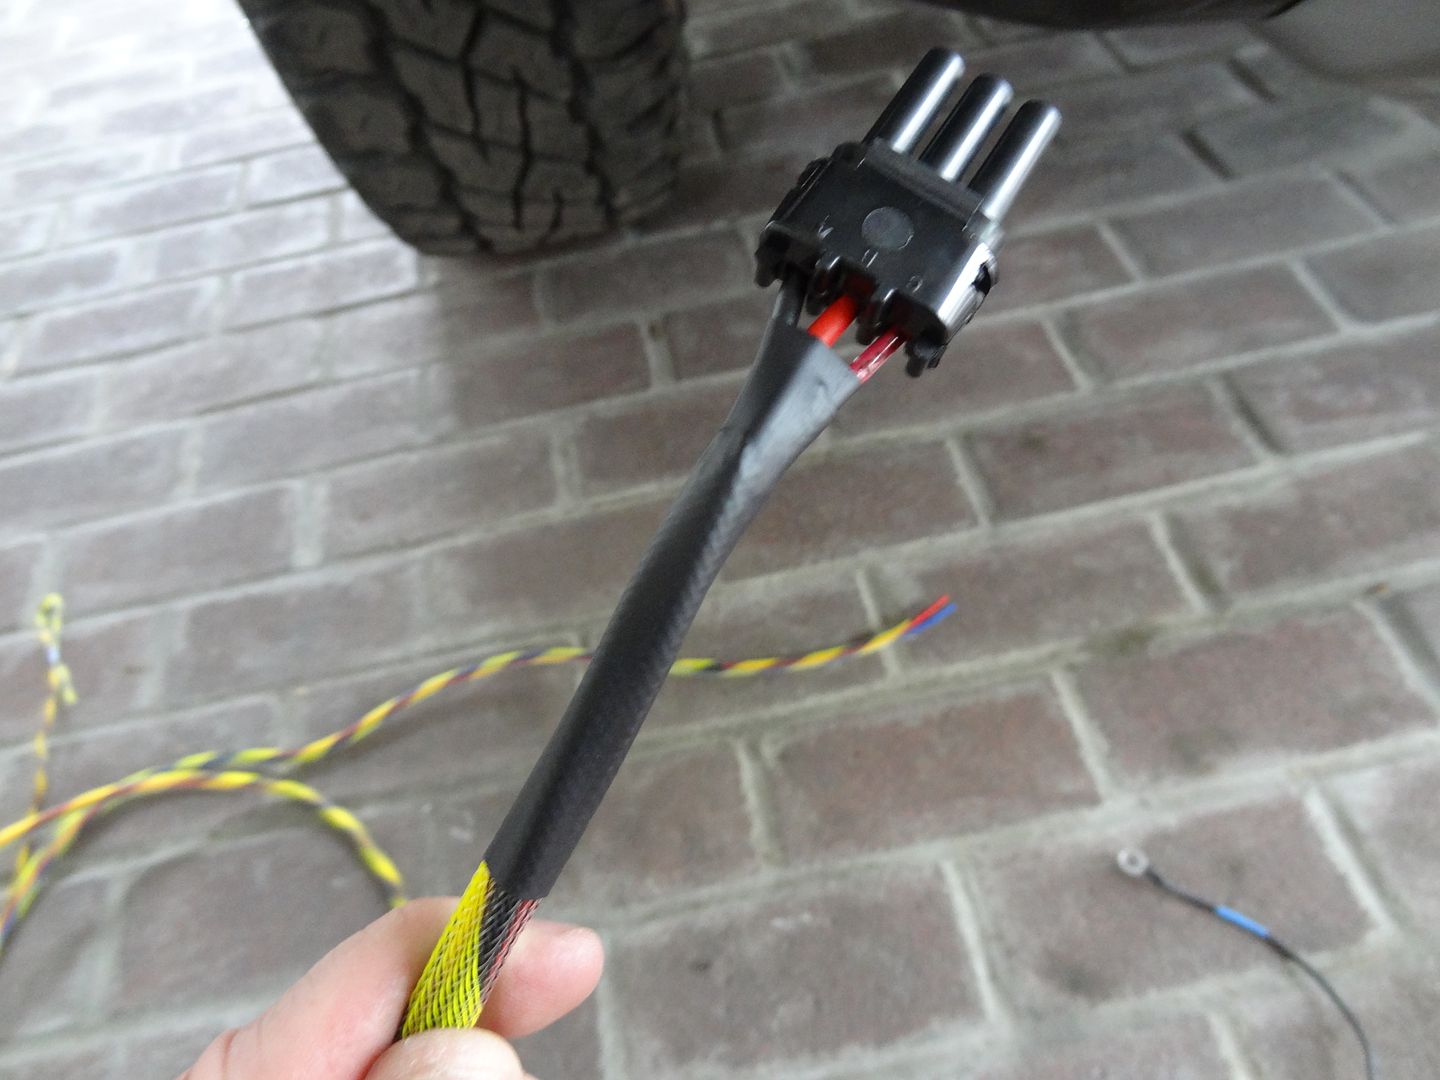
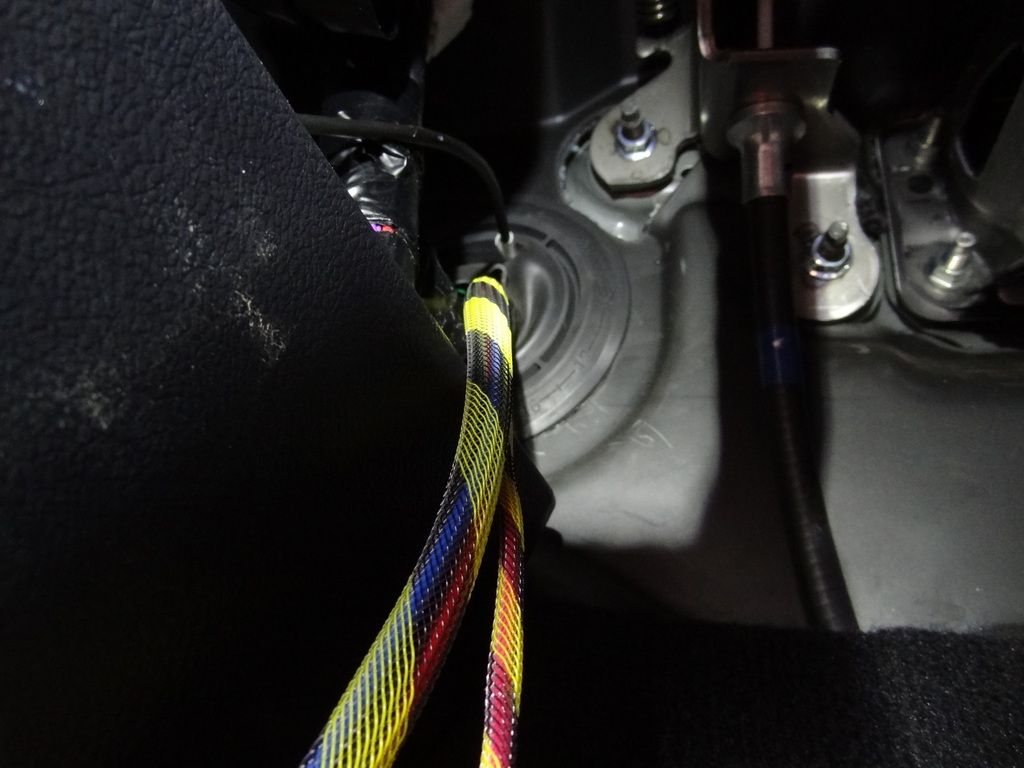
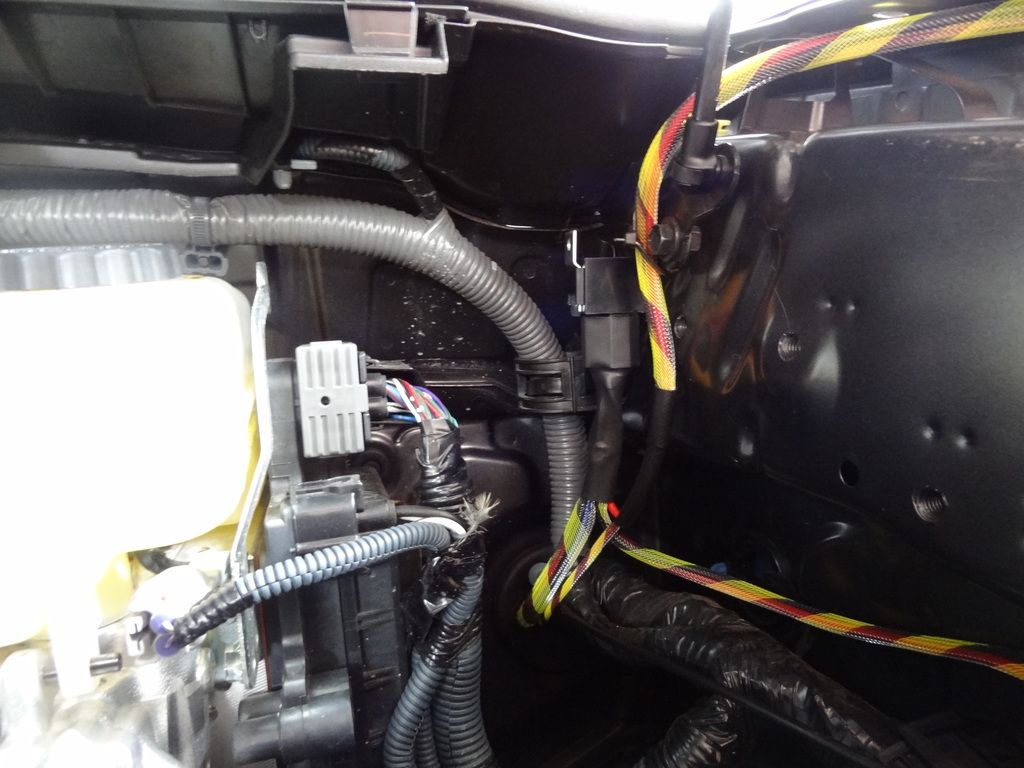
I then wrapped all lines in the Flexo PET sheathing to protect from wear and to consolidate multiple wires into one manageable run.
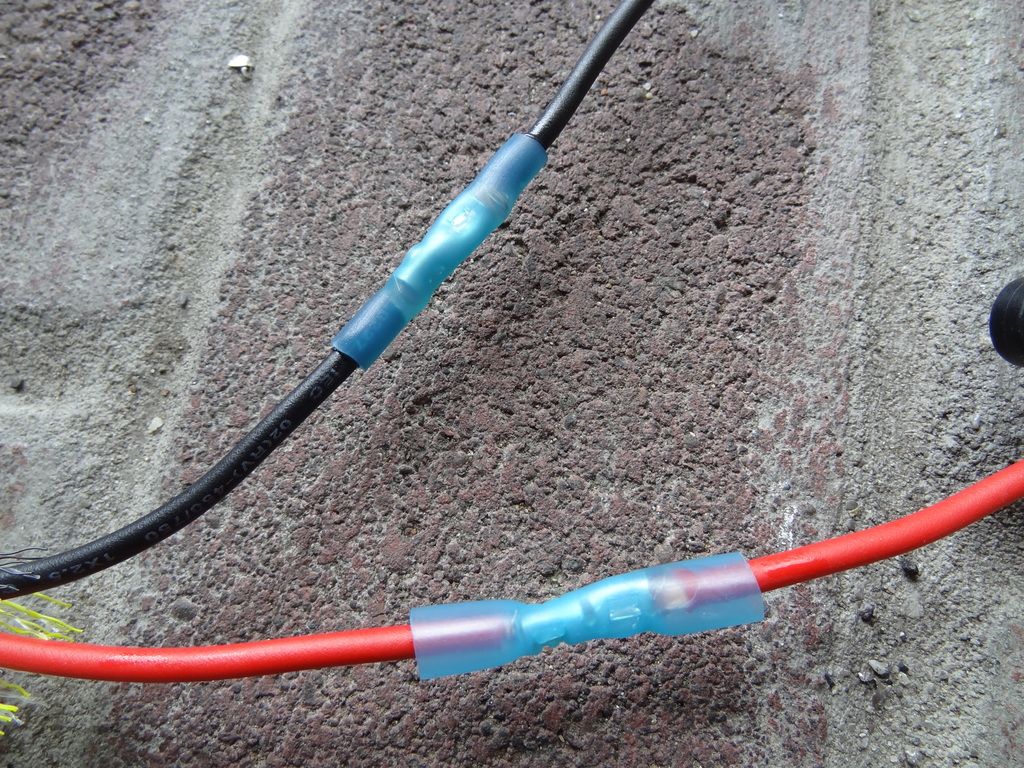
All connections made were with dielectric grease, weather resistant butt connectors, and shrink wrap. Thanks to [MENTION=65614]Antman[/MENTION] for the advice on how to make a proper connection using proper tools. This shows an un-shrunk (red wire) and a shrunk butt connector (black wire).
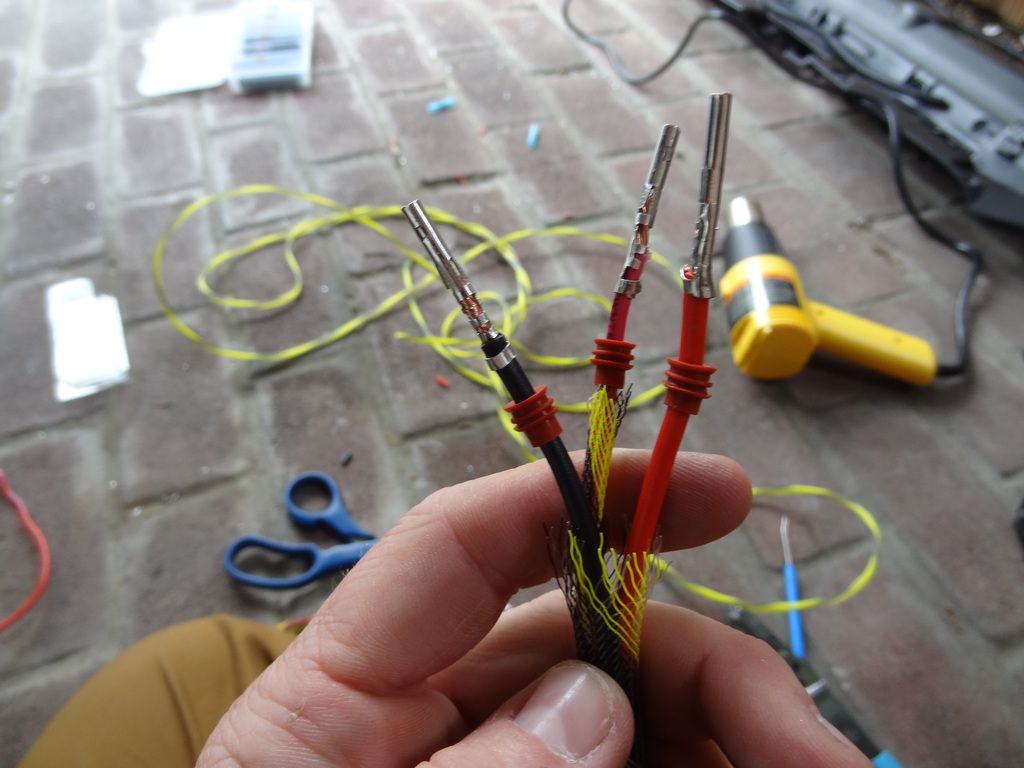
Connectors for the supplied male weather tight connector that comes with the S8 LED bar.
Capped, sheathed, shrunk wrapped.
Laying out all sheathed wires.
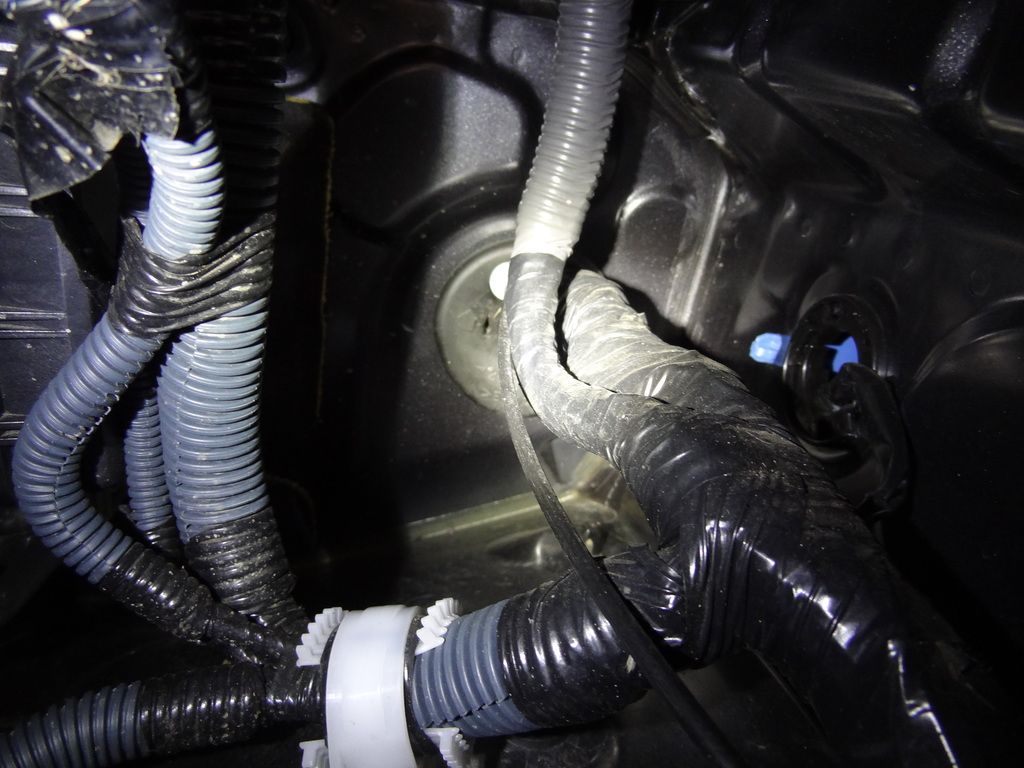
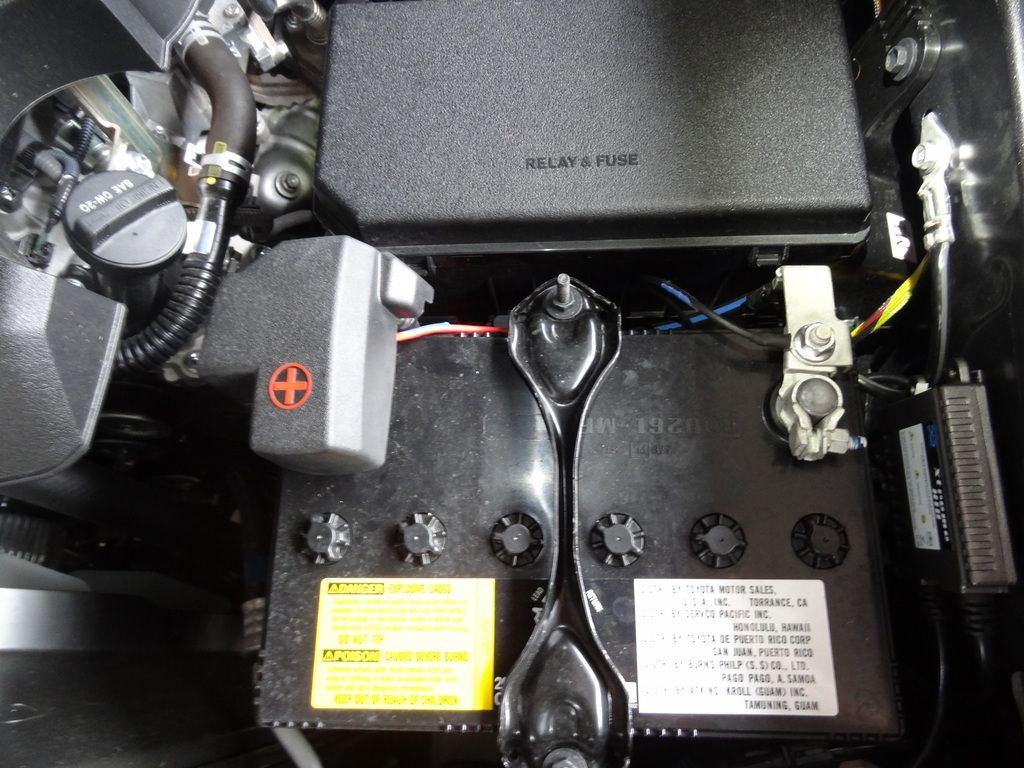
Hole in firewall grommet, and feeding the wires through.
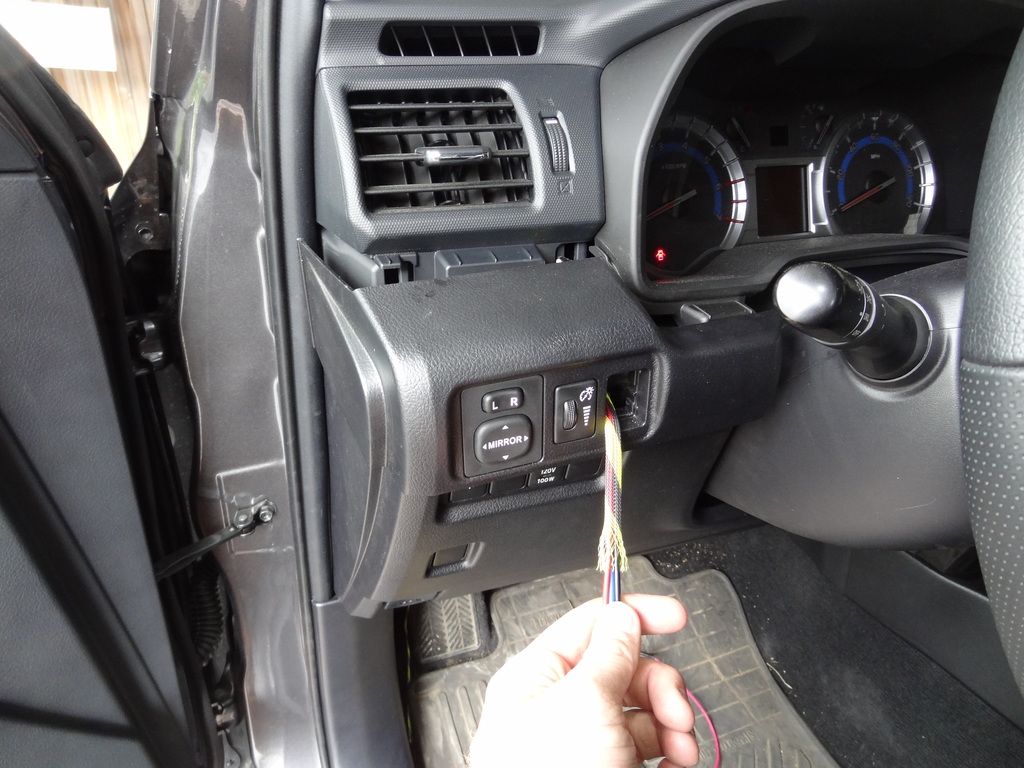
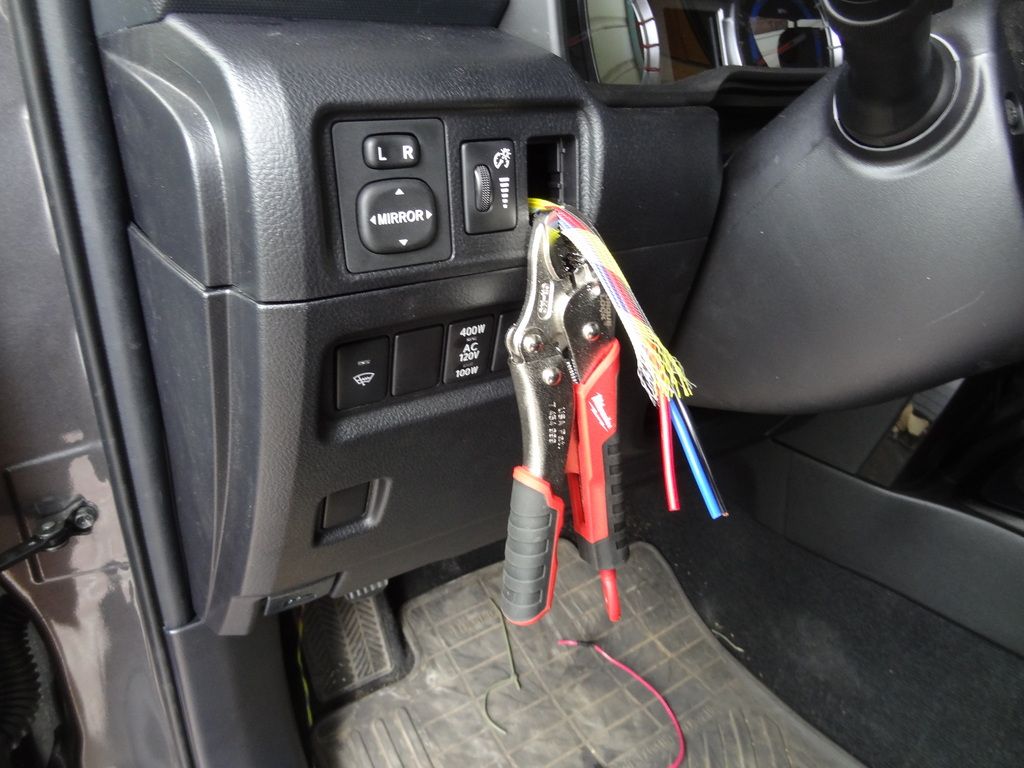
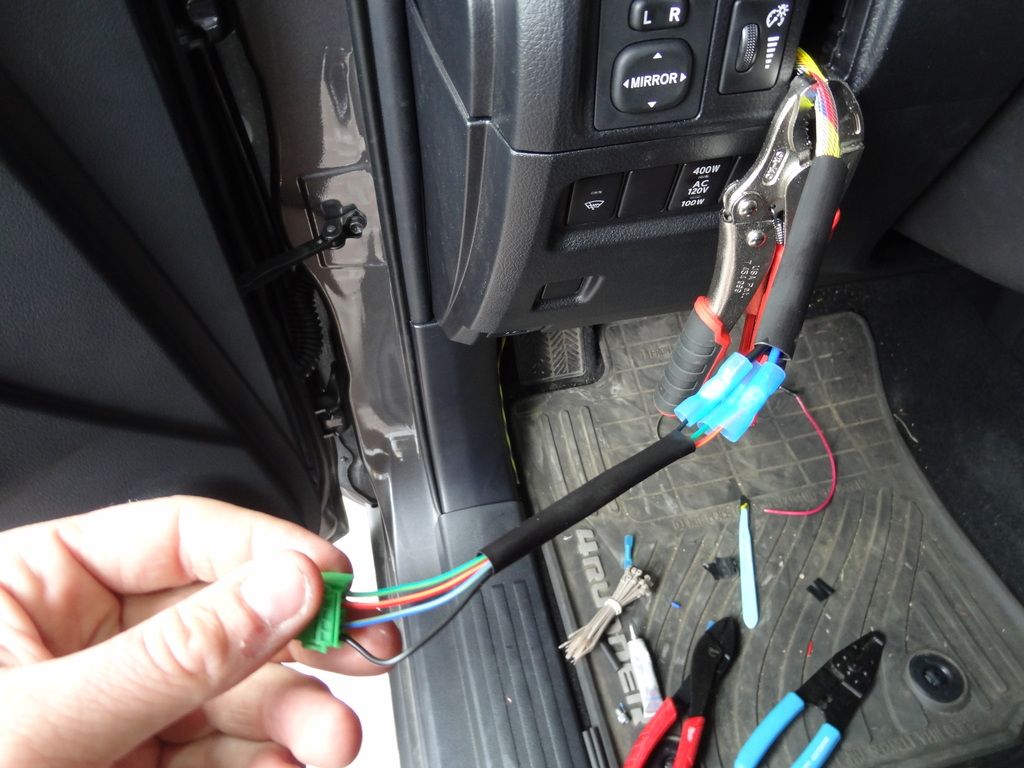
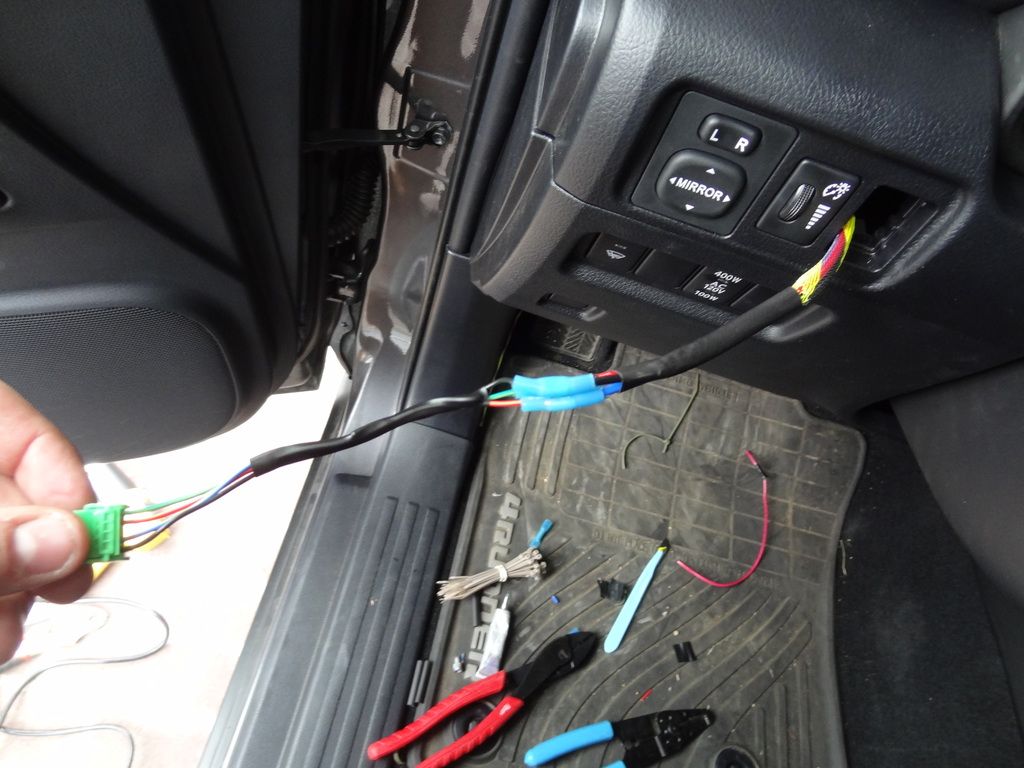
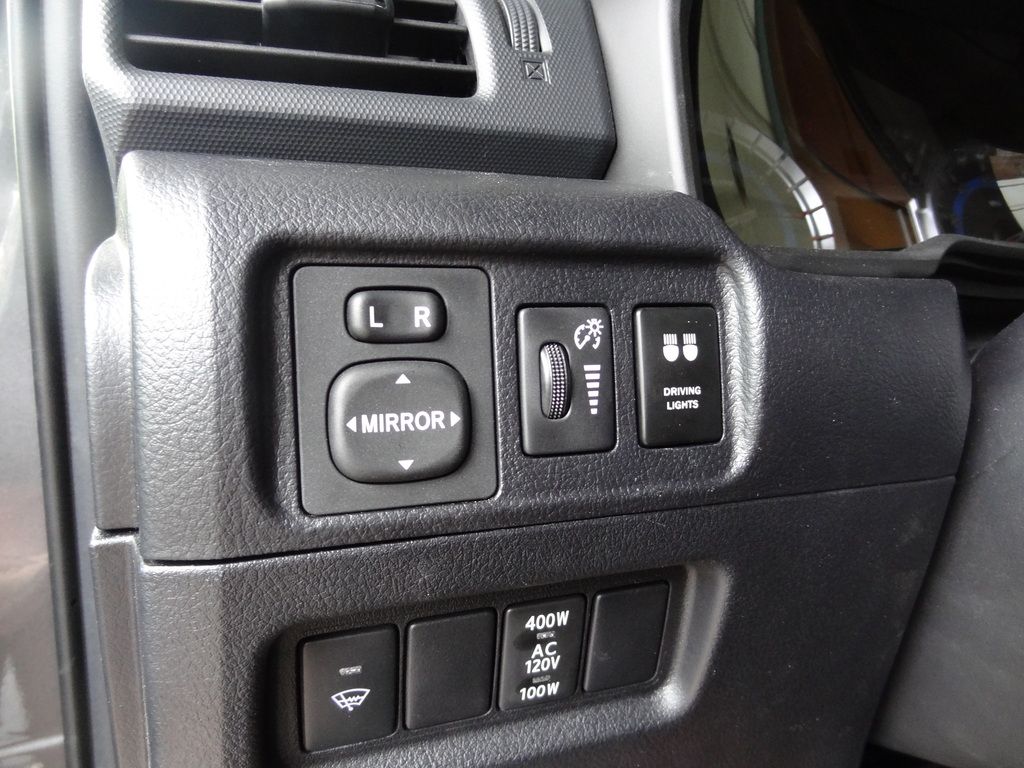
I chose the closest blank spot, and the easiest to turn on/off without looking to install the switch. This upper panel can be removed by pushing on the left side and the ‘top’ and using the tractional force to pull it towards you. Should pop pretty easily, but remember that there are connected wires behind it, so don’t pull too hard. Remove the blank piece by depressing the upper and lower ‘locks’ and pushing it out. Route the wires up through the blank hole. I used the vise-grips to hold the wires in place so they wouldn’t slip through the hole when I wasn’t looking.
")