building the Bullet XV

VanIsle_Greg

I think I need a bigger truck!

Nilton J

Adventurer
Topnotch thread!

Number One Custom Camper in the planet and also in the entire WWW:


I am presently designing a sort of a popup camper for brazilian medium size crew cab trucks (New Ford Ranger, New Chevy S10, Nissan Frontier, Toyota Hilux and Mit Triton), so, many ideas to get from the Bullet XV.

Fortunately, no bears in Brazil! neither extreme cold weather!!

So, on behalf of beaulty, slim profile, fuel mileage expenses and lightness, I will choose a popup style just like the Bullet XV.
 

sarconcepts

Adventurer
Well.. ... maybe a bit overstated! but thanks
I shouldn't, however, win any awards for weight (the Bullet weighs in at 14,500 lbs wet)
that's more a product of the way I build, I like things rugged.. .. REALLY rugged (my 3 point frame alone weighs 1200 lbs)
but I've had zero structural problems & don't really anticipate any as I've already beat on the thing pretty good & see no signs of stress, so there's something to be said about that.
 

bphang10

Observer
what an incredible build! just beautiful.
i'm in process of completing my build and am hung up on how to attach he softwalls to the main camper body. i've read through this build and also your wordpress site looking for detail on how you did this. am i correct in understanding that you used a flat trim strip coupled with 3m double sided tape? no "L" or lip on the trim? which 3m tape? and are you happy with how it's holding up?
thanks.
 

sarconcepts

Adventurer
Yes bphang10
I used a 3m two-sided tape, applying it to the camper wall all the way around the top, then I used about 6 screws & washers to temporarily hold the material up in place. At this point, I had Bethany slowly pull the tape backer (the side facing out) off the tape pulling straight down (hence the fold was at a 45 degree angle) as I, working in sections about 12" long, lined up the top edge making sure it was perfectly straight then firmly pressed the material into the tape. This was primarily to hold the material just until the next step was completed, but I'm sure it's still bonded well to the material. As we worked our way around, I removed the temporary screws as they were no longer needed.
Hopefully the serial number will help you, but it is just a thin clear two sided tape, made for exterior applications
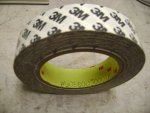
softwalls 013.jpg
Next I then applied the aluminum trim over the material, screwing it through the material into the wall about every 6" all the way around, & yes it's the flat trim with the rubber bubble you press in, to cover the screw heads. the only trick for me was the front of the bullet has about a 6" radius on the corners, & the back has 90 degree bends, so I had to pre-bend (& practice once or twice) the aluminum trim just right so as to still allow the rubber insert to still be insert-able.
I did this same process for the bottom, pulling down tight as Bethany pulled the backing off the bottom tape, so to get a nice tight stretch on the material (so it wouldn't flap around)
This has worked out to be a perfect detail, no problems at all, zero water leakage, & I'm amazed at how warm it stays inside when it's cold outside, although that's also a product of the material you choose to use.

Another advantage of the trim with a continuous rubber bubble, is that the rubber acts as weatherstripping when the top is down, as I designed the roof to be pretty tight to the the walls when in the down position, this of course keeps road dust out.
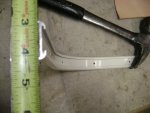
softwalls 014.jpg
you can see in the trim scrap above, me practicing my 6" radius bends (although this specific practice piece was for the upper trim, where the material is on the inside of a part of the roof (so water sheds). For the bottom connection, I ran the material outside a part of the wall cap that lined up perfectly with the top, this allowed water to shed to the outside.
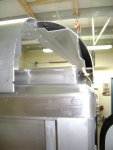
wall cap & roof 011.jpg
Here, you can see the roof section over the wall cap, notice the vertical plane of the roof section lines up exactly with the vertical I made on the wall cap, this is so the material can hang straight down & not need to be angled out or require the perimeter to be like a trapzoid or pyramid in shape.
The material got fastened to the inside of the roof & the outside of the wall
pretty simple concept

Hope this helps
Steve
 
Last edited:

bphang10

Observer
thanks for the detailed description. i have a much better handle on the process now and while mine is a bit different, i think the installation will go about the same.
that tape is available from u-line. just waiting on my aluminum trim to show up and get to it.
your roof joining is very well designed making for a clean and sealed closure. mine...not so much! i think i'll need to add a lip on the roof to cover the joint.
thanks again.
 

westyss

Explorer
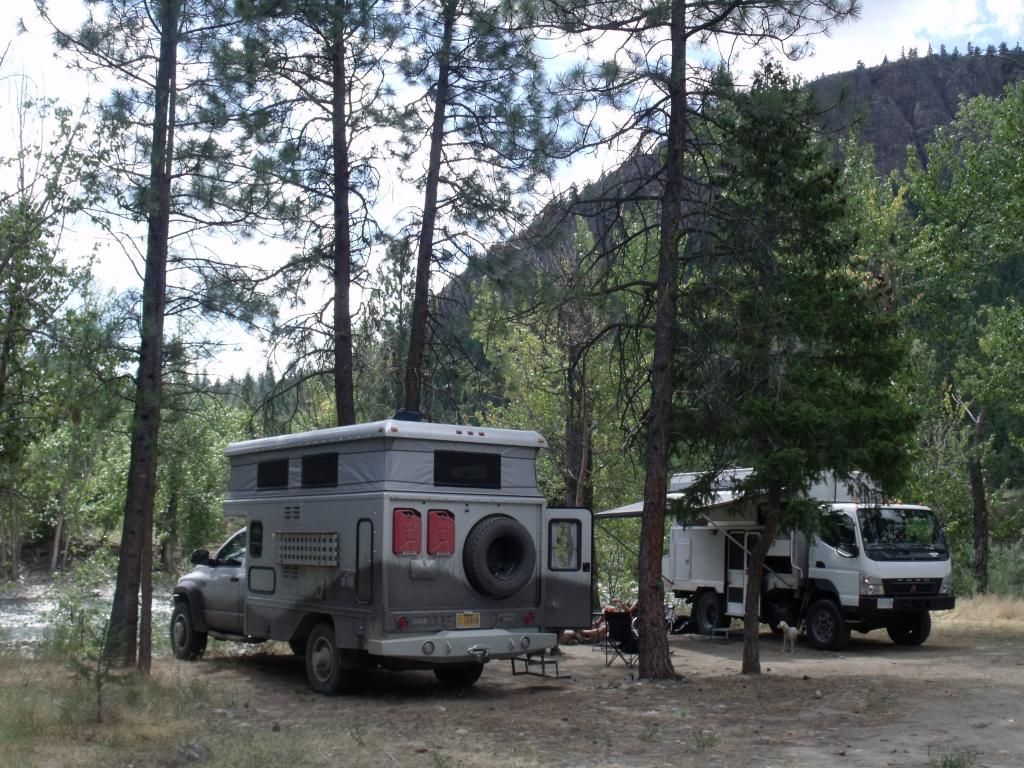
Bullet XV somewhere in BC


DSCF0678_zps2911fd23.jpg
 

dwh

Tail-End Charlie
Bullet XV somewhere in BC


DSCF0678_zps2911fd23.jpg


The Pop-Top Battle of the Century! Soft-side vs. Hard-side! In this corner, in the Silver, we have the...well...in this other corner in the...uh...Silver...well...bloody hell...


We take you right to the action now folks as the two contenders square off and begin circling each other looking for an advantage...
 

sarconcepts

Adventurer
can you believe I drove like 600 miles up into BC to find a quiet little spot along the water, away from everyone else, & that guy had the nerve to park right next to me!
It's a good thing his wife was cute!
 

mhiscox

Expedition Leader
The Pop-Top Battle of the Century! Soft-side vs. Hard-side! In this corner, in the Silver, we have the...well...in this other corner in the...uh...Silver...well...bloody hell...
Wait, there's an even better one than that . . .

attachment.php


Battle of the lifting roofs, WABDR edition. One hydraulic, one pneumatic and one electric. (Though Yves inexplicably missed the memo about making his silver with vegetation-related graphics to scrape up on the trees. :sombrero: )
 

dwh

Tail-End Charlie
Wait, there's an even better one than that . . .

attachment.php


Battle of the lifting roofs, WABDR edition. One hydraulic, one pneumatic and one electric. (Though Yves inexplicably missed the memo about making his silver with vegetation-related graphics to scrape up on the trees. :sombrero: )


I really dig that see-through tent material on the Jeep. It's practically invisible. :D
 

Forum statistics

Threads
188,470
Messages
2,905,516
Members
230,428
Latest member
jacob_lashell
Top