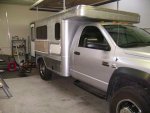
building the Bullet XV

sarconcepts

Adventurer
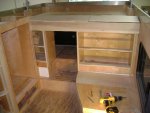
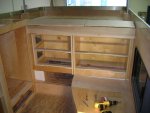
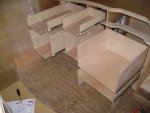
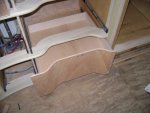
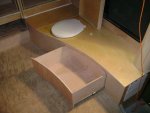
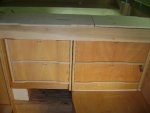
O.K. I lied, I just couldn't bring myself to do the last two dressers without any curves! the drawer fronts will follow the curving rails (hey, I'm just continuing a theme already started)
The dresser on the left is on RV drawer glides, sliding out when needed, & out of the way when not needed. Now the hard part, doors & drawers.


For desertpilot, I ordered the windows through quality RV in Springfield, they are 'motion windows' model 1600
http://www.motionwindows.com/prod1600.php

For the skins I relied heavily on randy at harvest valley specialties
harvestvalley@clearwire.net
they are type 5052 aluminum, 050 thickness.
I'd recommend both, but I absolutely would not recommend degaseal 2000 to glue to the base. I originally asked the salesman what the difference was between degaseal in an aluminum can VS. between aluminum & fiberglass, (would it ever dry) & was told 'SURE' but it really hasn't . Use something else.
for gprsdlyt
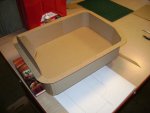
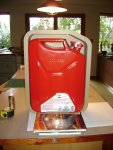
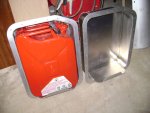
I designed 'em & had them made custom, specifically to fit my jerry cans.

www.bulletxv.wordpress.com
 

Attachments

  • cabinets 046.jpg
    cabinets 046.jpg
    146.8 KB · Views: 115
  • cabinets 056.jpg
    cabinets 056.jpg
    141.6 KB · Views: 185
  • cabinets 055.jpg
    cabinets 055.jpg
    145.2 KB · Views: 173
Last edited:

sarconcepts

Adventurer
couldn't get them in the last post
(& yes, I made a full scale model of them!)
I could probably assemble all the card board mock-ups I've made so far, & have a second Bullet XV!
 

Attachments

  • fuel can holder 003.jpg
    fuel can holder 003.jpg
    141.1 KB · Views: 207
  • fuel can holder 002.jpg
    fuel can holder 002.jpg
    141.2 KB · Views: 195
  • alluminum parts 002.jpg
    alluminum parts 002.jpg
    141.6 KB · Views: 224
Last edited:

desertpilot

New member
Thanks a lot for the pointers! I'll use Pro-seal as glue (have a pint here that is expiring from an experimental aircraft project). Wow, .050 of the good stuff, that's one sturdy box you got there! Will give Harvest Valley a ring.

Your cabinets look awesome!

Thanks again,

Holger
 

Kohburn

Adventurer
couldn't get them in the last post
(& yes, I made a full scale model of them!)
I could probably assemble all the card board mock-ups I've made so far, & have a second Bullet XV!

looks like a marketable product to me, maybe sell the design to an overlanding company.
 

sarconcepts

Adventurer
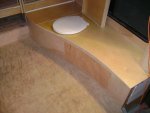
just finished making the last (really this time) toiletry cabinet, real similar to the one in my FWC, but a little sexier. Plus, mocked up some custom bridging ramps I'm having made, capable of holding the bullet's weight, & mounted them up in place to look for any problems in placement. Lastly, changed out the UHAUL's surface roof clearance lights with recessed LED lights.
next.. ..doors & drawers
 

Attachments

  • clearance lights 008.jpg
    clearance lights 008.jpg
    140 KB · Views: 313
  • cabinets 062.jpg
    cabinets 062.jpg
    134.7 KB · Views: 350
  • cabinets 067.jpg
    cabinets 067.jpg
    142.5 KB · Views: 309

sarconcepts

Adventurer
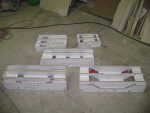
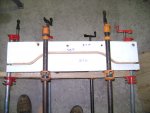
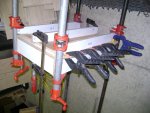
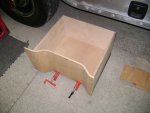
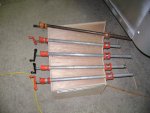
This past weekend I made 5 forms out of the old discarded Uhaul wall panels,(nothing goes to waste here) for 5 different parts of the curving cabinets
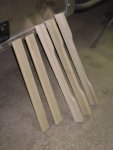
(each one will be used multiple times to form all 16 doors & drawer fronts), started gluing up the drawer fronts, cut & dadoed all the drawer sides & backs, & cut out all the drawer bottoms. Over the next week I'll glue up all 16 drawer fronts (I've only got clamps for 3 at a time) & sand all the sides & backs.
Hopefully next weekend I'll get 'em all put together & mounted in the cabinets, more likely, I'll have to weave my shop time throughout the holidays (& a couple small trips) & have them all done by new years

http://bulletxv.wordpress.com/
 

Attachments

  • drawers 001.jpg
    drawers 001.jpg
    141.8 KB · Views: 151
  • drawers.jpg
    drawers.jpg
    143.2 KB · Views: 138
  • drawers 004.jpg
    drawers 004.jpg
    140.7 KB · Views: 124

sarconcepts

Adventurer
Nope, much simpler than that, I used 2 layers of 1/4" wiggle board.
wiggle board is a 4x8 sheet of plywood specifically made for bending, it can be bent as tight as a 3" radius, it flopps like a noodle, so you either have to fasten it to something of the right shape, or glue 2 layers together, then it'll hold the shape just fine. It is a bit of a challenge for one person to rip it over a table saw, as it's like trying to rip pizza dough.
I'm not afraid of steaming however, for my only experience with steaming, I had to build an oven big enough to steam a 48' long beam into a 12' radius, but steaming is more appropriate when the wood needs to be structural. wiggle board is MUCH easier.
 

Attachments

  • deck roof 2.jpg
    deck roof 2.jpg
    107.6 KB · Views: 270

sarconcepts

Adventurer
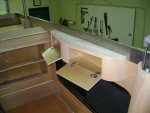
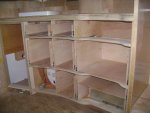
The cabinets are coming along fine, man, curves take a while to get just right, but that's the challenge I laid out for myself, getting close to having the inside all made, so I can take it all out again to have the veneer put on.


cabinets 072.jpgcabinets 073.jpgcabinets 075.jpg


cabinets 077.jpgcabinets 085.jpgcabinets 082.jpg

cabinets 086.jpgcabinets 087.jpg
 
Last edited:

Lynn

Expedition Leader
:bowdown: :bowdown: :bowdown: :bowdown: :bowdown: :bowdown: :bowdown: :bowdown: :bowdown: :bowdown: :bowdown: :bowdown: :bowdown: :bowdown: :bowdown: :bowdown:

I have no words.
 

sarconcepts

Adventurer
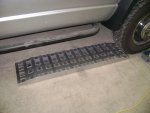
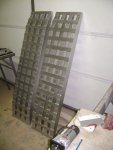
just picked up the bridging ramps today, I designed them a chunk beefier than what I could find anywhere else, to handle the bullet's weight
bridging ramps 001.jpgbridging ramps 002.jpg
& finished the last of the drawers, those for the dressers
cabinets 088.jpg
 

Forum statistics

Threads
188,387
Messages
2,904,023
Members
230,274
Latest member
mbauerus1
Top