You are using an out of date browser. It may not display this or other websites correctly.
You should upgrade or use an alternative browser.
You should upgrade or use an alternative browser.
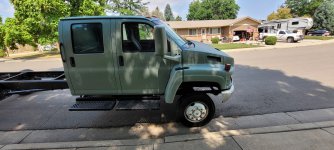
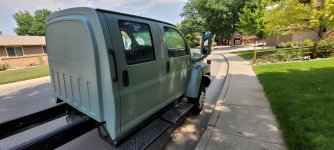
C5500 (Kodiak) - Composite Expedition Build is Underway
- Thread starter Tomadoggy
- Start date
rruff
Explorer
Indeed...I am leaning towards a center rear pivot with some kind of locking mechanism for keeping the box more stable during road drives. Lots of good examples out there....now all I need is a plasma cutter, that likely won't happen
Clamping it down might work well. Most people with a bigger rig seem to favor the spring loaded systems. That way you have a certain amount of preload keeping it stable until you get past a threshold of "crossed up". Mine will be a 3 point using poly cab mounts. I thought if I need more road stability, I might incorporate shock absorbers between the box and frame in the back. I found some old Corvette ones that are short and should have good low-speed damping.
DiploStrat
Expedition Leader
I have also seen the old videos/articles about some of his earliest wheels and the bolt failures. The ones I have are an entirely different design which simply uses a newly machined inner plate that uses the stock MRAP bolts to the rim. When mounting I did check all of these bolts and they were very tight...however message heard, I will certainly keep an eye on them.
Mine were two-piece rims and the 40 bolts were intended to hold the wheel together. First, they came loose, and were replaced. Then ten bolts snapped off at speed. Not a lot of fun driving with a blazing tire.
Hopefully, they are doing better now.
Tomadoggy
Member
Indeed, those were an entirely different design. These are modified MRAP rims with the standard 14 bolts.Mine were two-piece rims and the 40 bolts were intended to hold the wheel together. First, they came loose, and were replaced. Then ten bolts snapped off at speed. Not a lot of fun driving with a blazing tire.
Hopefully, they are doing better now.
Attachments
javajoe79
Fabricator
Any more details on these? I am considering building my own from the same wheels. What was the cost per wheel and are you running inserts? Which tires?Indeed, those were an entirely different design. These are modified MRAP rims with the standard 14 bolts.
Tomadoggy
Member
No inserts yet as from my reading I will be able to run the Pirelli's quite low without them. If you are going to roll a bead it will very likely be the fronts. Easy enough to add them later if needed. The tires I went with (mainly due to a good deal) are the Perelli PS22's, 335/80/20. Staz made the wheels up for me in about 6 weeks, I would contact him for pricing. Prior to putting them on I am going to go through both axles and replace bearings/seals to lessen the chances of any issues during adventures.Any more details on these? I am considering building my own from the same wheels. What was the cost per wheel and are you running inserts? Which tires?
javajoe79
Fabricator
You can't just tell me? I don't have all the info yet that they will ask for them to be able to quote them. Fudge the number some or pm me if necessary. I'm just trying to get an idea and their website is kinda vague about those wheels. Does the center bolt in with the two halves or is it welded?No inserts yet as from my reading I will be able to run the Pirelli's quite low without them. If you are going to roll a bead it will very likely be the fronts. Easy enough to add them later if needed. The tires I went with (mainly due to a good deal) are the Perelli PS22's, 335/80/20. Staz made the wheels up for me in about 6 weeks, I would contact him for pricing. Prior to putting them on I am going to go through both axles and replace bearings/seals to lessen the chances of any issues during adventures.
Tomadoggy
Member
I have owned a number of small businesses and just don't feel comfortable sharing prices. Staz is just a phone call away and a very responsive business owner! I had my quote from him while on the phone. The centers he machines and are bolted to the MRAP rims just like the military wheels. I took mine black powder coated and purchased 5 of them.You can't just tell me? I don't have all the info yet that they will ask for them to be able to quote them. Fudge the number some or pm me if necessary. I'm just trying to get an idea and their website is kinda vague about those wheels. Does the center bolt in with the two halves or is it welded?
javajoe79
Fabricator
I own and run a fab shop. I don’t understand not sharing. I’d like people knowing my prices. They’re eventually going to find out anyway but whatever. I’ll reach out. ThanksI have owned a number of small businesses and just don't feel comfortable sharing prices. Staz is just a phone call away and a very responsive business owner! I had my quote from him while on the phone. The centers he machines and are bolted to the MRAP rims just like the military wheels. I took mine black powder coated and purchased 5 of them.
Tomadoggy
Member
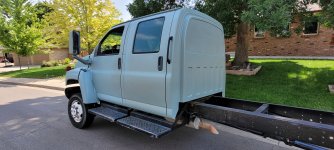
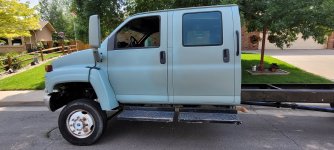
Very slow progress, but have finally removed the partial frame reinforcements that were badly rusted out and fabricated new plates. Got them mounted up yesterday and now just waiting for new leaf spring pivot bolts and bump stops. Next is to remove the cab rear window and replace with a metal insert so I can cut out the pass-through. Then on to cab raptor lining.
Attachments
OffToTheSide
Member
Tomadoggy,
This is a really interesting build thread. Thanks for bringing us along. If you didn’t see it already,there is a DIY F550 build thread in process that includes: 1) a CF layup for the custom cab over box; and 2) has a custom three point box mount, the rear being a swivel mount on one massive bearing. Might be of interest to you as your build proceeds.…

 expeditionportal.com
This is a really interesting build thread. Thanks for bringing us along. If you didn’t see it already,there is a DIY F550 build thread in process that includes: 1) a CF layup for the custom cab over box; and 2) has a custom three point box mount, the rear being a swivel mount on one massive bearing. Might be of interest to you as your build proceeds.…

2022 Ford F550 - DIY - Adventure Expedition Vehicle Build Thread
Introduction: Hi All, I figured it was time to pull the trigger and get this build posted now that the process is far enough along where you can actually see some visual progress. I will be posting quite a bit initially to get things caught up to where I am currently at in the build process. It...
 expeditionportal.com
Last edited:
Tomadoggy
Member
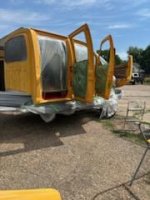
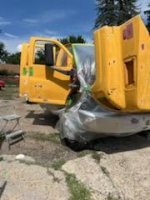
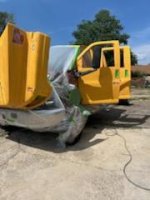
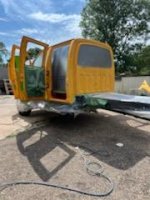
Finally making more progress:
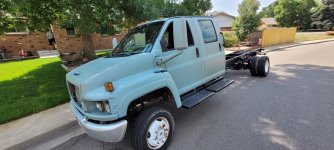
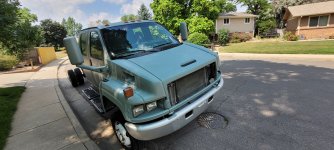
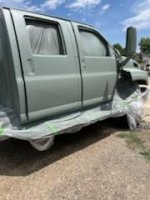
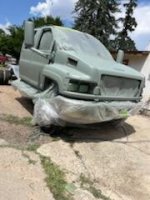
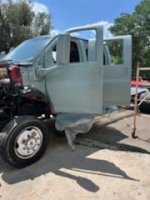
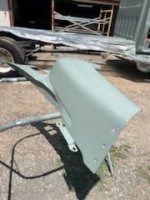
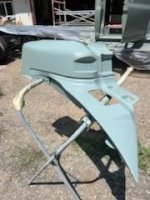
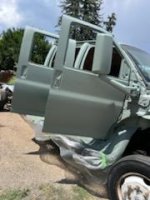
Slow...but moving ahead. Took out the rear glass for future walk through to the camper, 80 grit scuff on the body and then 3 coats of Tinted Raptor liner.
Slow...but moving ahead. Took out the rear glass for future walk through to the camper, 80 grit scuff on the body and then 3 coats of Tinted Raptor liner.
Attachments
Tomadoggy
Member
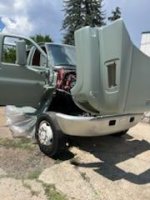
Then the spray
Attachments
-
 IMG_0305.jpg.jpeg14.7 KB · Views: 17
 -
 IMG_0306.jpg.jpeg16.5 KB · Views: 16
 -
 IMG_0307.jpg.jpeg14.8 KB · Views: 13
 -
 IMG_0308.jpg.jpeg12.8 KB · Views: 13
 -
 IMG_0313.jpg.jpeg14.8 KB · Views: 12
 -
 IMG_0312.jpg.jpeg15.5 KB · Views: 12
 -
 IMG_0311.jpg.jpeg16.5 KB · Views: 11
 -
 IMG_0310.jpg.jpeg15.2 KB · Views: 12
 -
 IMG_0309.jpg.jpeg15.1 KB · Views: 17
Tomadoggy
Member
Similar threads
- Replies
- 57
- Views
- 17K
- Replies
- 33
- Views
- 4K
- Replies
- 18
- Views
- 4K


