Dreaming of sitting in a hot spring somewhere. Never been to a hot spring. I want to see death valley.
Thanks again Mwilliamshs!!
The H.S. in mwilliamshs stands for Hot Springs. The nation's first National Park is Hot Springs National Park in central Arkansas. I grew up there. Beautiful area and some GREAT riding and camping close by. Oh, and yes, some hot springs!
Van related: Sounds like you don't need a 110v breaker box. Plug directly into your inverter. More efficient and safer that way. Inverters should installed with fuses on the power feed and most are also equipped with a built-in fuse too and the 110v wiring should be just the microwave's cord (safe and efficient). If you want to run 110v things outside or in wet conditions (rainy campsite, damp metal van, etc) I strongly suggest a GFCI. They're available as plug-ins, just stick one in the inverter and stick your cord in that.
12v wise, you don't have to spend chunks of money on BlueSea stuff. Buss (the fuse company, think yellow tin of fuses in your glovebox) sells very good quality fuse panels from like 4 circuits upto 18 or so. O'Reilly's here locally has a couple in stock and even more in a warehouse that can be in-store in 24 hours. They're available with covers and labels, for glass or ATM/ATO fuses, etc. Lots of good options besides the $$$ marine stuff. My gut tells me most any problem folks ever face in a DIY camper (or the pro stuff!) stem from installation quality and/or neglect, not the components themselves (assuming of course parts are name-brand and/or meet some Industry Standards).
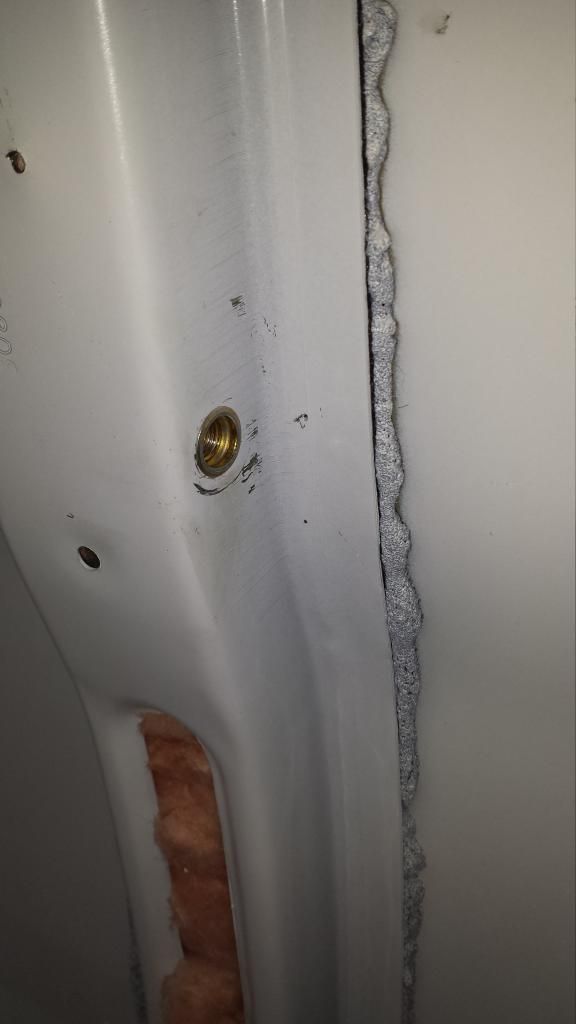
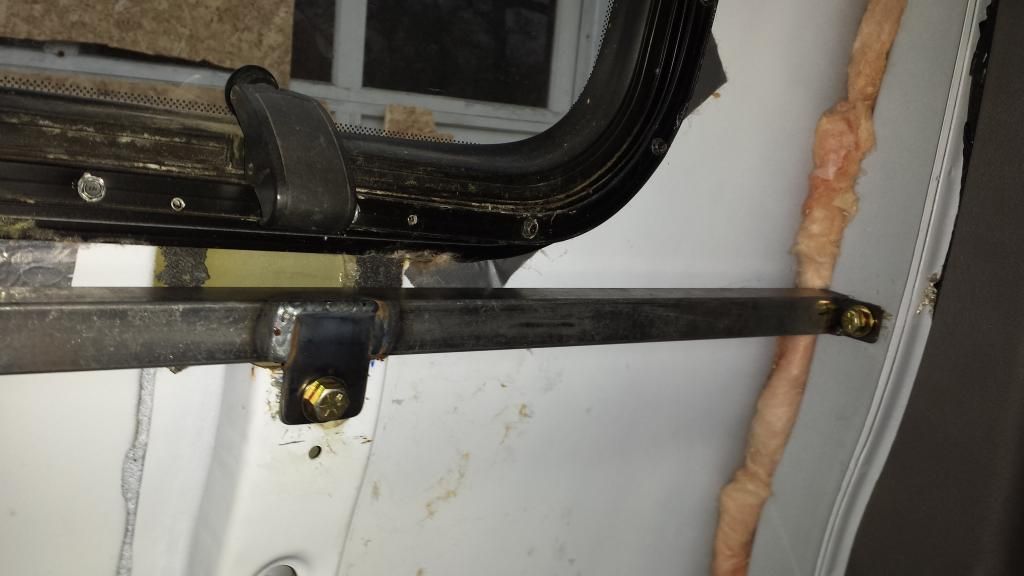
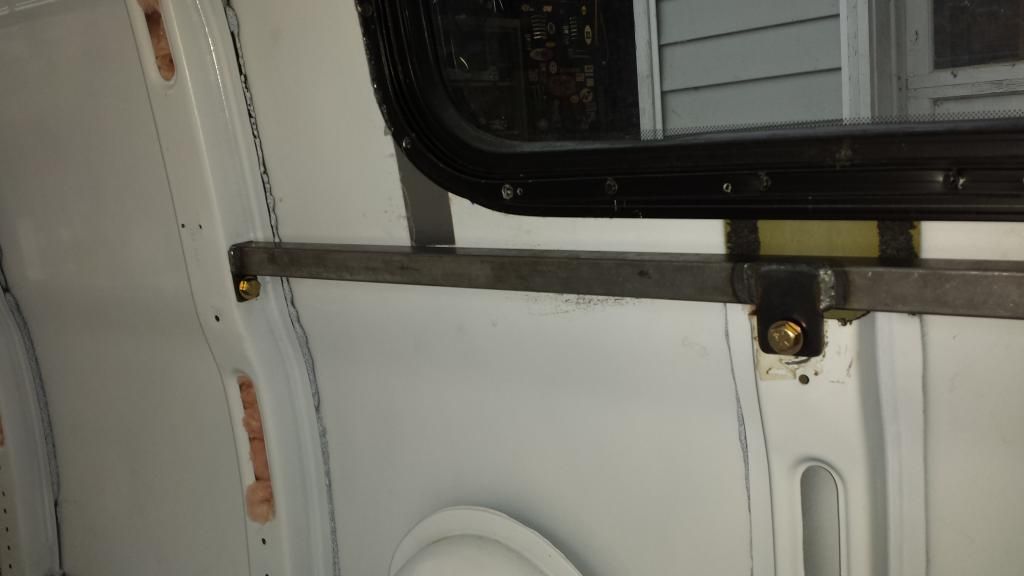
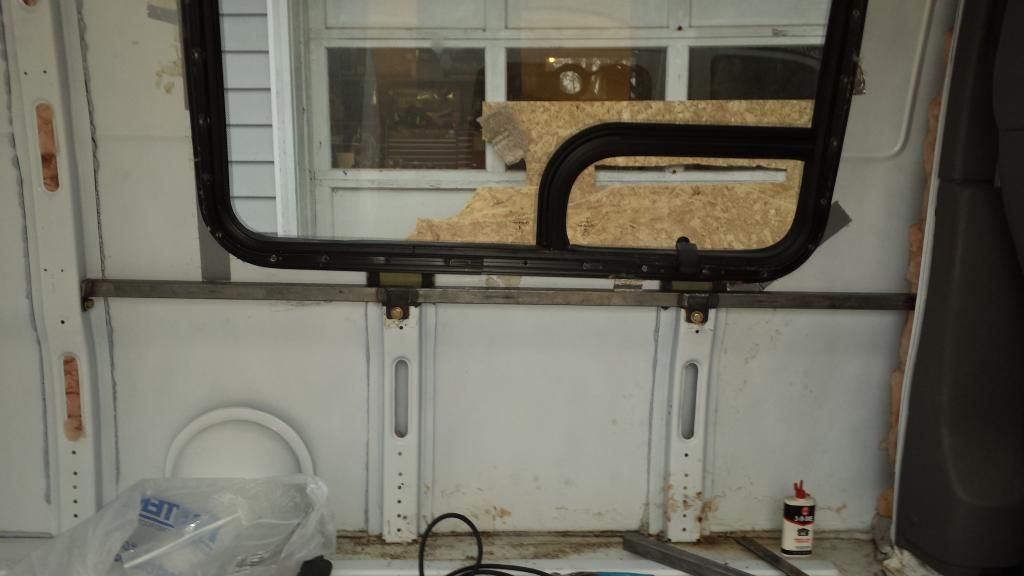
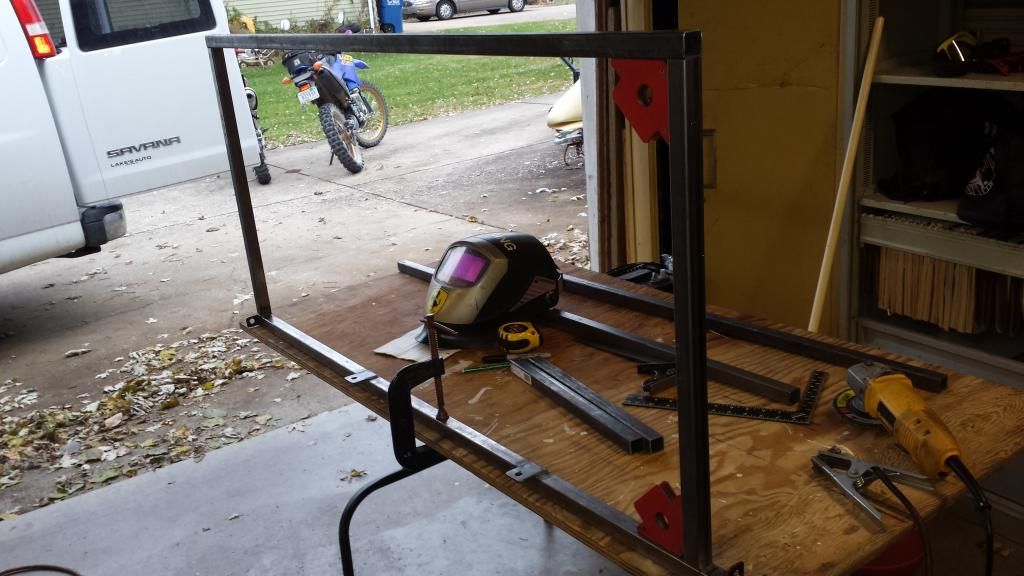
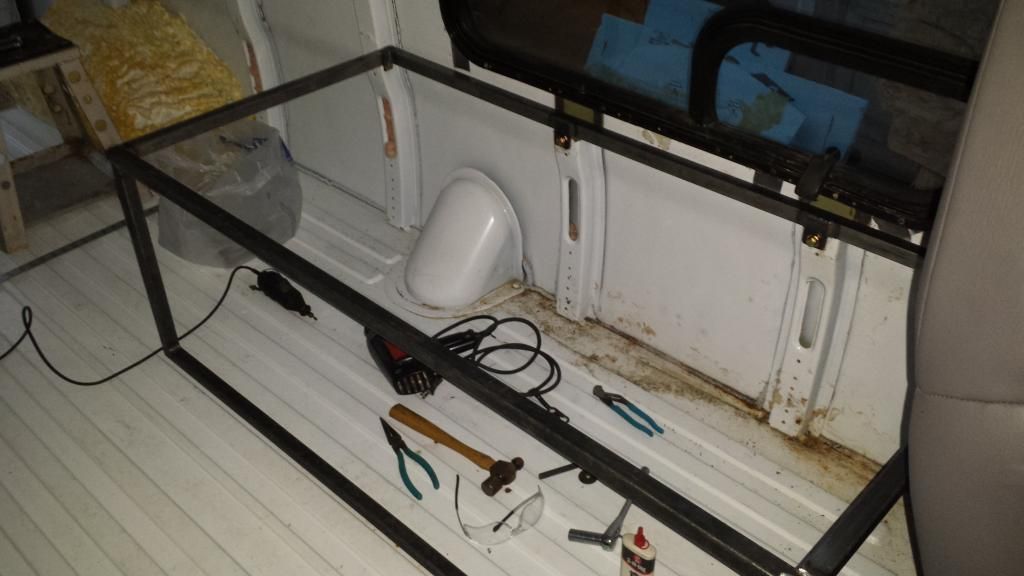
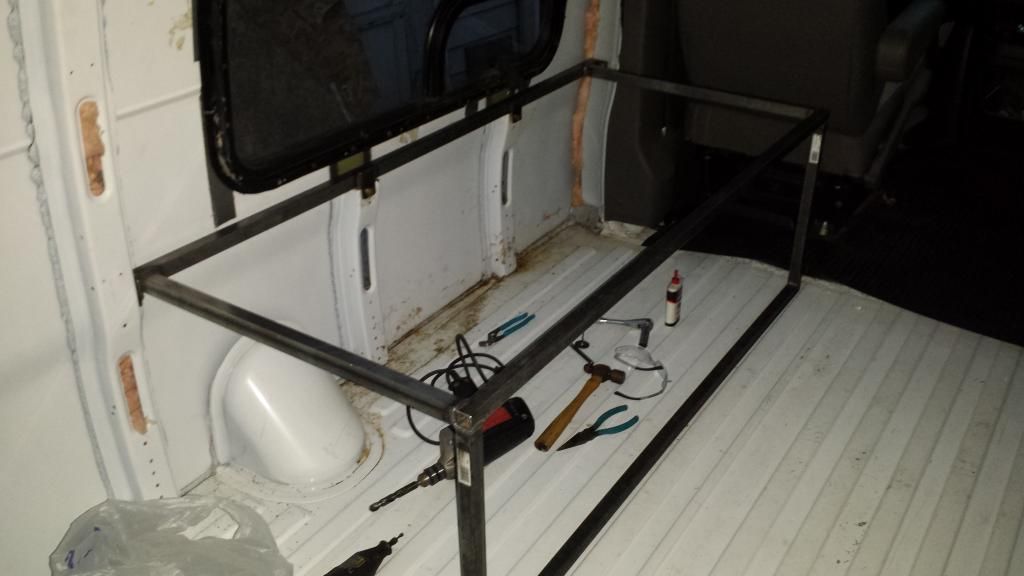
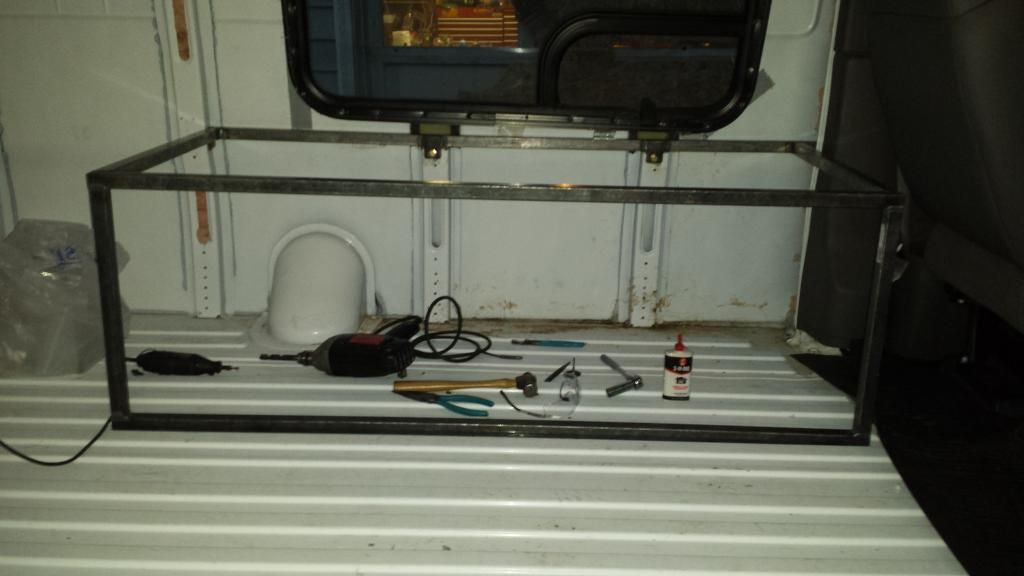
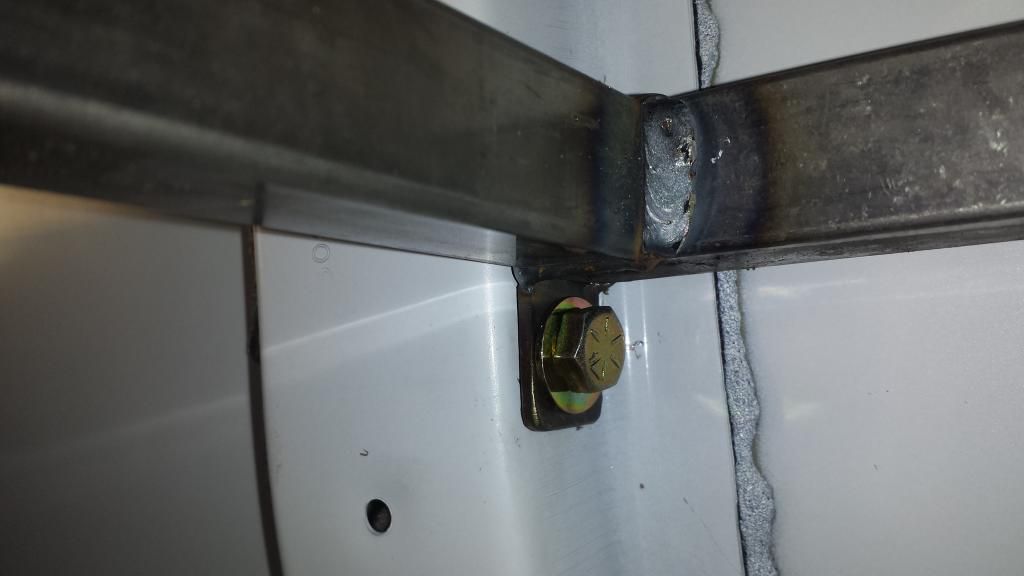
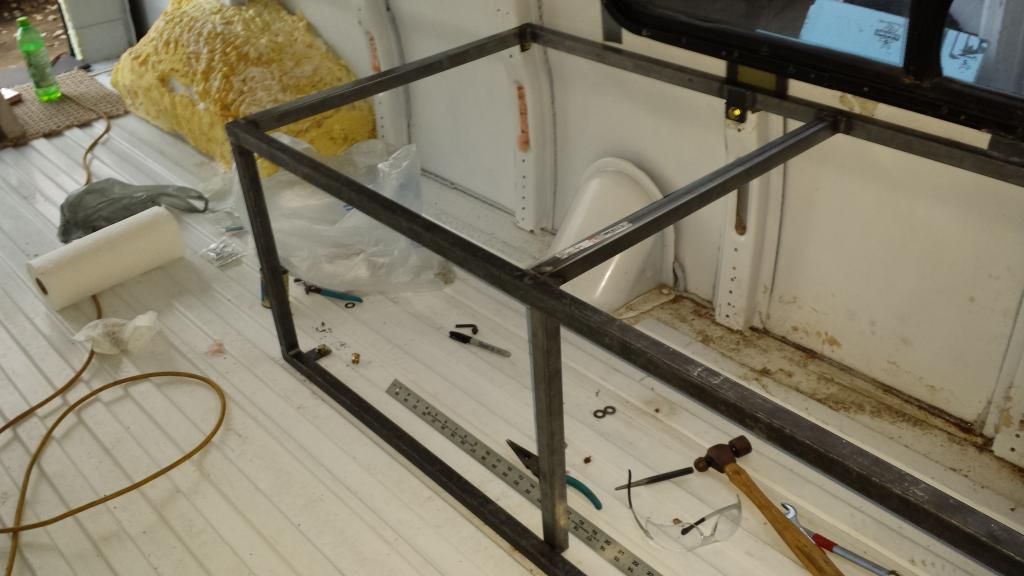
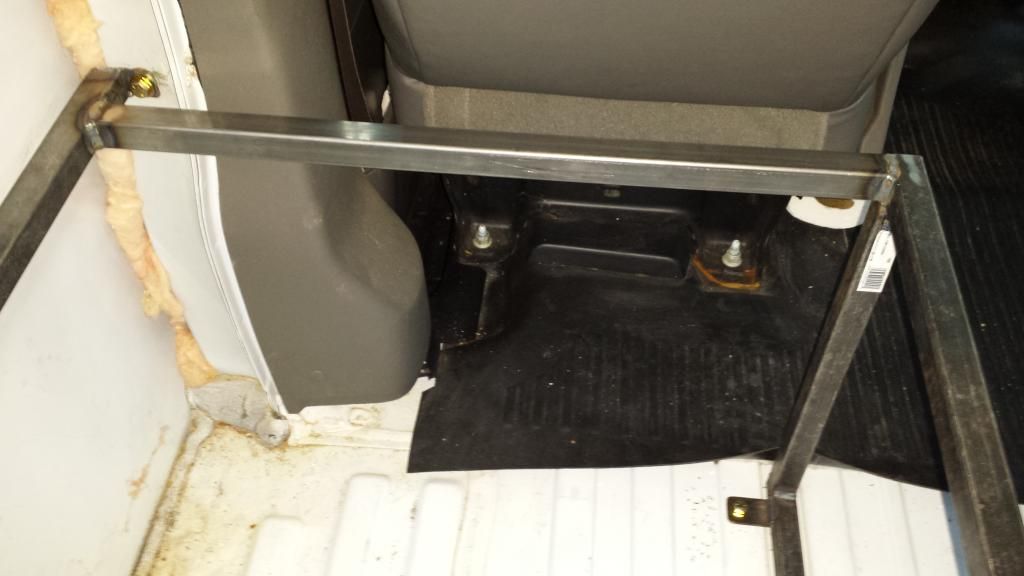
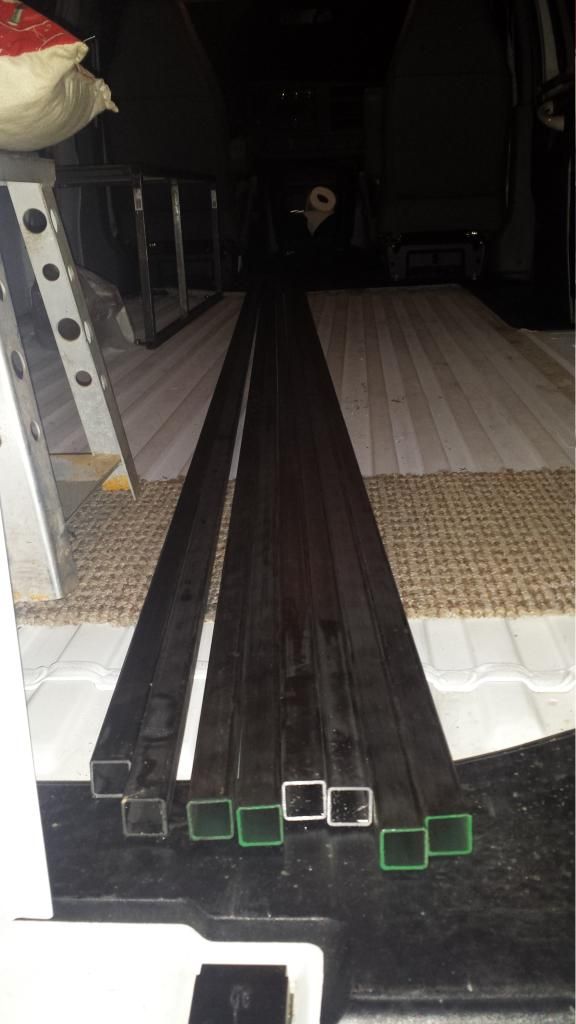
Your steel frame connected to the van's structure looks hella good to me. I would find a way to connect it to the floor and/or connect the bottom of the frame to those wall ribs at a lower point to reduce leverage on those riv-nuts. I've used them a bunch and really like them but they do have a weakness and it's the fatigue resistance of the surrounding metal in my experience. Imagine lifting the upper outside bar of the box you made and you'll see the first place to flex, given that your box is so sturdy, is gonna be the attachments at the wall. My .02. Where there's acces to the backside, like just below your window, I use the largest OD washers that'll fit on the backside to spread that force over a larger area, like a backing washer on a rivet. In blind applications you just have to make the best of it. It really looks like you've got a handle on van fab!
Also riv-nut related, I've made my own
automatic riv-nut tool for a cordless drill. Super easy and very fast. I worked at a boat factory that had the real tool (pneumatic, not cordless drill powered) and basically copied it at home, country-boy style. Sorry no pics, I live 80 miles from the shop during the school year. There are two ways to do it. 1) Use a socket-head bolt (aka allen bolt, etc) and just put the appropriate allen bit in your drill. Thread a nut and a riv-nut onto the bolt, hold the nut with a wrench, spin the bolt with the drill, done. 2) Get a bolt that fits your riv-nut threads but has a long unthreaded shoulder. Cut the head off. Run a nut up on the threads till it bottoms out against the shoulder. Thread on a 2 riv-nuts till they bottom out against the nut. Cut off the bolt below the 2nd riv-nut. You're just making the bolt
only as long as necessary so it won't dent (or worse) whatever's behind the nut. Don't ask how much it cost me to learn that (hint: you cannot DENT
antique stained-glass and boats with stained glass ain't cheap boats and
new boats with
antique stained glass are owned by peckerheads). It needs to be exactly twice as long as the riv-nut and the flanged-nut, plus a thread or two just in case. Now unscrew the riv-nut until it's just barely hanging on, unscrew the nut down on top of the riv-nut. Chuck the shoulder of the bolt into your drill's chuck just like a drill bit. Nuts with a big serrated flange work good here, put the flange facing away from the drill and it'll help hold the riv-nut and prevent twisting it on the bolt. Thread the riv-nut up against the flange, insert the whole thing into the hole, and press firmly to seat the riv-nut's flange against the wall. Put your open-ended wrench on the nut and get a good grip on it. I do not suggest a box-end wrench here. If it slips from your grip or you squeeze the trigger by accident, it'll be spinning around pretty fast and they hurt. An open-ended wrench will just fall off if you let go. So you're kinda pressing with the wrench and almost pulling with the drill, you'll get a feel for it. Set the clutch down low, put the drill in slow-forward, and squeeze the trigger. Don't let go of the wrench. It's not hard to hold on to, just important that you do. The drill runs the riv-nut up tight, then crimps it just like the manual tool does when the handles are squeezed. Reverse the drill and it'll unscrew, leaving just the bolt (with the nut on it) in the drill and the riv-nut in the wall. Slick'r'n snot as they say! Test the first few with your old bolt and nut method and adjust the drill chuck to get a full crimp. I leave mine set on "drill" and go by feel but it is possible to screw up that way and spin a riv-nut in the hole, making it useless. A little grease on the threads helps crimp easier but only if you aren't going to use threadlocker afterward. (I tend to) I grind 3 flats onto the bolt's shoulder (like the better drill bits have) so the drill chuck grips a little better. After you set a couple riv-nuts you'll have it figured out and you'll know where your drill's clutch needs to be set to get a full crimp on the riv-nut.
Hot tip #2: some JB weld or similar stuff on the OUTSIDE of a riv-nut prior to installation makes for a damn stout attachment once it cures. Likewise, some Silkaflex or what-have-you smeared on the OUTSIDE before installation makes the crimp water-proof. For exterior stuff I like to stick a thin paint brush in the hole with some Por-15 or etching primer on it and paint the whole thing as best as I can.

