jscherb
Expedition Leader
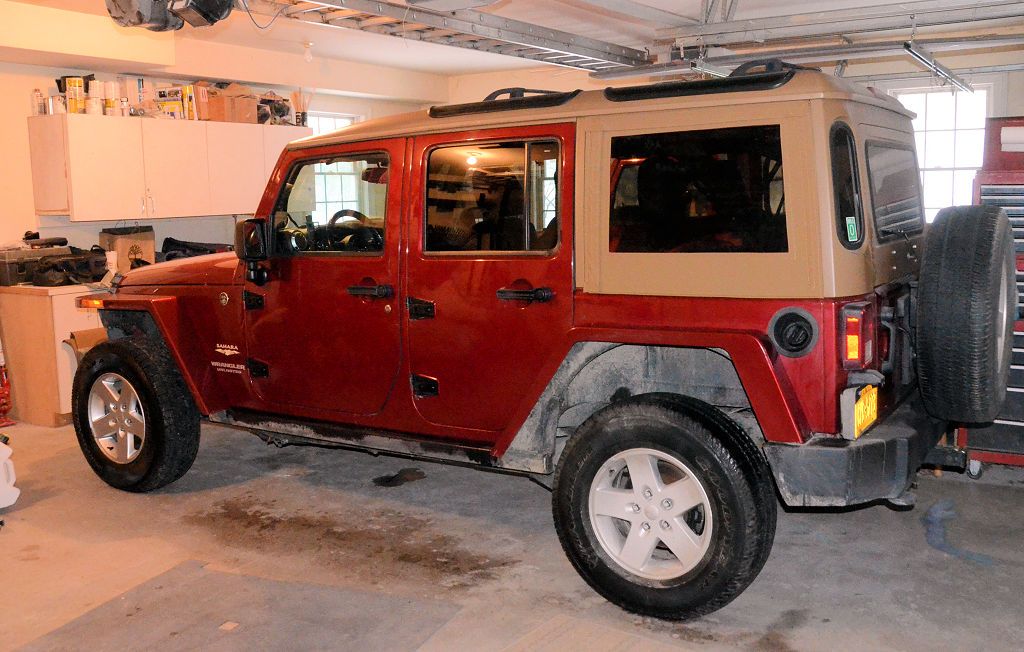
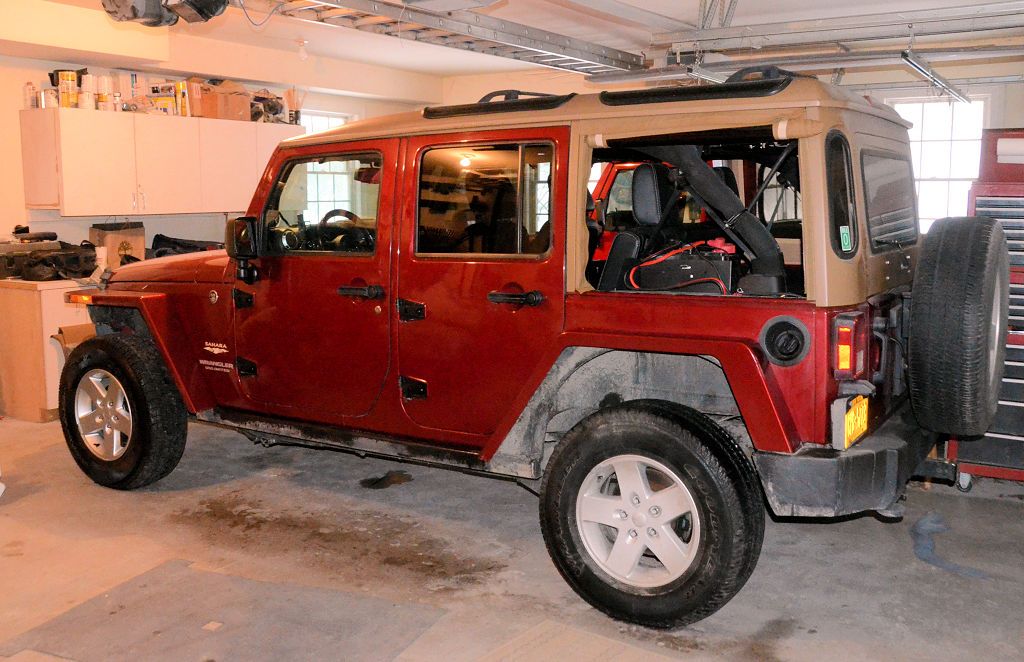
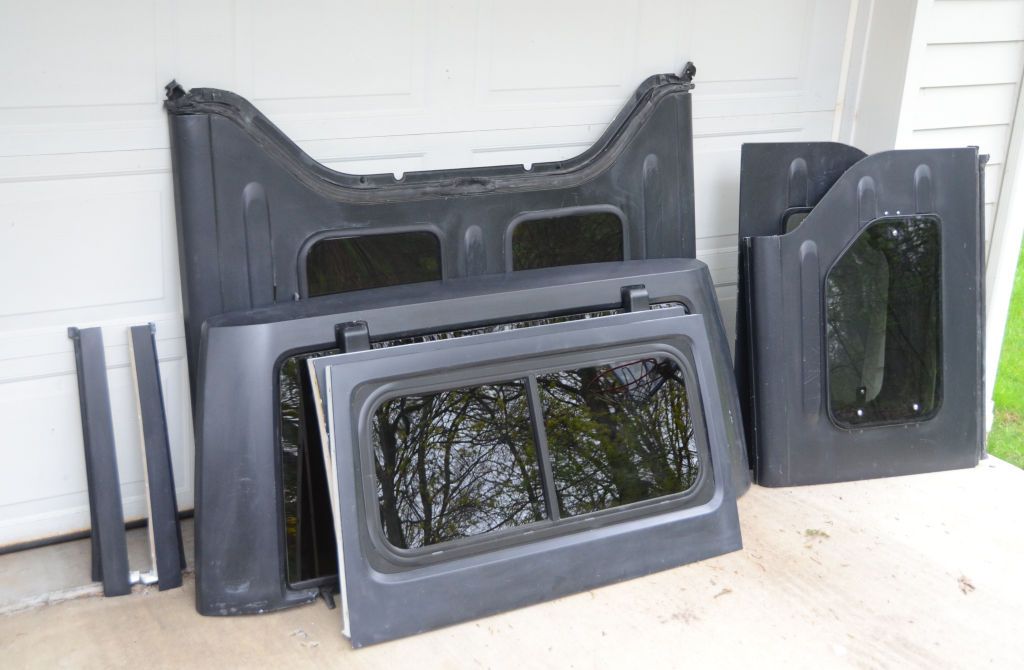
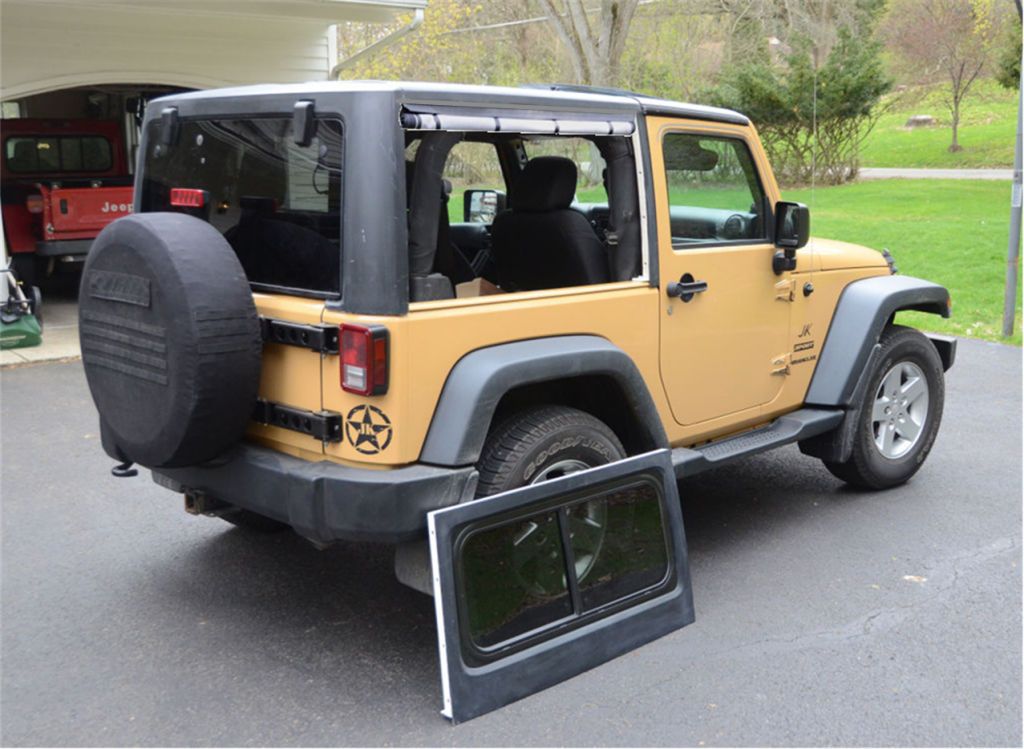
That damage at the bottom reminds me of this panel I repaired when I was designing the slider window kit for Retrofit Offroad. I picked up this broken hardtop fragment for the window dimensions and shape and decided to repair it so it could be used with the modular hardtop.
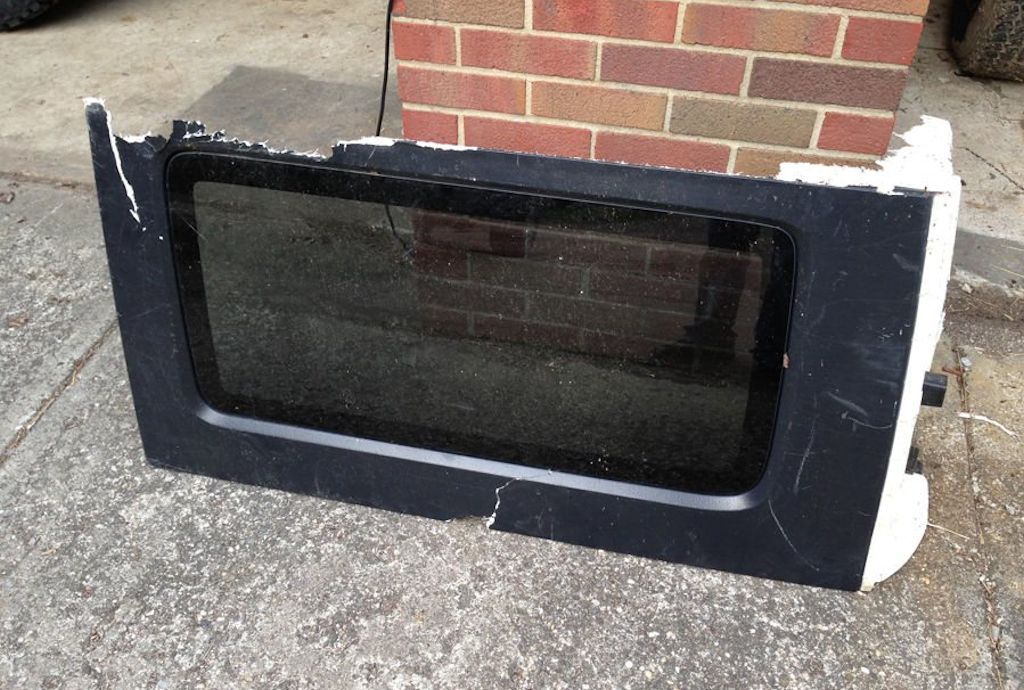
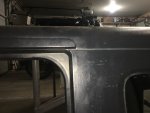
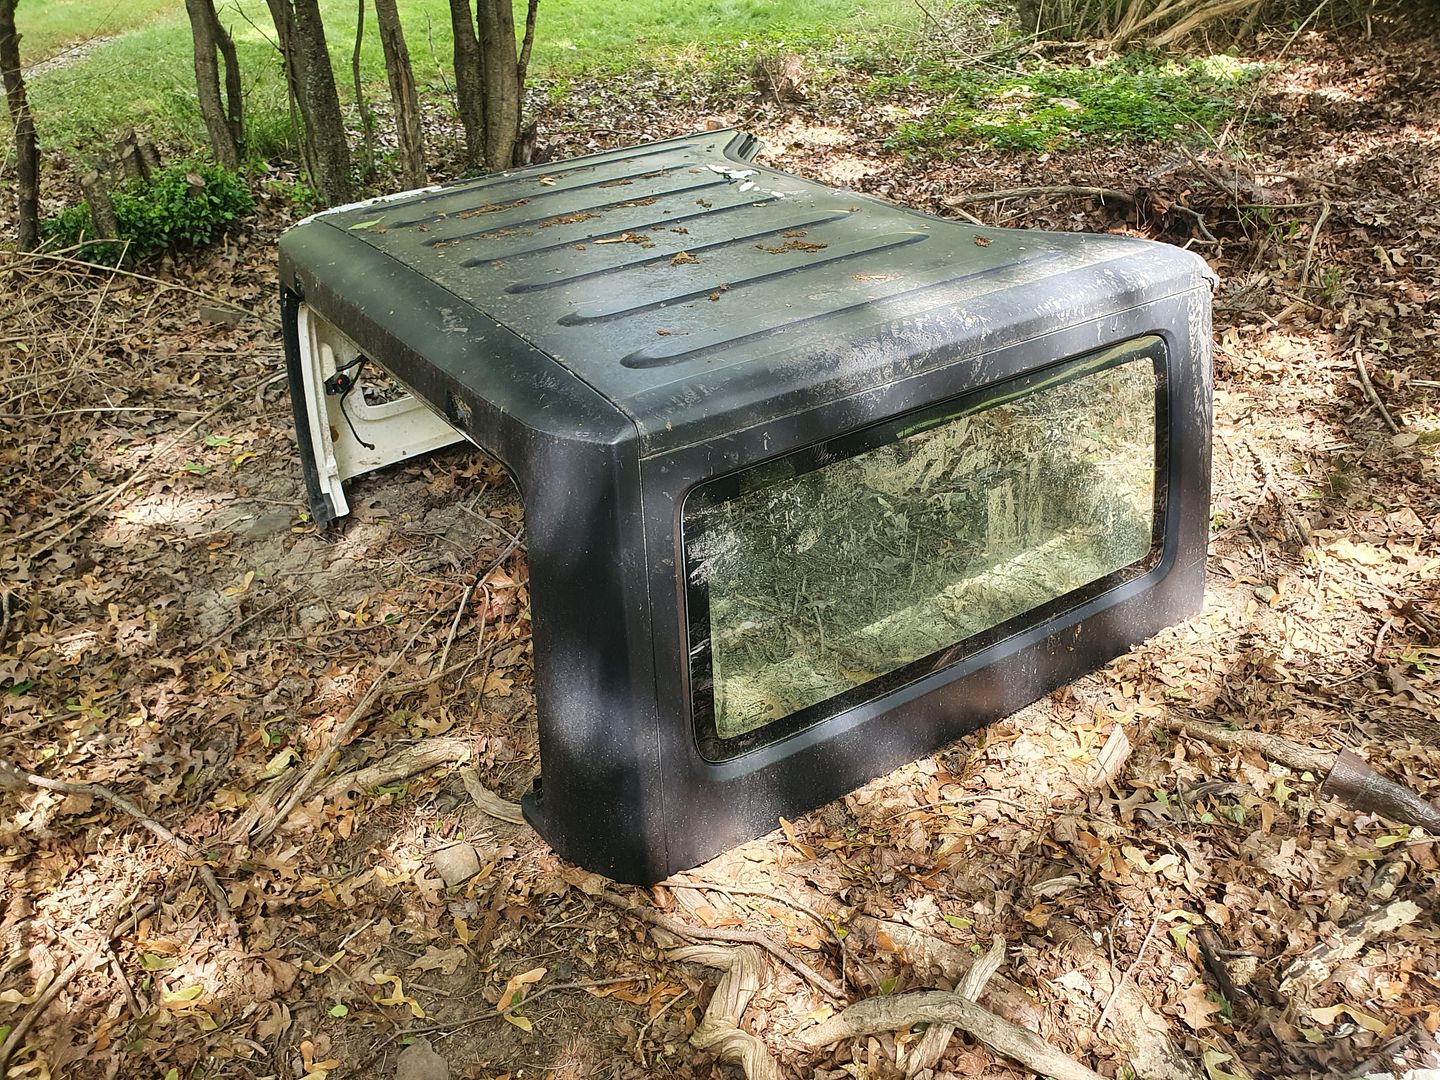
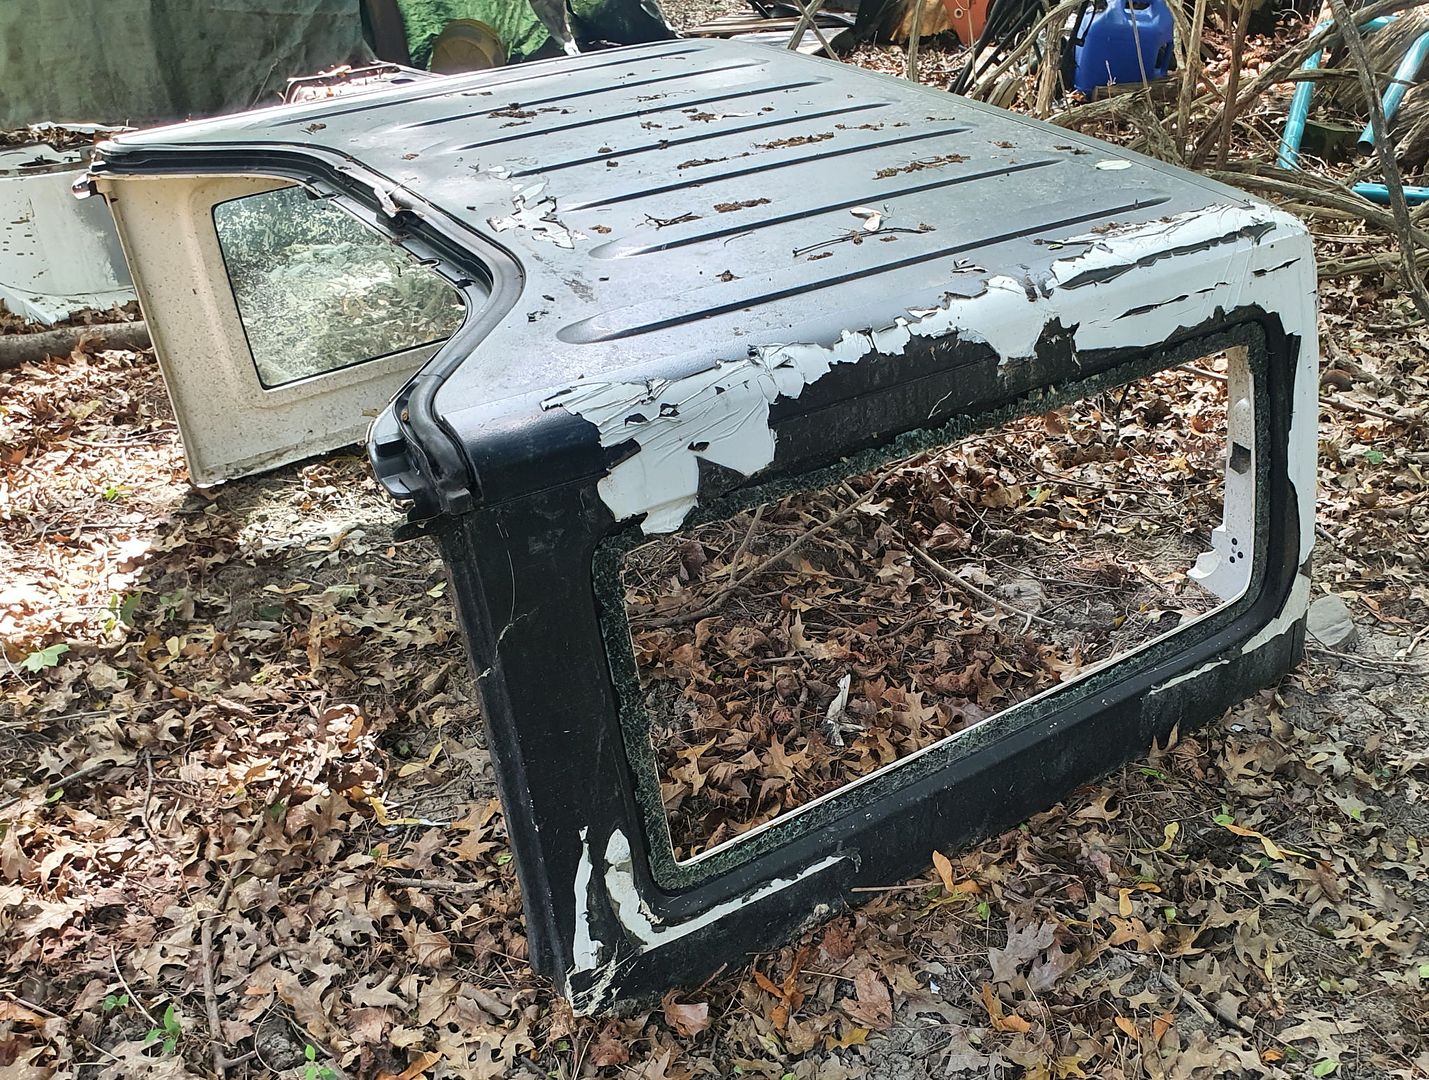
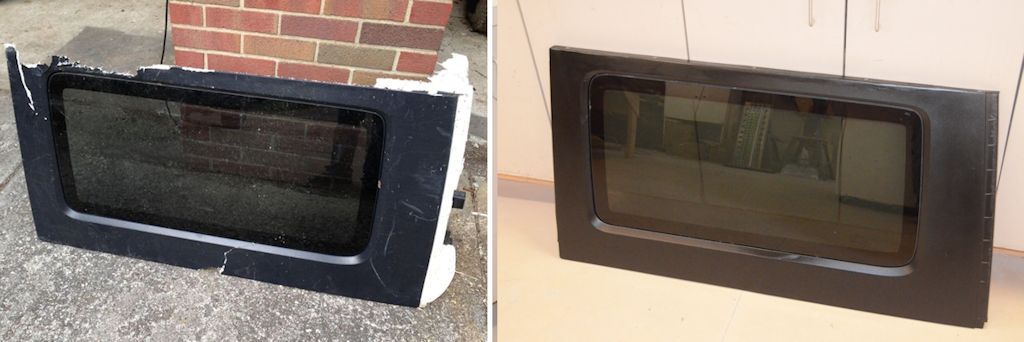
Notice there are two main areas of damage - the broken piece at the top and a chunk out of the bottom.
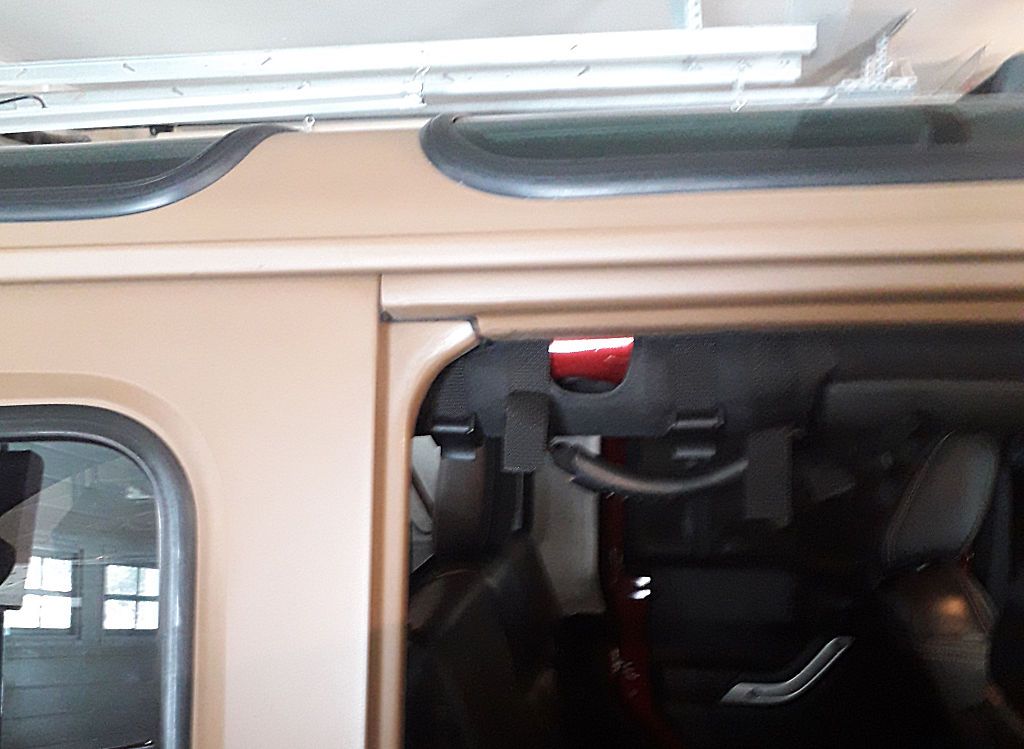
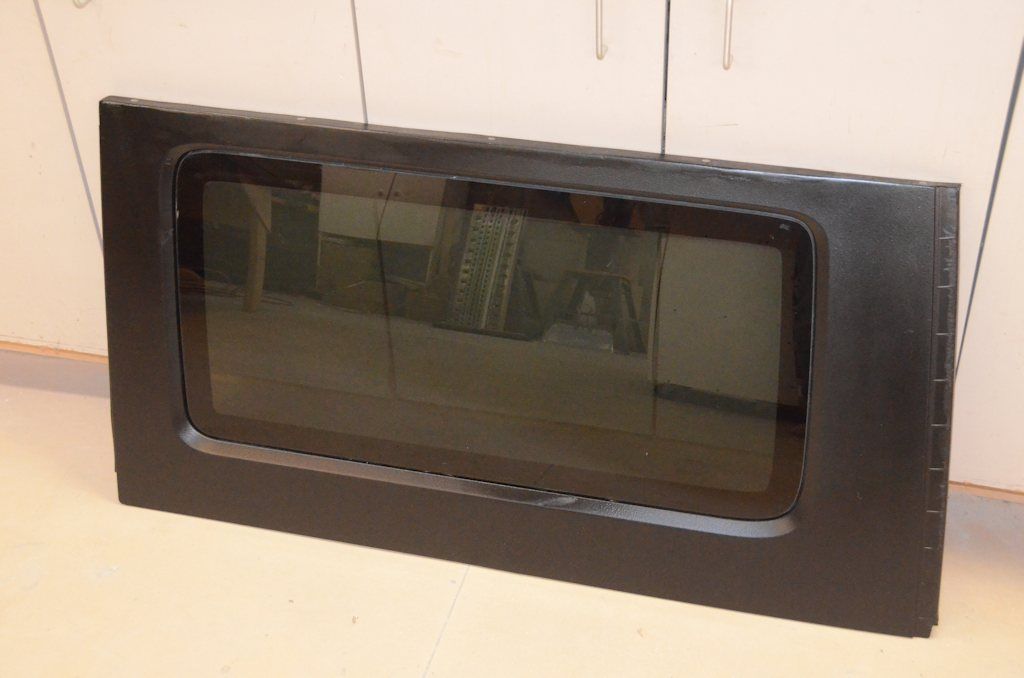
Compare the "before" photo above to this "after" photo.
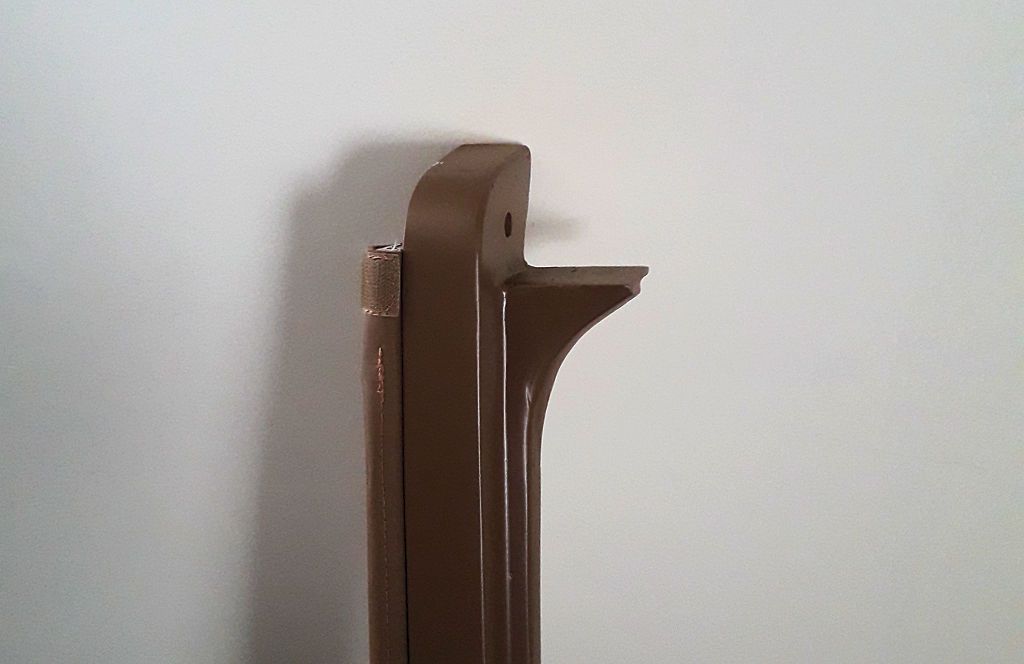
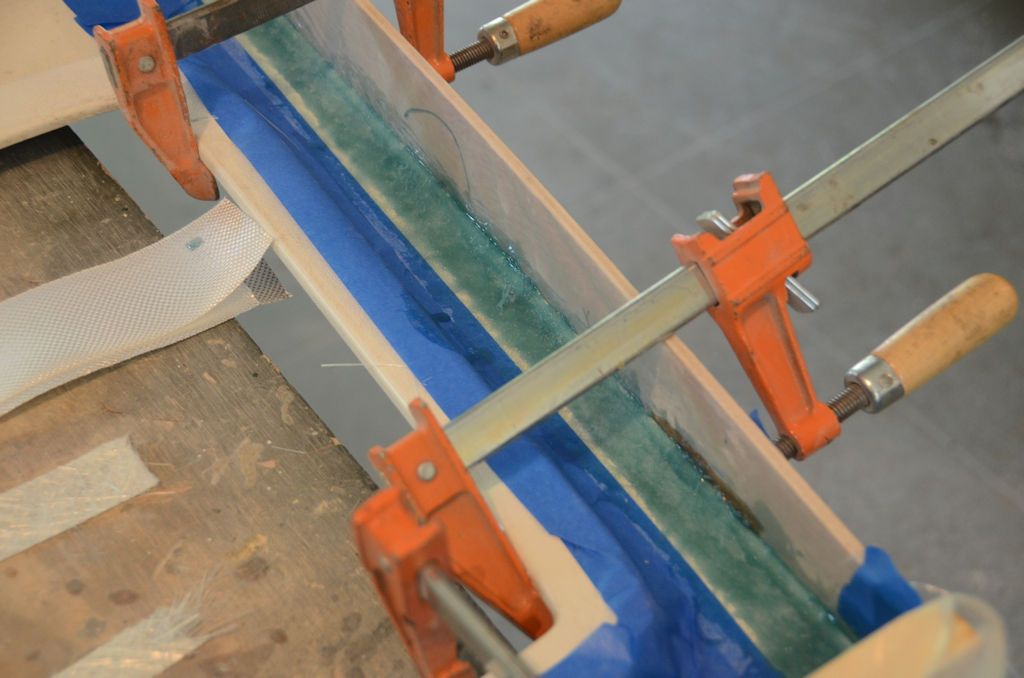
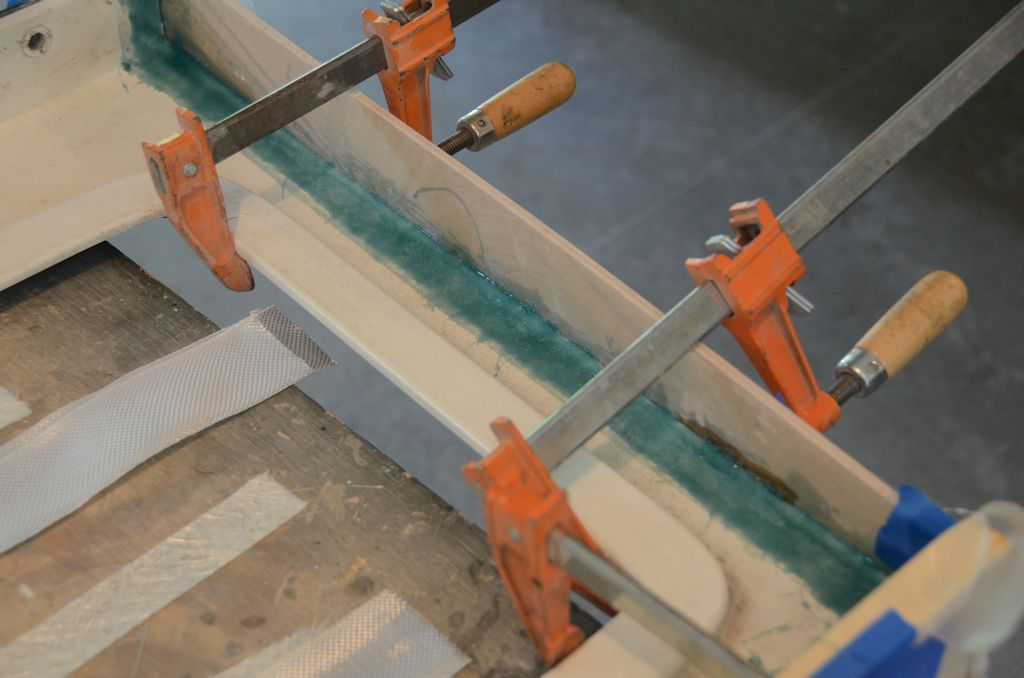
The best way to do this type of repair is to make a form on the outside surface and mold the repair against that. I didn't take any many photos of the forms, but in this next photo you can see the form I clamped to the bottom to repair the missing chunk. It's a piece of smooth masonite, covered with masking tape (resin doesn't stick to the tape) and clamped tight to the outside of the hardtop side. Before clamping it in place I tapered the edges of the break on the inside with a sander.
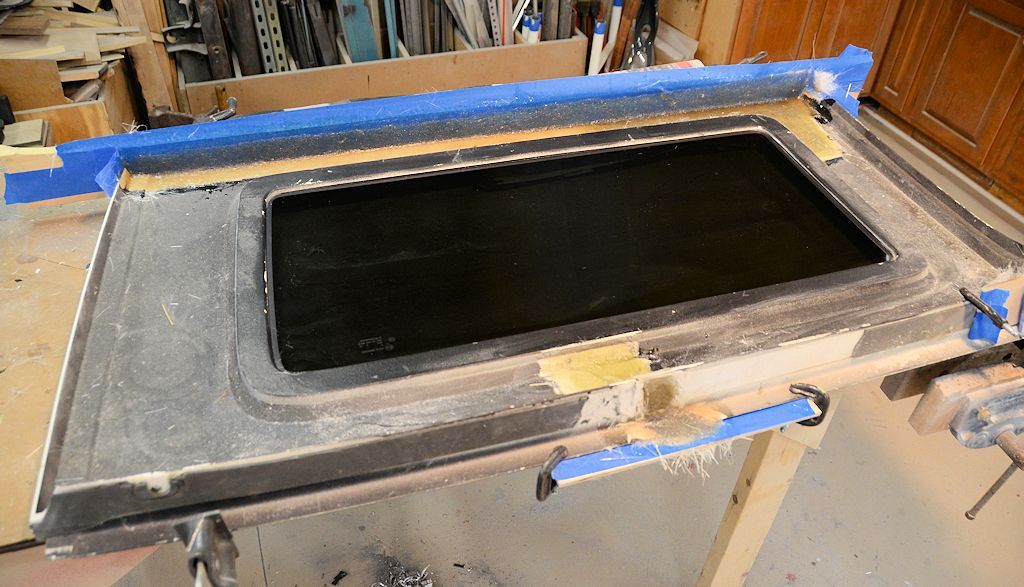
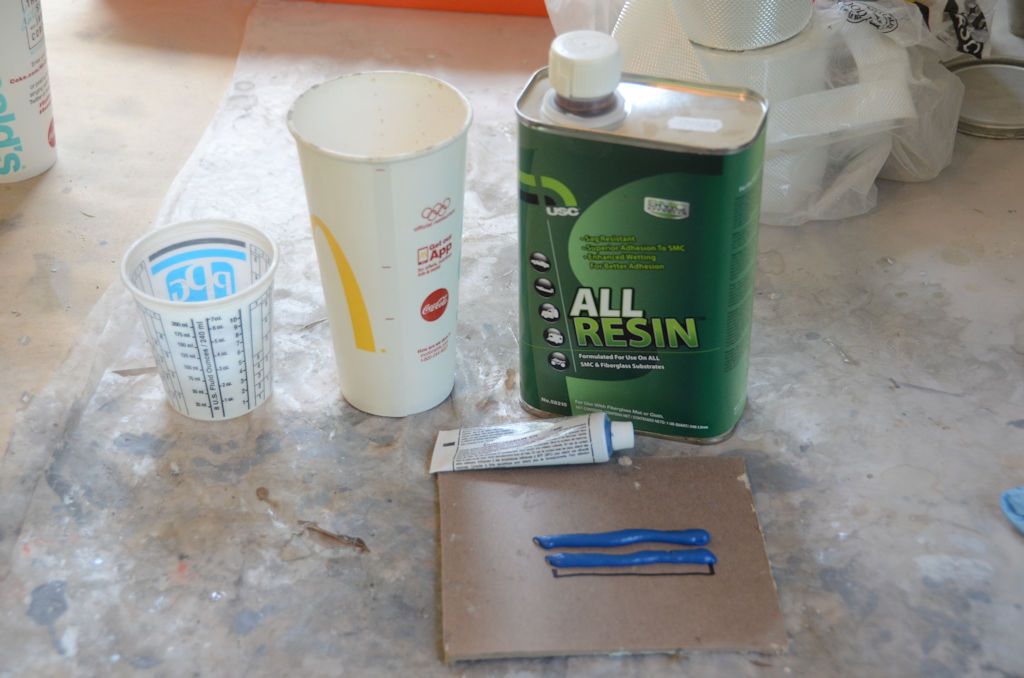
With the form clamped in place, I applied gelcoat to the form and once that was cured to the proper point I laid fiberglass mat soaked in resin over the area to build up to a thickness slightly thicker than the hardtop side to allow for some sanding on the inside. Gelcoat as a first step isn't strictly necessary, resin can be applied directly, but gelcoat usually makes for a better final surface.
For the big repair at the top of the panel, I used drywall screws to attach the form to the panel. That leaves screw holes that need to be filled during final finishing, but that's easy and the screws ensure that the form conforms tightly to the curve of the hardtop. For the large repairs you need to make, I'd recommend screwing the forms in place.
After the form is removed, the outside surface is sanded and SMC-compatible body filler is used to do a final smoothing on the outside surface before painting. On the inside, a bit of sanding to smooth the roughness of the applied fiberglass and then some white paint can be applied to match the interior.
A side-by-side before and after:
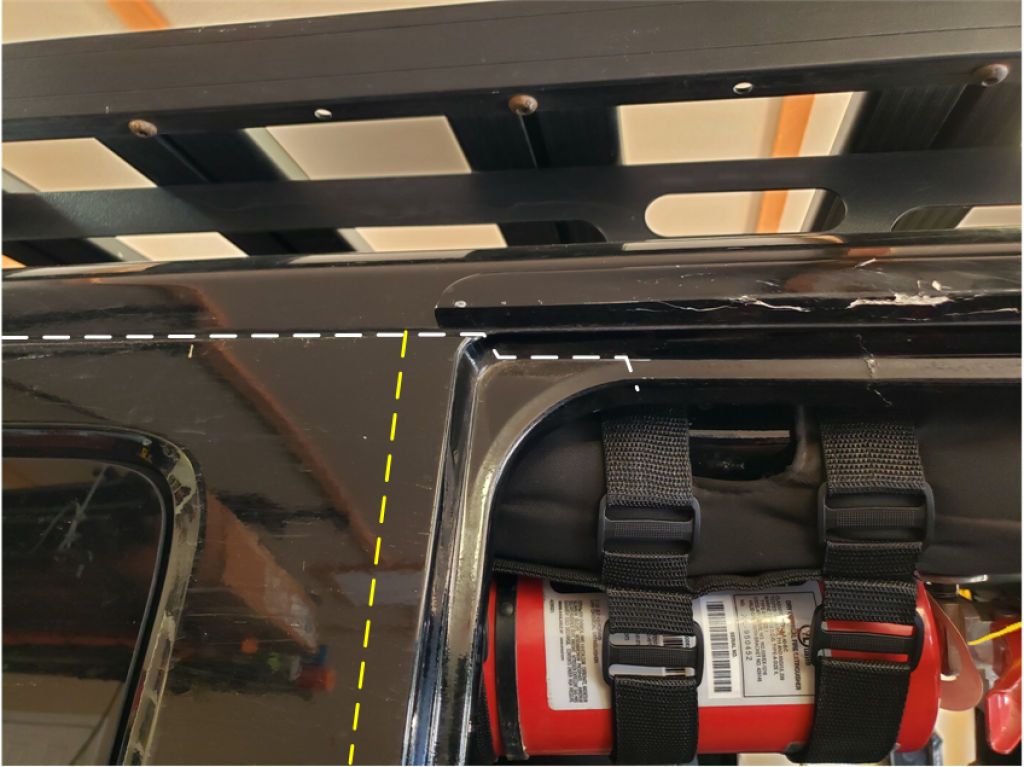
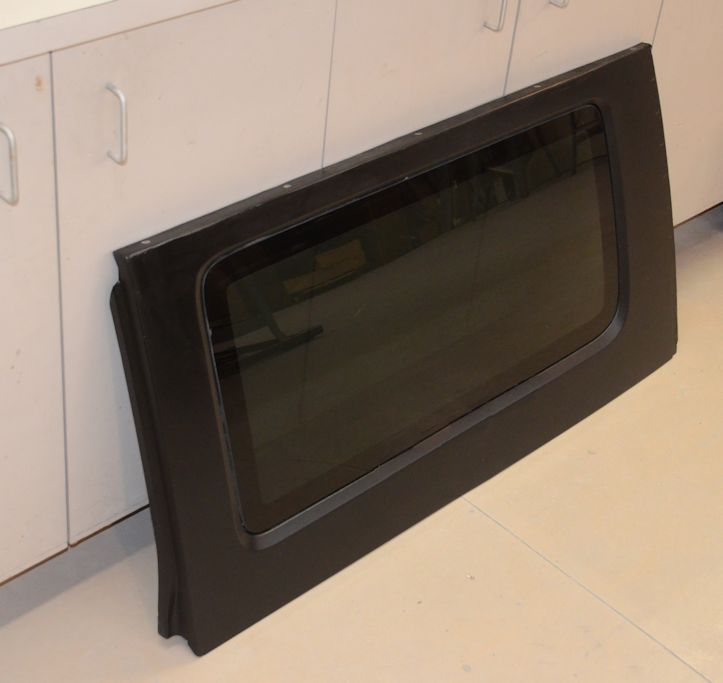
Another after photo:
Happy to explain more if necessary.

Notice there are two main areas of damage - the broken piece at the top and a chunk out of the bottom.
Compare the "before" photo above to this "after" photo.

The best way to do this type of repair is to make a form on the outside surface and mold the repair against that. I didn't take any many photos of the forms, but in this next photo you can see the form I clamped to the bottom to repair the missing chunk. It's a piece of smooth masonite, covered with masking tape (resin doesn't stick to the tape) and clamped tight to the outside of the hardtop side. Before clamping it in place I tapered the edges of the break on the inside with a sander.

With the form clamped in place, I applied gelcoat to the form and once that was cured to the proper point I laid fiberglass mat soaked in resin over the area to build up to a thickness slightly thicker than the hardtop side to allow for some sanding on the inside. Gelcoat as a first step isn't strictly necessary, resin can be applied directly, but gelcoat usually makes for a better final surface.
For the big repair at the top of the panel, I used drywall screws to attach the form to the panel. That leaves screw holes that need to be filled during final finishing, but that's easy and the screws ensure that the form conforms tightly to the curve of the hardtop. For the large repairs you need to make, I'd recommend screwing the forms in place.
After the form is removed, the outside surface is sanded and SMC-compatible body filler is used to do a final smoothing on the outside surface before painting. On the inside, a bit of sanding to smooth the roughness of the applied fiberglass and then some white paint can be applied to match the interior.
A side-by-side before and after:

Another after photo:

Happy to explain more if necessary.

