BajaRack MG model Installed 4-28-2010
Much of this info is already in a separate thread for the new rack, but I need to update my buildup thread with the info.
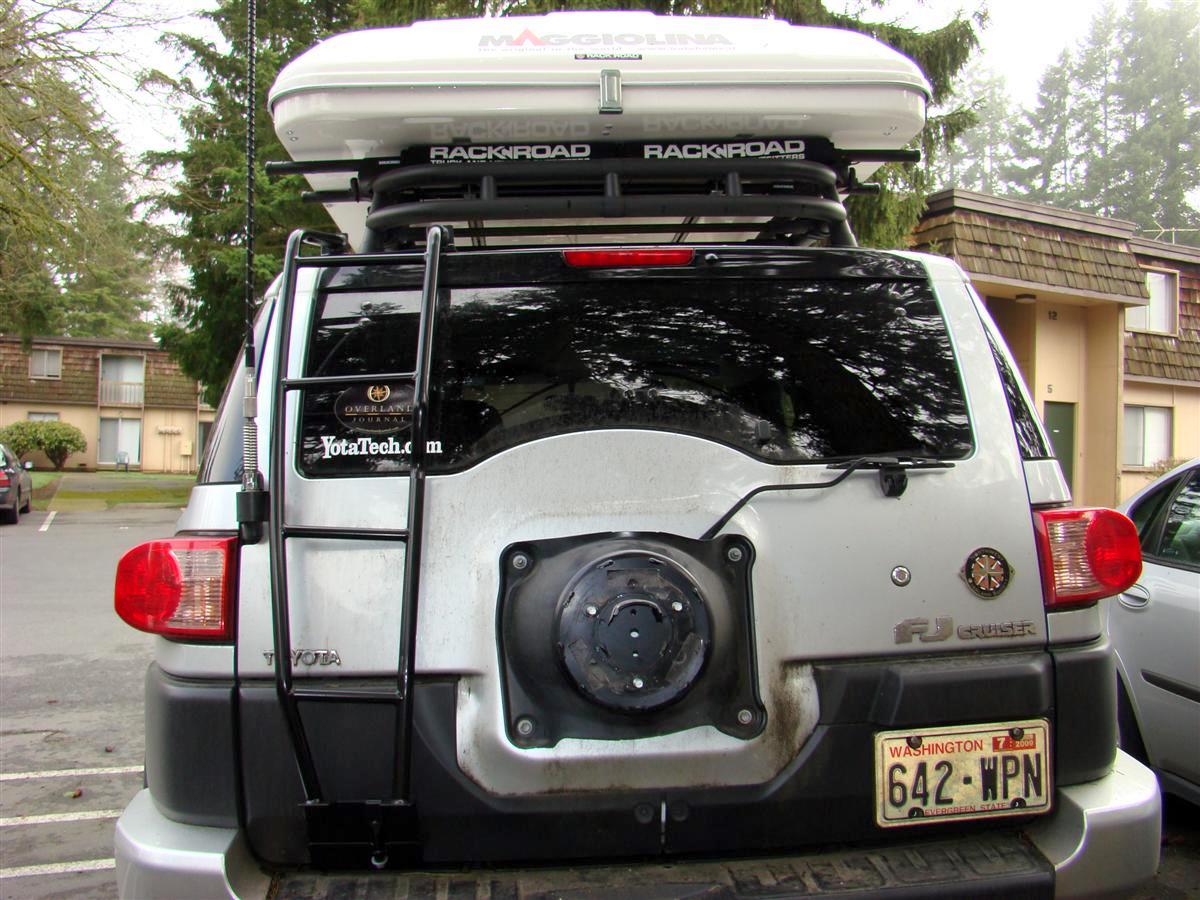
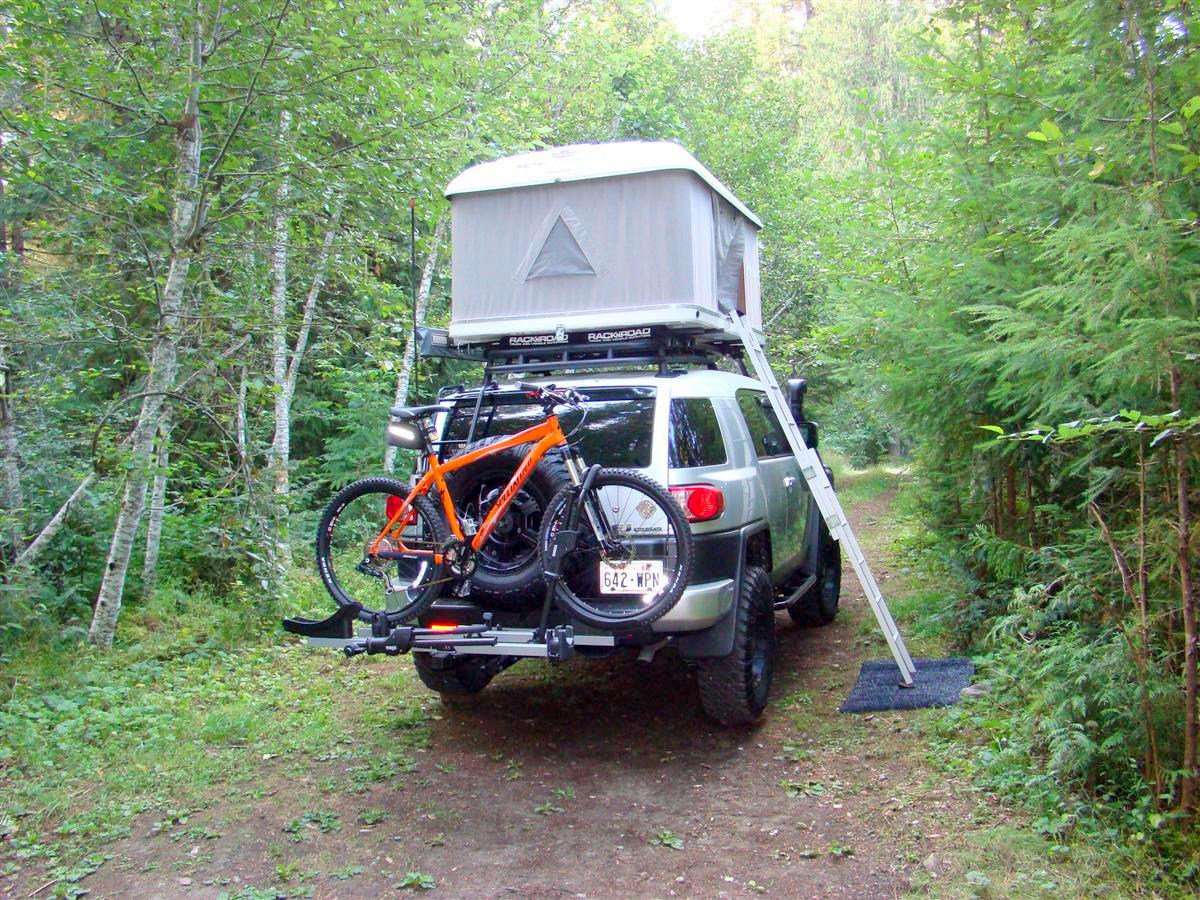
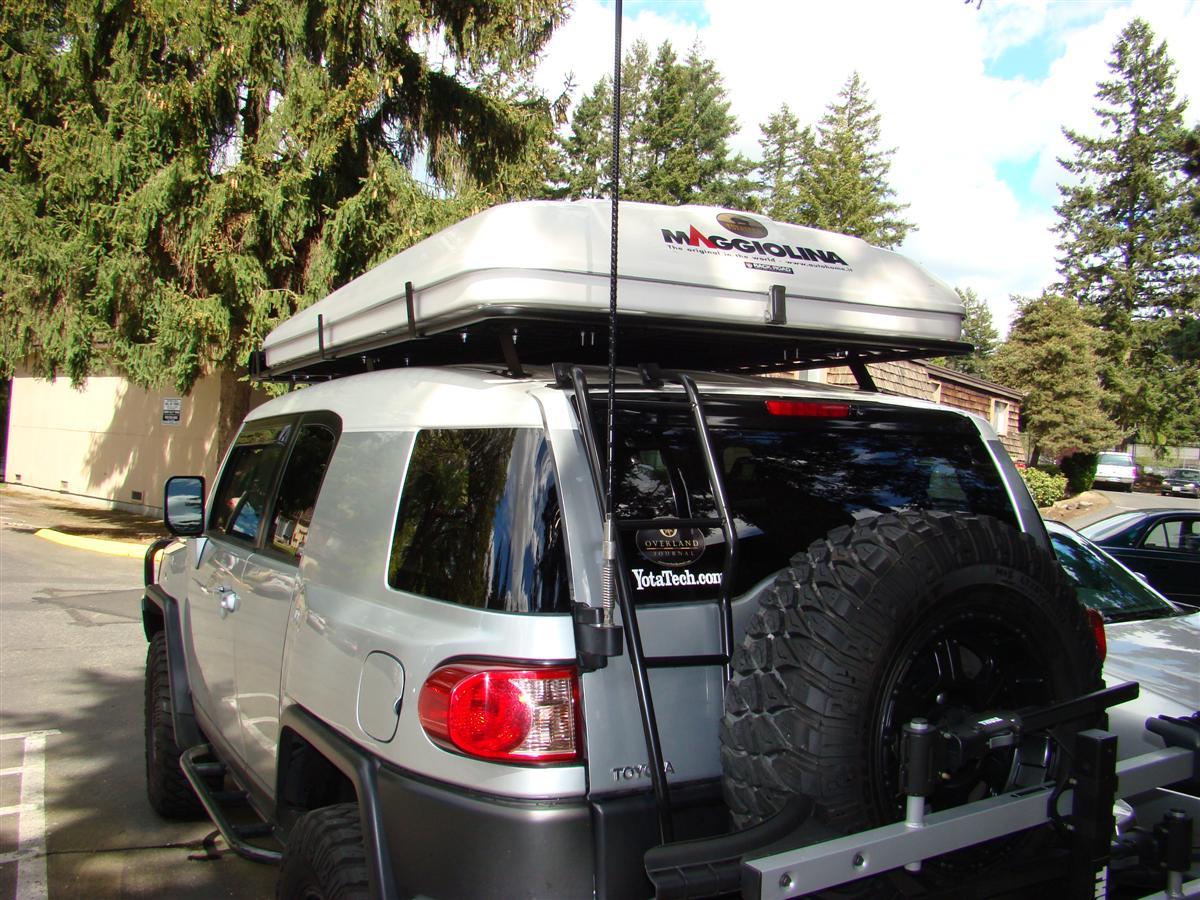
Been running my Maggiolina AirLand roof top tent for a little over two years on the stock FJ Cruisers rack.
While it works, it is not the best as in the COG is very high, and I get buffeted around on the freeway at speeds over 50 miles per hour when there is any amount of wind.
Last year we had a discussion at fjcruiserforums.com about a possible rack made just for the Maggiolina and Columbus style tents from Autohome.
Others have come up with ideas to get the tent lowered, but I wanted a specific off the shelf rack you could buy instead of fabbing one up to do this.
BajaRacks out of California stepped up last year and came up with a design.
It is all flat with no basket setup to contain any cargo on top, its sole purpose is to carry an AutoHome fiberglass shell tent which takes up most of the length and width of the rack.
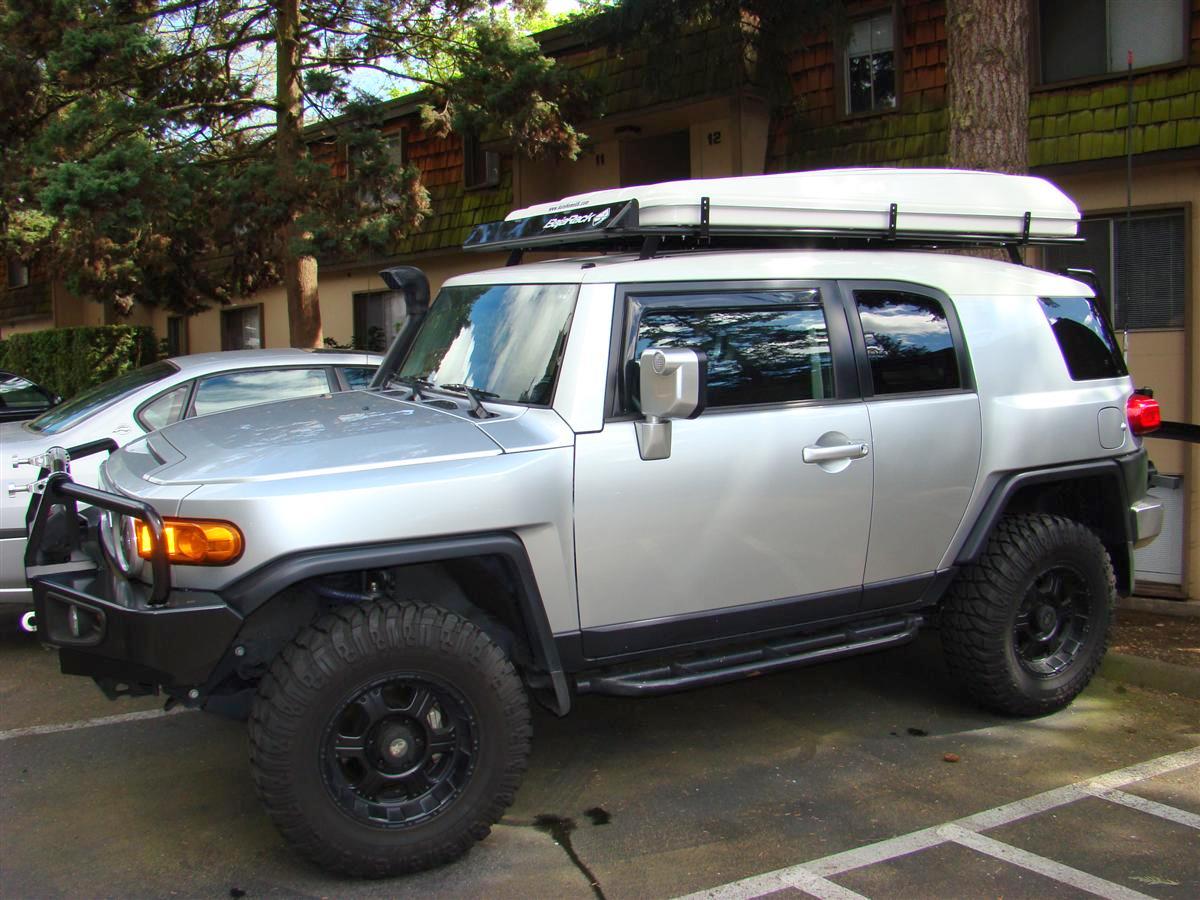
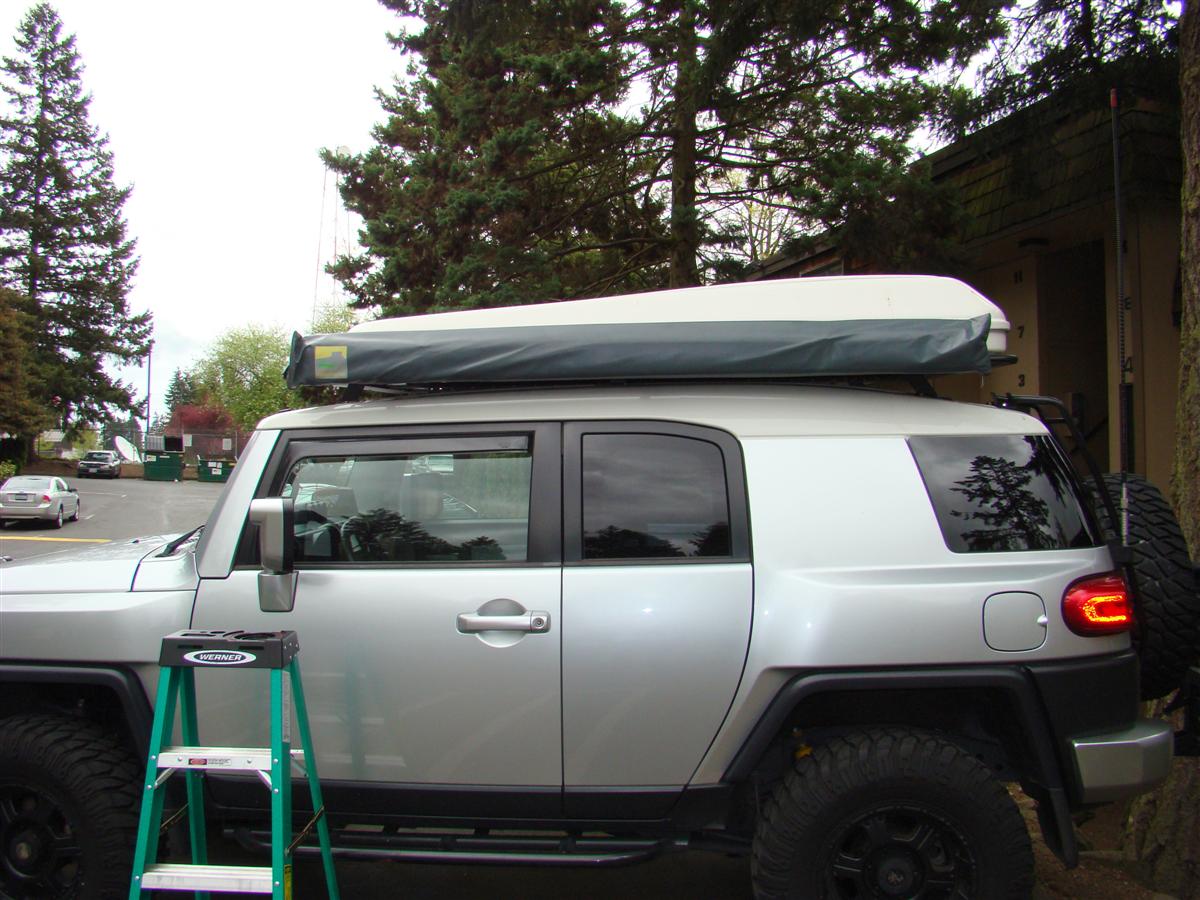
In March of this year I decided it was time to jump on a new rack to make my rig safer while driving, and also to have the tent look more streamlined on the rig.
The new rack fulfills both criteria for me.
I ordered the new rack through Mike at AutoHome tents who is a reseller for BajaRacks.
The rack and awning brackets were shipped directly from BajaRacks though.
Mike will be stocking these new "MG" (Maggiolina) style racks shortly for both FJ Cruiser owners, and also for Land Cruiser 80 series owners.
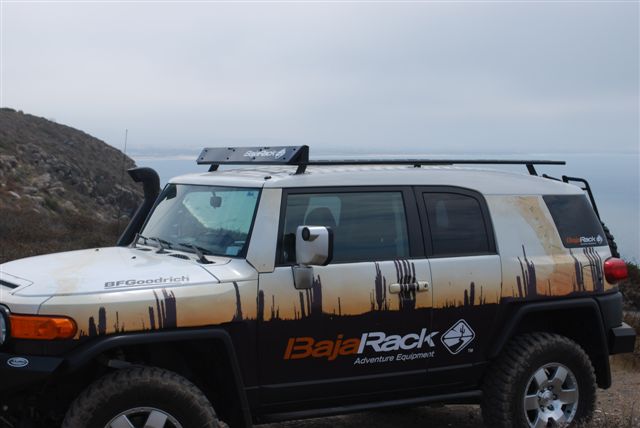
Here are a few shots of the old set, and a few shots of BajaRack's owner Sergio's FJ Cruiser with the naked rack and a Maggiolina Extreme borrowed from Frenchie, a member over at expeditionportal.com.
His tent was used to design the new rack.
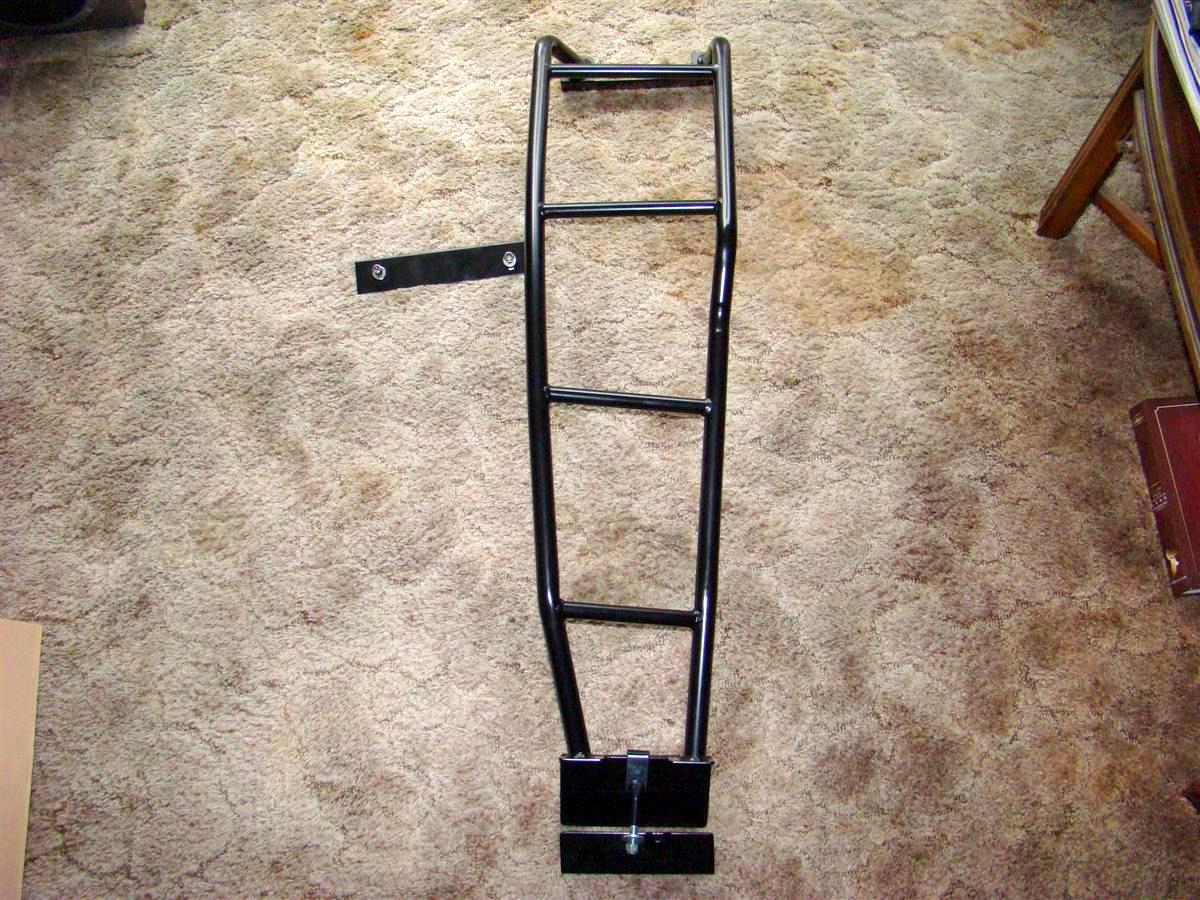
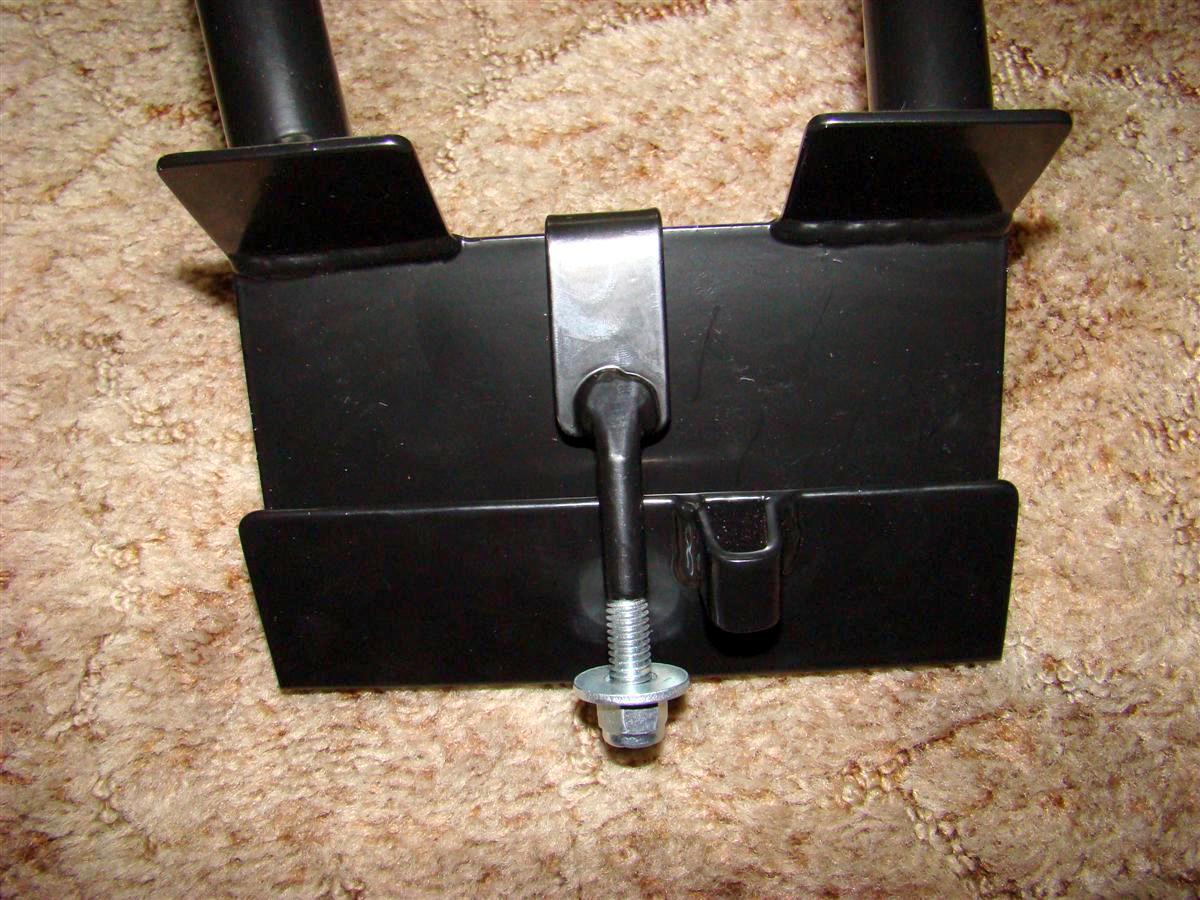
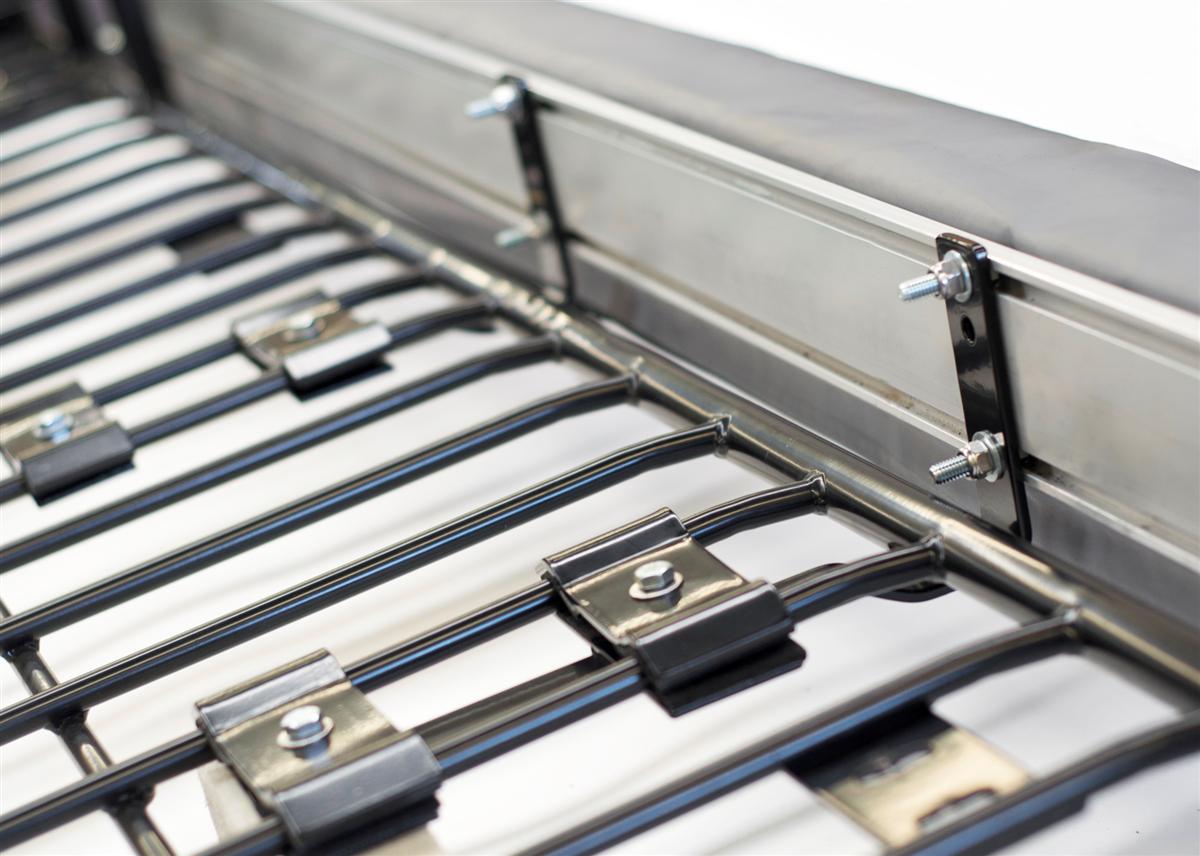
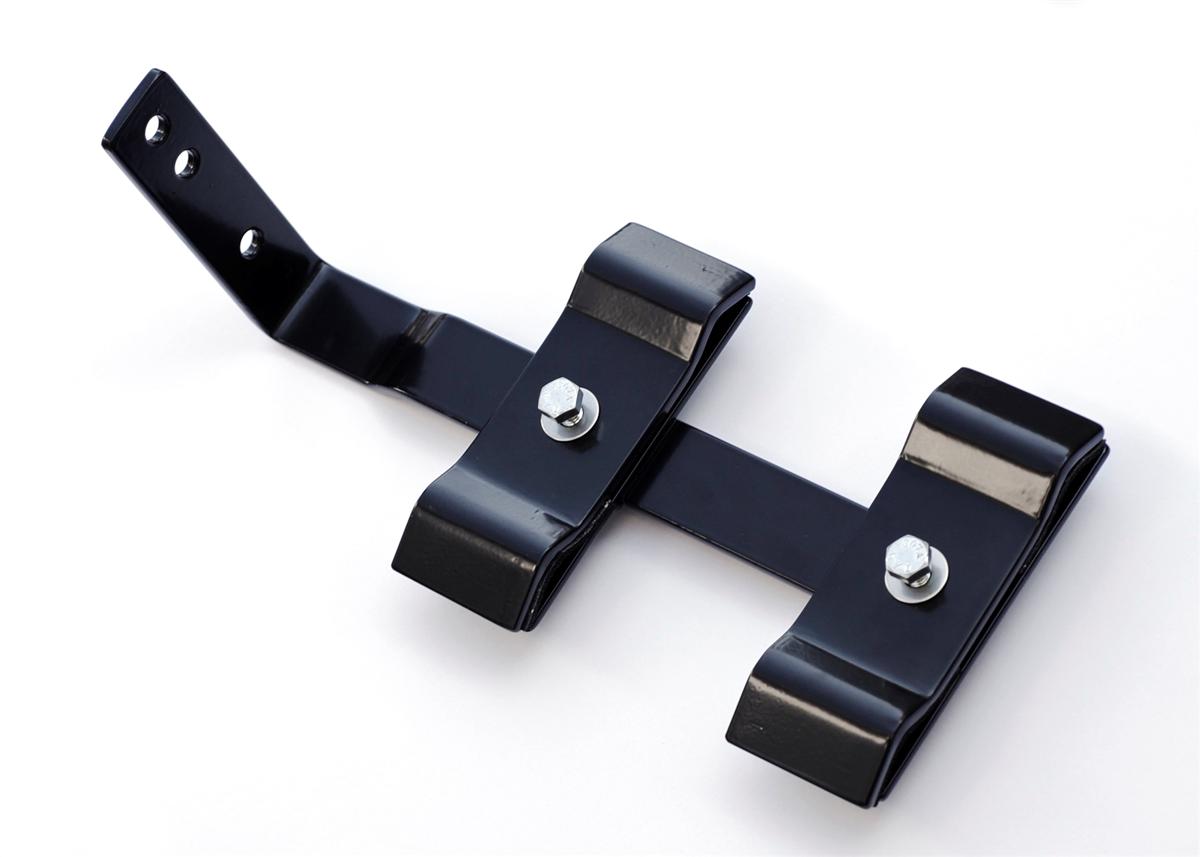
Also ordered from BajaRack was a set of three awning brackets made to mount an awning that has tracks on the back of the case like my Campinglab and the ARB style ones have.
Here are a few pics from BajaRack of them.
I had the rack and awning brackets shipped to my dealer, Doxon Toyota of Auburn, WA.
If I had a home with a garage I would have attempted the installation myself, but since I live in an apartment complex, I am somewhat limited on what I can accomplish here.
I dropped my rig off at Toyota on Tuesday and they provided me with a free loaner car.
The next day I called around 11 am to inquire how the installation was going, and the tech had hit a snag.
They wanted me to come down, so I left work a few hours early, and I just caught the tech as he was going to lunch.
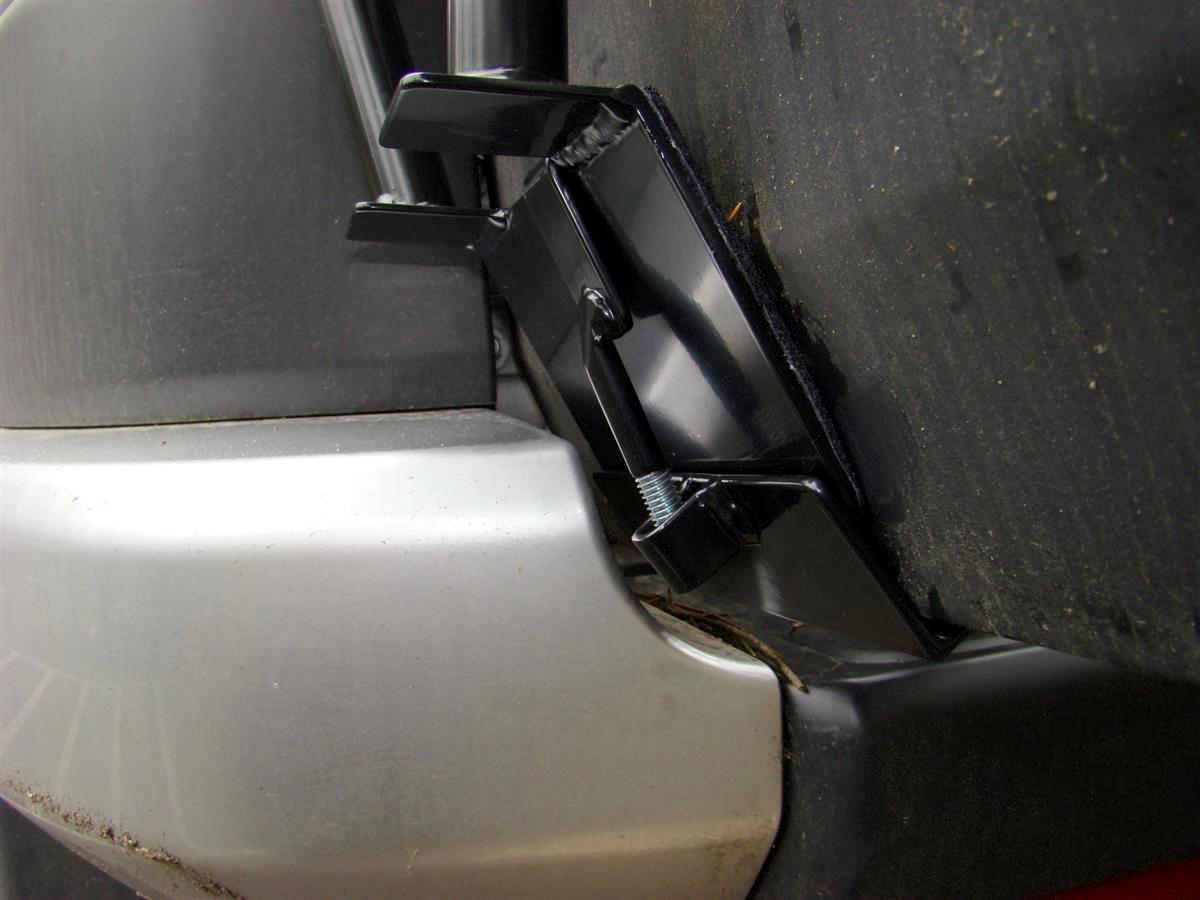
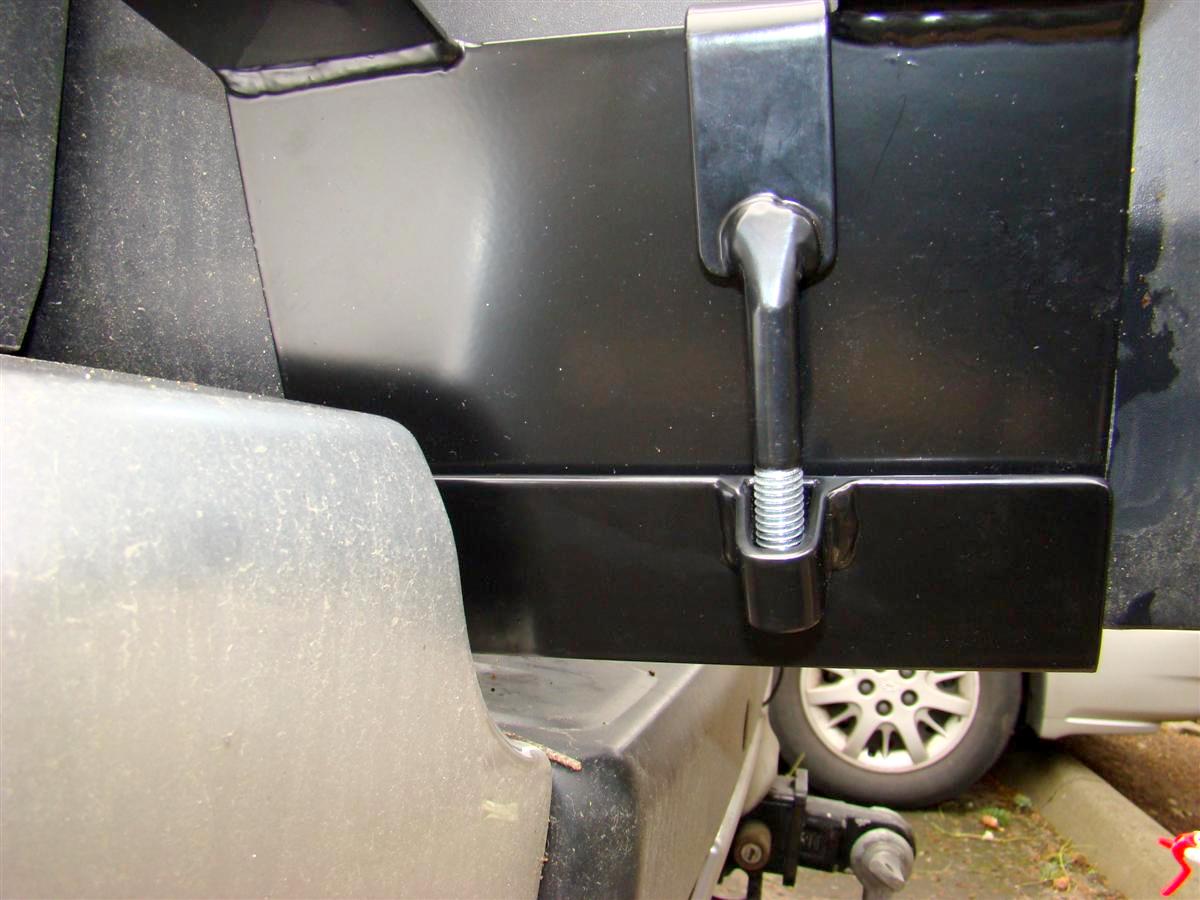
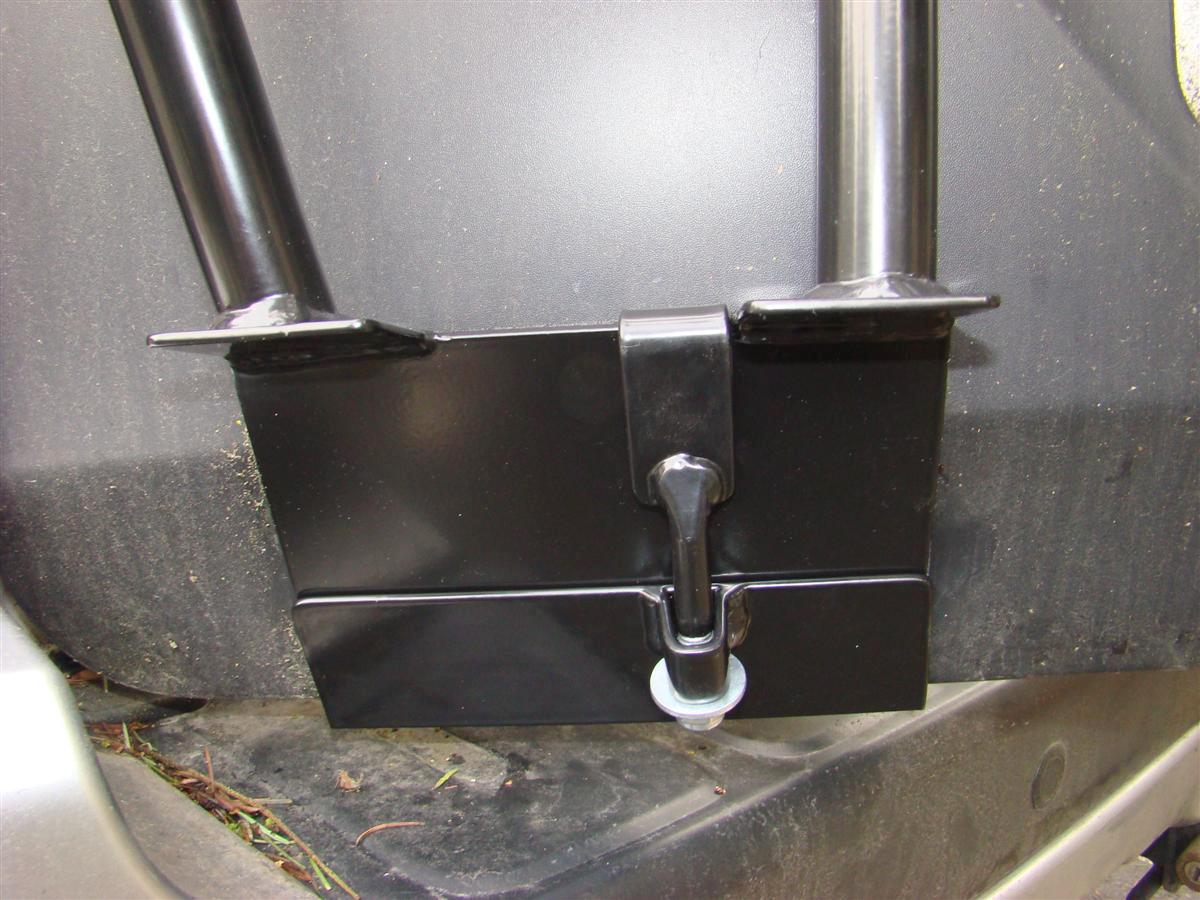
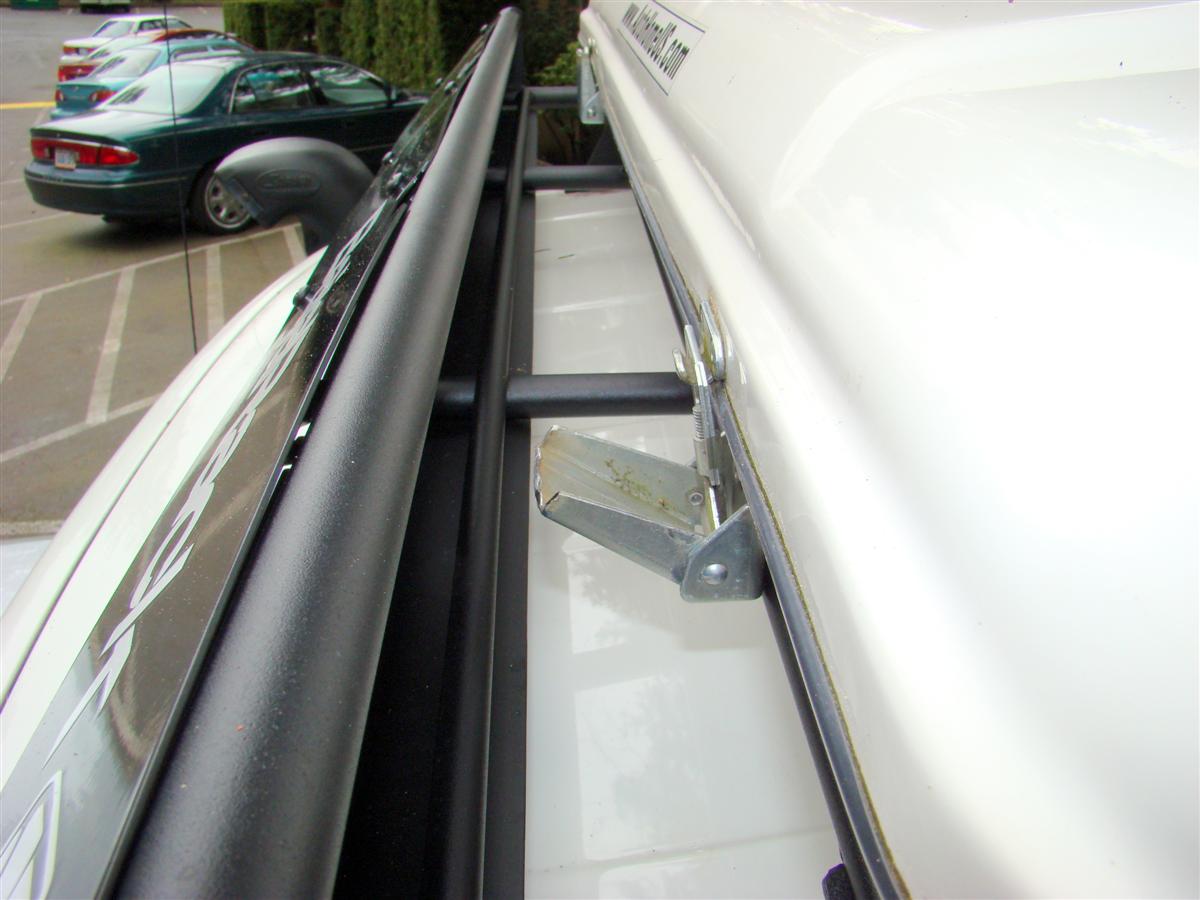
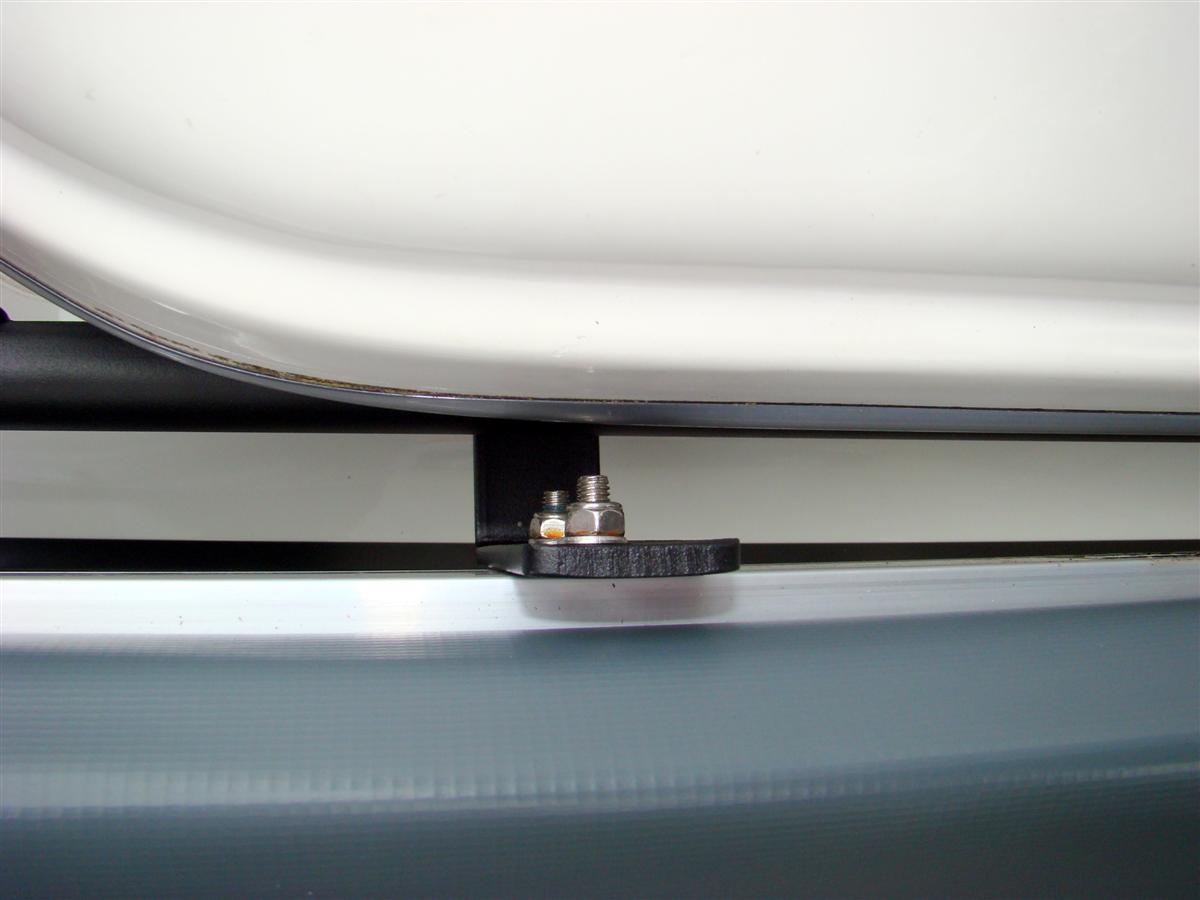
The service manager and I walked over to their new service bay (talk about nice!) and Scott the tech who was working on my rig showed me the front two hinges for the lid were hitting a front horizontal bar right behind the wind deflector when you tried to release the hinges.
He went to lunch and I called up BajaRack's who suggested we try moving the tent back some.
The service manager and I went back to the service area and slid it back some.
No good, as they just hit the other bar one position back.
A tech in the next bay said they already tried that.
Of course they did, I would have done the same.
Another call to BajaRacks and they asked me to snap a picture for them from my Droid.
As soon as they saw it they knew what was going on.
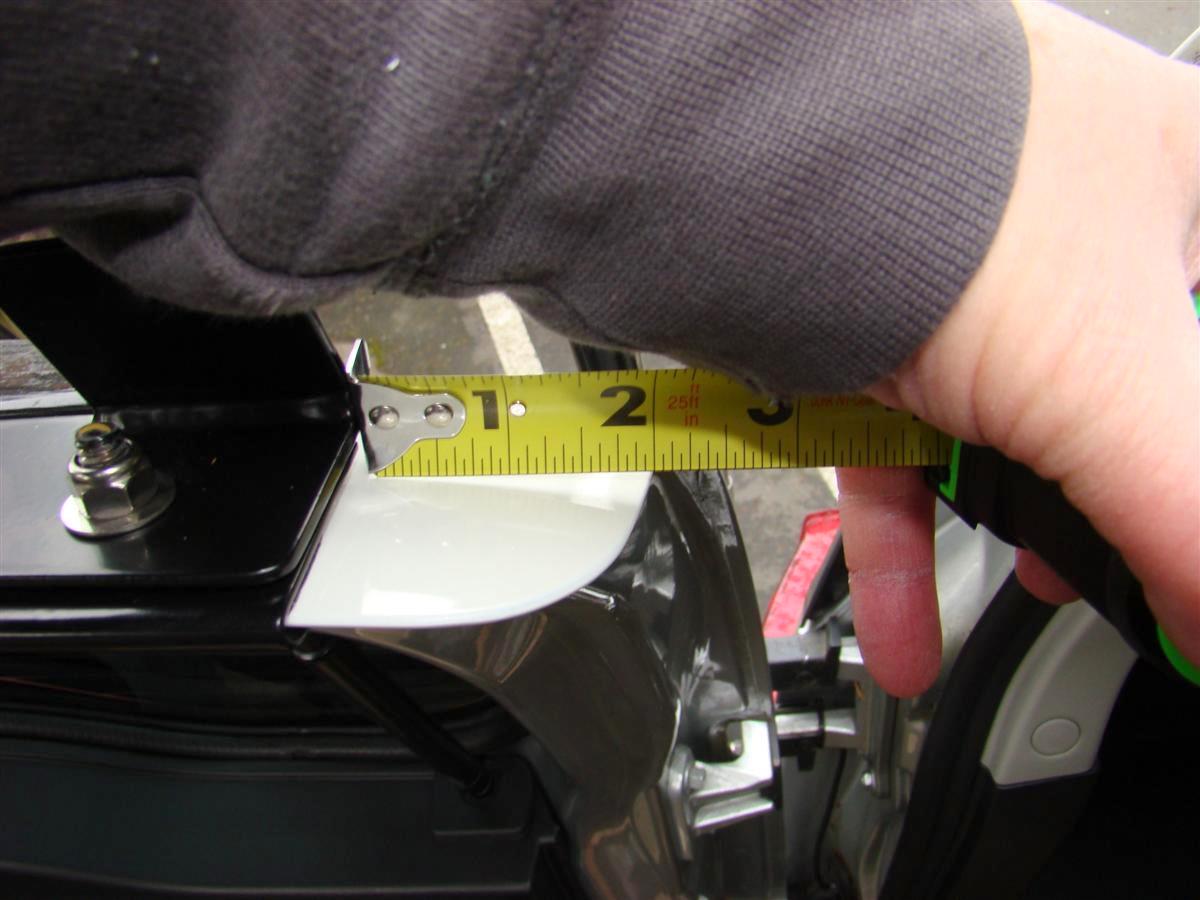
My latches are more than an inch longer than Frenchie's latches.
A call into Mike at AutoHome's US distributor here in the US resulted in me learning that some latches are different lengths for various models.
No way BajaRacks could have known this.
After lunch Scott and I discussed a plan.
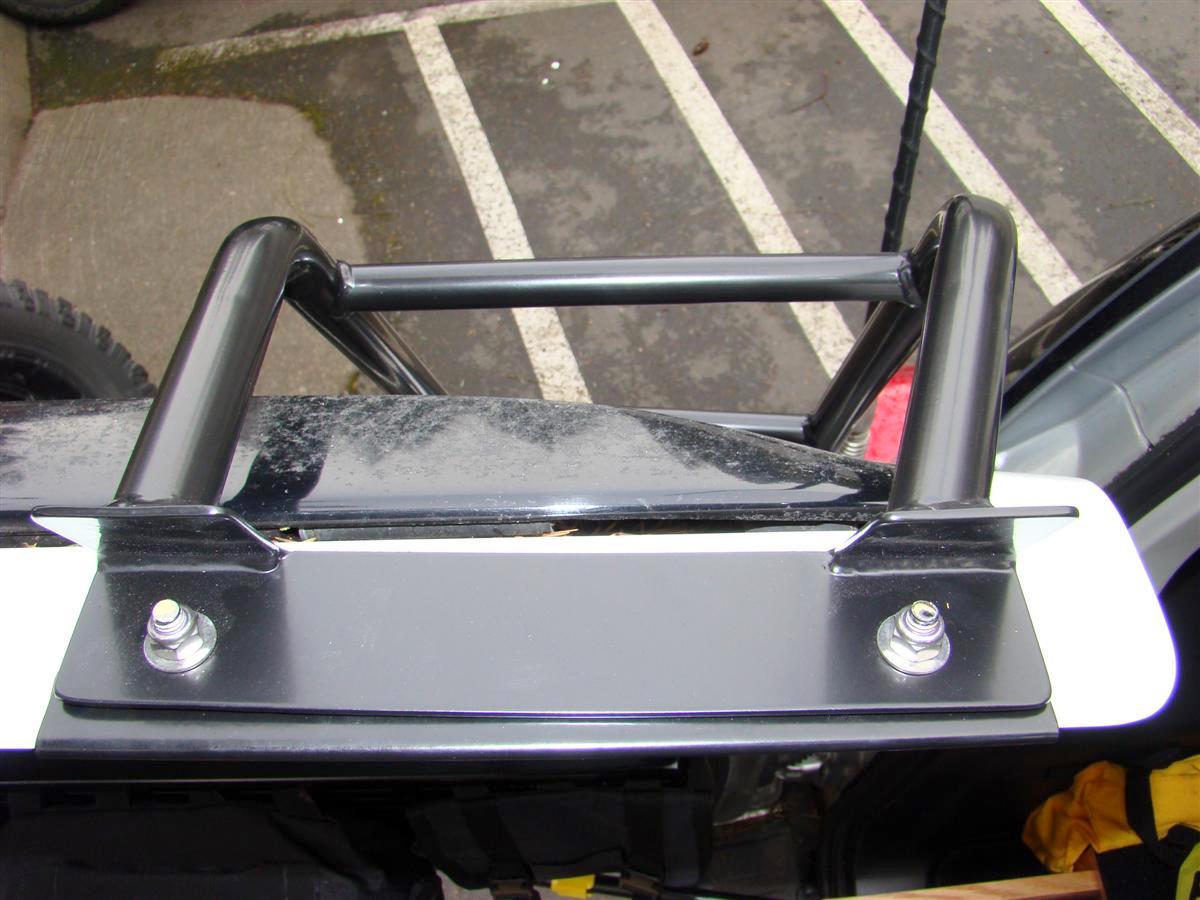
We did not want to cut out that horizontal bar, so he suggested grinding down the latches.
This would solve the problem and the latches would still work, even without the little curved area which you would normally grab to swing the latch down to unlock it.
A little over an hour later my rig pulled up to the service waiting area where I was, and it looked great!
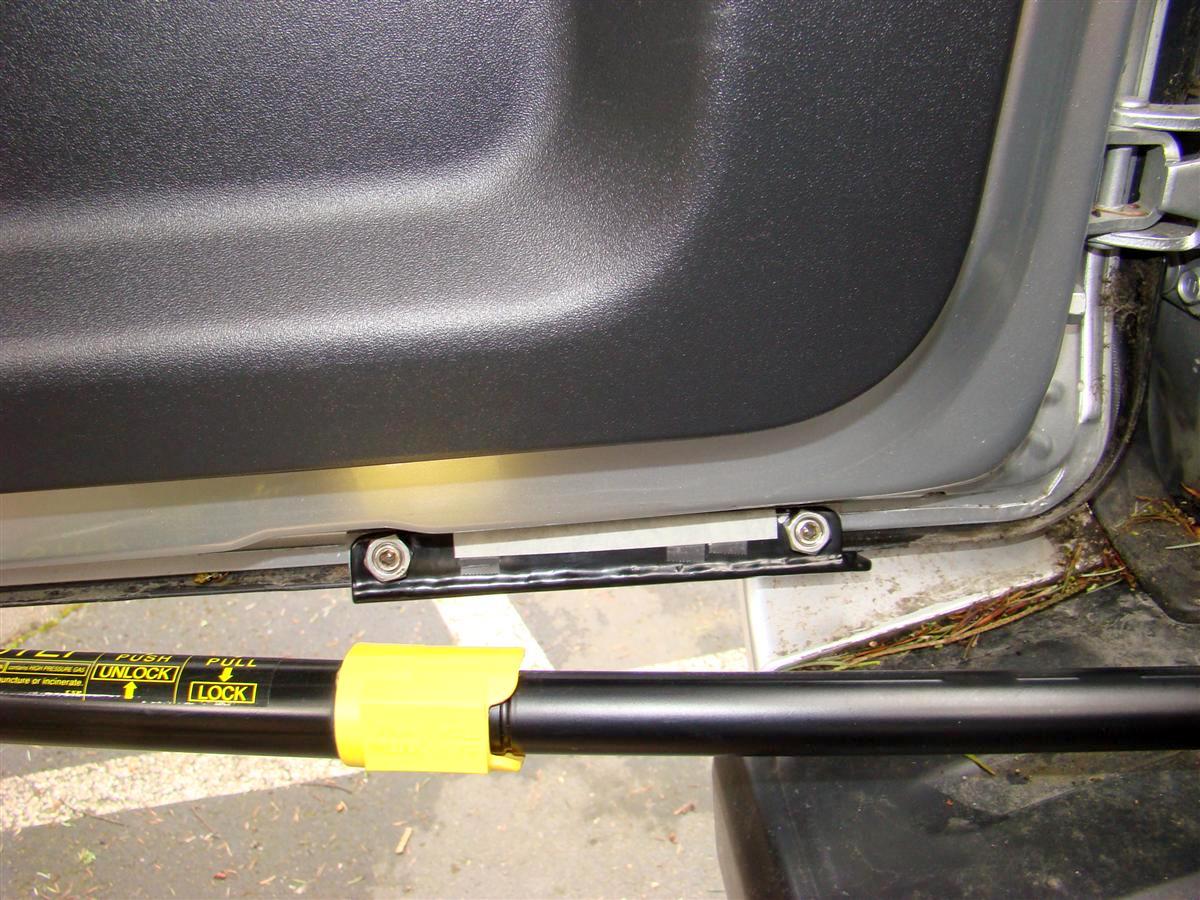
The only thing I had to redo later was the rear awning bracket mount.
It was up against the rear foot pad mount for the rack, thus not letting its vertical tab to stick out like the other two, so it was very close to the fiberglass shell of the tent, and would have thrown off the alignment of the three mounts when the awning was attached by me later.
I was able to on Sunday to unbolt the bottom half of the bracket and move it out of the way, then twist the upper part sideways with the bolt in it still to remove it from between the racks tubing.
It was a good thing I could get it out this way.
The only other alternative would have been to loosen the tent mounts in their tracks and jack the tent up a few inches so I could pull the bolts out.
The way I did it was a timesaver for sure.
Once I repositioned the awning bracket, I used the old 10mm bolts and nuts from the Campinglab awning brackets to insert into the awnings tracks.
I did pick up six new stainless steel flat washers to go behind the nut.
This way the nut would not grind off any of the brackets powdercoating.
I hope the info here can provide FJ Cruiser owners a good design now to mount a roof top tent lower to their roof.
I see no reason why this would not work with other tents too, although if you wanted to carry other cargo on top of the rack, you would need sides on it somewhere.
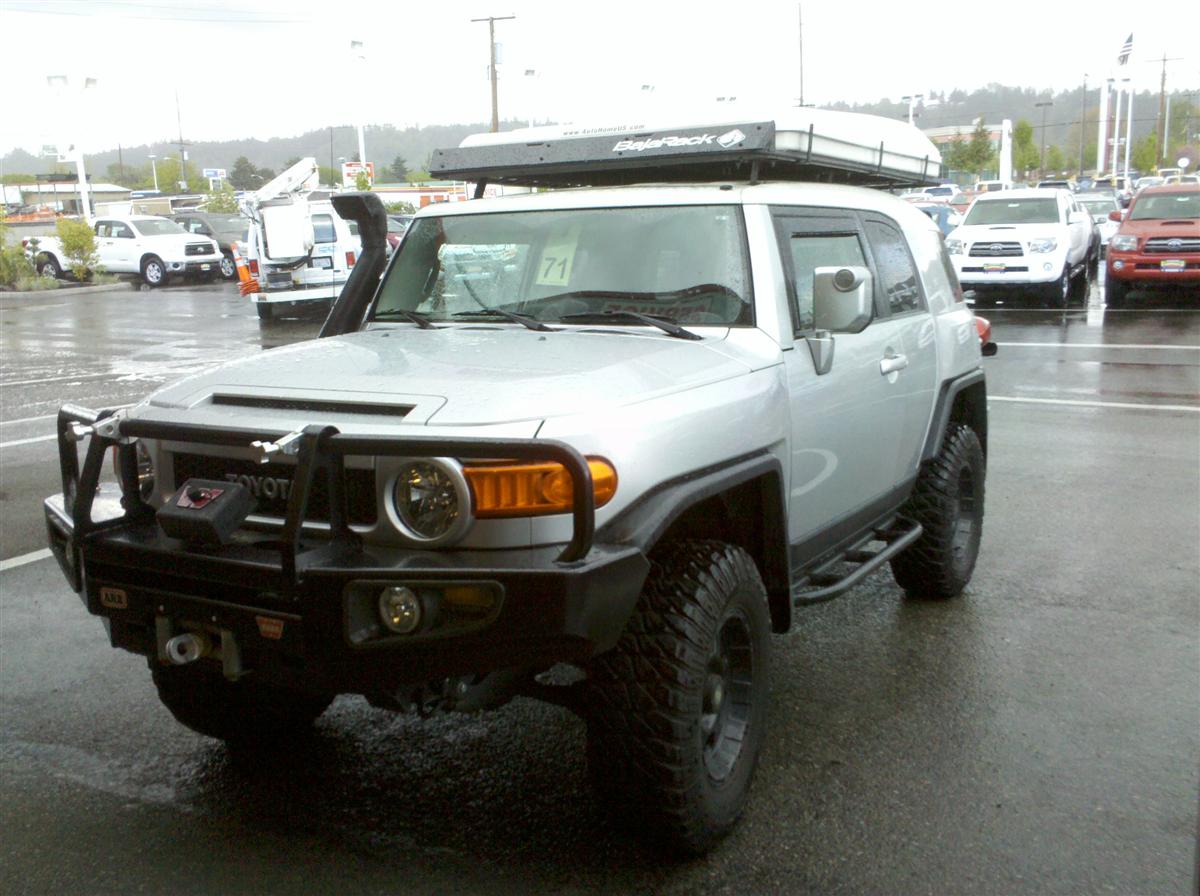
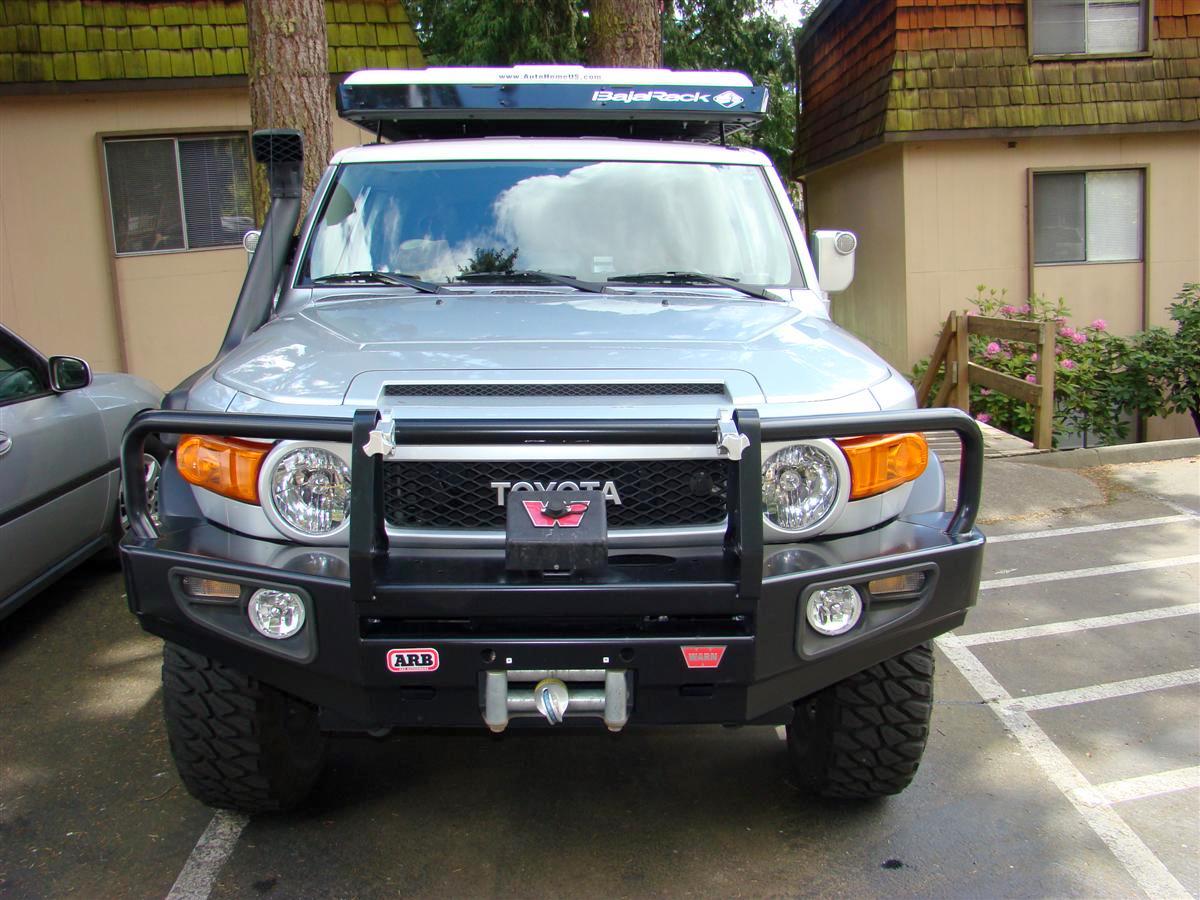
Below are some pictures from the time it rolled out of the shop at Toyota, and also at my home.
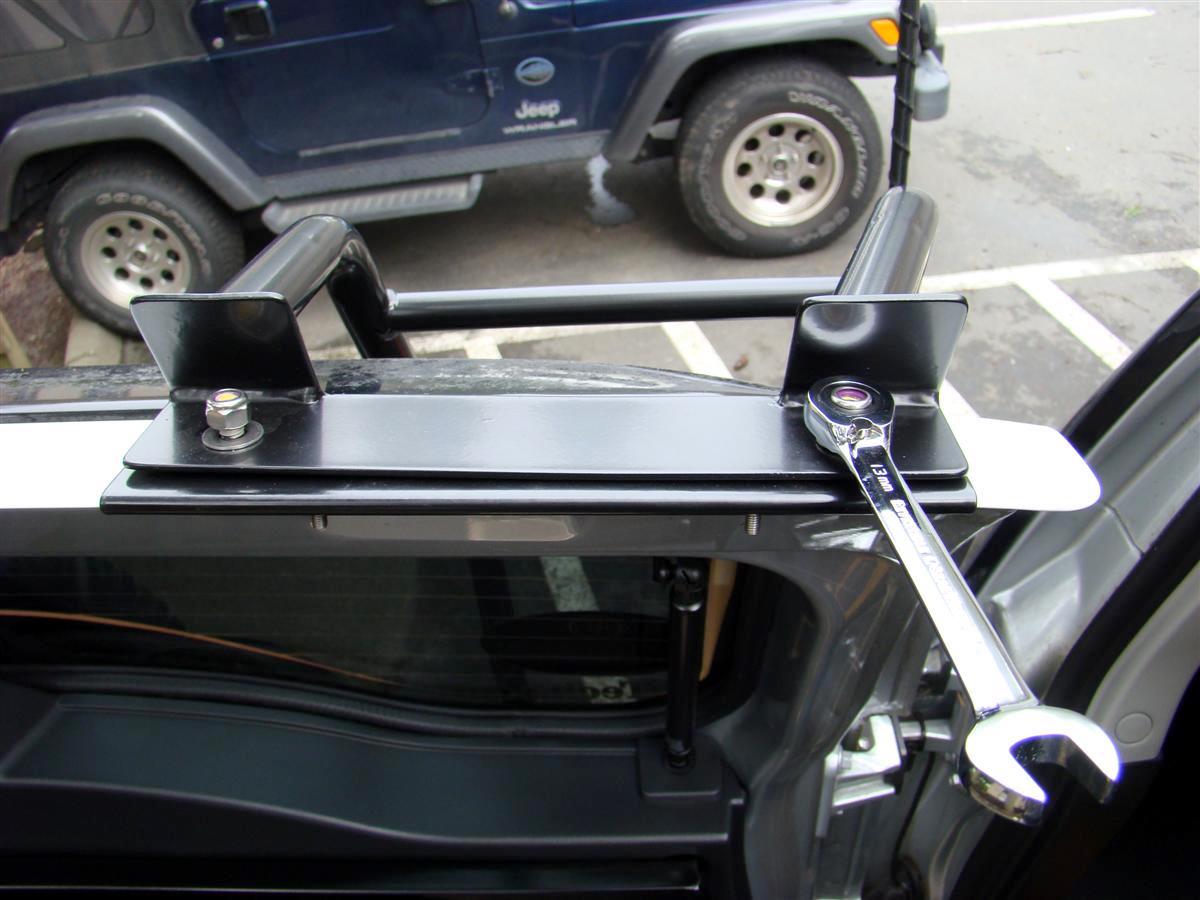
First up is showing the unmodified latch hitting the bar.
In a later picture you can see the latch after it has been shortened.