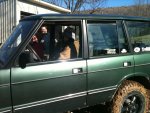
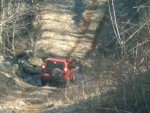
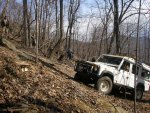
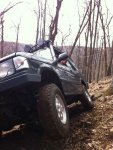
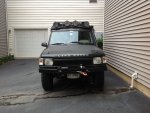
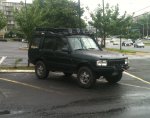
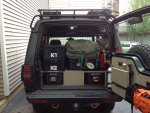
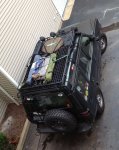
Coyote; aka my 96 D1 5 speed build thread

Ray_G

Explorer
RRC rear seats + new door panels

Couple of updates from some late summer/early fall work. Been using the truck more than modifying which isn't a bad thing.
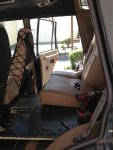
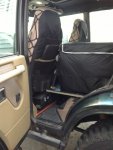
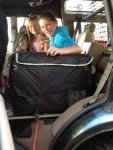
Decided I wanted to give the kiddos a slightly better rear seat setup (with nicer leather than the old one which was wearing out) and thus got ahold of a RRC rear seat. Side arm rests are nice, and the seat has a slightly higher back too I think. Also seat back is hard vice soft/carpet like the Discos...which may lead to future opportunity. Seats bolt right into the Disco:
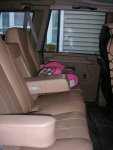
RRC rear seats.jpg
Also decided to freshen up my door cards since the driver's side in particular was getting old/stained/cracked. Since I had access to the style that came with cloth interior Discos I went ahead and threw those on. Like the two tone look.
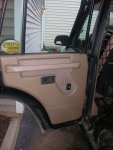
Door cards1.jpg
 

Ray_G

Explorer
Rear door redux ver 3.0 (at least)

Wandering around the internet always causes problems. Recently it arose from the discovery of M-PAC products by Springtail solutions (http://50.6.2.125/index.html)
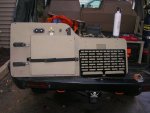
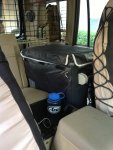
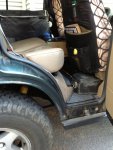
While not specific to Land Rovers their universal listings led me to purchasing a panel for my rear door along with some of their tear-away pouches. The previous setup (detailed earlier) was adequate but never my favorite as the basket was getting beaten up to say the least. Quality of product is superb...not cheap, but you get what you pay for.

Mounting the panel:
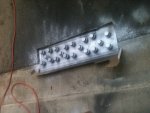
MPAC_mounting.jpg
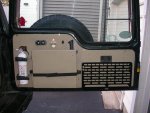
Putting the door panel back on:
MPAC_mounting2.jpg
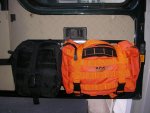
Mounting the velcro and then the filled pouches
MPAC_final.jpg
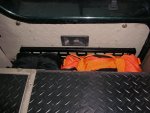
Ensuring all meshes well with the rest of the system
MPAC_clearance.jpg
Final close up of the med bag and a utility bag that holds ratchet straps
MPAC_final_closeup.jpg

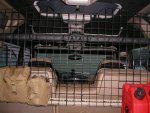
More to follow as the rear cargo redux continues with a cargo barrier fitted to the rear a/c setup and fixing the air tools/chainsaw/chainsaw fuel setup...as well as some new storage boxes.
 
truck looks great Ray. Do you still carry tons of first aid gear ?

Mp5 in 22. That sounds like a blast. The only ones I have shot were silenced 9mm. That 10/22 looks like my ww2 30 cal carbine.
My son loves that trash dump/shooting range @ the cove.
 
Last edited:

Ray_G

Explorer
Doug-
I've still got more/less the same setup; the backdoor (the orange bag a few posts back on a rip-away molle panel) is trauma and another bigger bag stored further in the back for other stuff.

The Umarex MP5 in 22 is def a favorite gun for me, no real purpose other than to put a smile on your face but it does that well. When Olivia scarred up the 10-22's original stock I used it as a chance to get the M1 carbine tribute stock-it's decent enough and I've always like that rifle. Also got a copy of my AR in .22 but don't have pics of that yet.
r-
Ray
 

Ray_G

Explorer
Last update was in Nov...since then, well, I got busy (got married...that says enough) and honestly have mostly been driving the car but a few things have been done.
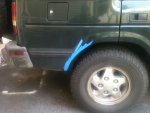
Camel cut, as Bri mentioned, became a necessity...
IMG_0853.jpg
RRC lug nuts-never have to worry about the swollen caps on the alloy ones again...just needed some touching up
IMG_0852.jpg IMG_0861.jpg
Match well enough with the RRC wheels I suppose. Very functional, look decent enough.

The winter also afforded the chance to take the kiddos out and my eldest has started to wheel a bit (private property, highly supervised...but she loves it):
photo(1).jpgphoto(3).jpg
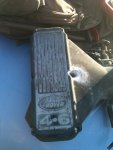
I also scavenged a 4.6 plenum for an upcoming engine build.
score!.jpg

More to follow from a recent event.
 

Ray_G

Explorer
Some pics from Rover Owners Association of Virginia's excellent winter event at Wintergreen
A little Rover Underground Rail Road parts transfer started off the trip...
Bulkhead.jpg
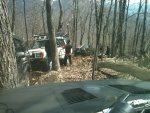
Nice trail network, constrained since (unexpectedly) the slopes were still open but no matter, was great fun:
IMG_7183.jpgIMG_0929.jpg
IMGP2593.jpg

I looked down at some point and realized I'd gone past 107k!
107k +.jpg

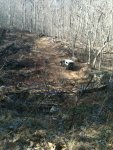
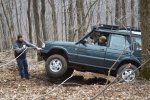
Attempted to back down a hill to get in position to assist, and instead ended up all kinds of off camber (photos don't make it seem nearly as entertaining as it was). Thankfully Justin walked me off the ledge...literally and figuratively
Coyote Roll 1.jpgCoyote Roll 2.jpg

At the top of the hill the winch got a good workout
Winch **********.jpgIMG_0913.jpgIMG_0918.jpg

As the summer goes on the prep for VOT begins!
r-
Ray
 

Ray_G

Explorer
Lot of prep for VOT and other stuff has taken place, made me realize I haven't updated this for a LONG time.

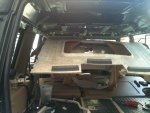
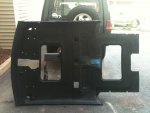
The droopy headliner final got to me:
Headliner removal.jpgHeadliner removal 2.jpg
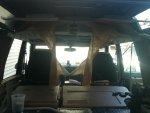
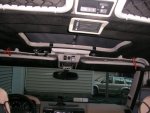
I opted to not deal with this again...and embraced the bedliner headliner, basically using the rubber soundproofing to cover the fiberglass after it had the residue cleaned off. I was going to then paint it tan but when the wife said she liked the contrast and look I declared victory and reinstalled
Headliner covered.jpg
Not the most elegant, but gets the job done, quite frankly I actually like it, esp with the hood blackout and such.
Headliner from backseat.jpgHeadliner from cargo.jpg
 

Ray_G

Explorer
A fair amount of preventative maint, dealing with a seized rear caliper, etc
PM.jpg
Got tired of the little hand pump under the truck changing gear oil...repurposed a yard sprayer with the tip cut off. Works fantastic.
pressure sprayer.jpg
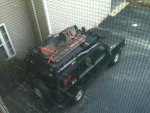
Built a basic wind fairing for the roof rack (all the noise savings subsequently destroyed by the MT's I put on...) and rewired the BM's after getting some new lenses and better bulbs
Coyote Front as of mid June 13.jpg
Hit a bit of a milestone in terms of mileage...let's hope for straight 2's one day.
1111111.jpg
 

Ray_G

Explorer
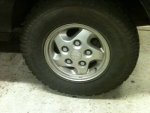
As prep for VOT started in earnest I swapped out the tires-had been running 235/85 BFG AT's, opted for a set of 245/75 BFG MT's. Going down an inch gave some throttle response back to the 5 speed and I can't say I really care about the size difference all that much-if the better traction doesn't overcome the issue, 1" of AT wouldn't make a damn bit of difference. Should get some non-parking lot shots in the near term. Had to get the white side put in & rebalanced but happy with them and love the gray version of the RRC wheels:
MTs w_white out.jpgTires reversed.jpg

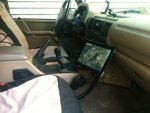
Picked up an ipad mount off Amazon (love prime) since most of the navigation is via some manner of app figured it would come in handy. So far it seems to work well for either passenger manipulation or if I'm solo it can still do things like bluetooth music and such:
Ipad mount.jpgIpad mount2.jpg

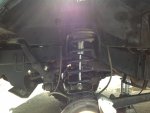
The front suspension was irritating me (long story) so I went eye-to-eye with some 7100's...and for interior bling I added a fridge. More shots on that in the next few days as I finish up a console extension.
7100's.jpgFridge install.jpg

More to follow...a lot of little things wrapping up, a couple of shakedown trips in the works in the rest of July as we edge toward August in VT.
r-
Ray
 

fishEH

Explorer
Looking good. Did you do anything specific with the sprayer? I have one for gear oil but it takes f-o-r-e-v-e-r.
 

Ray_G

Explorer
Looking good. Did you do anything specific with the sprayer? I have one for gear oil but it takes f-o-r-e-v-e-r.

As does this one, after checking to make sure it was flowing a few times I finally just got out from under the truck & did other stuff till I saw a little drip from the fill line. Certainly not quick, but low effort.
R-
Ray
 

Ray_G

Explorer
Fridge and console extension

Some more pics as I wrap things up in prep for this weekend's shakedown run #1 down to Rick N's.

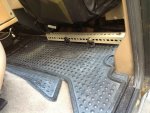
The fridge is currently in the place of the 40 section seat, resting on a shelf that is bolted through the floorboard both front and back and then restrained on the shelf by the ARB system. Shelf was plywood with angle where appropriate. Edges were covered in tan vinyl and then black diamond plate rubber was put over top. Having a 5 speed and drinking a lot of water out of nalgene bottles meant that the Dii cup holders would be inadequate for the long haul driving associated with the VOT. Likewise the need to hold and charge ipad(s) but not wanting them in the front seat area all the time combined to form the basis for a console extension. Lighter duty than the fridge shelf, it bolts into the console itself and the seat brackets (thus has to be removed to get to things under the 60 section seat...a bit of a PITA but worth it. Construction akin to the fridge shelf, using black diamond plate rubber as the floor and vinyl covered plywood for base and sides. Slots hold two ipads (including room for one with the bracket from the goose neck mount attached) with a hole for charging cables to come up from the 12 socket installed in the back of the console.
Console & Fridge Shelf Fab DS.jpgConsole & Fridge Shelf fab PS.jpg
Fridge is accessible from the passenger seat; this also shows the slots for the ipad and a test nalgene bottle in the console extension.
Console & Fridge Pass seat final.jpg
Easy to load fridge from left rear door. Also easy to use hook up either 120 or the quick disconnect 12v power and manipulate the controls while in a static position. Transit bag seems to help a lot, and overall I'm pretty happy with the Ironman fridge setup both in the truck and in the garage thus far. Post VOT I'll probably build a tilt/slide fridge for the back so the kiddos can have their seats back but the shelf was easy to get in the fight and the right setup for a 2 person trip.
Fridge final.jpg
While doing all this I mounted some 1/4" steel L brackets from McMaster Carr onto the seat base that facilitated putting angle iron on each floorboard-this in turn facilitates strapping things down like the hi lift inside it's Jackall case. Keeps the jack low in terms of COG, protected from the elements, etc. I hate the damn thing but sometimes it's the right tool for the job-that being said I wanted it in a place where slowing down and thinking about its use would be built into the extraction process-and when it was removed from the truck it would be in good working order having been protected all along.
Floorboard bracket.jpgConsole  & Fridge & hi lift final.jpg
 

Ray_G

Explorer
Minor mods: LED work light, taillight guards and 'Pioneer Kit' rack

A few other things over the past few week worth documenting.

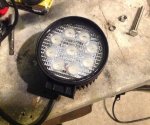
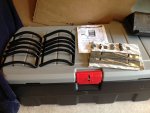
The rear work lamp was an effective unit from TSC (the happy little $10 rubber light that works well and is a fraction of the Matador). That being said the danger of Amazon Prime is things like this: http://www.amazon.com/gp/product/B009AQTOP2/ref=oh_details_o06_s00_i00?ie=UTF8&psc=1
Having LED's for all the interior cargo lighting, I figured I'd give it a try at that price. Seems quite adequate...
LED work lamp unit.jpgLED work lamp test.jpg

One night looking at pics of Camel Trophy trucks (eventually want to build a CT style brush guard) the wife asked why we don't have those 'taillight guard things' on Coyote-and that we'd probably need them for VOT. Far be it from me to argue. I realize they're not a panacea and do incur some risk but admittedly I've always liked them nonetheless and when I found a set that was still NIB vice the normal 'guards only, no hardware' I snagged them. It's a silly mod but a happy one.
Taillight guards 1.jpgTaillight guards 2.jpg

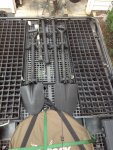
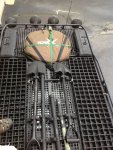
At various times I'd mounted shovel's on the side of the roof rack; somewhat functional in that they are secure and out of the way all the East Coast folks know they also attract trees with some kind of gravity. Thus I decided that the top of the rack vice the sides was a good place to mount them and proceeded to scratch together a metal rack to hold them with quickfists. In the midst of this I decided to add in long/short side rear axles as I didn't want to figure out an interior solution for them and only will carry them for events like the VOT. Absurd baby axe finishing it up and what in my old HMMWV's parlance would be the pioneer kit is now complete and ready to be tested. Pic also shows the current resting place for the ARB X-jack. Not a long term solution, but rather for events I figure it will work and is minimally in the way for everything other than the 2m antenna coming all the way down.
Pioneer rack_front.jpgPioneer rack_back.jpg
 

Ray_G

Explorer
Shakedown run

As alluded to in one of the earlier posts, this weekend we'll bounce down to Rick's for a pre-VOT gathering of sorts. For us its a chance to load out the truck and confirm/deny the current arrangements. A few weeks from now we'll probably do some light wheeling to work on things but right now this is where she sits without the final passenger additions of clothes and the like. Intent is NOT to pack it to the gills...
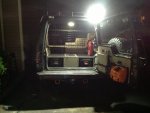
Shakedown run rear cargo load out 12 July.jpgShakedown roof rack load 12 July.jpg

The labeling and such...feel free to mock, my OCD manifests itself in many ways!

More to follow over the next few weeks wrapping the last few things up.
r-
Ray
 

Forum statistics

Threads
186,793
Messages
2,888,112
Members
227,280
Latest member
Smithmds77
Top