PlethoraOfGuns
Adventurer
Today its trim work with a purpose!
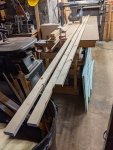
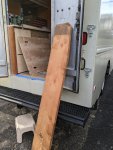
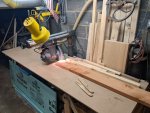
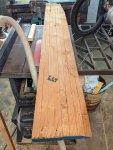
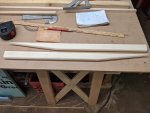
So for the upper cabinet top supports, we need 1.75" tall. They don't make that size, so we need to make our own. We took a 1"x6" piece of pine with messed up splinters parts and ripped to length we needed.
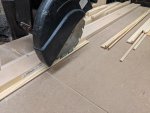
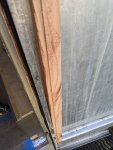
Then took some corner trim and cut one side down to make a low profile lip thing to hide some led strip lights.
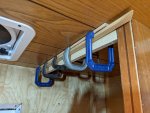
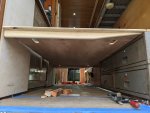
Screwed the upper cabinet supports to the ceiling and glued the trim up.

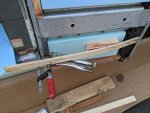
Some spots we couldn't use clamps so we had to get creative.
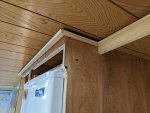
Trim all coming together.
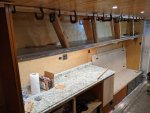
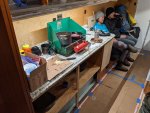
We ran out of clamps. Need many more clamps!
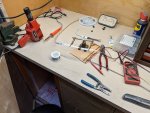
The led strips came in 16' lengths, and we needed 32' to go around the whole interior. So we soldered two sections together.
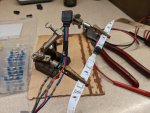
All soldered and insulated.

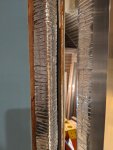
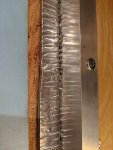
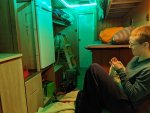
Borrowing little fingers to secure led strips. The channel we left was very small, just the width of the led strips.
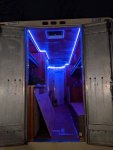
Flip the switch and whoa, trippy! They do all kinds of colors and stuff. Can be controlled by remote or by using the wall switch. The wall switch turns it on to the last setting the remote was set to.

So for the upper cabinet top supports, we need 1.75" tall. They don't make that size, so we need to make our own. We took a 1"x6" piece of pine with messed up splinters parts and ripped to length we needed.

Then took some corner trim and cut one side down to make a low profile lip thing to hide some led strip lights.

Screwed the upper cabinet supports to the ceiling and glued the trim up.

Some spots we couldn't use clamps so we had to get creative.

Trim all coming together.

We ran out of clamps. Need many more clamps!

The led strips came in 16' lengths, and we needed 32' to go around the whole interior. So we soldered two sections together.

All soldered and insulated.

Borrowing little fingers to secure led strips. The channel we left was very small, just the width of the led strips.

Flip the switch and whoa, trippy! They do all kinds of colors and stuff. Can be controlled by remote or by using the wall switch. The wall switch turns it on to the last setting the remote was set to.
Last edited:

