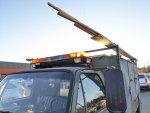
Cummins Canoe (A Stepvan Story)

PlethoraOfGuns

Adventurer
Working on more framing and cabinet stuff.
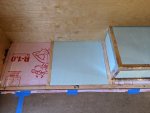
PXL_20201116_201817001 copy.jpg
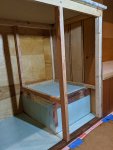
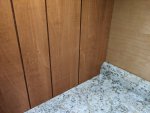
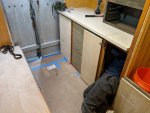
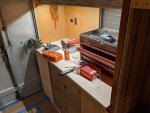
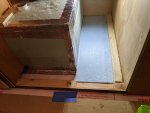
Rear drivers side behind the wheel well we insulated the floor a wee bit more and framed for a sweet cabinet we found at an estate sale.
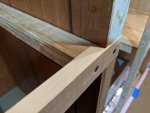
PXL_20201117_005838475 copy.jpg
More neat notching and framing.

PXL_20201117_011744734 copy.jpg
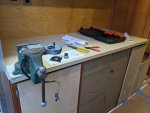
Now we have this awesome cabinet and work table!
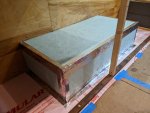
PXL_20201117_165431410 copy.jpg
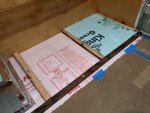
We sealed and taped the insulation around the wheel wells because we won't be able to get to them very easily anymore.
PXL_20201117_180208611 copy.jpg
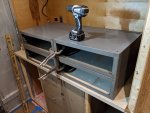
Now the passenger side rear of the wheel well.
PXL_20201117_232407354 copy.jpg
Picked these cabinets up for free. Just need to line them up nice, drill some holes, and bolt them together.
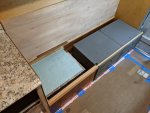
PXL_20201118_164210352 copy.jpg
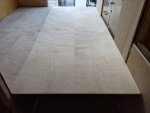
Perfect! Well, not quite. There are some funny spaces going on down there. I'm sure we'll find stuff to store down there. Also installed the seat plywood to the futon.
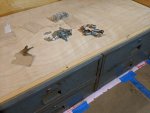
PXL_20201123_003446796 copy.jpg
Seat folds down flat like this on hinges. Got a hole set of matching keyed lock cylinders. We'll change all the locks on everything inside and outside of van so we don't have to carry around a dozen different keys for stuff.
PXL_20201120_195942430 copy.jpg
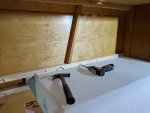
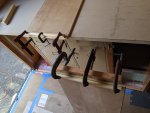
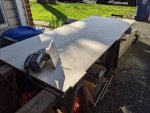
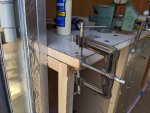
Fixed up some peeling material on the work table. Never thought I'd have to use this funny old clamp. But I think this is what it's made for.
PXL_20201122_024349491 copy.jpg
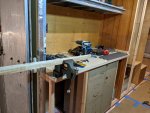
And a bench vise! Mounted it so you can open the rear door and hold long pieces of whatever. The vise also makes a good hand hold when climbing up into the van.
 

PlethoraOfGuns

Adventurer
Seat belts? Yes, seat belts! Oh yea, and power baby!

PXL_20201119_230436724 copy.jpg
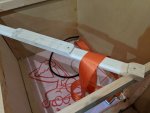
Bolted some seats to the floor and needed to run them unobstructed up and over the seat. so we removed pieces of the top horizontal supports and made slots for the belts.

PXL_20201120_022232394 copy.jpg
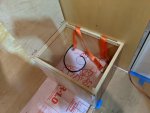
Now you can store them under the seat.

PXL_20201120_022200614 copy.jpg
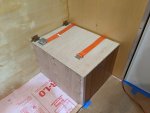
Or pull them up, close the lid, and now a person can use the belts. Just need some kind of flush latch to hold the seat lid down. We figured since Grumman is also an aircraft company, we should use airplane style seat belts!

PXL_20201121_031808839 copy.jpg
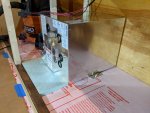
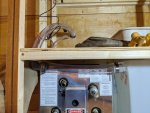
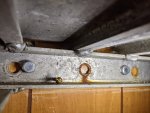
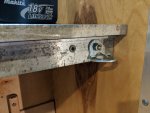
Bolted the water heater into place. Ran a electrical ground now to where it bolts to the floor. This will be the ground for the water pump and heating system. Also insulating the floor more where we can.
PXL_20201121_220216738 copy.jpg
The insulation will take up space we need so the water tank will clear the water heater. It's a tight fit but should be able to make all the connections.

PXL_20201122_014720999 copy.jpg
On the right side of the water tank we needed to do something with this useless awkward space. We're thinking it be a good place to have garbage/recycling and such.

PXL_20201122_023102847 copy.jpg
Some more framing to hold the water tank down in place. It's a snug fit. But we also want the tank to be removable without fully disassembling the whole cabinet.

PXL_20201122_030456834 copy.jpg
So the center support for the kitchen counter will be notched and screwed in place so it can come out later in case the water tank or water heater need to be replaced or whatever.

PXL_20201121_192644757 copy.jpg
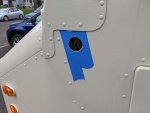
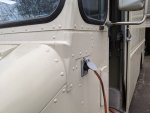
Worked up more courage and made a thousand measurements. Made a hole for shore power port.

PXL_20201121_195731930 copy.jpg
We might not have the off-grid electrical components done yet, but at least we have some power in there now. It was getting old dealing with an extension cord through the door. And it's starting to get cold outside, so we'll be able to run a space heater inside while we work late nights.
 
Last edited:

PlethoraOfGuns

Adventurer
More nausea-inducing holes and cabinet doors!

PXL_20201125_154803414 copy.jpg
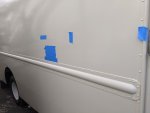
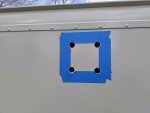
Measured a brazillion times here, trying to match the outside to where the hole is supposed to end up on the inside.

PXL_20201125_161728768 copy.jpg
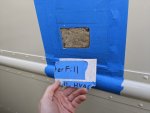
Ah, it worked! Got the hole right where we thought the water fill would end up during our planning stage before insulation.
PXL_20201125_163328901 copy.jpg
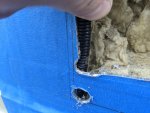
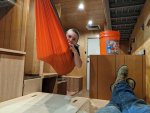
Good thing we protected all the wiring with wire loom. Boy that was a close one!
PXL_20201125_204623949 copy.jpg
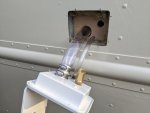
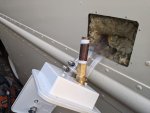
The big hose will fill the water tank. The brass fitting will be pressurized city hookup. And the small hose is a vent for the water tank. Test fit everything, then pulled it all back out.

PXL_20201125_210718889 copy.jpg
To pressure test of course. I can handle leaks that I can see. Leaks inside the wall are probably not good.

PXL_20201125_211537732 copy.jpg
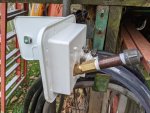
And finally repacked with insulation and installed. To attach to body, we drilled and tapped the holes and installed all brass hardware.

PXL_20201125_212938191 copy.jpg
Semi-discreet water fill access.

PXL_20201124_024358513 copy.jpg
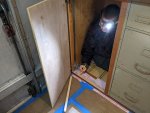
Also made some simple doors. Voluntold somebody to go into the closet and mark the insides of the door that intersects with the framing.

PXL_20201124_155447098 copy.jpg
Some glue and clamps and we have good bottom support for door. So when the door is closed, the weight transfers onto this horizontal wood piece and down onto the bottom wood framing on the floor. You know, because doors are heavy. ;)

PXL_20201129_212229986 copy.jpg
And just like that, we have cabinet doors! Just need latches on them to keep them closed. Some doors even have slots for umm, ventilation! Also, this vise is coming in handy on all sorts of projects.
 
Last edited:

PlethoraOfGuns

Adventurer
Found a use for those ventilation slots in the cabinet doors!

PXL_20201118_211002929 copy.jpg
But first, lets finish the kitchen counter area and get more wood out of the garage. Contrary to what many believe, having too much wood in your garage can be a negative thing.

PXL_20201118_211013490 copy.jpg
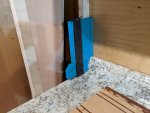
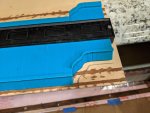
This tool is wonderful for these funny angle situations.

PXL_20201212_040311319 copy.jpg
As my favorite detective used to say, like a glove!

PXL_20201124_162922875 copy.jpg
Ok, now back to the futon. Need to get this board, which is the futon backrest/bed extension, to be supported in this space.

PXL_20201124_170124298 copy.jpg
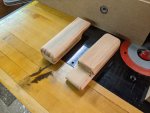
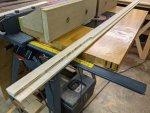
Some careful measuring, sawing, and router work...

PXL_20201124_214634407 copy.jpg
And bam, fully functioning futon!

PXL_20201124_214944331.MP copy.jpg
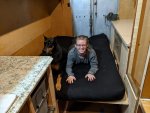
Even the dag approves! Here you can see how the notches in the bed board go into the vent slots on the cabinet doors for support on the right. There are three notches. The middle one gets supported by a piece of 0.75" oak that is attached to the metal cabinet vertically. On the left, the board just sits on top of wood/metal cabinet lip for support. The 0.5" birch plywood holds the weight great. Although it does flex a bit when you sit aggressively on the edge of the wood. Might need to add some minor cross support on the edges.

PXL_20201124_215034468 copy.jpg
This is the view from the inside of the cabinet at the "vent slots". They go in very smooth like. One person can easily get it in and set.

PXL_20201124_215652020 copy.jpg
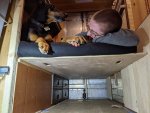
And when you need a couch, just put the board vertically.

PXL_20201212_133347082.jpg
The same notches fit into matching slots we cut into the seat part of the futon. It's set at a slight angle for comfort. Just need to fab up some latches to hold the board up when driving. The carrying handles make it a a breeze to pickup and move.
 
Last edited:

Bikersmurf

Expedition Leader
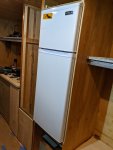
Lots of motivation to get things out of the garage, like that stupid big fridge.

View attachment 629396
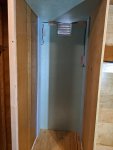
It's big indeed. But it fits in the spot we framed out for the fridge.

View attachment 629397
It will probably sit something like this.

View attachment 629399
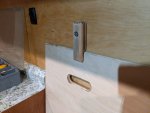
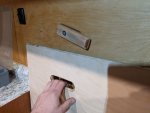
Got tired of the pocket door flying open while driving. So we got a really strong rubber covered magnet and rigged this up to keep the door closed.

View attachment 629400
We took the wall plywood down in the cab and stuck a magnet inside the wall to keep the door open.

View attachment 629401
Also attached this brush door sweep to help seal the door.

View attachment 629427
Wired in some 12v switches.

View attachment 629402
Got 120v and 12v outlets in too.

View attachment 629403
Even have an outlet in the cab now. Never had a vehicle with an outlet next to the drivers seat, hoping this will be useful.
I’ve got a power bar with USB ports behind my seat. It’s very convenient. There are always devices needing charging, TVs to power, angle grinders, etc,
 

PlethoraOfGuns

Adventurer
Found a way to keep the futon all together.

PXL_20201126_013449485 copy.jpg
Made these cute little wooden handles.

PXL_20201126_021257761 copy.jpg
Screwed some studs into the plywood wall.

PXL_20201126_022531718 copy.jpg
And handle gets bolted on and hold futon up while driving.

PXL_20201126_022526032 copy.jpg
Rotate handle to release futon.

PXL_20201127_011027906.MP copy.jpg
Got some rock climbing anchors to install.

PXL_20201127_015706690 copy.jpg
These will make awesome places to hang things from.

PXL_20201127_013435210.MP copy.jpg
Like hammocks!
 

PlethoraOfGuns

Adventurer
Fridge install time! Well, mostly.

PXL_20201201_165549558 copy.jpg
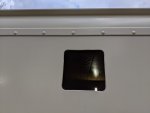
Some more holes in the side walls.

PXL_20201201_171835486 copy.jpg
This one was easy. No insulation behind it.

PXL_20201201_190005228 copy.jpg
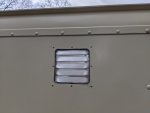
Top vent in and done. We still need to source and install a bottom wall vent.

PXL_20201202_194713968.MP copy.jpg
We cut some foam board to size.

PXL_20201202_203910135 copy.jpg
And have an insulated, but vented area behind fridge. The blue 0.5" foam on the left and right go flush up against the back of the fridge to create kind of a seal. The wire running across the back is to ground the upper cabinets.

PXL_20201202_221846875 copy.jpg
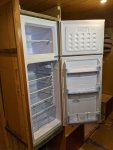
Had to cut and router and section of the wall to make clearance for the door to swing open all the way.

PXL_20201202_221914985 copy.jpg
The door just kisses the wood when opened. Also just hits the door stops built into the hinges on the fridge.

PXL_20201205_005611287 copy.jpg
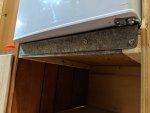
To hold the fridge in place, we cut a 2"x2" piece of galvanized angle ironing attached it to the stock mounting holes for the bottom hinges. Because this fridge has the ability to change which way the door swings, it has threaded bolt holes on each side for the hinges to be on either side.
 

PlethoraOfGuns

Adventurer
Tools? Got to have tools! And tools need to be stored somewhere.

PXL_20201204_151312753 copy.jpg
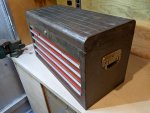
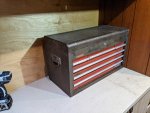
I got this old toolbox out of the garbage many years ago. It's been in storage since then. It's big enough to store all kinds of stuff, but too big to carry around when filled. So it will make a great toolbox in the rig if we bolt it down. Was never sure if I were to ever need it, but it was a good toolbox so I couldn't let it go to waste.

PXL_20201204_151943732 copy.jpg
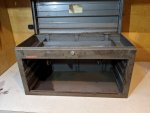
Took all the drawers out and drilled some holes in the bottom. Also took off the side handle so it sits flush against the wall on the right side.

PXL_20201204_163412366 copy.jpg
Threw some bolts in and down through the work table.

PXL_20201204_162117117 copy.jpg
Voluntold someone to crawl down behind the cabinets to tighten the nuts up.

PXL_20201204_163718665 copy.jpg
Super solid toolbox now! Love the old patina on it. No reason to clean it up and paint it.

PXL_20201204_025221422 copy.jpg
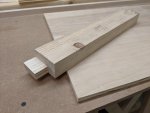
Made some more fancy wood cuts.

PXL_20201204_043544909 copy.jpg
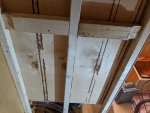
Got some more panelling up. In the panelling we cut in one of the HVAC ducts.

PXL_20201206_040717025 copy.jpg
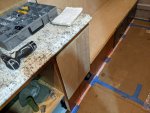
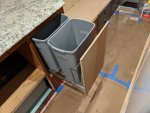
Also got the garbage/recycling bin all done! A bit overkill, I know. But it was a funny space, and this slide out garbage bin thing popped up really cheap, used on the interwebs, and it's just cool! It's even soft close too.

PXL_20201208_015730472 copy.jpg
Got the water tank all plumbed in too. Hope this 90 degree fitting doesn't cause us problems when we go to fill the tank with water. We wanted a smooth radius of tubing down into the tank, but it was never going to make the bend without kinking shut. Might be a slow fill procedure. We'll see.
 
Last edited:

PlethoraOfGuns

Adventurer
The countertops were looking kind of dark and boring. Your body casts a shadow over the counter from the recessed lights. Hmmm, if only there was a way to remedy this...

PXL_20201206_164538501 copy.jpg
More light. Specifically, under cabinet lights! First we'll need to make light rails.

PXL_20201206_180503340 copy.jpg
Drilled and tapped them onto the aluminum shelf.

PXL_20201207_003621647 copy.jpg
Decided to just ground the whole aluminum shelve. Drilled and tapped this brass screw through the aluminum support and the wood behind it.

PXL_20201207_005040909 copy.jpg
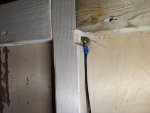
Behind the wall, tighten a ground wire up using some nuts.

PXL_20201207_005728243 copy.jpg
And we have under cabinet lights! On dimmers too!

PXL_20201207_005757781 copy.jpg
It really makes doing stuff on the counter tops so much better of an activity.

PXL_20201207_005838845 copy.jpg
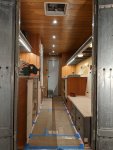
And it's really coming together! Lighting is everything. It's what makes you a professional!

PXL_20201208_021540391 copy.jpg
While we were behind wall for kitchen, we cut these channels in the support wood so we can snake wires up the wall later. In this wall, which will be paneled shut, will hold lots of controls and switches, mostly HVAC stuff.
 
Last edited:

PlethoraOfGuns

Adventurer
A bunch of goodies came in the mail. Other random projects done as well.

PXL_20201207_012641693 copy.jpg
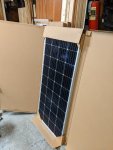
All the solar panels are here! As well as charge controllers, inverter, fuse panels, switches, chargers, circuit breakers, etc. Thank you Cyber Monday sales!

PXL_20201207_211806827 copy.jpg
With all these electrical components, it's adding up to more than we expected and will be unable to mount everything under one of the kitchen seats as originally planned.

PXL_20201207_212854485 copy.jpg
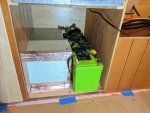
But this funny space under the fridge is perfect for the batteries to go! Cut some wood out from the 1" tall floor plates and laid down some 0.5" foam board down so the batteries have a 0.5" lip all around them to hold them in place.

PXL_20201207_213111435 copy.jpg
They fit super snug! These lithium batteries will be wired in parallel, fused, and then battery cables run forward to the right into the electrical cabinet under the seat. The batteries came out of an electric delivery truck and they have lots of life left in them. Got them at a killer deal! We'll build a shelf above the batteries and all that space will be a very efficient use of space.

PXL_20201203_163124533 copy.jpg
Came up with a plan for fridge door keeper closer devices.

PXL_20201203_165532880 copy.jpg
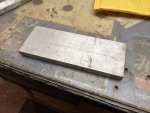
Cut some aluminum down, drilled some holes.

Screen Shot 2020-12-20 at 5.25.46 PM.png
And tapped a hole for this spinning keeper thingy. Also this fridge runs very quiet.

PXL_20201208_204407882 copy.jpg
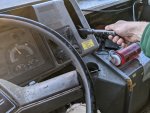
Speaking of spinning things, I just realized that the handle on the parking brake lever, which I use as a fidget spinner when sitting in traffic, is actually a manual brake tensioner! So cool! No more crawling under the vehicle to adjust the tension on the parking brake cables!

PXL_20201207_203426002 copy.jpg
And also got material for the next project. All super cheap cull lumber that we're going to make into custom crown molding of some sort!
 
Last edited:

Forum statistics

Threads
188,394
Messages
2,904,118
Members
230,274
Latest member
mbauerus1
Top